capnharv2
-
Posts
728 -
Joined
-
Last visited
Content Type
Profiles
Forums
Gallery
Events
Everything posted by capnharv2
-
 Beautiful Tom. Makes me want to redo my coppering. Harvey
- 1,354 replies
-
- 1
-

-
- constitution
- model shipways
- (and 1 more)
-
Nice! If mine turn out half as good as yours, I'll be thrilled! Thanks too for posting the pics of the fittings. Mine kept falling off and got all twisted, so I'm going to redo them. Your pictures help a lot. Harvey
- 732 replies
-
- 1
-
-
- constitution
- model shipways
- (and 1 more)
-
Time for me to drink more wine!
-
I agree. Of course, if the shrouds were designed today, they'd be carbon fiber and Kevlar. But, if Frigates were designed for today's requirements, they'd look like this Thanks, Harvey BTW, thanks for the picture of your Connie's Bentick Shrouds. That's where I am today.

- 732 replies
-
- 4
-
-
- constitution
- model shipways
- (and 1 more)
-
Jay, Thanks for these excellent suggestions. I hadn't thought of using thin ply instead of basswood for the head rails. That certainly makes them stronger, and I'll remember that on future builds. Your comment about the Bentick shrouds is very timely, since that's what I'm working on now. For months I've been patting myself on the back because I remembered to put the eyebolts in for them before the fore and main shrouds went on-to find that, even though I thought I had, I hadn't . At least I haven't put the ratlines in yet, but it's still going to be a PITA to get those shrouds installed now I just went thru your video on soldering. It's really helpful, but I do have some questions and comments, especially about the silver soldering/brazing. -What kind of flux do you use? A while back I read a soldering tutorial where the author recommended Battern's flux. -One way I found to position the silver solder "pellet" is to first wet the joint with flux on the end of a toothpick, then use that wet end to pick up the silver solder and place it close to the joint. I've found it works really well, and has really cut down on the amount of flux that I use. -The tutorial I mentioned also said the the joint to be silver soldered needs to be "tight" with no gaps between the two ends to be soldered. How do you clamp the end of the eyebolt to keep the joint tight? -One problem I've been having with silver soldering eyebolts is that the solder will not fill the joint, but, instead, fills the center of the eye. I often find that, when I drill the eye out, the solder hasn't touched the joint I wanted to solder-it all jumps over to fill the center of the eye. -The joint can never be clean enough. I've been abrading my solder joints with a wire wheel, then soaking them in acetone for 5-10 minutes before I attempt to solder the joint. That's been working for me, but I could do better-any suggestions? -Your comment about melting brass wire when annealing is spot on-I've melted several wires when annealing-and several more when trying to solder. Have you found a minimum gage brass wire that you can solder without melting. I'm melting 28 Ga wire before the solder melts, so I'm curious how 30 Ga would work. Thanks again for your efforts! They have been really helpful. Harvey
- 732 replies
-
- 2
-
-
- constitution
- model shipways
- (and 1 more)
-
Ed, I love the transition from the wale strakes to the first rabbeted plank on the sternpost. That pic alone is worth 10,000 words. When I was working, "processes" was a dirty word, mainly because the people developing them had no idea what they were imposing on us to do. Further, the imposition of processes was (to me) very draconian. But, after reading your Naiad books and following your build logs, I really appreciate the way you implement processes, and how helpful they can truly be. Thank you. I, too, am looking forward to your YA books. Your books will again help myself (and others) become better modelers. Harvey
- 3,618 replies
-
- 3
-
-
- young america
- clipper
- (and 1 more)
-
Thanks Bob. Most of the Friendships that I know of are in the 25-31 ft range. I've read about some that were up to 45 ft long, but I haven't found much more info on them. I might check with the Friendship Sloop Society to find out more about them. Our Friendship is based on Chapelle's Pemaquid model in ASSC (that page is almost falling out of the book) but has an extended cabin. It's still tight, but will sleep 4 without too much trouble. Once they get to 30 ft, the interior opens up a lot. Do you have the book "Friendship Sloops" by Roger Duncan? It has a lot of useful pictures, information and sketches. I've almost worn that book out too. Enjoy! I will! Thanks, Harvey
-
This will be fun. I've wanted to scratchbuild one in either this scale or 1:64. Are these the plans in American Small Sailing Craft? Thanks, Harvey
-
IIRC Mark, you were just starting the framing when I stopped by in May. My compliments on a superb job! Harvey
-
Boy Mark, The last time somebody mentioned hating macros was when we were using Excel . I believe that somebody was me. . . Thanks, Harvey
-
Rich, On smaller scales, some modelers thread their ratlines on a needle and just push it thru the shroud. Thanks, Harvey
- 1,756 replies
-
- 2
-
-
- constitution
- constructo
- (and 1 more)
-
Rich, I'm sure your model lines up just fine with the plans. I would fault the plans. If you have them, it might be interesting to compare gunport locations of the hull plans vs gunport locations on the plans showing channel and chainplate location. I suspect they don't agree. I think it looks good. I like the way you did the deadeyes and chainplates. Thanks, Harvey
- 1,756 replies
-
- 2
-
-
- constitution
- constructo
- (and 1 more)
-
Thanks Dave. I finished up the main shrouds and lanyards last night. I have to redo the block on the sb main swifter (think running backstay for square rigger), then tension the main and main preventer stays. Then I'm done! Right. Sheer poles and tops next. I'd like to do the rat lines and snaking, but I think I can use the clearance for the rest of the standing rigging. Hope to bring it to January's meeting. See you then. Thanks, Harvey
-
Thanks Michael. It's been fun but a challenge at times. I feel like I know so much more about rigging than when I started this project. You're correct on the freezing (or lack thereof). Even though it's 27 deg with a dusting of snow, it never freezes over here-at least not enough to require us to pull boats out of the water. The boat is coming out for routine maintenance. The masthead blocks are bad and need to be replaced. While we're at it, we're replacing the gaff jaws and rebuilding the bowsprit around the gammoning iron. There are a few weeping fasteners and some gouges in the hull I'd like to fix. But nothing big. She still doesn't leak and still looks good. Steeling up the courage to tackle some more mainmast shrouds and lanyards. We'll see how it goes. Thanks, Harvey
-
Mark, At least two others. And that doesn't count the Flying Cloud I haven't touched in months. Oh, and then there's the 1:1 boat-spars are coming out in the next week or two, and the boat is coming out of the water soon after that. Nothing major, just time (and money) consuming. Oh well, it keeps me off the streets at night Thanks, Harvey
-
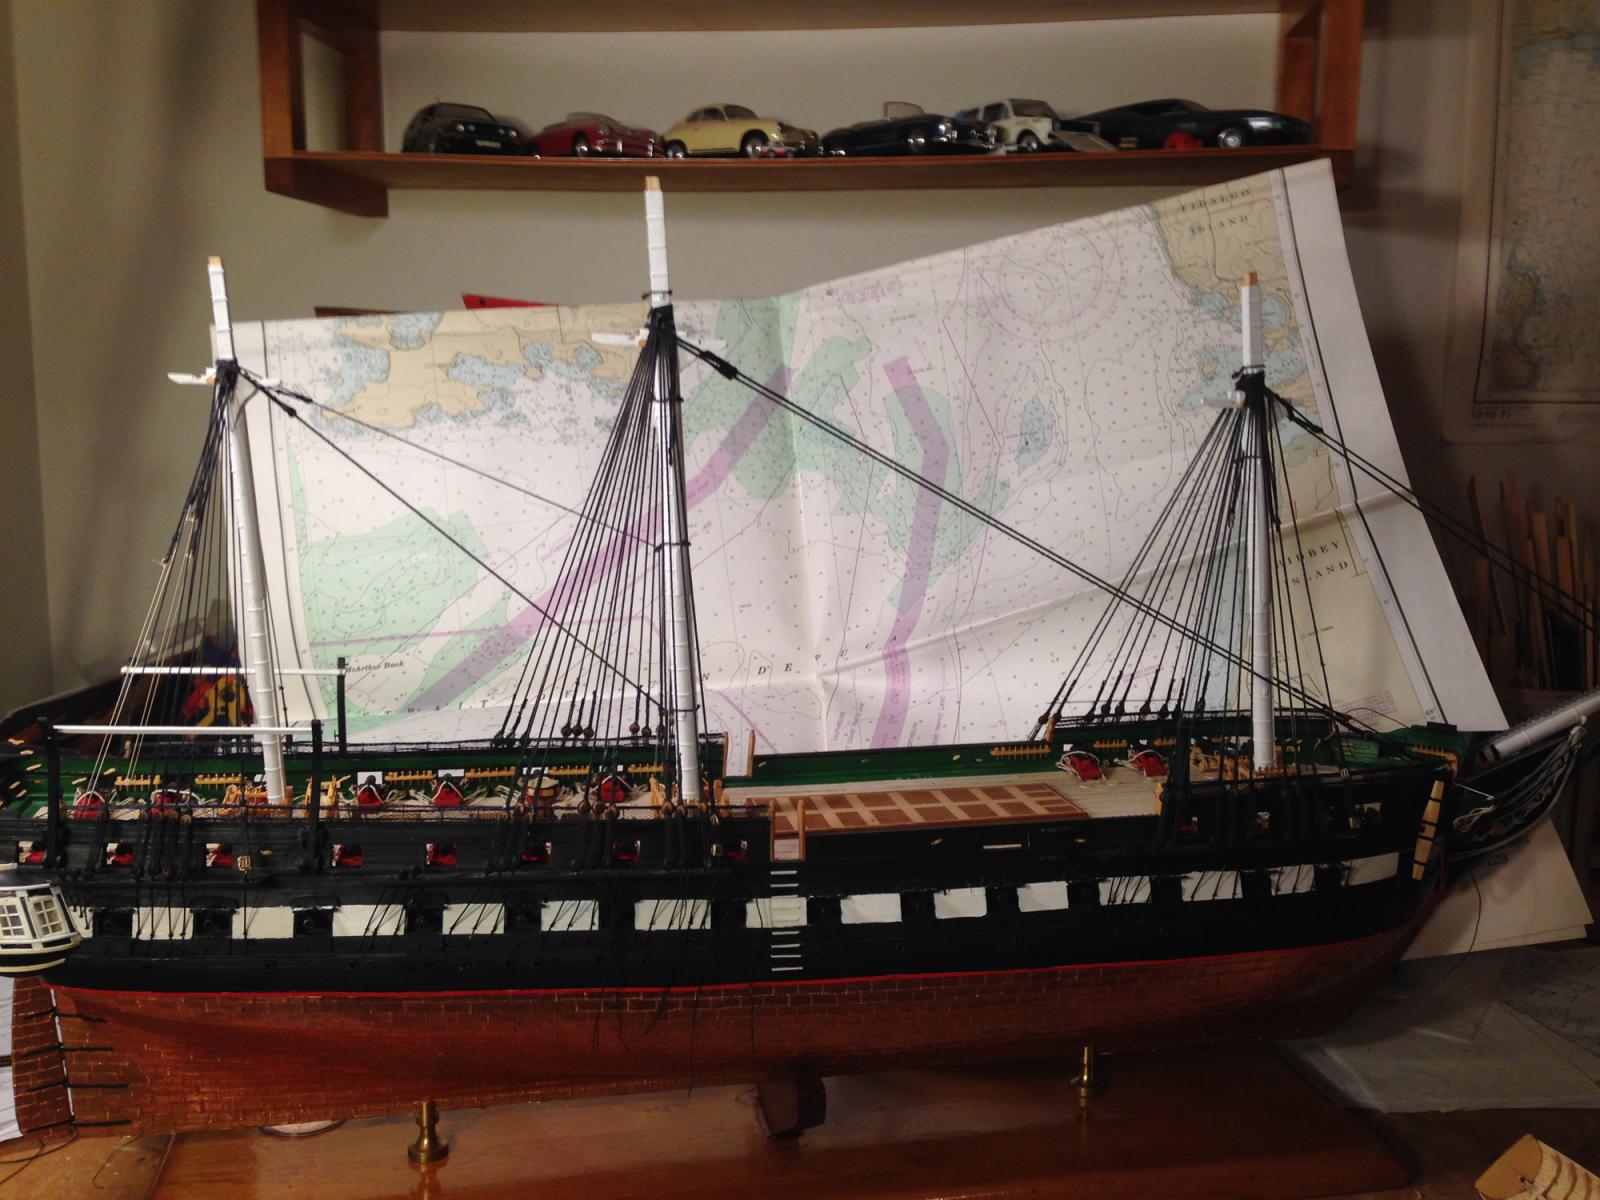
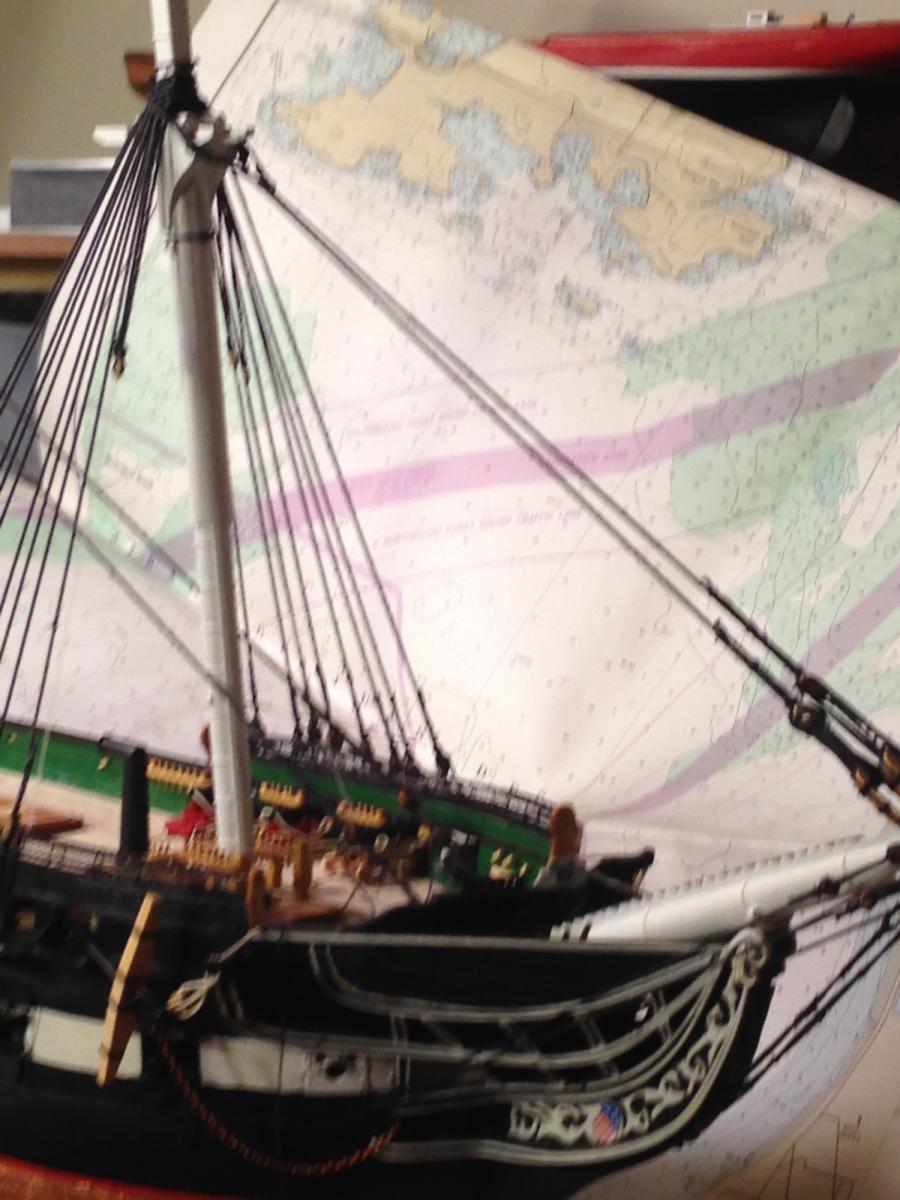
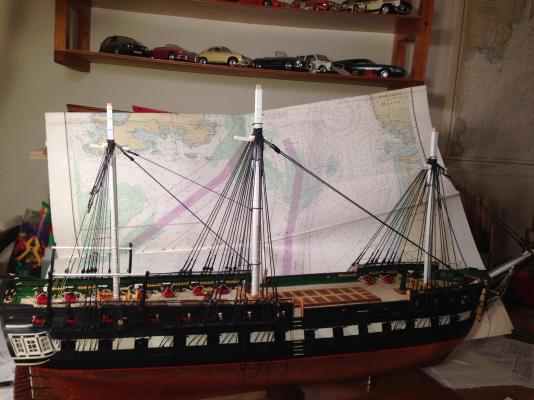
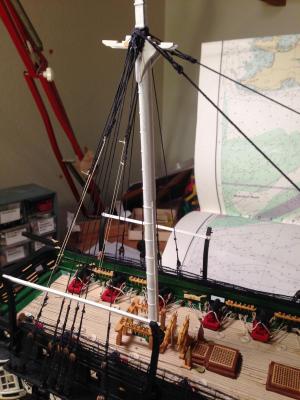
Well, I see it's been 9 months since I've posted any progress. So I'll try to give an update here. The standing rigging on the lower masts and bowsprit are essentially done I've tensioned all the lanyards on the fore and mizzen, and am working on the main (6 down, 12 to go) I finished the mizzen last night. It looks good, although the Burton Pendants look awfully big compared to the shrouds, but that's what the rigging schedule calls for I was particularly happy with the mizzen stay and preventer stay. The picture isn't the best, but the foremast is done And I was pretty pleased with fore and fore preventer stays. After I finish the main shroud lanyards, I'll work on the sheer poles, the probably start in on the tops. They're built, but need to be installed and rigged. That will be interesting. . . I'll try to show progress more often, but I've got 2 other builds going (that I also need to start build logs for). Comments and constructive criticism are always welcome. Thanks, Harvey


-
First, I want to apologize for getting on my soapbox, but this type of issue is one of my pet peeves. Don't get me wrong-I love tall ships. Some do well. But a lot of them (it seems to me) in the US are created by a committee (few members, if any, are acquainted with the regulation, upkeep and use of a tall ship) that says "Let's build a tall ship to commemorate our (fill in the blank here). It will be a great tourist draw! Very little thought is put into annual maintenance costs, moorage, meeting CG regs, rebuild costs (they do need rebuilding), etc. Few look at what they expect the ship to do (or be capable of doing) in 5, 10, 15 or 20 years down the road. And costs go up exponentially with size. And often, as a result, a new tall ship is launched with lots of fanfare and celebration. After 5 years, it's a financial burden on whomever said they would take care of her. 10 years after, the organization is looking for a dreamer to take the reins so they can get out from under it. I really wish I could think of more tall ships that are successful. It seems that tall ships built and maintained outside the United States fare better, partly because of help from their governments. It's sad to see Amistad falling on hard times. When will we ever learn. . . Okay, off my soapbox. Thanks for letting me vent. Harvey
-
Hi Gil, I just noticed that you tape your alligator clips to prevent marring and cutting whatever you are holding. What kind of tape do you use, and how often do you replace it? I've done it once or twice with masking tape, but it doesn't really help much. Enjoy your turkey! Thanks, Harvey
-
Thanks so much for sharing Ray. Your work is an inspiration to us all. Harvey
- 536 replies
-
- 1
-
-
- diana
- caldercraft
- (and 1 more)
-
Sjors, I assume you've seen regular needle threaders before: I hadn't heard of beading threaders before though. Thanks, Harvey

- 1,756 replies
-
- 1
-
-
- constitution
- constructo
- (and 1 more)
-
One thing to remember with beading needles or needle threaders is to make sure your deadeyes are of good quality. If made of soft wood or bad grain direction, the diameter of the combination needle and line could split the deadeye. Rich, when you get to running rigging, the beading needle and/or CA needle on the end of the line will again come in handy. Thanks, Harvey
- 1,756 replies
-
- 2
-
-
- constitution
- constructo
- (and 1 more)
-
Pete, This is a most interesting build. I too have loved the early Malabar schooners. Do you have the Alden plans for Malabar 1? The plans for Malabar 2 are readily available, but I've never seen them for M1. Thanks! Harvey
-
Measuring line by circumference
capnharv2 replied to capnharv2's topic in Masting, rigging and sails
Thanks for the answers. It's what I was looking for. Harvey -
If this has been asked before, I apologize. Just point me to the correct thread. I'm curious-when I look at rigging tables in Steel and Lever and other old texts, rigging size is always shown in circumference, whereas all the work we do (and most modern rigging that I'm aware of) is shown in diameter. So, why did they measure line size that way? I'm trying to come up with an advantage for measuring circumfrence over diameter, and I keep drawing a blank. Any thoughts? Thanks, Harvey