mikegr
Members-
Posts
827 -
Joined
-
Last visited
Content Type
Profiles
Forums
Gallery
Events
Everything posted by mikegr
-
Epoxy primers or etch primers for car industry may work good as well. https://carsystembg.com/en/cs-etch-primer-spray-478
- 330 replies
-
Cap San Diego by mikegr - 1/160
mikegr replied to mikegr's topic in - Build logs for subjects built 1901 - Present Day
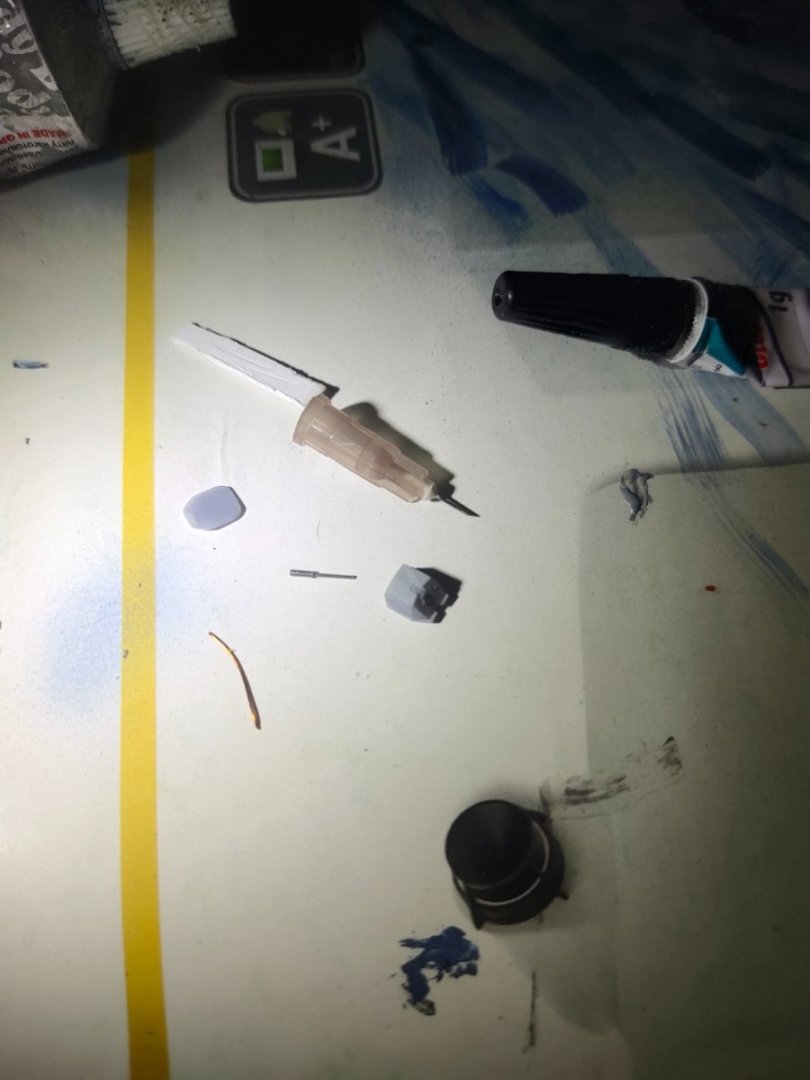
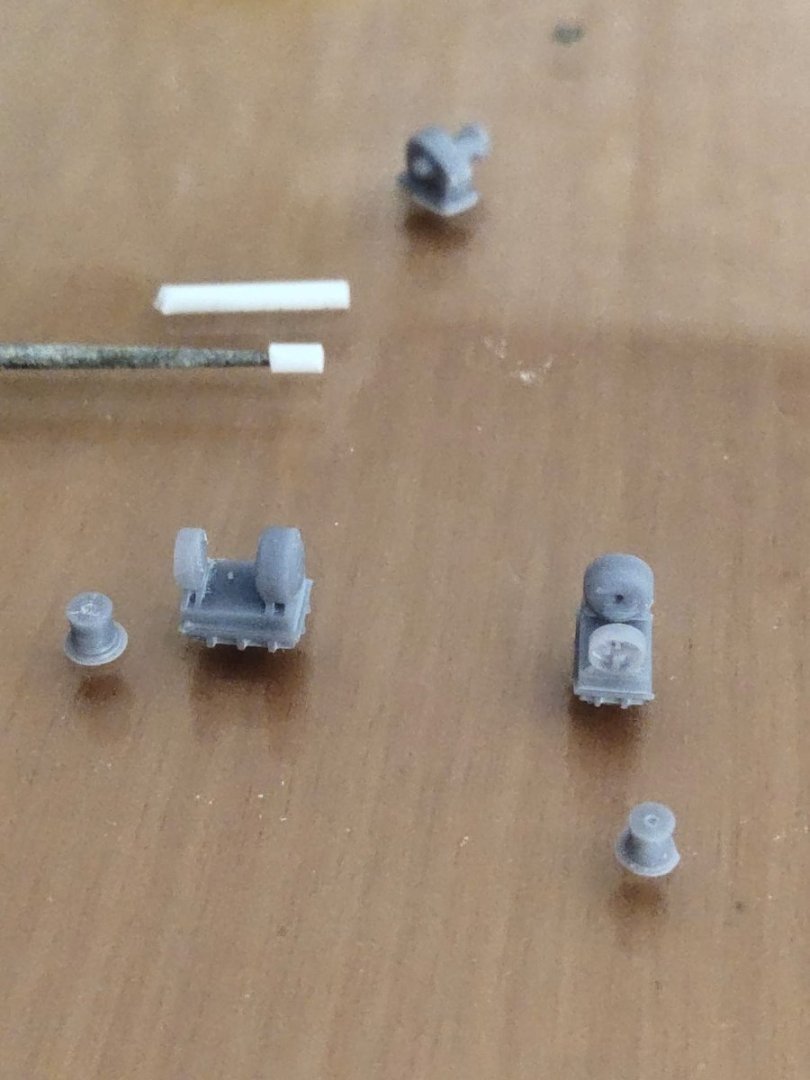
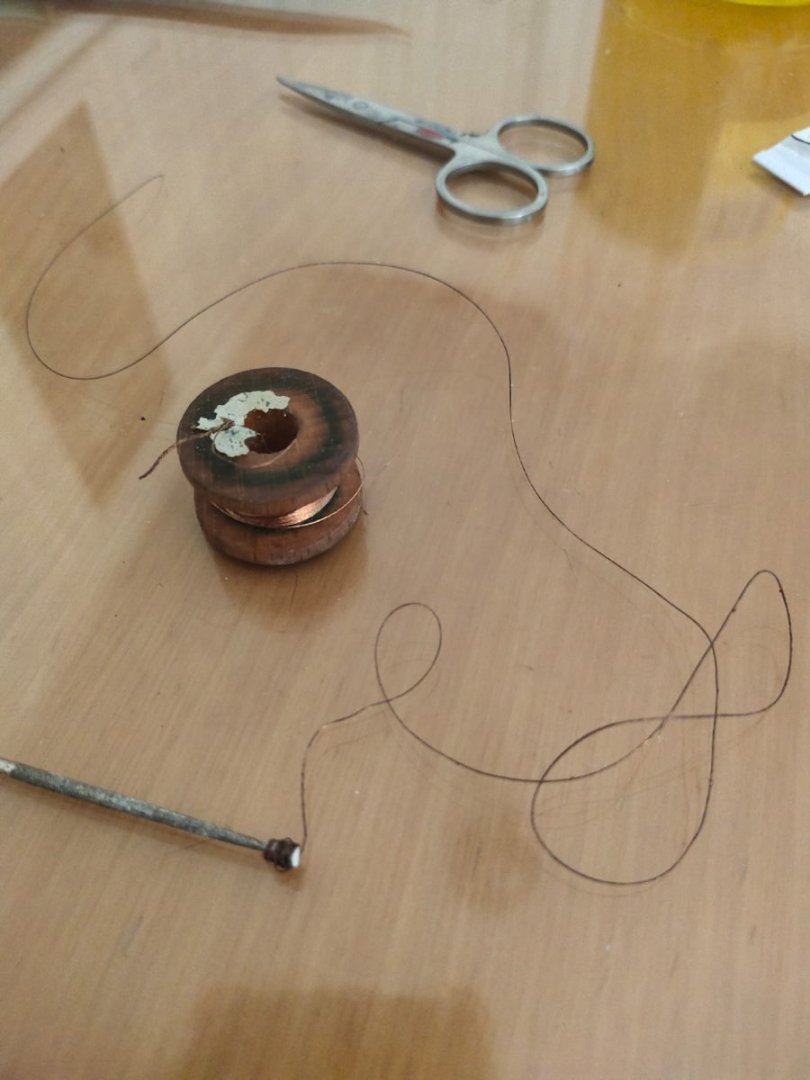
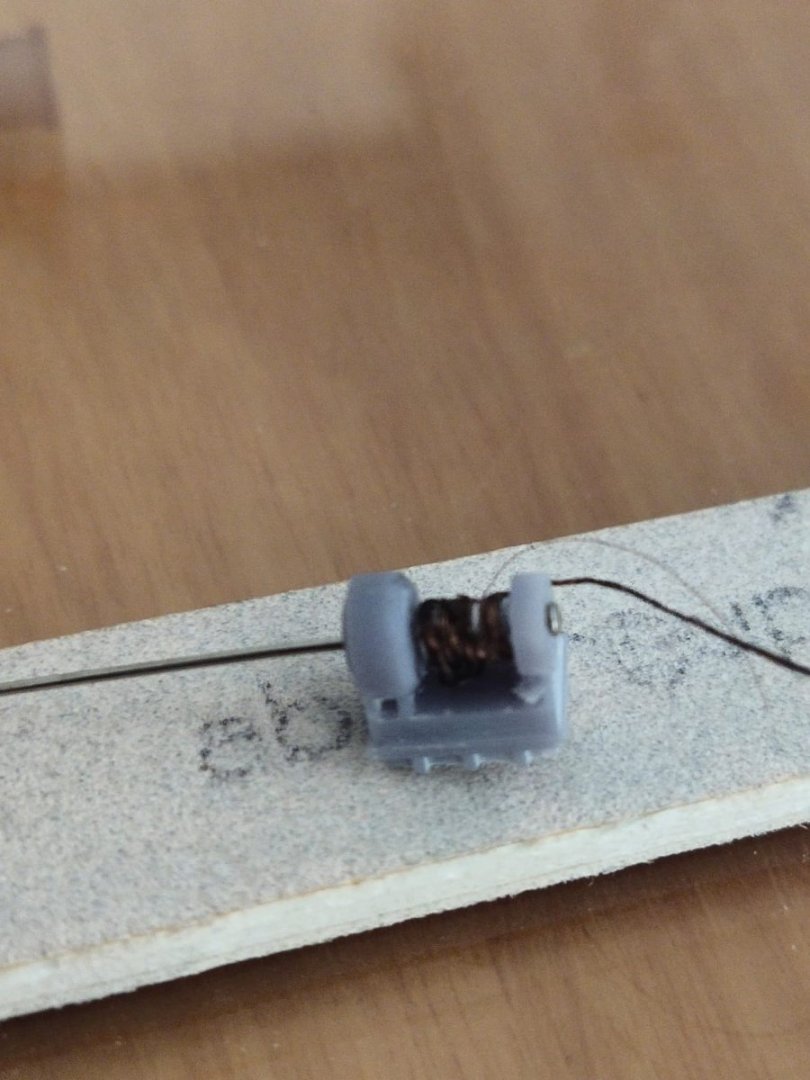
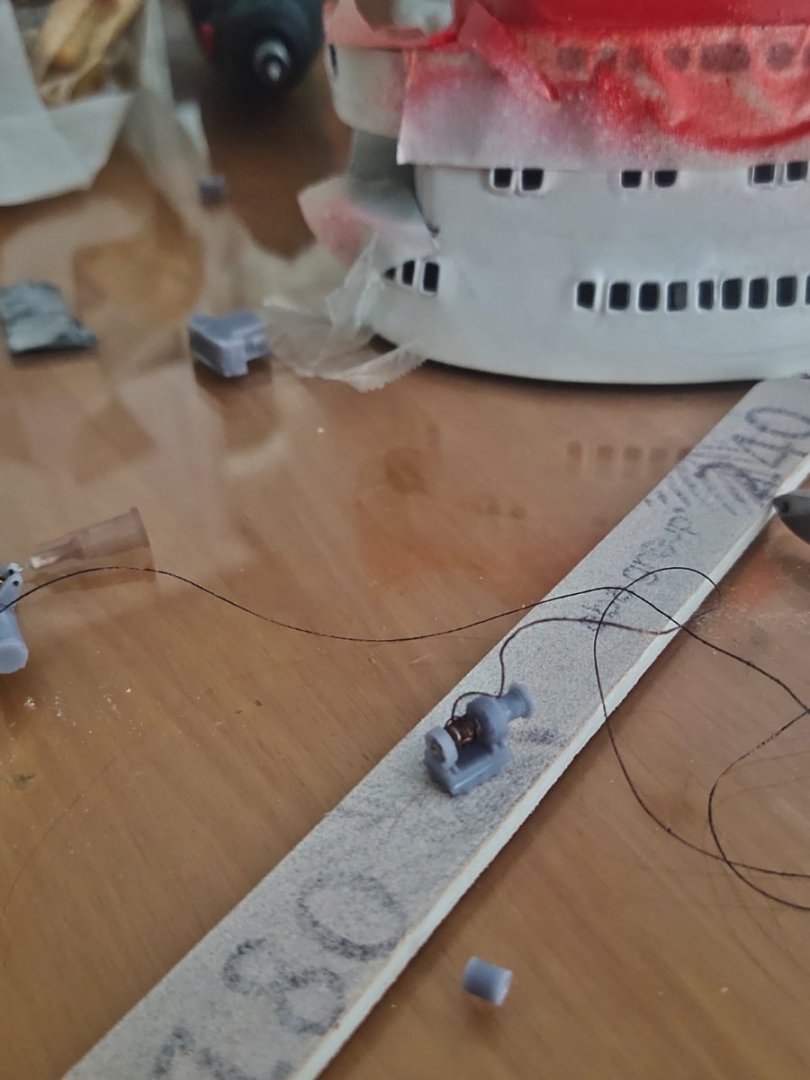
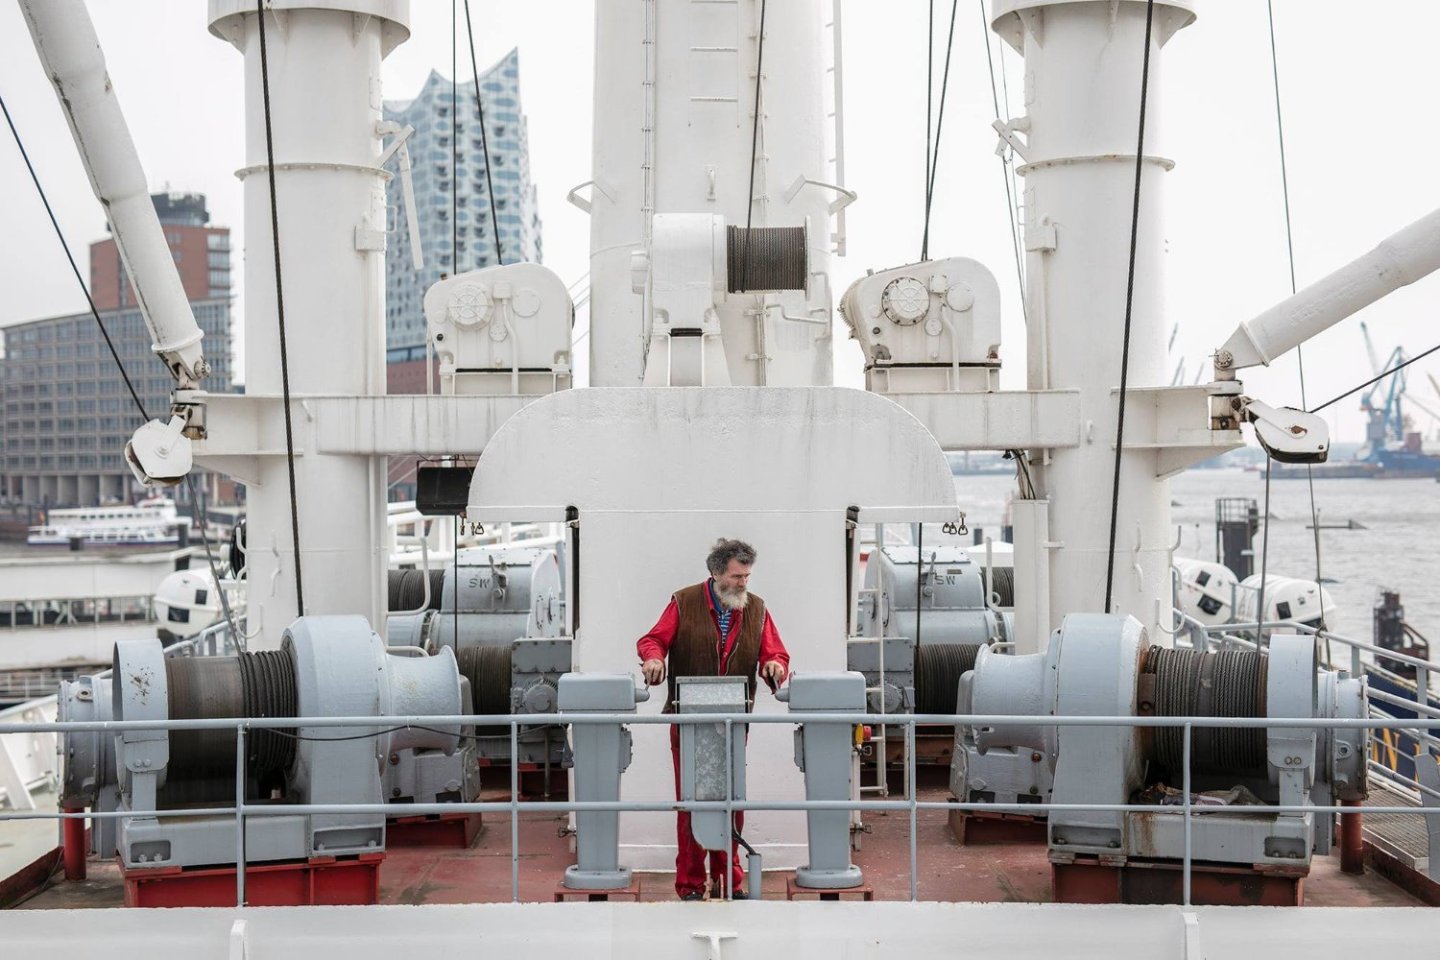
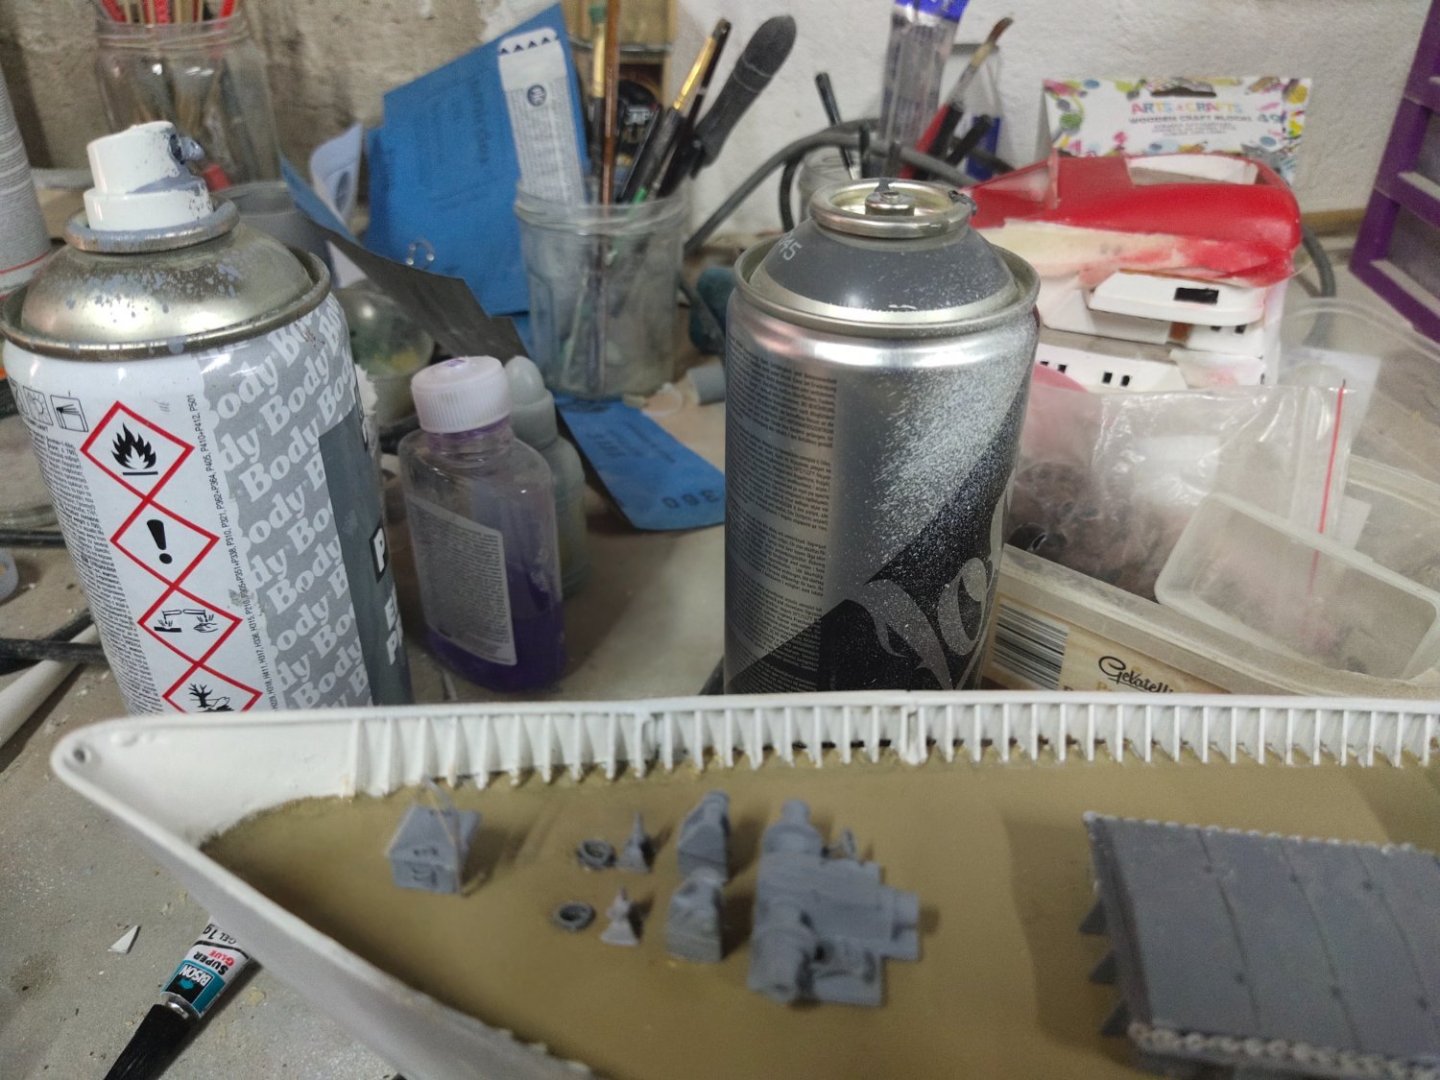
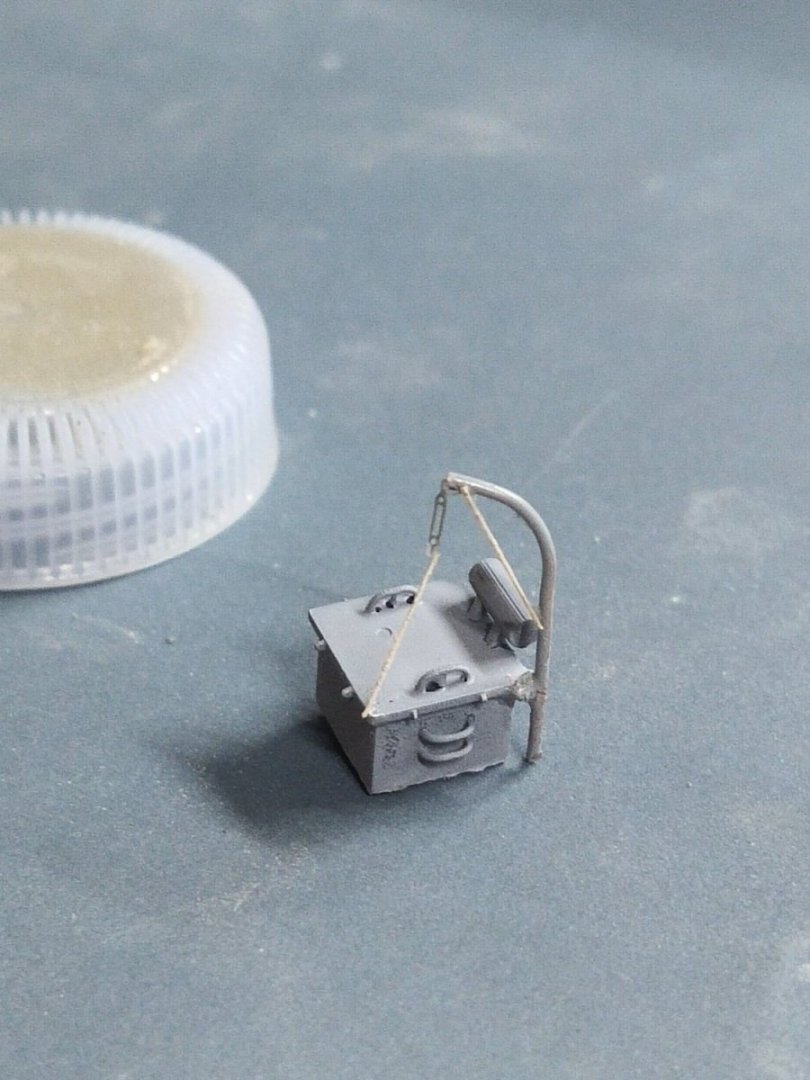
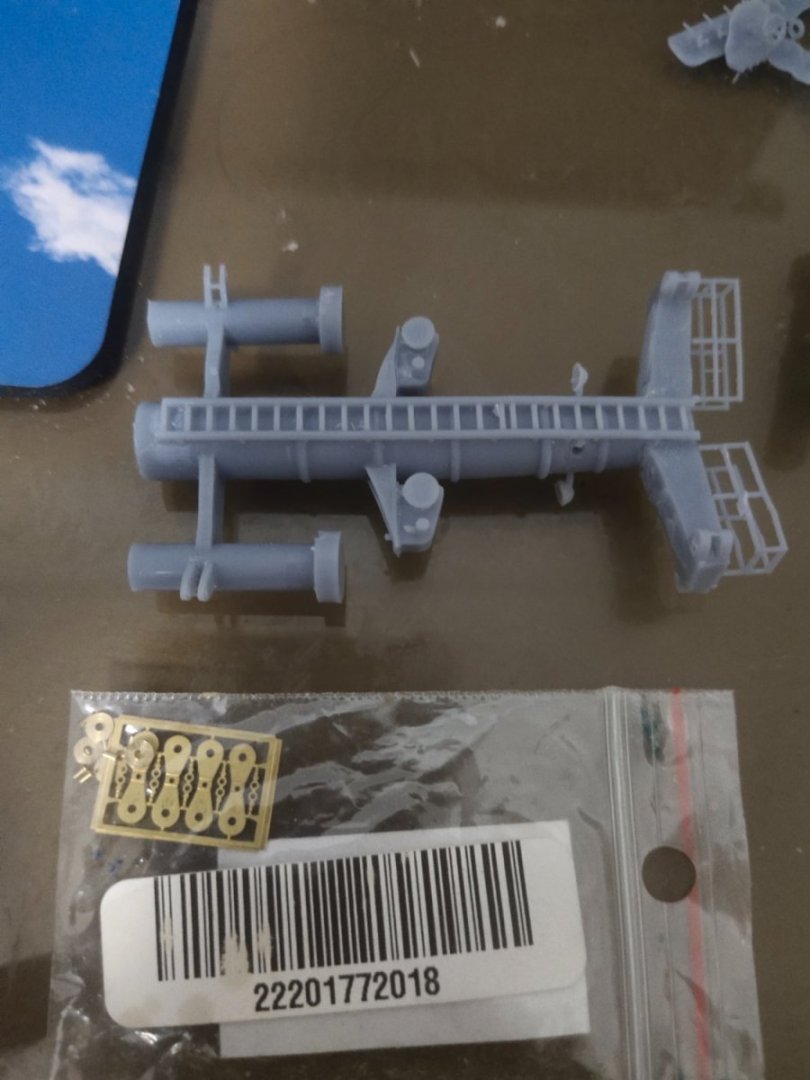
Thanks for the encouraging comments. Hamburg has a very nice nautical museum which I hope I visit one day. Now back to the project, while preparing the superstructure for final fitment I made the winches: main body and another piece were designed and printed plus a plastic rod and a pin. I used copper wire primed and painted black. then i put the winch cylinder on the main body and secured the whole system with a pin which i chopped the extra length and glued the last part. so got a fully functional system minus the motor which i can adjust the length of the wire during the rigging phase, i only need to add more black paint to fill the gaps on the white reel. -
Cap San Diego by mikegr - 1/160
mikegr replied to mikegr's topic in - Build logs for subjects built 1901 - Present Day
I am working on the pulleys. The number required is great, Not sure about wooden ships but here more than 50 needed from what i see on the plan There are also double and triple pulleys that will be used. I am using photos of my archive as a guide to position them and differ remarkably from my plans. Rigging will be more challenging that it seemed initially. Most possibly won't be 100 accurate but thats ok. Meantime I decided to install the anchor machinery and drill the anchor holes all the way to the ship sides while working to improve paint details on deck -
Cap San Diego by mikegr - 1/160
mikegr replied to mikegr's topic in - Build logs for subjects built 1901 - Present Day
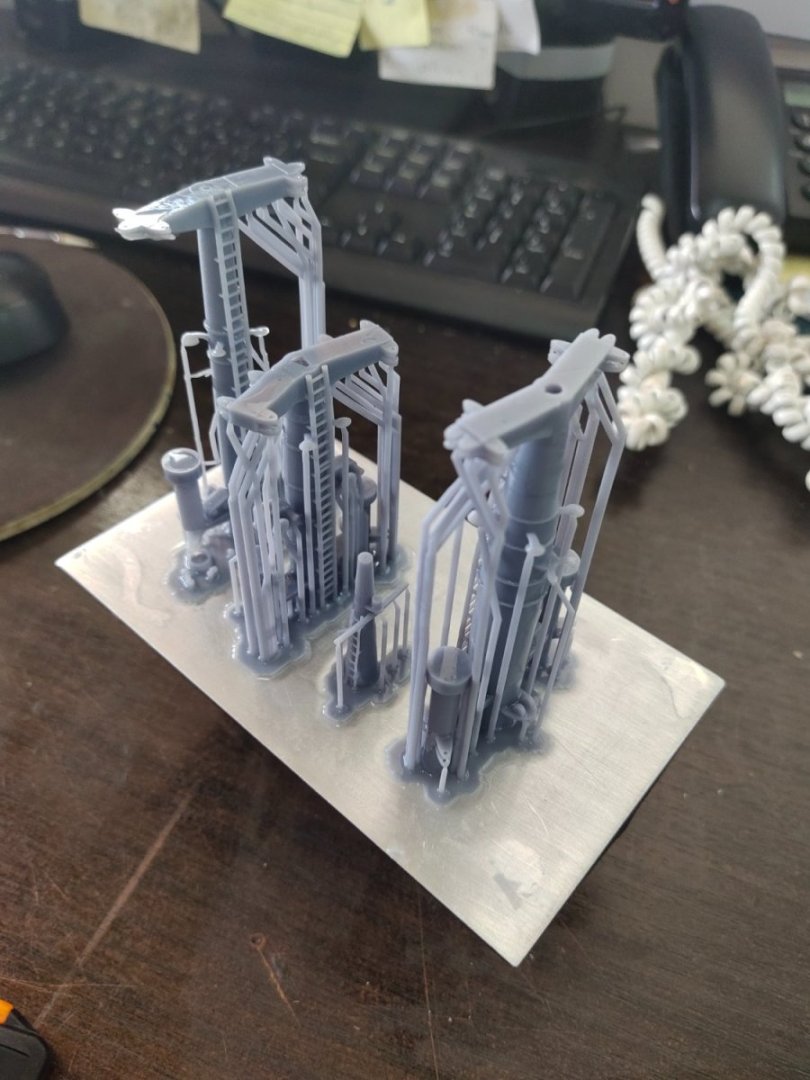
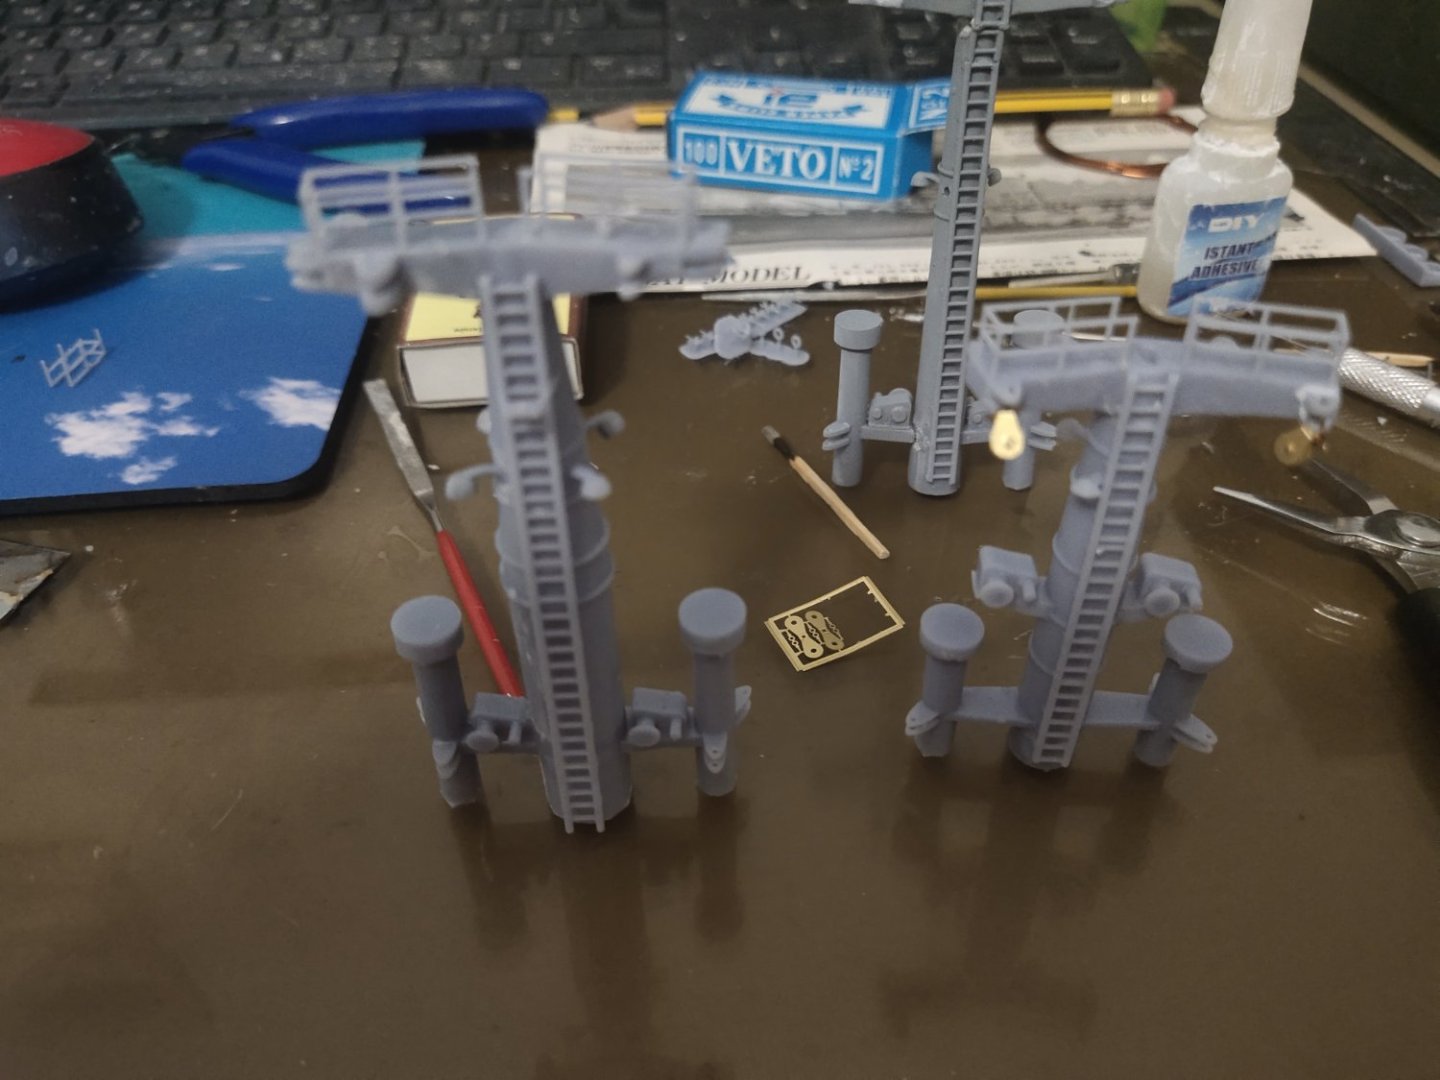
Work slowed down because of other project but now I'm back on track. I decided to make the masts. Wasn't sure how, finally the design and 3d printing was chosen instead of scratch building. After many hours of design I got the first result, two successful prints while one collapsed partially. Using my skills I manage to repair it and save another 6 hour printing season. -
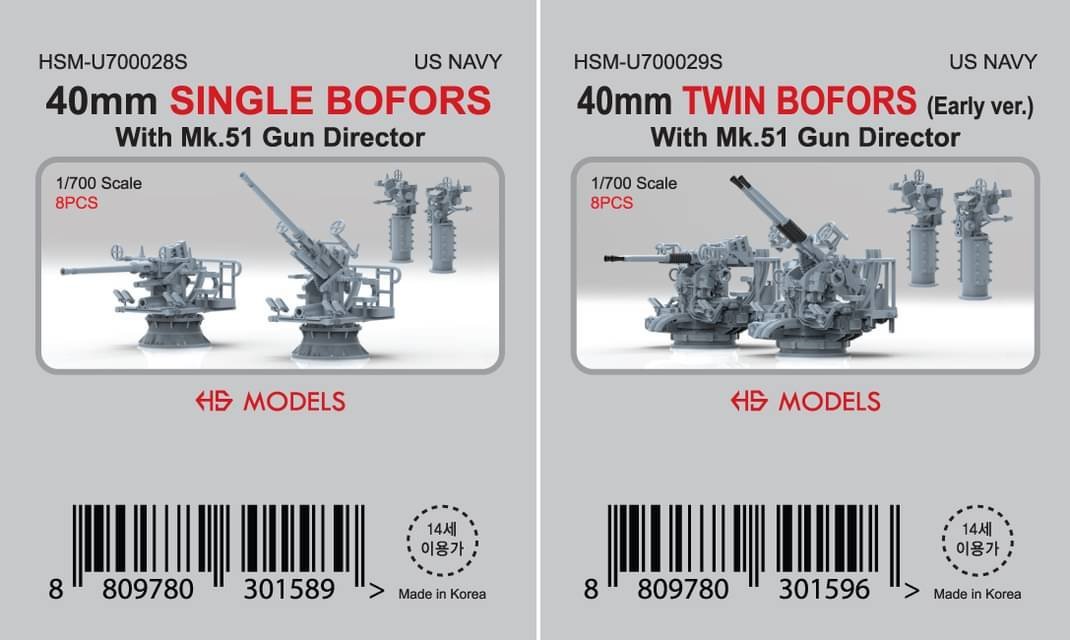
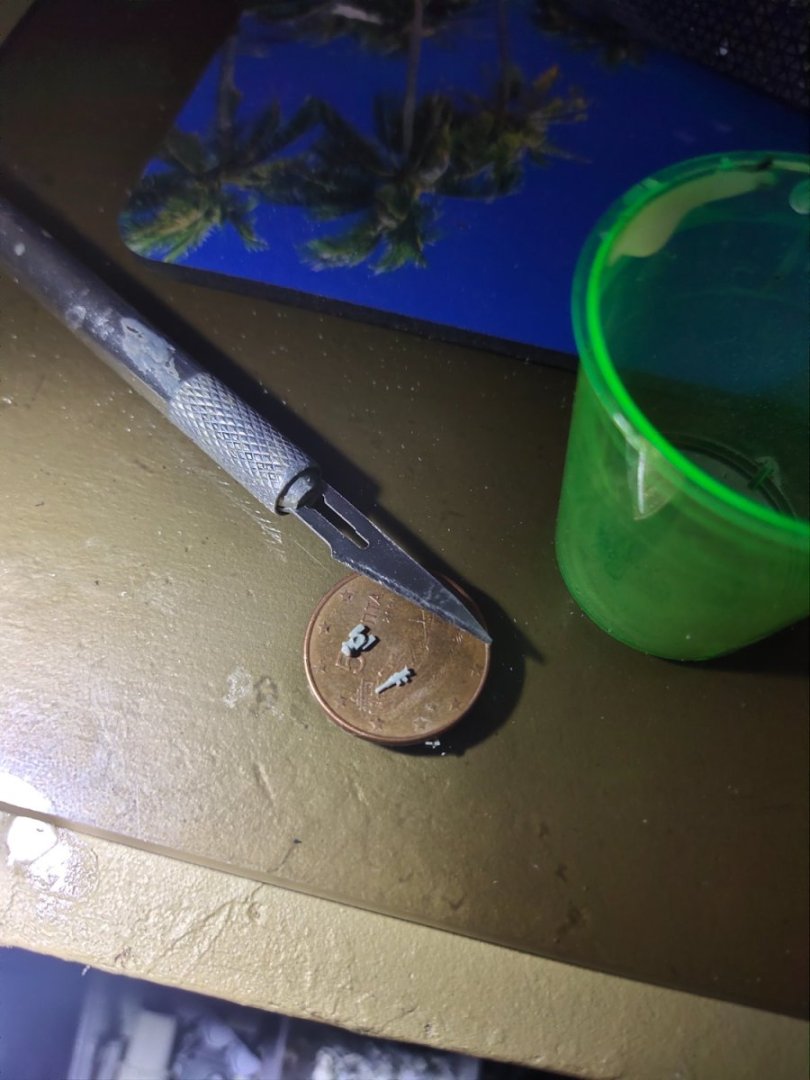
I quickly ran out of PE parts for the guns and a new order has been done but my work will delay some weeks. Therefore I proceed with the 5" inch guns and some 20mm ones from my parts stash. The latter is a two piece part and took me some time to assembly together and install on deck Thinking of what to do next I designed my own Bofors single guns. They came in two batches, the second was impoved and including shoulder rests. It looked better than plastic ones already installed so it will be my standard for next projects. Lesson learned.
-
for example the rivets on funnel and turrets while add detail to the model i think they are way overscale
-
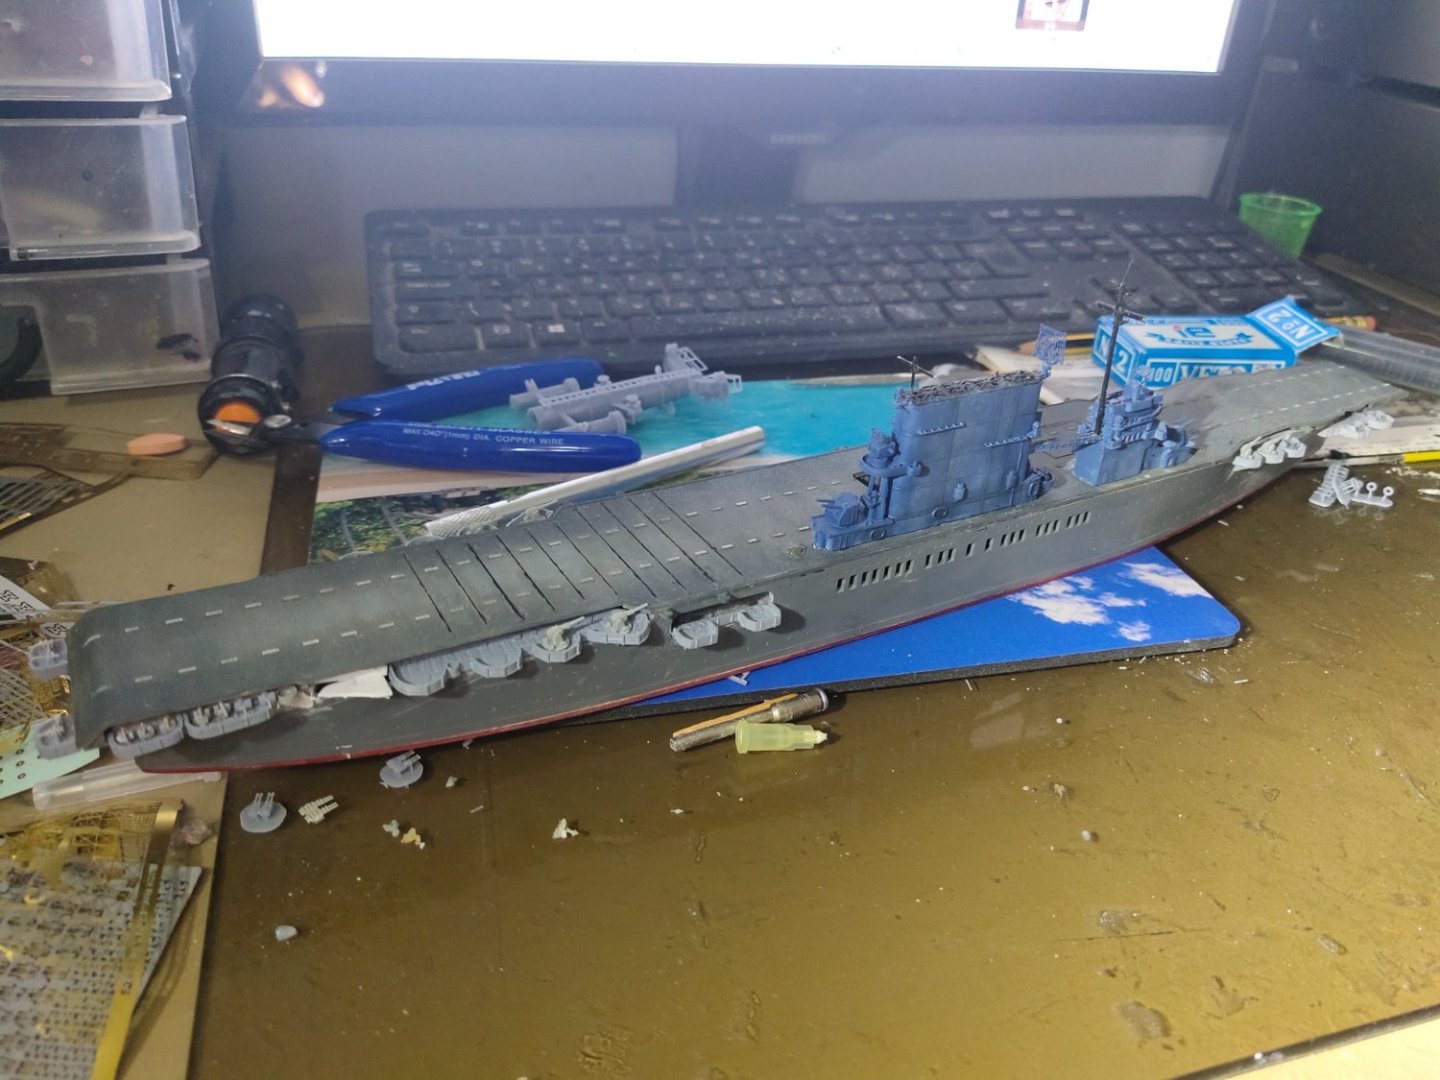
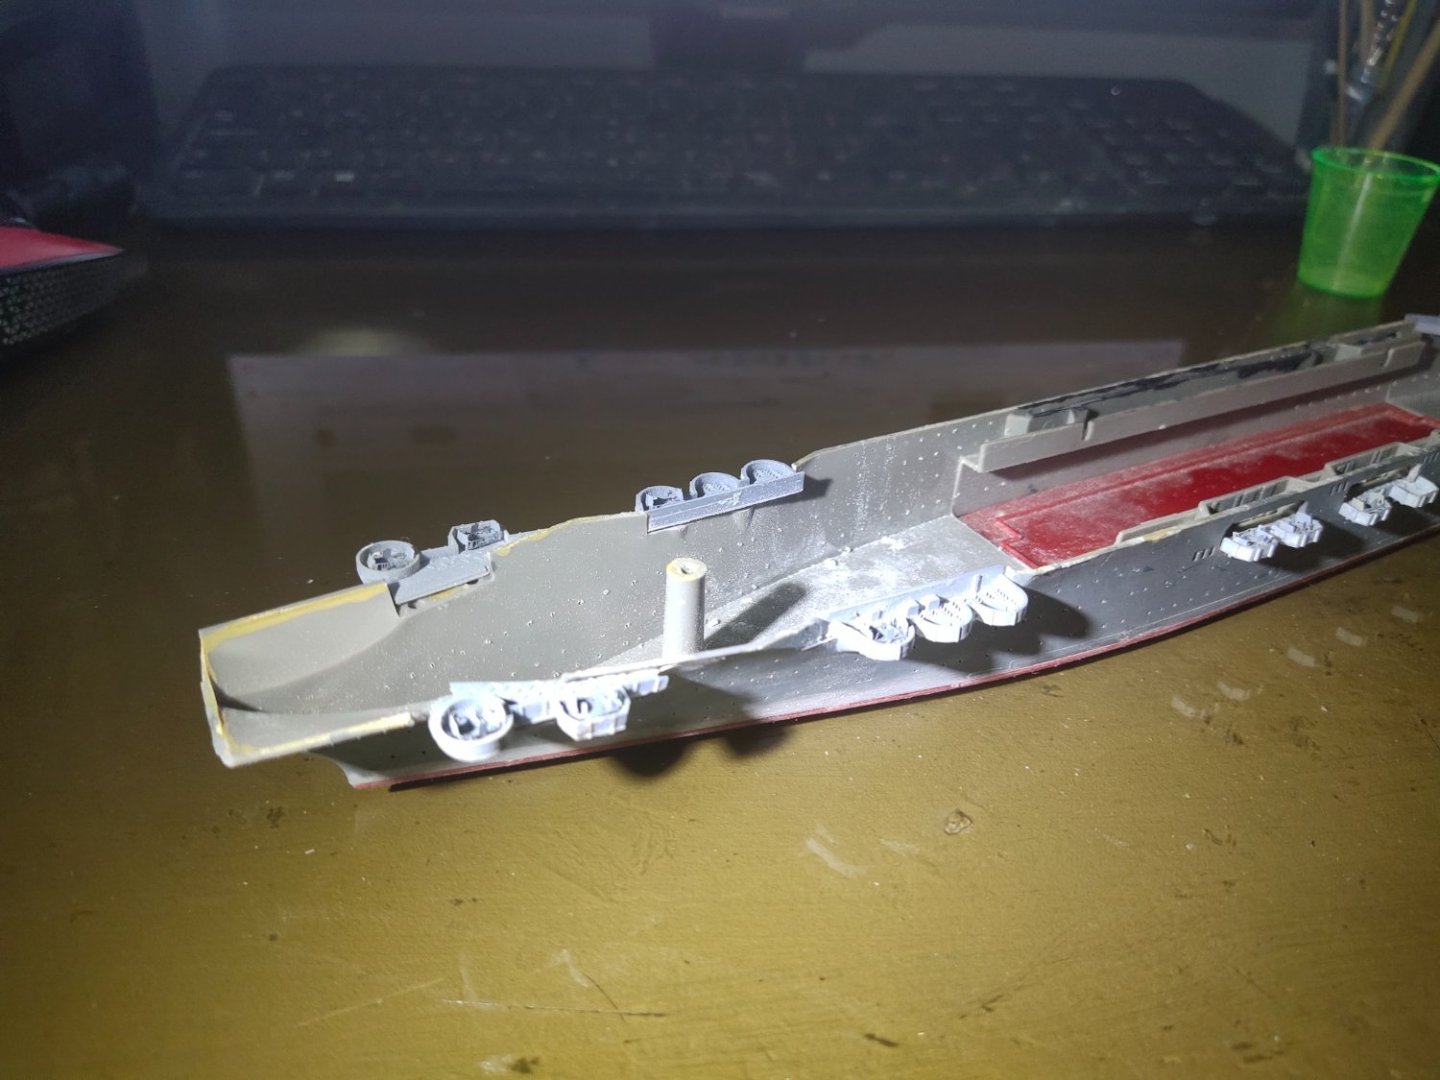
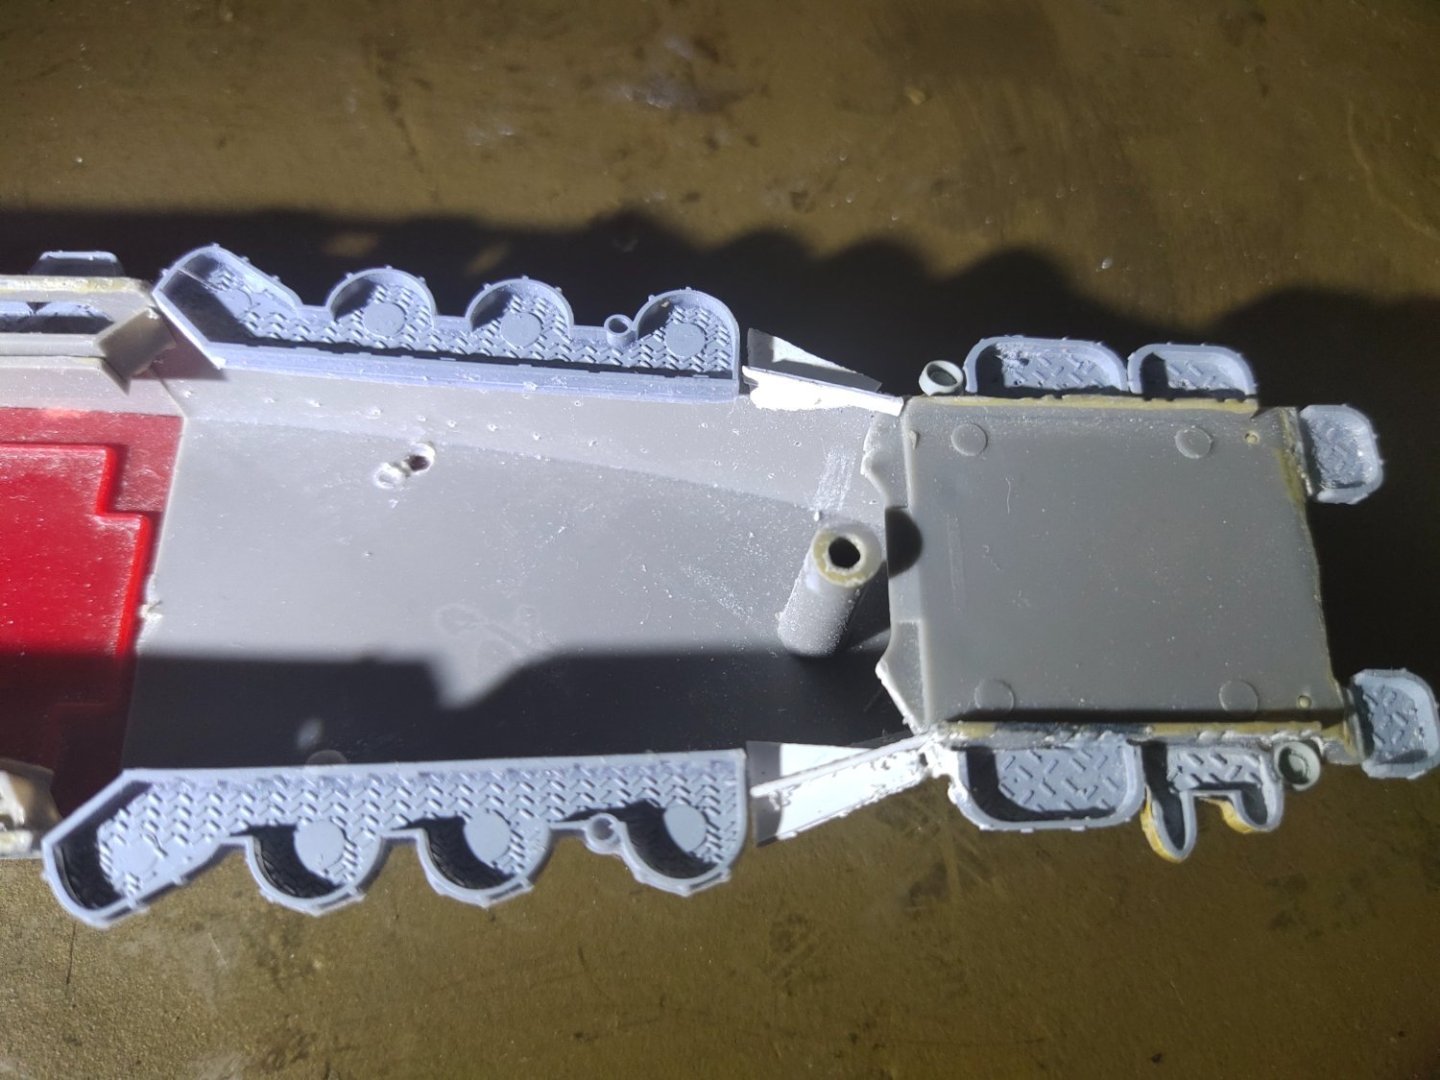
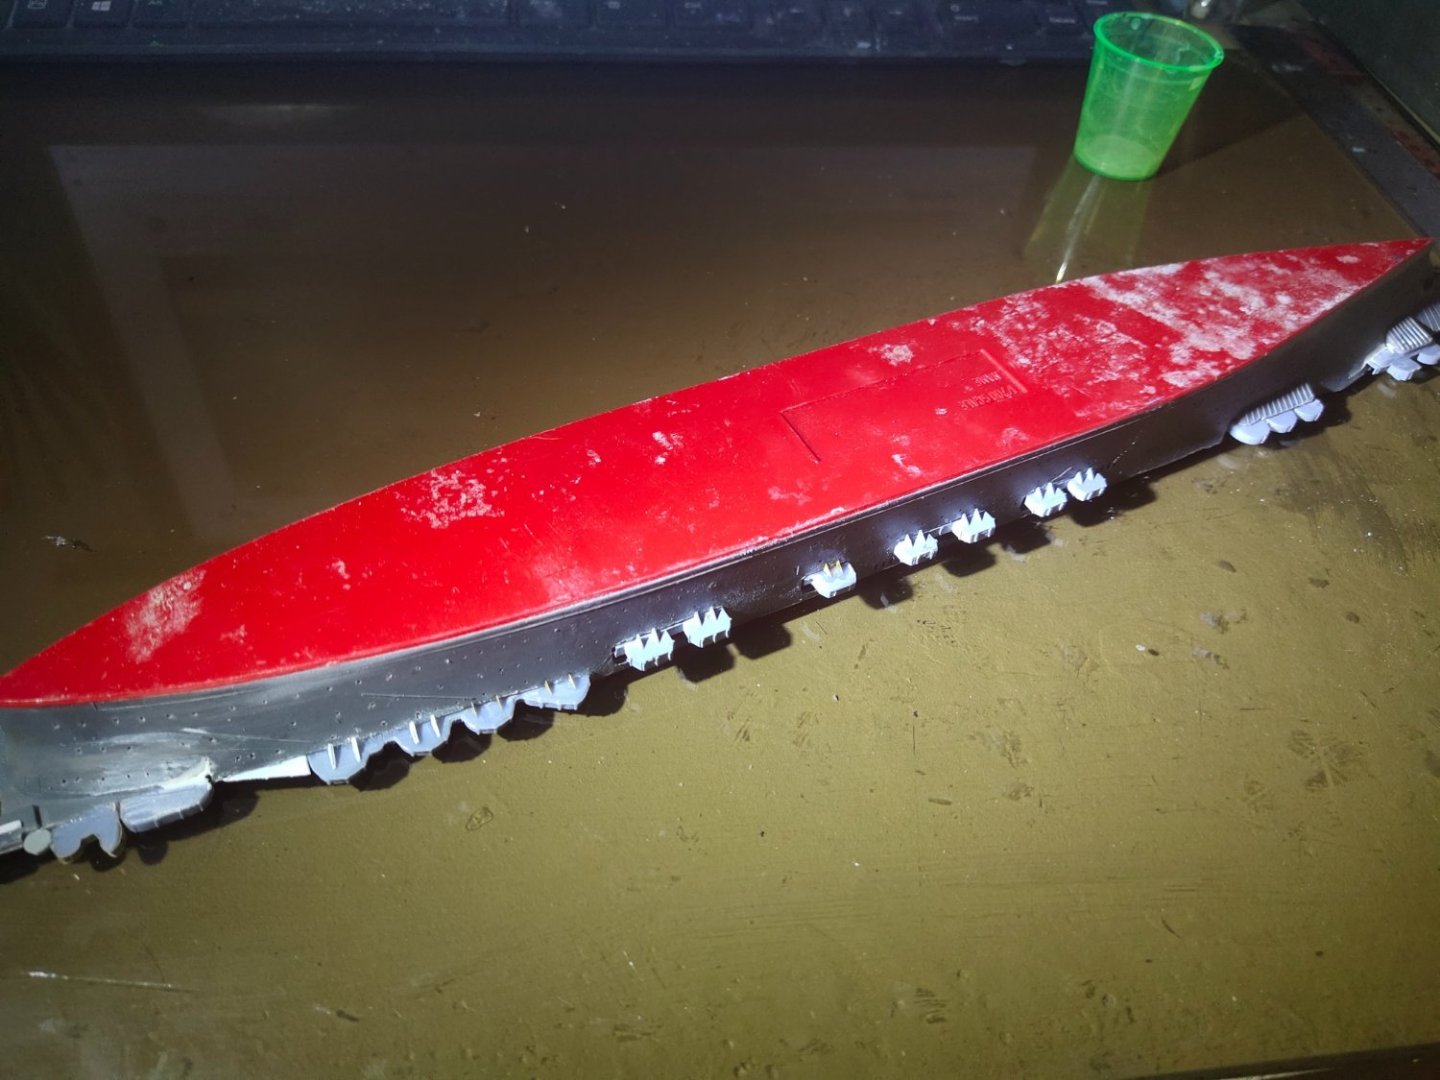
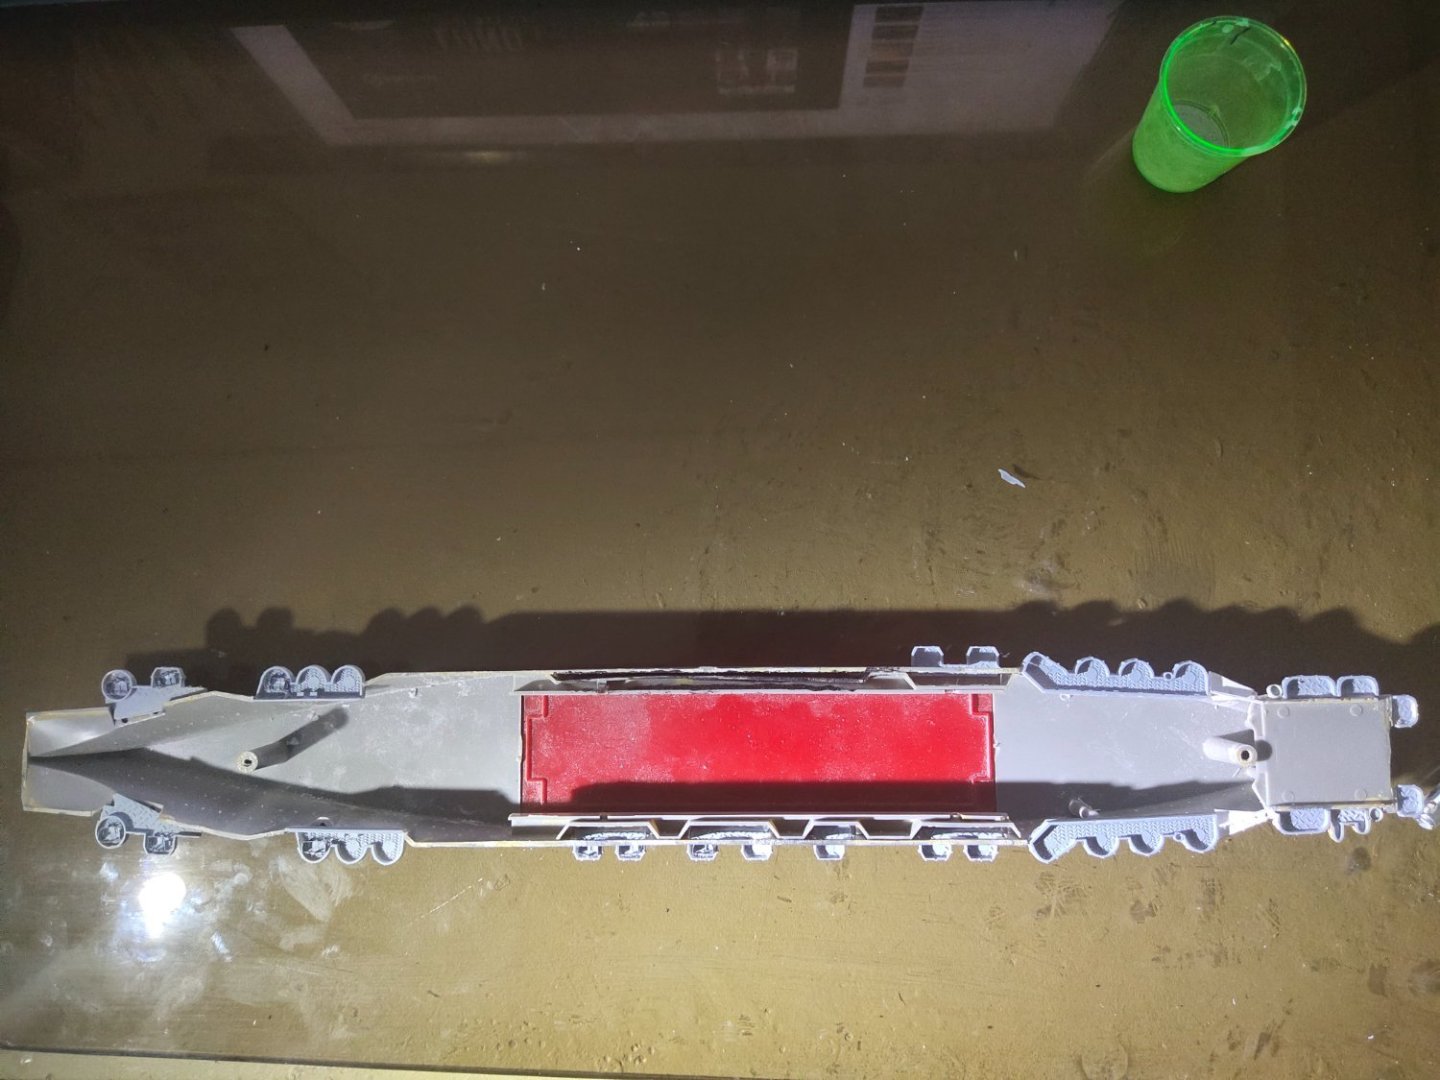
After a lot testing and fittings Im done with the gun platforms. The rear platforms both sides came as a single piece to complex and big to remove so I just delete them with rotary tools. Also the anti slip surface was designed better on scale you can see the difference comparing to smaller platforms. However I won't remove them as almost all area will be covered by 40mm guns. The improved Bofors are larger in size so platforms were designed bit wider so fitting problems occurred. I have installed only some bases for the 40s. I will fit the rest, the 5" guns, then the Bofor guns painted on hand. Next will be the hull painting/weathering before deck installation. For some inspiration i use pictures as reference of another built by a Japanese modeler which was gifted to the president of Tamiya although this looks to be a later modified version
-
I think "I love kit" hood is also a good choice and without the overscale effect of flyhawk model. Plus the flyhawk PE are terribly soft to work with
-
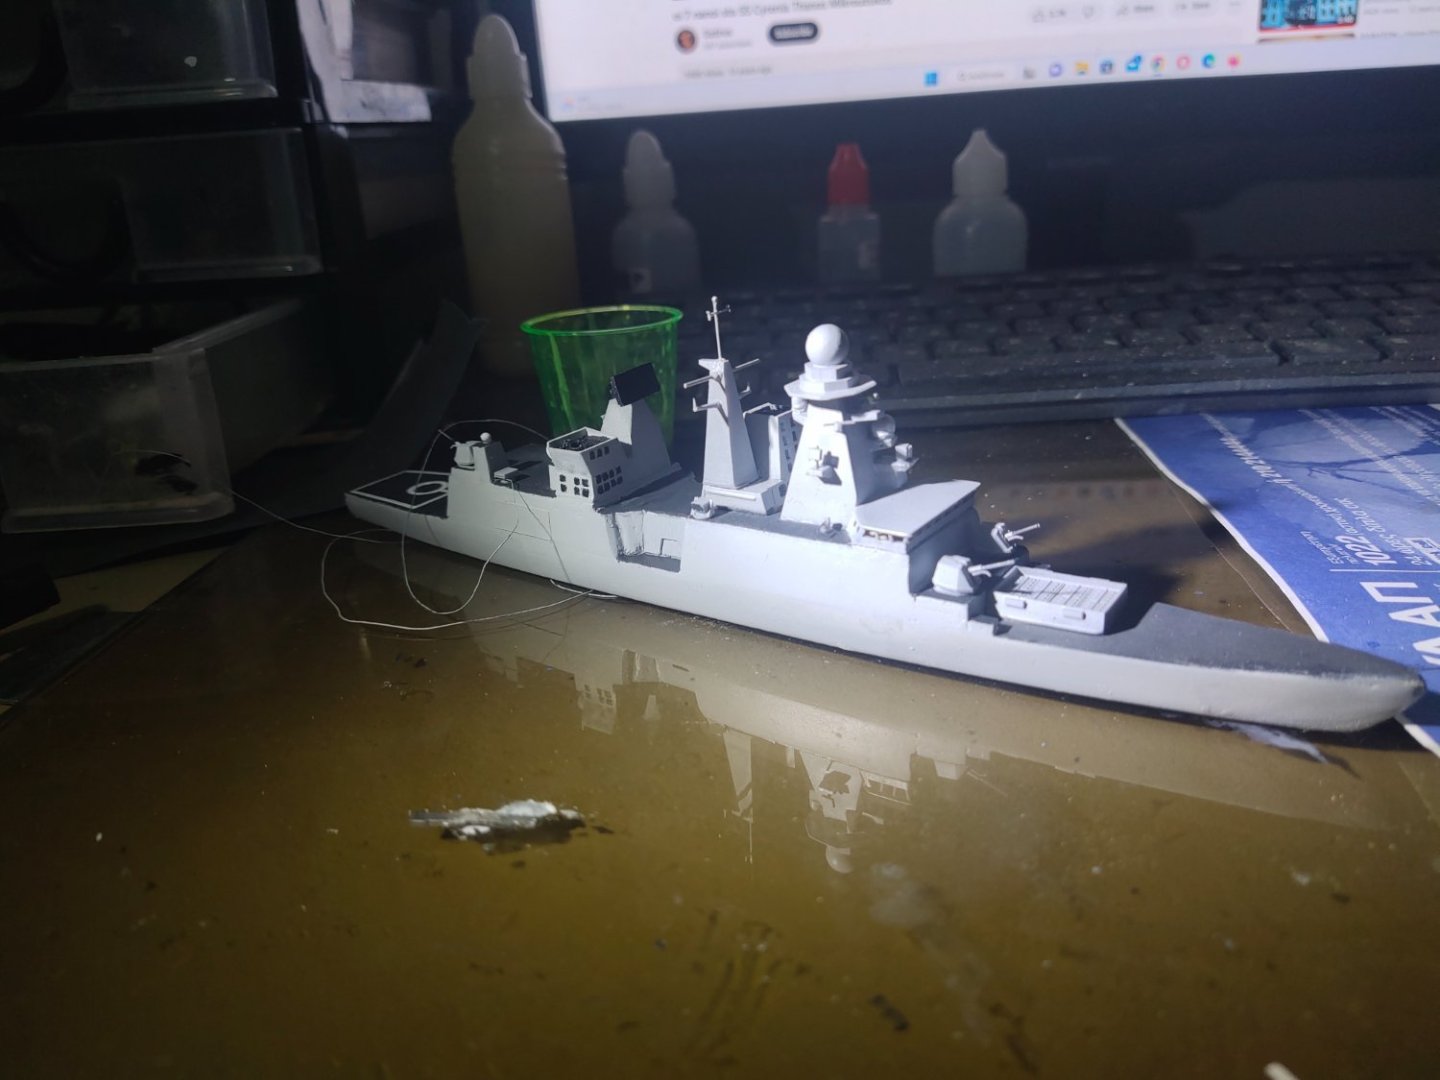
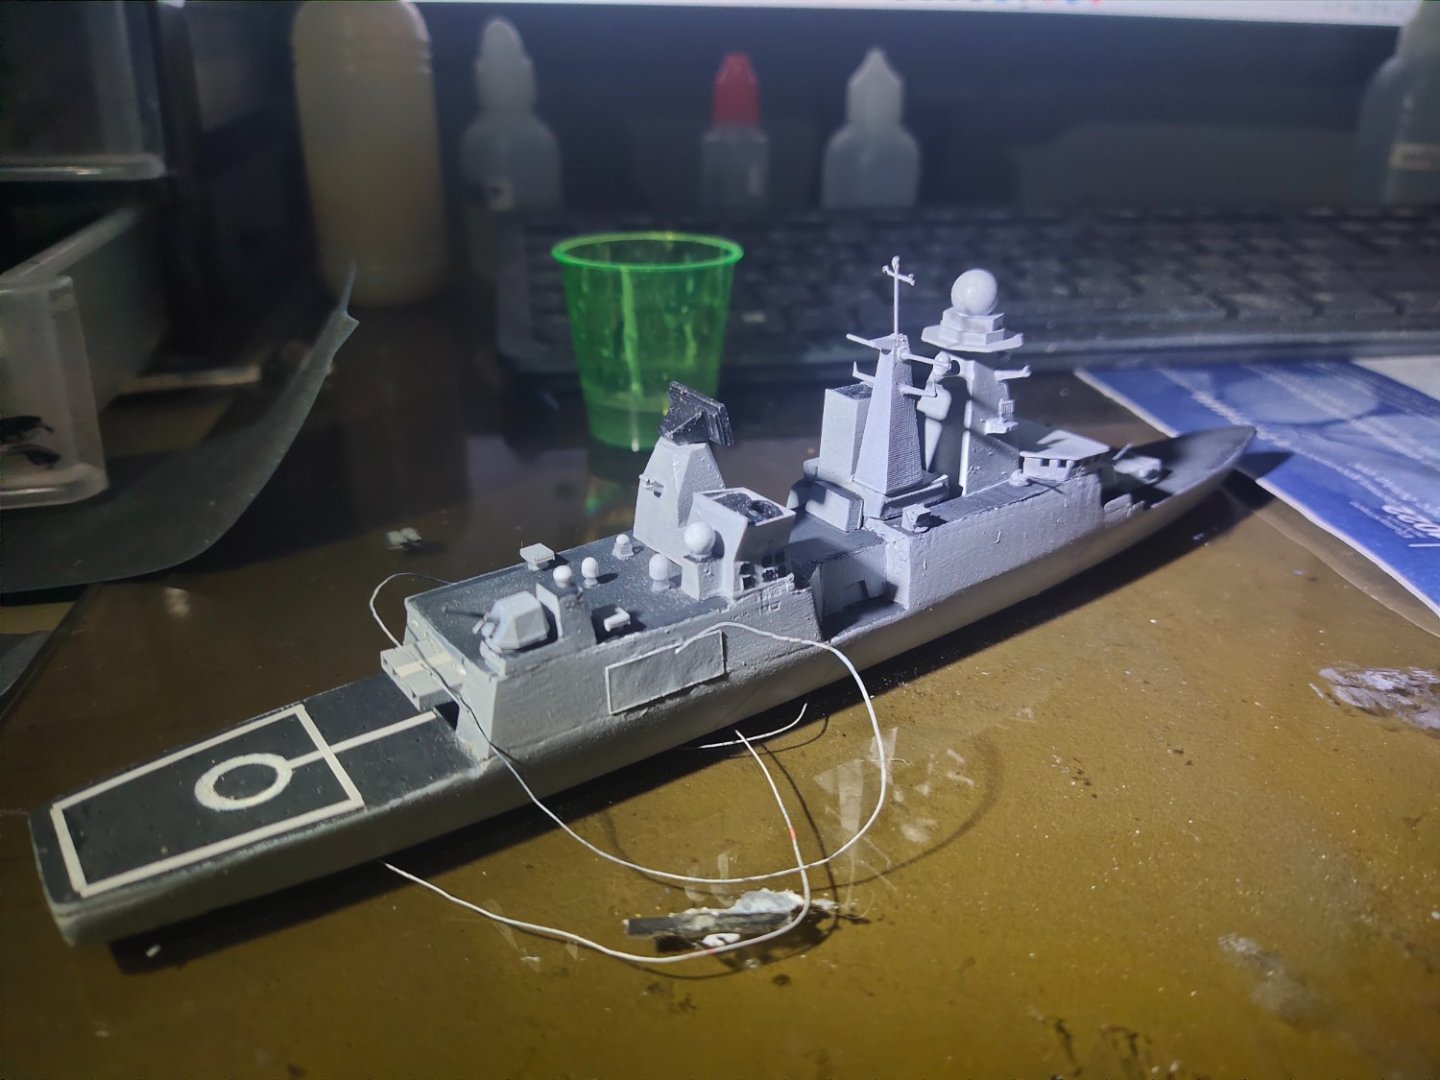
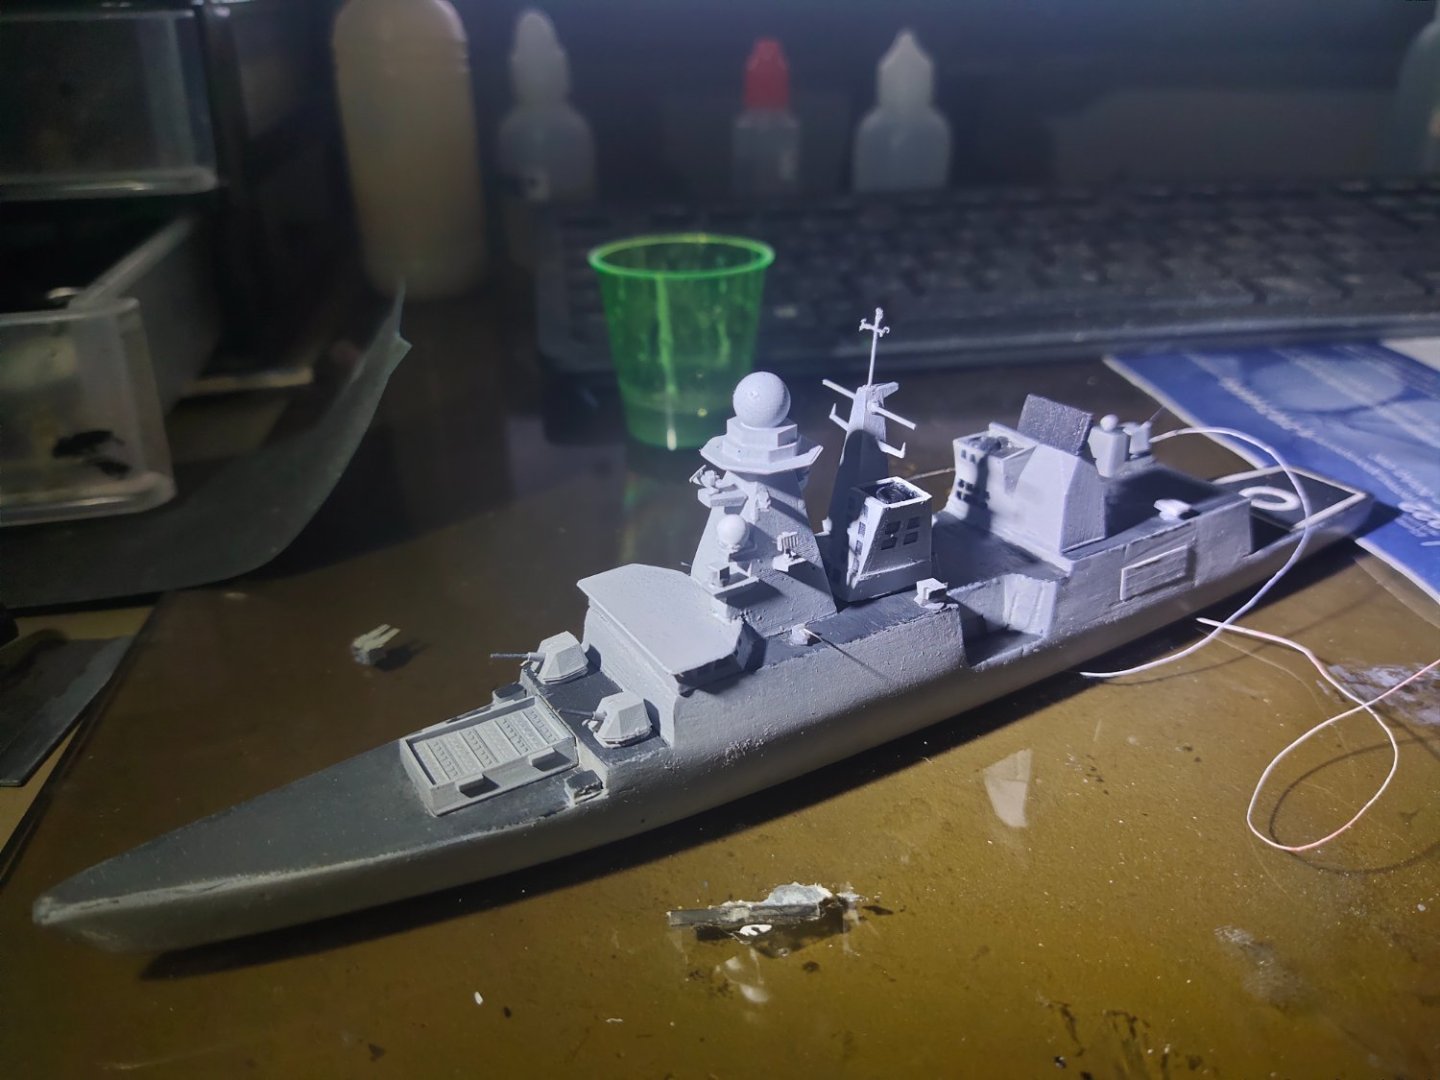
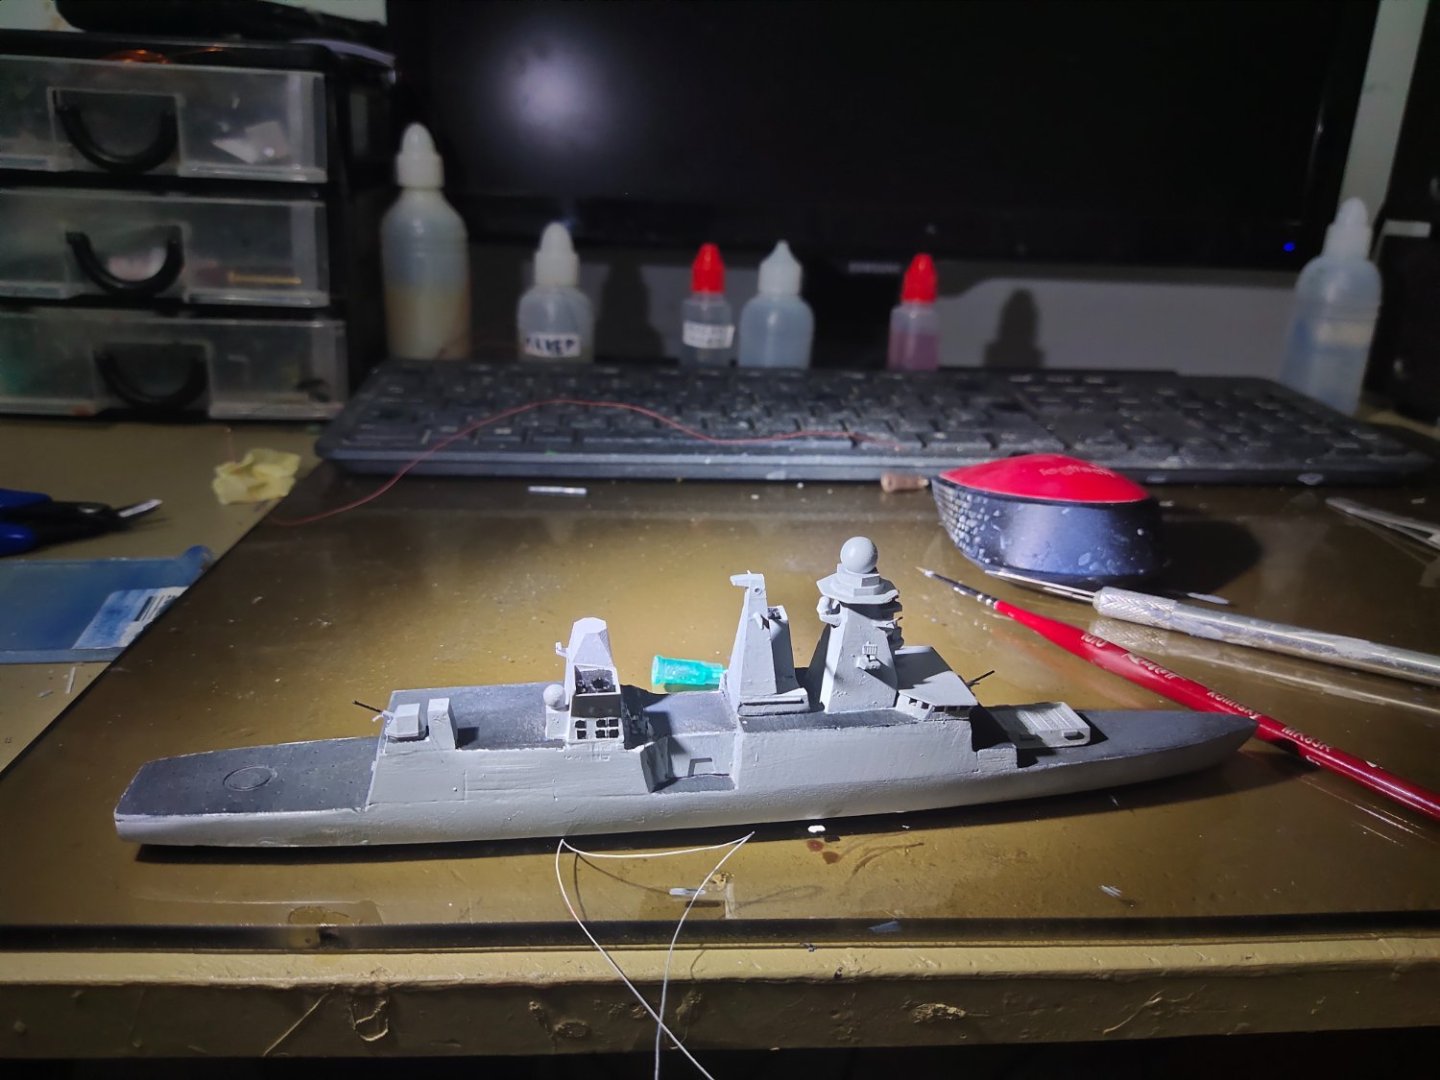
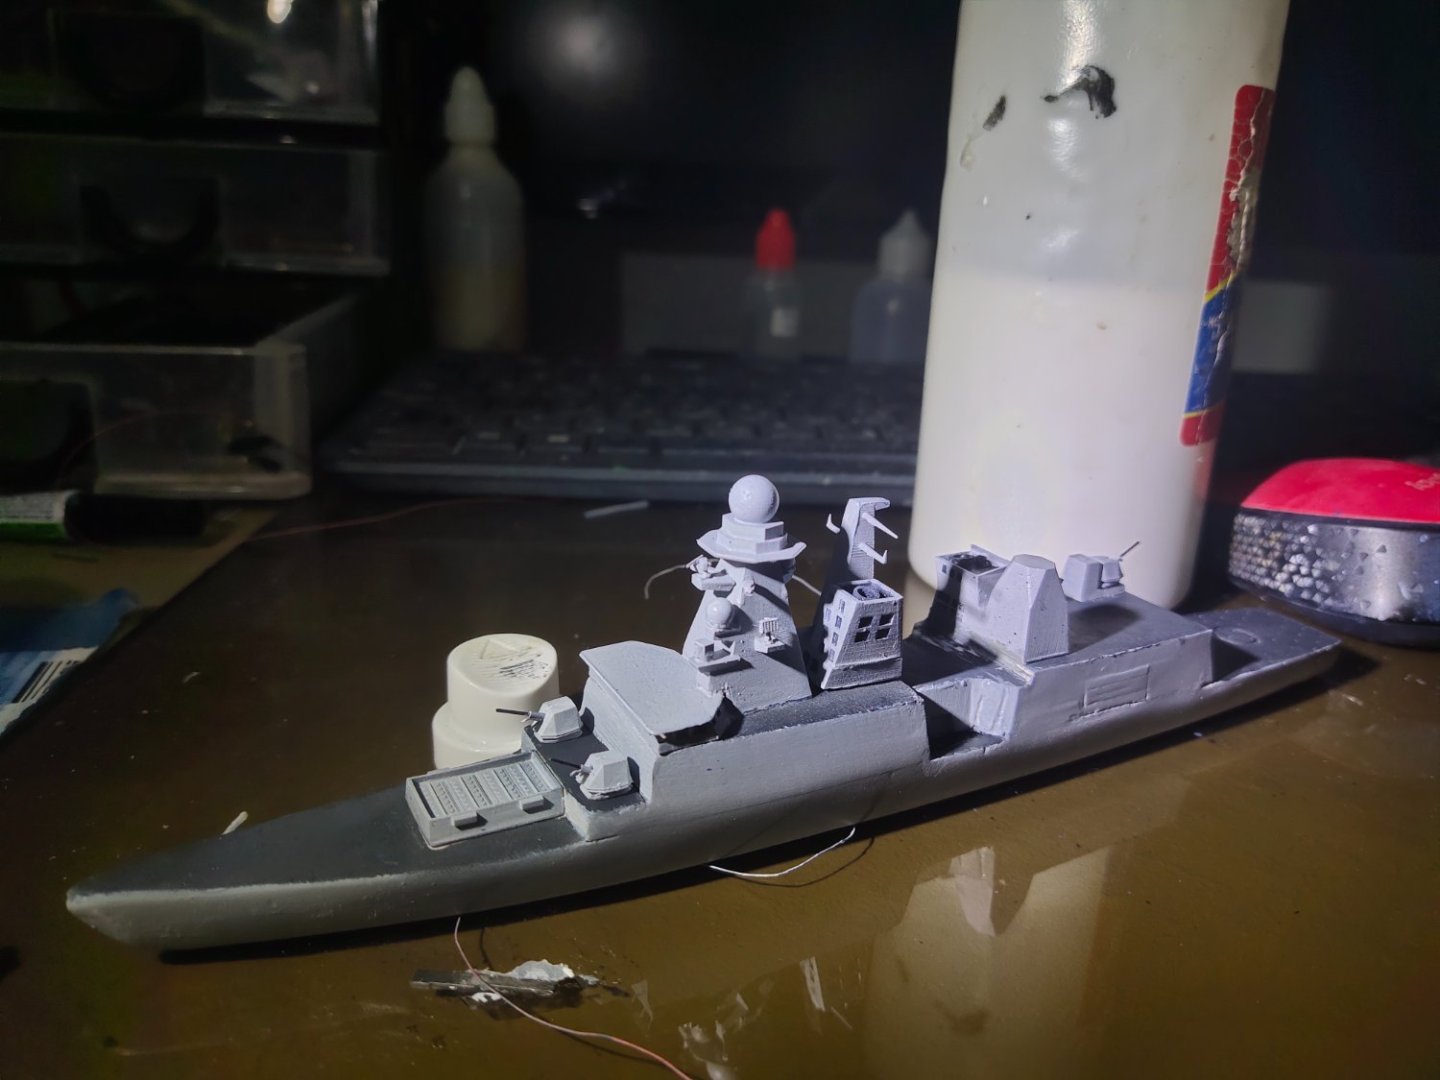
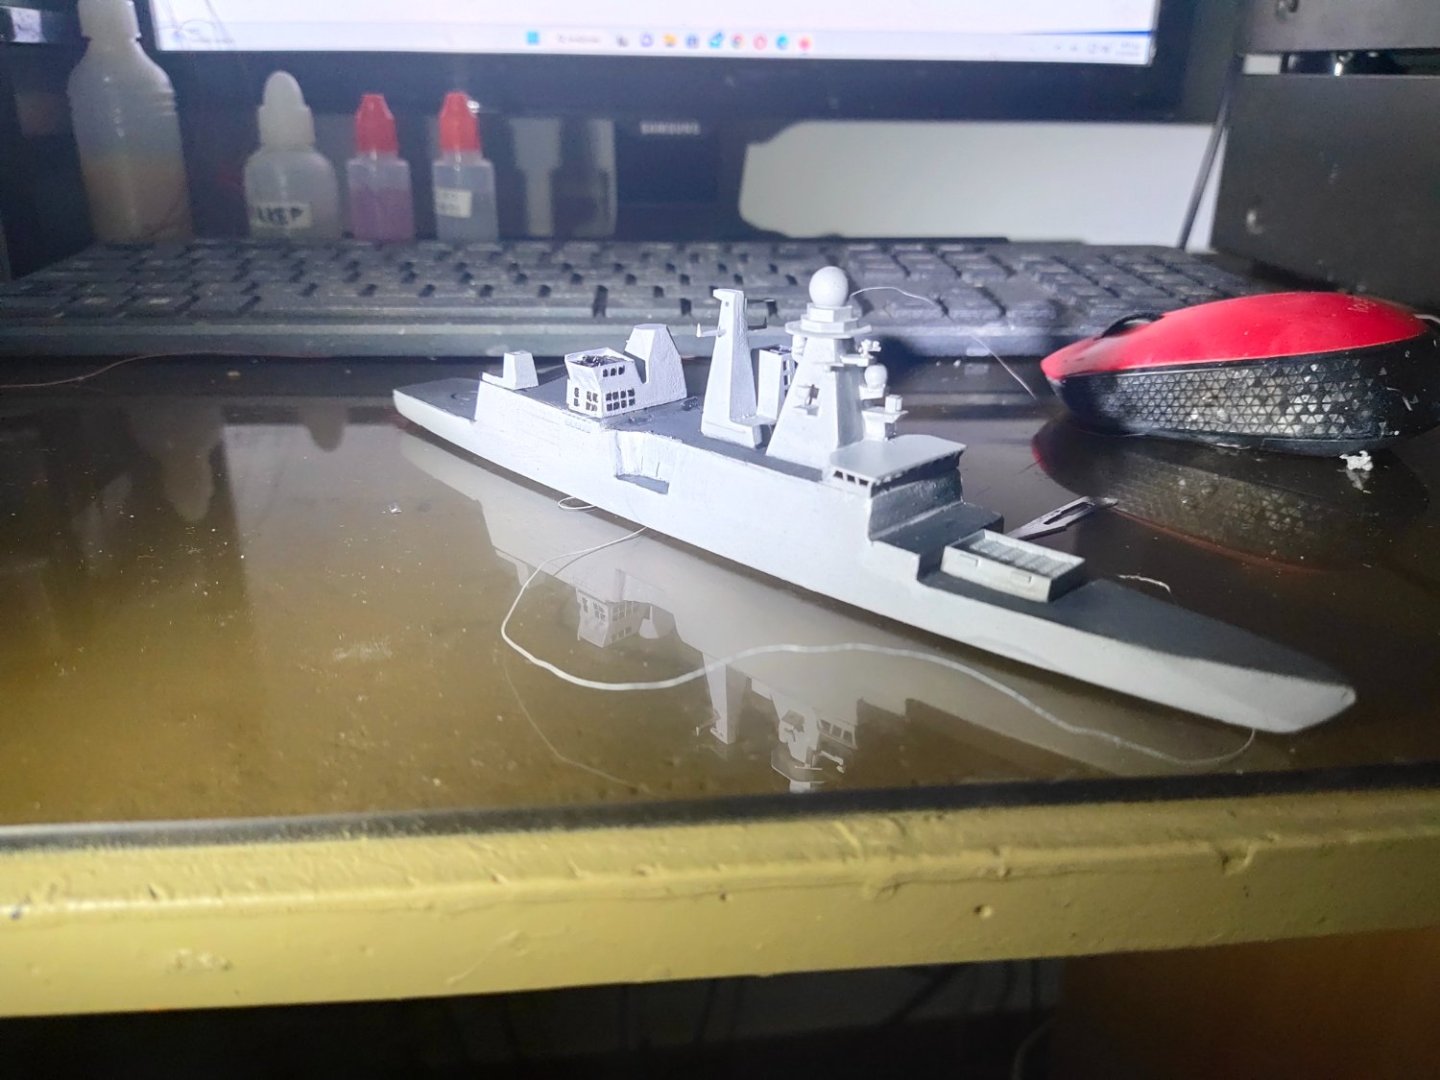
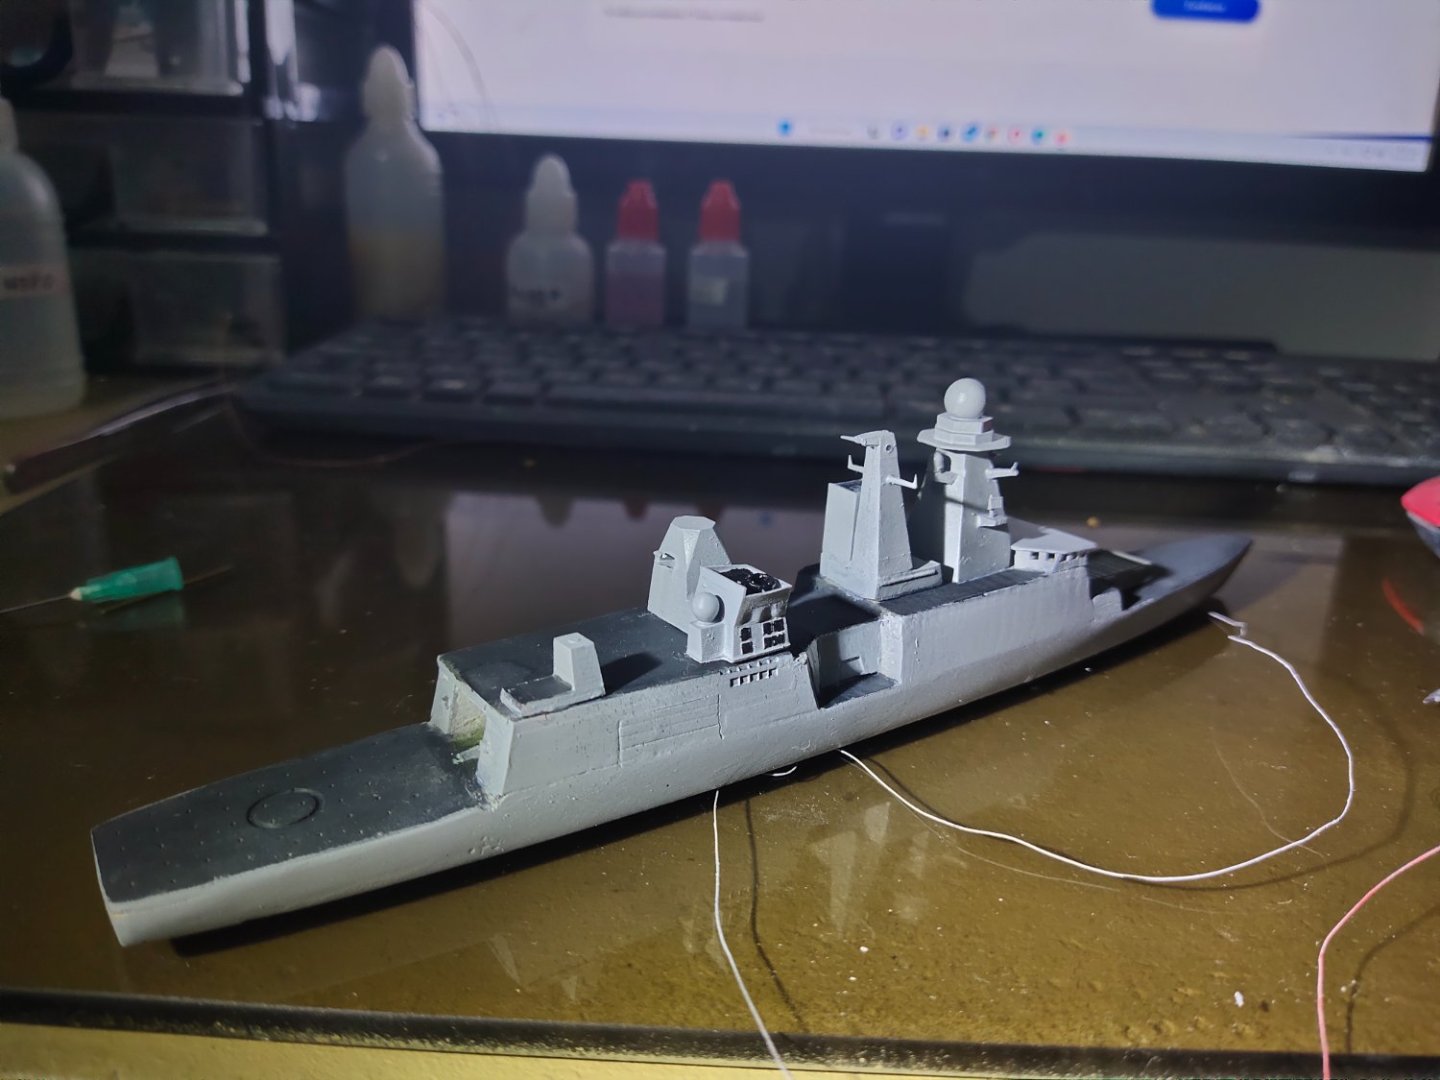
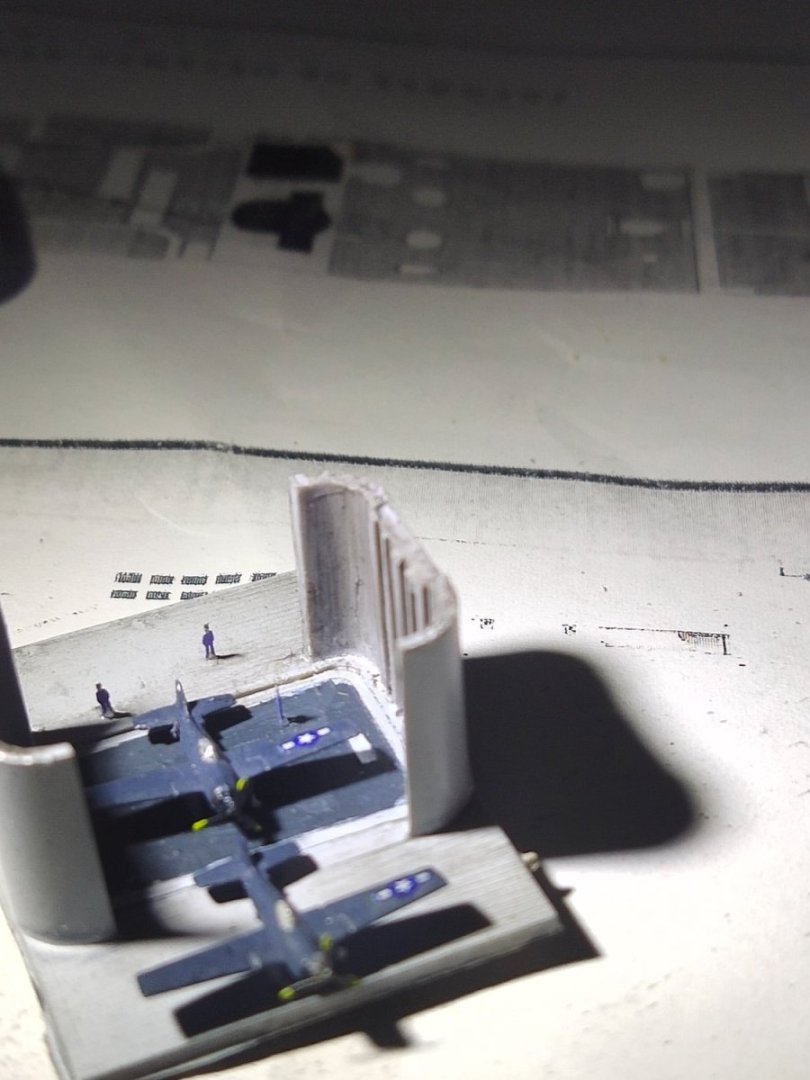
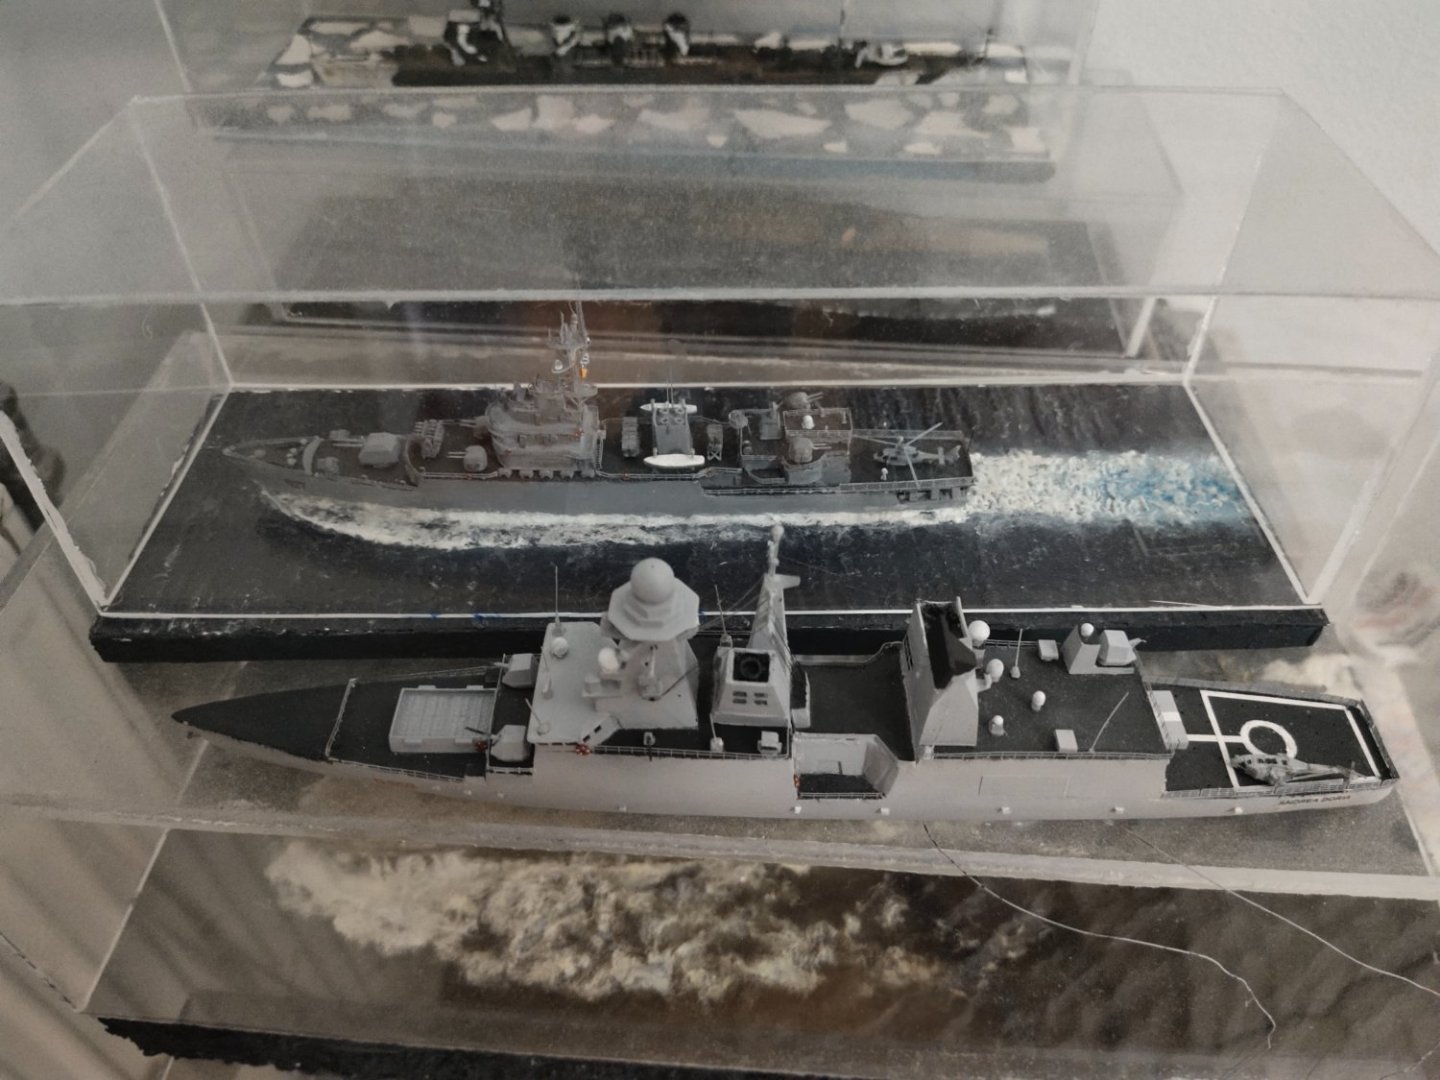
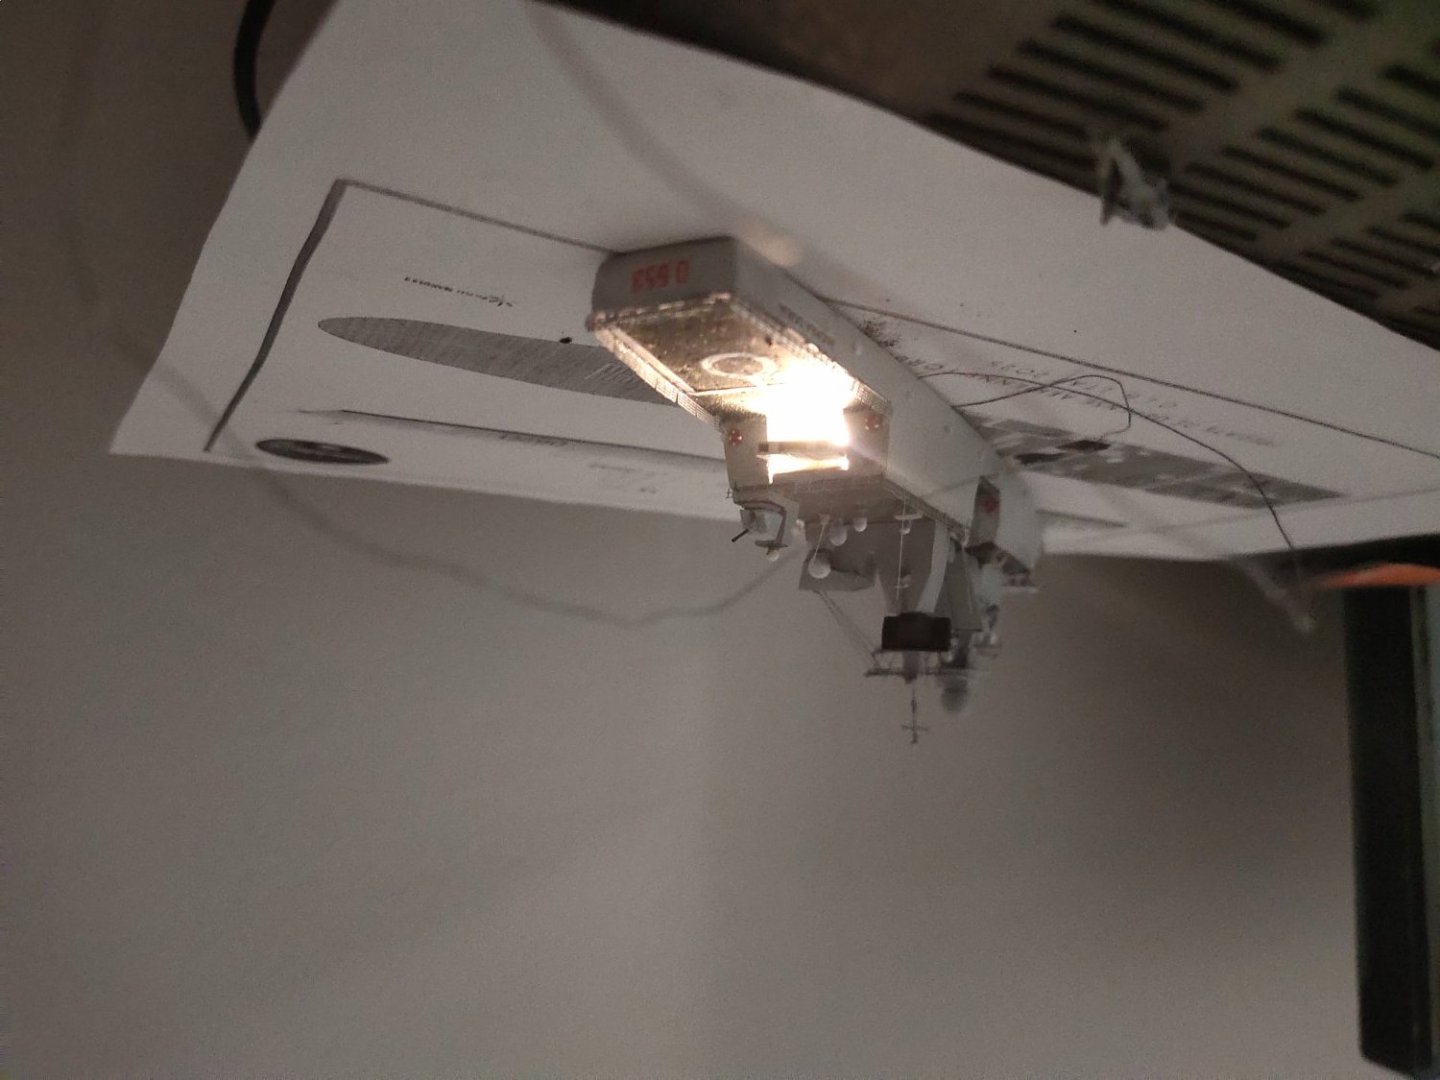
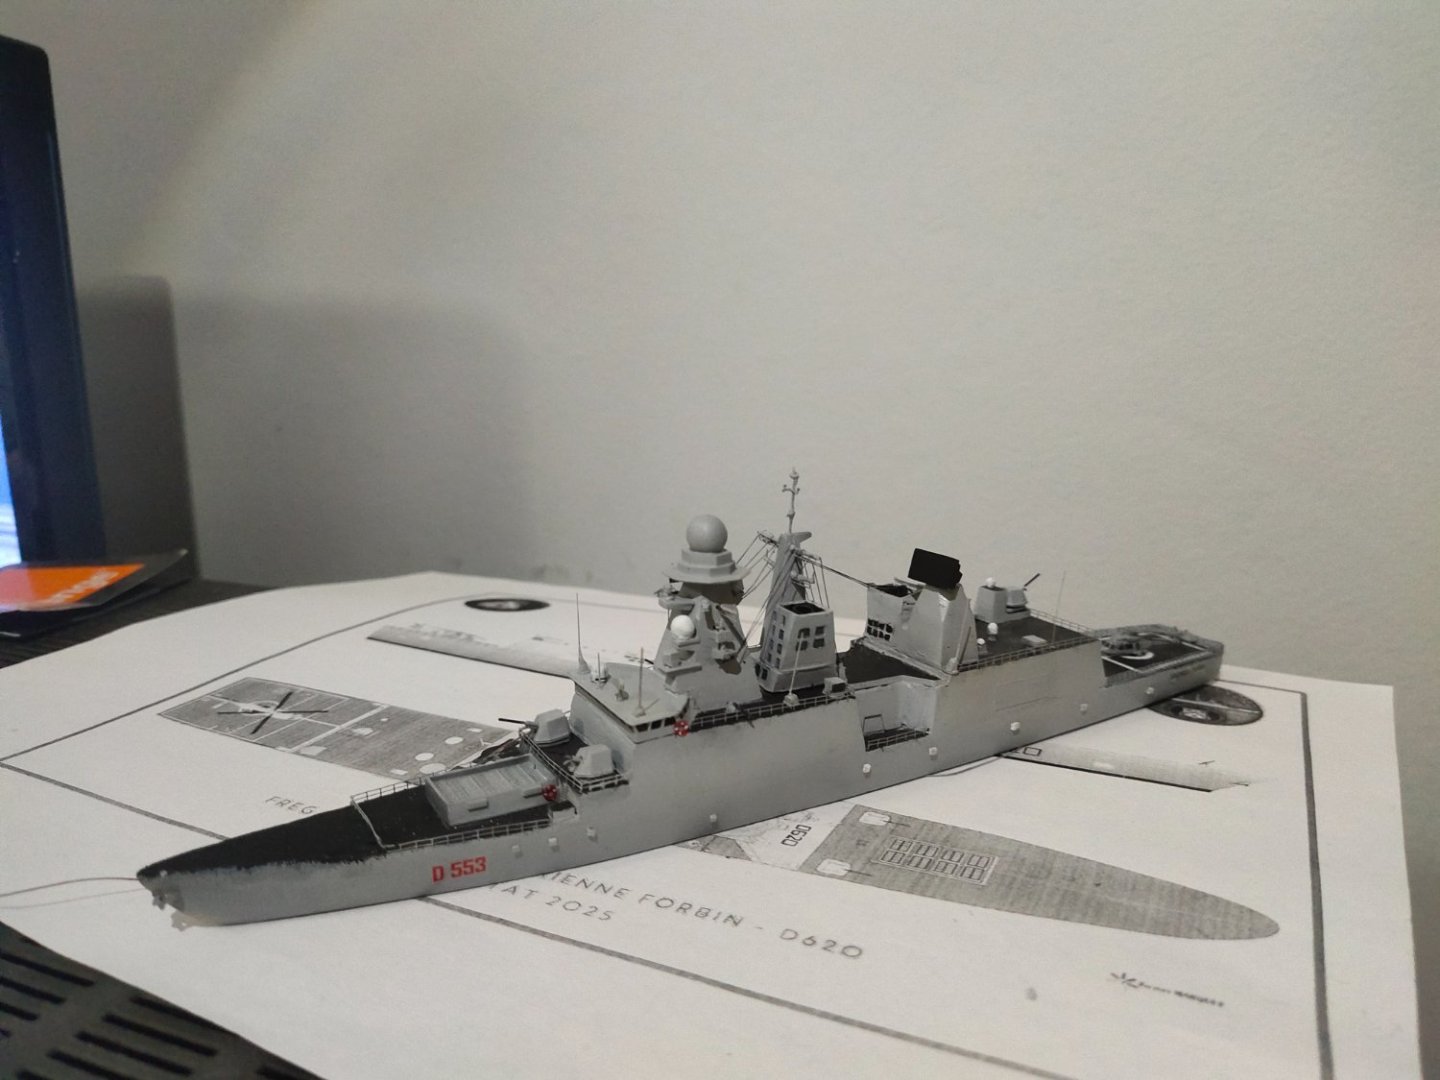
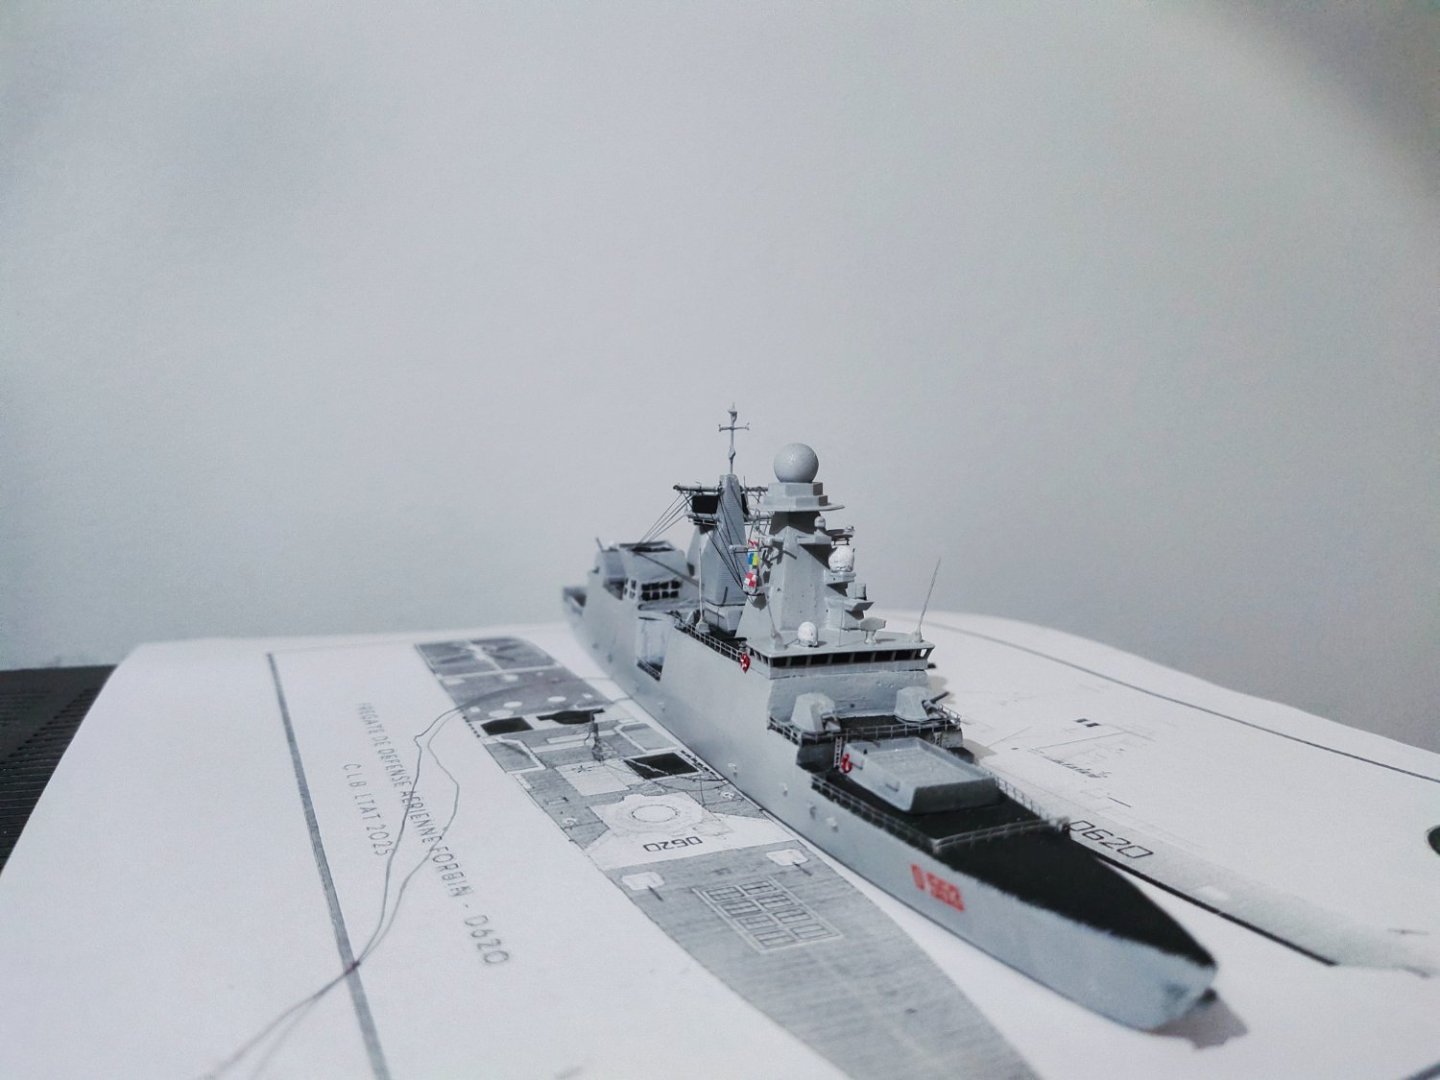
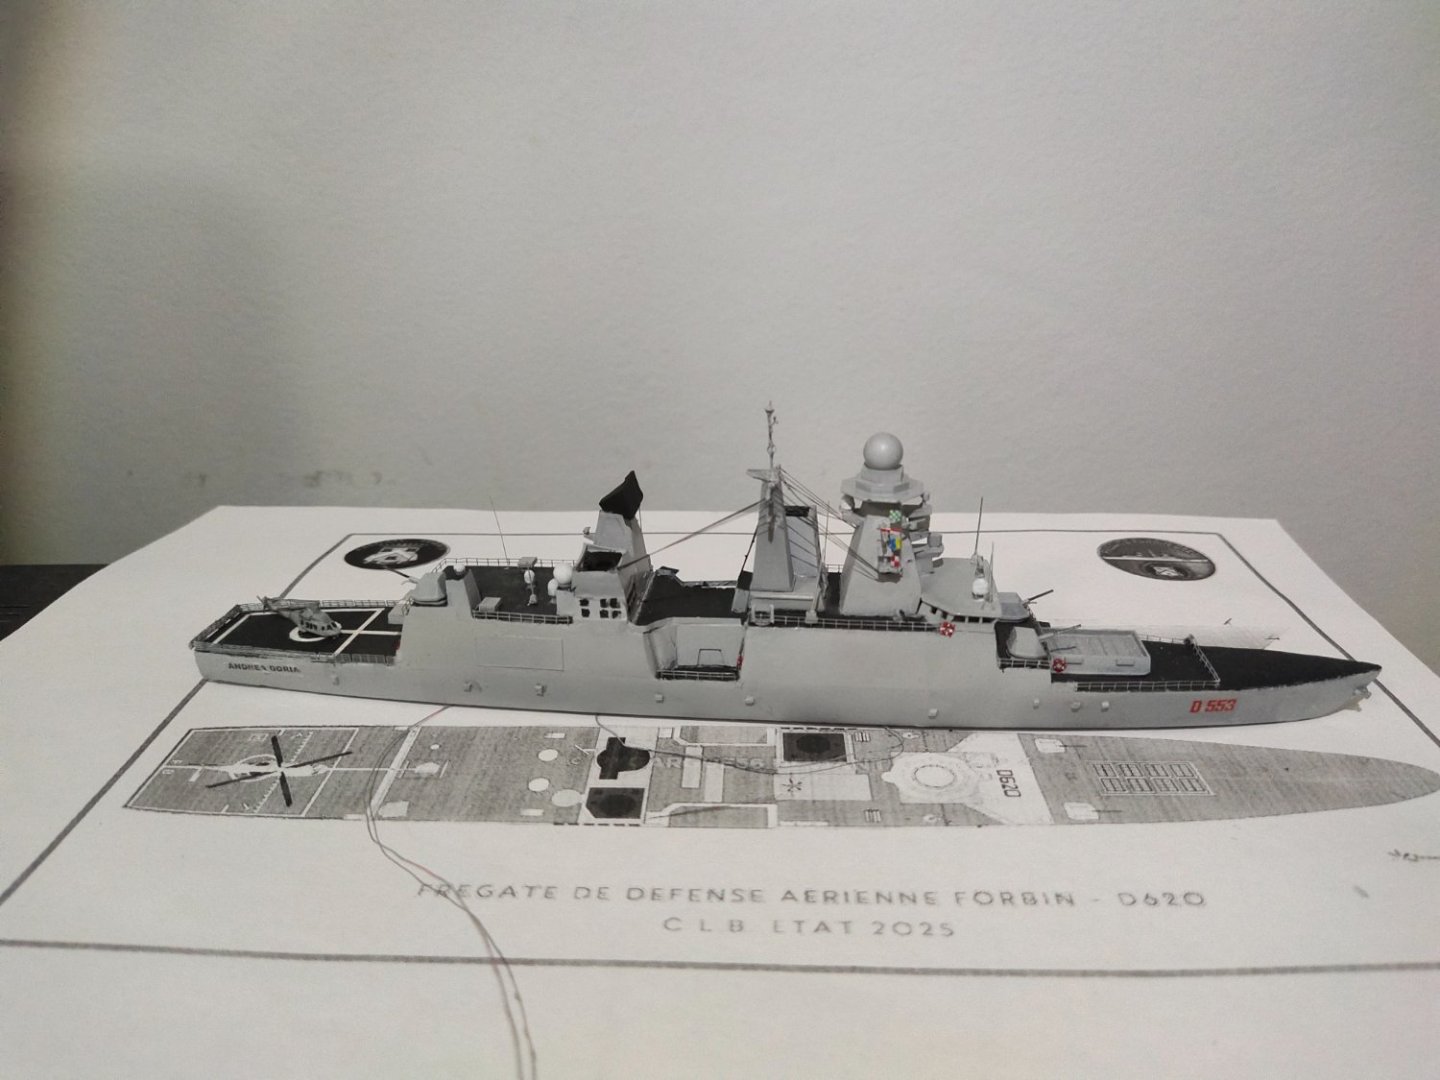
Long time after update but progress didn't stop. I managed to add final details, correct bow shape and more. I'm satisfied with the result except the painting and decals on the heli deck which proved wrongly calculated. A helicopter was added to cover a part of it instead or reworking on it. Its also my first attempt to built a detailed open hangar with light, I won't make a sea base for this instead a dock layout with her sister Type 45 is planned as a future built, so I can demonstrate the differences of these vessels.
- 10 replies
-
- finished
- Horizon-class
-
(and 1 more)
Tagged with:
-
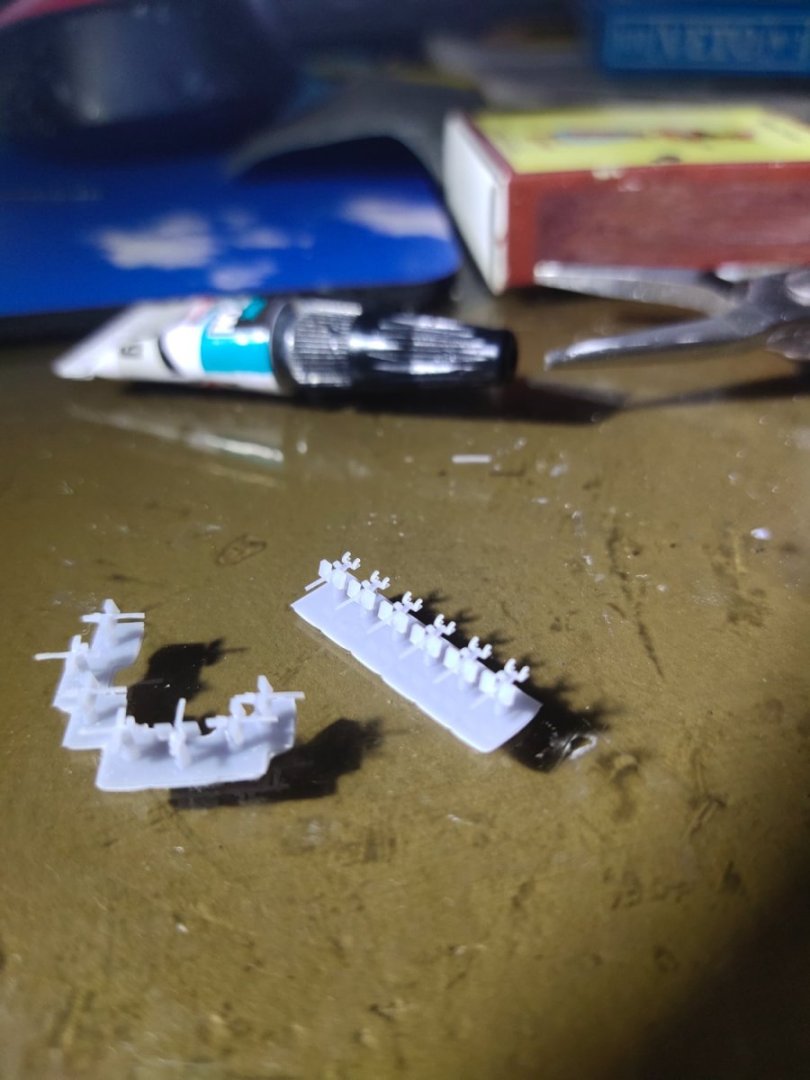
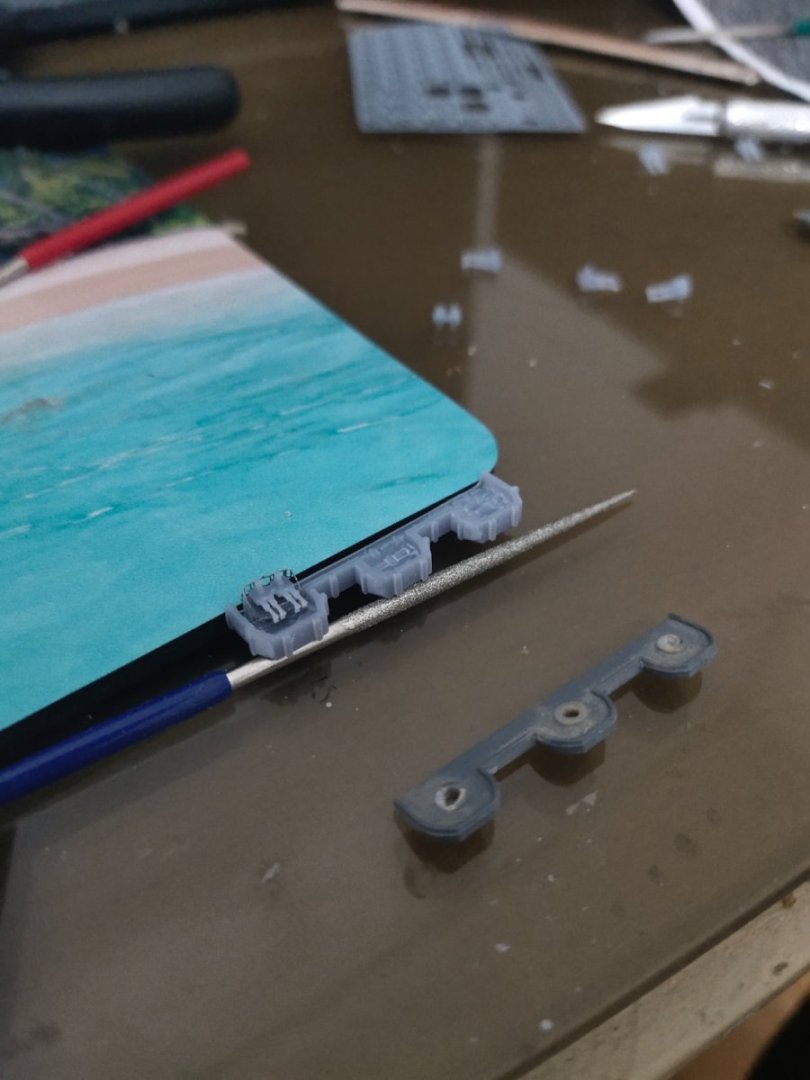
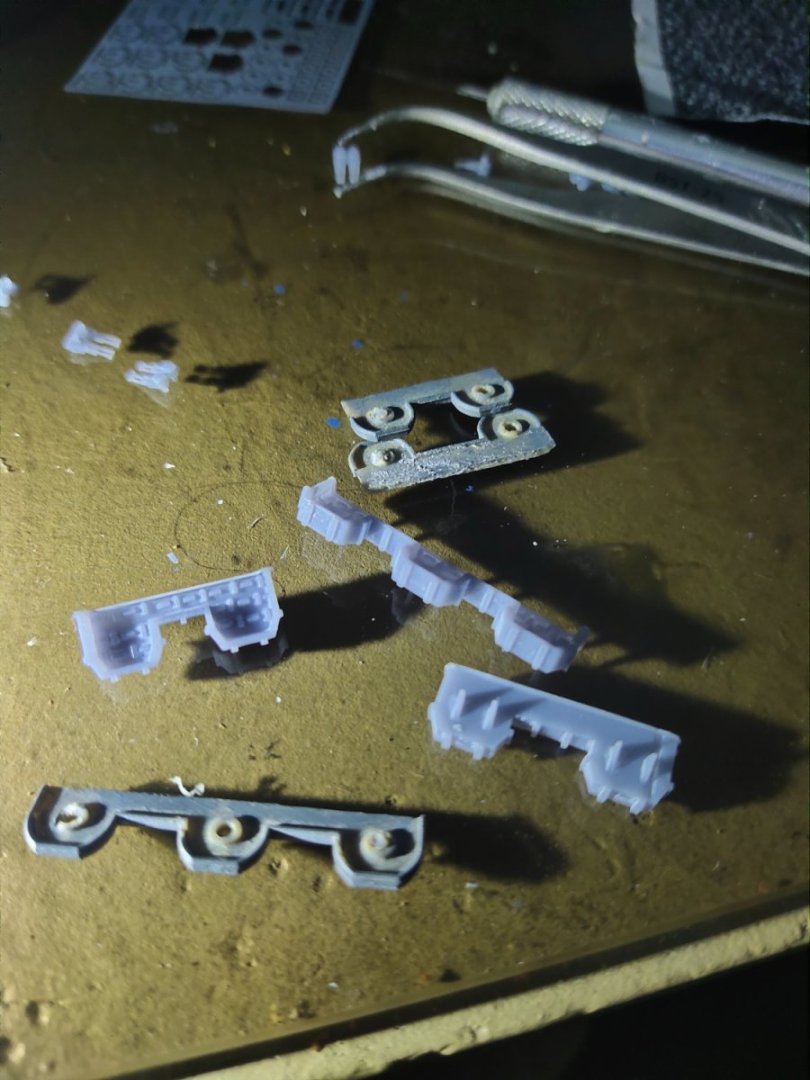
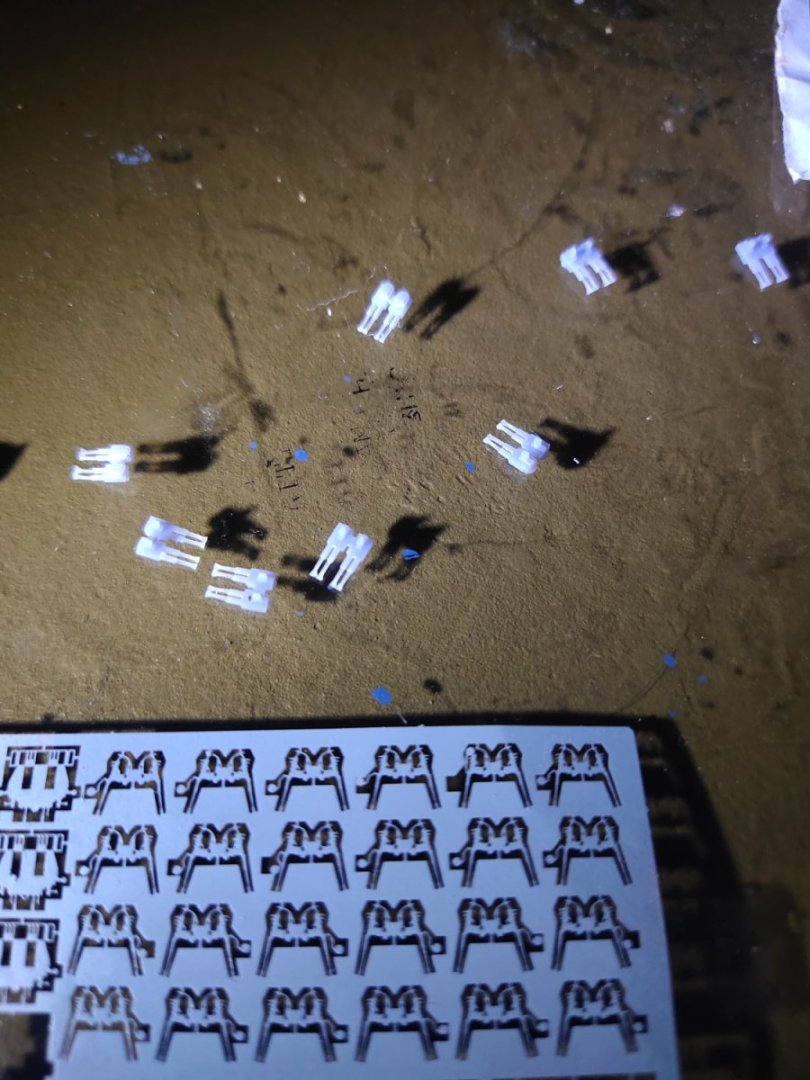
After some adventure managed to fix my 3d printer and get back to work. I designed and made some gun platforms. Added some anti slide surface(bit over scale) and raised shields. Look quite better than plastic ones. Though can be improved a bit. For 40mm AA guns i had some PE but these in our days are look too thin. So I decided to print my ones and use with PE. Resin+PE is the way to go In many cases. I only had to cut the pe splitters as the resin barells were thicker and could fit in the gun platform. They are not as good as the aftermarket ones but definitely an improvement over the plastic ones. And I can make as much as I want.
-
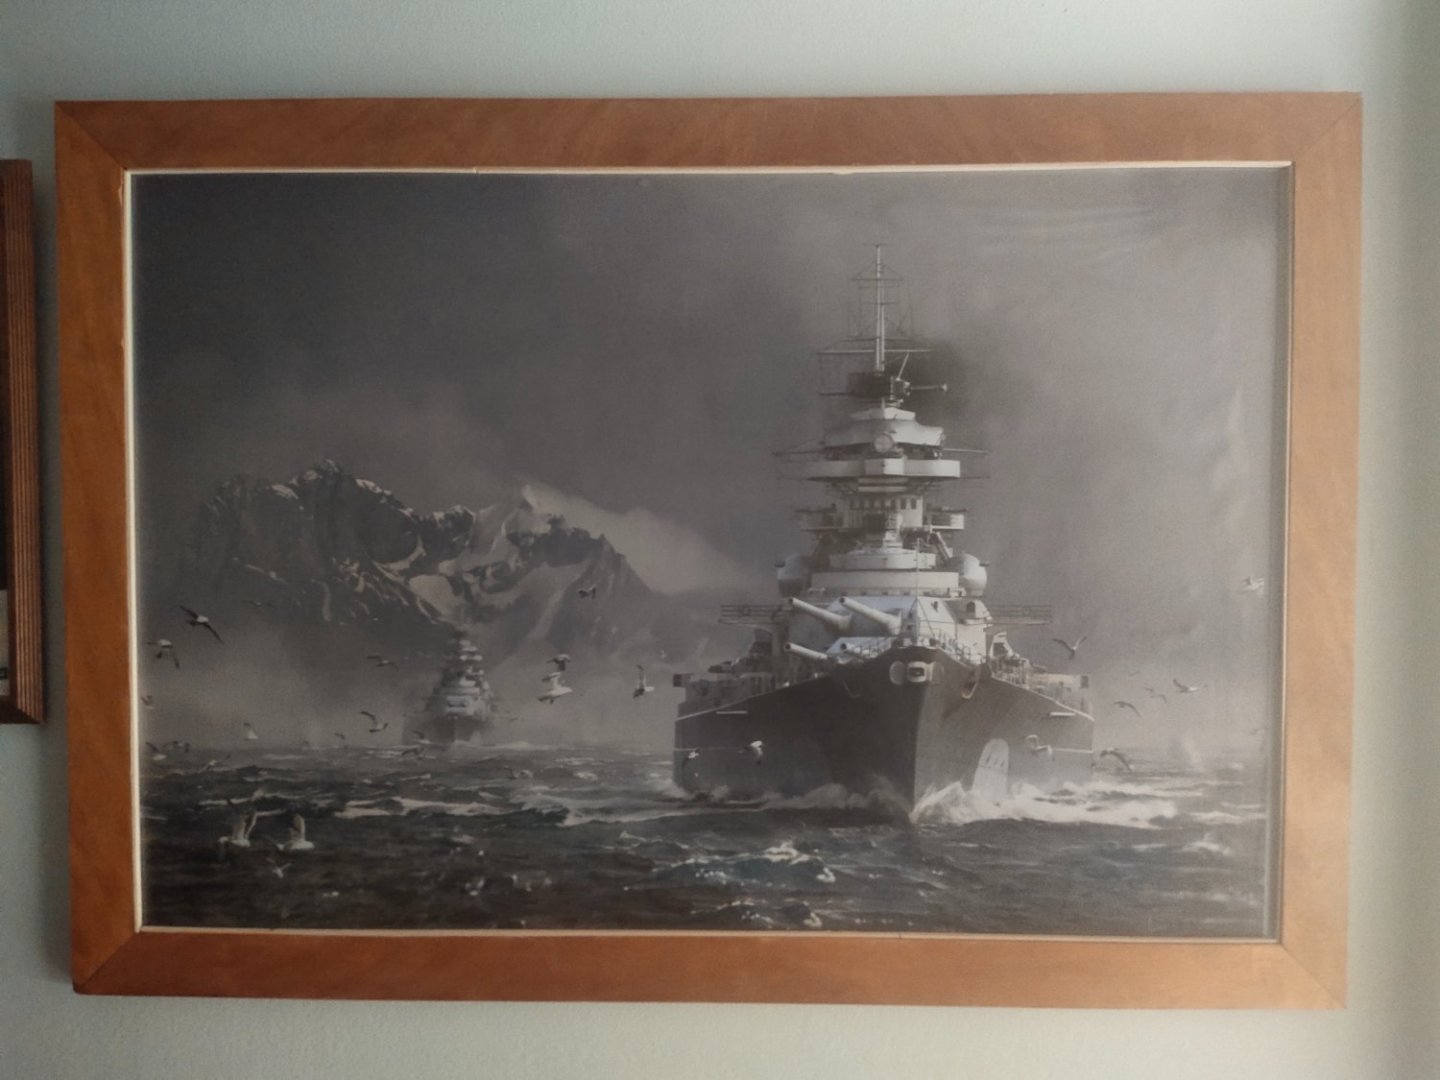
this is the real picture from the kit that is on sale from a private owner. It says complete kit and the price is 120 euros. Just wonder how Eduards PE for Trumpeter will fit. I Also may use my 3d printer to replace some parts. by the way i cant figure out about the hull, is it ready or need to plank it
-
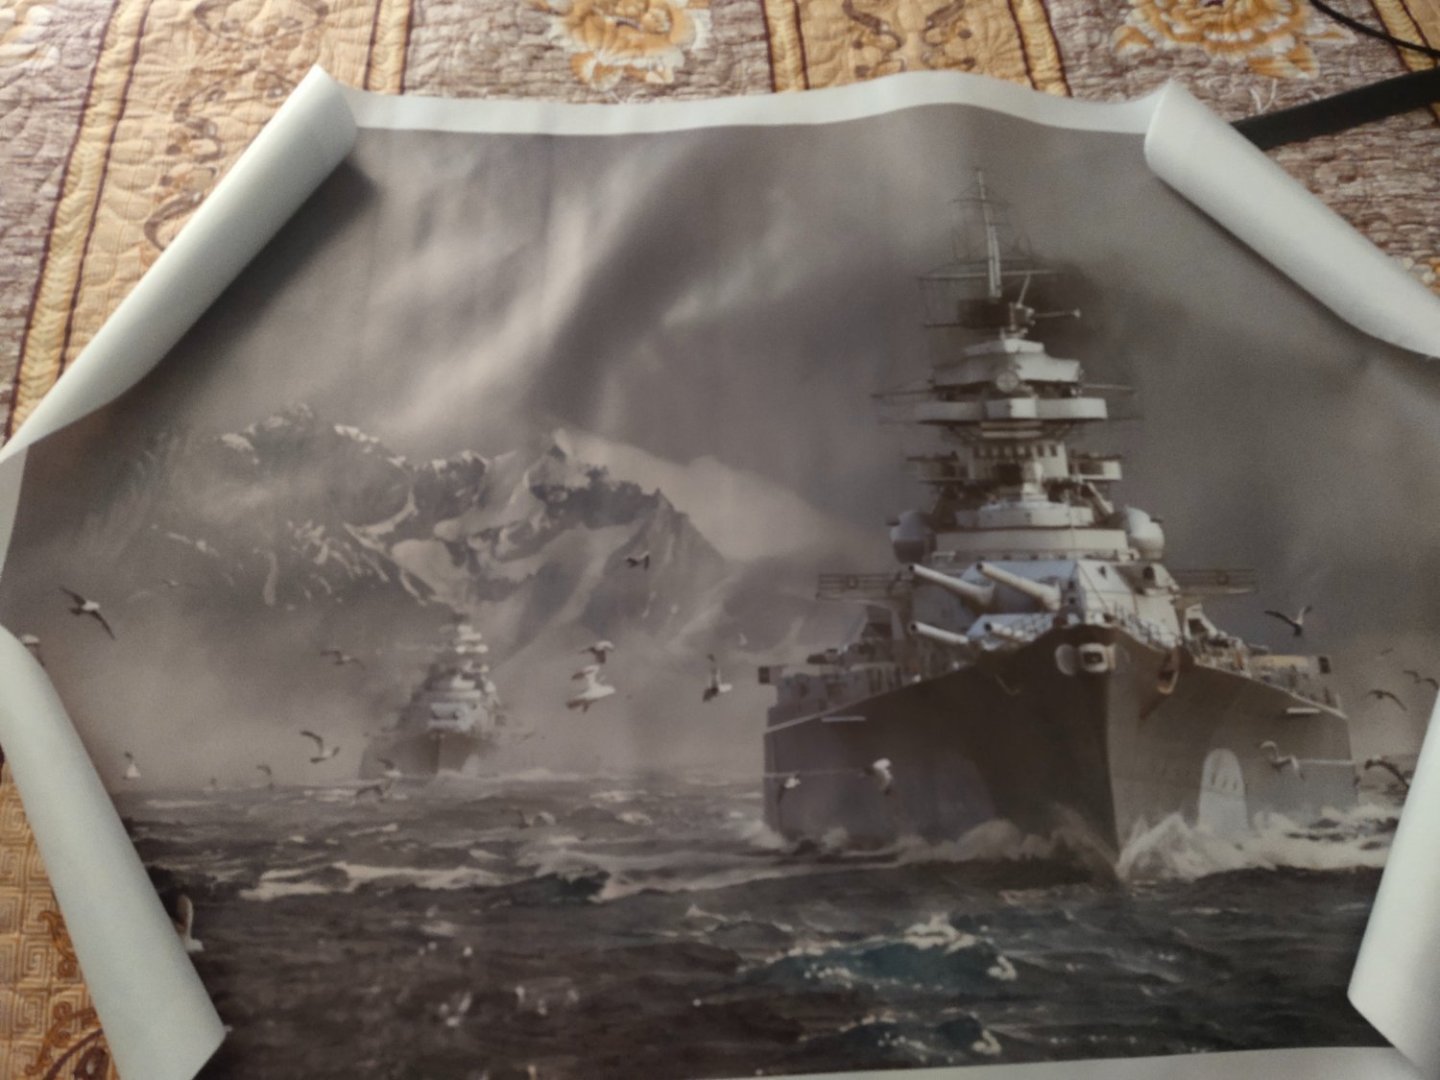
This looks like an old kit which can't compare with the newer model.from Trumpeter However I found it on a quite interesting price and I just wonder if it can be upgraded with aftermarket parts so I can get a decent looking model https://aero-naut.de/produkt/bismarck-schlachtschiff/
-
i have used 3 different products to strengthen some balsa fillets. epoxy resin, fiberglass resin and wood hardener Epoxy resin and fiberglass gave some limited positive results. The wood hardener, im not sure. All i know is that its smell was vey similar to a nitro thinner. Basic difference was the price hardener 10$ per liter while thinner cost 4$. So basically was a waste of money. In short, i haven't come up with a solution than satisfies me 100%
-
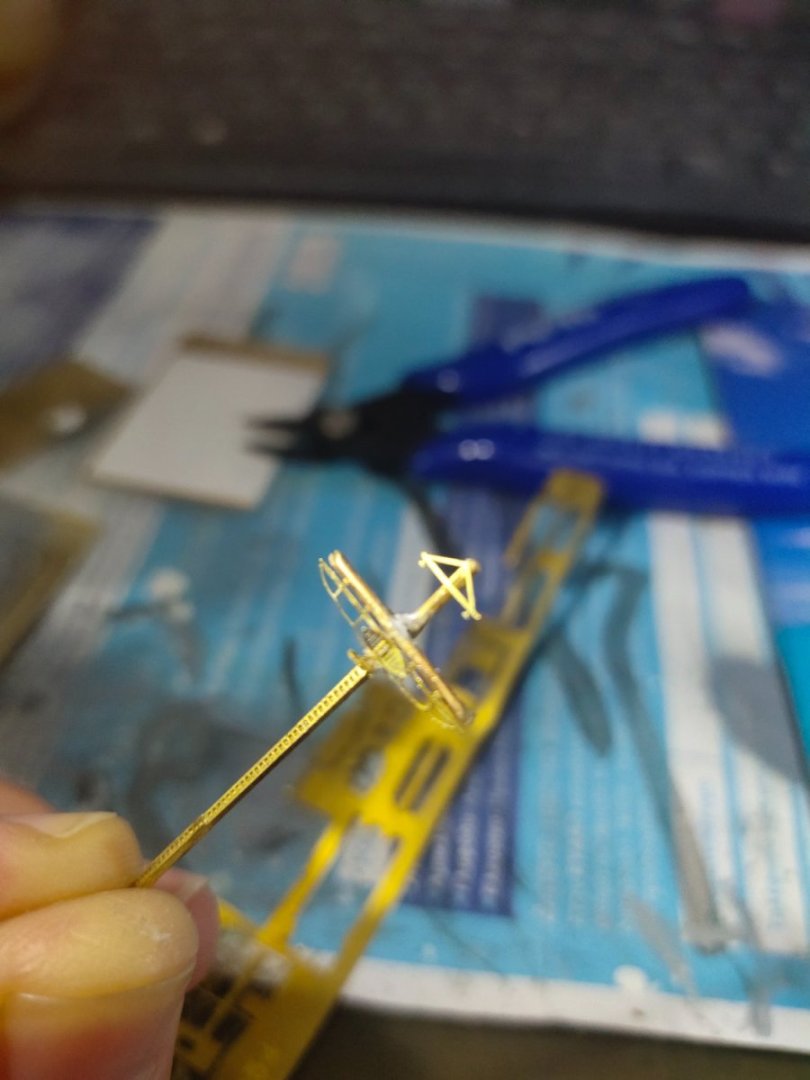
Some progress has been done. Added smaller parts like torpedo decoy launchers, ECM devices, hangar door, 25 mm guns, SMART-L radar, mast antenna and some satellite systems. Few details like handrails, liferings left before start railing and rigging.
- 10 replies
-
- finished
- Horizon-class
-
(and 1 more)
Tagged with:
-
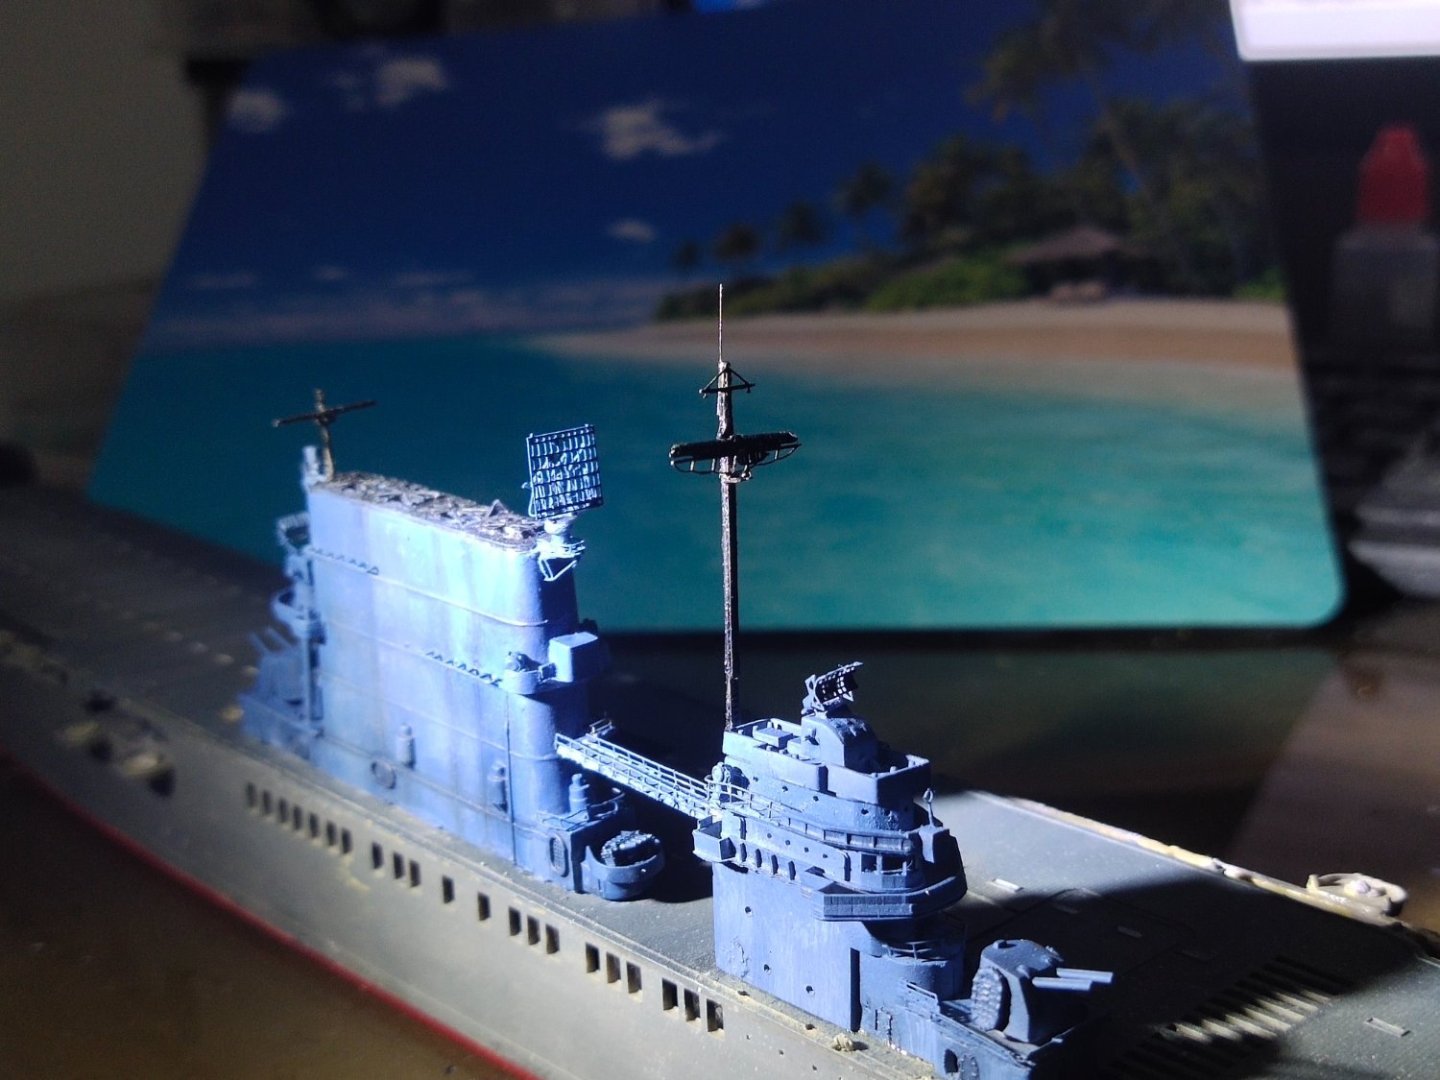
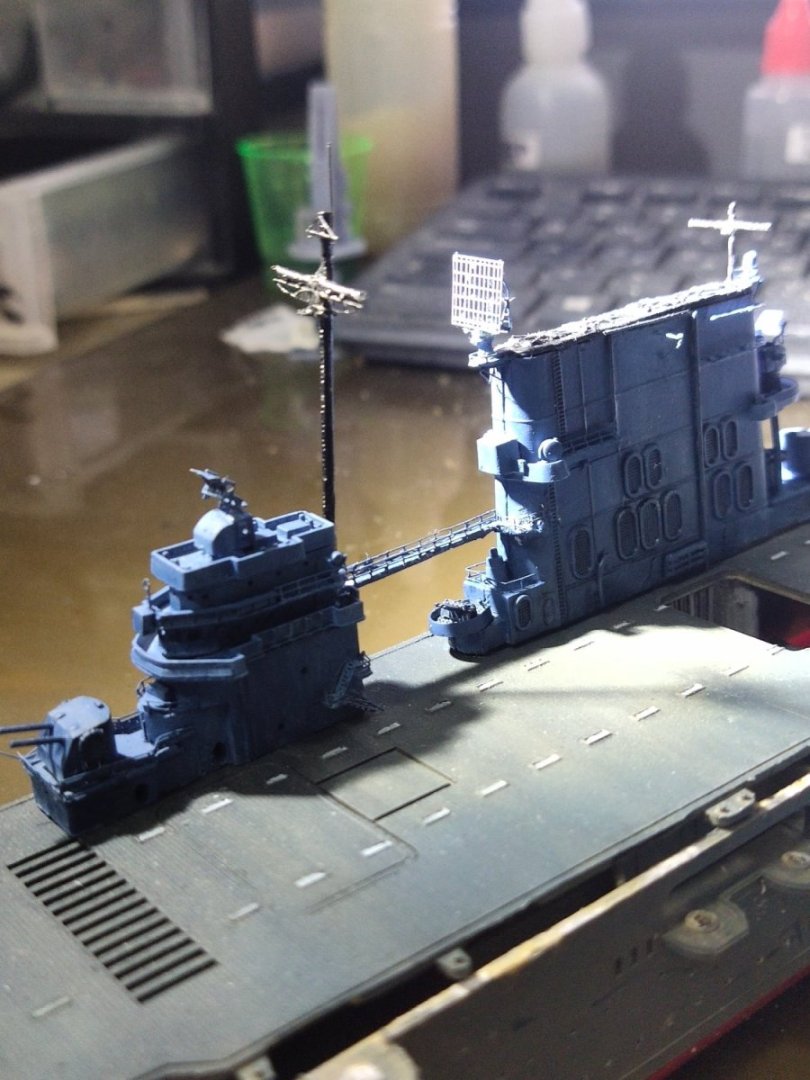
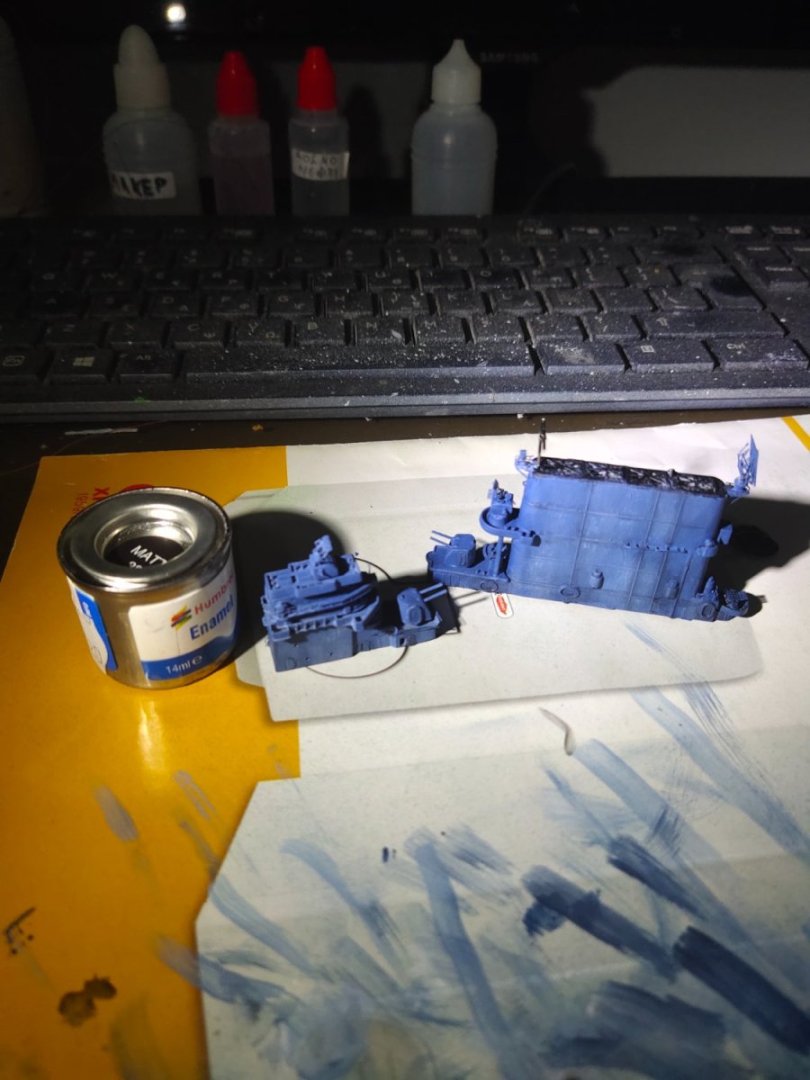
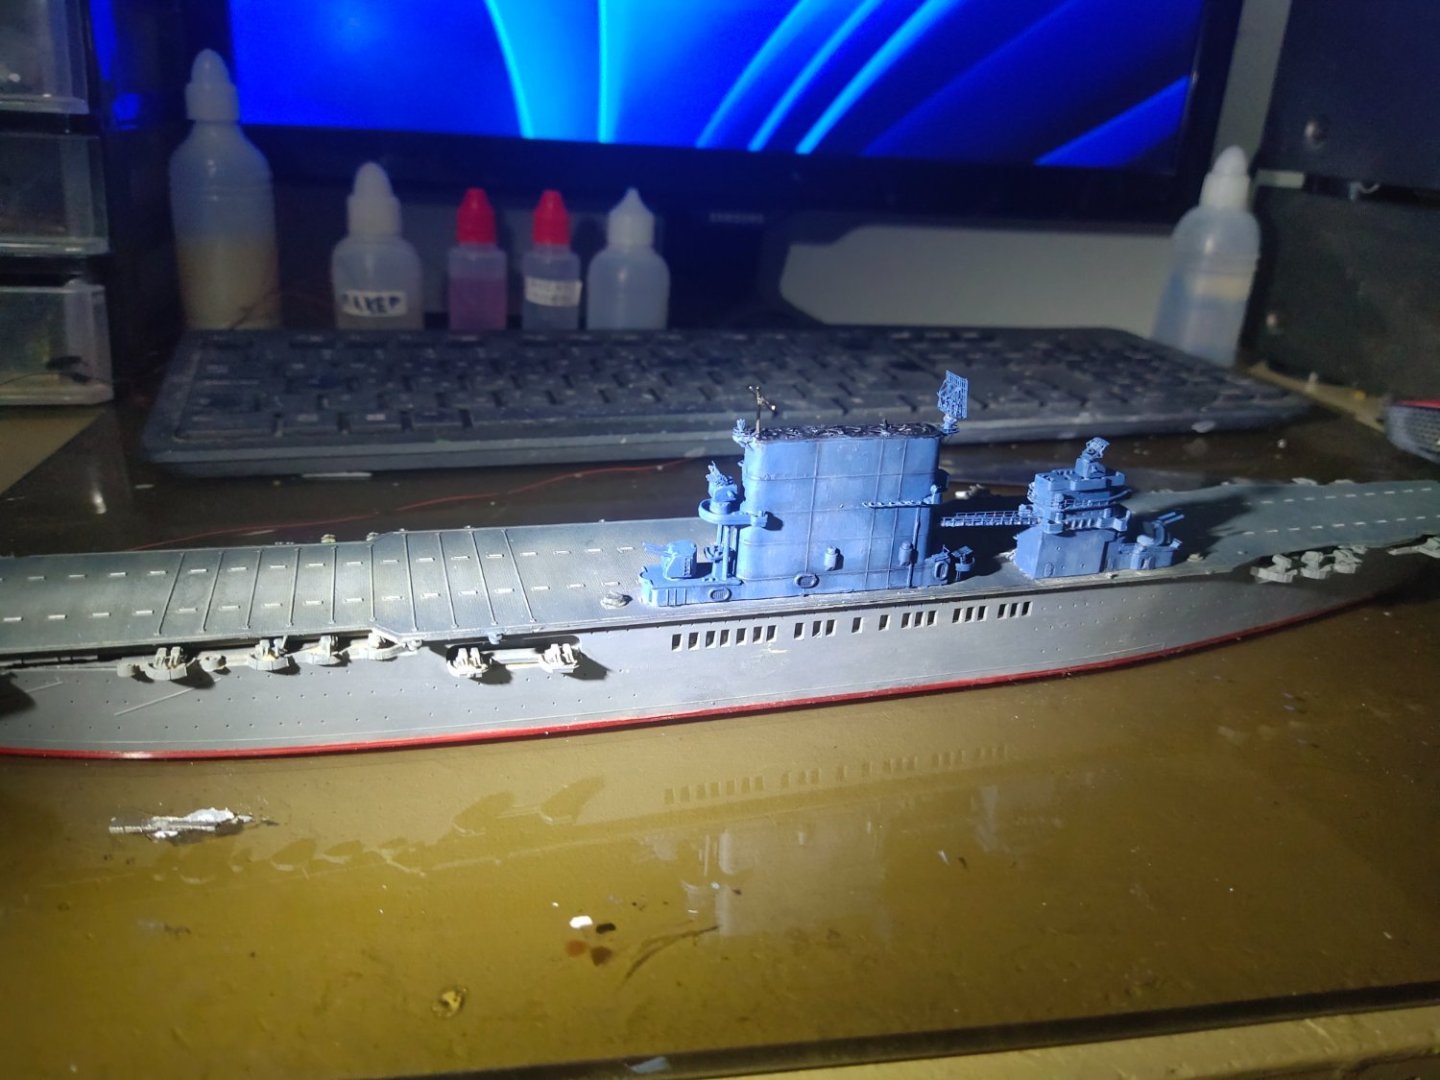
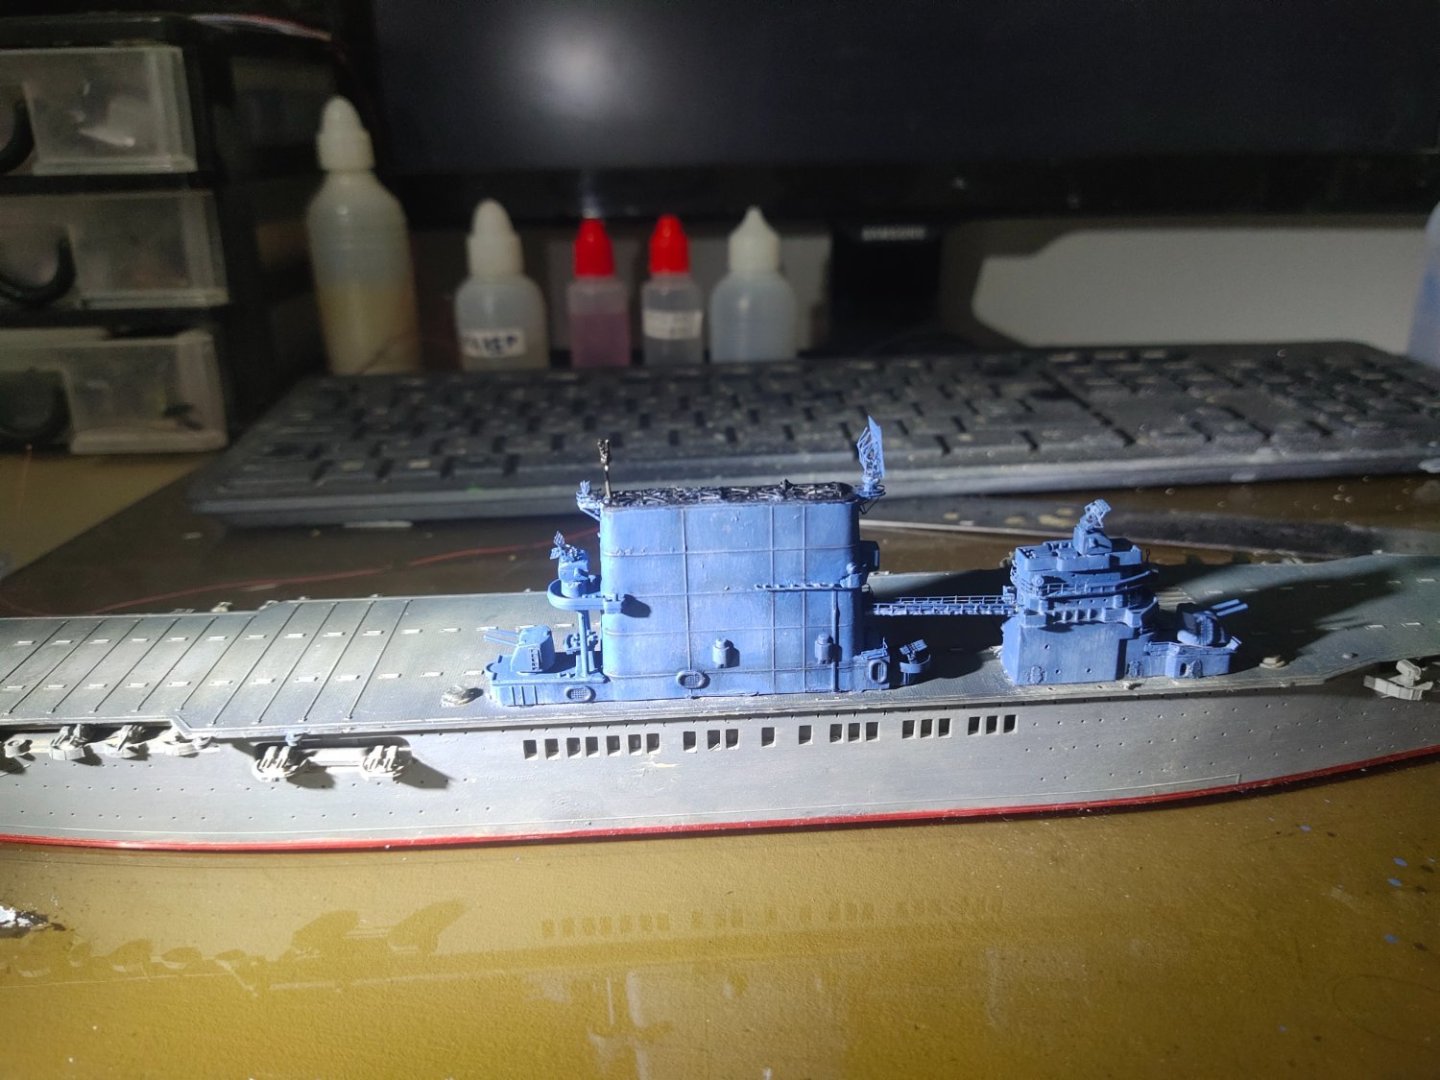
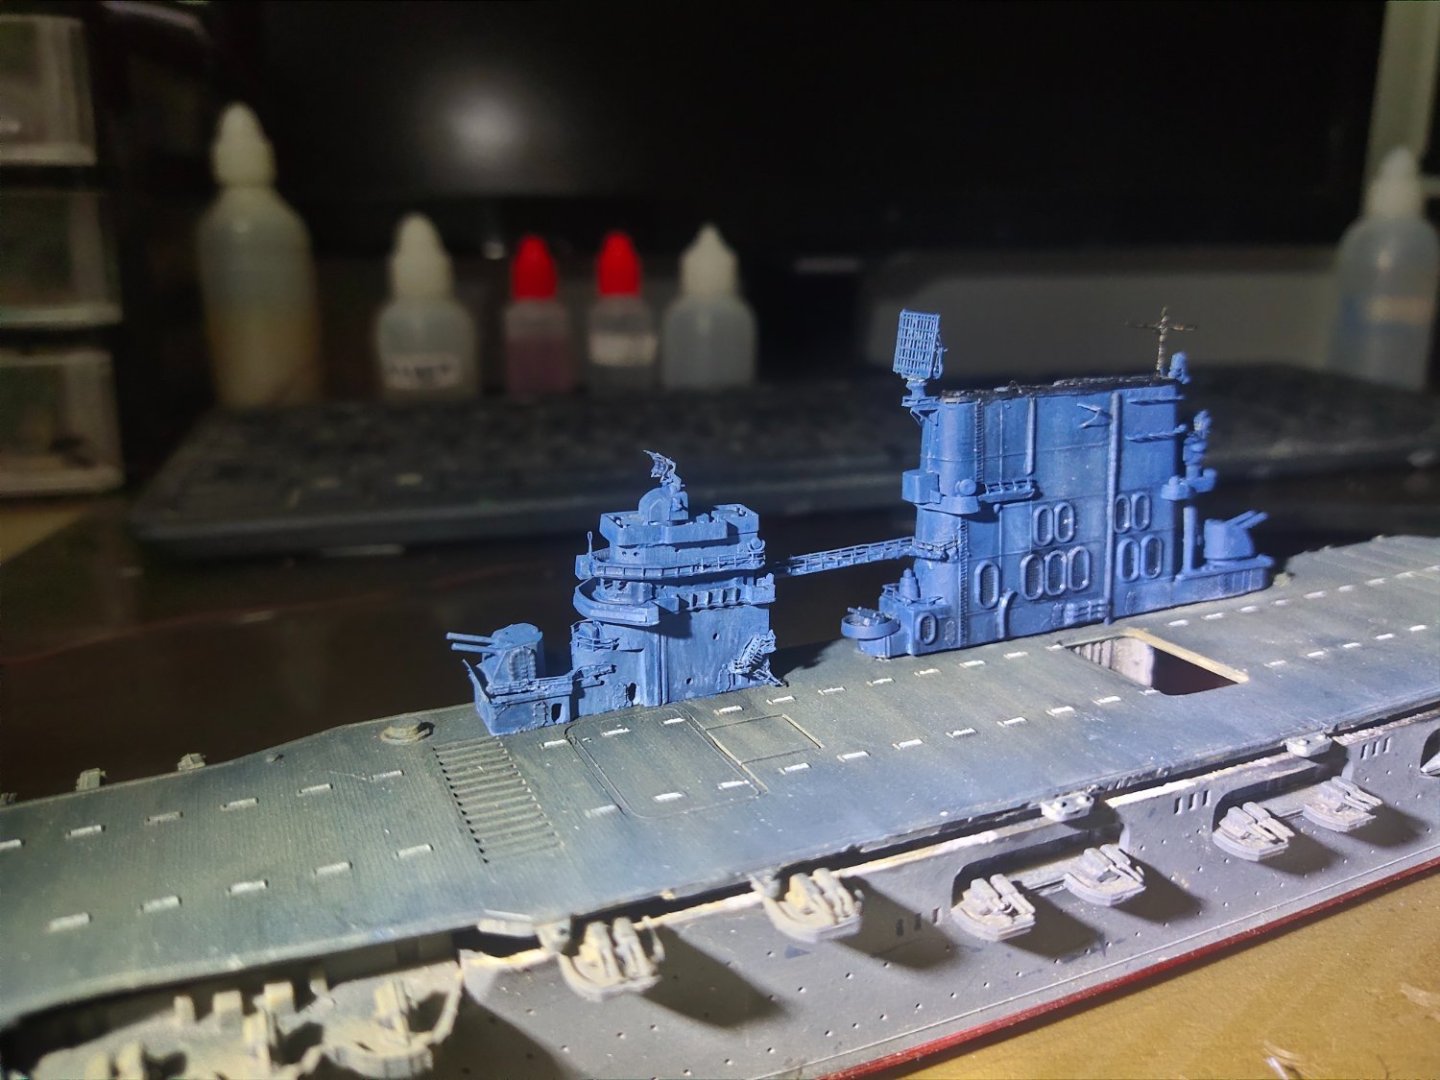
Time to fit the bridge and the big funny. First I paint them in Navy Blue like I will do with the hull later. Lighter shades applied for a color fade situation. Then dark washes applied during vertical and horizontal lines, rafts, etc. Last piece was the connecting bridge. Not a scratch built I'm proud of but it was a good exercise thought
-
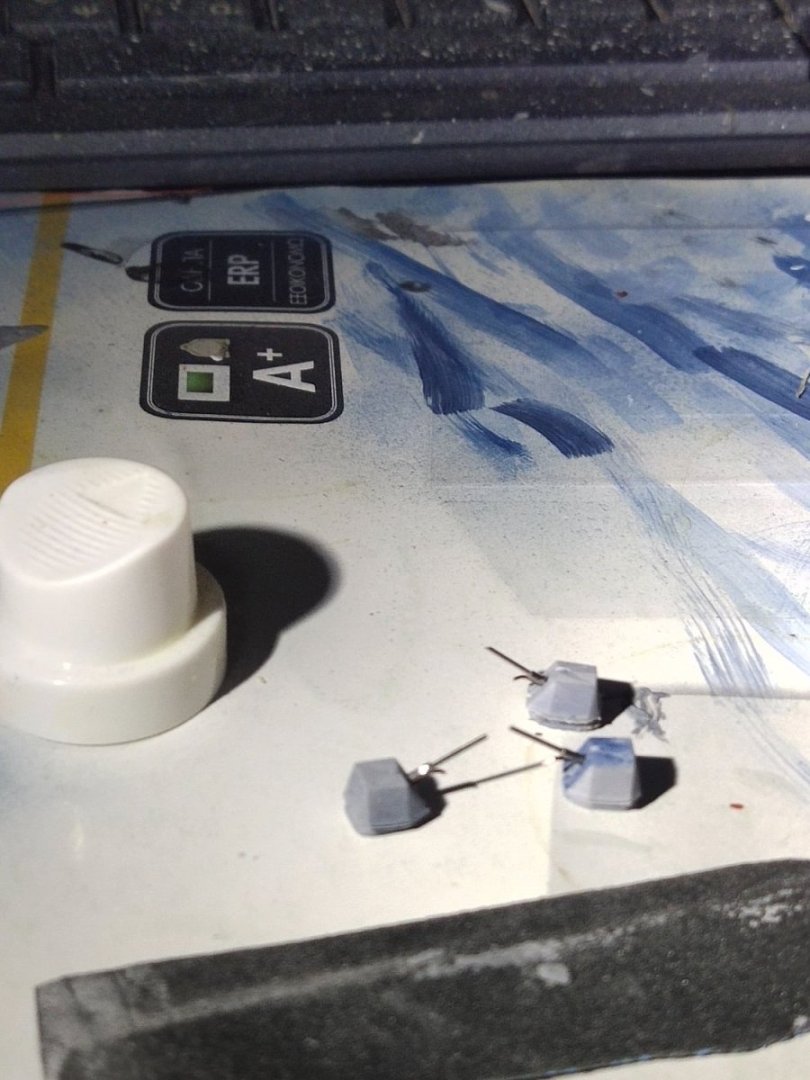
Did some minor improvements, I printed the Oto Breda 76mm guns. The barrels were a product of scratch built using 0.4mm , 0,3 needles and 0.20mm wire brass
- 10 replies
-
- finished
- Horizon-class
-
(and 1 more)
Tagged with:
-
Last major piece in place except some putty on the joining point with the deck. It is the rear mack, (combo of mast and stack, very distinguishable feature in Knox class frigates). Time to put some teeth to the dragon while keep working on paintjob. Note the forward mast broken on top. Water washable resin is no where strong as resin used with moulds, I think polyurethane.
- 10 replies
-
- finished
- Horizon-class
-
(and 1 more)
Tagged with:
-
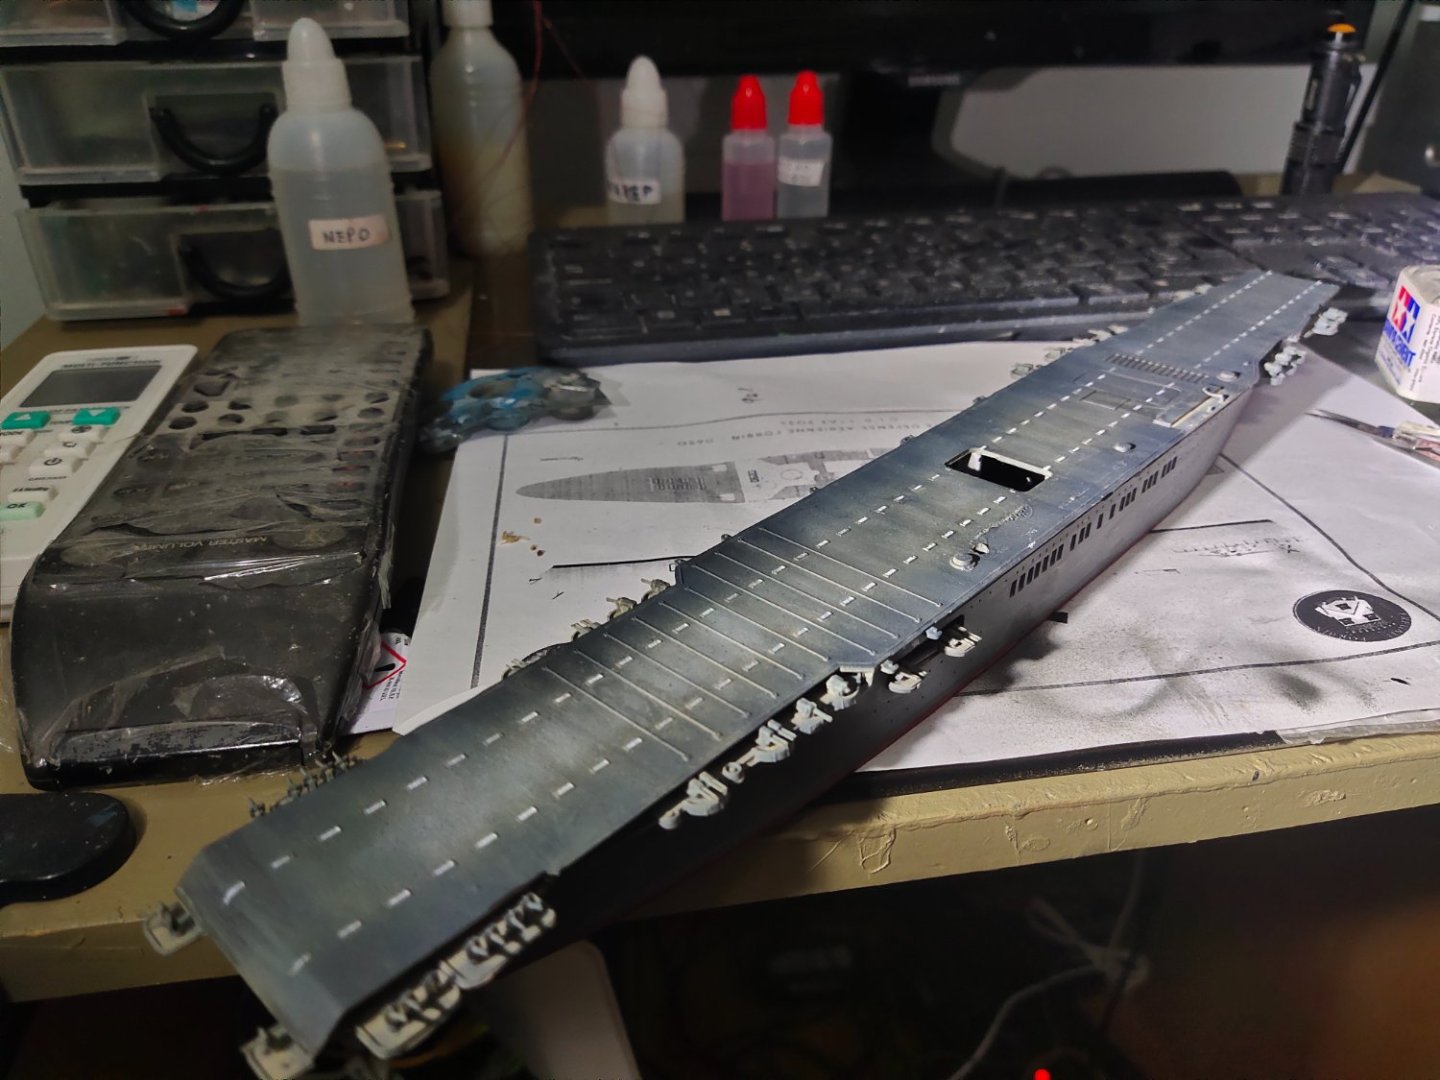
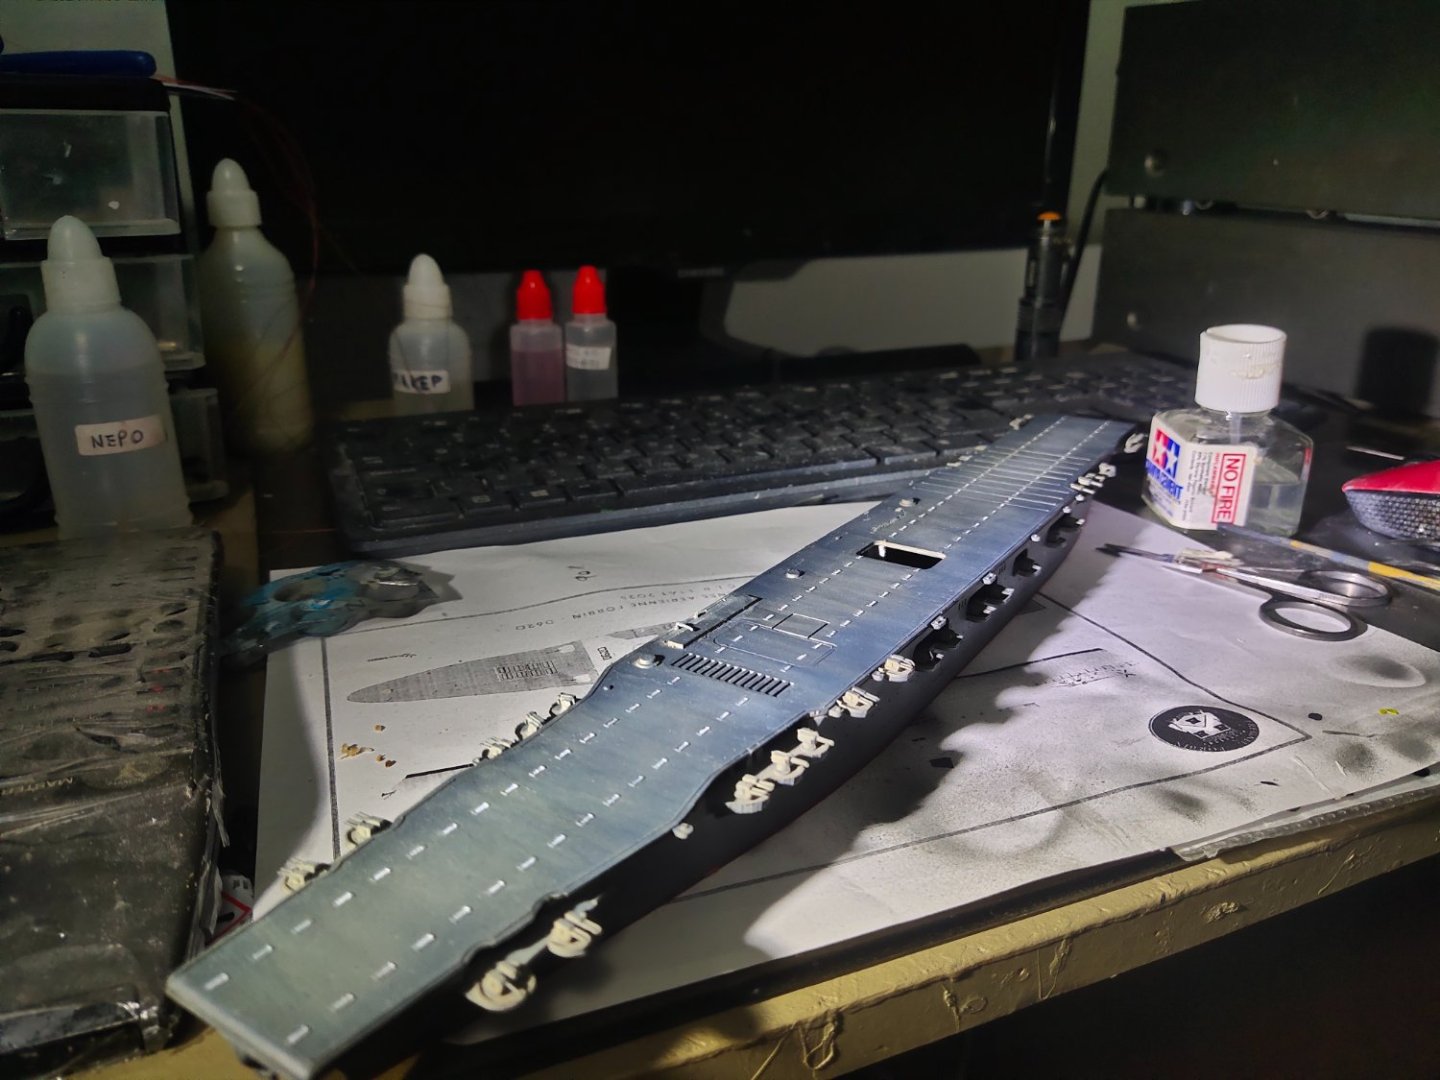
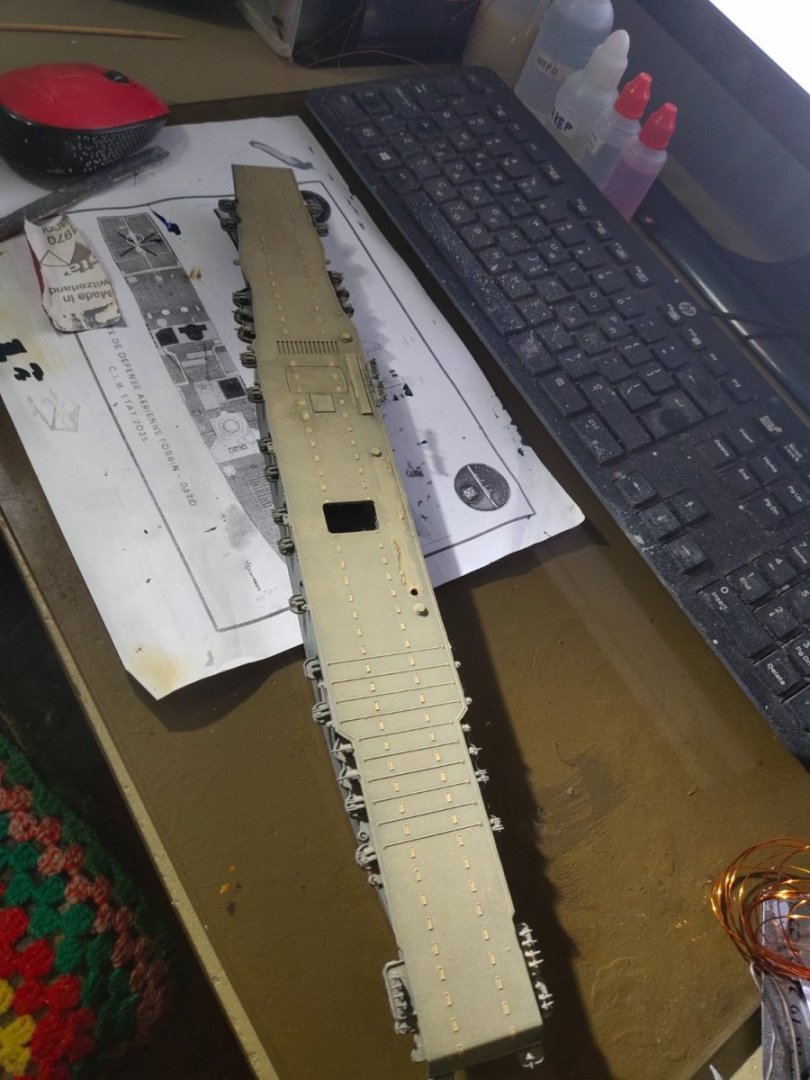
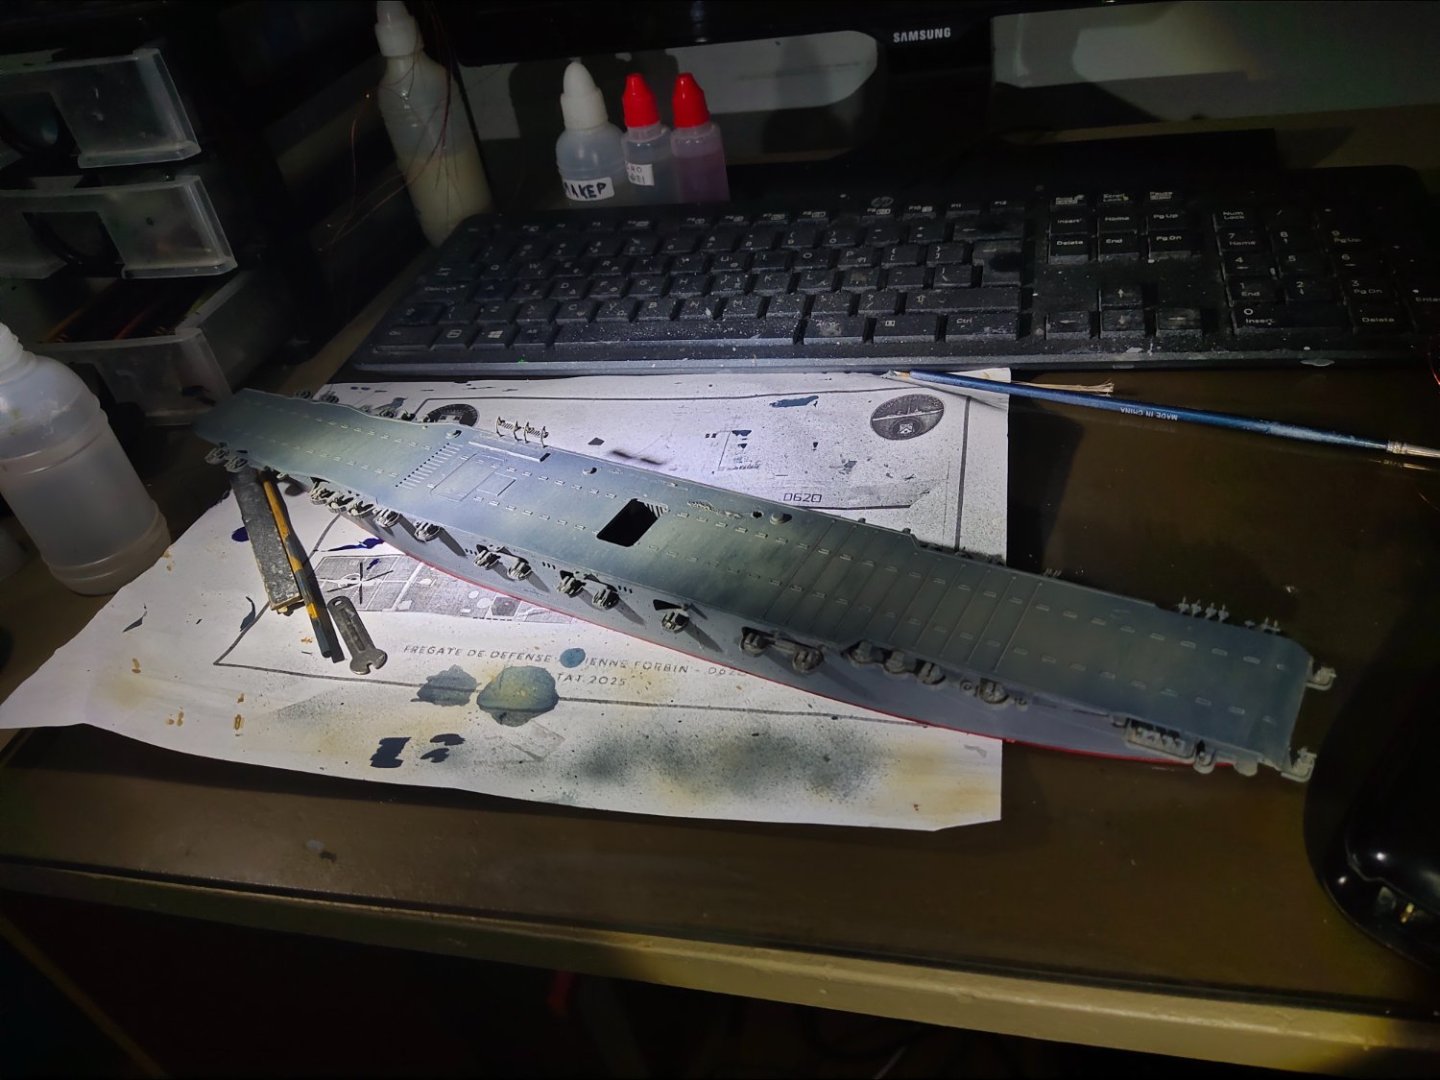
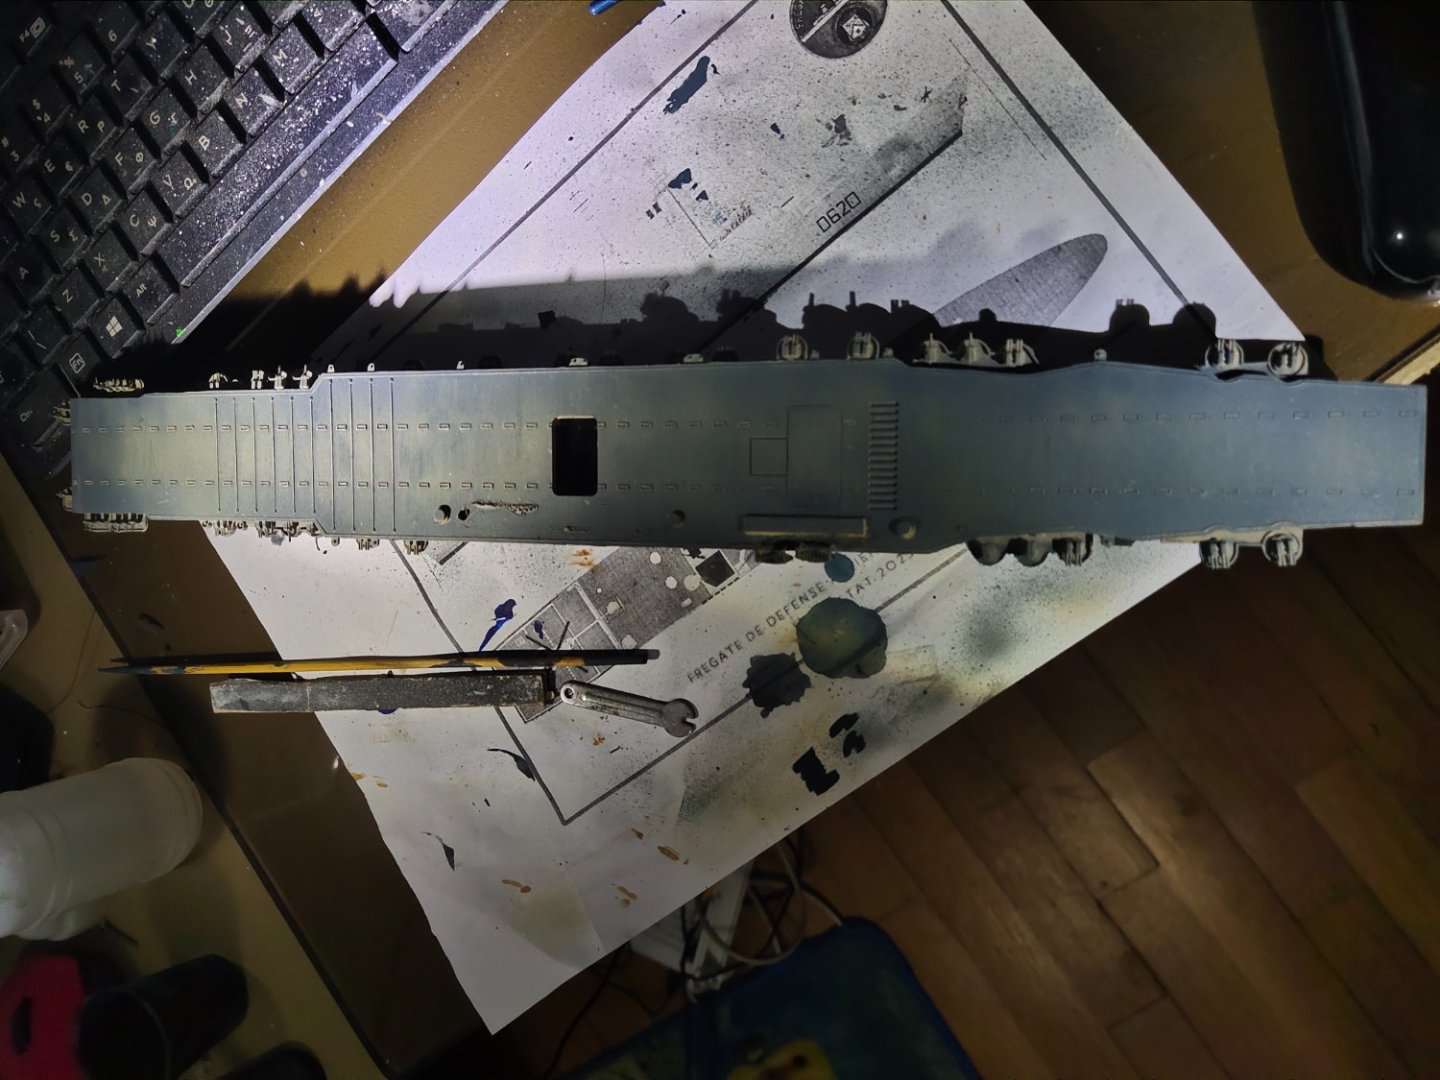
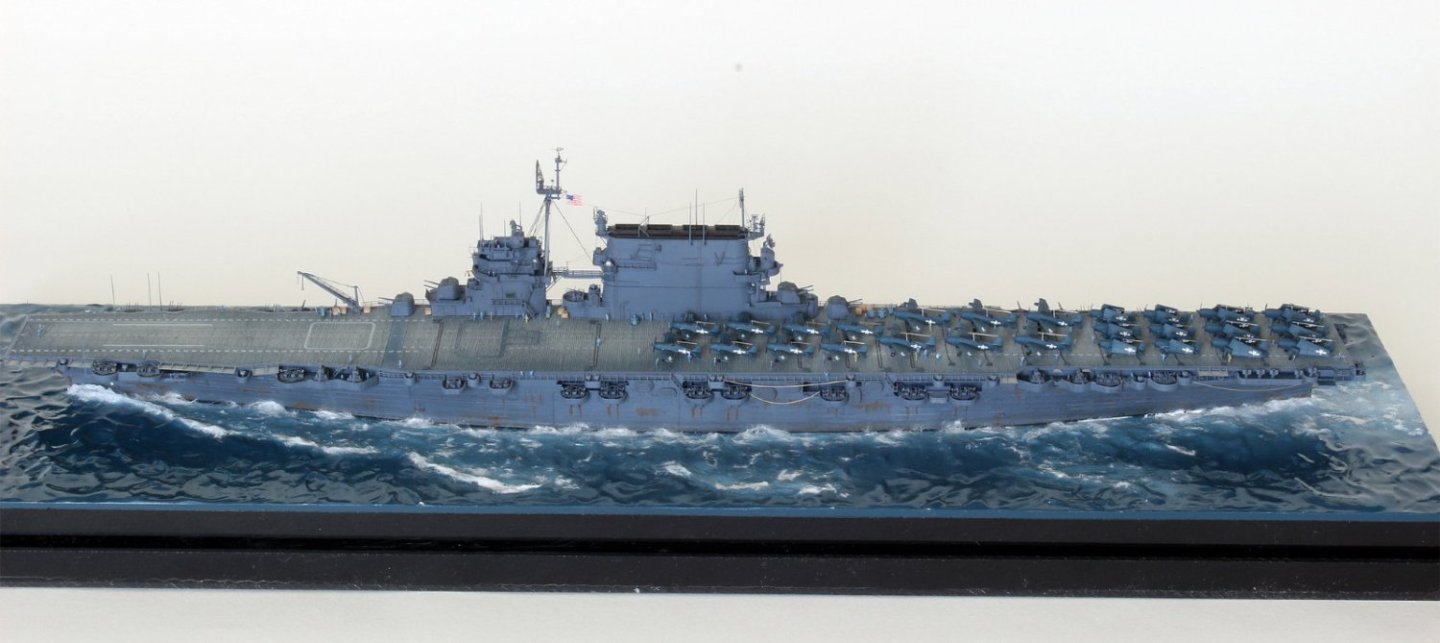
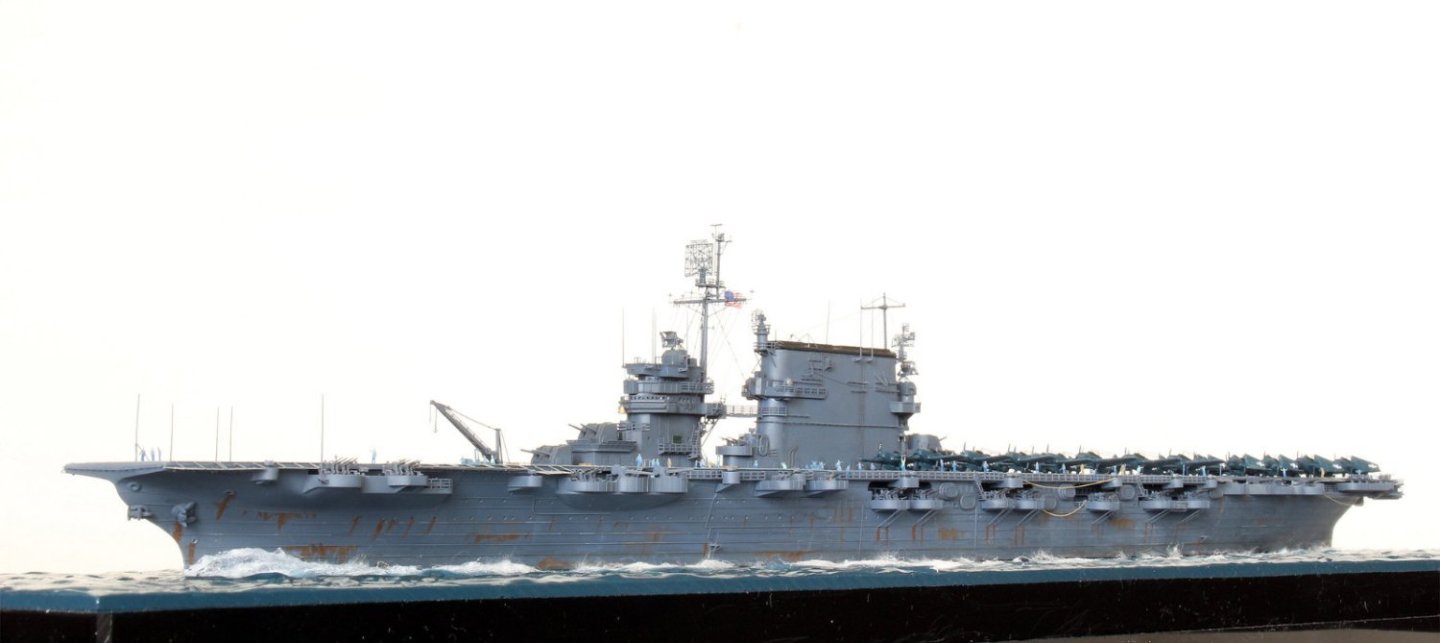
Time to weather the deck. I sprayed a light coat of tan color. After it dried, deck was given a coat of hairspray. Finally navy blue was applied. Using a sand paper folded on half, I scratched the deck horizontally, to give a color fade effect. Then I sprayed thinned tan color especially in the areas of the deck which is most heavily used by planes like the rear section, from arresting cables and below. Next phase is washing, oiling adding tyre marks etc
About us
Modelshipworld - Advancing Ship Modeling through Research
SSL Secured
Your security is important for us so this Website is SSL-Secured
NRG Mailing Address
Nautical Research Guild
237 South Lincoln Street
Westmont IL, 60559-1917
Model Ship World ® and the MSW logo are Registered Trademarks, and belong to the Nautical Research Guild (United States Patent and Trademark Office: No. 6,929,264 & No. 6,929,274, registered Dec. 20, 2022)
Helpful Links
About the NRG
If you enjoy building ship models that are historically accurate as well as beautiful, then The Nautical Research Guild (NRG) is just right for you.
The Guild is a non-profit educational organization whose mission is to “Advance Ship Modeling Through Research”. We provide support to our members in their efforts to raise the quality of their model ships.
The Nautical Research Guild has published our world-renowned quarterly magazine, The Nautical Research Journal, since 1955. The pages of the Journal are full of articles by accomplished ship modelers who show you how they create those exquisite details on their models, and by maritime historians who show you the correct details to build. The Journal is available in both print and digital editions. Go to the NRG web site (www.thenrg.org) to download a complimentary digital copy of the Journal. The NRG also publishes plan sets, books and compilations of back issues of the Journal and the former Ships in Scale and Model Ship Builder magazines.



.jpeg.78c8b24c048cb1ff6f2fbbb5098390d4.jpeg)
.jpeg.582c999861334a563d701929318c34e3.jpeg)

