mikegr
-
Posts
827 -
Joined
-
Last visited
Content Type
Profiles
Forums
Gallery
Events
Everything posted by mikegr
-
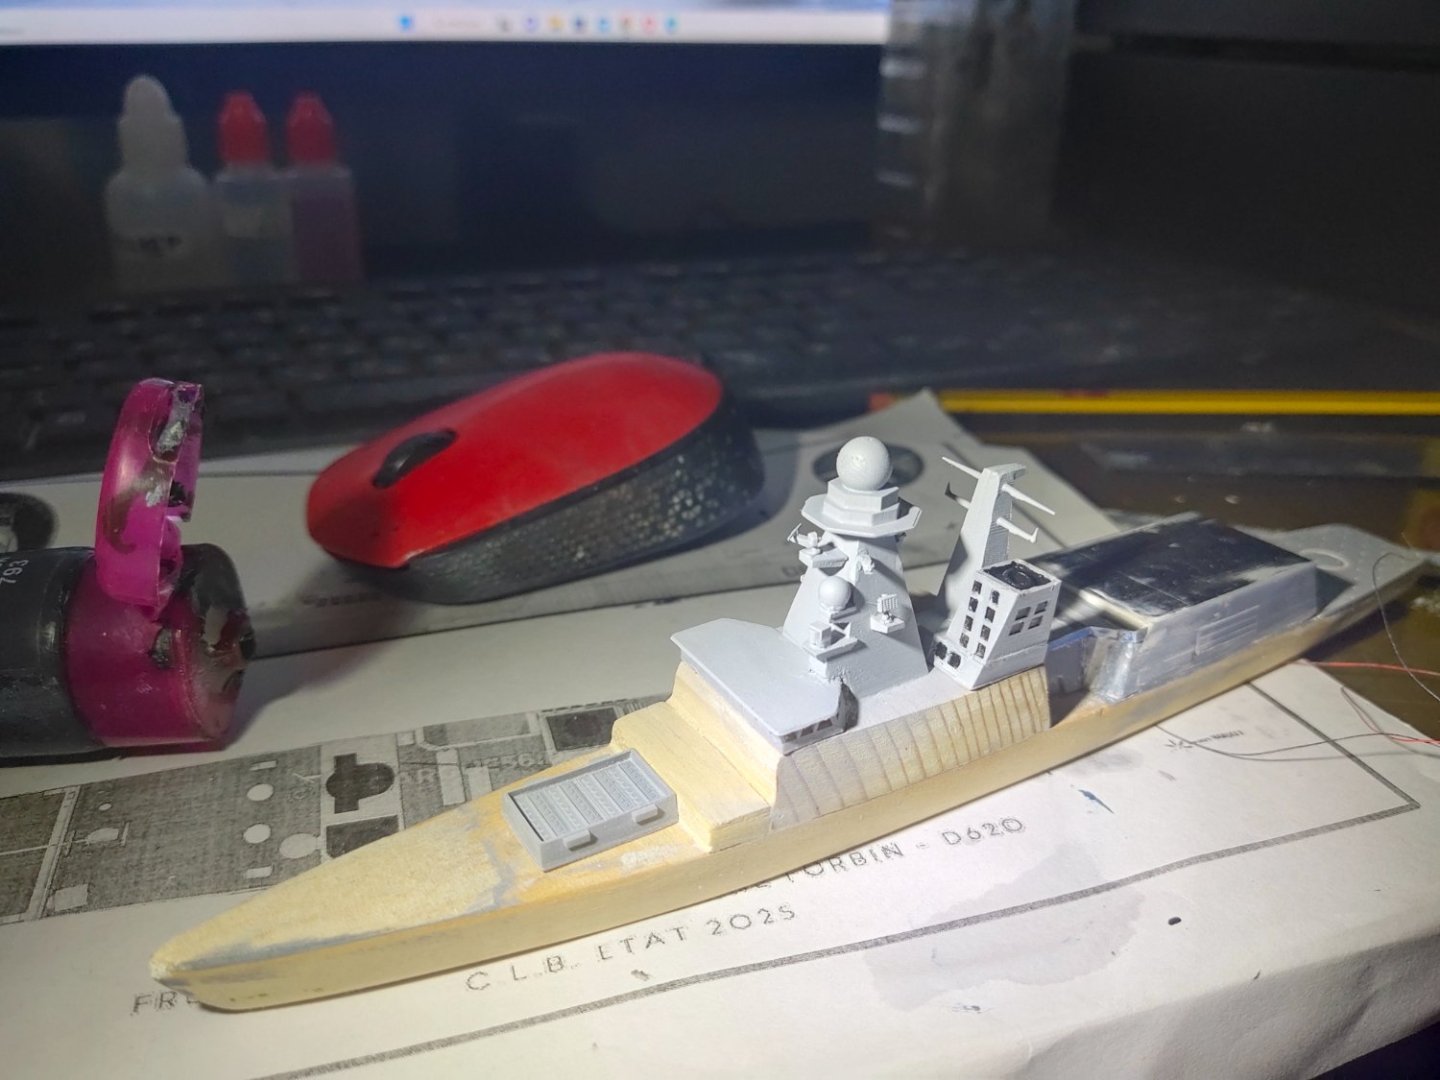
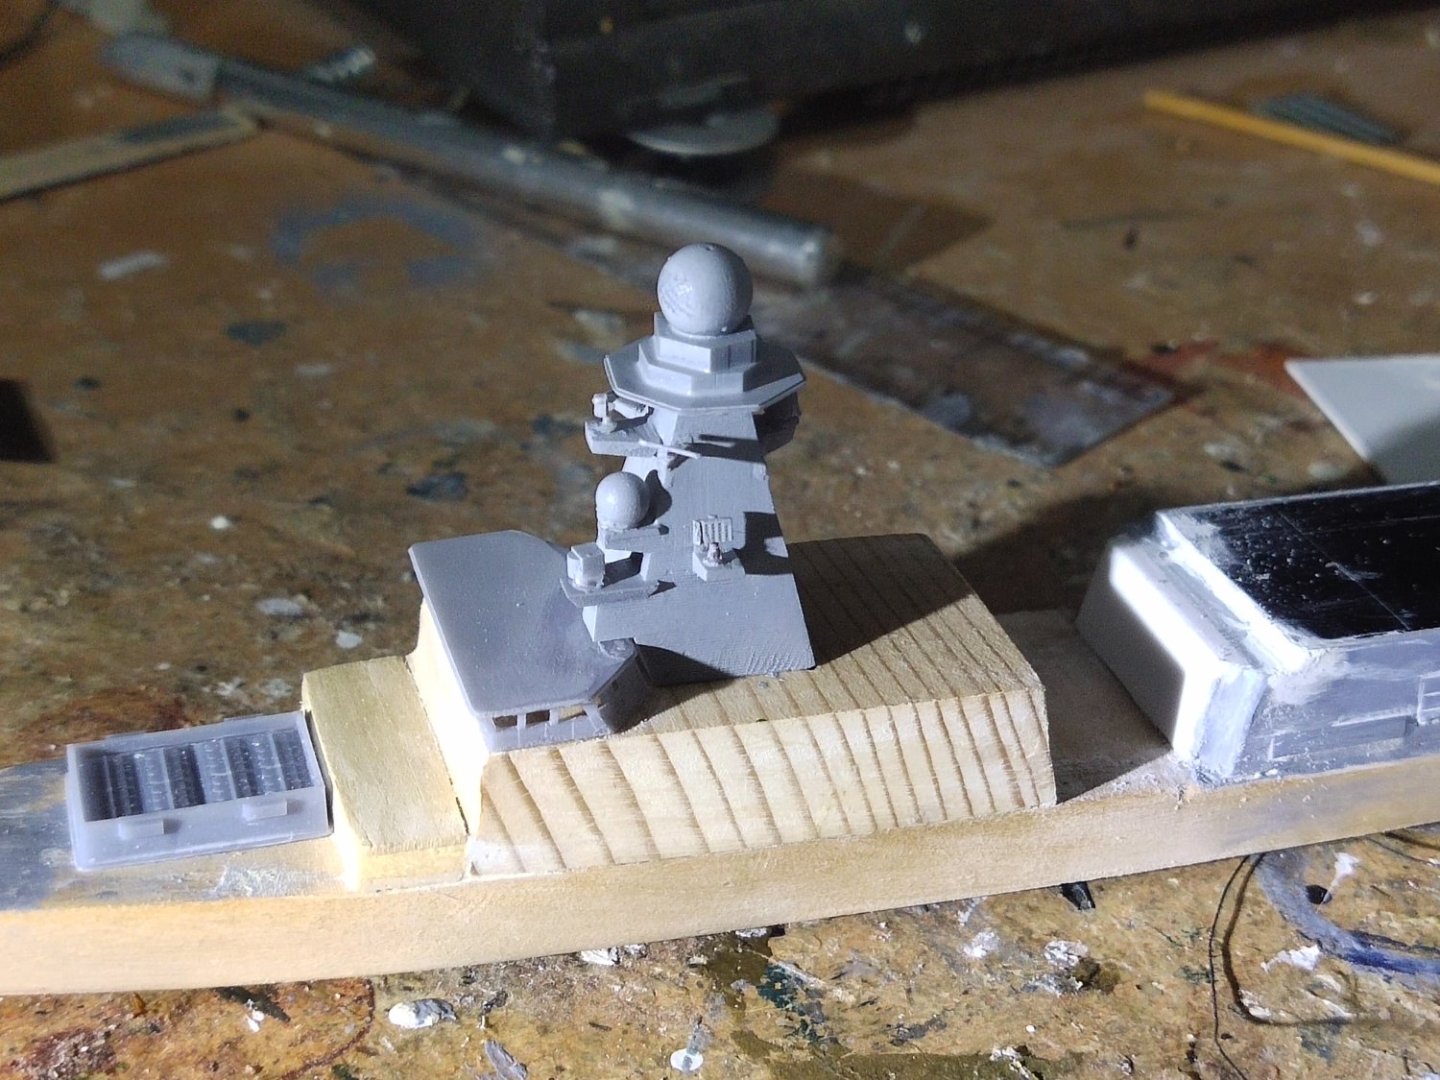
.Next part after gluing superstructure and main radar was the funnel along with the base and the secondary mast. I made it in 3 pieces and glued them together. Then I paint it before test fitting. Finally I scratch built the middle section. Only main pieces left are SMART radar and rear funnel.

- 10 replies
-
- 7
-

-
- finished
- Horizon-class
- (and 1 more)
-
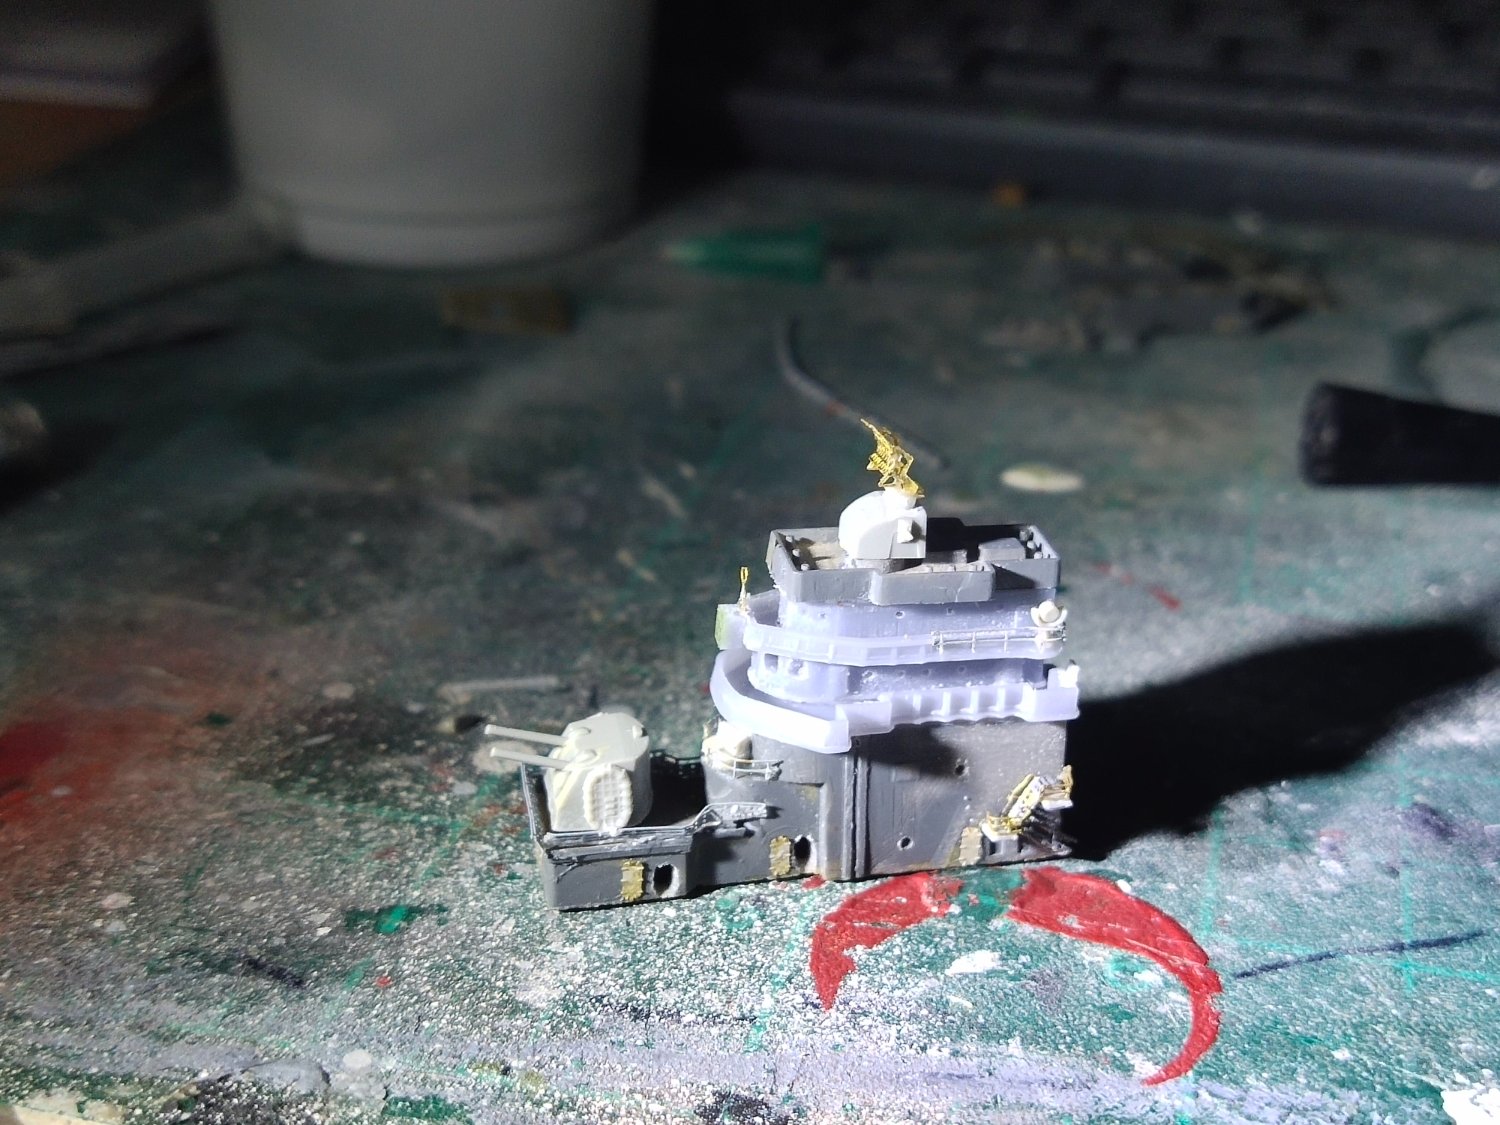
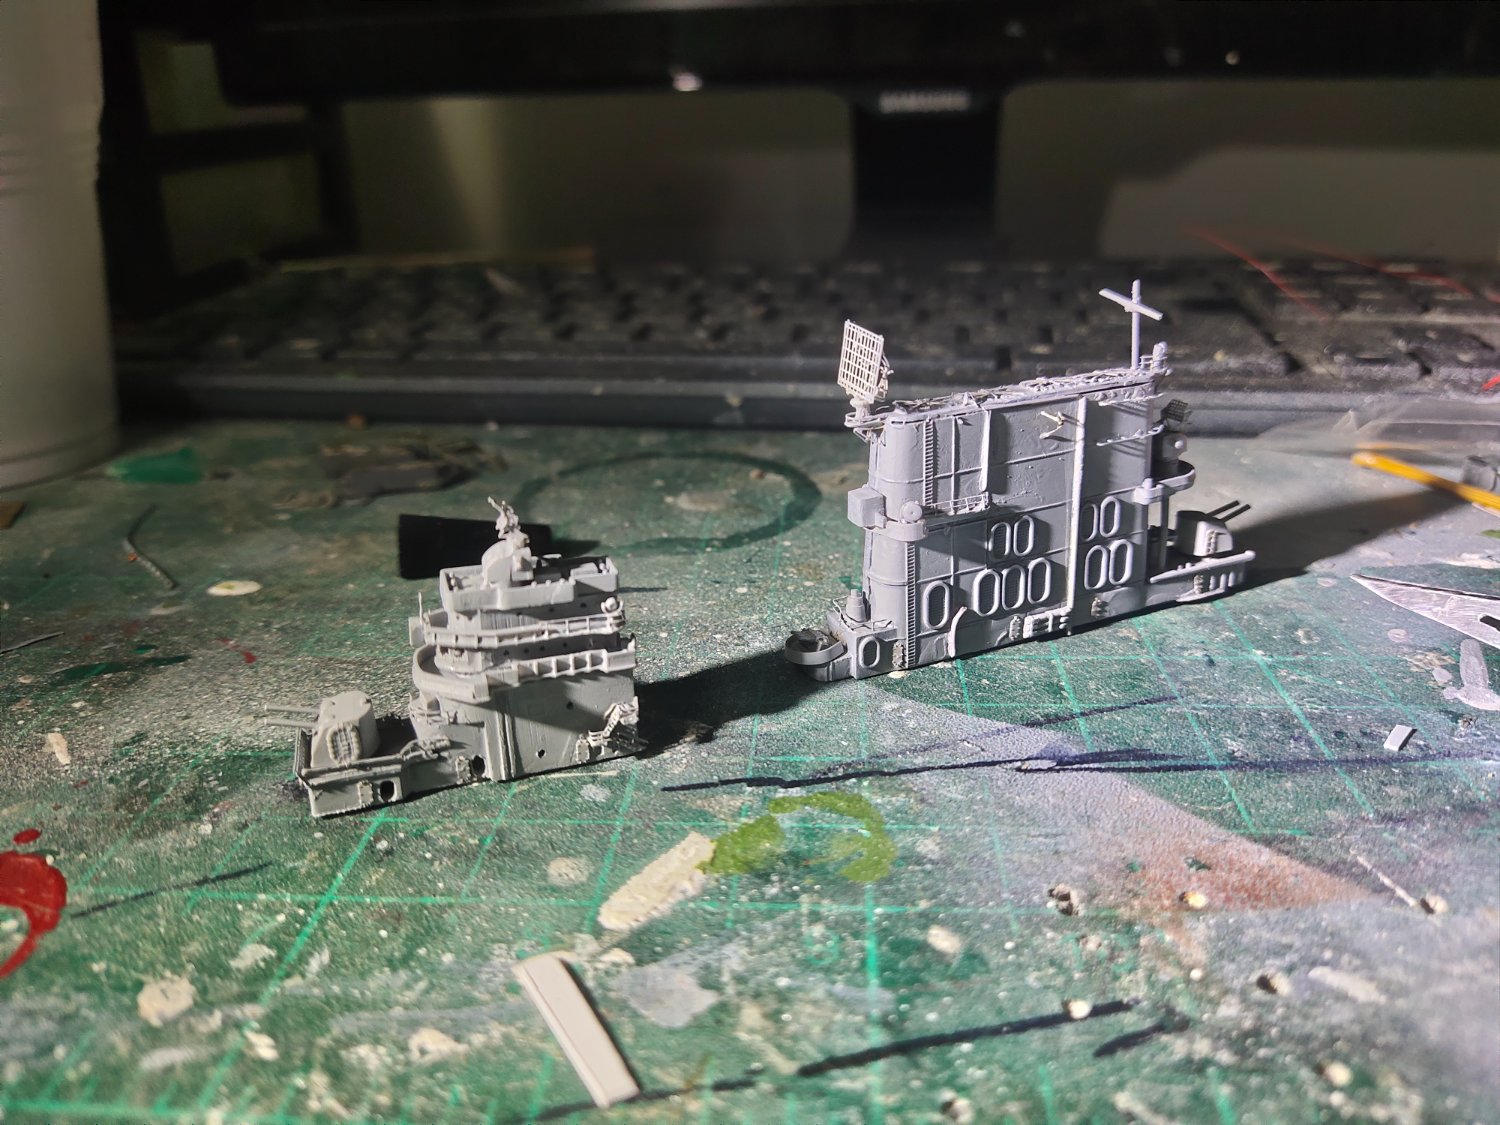
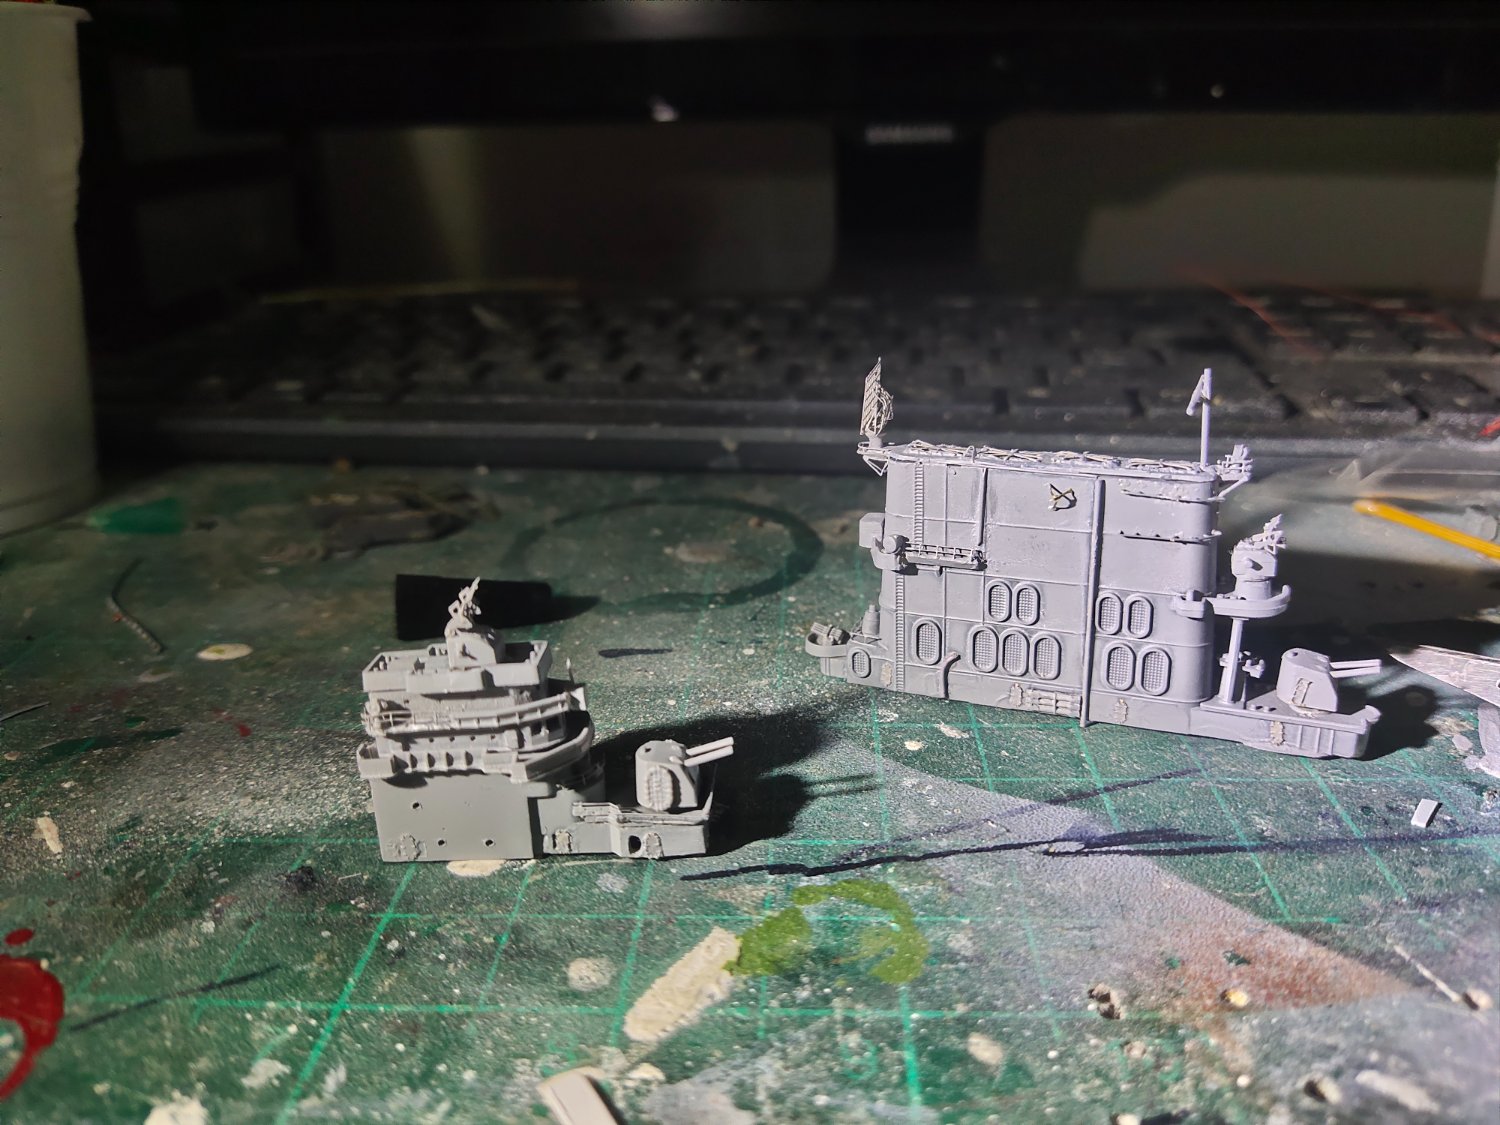
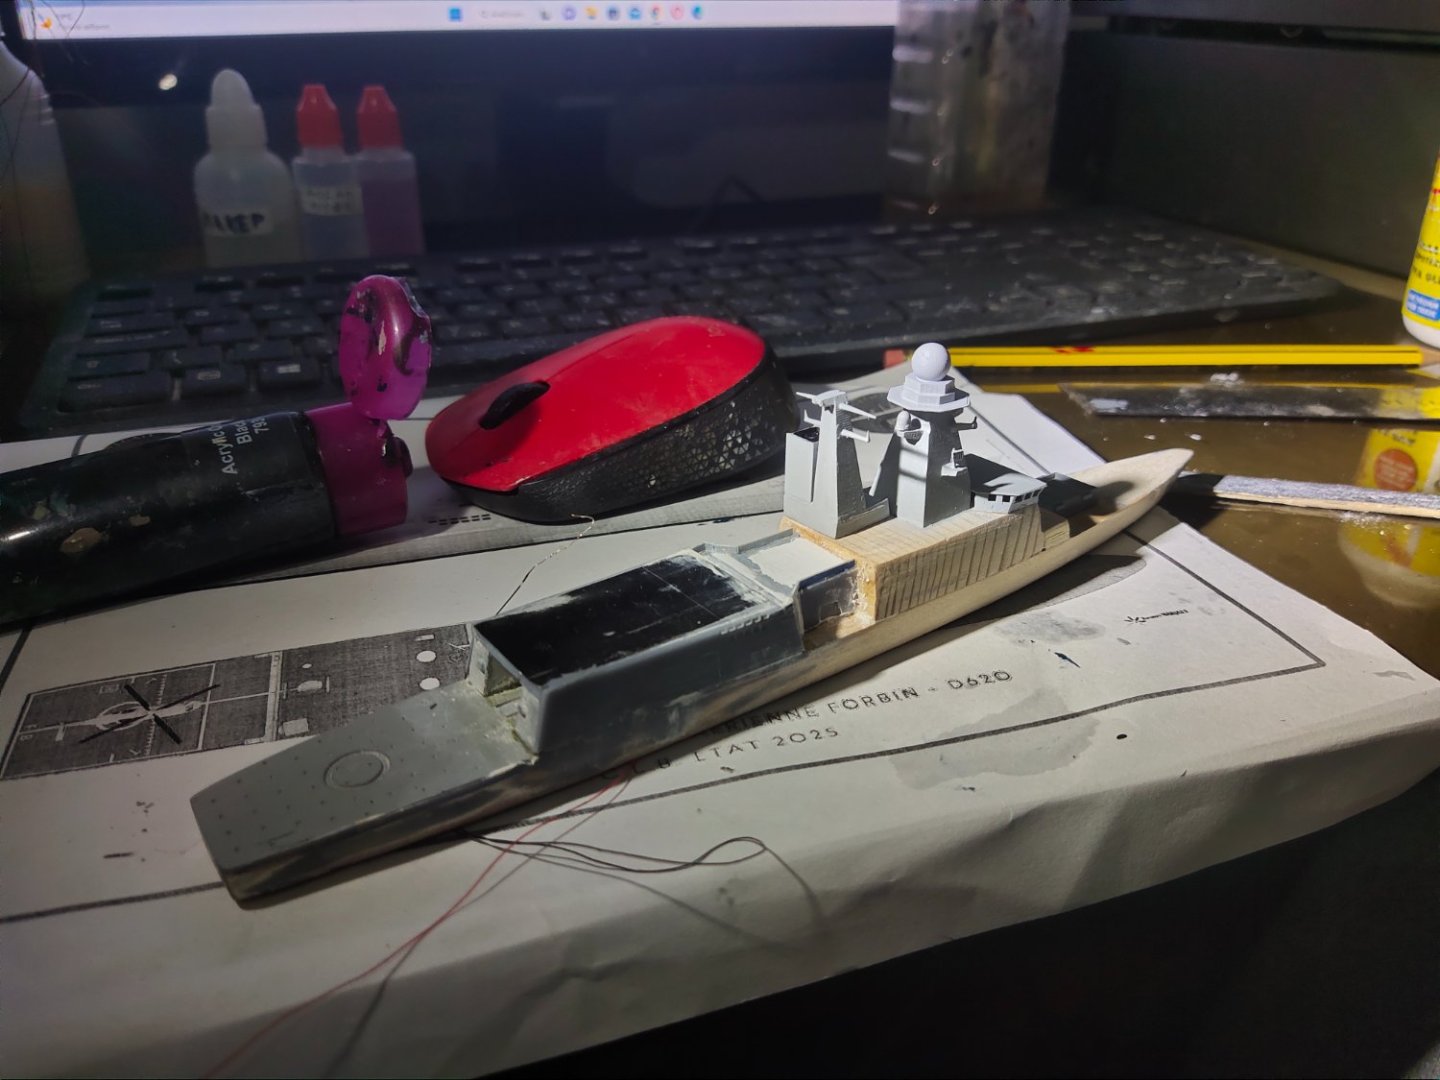
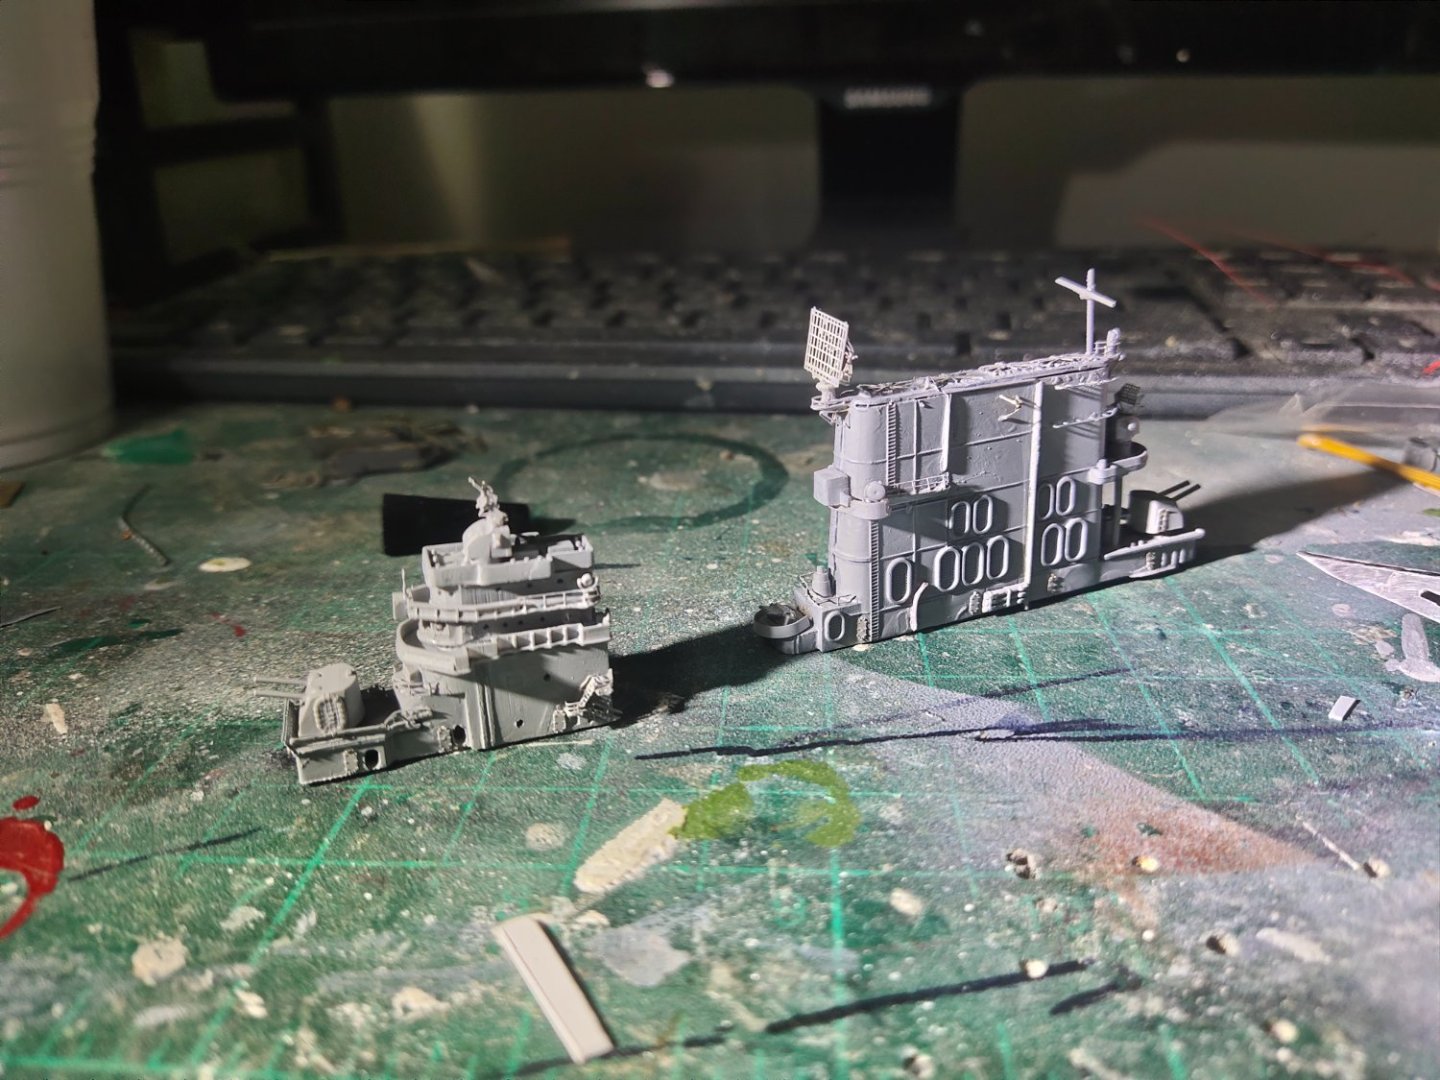
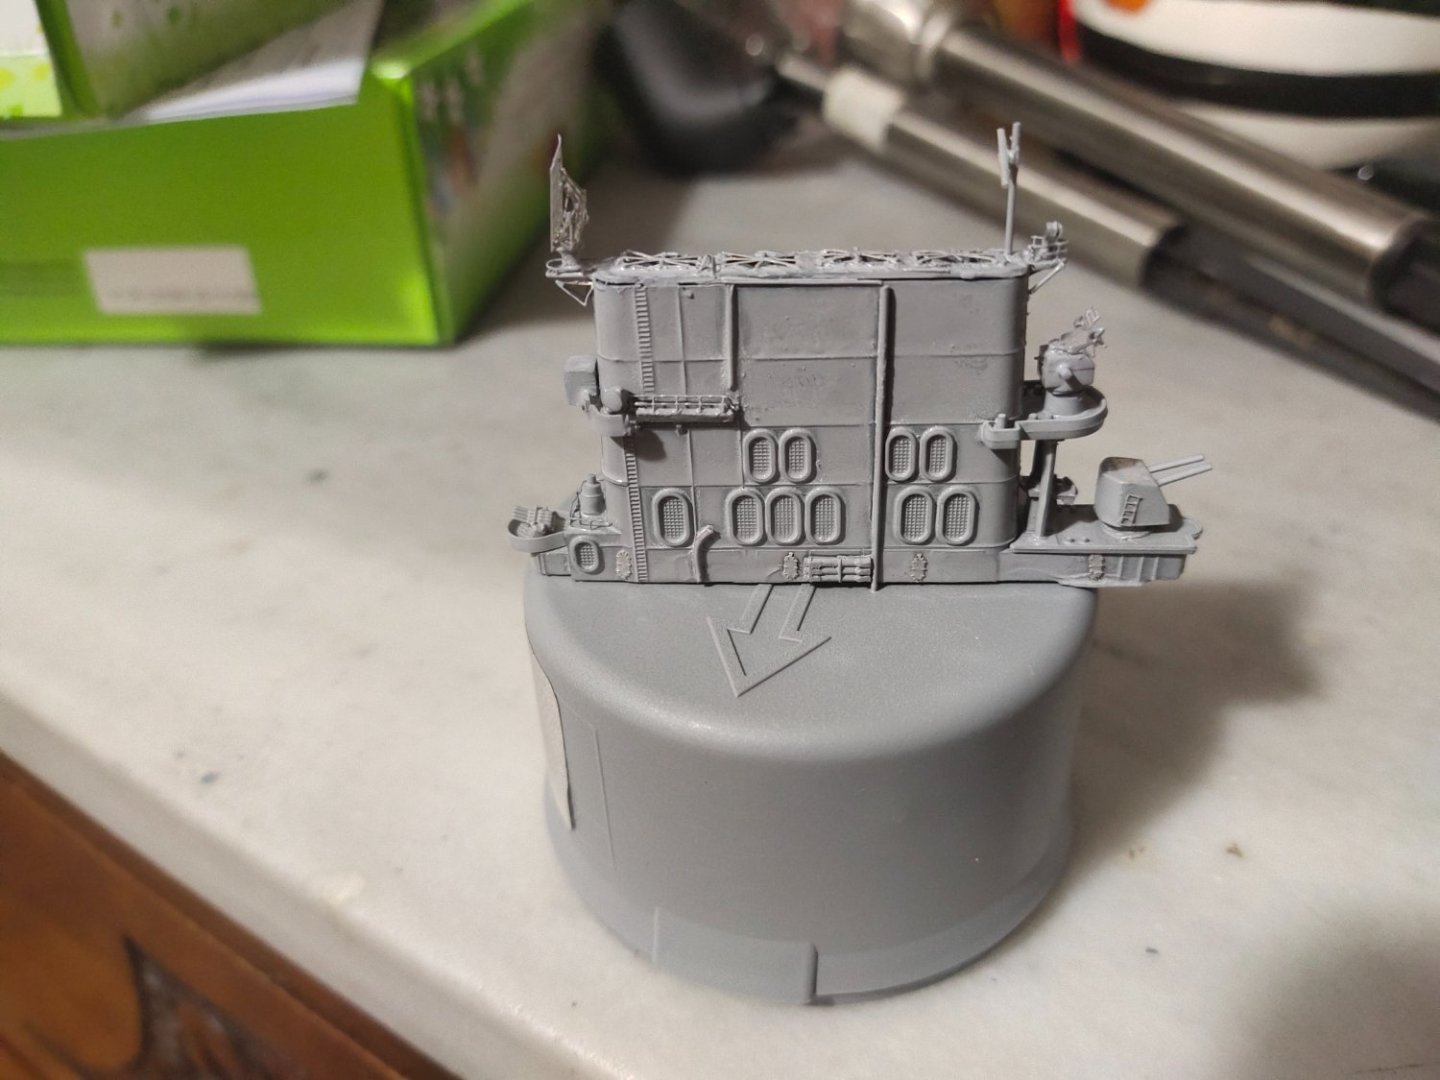
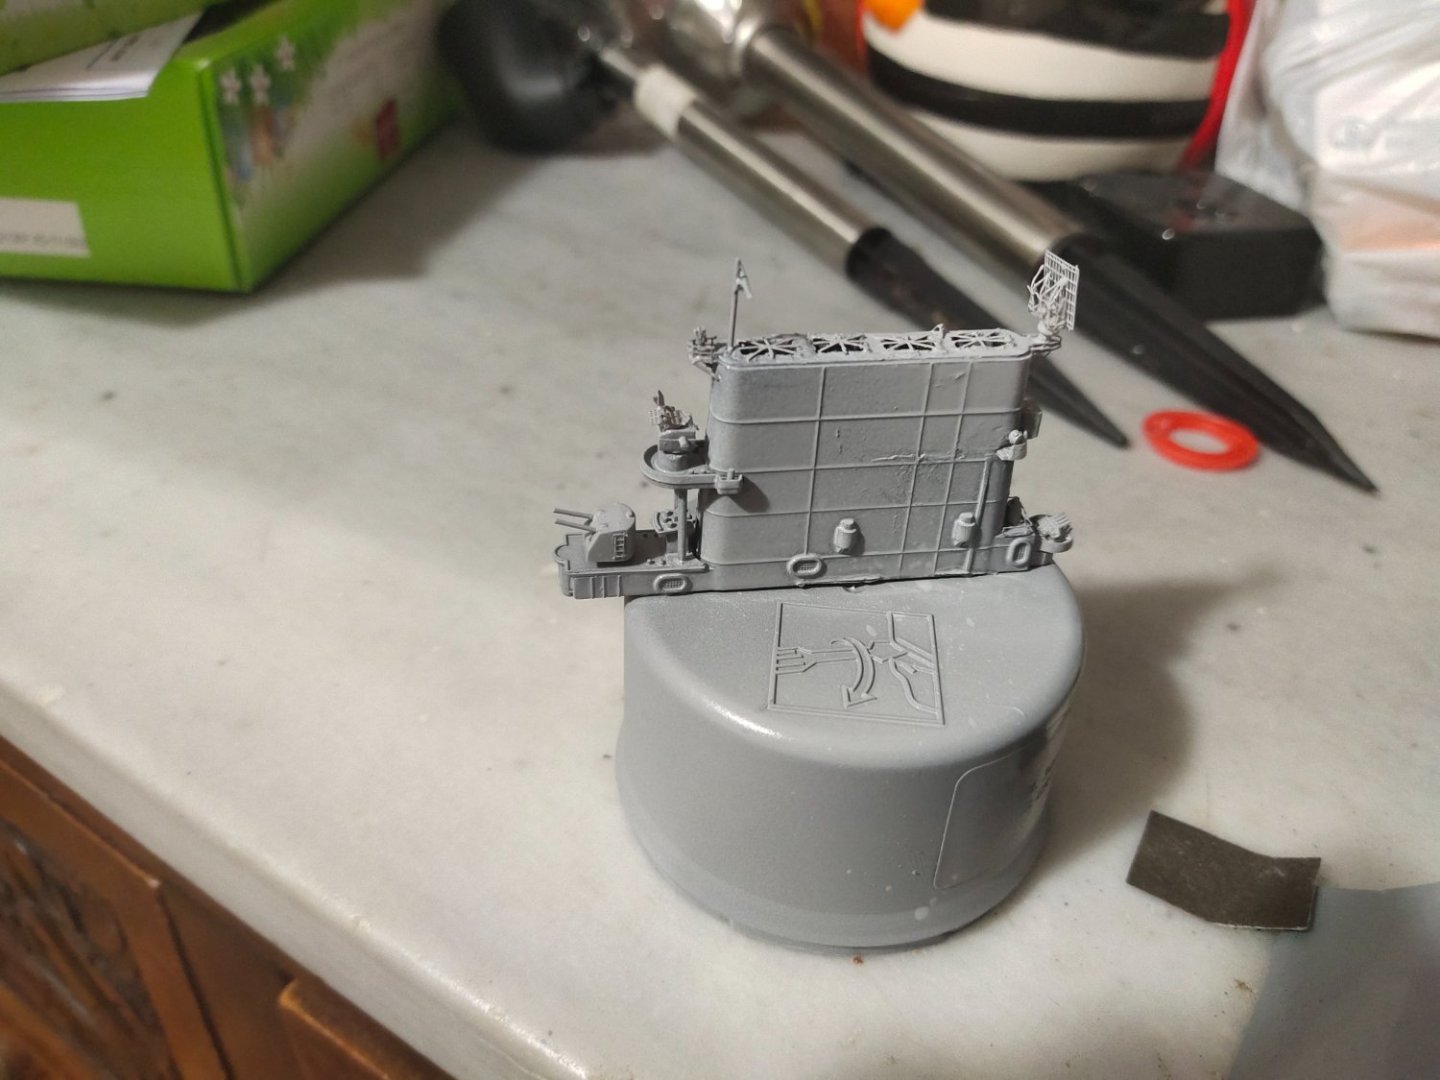
Time to make the bridge. The method I followed is a bit... interesting. In order to give a correct shape and add details I separated the parts, though some were glued together tightly and were simply cut with a rotary tool. Base and top part were re used with added details, railing , ladders, portholes, guns and fire directors. Middle parts were reprinted and assembled all together. I coat them with primer and added some last detail on funnel. Now I only need to make the mast and add the connecting bridge between funnel and superstructure after their installation on deck.


-
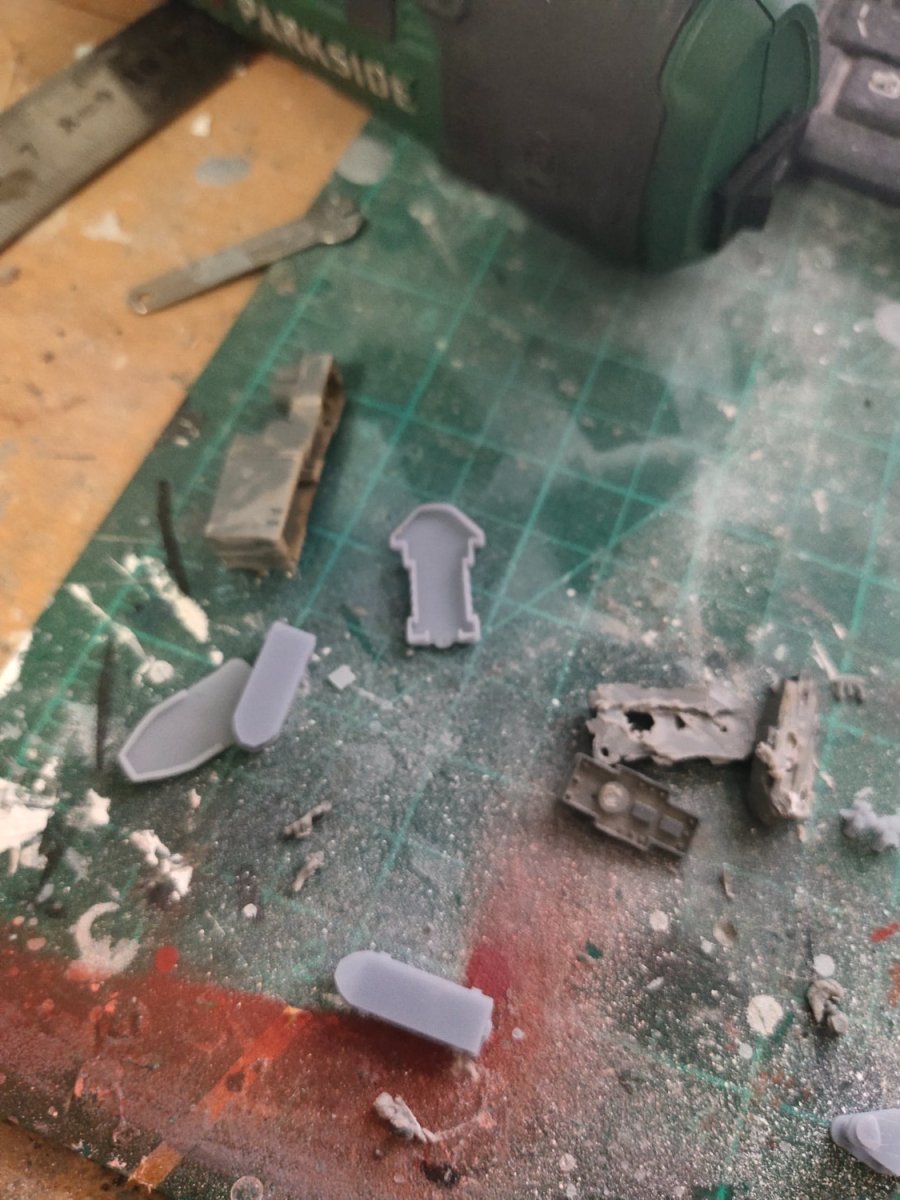
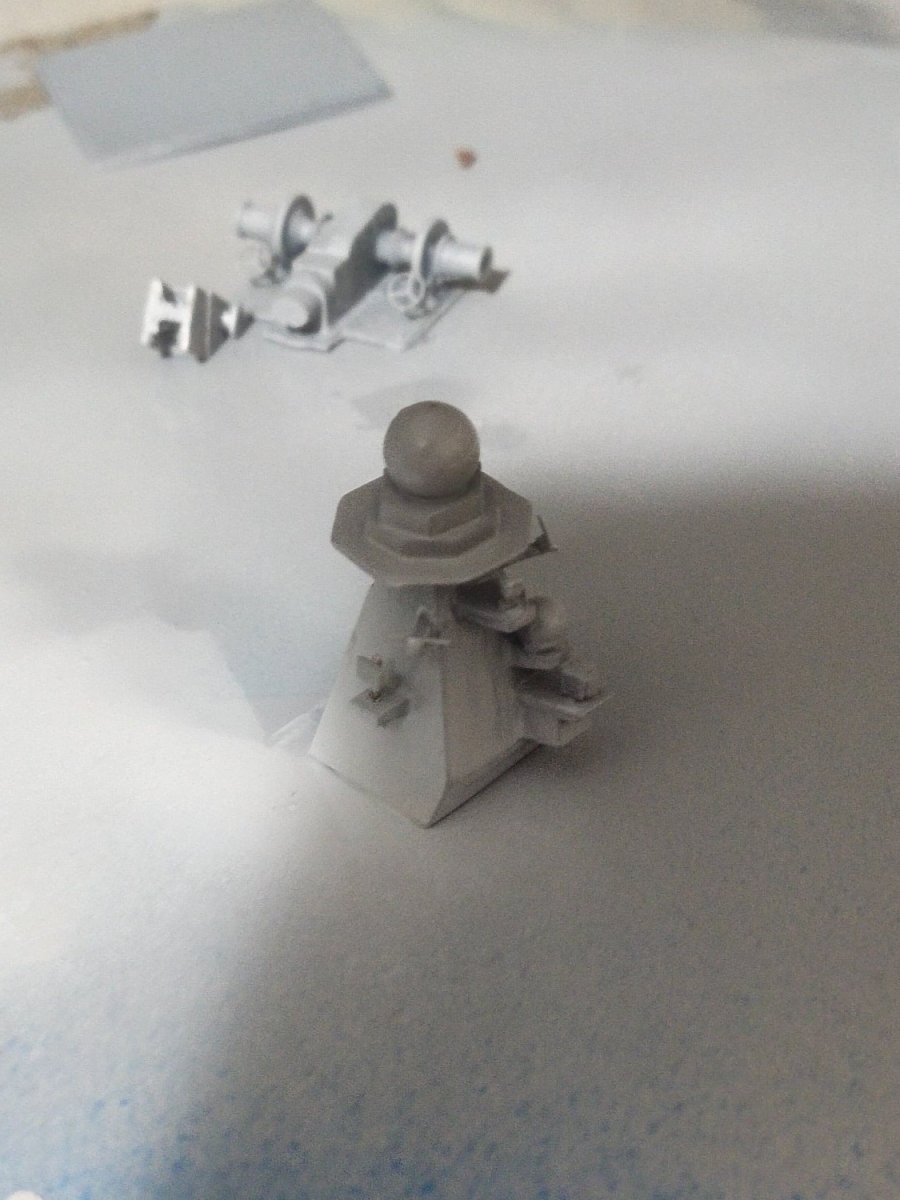
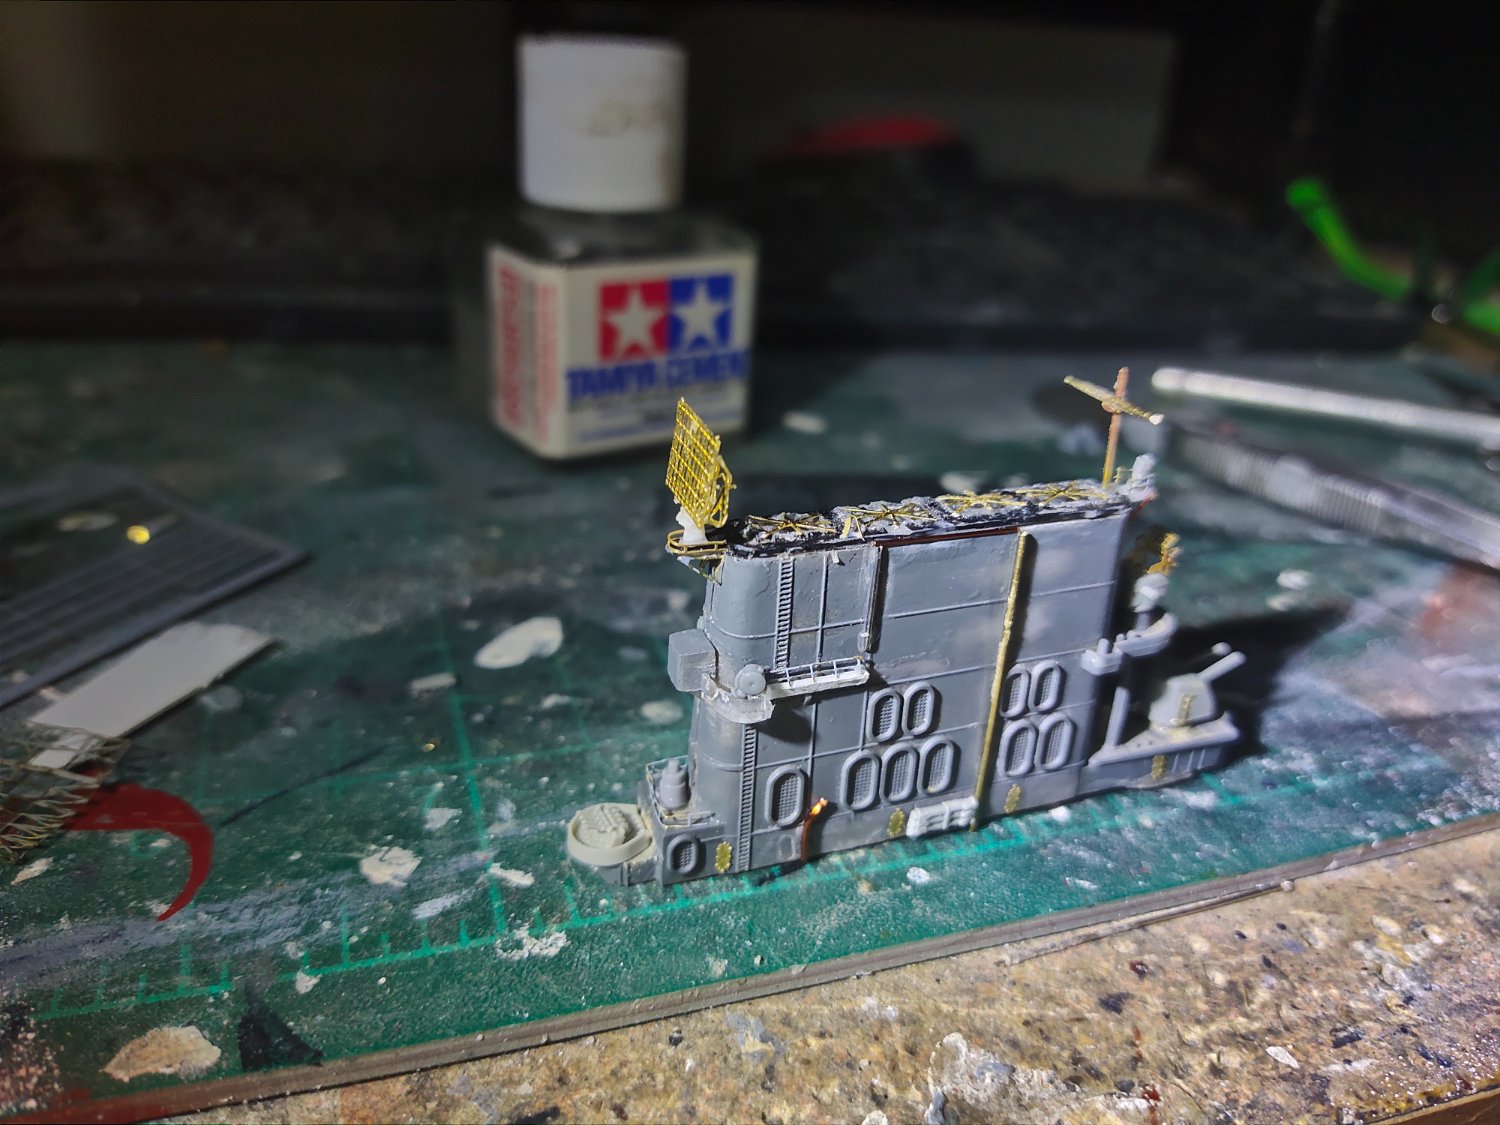
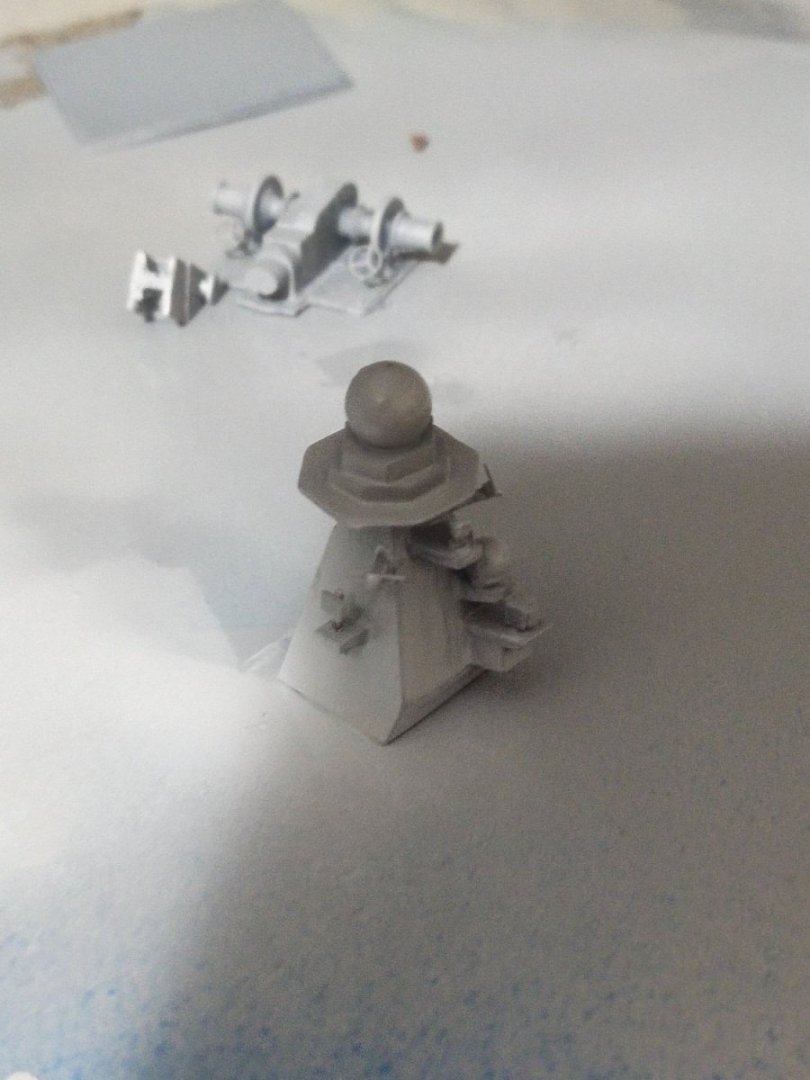
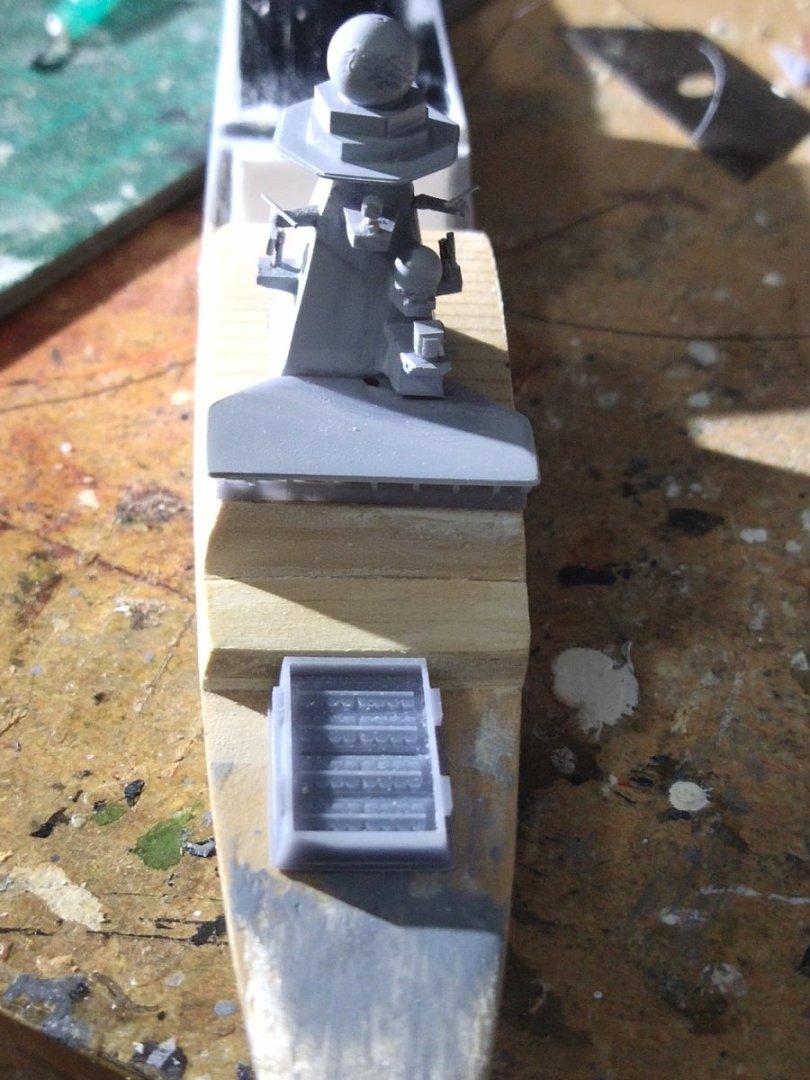
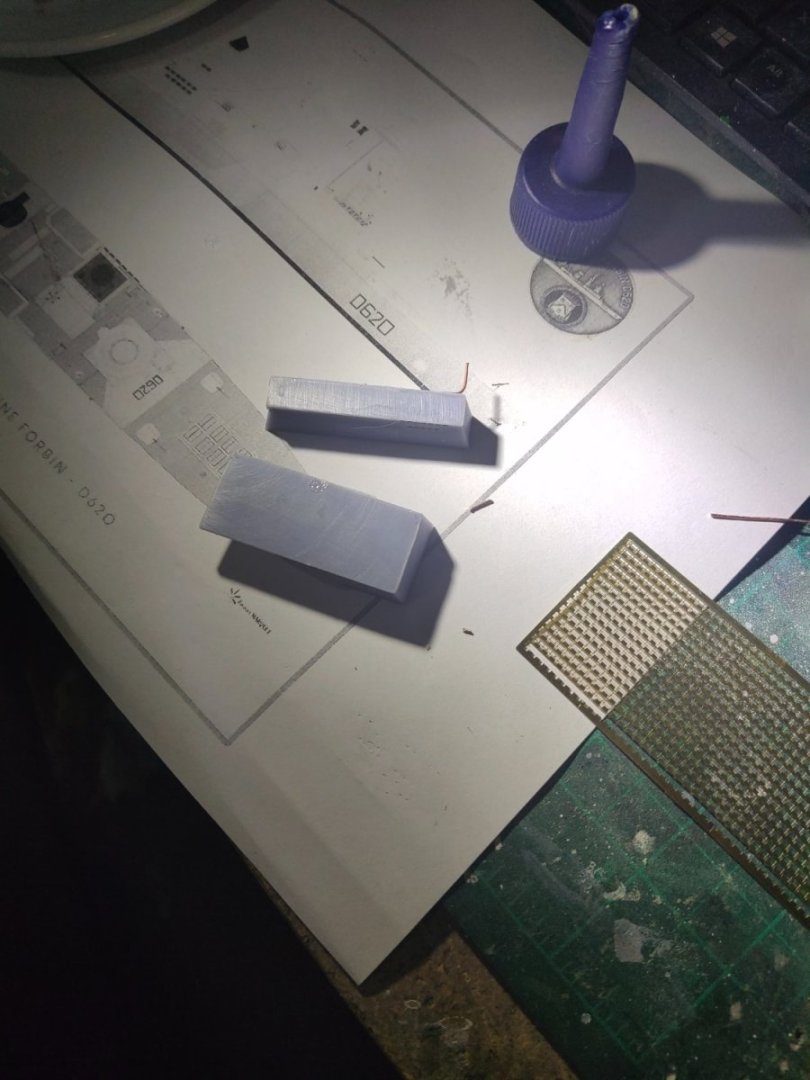
Back to work after recovery from some neck pain The mast is ready. It was printed in two halves. Then I added details by hand. Not easy to mess with brittle resin tiny parts. But there supposed to be some fun right? Besides the final outcome was satisfying so worth the effort. Next part was the vertical launcher in front. With such details only a print was possible and it came as expected. One of the few parts that there was no need for a reprint.
- 10 replies
-
- 7
-
-
- finished
- Horizon-class
- (and 1 more)
-
Cold weather caused me some back neck pain which kept me out of work for some days. Anyway I managed to add some details. Funnel top in reality is actually curved towards sides not straight as in the model. I decided to work on it as it is. Added radar, mast, new platform with railings. Replaced Mk37 director with PE parts, new 5" and 0.5" guns. Added piping using brass wire and added doors. Gave it a coat of primer. However I de

-
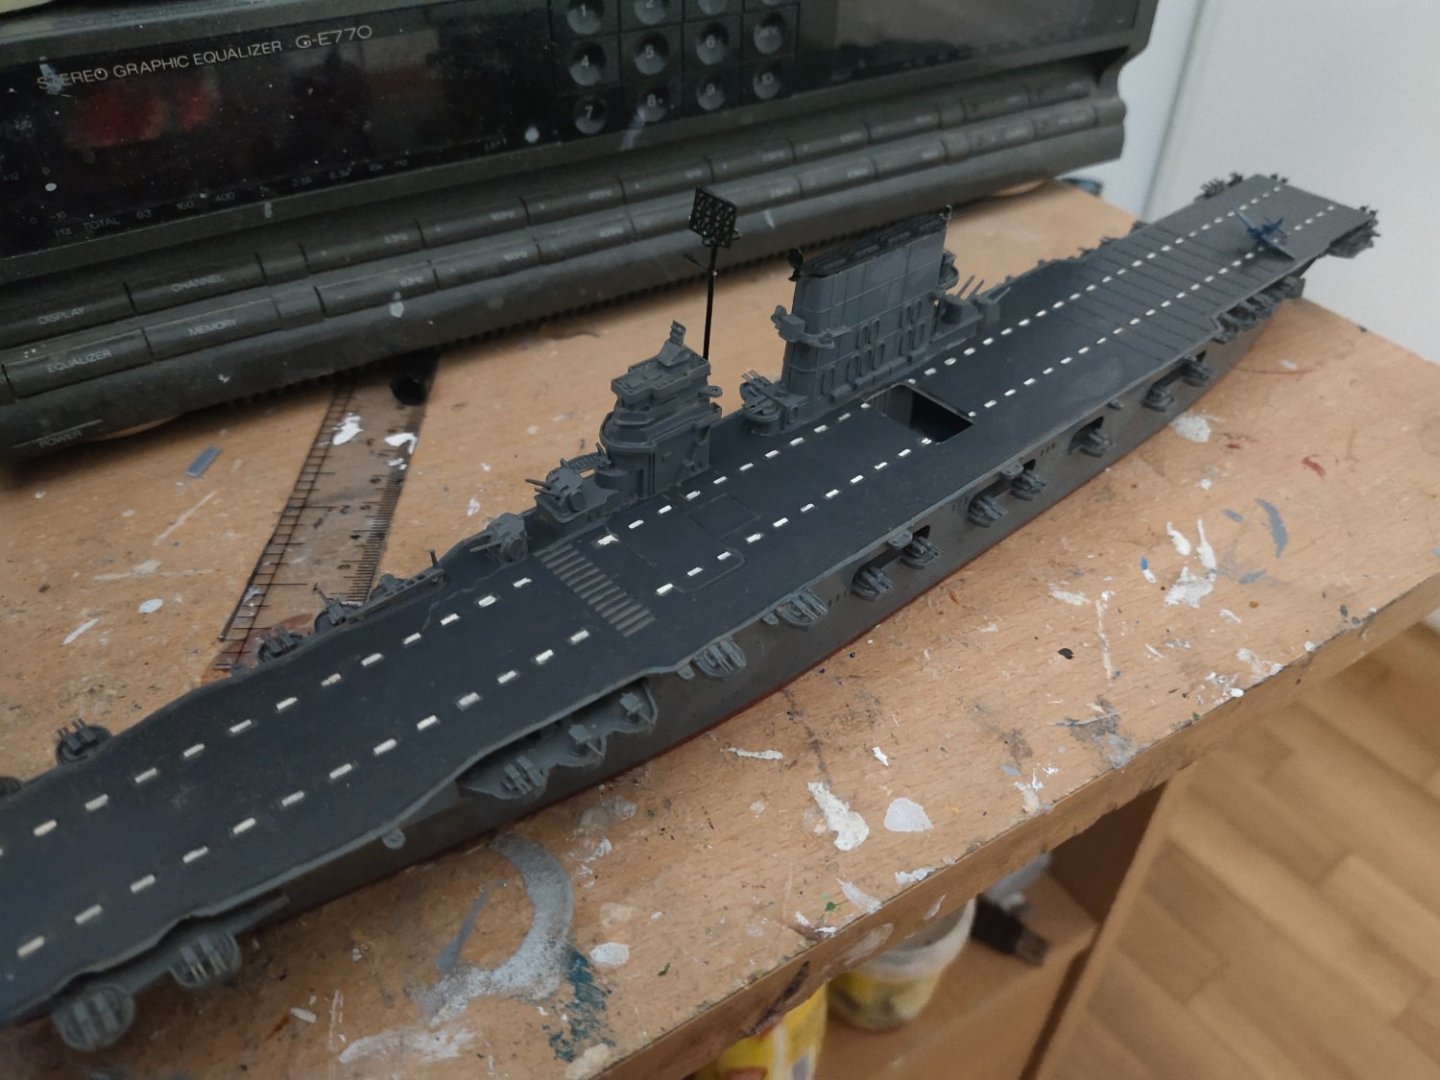
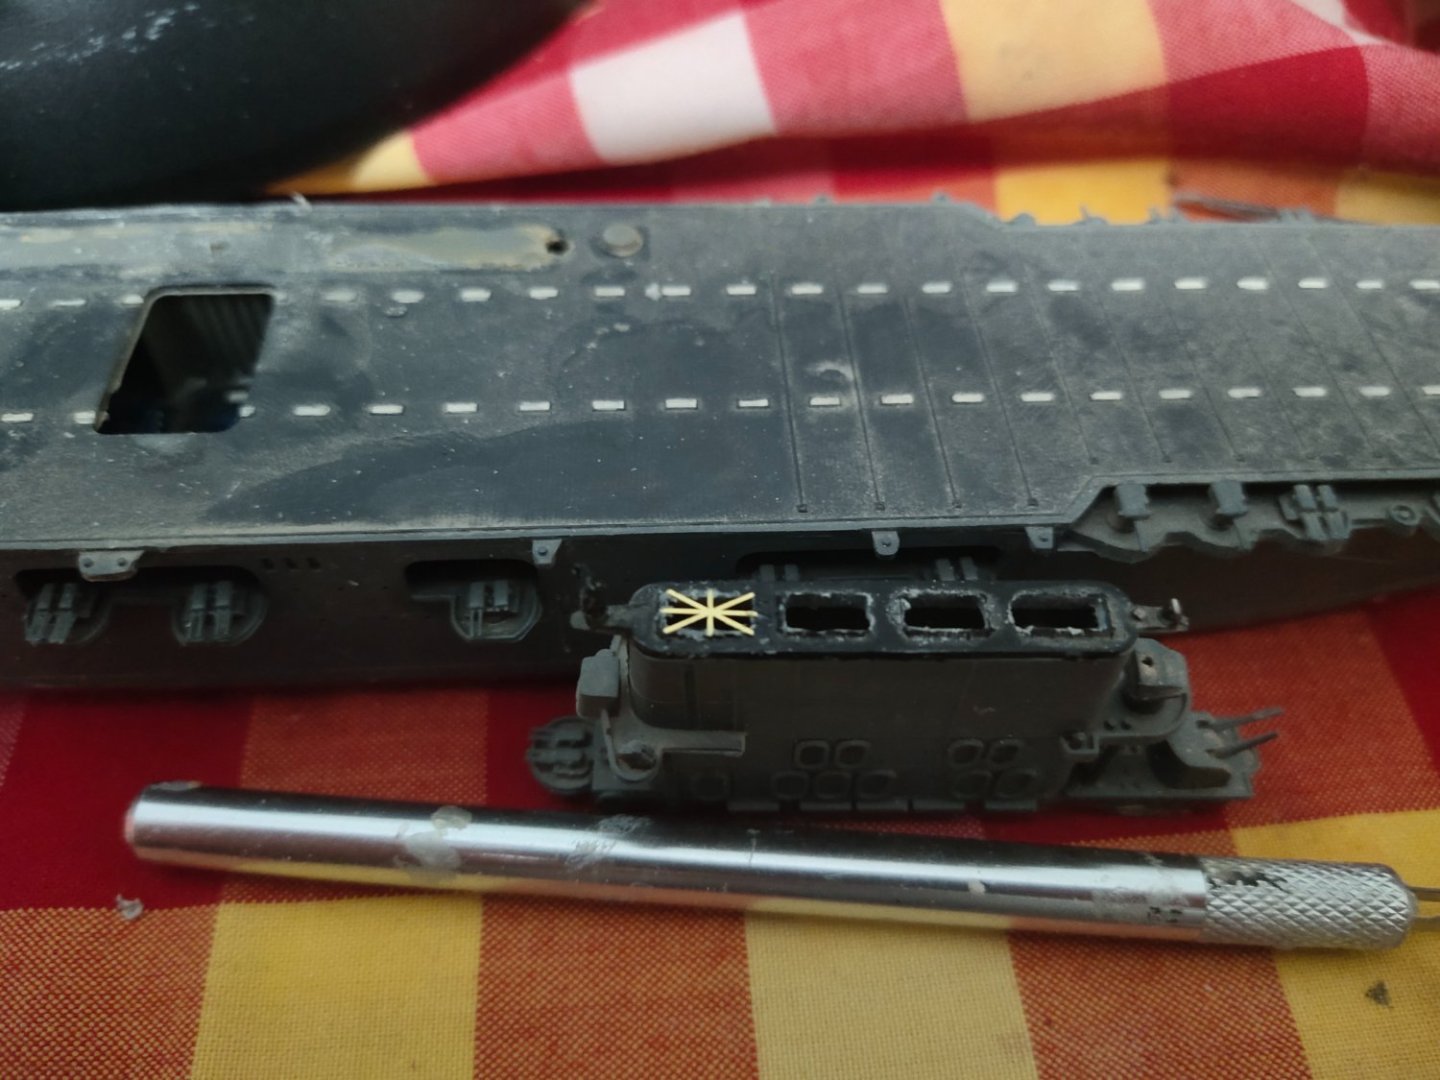
A simple wash transformed the look of the model. Its almost intact no major repairs to be done. I will start with the funnel. Fujimi represents Saratoga in 1942 so I found a pic of this period to use it as a guide
_on_14_May_1942.jpg.8481d430011dab0bbcfa4b1774f1b3e0.jpg)
-
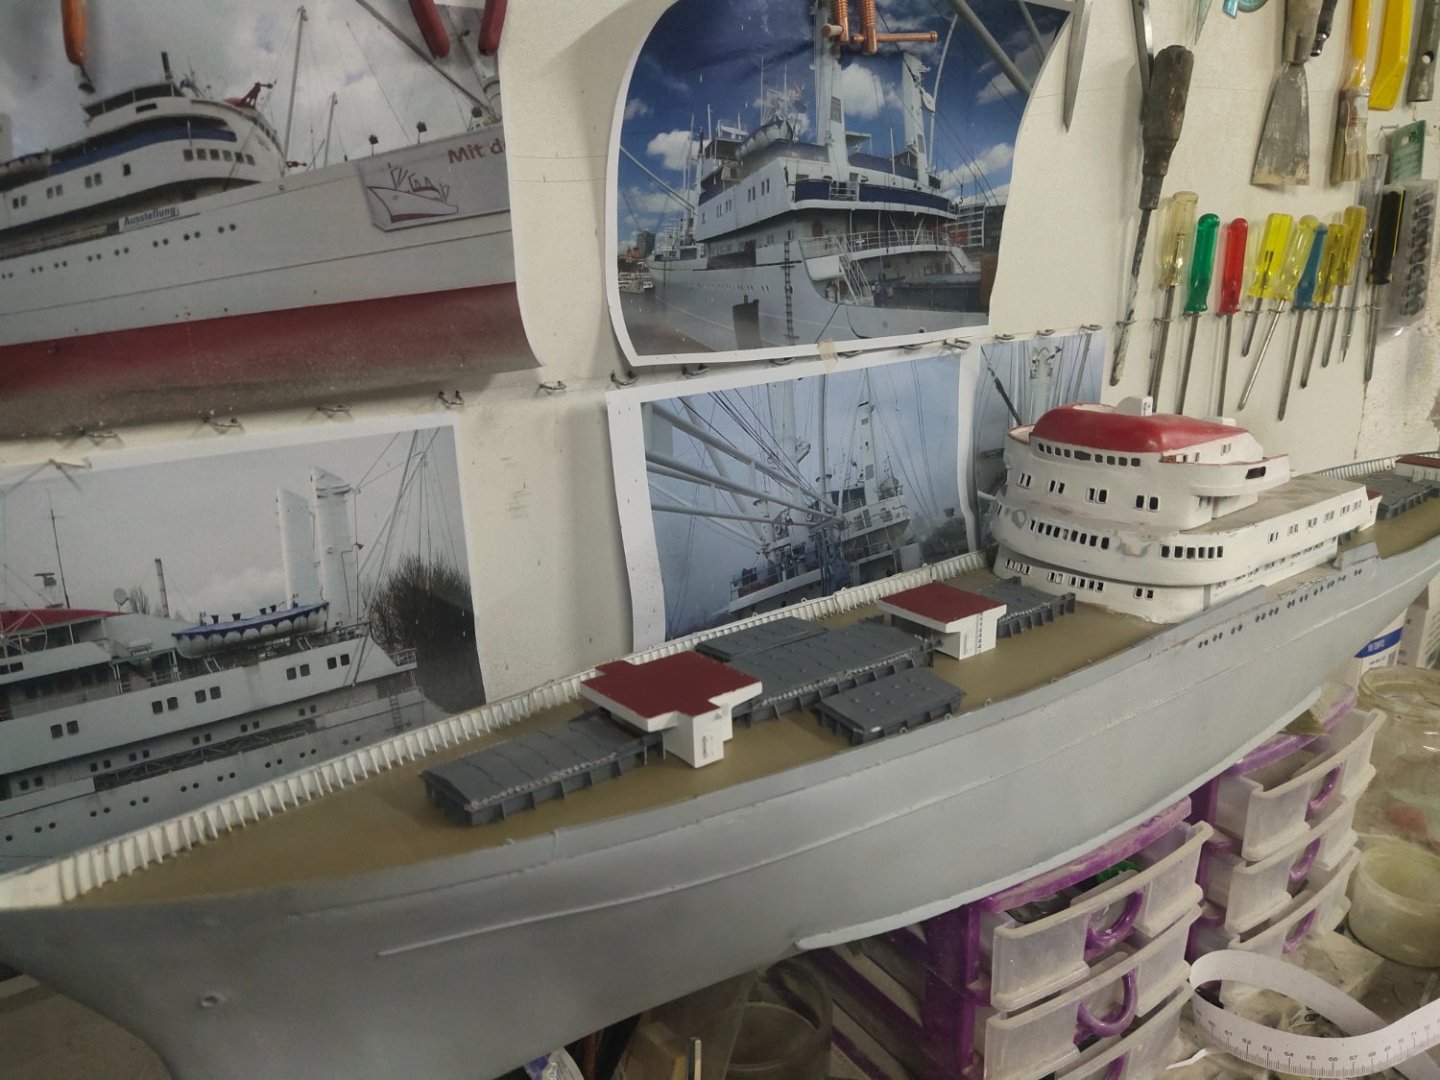
Cap San Diego by mikegr - 1/160
mikegr replied to mikegr's topic in - Build logs for subjects built 1901 - Present Day
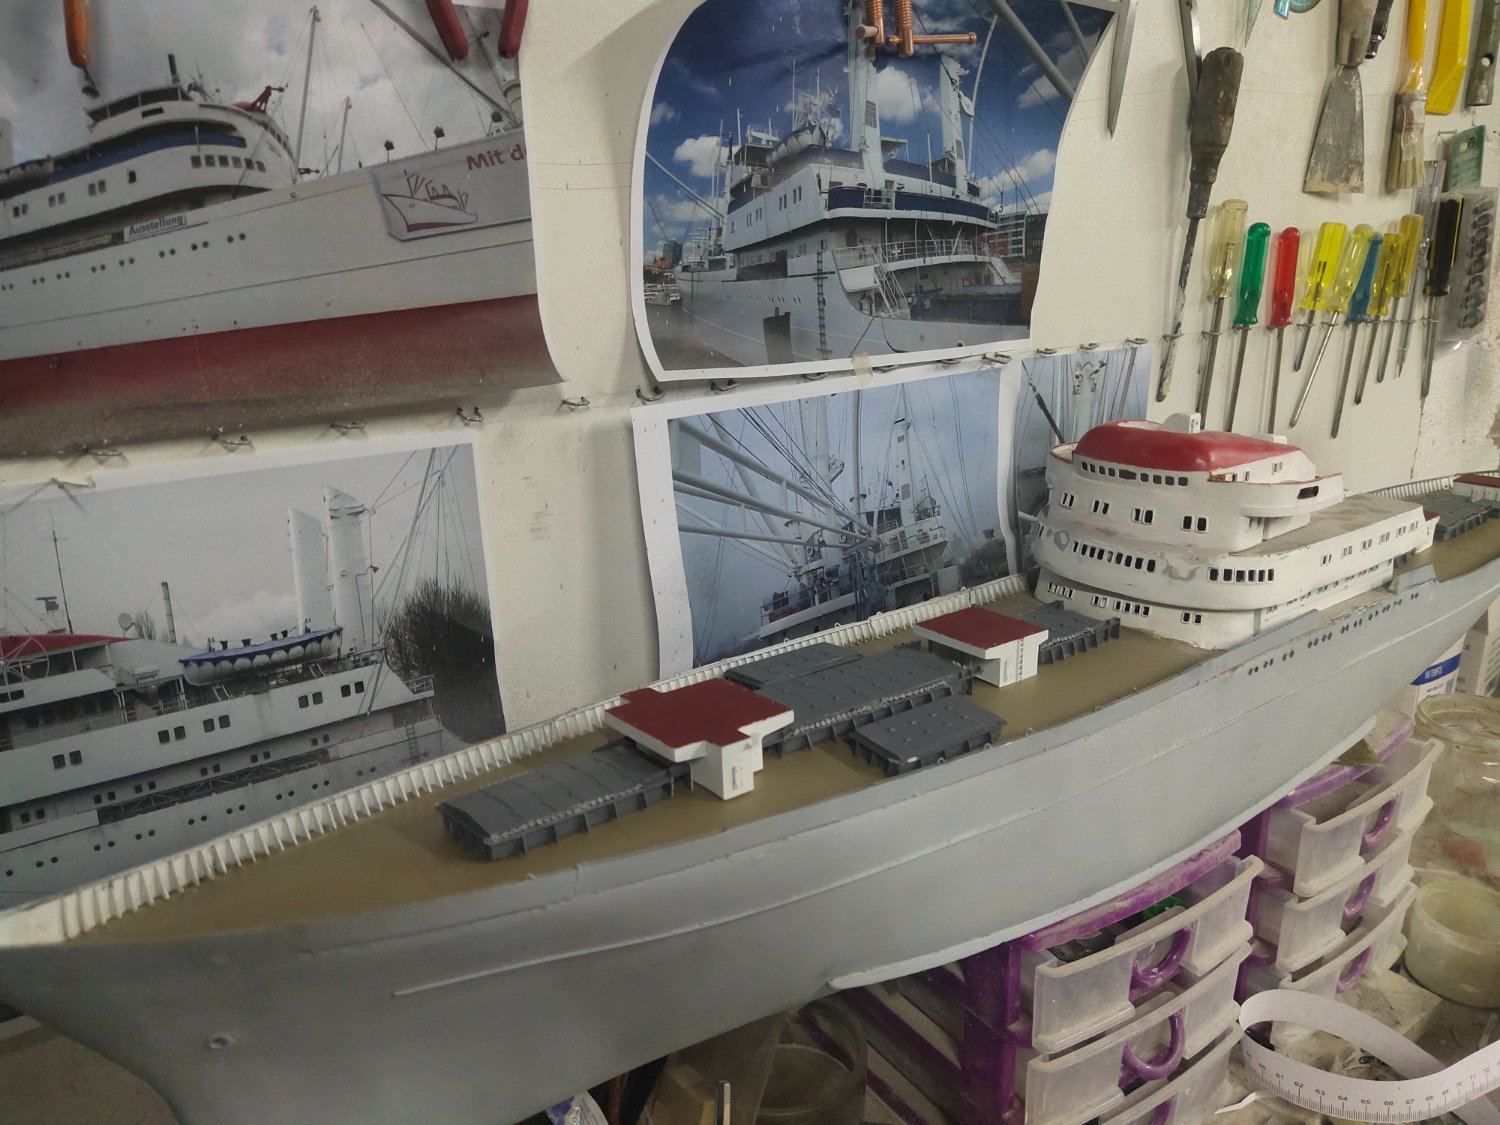
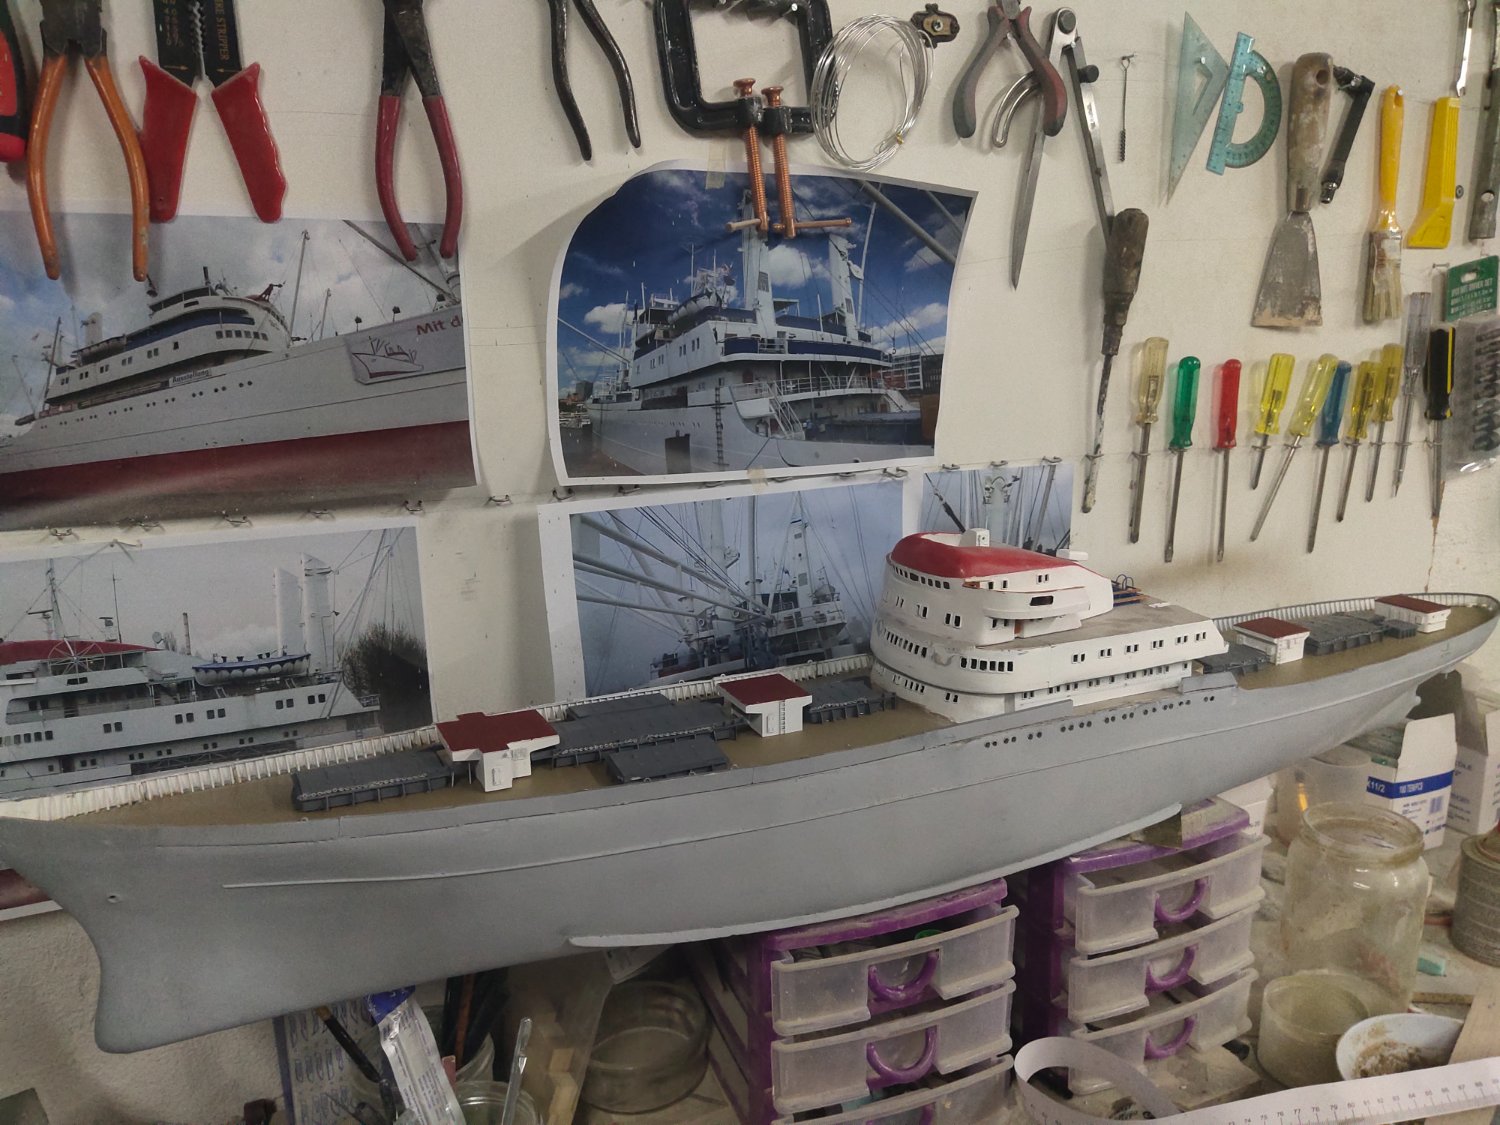
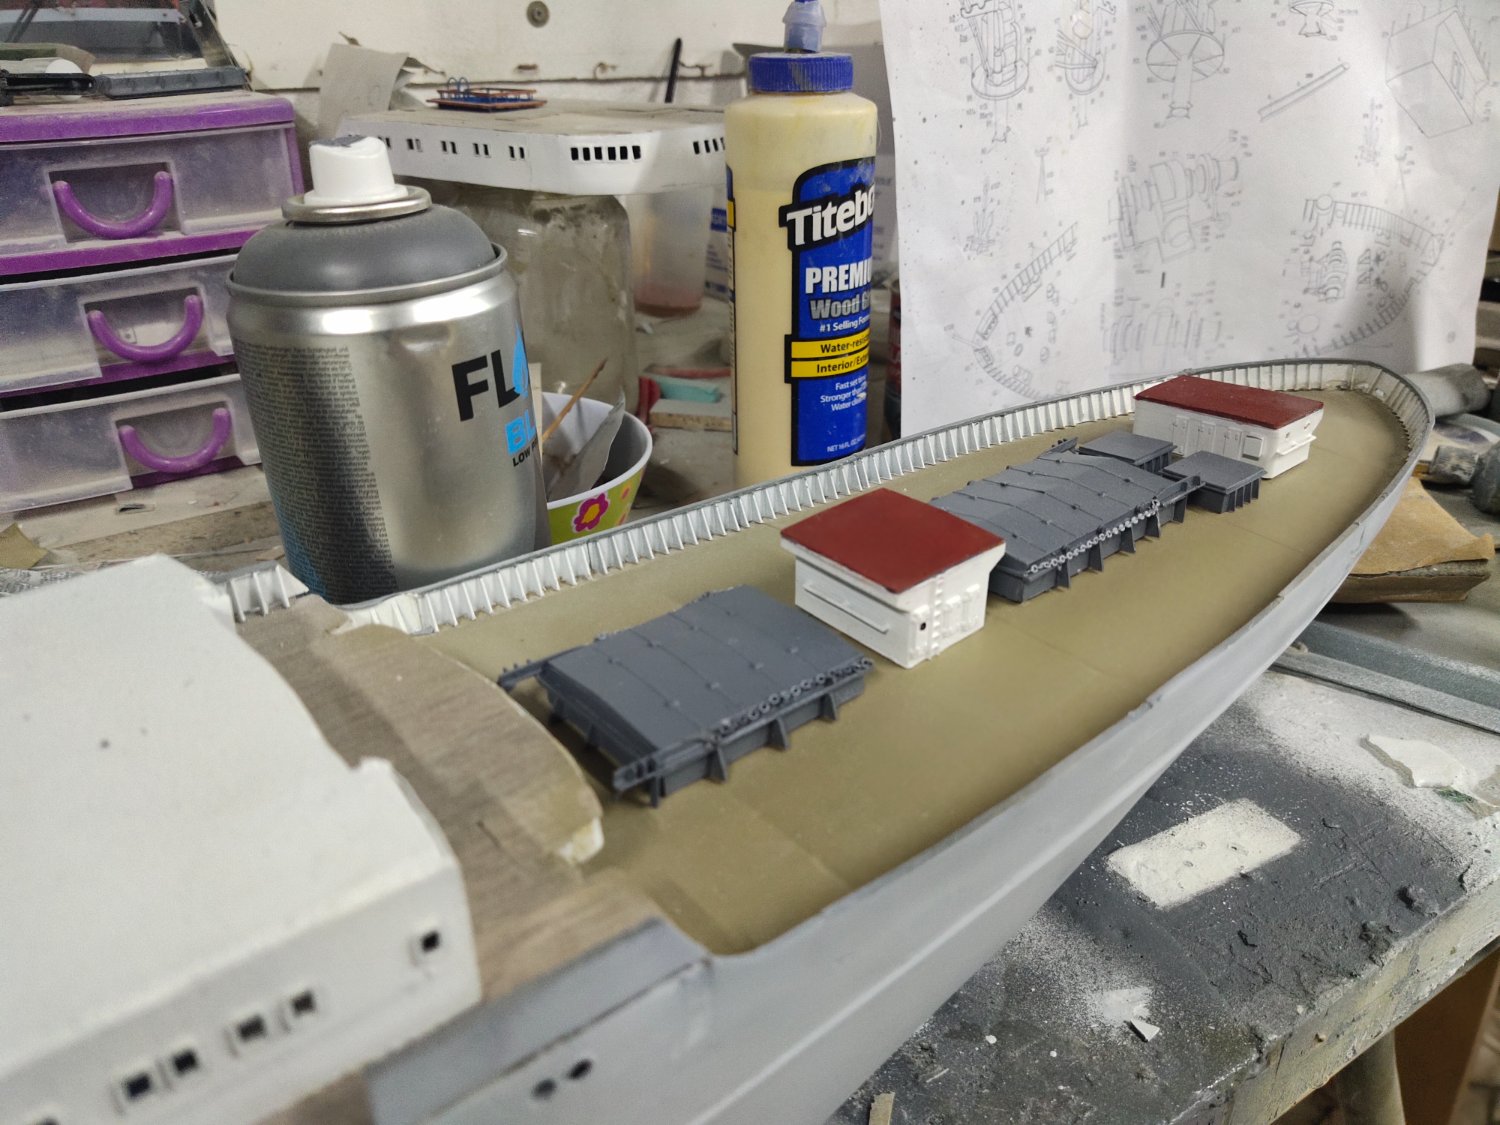
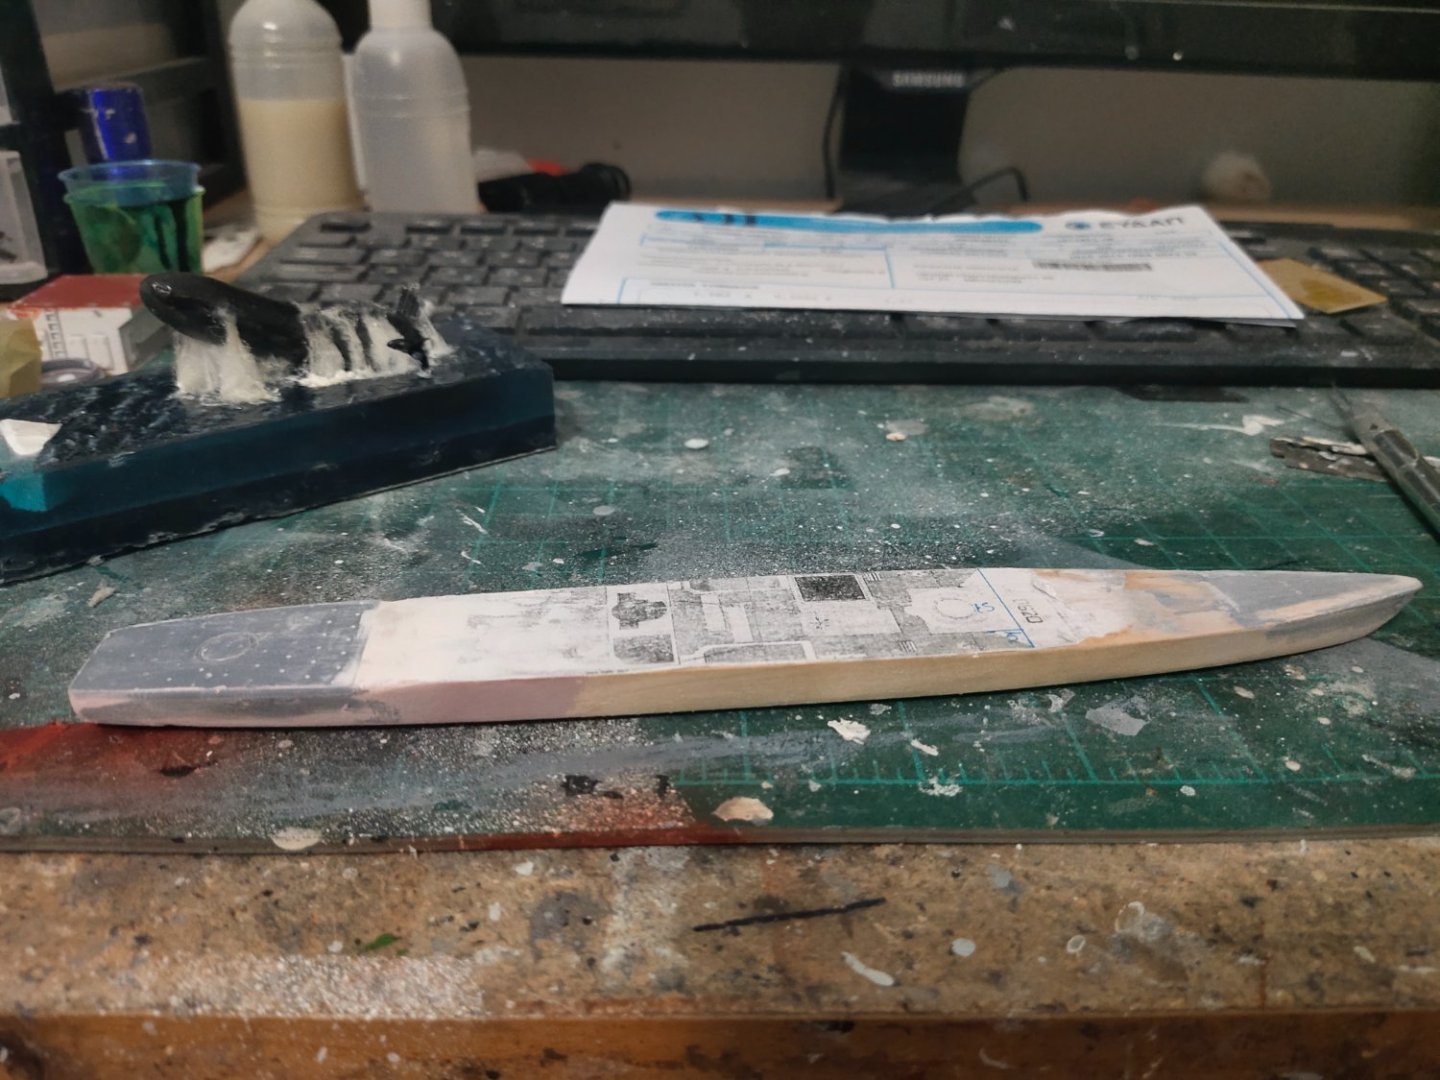
Like in the rear section I printed the crane bases-rooms for the front part. The cargo holds are already in place. I took the long time abandoned superstructure pieces and joined them together with wood glue and body car filler on the front side. After sanding it become smooth, needs to br painted. All parts were placed on deck for final fitting and evaluation.


-
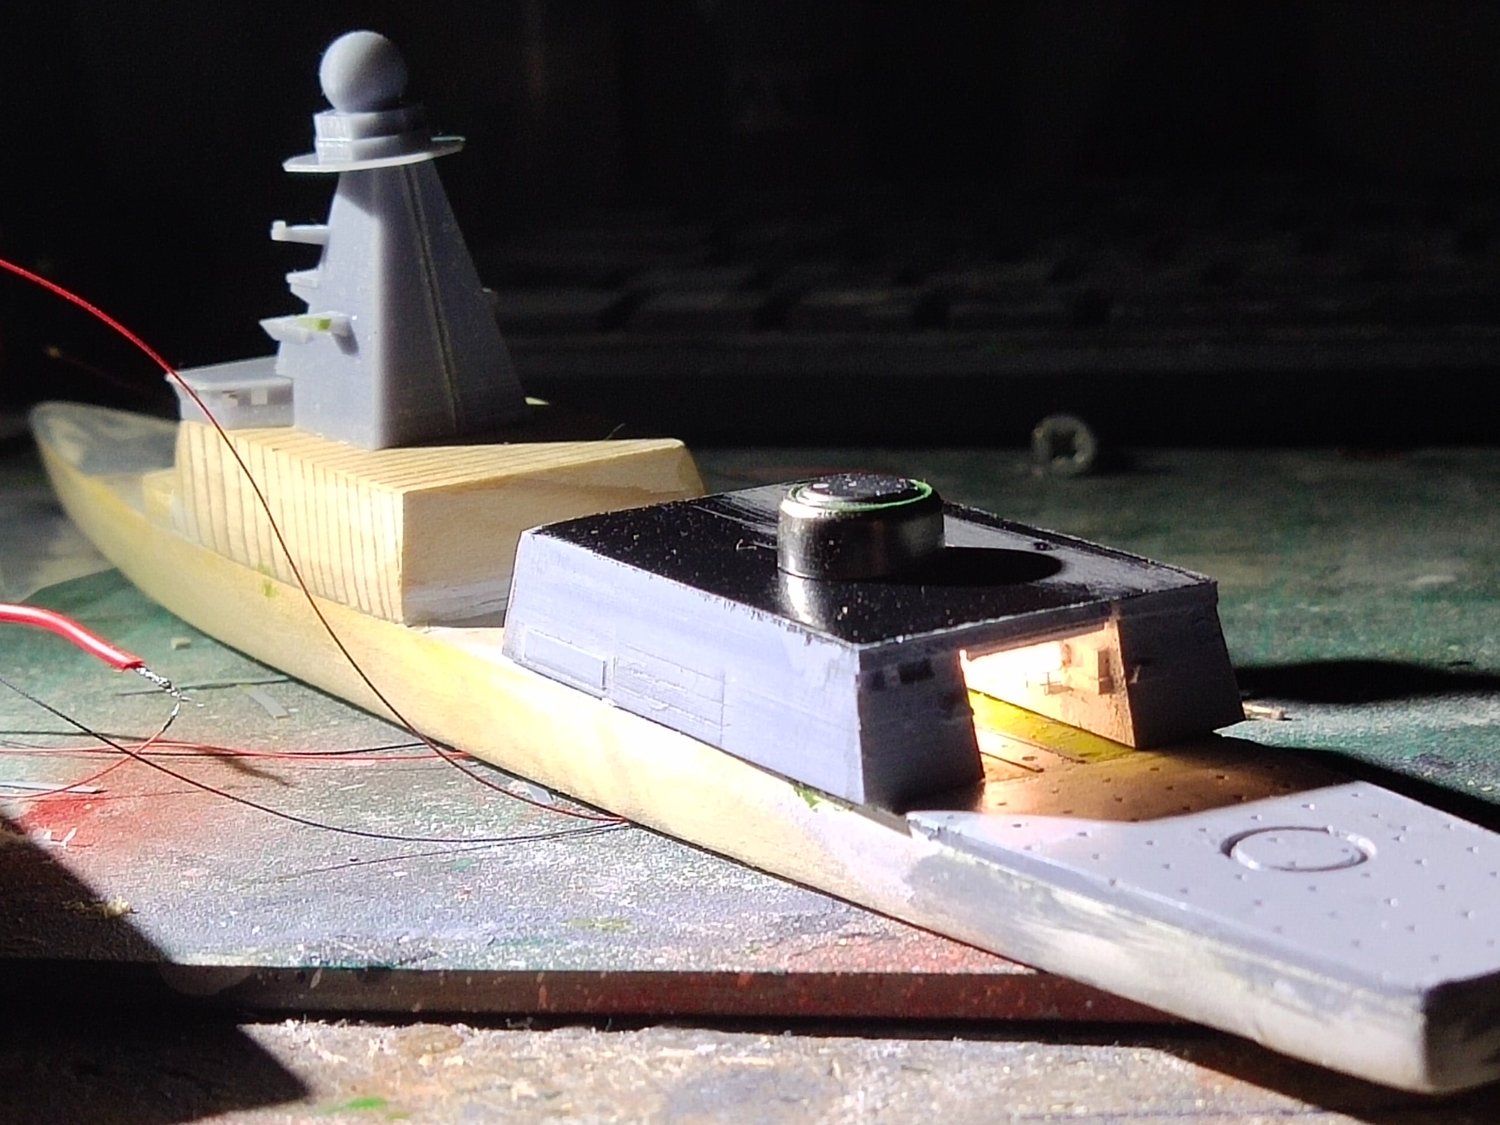
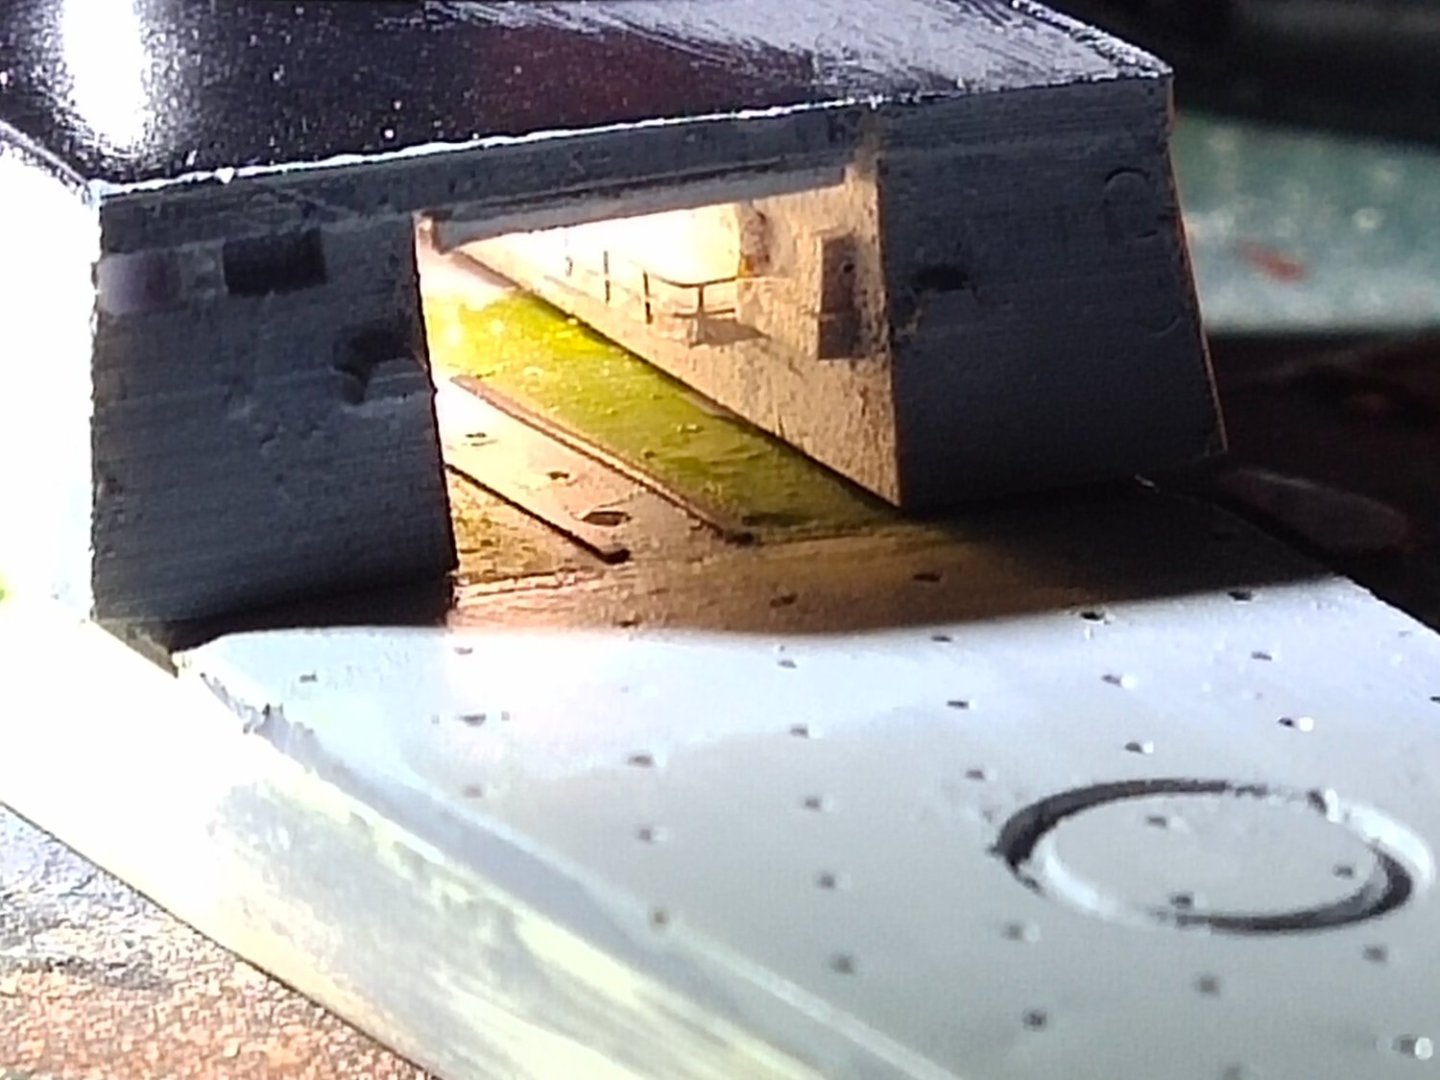
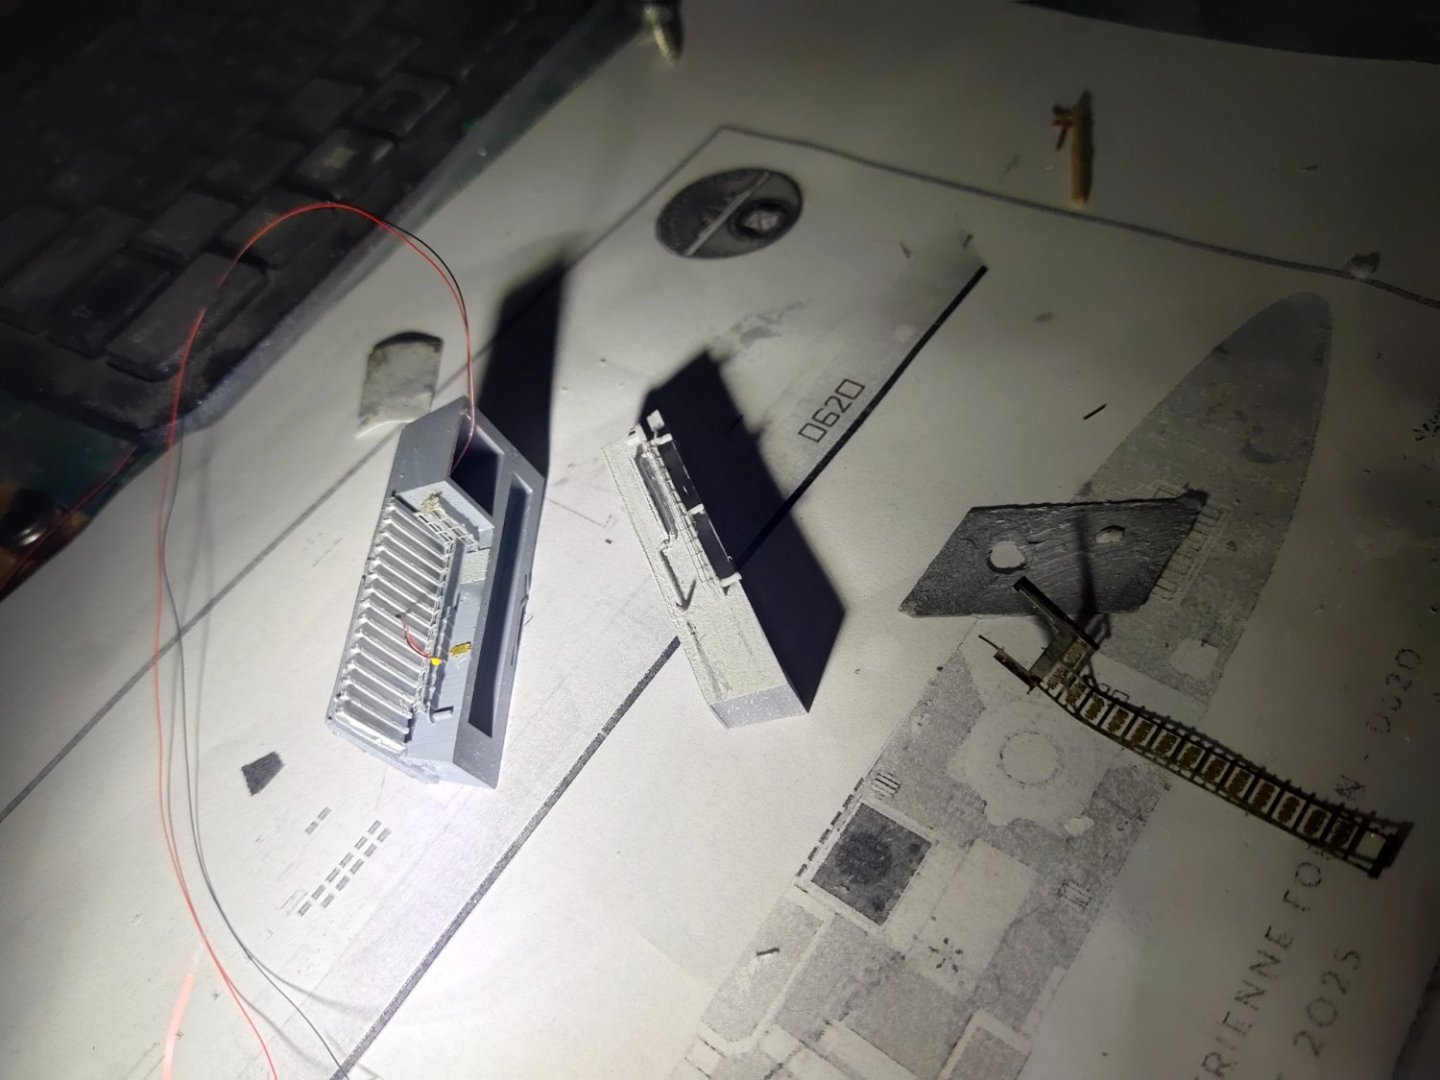
The hangar is complete. I did some test fitting experimenting with the LED fitting while paint was fresh yet. Then I test fitted some others printed parts, bridge and radar mast


- 10 replies
-
- 5
-
-
- finished
- Horizon-class
- (and 1 more)
-
This is a test performed at almost 0 distance and 0 angle. In a real situation, say 30k+ yards at an impact of 40+ degrees the result would be far different from the one shown above http://www.navweaps.com/index_tech/tech-040.php
-
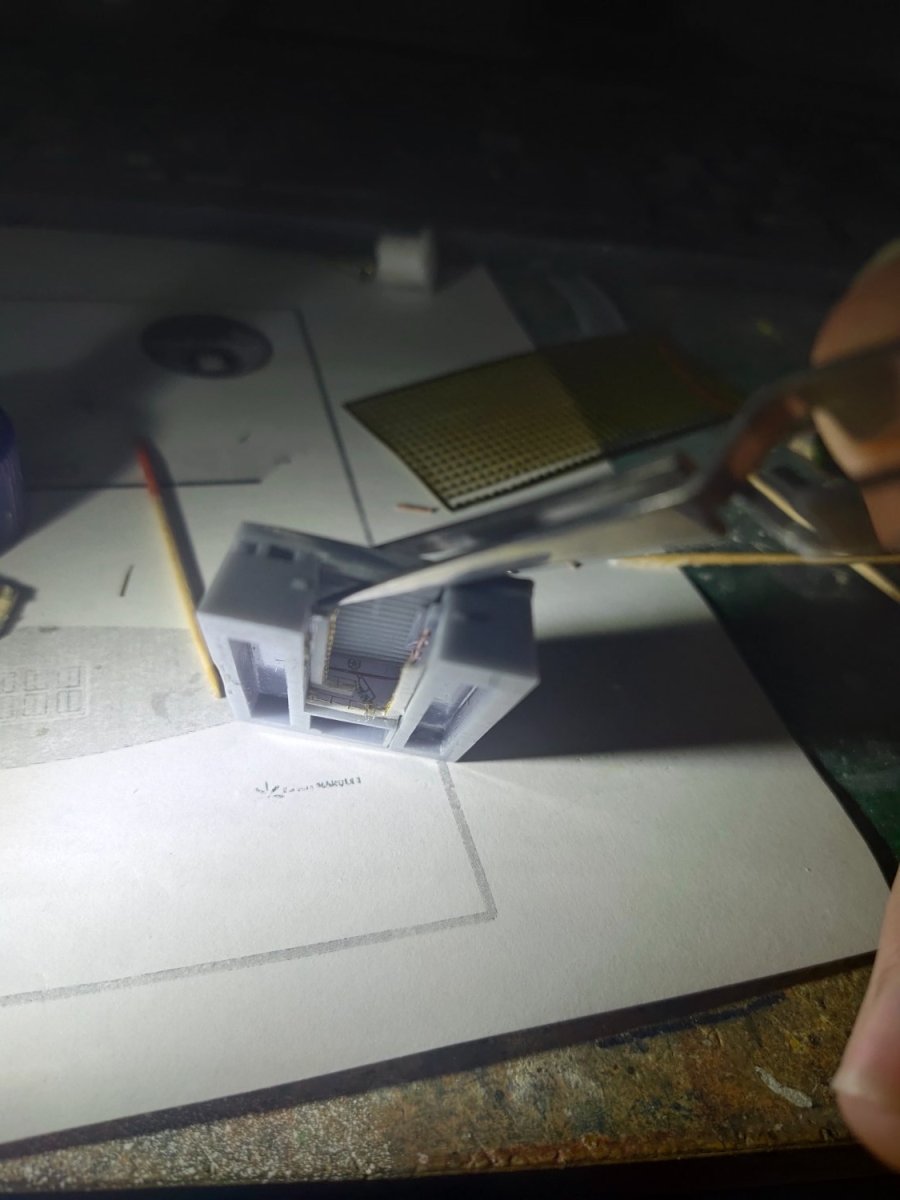
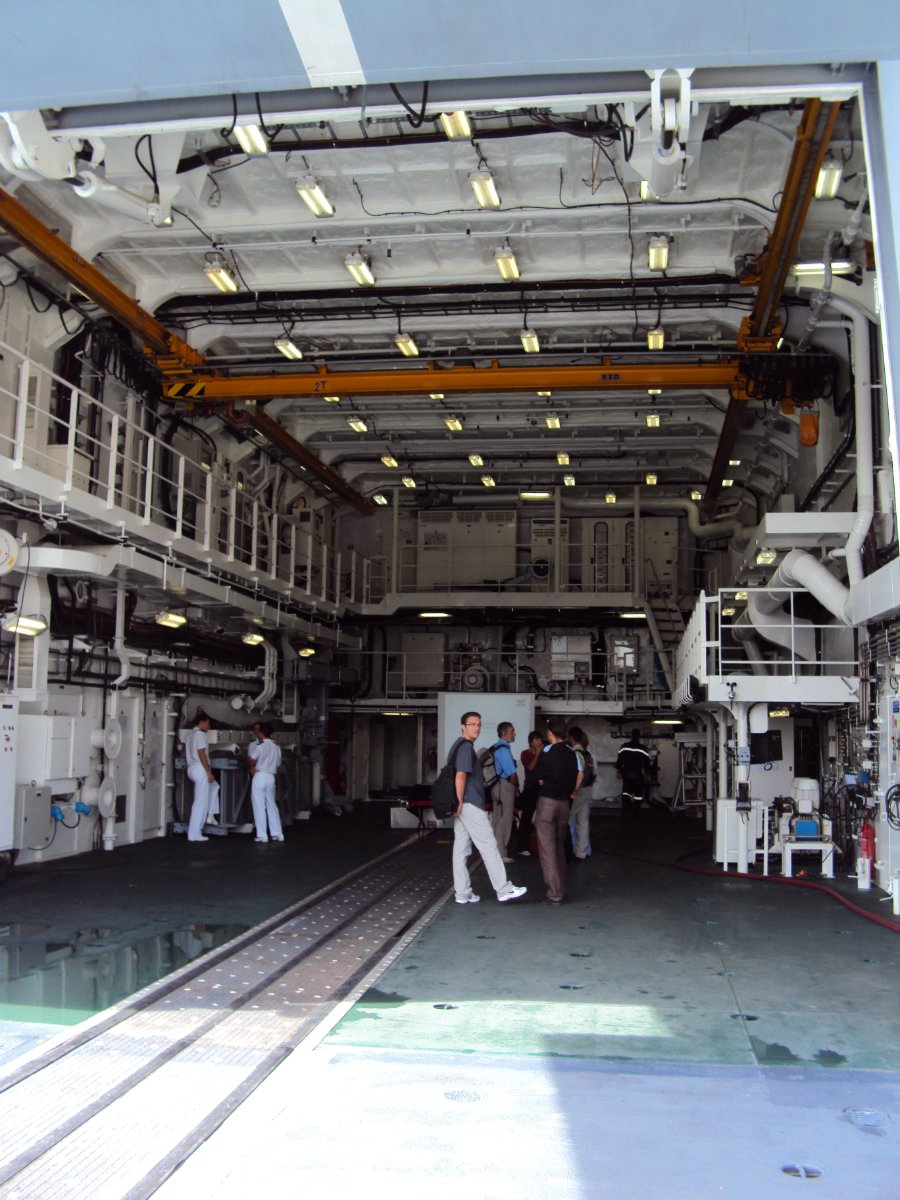
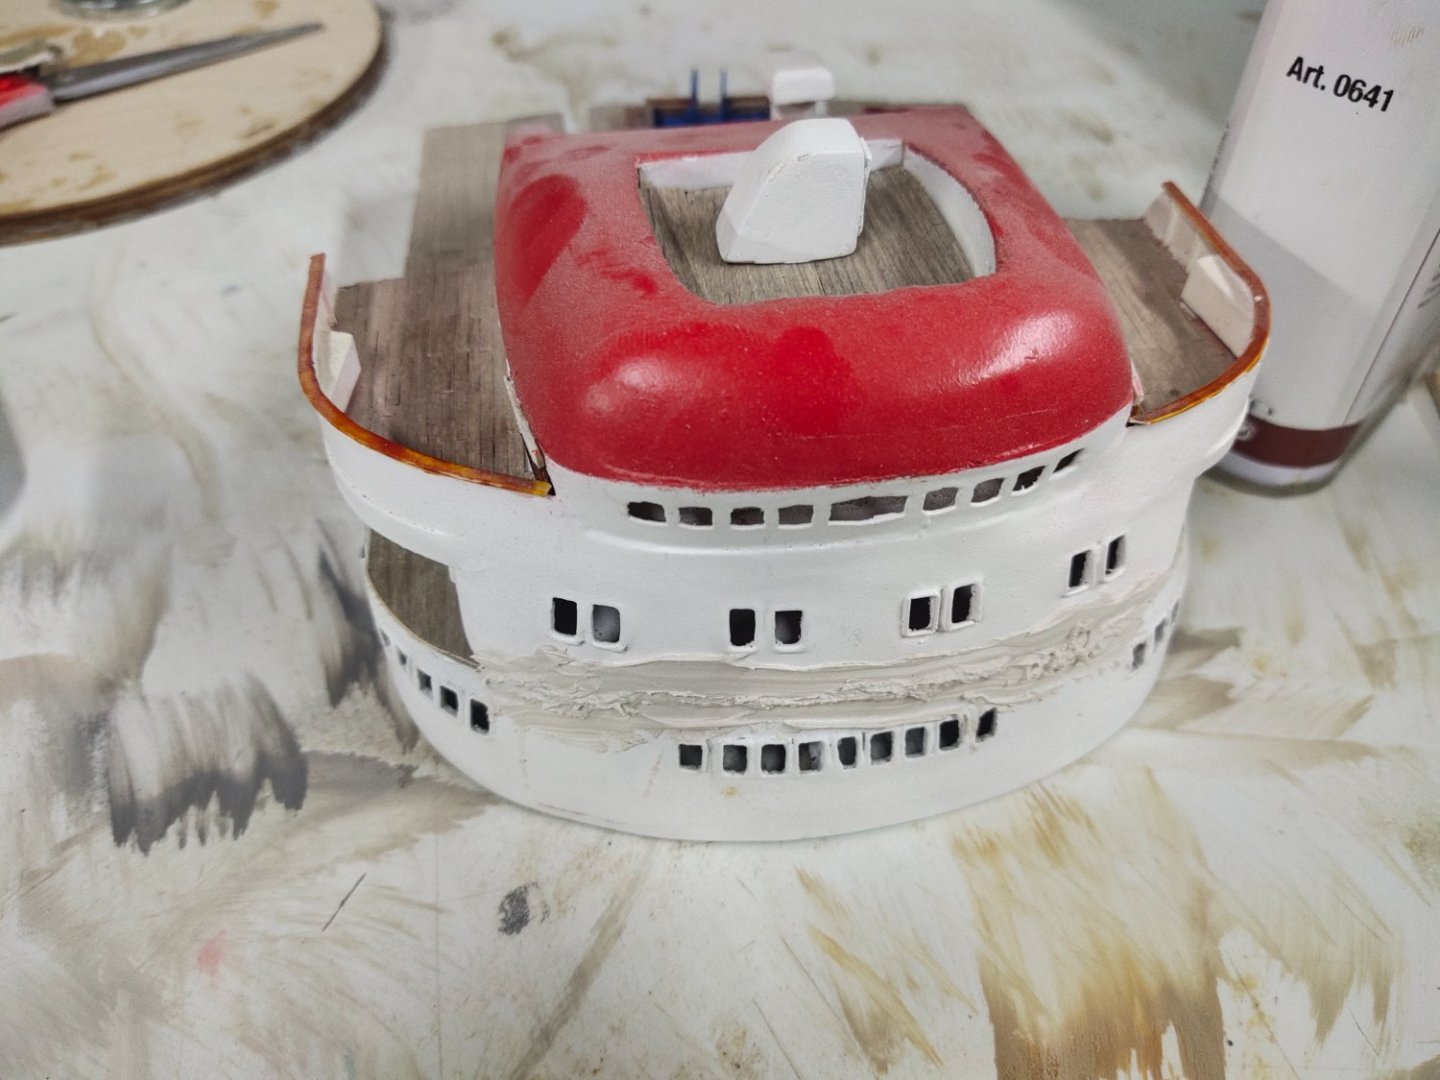
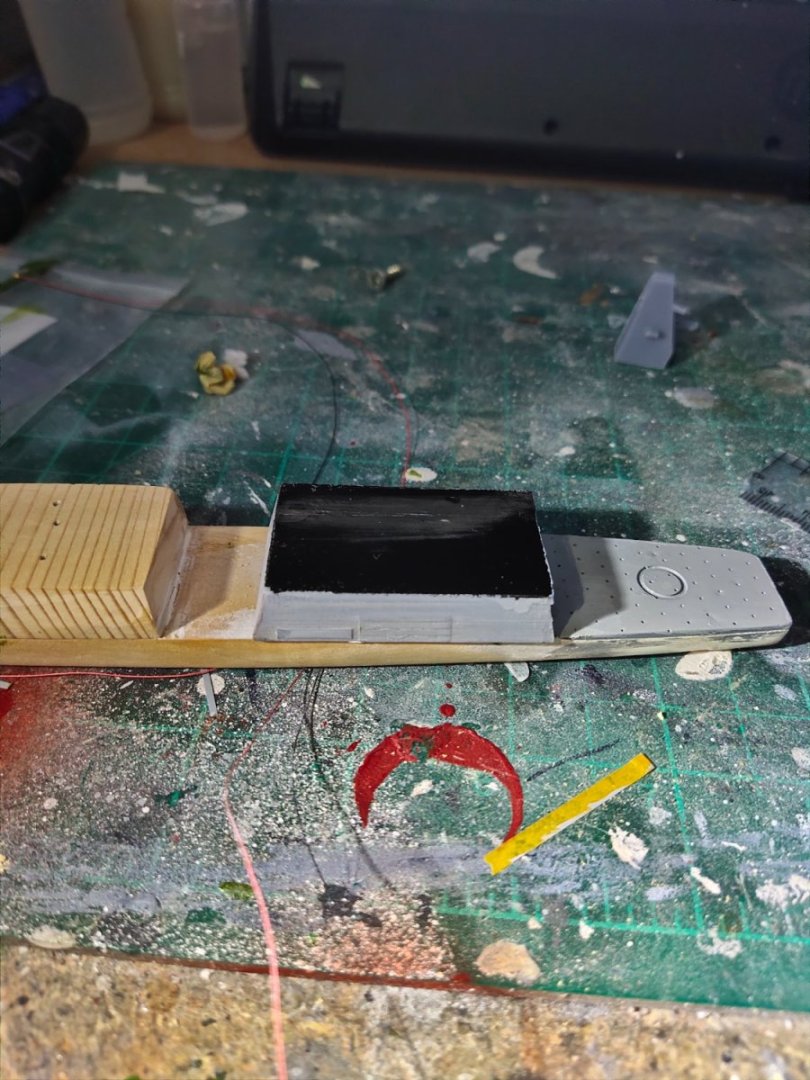
The next part was the forward superstructure. Sanded down to fit the hull then gave a coat of wood sealer. Then, bridge and hangar was printed and test fitted. Then I realized that I wanted to work the interior of the hangar, but at a dimension of approx. 12x30mm that was simply too narrow. So I decided to reprint it in two pieces splitted in 2/3 of the total width. Then work on interior begun. A paint disaster led me to a 3rd print but after work and experimentation I got a positive result.


- 10 replies
-
- 5
-
-
- finished
- Horizon-class
- (and 1 more)
-
Cap San Diego by mikegr - 1/160
mikegr replied to mikegr's topic in - Build logs for subjects built 1901 - Present Day
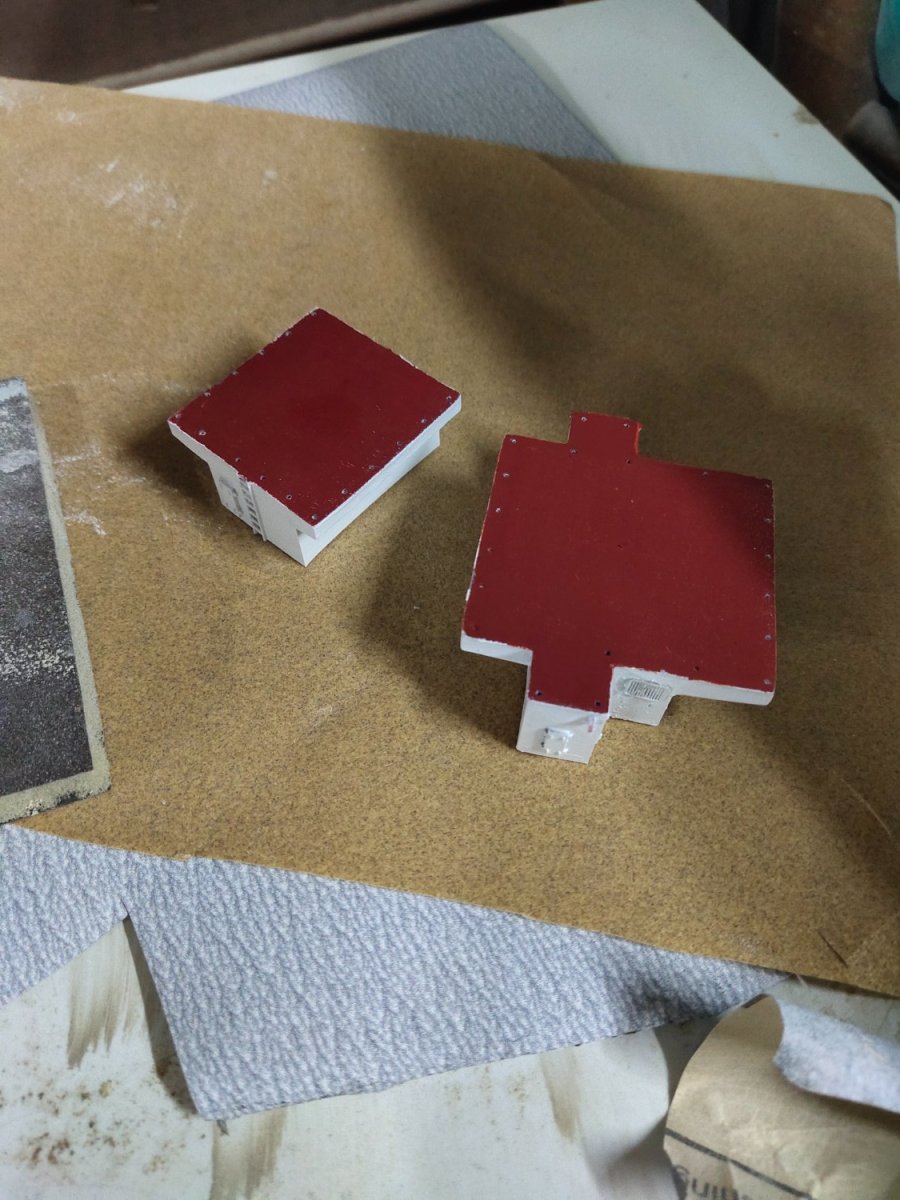
Next step was to test fit rear area cargo holds and crane bases. Chain is a bit overscale maybe but the result is acceptable. Cargo holds are scratch built and crane bases -which are also storage rooms- are 3d printed. I need only to sand them down so they can fit with the deck which leans towards the sides.

-
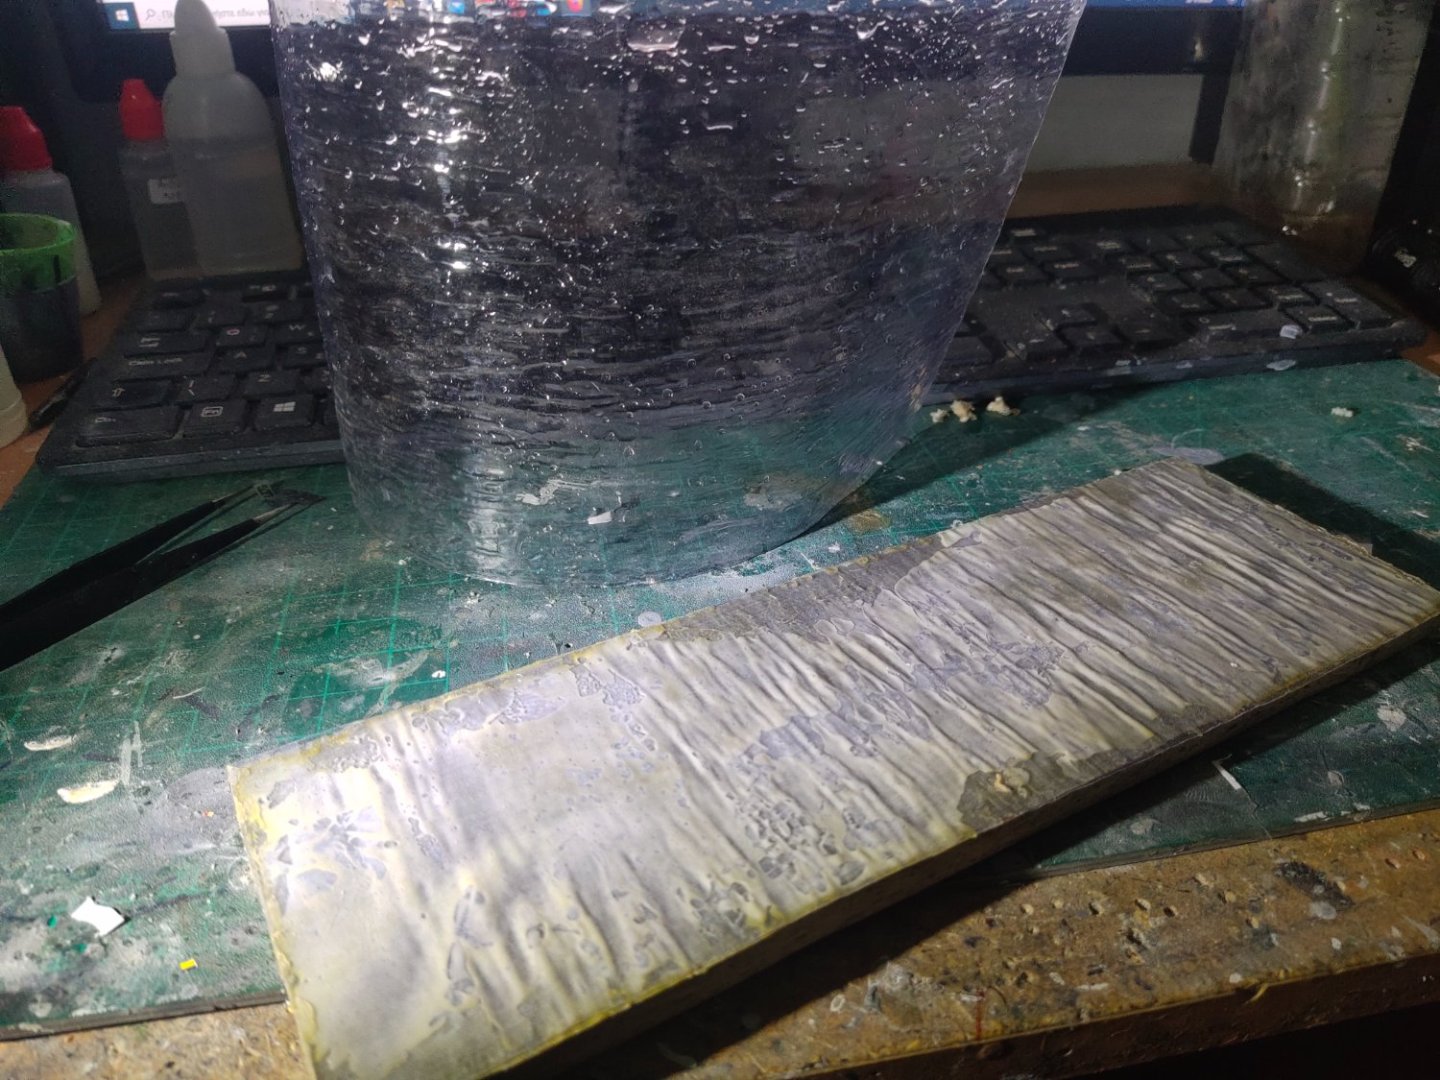
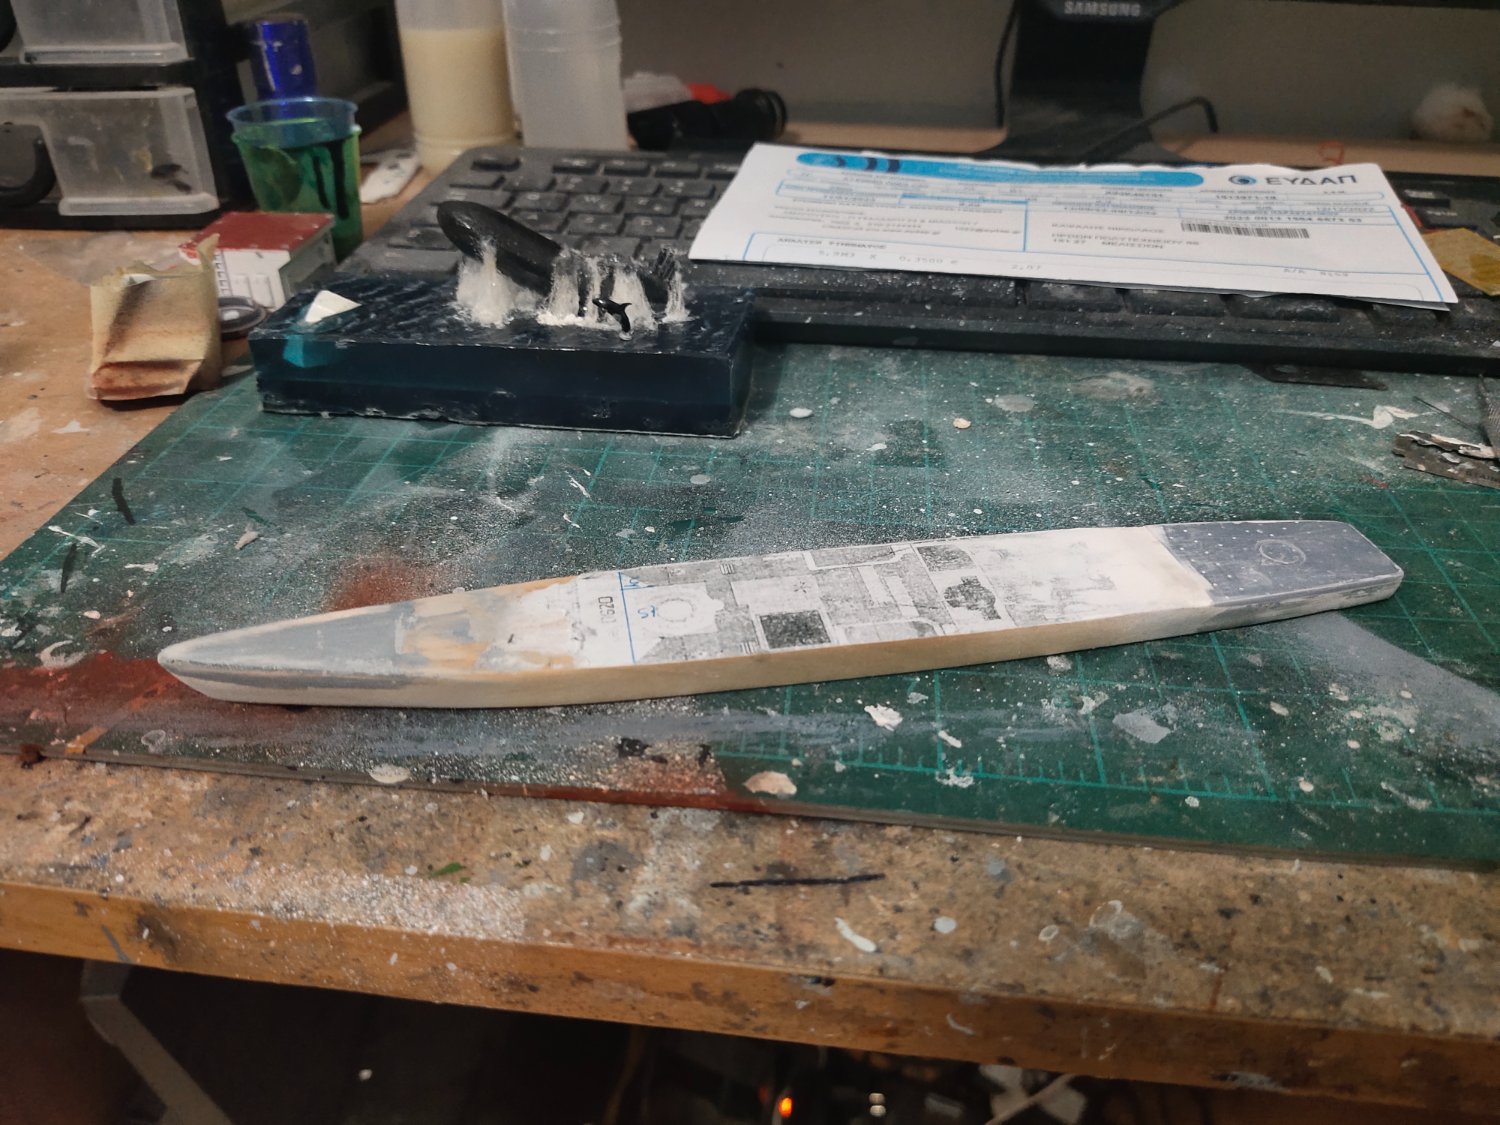
Like in the previous project I start building the hull with a piece of Swedish pine


- 10 replies
-
- 6
-
-
- finished
- Horizon-class
- (and 1 more)
-
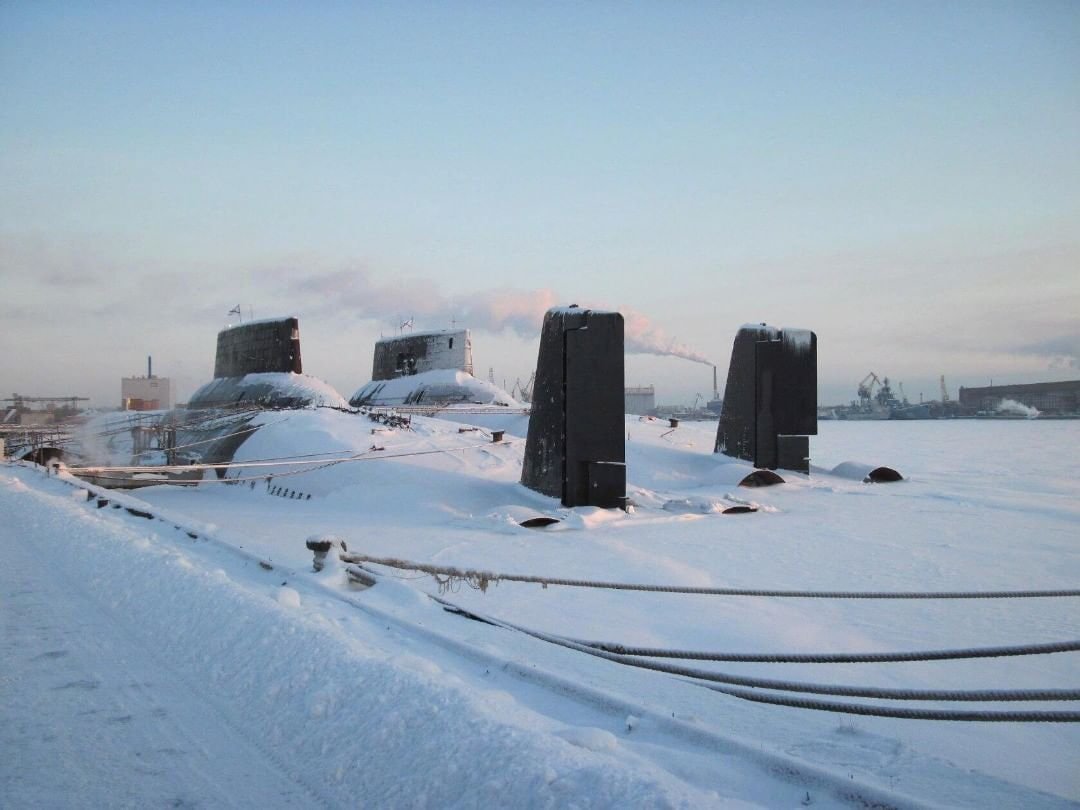
Indeed But for some people is just another day on ice😁 thank you for supporting my theme as always I guess if I triggered motivation that means the project is successful regardless optical outcome. thanks for the likes and support.
-
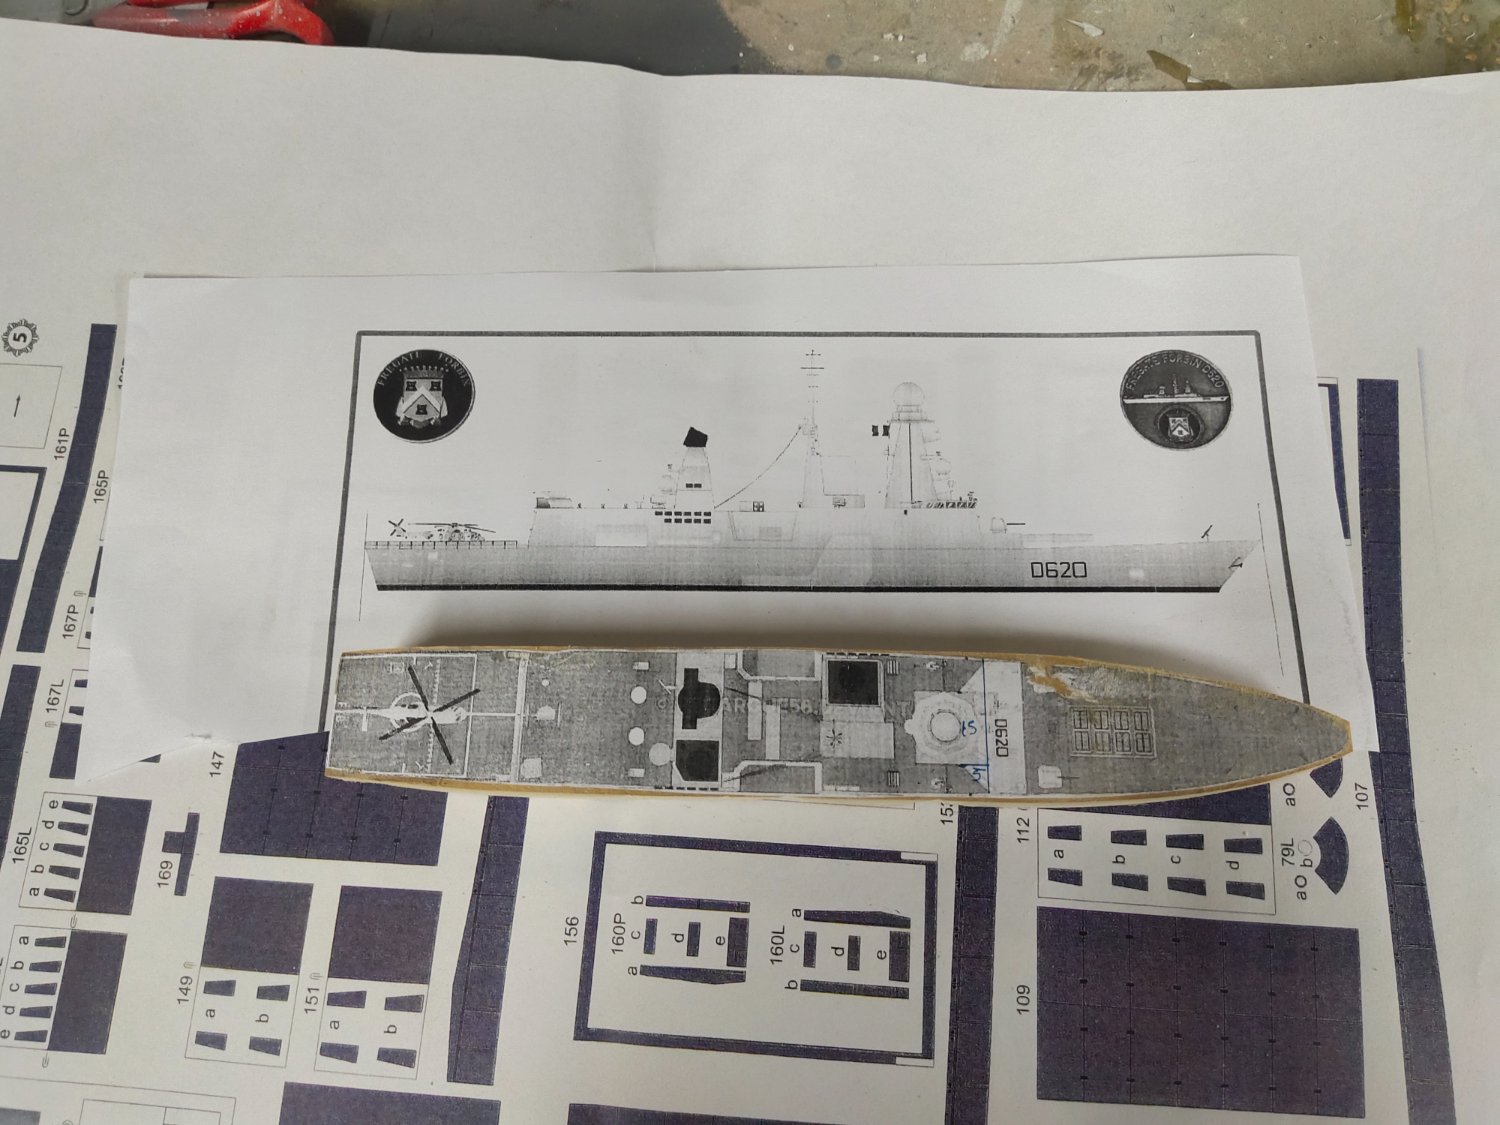
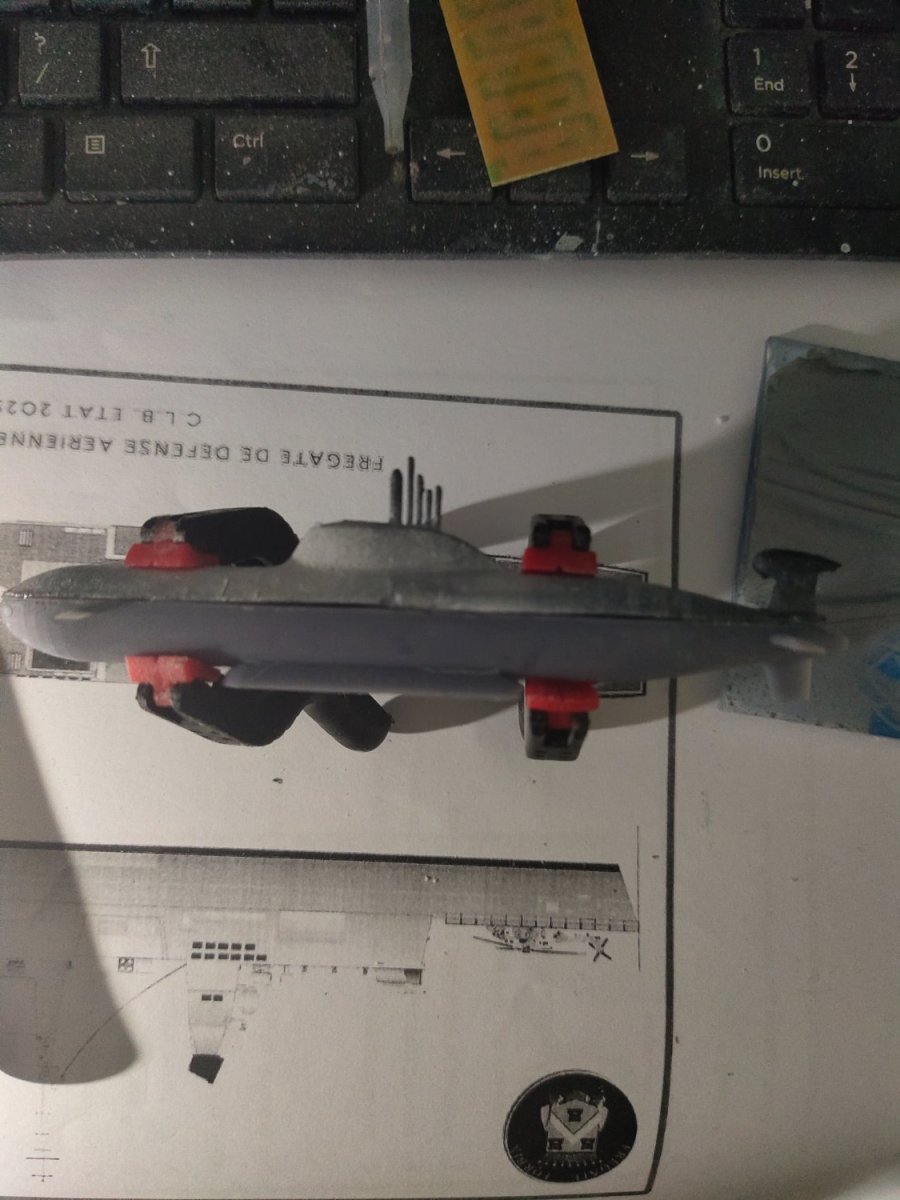
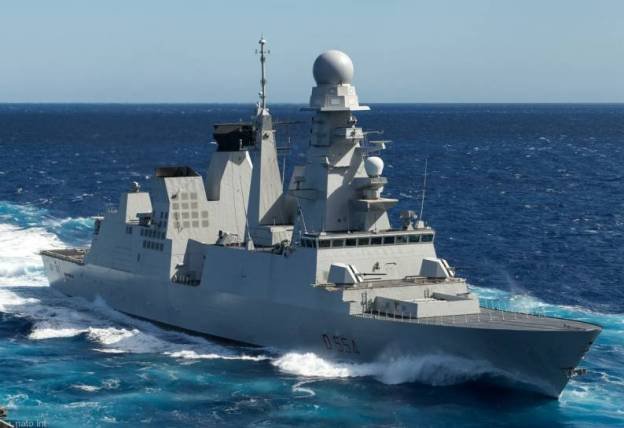
Horizon class is a modern type of warship a product of joint development by Italy, France and UK (which later withdraw to develop its own type 45 destroyer). Although classified as frigates at 7.000 dwt they are rather destroyers than frigates A comparison to the previous project
- 10 replies
-
- 4
-
-
- finished
- Horizon-class
- (and 1 more)
-
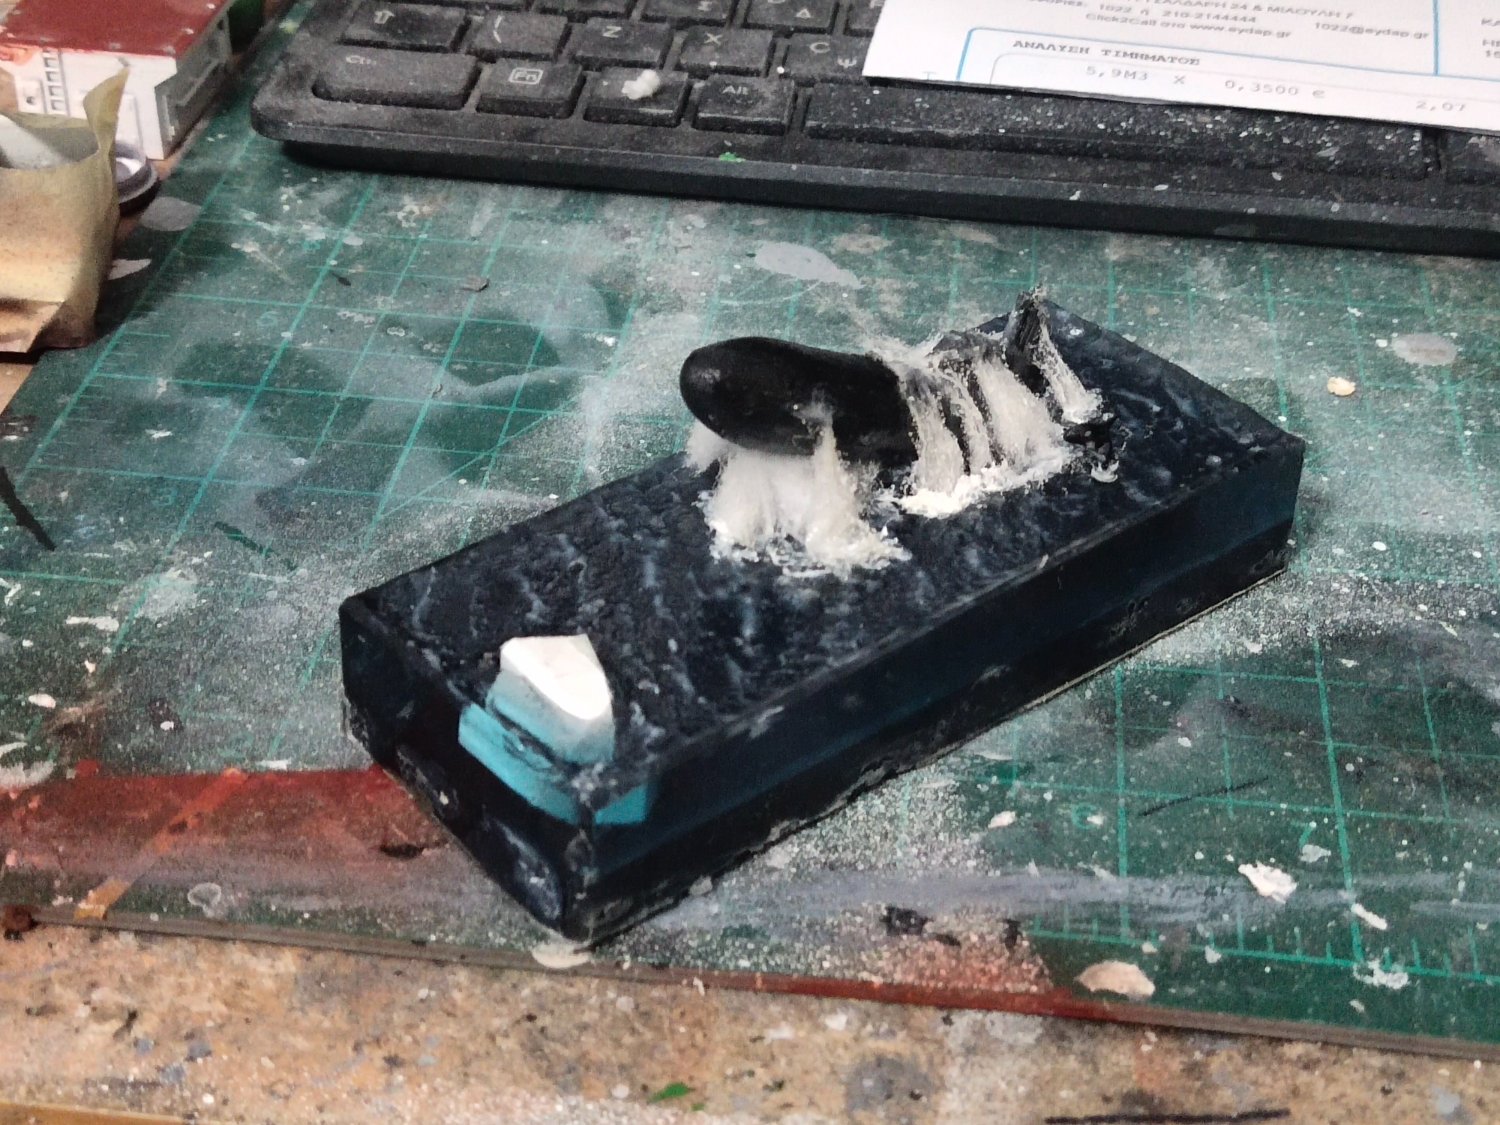
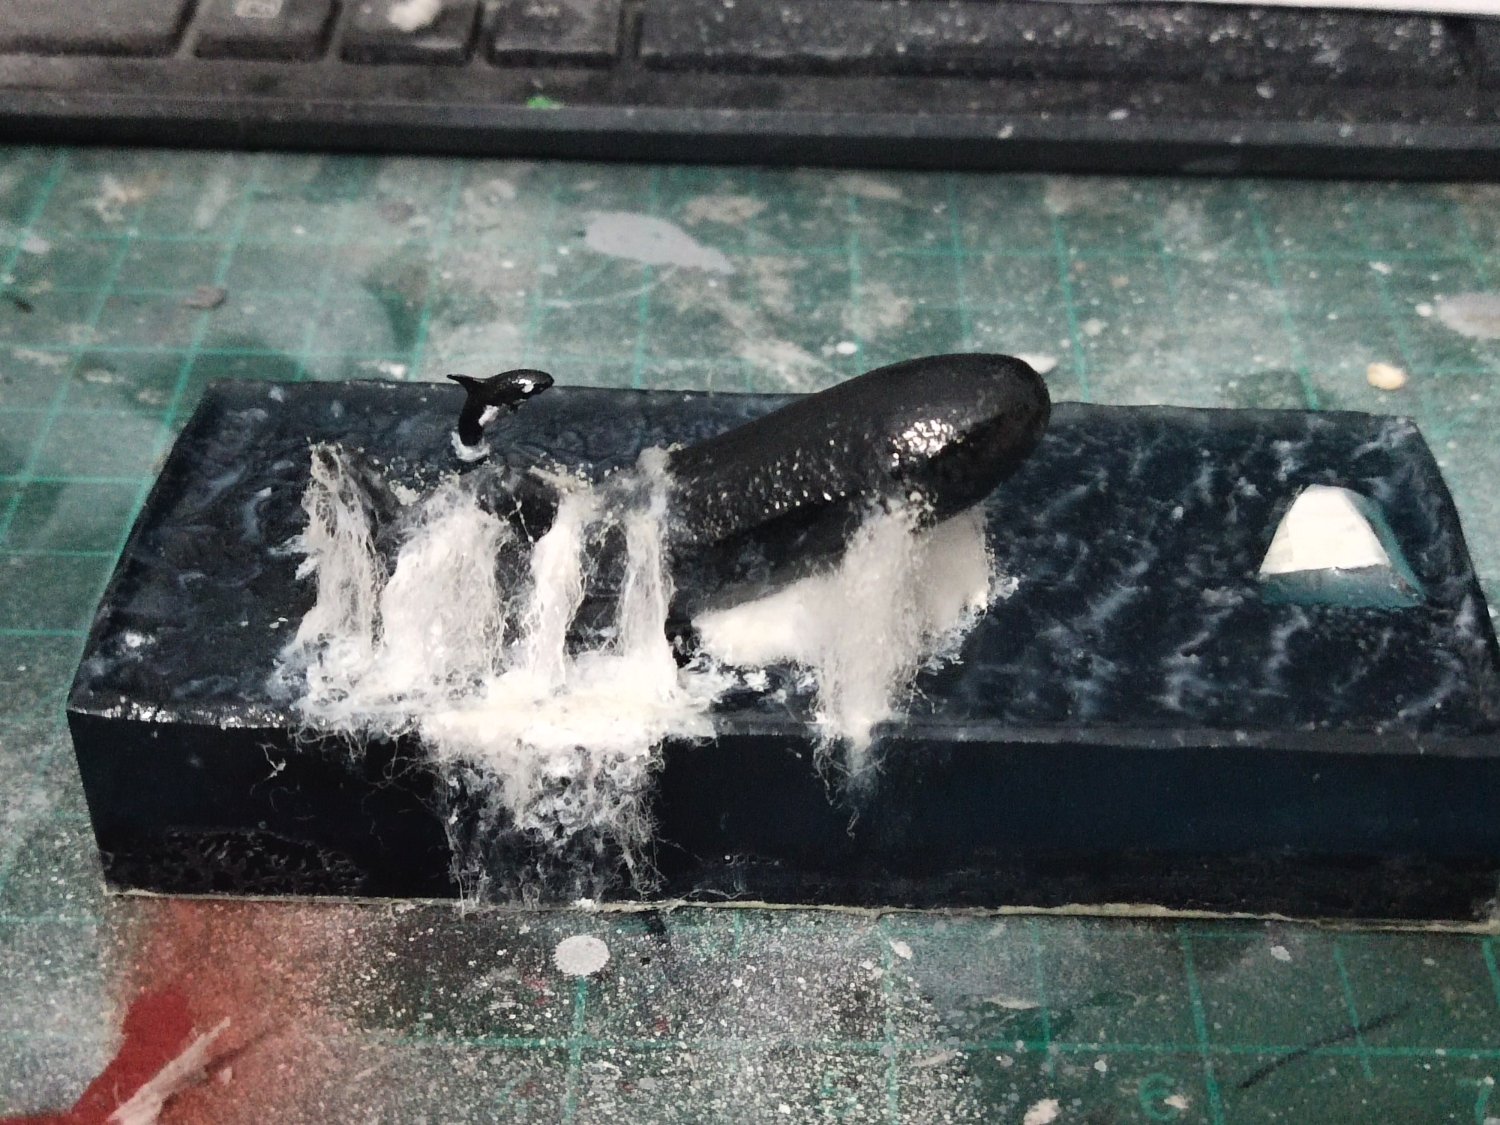
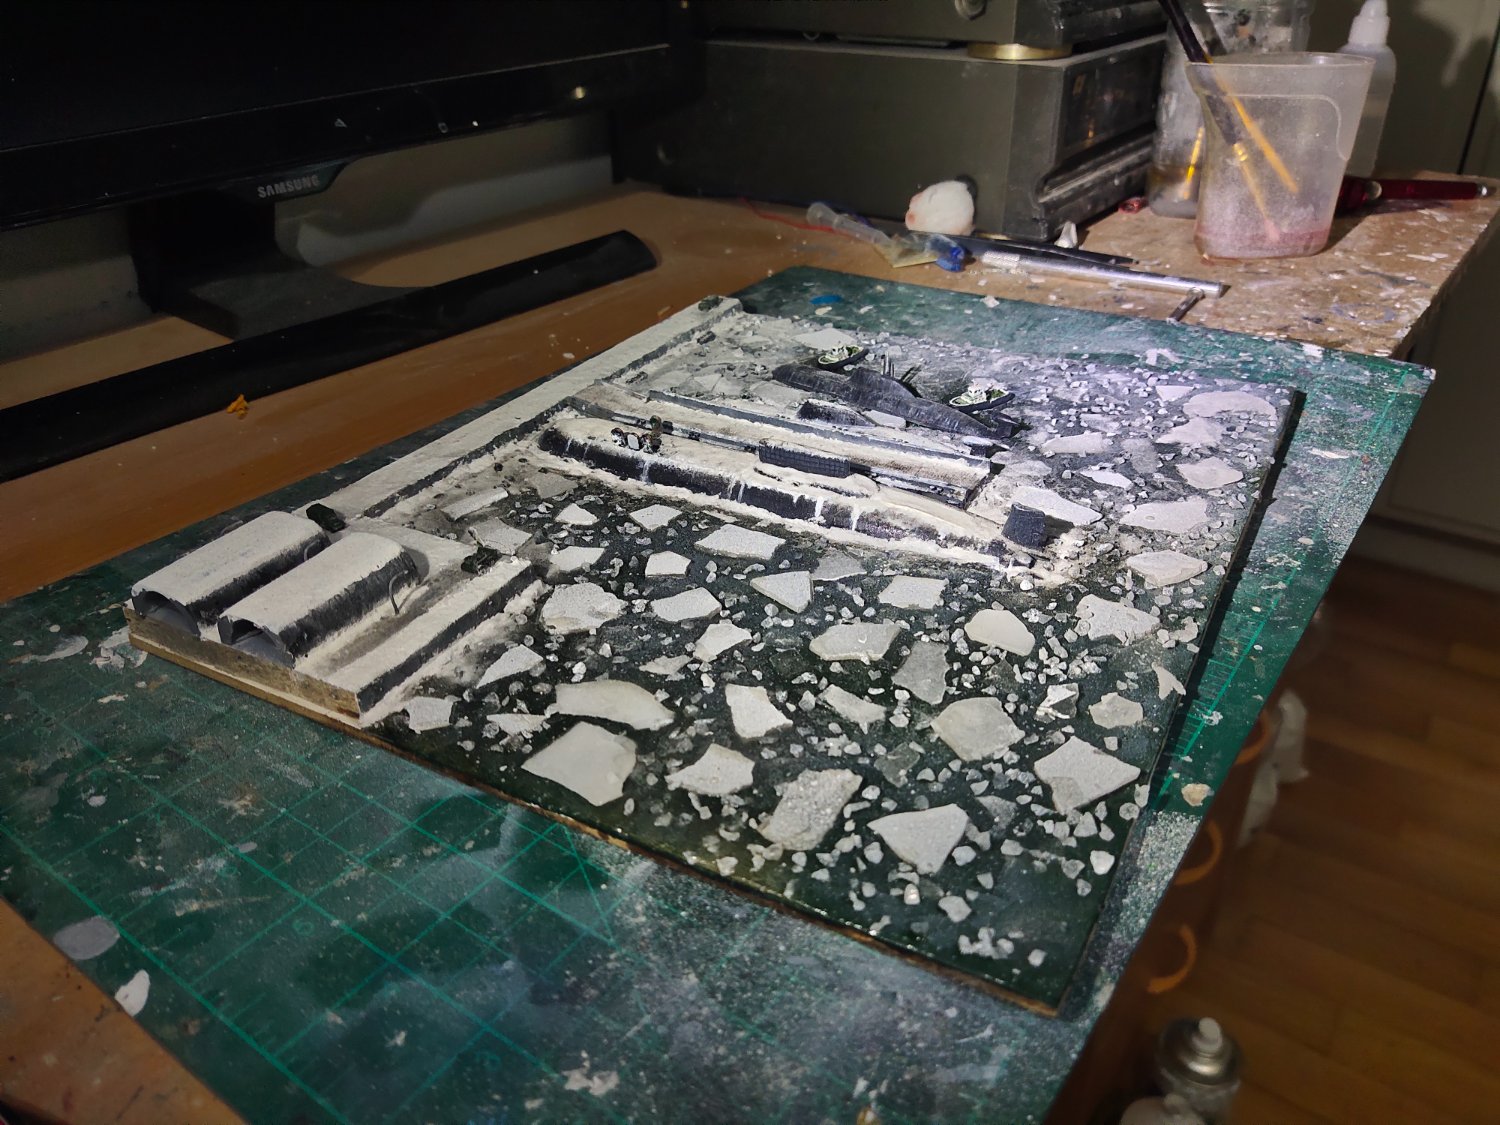
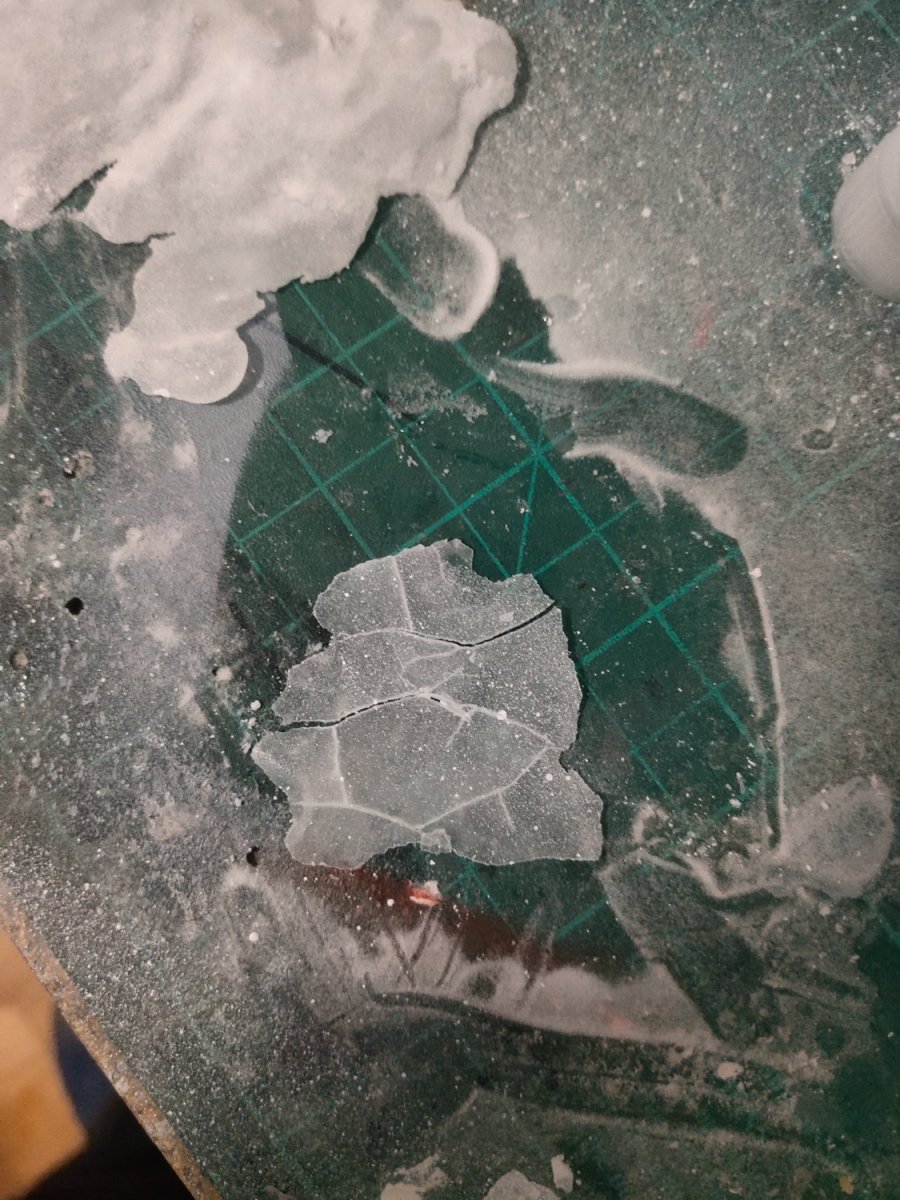
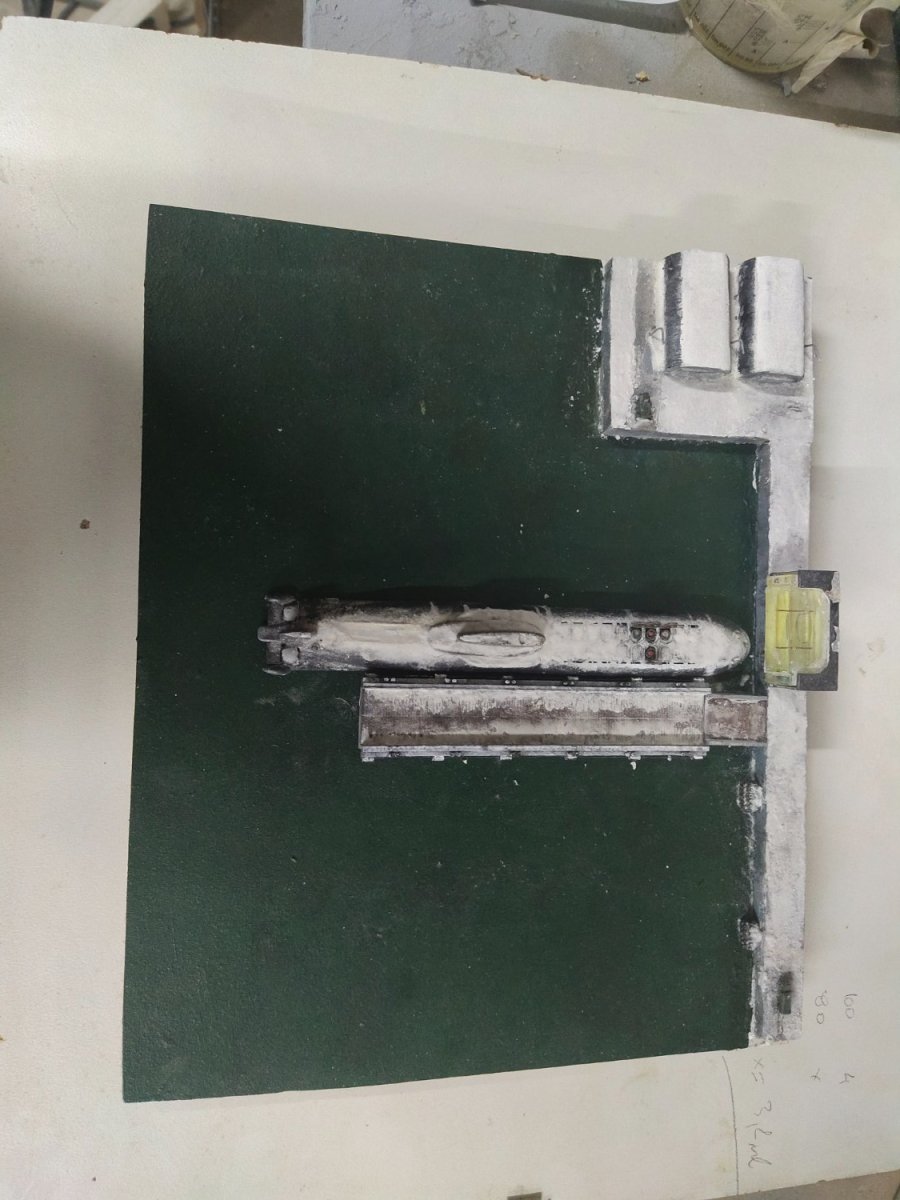
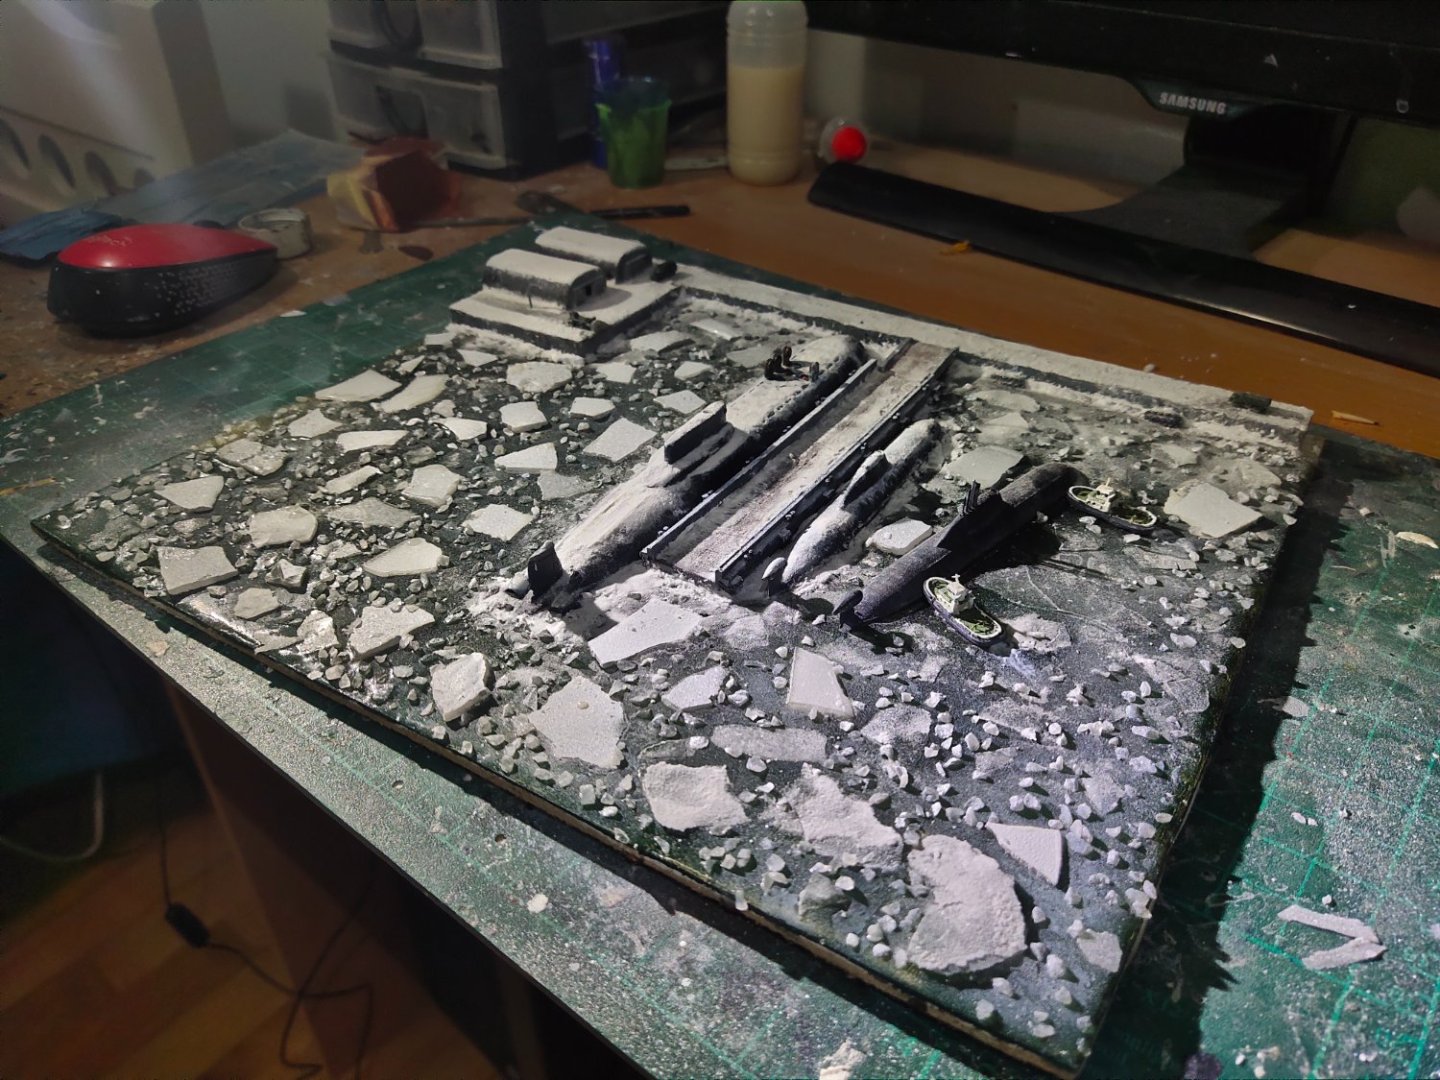
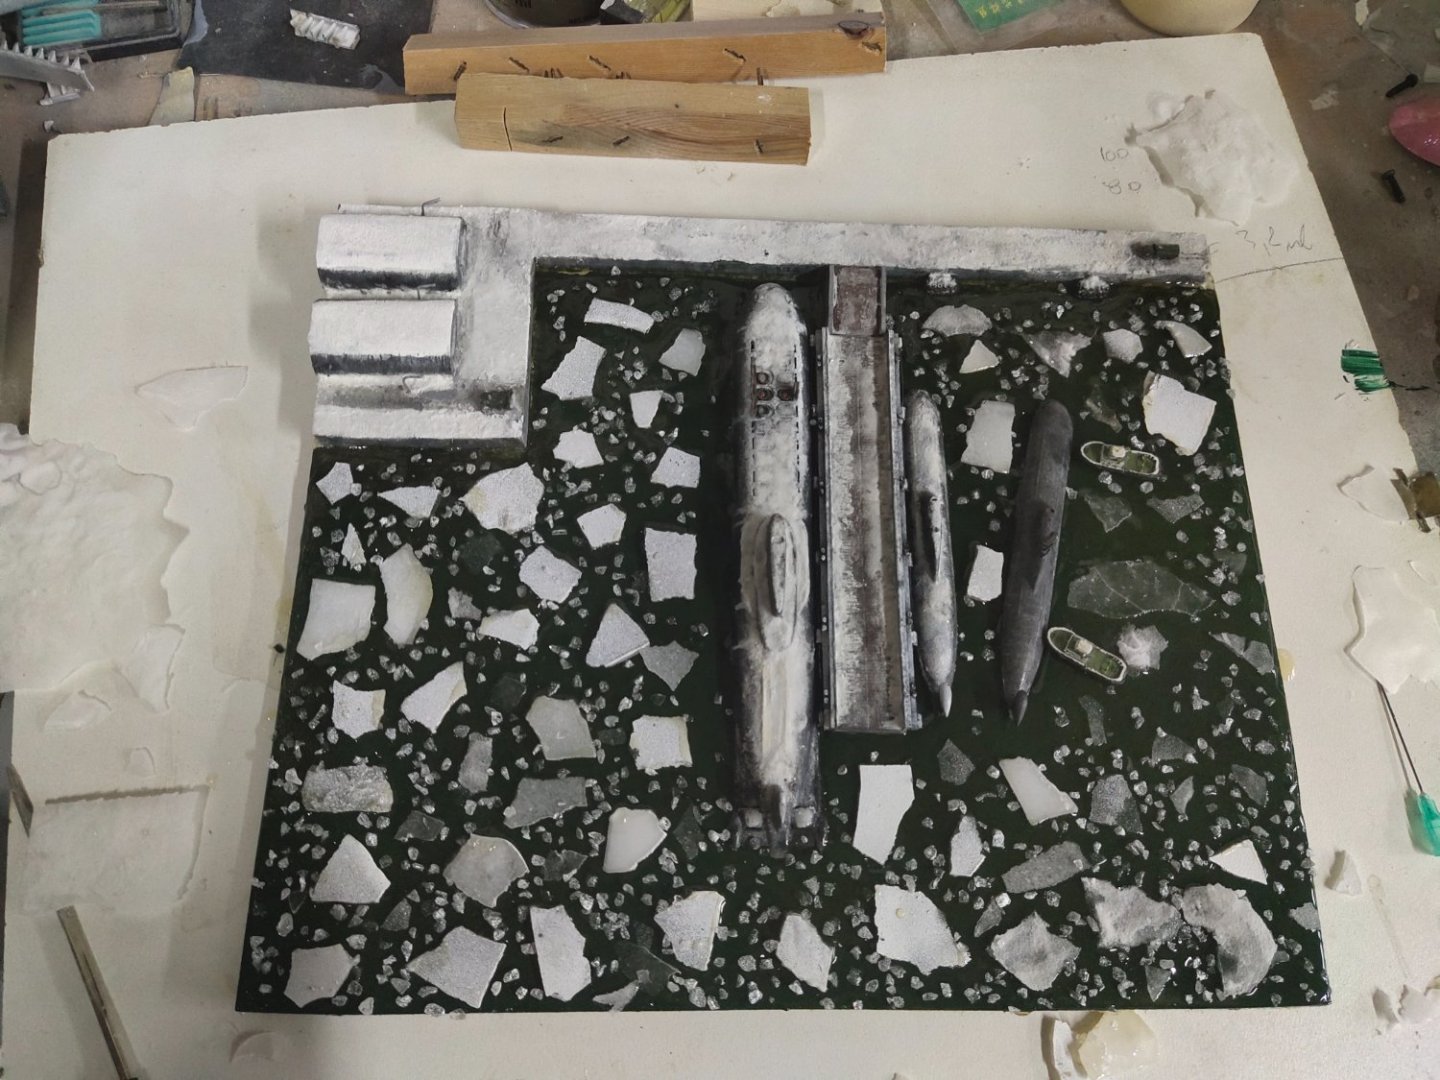
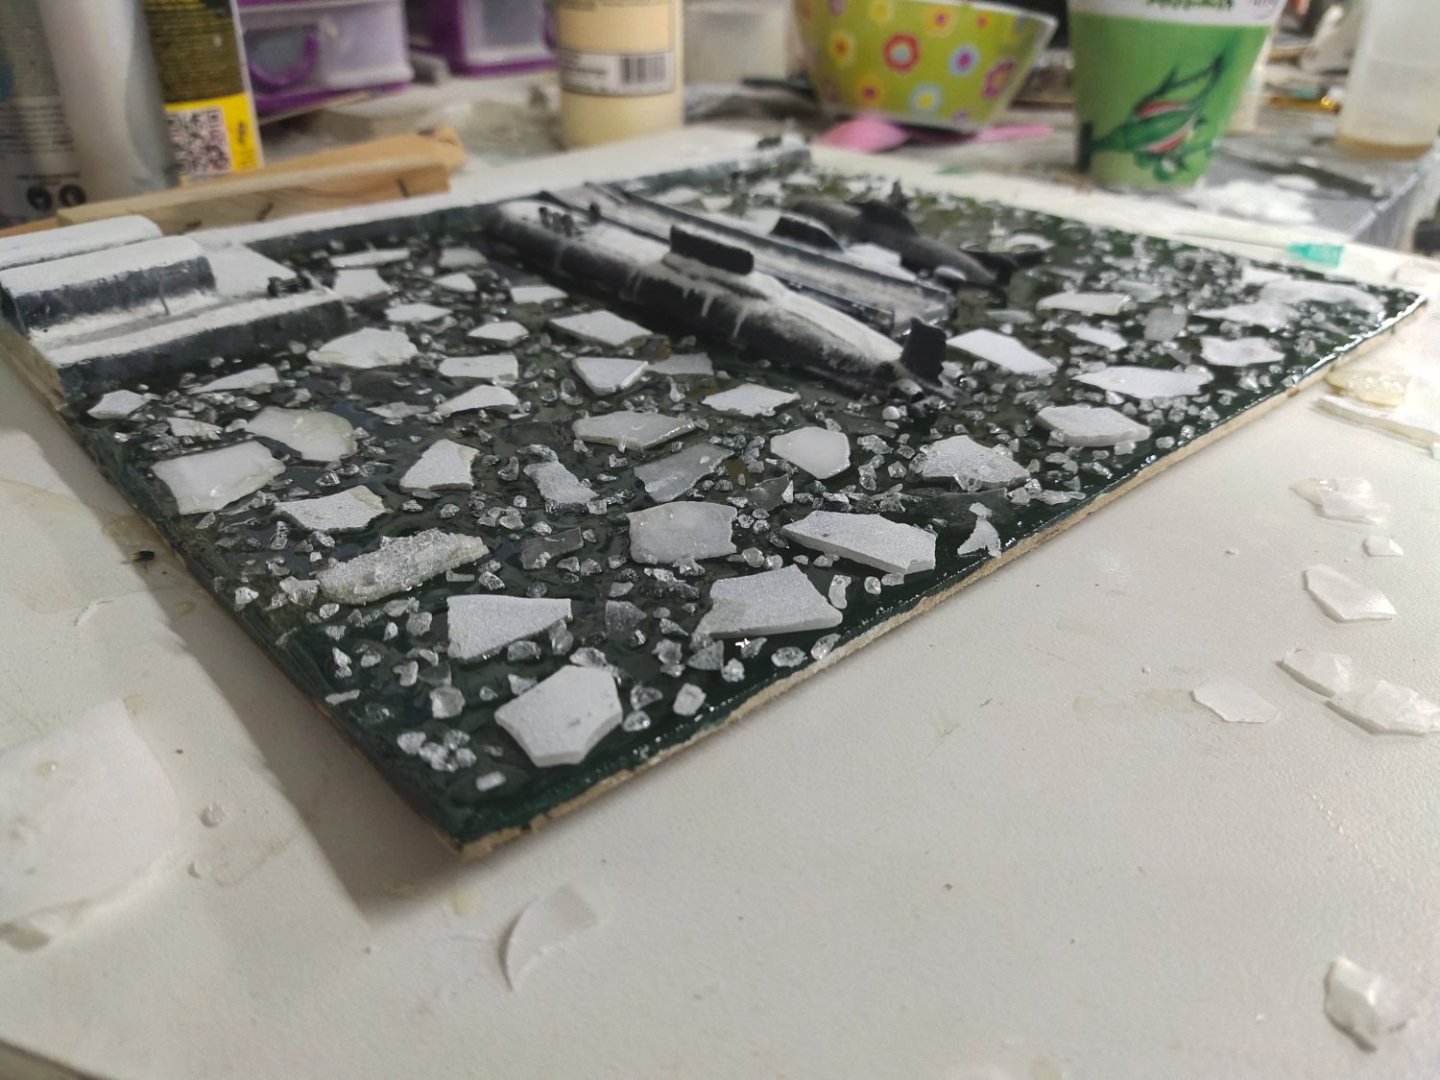
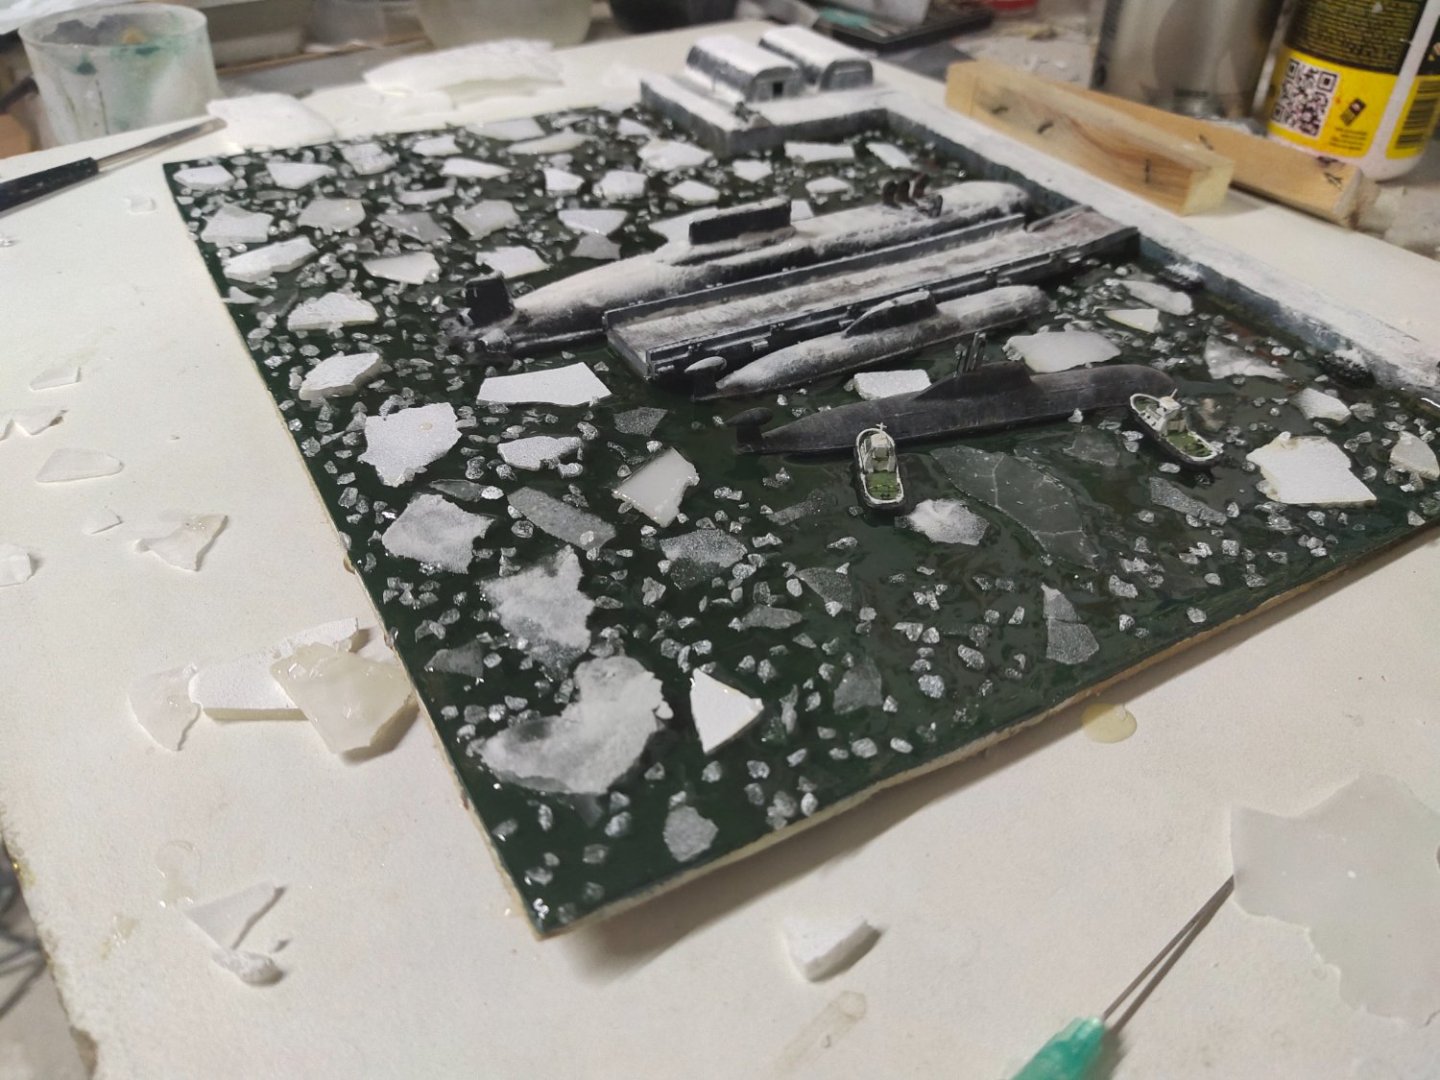
Had a partial failure yesterday. By the time small rocks were put into place, resin has mostly dried. Overconfidence and wrong planning led me to higher dosage of catalyst which dried mixture by 80% in 40 minutes. I tried to reduce them used dremel tool. Some were removed. But after using two pieces of sanding bits effects were minimal. It is the point of no return like I said previously. I poured some PVA across the dock and surrounding the Typhoon and glued thin and long paraffin pieces which were squizzed with a spatula to get a whitish effect. The target was to achieve a good accumulation of snow around the sub to look like it was immobilized for long time. Airbrush white gave the fog effect along with microballoons sprinkles mostly around typhoon and close to dock.


-
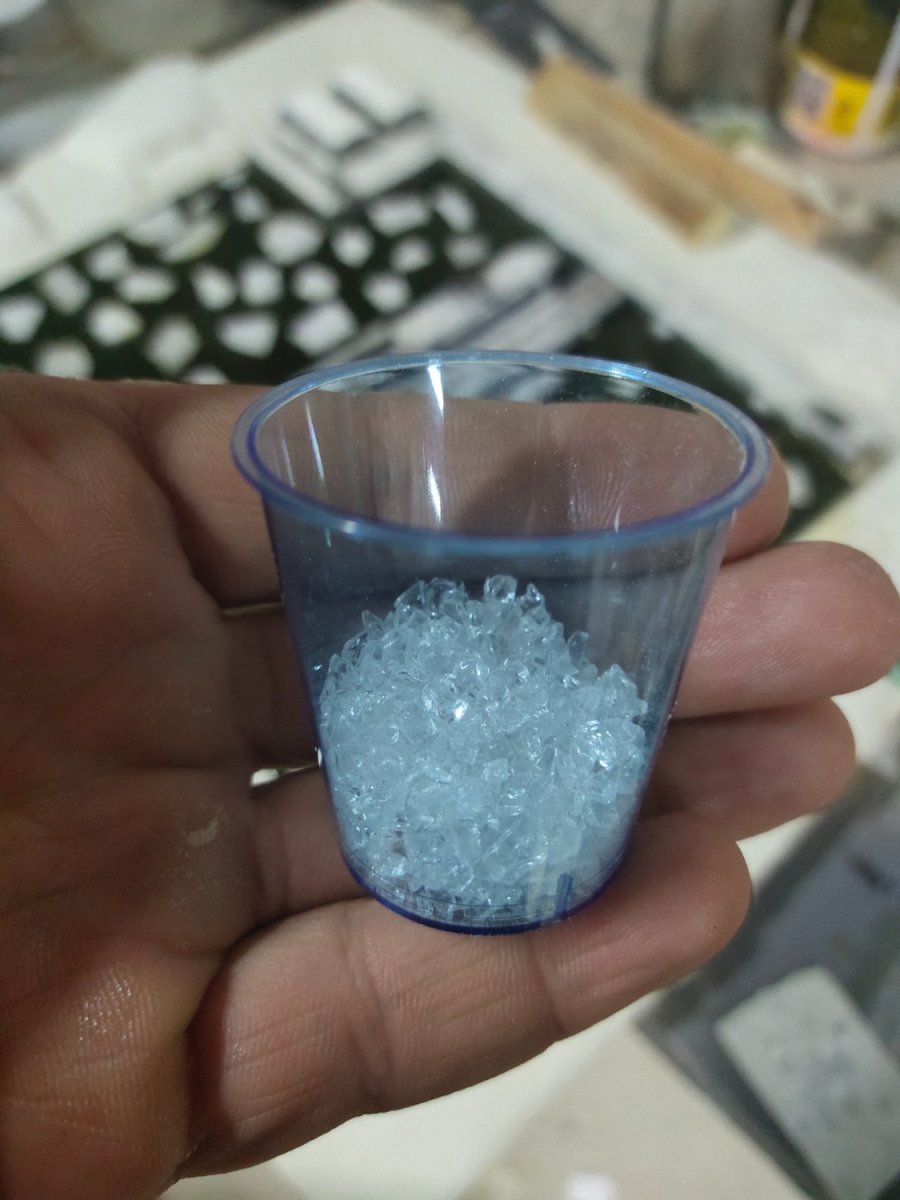
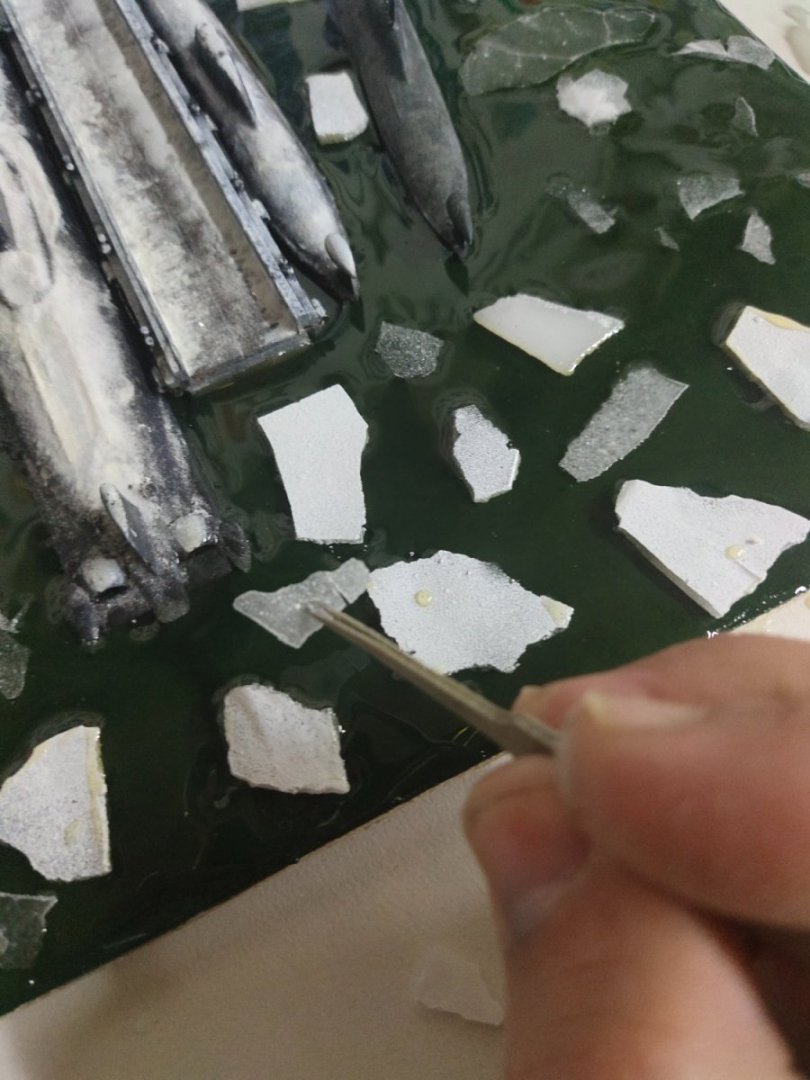
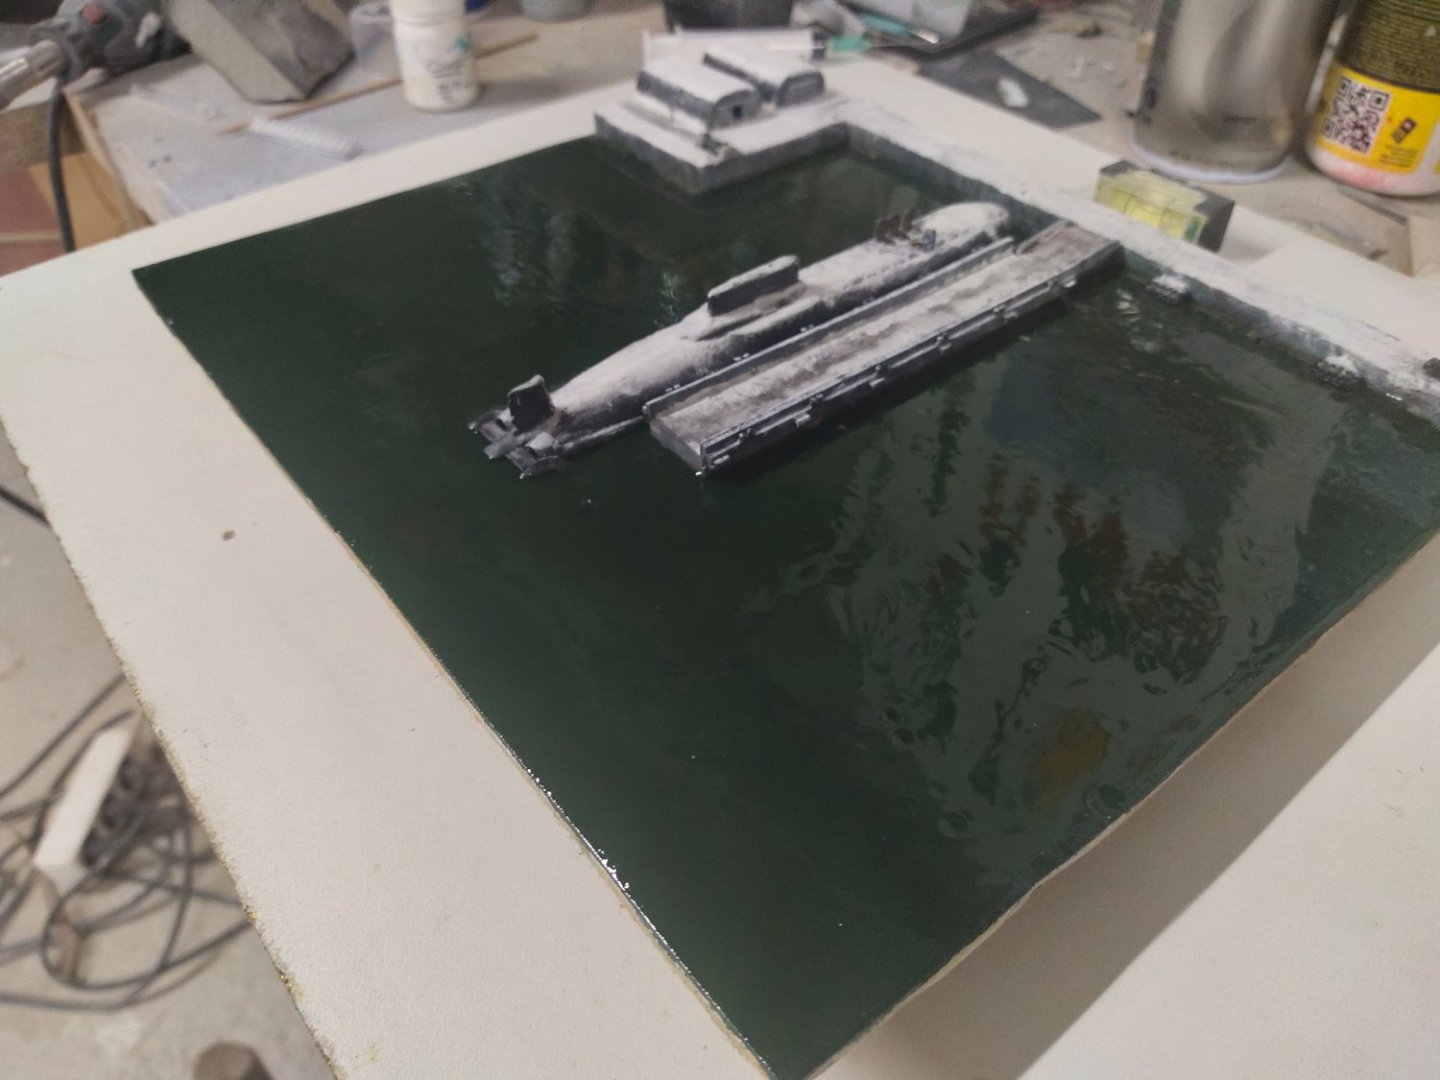
In struggling to find the right balance between ice and snow I came up with the following idea. Big ice blocks are pure white. These are the first to be placed. So I did. I've block placed and polyester poured around them. A bit tricky as this material is thicker and less self leveling than epoxy so I need to work with brush. Some less thick pieces where soaked a bit and turned greenish, a quite natural effect. Then I put the smaller ones. As my hands get sticky and messy I used pliers. The waxy surface helped, no need to grab them just touch and go After done with ice blocks I turned to my bottle of mini rocks.l choosing the tiniest ones It took half evening to fill this amount. I spread them on a surface and sprinkled them with white, giving the semi transparent effect . There were placed one by one, what a nightmare with sticky hands by I paid the price for being foolish enough not to have gloves or acetone nearby by. But the outcome was positive although there is work to be done yet.


-
I thank all the members for the encouraging and supporting comments. Promise to come back soon with a new project. Once again thank you very much for your appreciation.
-
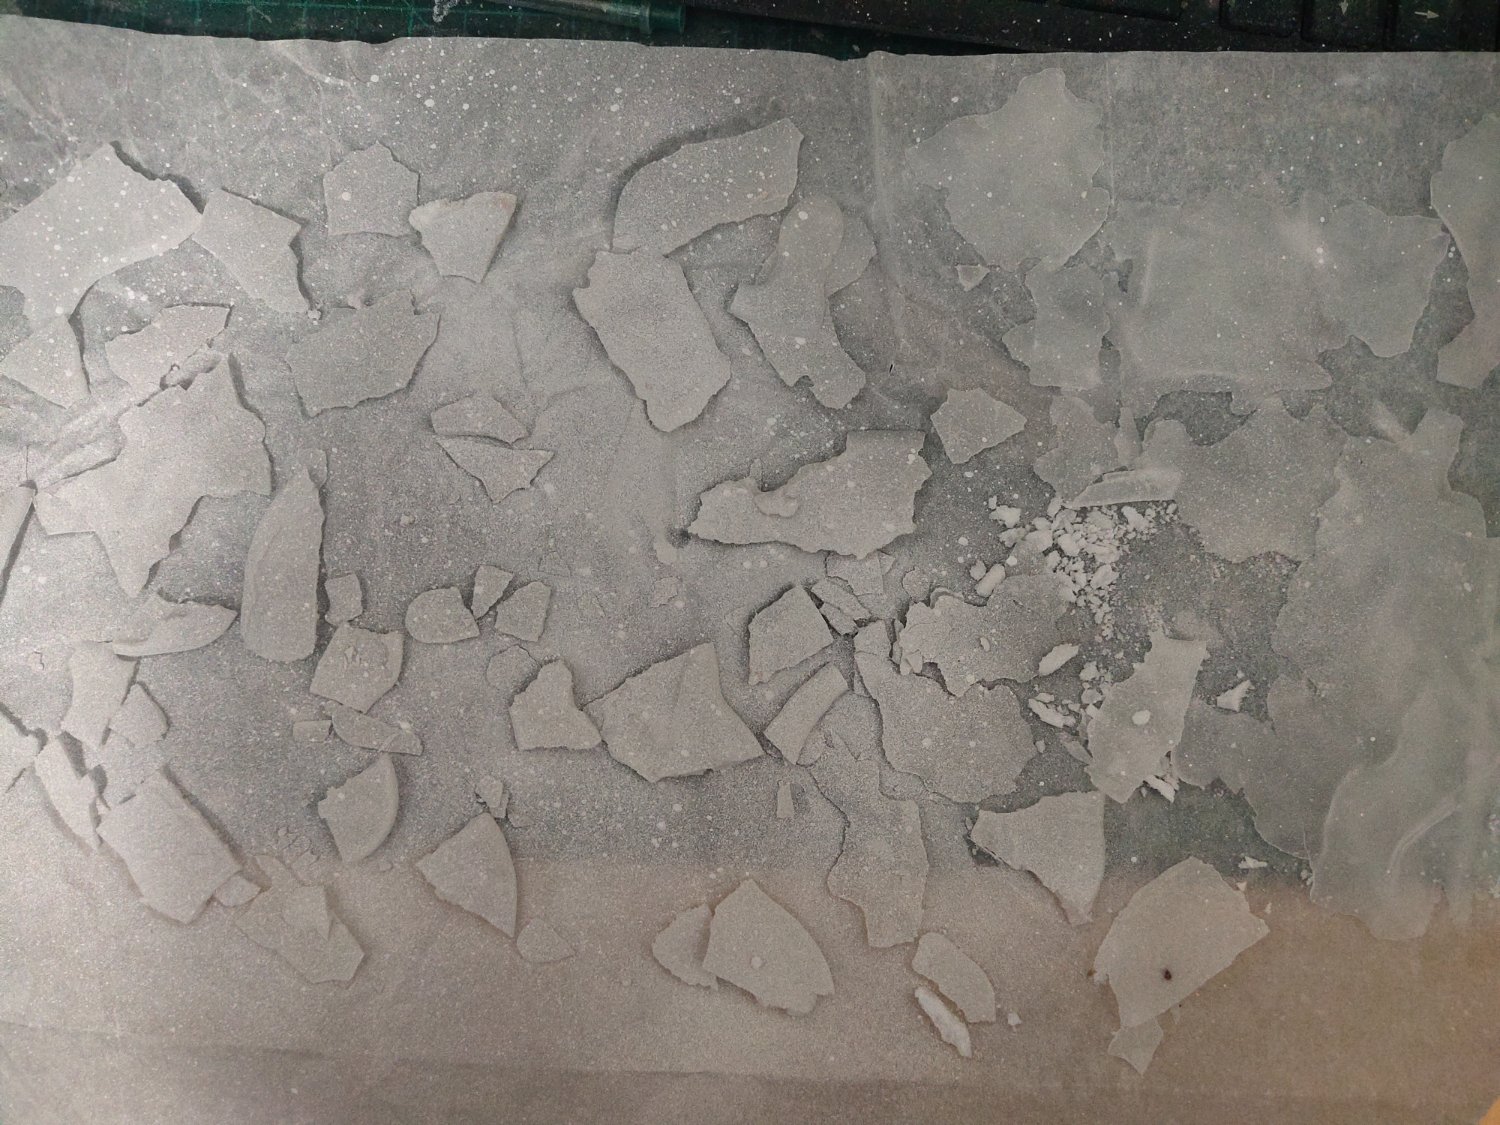
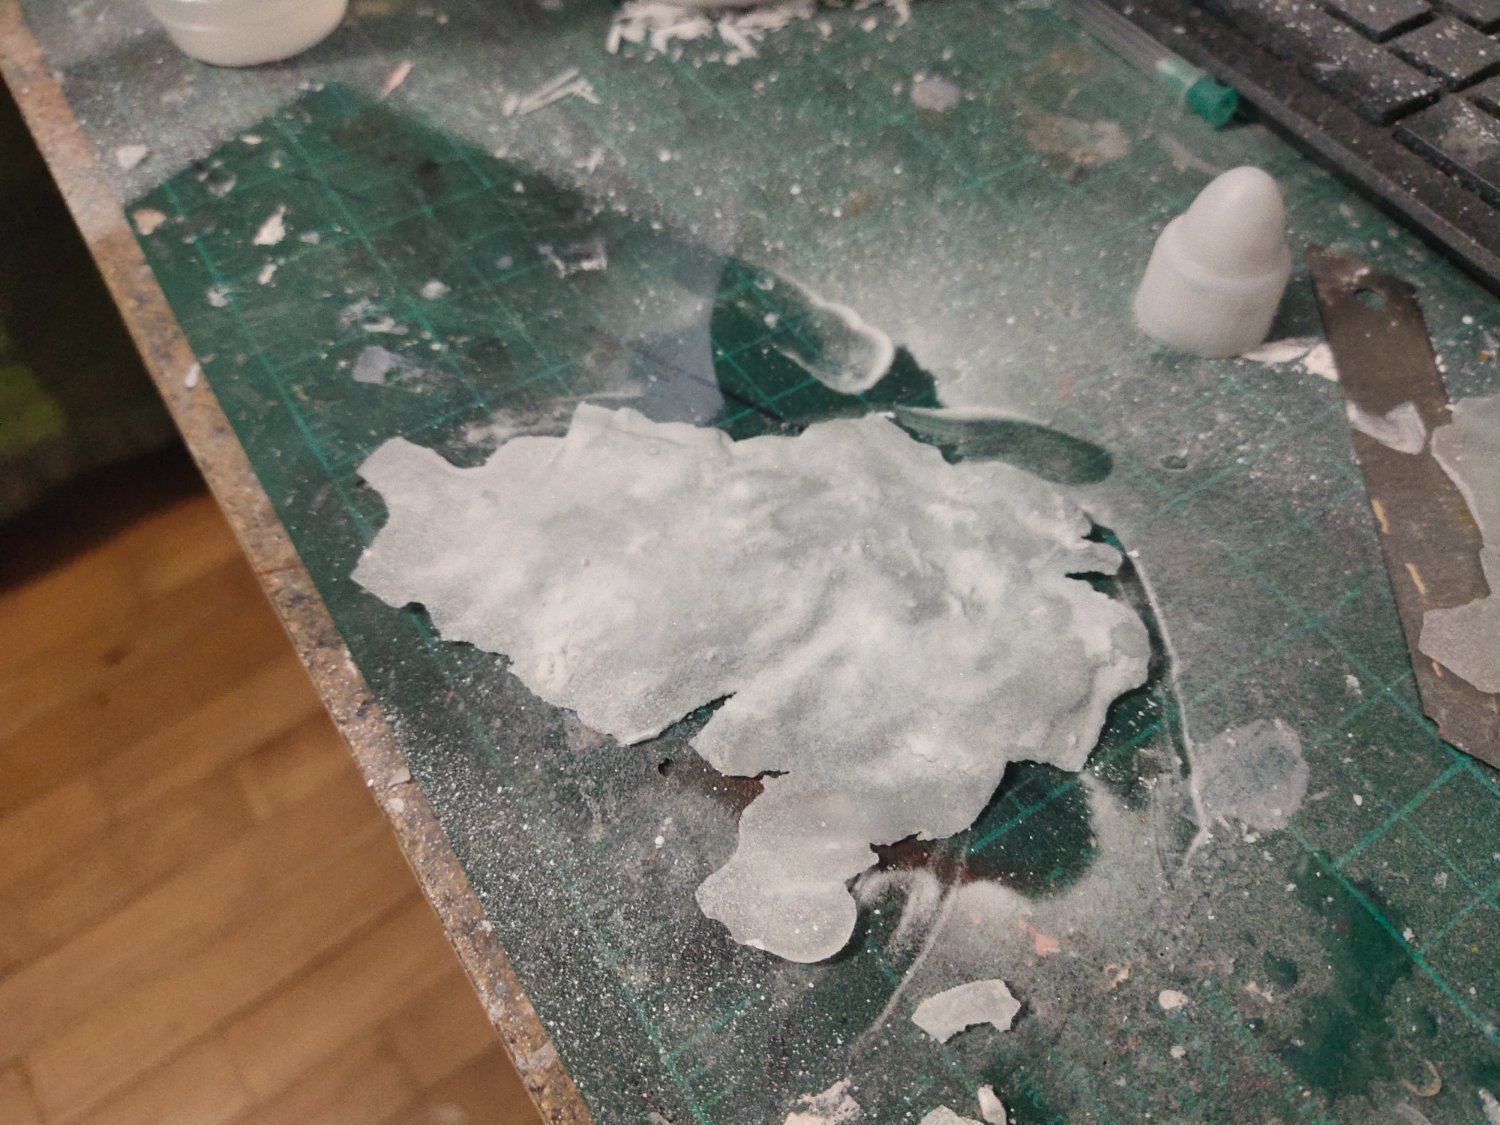
Thanks for the recommendations and support. I will probably must find a way to combine all. The amount of snow is absolutely a subjective preference. It can be 0 Or it can be that much that would look unrealistic if there was no real picture to verify it Anyway. I melted the material above low heat and applied it on plexiglass sprayed with Teflon. Desired thick was approx. 1mm It was a disaster as it stuck. A flexible base was needed. Retried on a shiny cardboard It worked. Just to be on safe side transparent primer was used before paint. Then a 3rd attempt on a thin naylon layer was decided. I was afraid of melting it but I wanted to try for an uknown reason. Could be the instinct of the modeler? Who knows. Anyway not only it didn't melt but the naylon base shrunk giving to the material a nice uneven surface effect. Like when strong wind blows during a snow fall By simply squeezing gently this wonderful material it gives the real effect of the crushed ice The more I work with it the more I learn


-
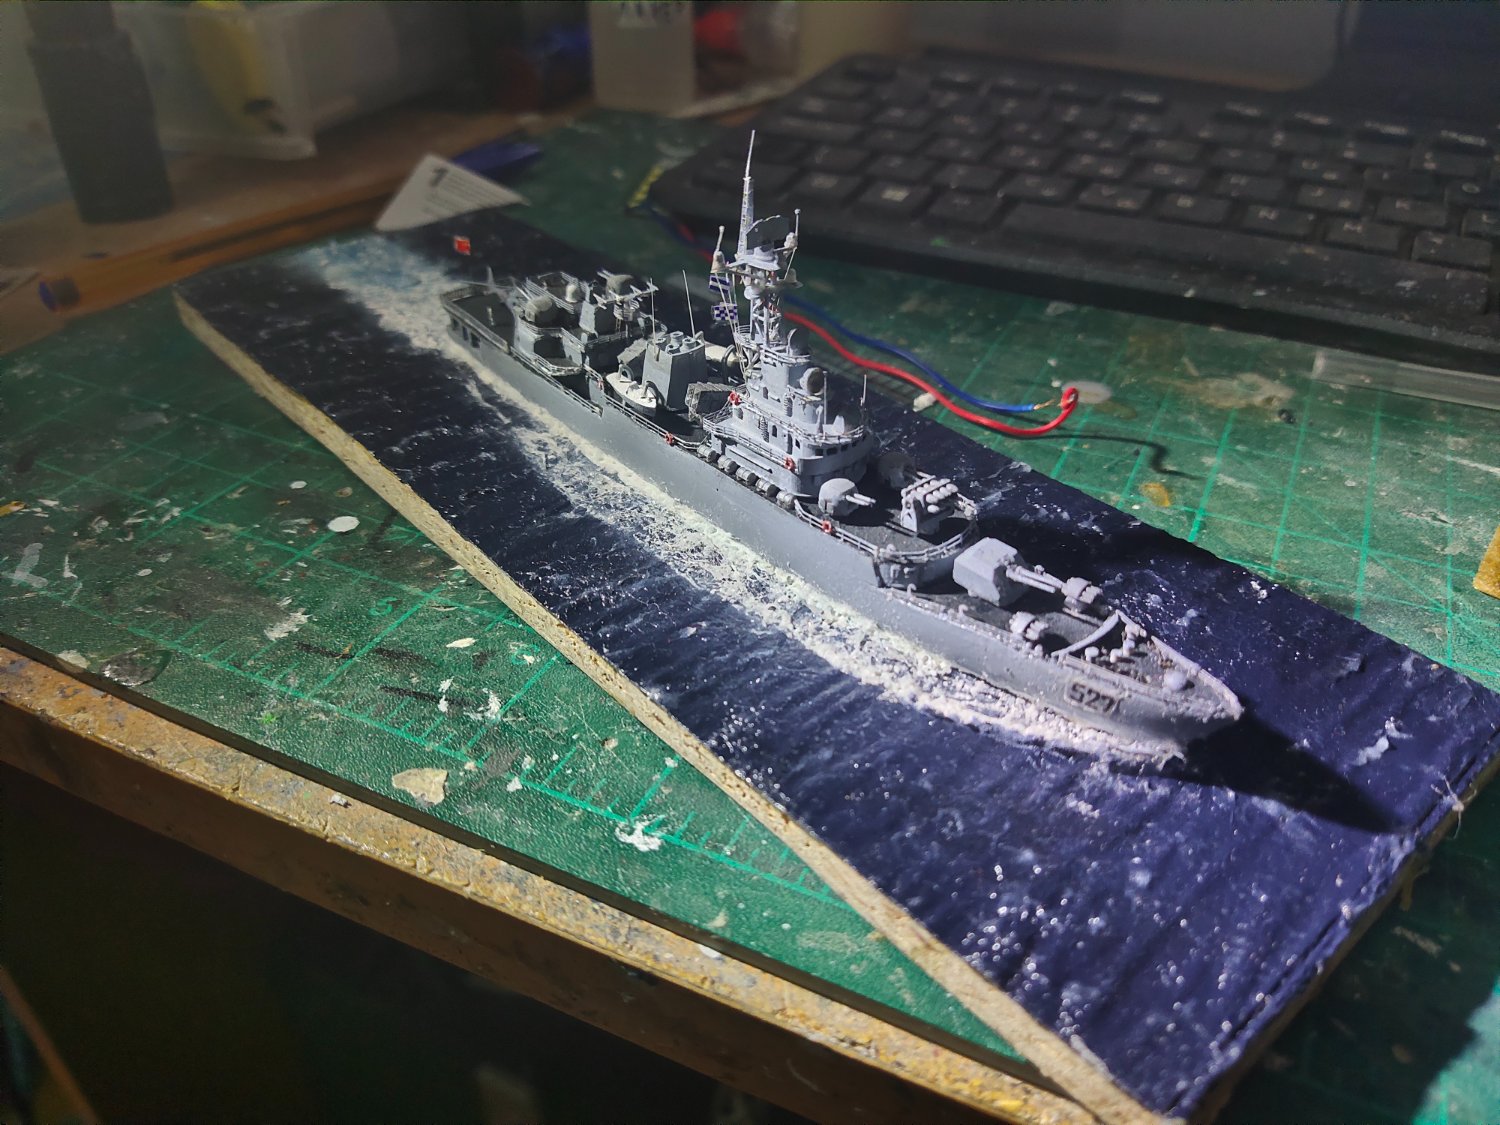
Gel dried. I applied some alcydic varnish for extra gloss and a Matt varnish sealed the ship. Final touch was a helicopter 3d printed which I added photoetched details and a bit of painting with a single hair brush. It is done.


-
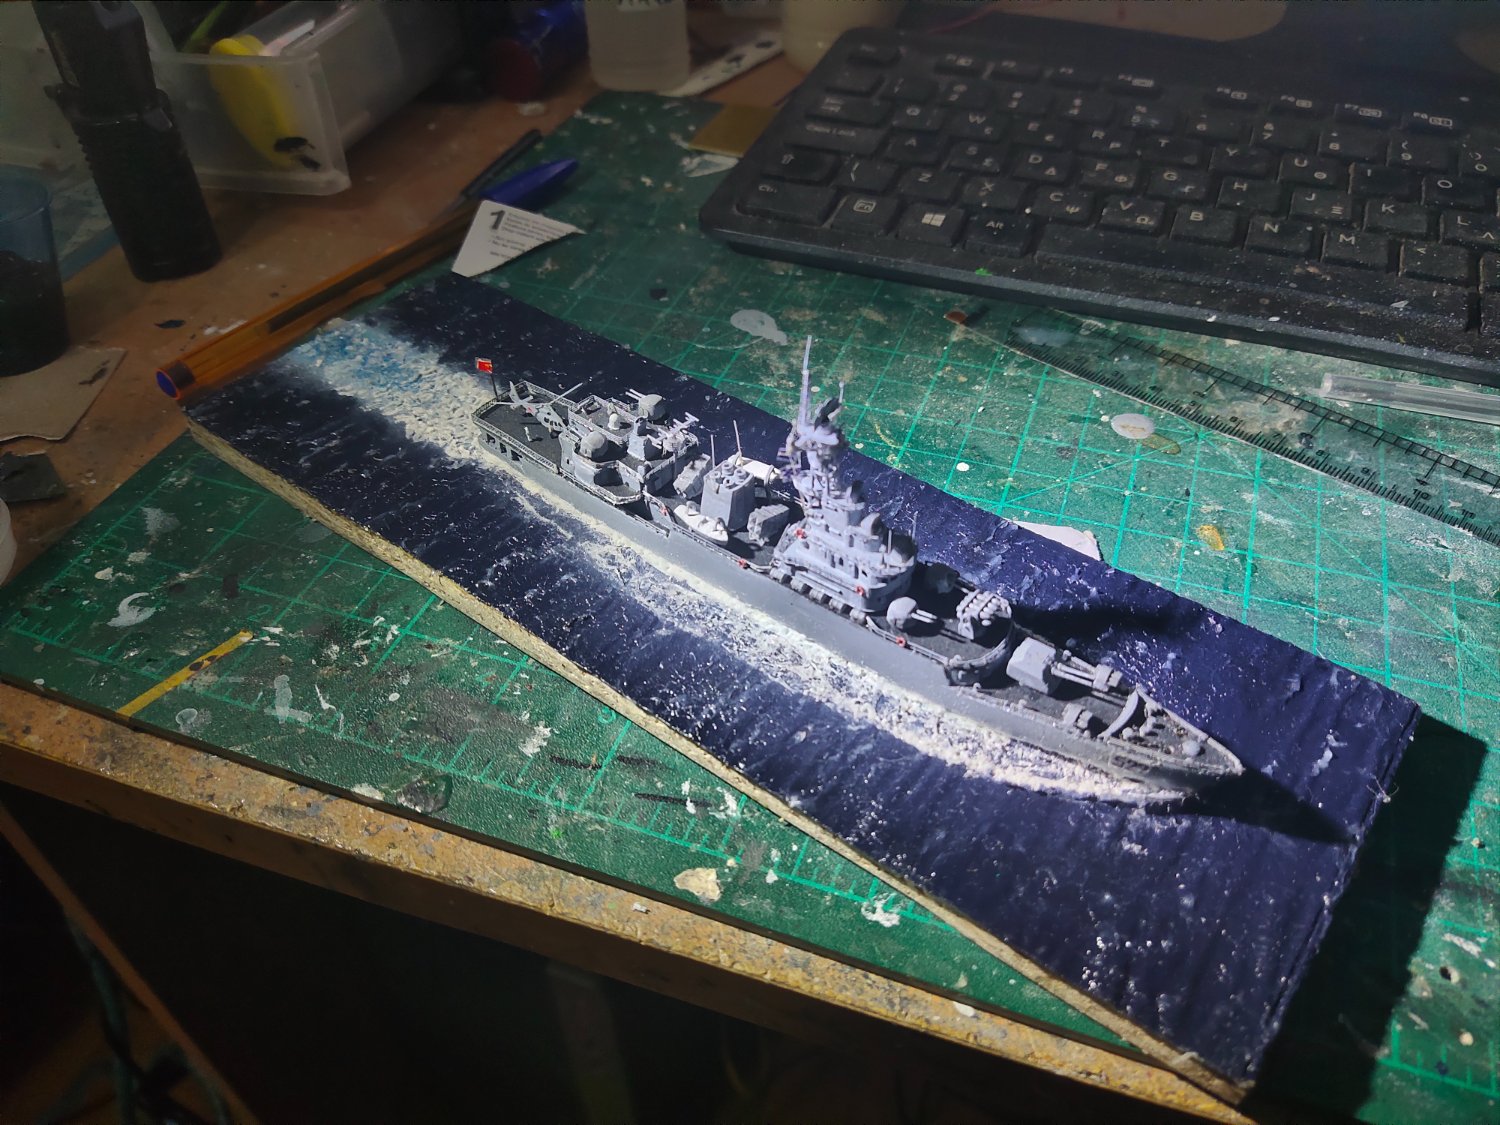
I worked on rear wakes with airbrush, then added white paste near the bow and gel paste right after. Then glazed over with transparent silicone. Waves were made with snow paste sculptured with toothpick. Waterline gaps filled with cotton soaked in PVA. Sea was covered with gel medium. Once dried it will get transparent and glossy.

-
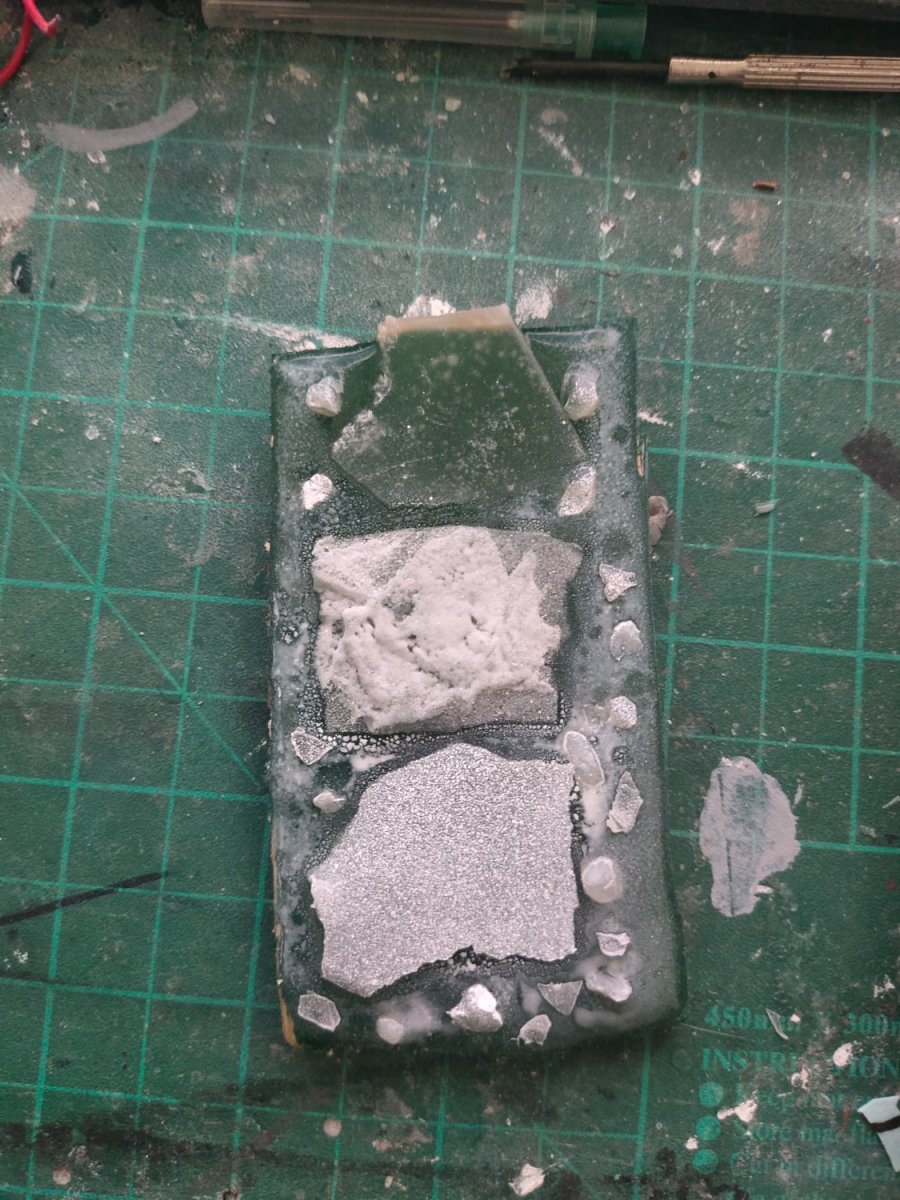
While resin is 99% done I did some experiment. From top to bottom Paraffin Paraffin with PVA and microballoons Paraffin with white spray paint. What do you think? I think microballoons won again. The of them applied the more ice turn into snow

-
This can be fixed later. I can brighten it up. Almost to a drinkable state😁
-
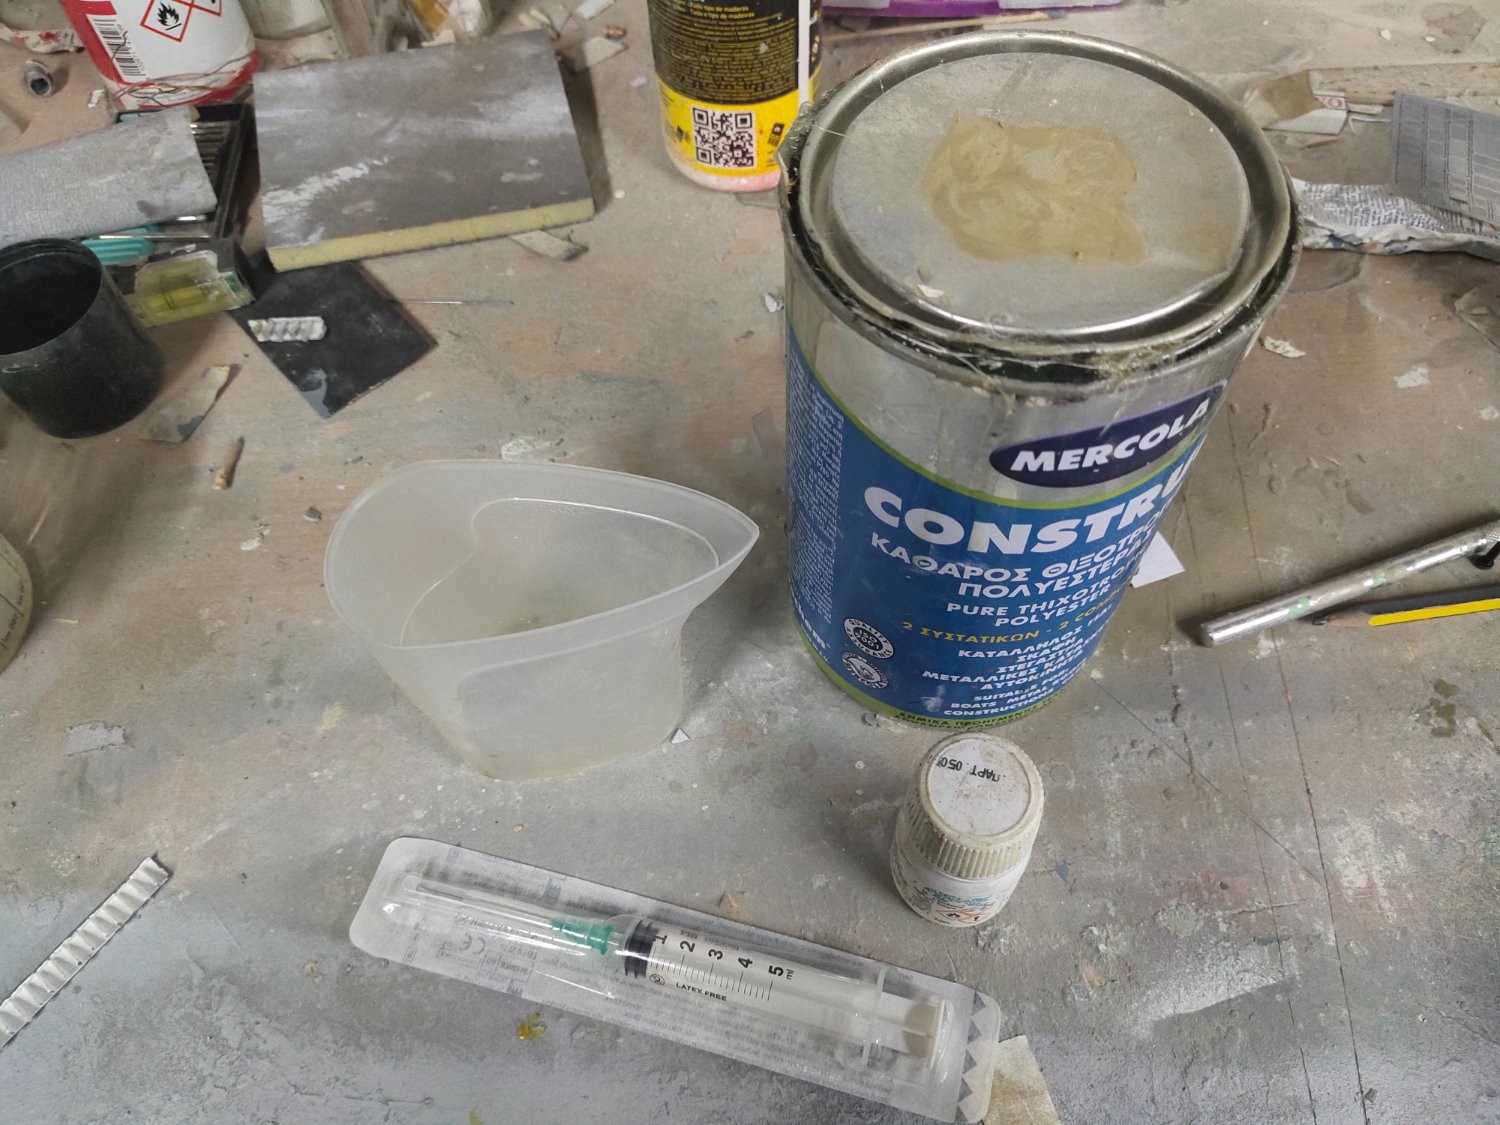
Thanks all the members for likes and comments. I came now to the point of no return. Once resin poured in there won't be much space for corrections. Paraffin has a melting point 45 to 65 degrees. To reduce the possibility of accident I will use polyester instead of fast curing resin with 2% catalyst. The greenish color of it will also match the seabed. There will be two layers , a basic one, then ice block formation, then the top layer, hopefully to create an -ice sinking effect-. After leveling the surface I put it on wood blocks to avoid sticking with the workbench due to excess resin leftovers. I calculate the amount of catalyst and wrote it down on the upper right of the base. Only Typhoon and dock will be glued now cause of higher depth, others before the Fina layer Right after the process i covered the whole thing with a pan to protect it from dust. After 5 hours I removed to see the result Low temperature and reduced catalyst didn't allow resin to cure completely. I will cover it again and let it rest overnight. If its still soft in the morning I will have to increase catalyst amount in the next final stage.


-
Thanks for supporting this project Alan.
-
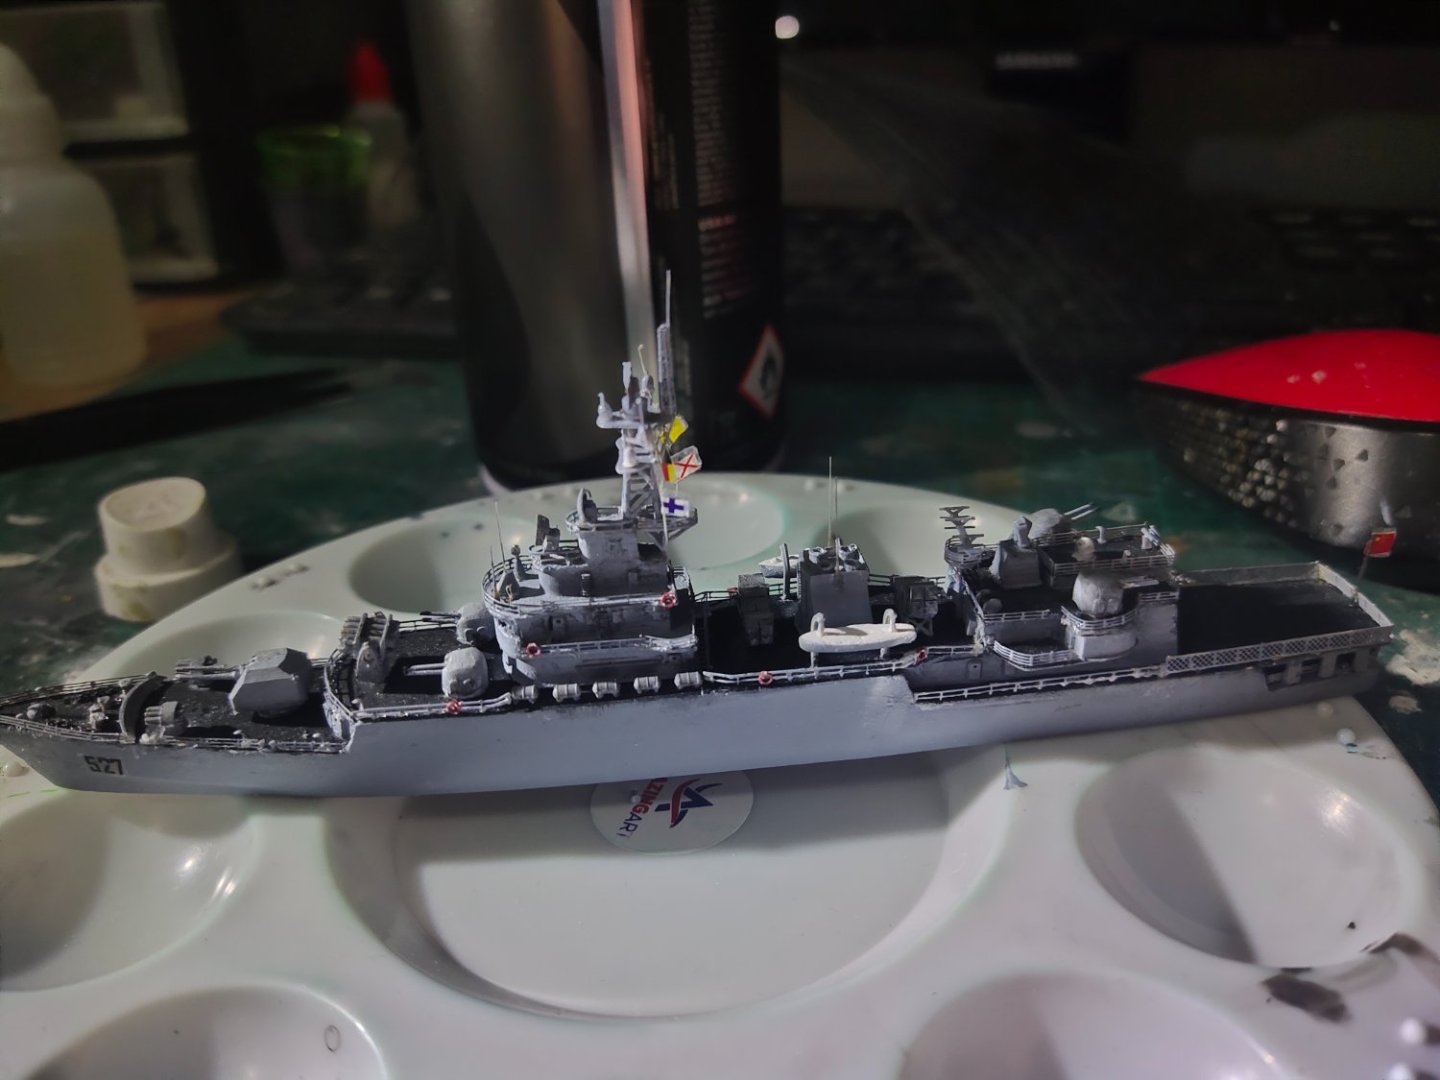
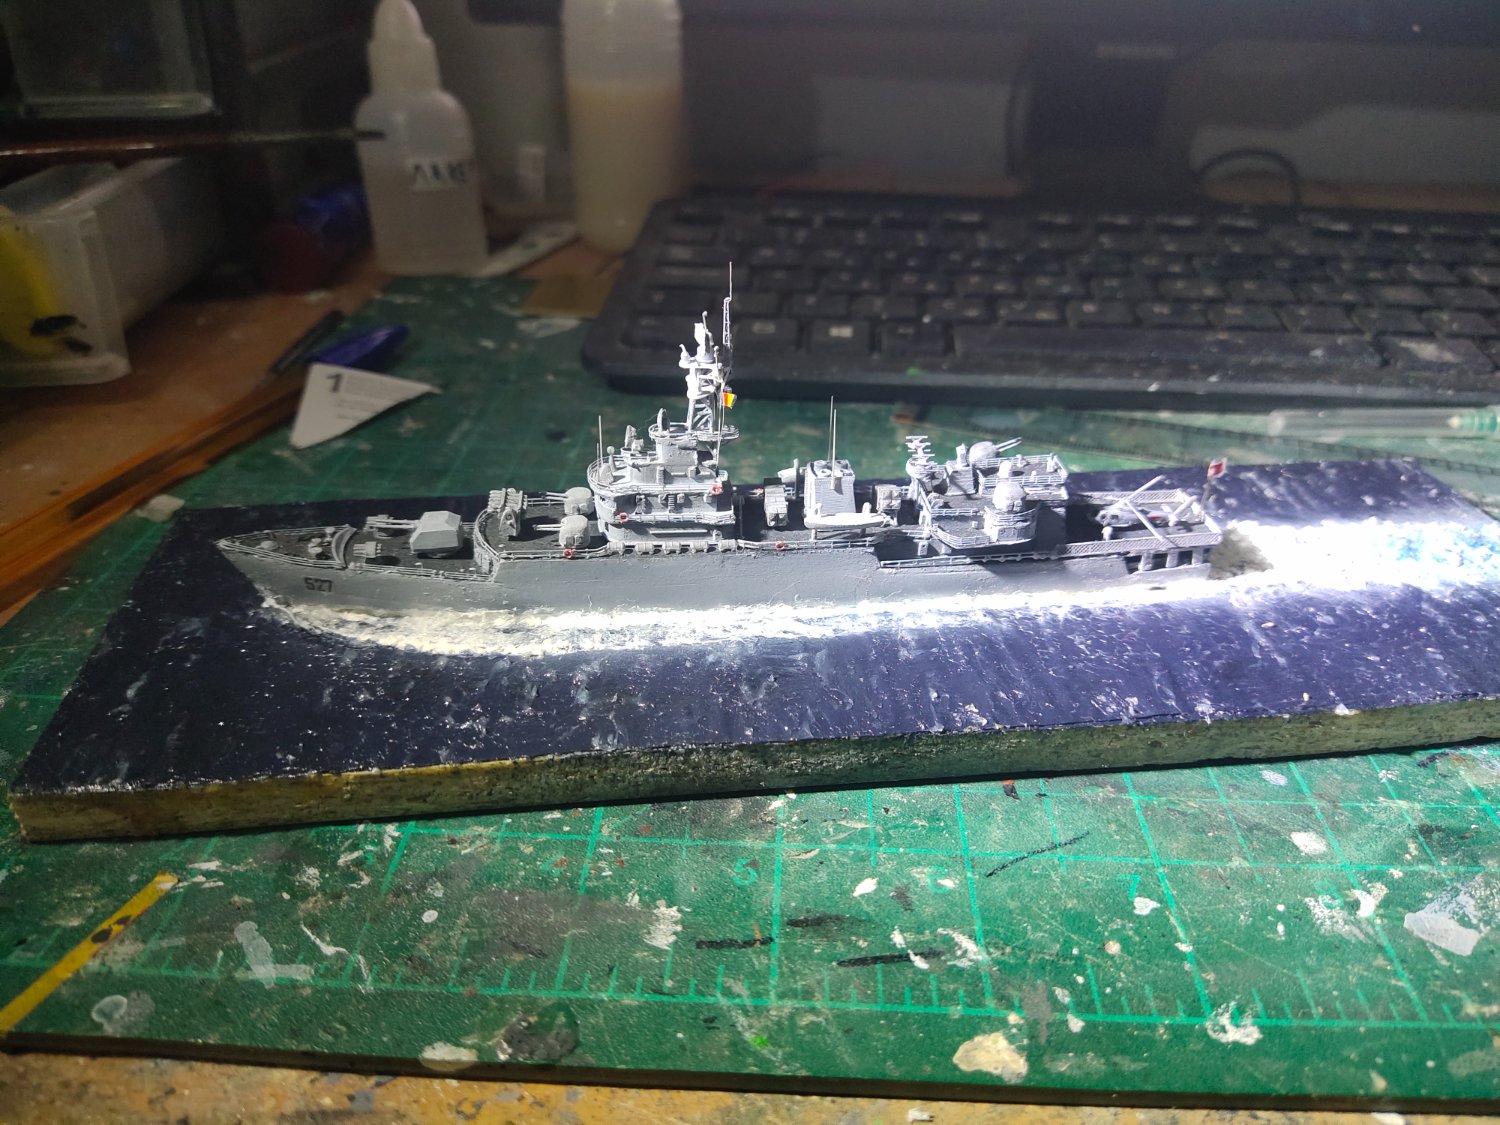
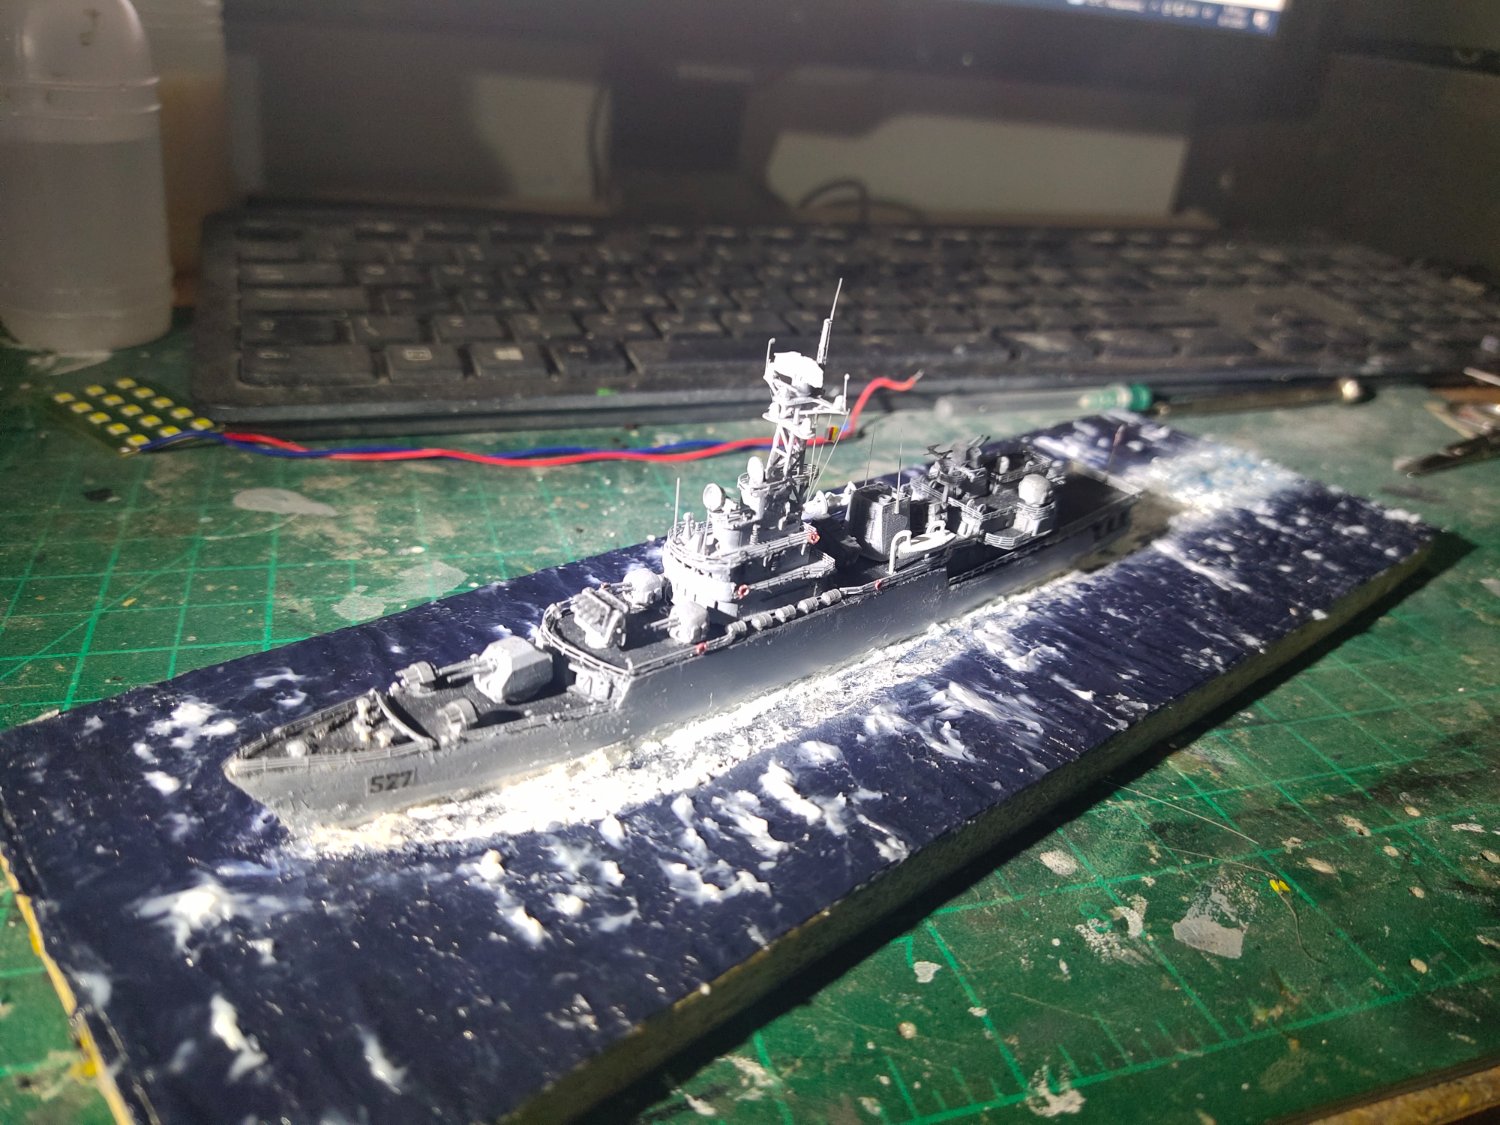
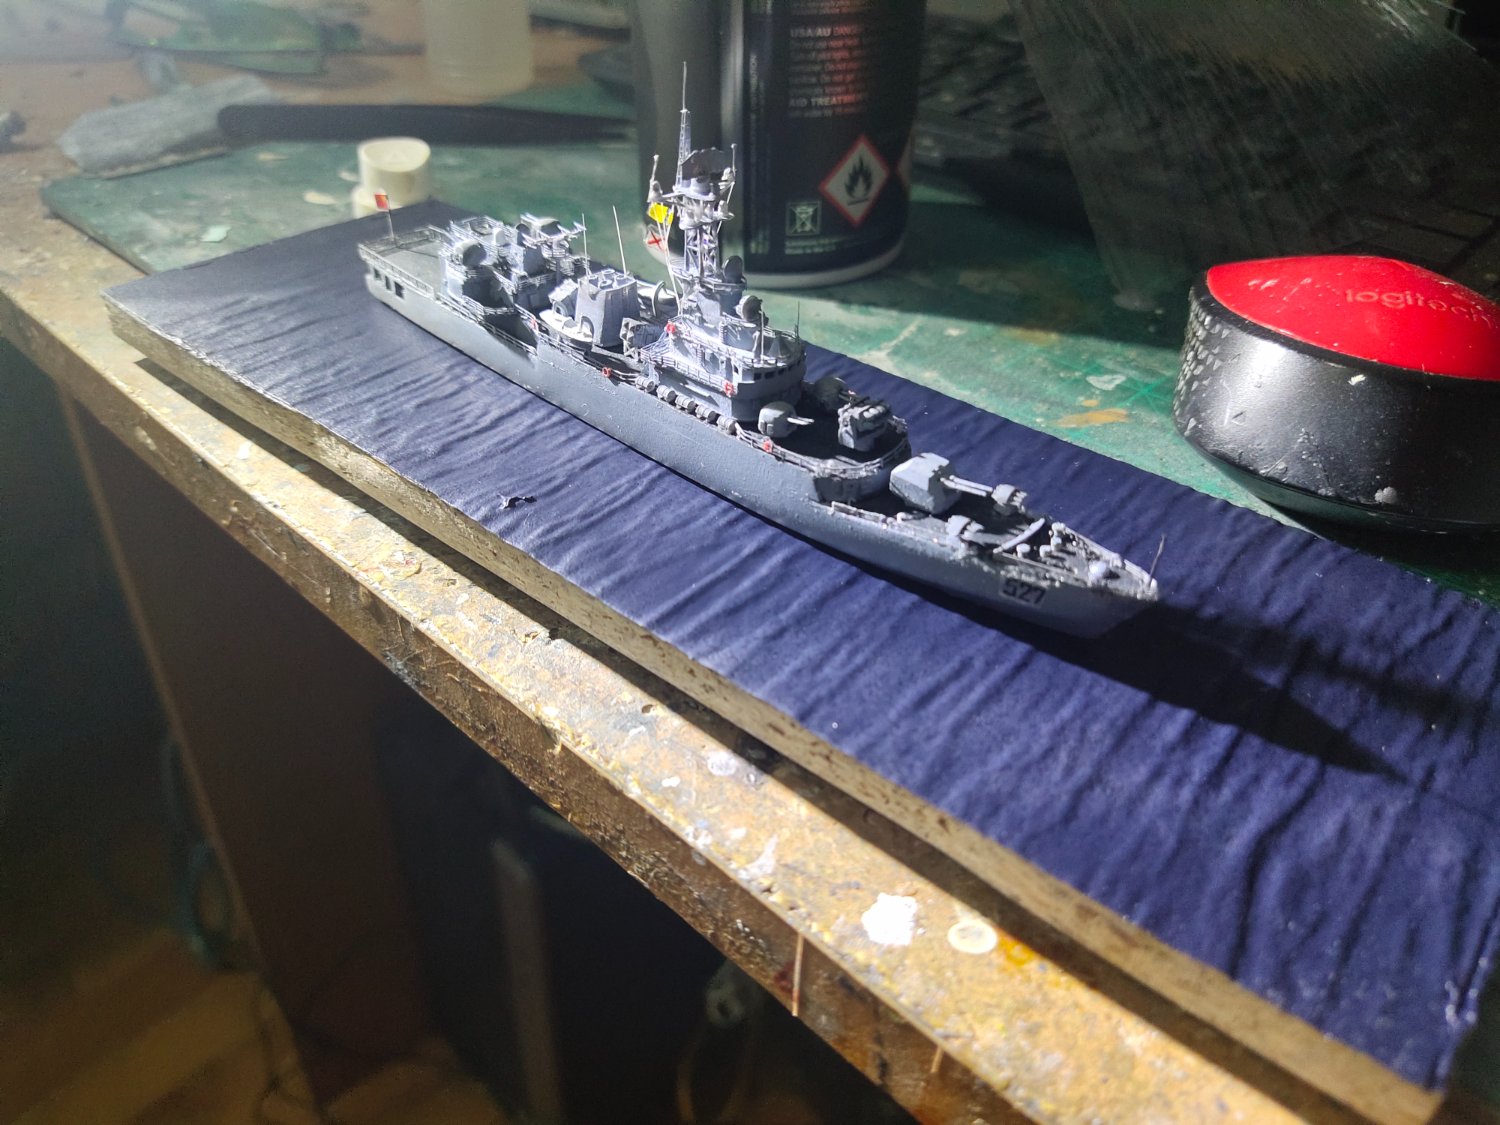
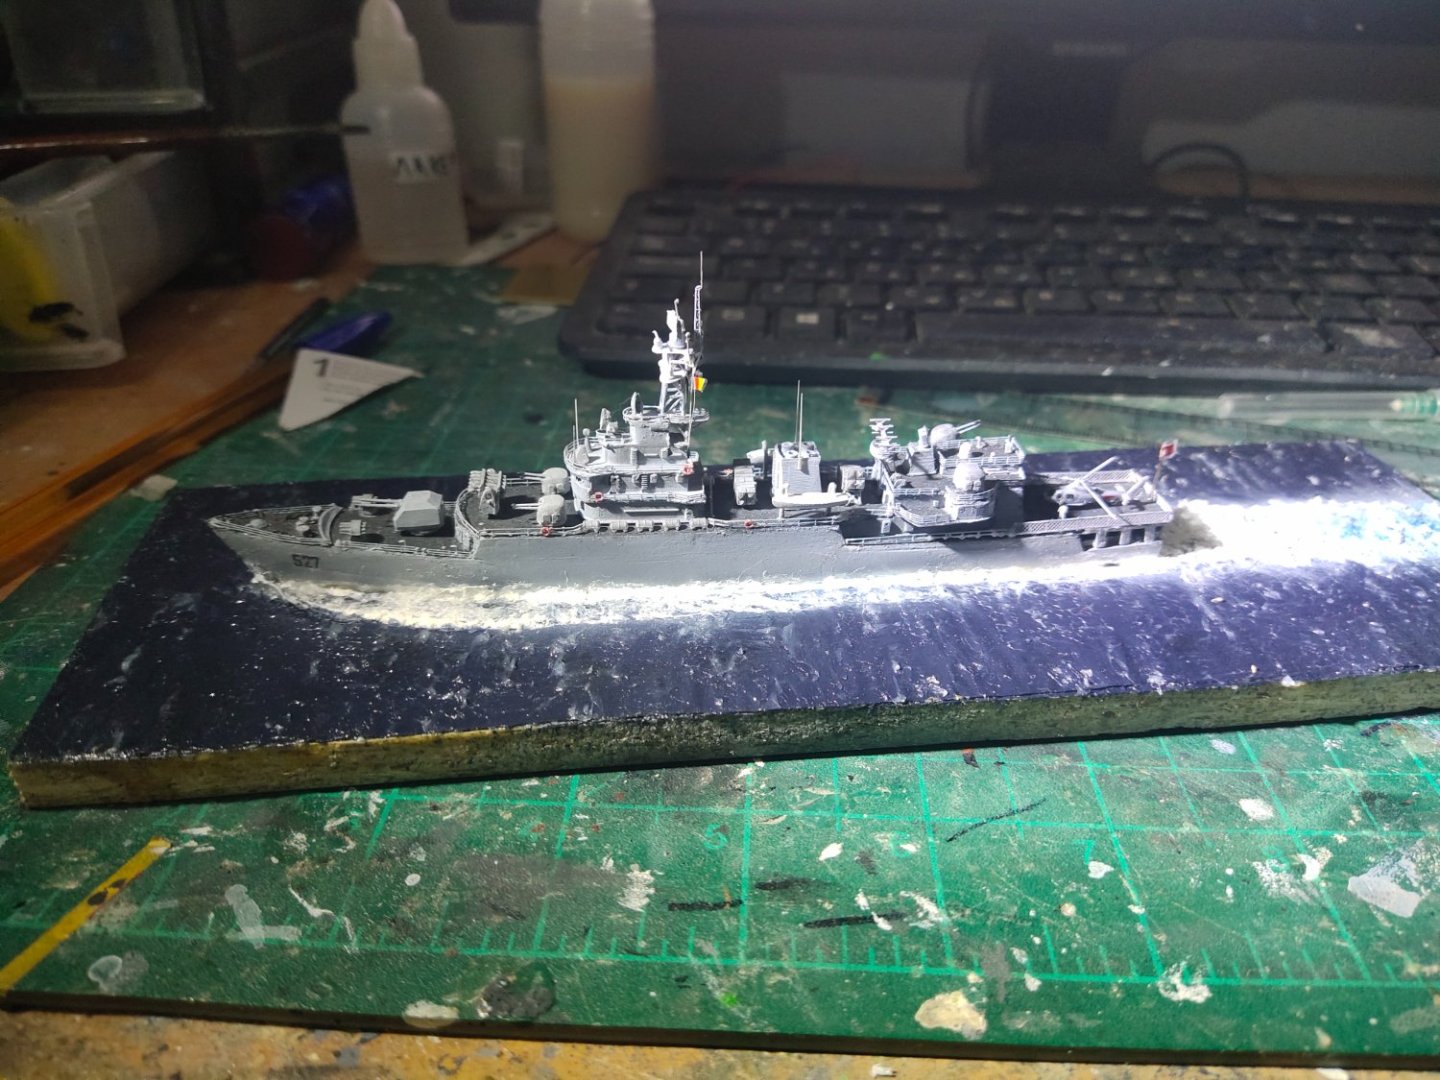
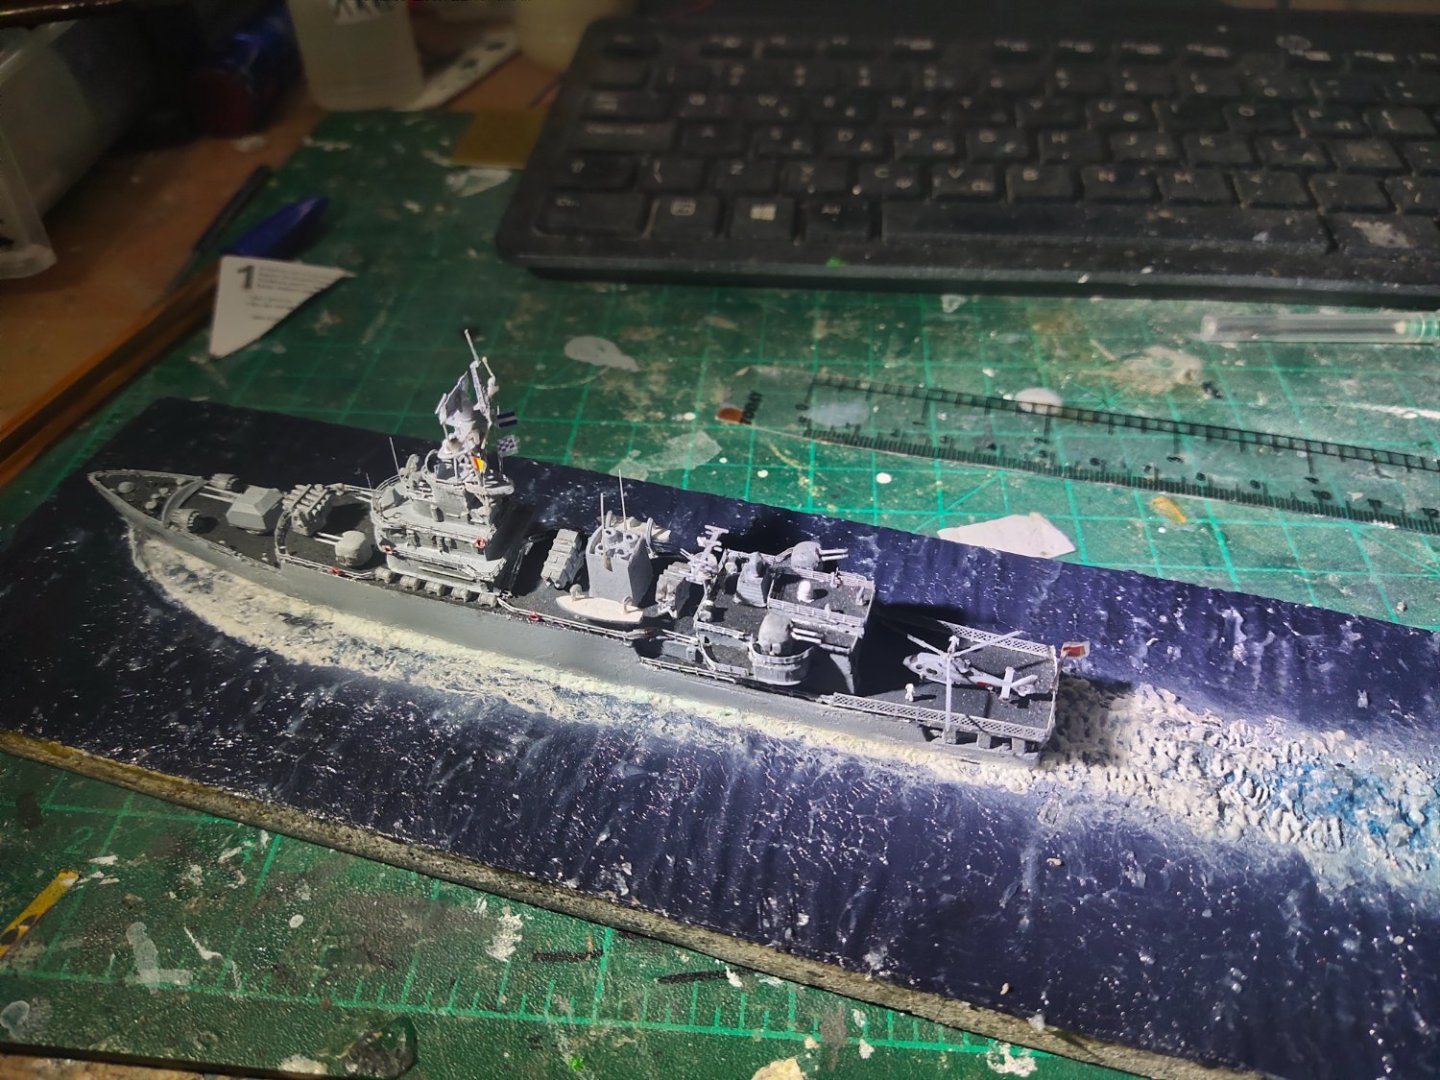
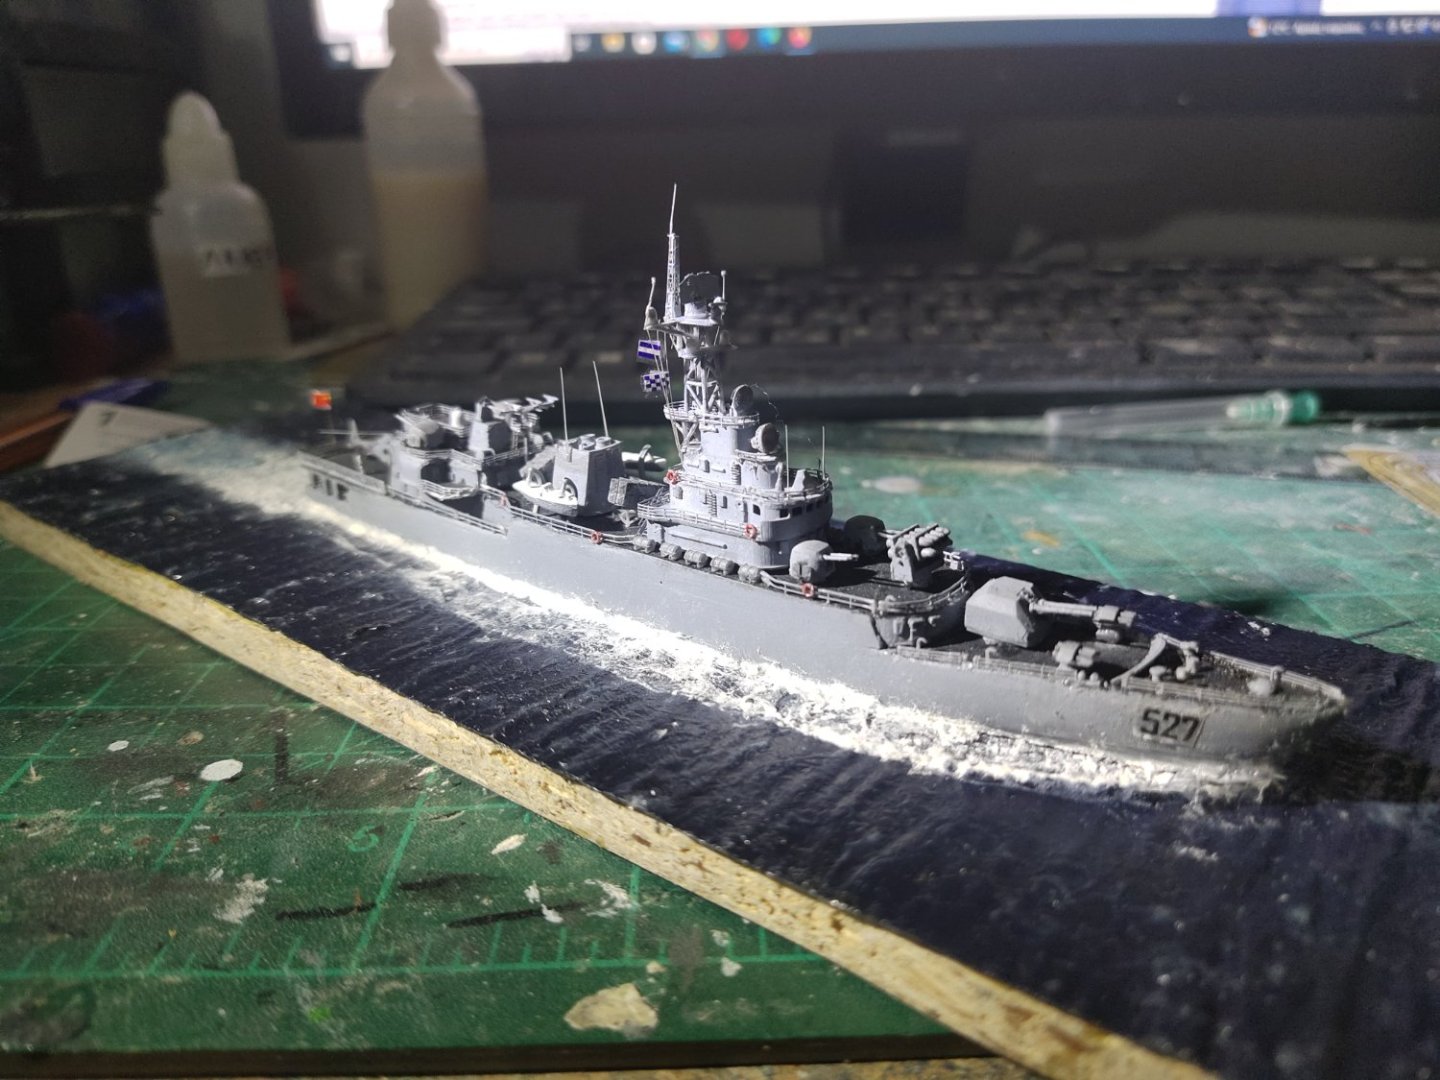
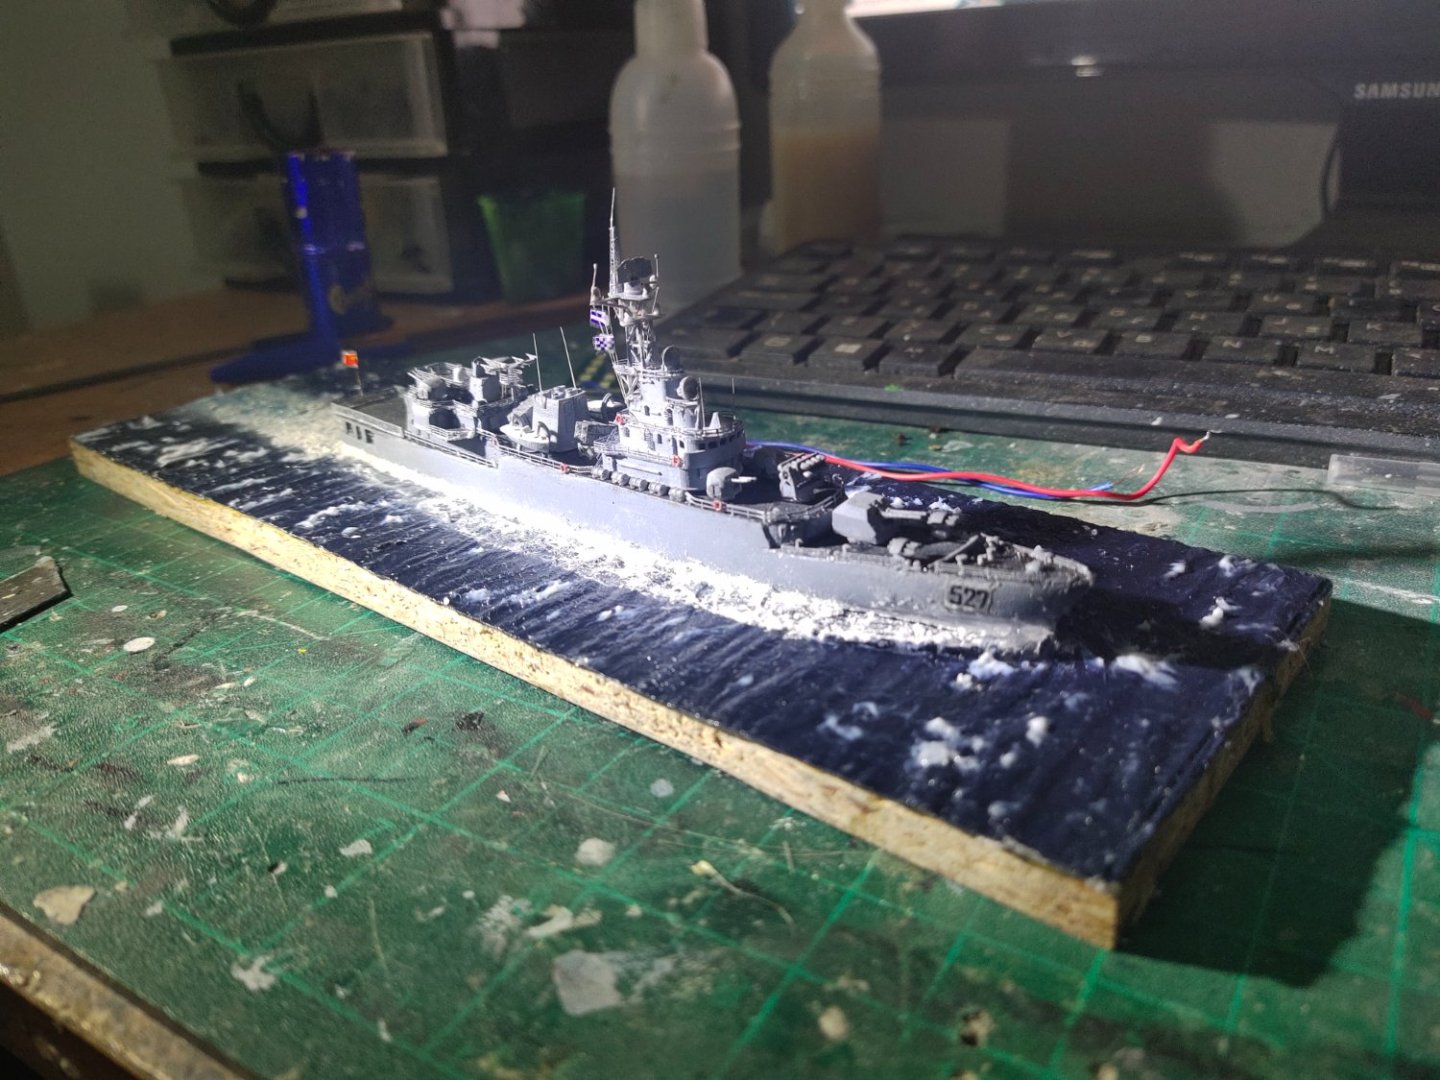
Happy new year to you and your family as well. This is the first project of a 1/700 building series, a bit unusual scale for scratch built which can't be compared to the amazing builts presented in this section, but still has its beauty. Anyway added some final details, rigging, flags etc. The 527 number is also homemade, if you want to know how just watch this kind lady at 2:40 Now let's see if a simple sea base can look as good as a more complicated one I took a piece of water ripples transparent sheet and glued to a wood base. The first attempt with Titebond failed then I used adhesive glue and worked After priming the naylon surface I sprayed it with dark ocean blue