DanielD
-
Posts
549 -
Joined
-
Last visited
Content Type
Profiles
Forums
Gallery
Events
Everything posted by DanielD
-
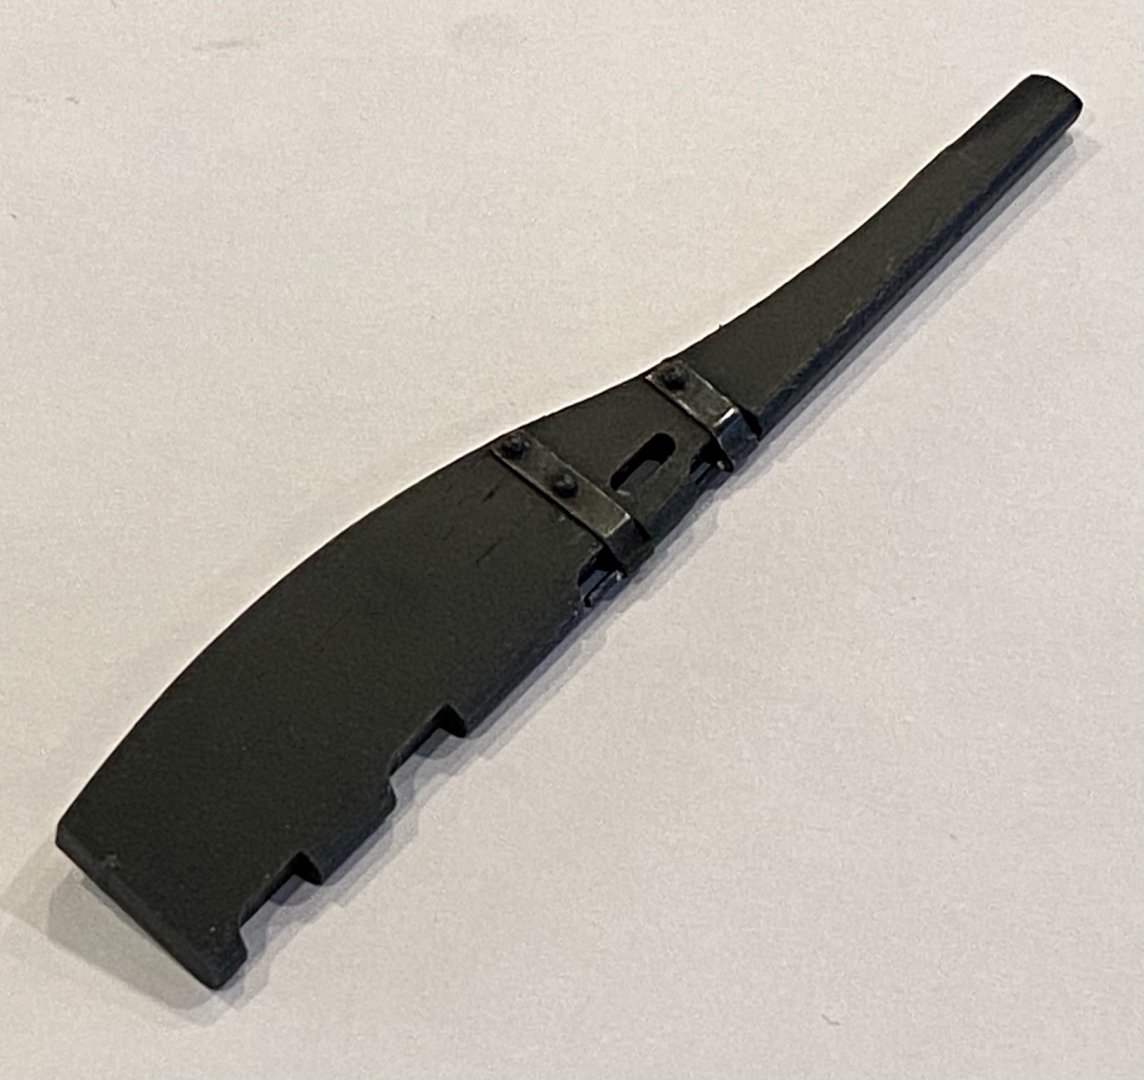
 Stern davits, how will I ever remember all of these new terms... I did some research on the Terror and could not find any text or images of the stern davits being used to hold the ships small boats, as these seemed to be held on the sides. However, I did find one image from an earlier expedition that shows the spare rudder being hung from these davits. I know there is storage for a spare rudder mid ship, I may use this opportunity to have something a little different and make a spare rudder from scratch and hang it from these stern davits. Just thinking at this point...
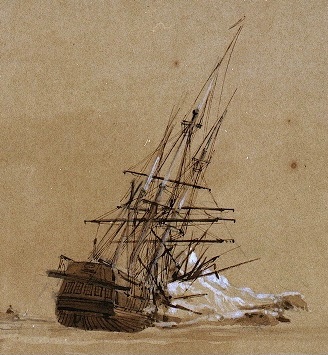
-
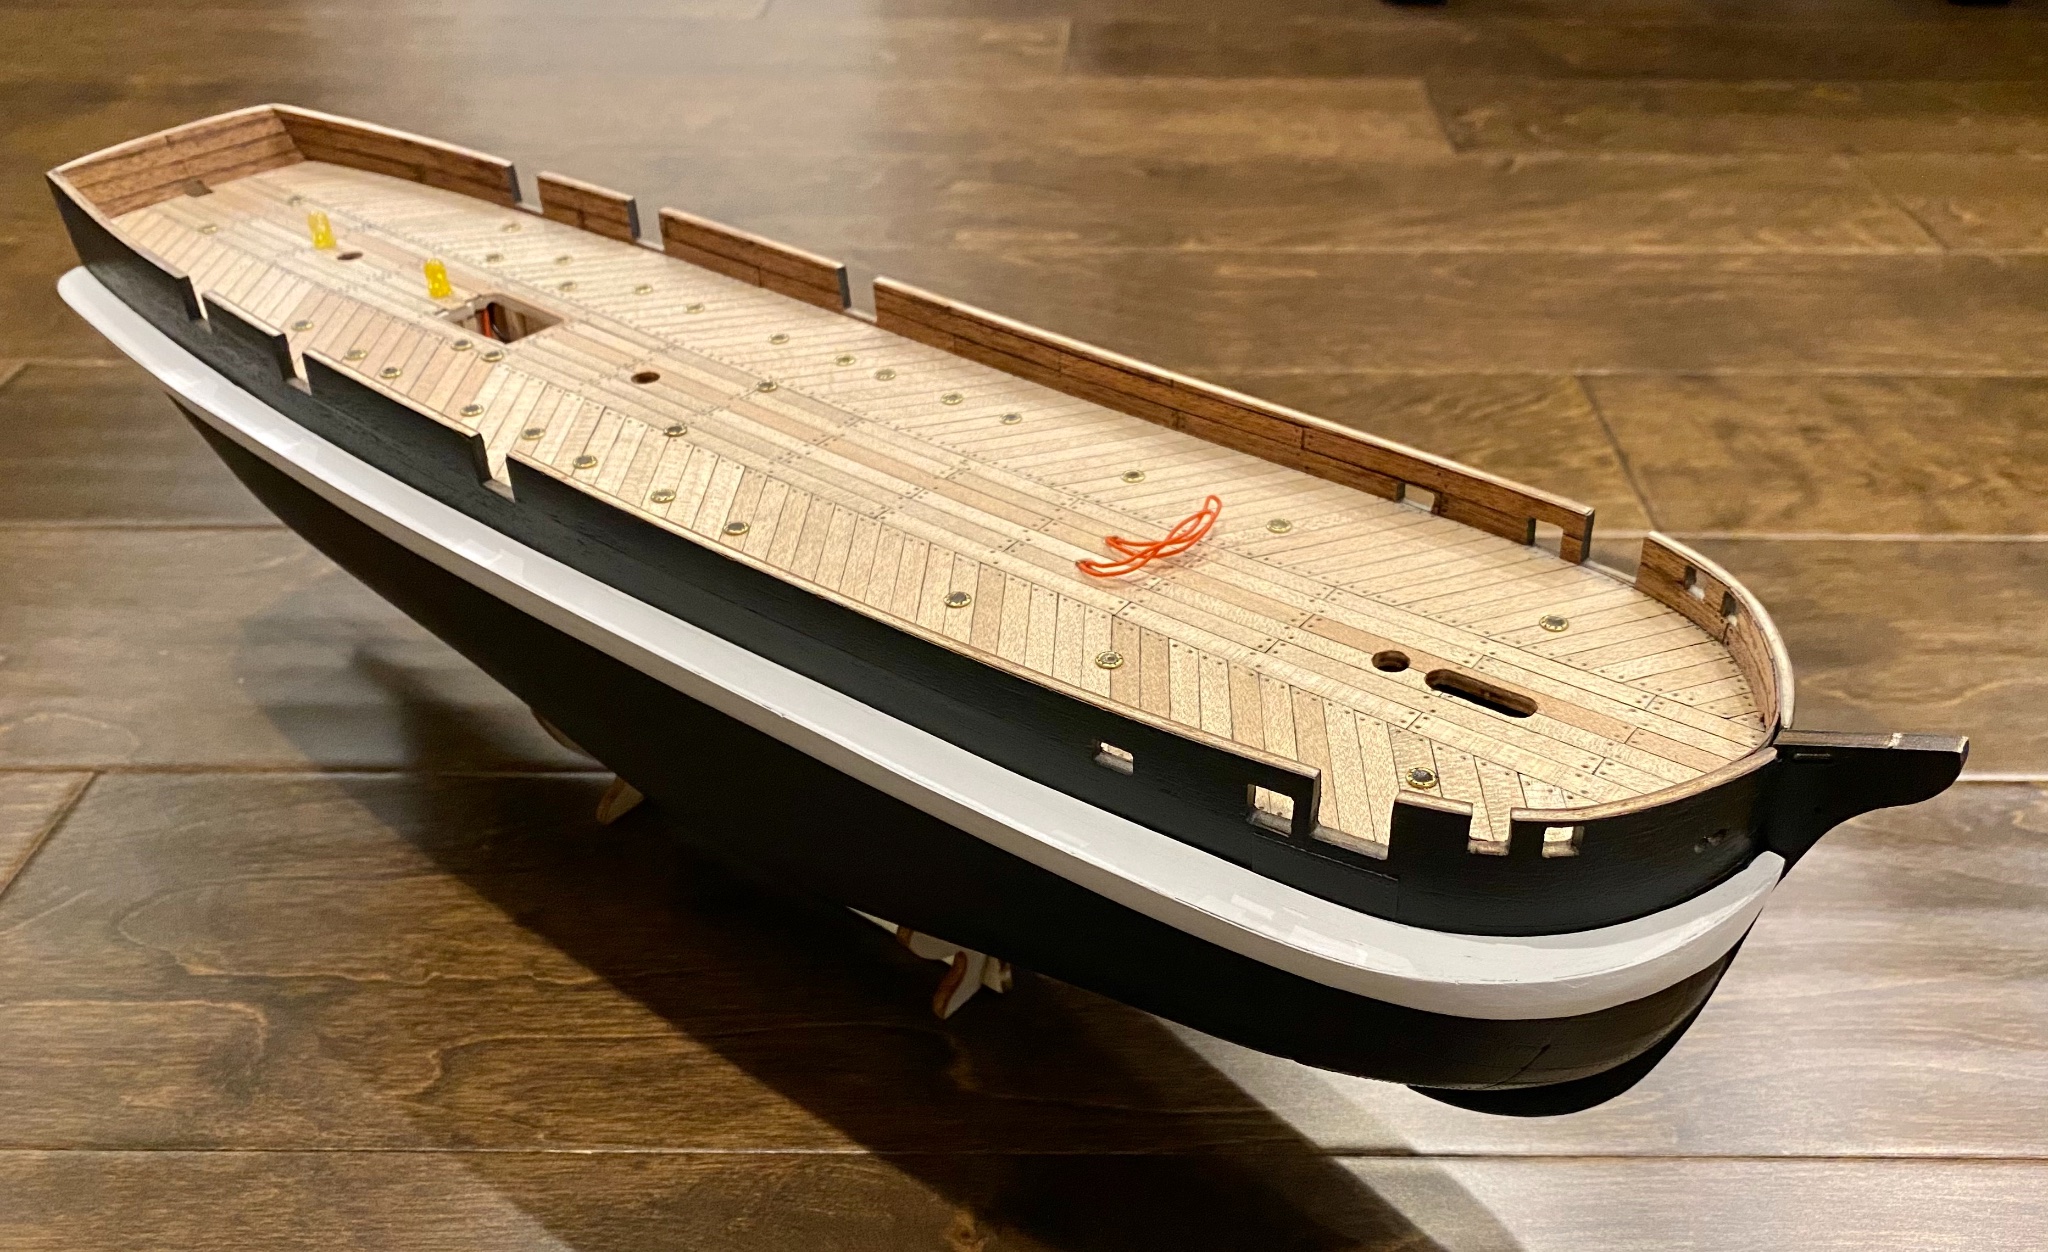
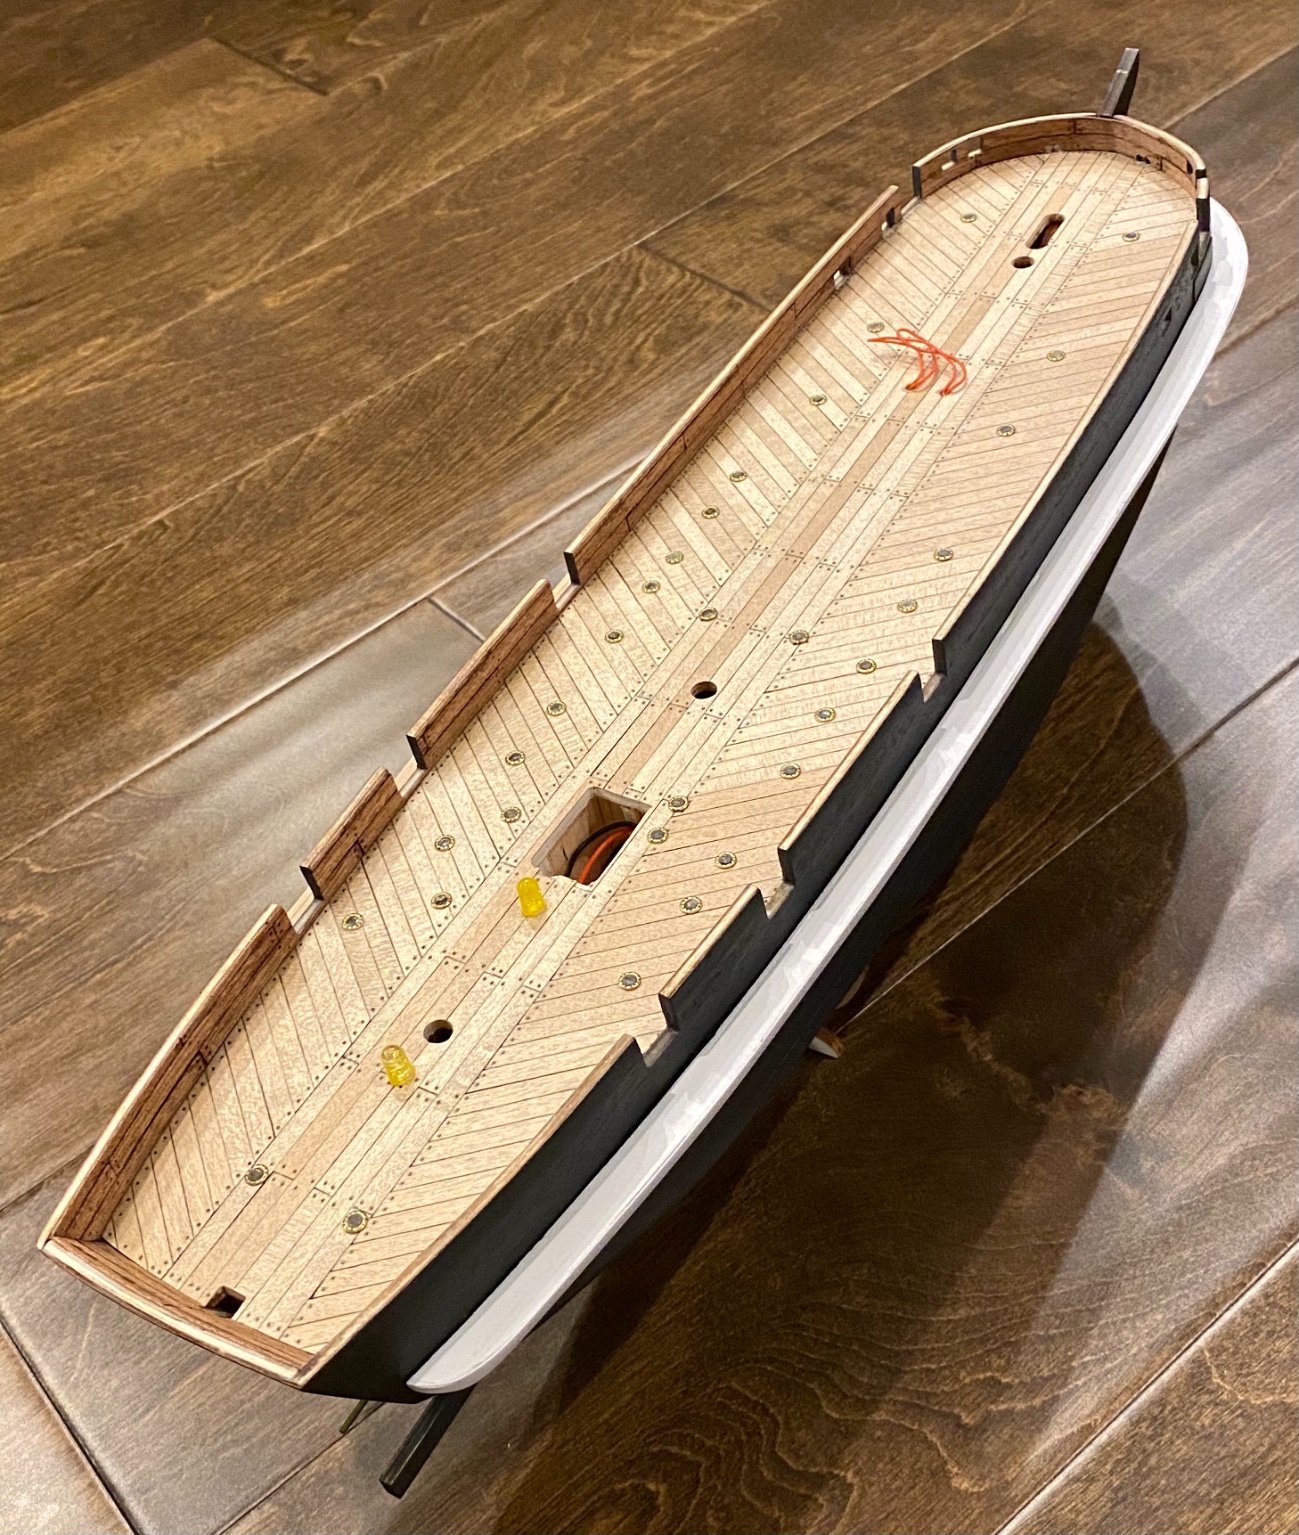
This evening I started working on the... well, I don’t know what they are called. But the timbers/woodwork at the stern. Now to replicate for the port side.

-
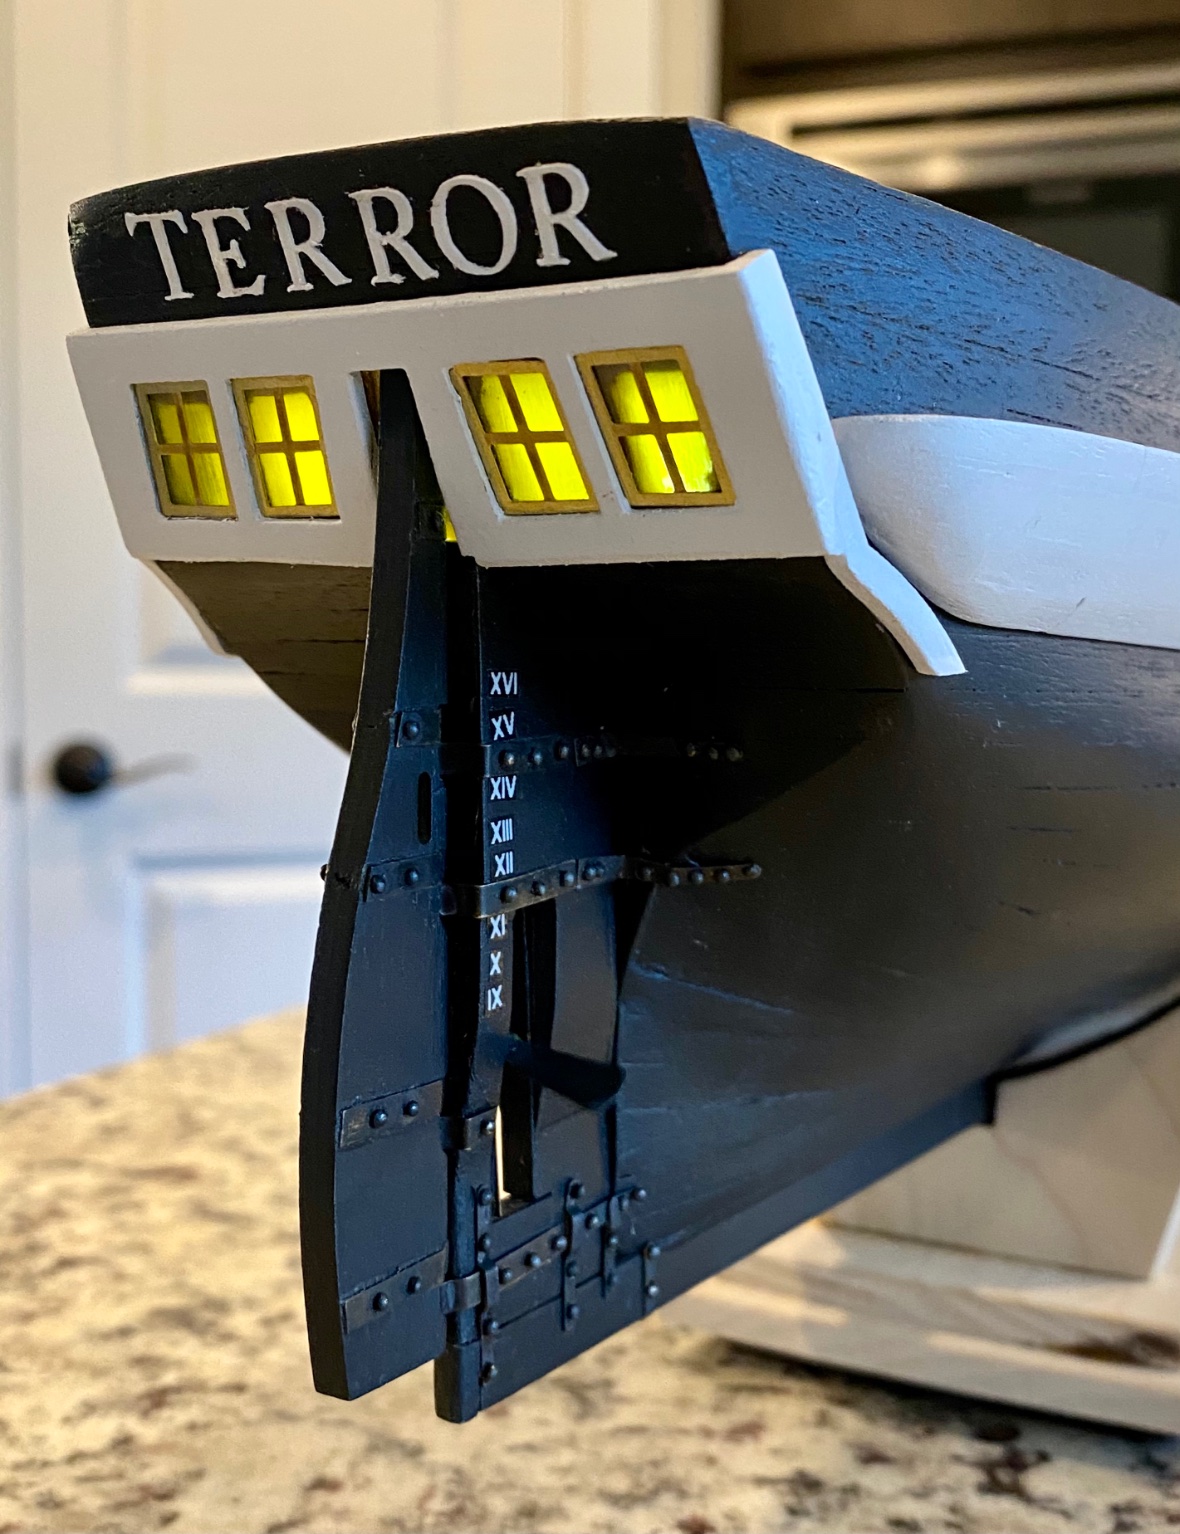
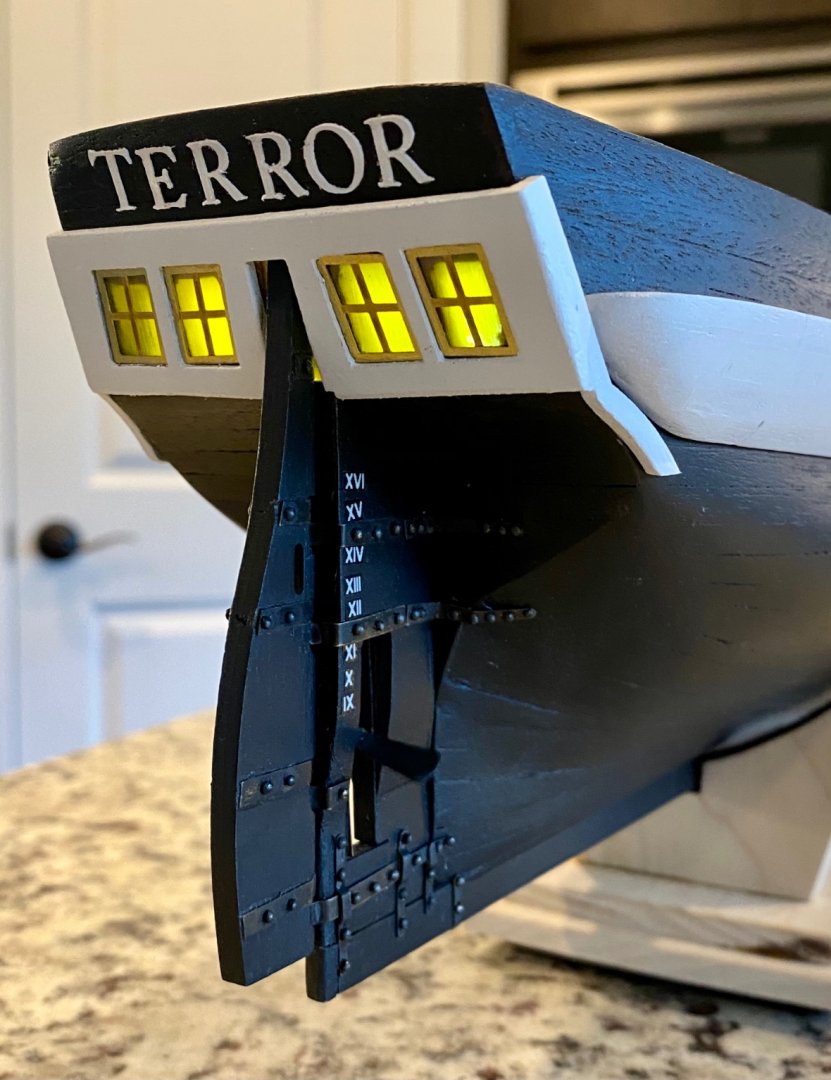
Well, I didn’t think making 3D letters would be so hard. My goal was to make the letters TERROR with a bit of depth, maybe a millimeter or so. I attempted making them with wood, and when that didn’t work a new batch in plastic. The letters are just too small to do the intricate carvings of the letters without damaging them or myself. Then I remembered my wife has a Cricuit machine. I ended up making the letters out of card stock, then a coat or two of white paint to match the model, and finally affix them in place. Initially I made the letters a little smaller, but they didn’t look correct. Below is my final result.
-
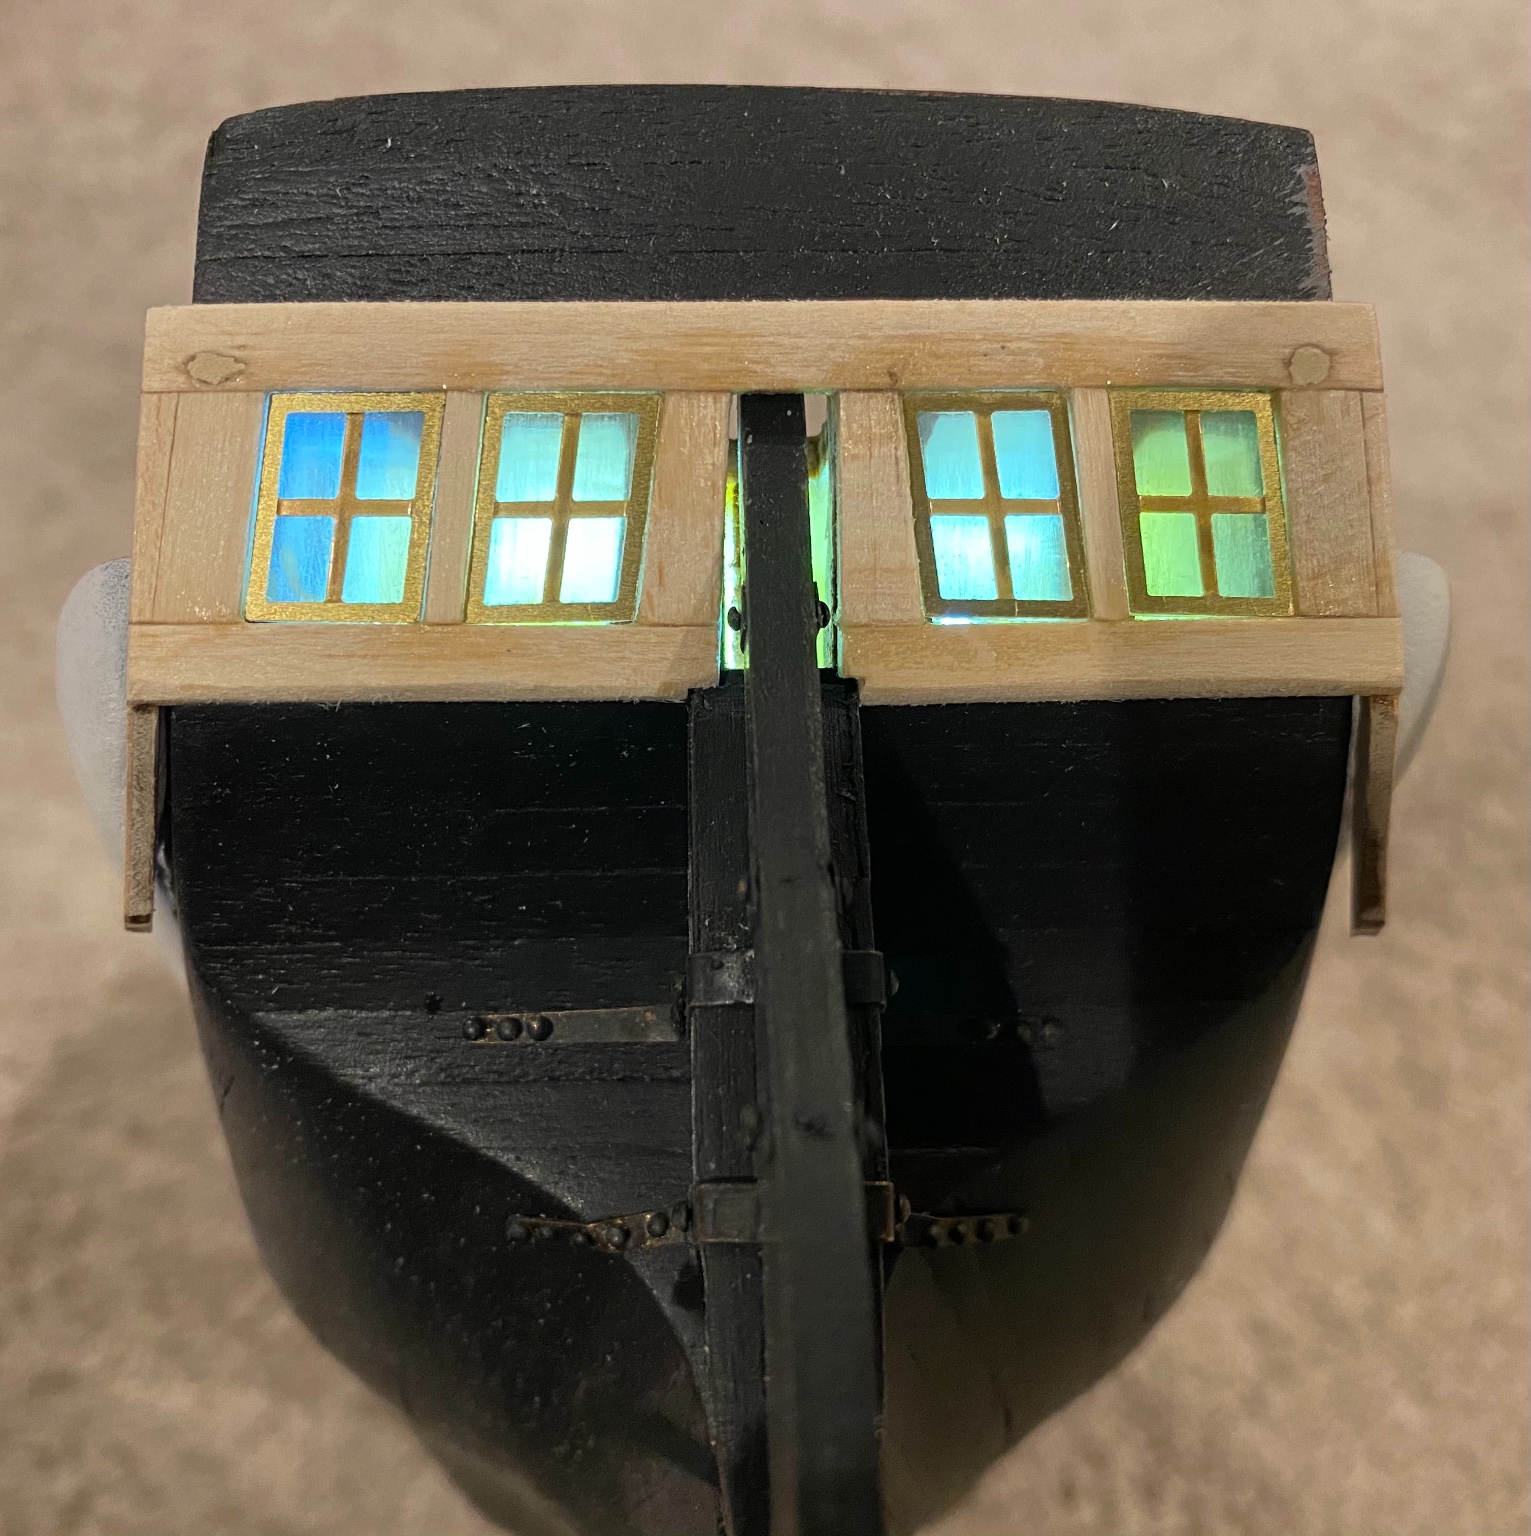
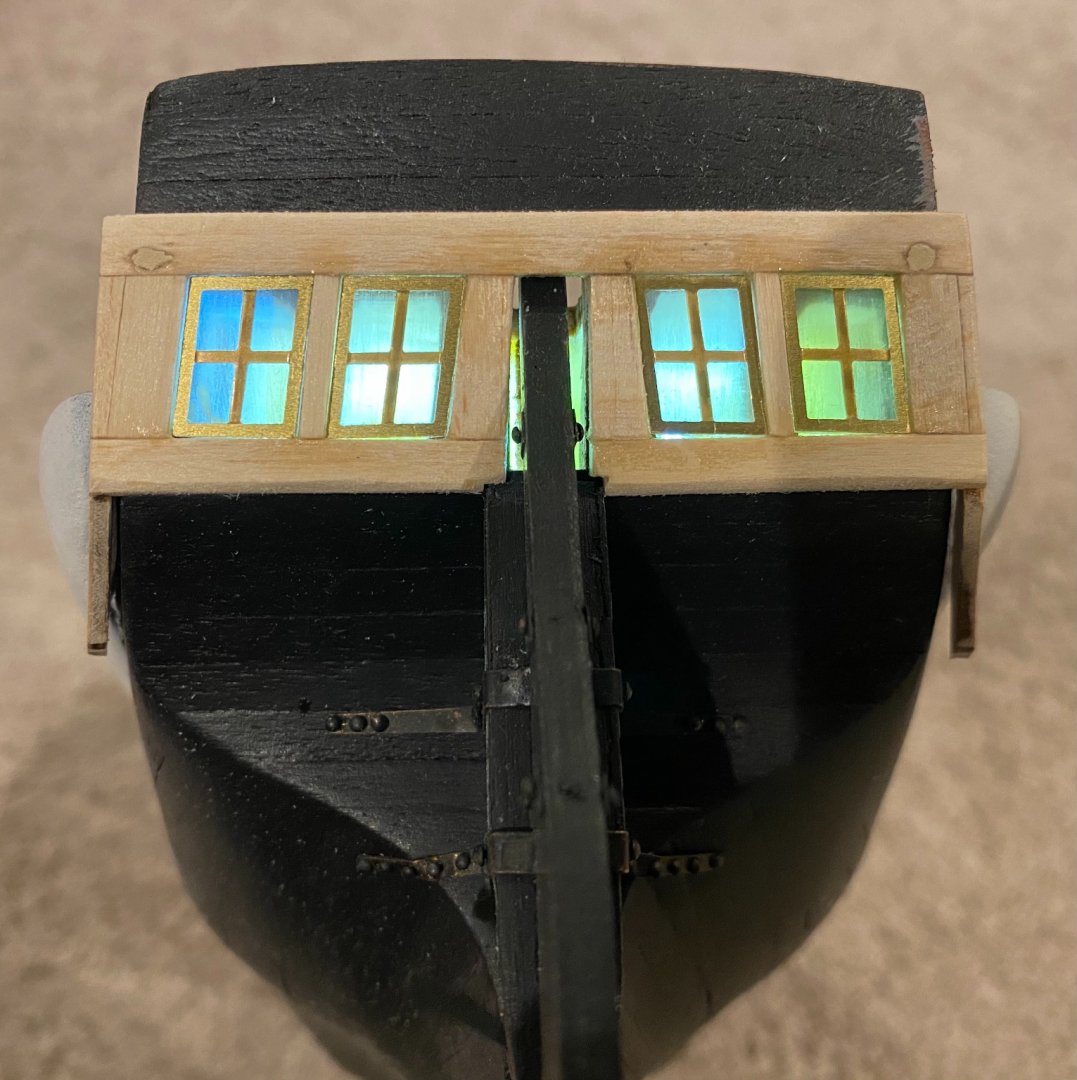
Tonight’s challenge is the window frame of the Capitan’s cabin. I built it removable so that I could do some fine fittings as well as properly paint it white. Below is the first look at the lantern light as seen through the windows. IMG_2359.MOV
-
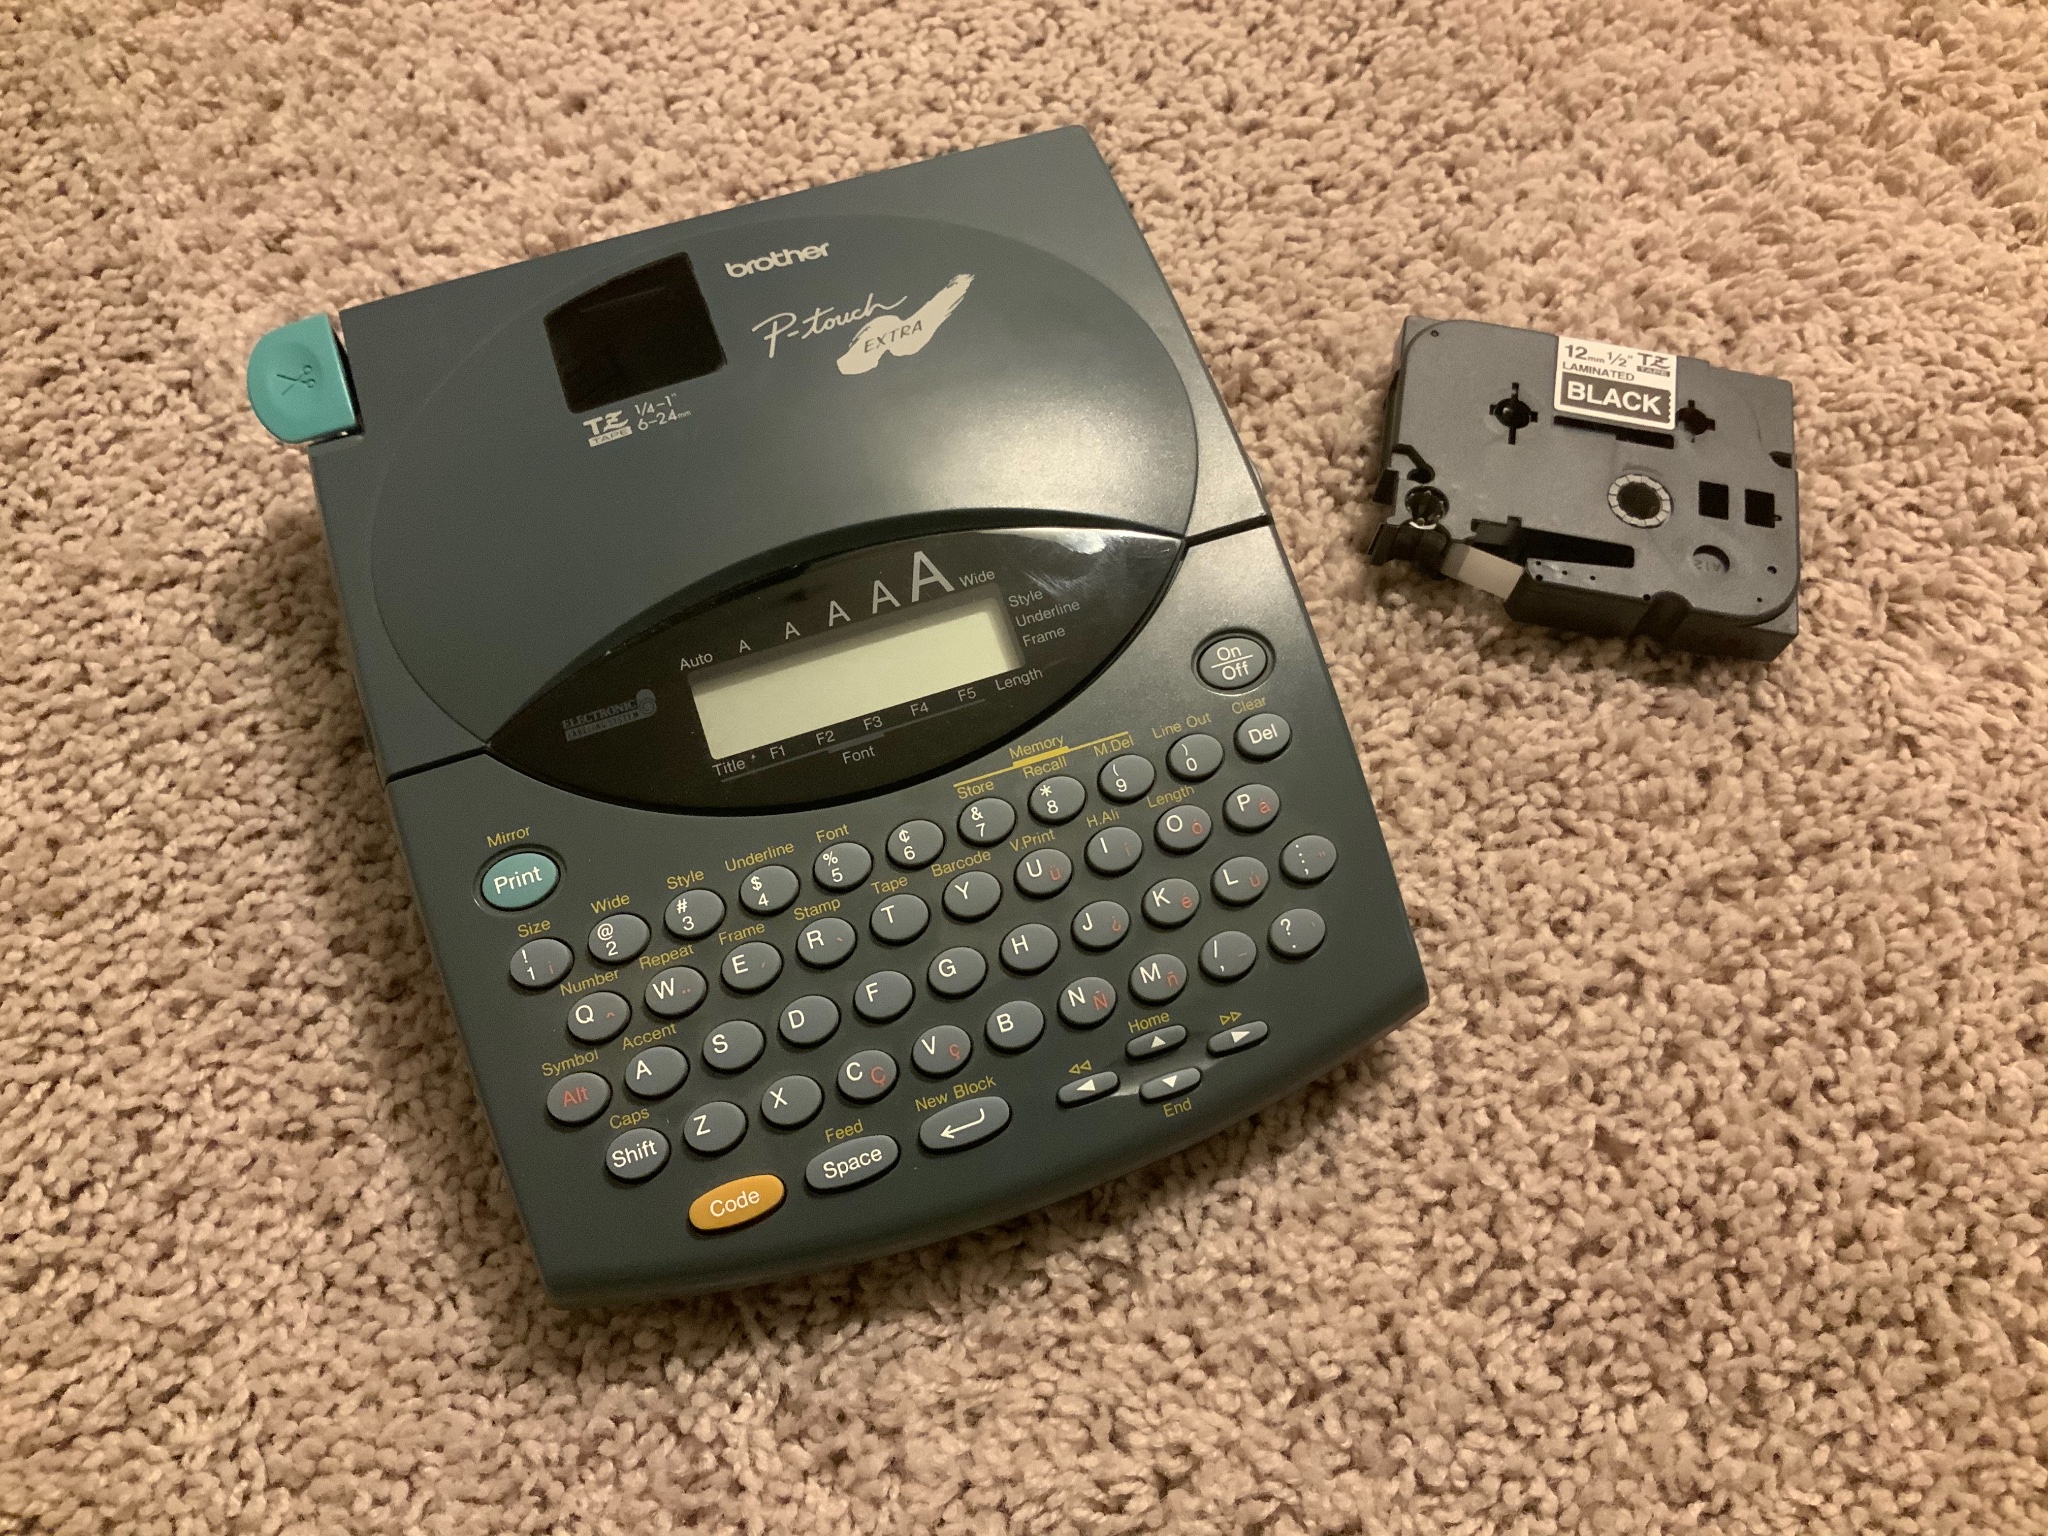
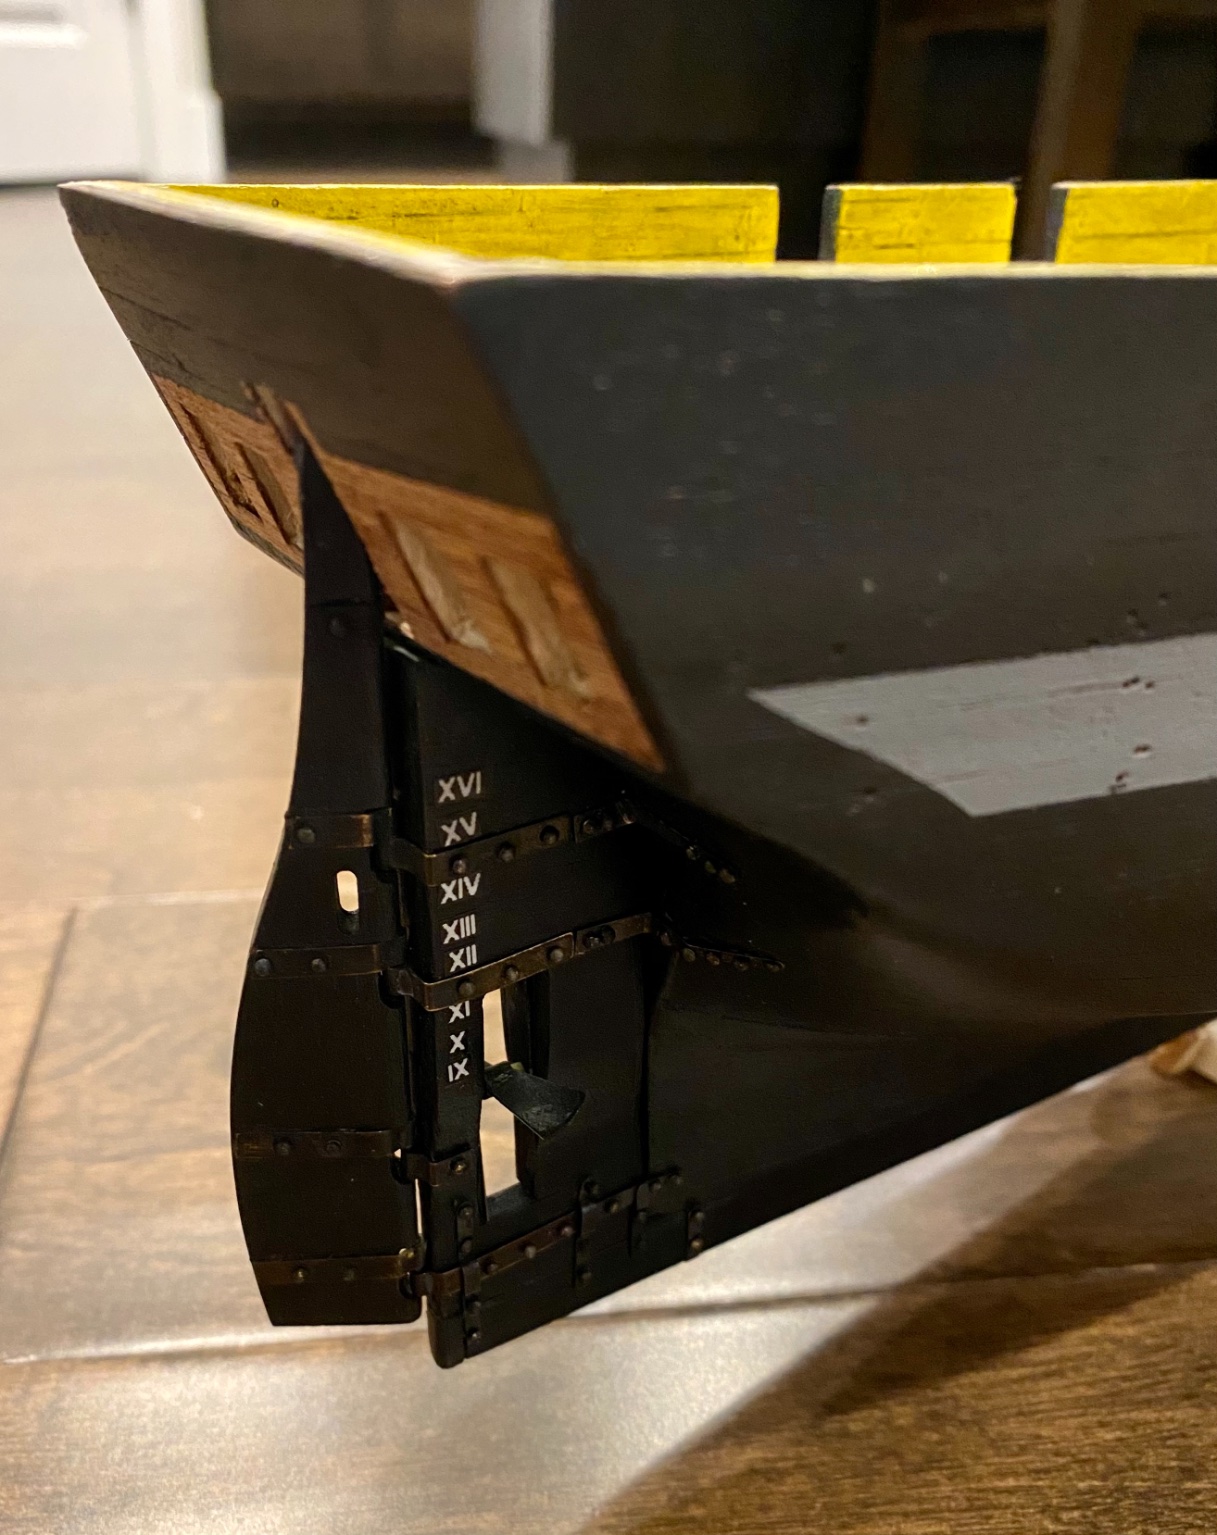
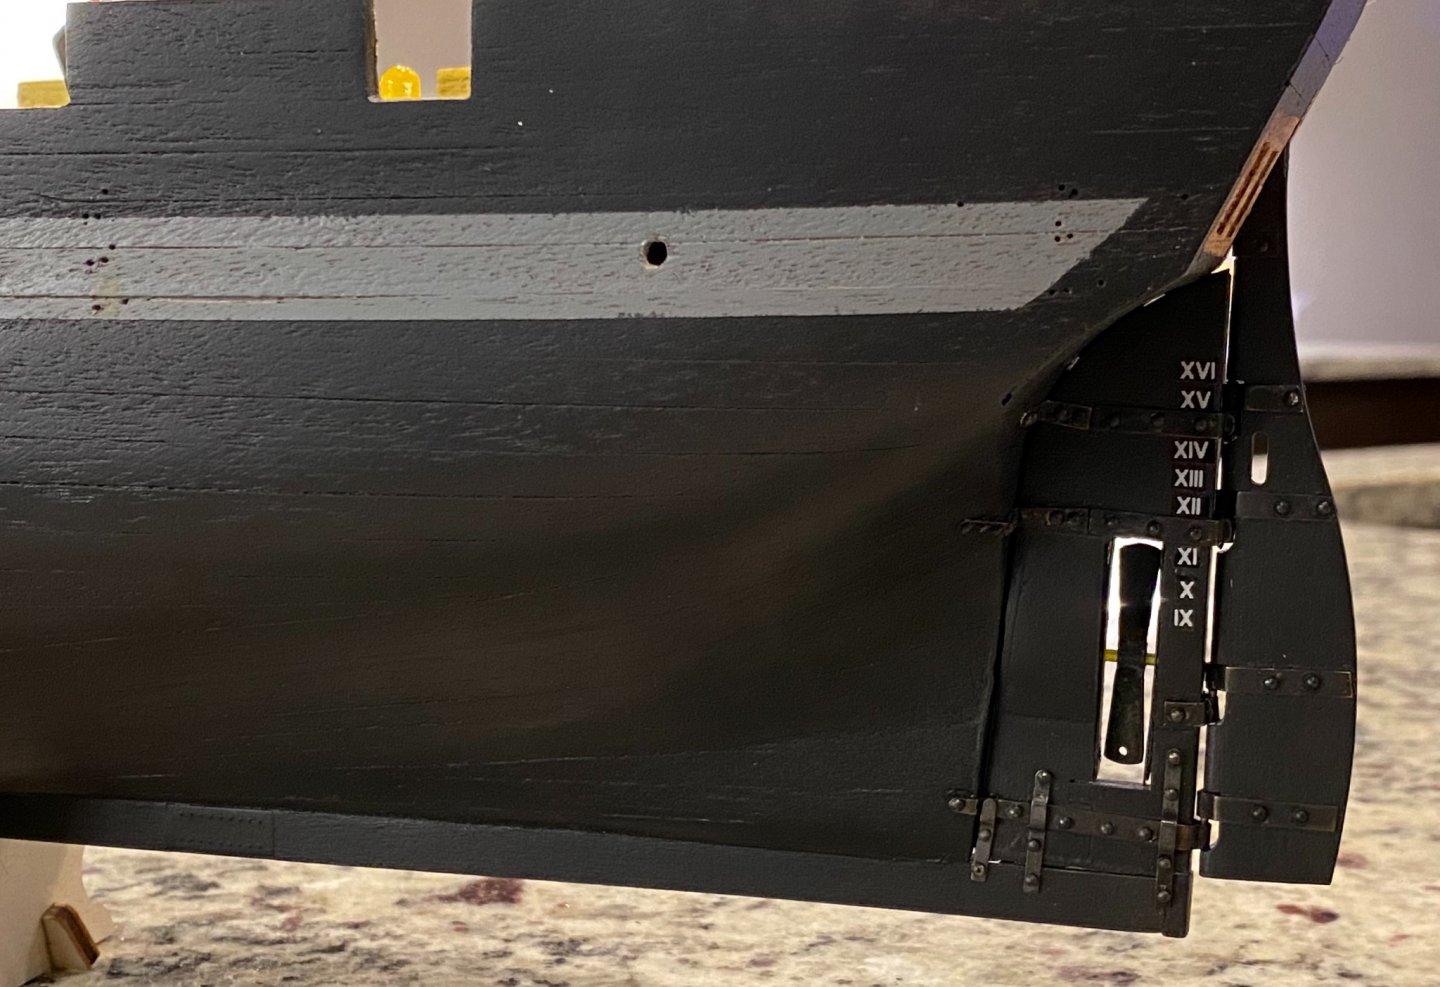
Good evening Alexander, I used a P-Touch label machine with white letters on black tape. I set the machine to the smallest letters it could make, then printed the string IX X XI XII etc. Then I just cut the text out to just around the printed letters, pealed the protective strip away and affixed to the model. Hope this helps.

-
Finished the steel work on the starboard side and included a video of the propeller in action. IMG_2357.MOV

-
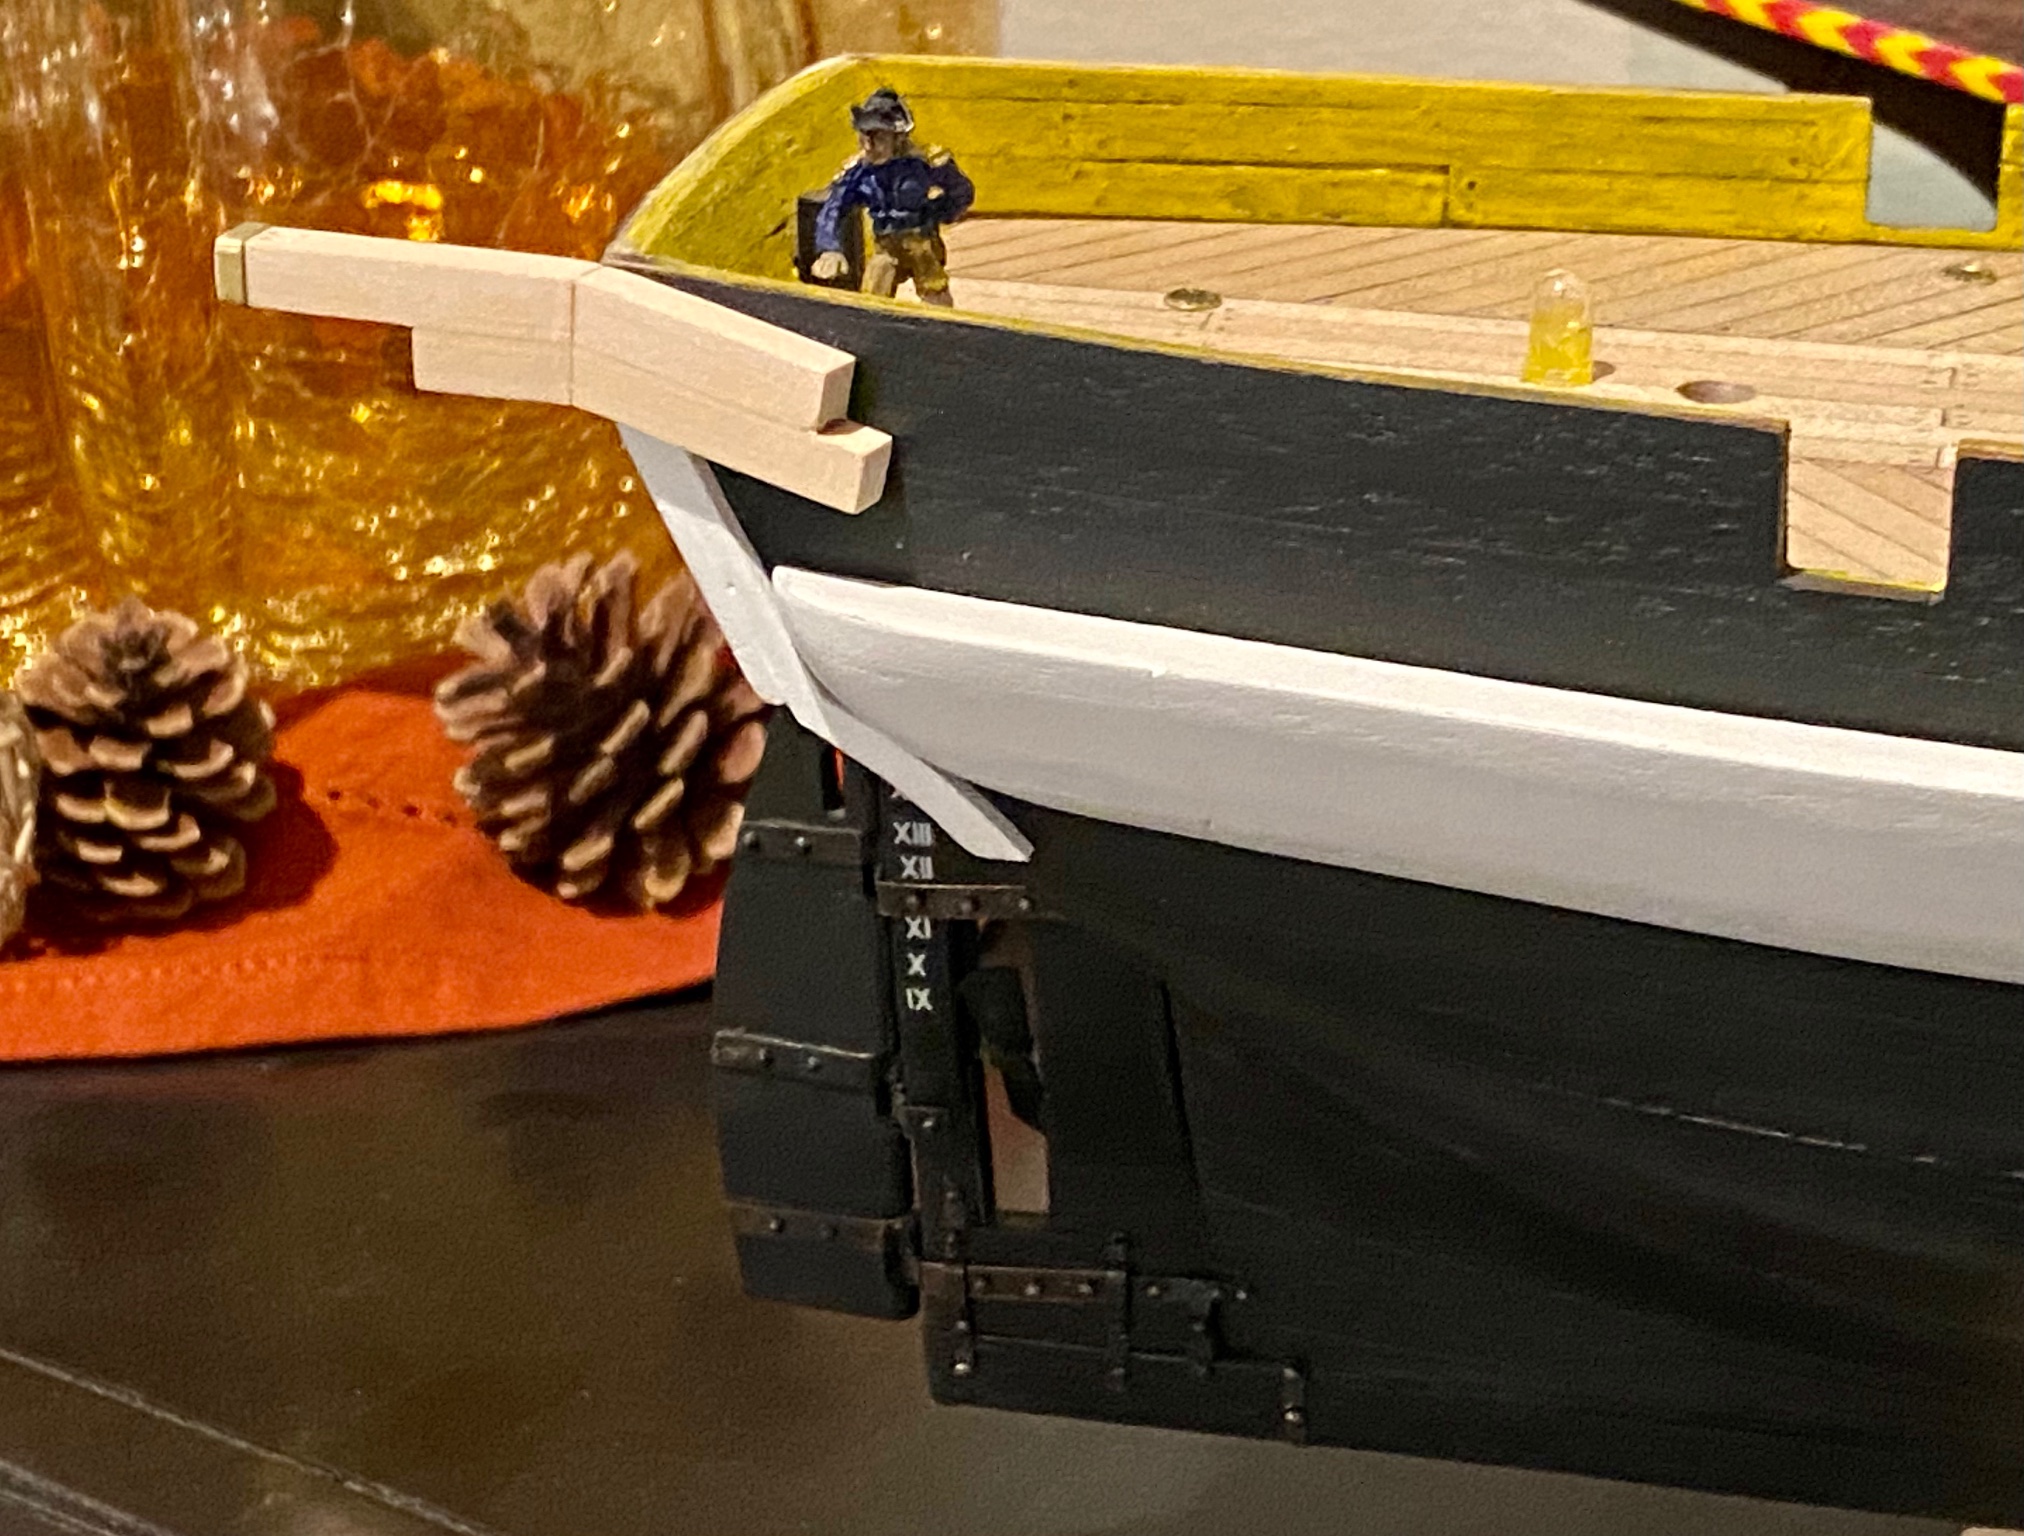
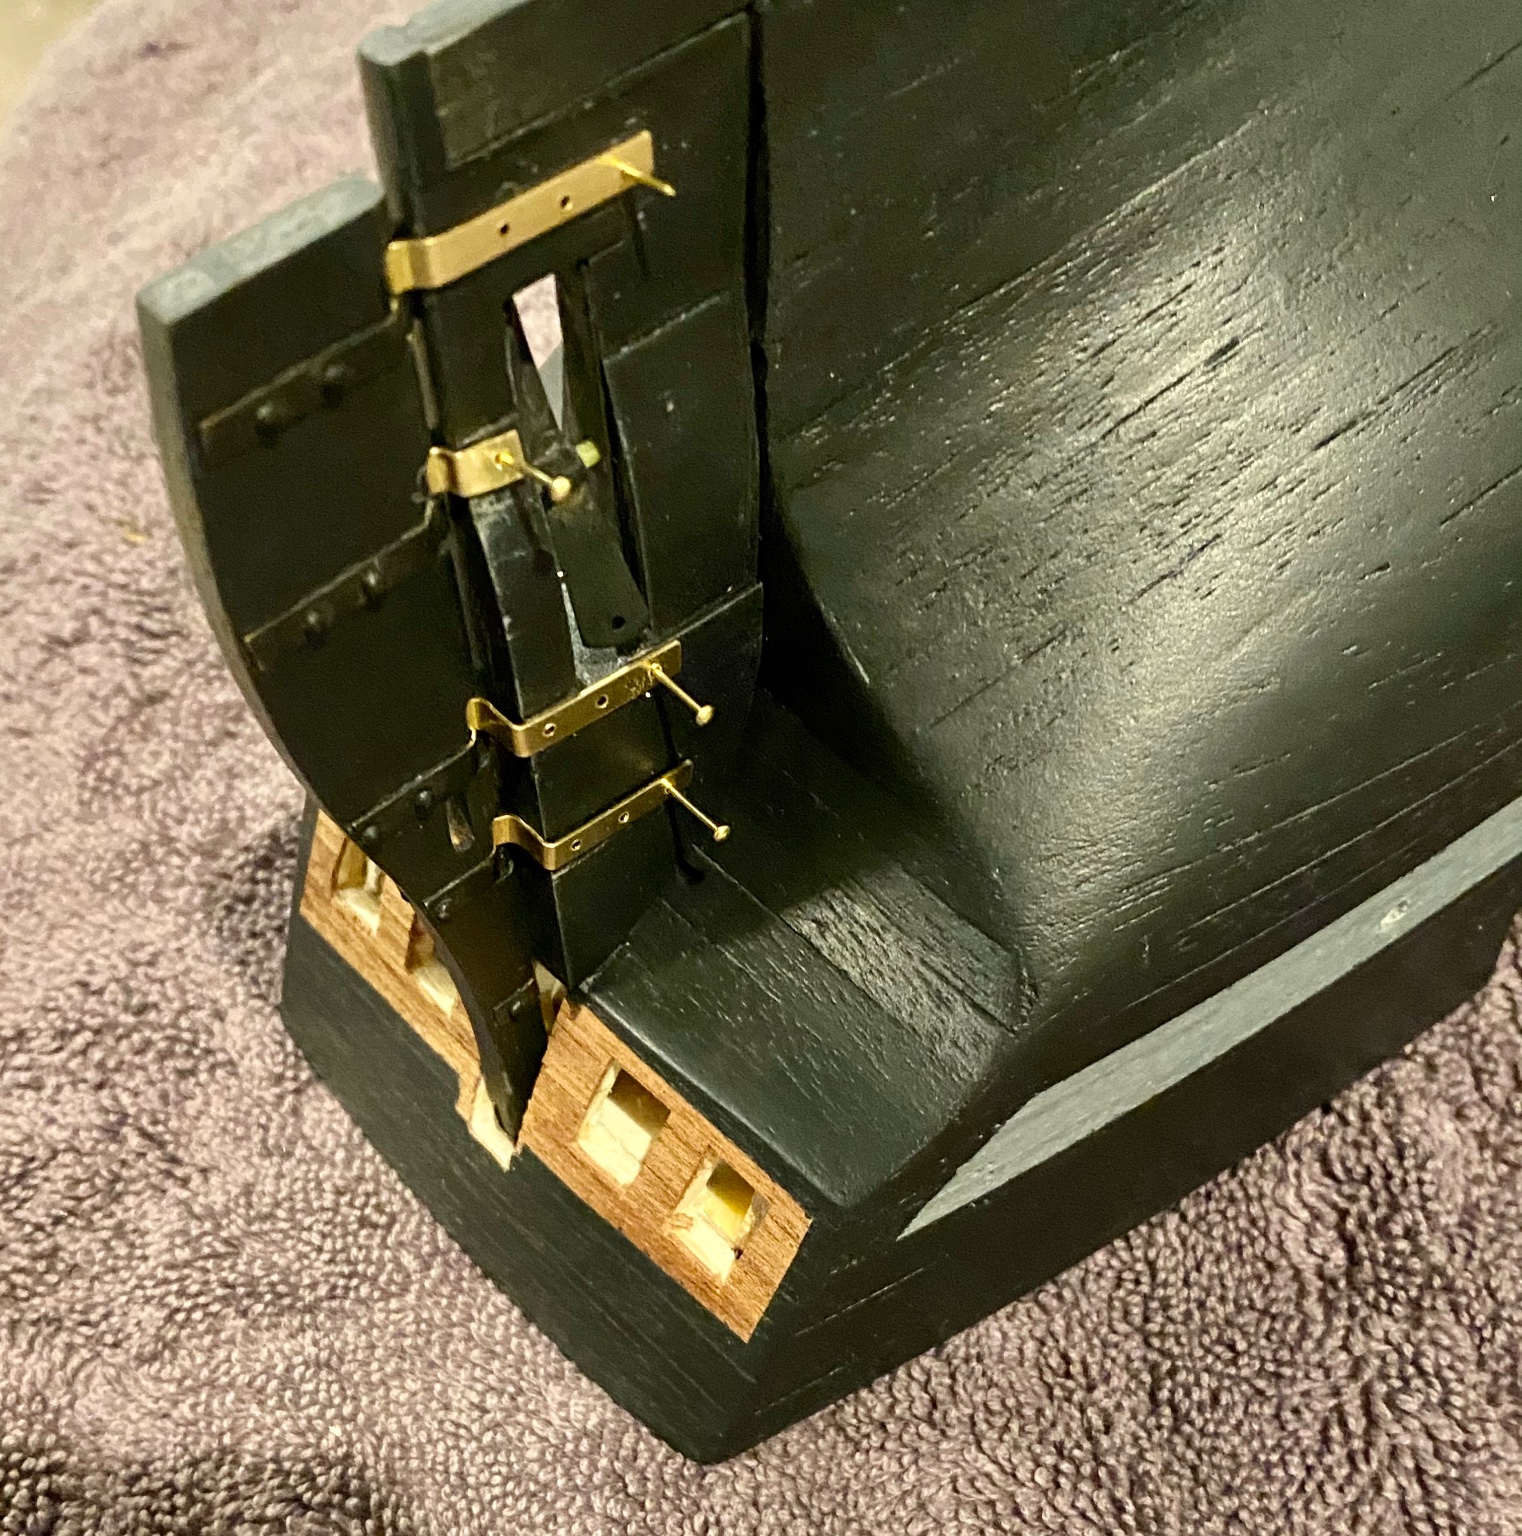
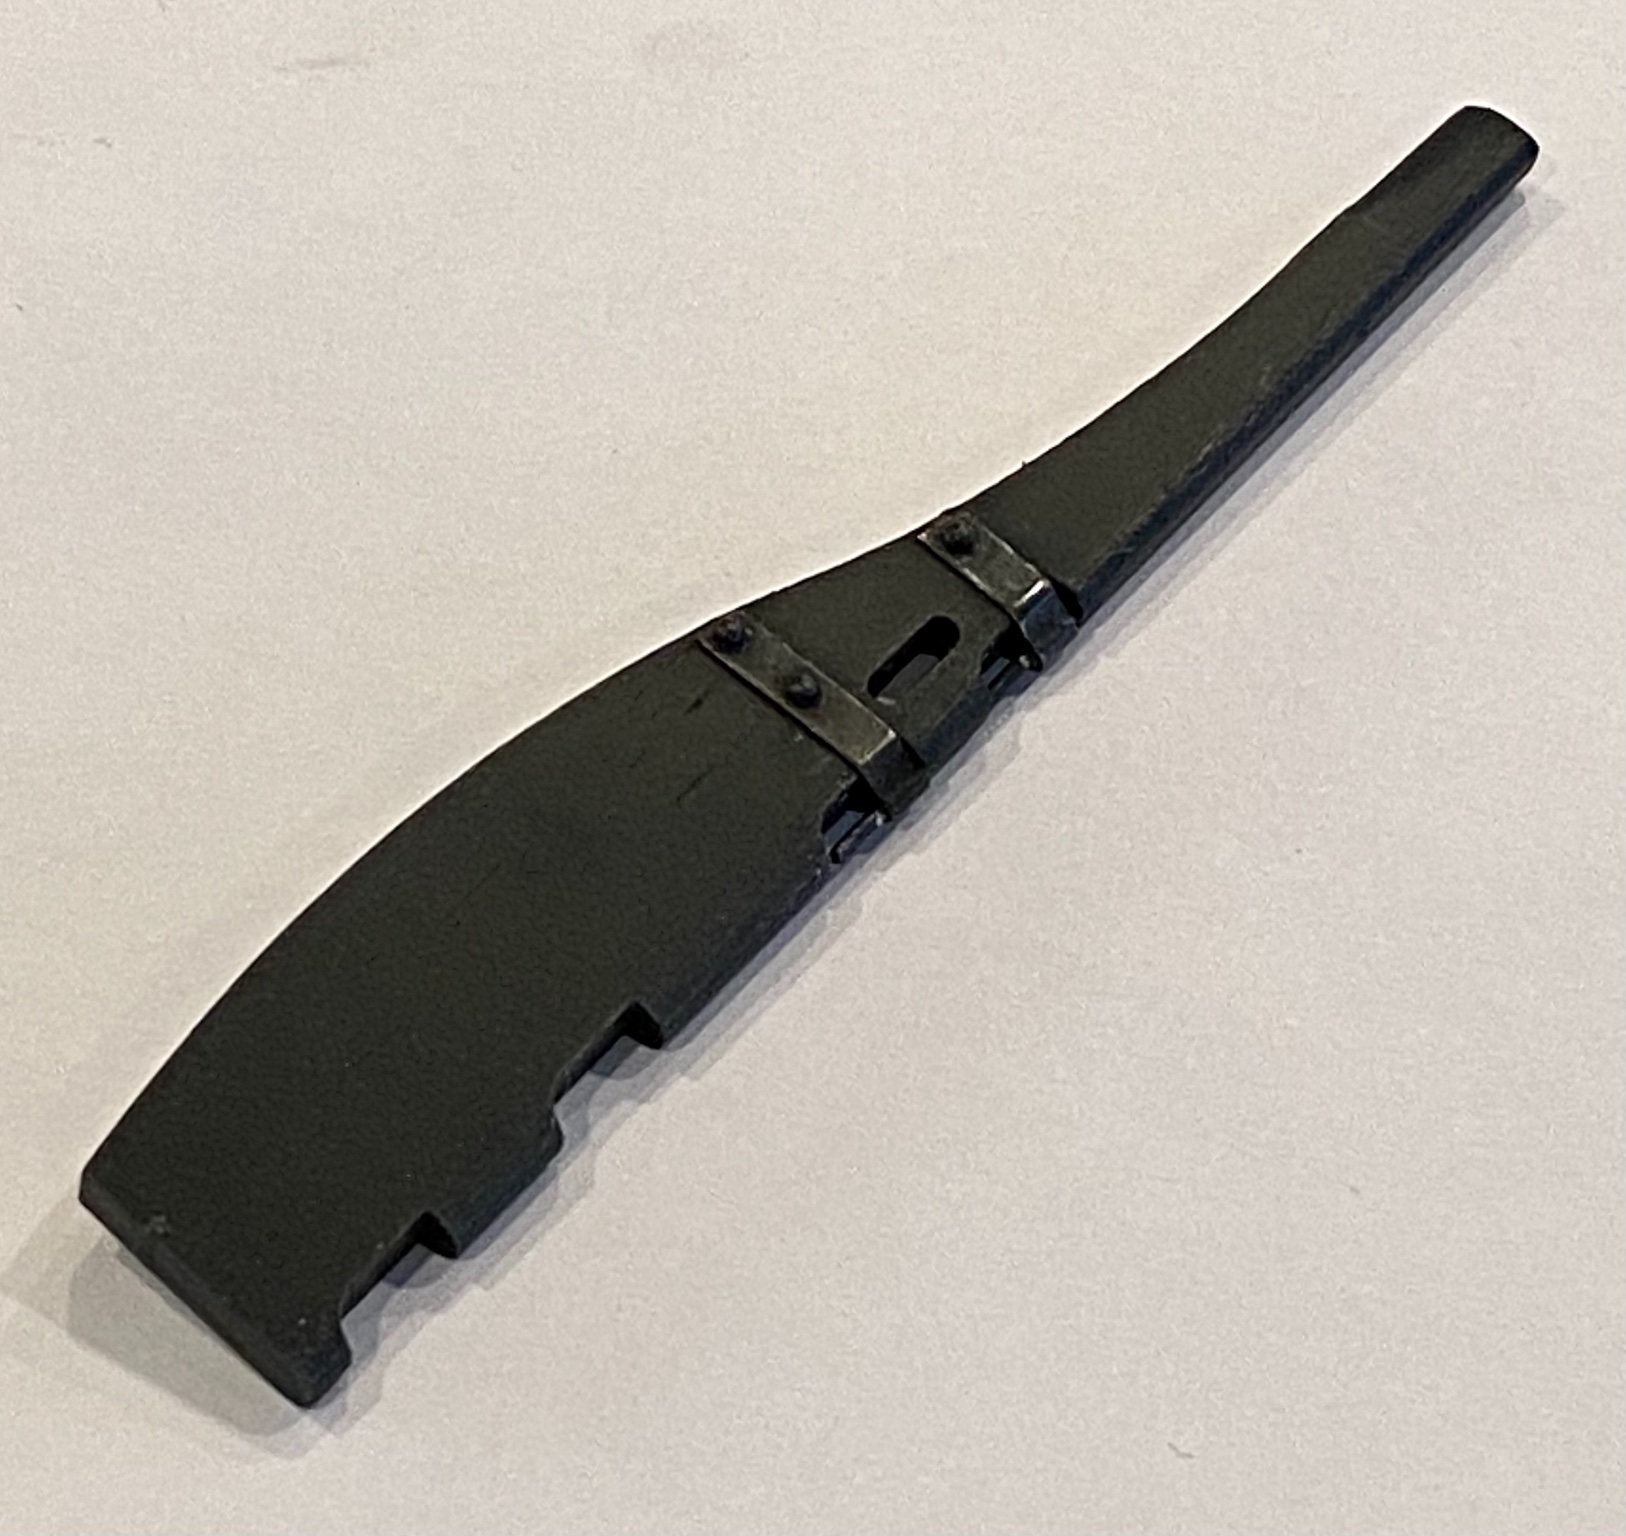
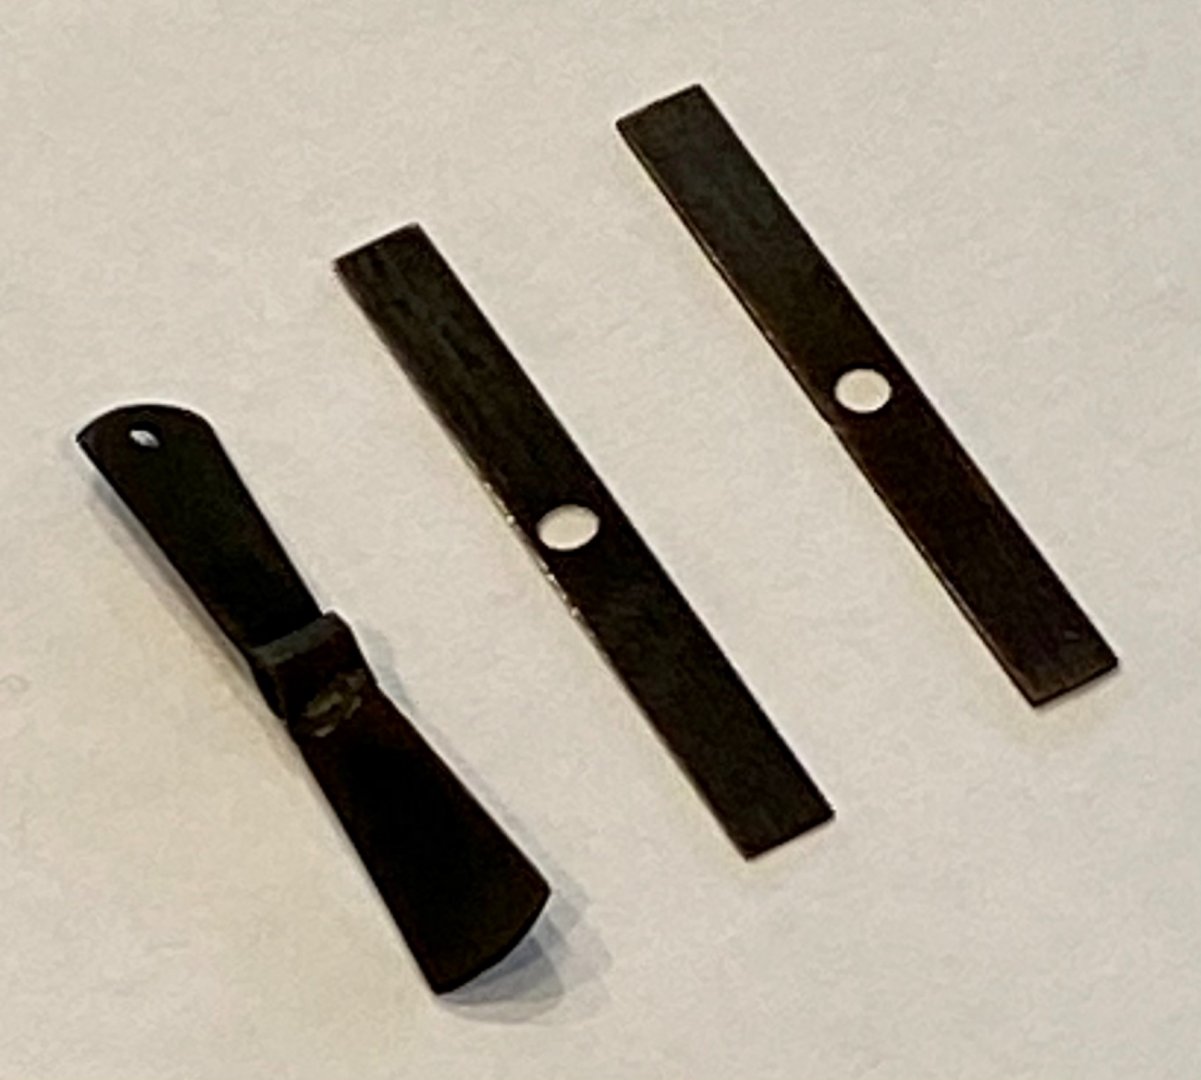
More rudder work today. I think this should finish up the port side. Tedious work, but I’m happy with the outcome.
-
HMS Terror by Broden - OcCre - 1:75
DanielD replied to broden's topic in - Kit build logs for subjects built from 1801 - 1850
Broden, I have experienced similar difficulty learning how to blacken the exact parts you are working on now. For me, I cleaned the metal with the exact Dremel setup you have with a spinning wire brush, then right into the chemical bath. Once the metal turned black (a couple of minutes), I then moved into a water bath to stop the chemical reaction. After a little rinse, I placed on a paper towel to dry. Once dry, I lightly brushed off the "powder" on the metal, leaving a black finish. So far, working well. By the way, nice job on your Terror. -
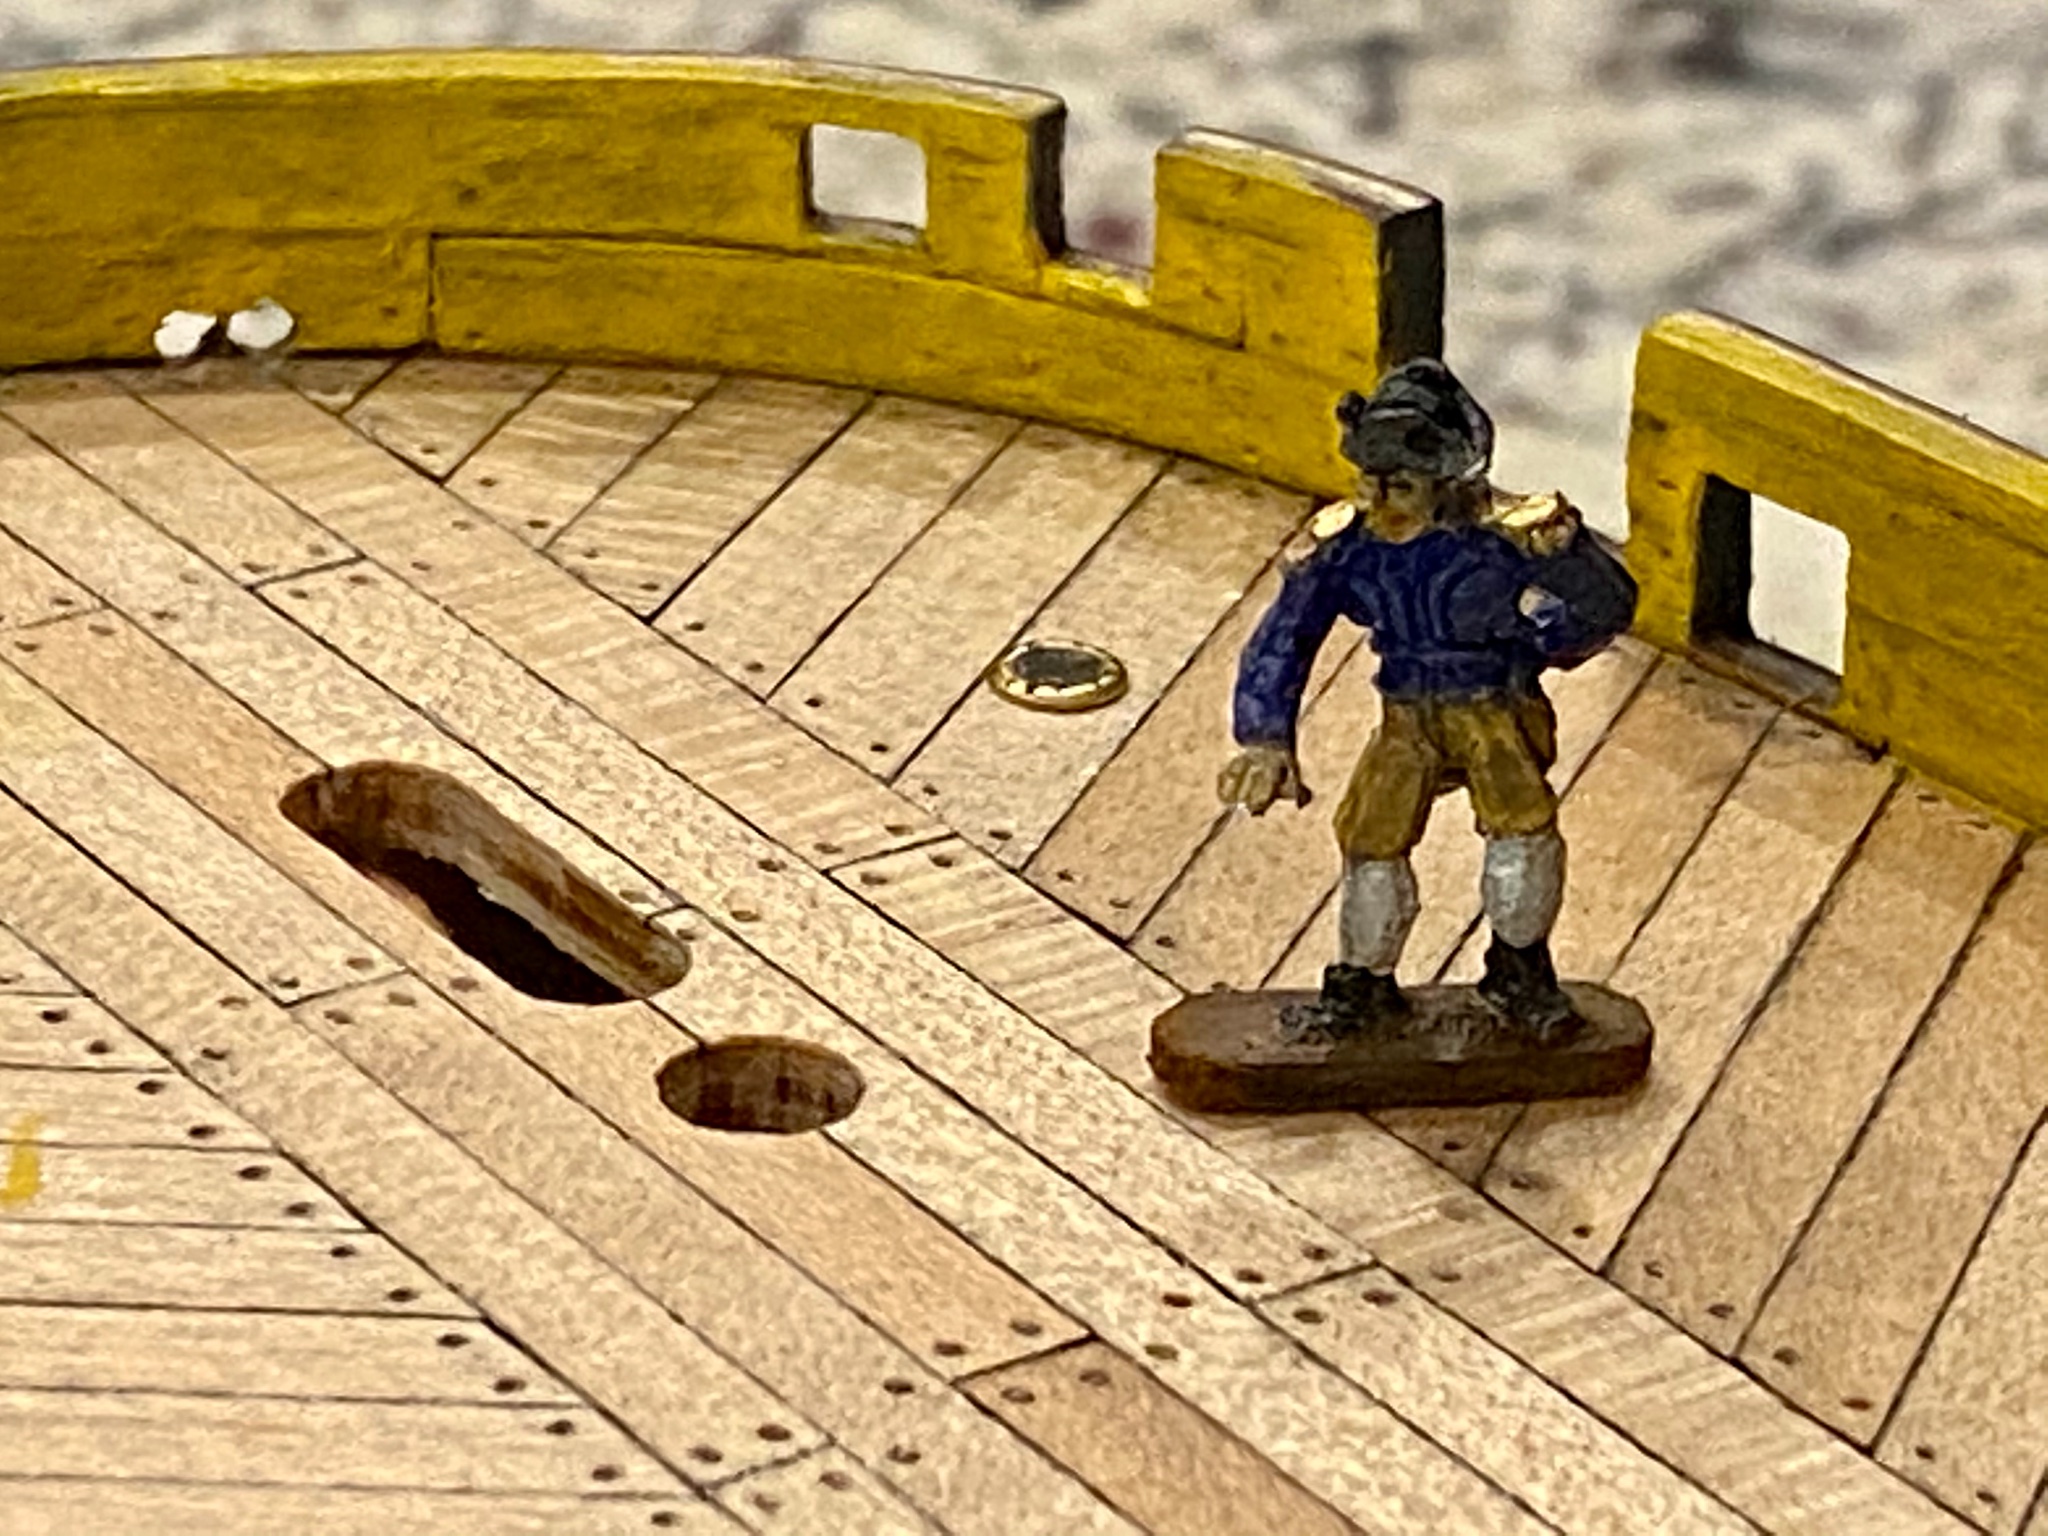
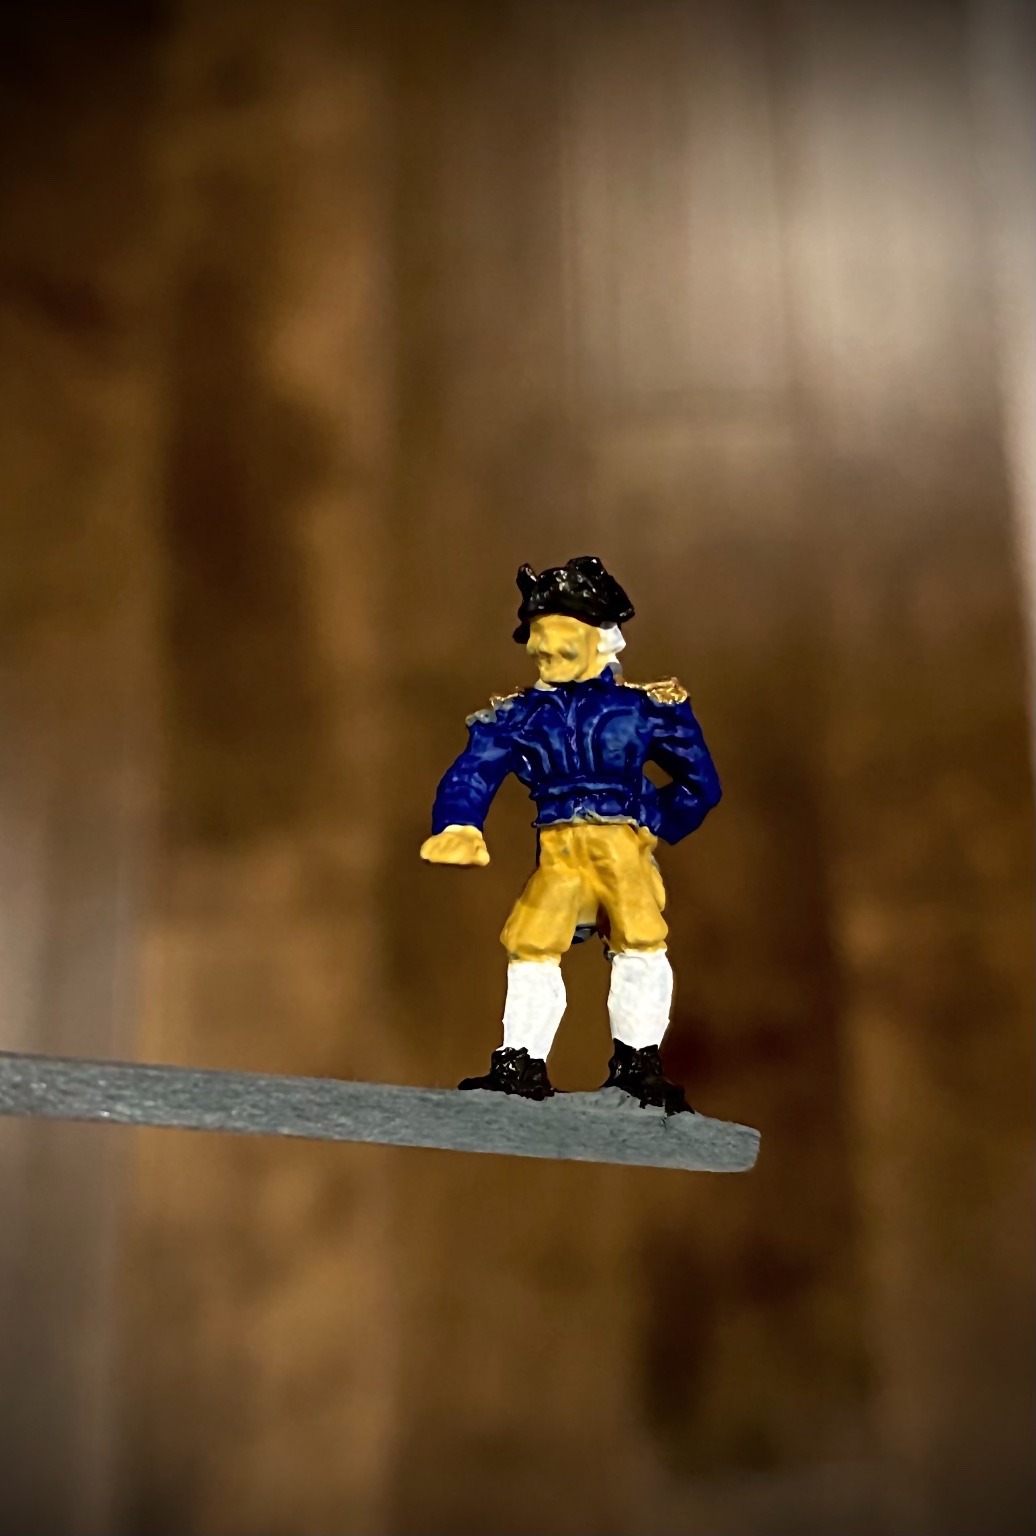
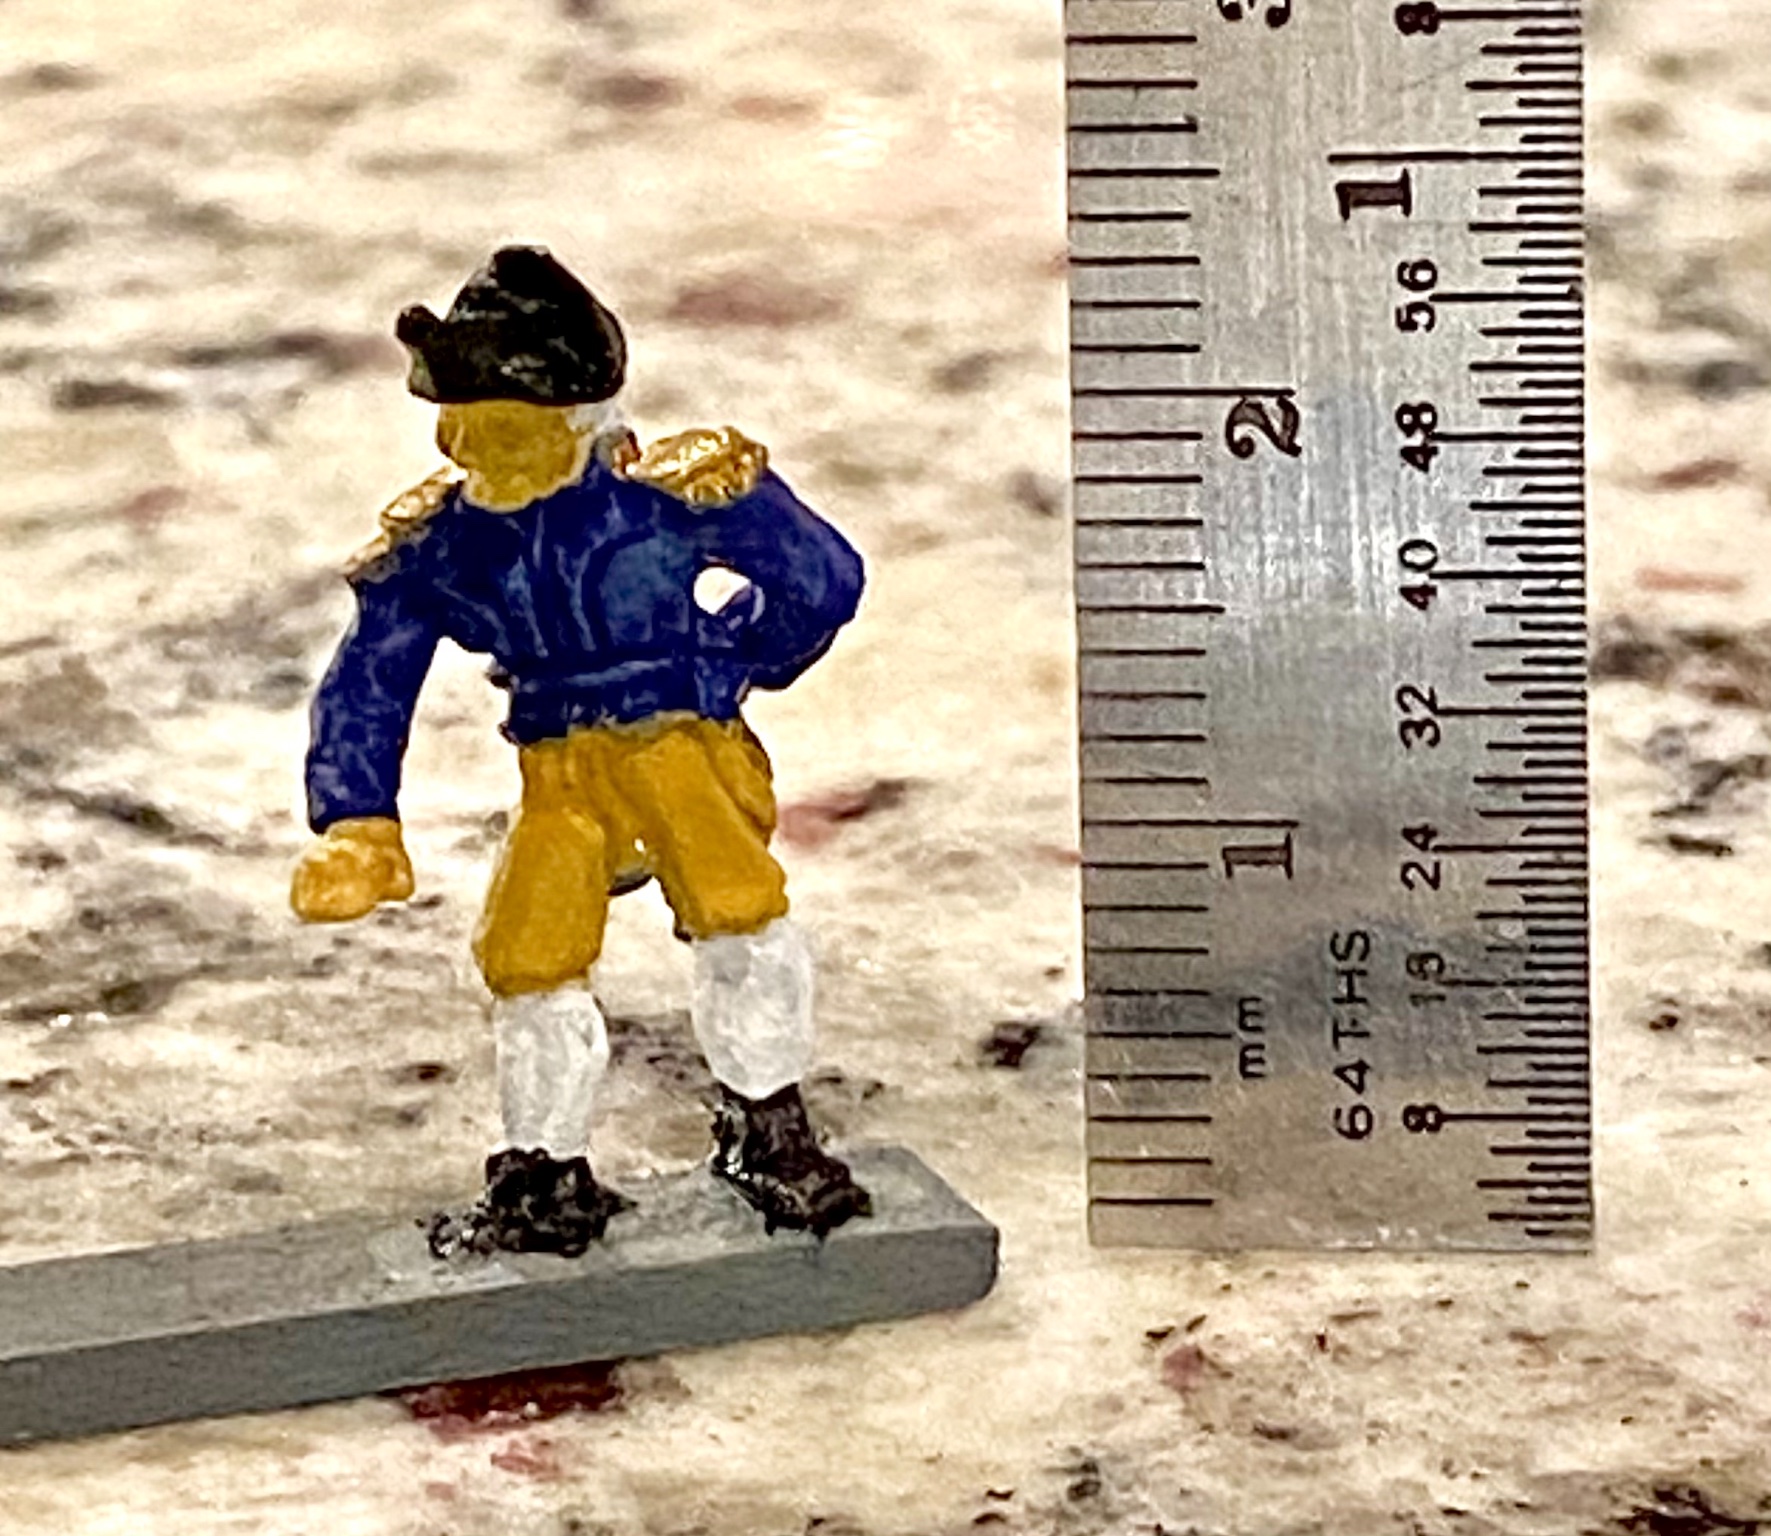
Tonight I’m trying my hand at painting, in miniature scale. This captain is just 22mm tall. I still have some washing to do, but the base coat is down.


-
Well, chemical blackening is a pain...but the black metal look is very nice. Will probably look better on background that is not black.
-
Today I’m experimenting with chemical blackening, my first time trying something like this. I hope to hone my skill in this with technique with all the rudder hardware. We shall see...
-
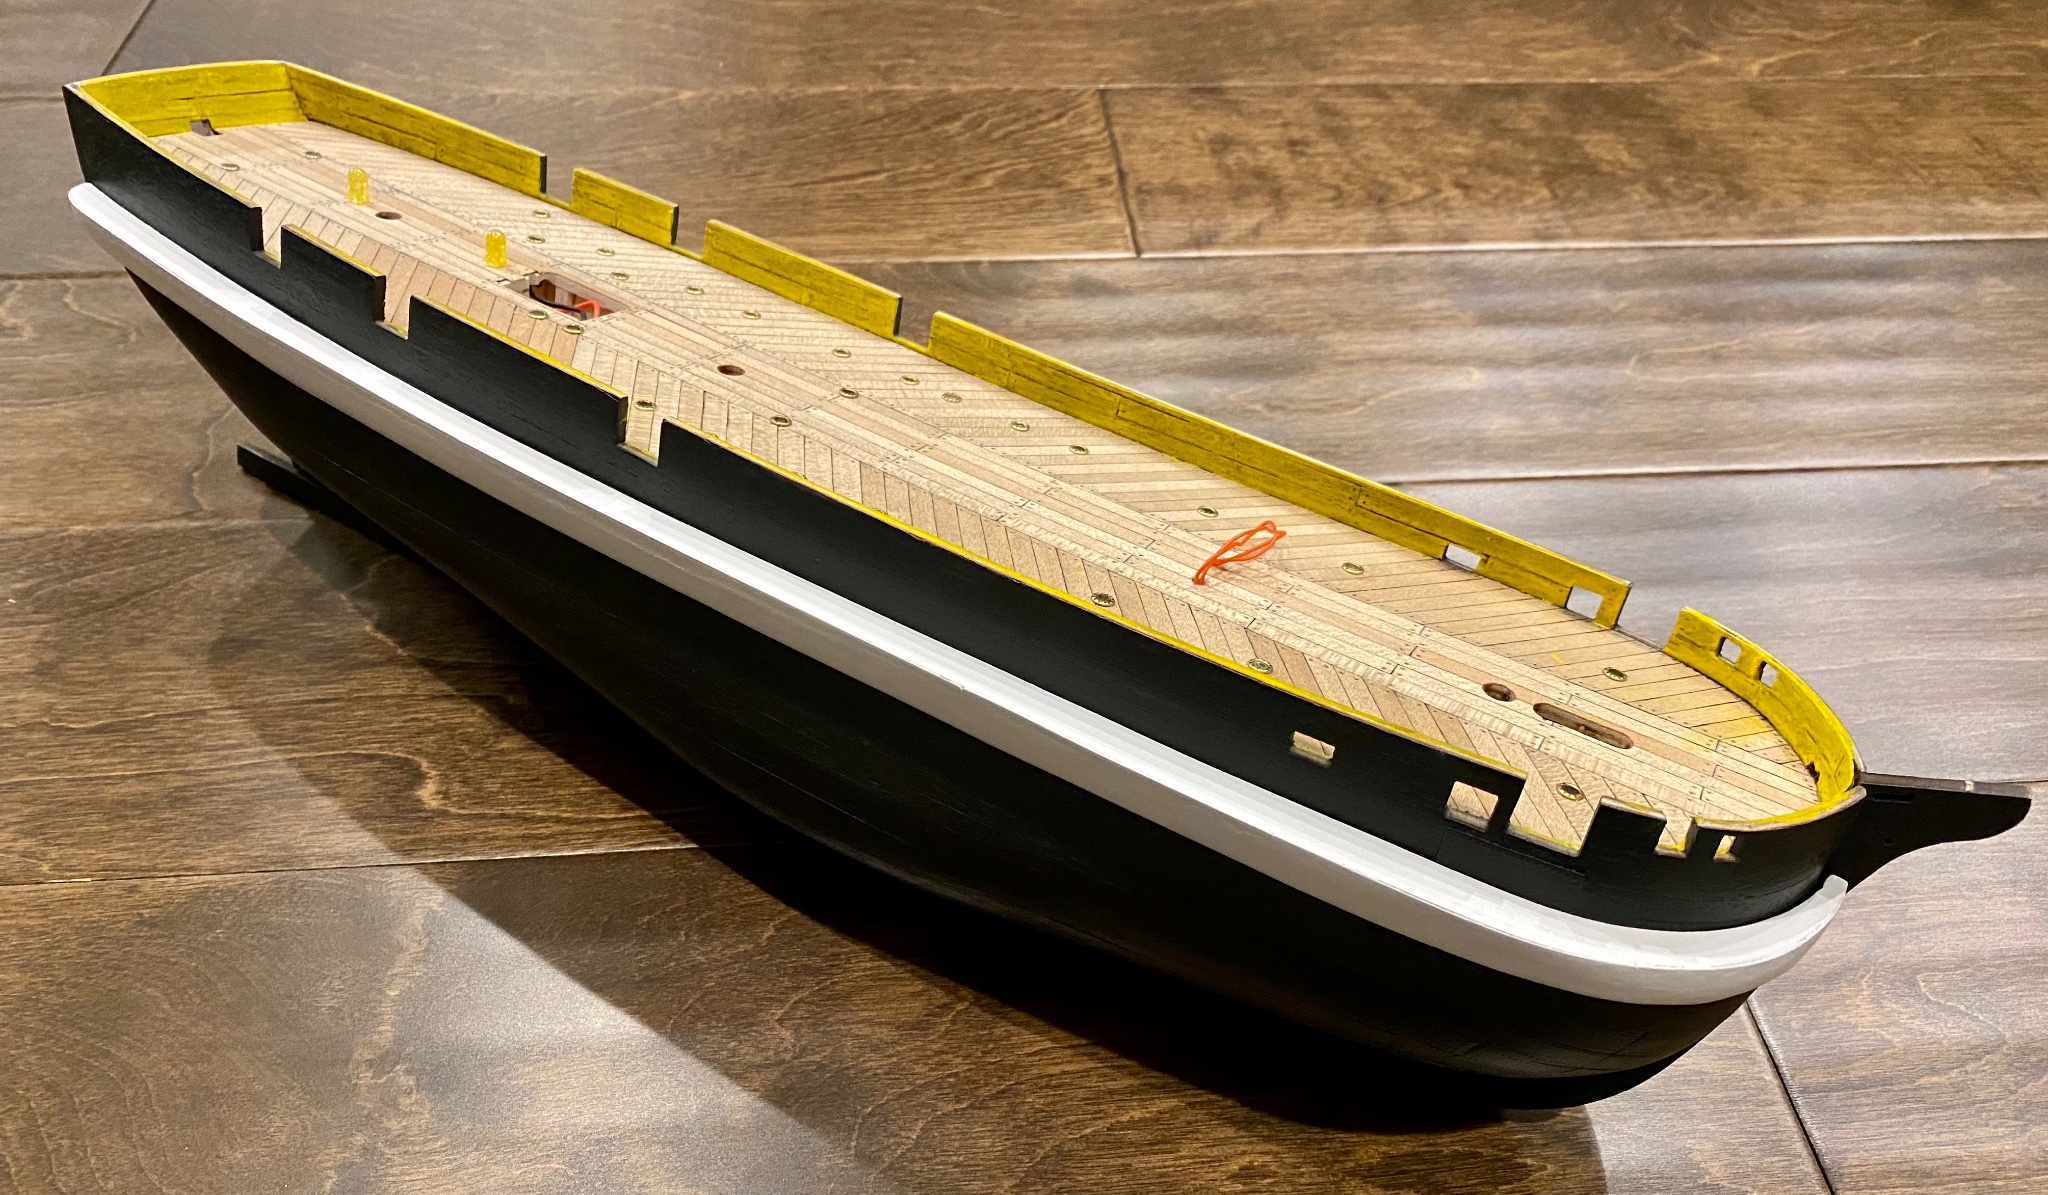
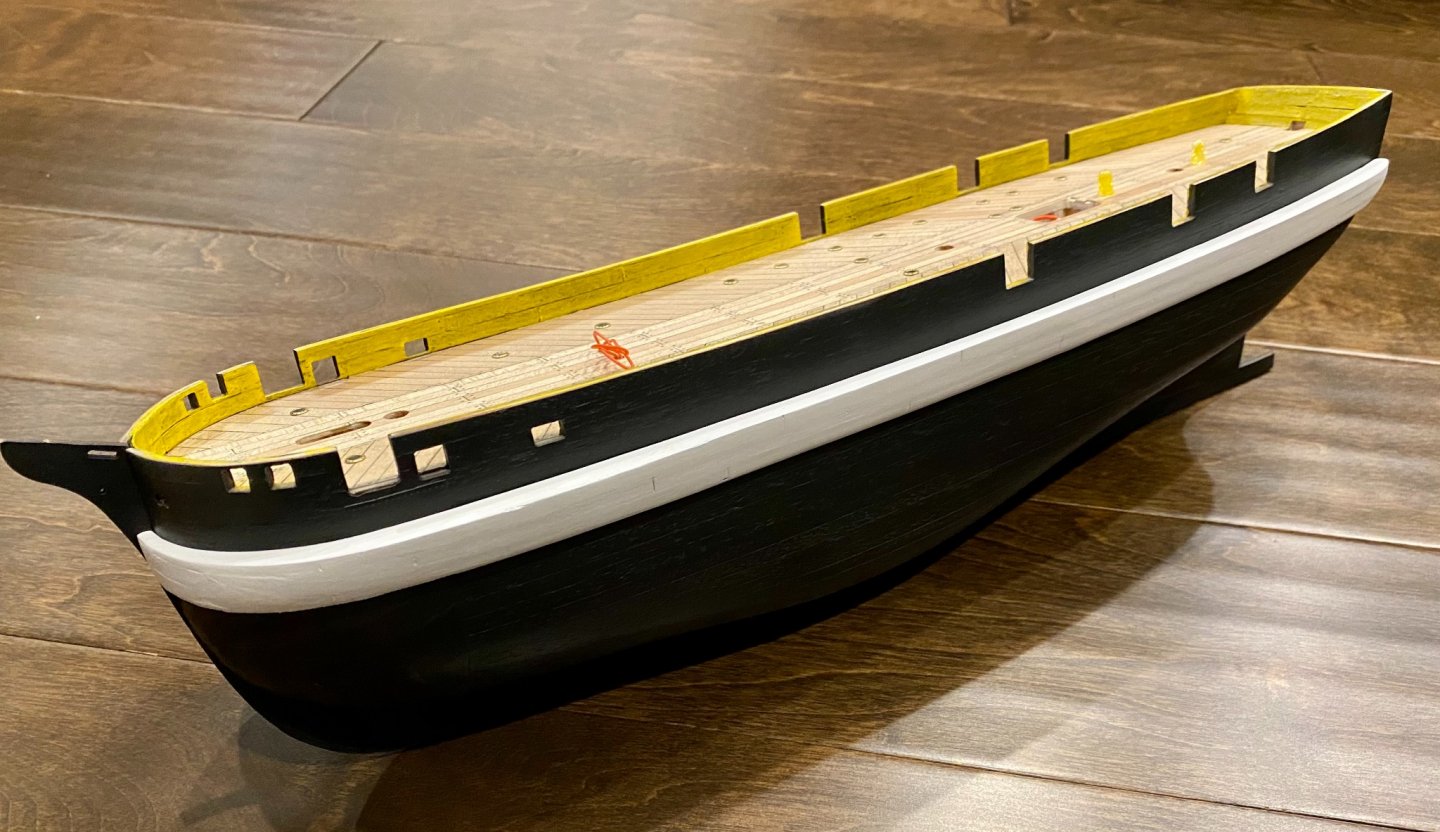
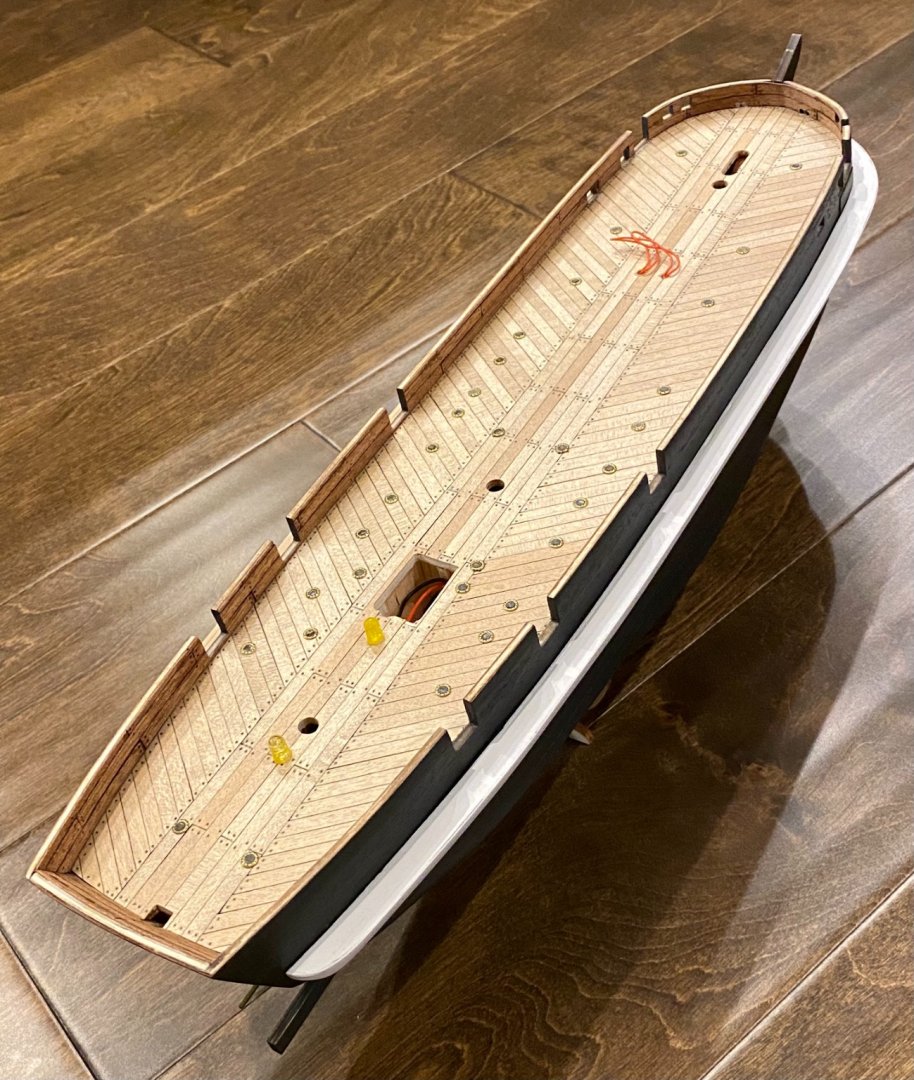
Well, I had hoped to get more done today, but painting white takes so many coats to look good. Also painted the inside of the bulwark yellow then added a black/grey wash to bring out the details of the wood and nails.

-
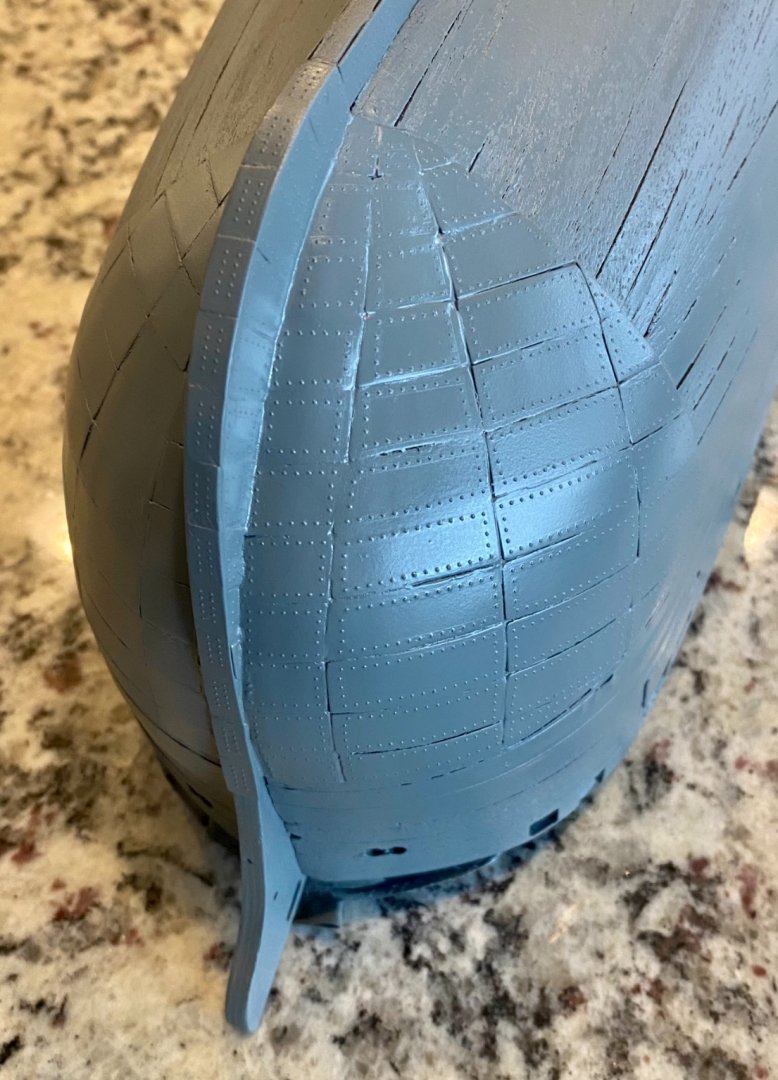
More progress today. Finished the tedious riveting project and was able to get the hull painted black.


-
Thanks for all the support! Here is the starboard side, all rivets finished. Now to do the port side. I think I’m seeing crosseyed.
-
Keith, I am also looking for a flywheel for the pump on the Terror. I’ve found one, but I’m not happy with it as the spokes are straight. I would love to find one with curved spokes like on your model. Do you know the manufacture and/or part number for the one you found? Or a website...
-
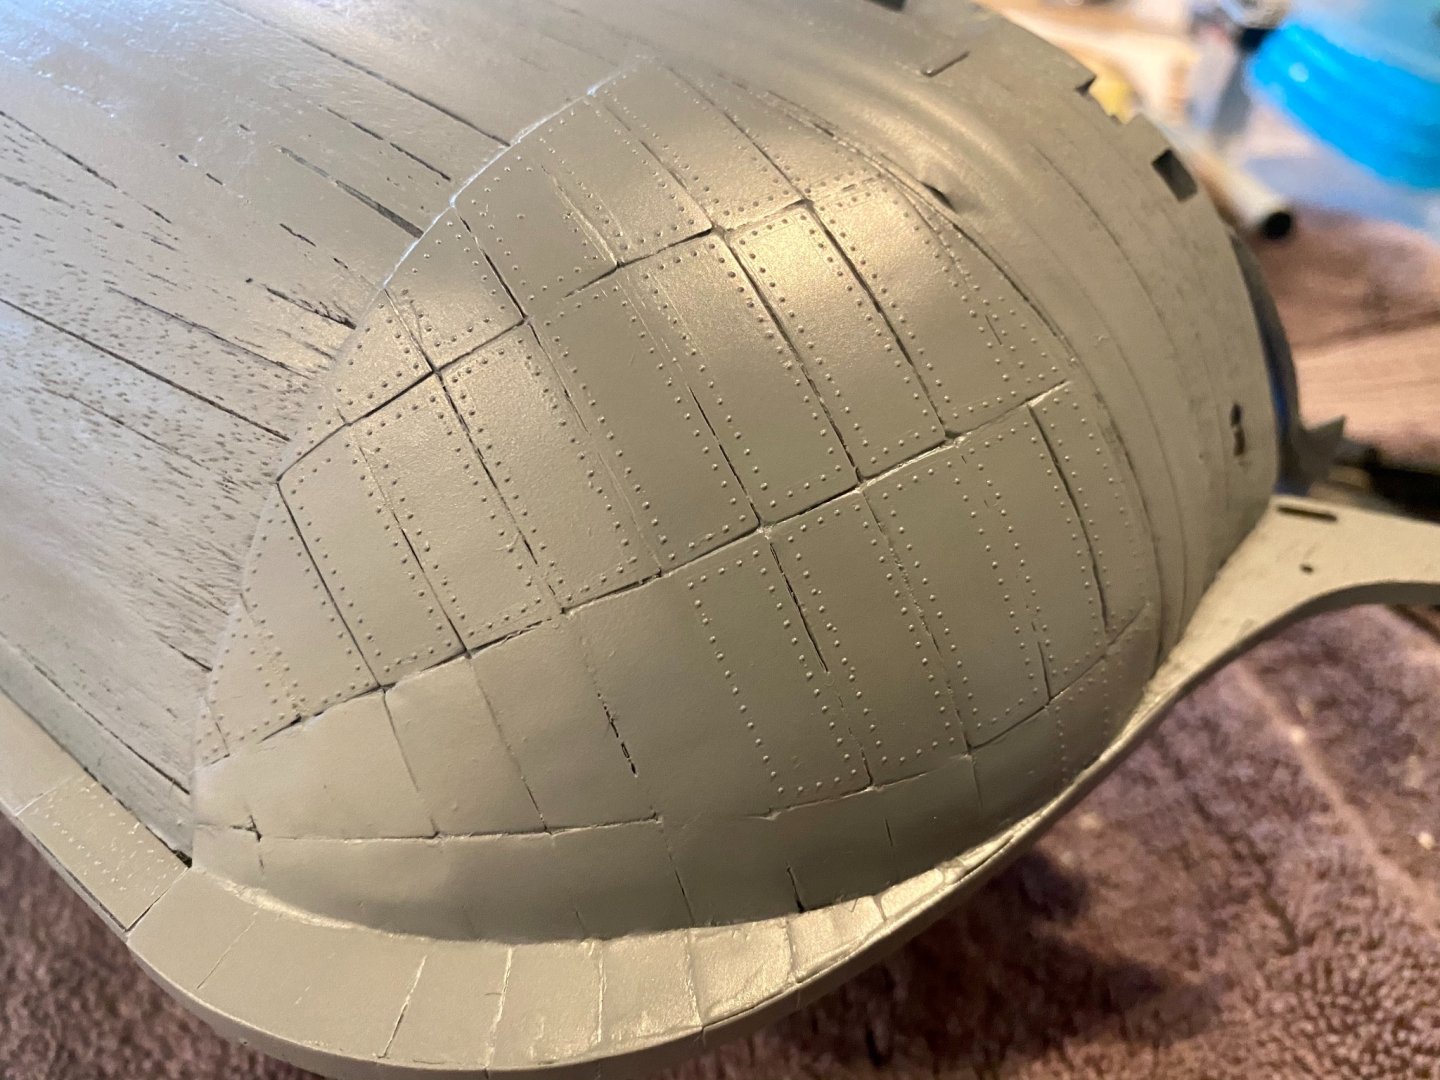
Update: the rivet project is progressing, slowly... to protect the rivets already placed, I have to add a light layer of primer to “seal” the rivets in place, then add more and more and more rivets.