

.jpg.86de90214b5ec64ae9106574f7552ed2.jpg)
Helli
-
Posts
70 -
Joined
-
Last visited
Content Type
Profiles
Forums
Gallery
Events
Posts posted by Helli
-
-
Hello,
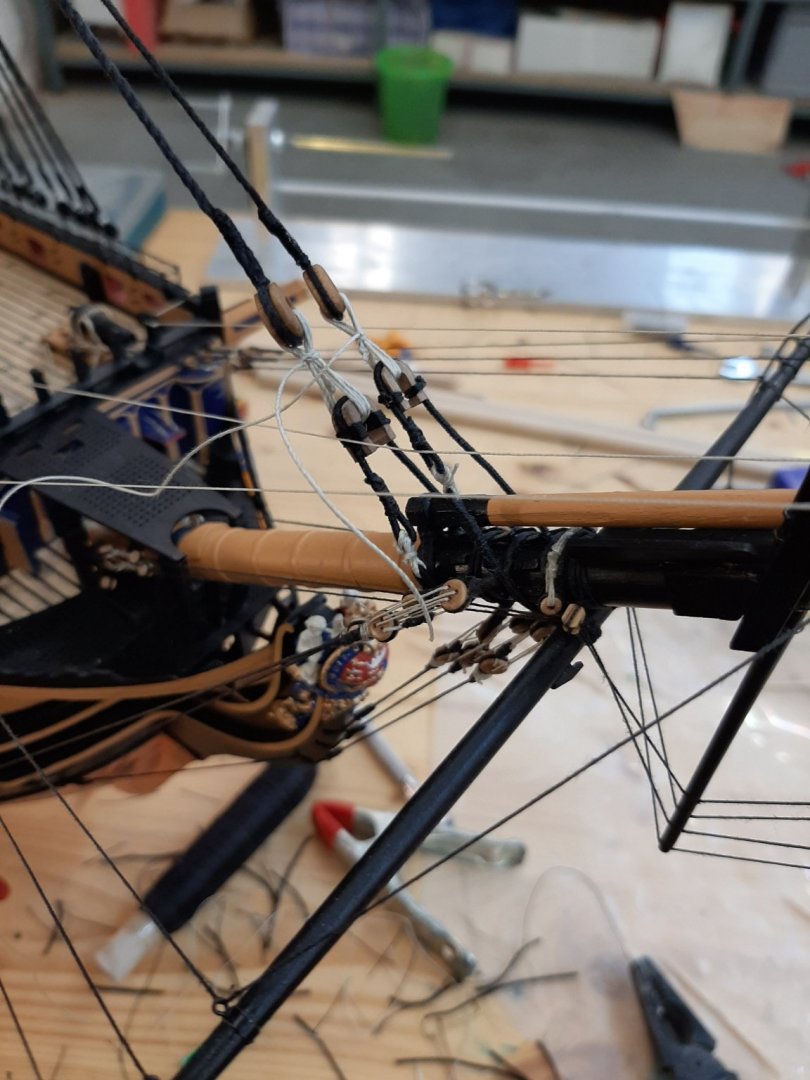
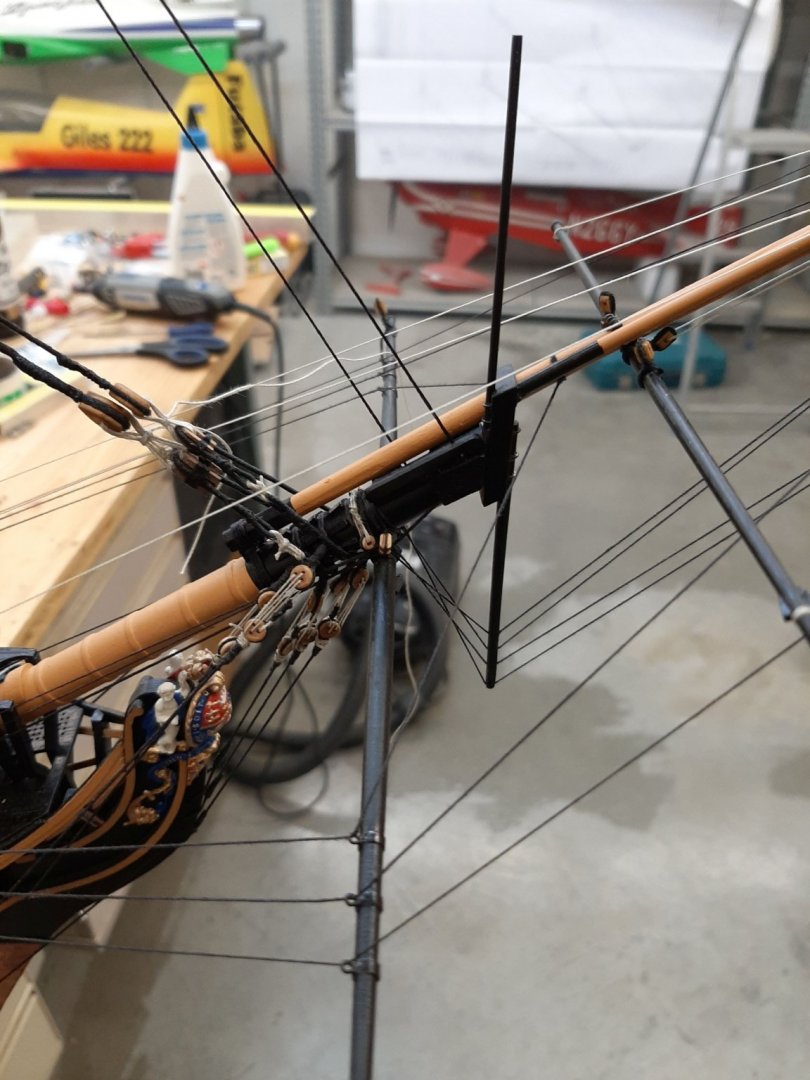
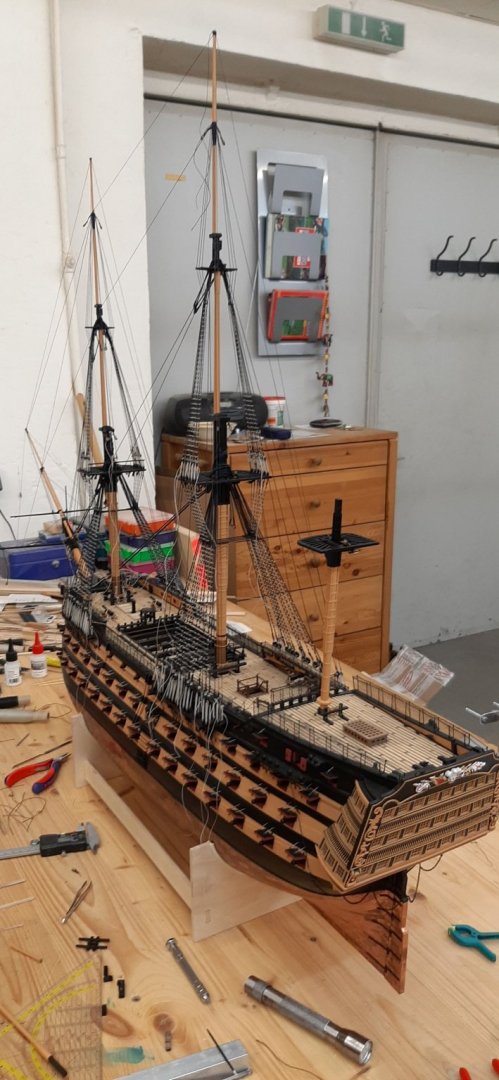
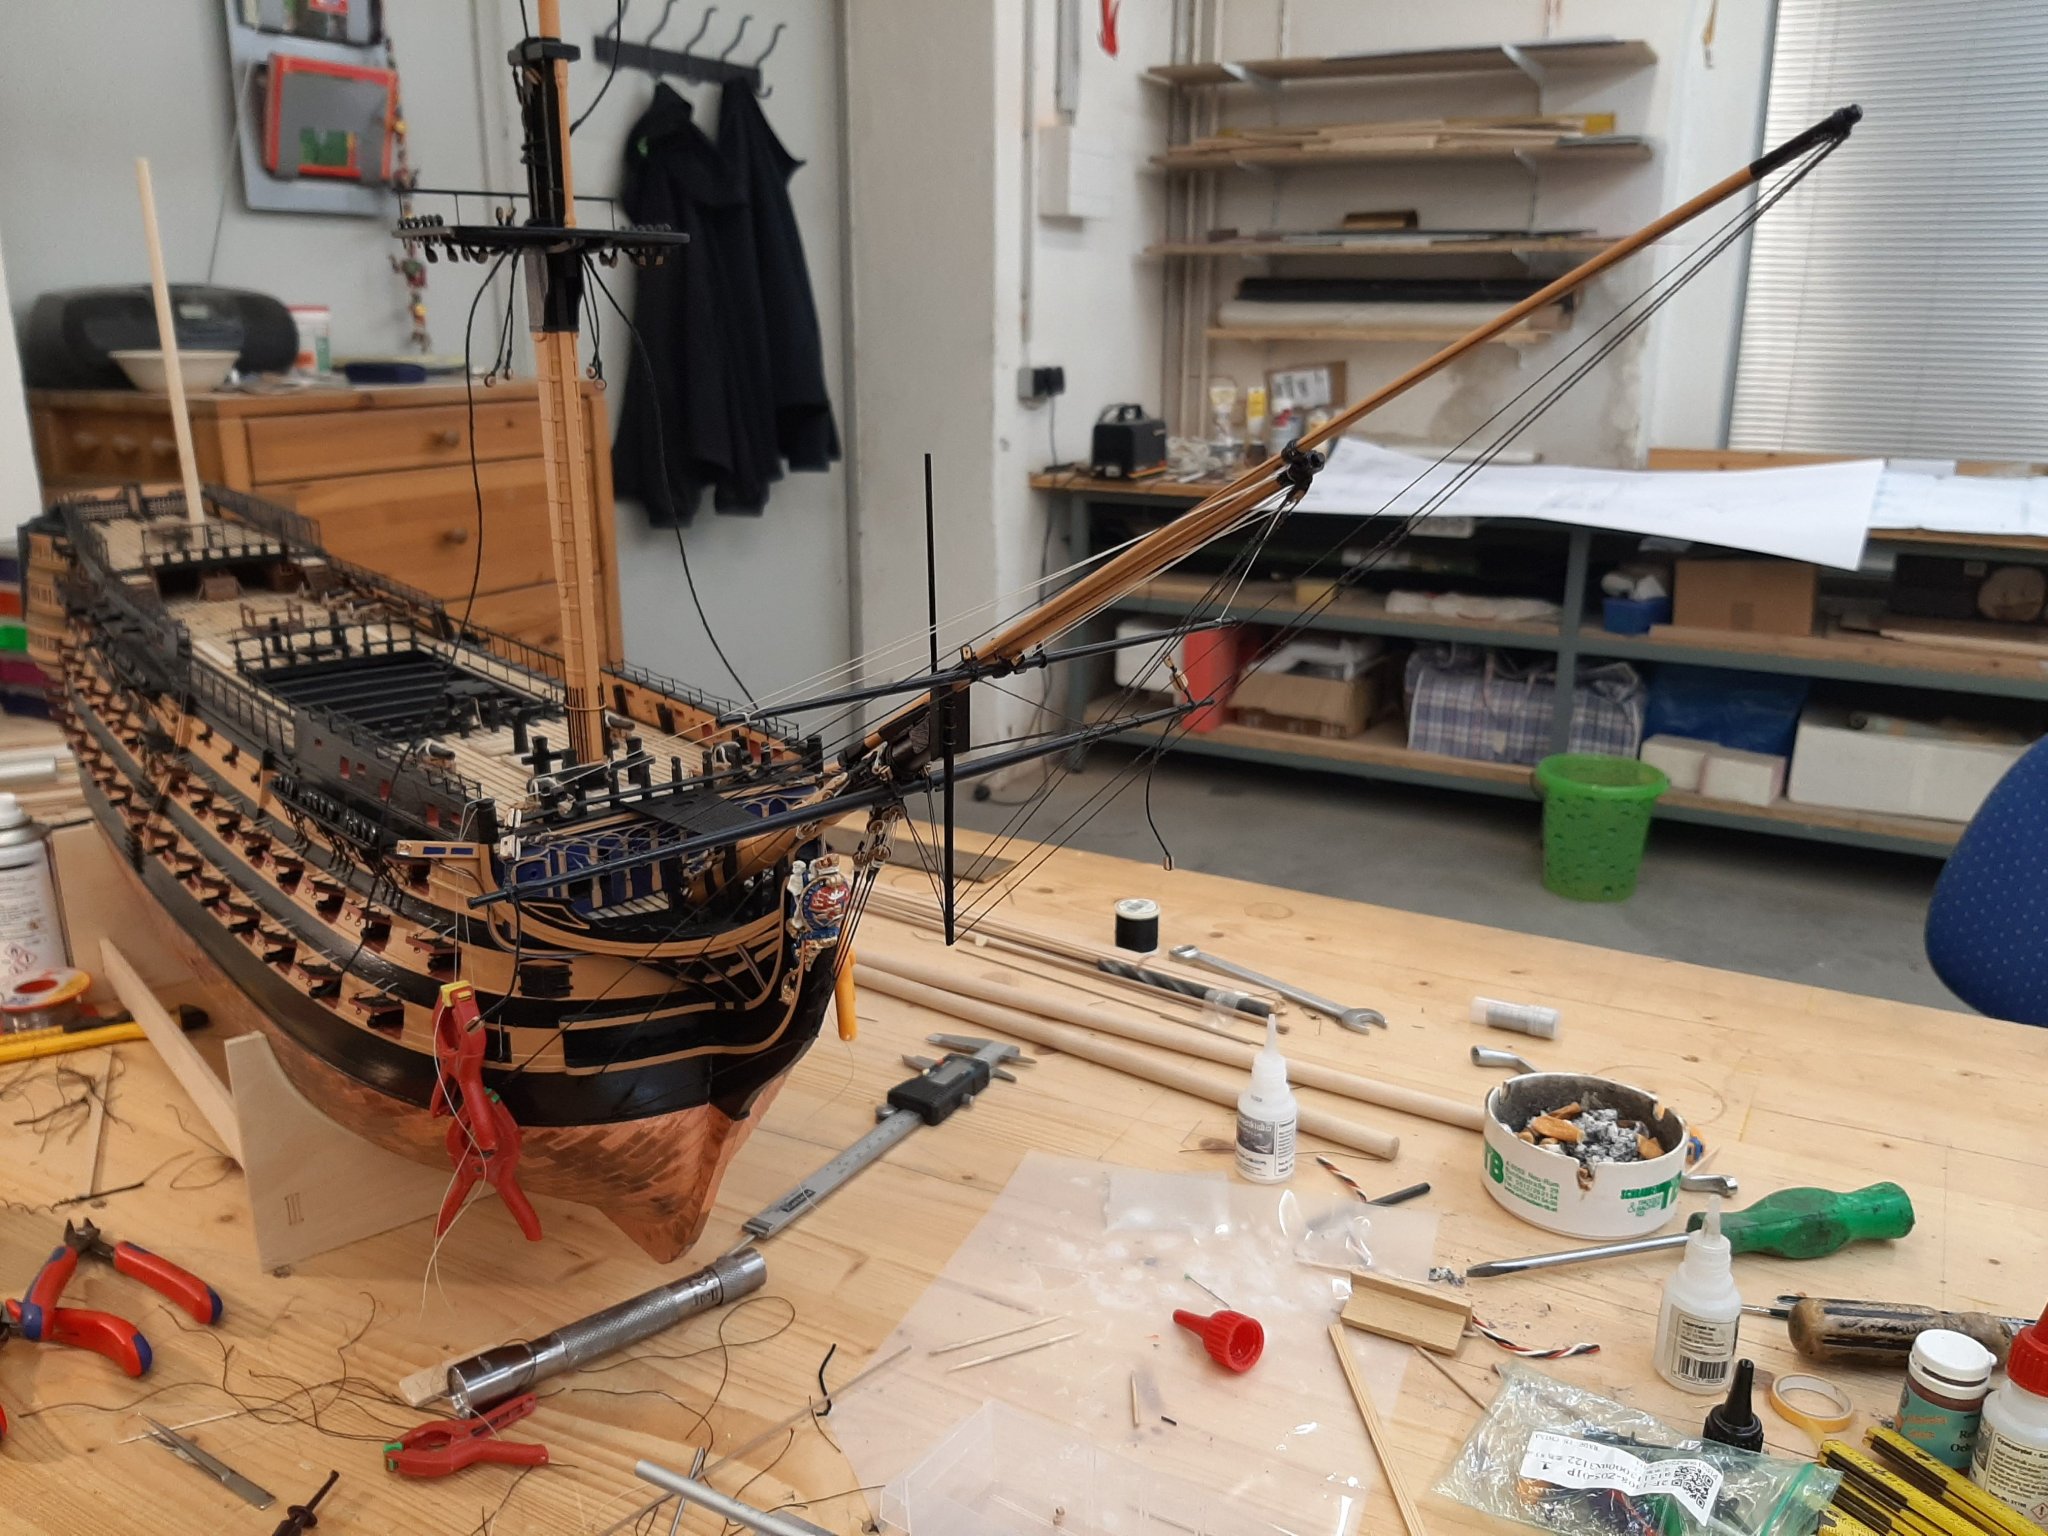
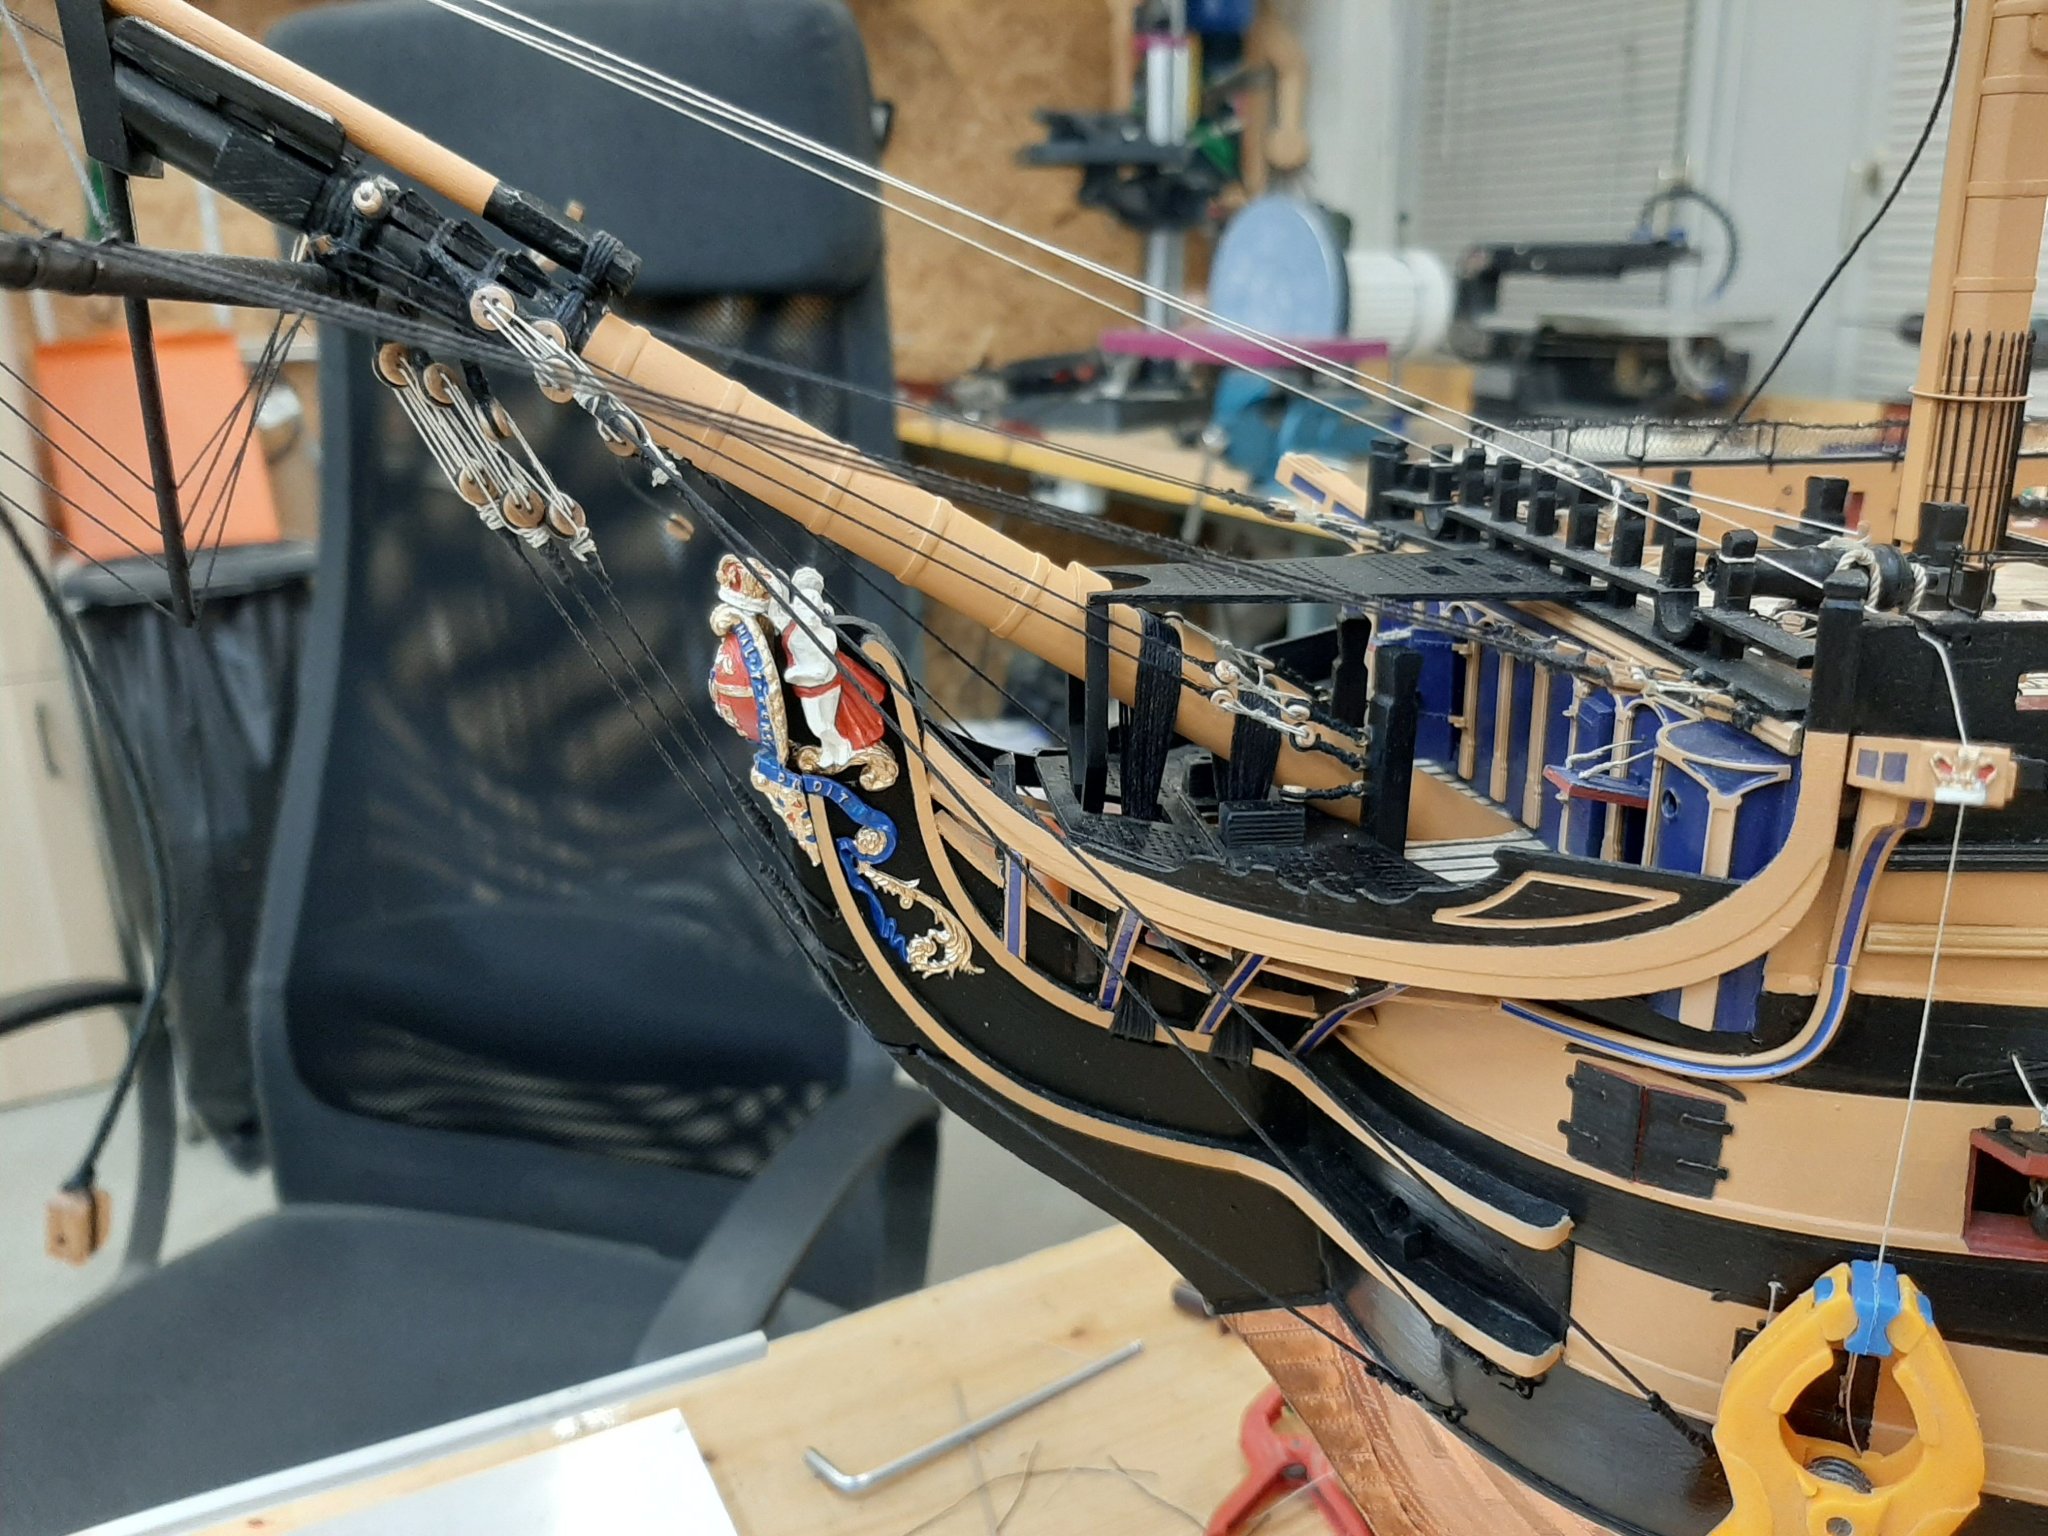
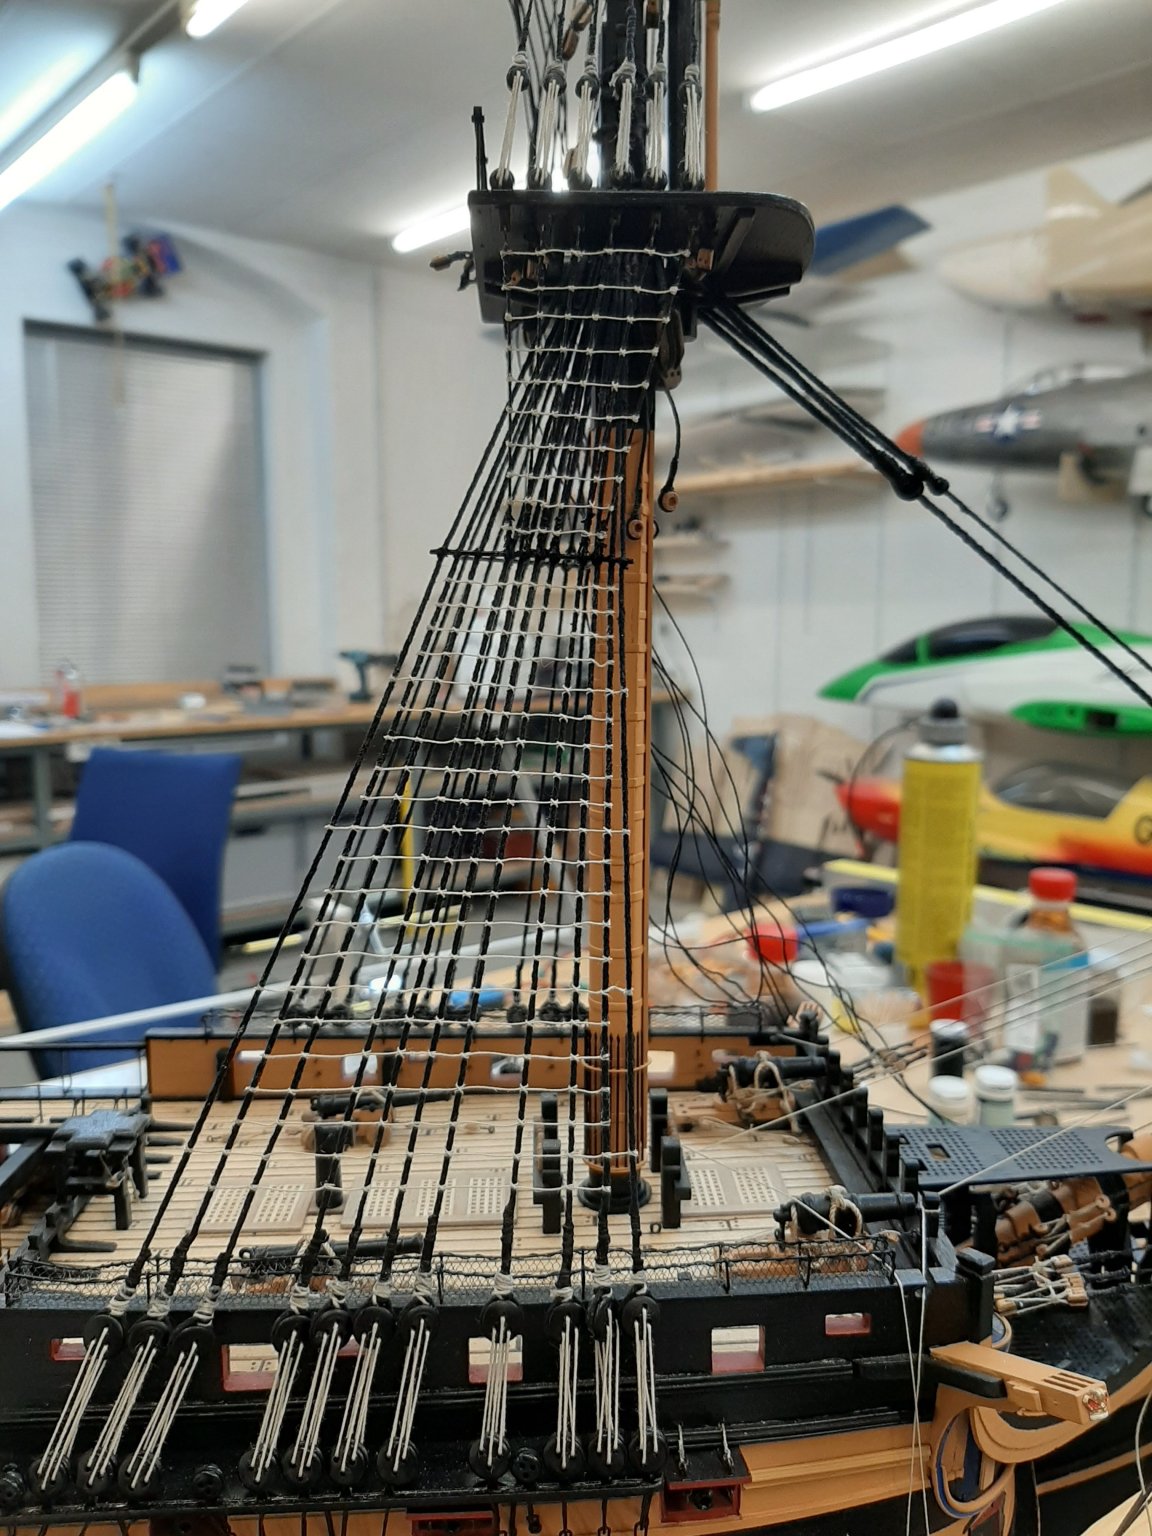
After a long break from my build log, i begin with a few pictures from my start with the rigging.
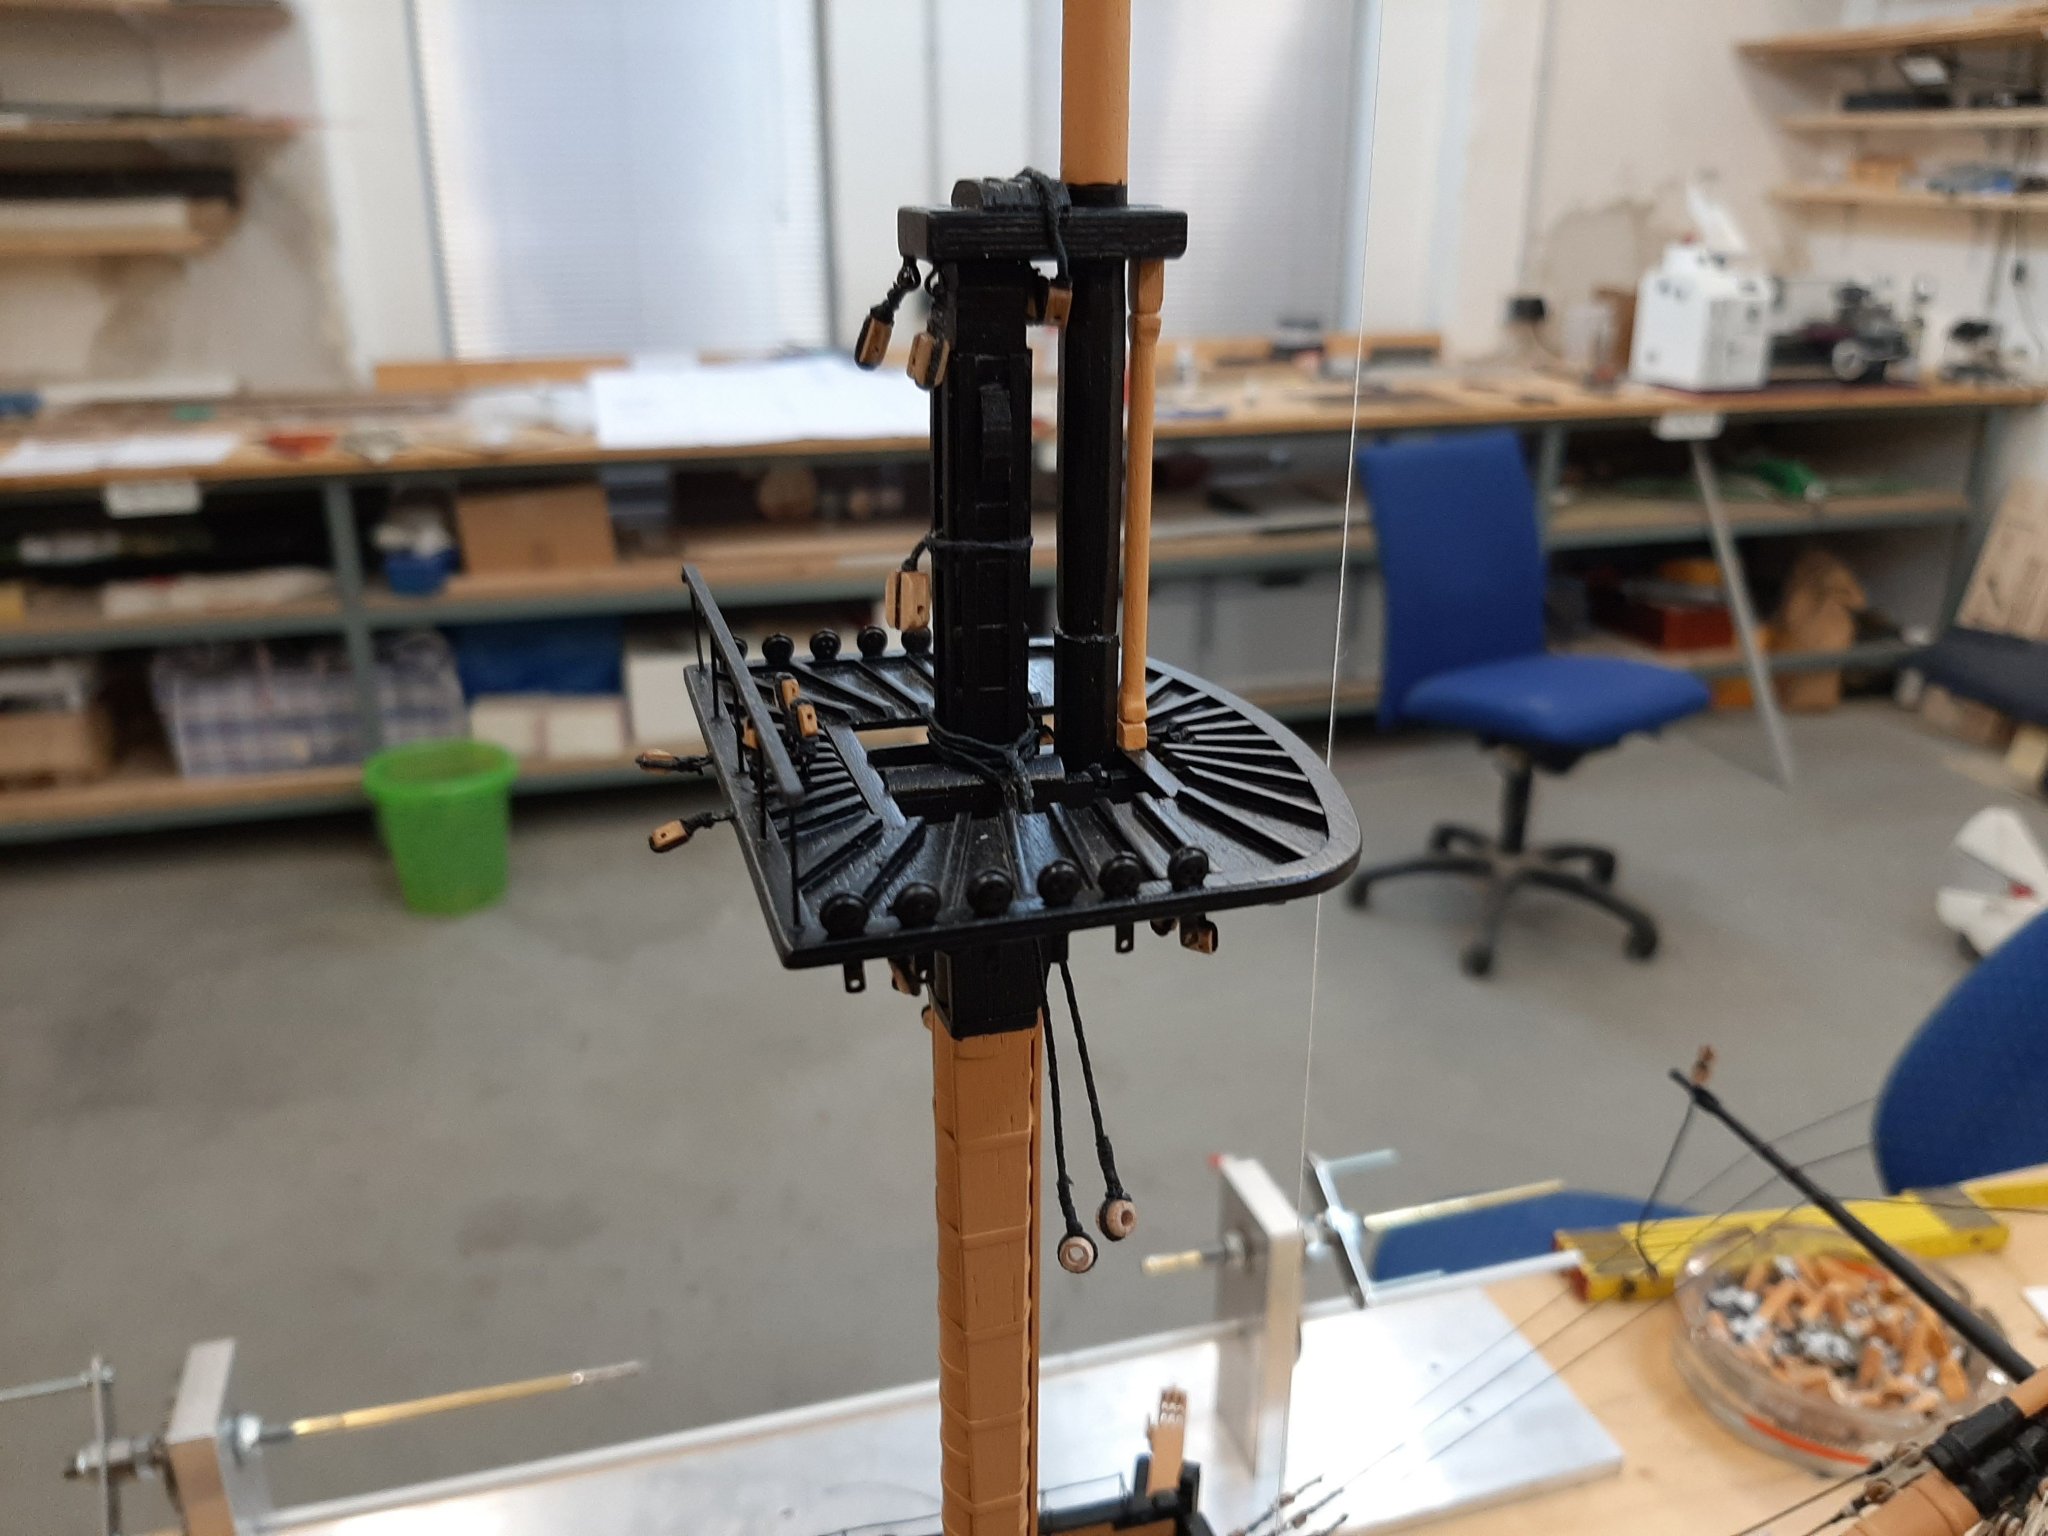
Here i mounted the bobstay, flying jibboom guy, guy pendant and travelling guy


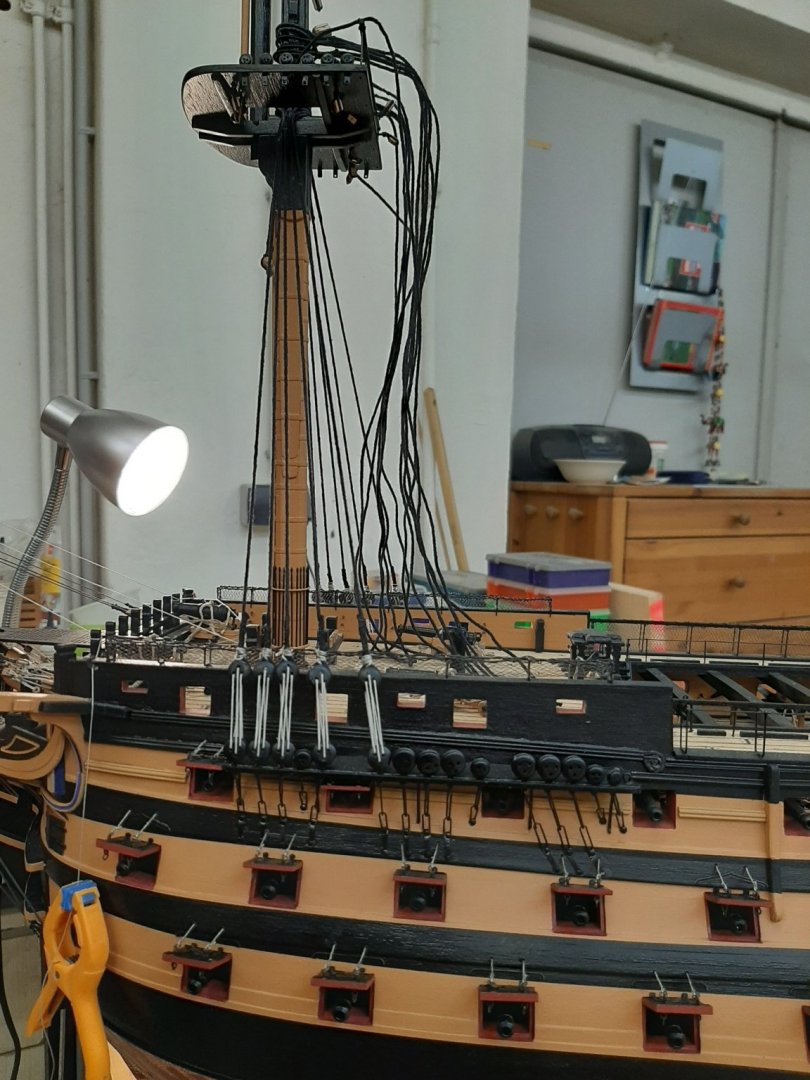
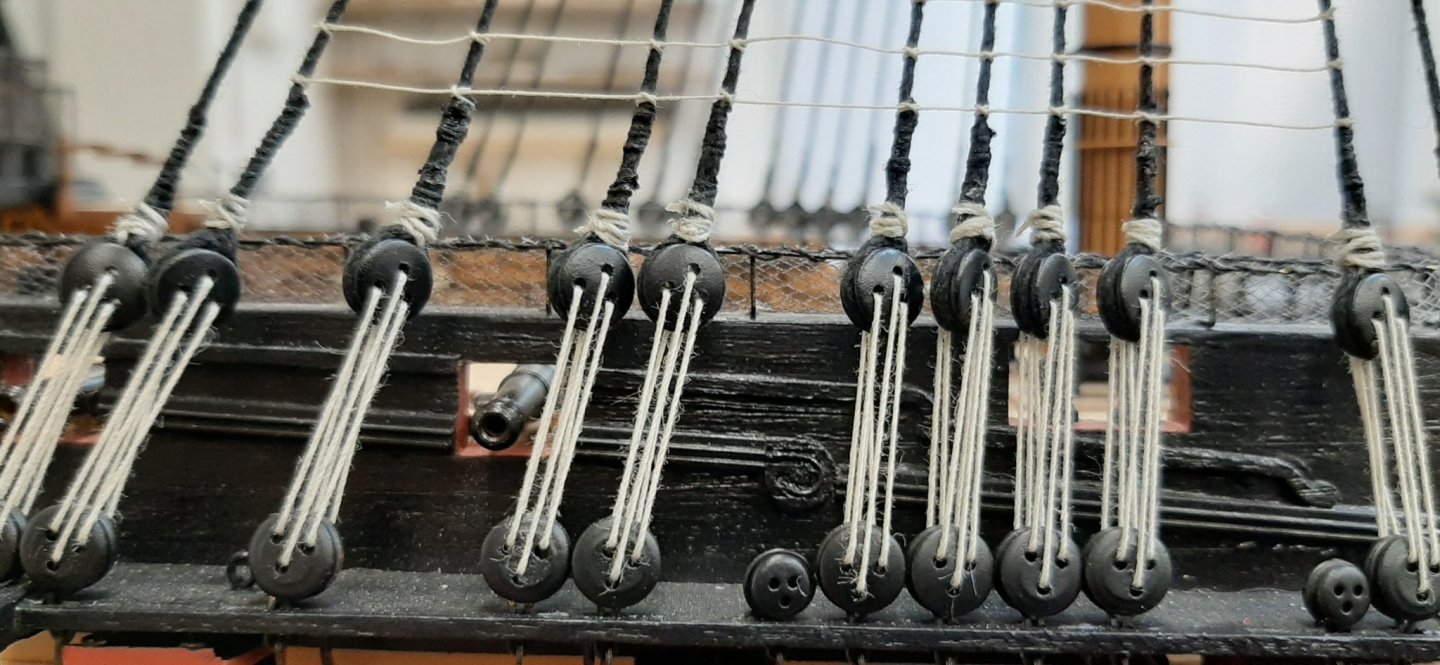
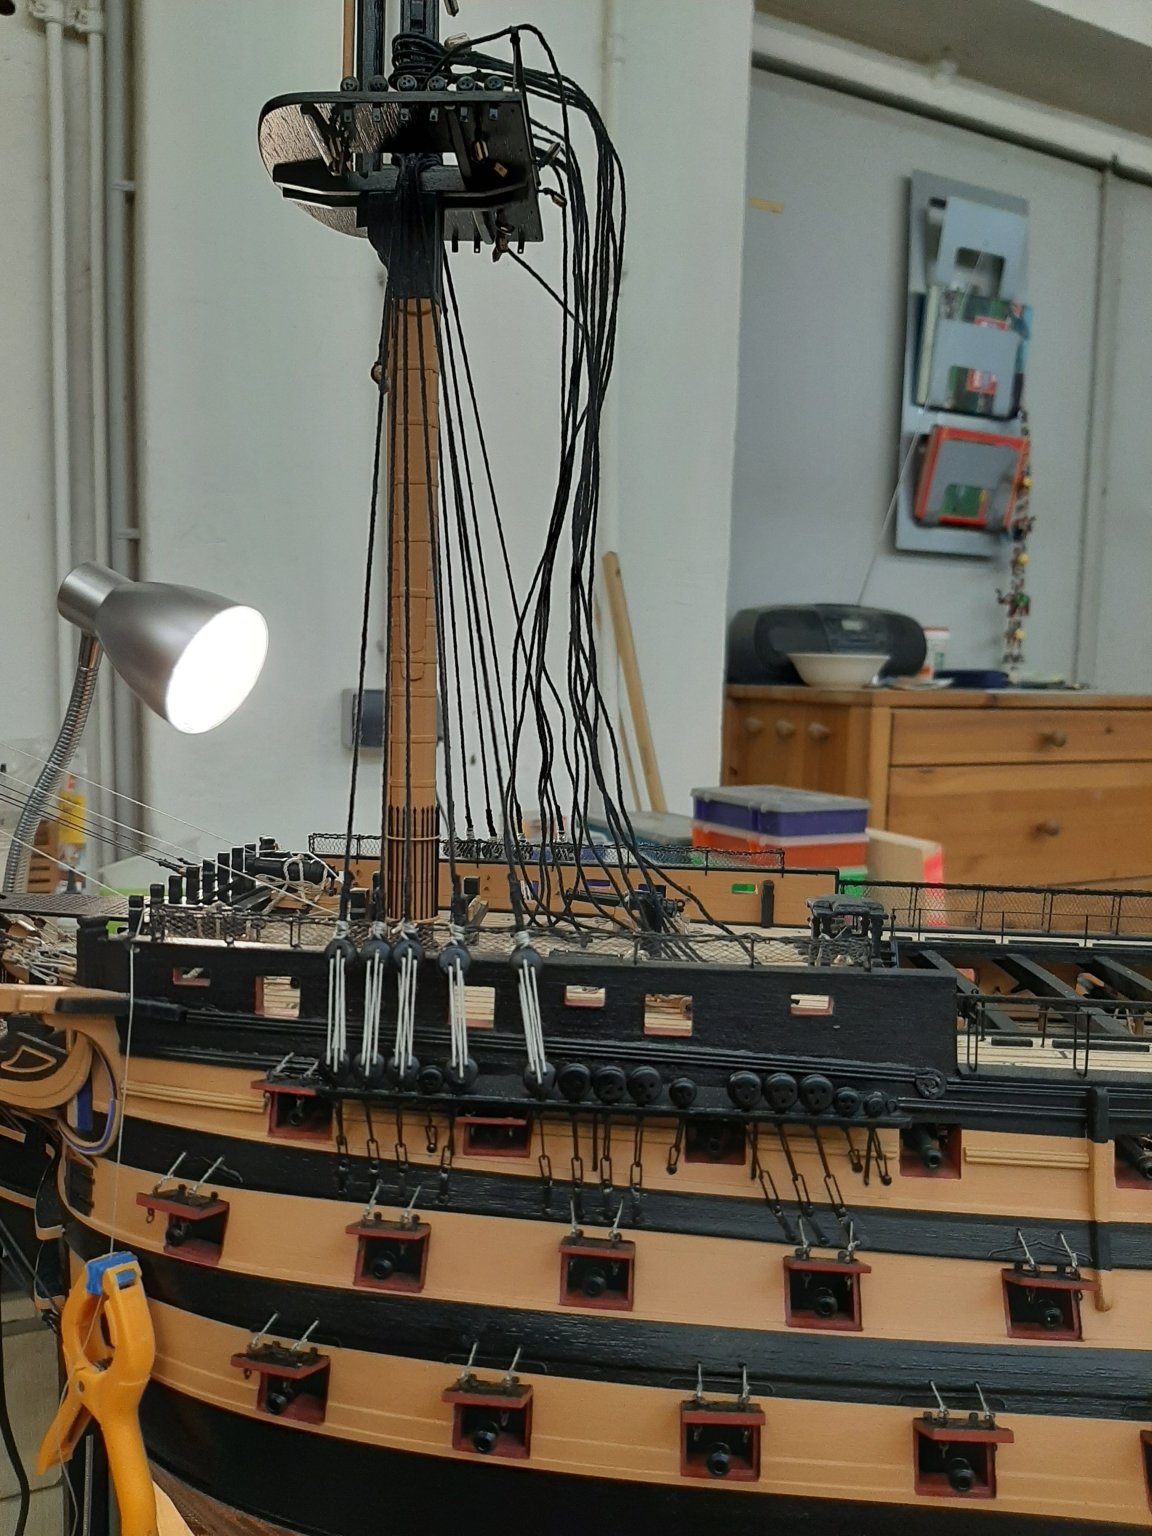
Then i startet with the shrouds on the fore lower mast
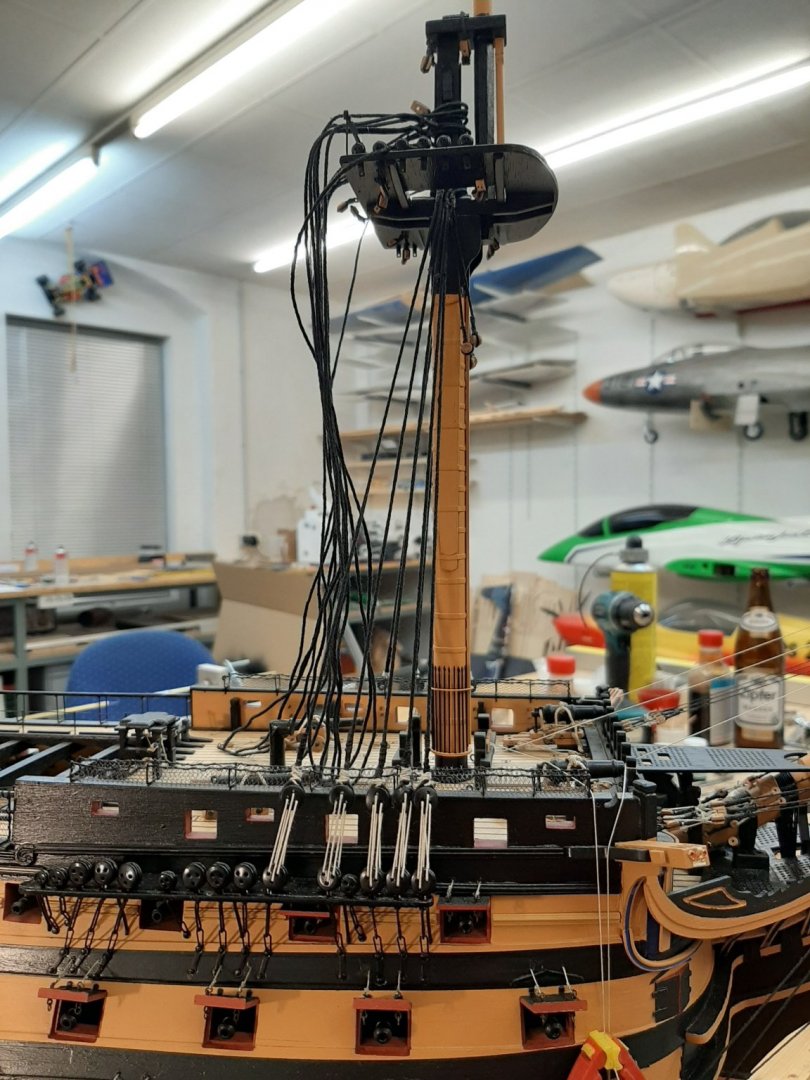
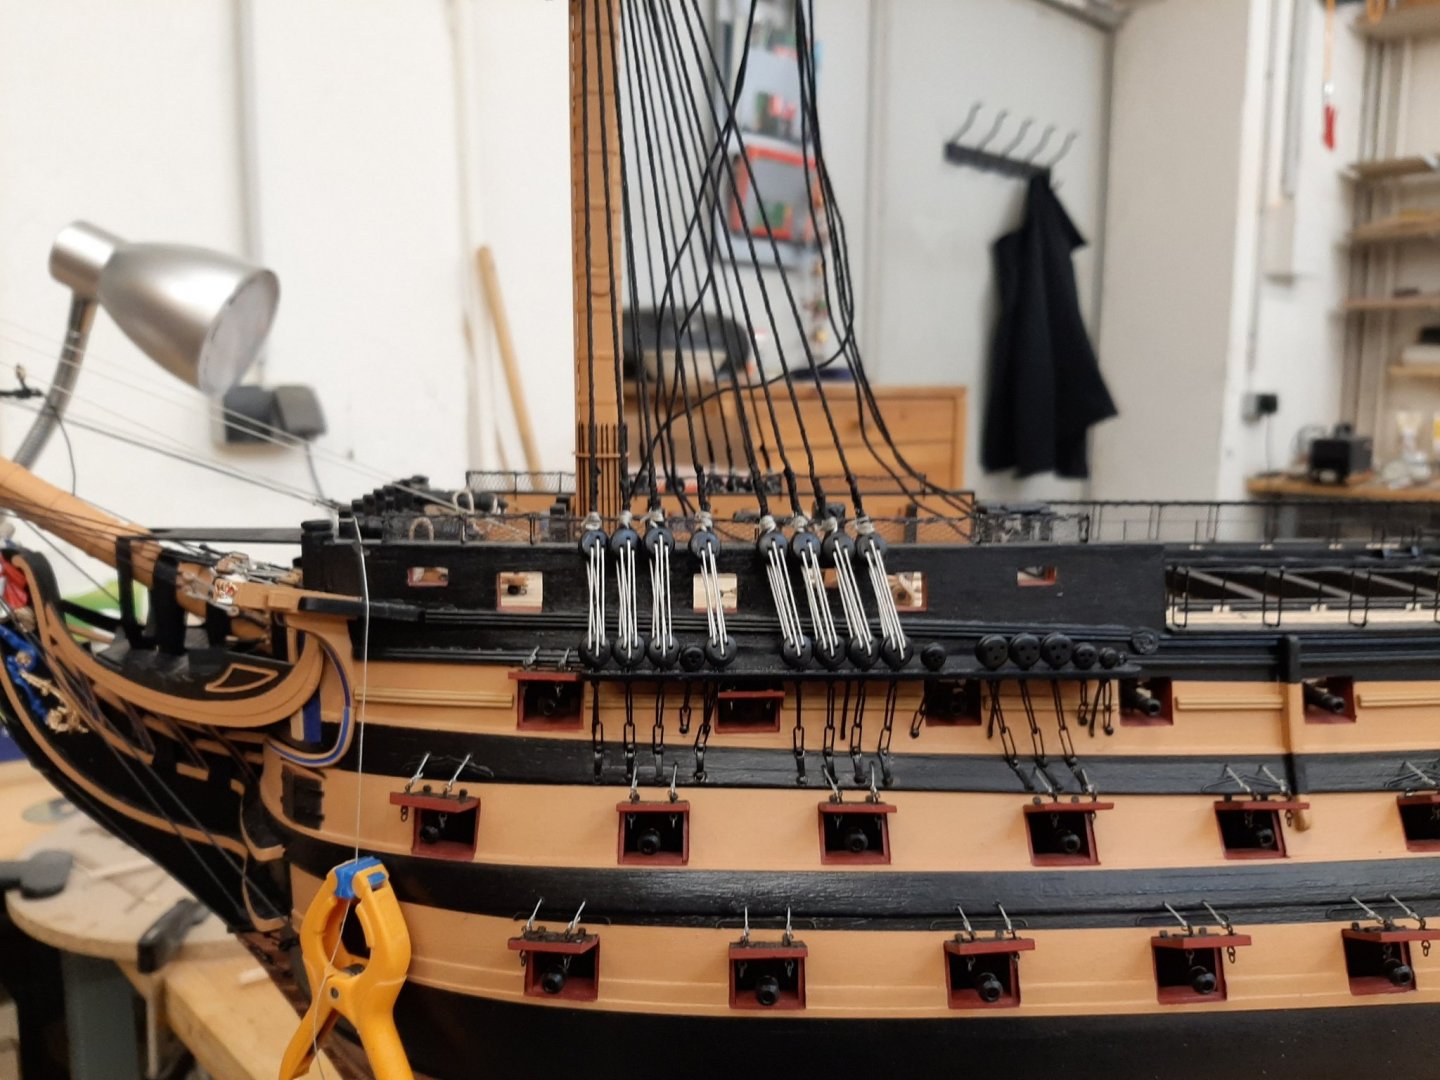
Here is the fore stay, the fore preventer stay and the fore tackle pendants

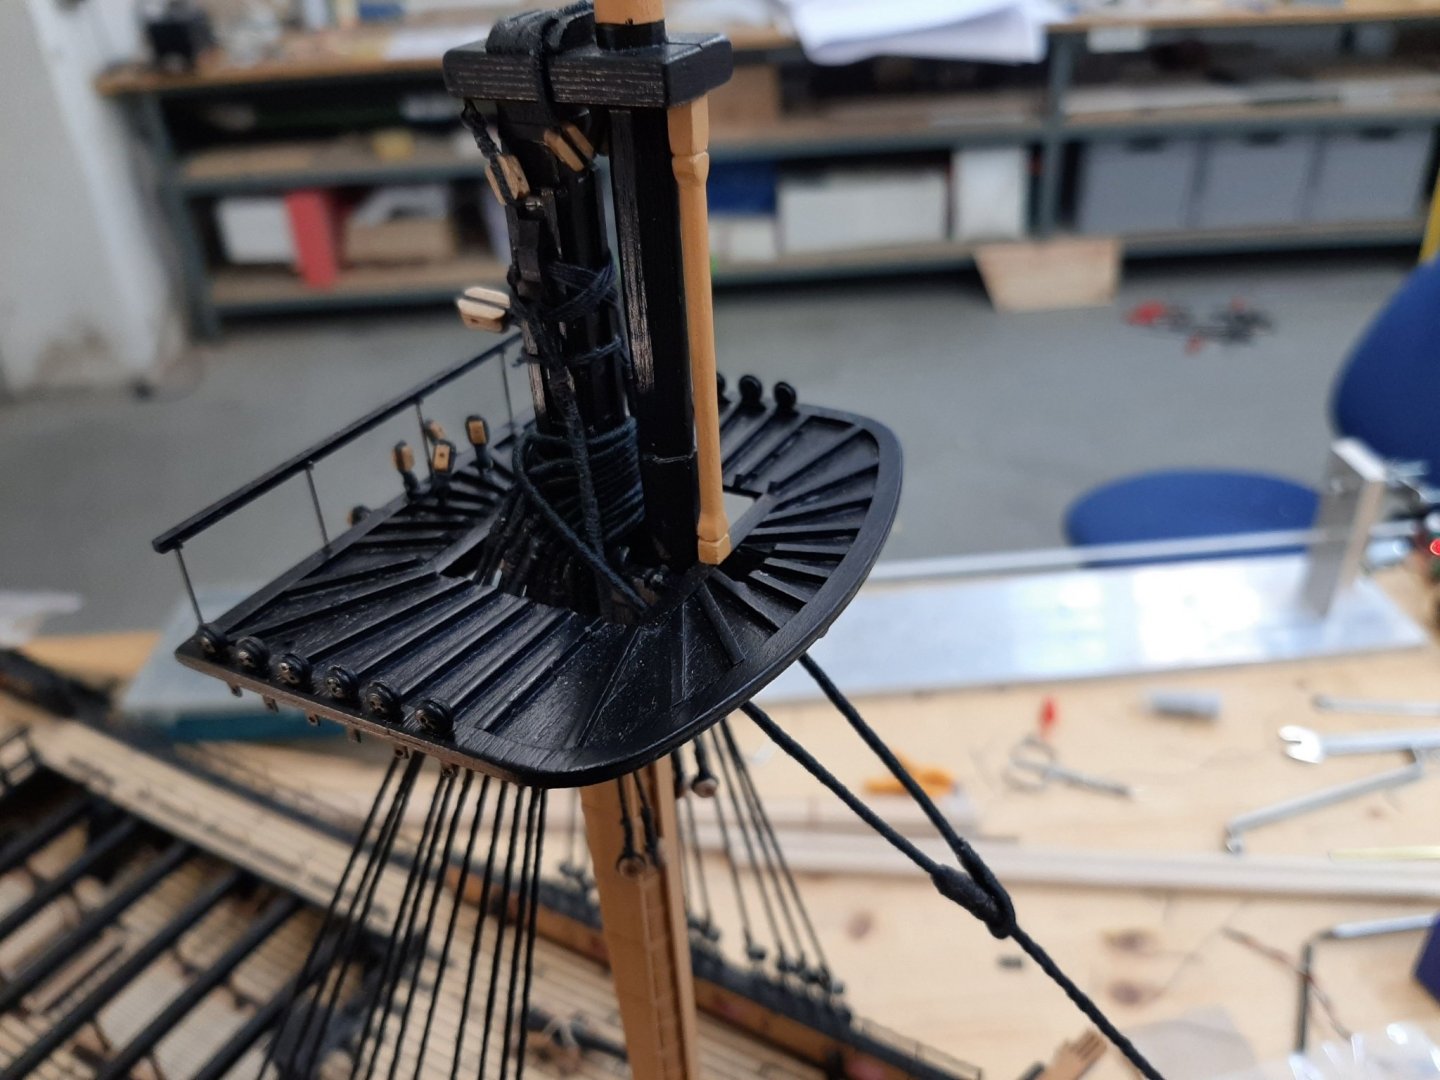
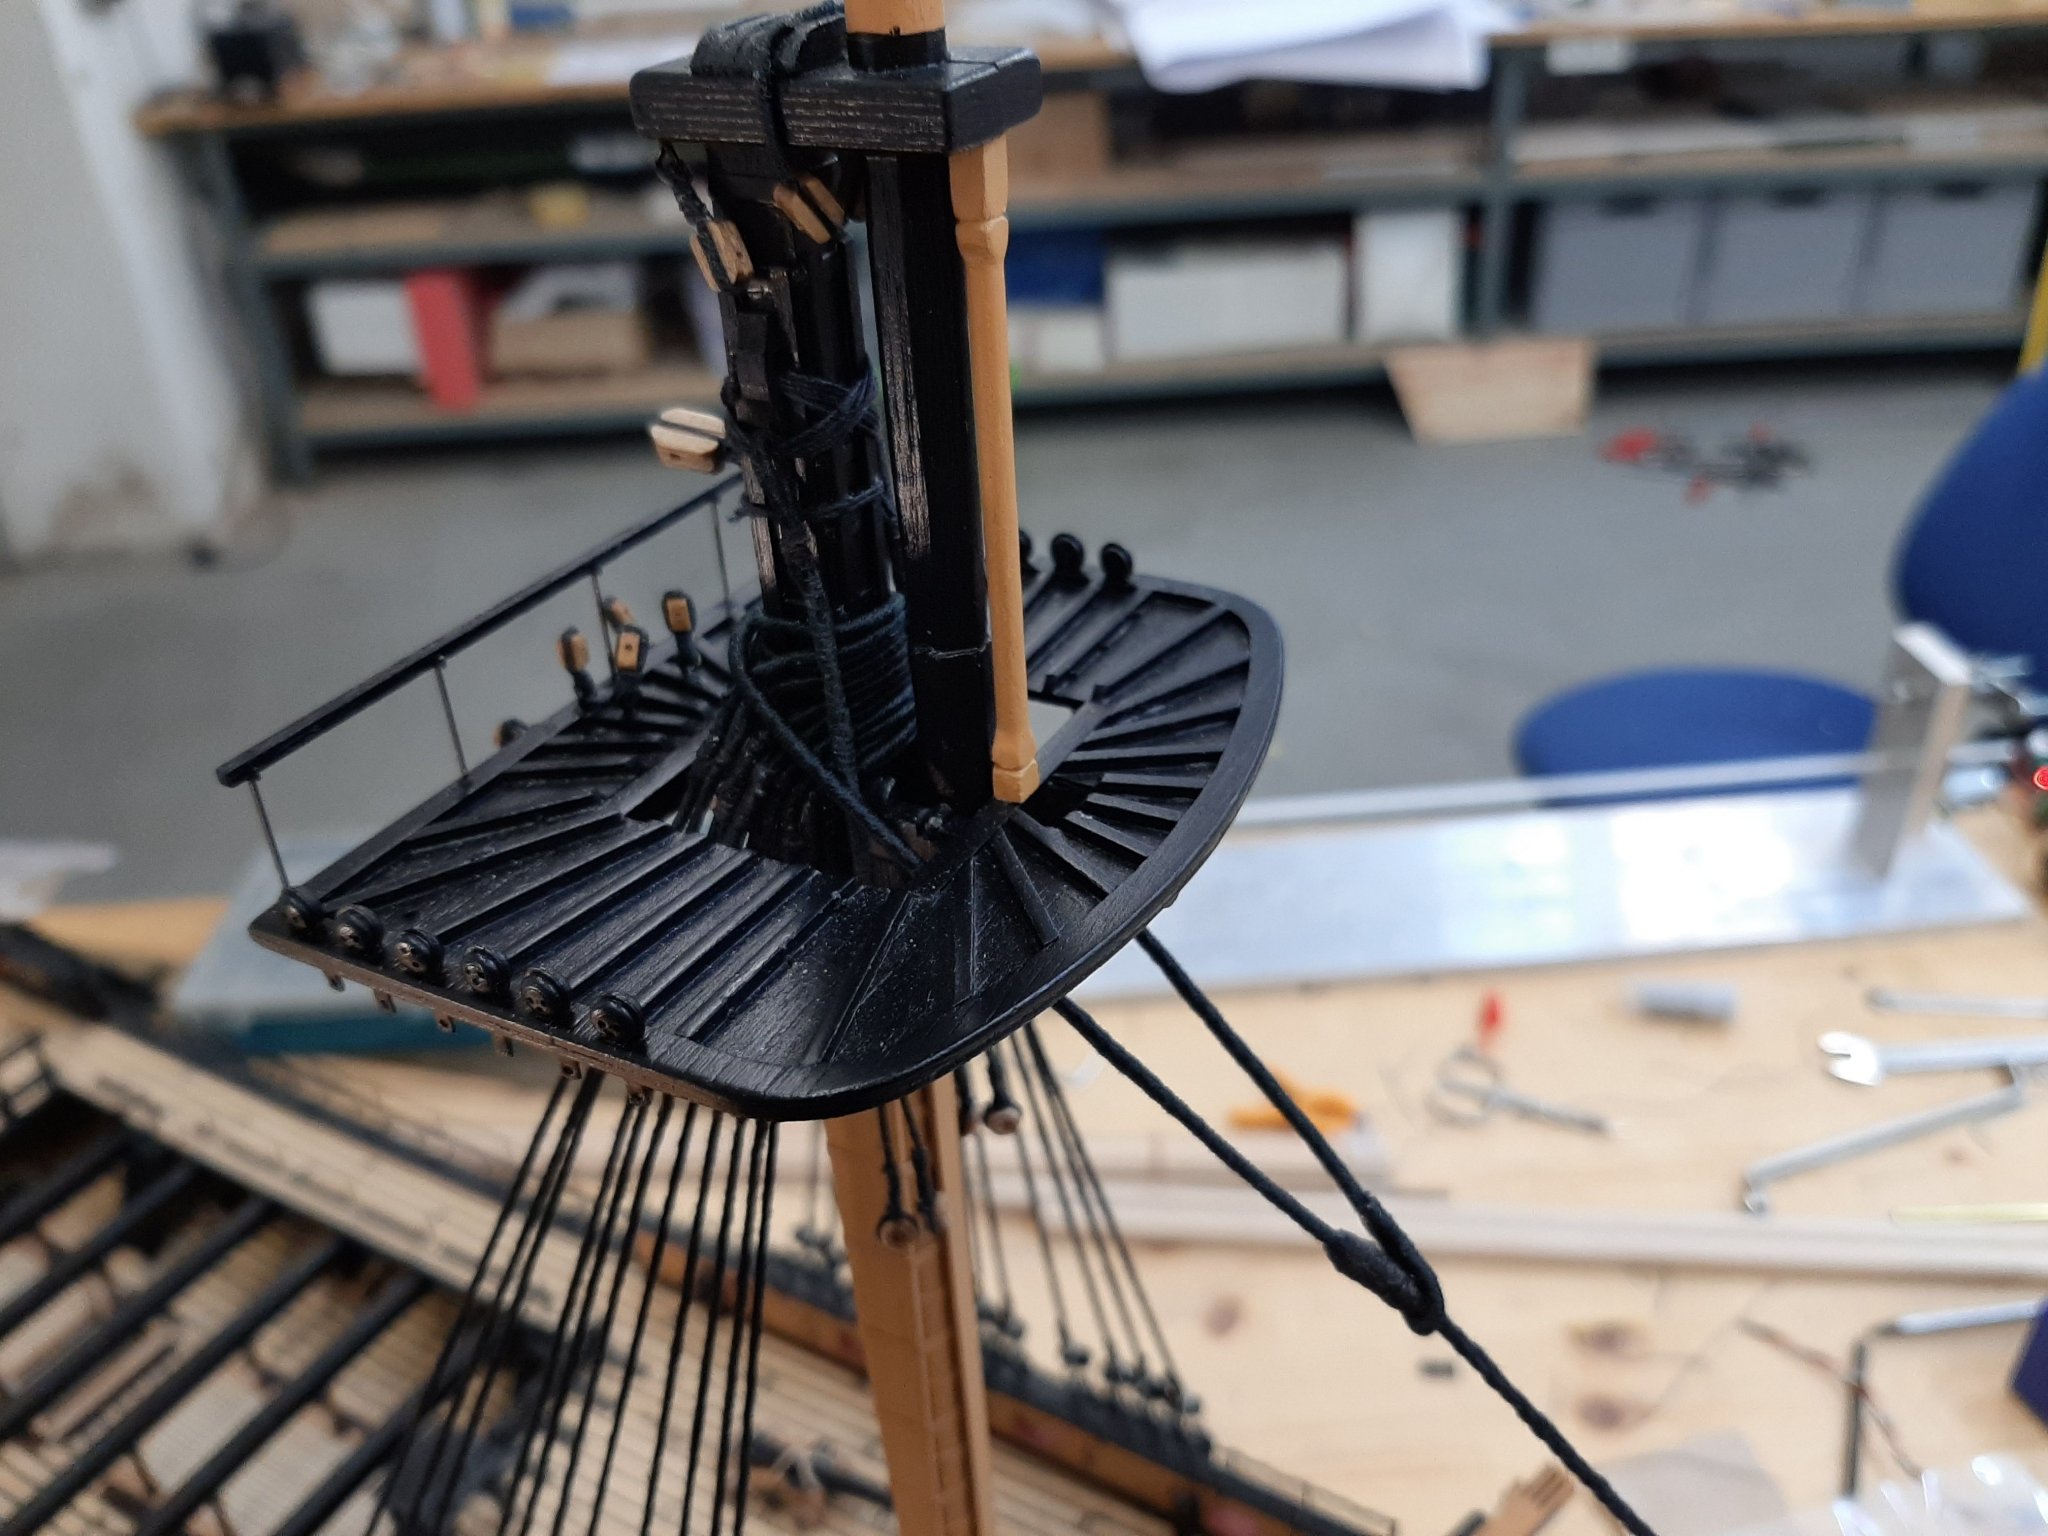
After this i made the futtock stave and the fore topmast futtock shrauds
Here are the catharpins

And now the rat-lines

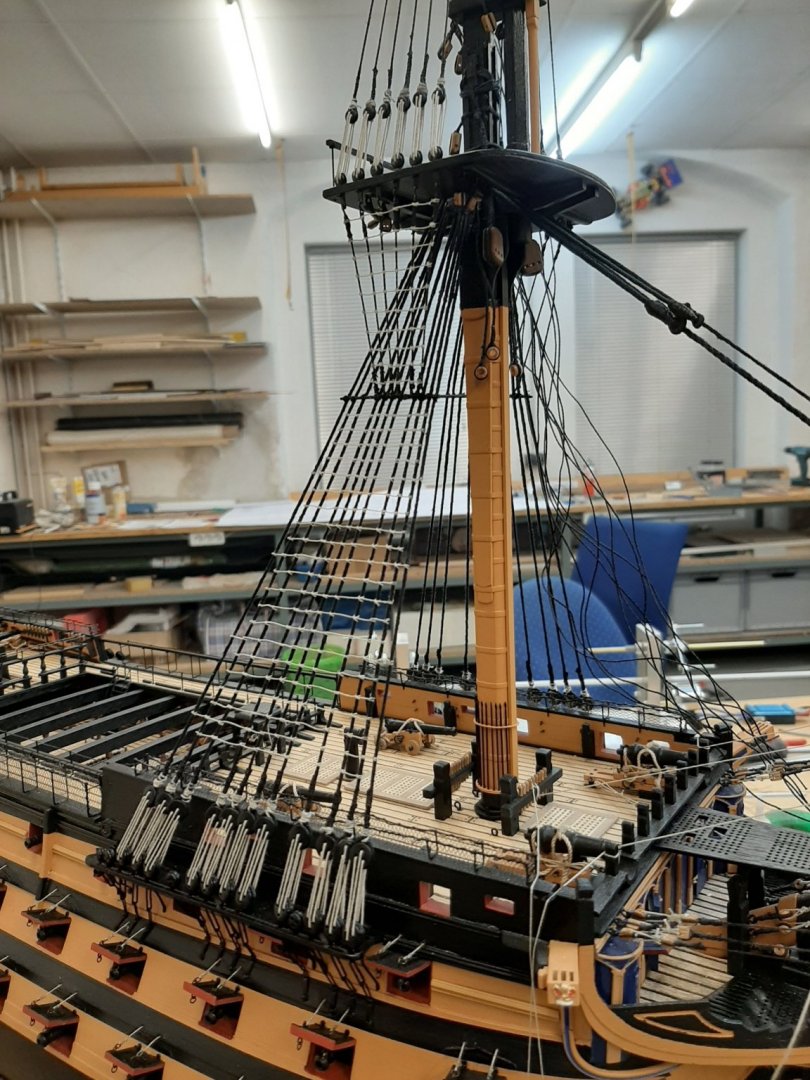
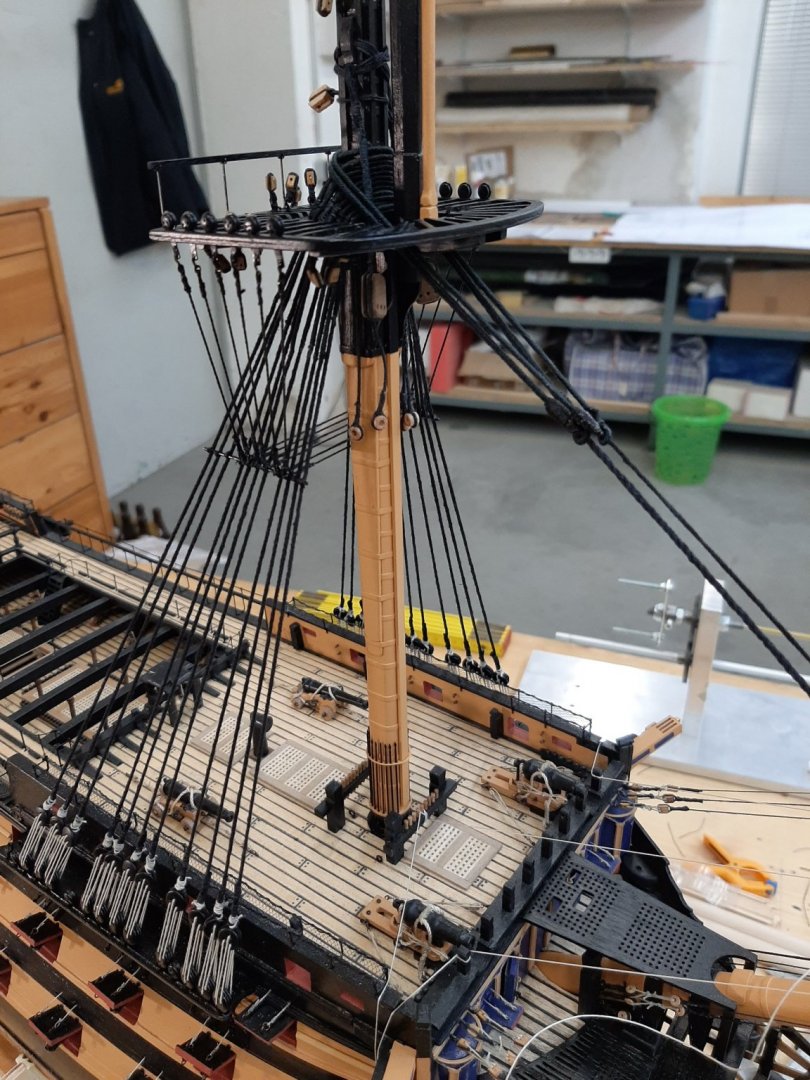
And so i worked to the top of the mast
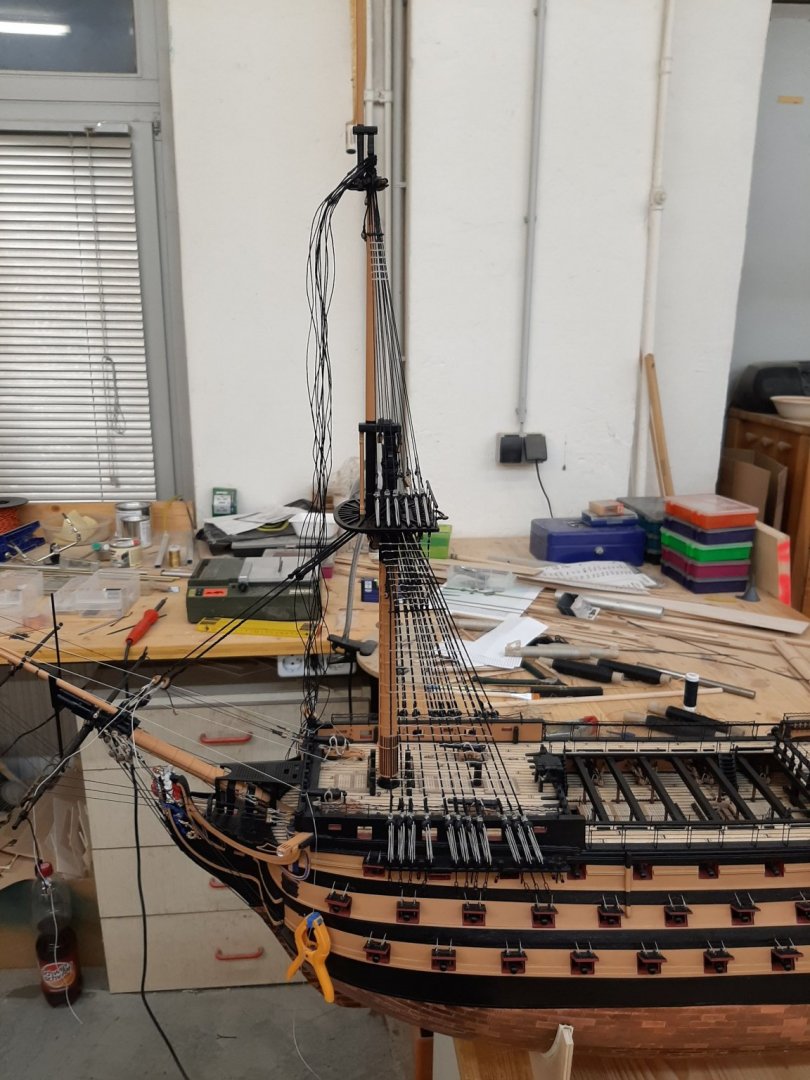
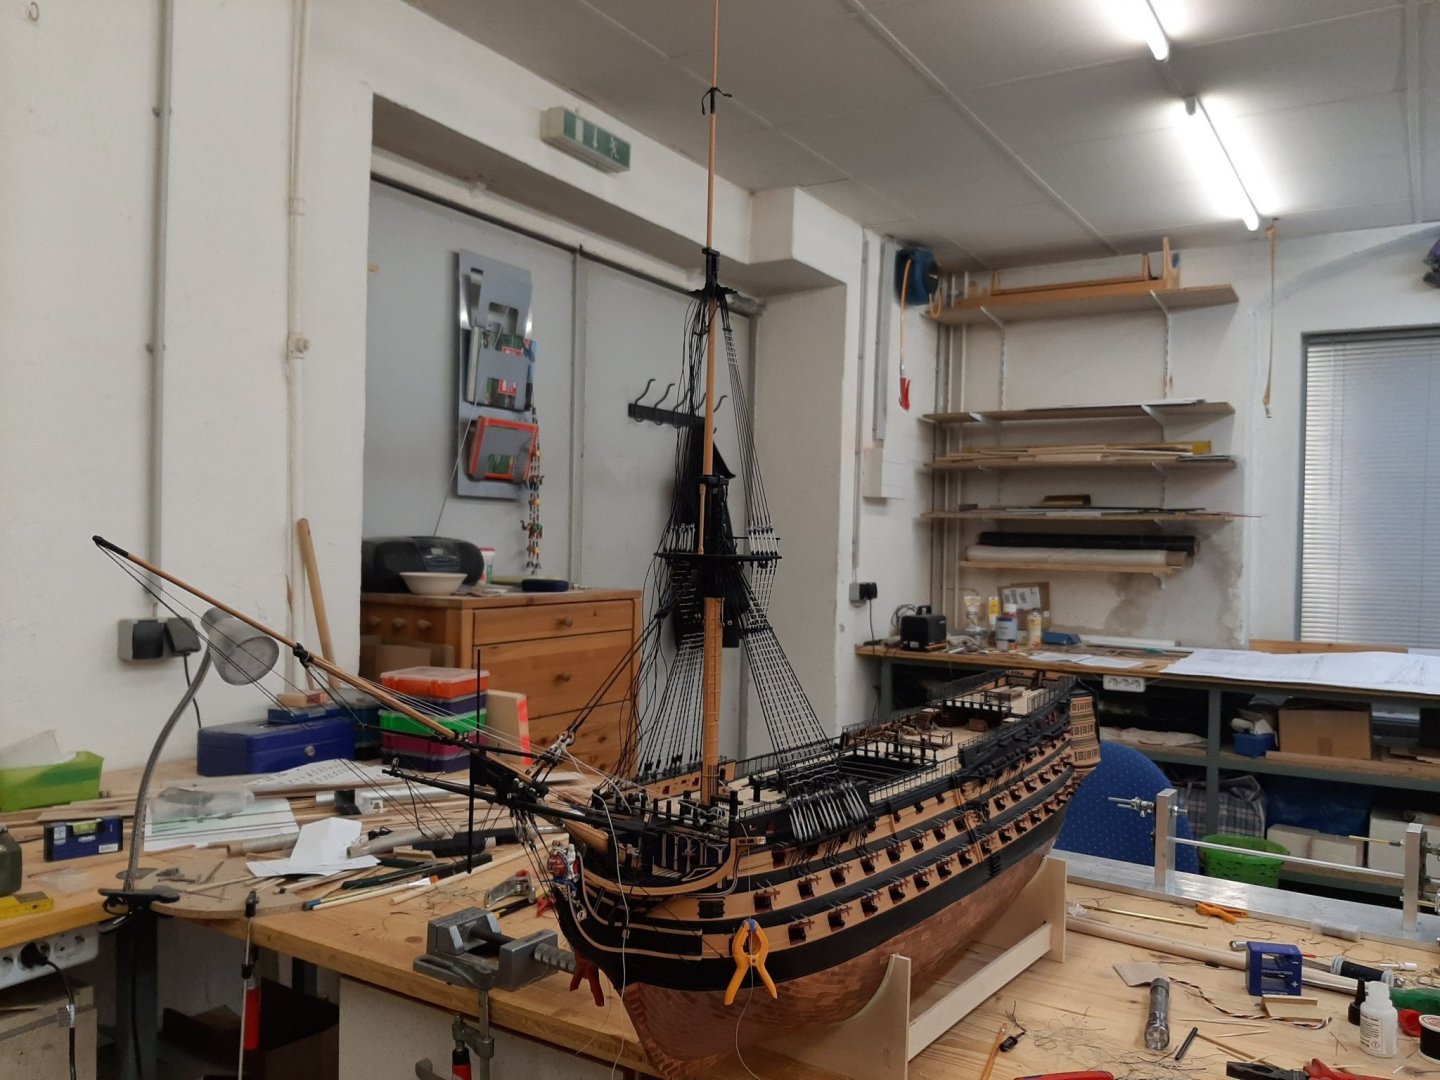
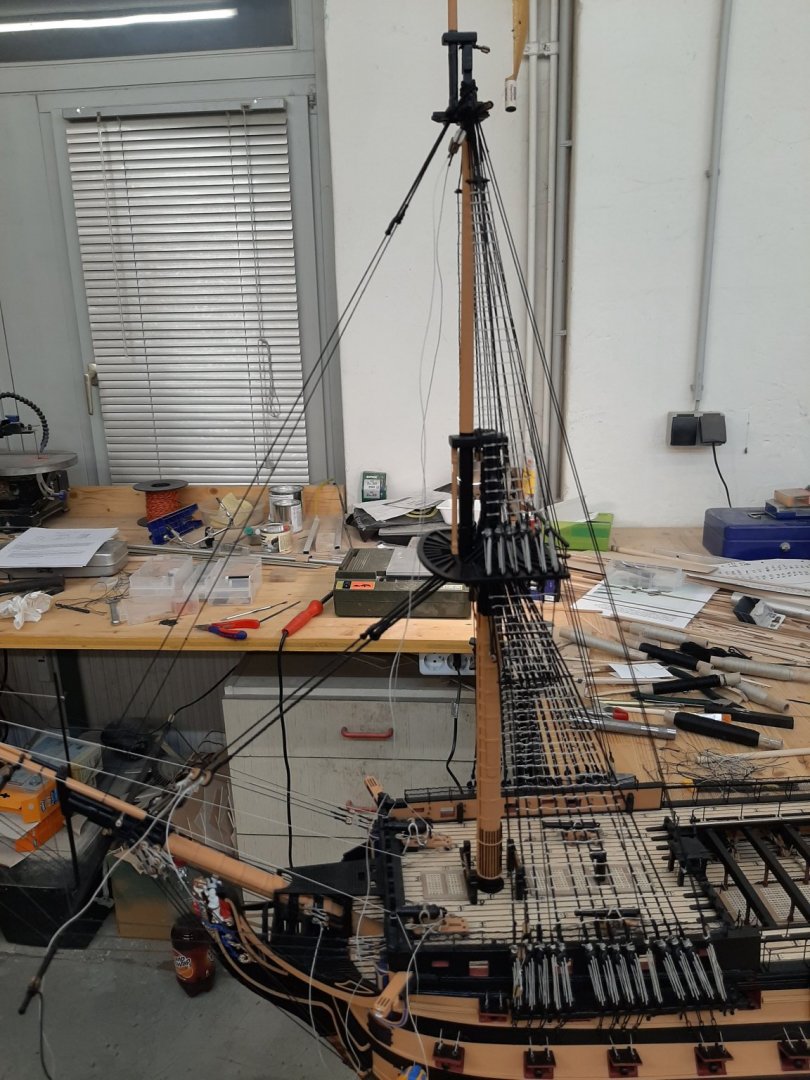
After the fore mast was ready with the standing rigging i began the main mast.
I rig this as well as the fore mast.
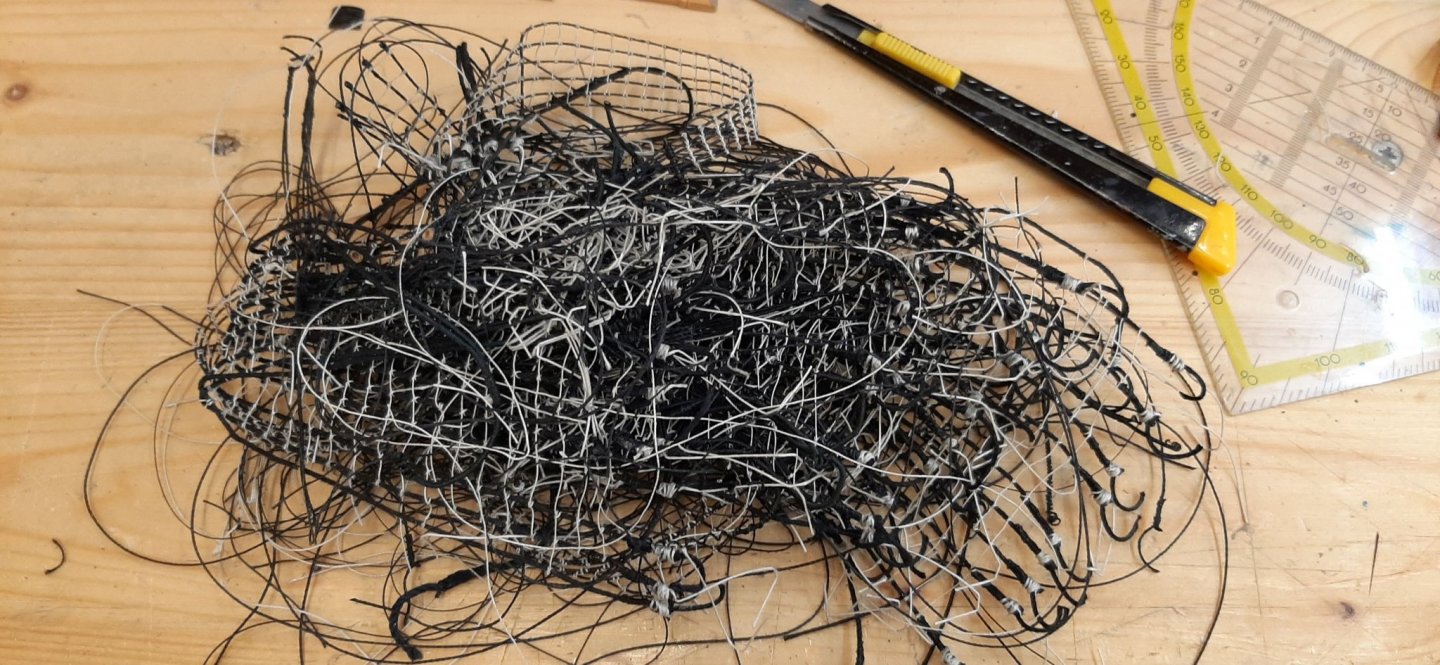
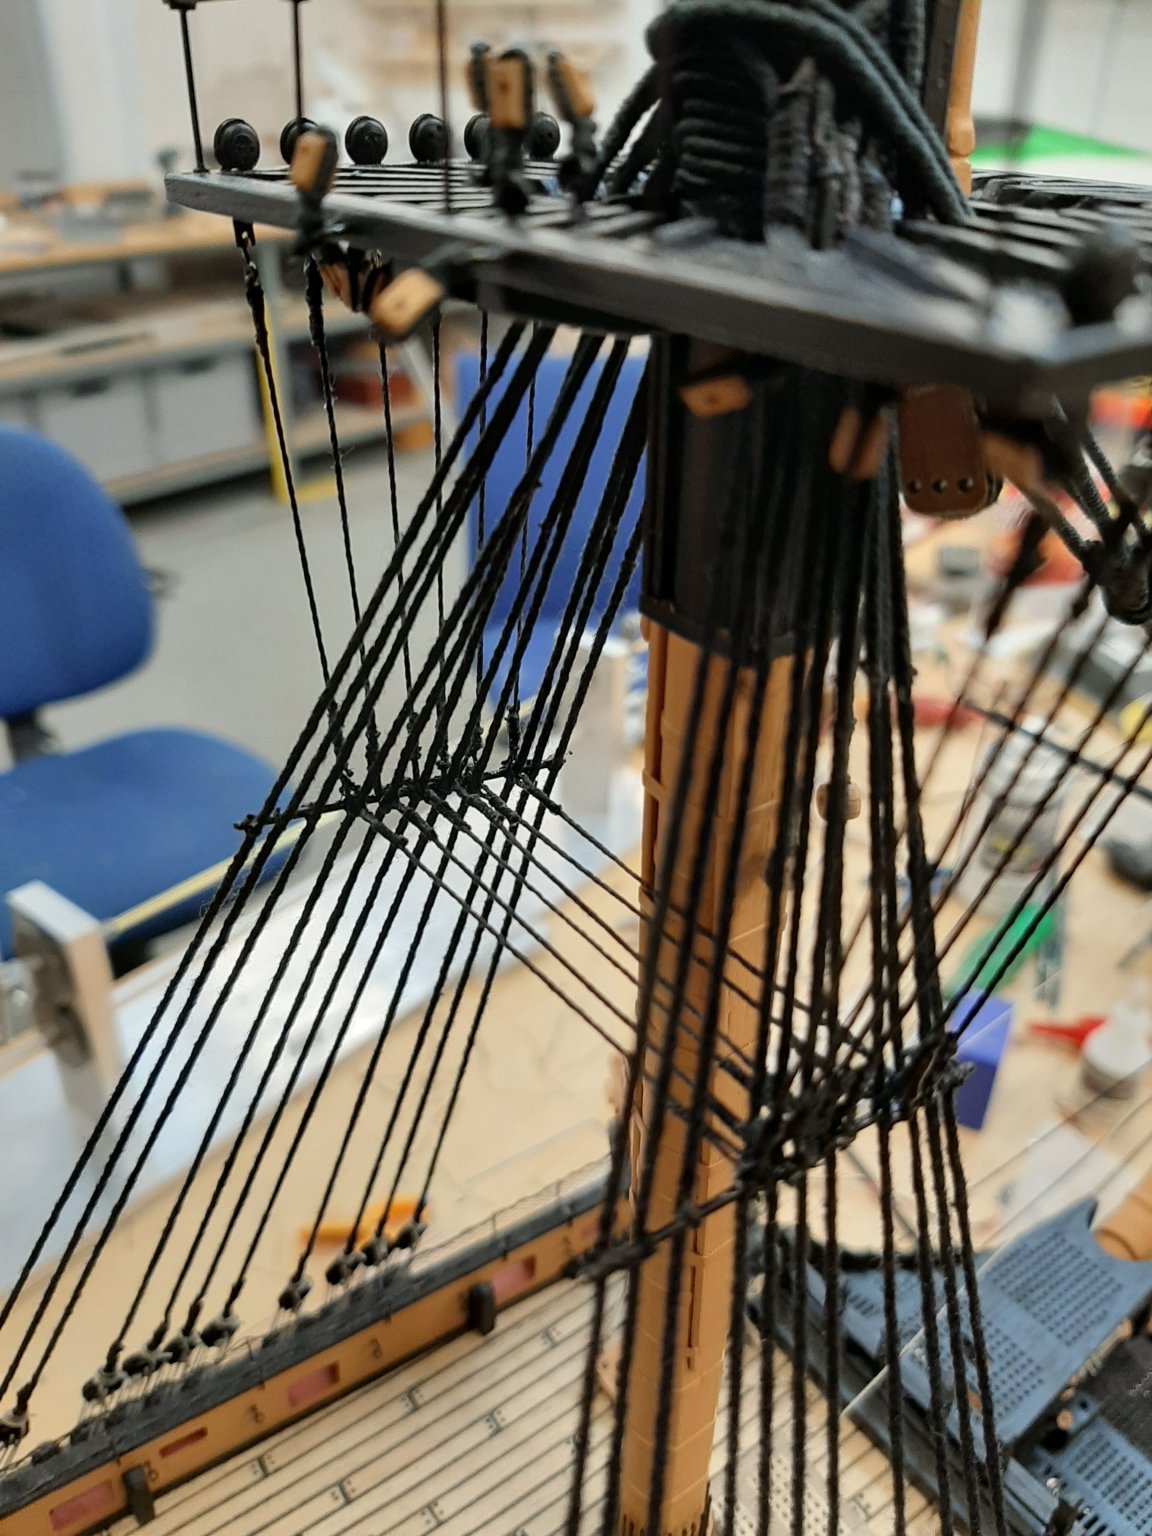
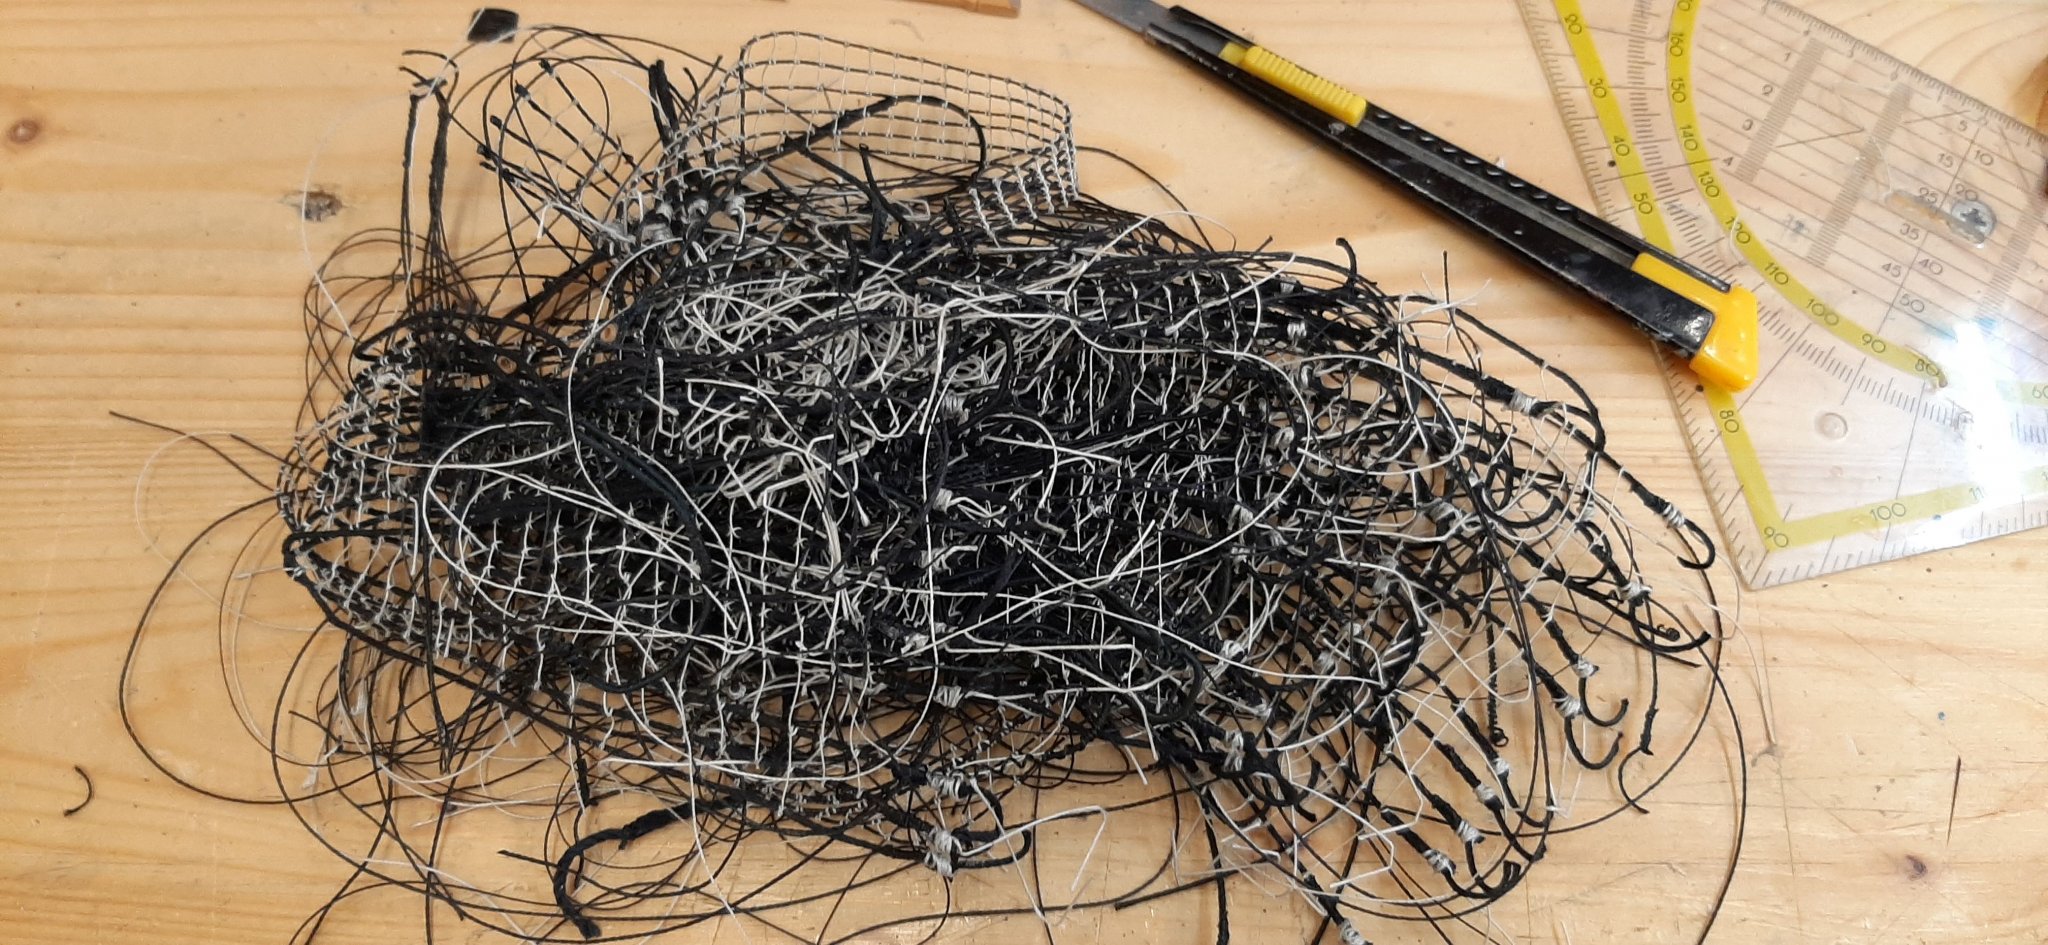
When i was finished wiht the main mast, i didn´t like the result.
All the lashings were smeared wiht glue.

For a long time i rummaged in various forums and decided i made all new.I got new rigging yarn and started a few tries.
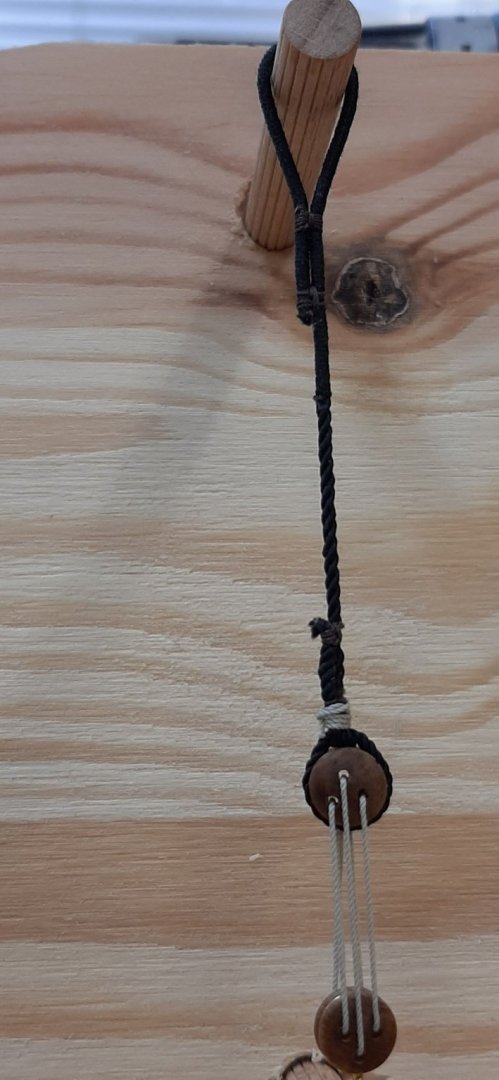
I was totally amazed at how great the result will be.So i removed the rigging.
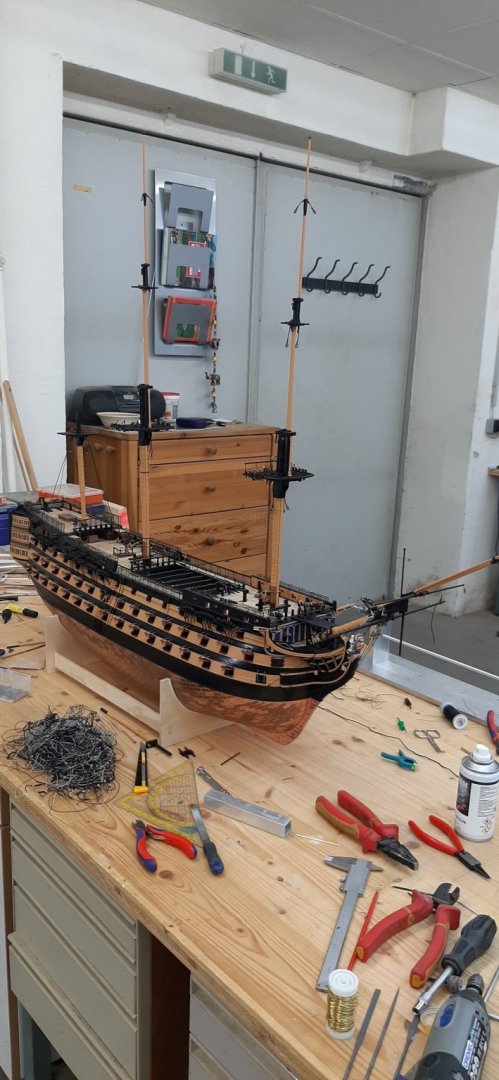
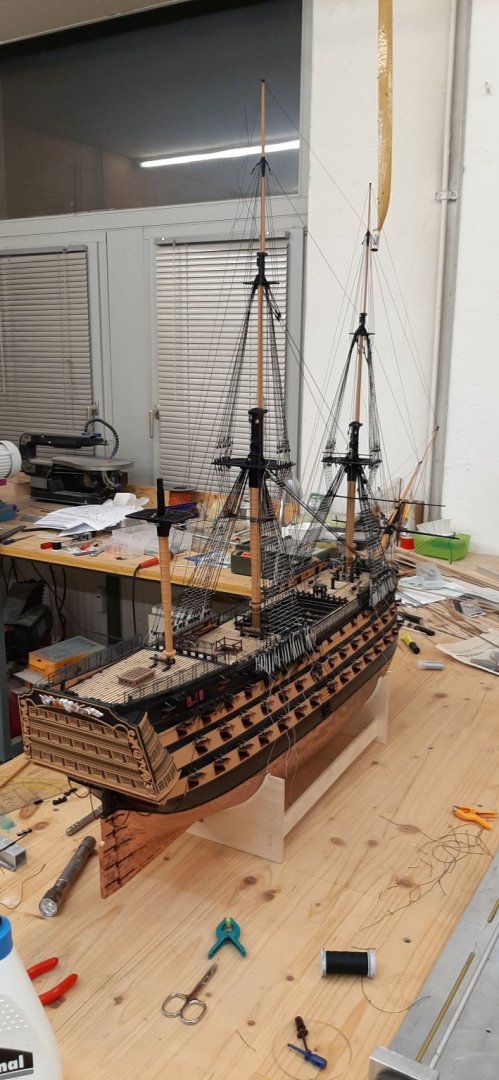
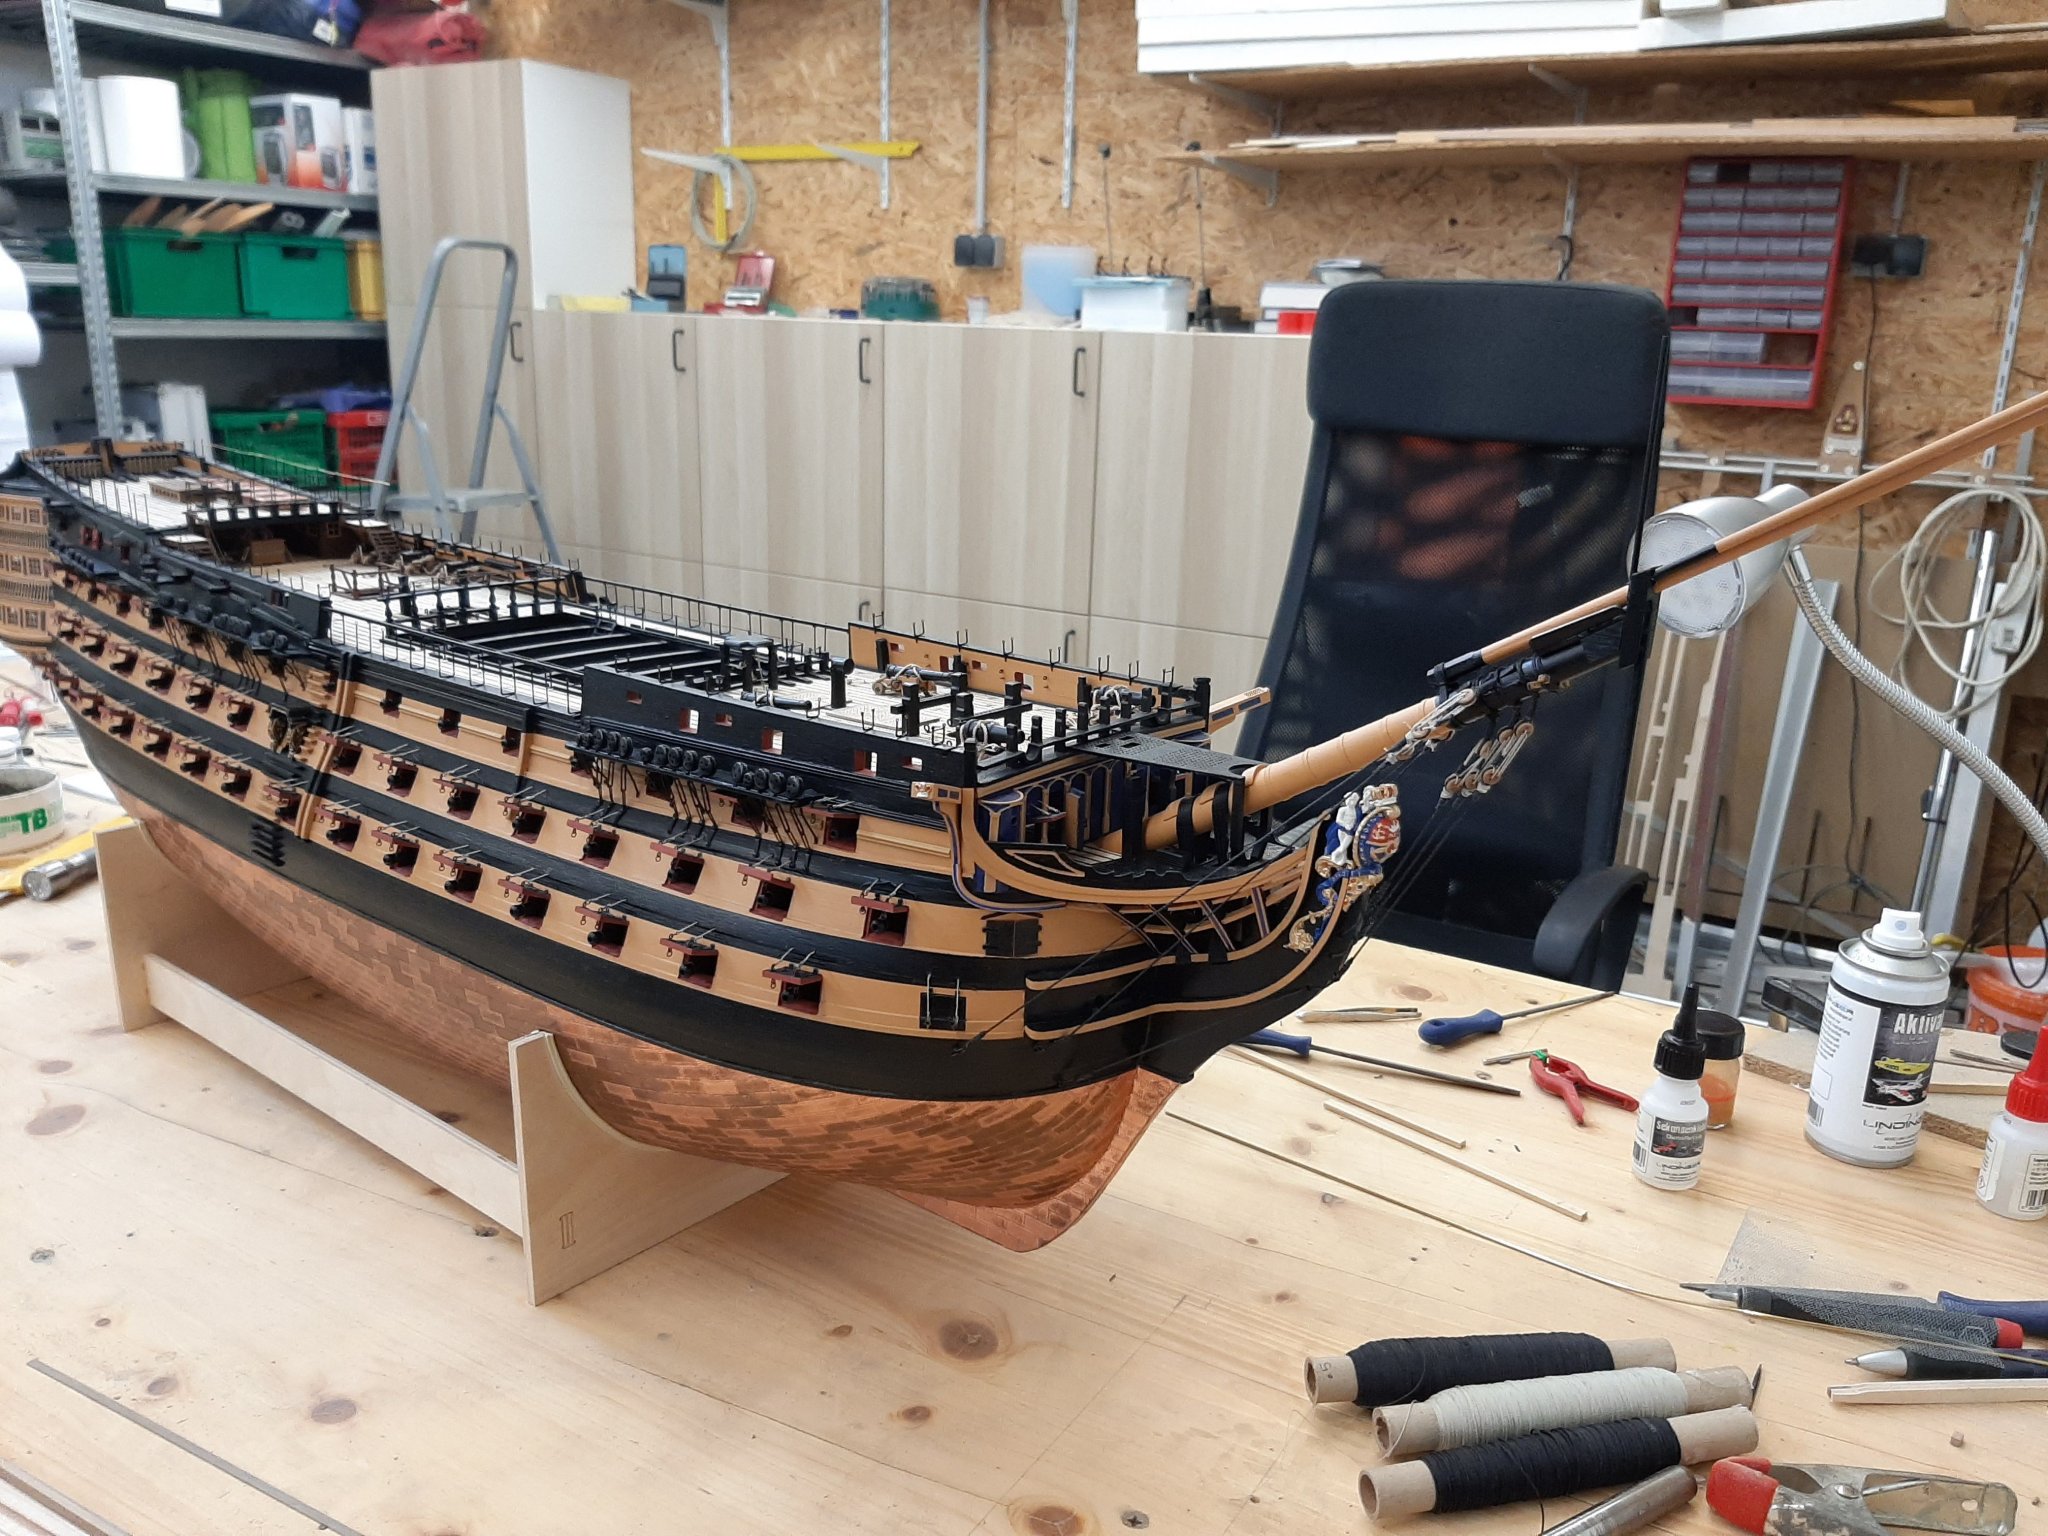
So and this is right now.
I will report on the further construction Progress.
Cheers
Helli
-
-
Hello,
No, this is my first ship. I have been modeling since my childhood. Try to do my best.
cheers
Helli
-
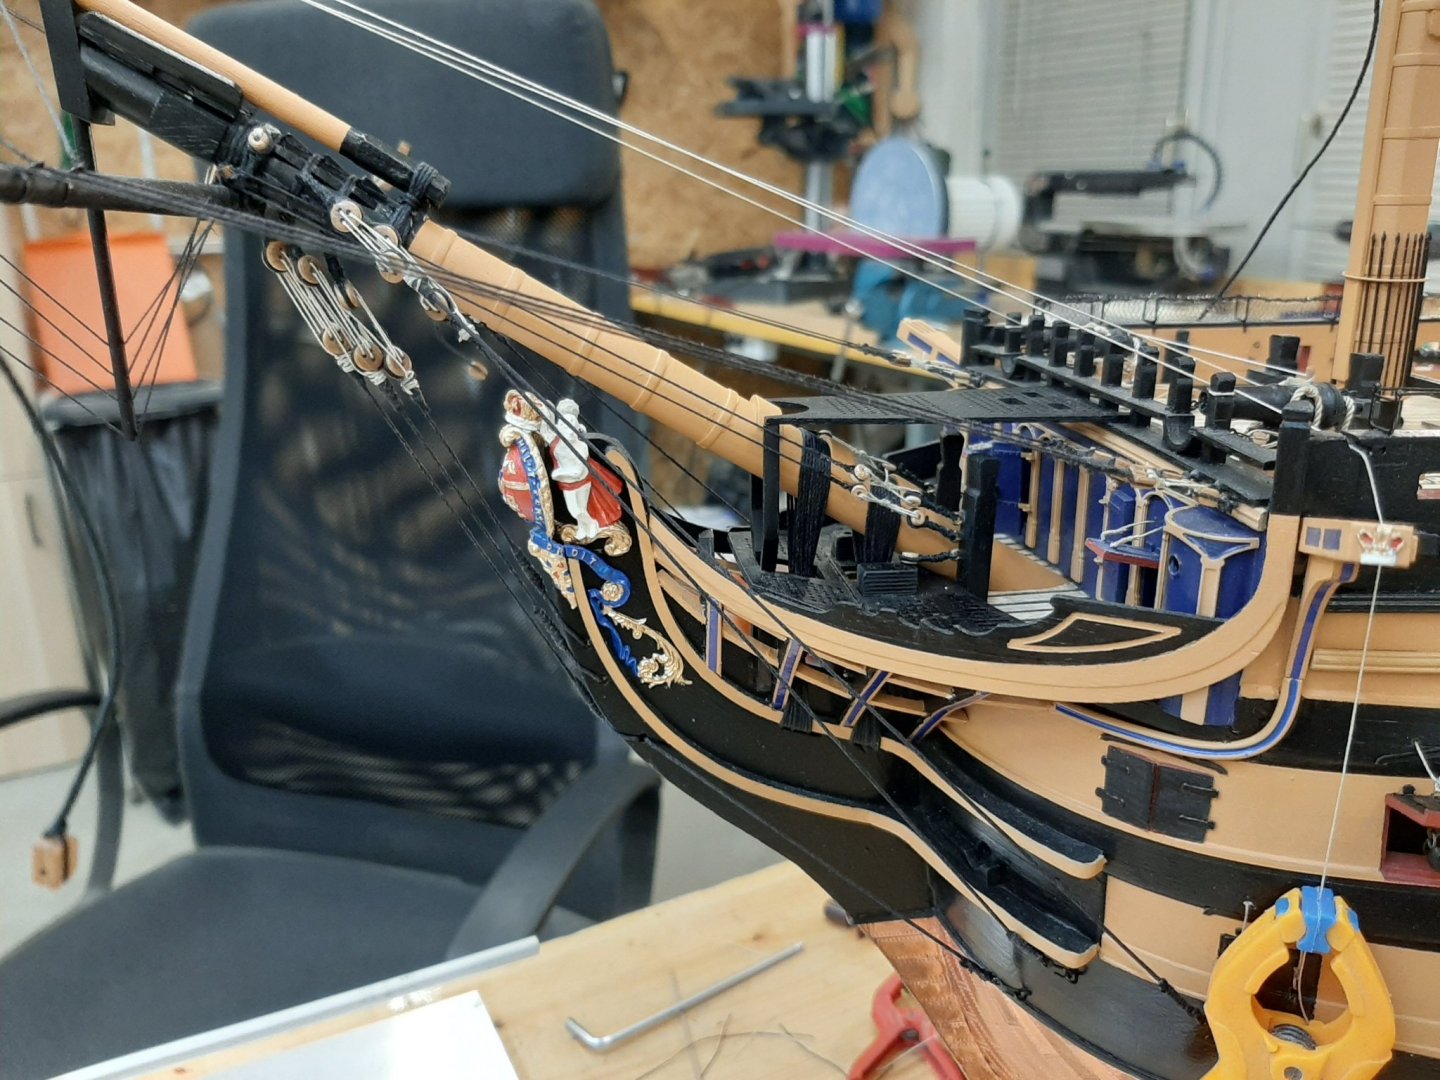
Hi,
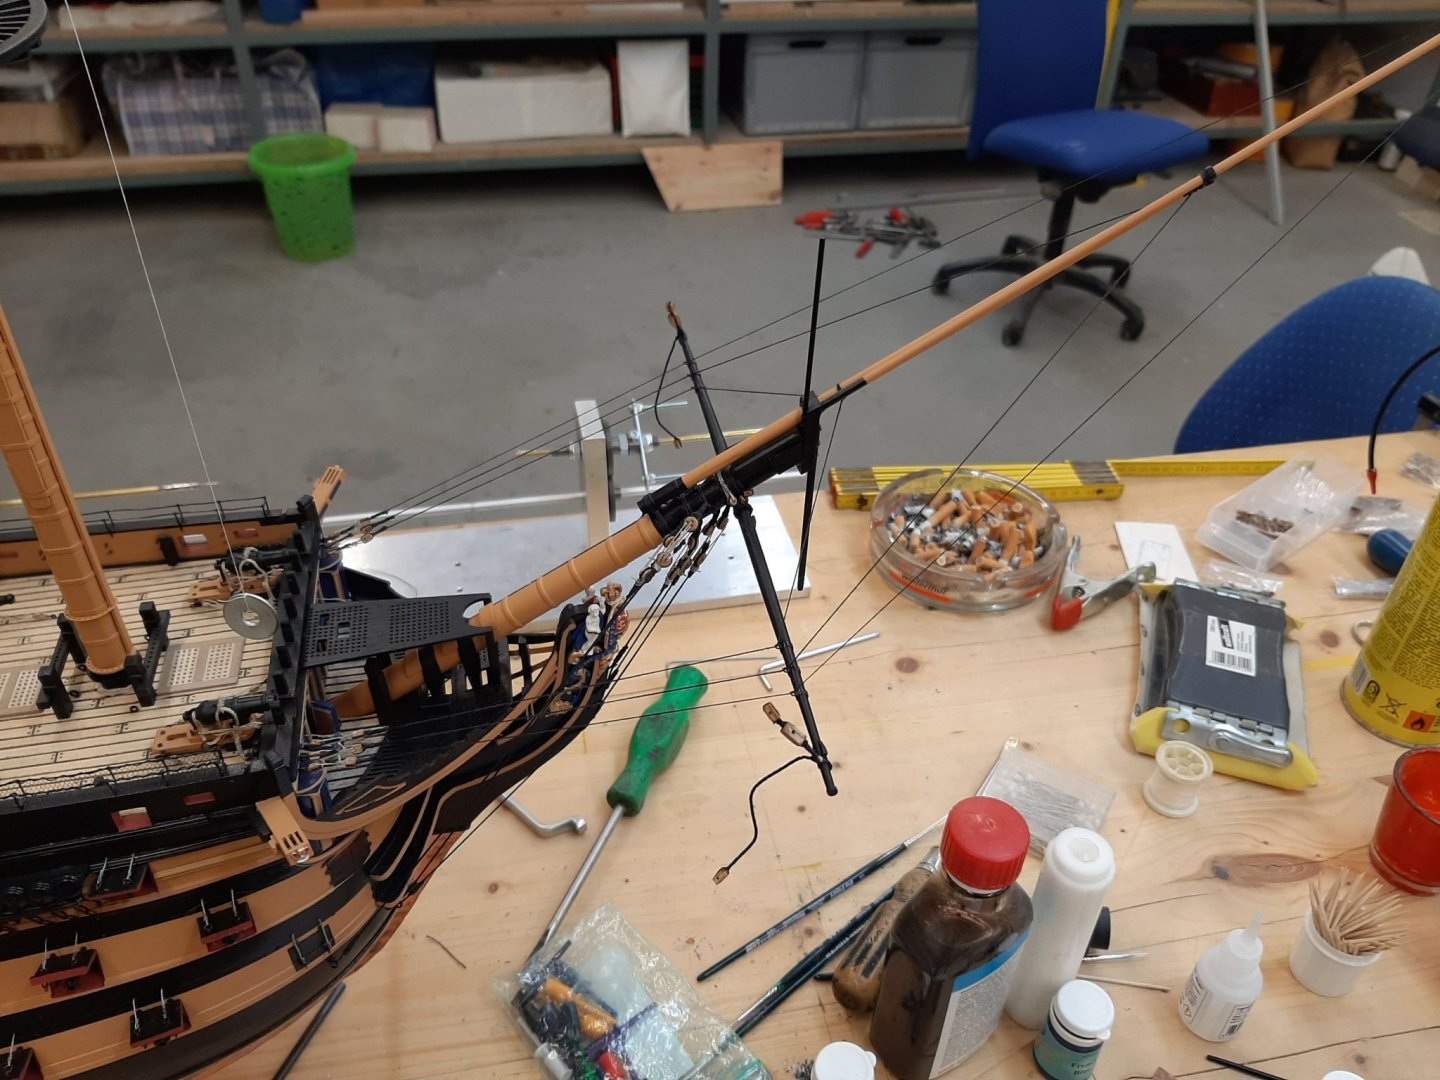
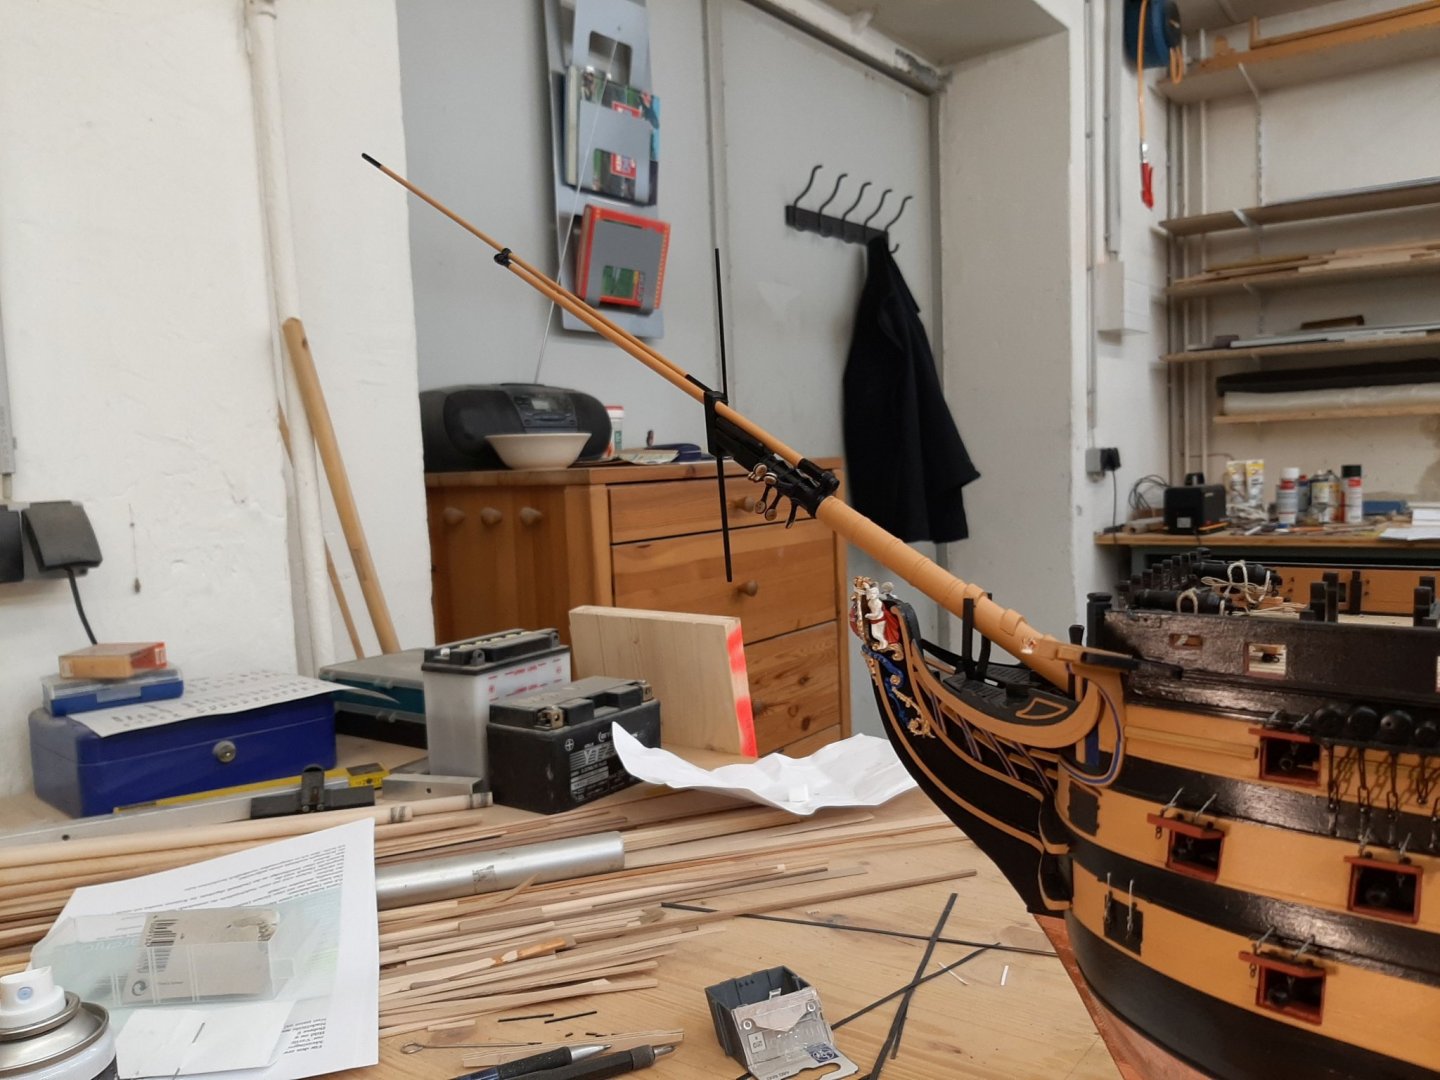
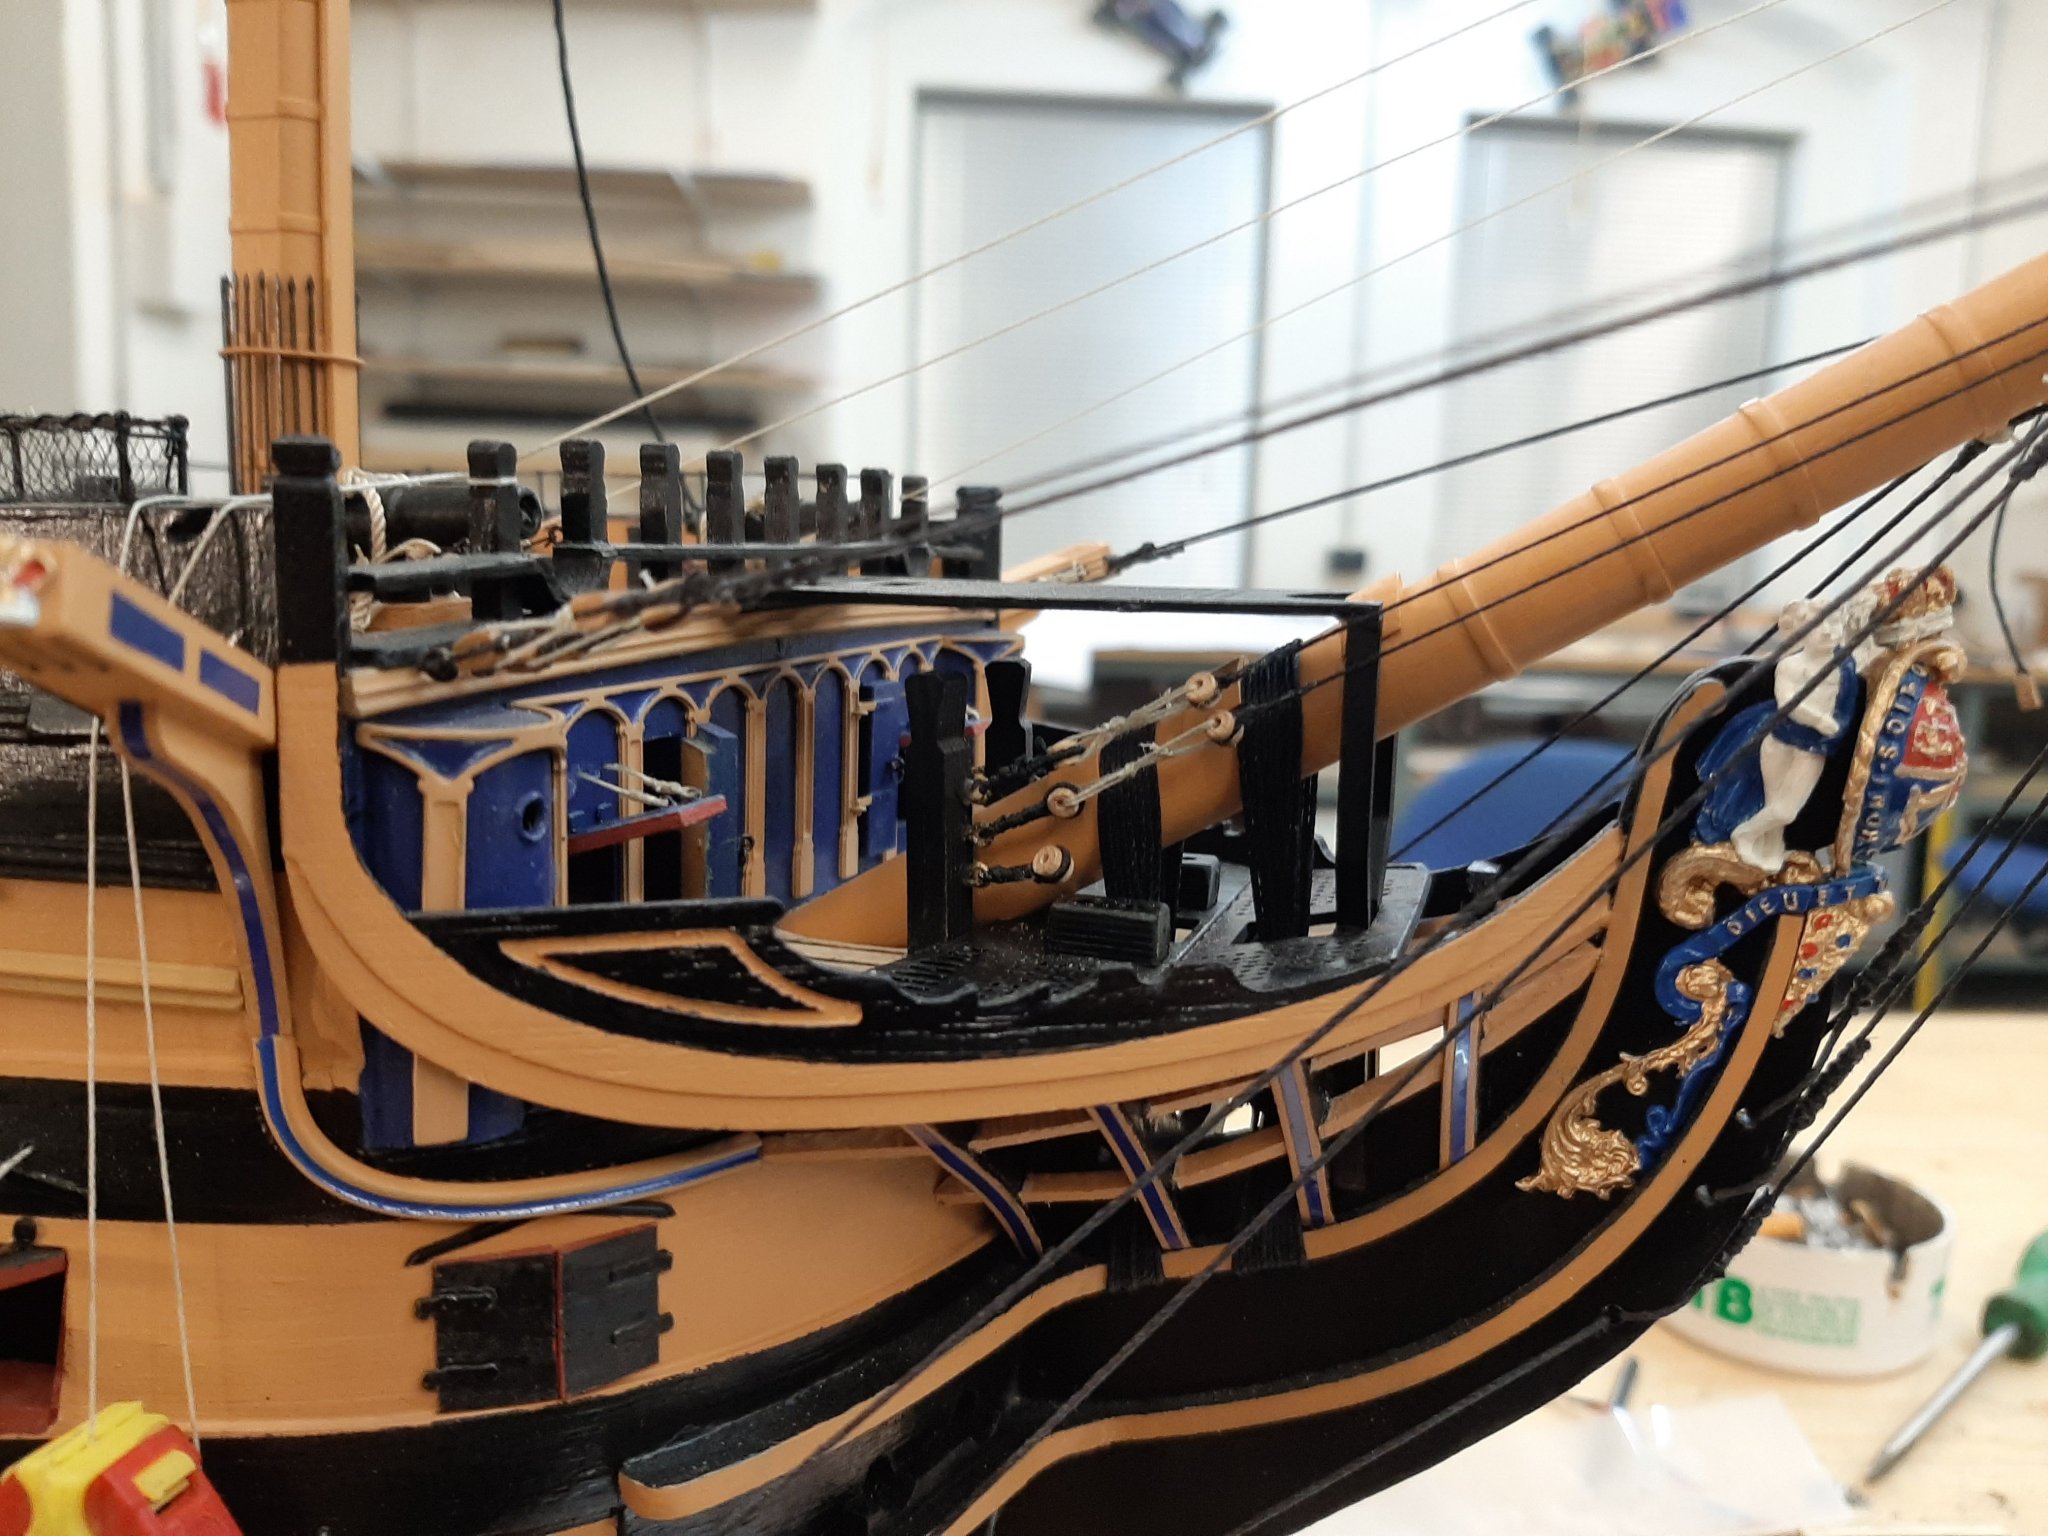
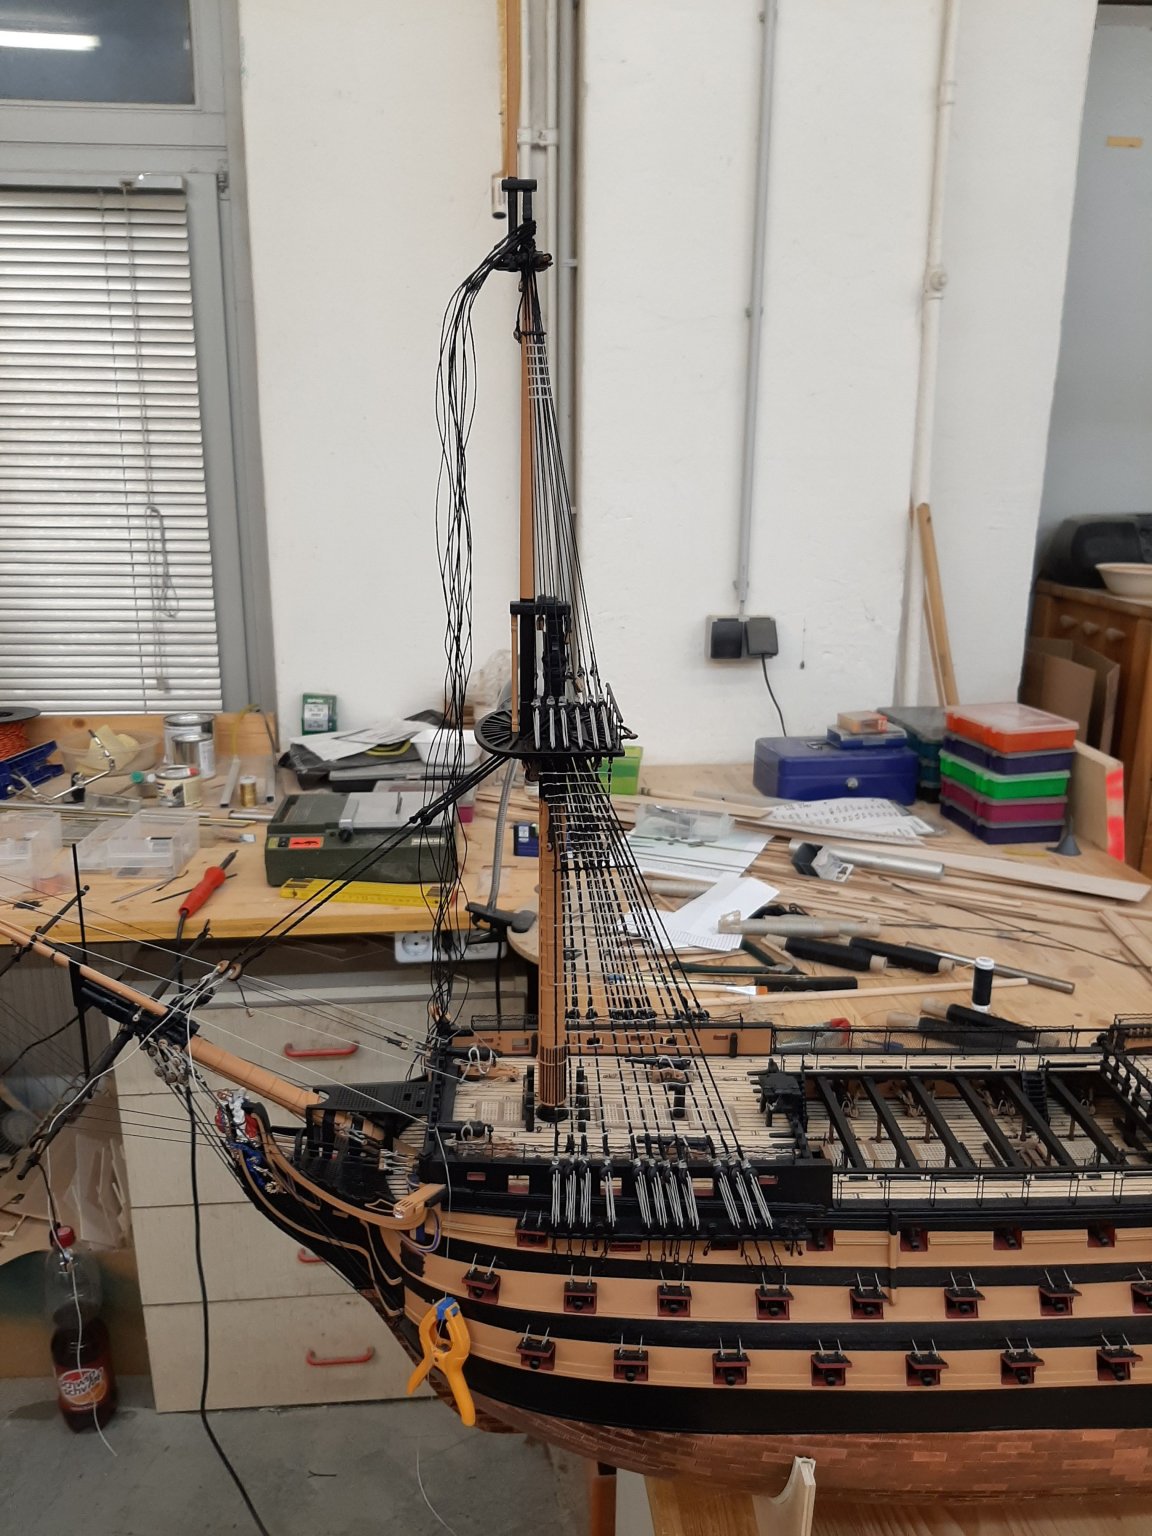
The next work was mounted the bowsprit with lashing and bobstay
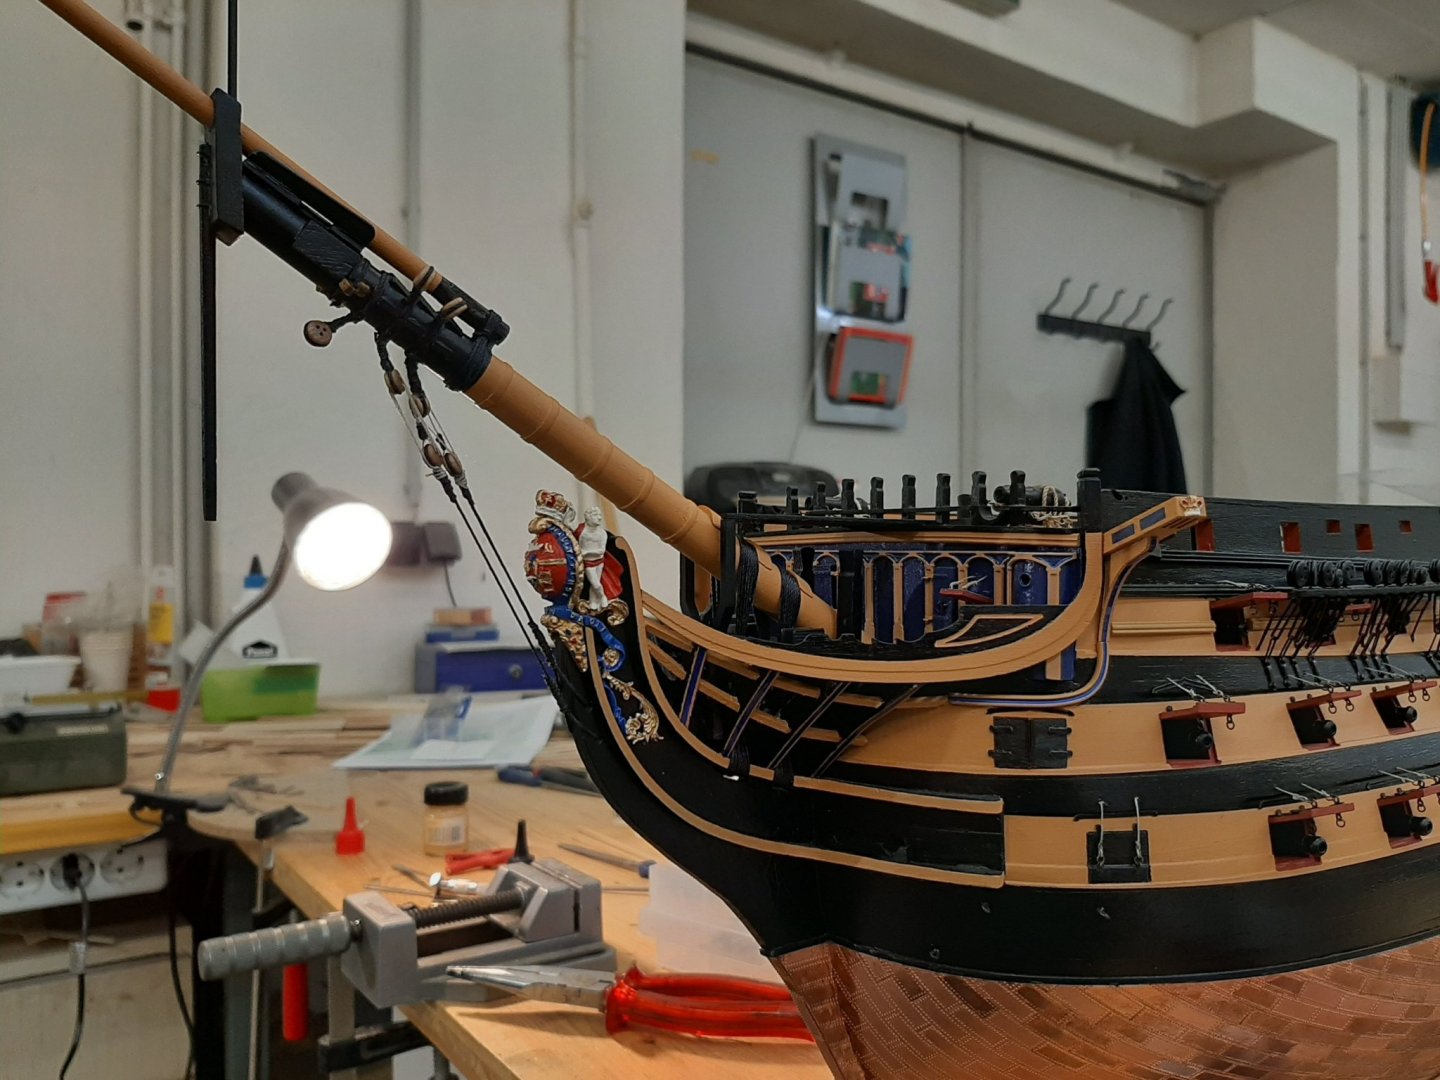

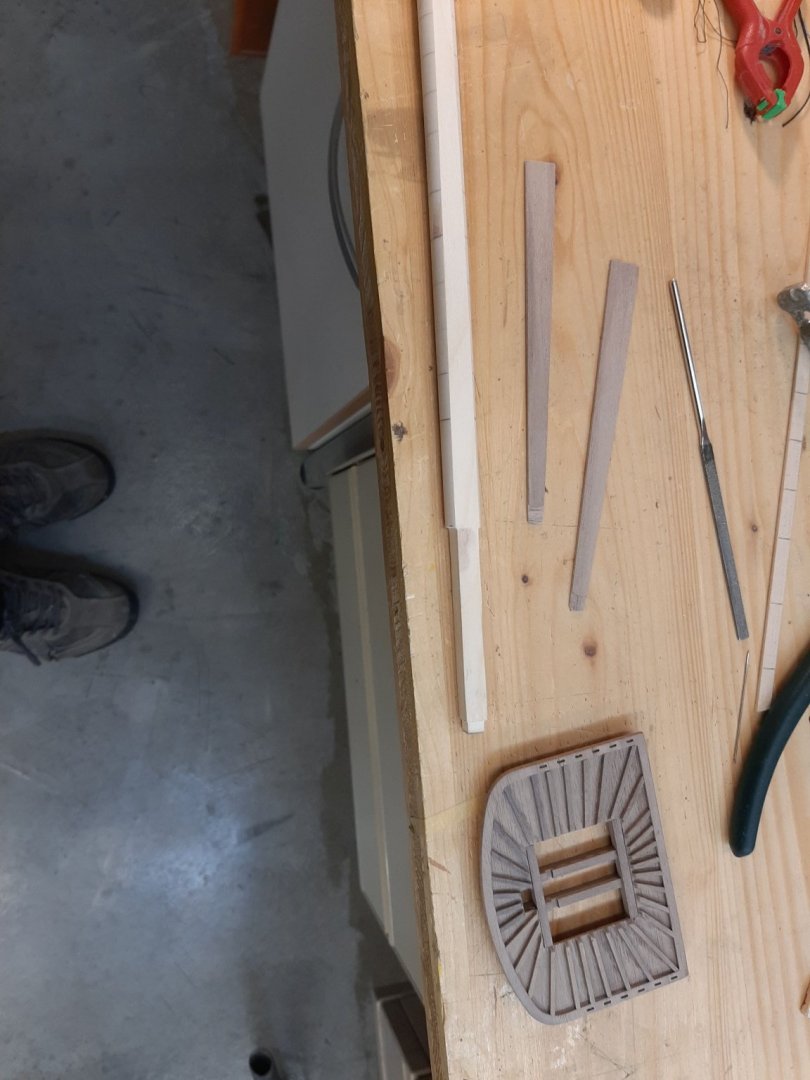
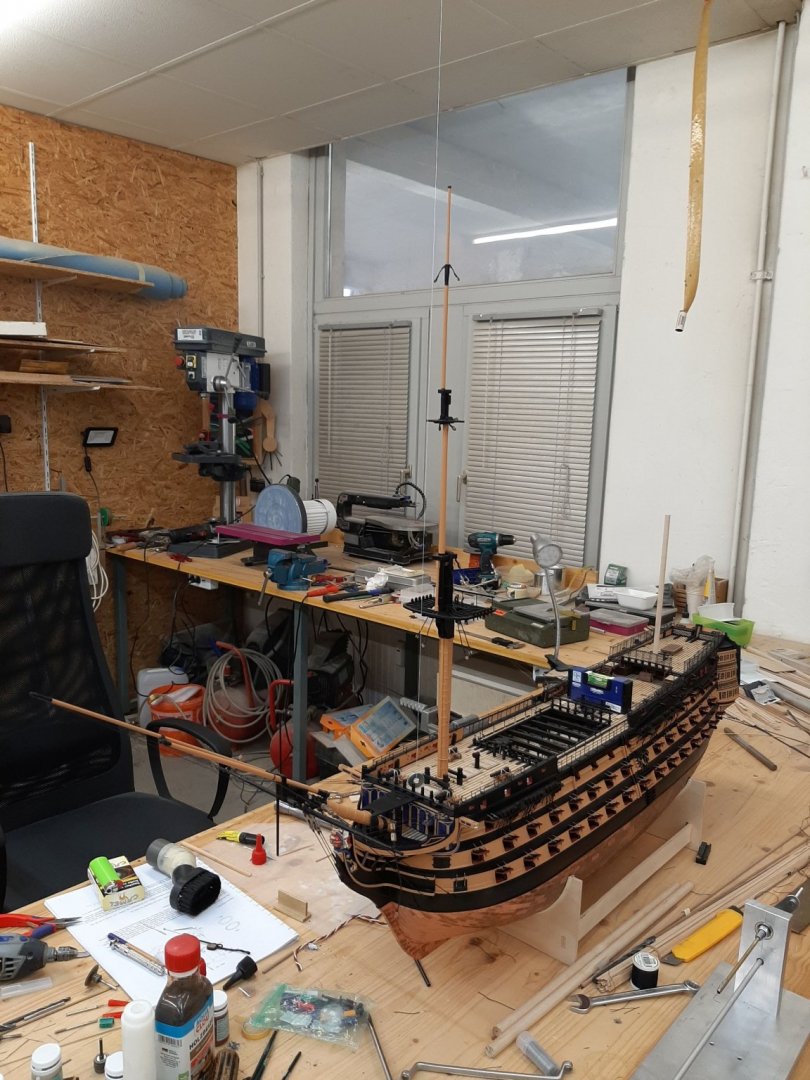
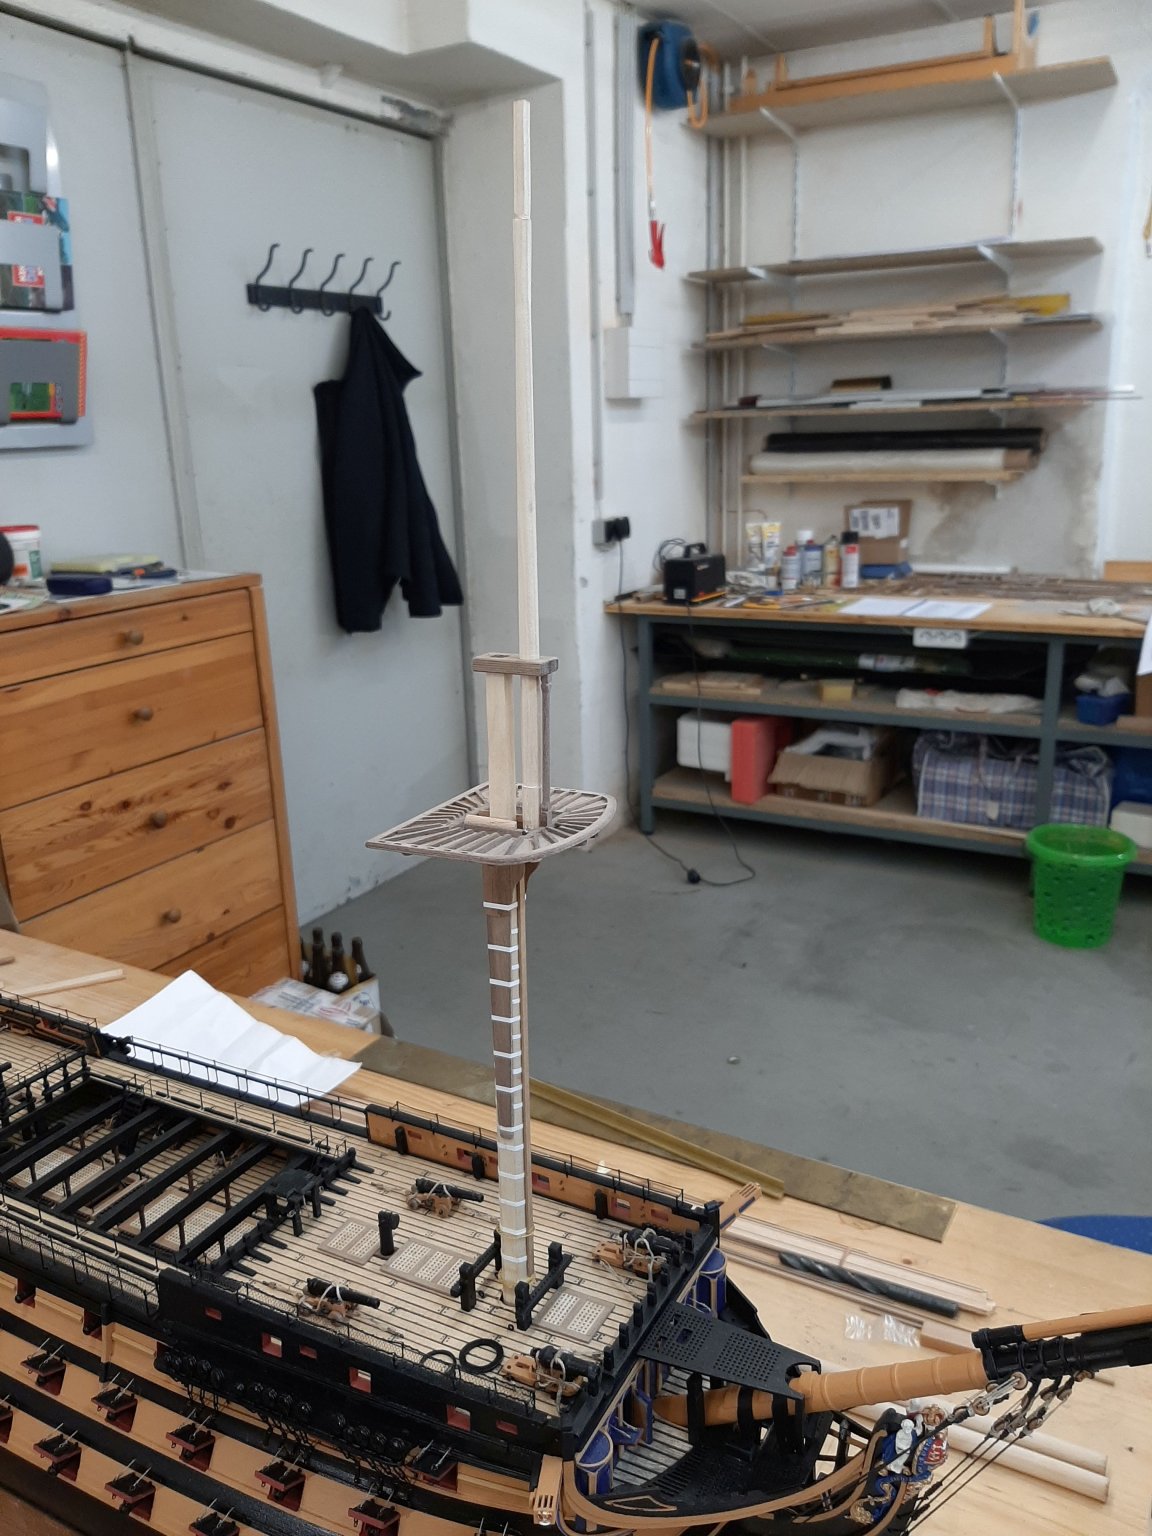
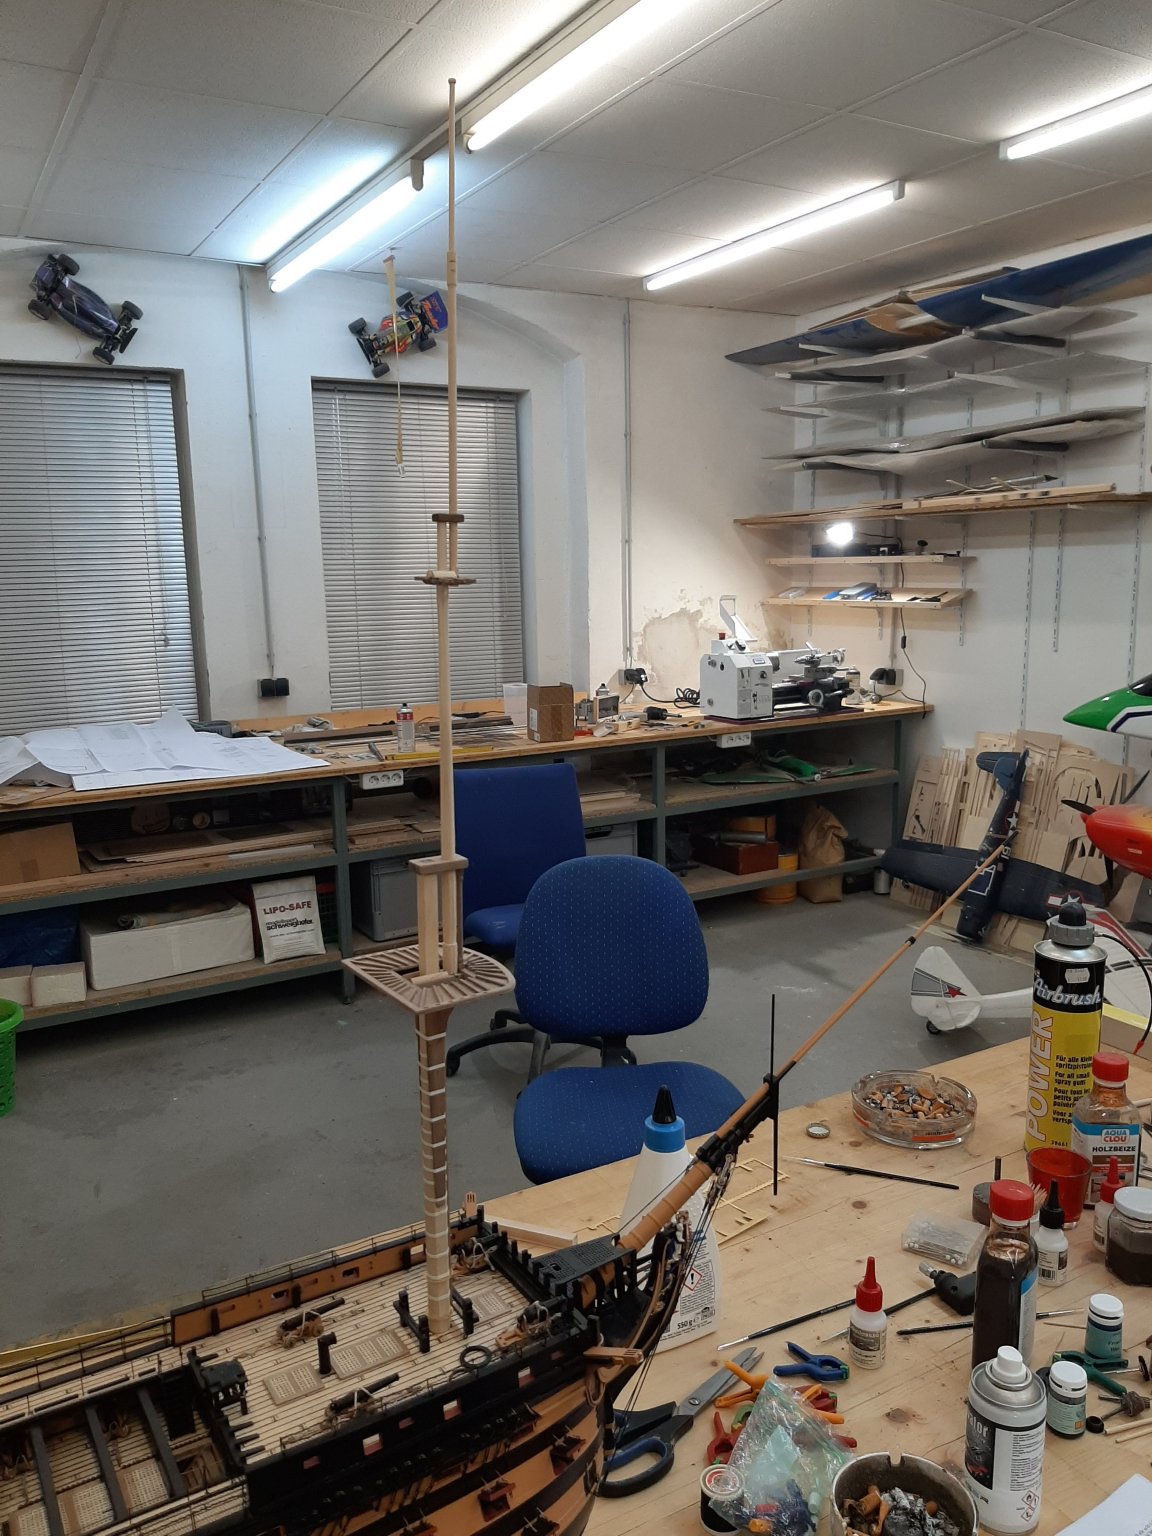
After that, the manufacture of the masts began
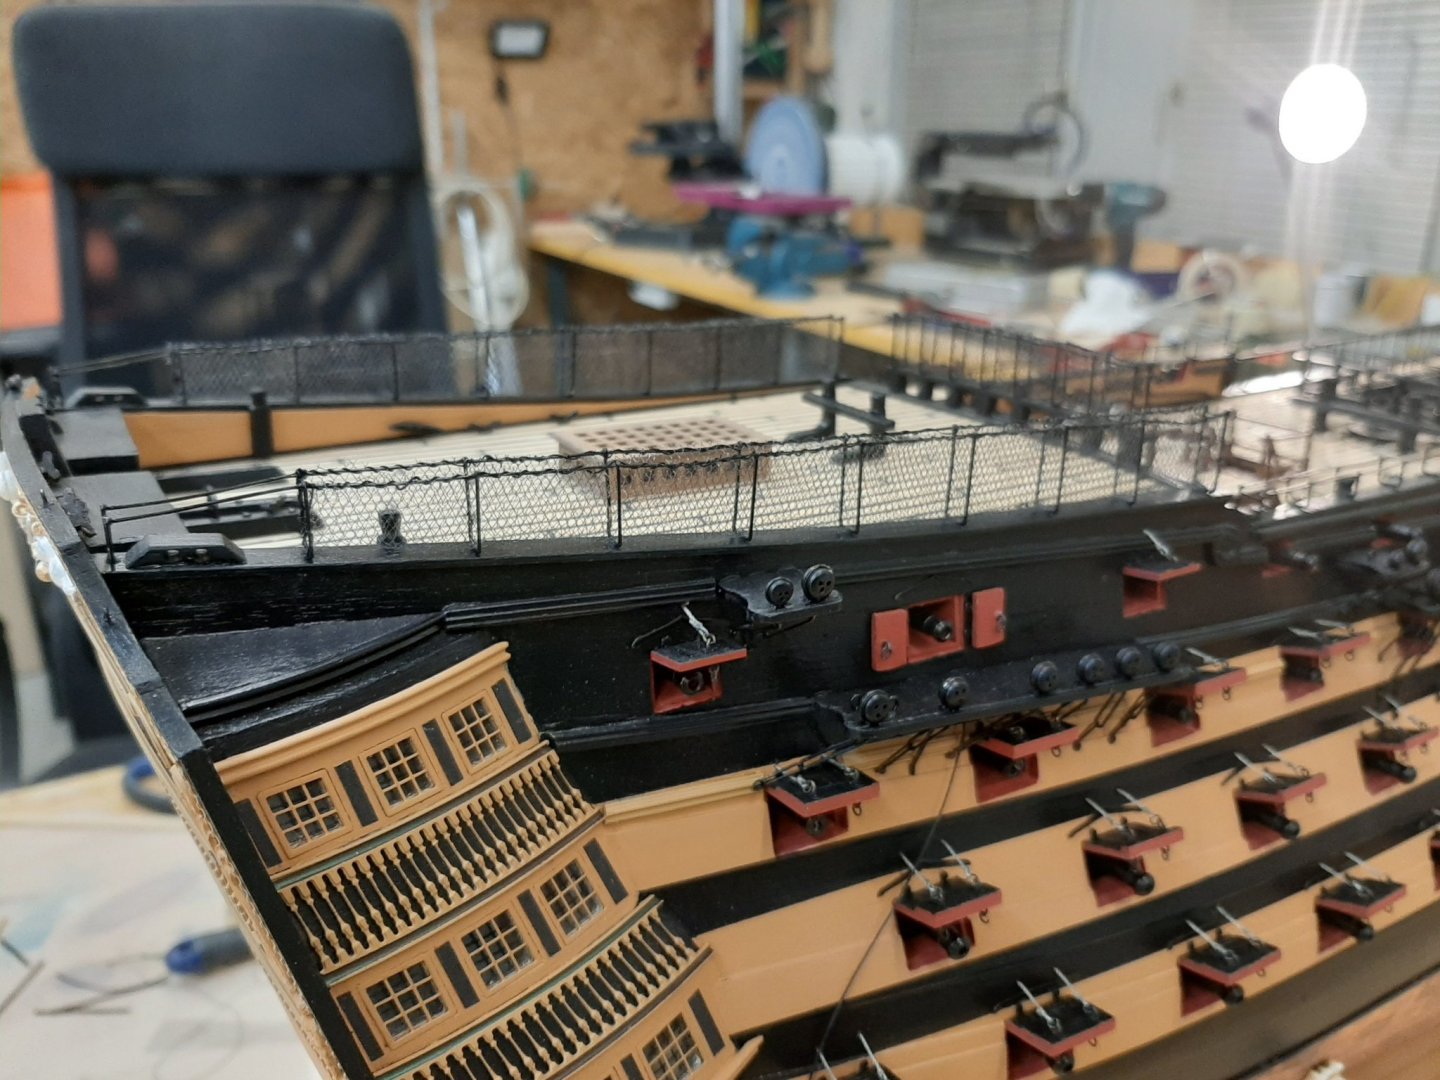
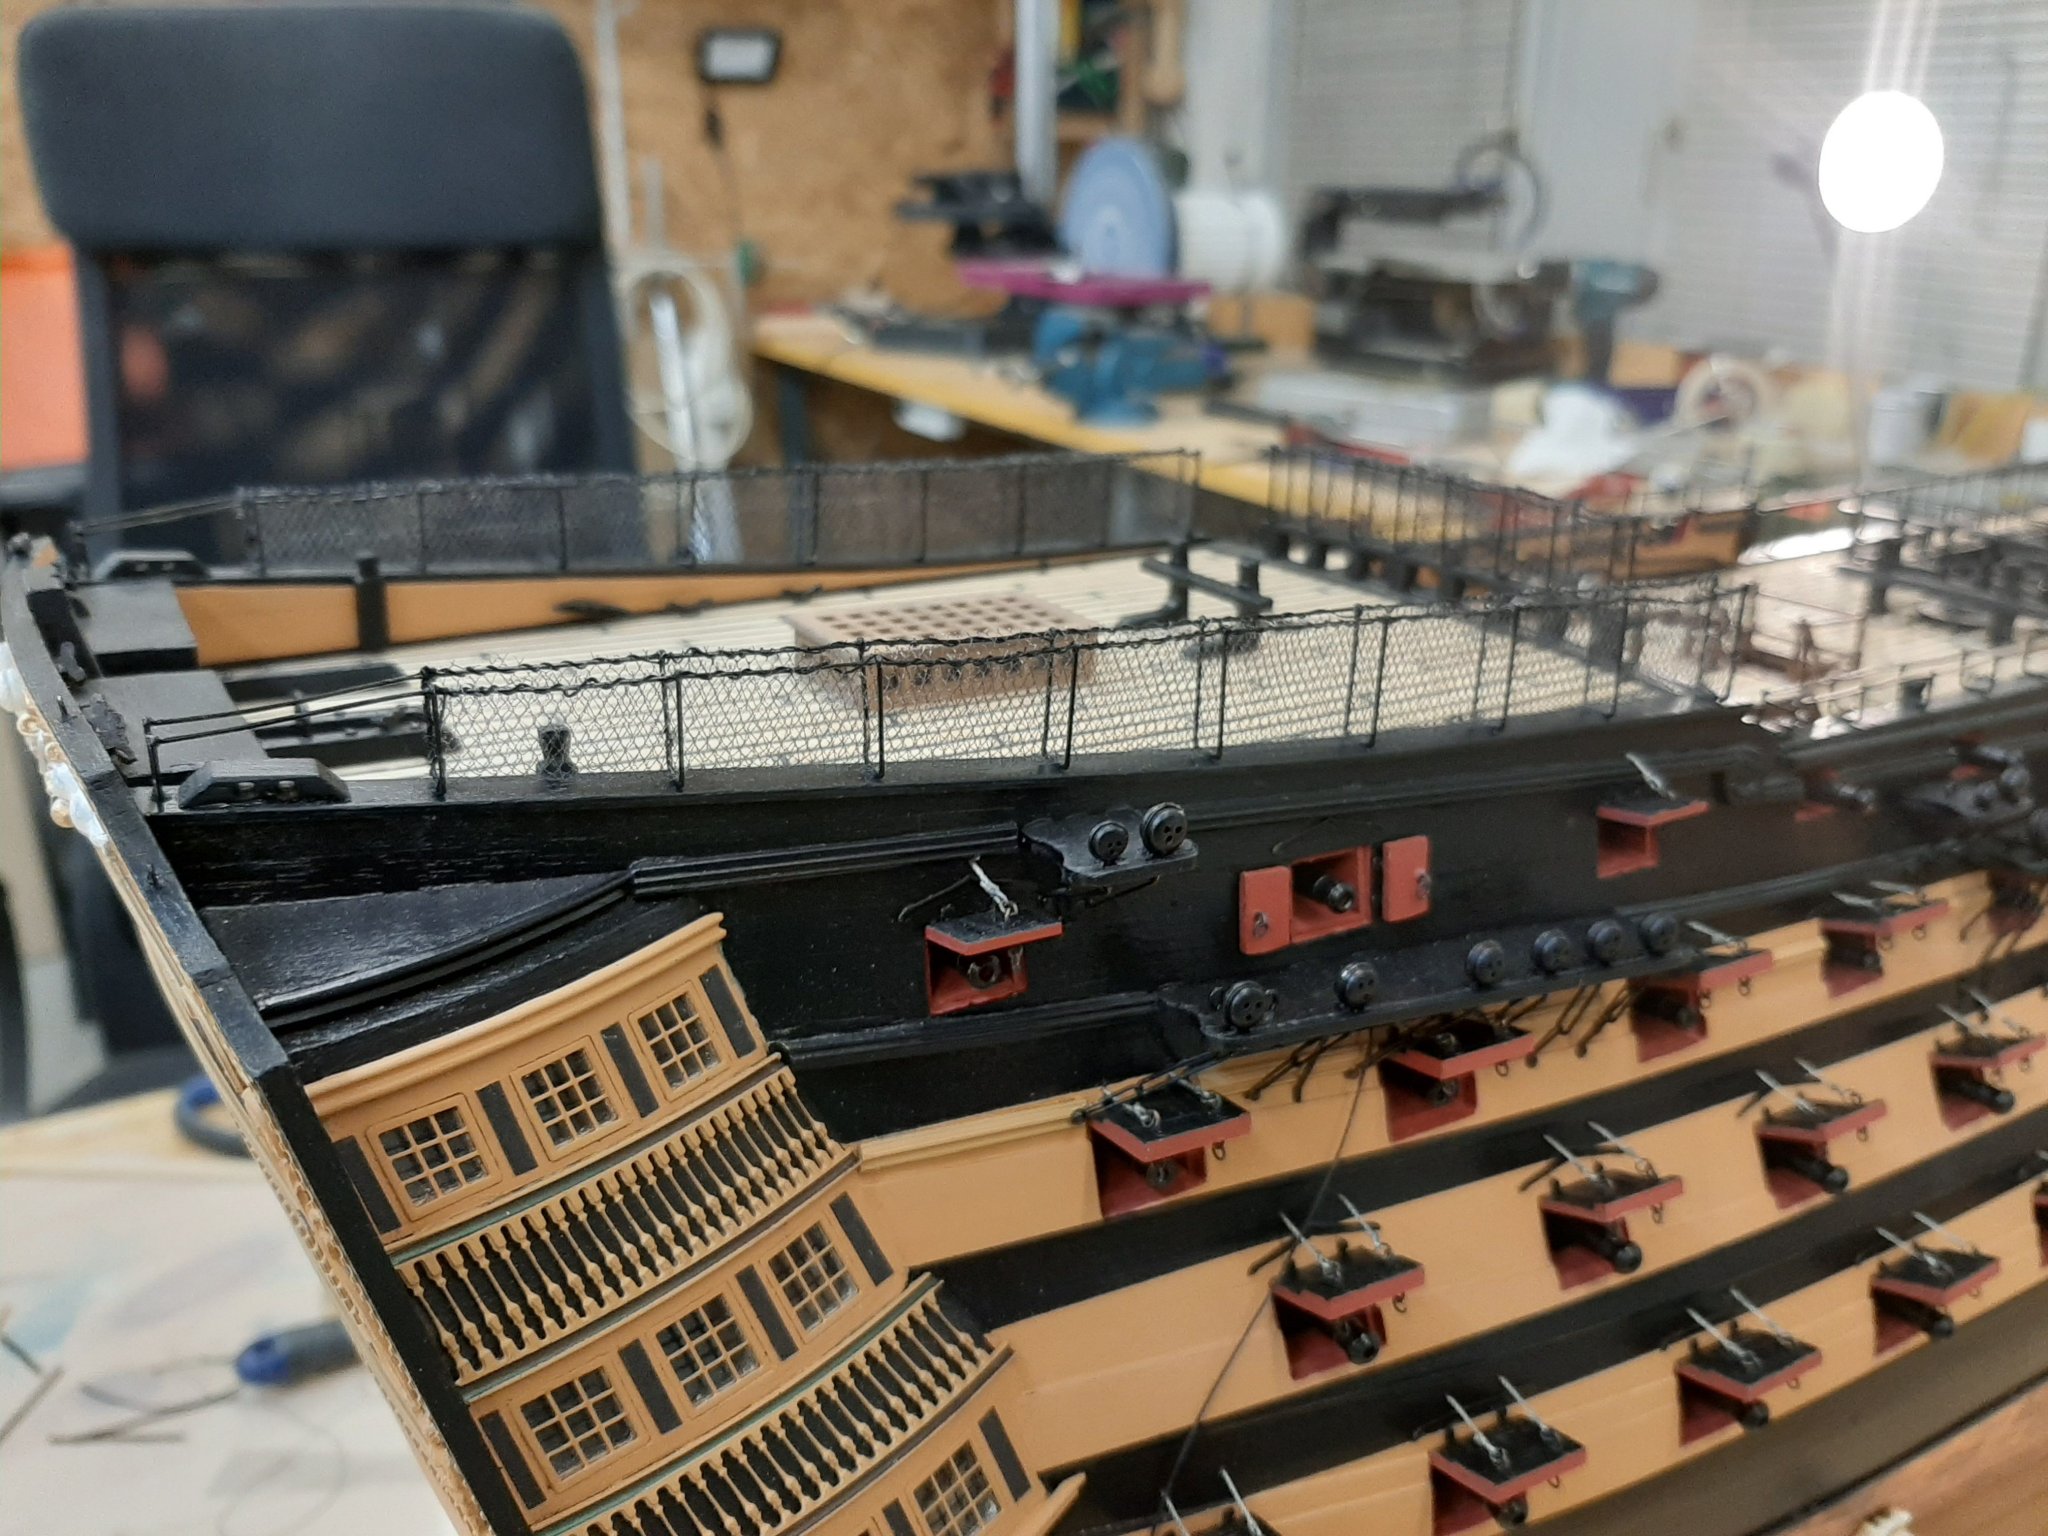
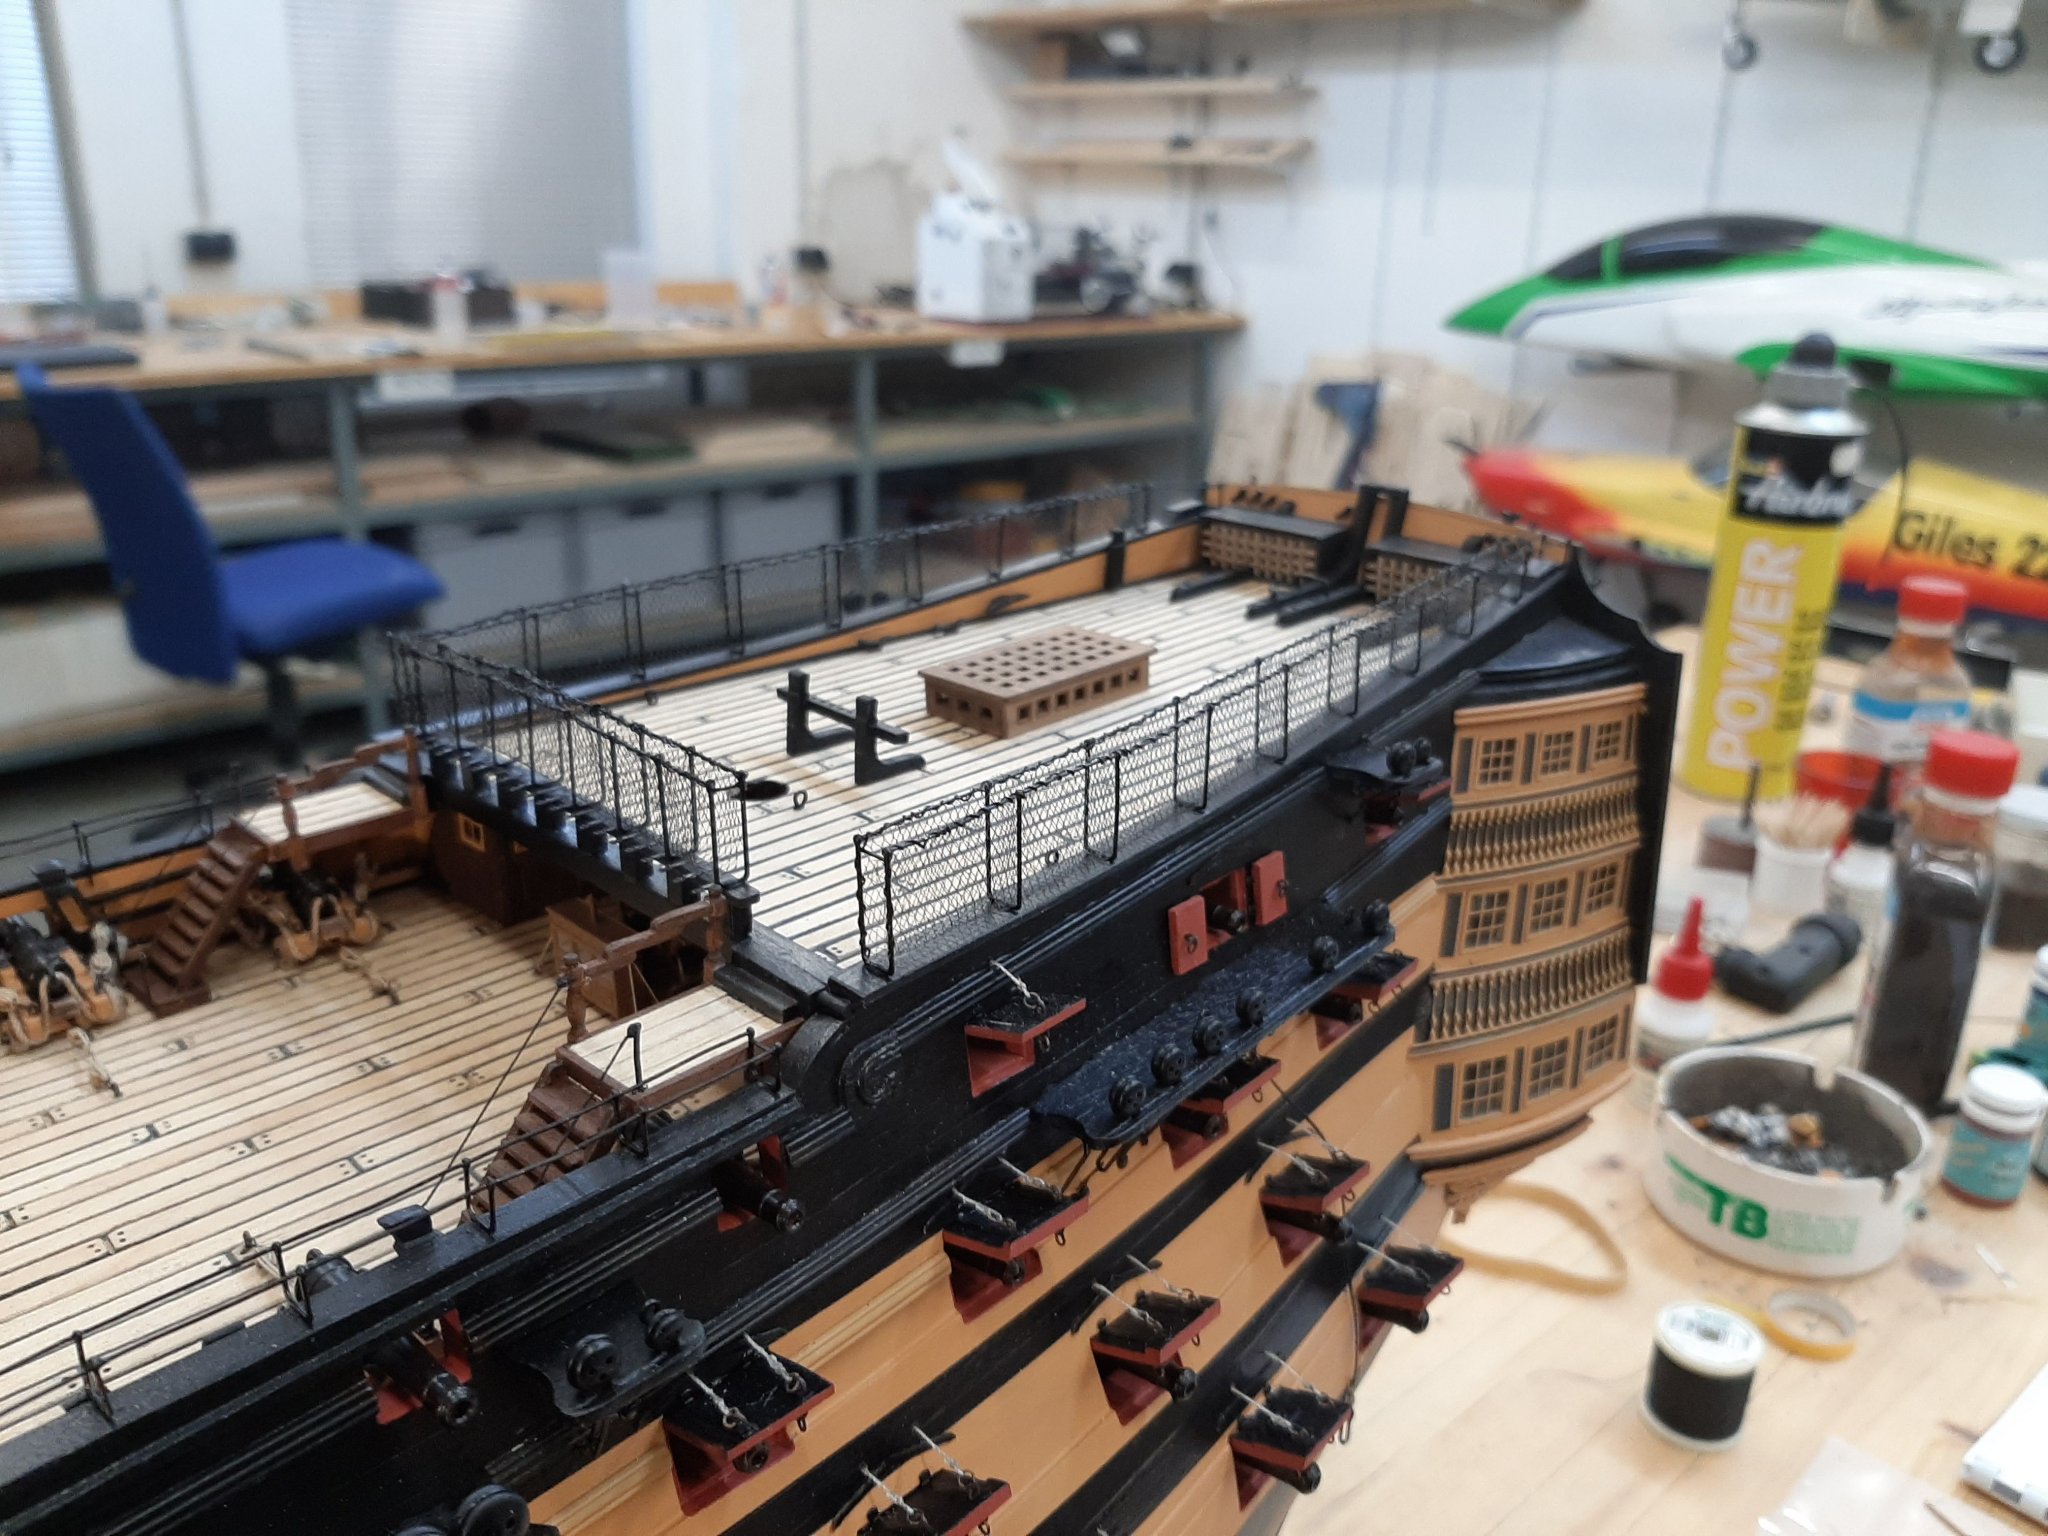
In order to assemble them, I had to make the hammock nettigs beforehand

Now I could start with the masts

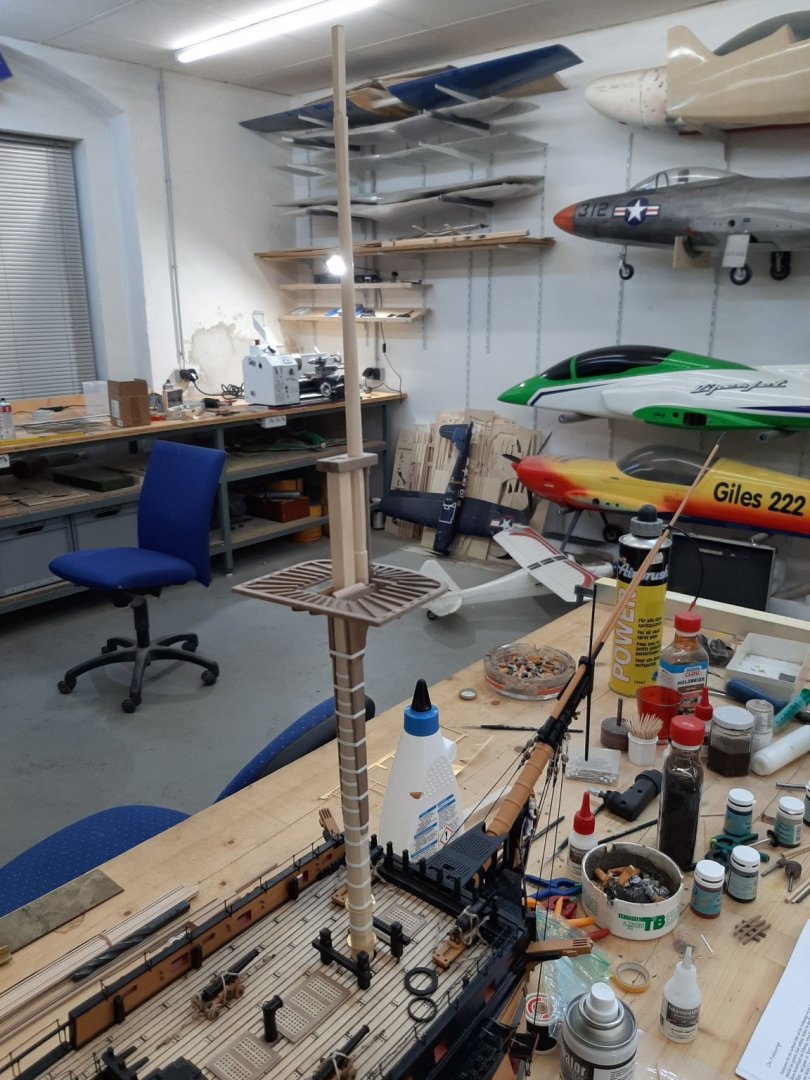

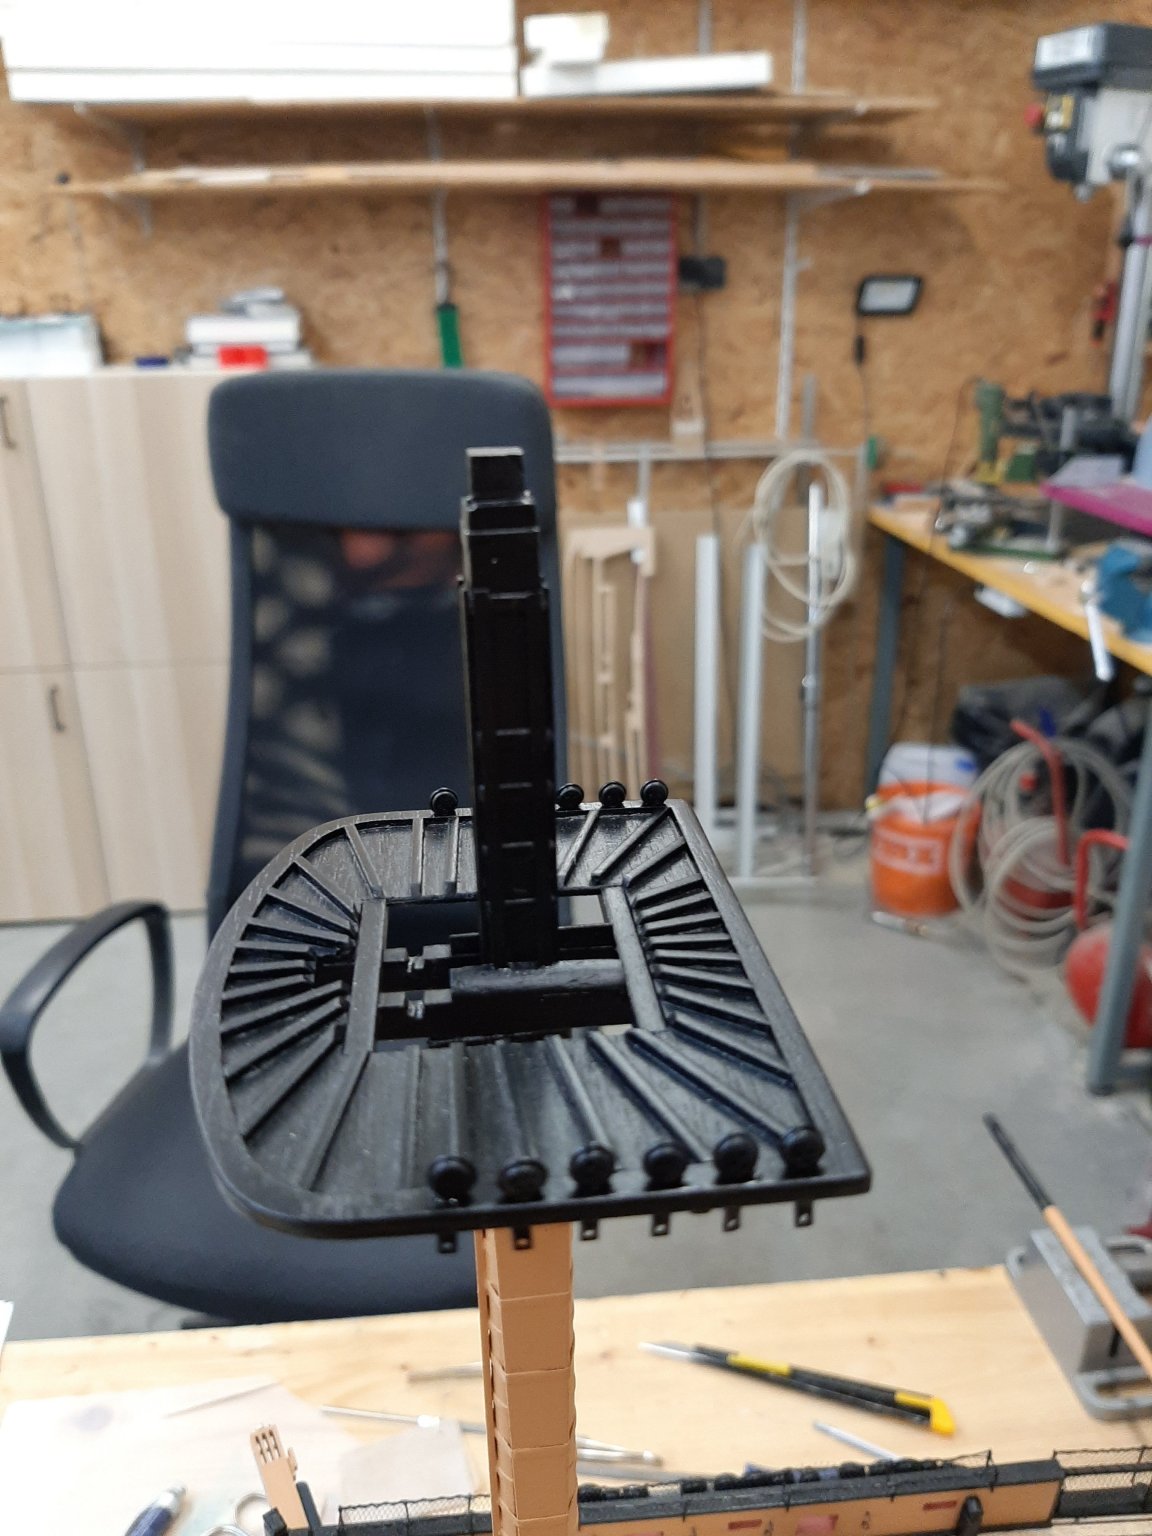
The masts were painted and the details were attached


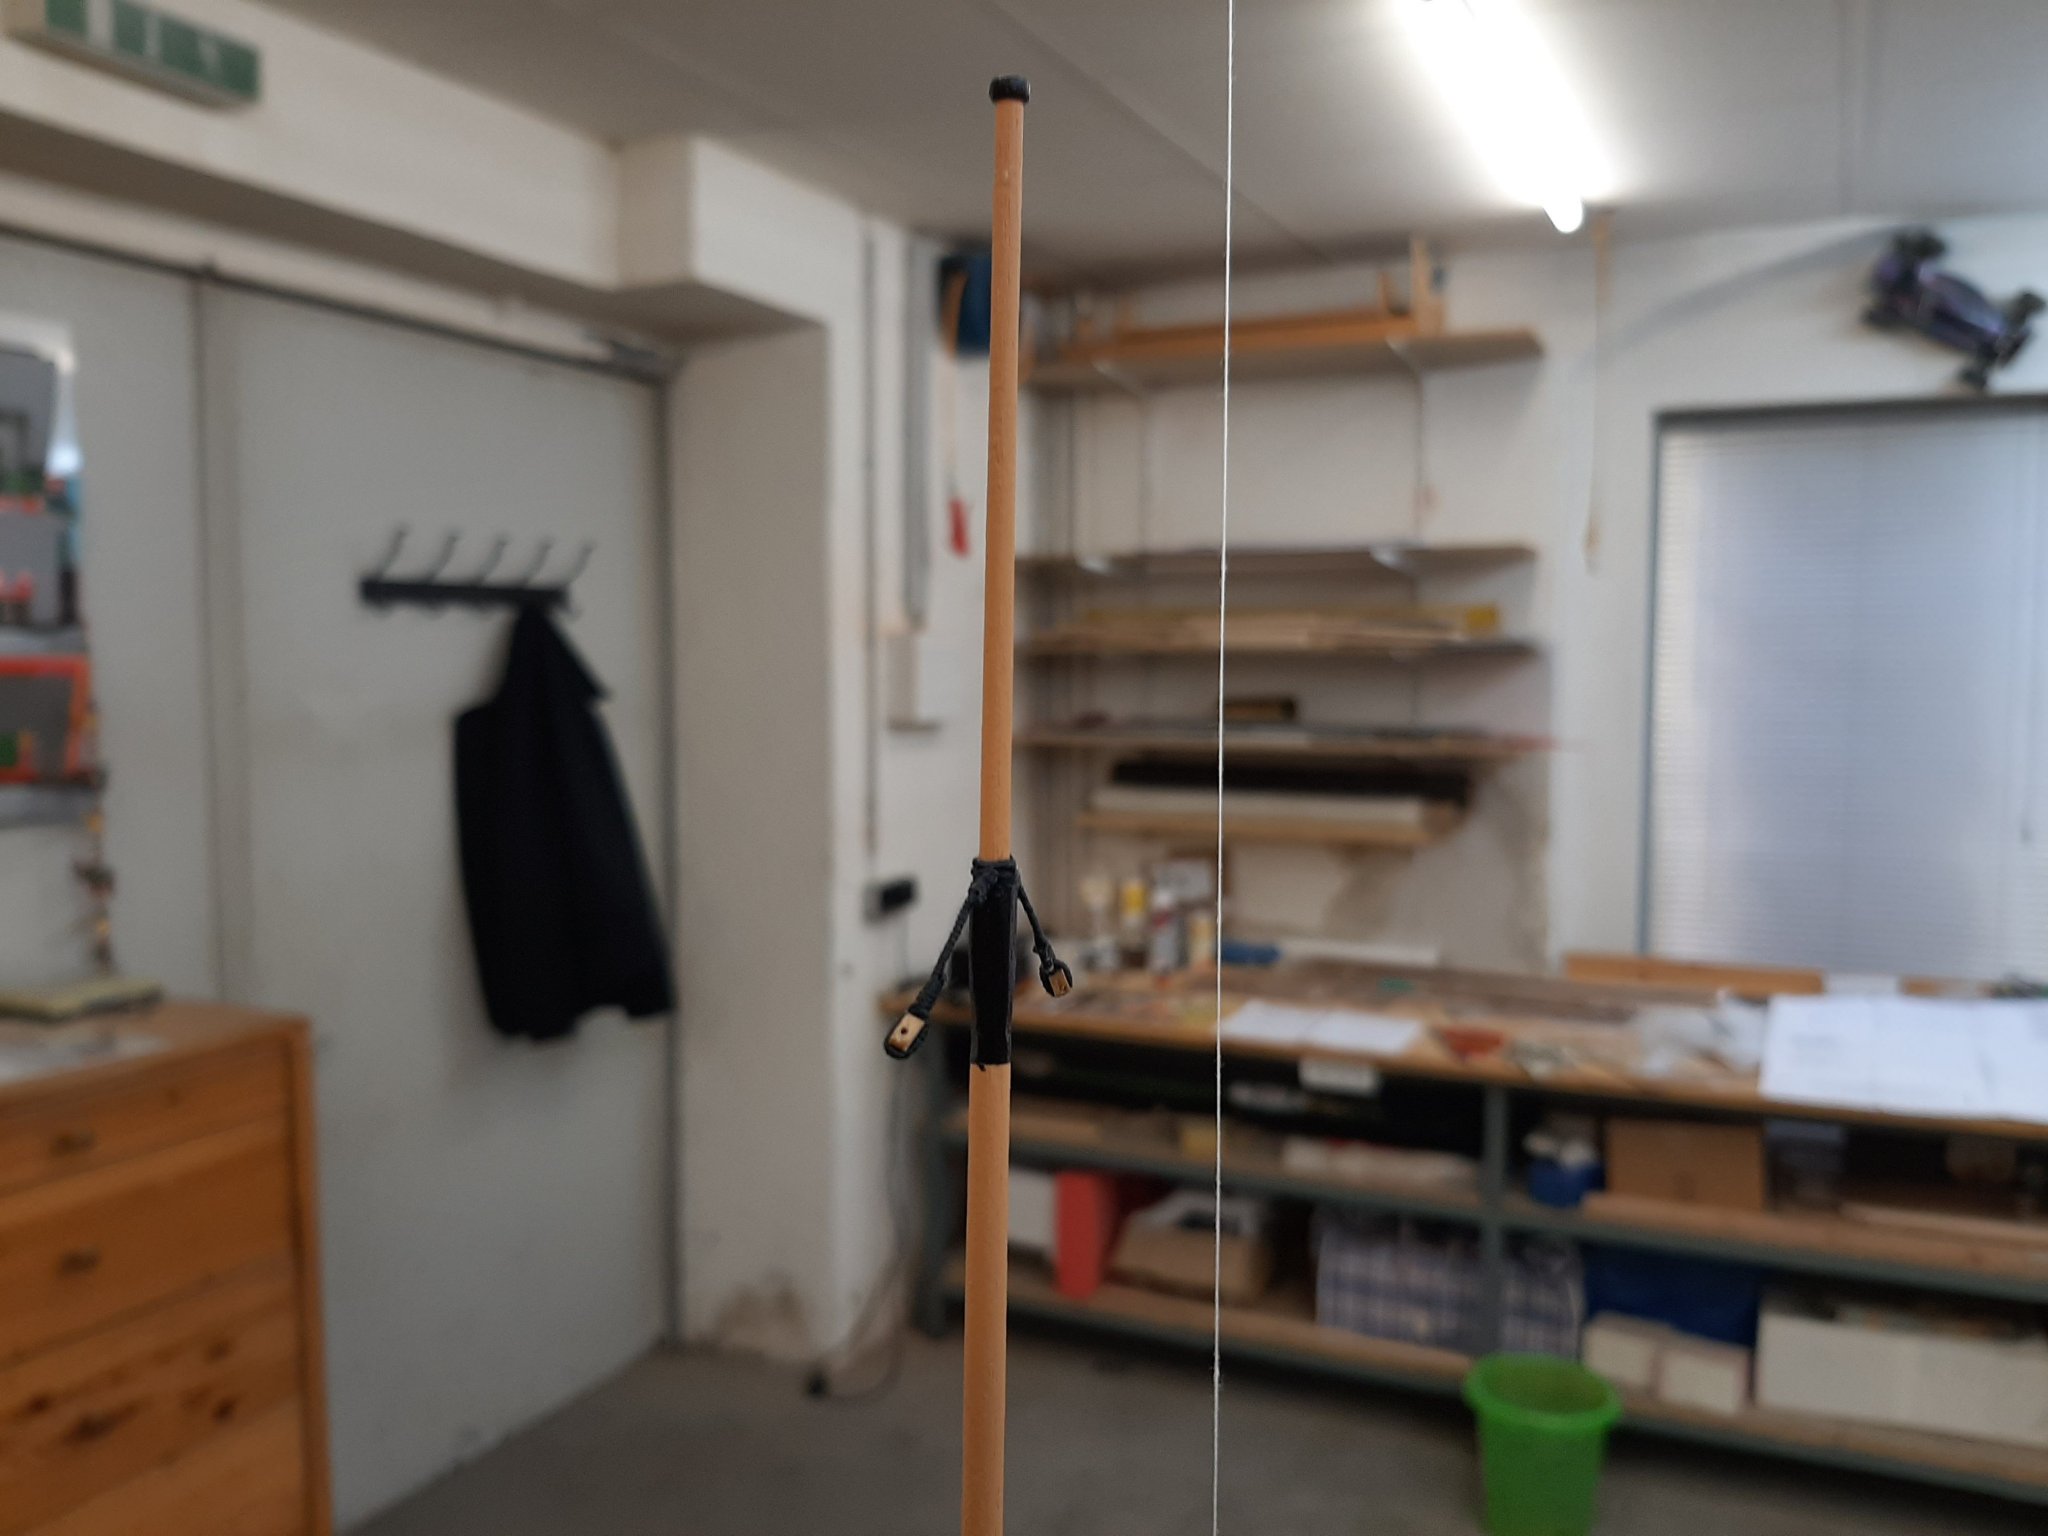
Now I could use a plumb line to glue them into position

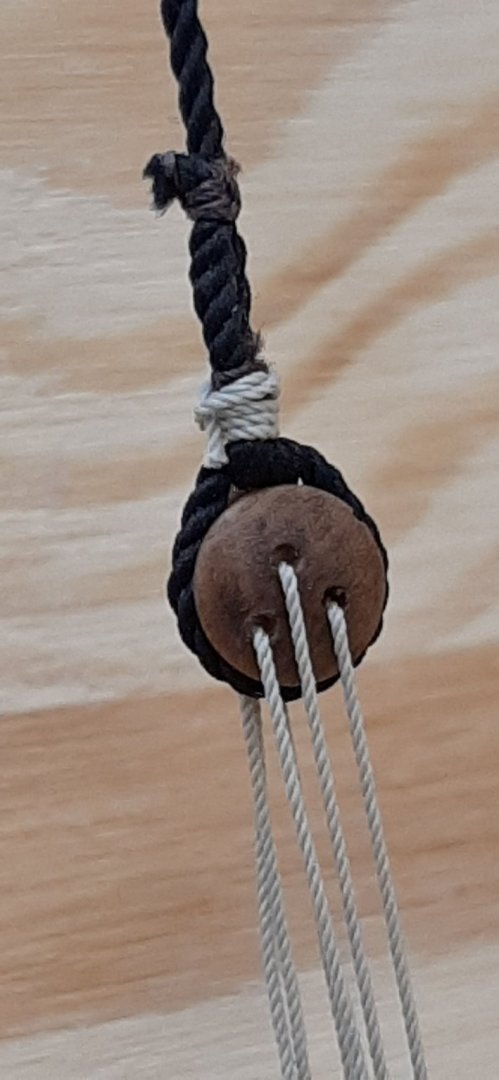
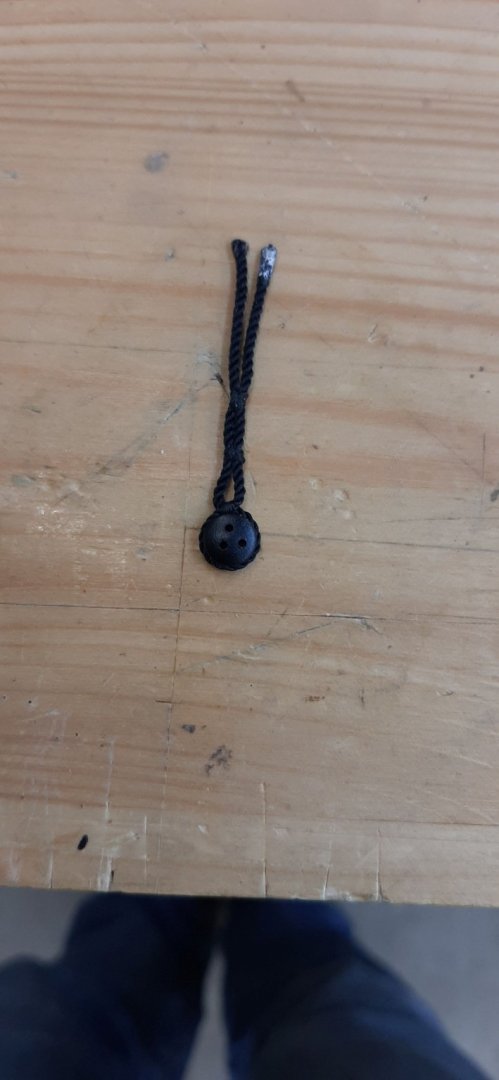
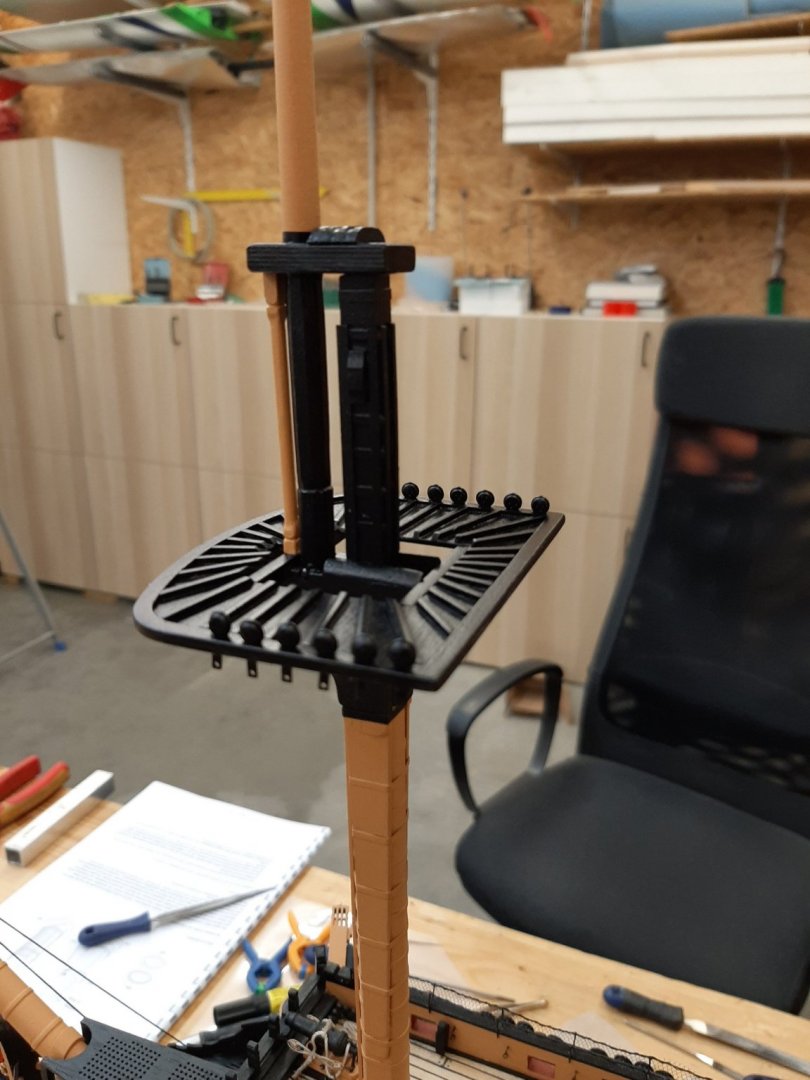
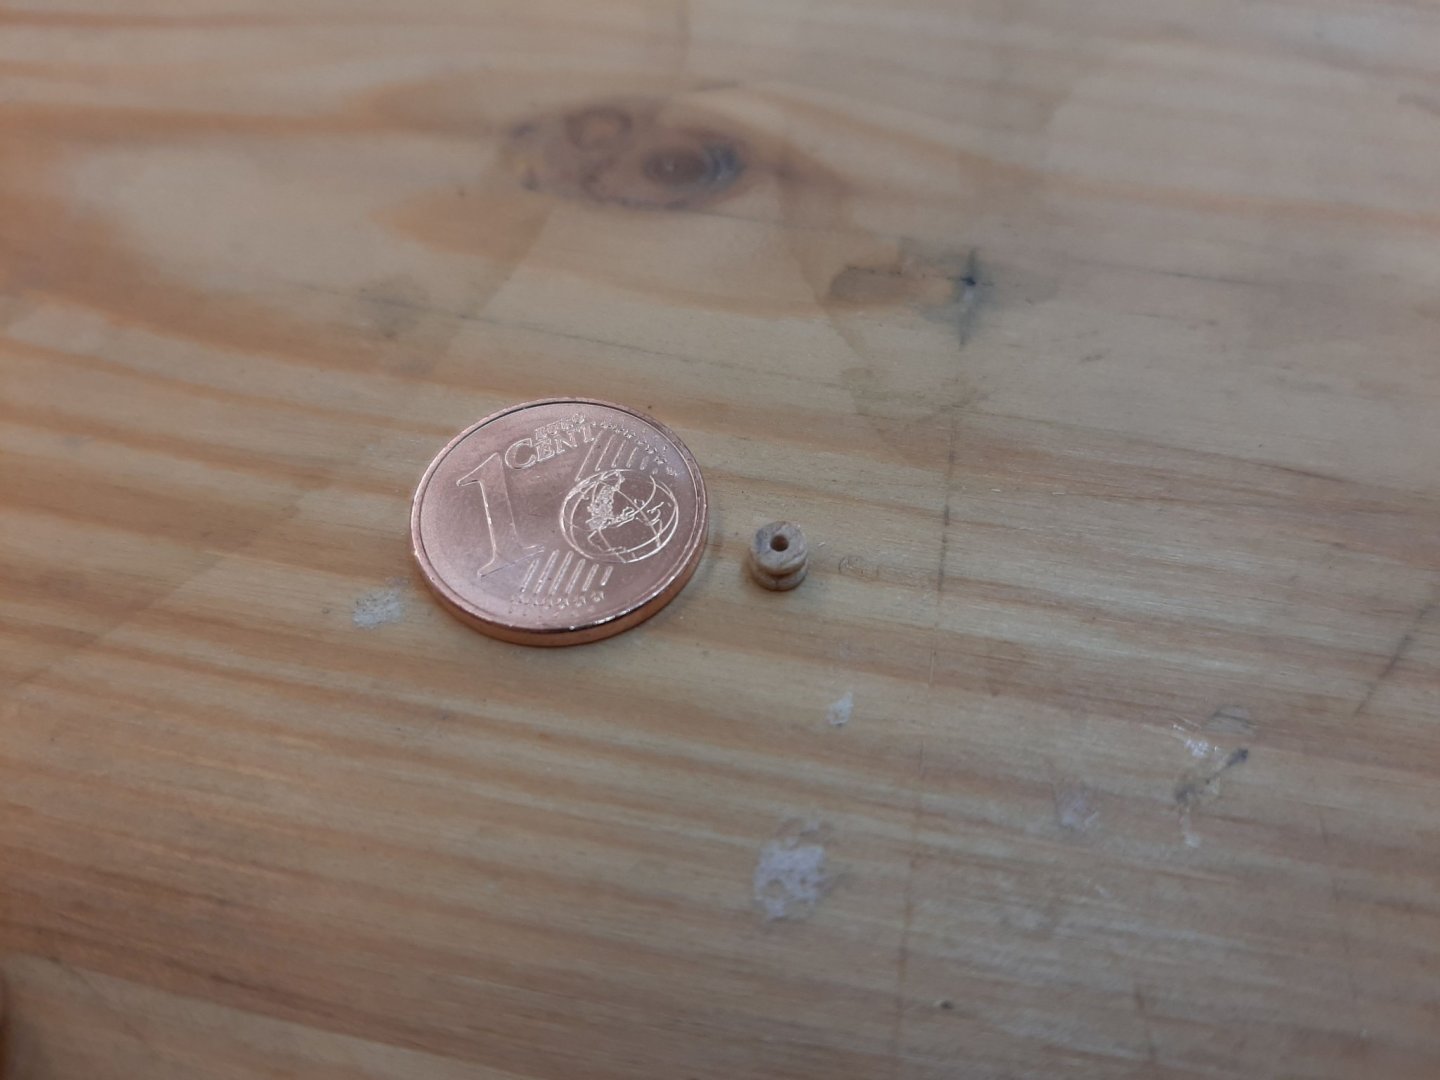
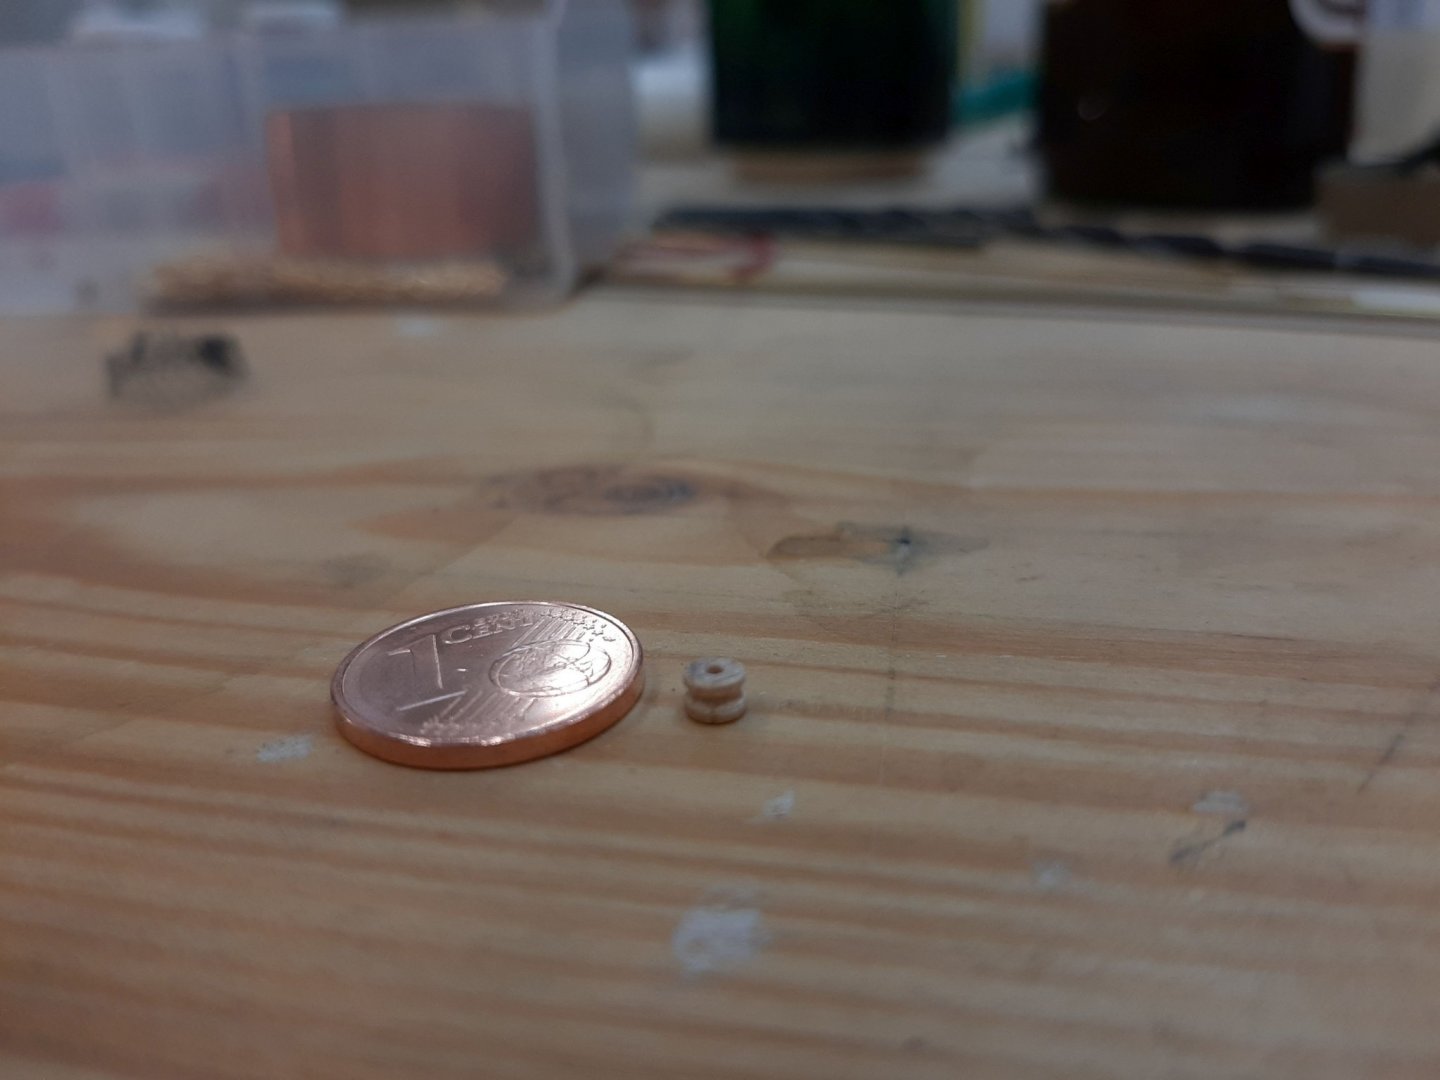
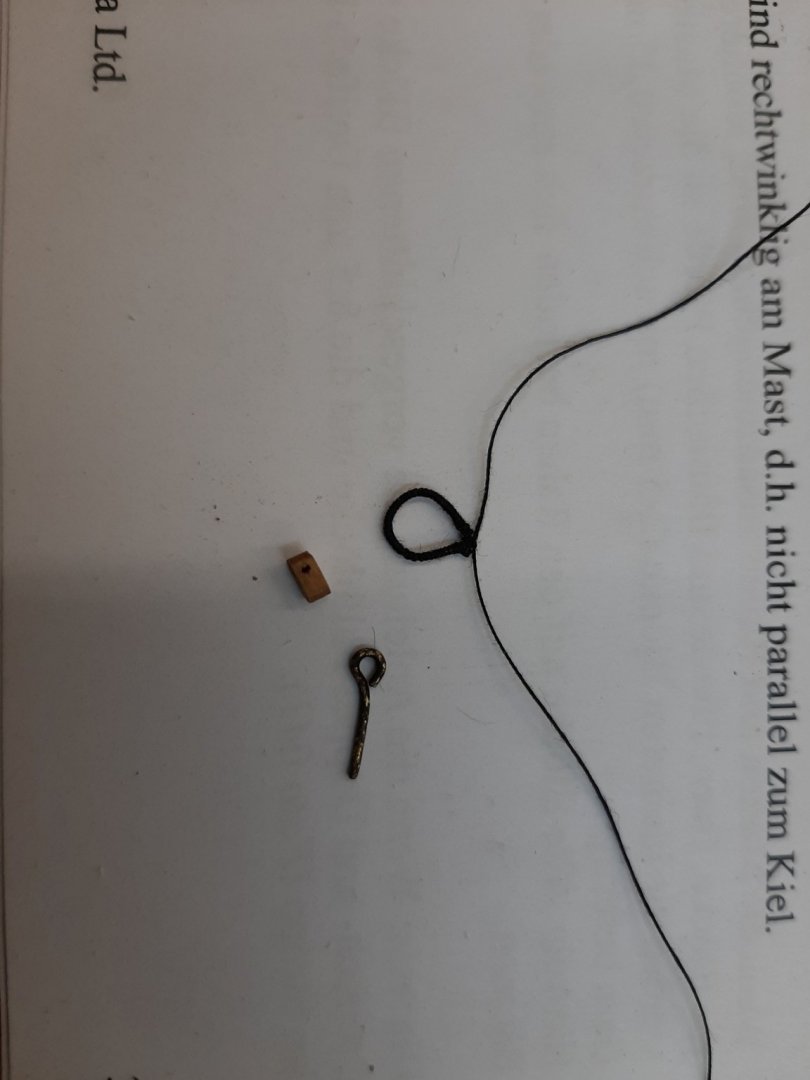
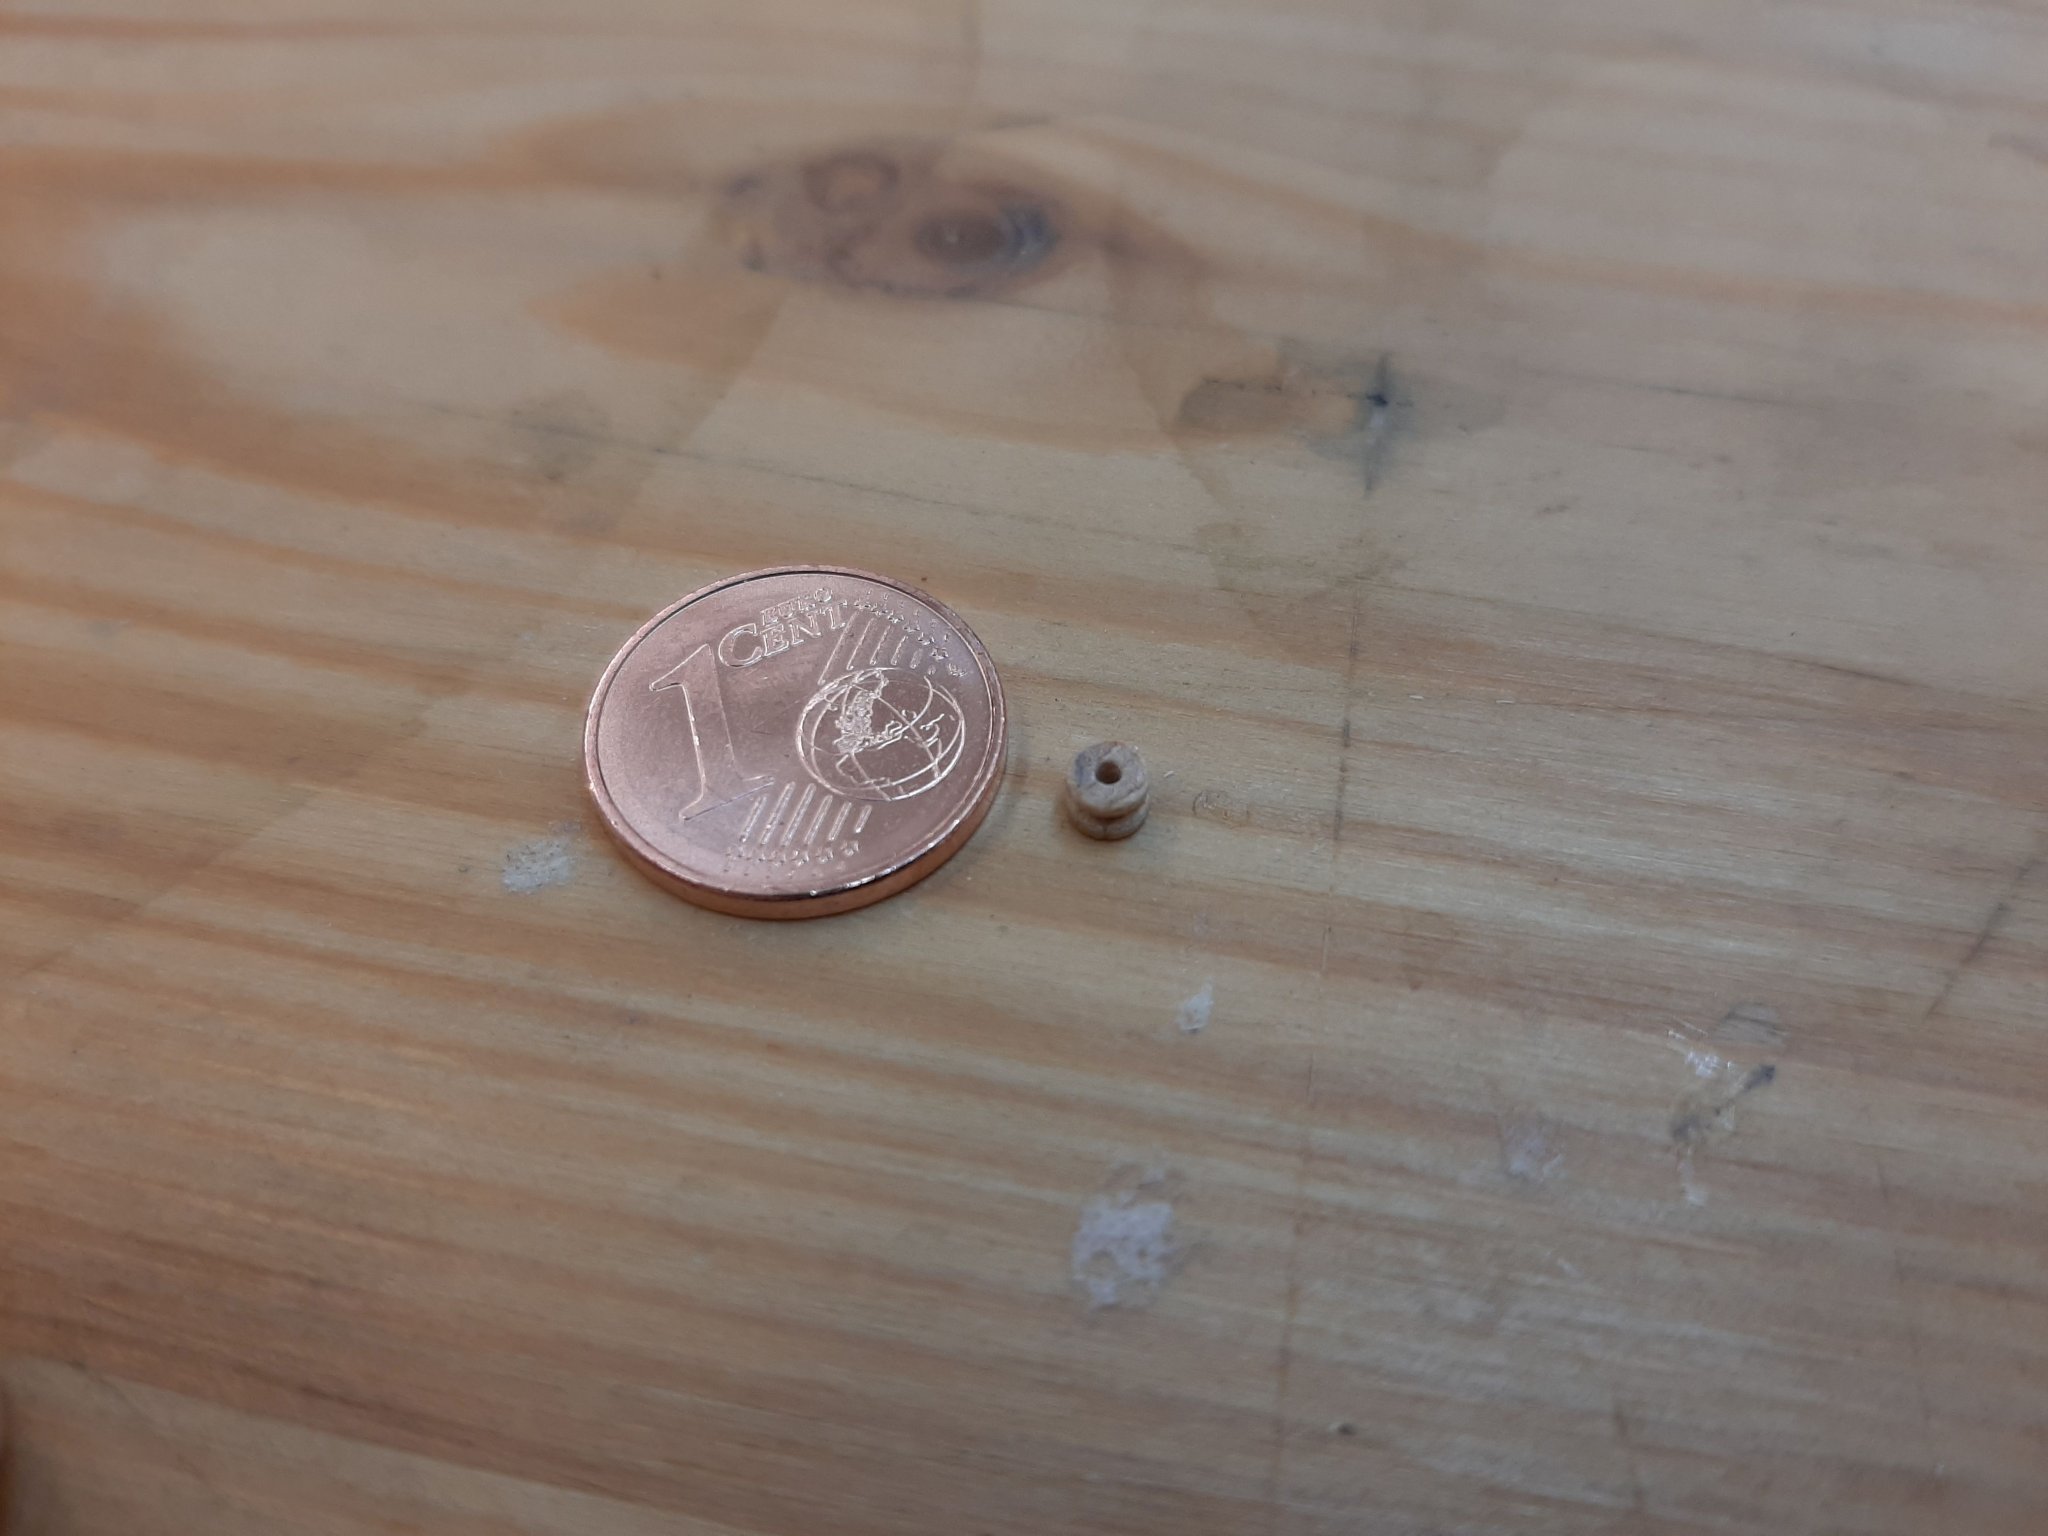
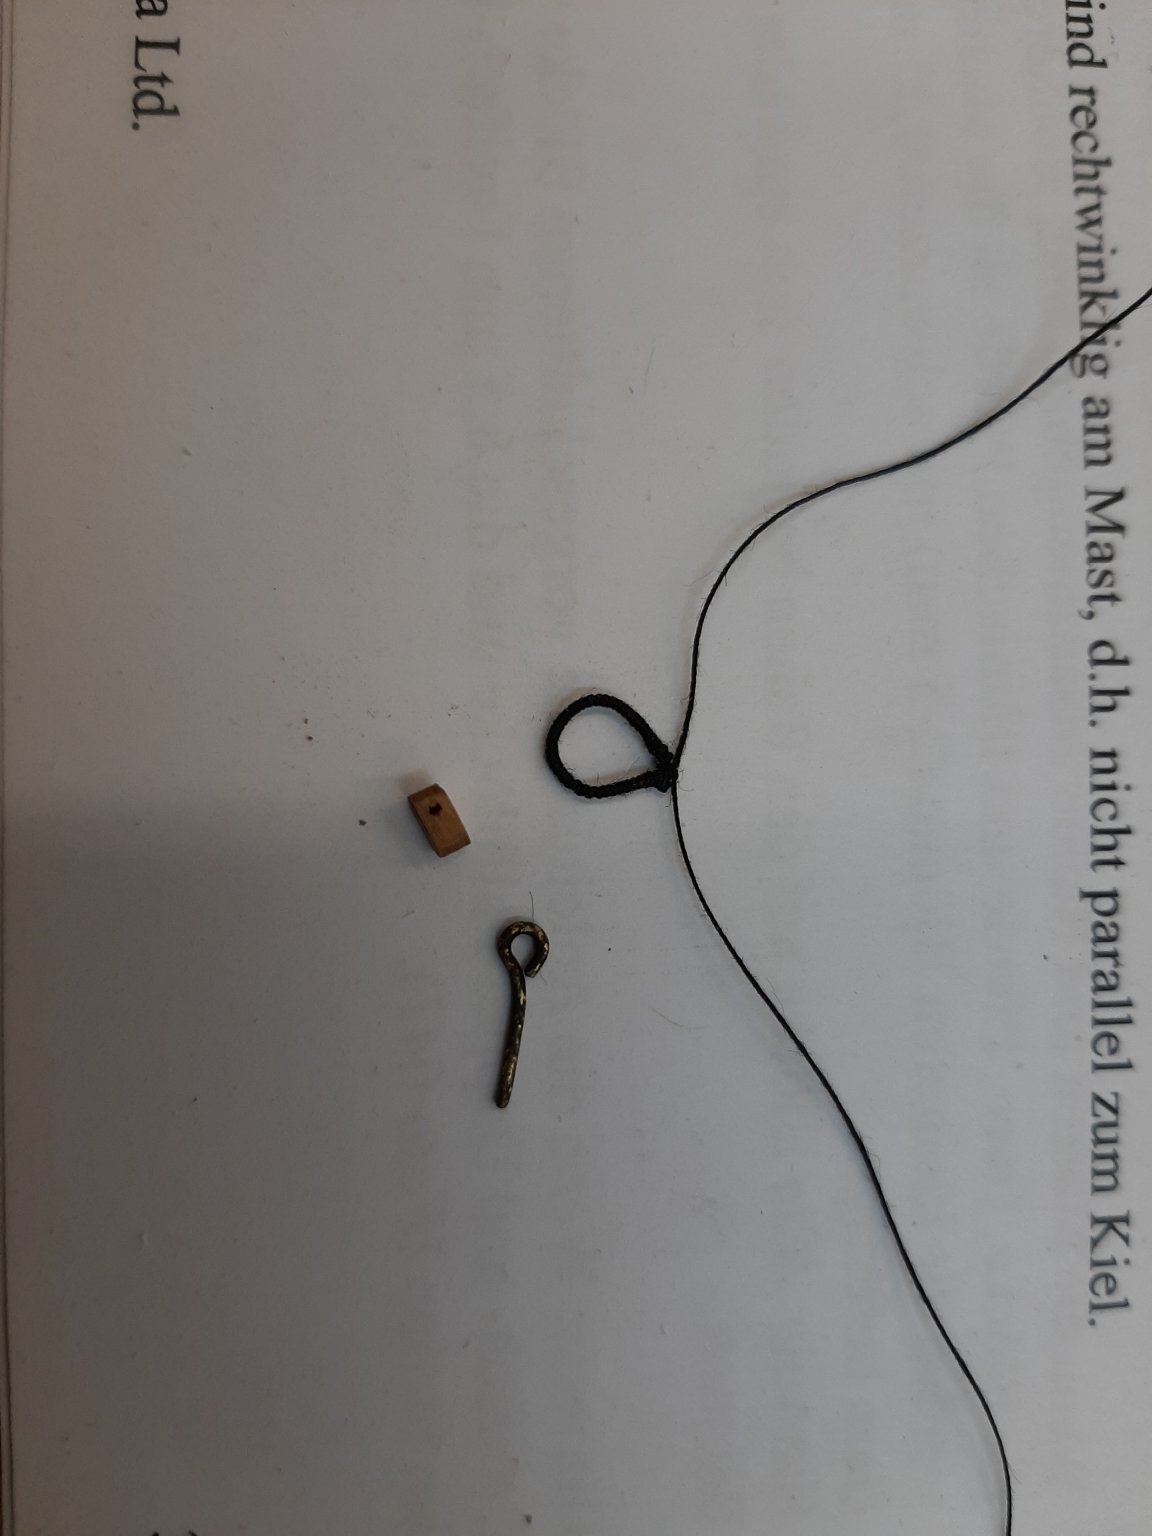
I made the thimble myself on the lathe
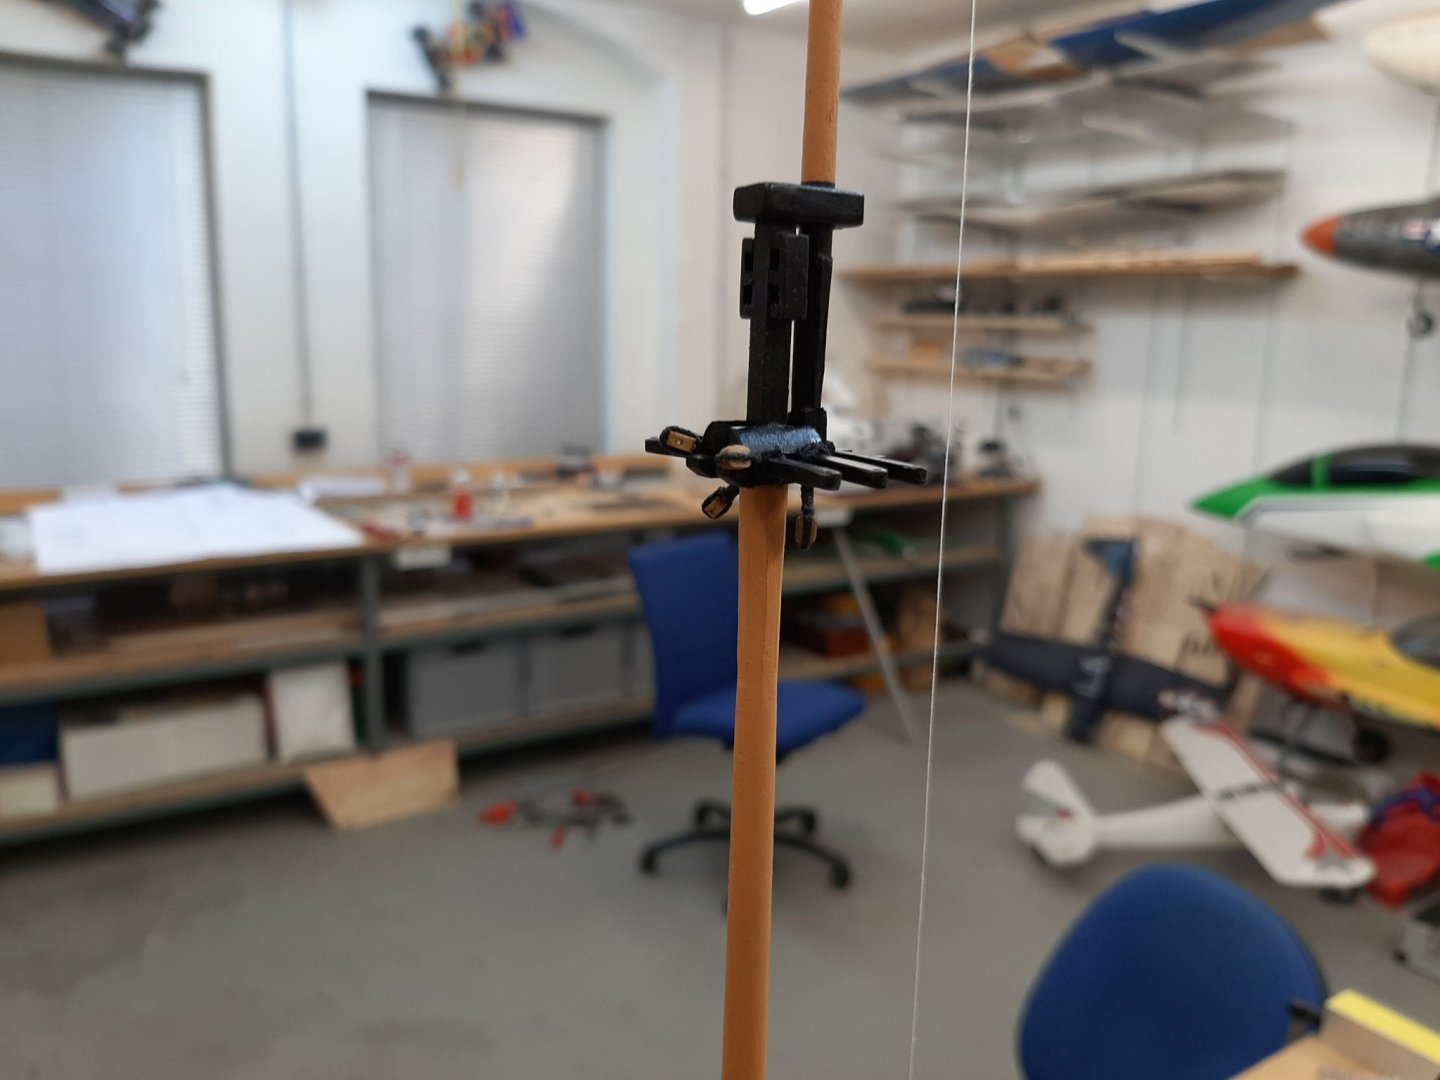
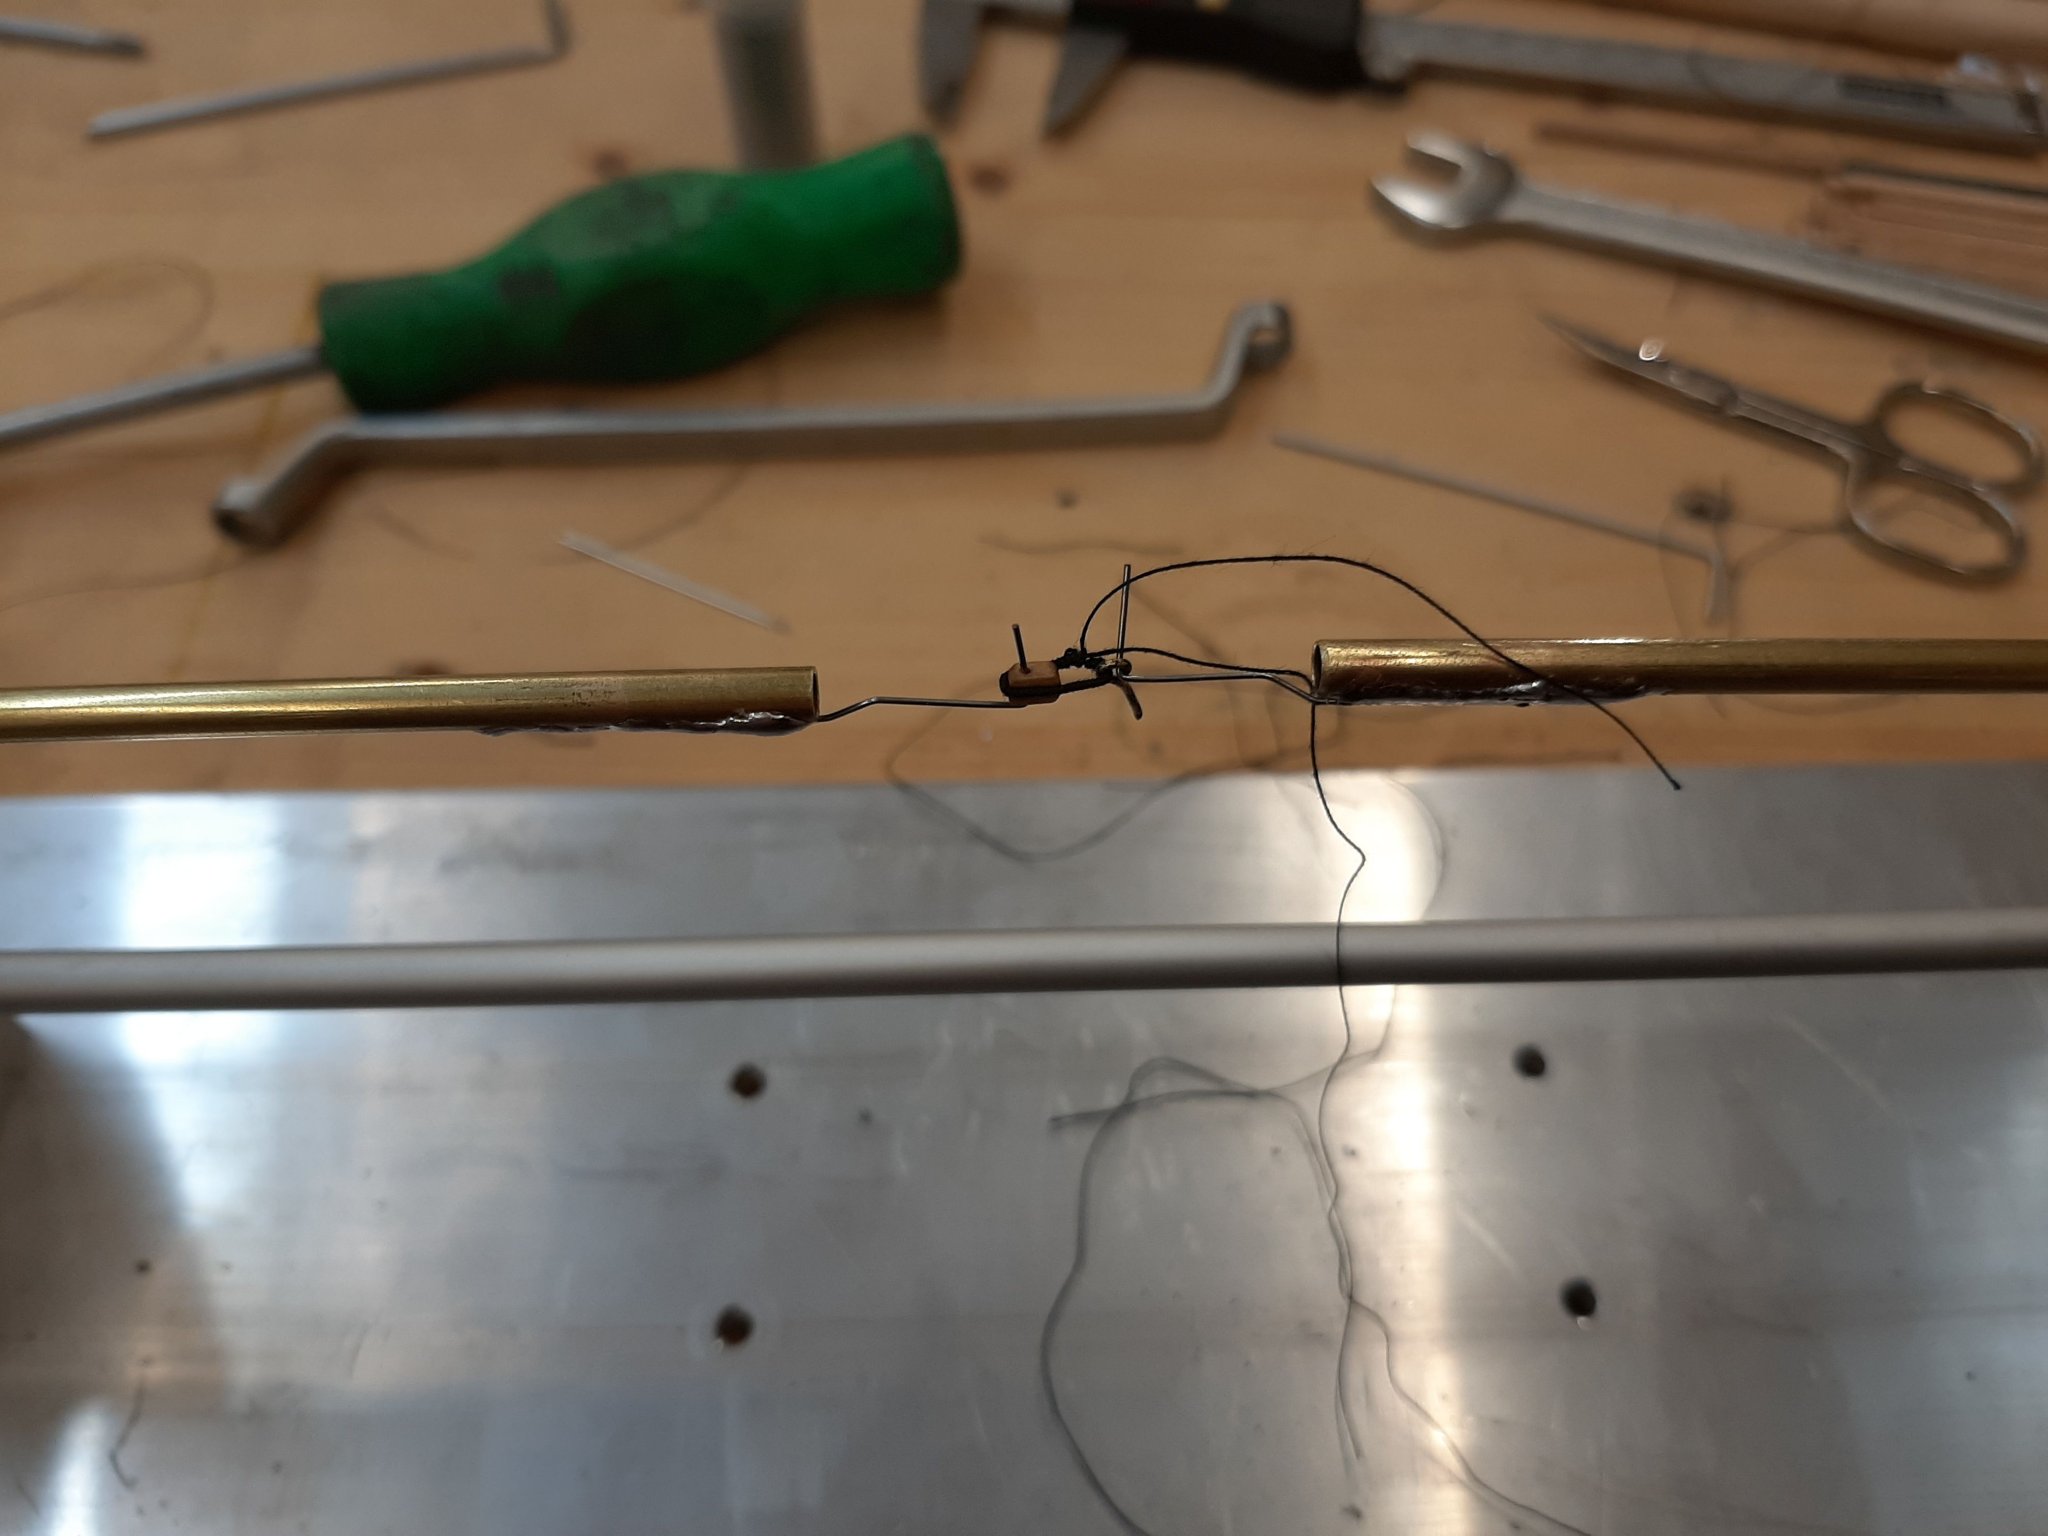
Then the rigging started. For this I made myself a serving machine


After trying a few things it could start

Helli
- mort stoll, Ryland Craze, Henke and 5 others
-
 8
8
-
Hello,
Thank you for the comments and likes. It is an honor for me if the "old hands" follow my build. I would be very happy to receive tips and tricks or suggestions for improvement.
Helli
-
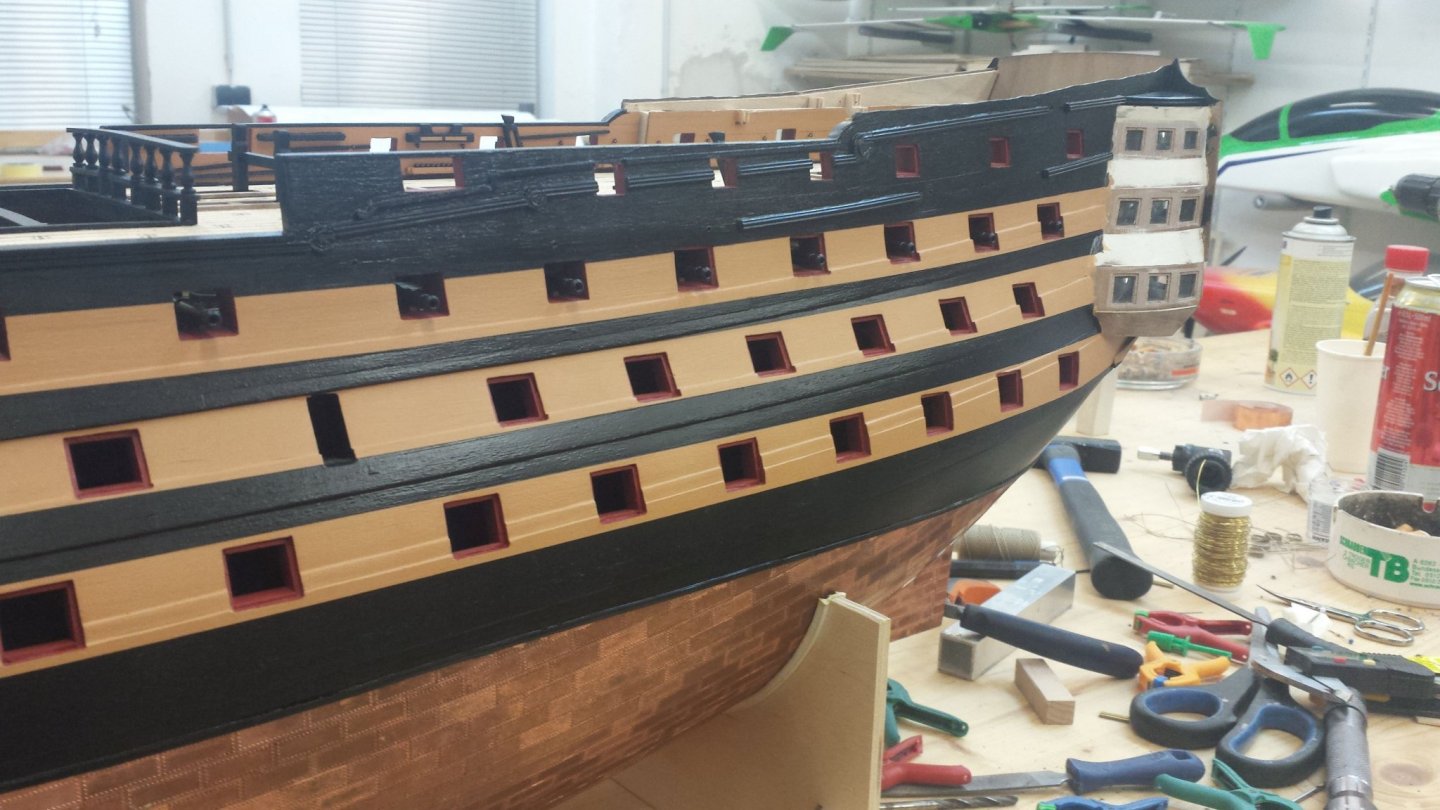
Hi,
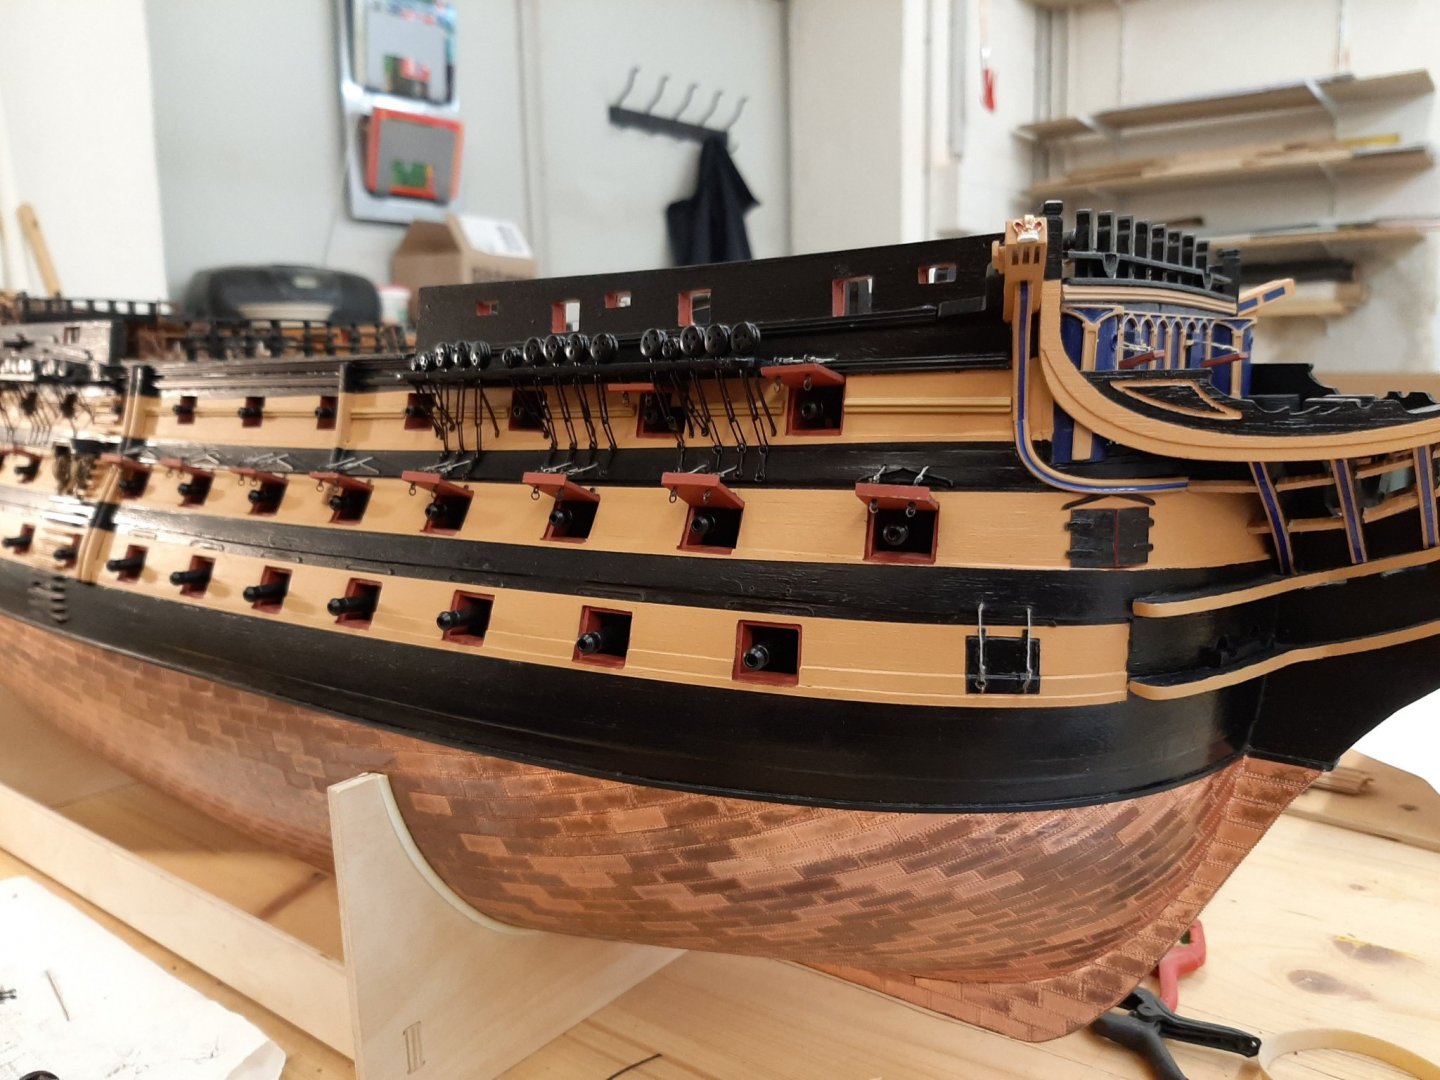
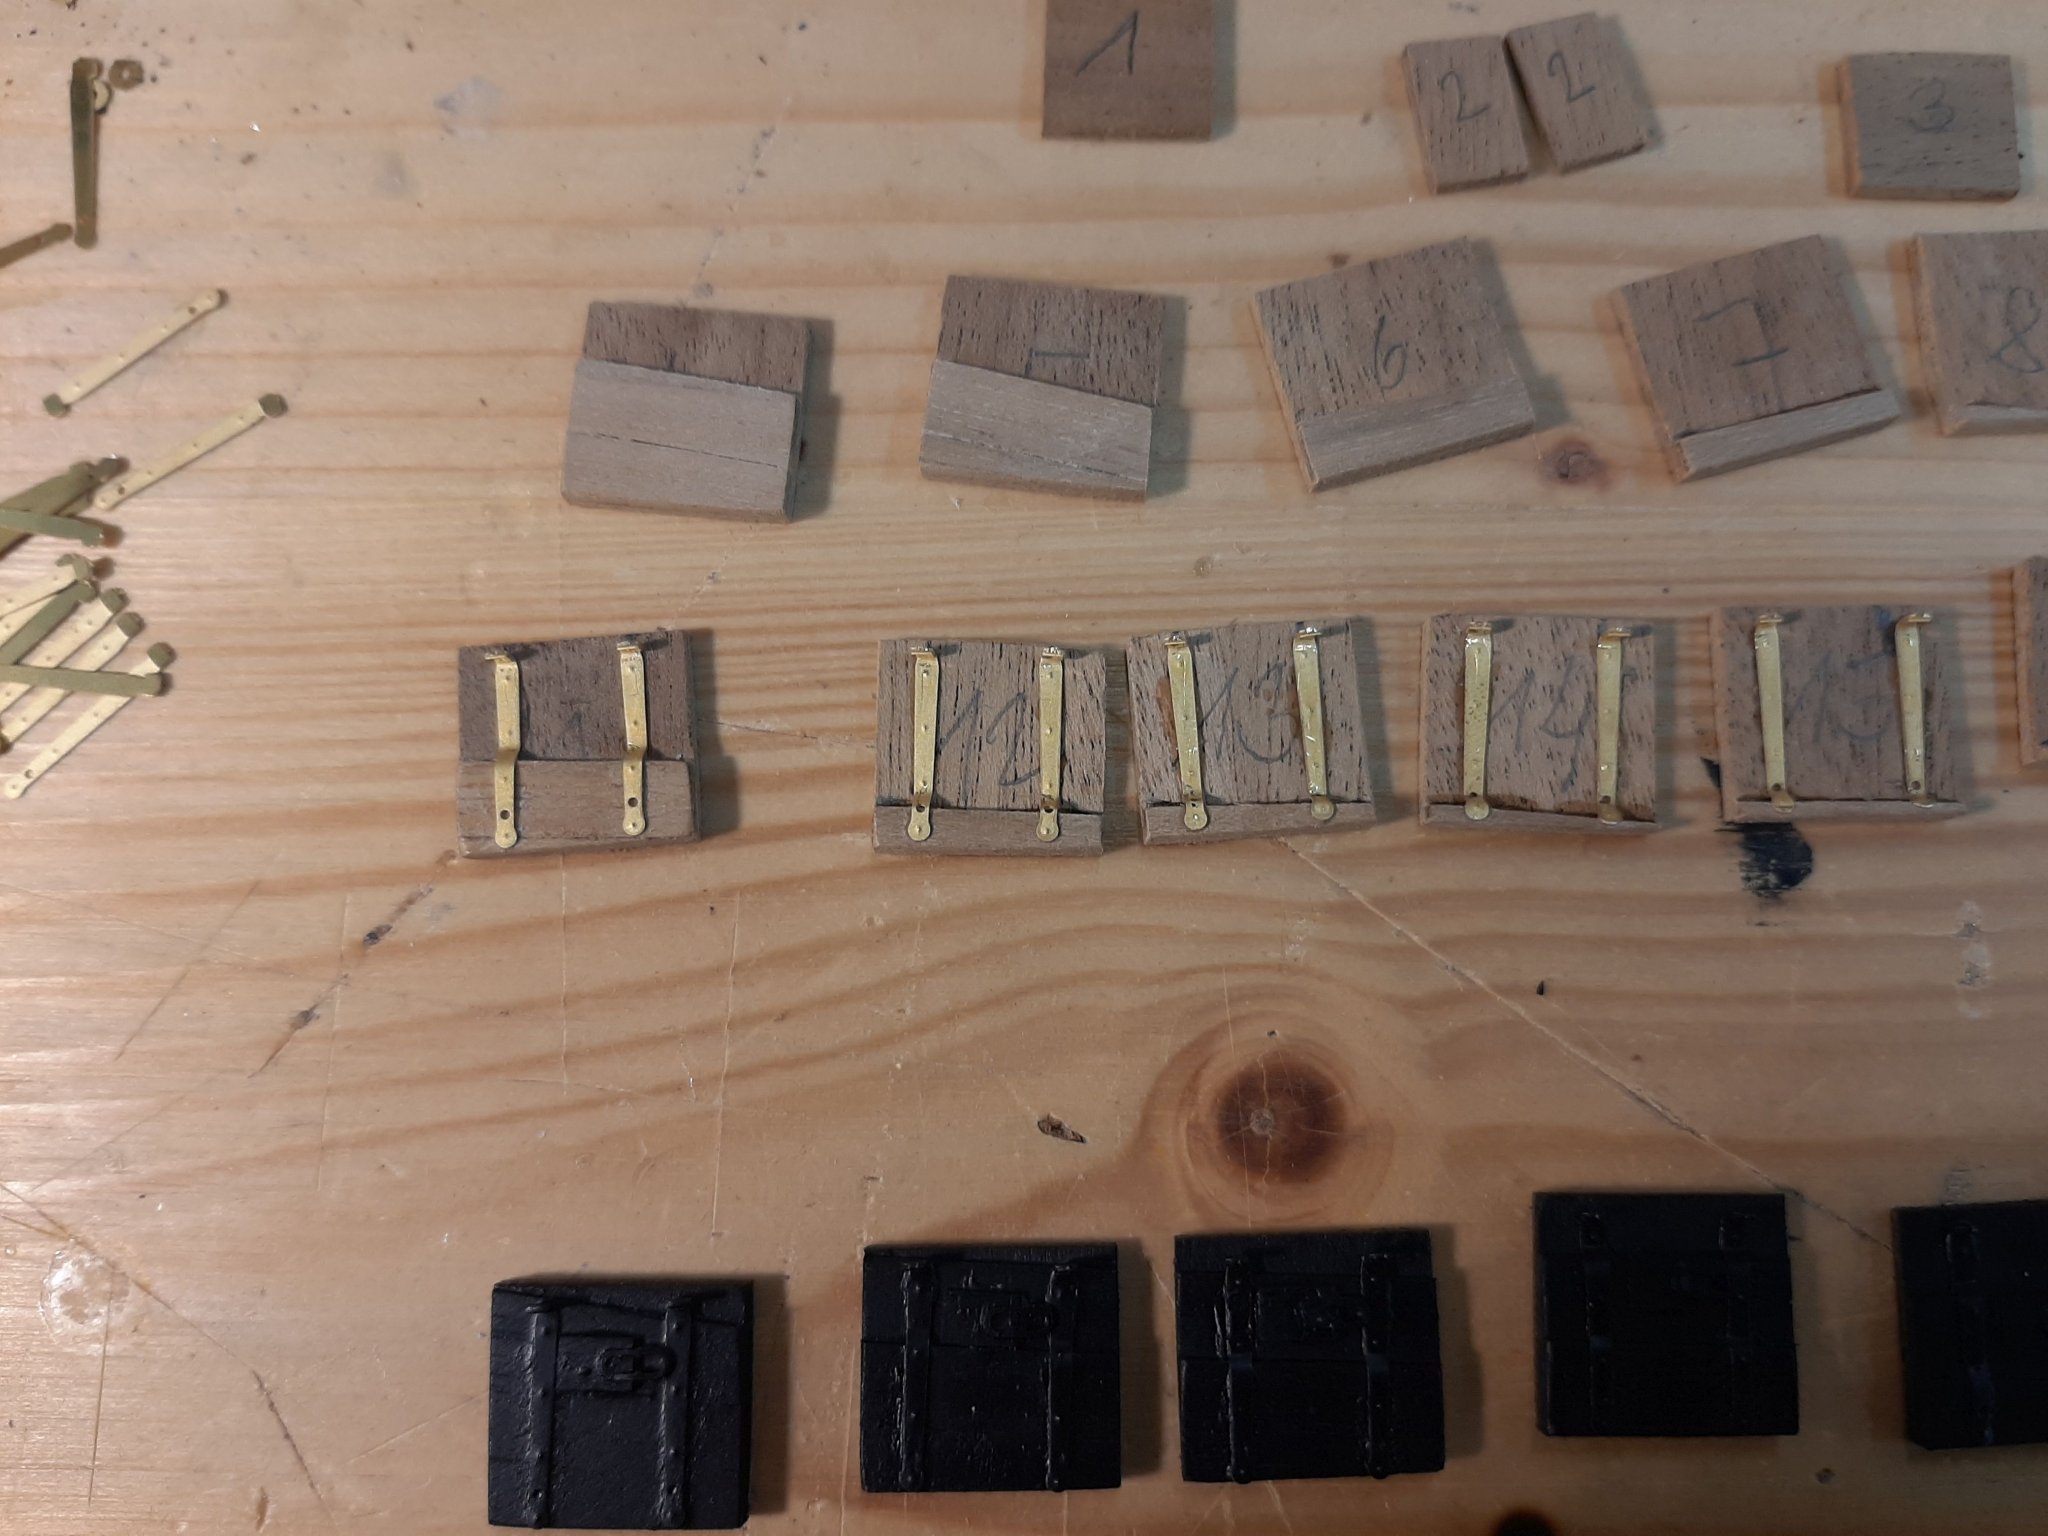
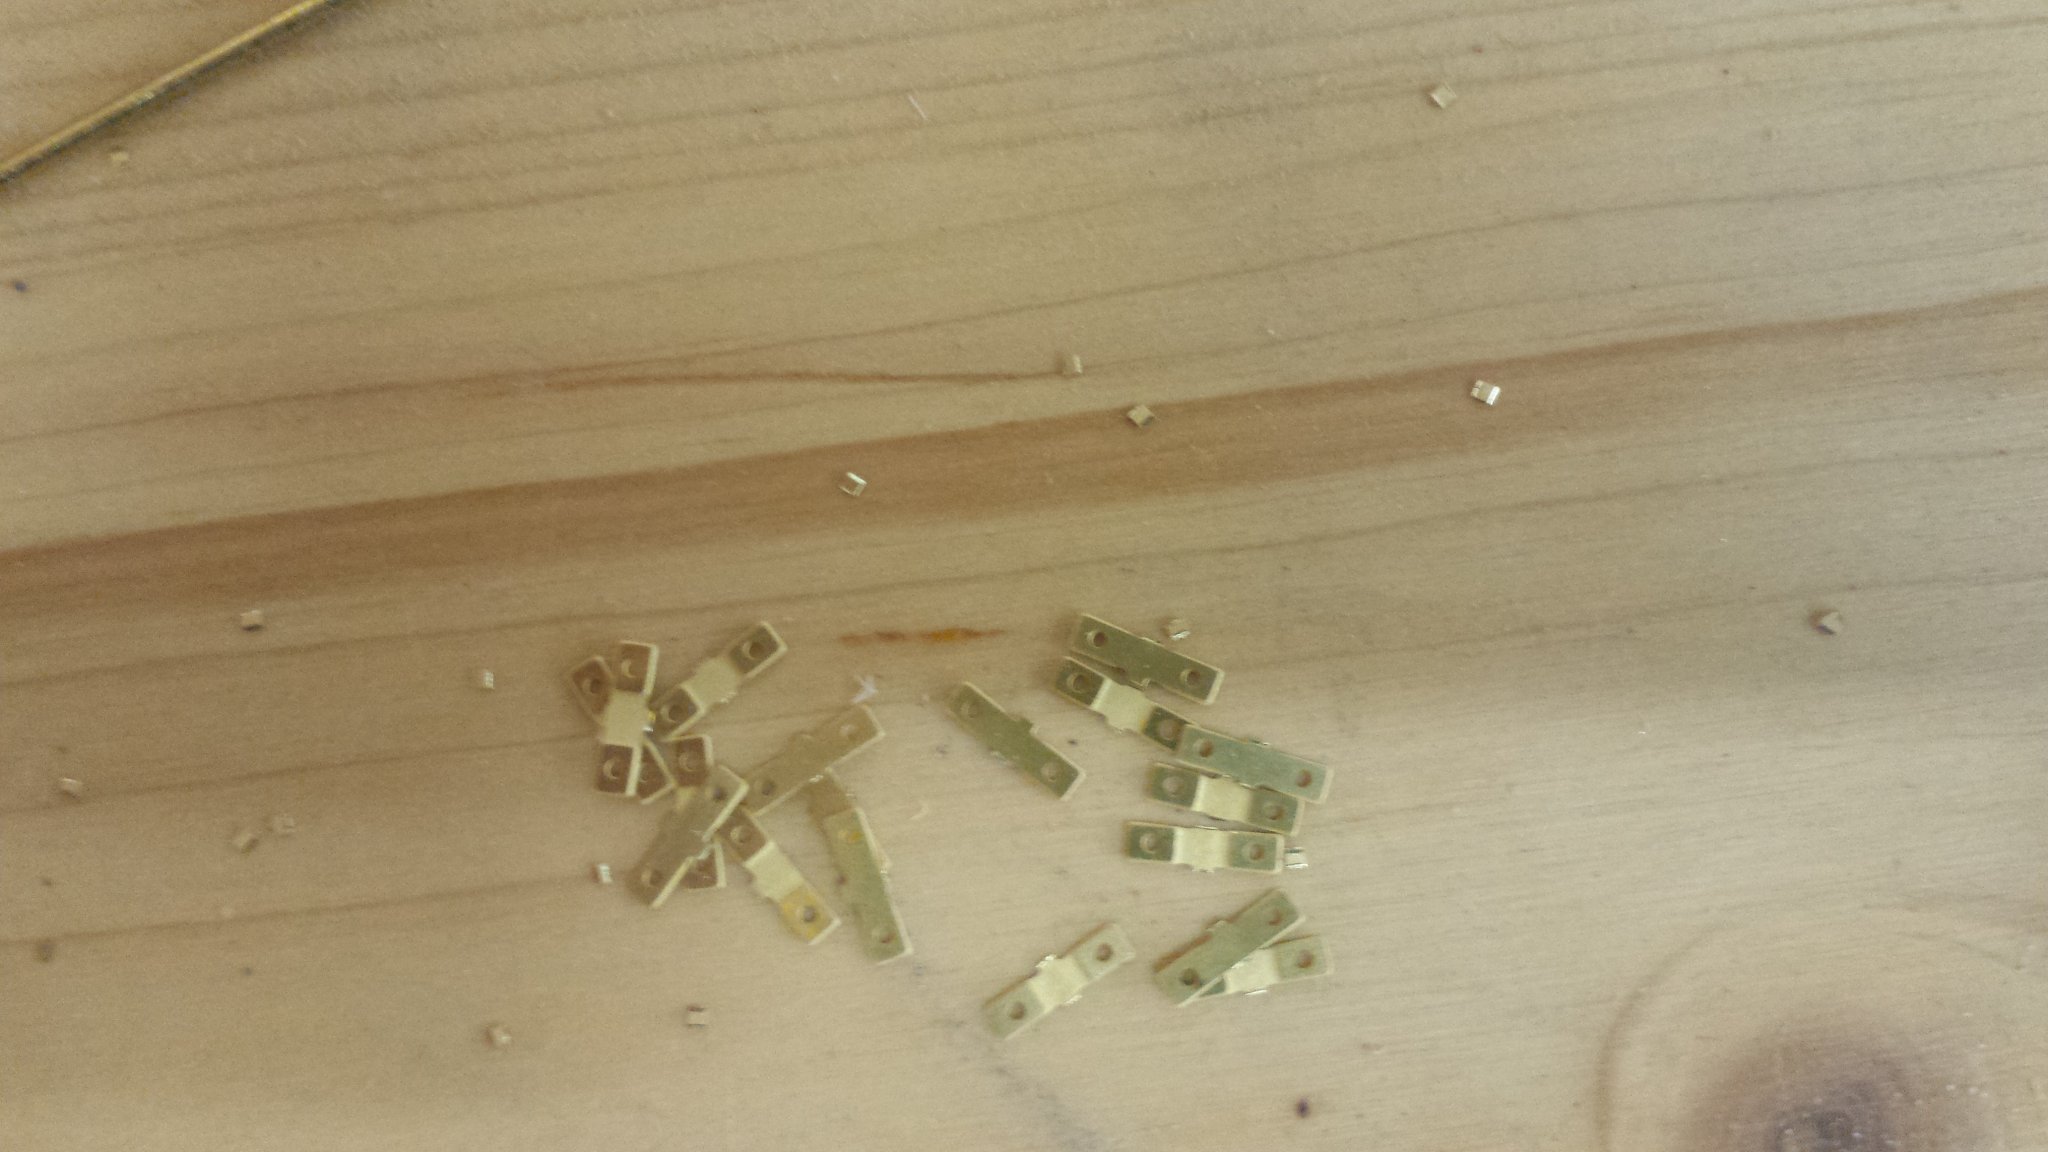
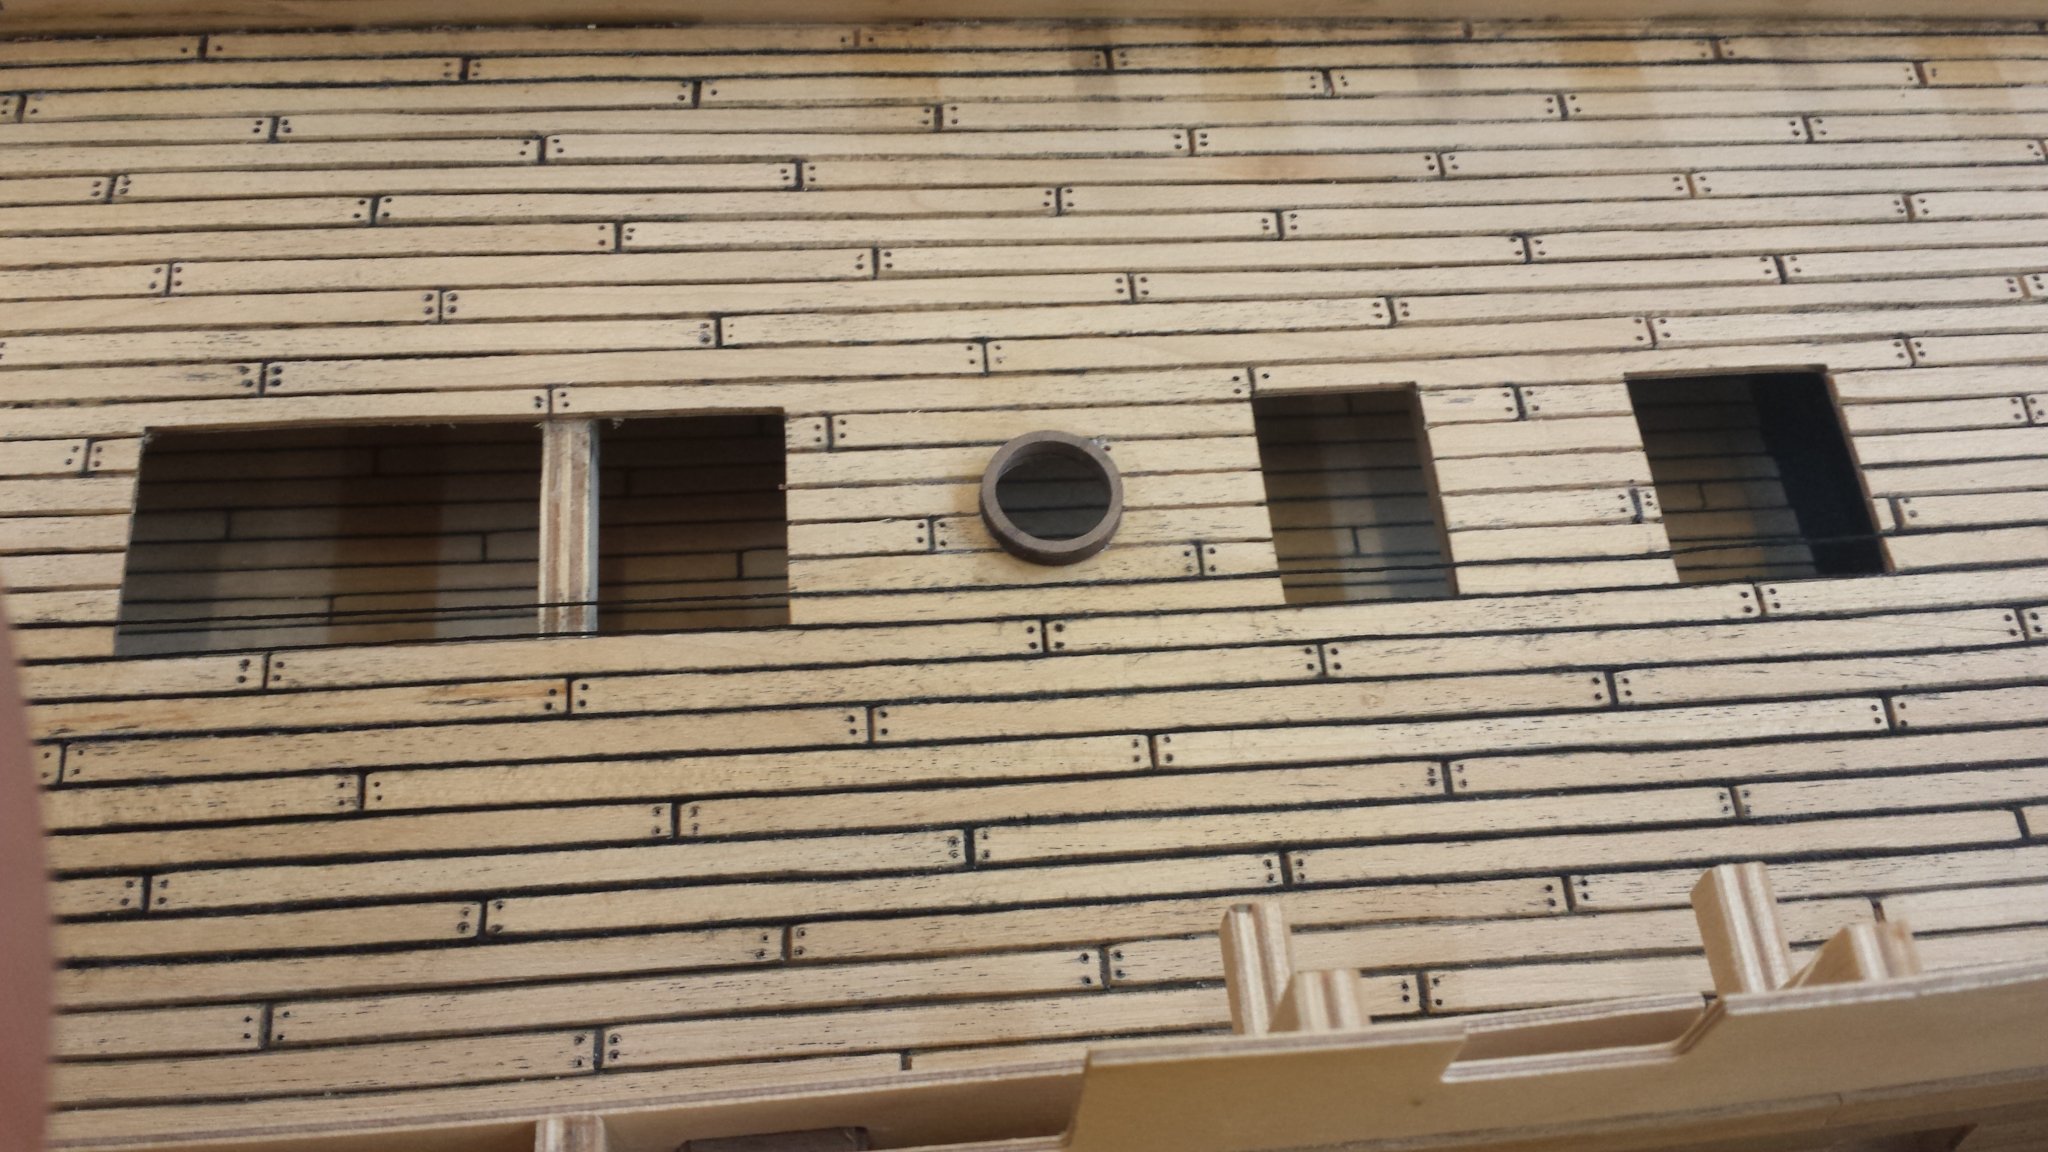
The gun port lids were numbered because they had to be individually adapted to the wales
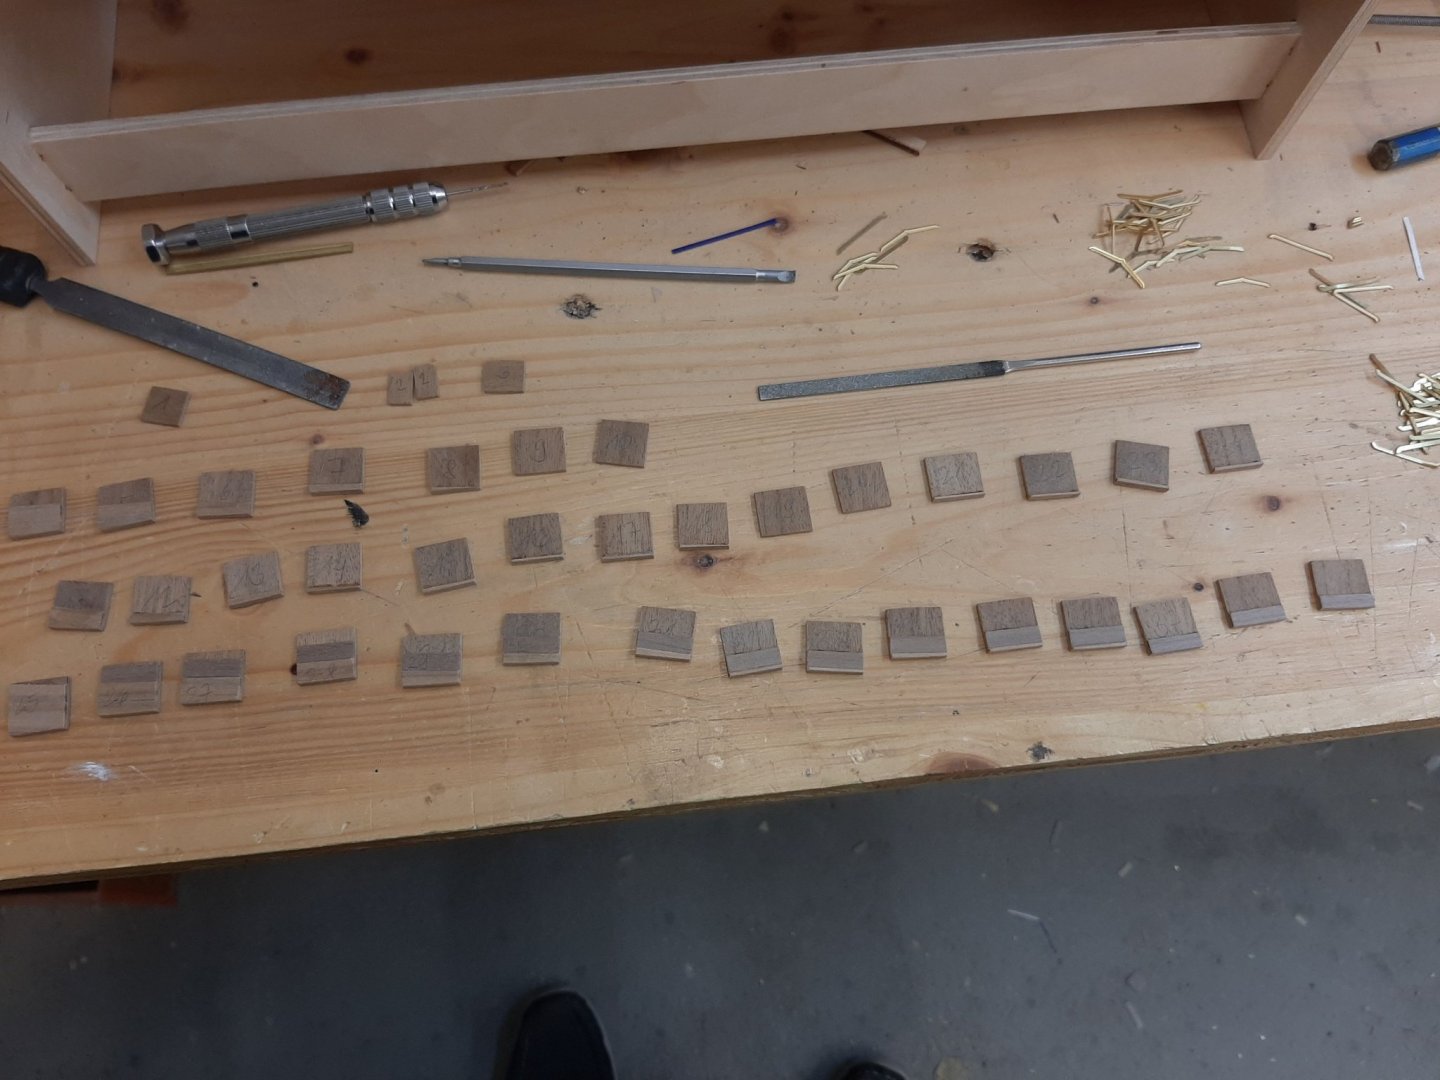
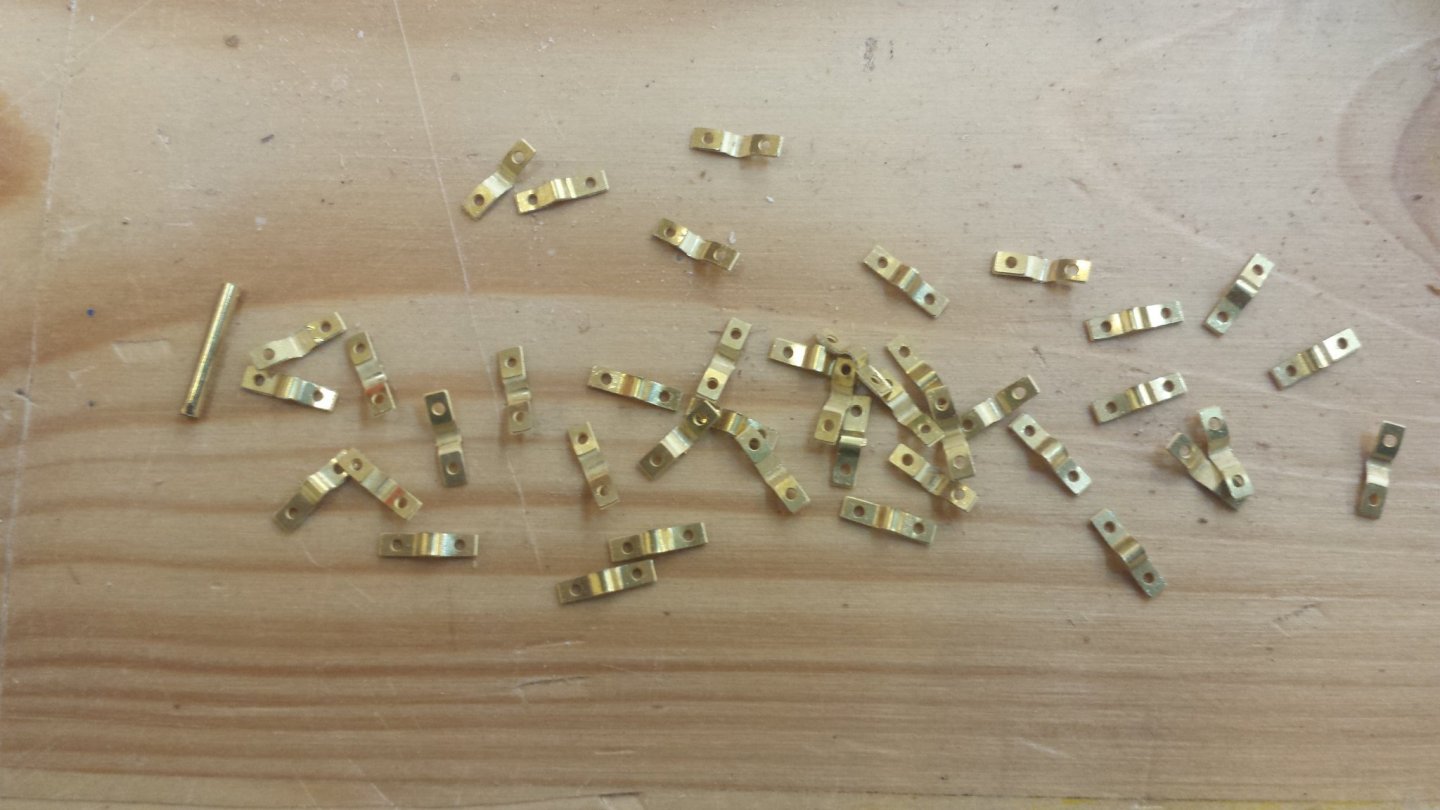
then the hinges were installed
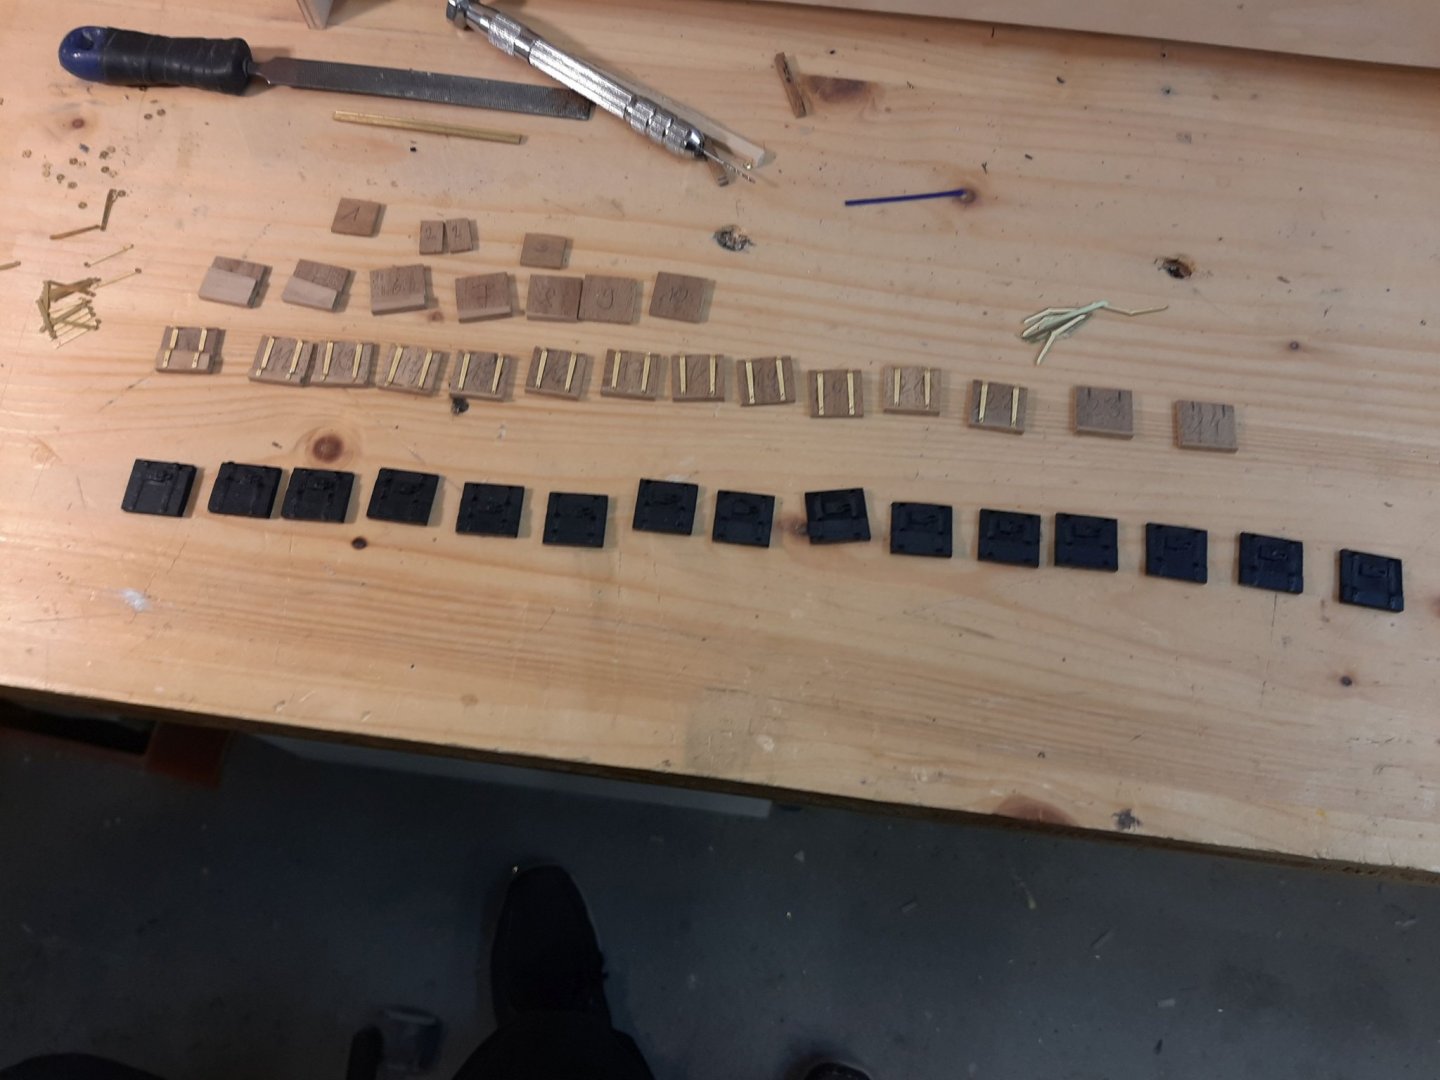

afterward they were painted and the eyelet was installed

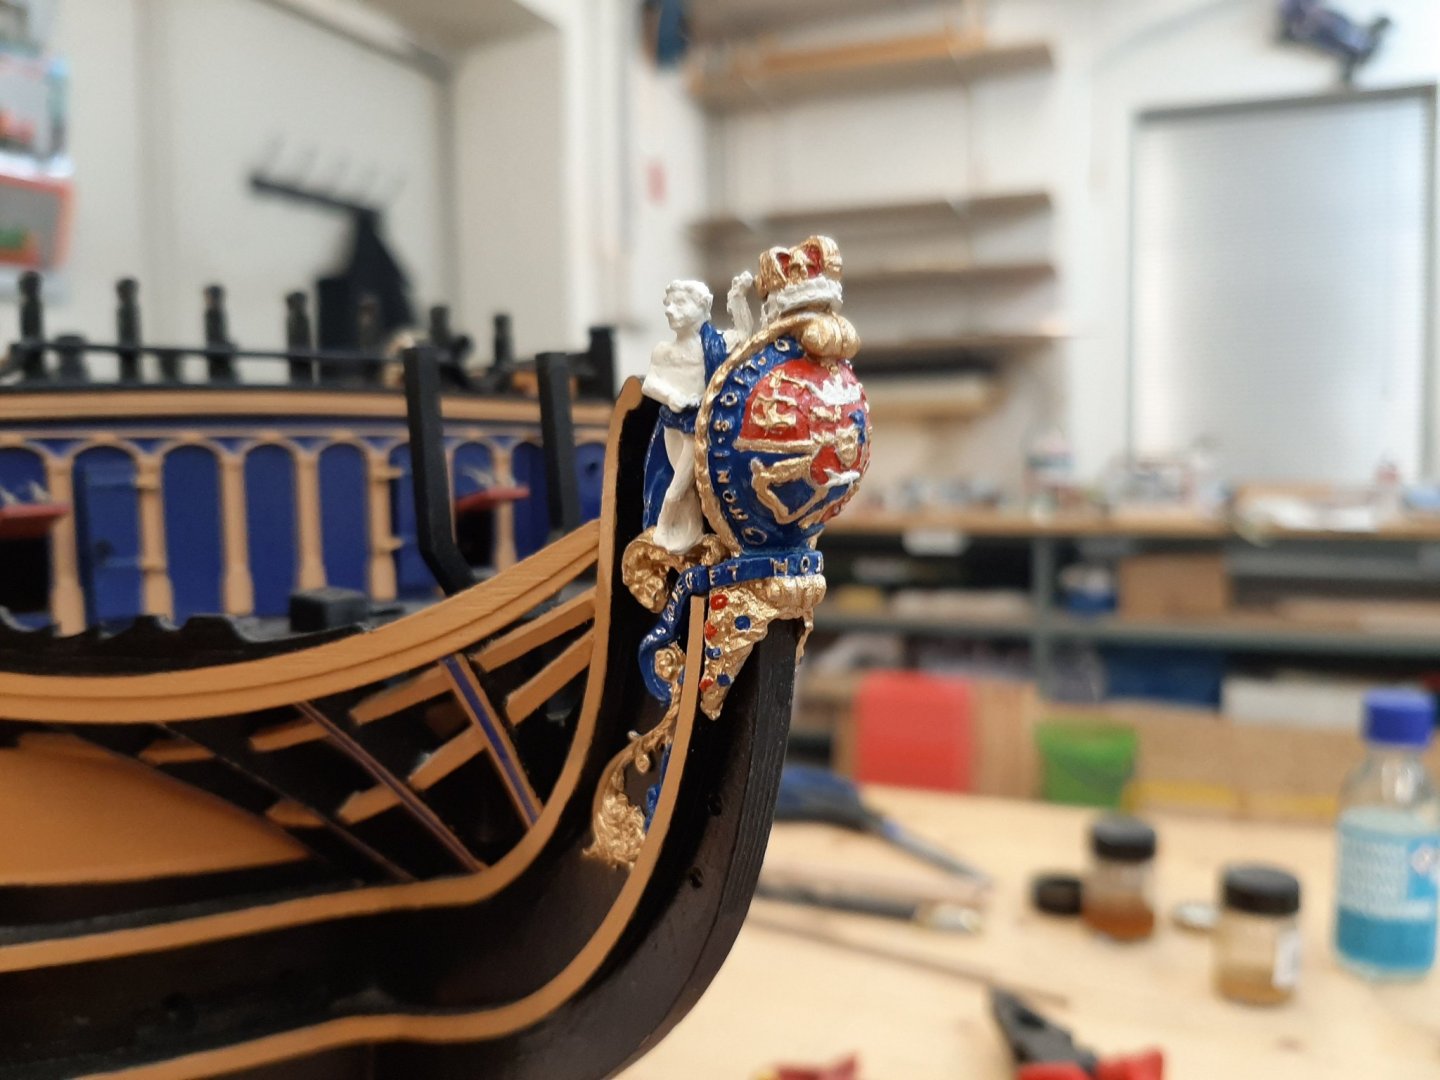
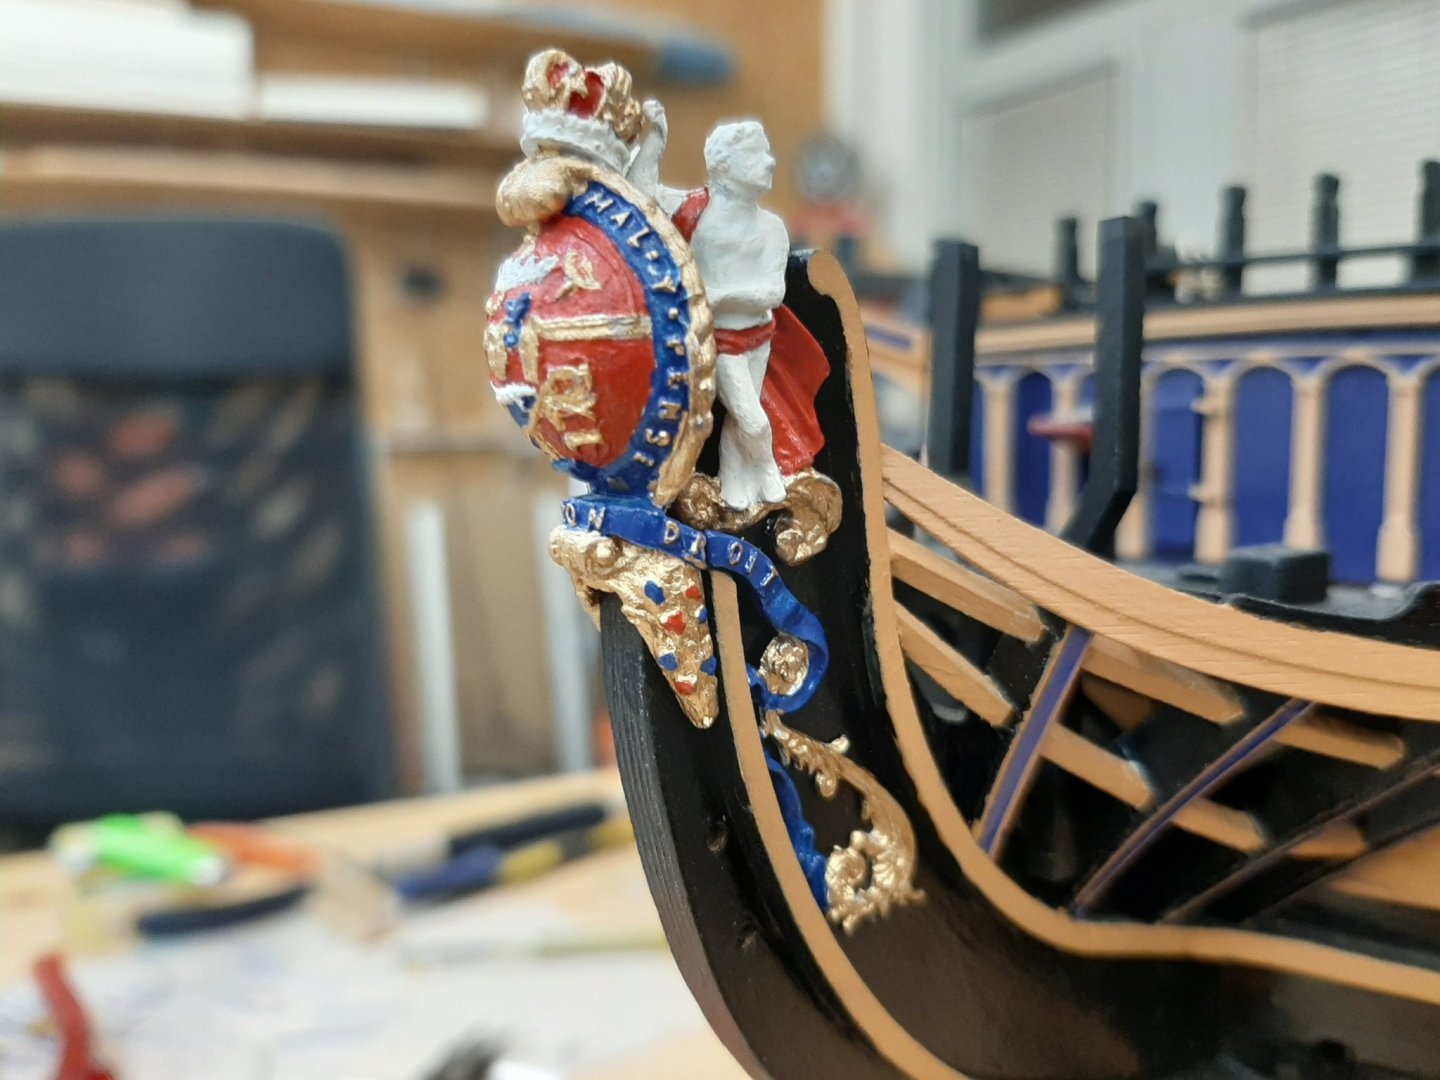
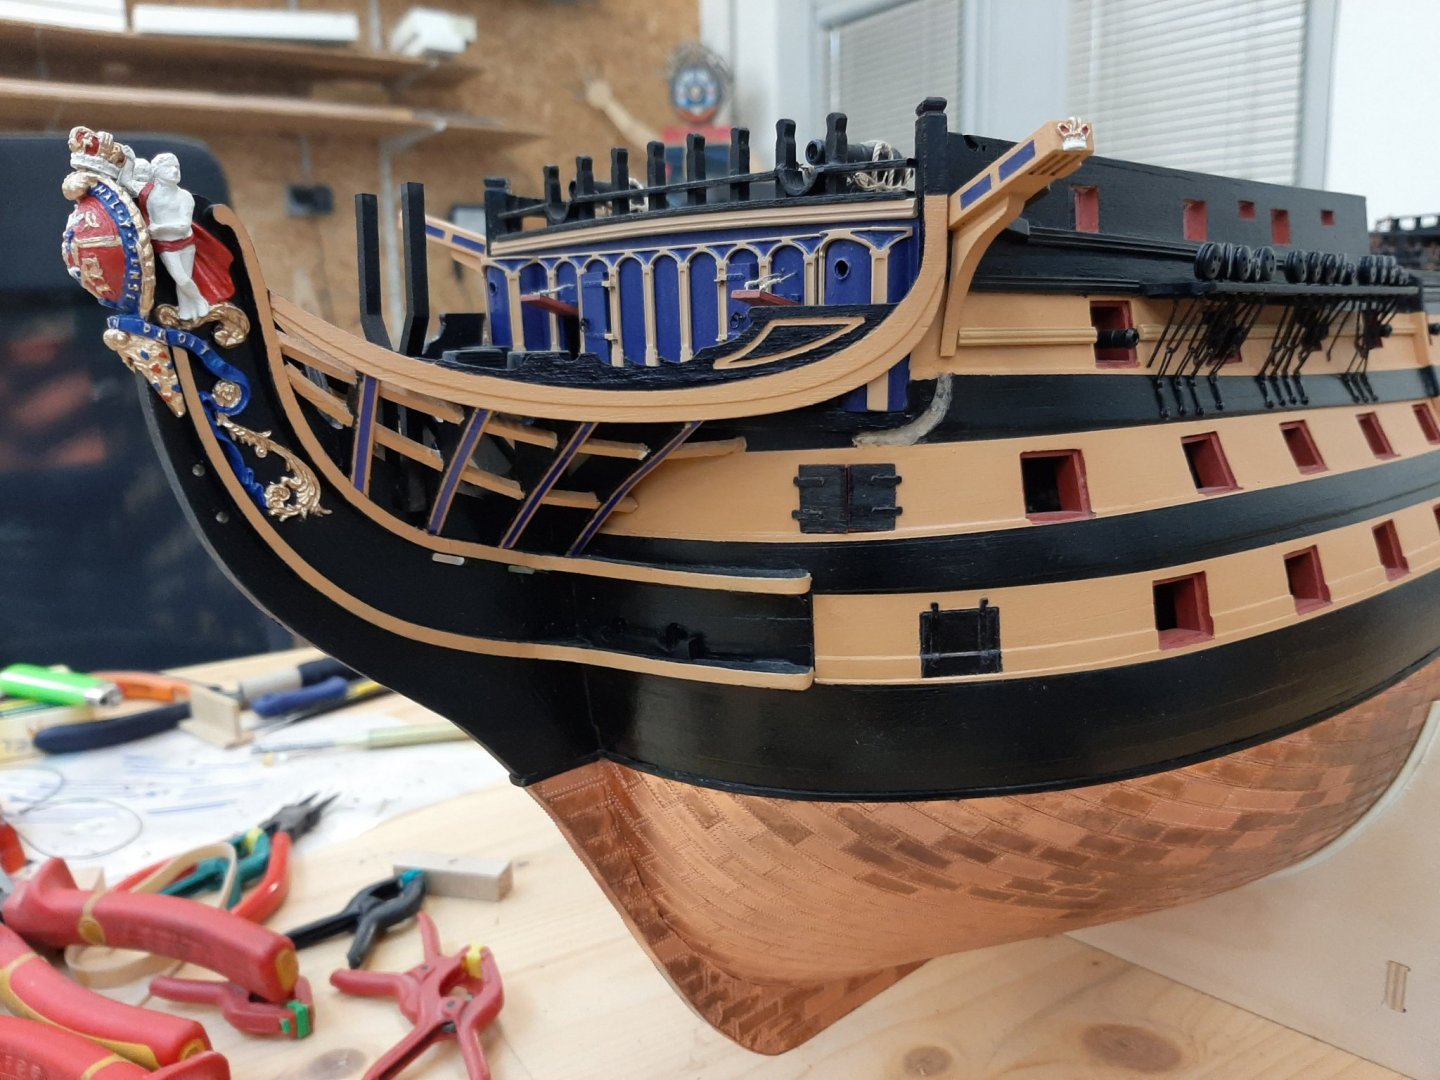
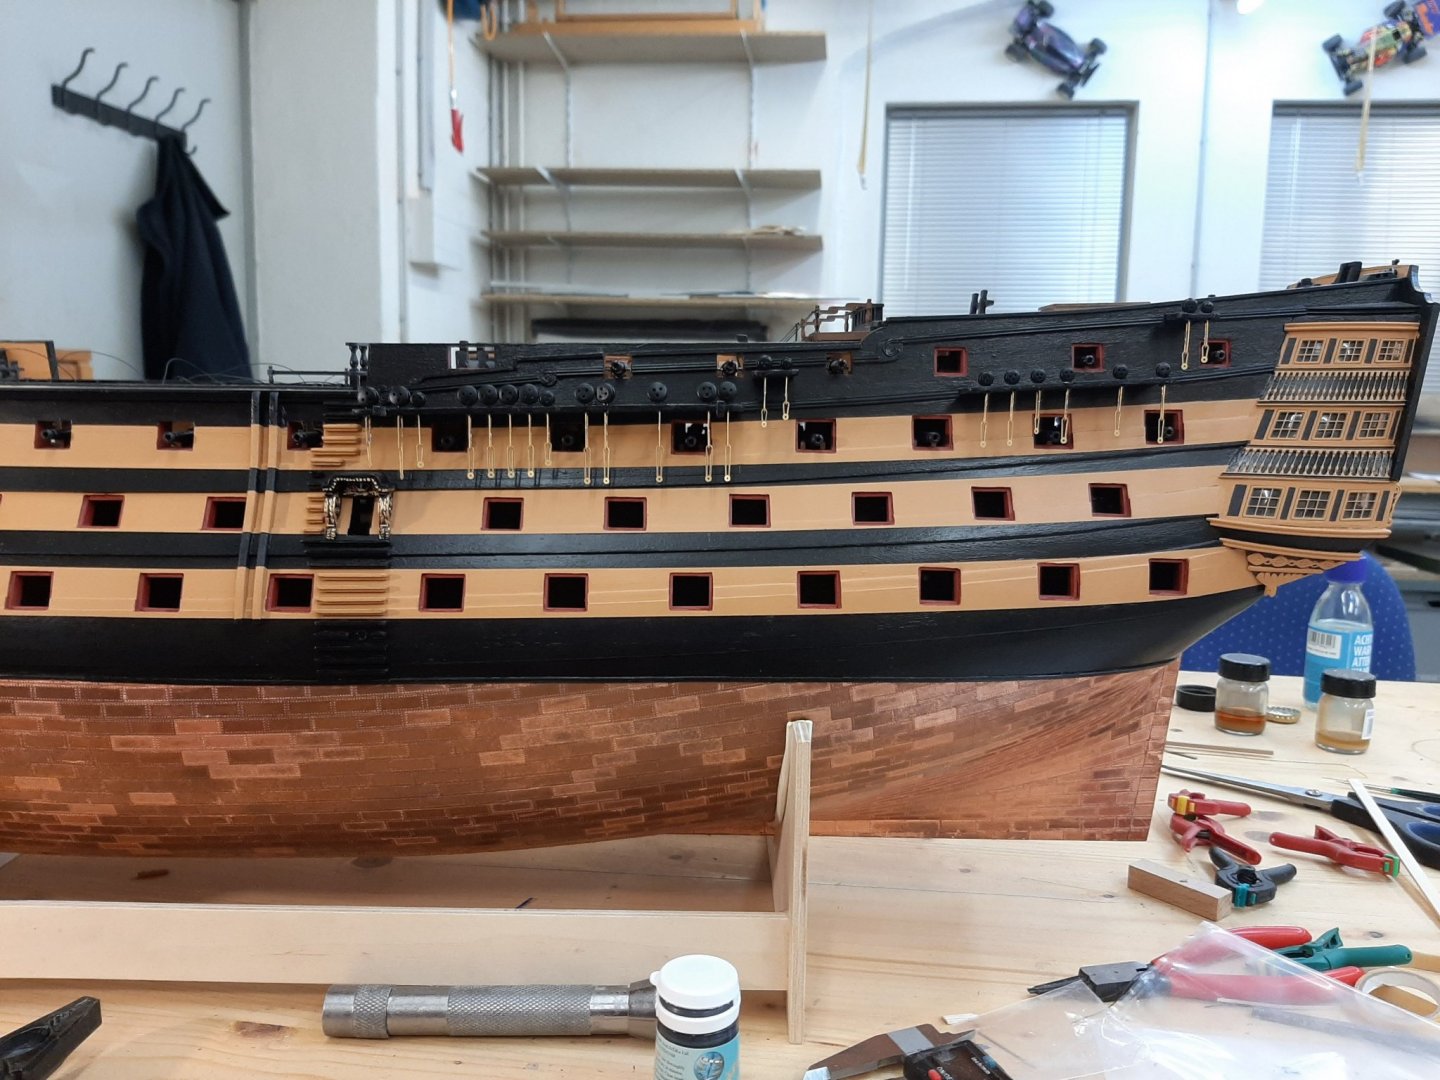
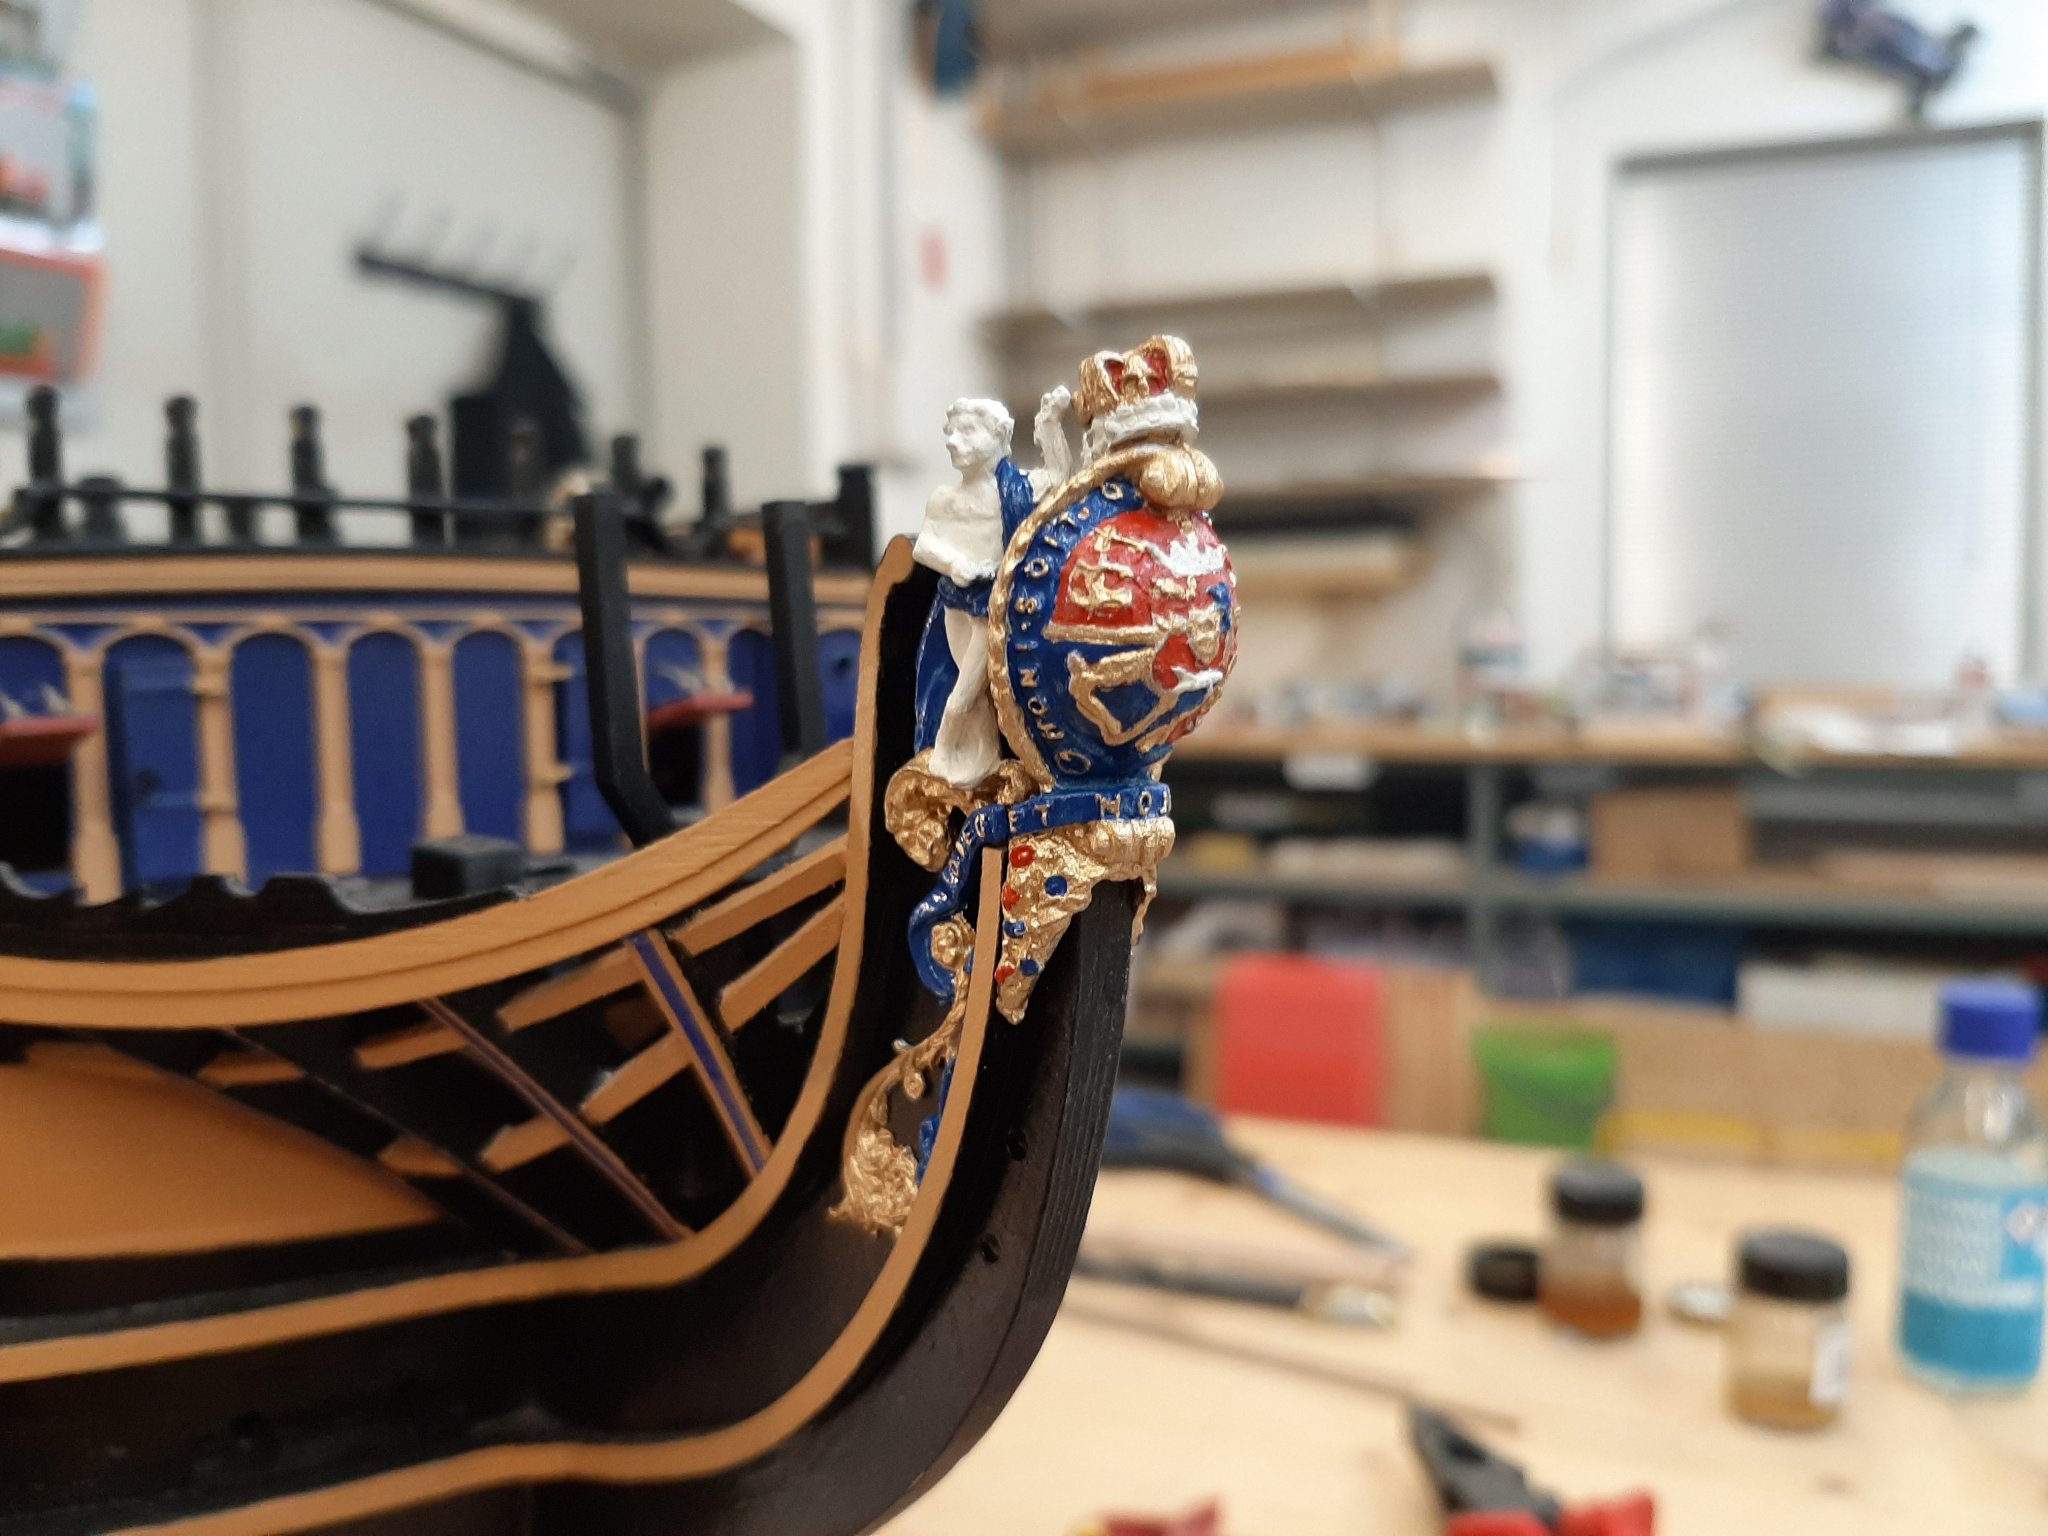
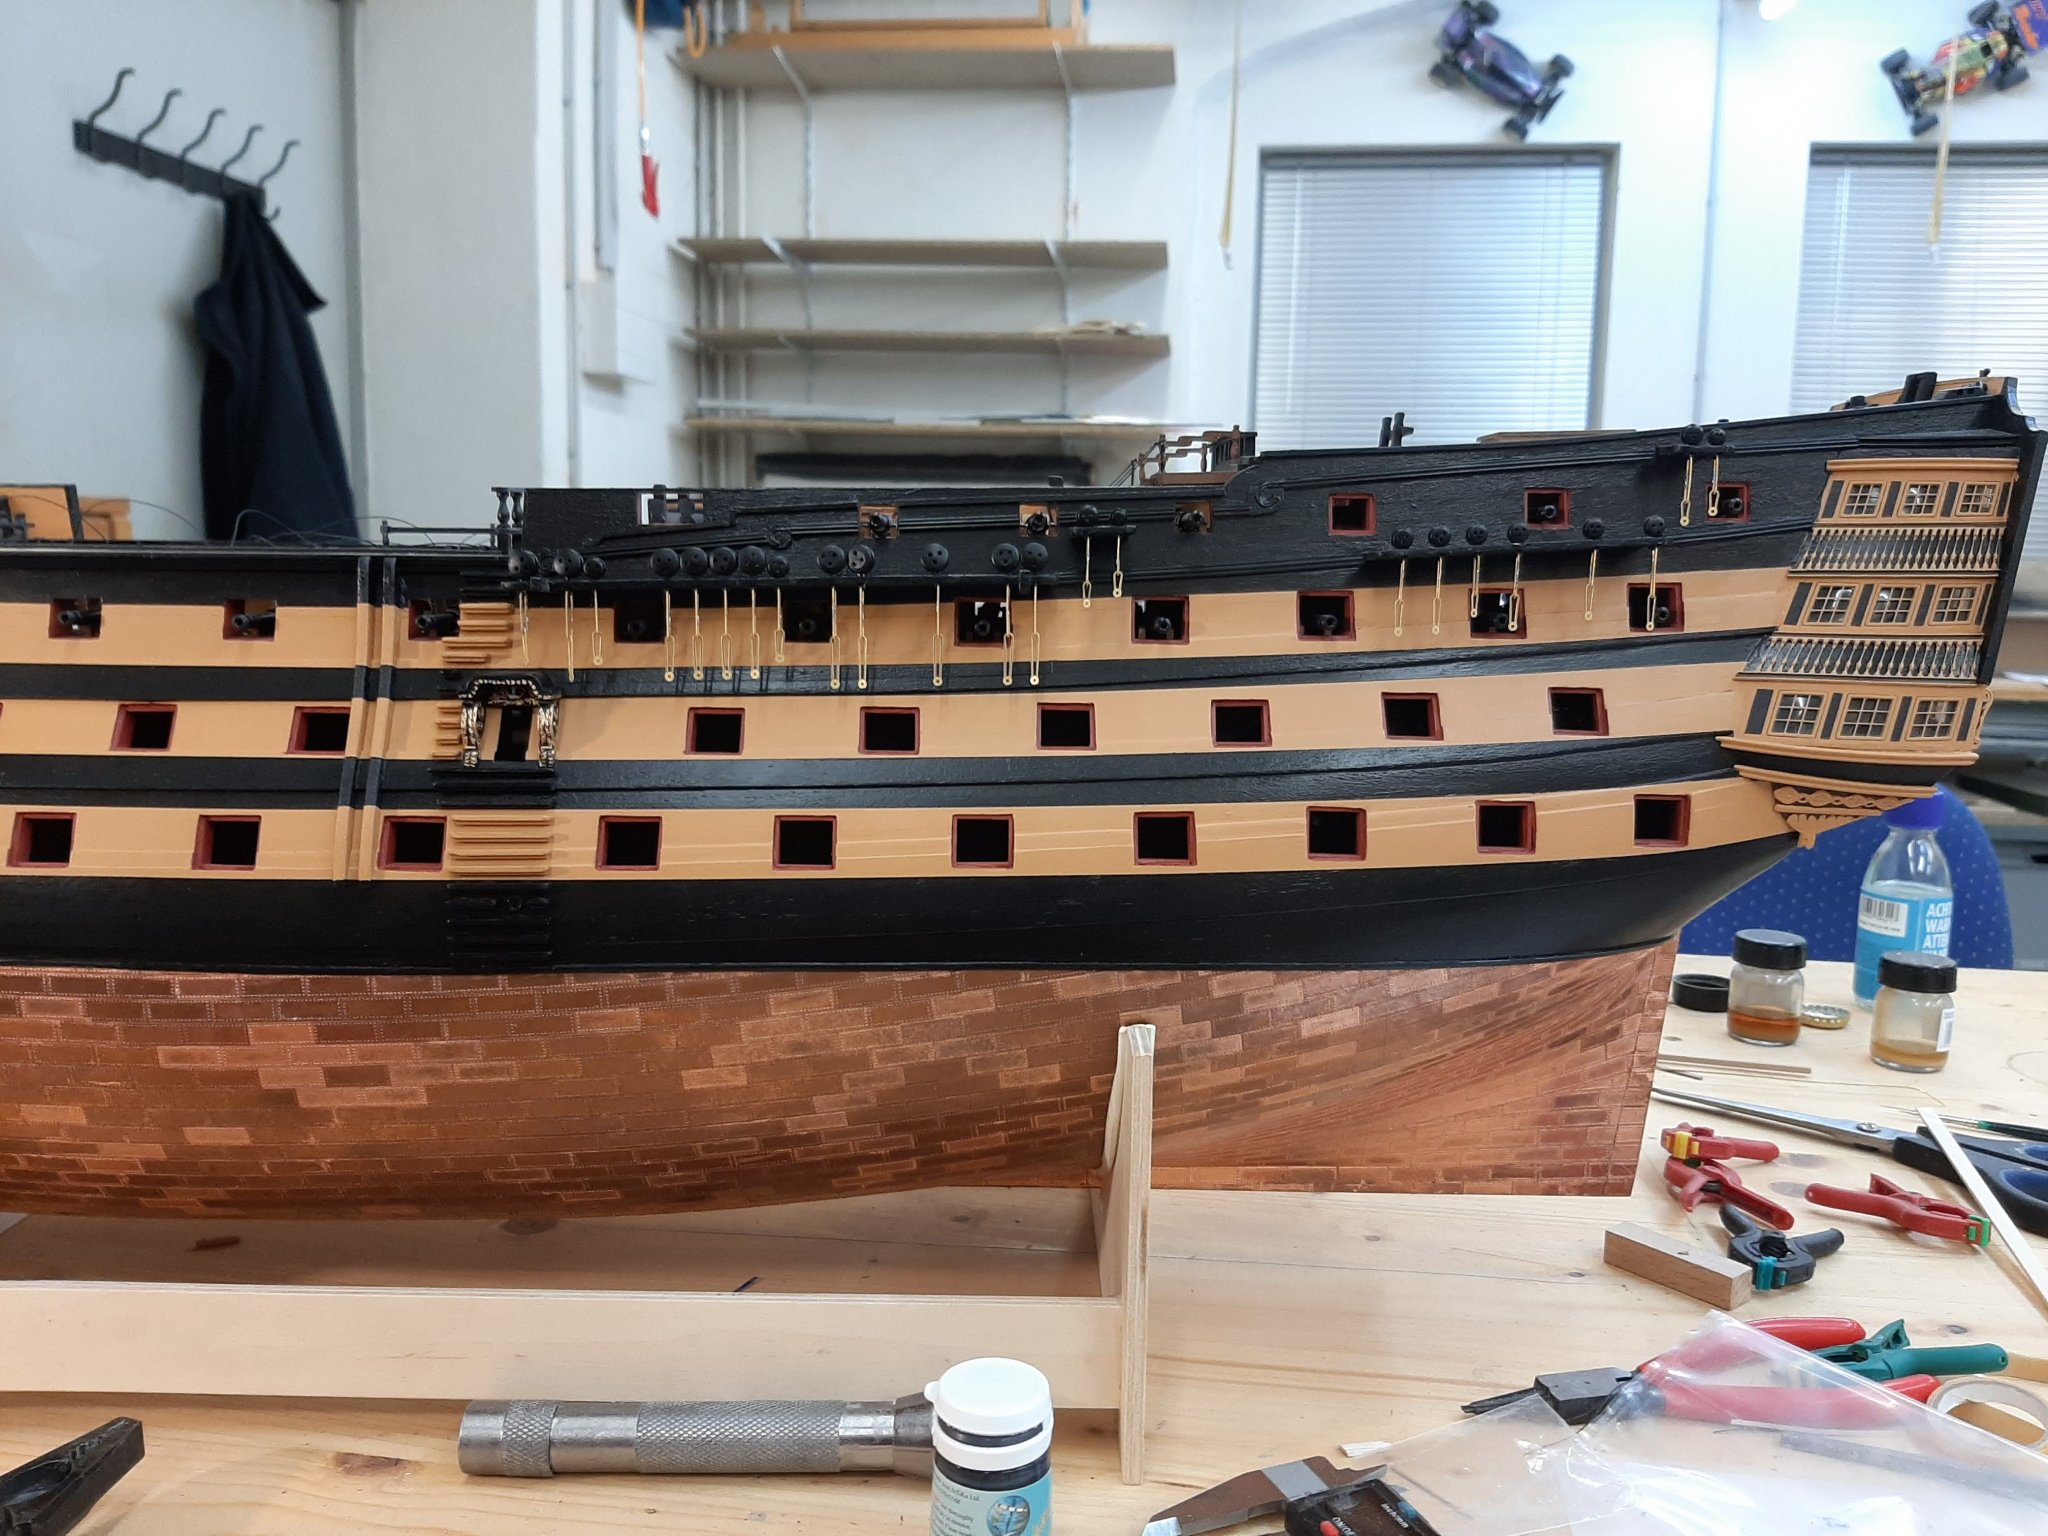
The figurehead were painted and glued into position. I think it's OK
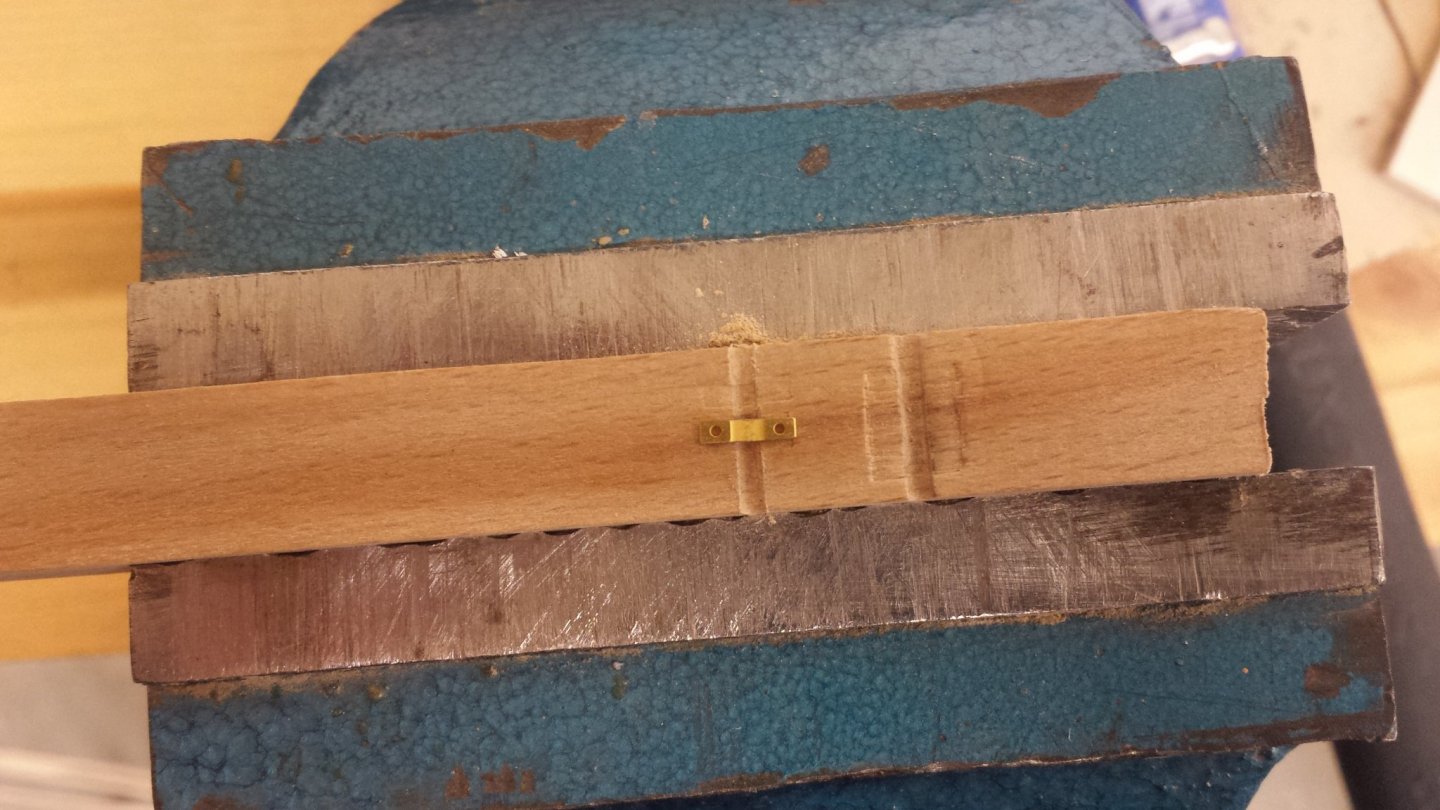
here i milled the groove for the brass profile
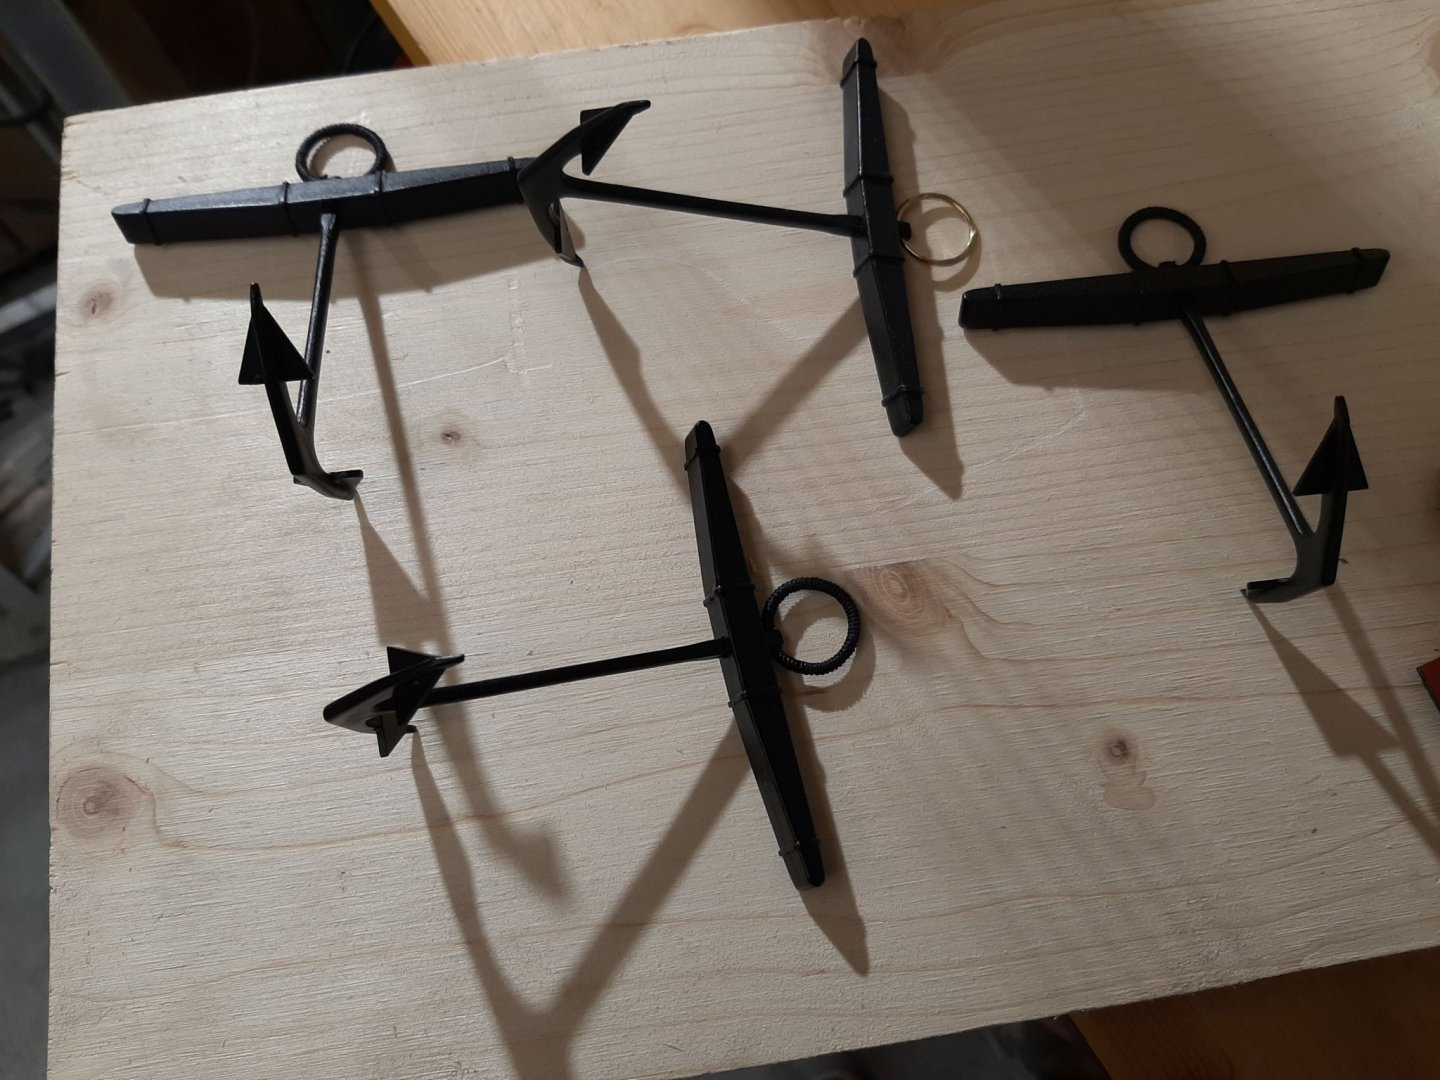
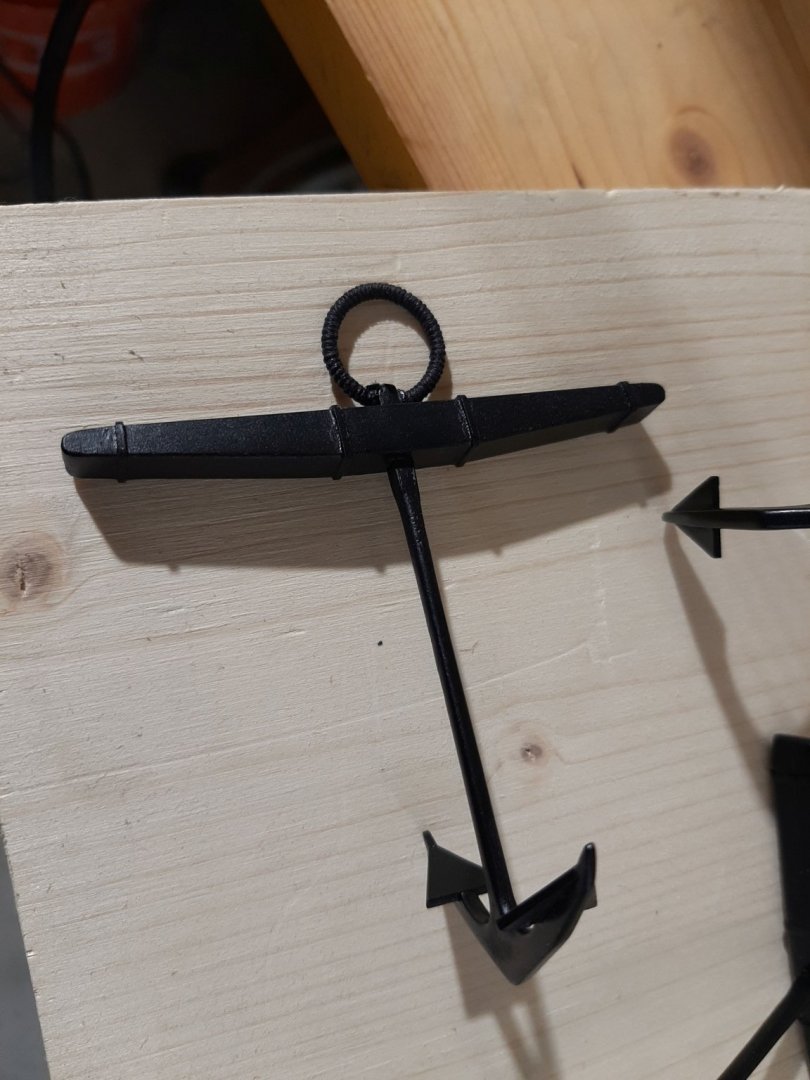
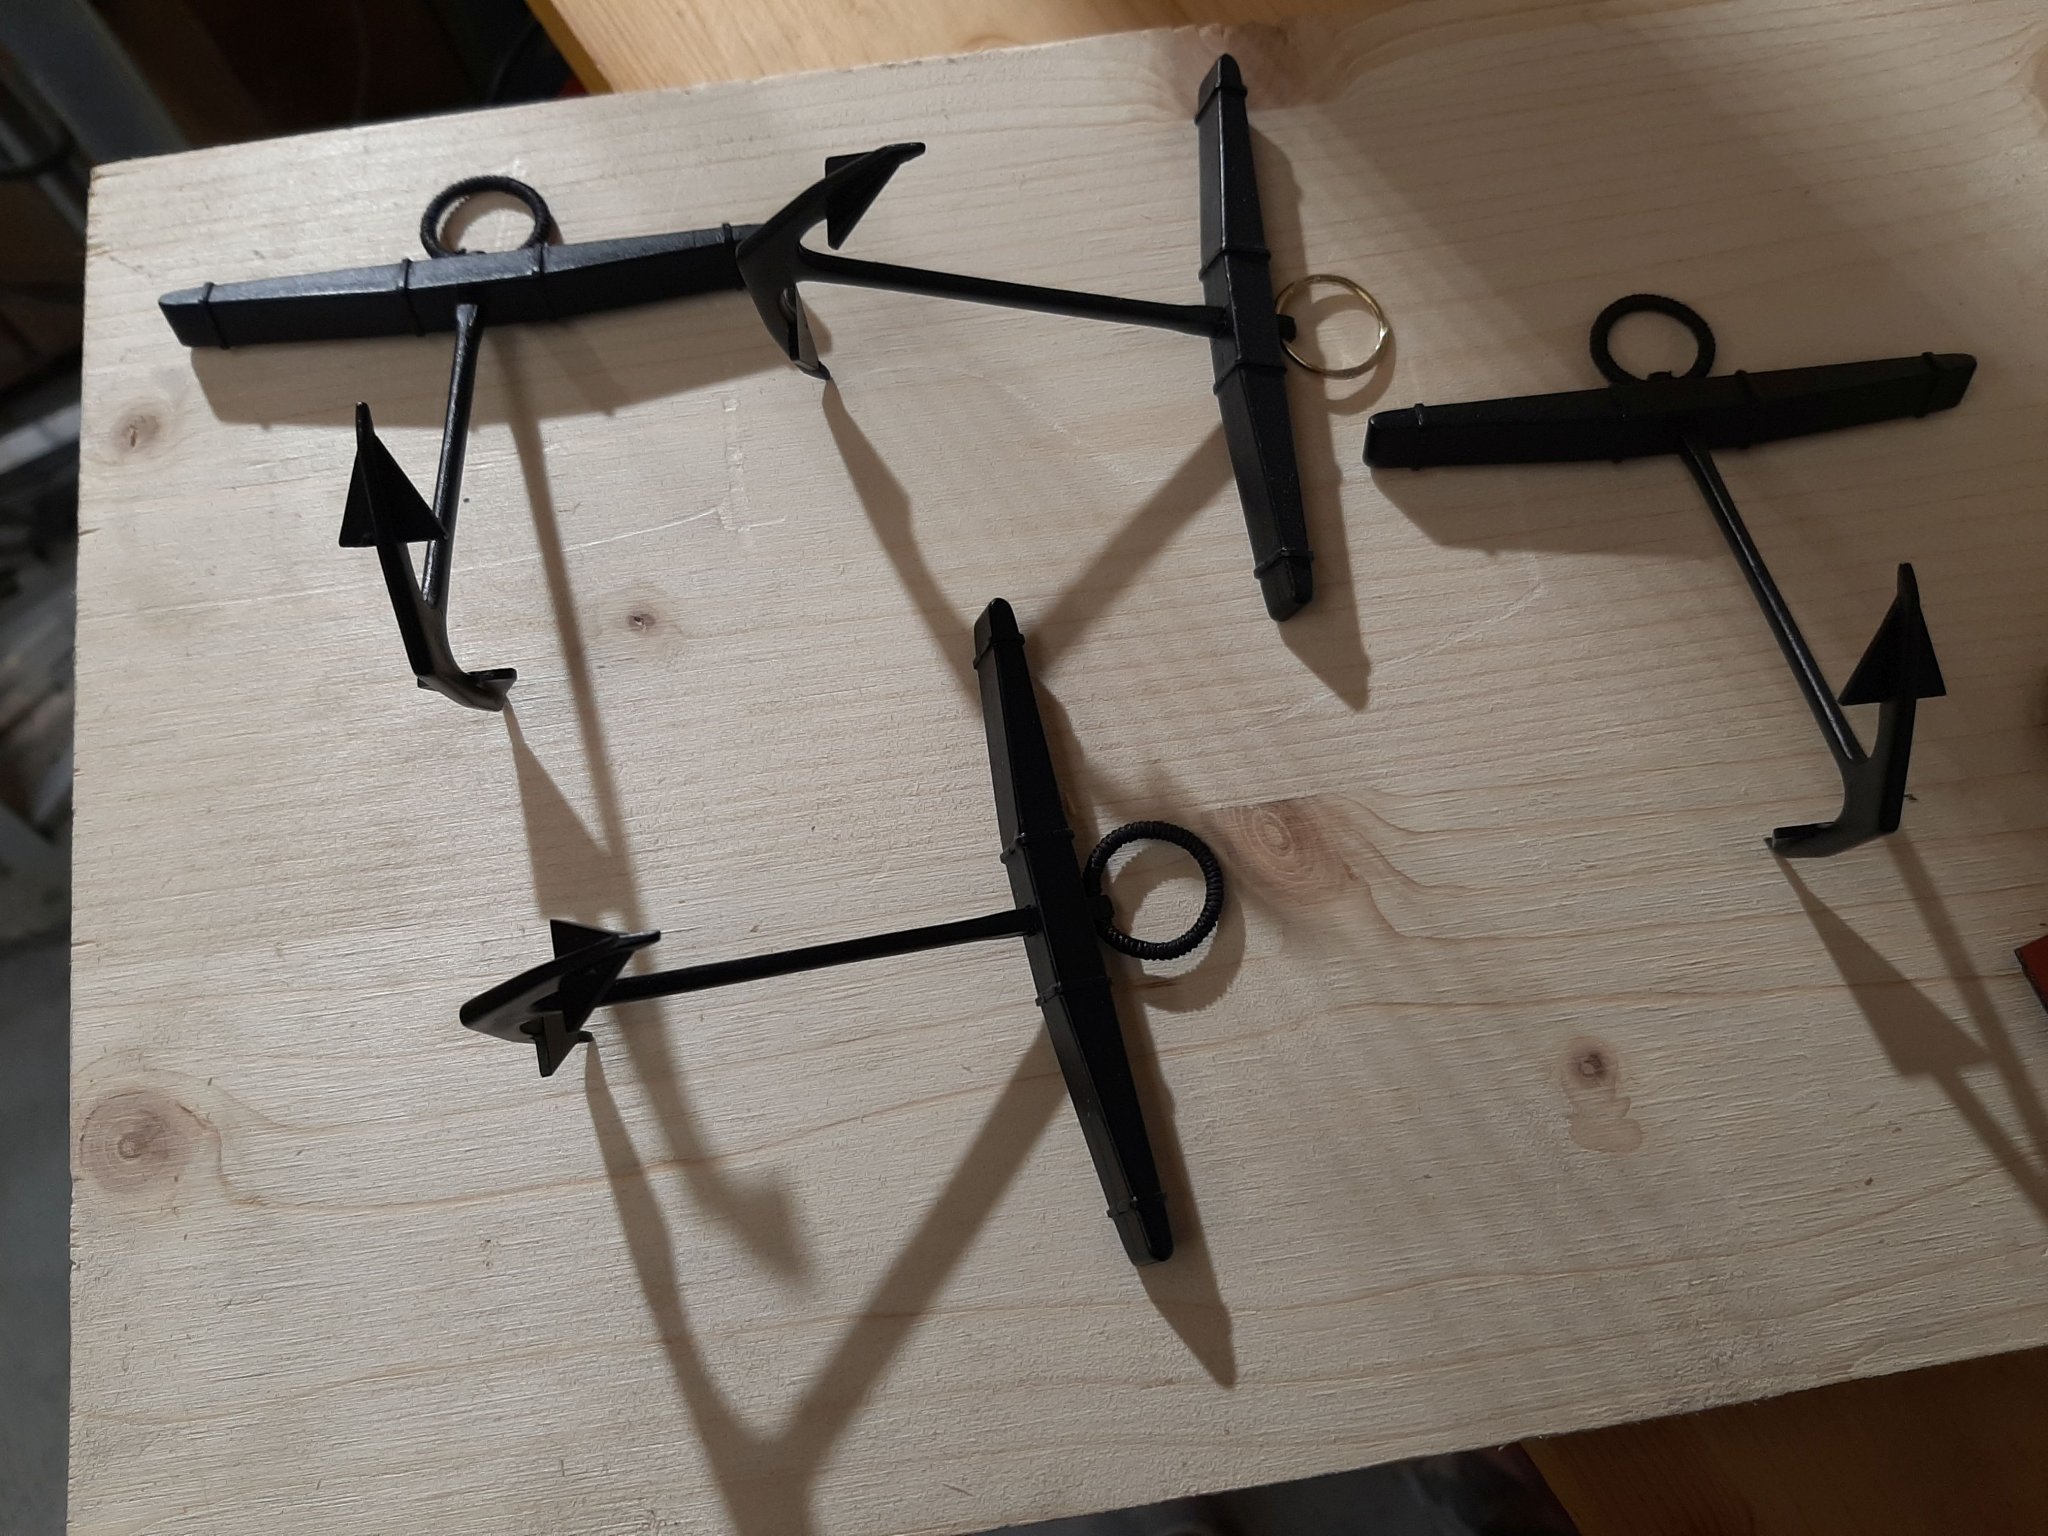
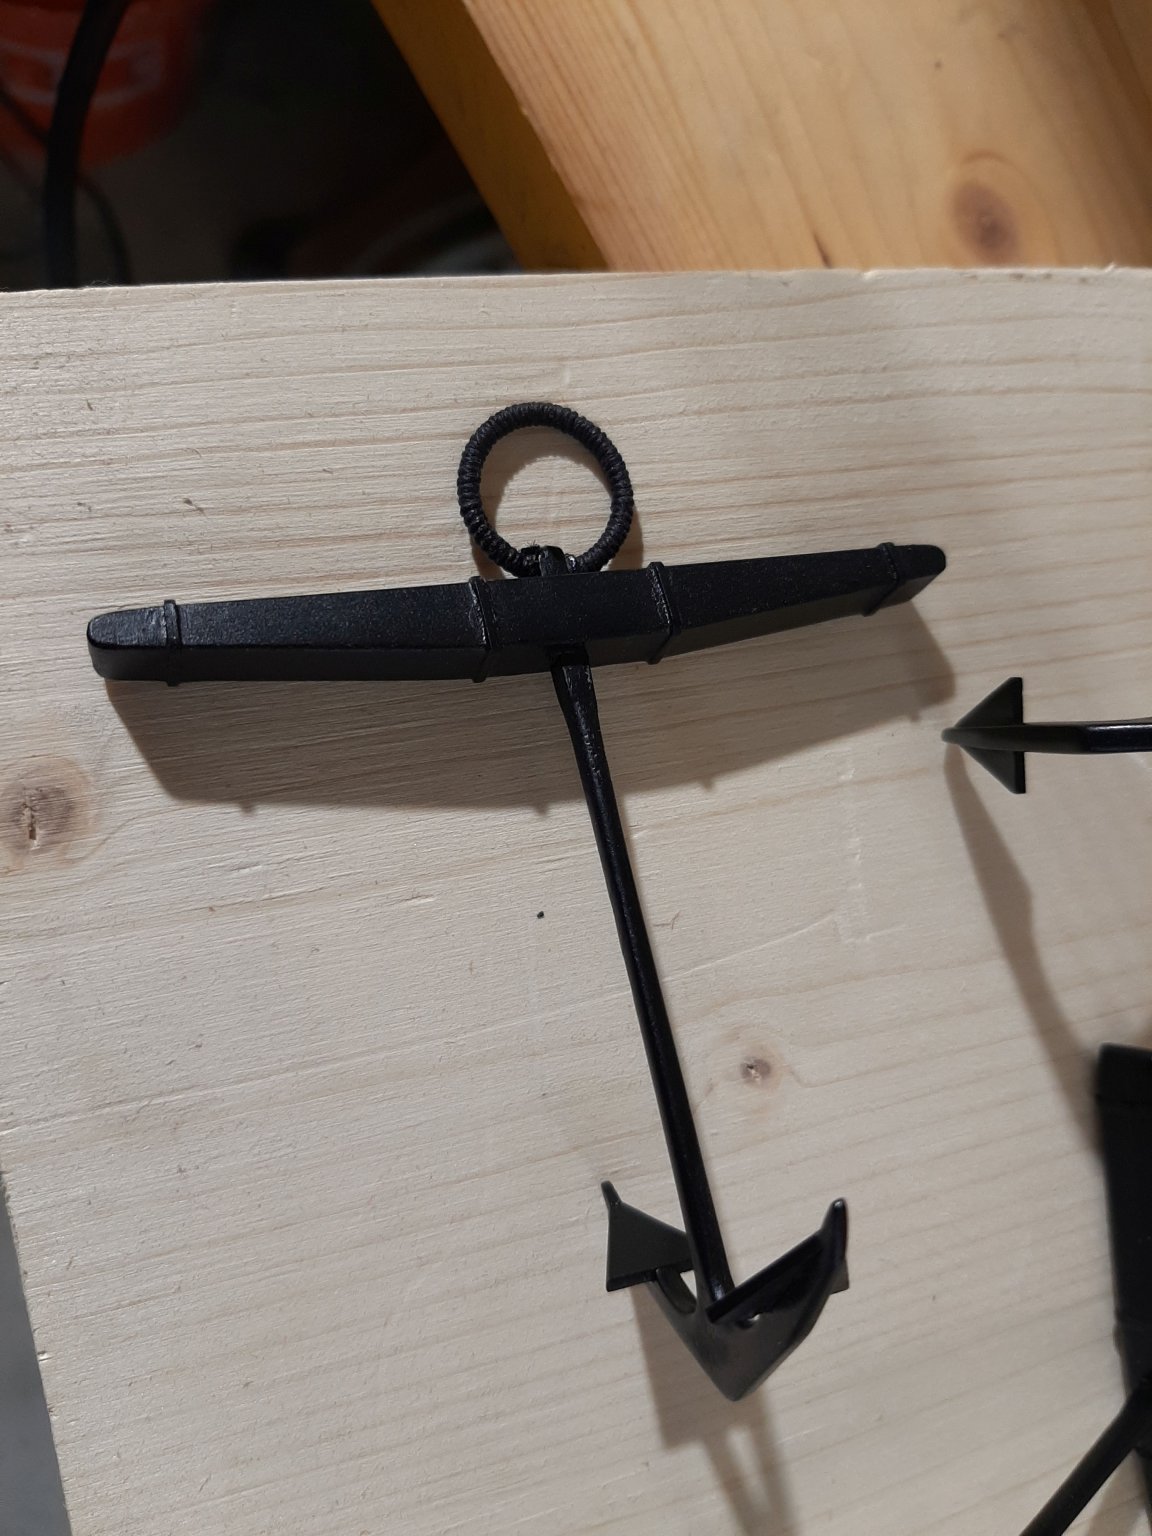
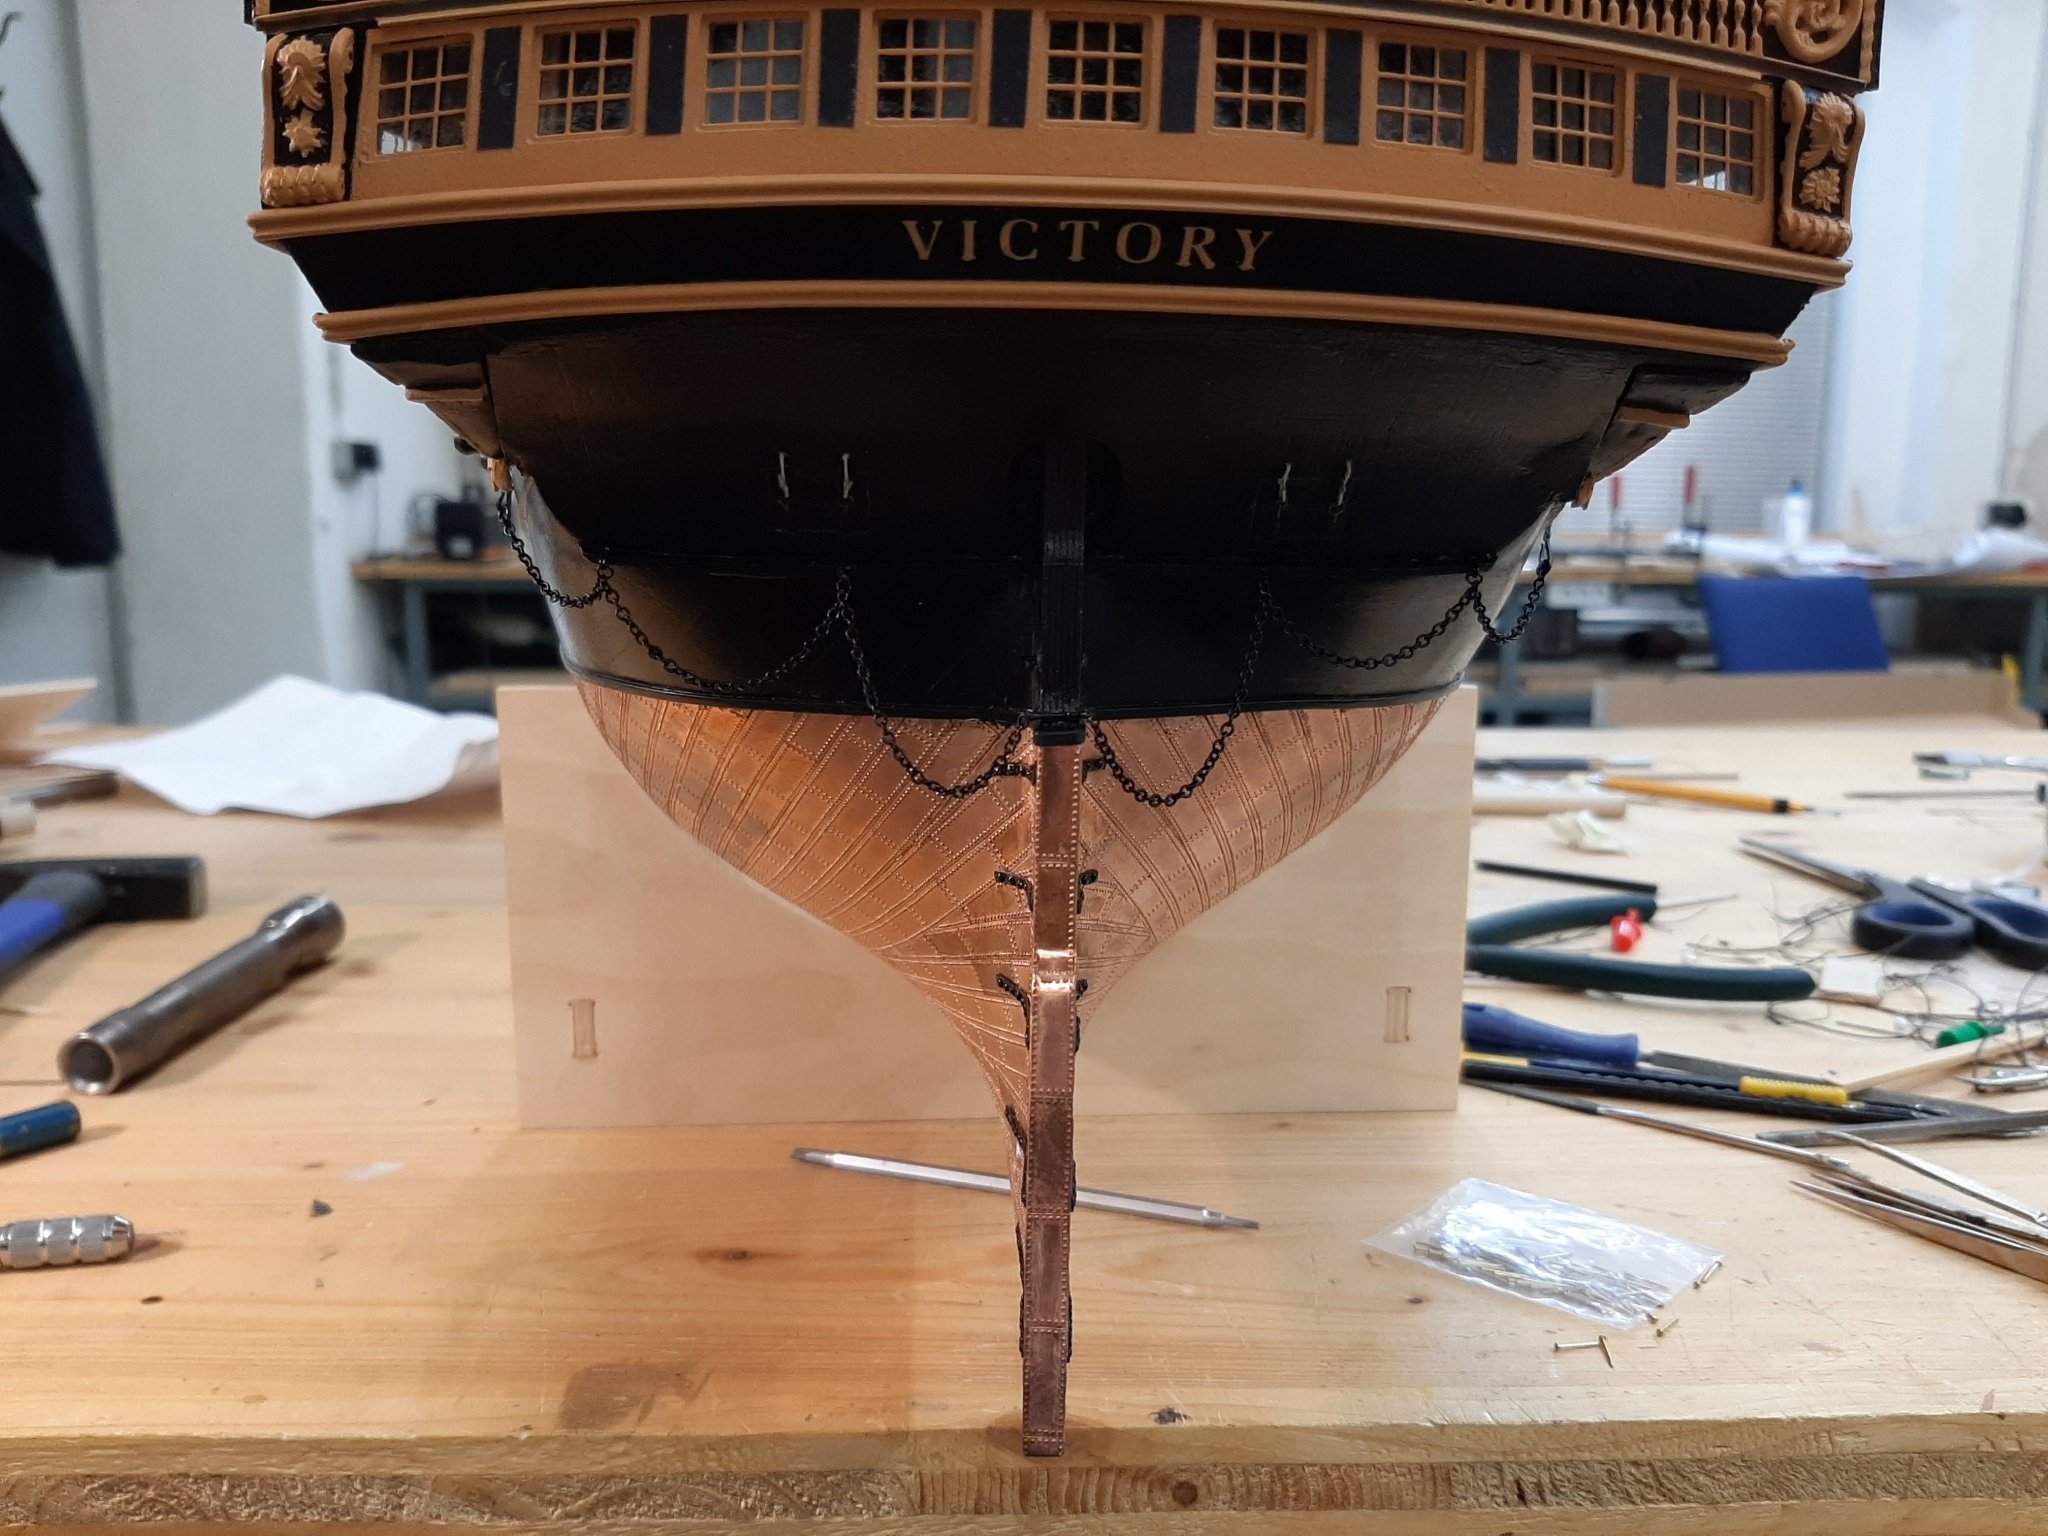
I had to bend and solder a brass ring to prepare the anchors. Then the ring was wrapped with rope
the victory lettering was stuck in position. after that i started assembling the rudder
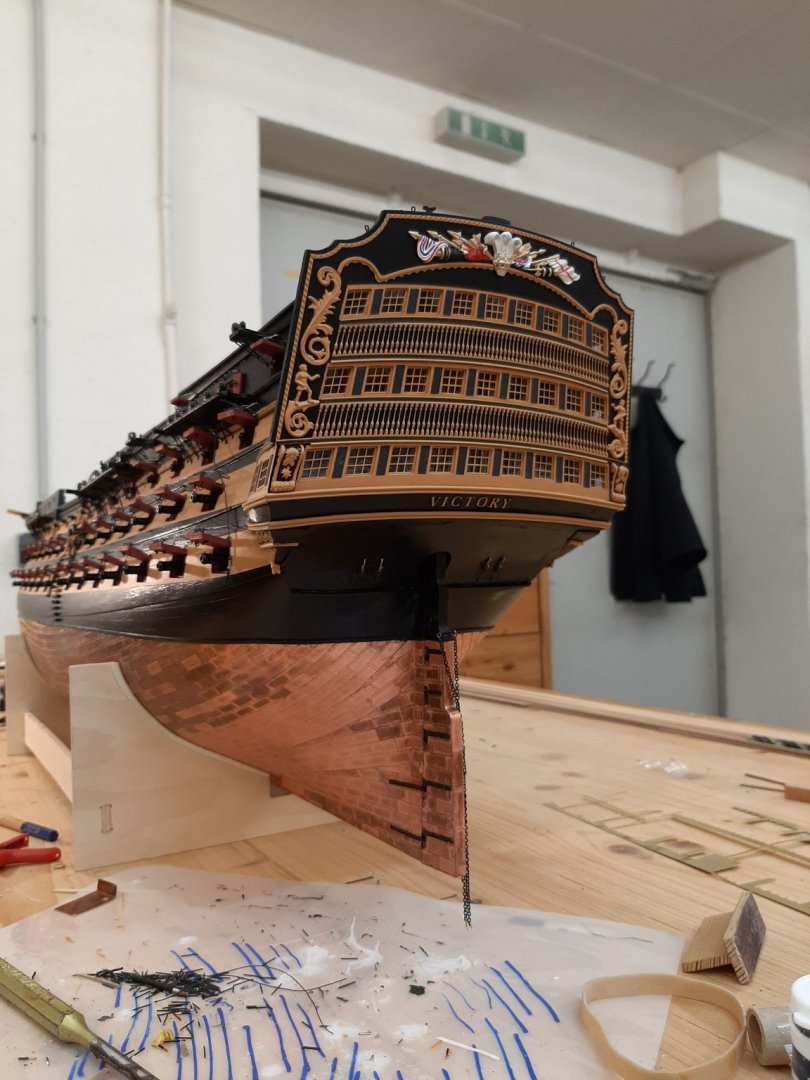

and here is the finished result


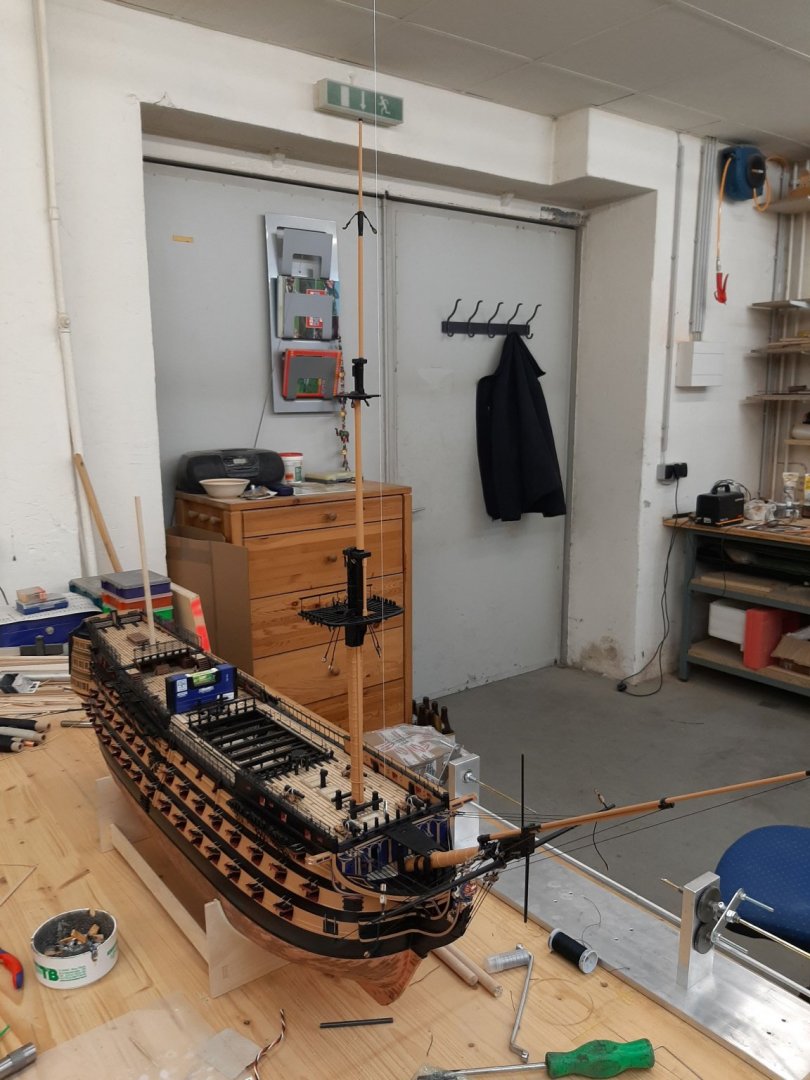
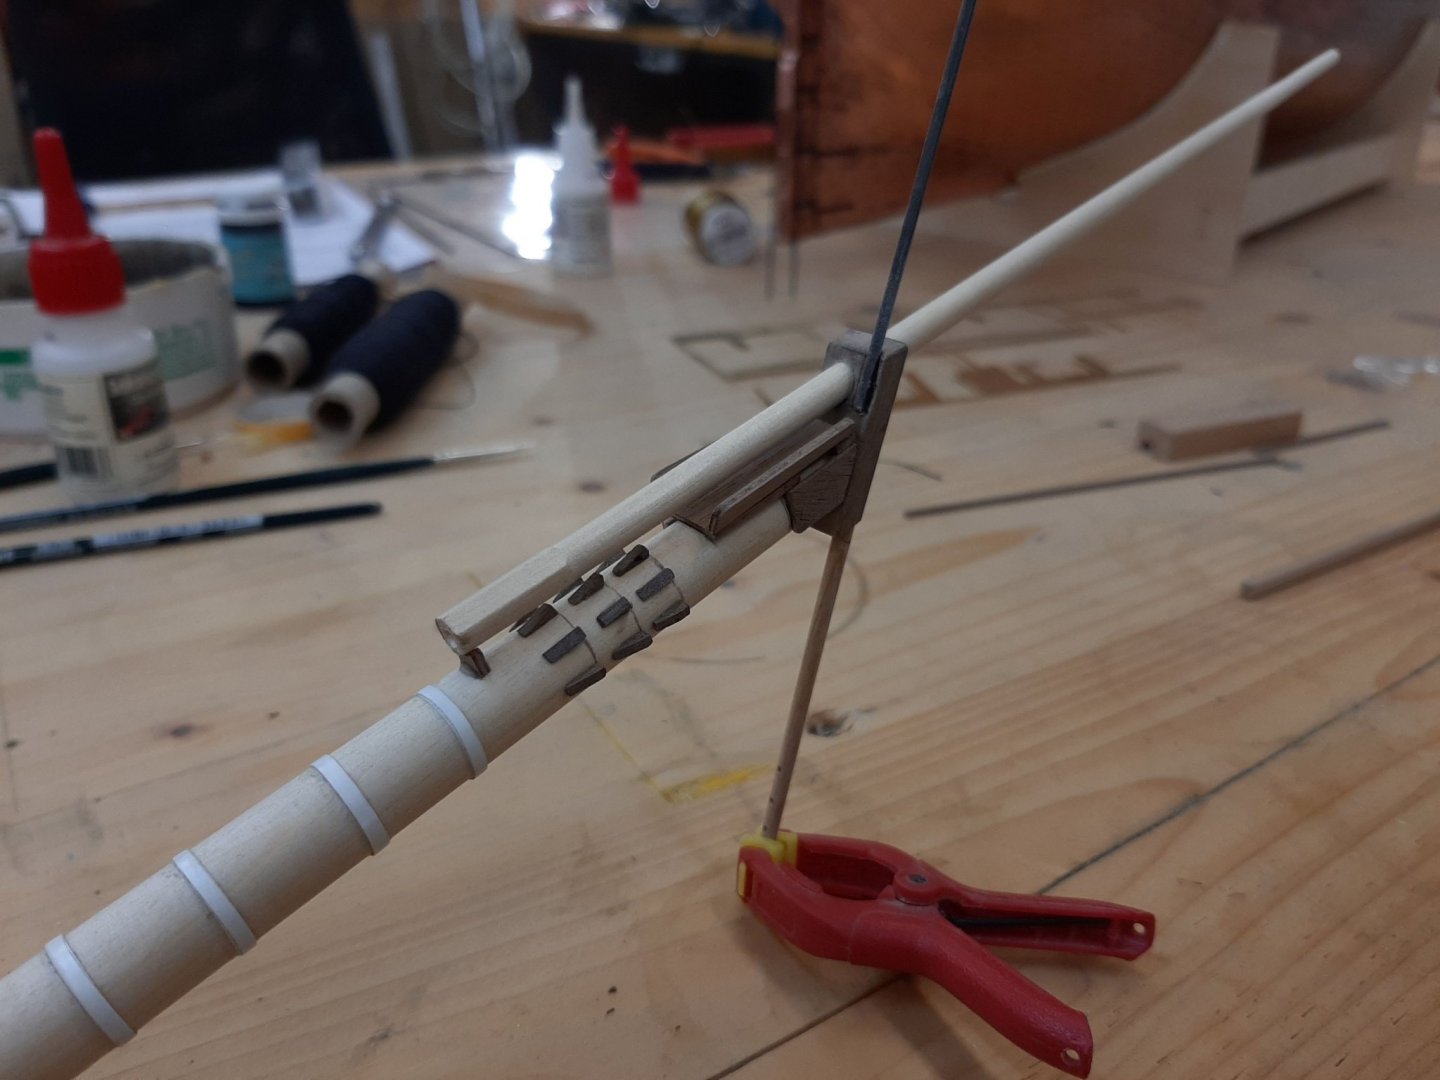
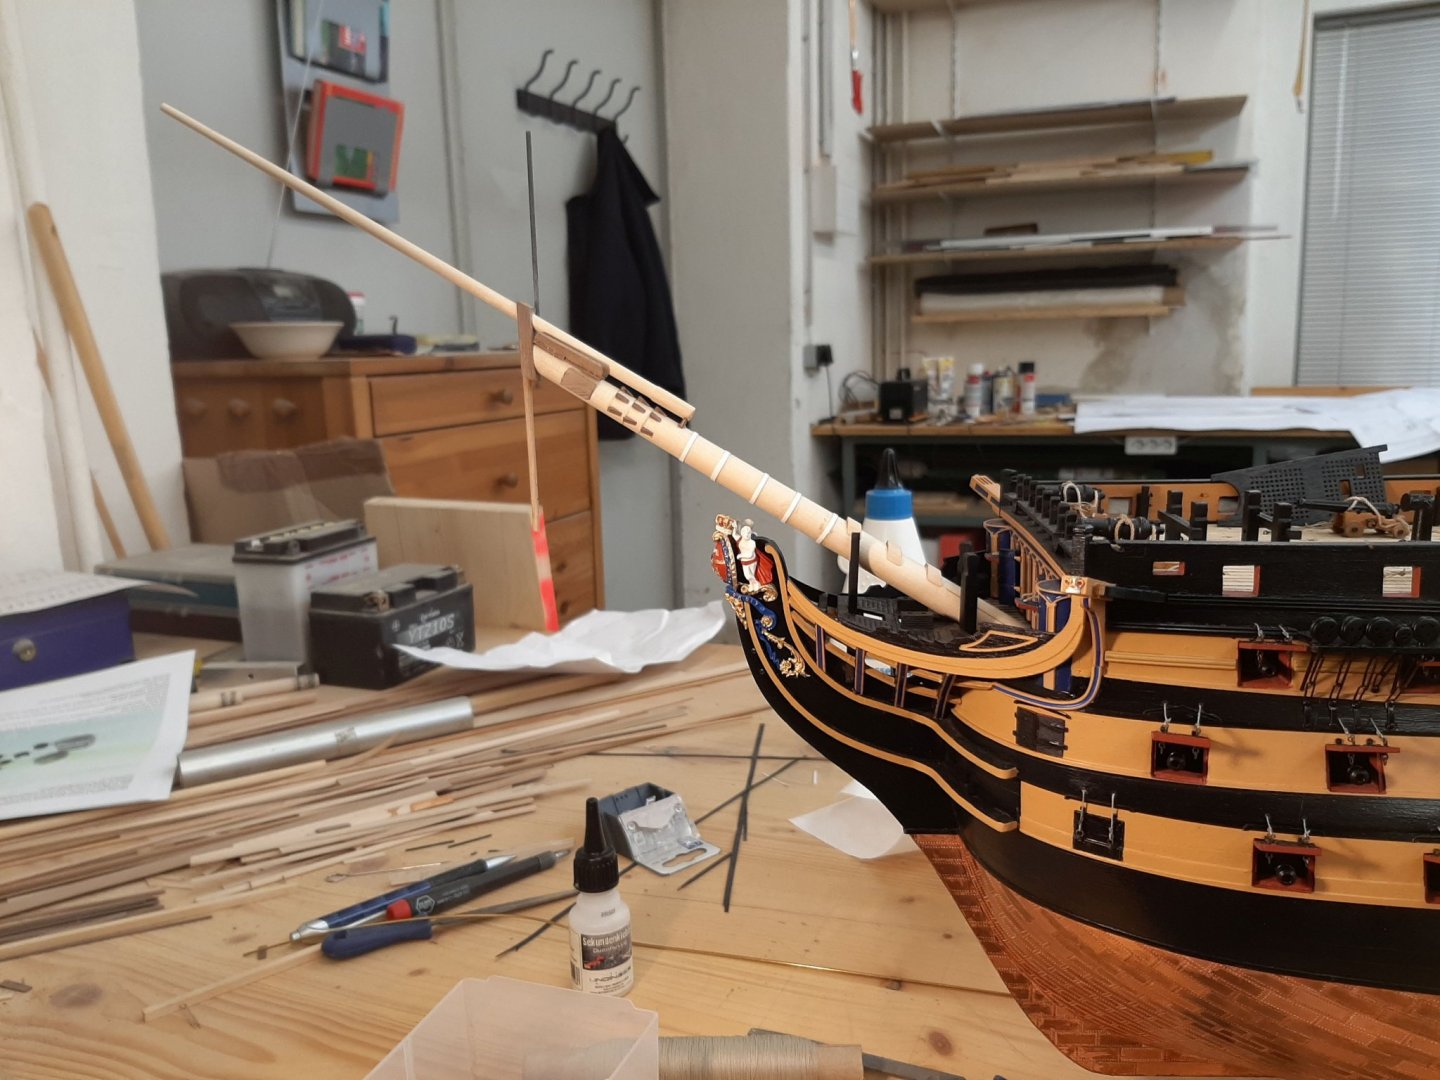
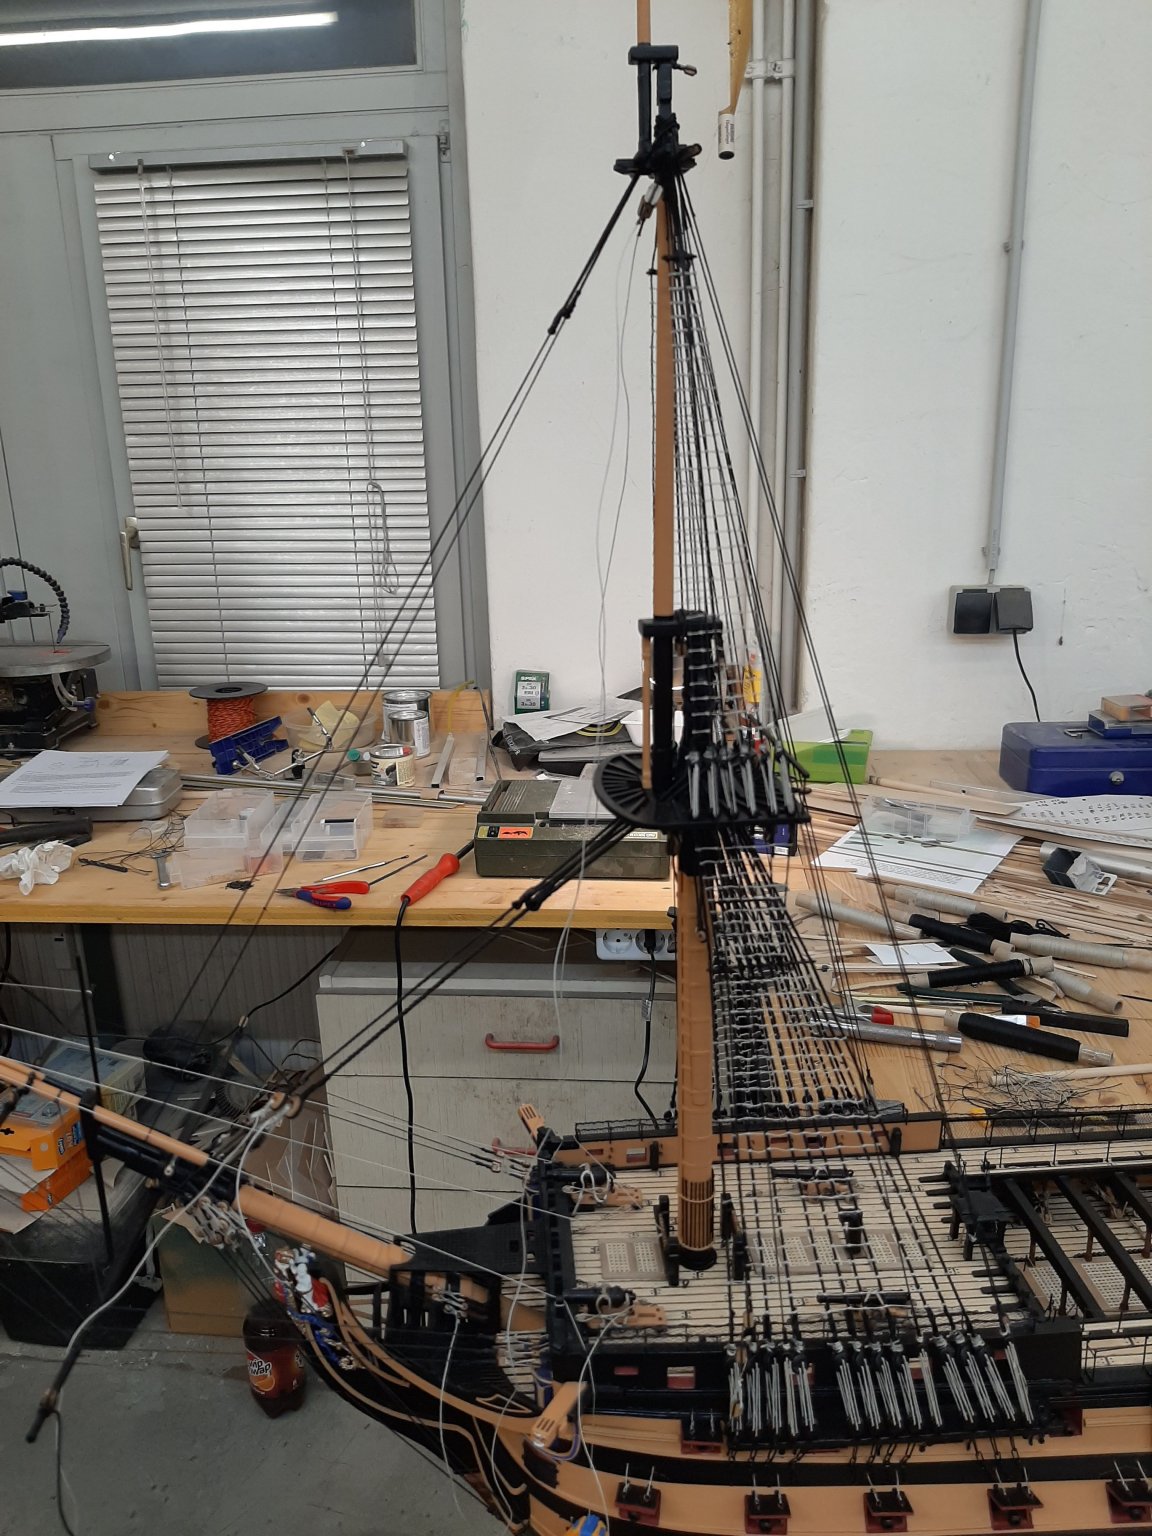
Now that the hull was reasonably finished I started with the masts
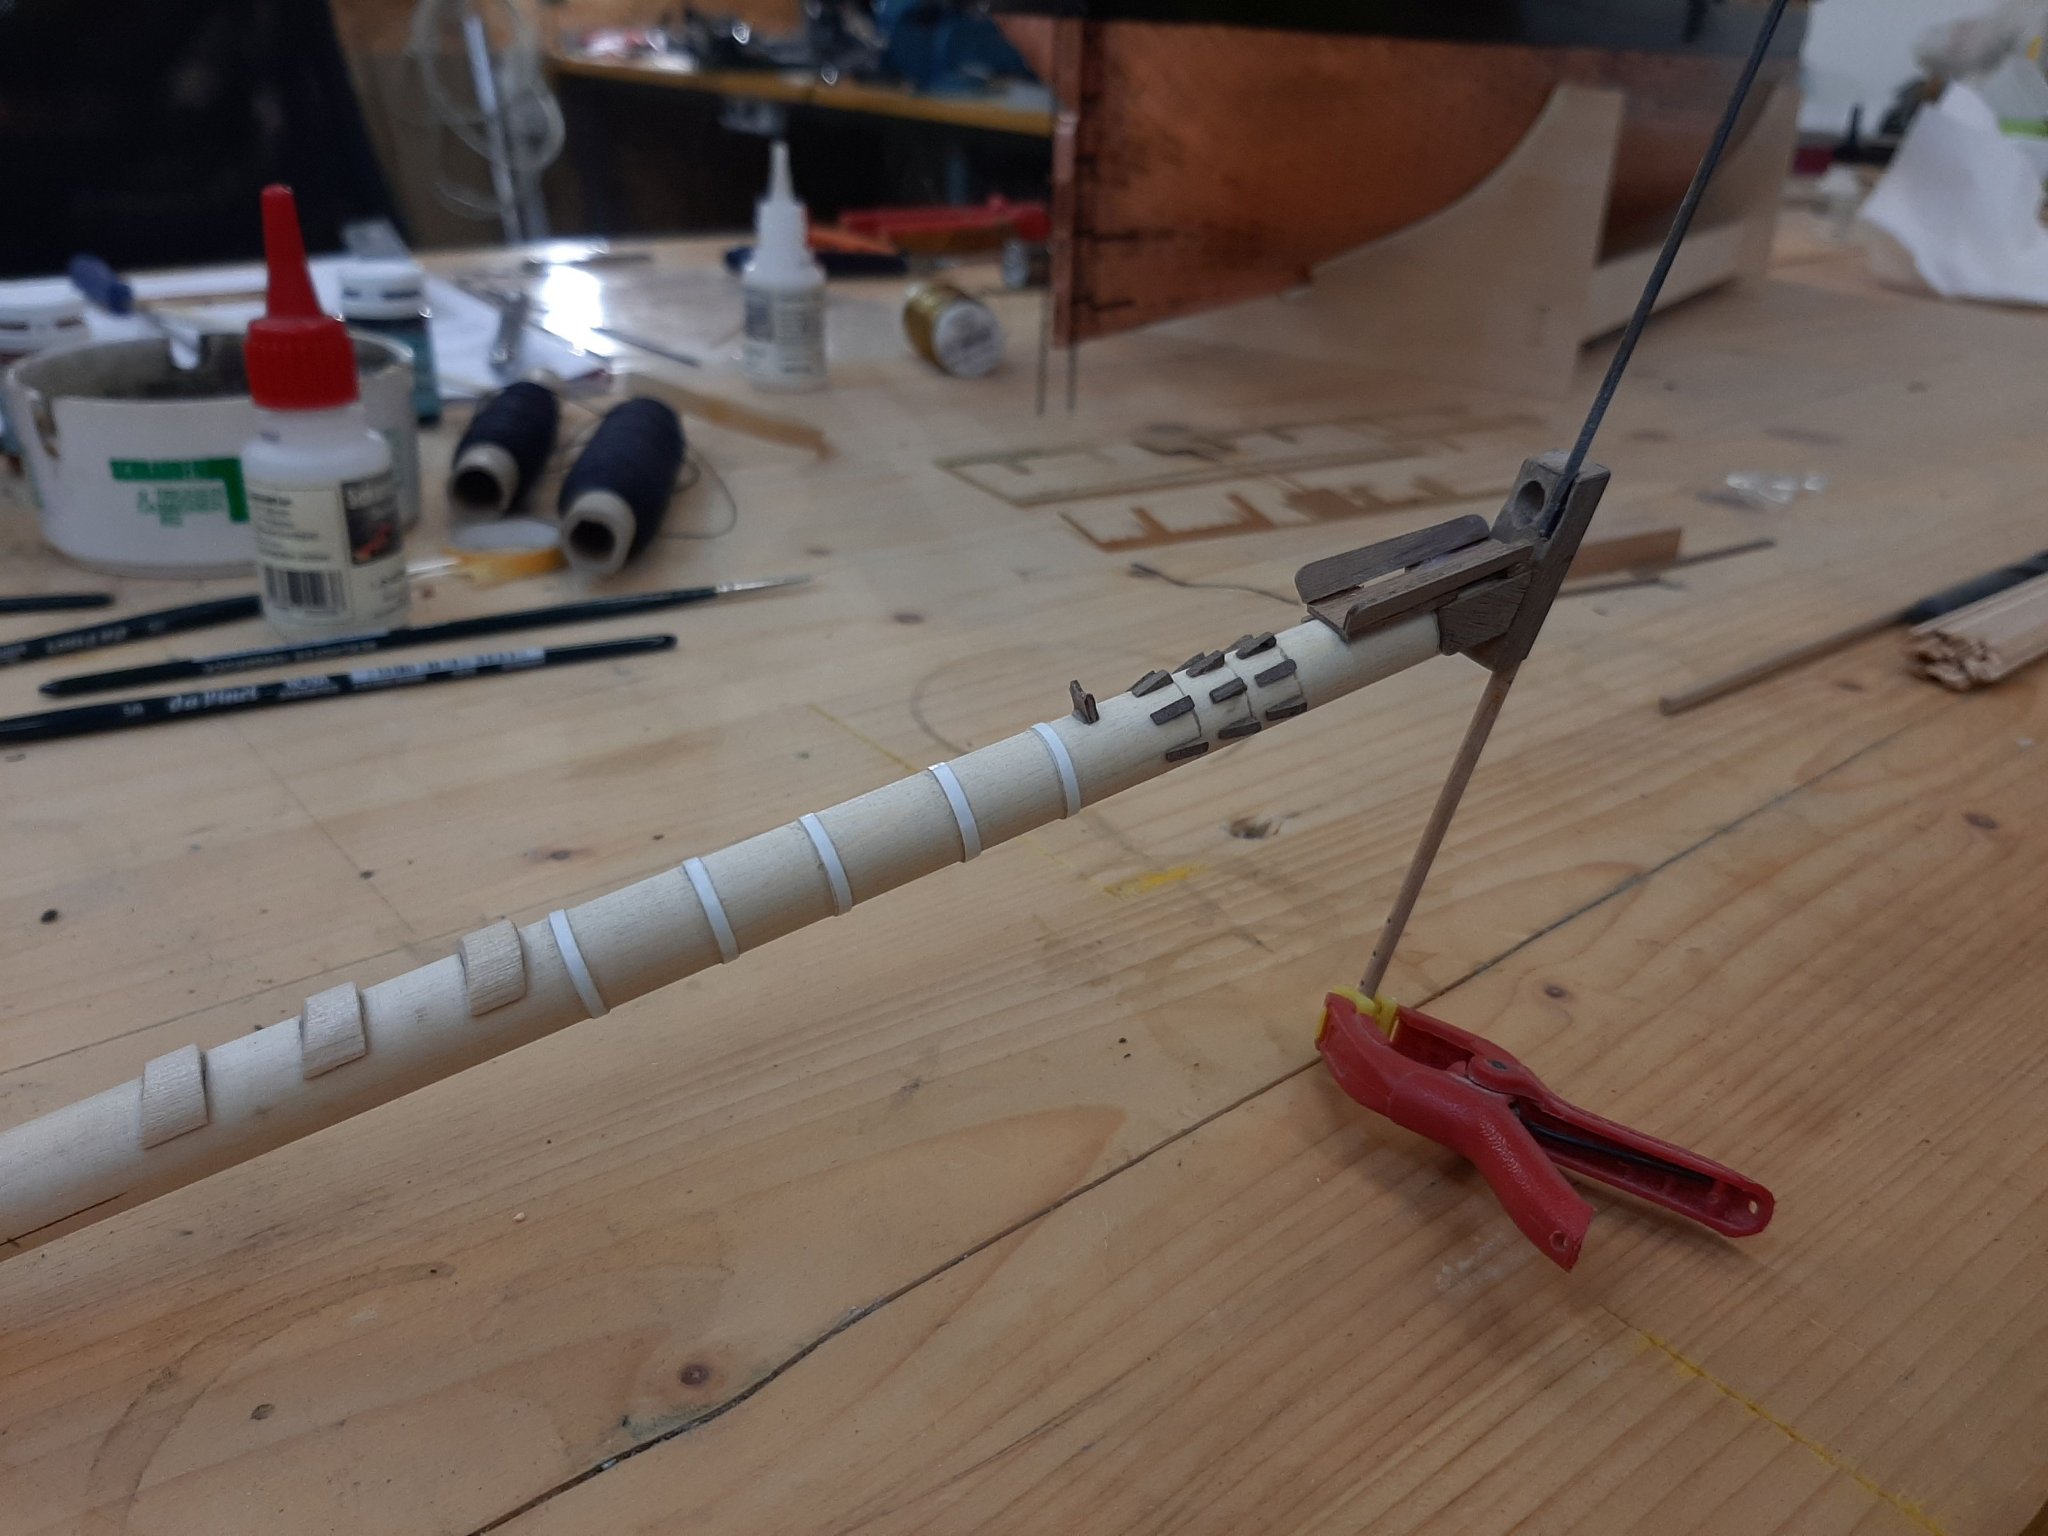
First I started with the bowsprit.
I have made all masts from five individual parts so that they cannot twist


That was it for today again
Helli
- mort stoll, BenD, Beef Wellington and 9 others
-
12
-
Hi,
It is always a pleasure to follow your build log. What a great job.
Helli
- md1400cs and mort stoll
-
2
-
Hi,
Thank you for the flowers. I give my best. Despite the problems, it is a lot of fun
Cheers
Helli
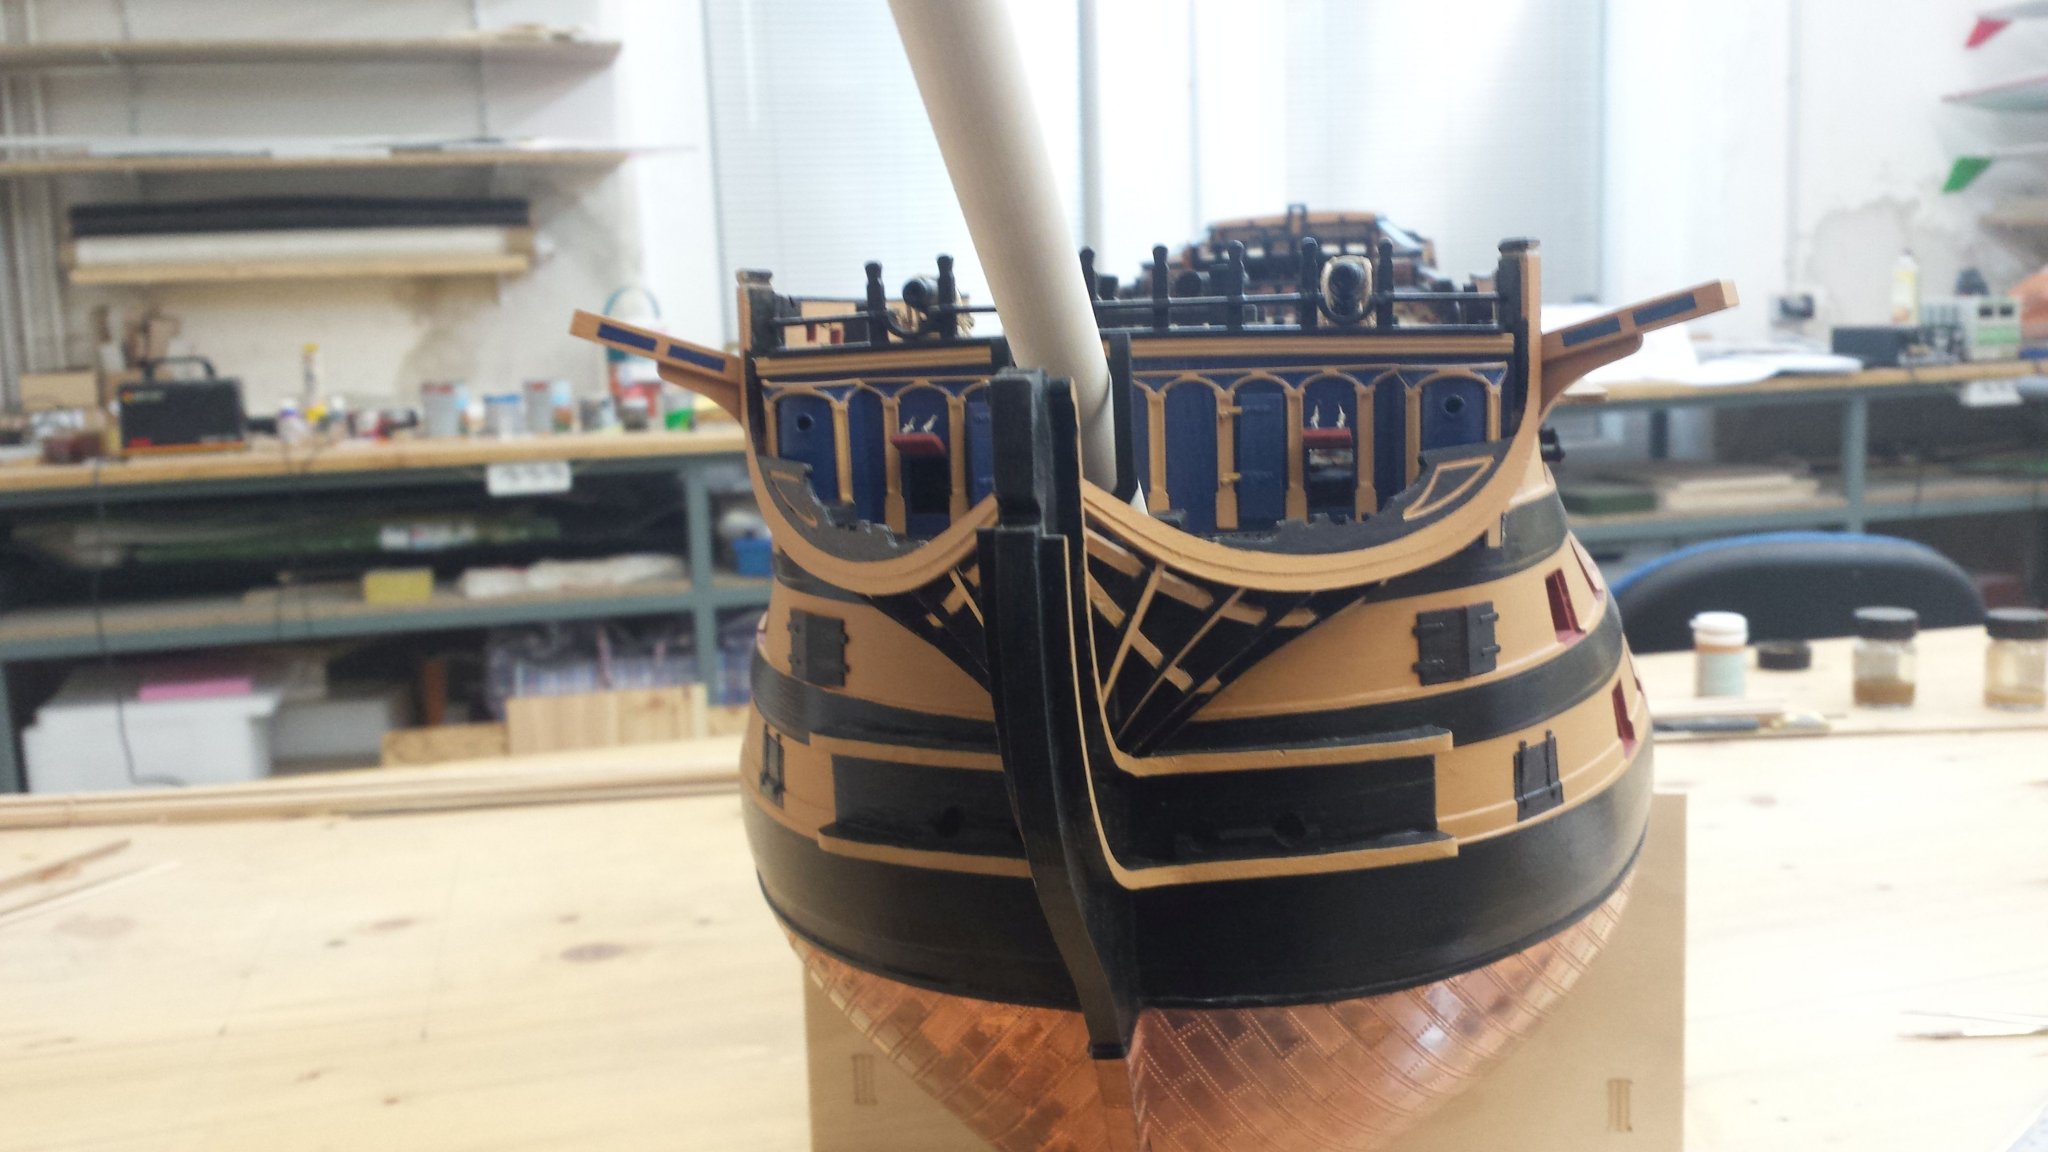
-
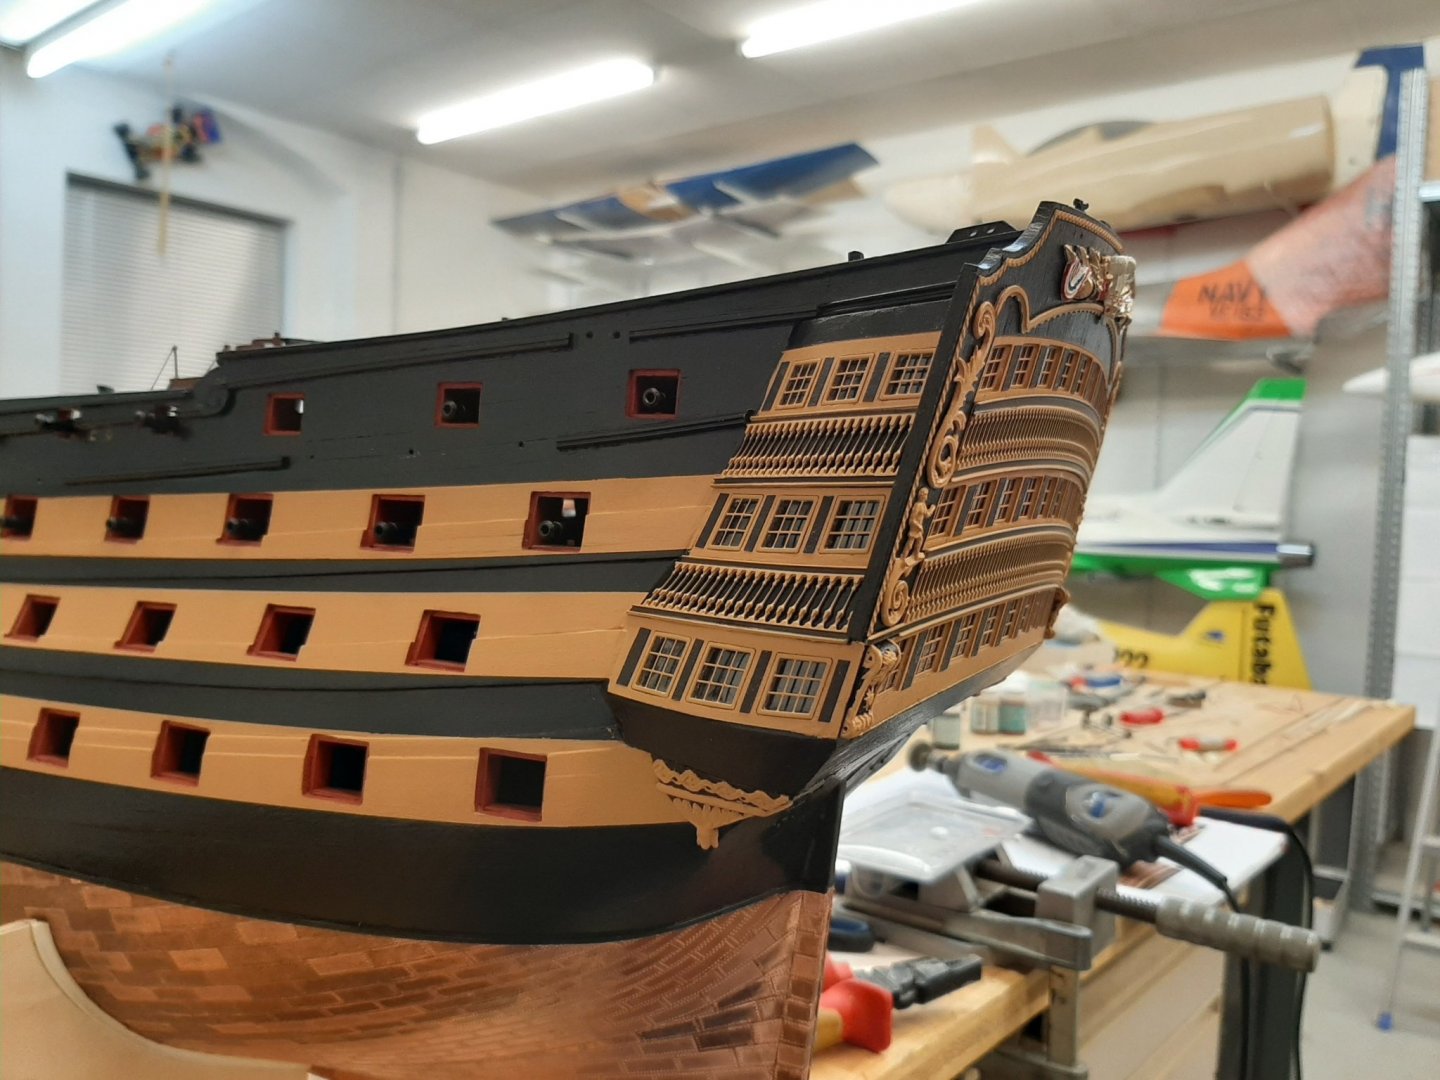
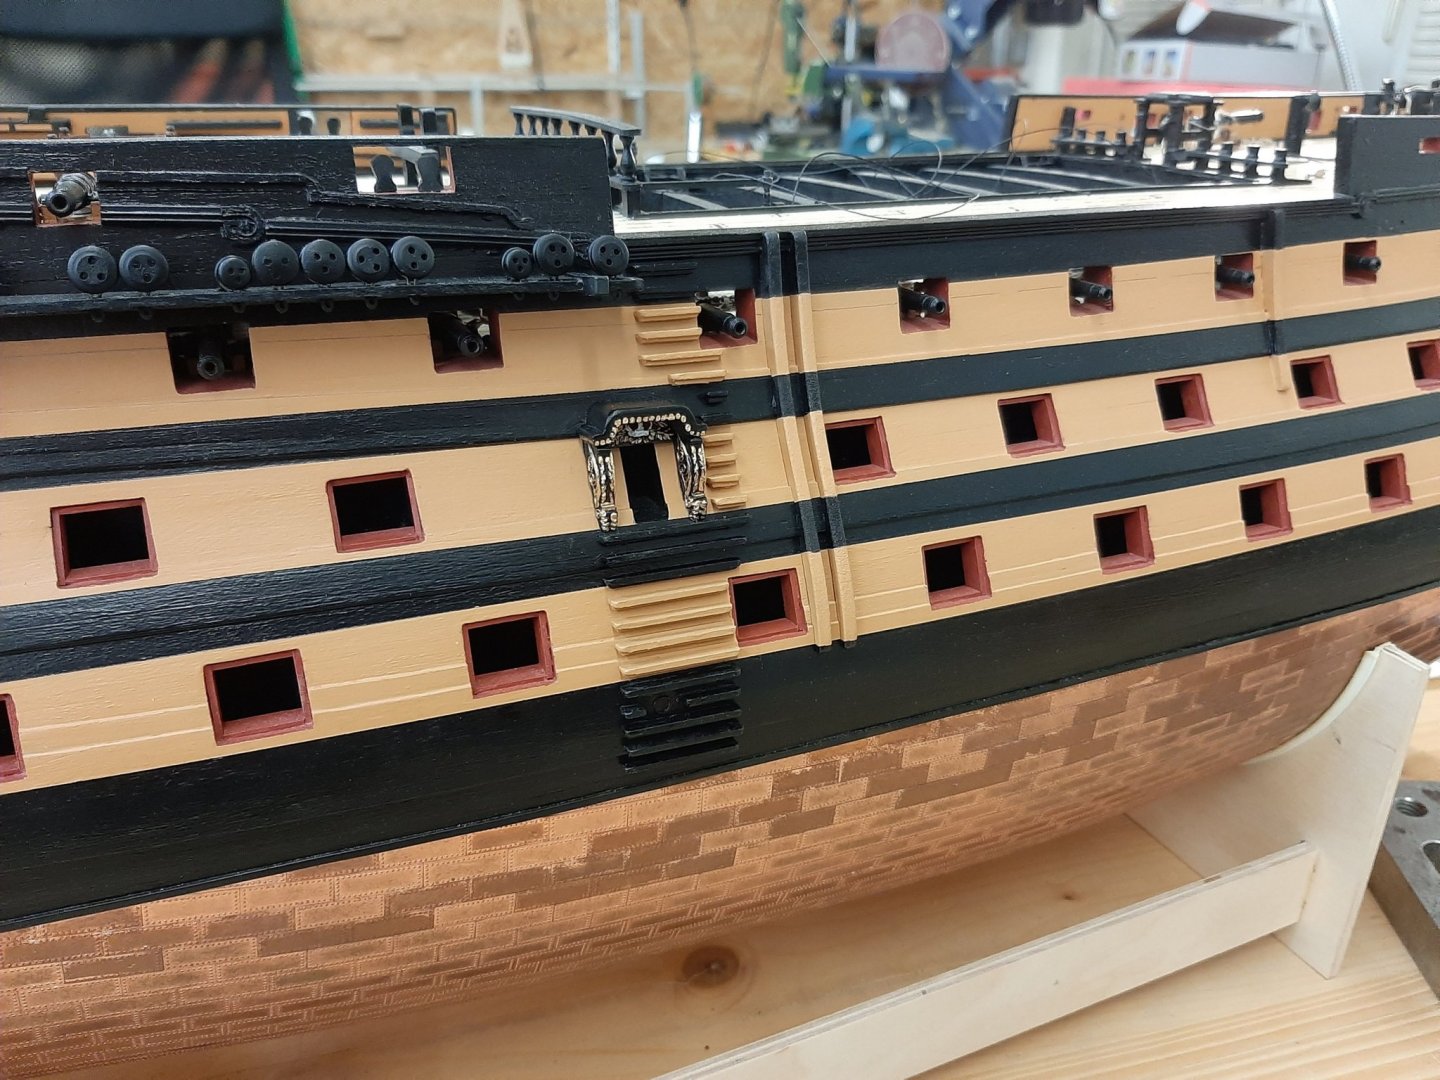
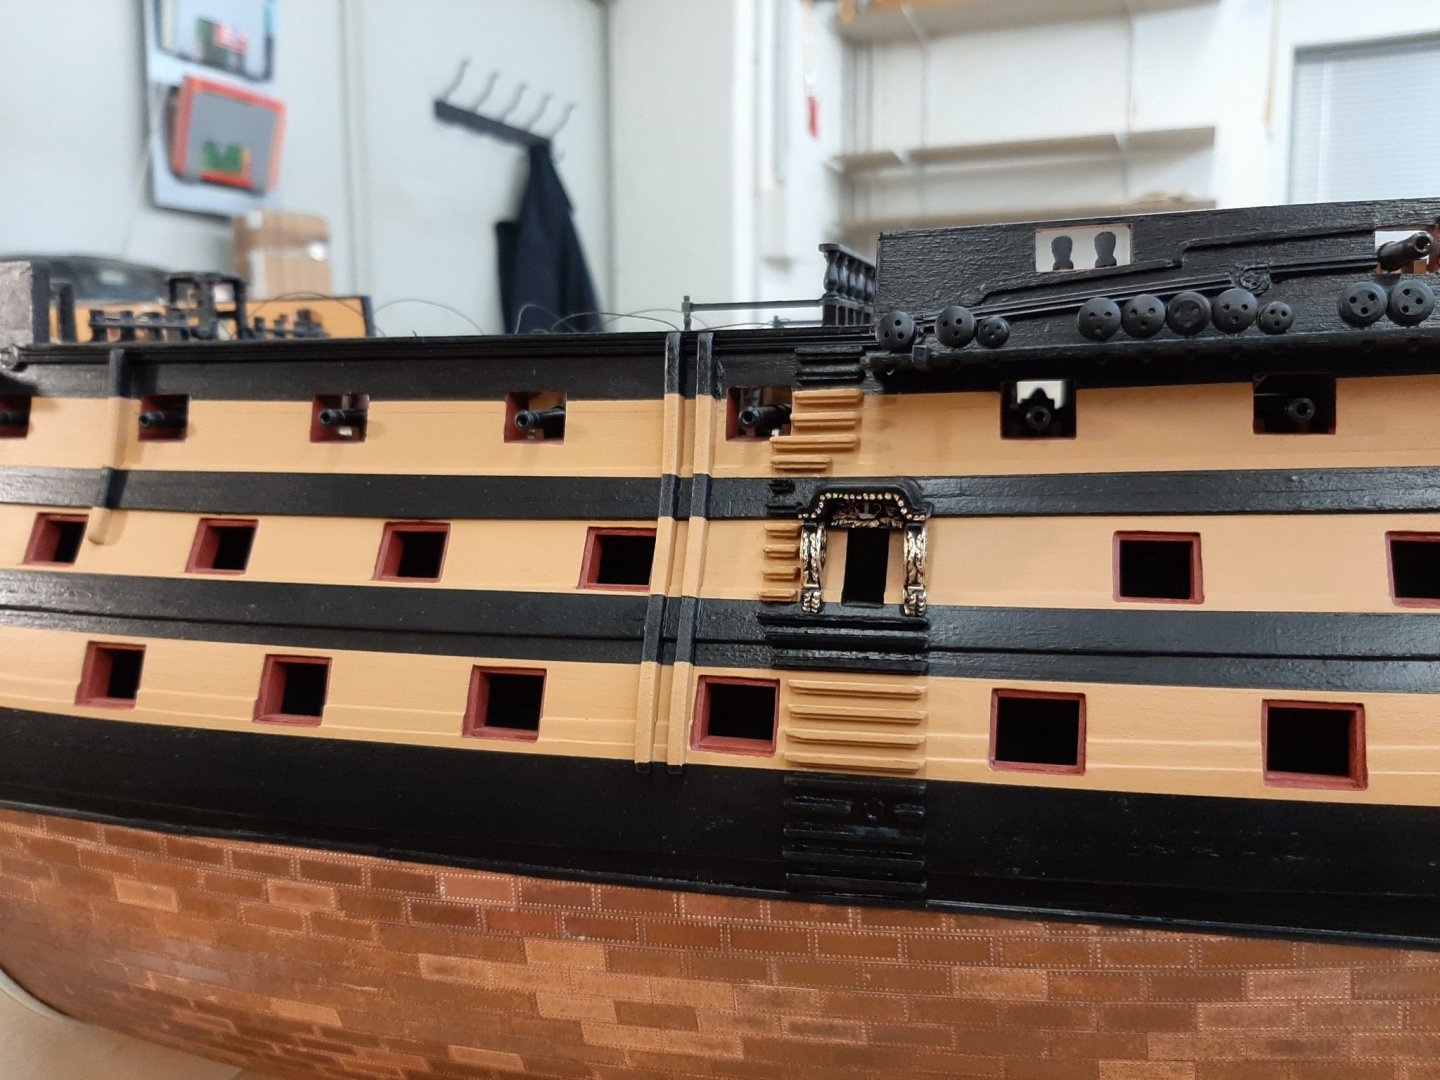
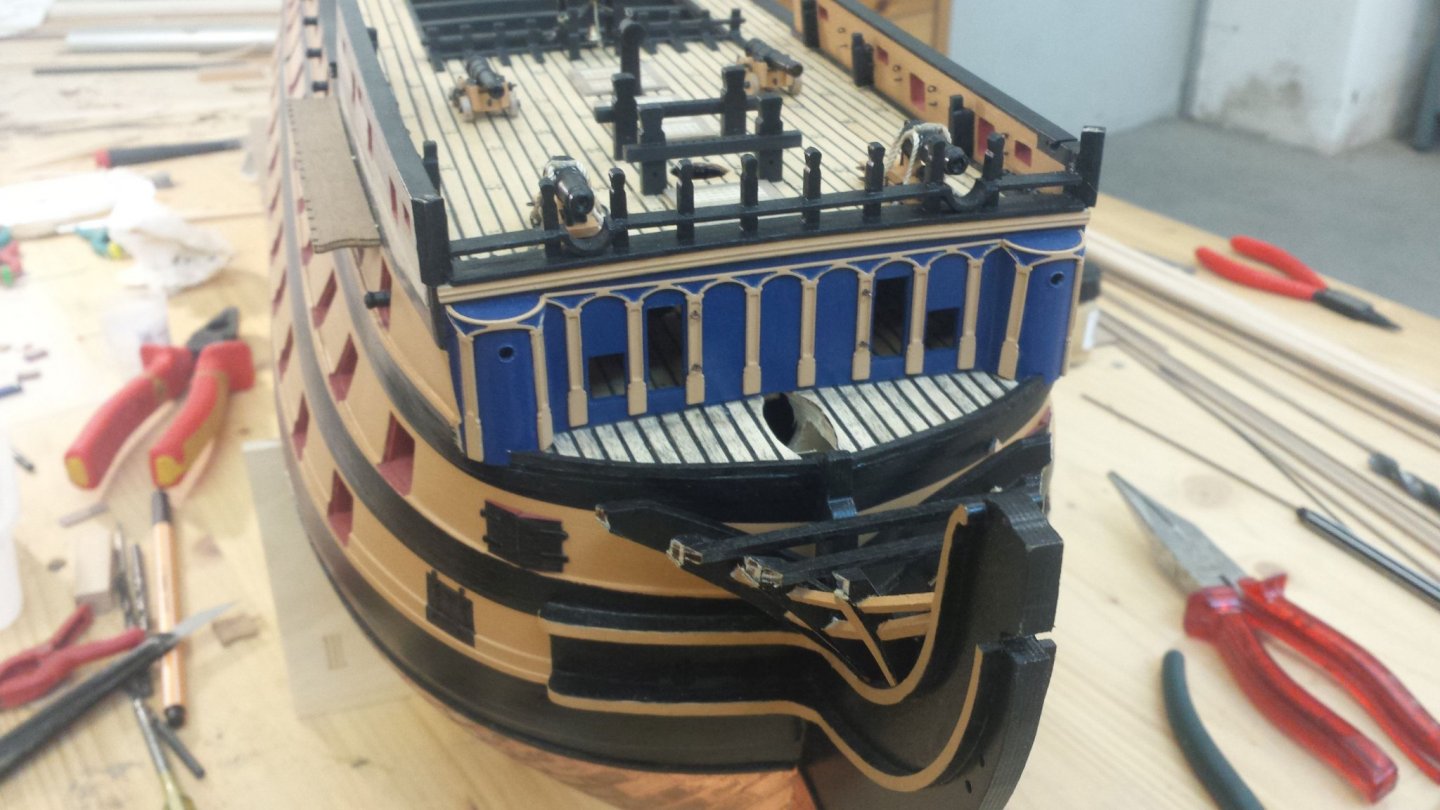
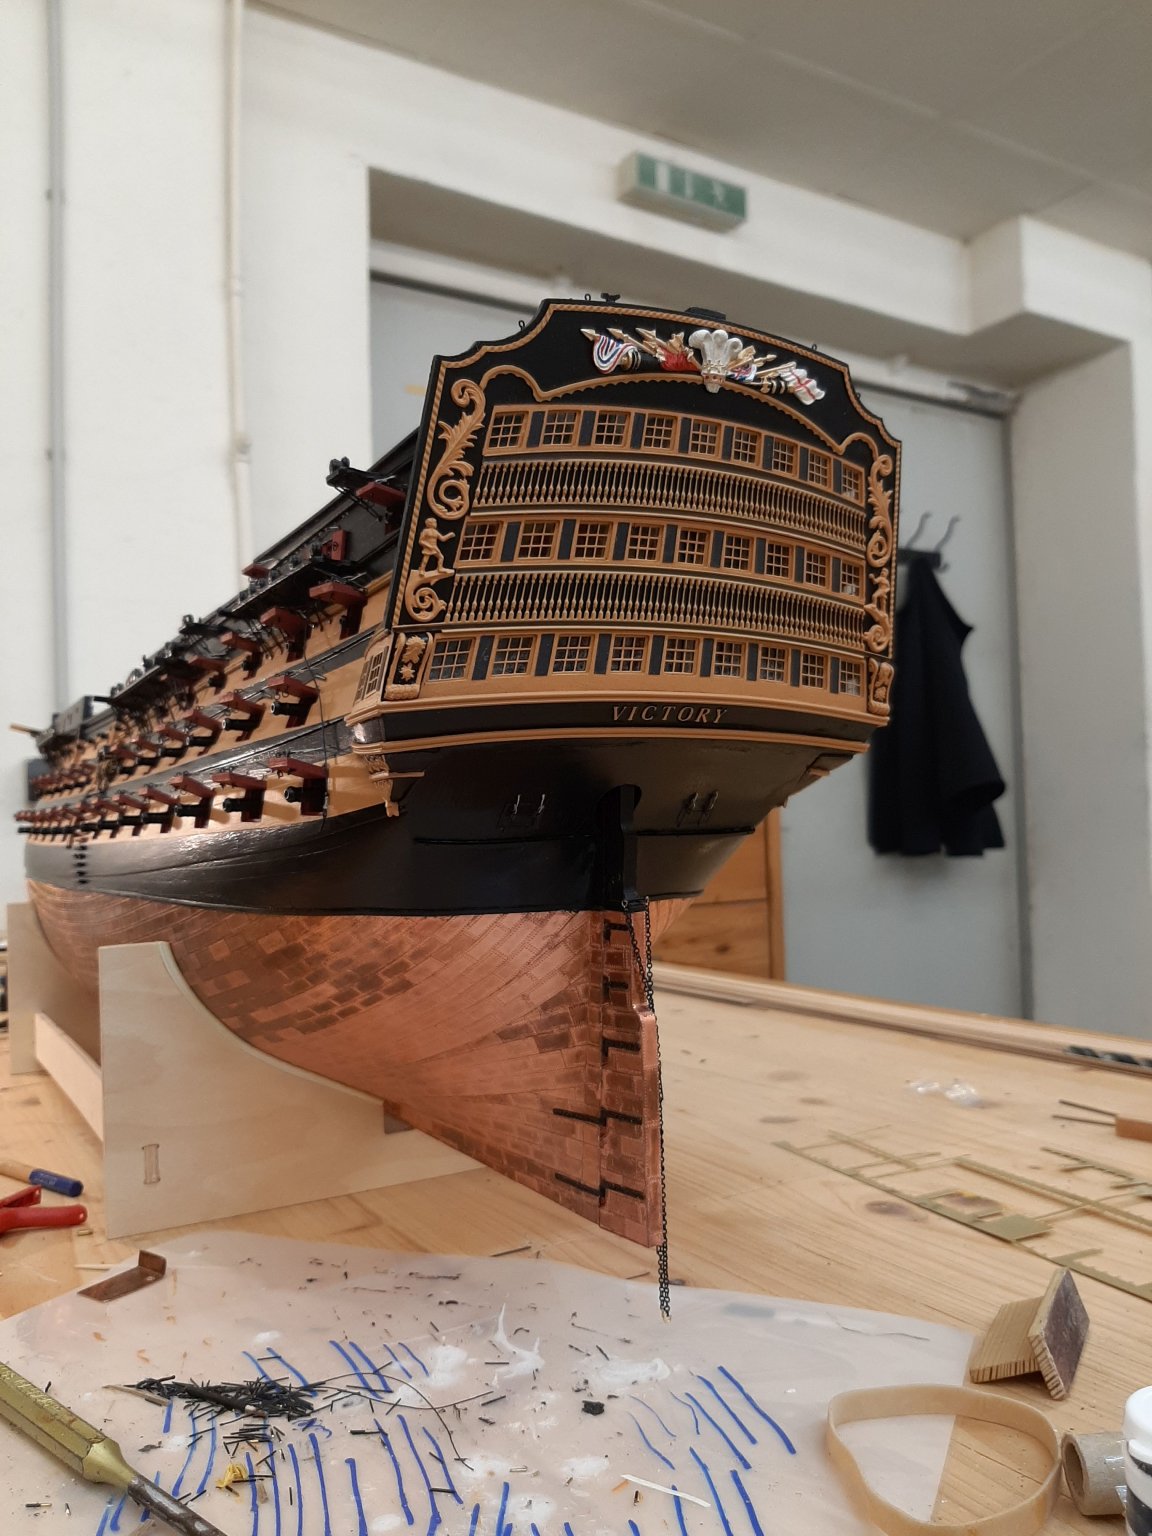
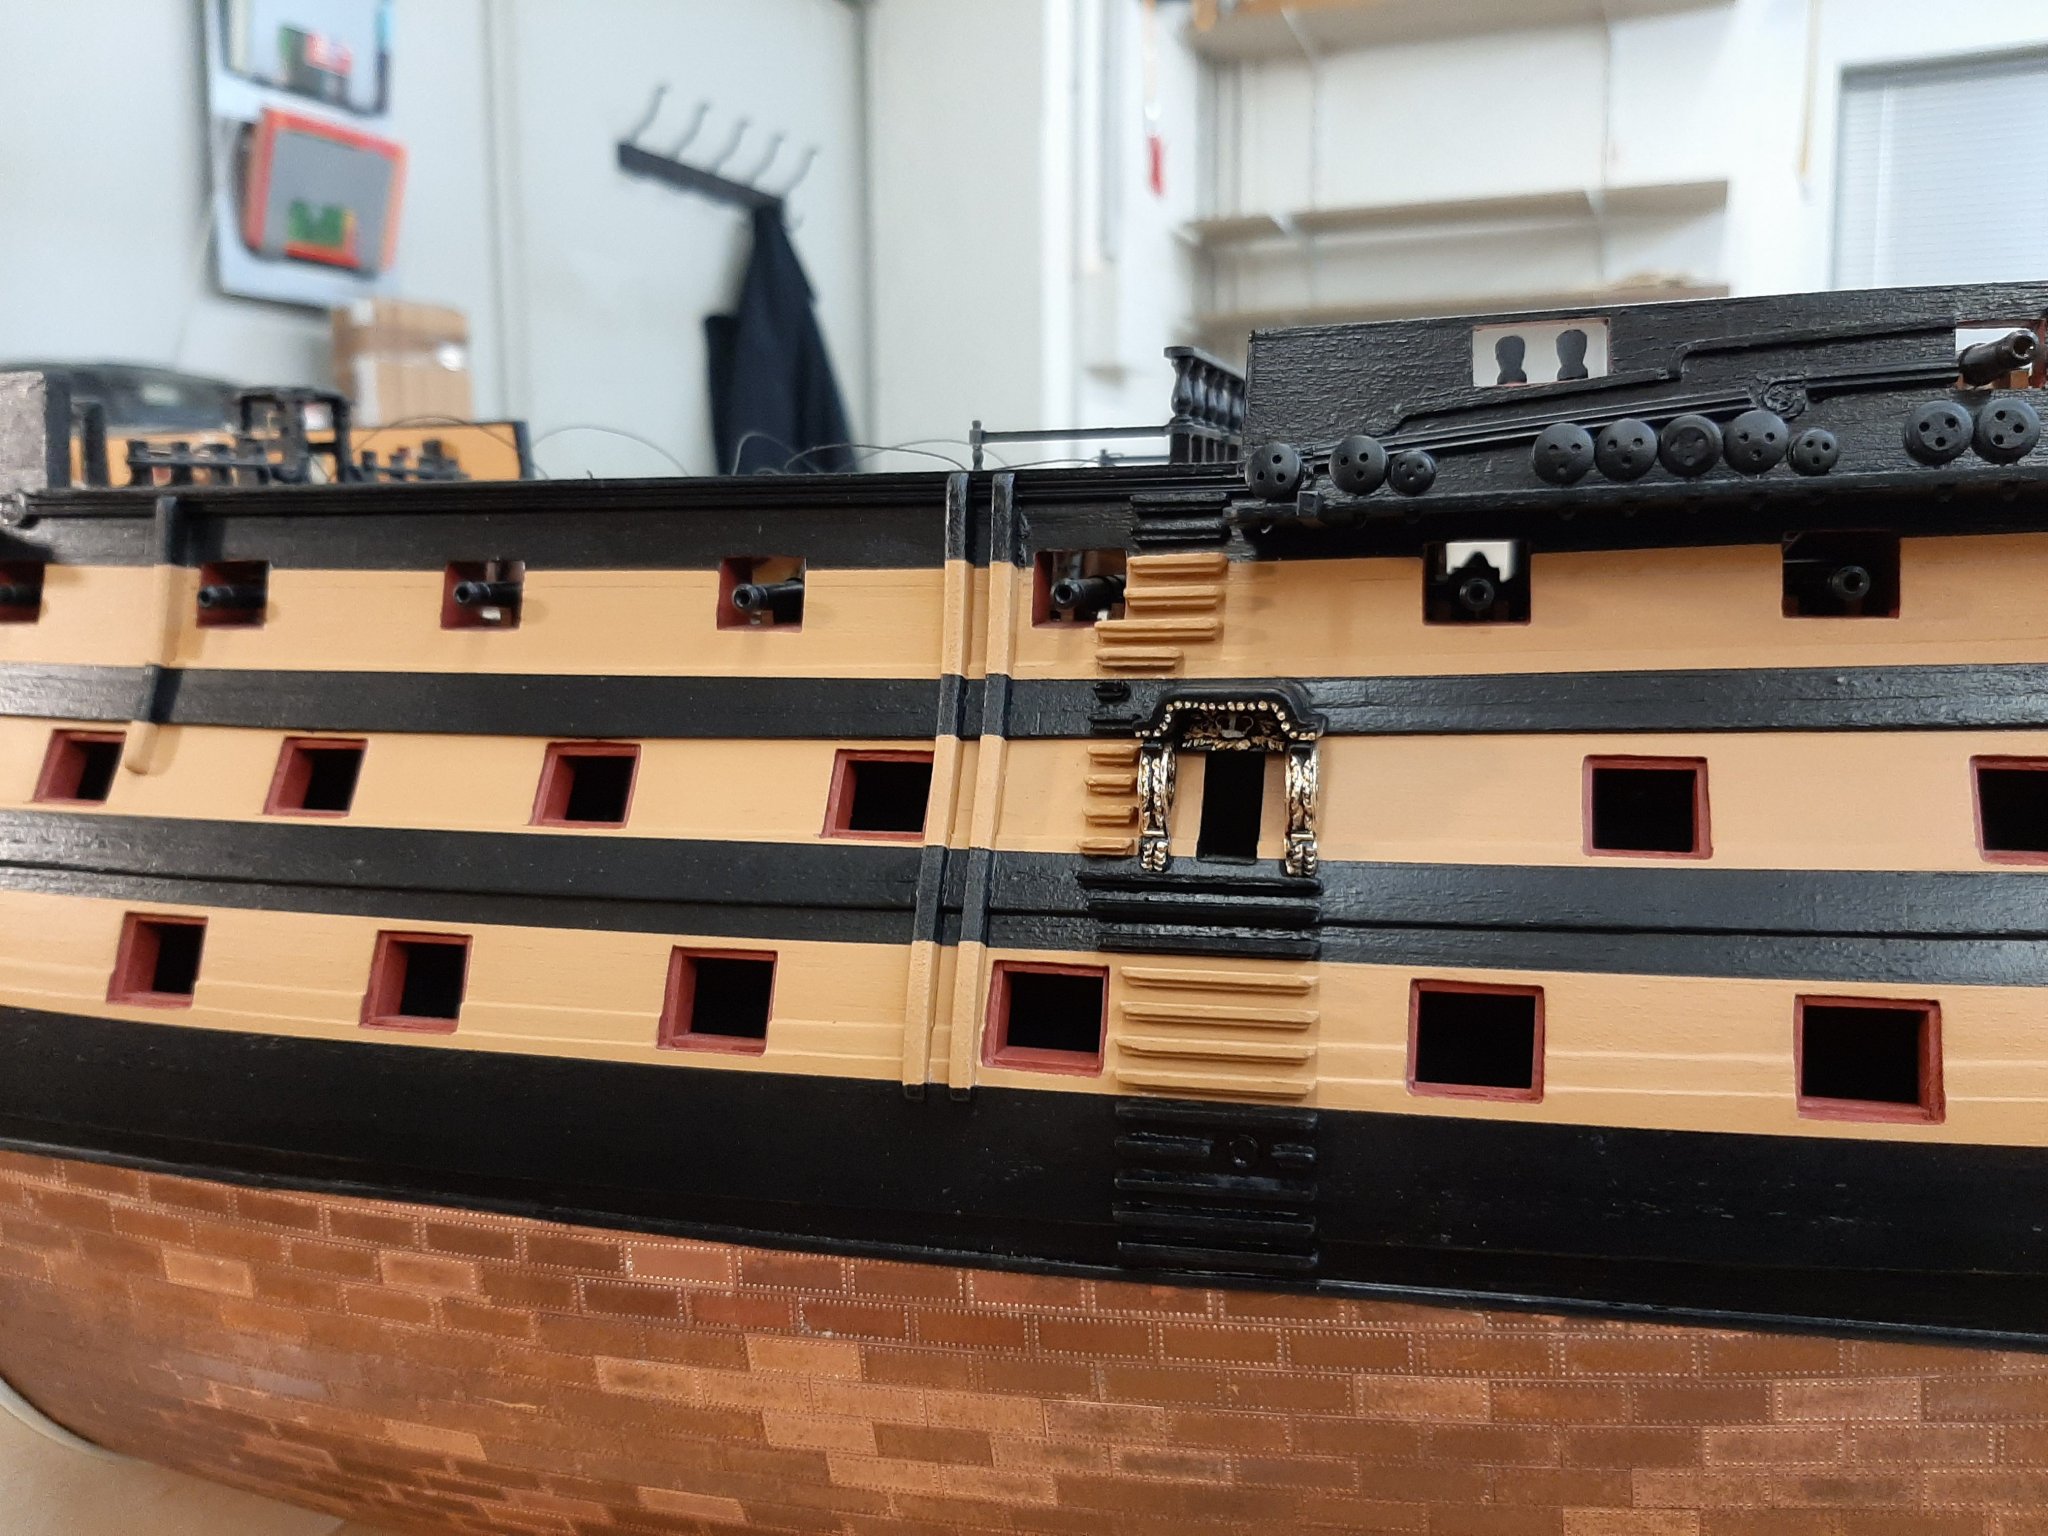
Hi,
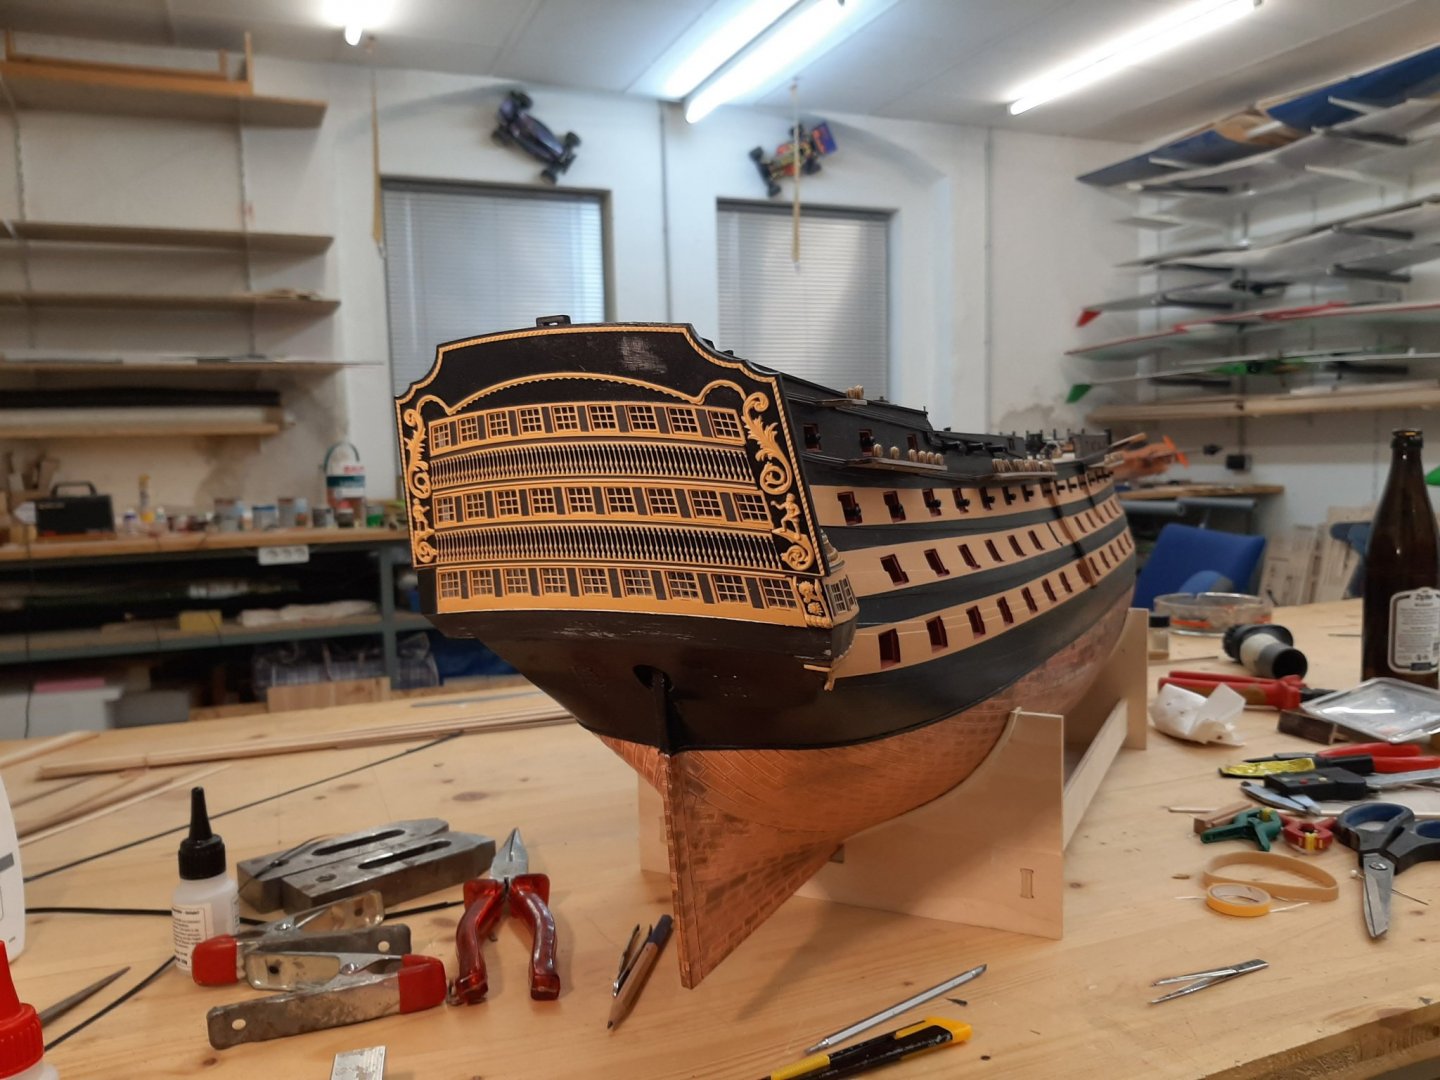
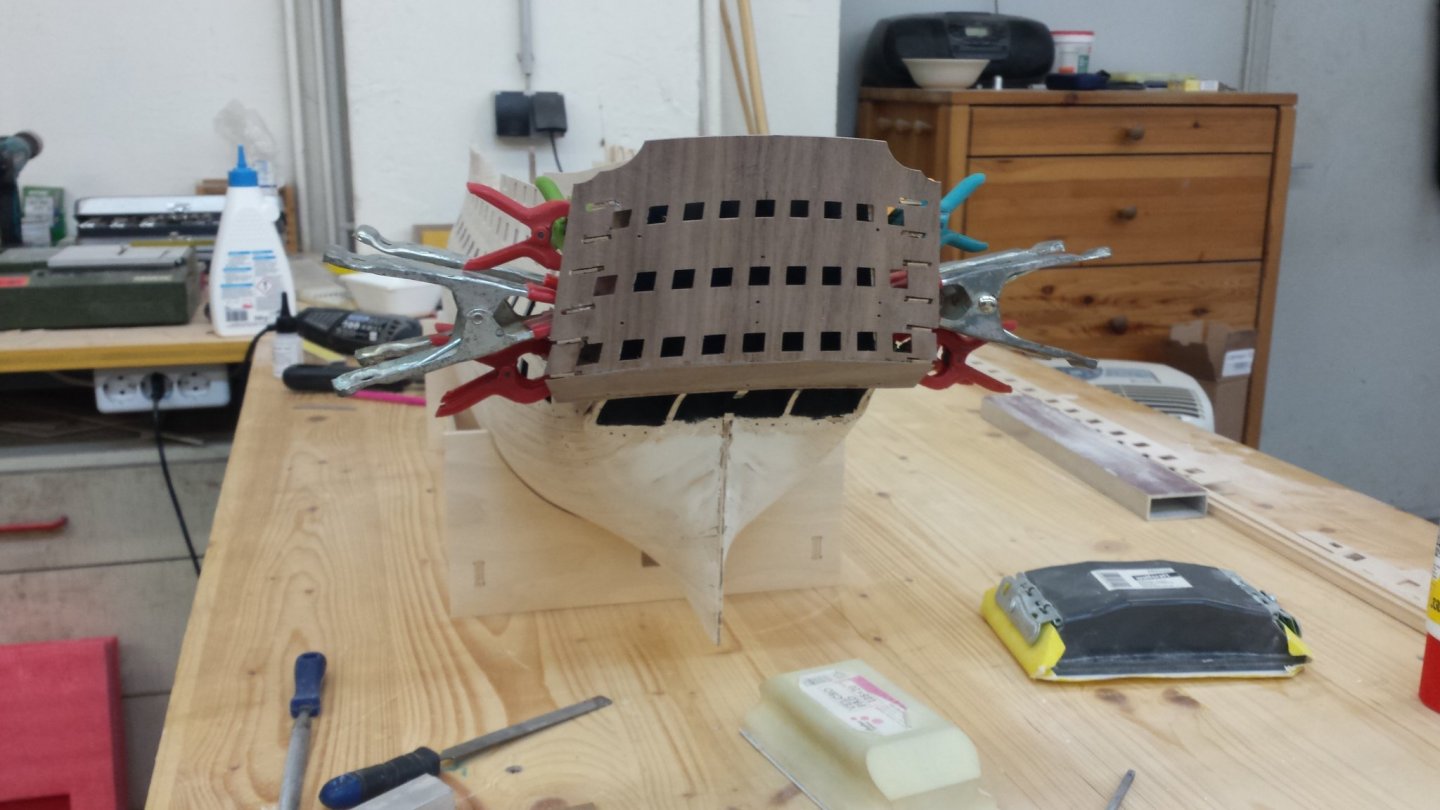
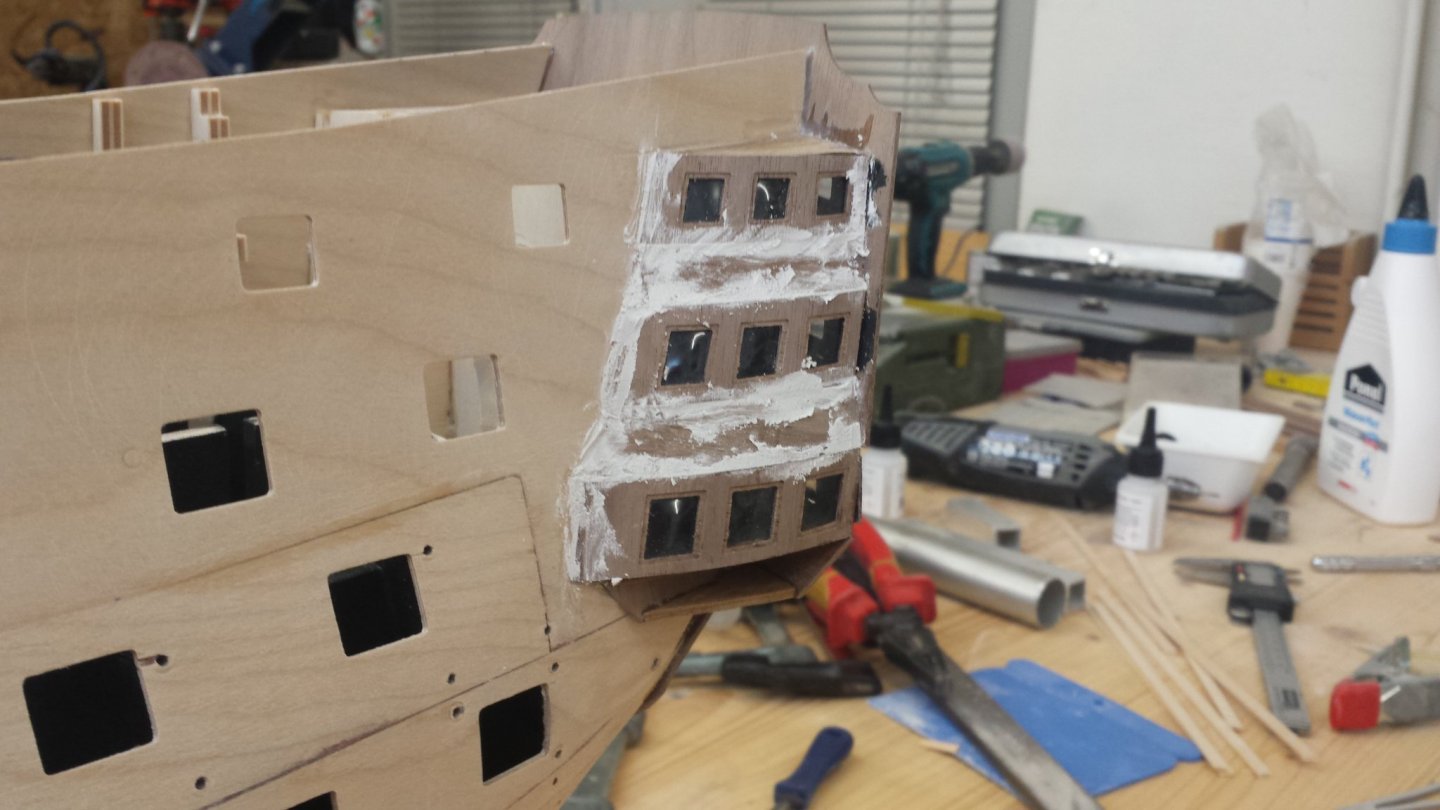
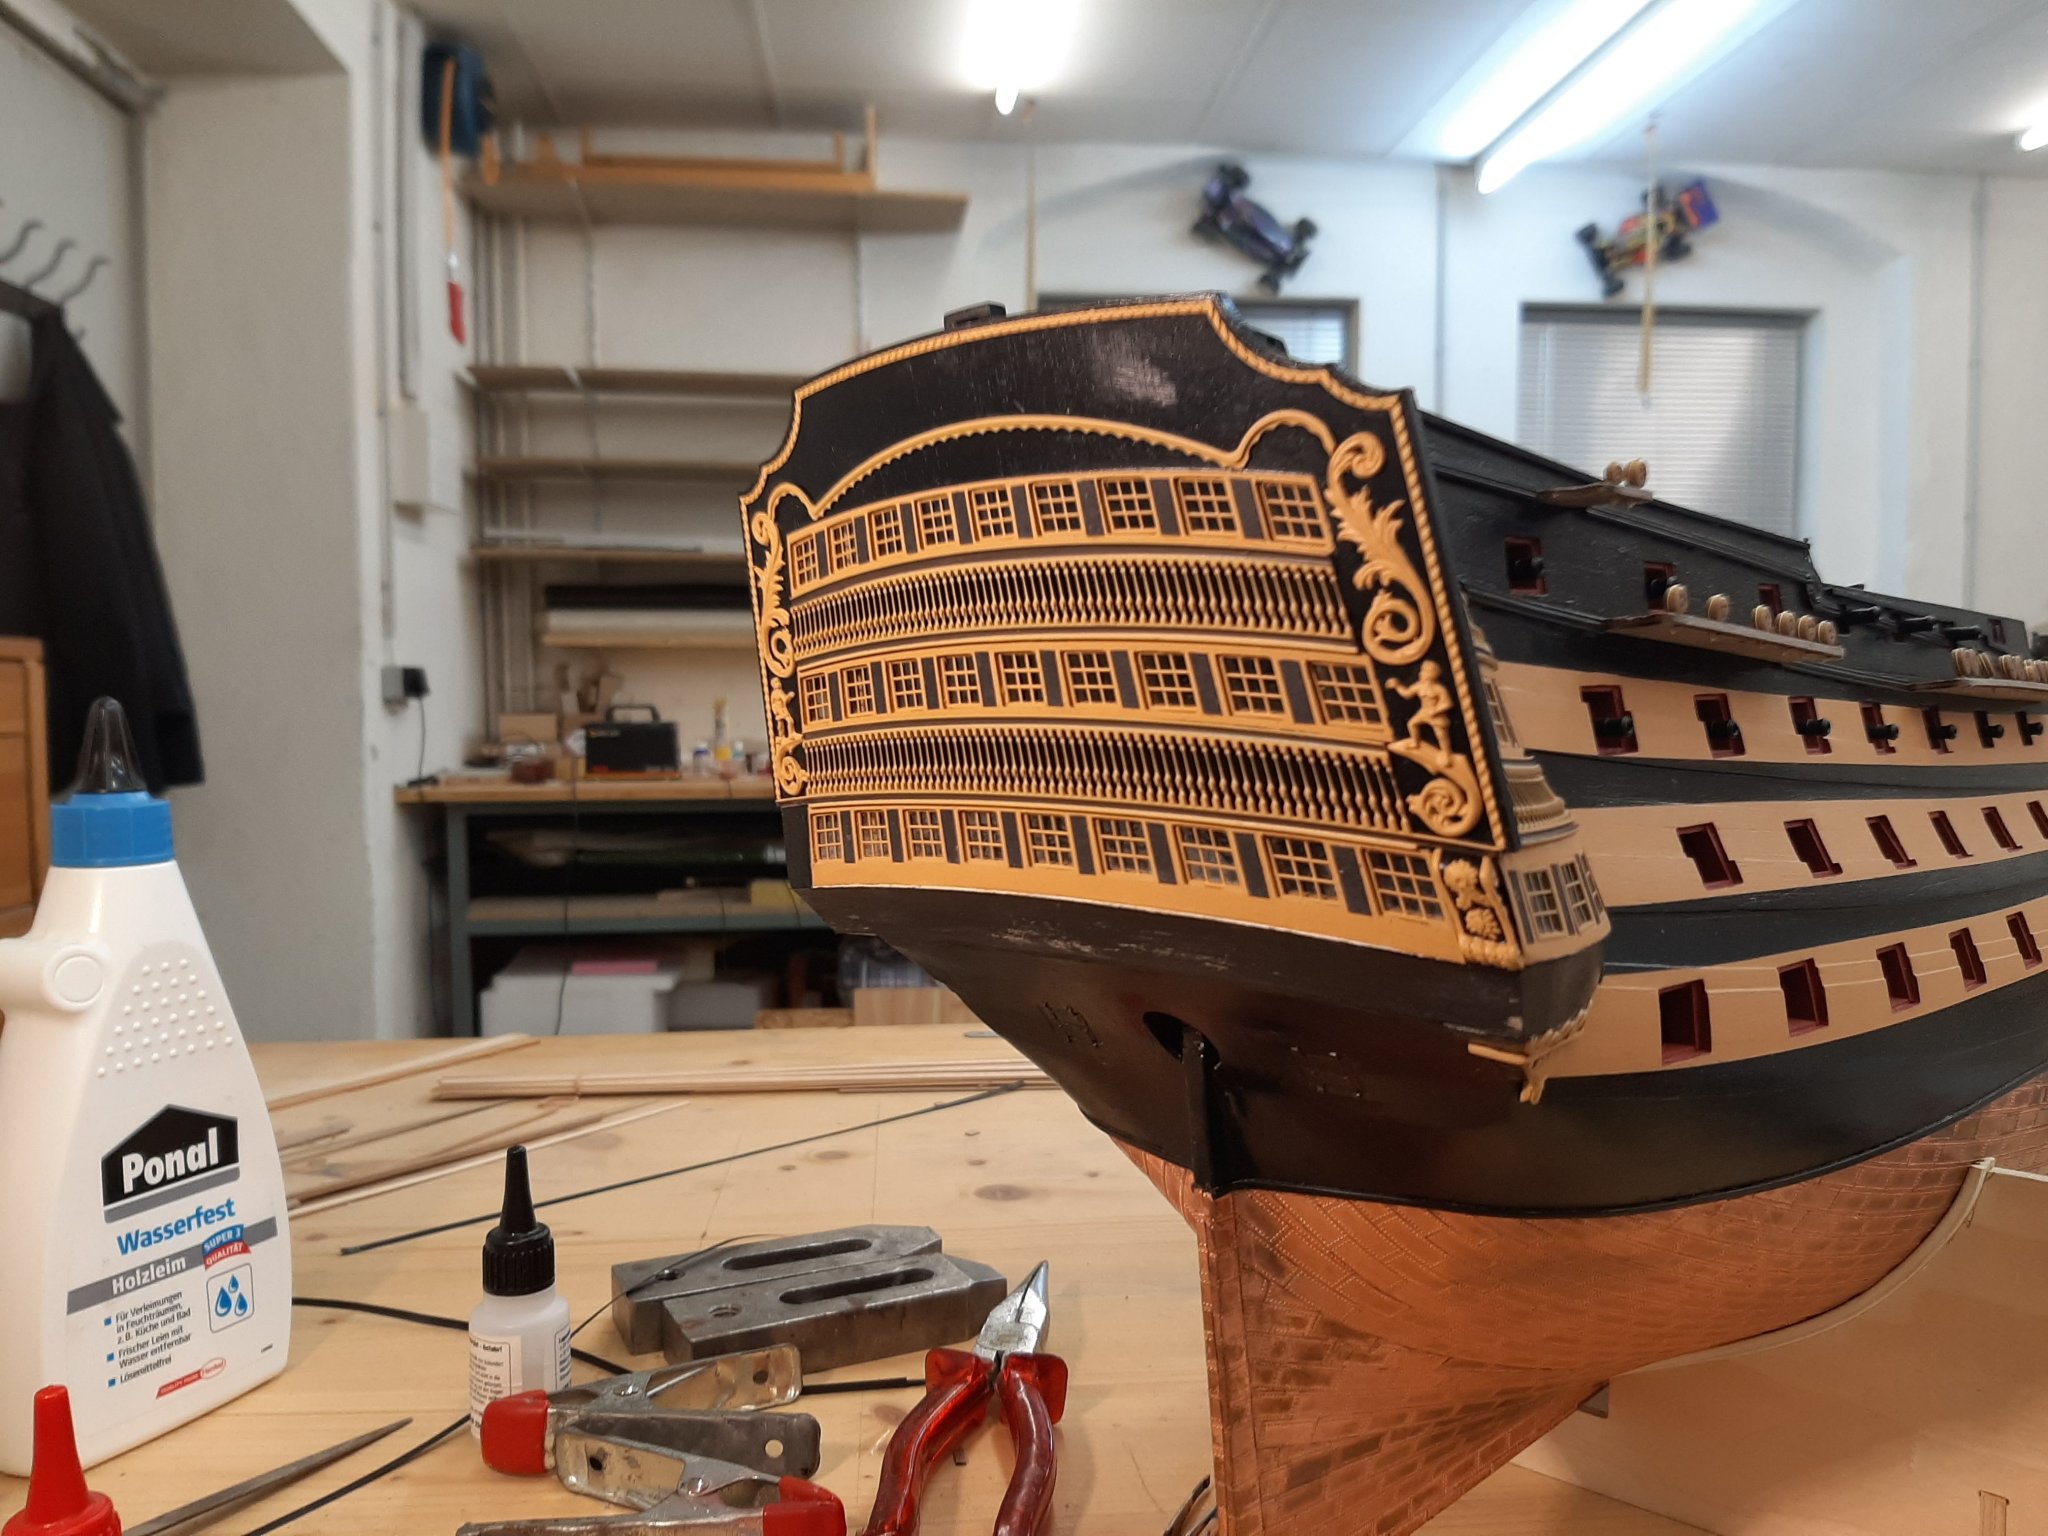
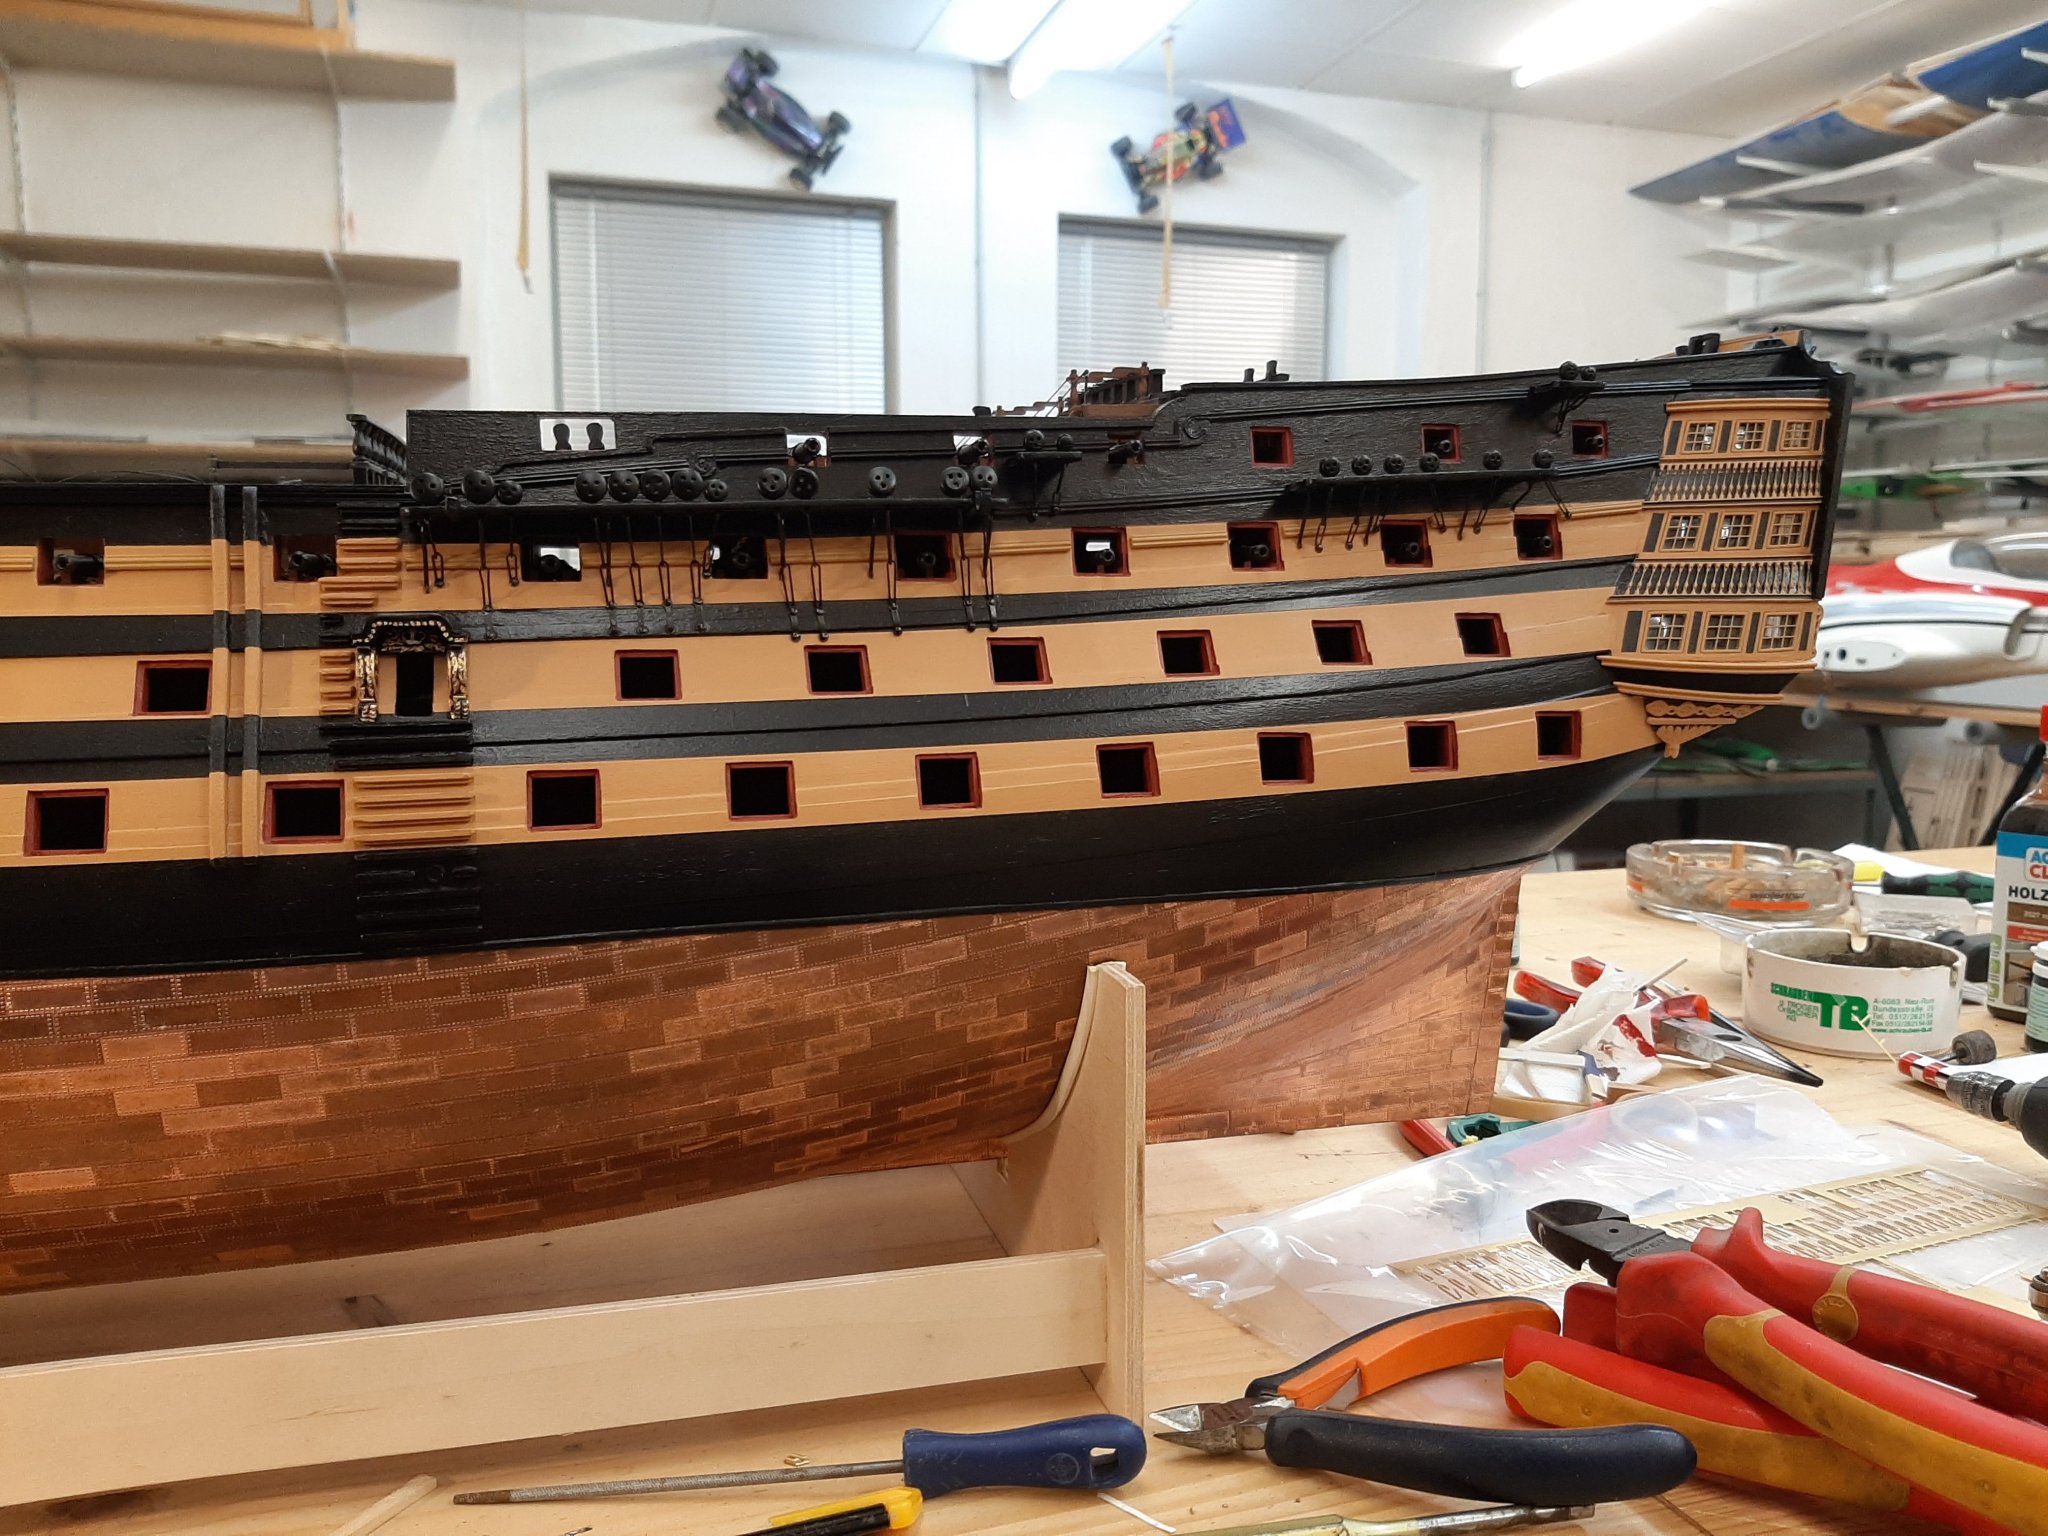
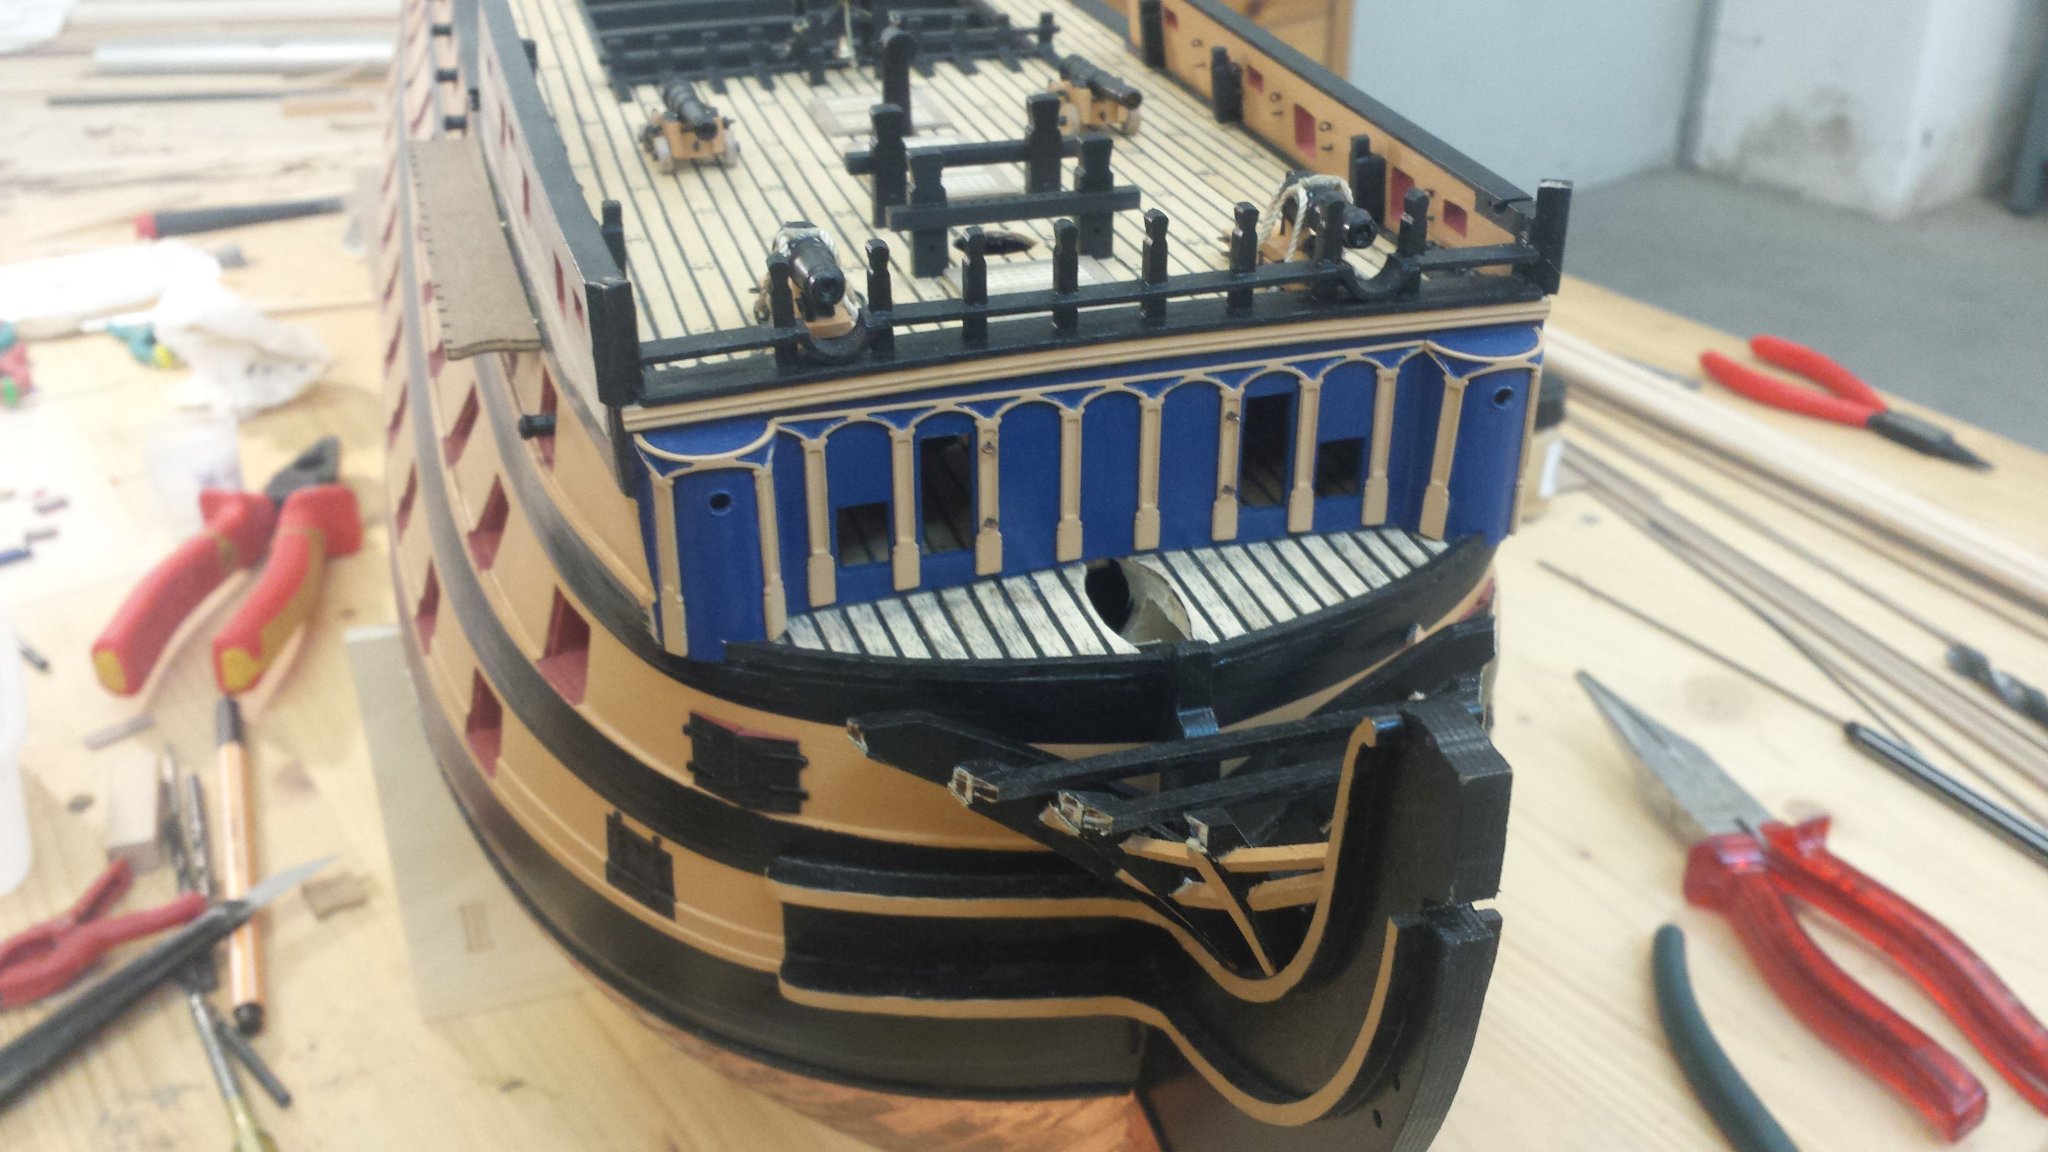
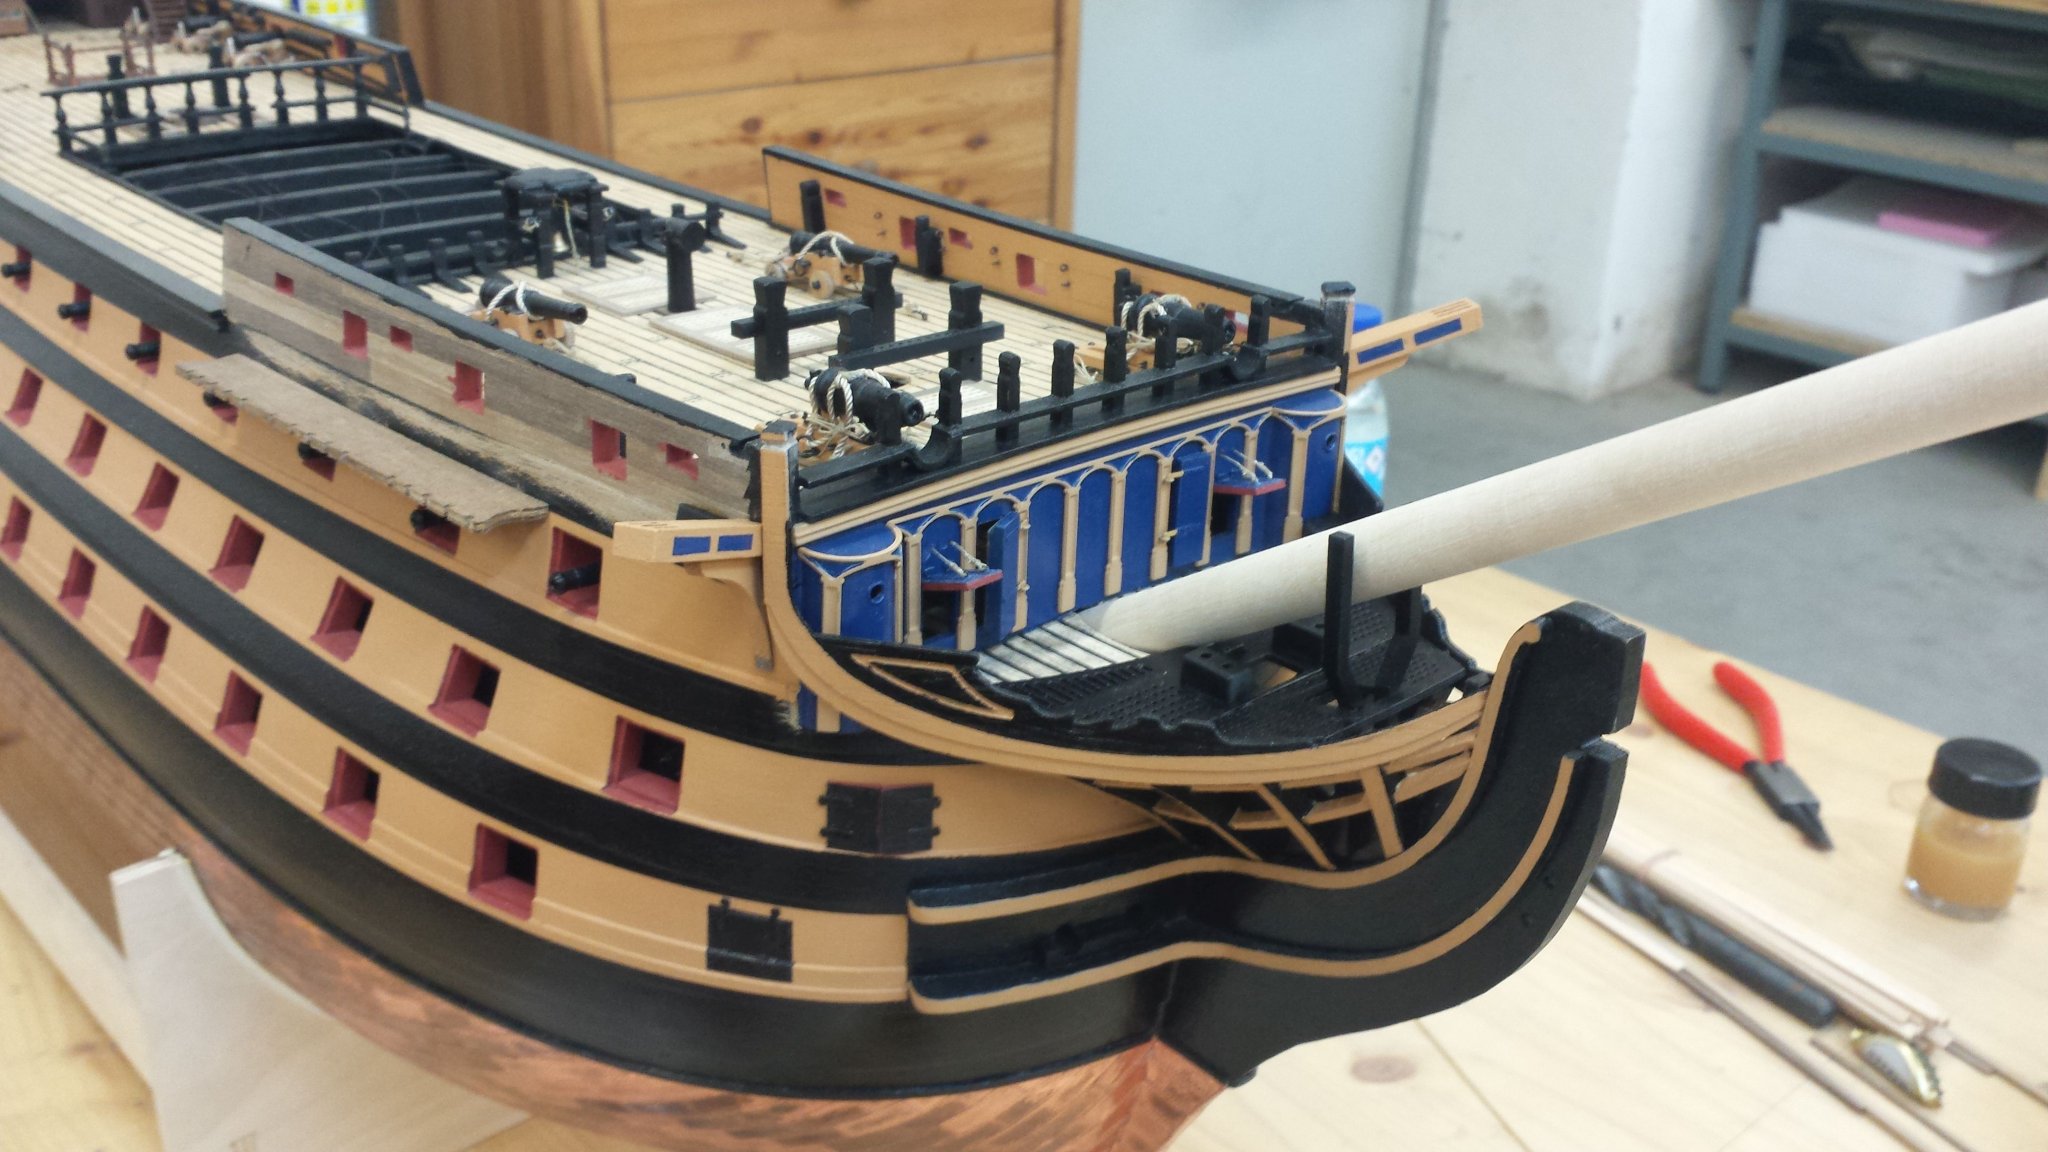
At the stern gallery i put on the individual parts to convince myself of the fit
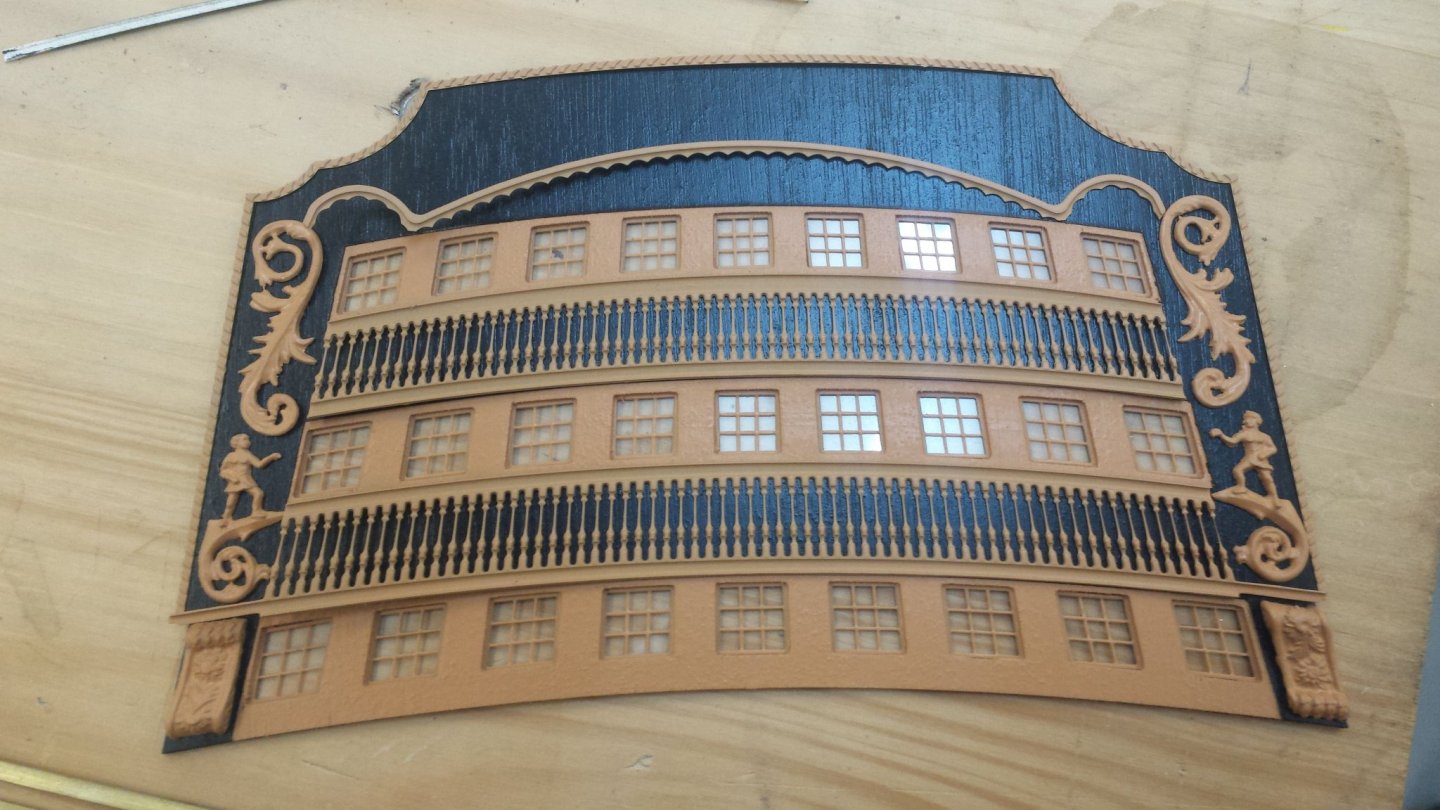
When i was satisfied i glued the parts in place
Then i sanded the fenders and chesstrees and glued it on their place
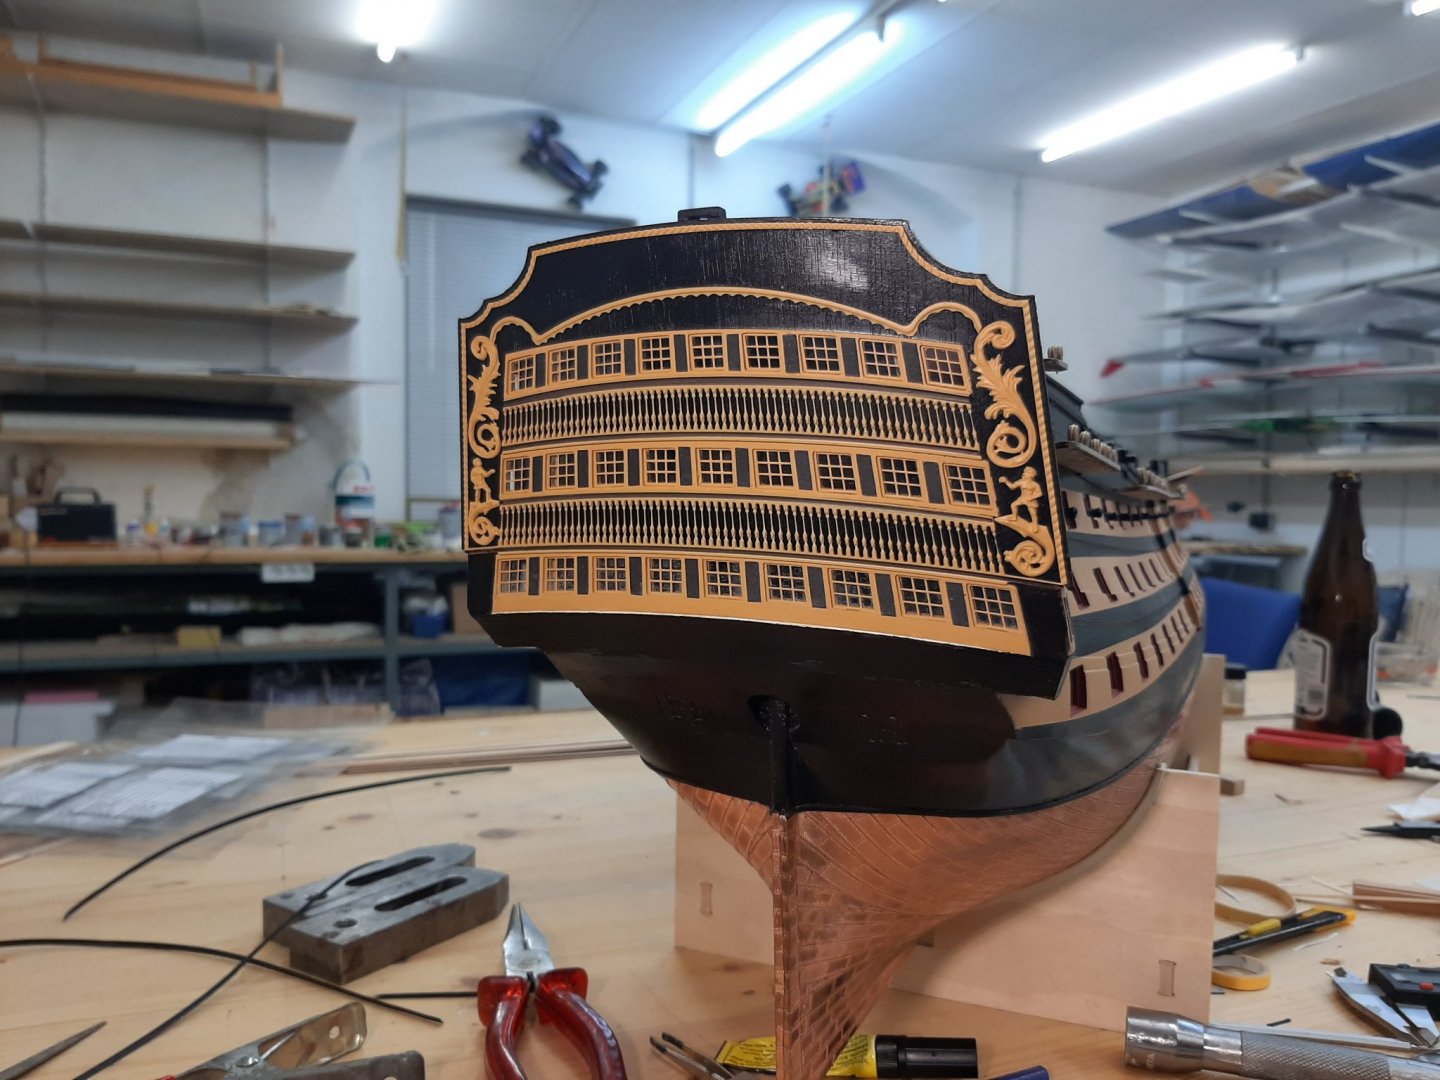

I made the black stripes between the windows from black cardboard
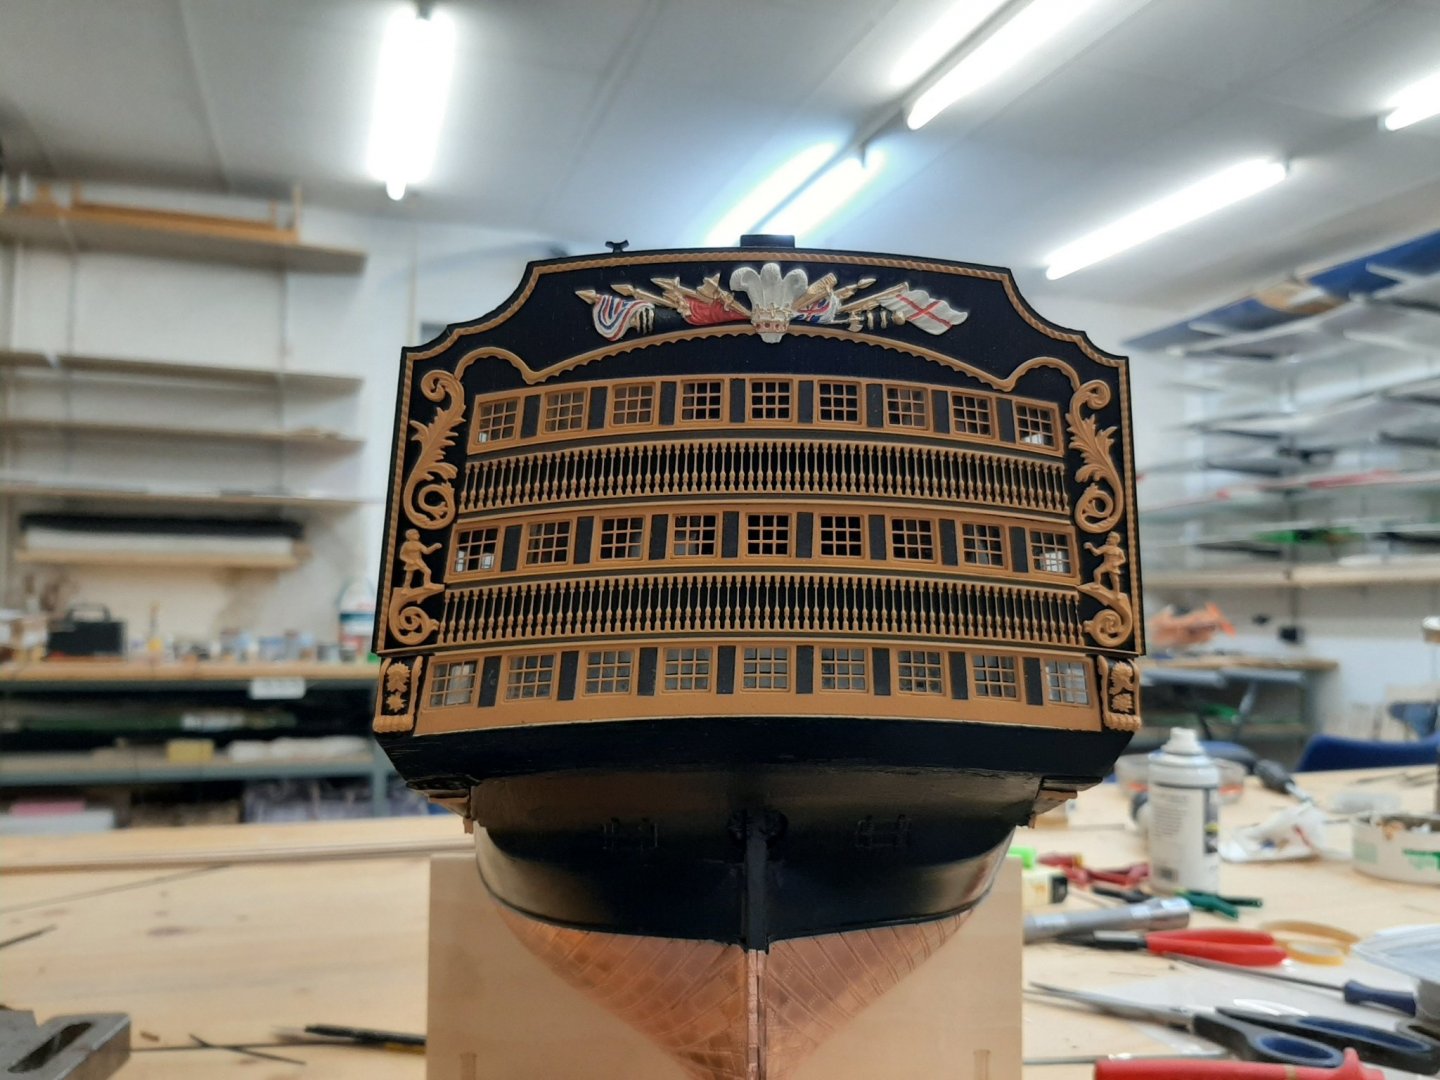
Now i painted the stern trophy of arms
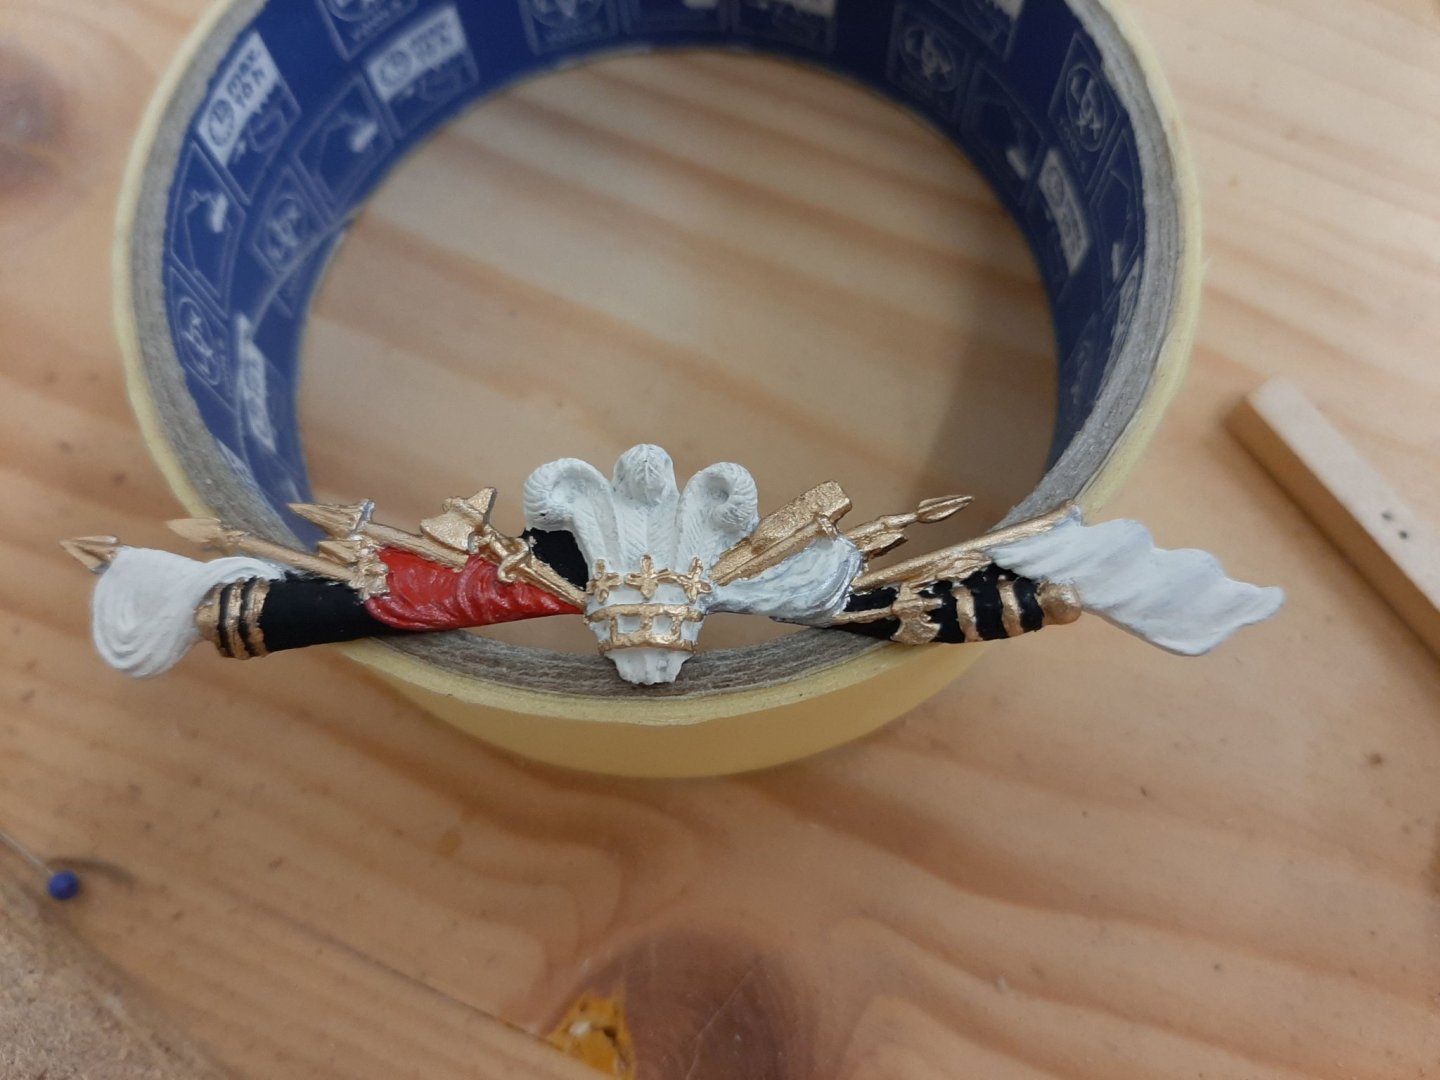
and mounted it
after that i was able to finish the side gallery
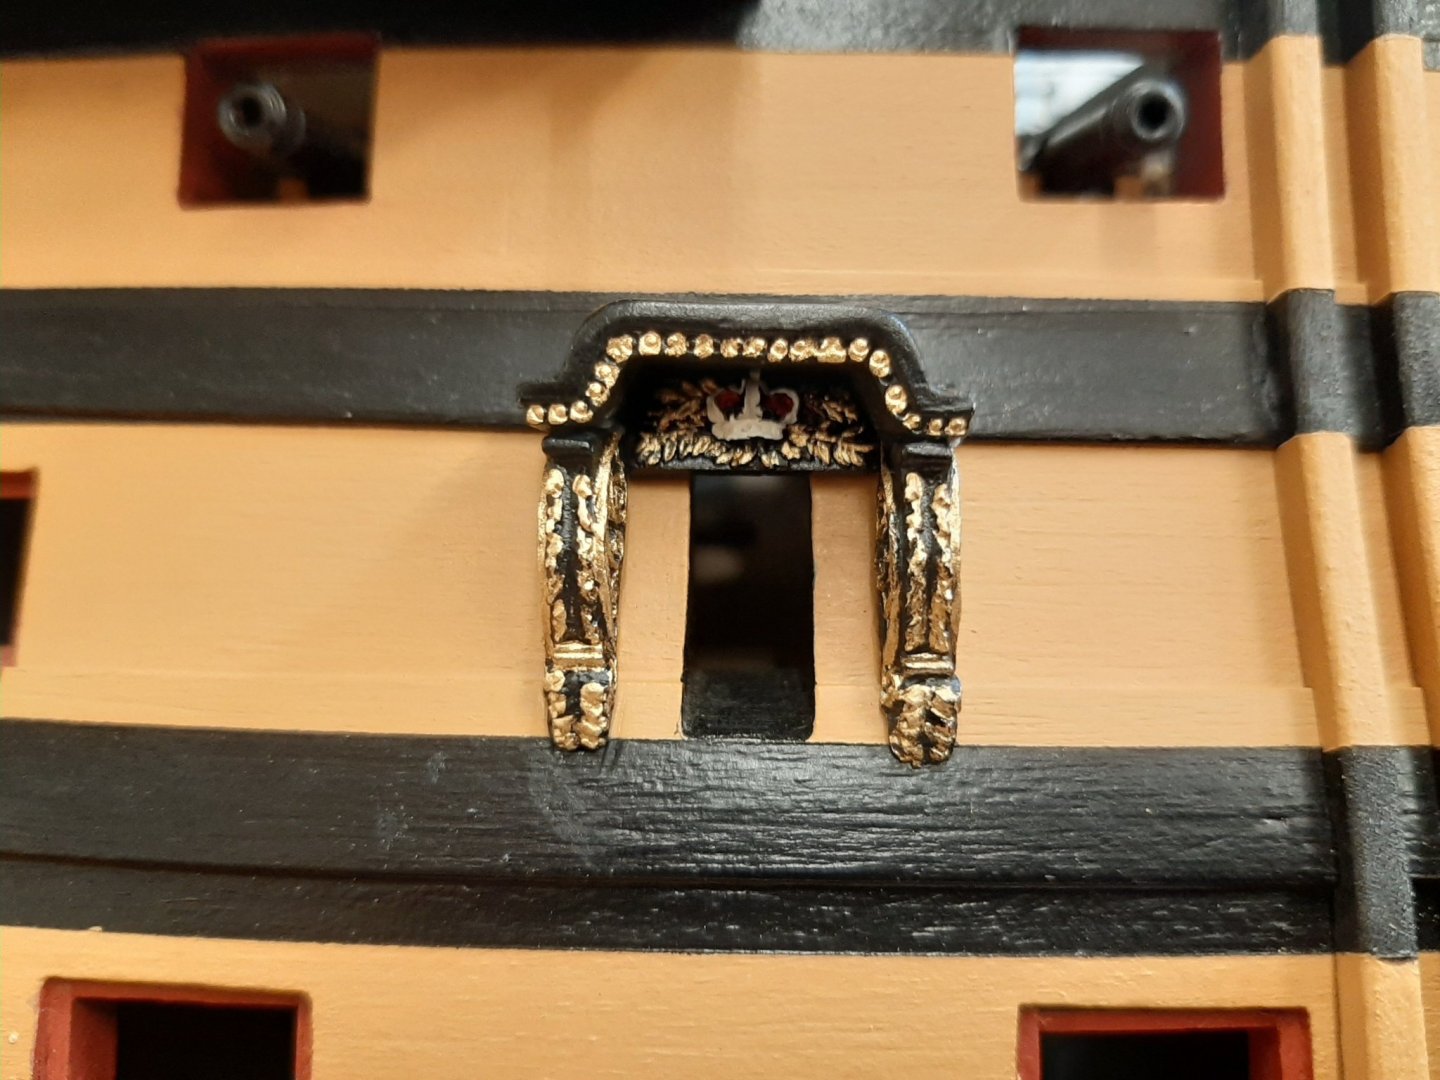
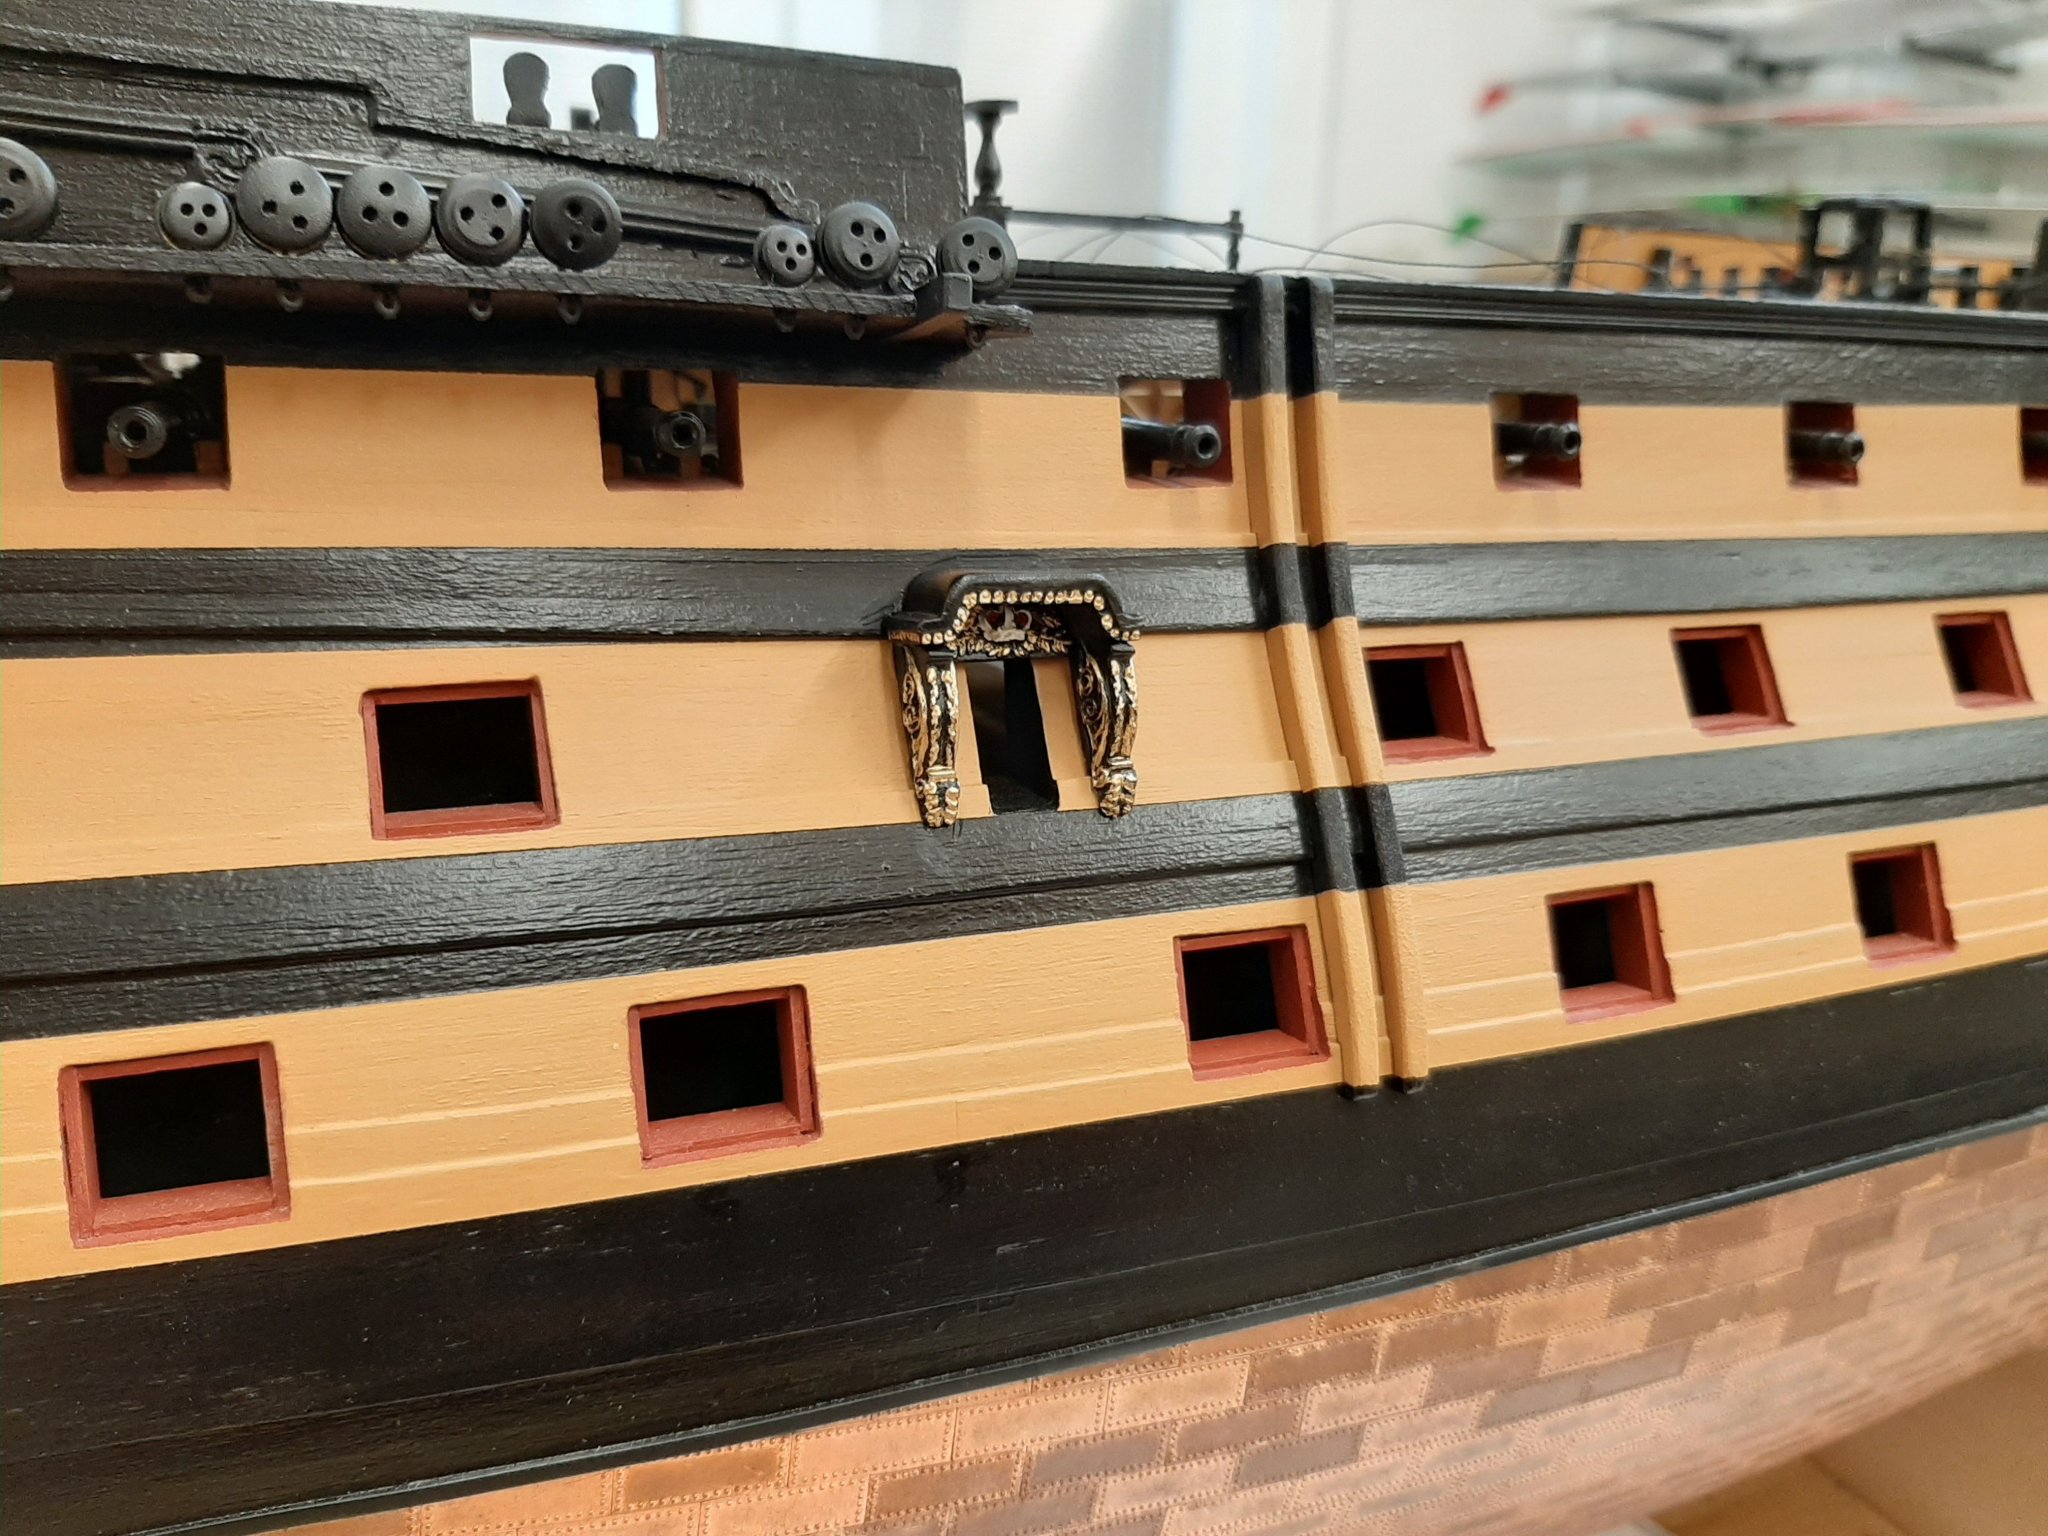
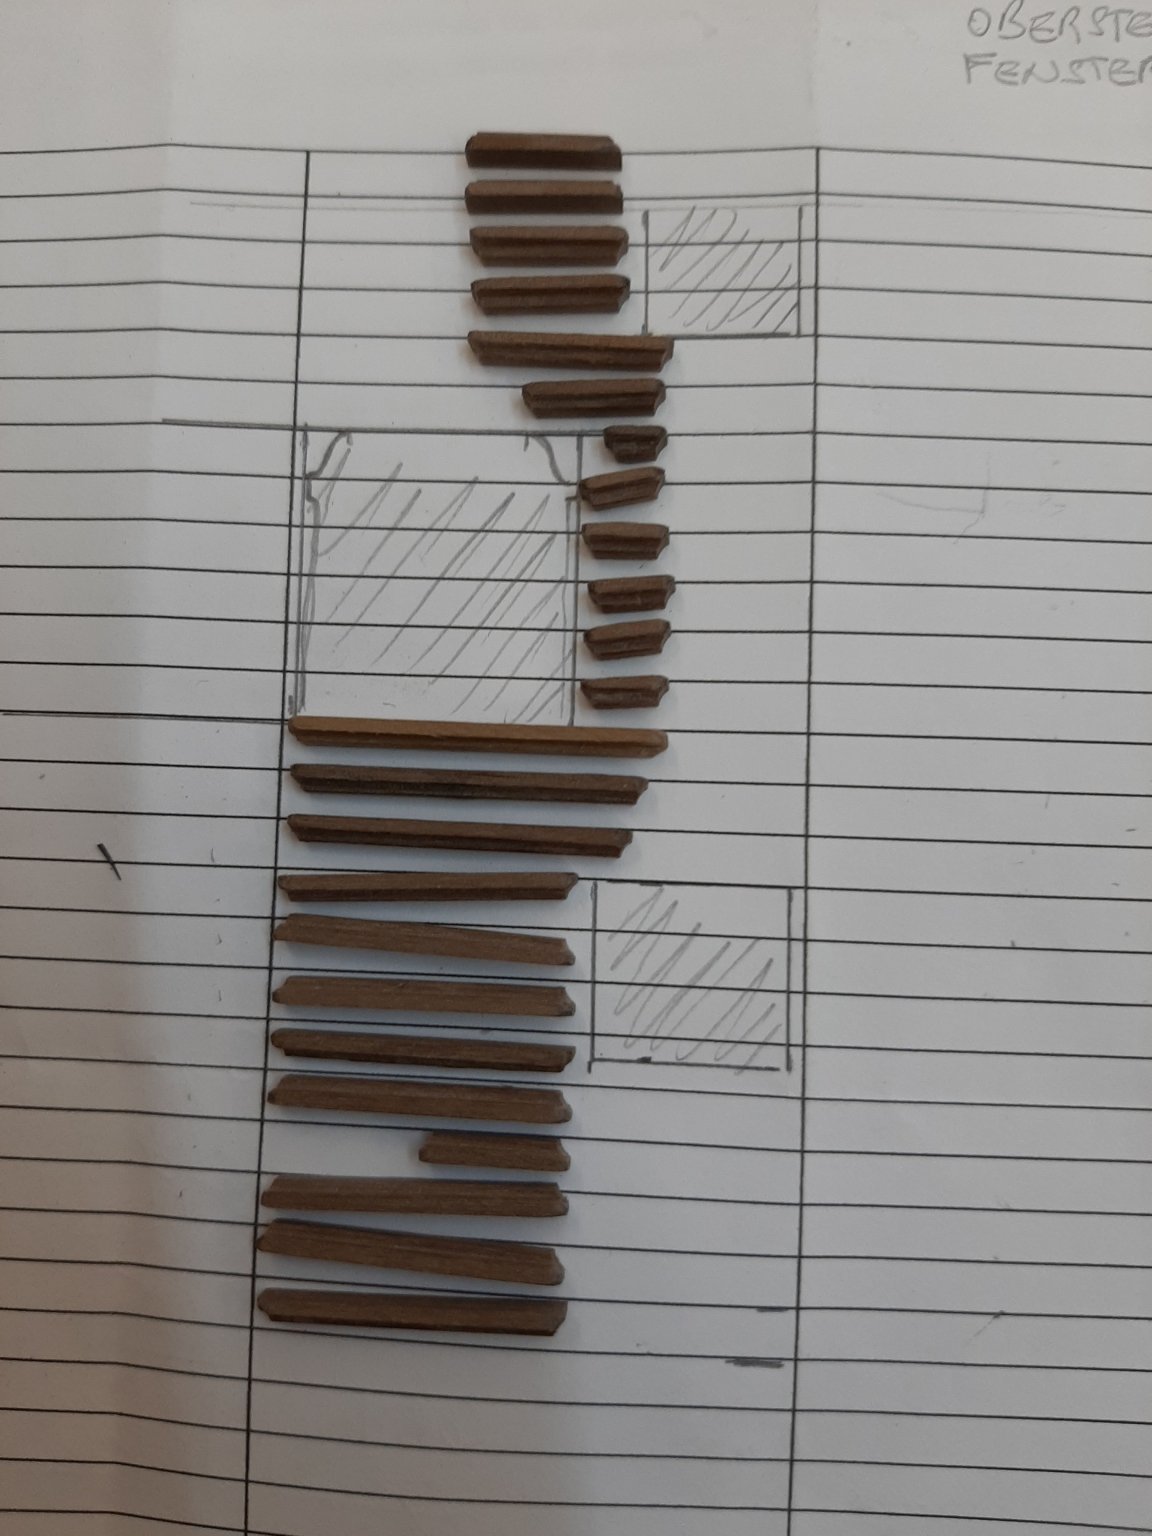
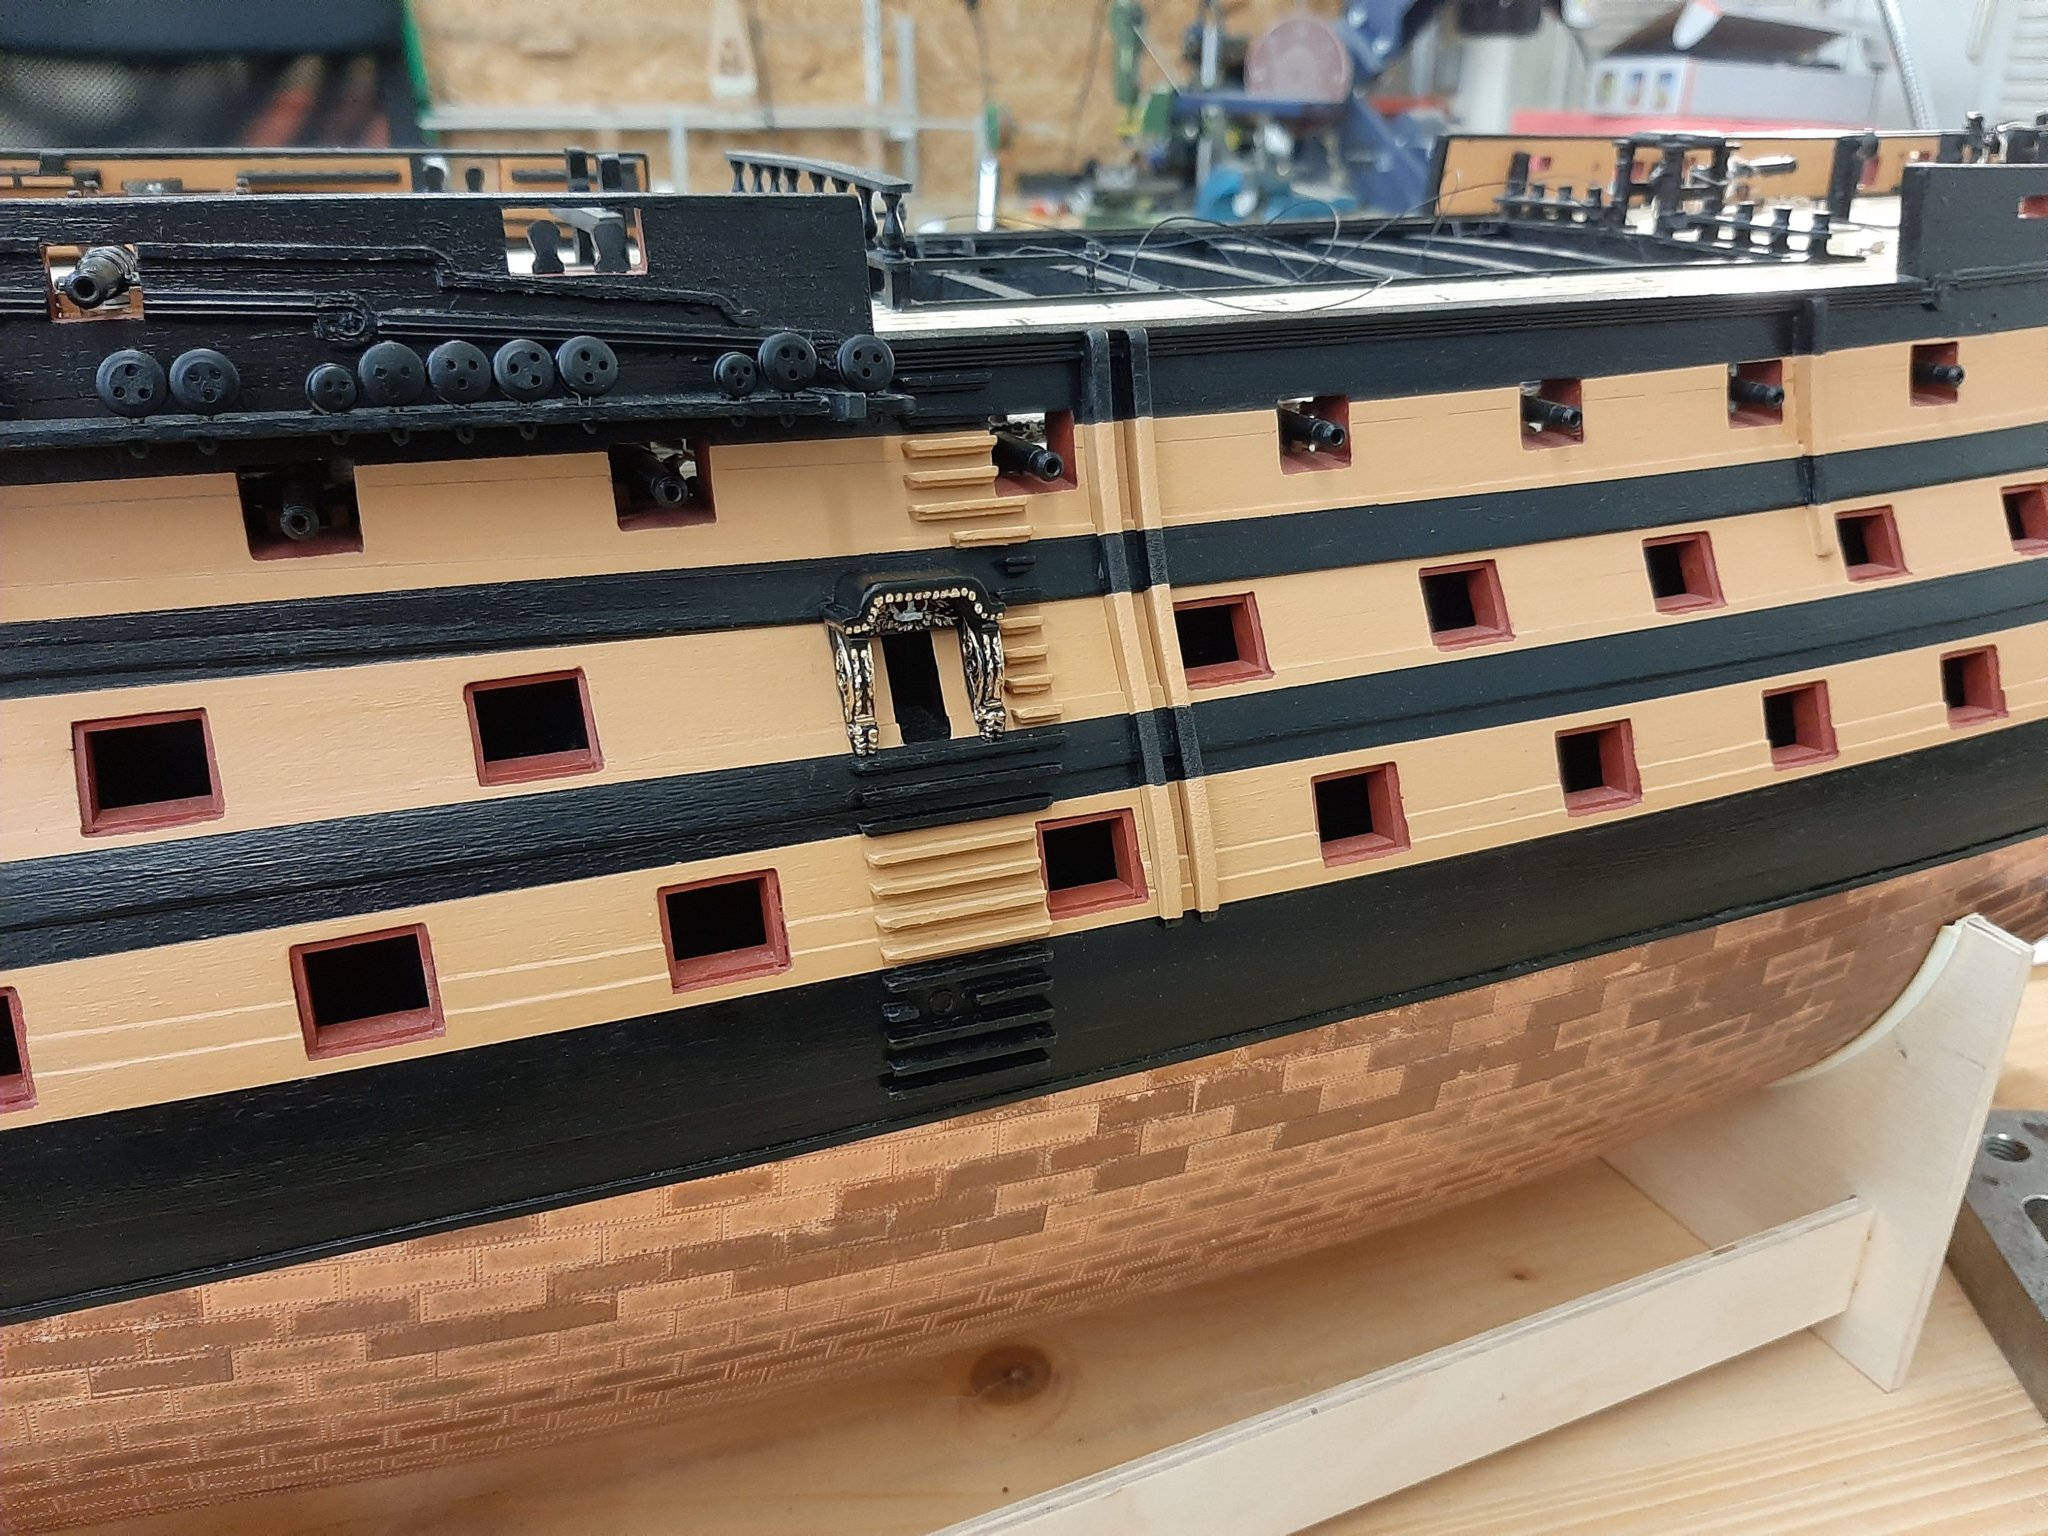
the next was the side entry port and the steps
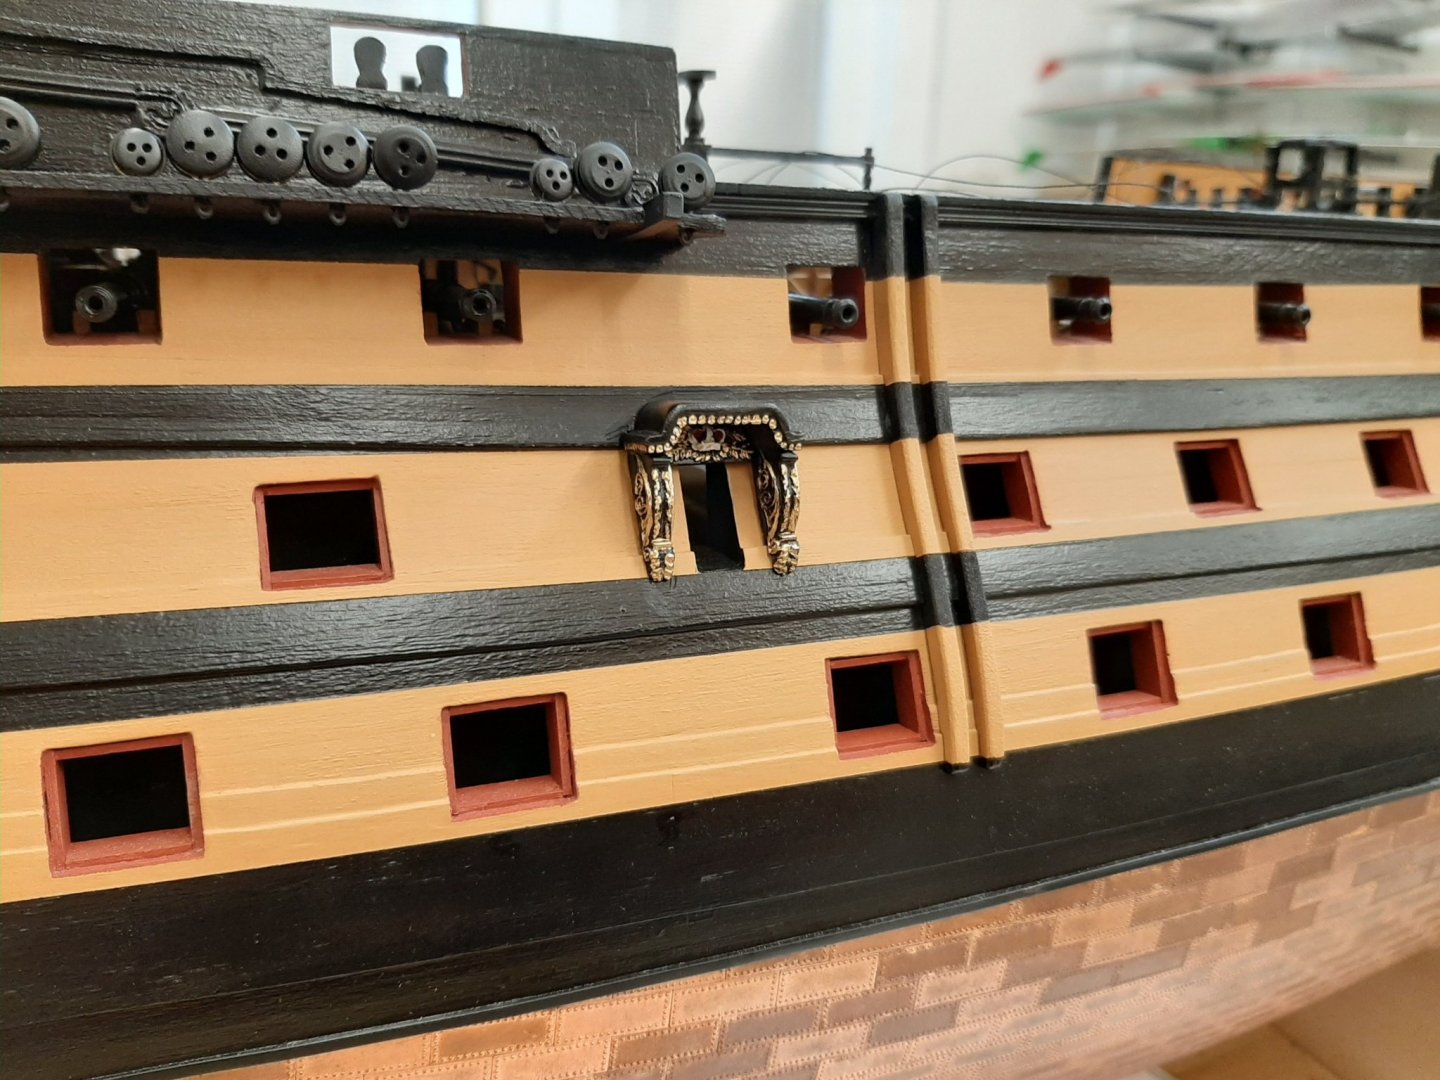
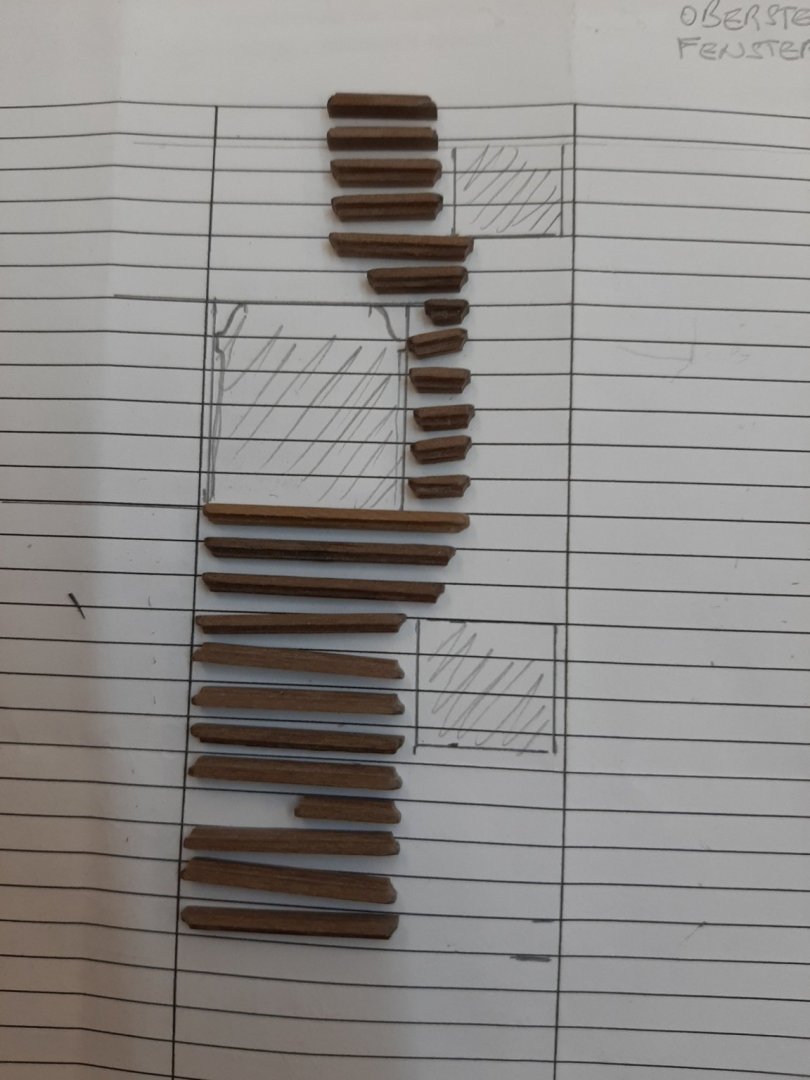
When assembling the chainplates I saw that some of the length didn't fit
so I had to recreate them


Helli
- Old Collingwood, BenD, BobCardone and 8 others
-
11
-
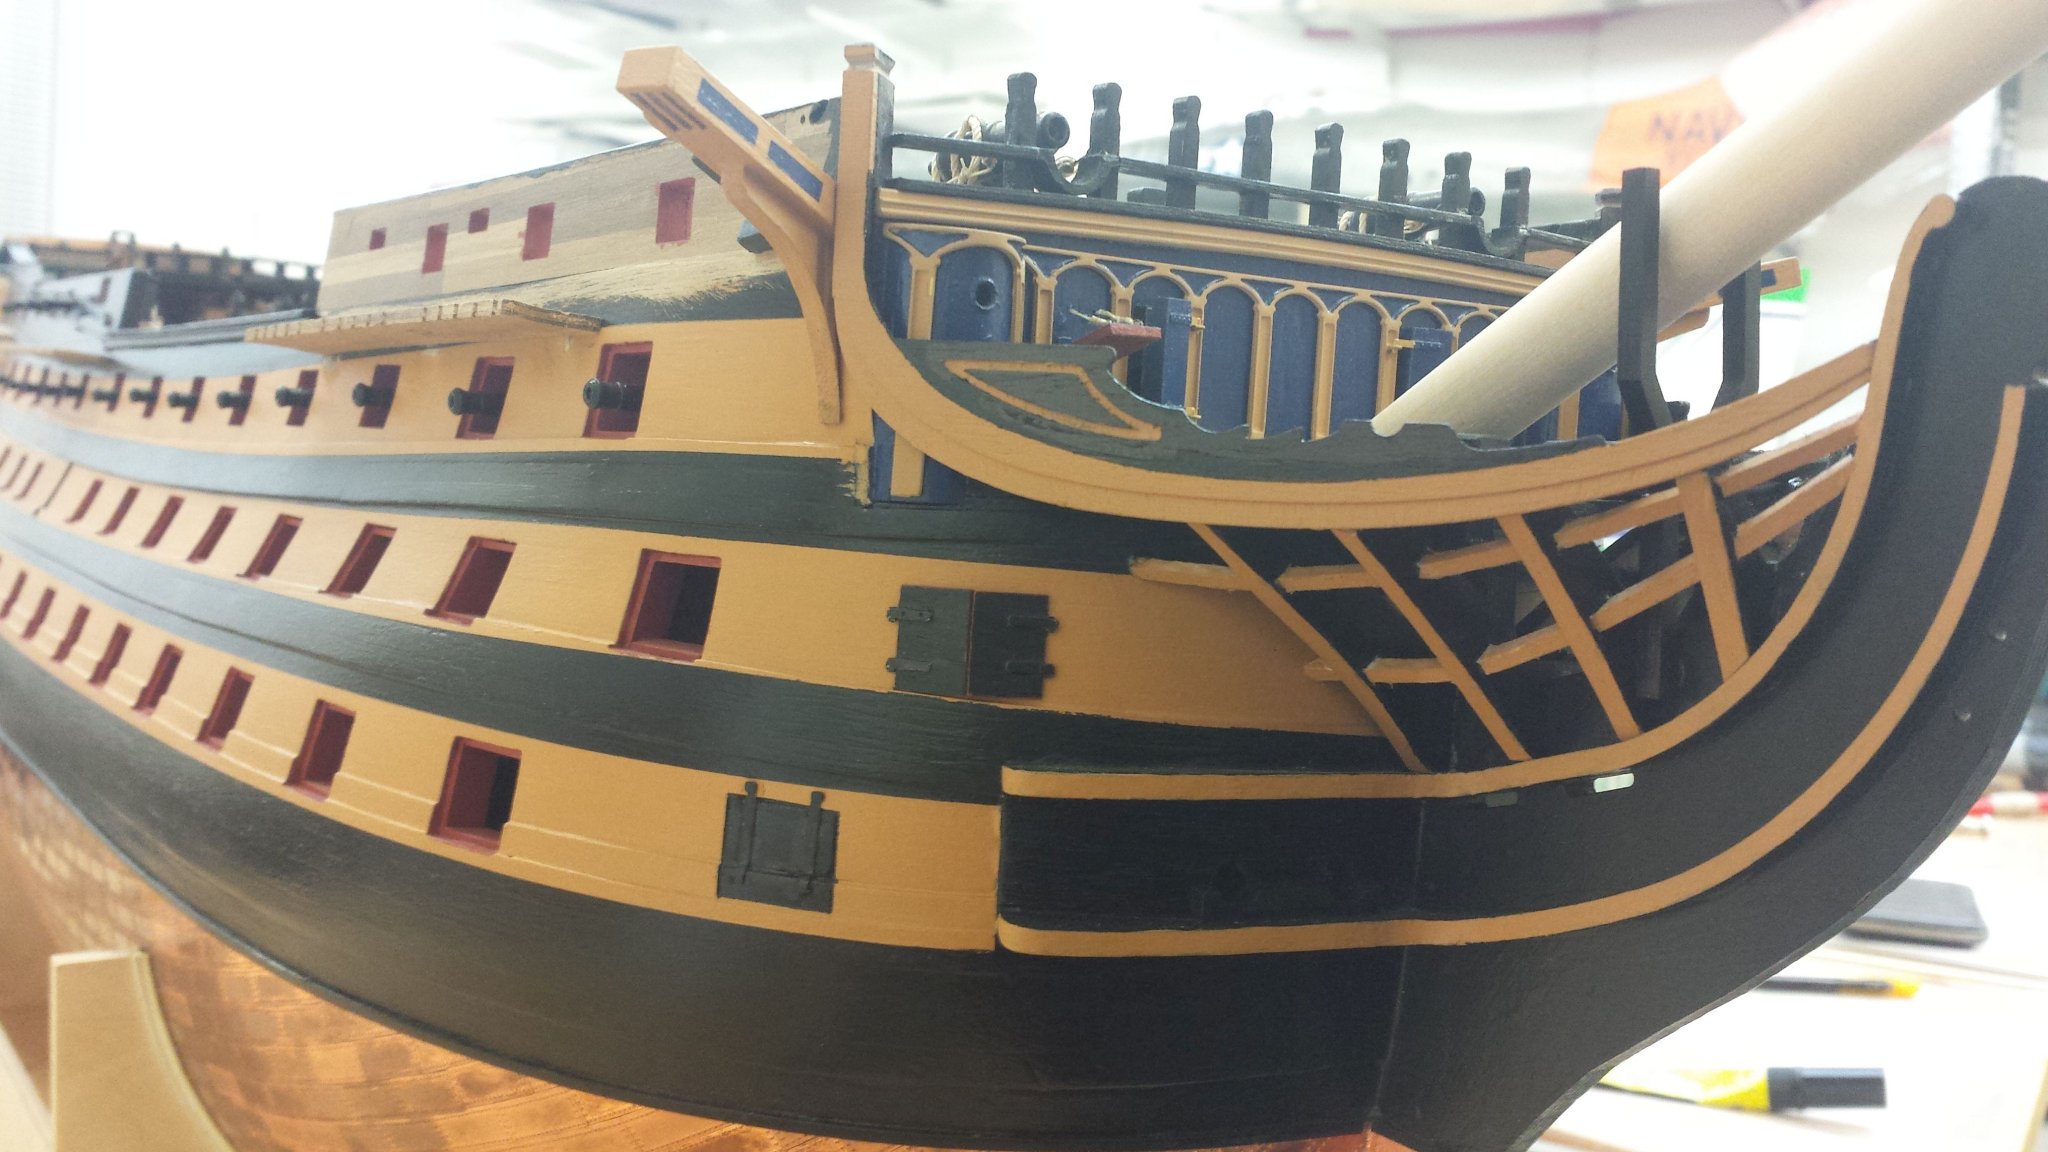
Hi,
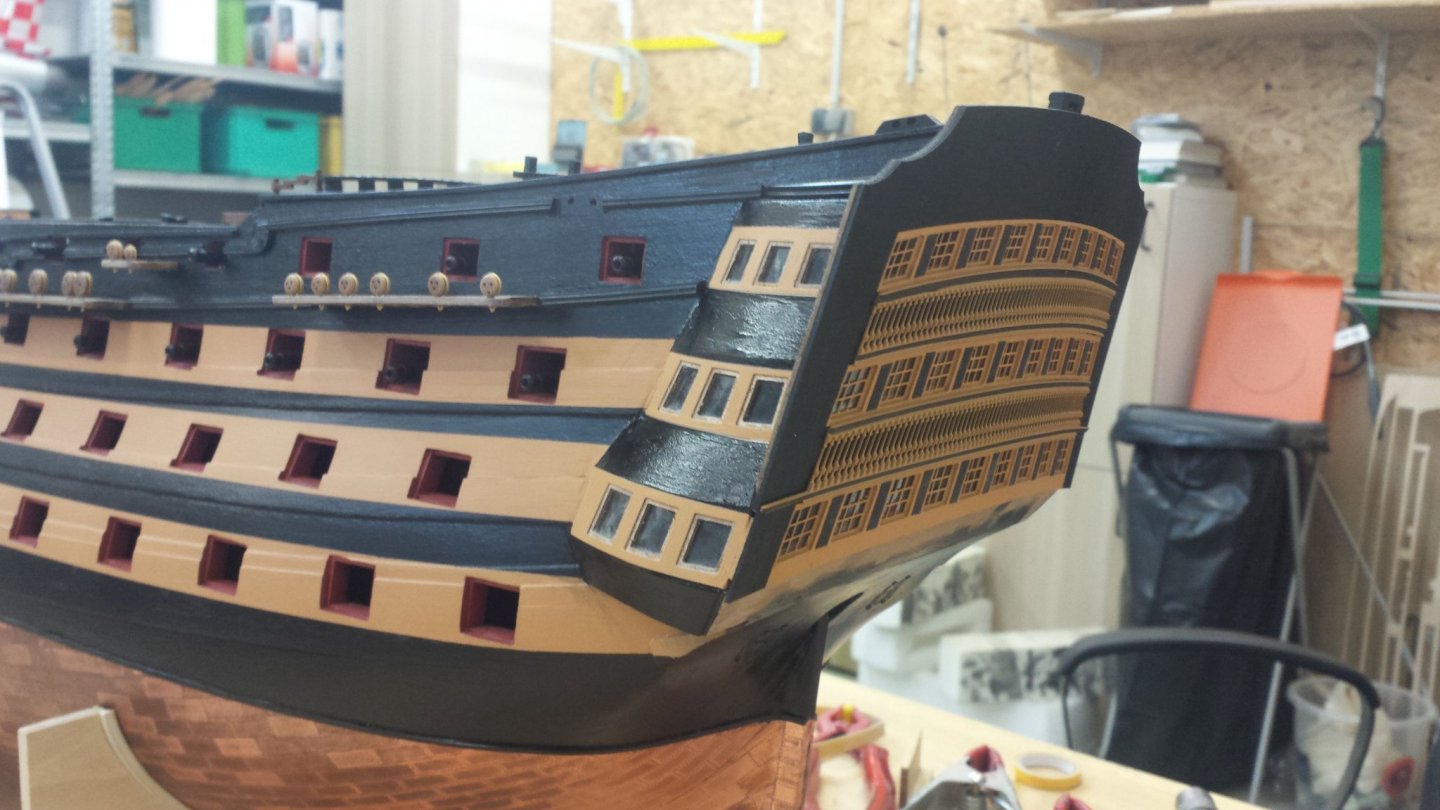
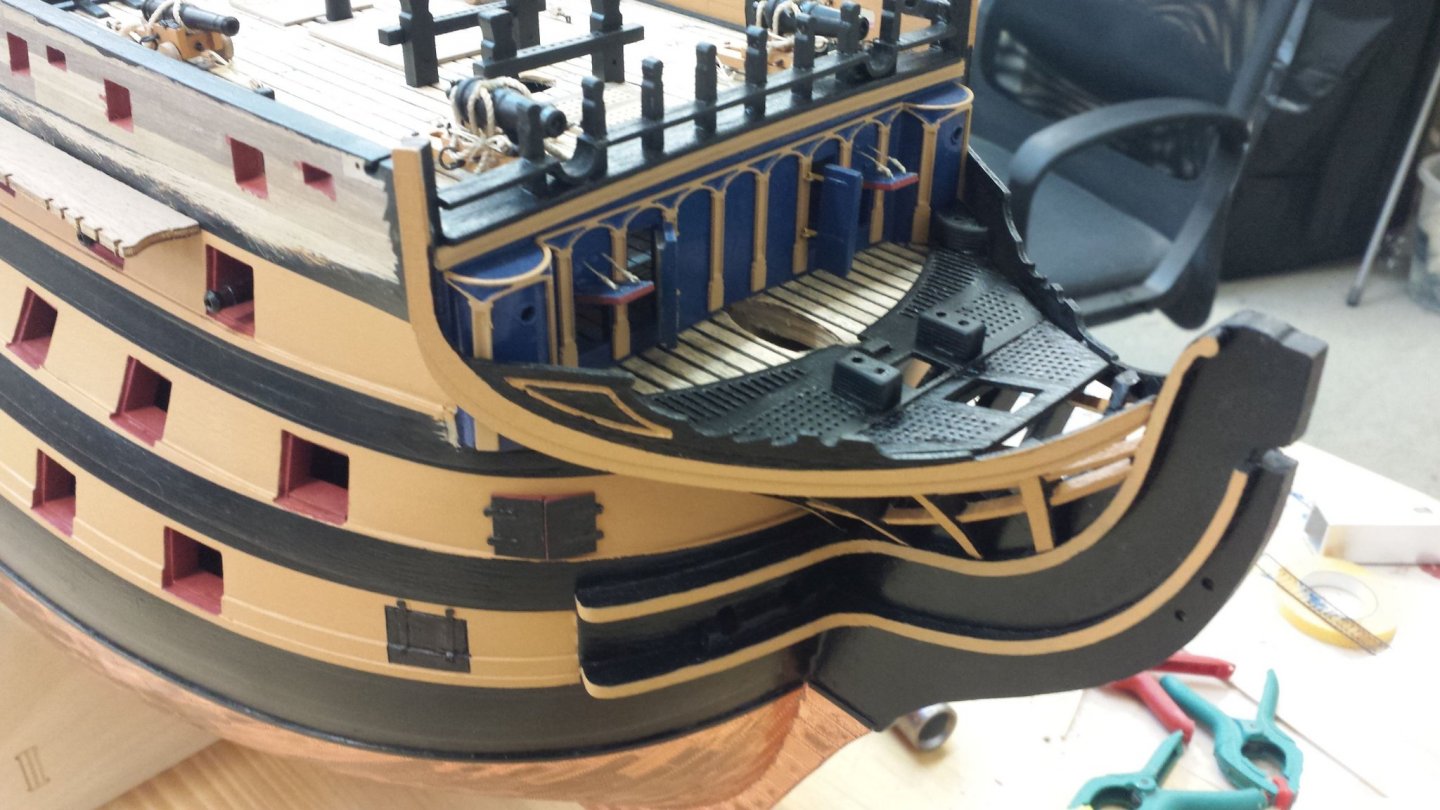
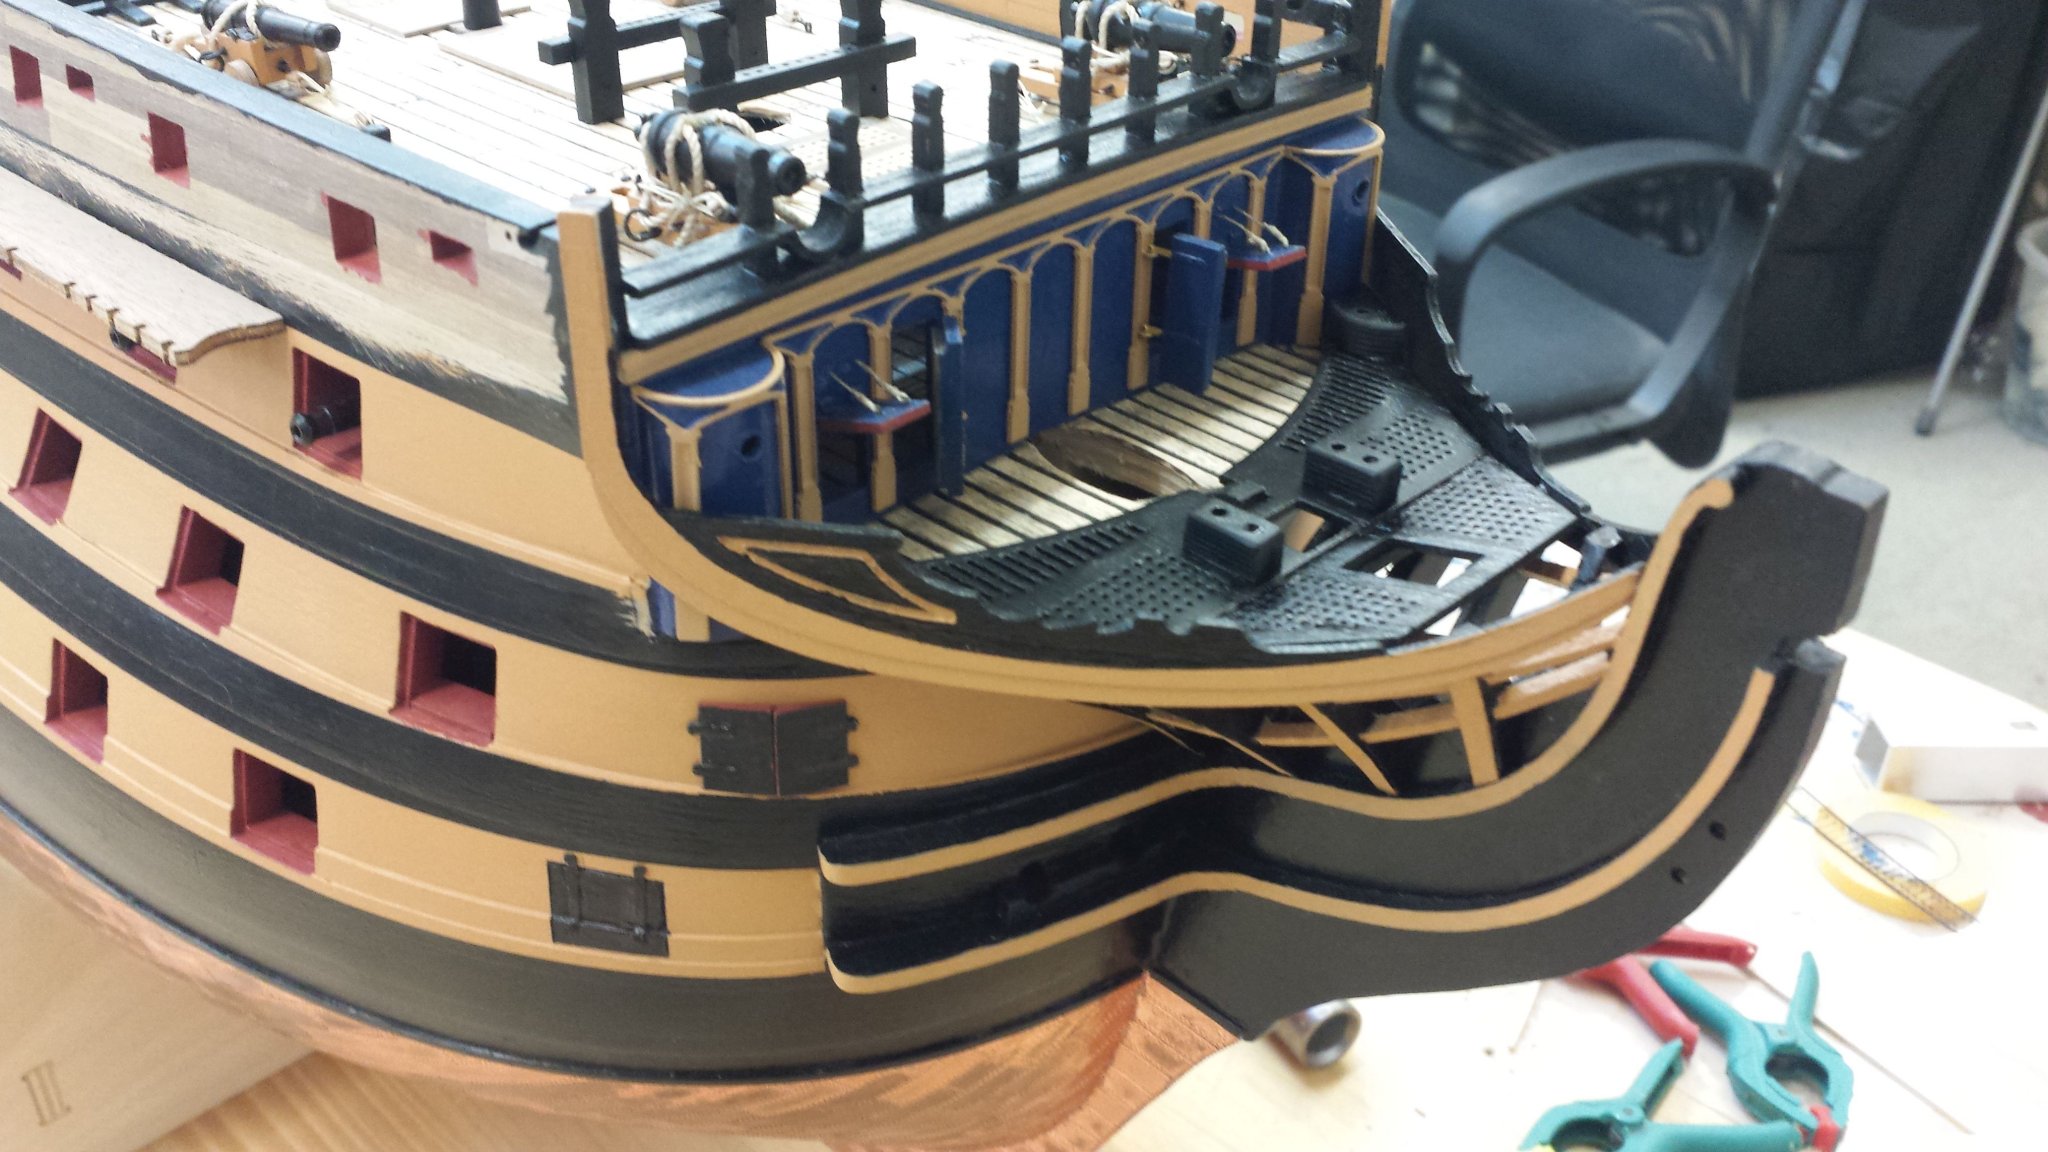
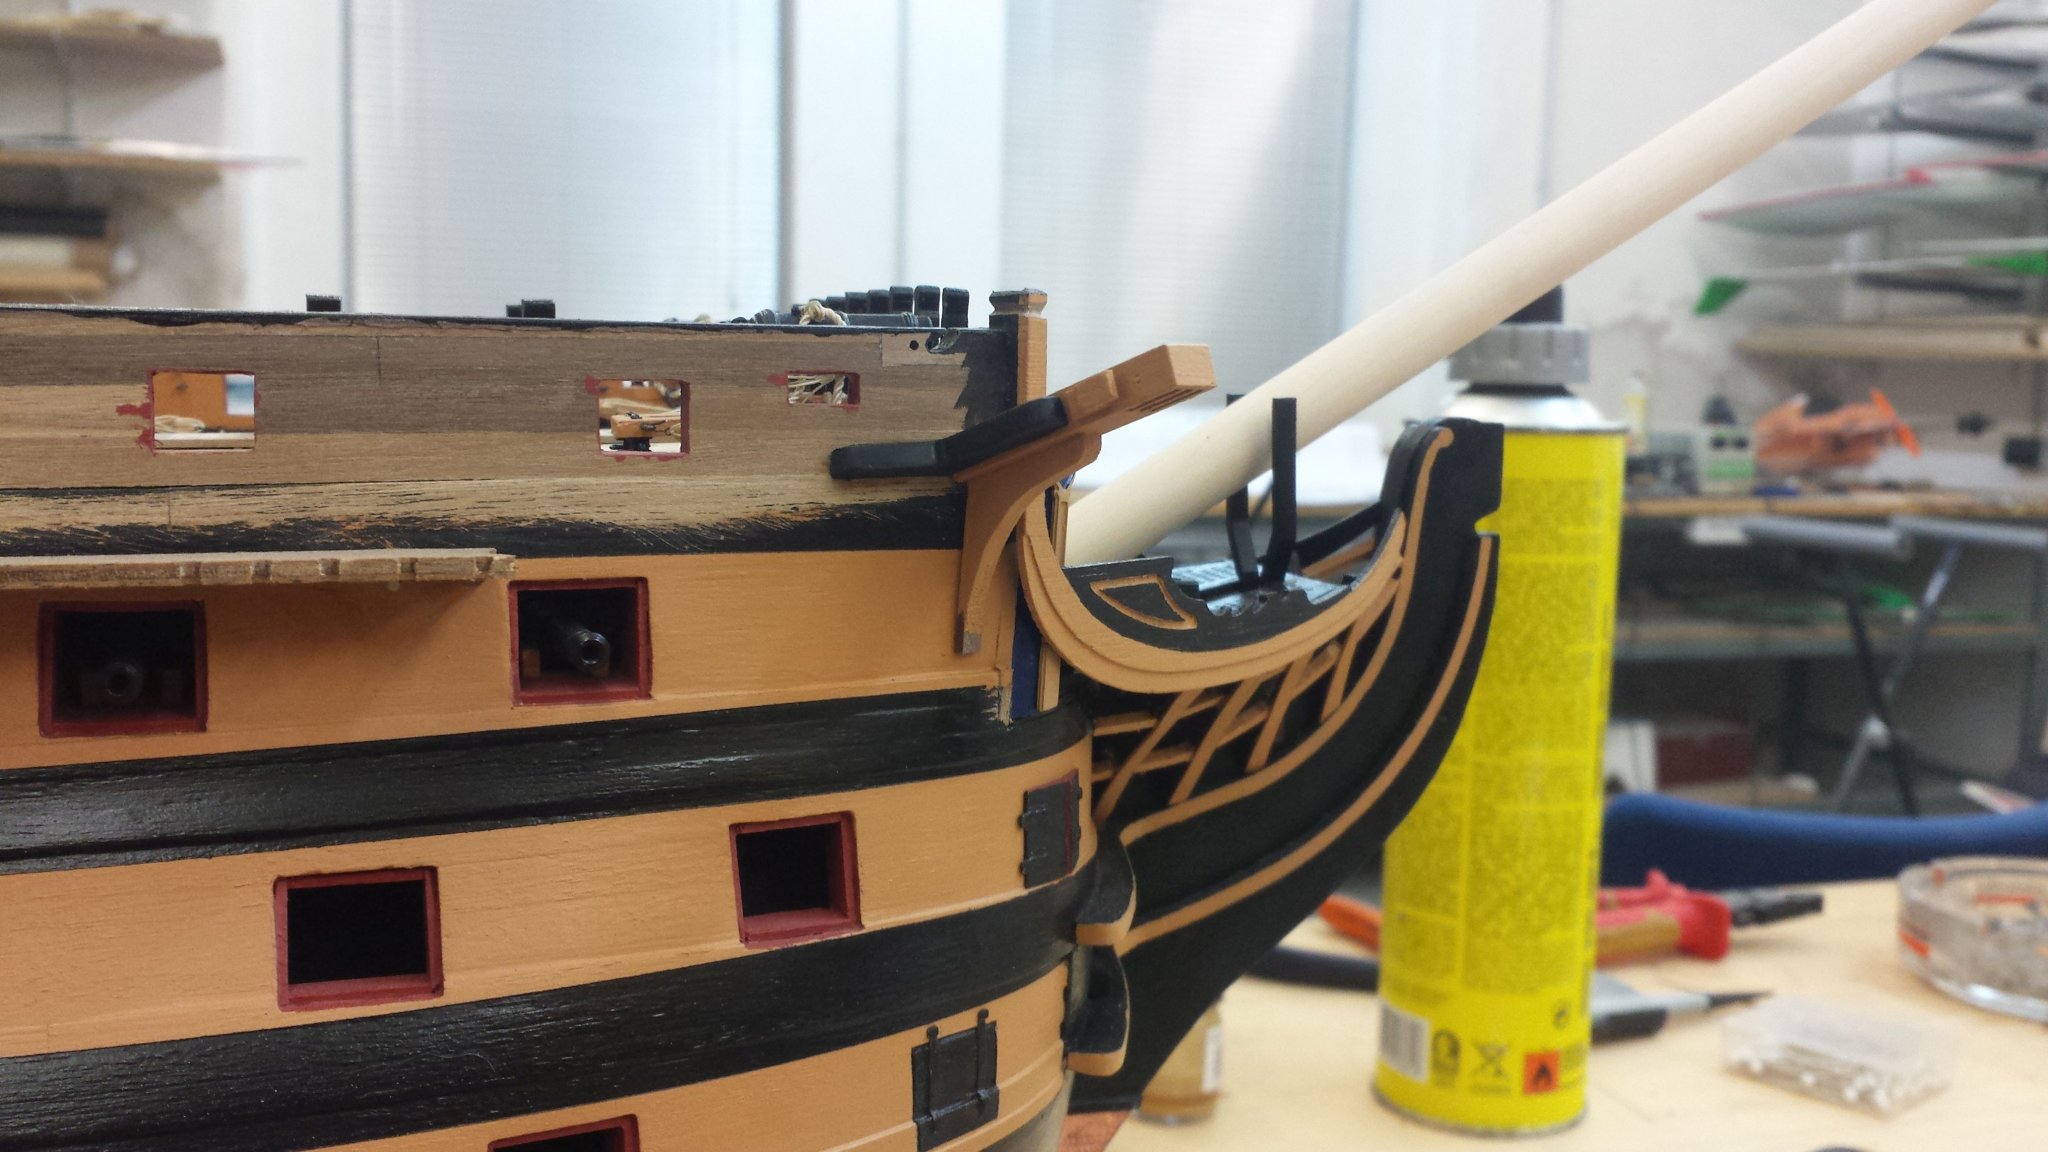
The next work i had done was the assembling the beakhead bulkhead
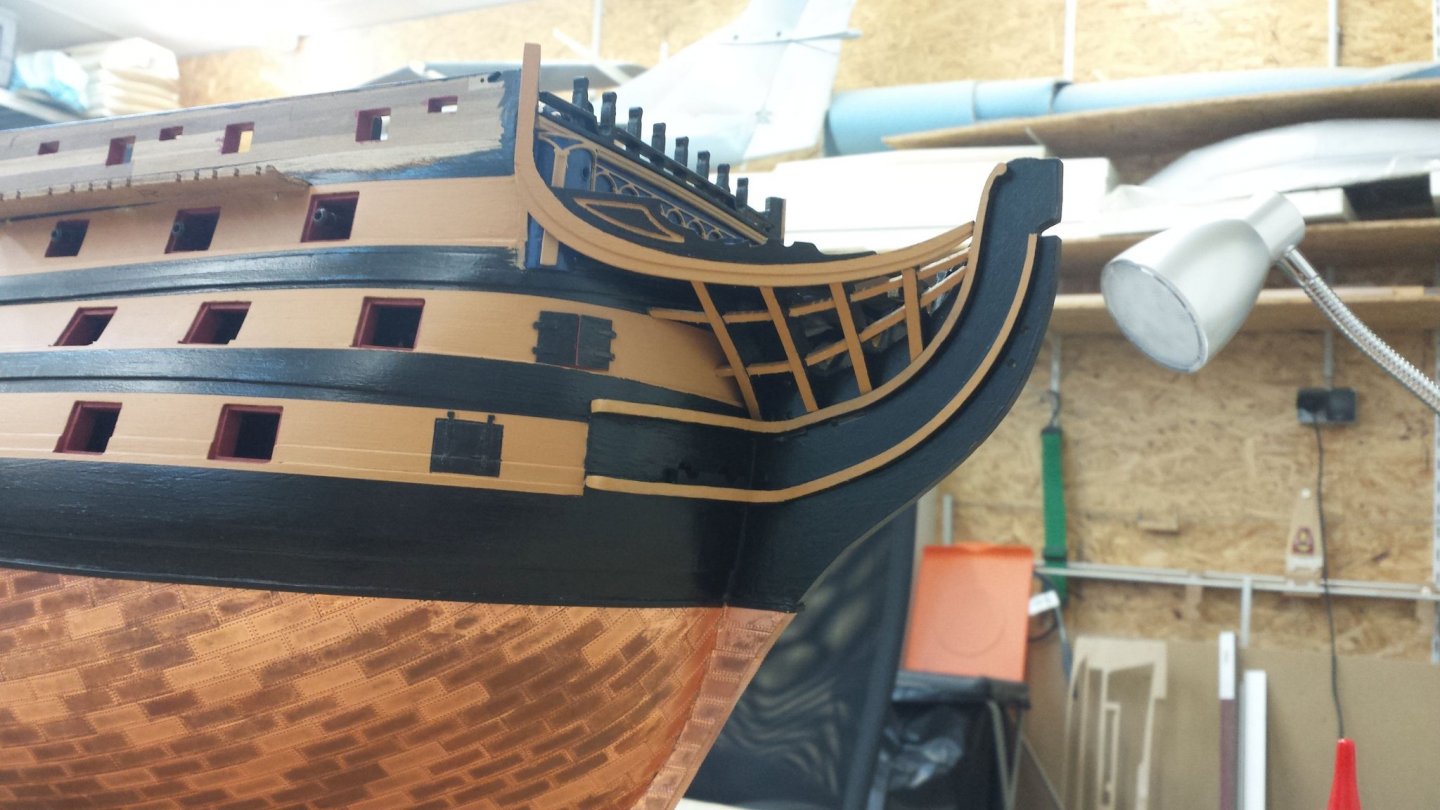
Than i began with the bows
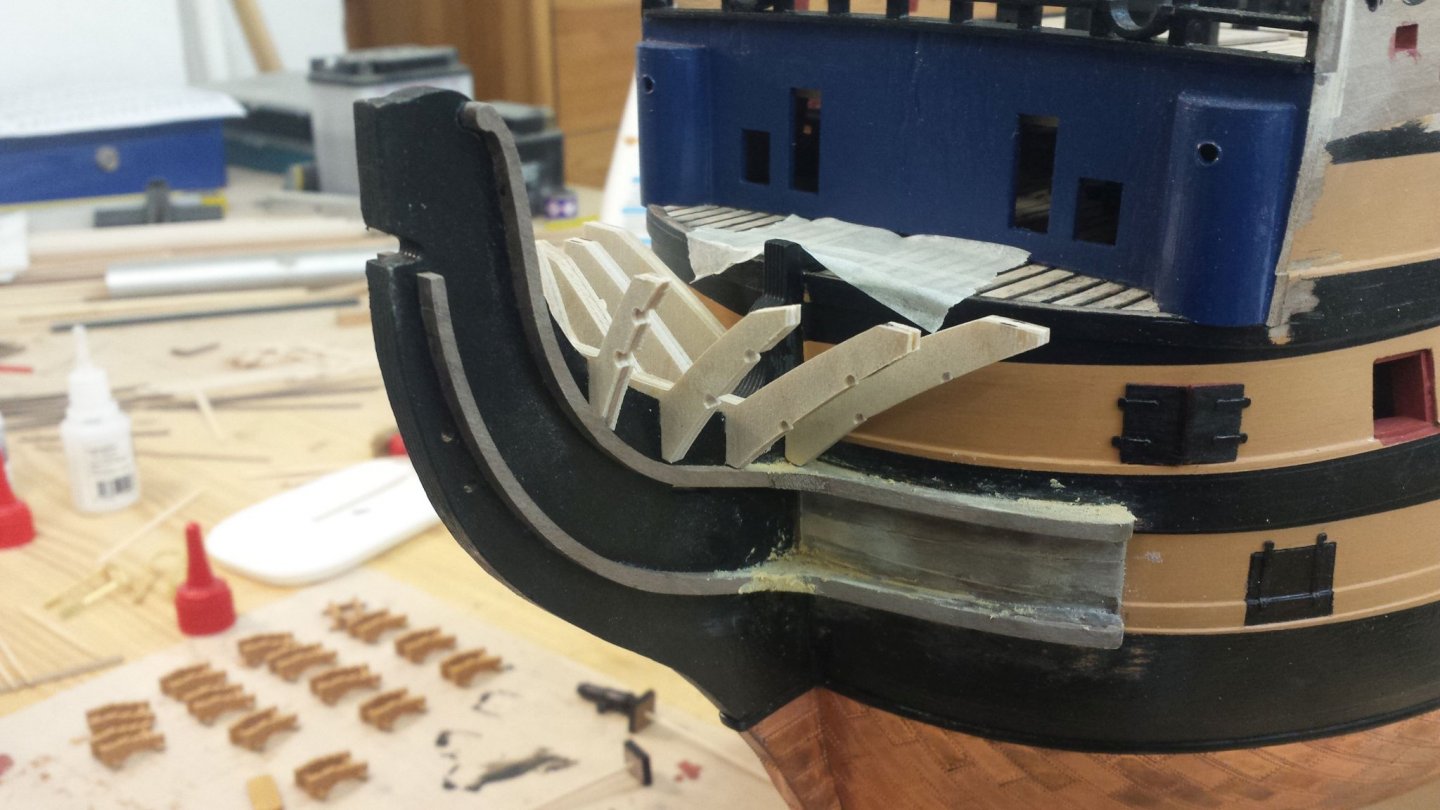
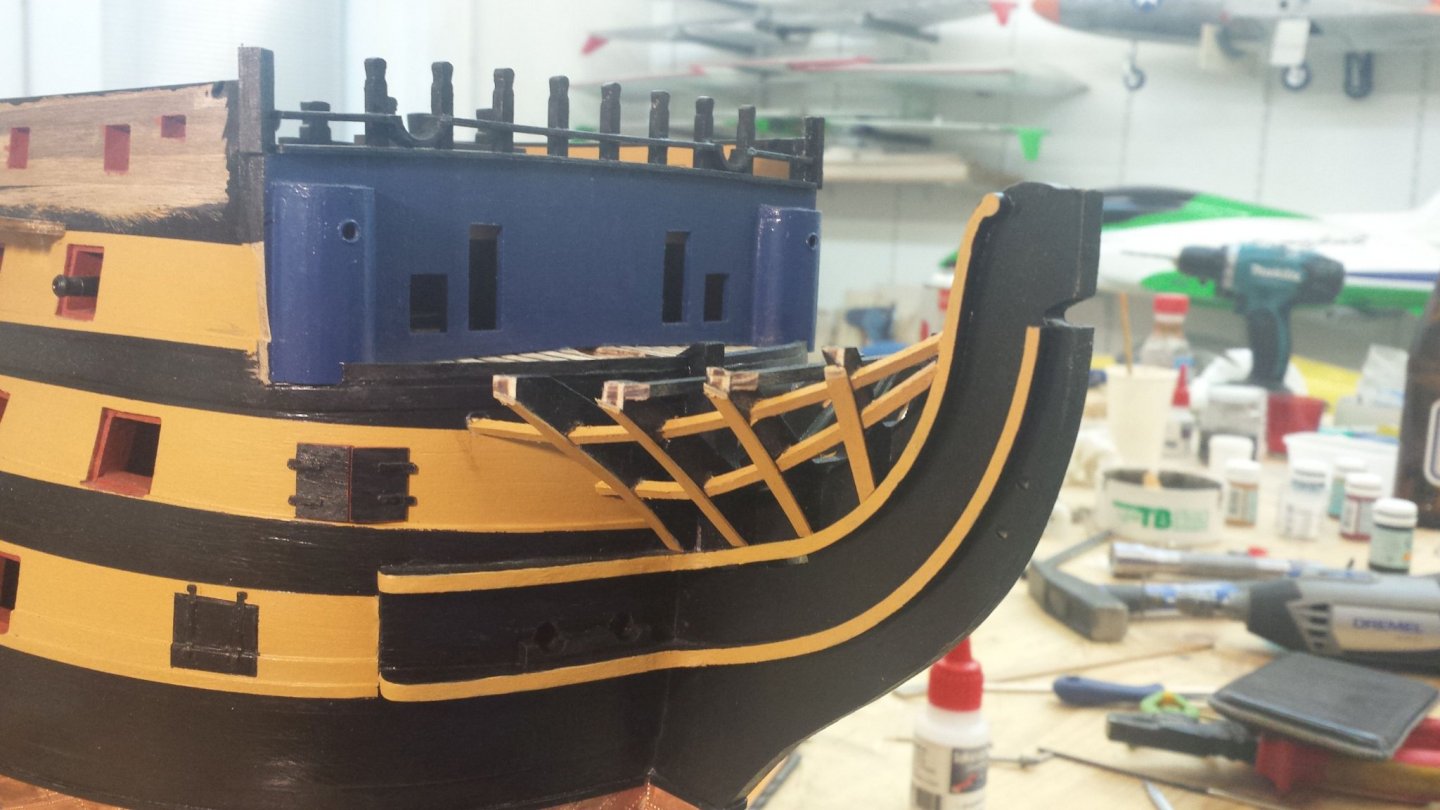
I painted and mounted the beakhead Pilaster
and beakhead doors and gunports
and finished the bows and mounted the forecastle carronade

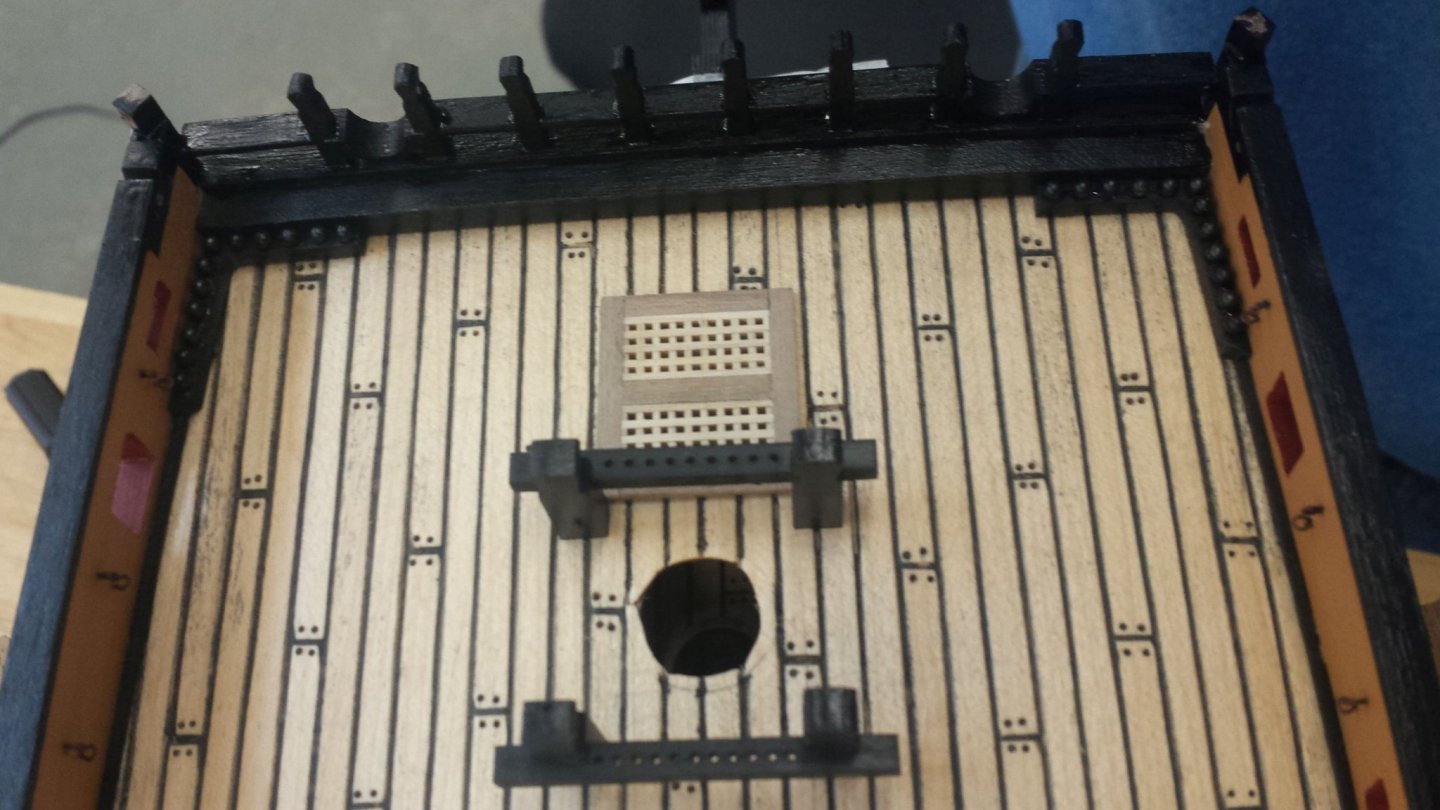
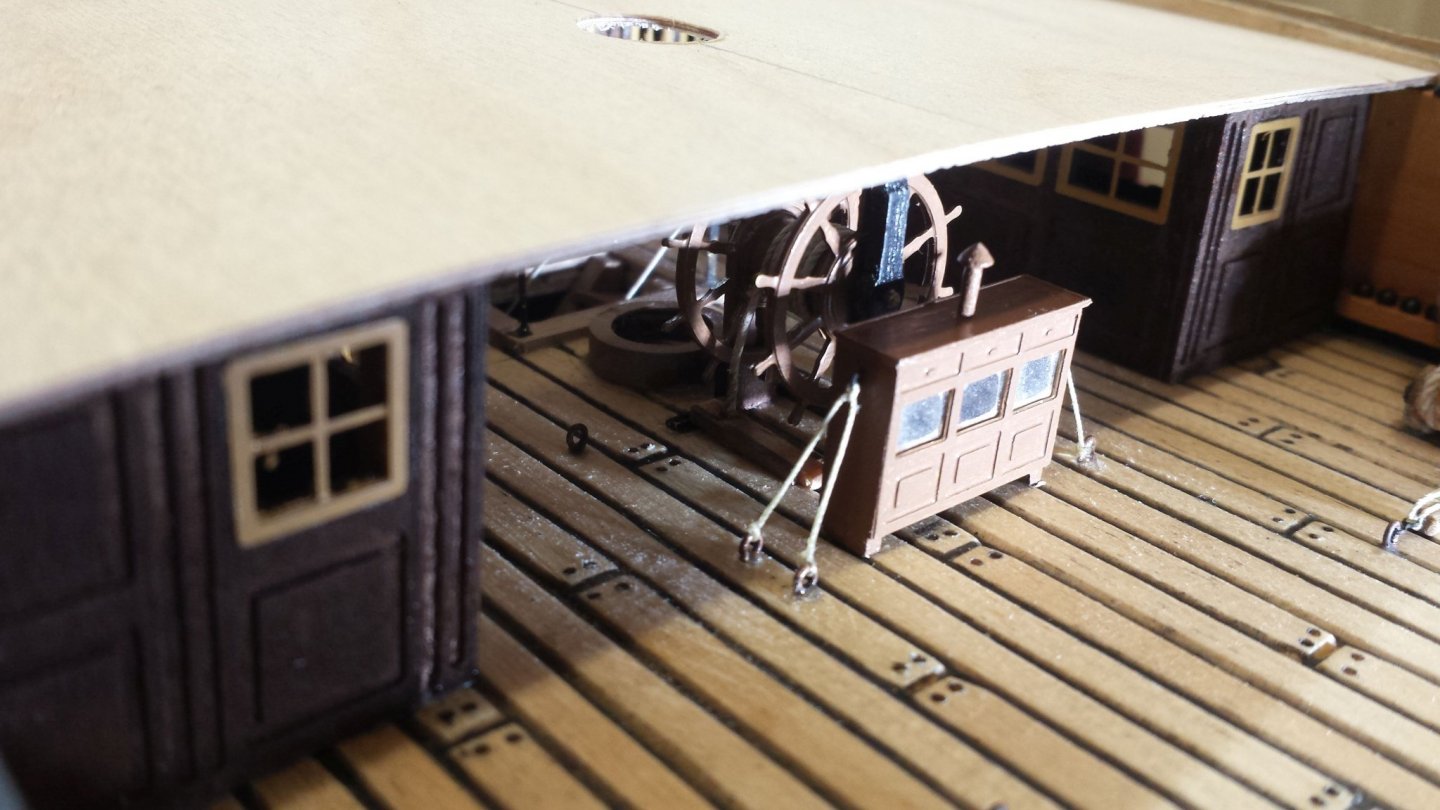
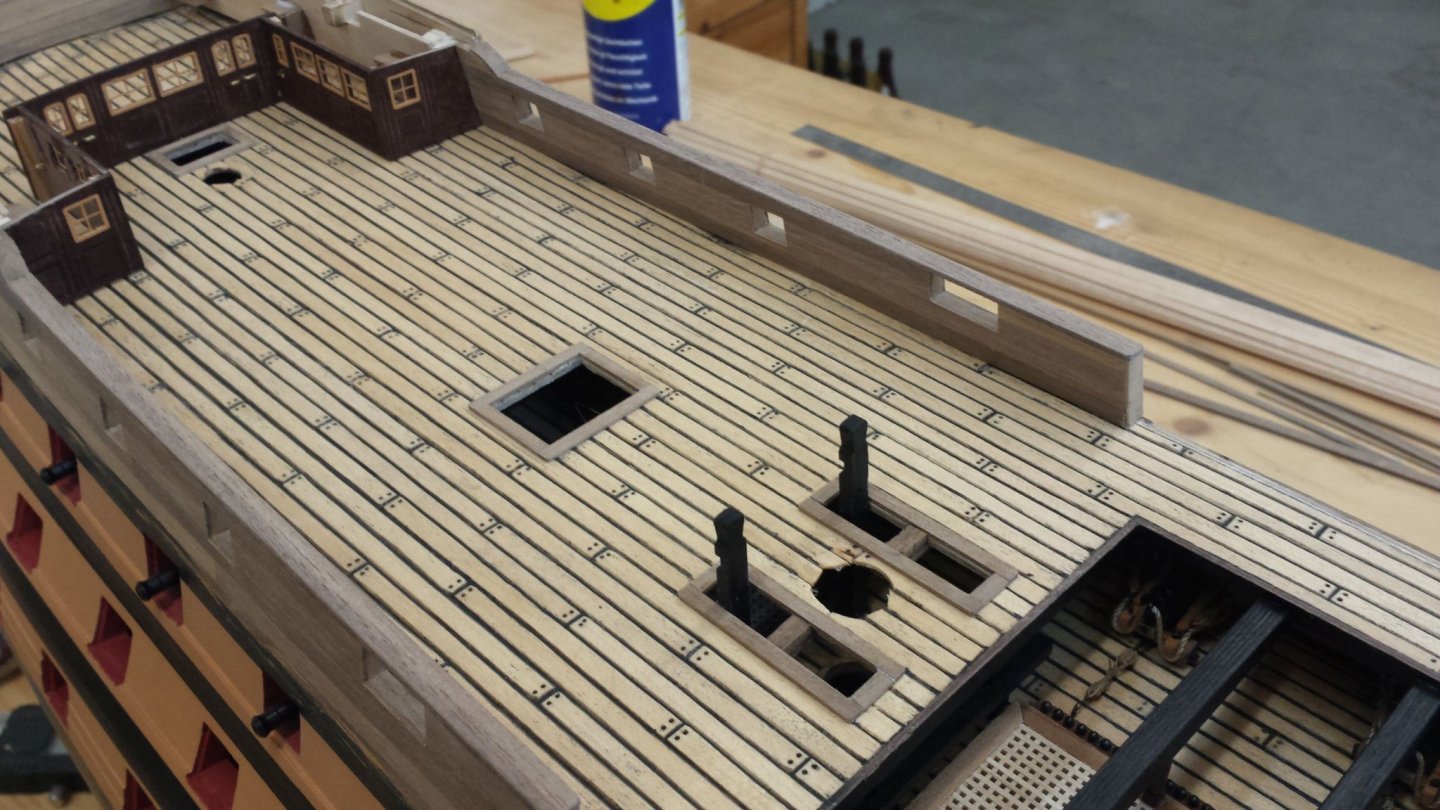
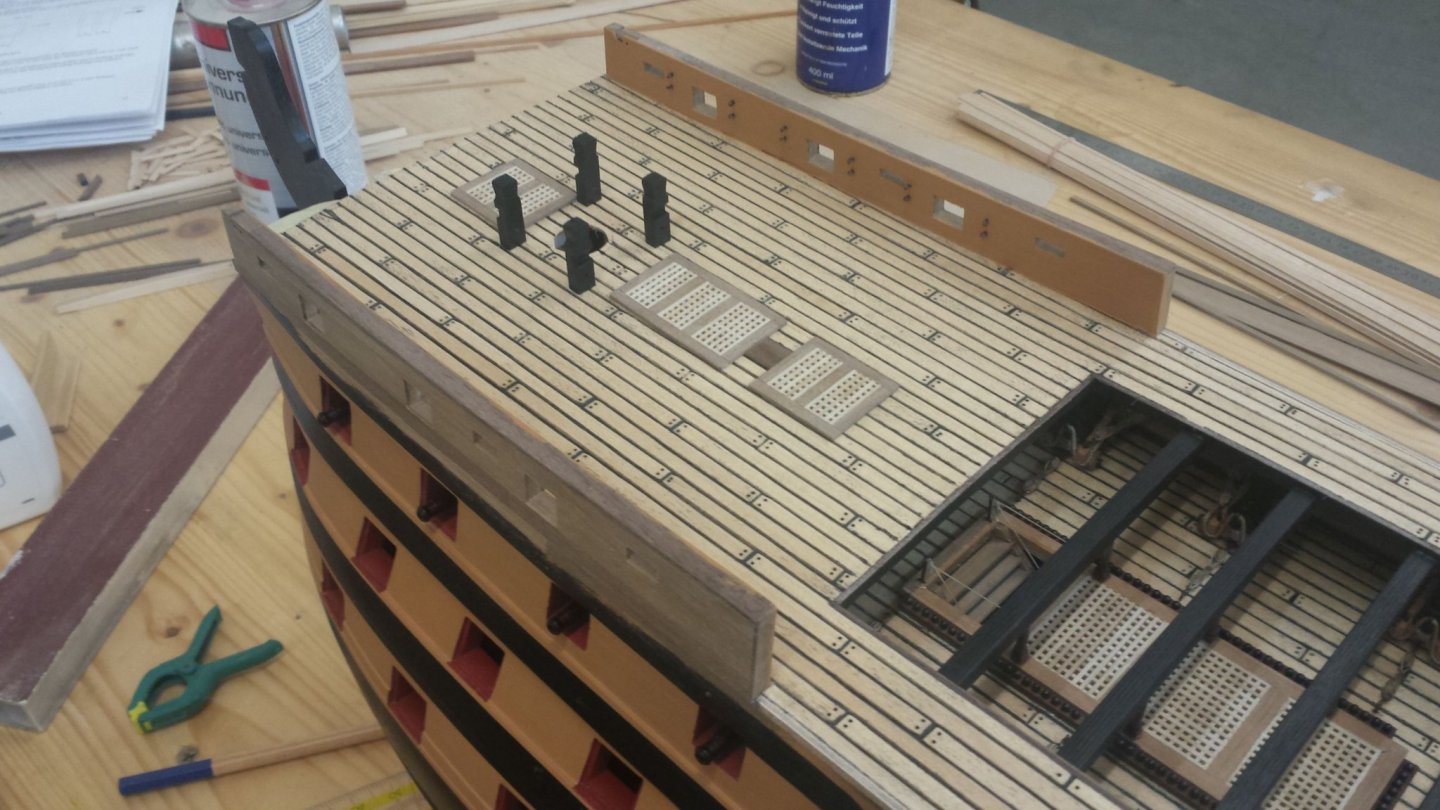
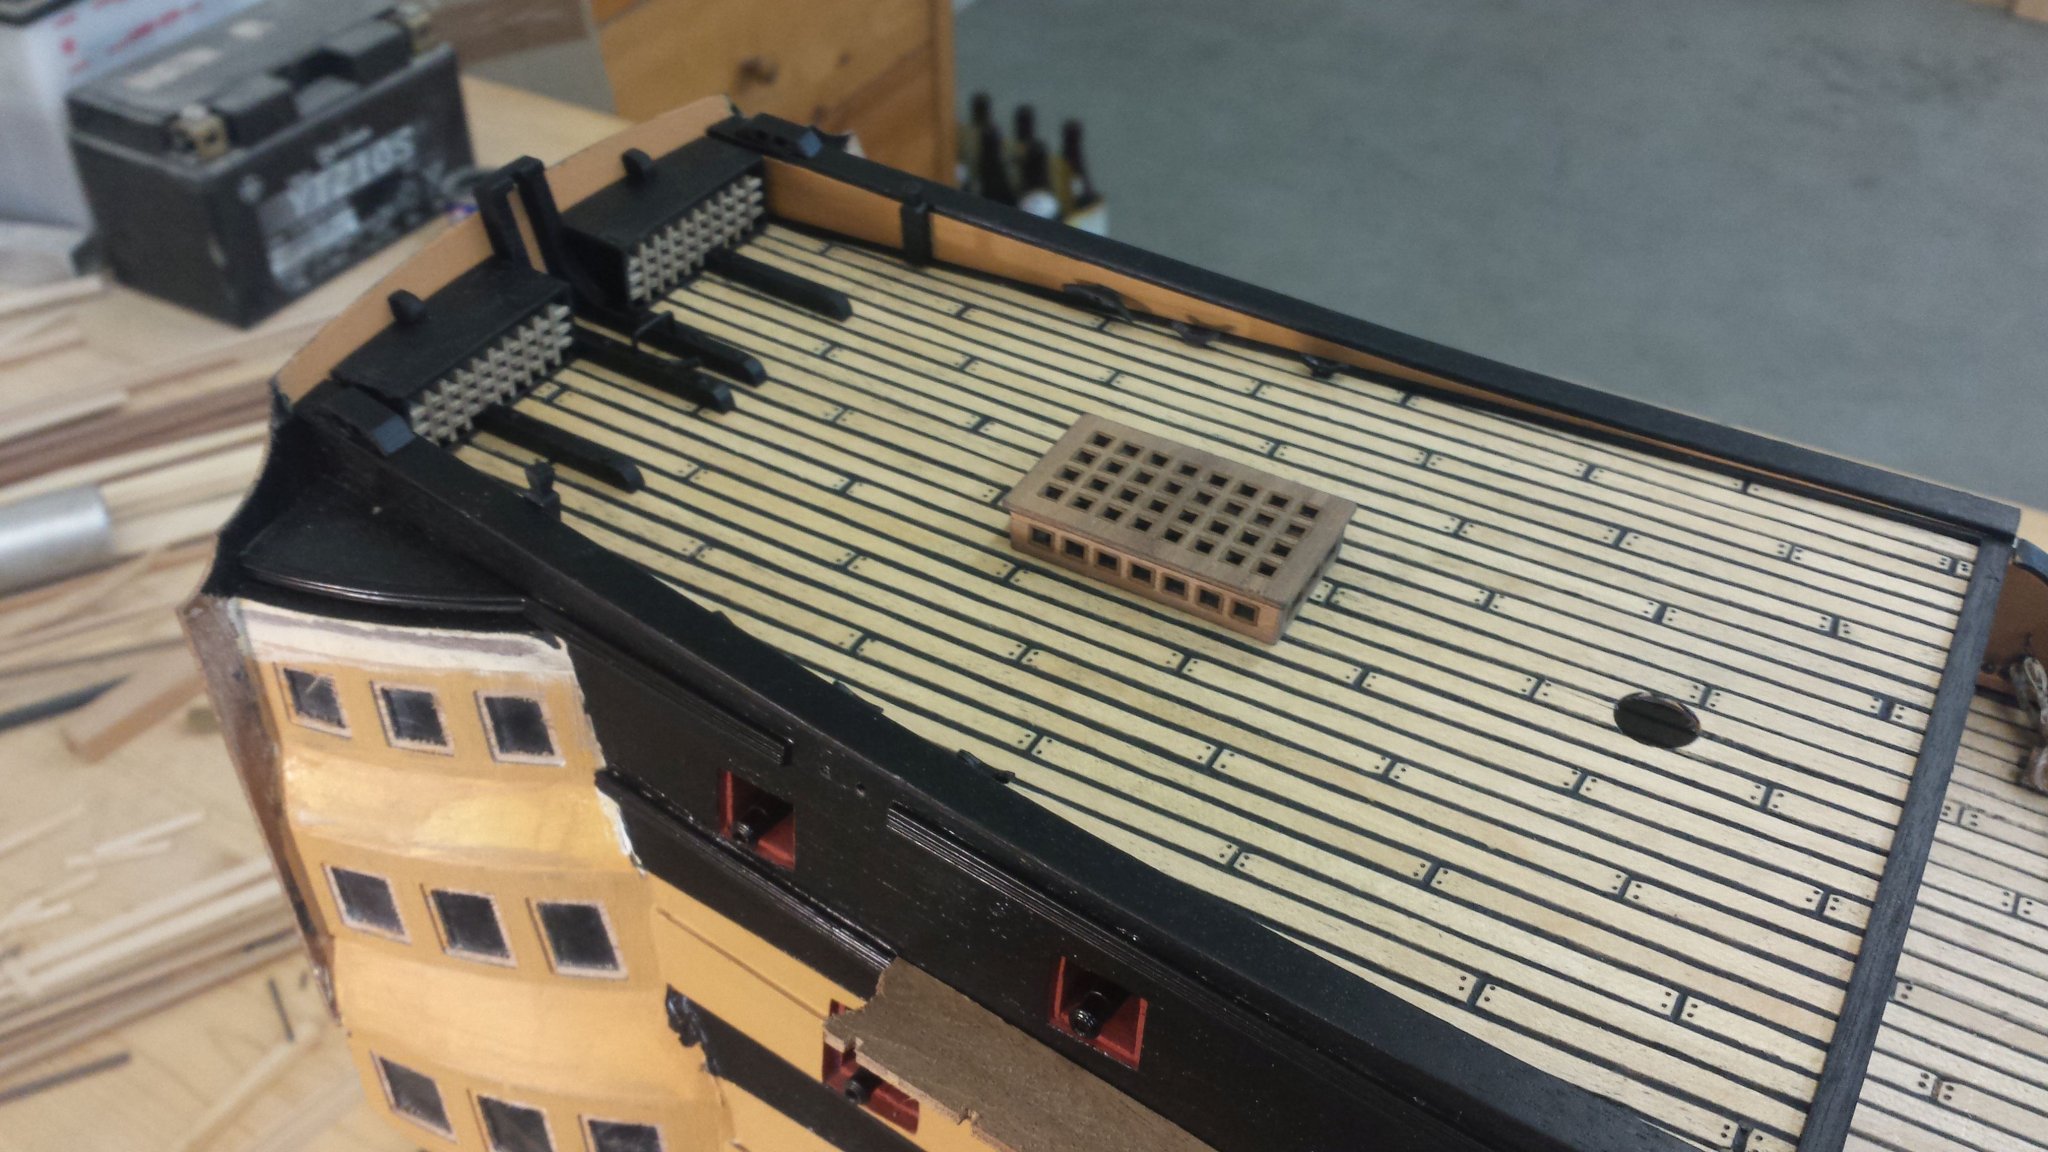
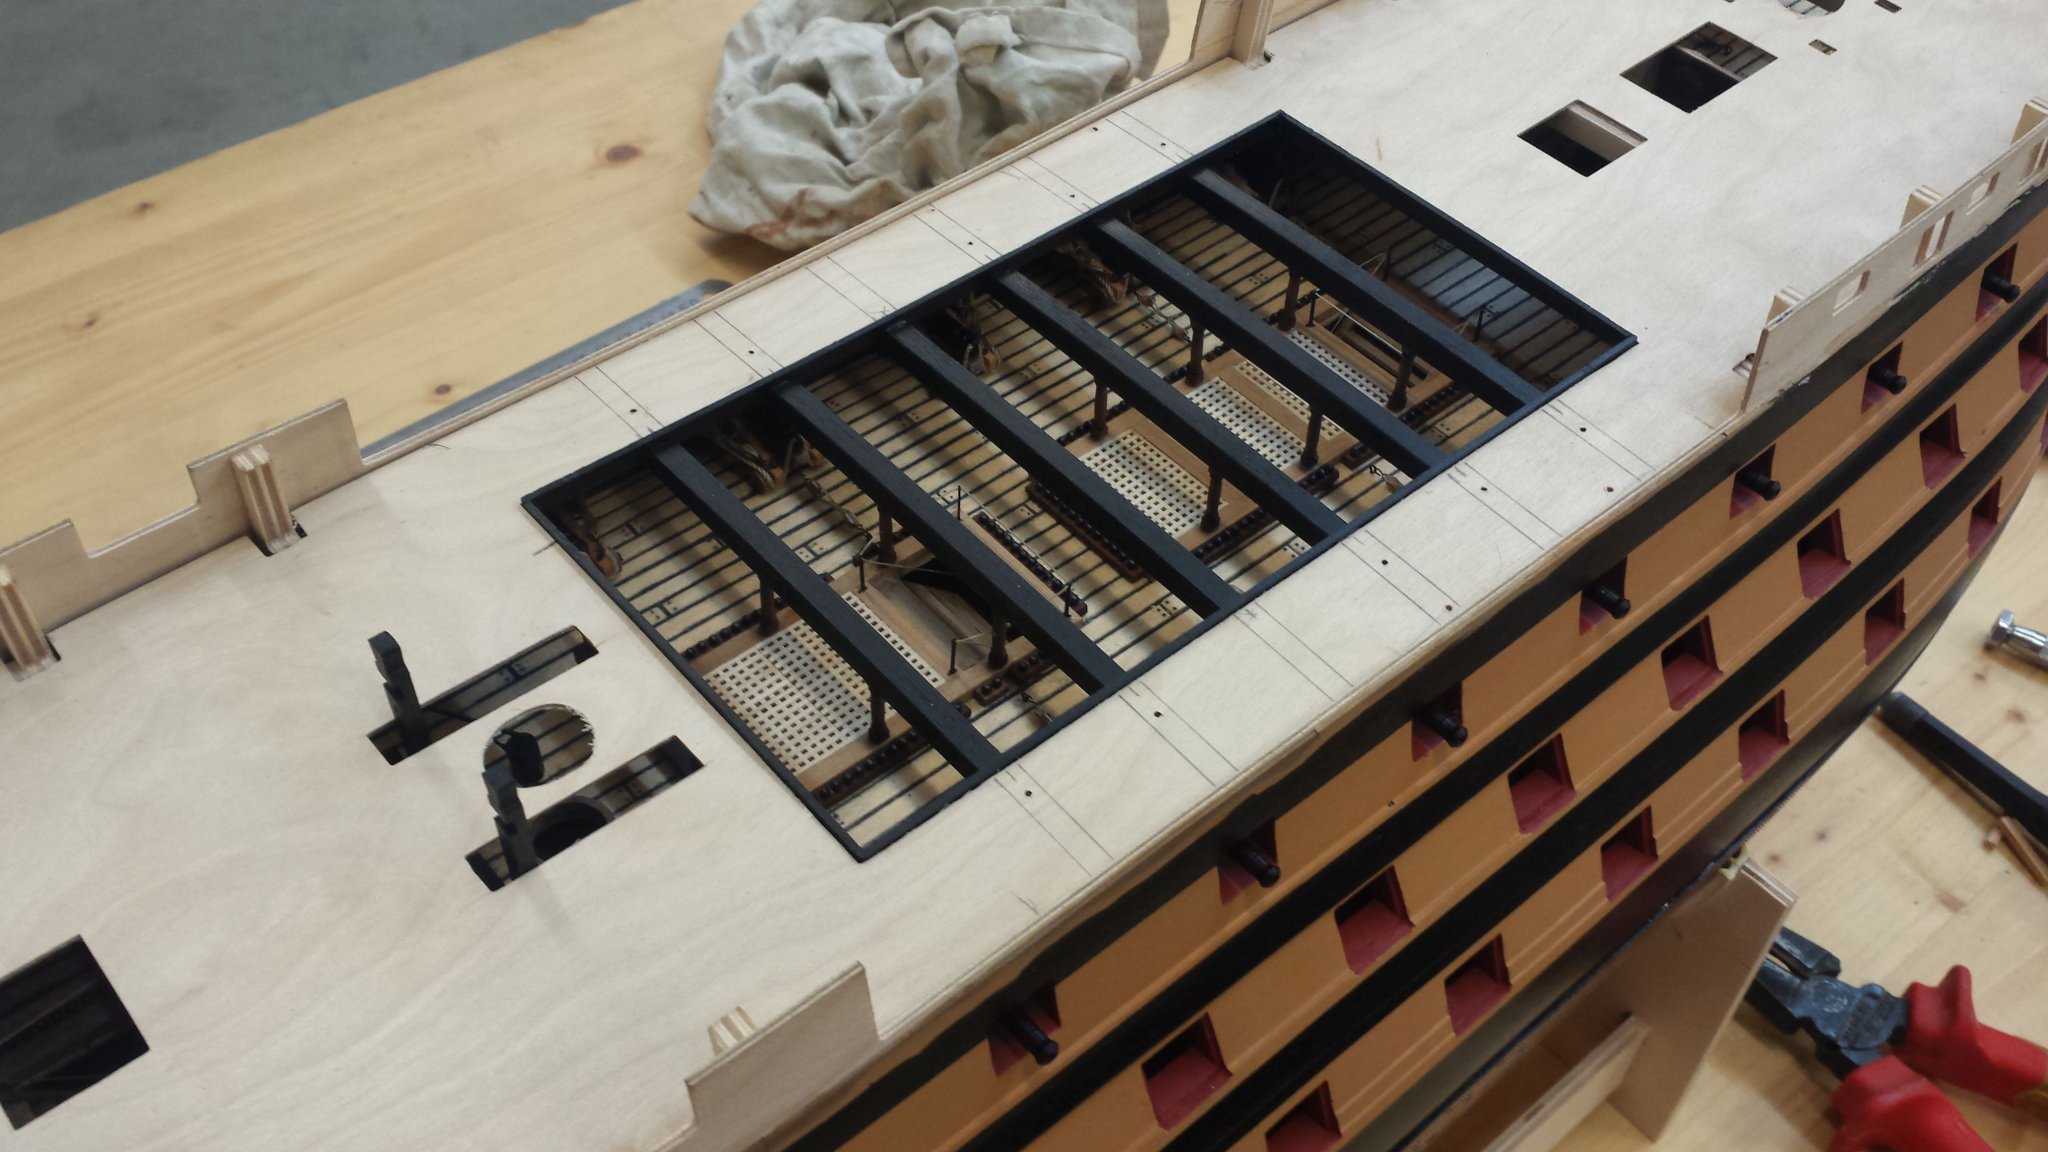
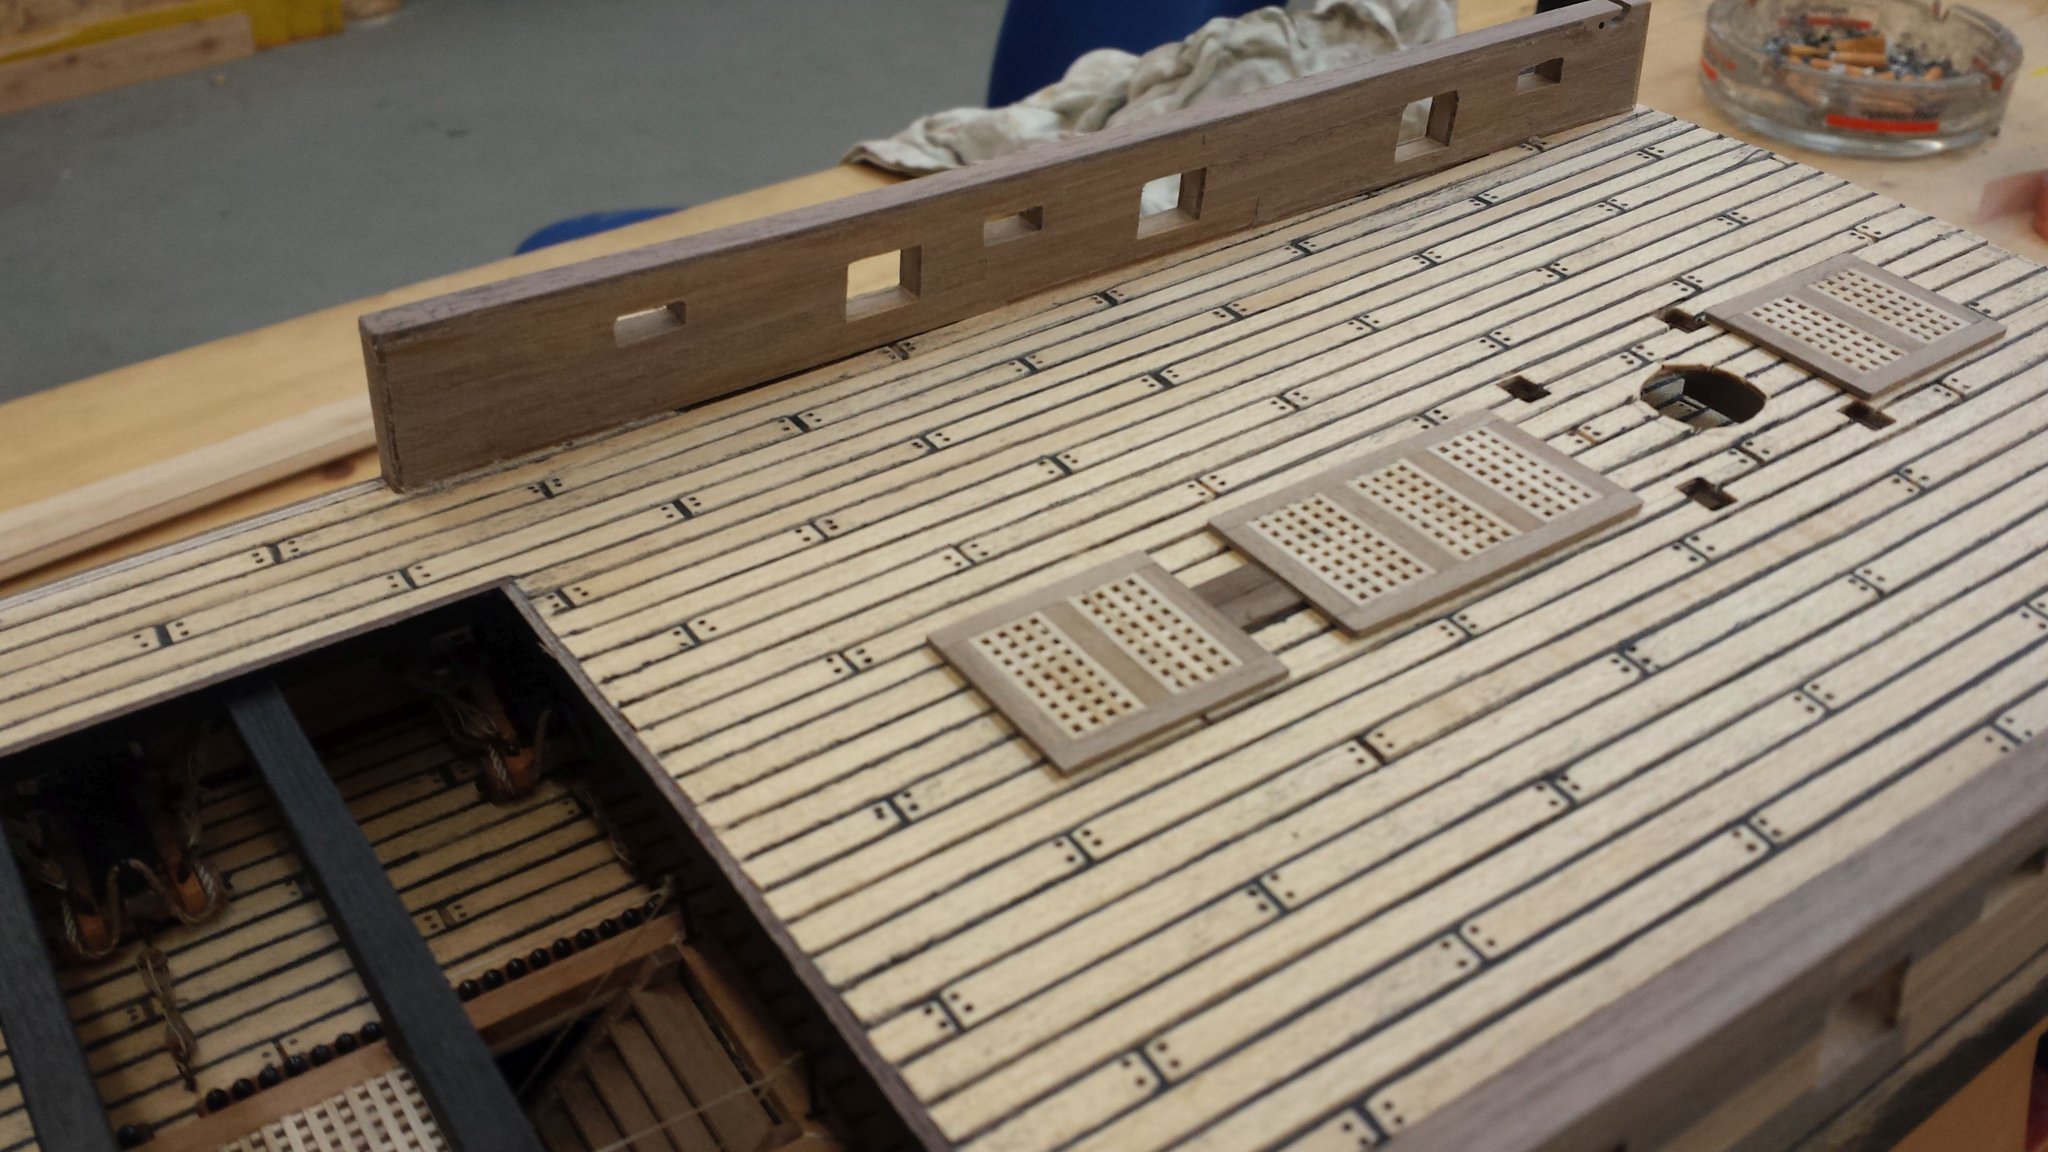
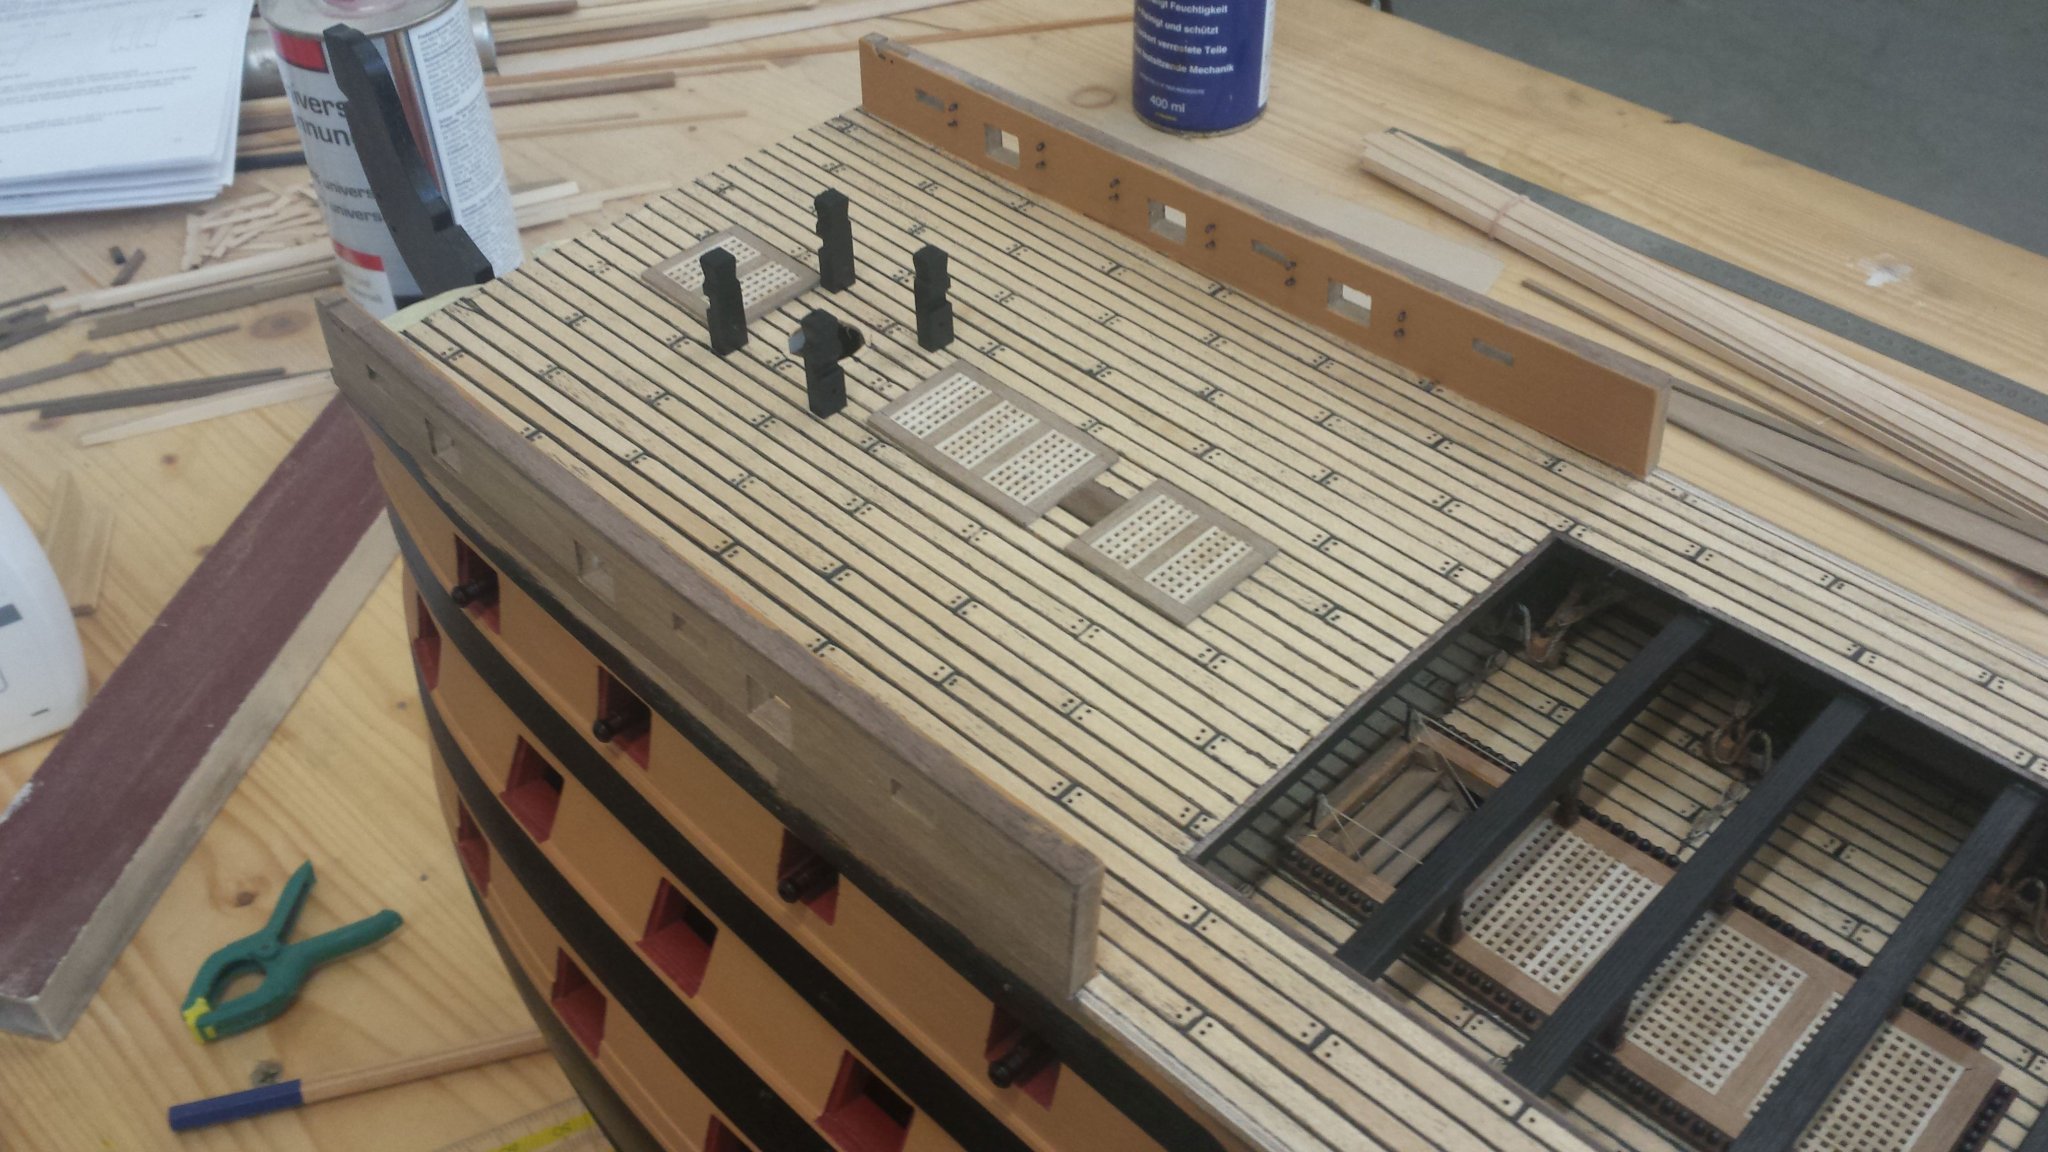
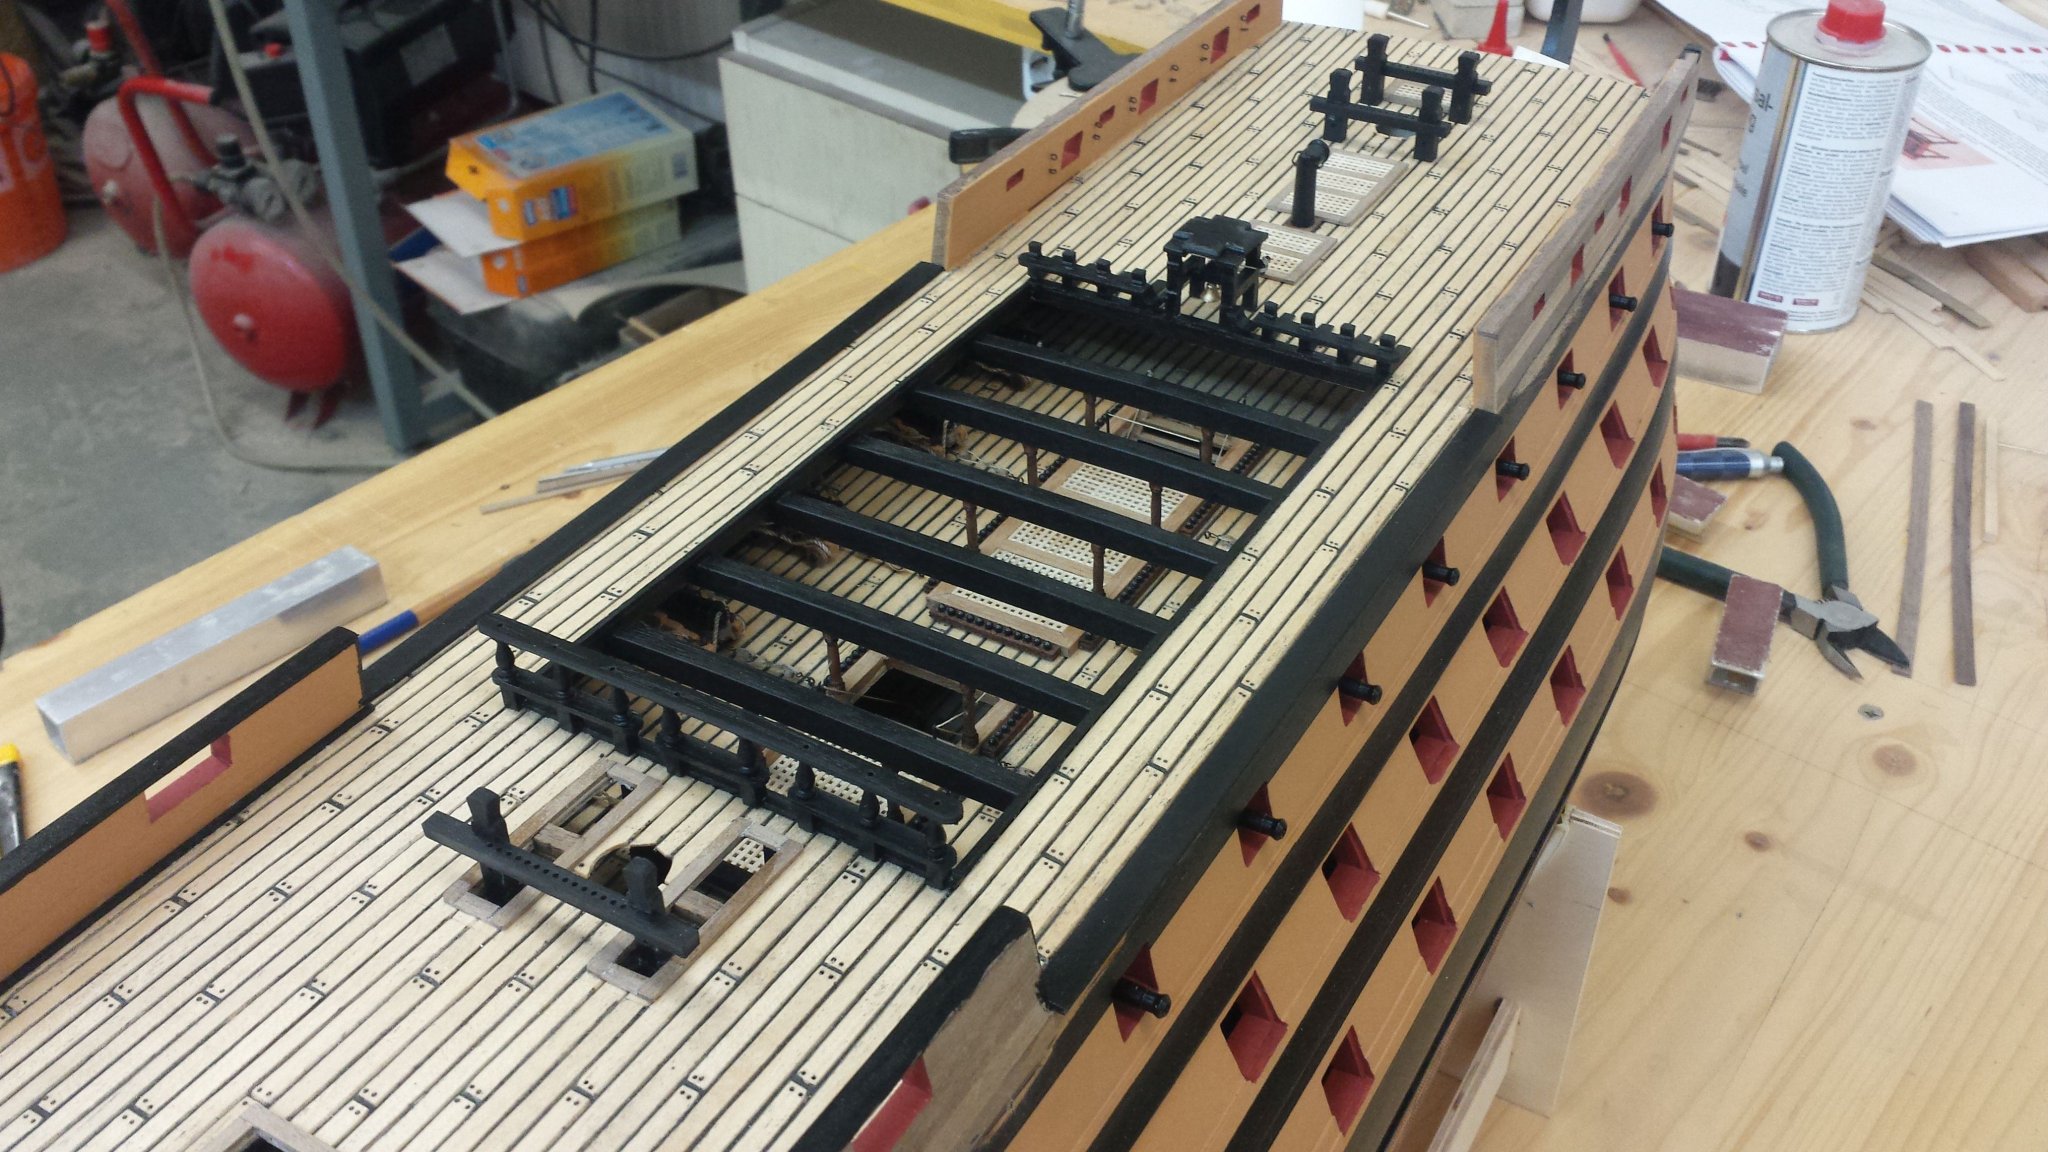
The next was the shipweel, the binnacle and the main companionway
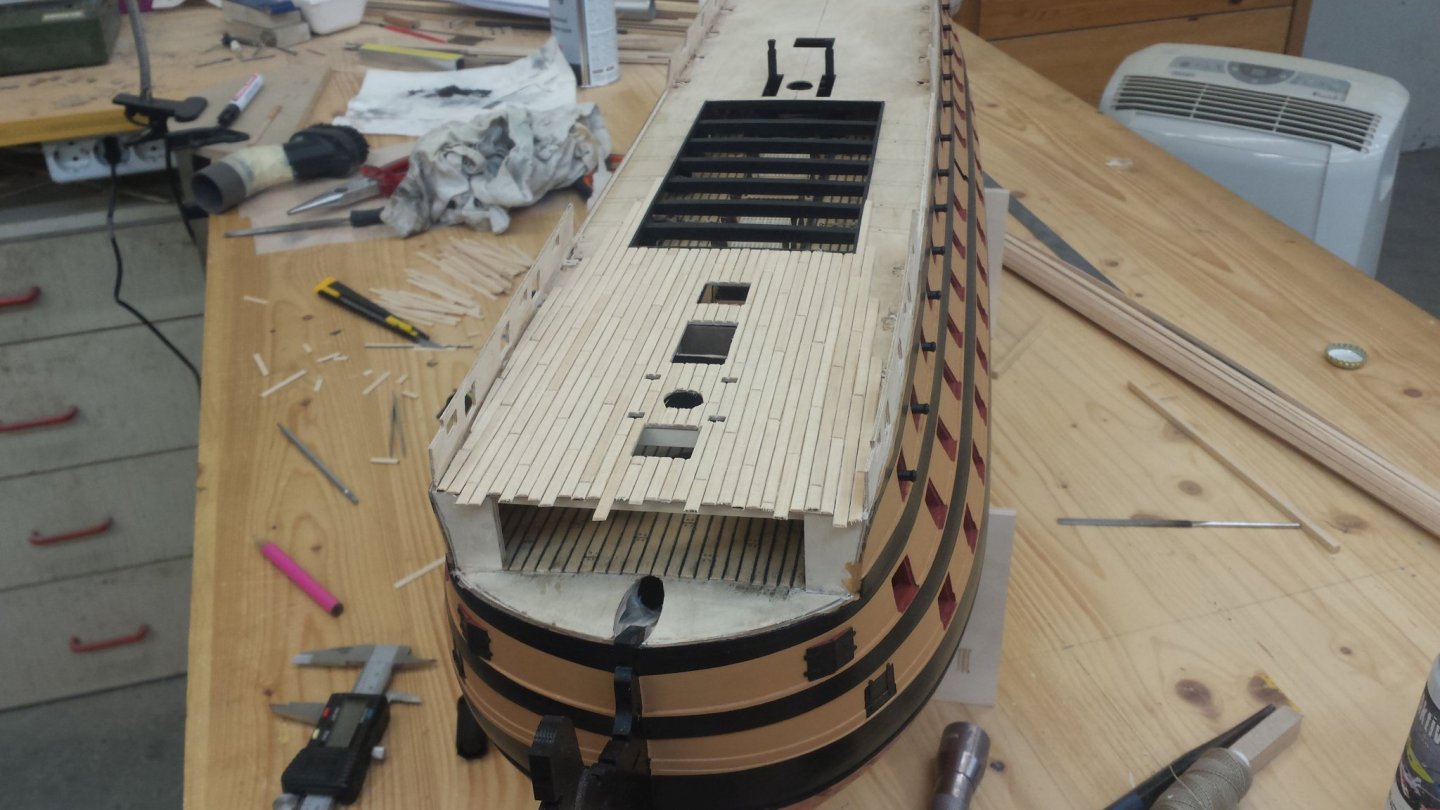
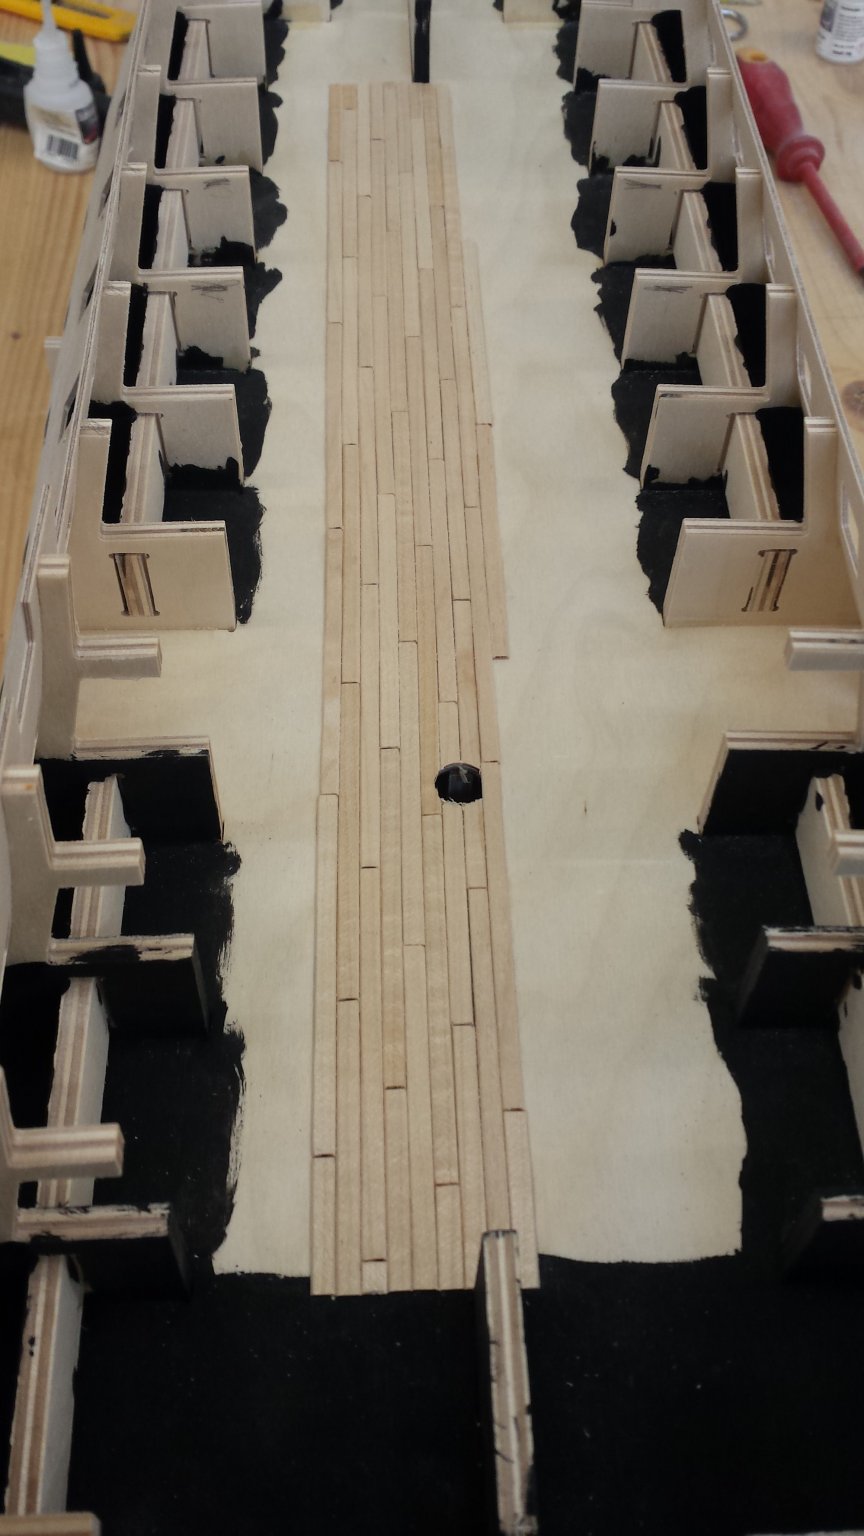
When that was done, the poop deck was assembled and planked

Than i assembled the Skylight and the flag lockers and glued in place

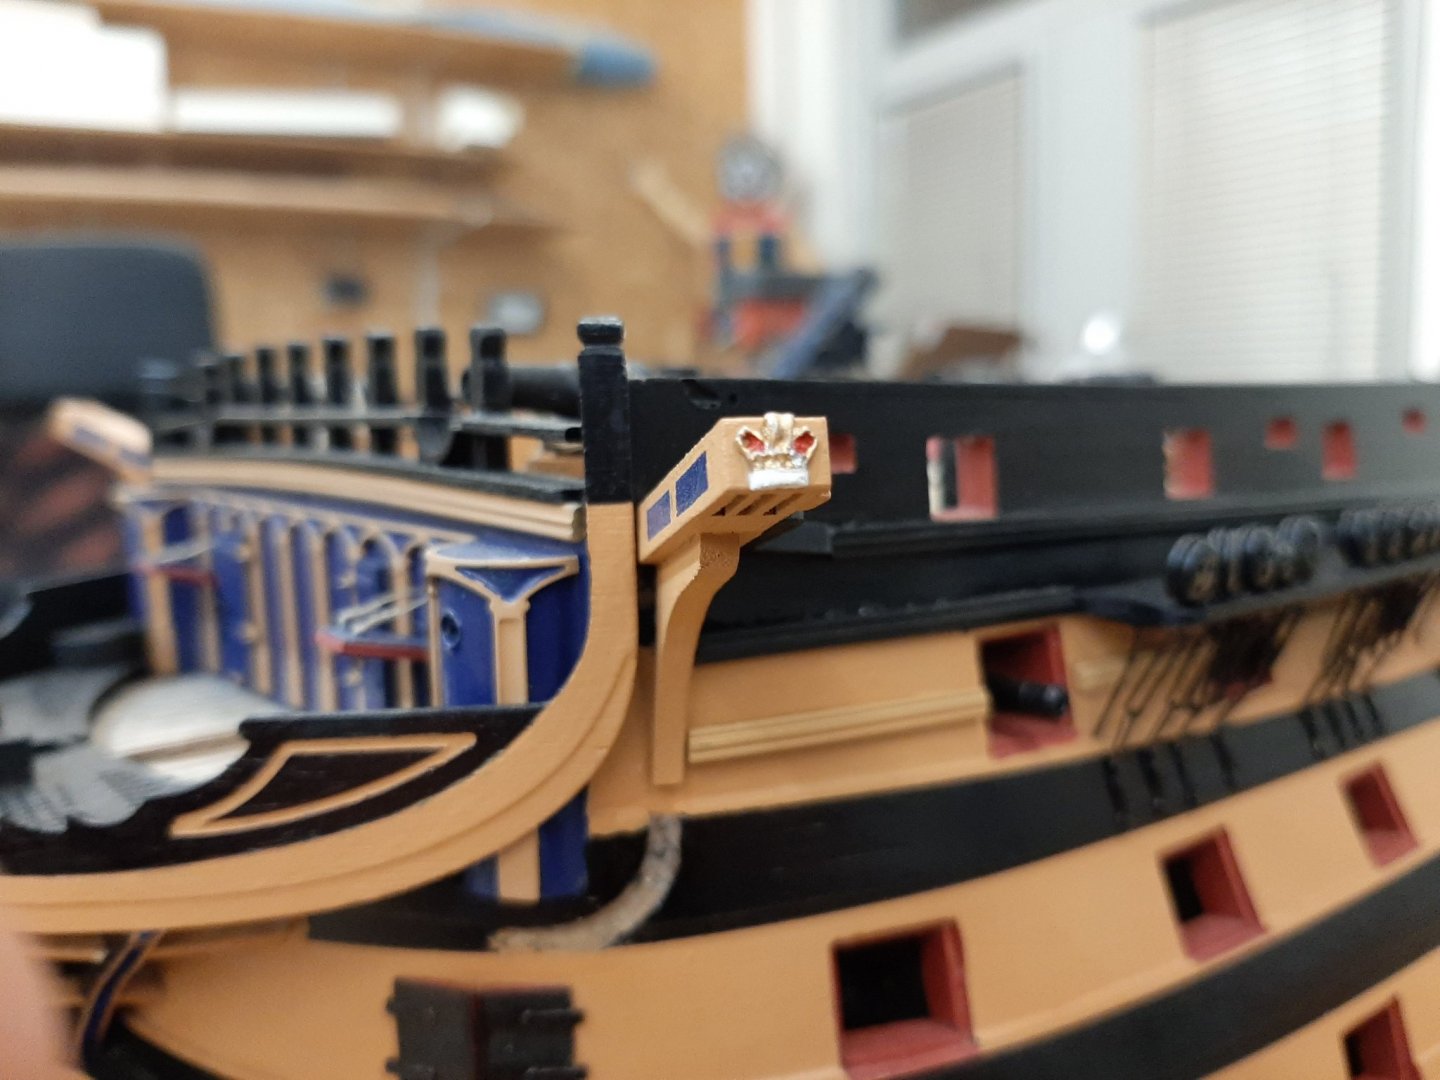
The next was the cat heads


Cheers
Helli
- Jonny 007, BenD, BobCardone and 7 others
-
10
-
Hi,
I've tried several times to edit the post. But it does not work
Helli
-
Hi,
How can i remove the last 3 pictures and the big free space in the last post?
Helli
-
Hi,
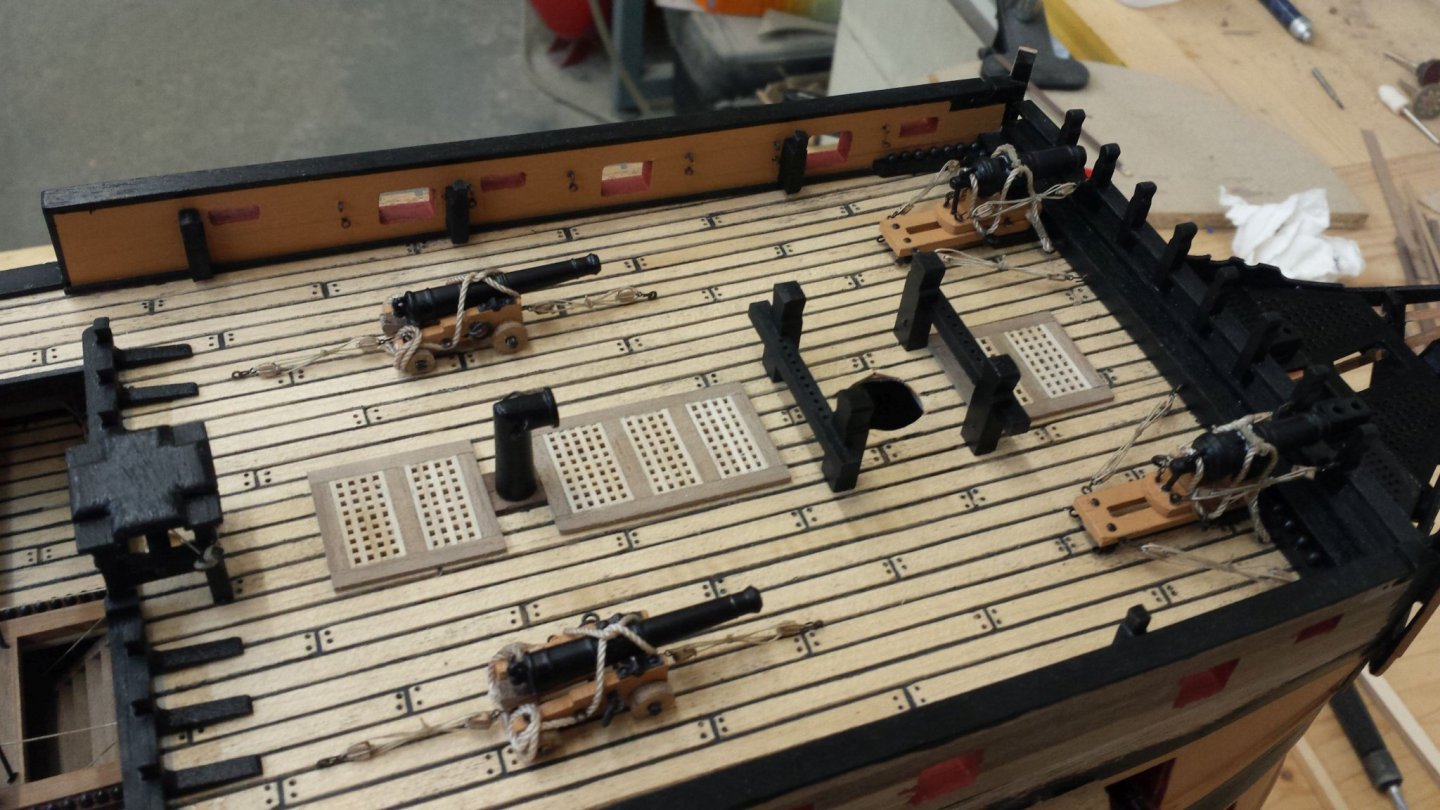
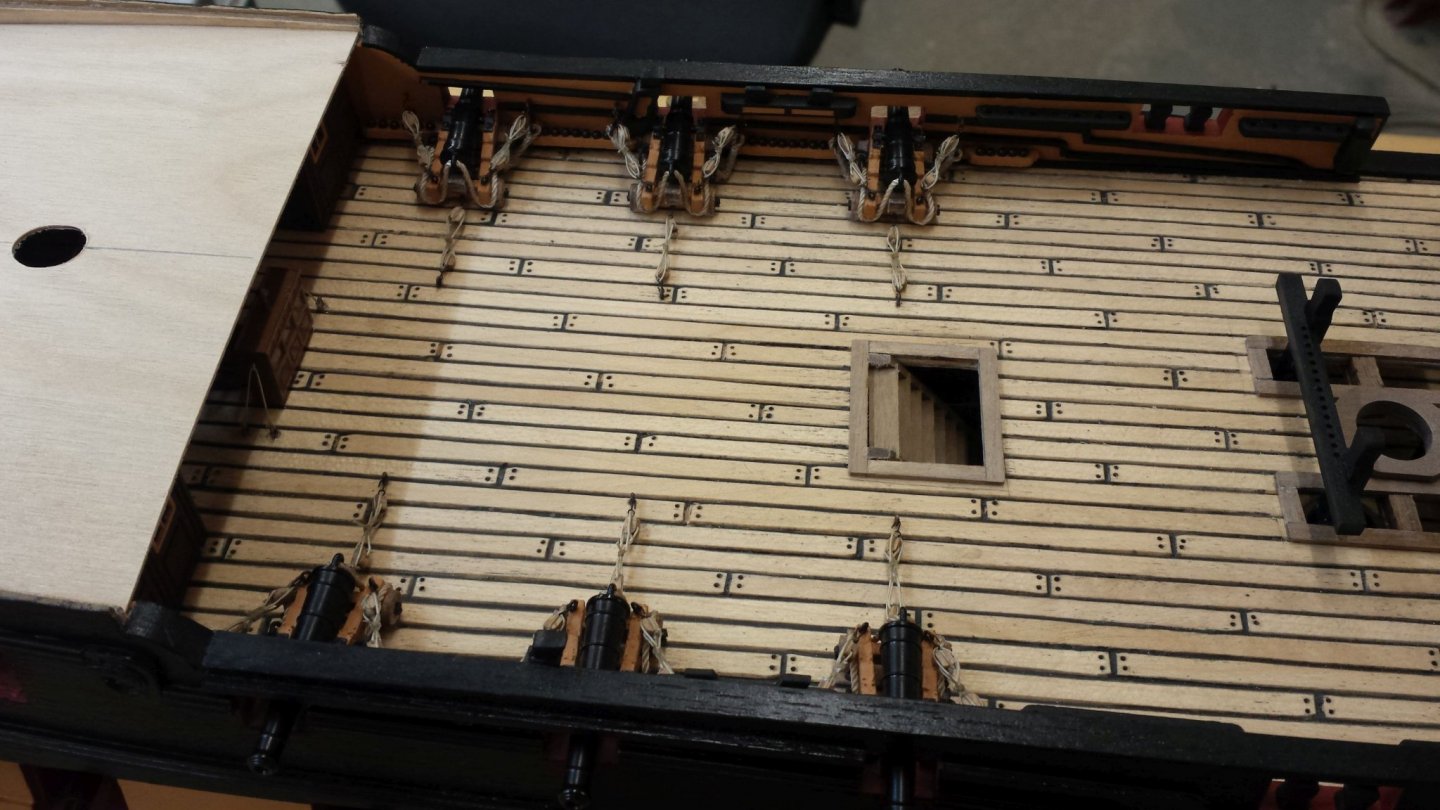
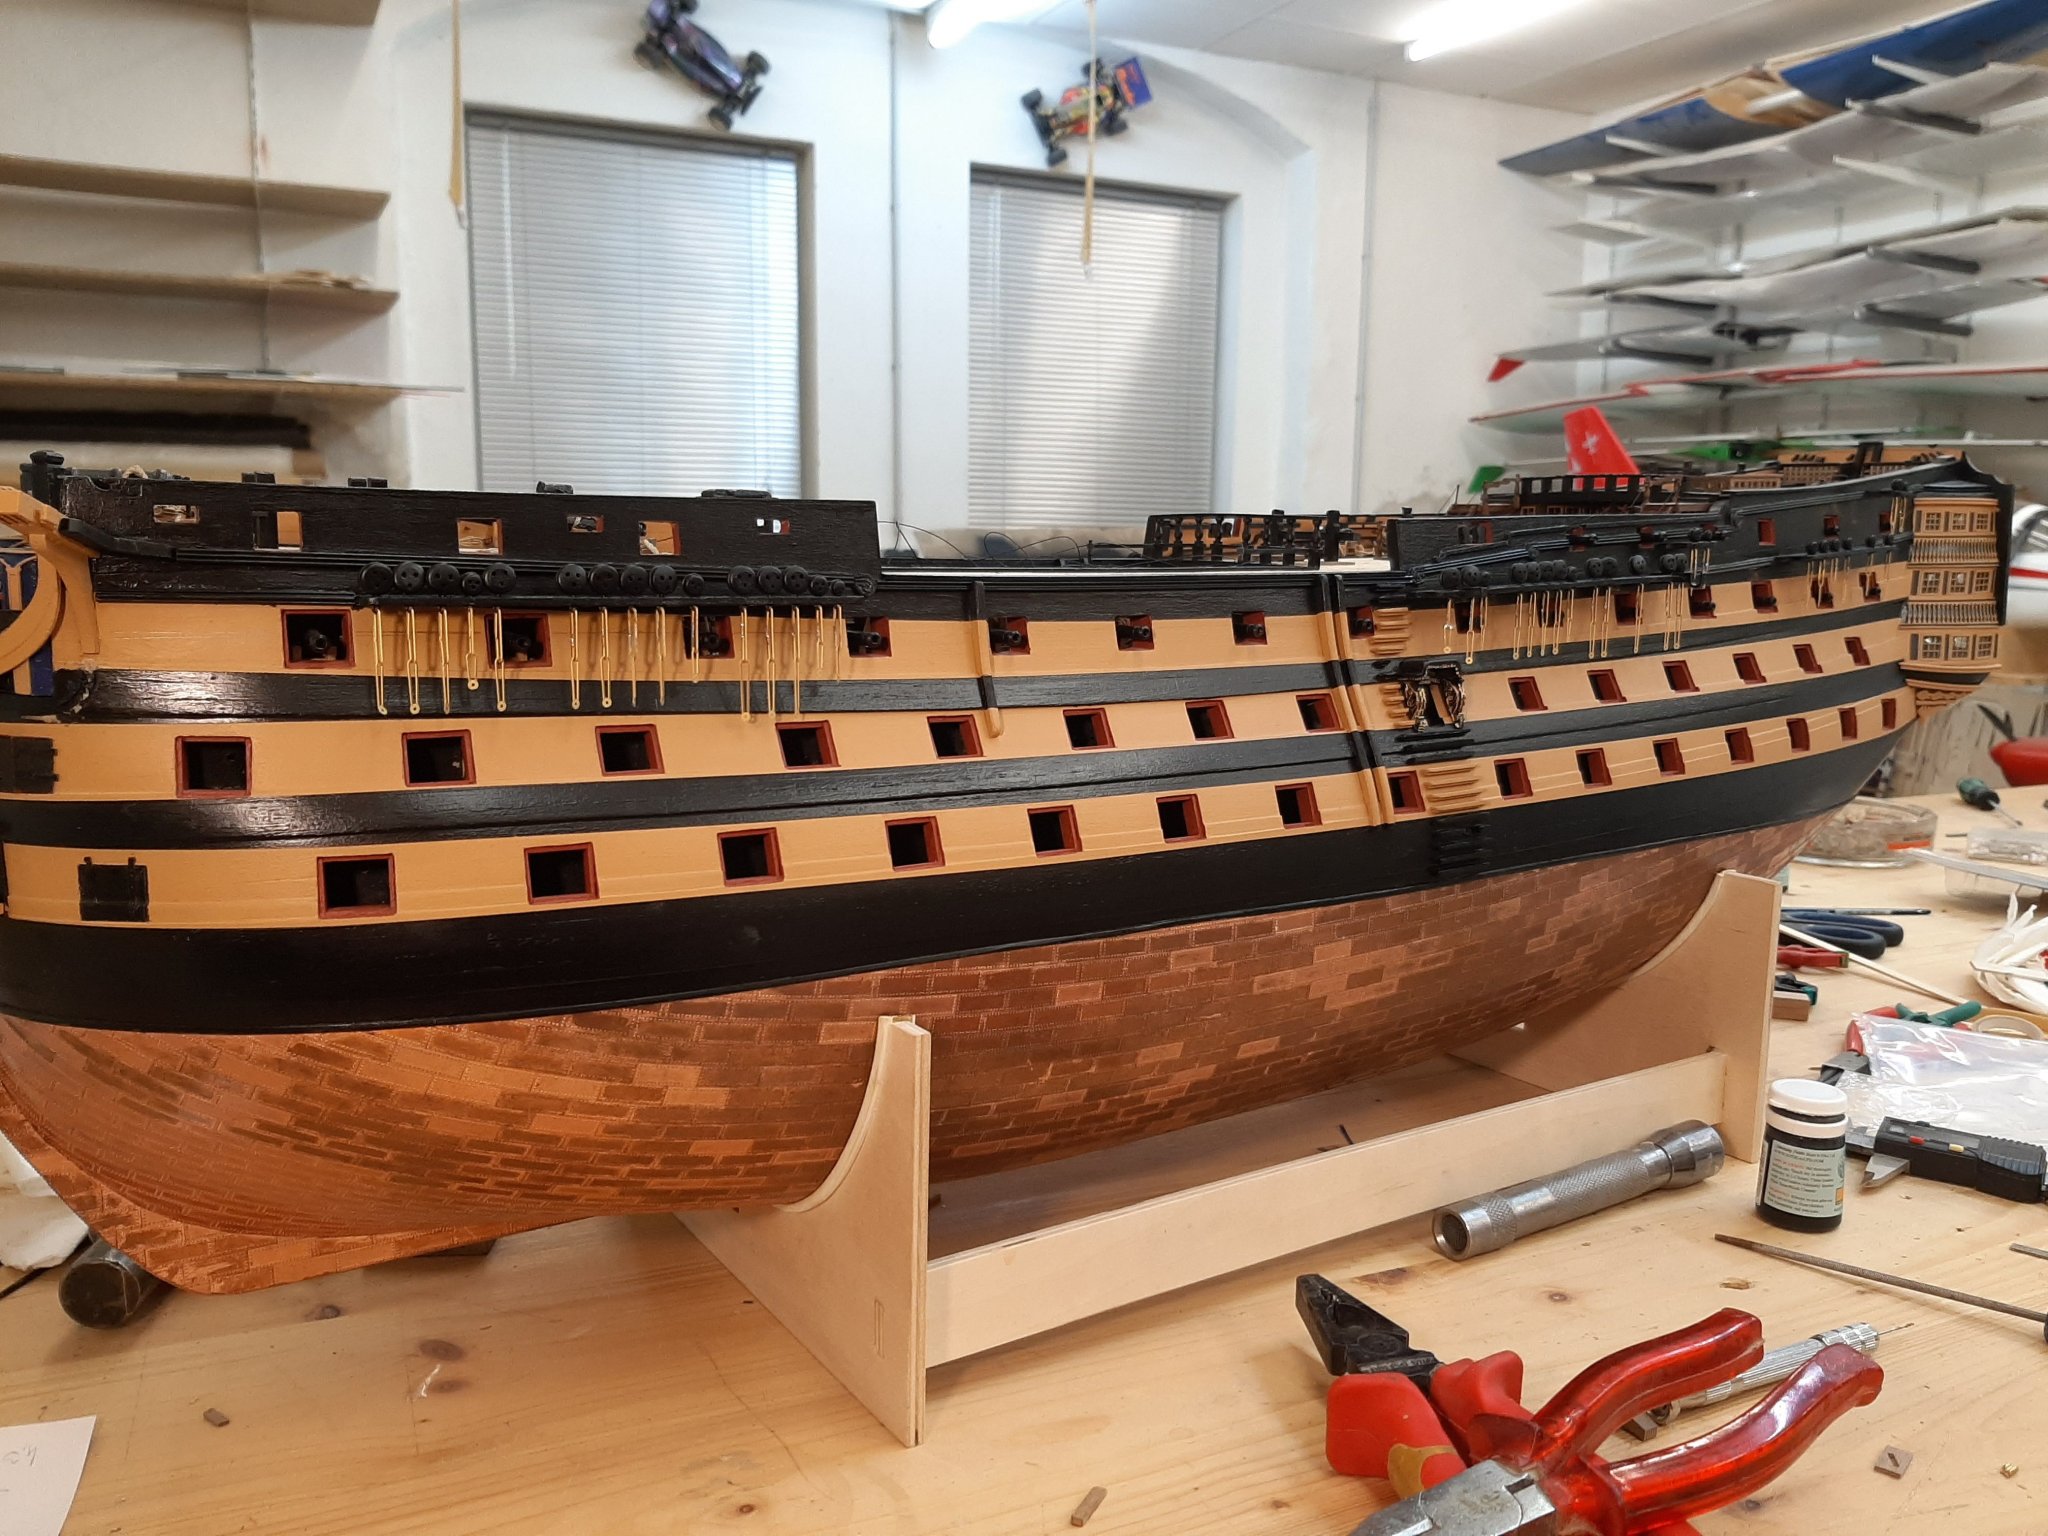
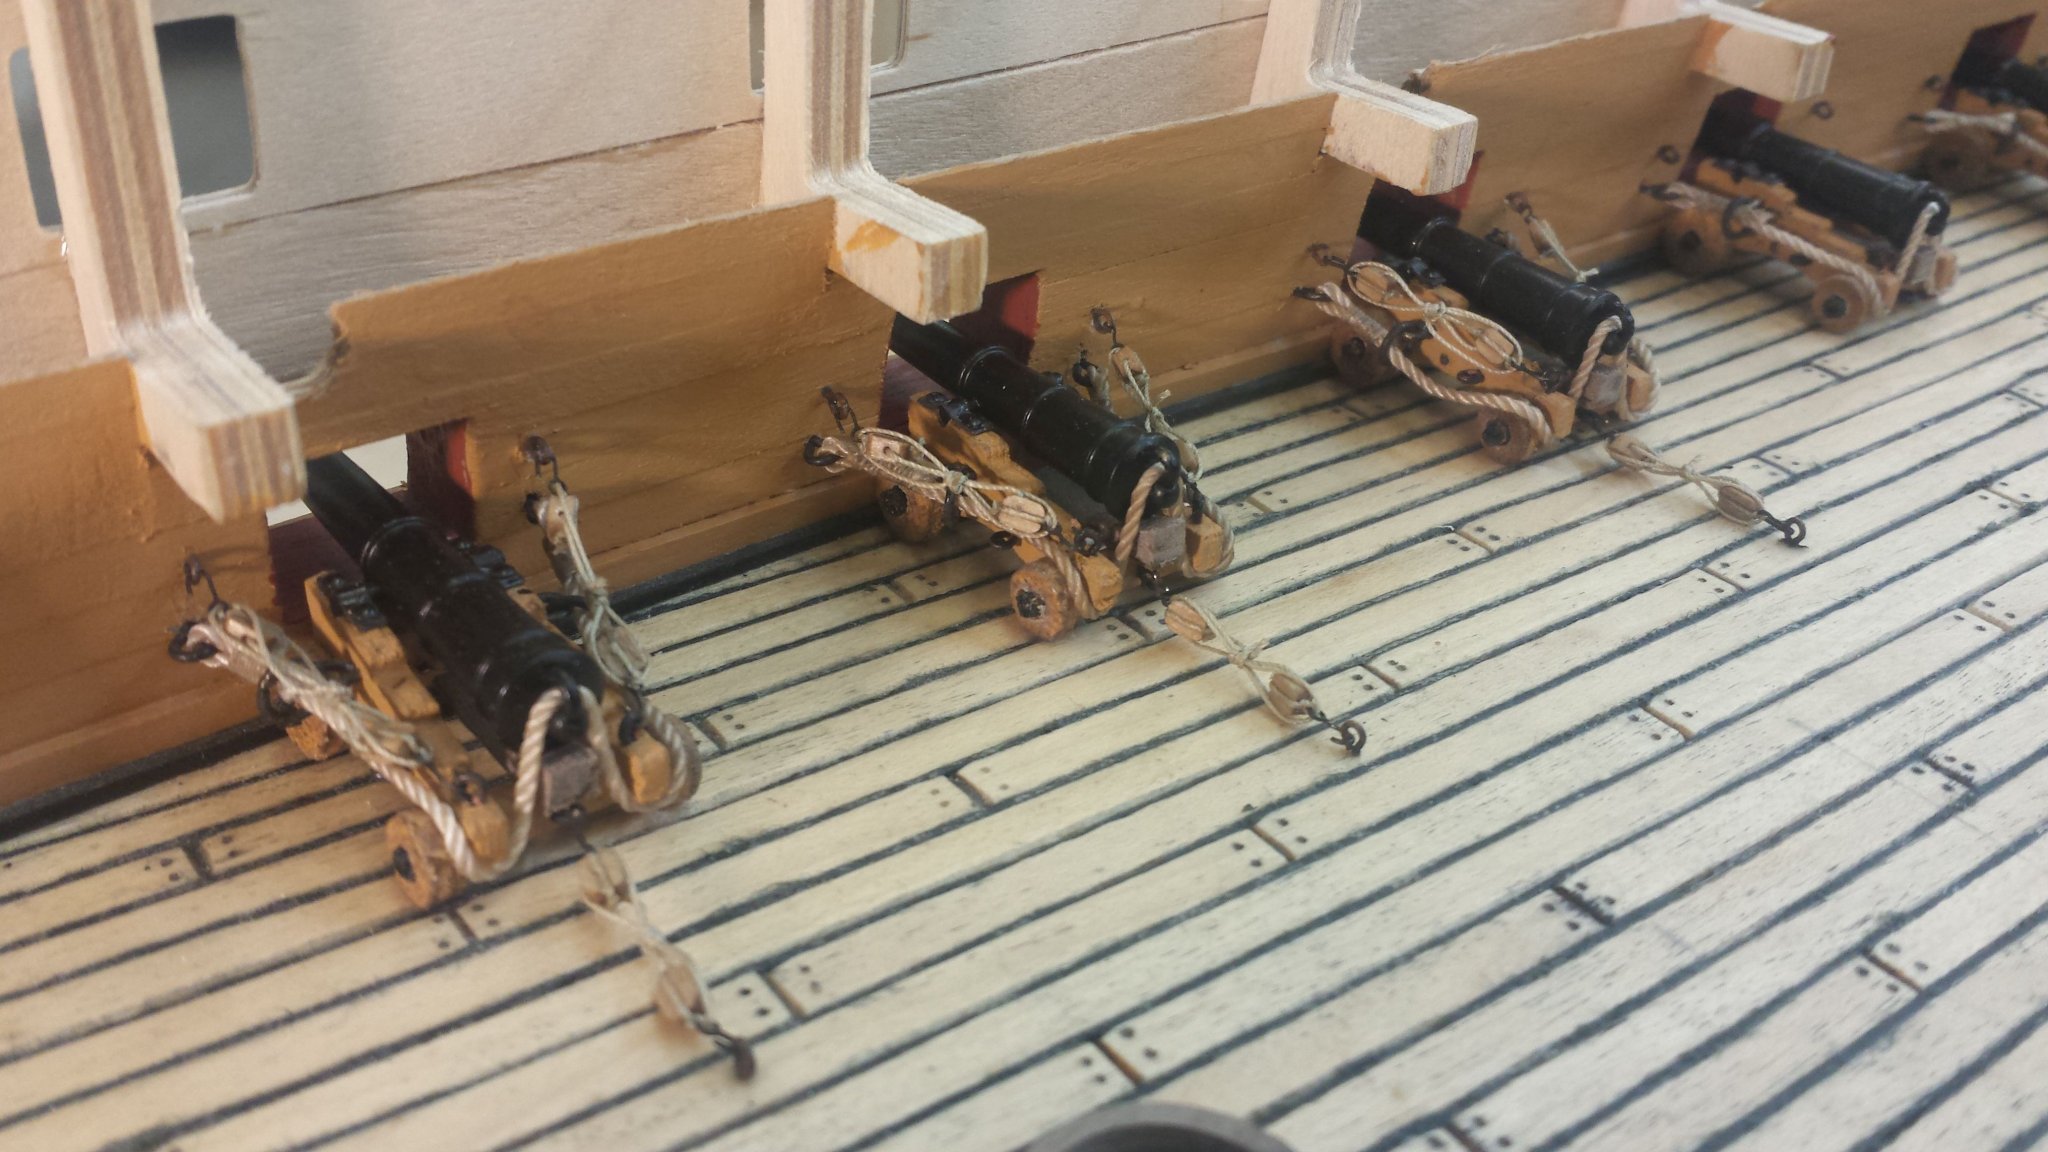
Now i can start rigging the cannons. Seems to be almost endless but is fun


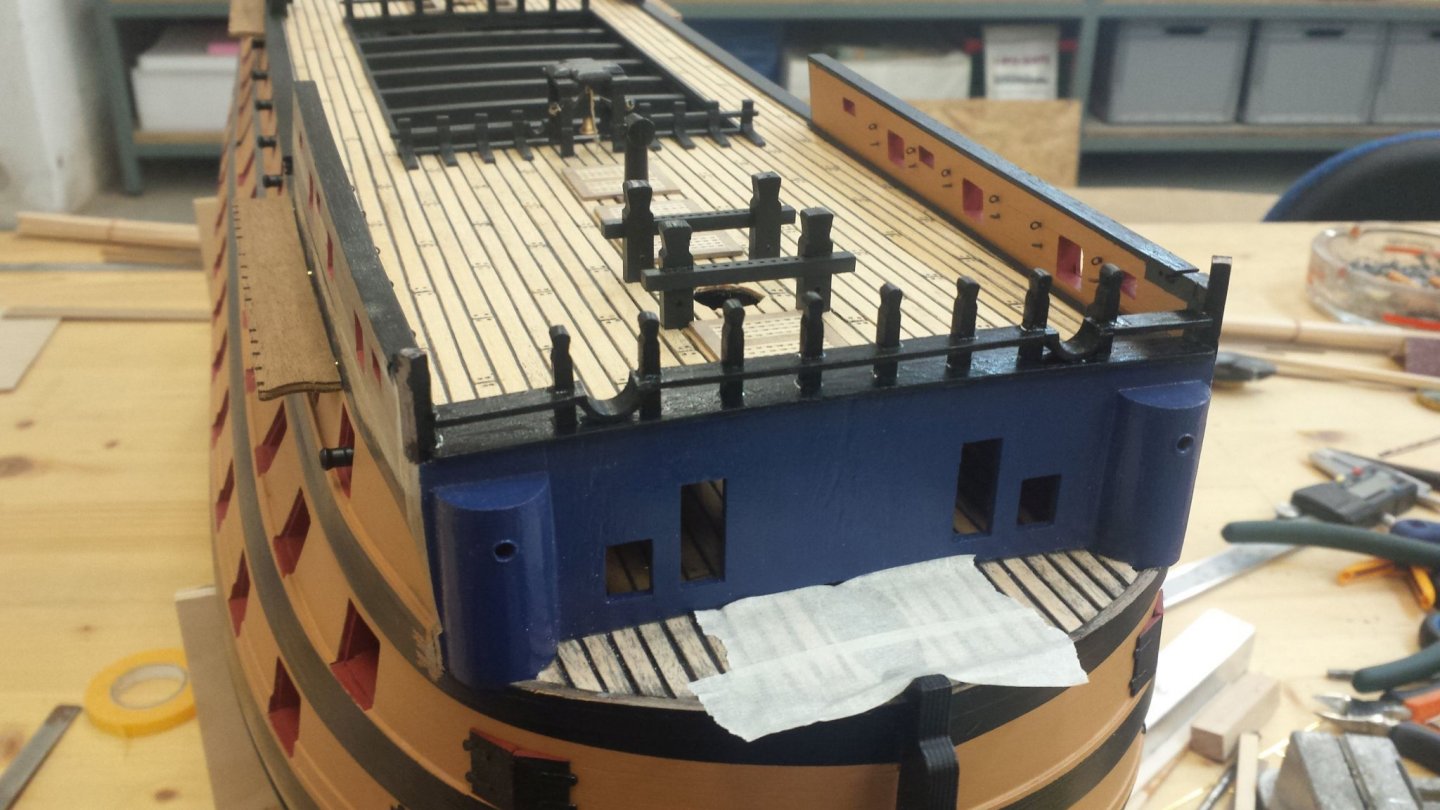
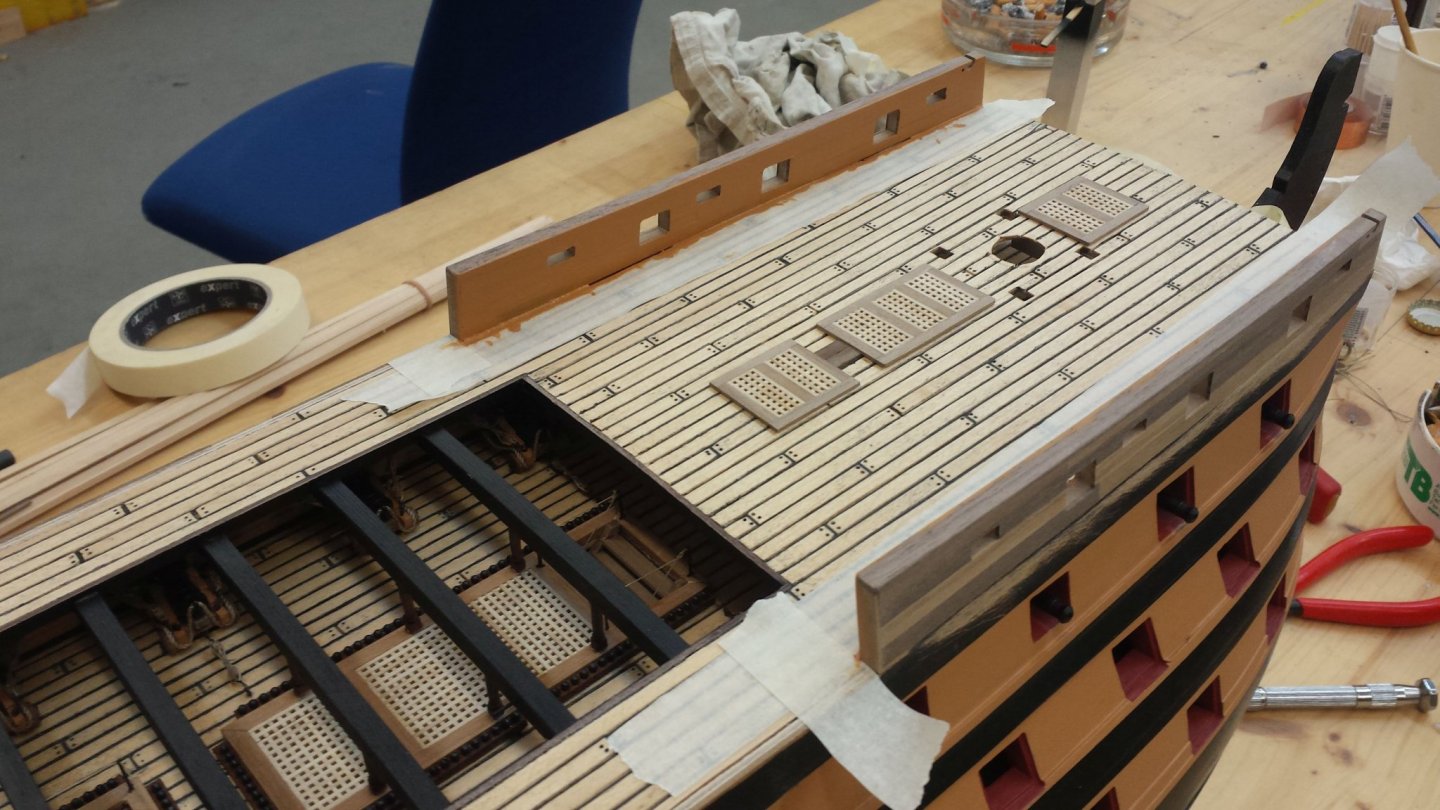
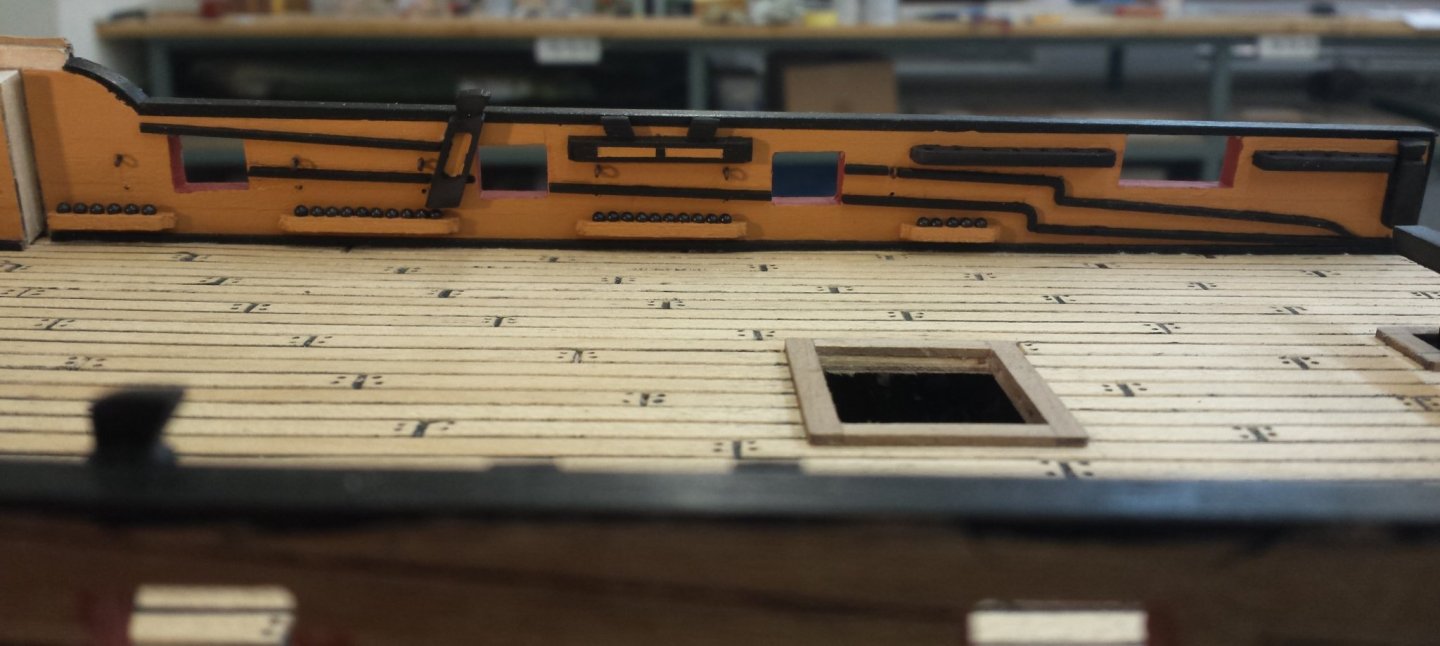
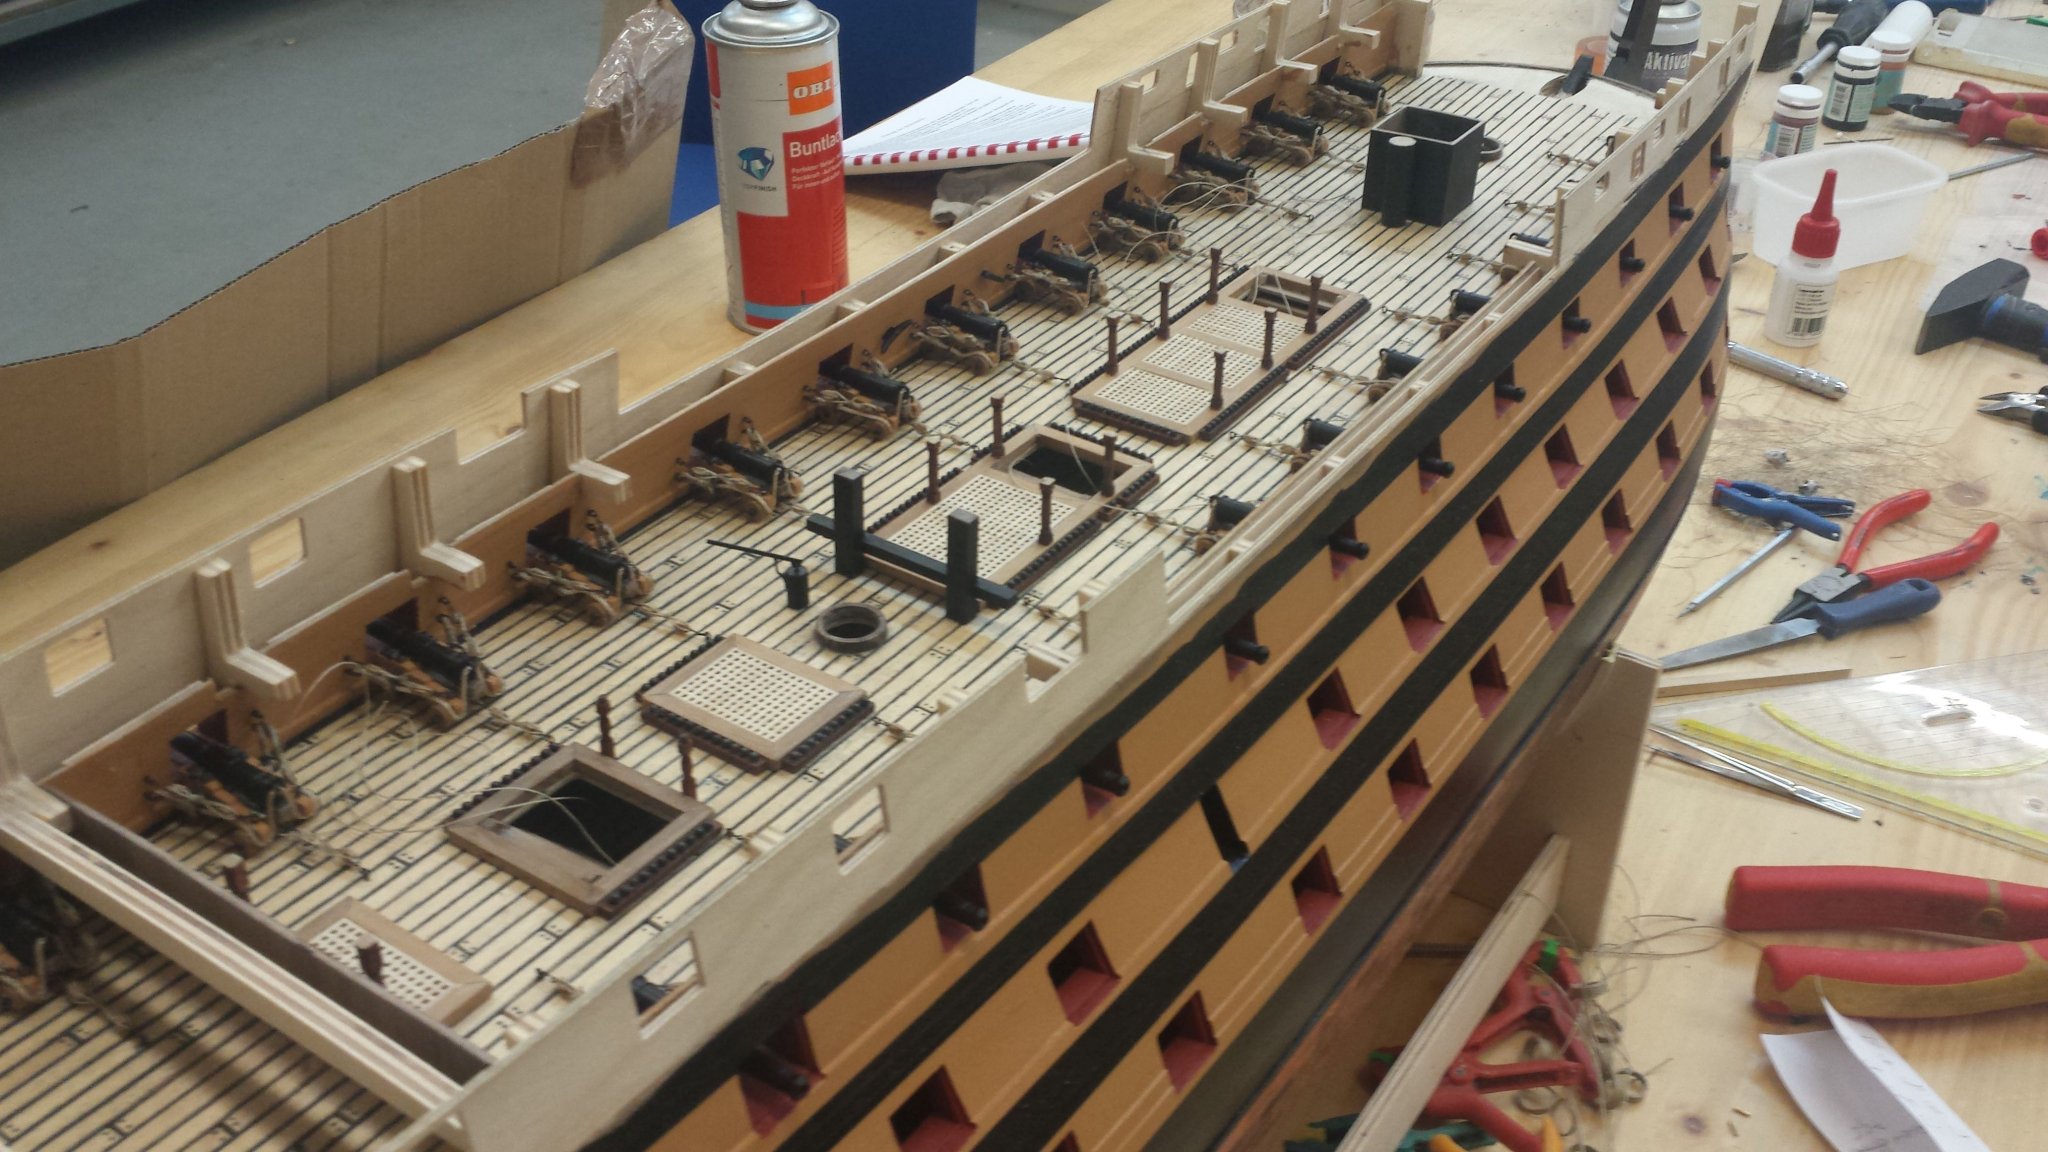
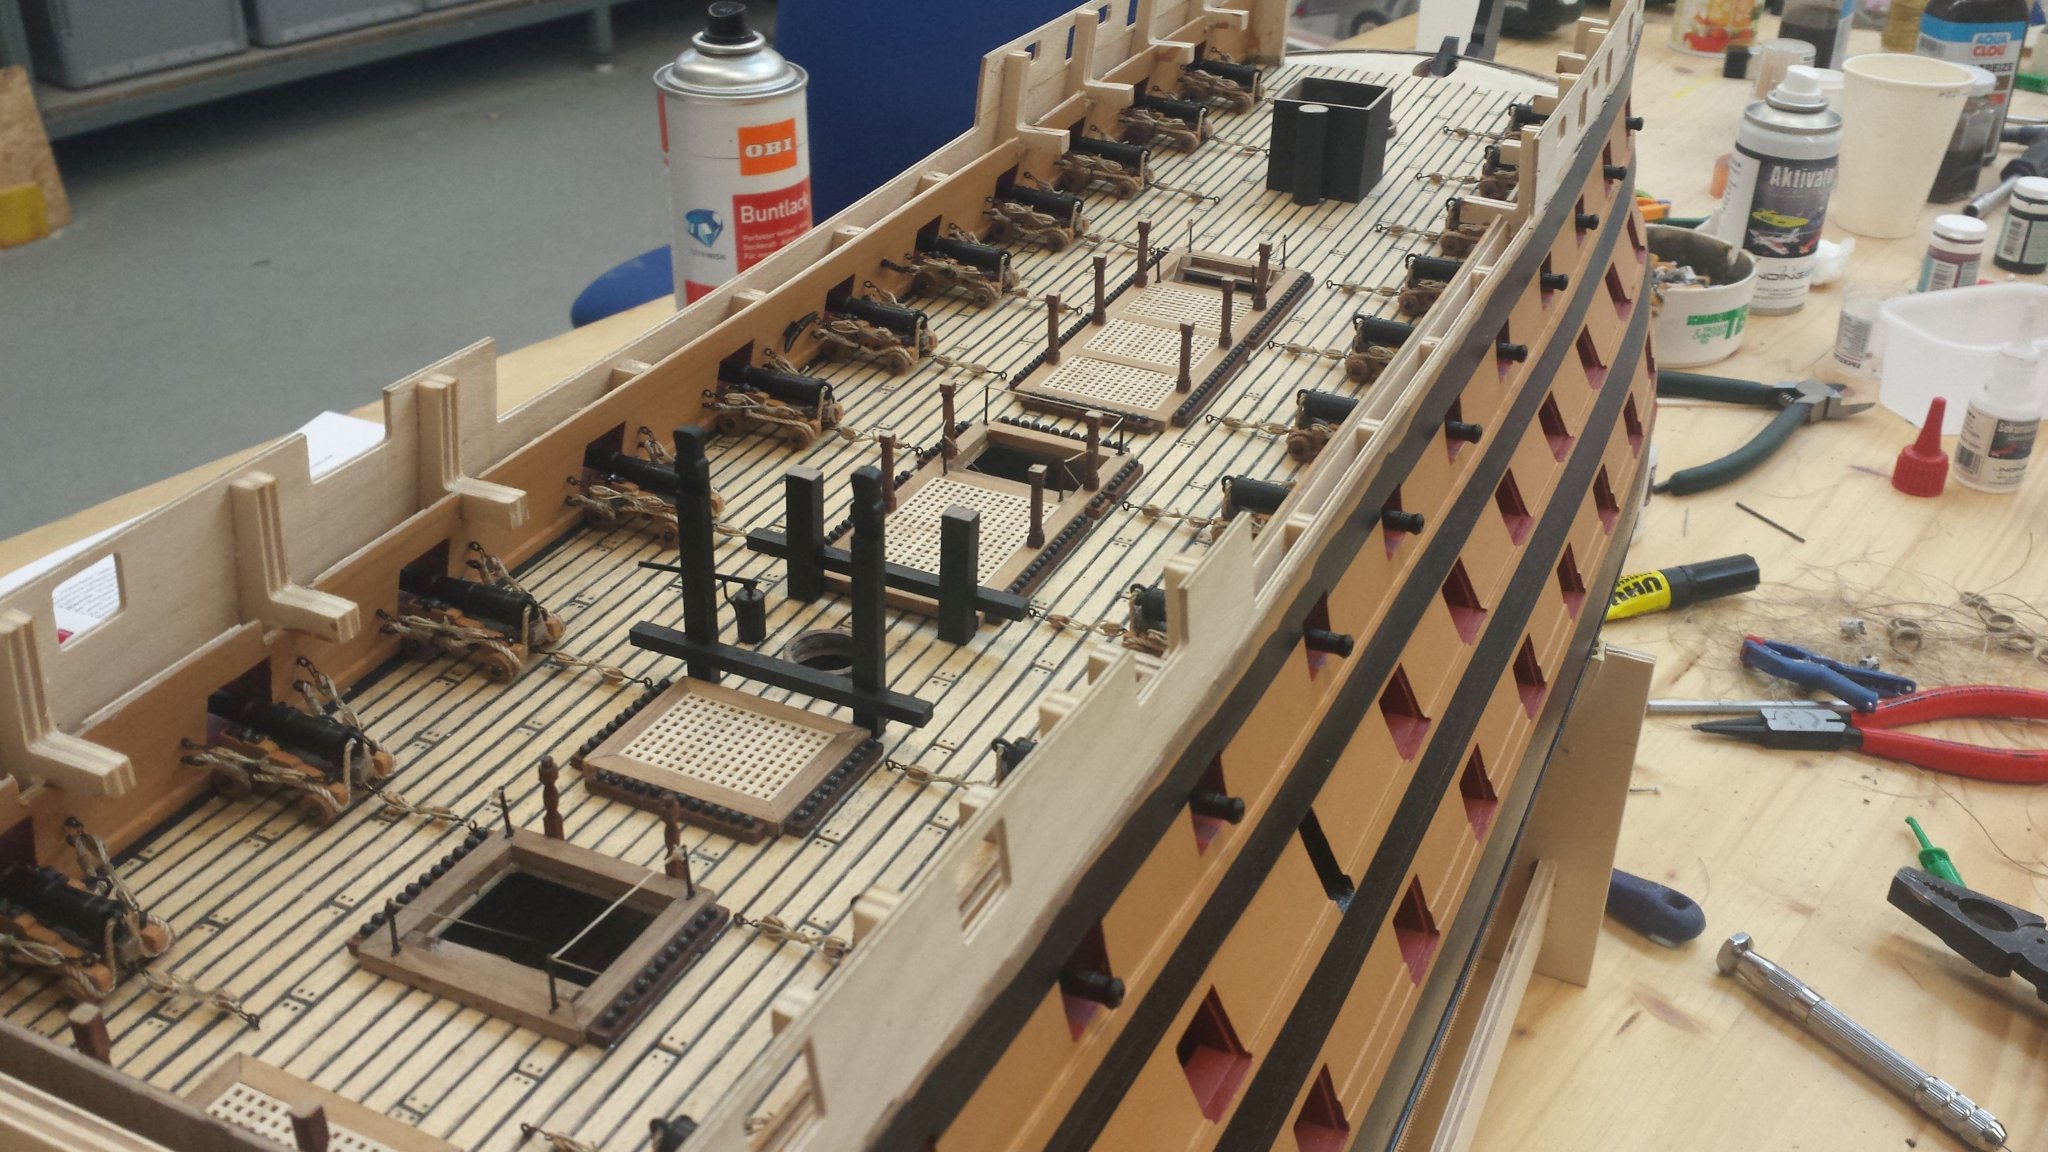
After I had finished rigging I started the details on the upper gun deck
The first thing i did was assemble the bilge pump
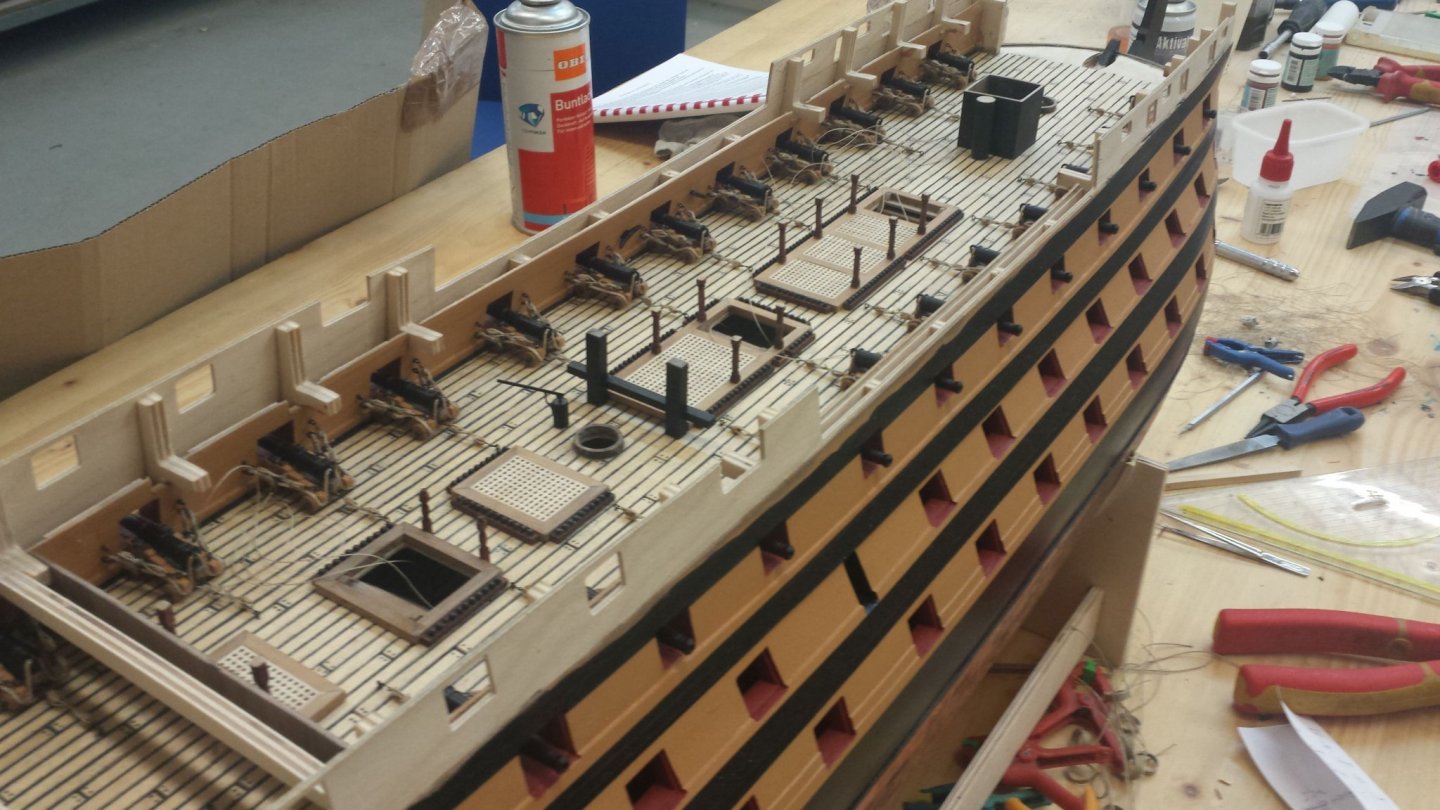
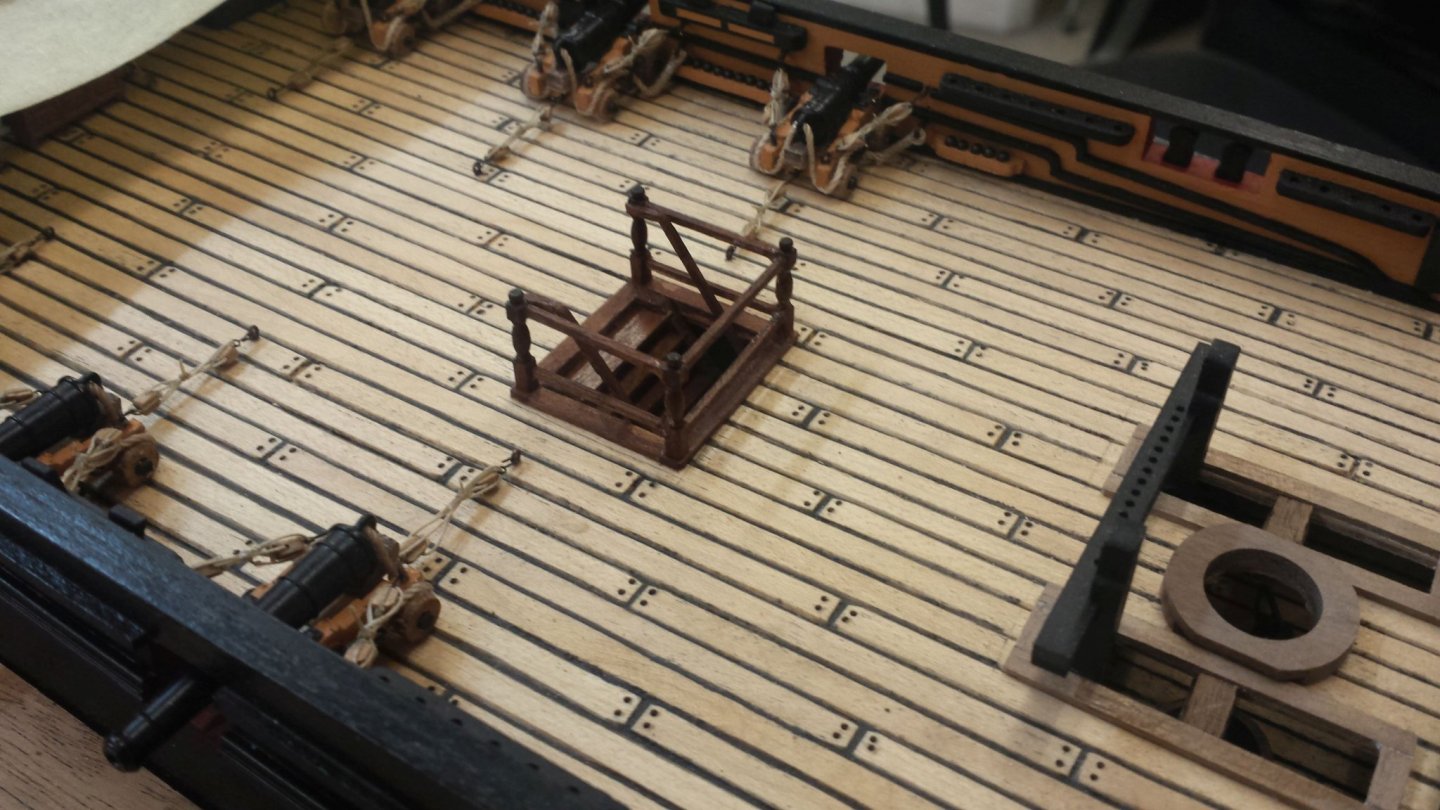
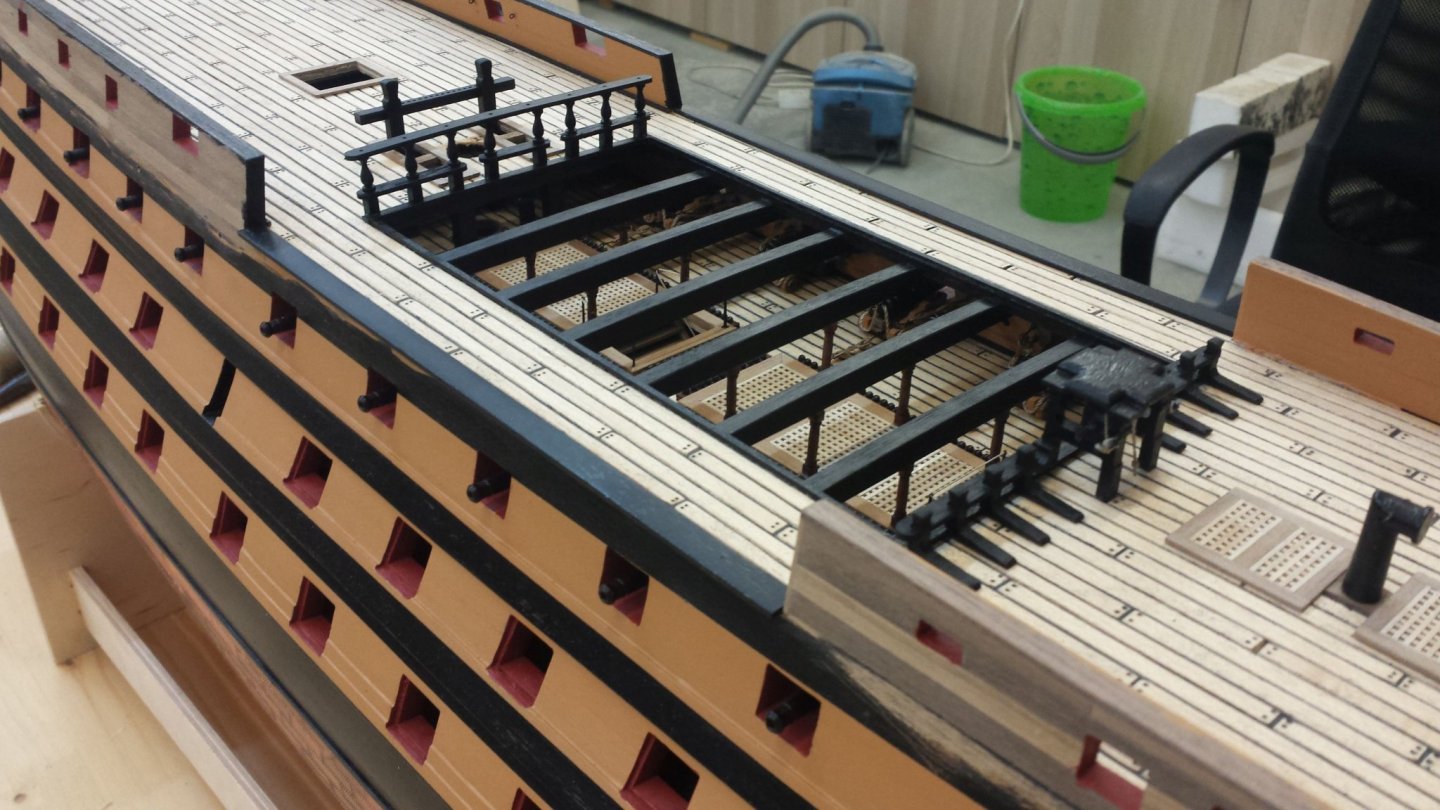
Then i assembled the stairs and the railing
Finally I sanded the skid beam support pillars square and glued it on deck

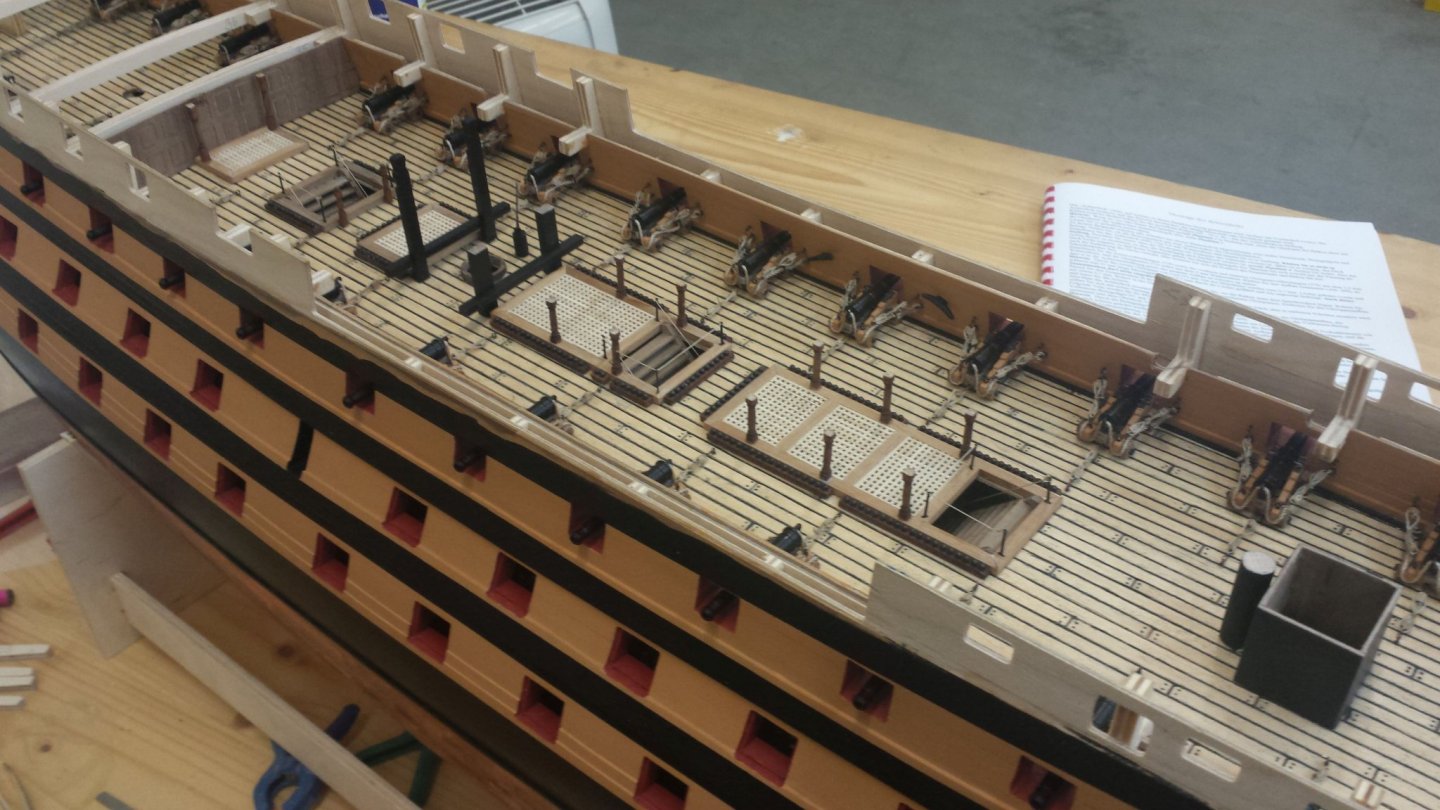
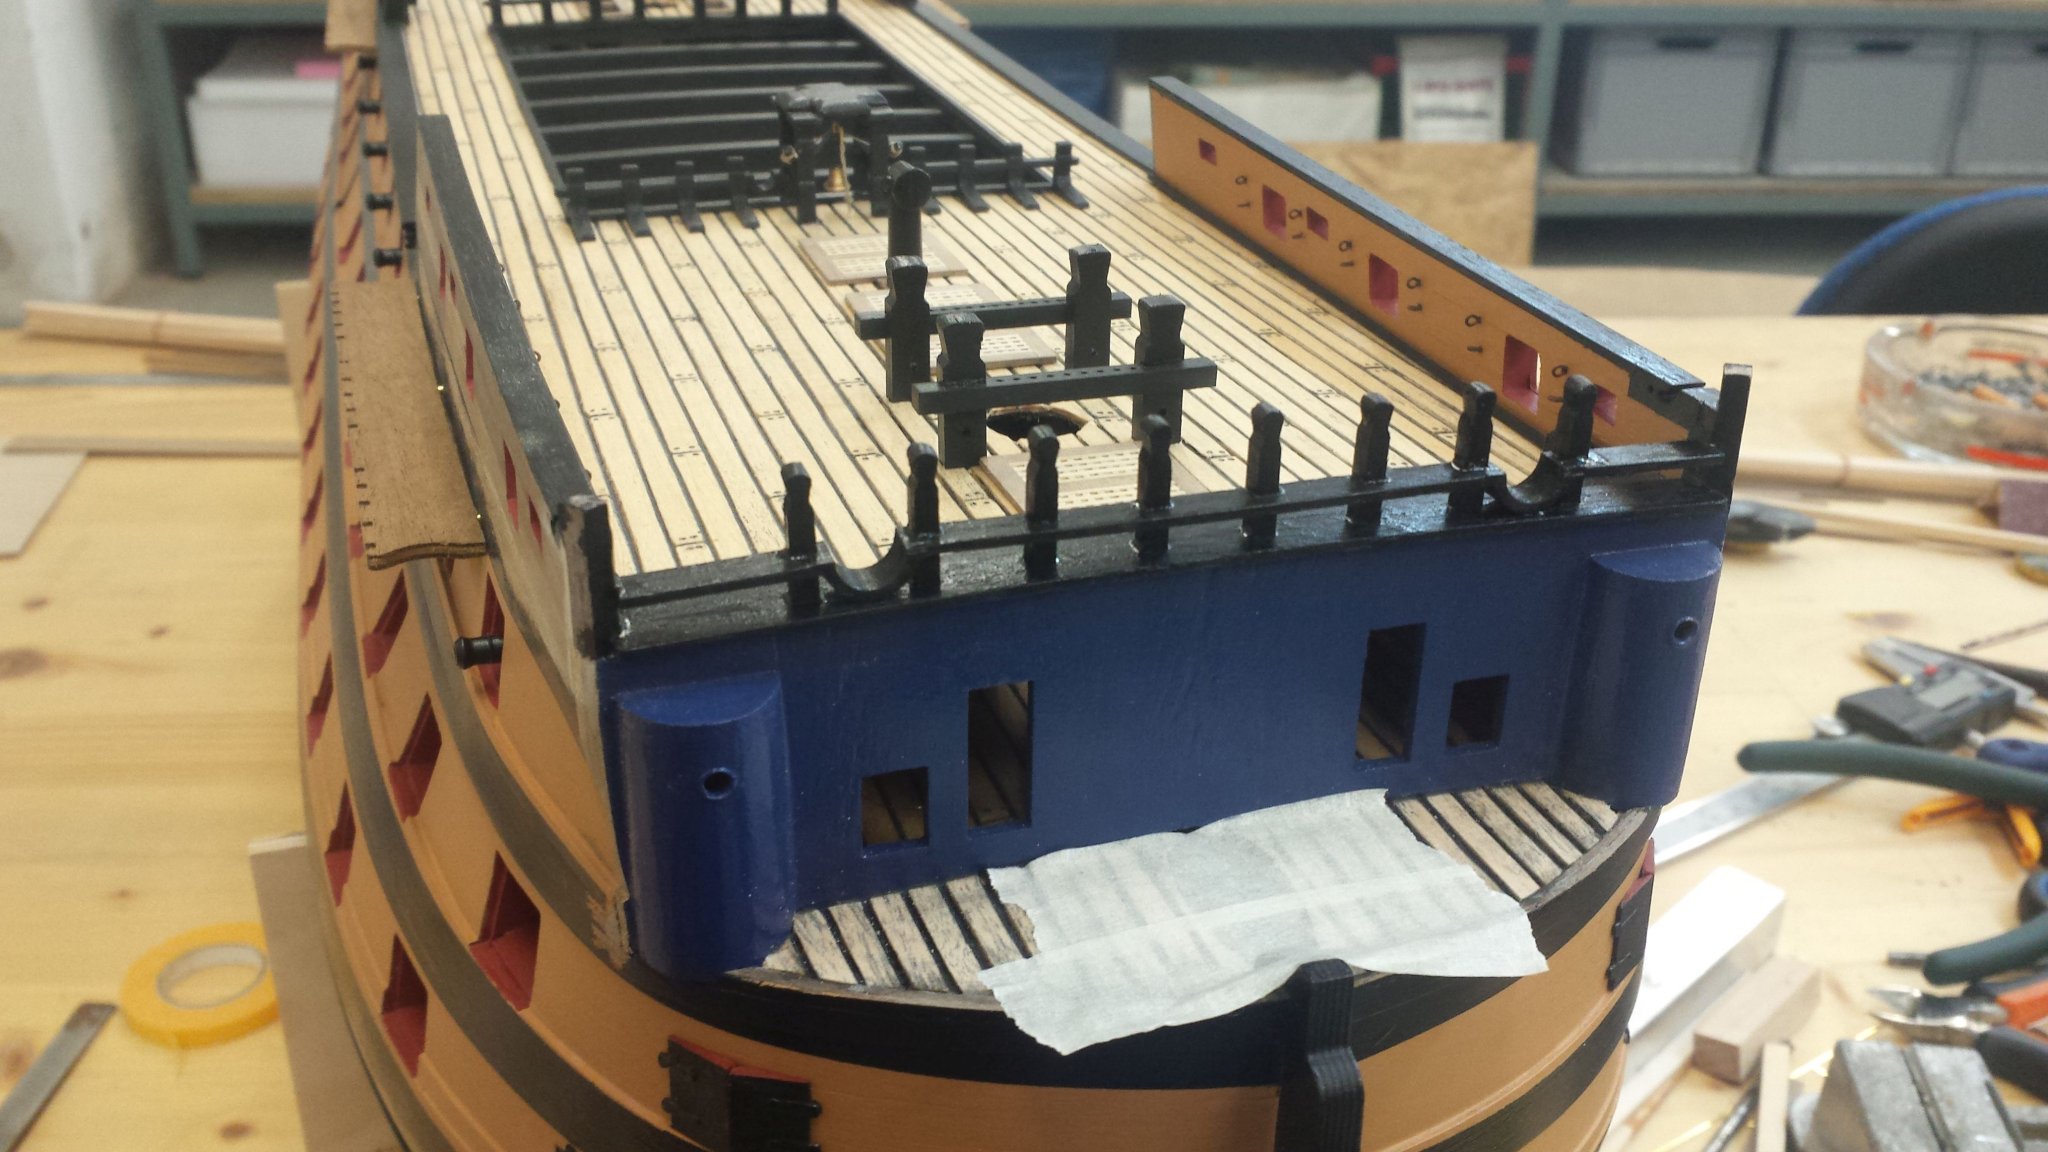
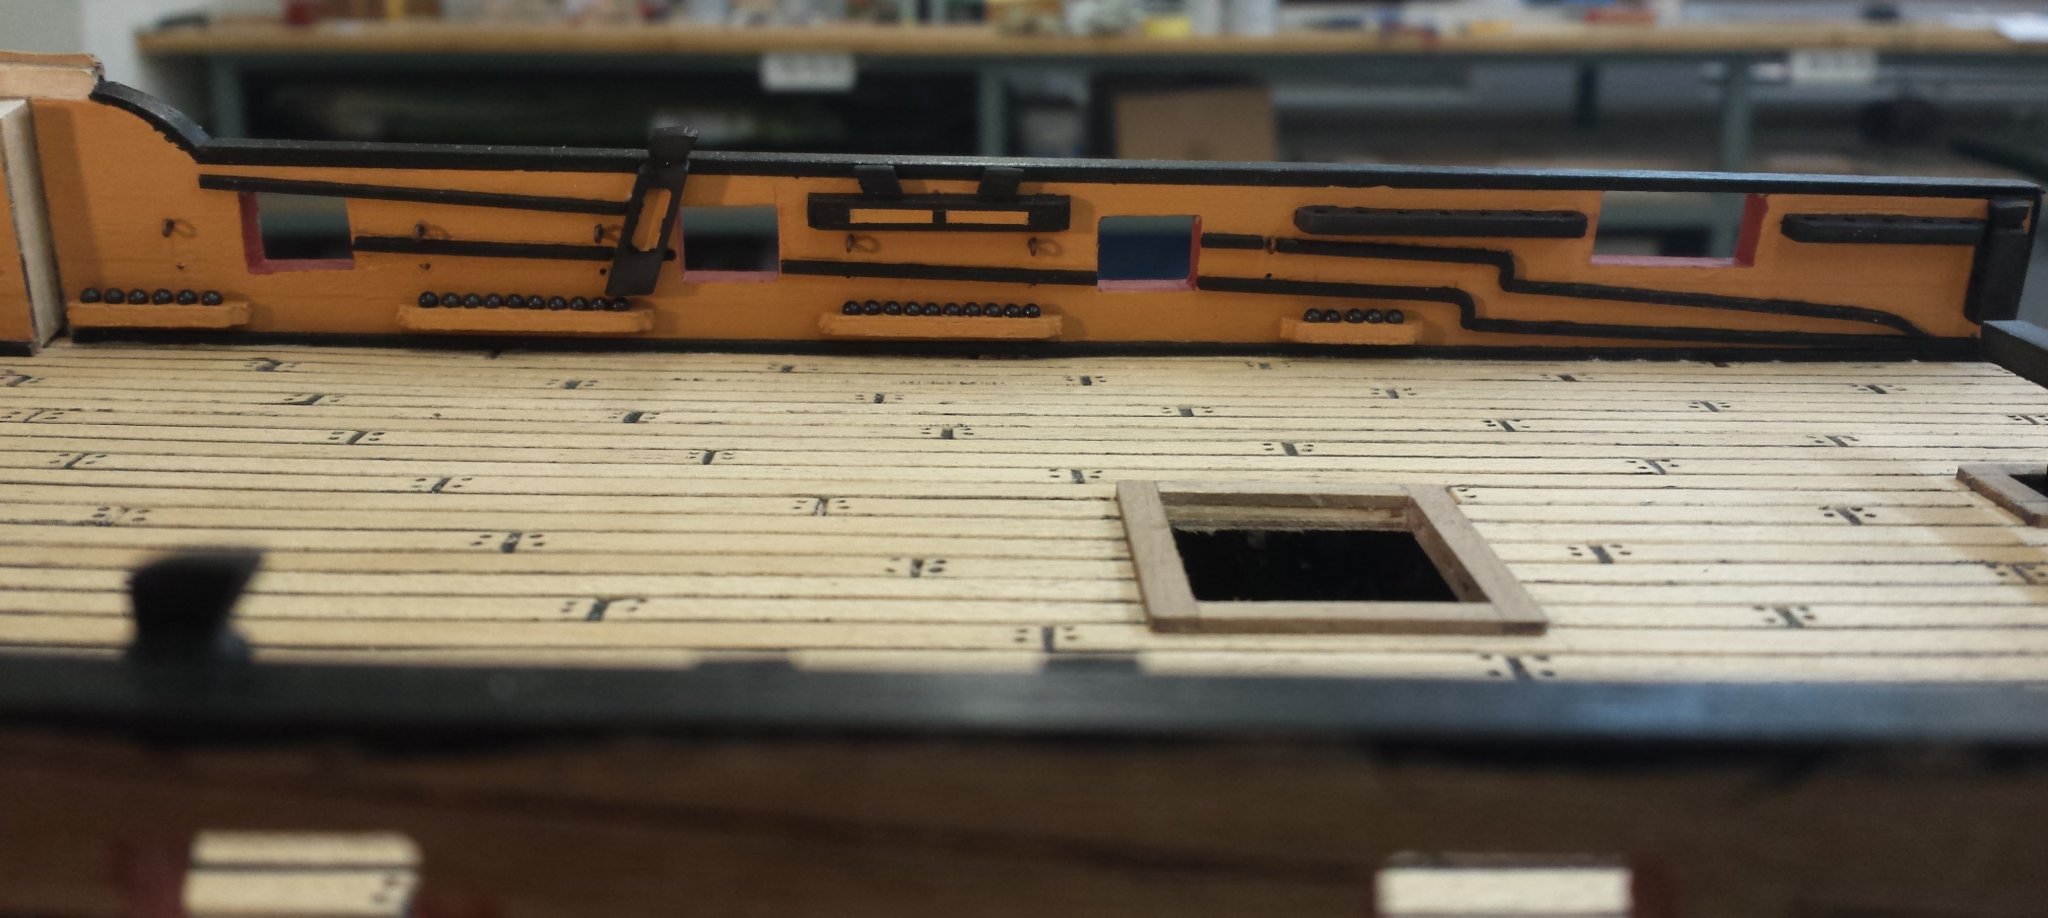
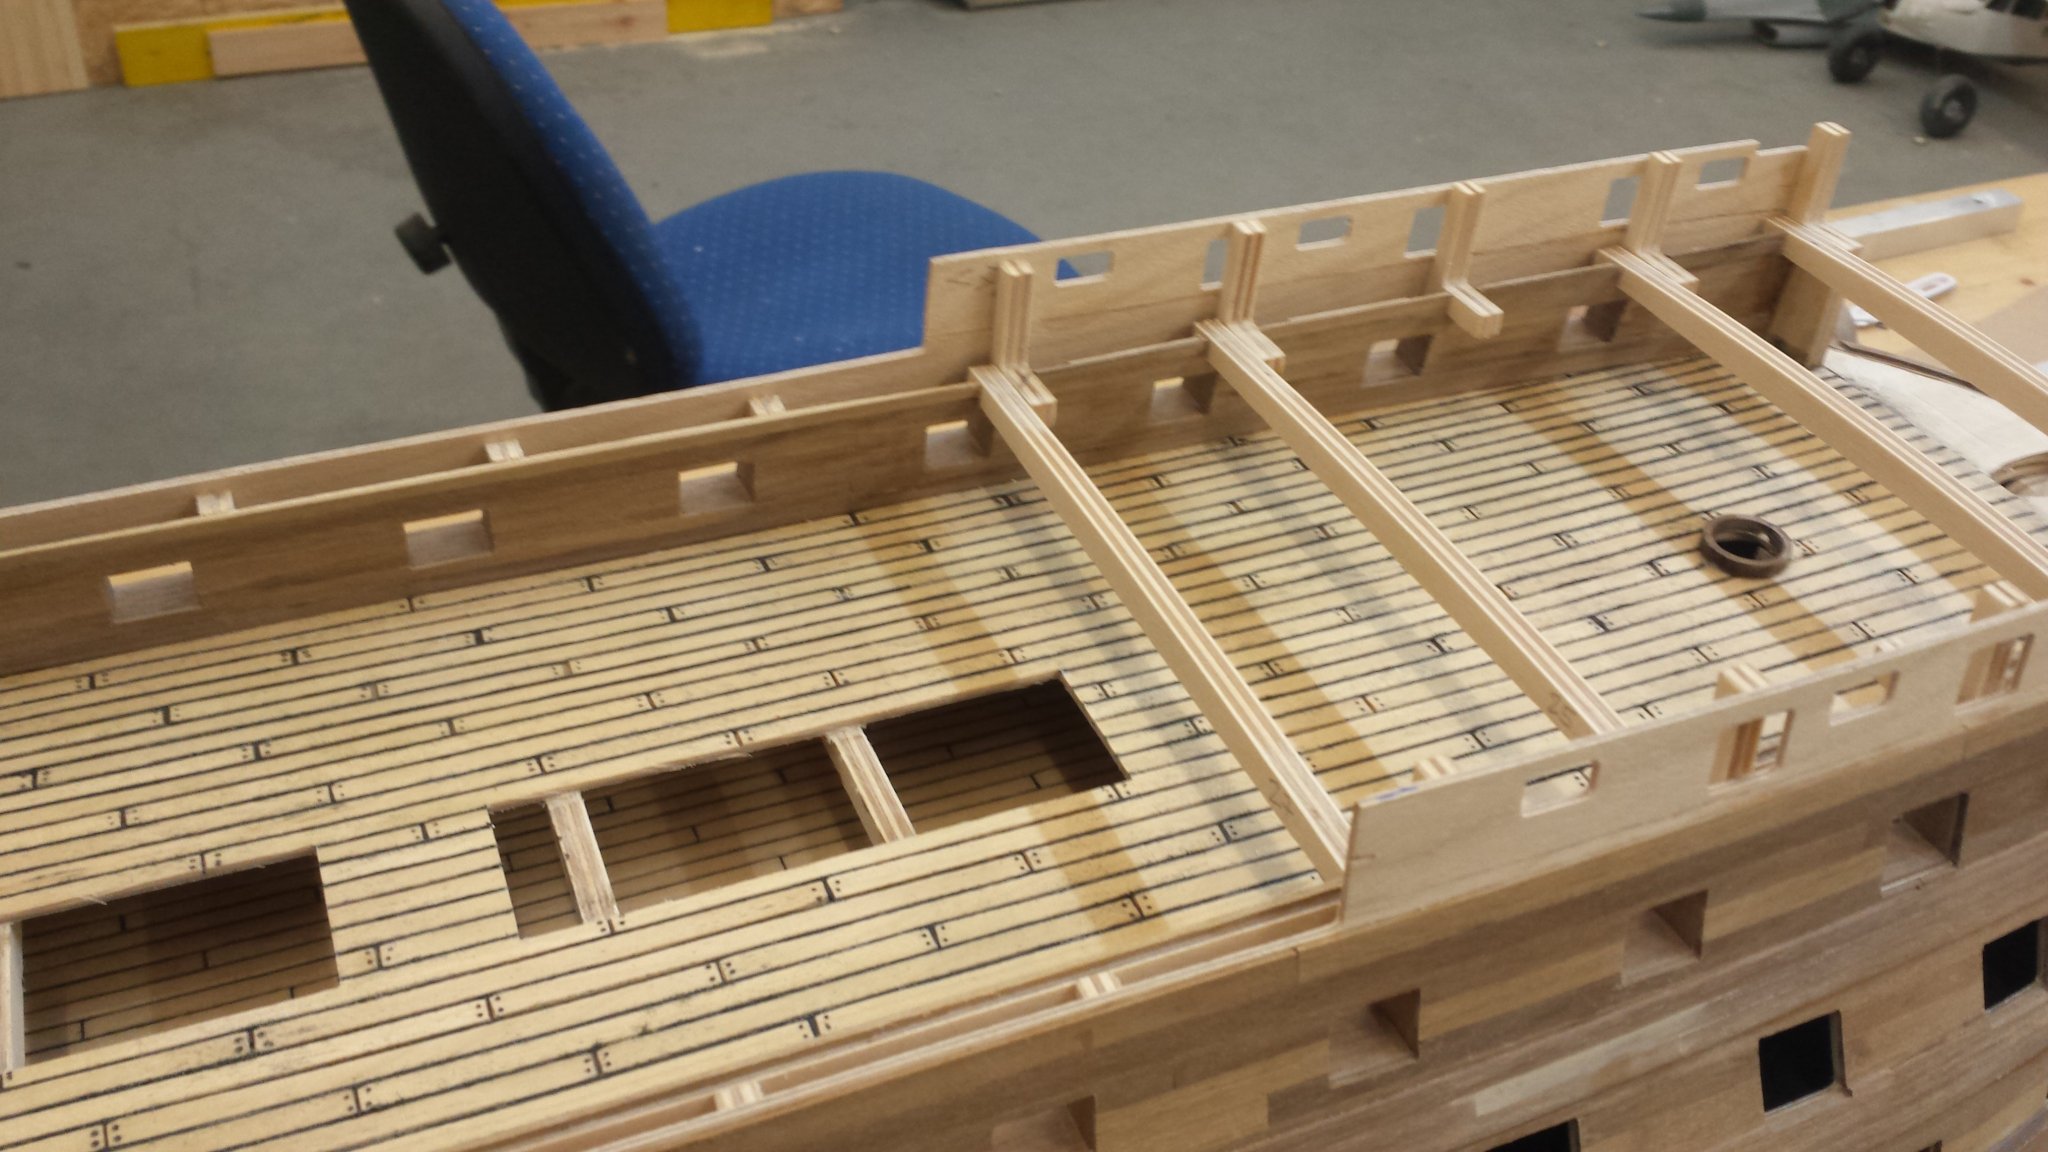
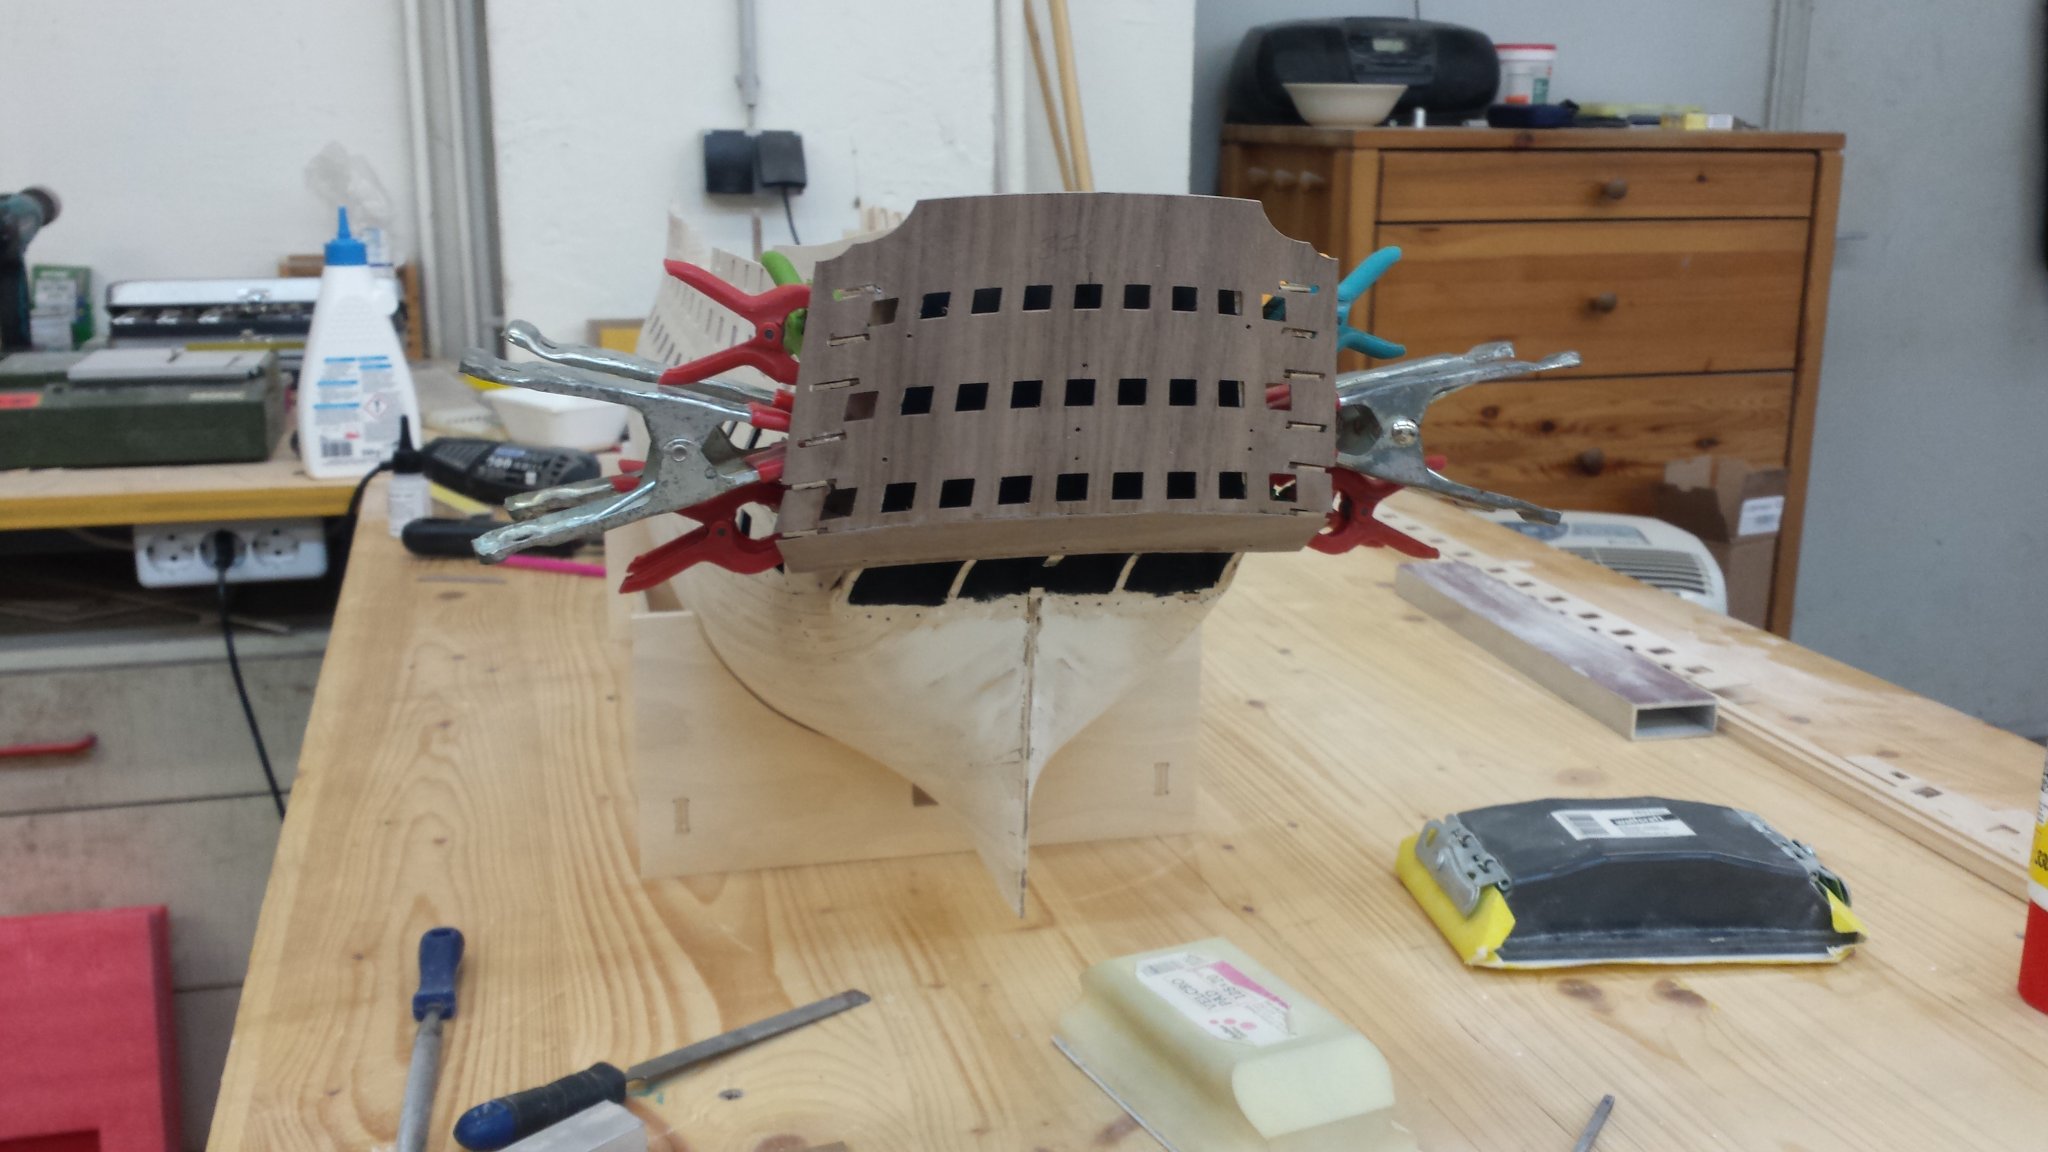
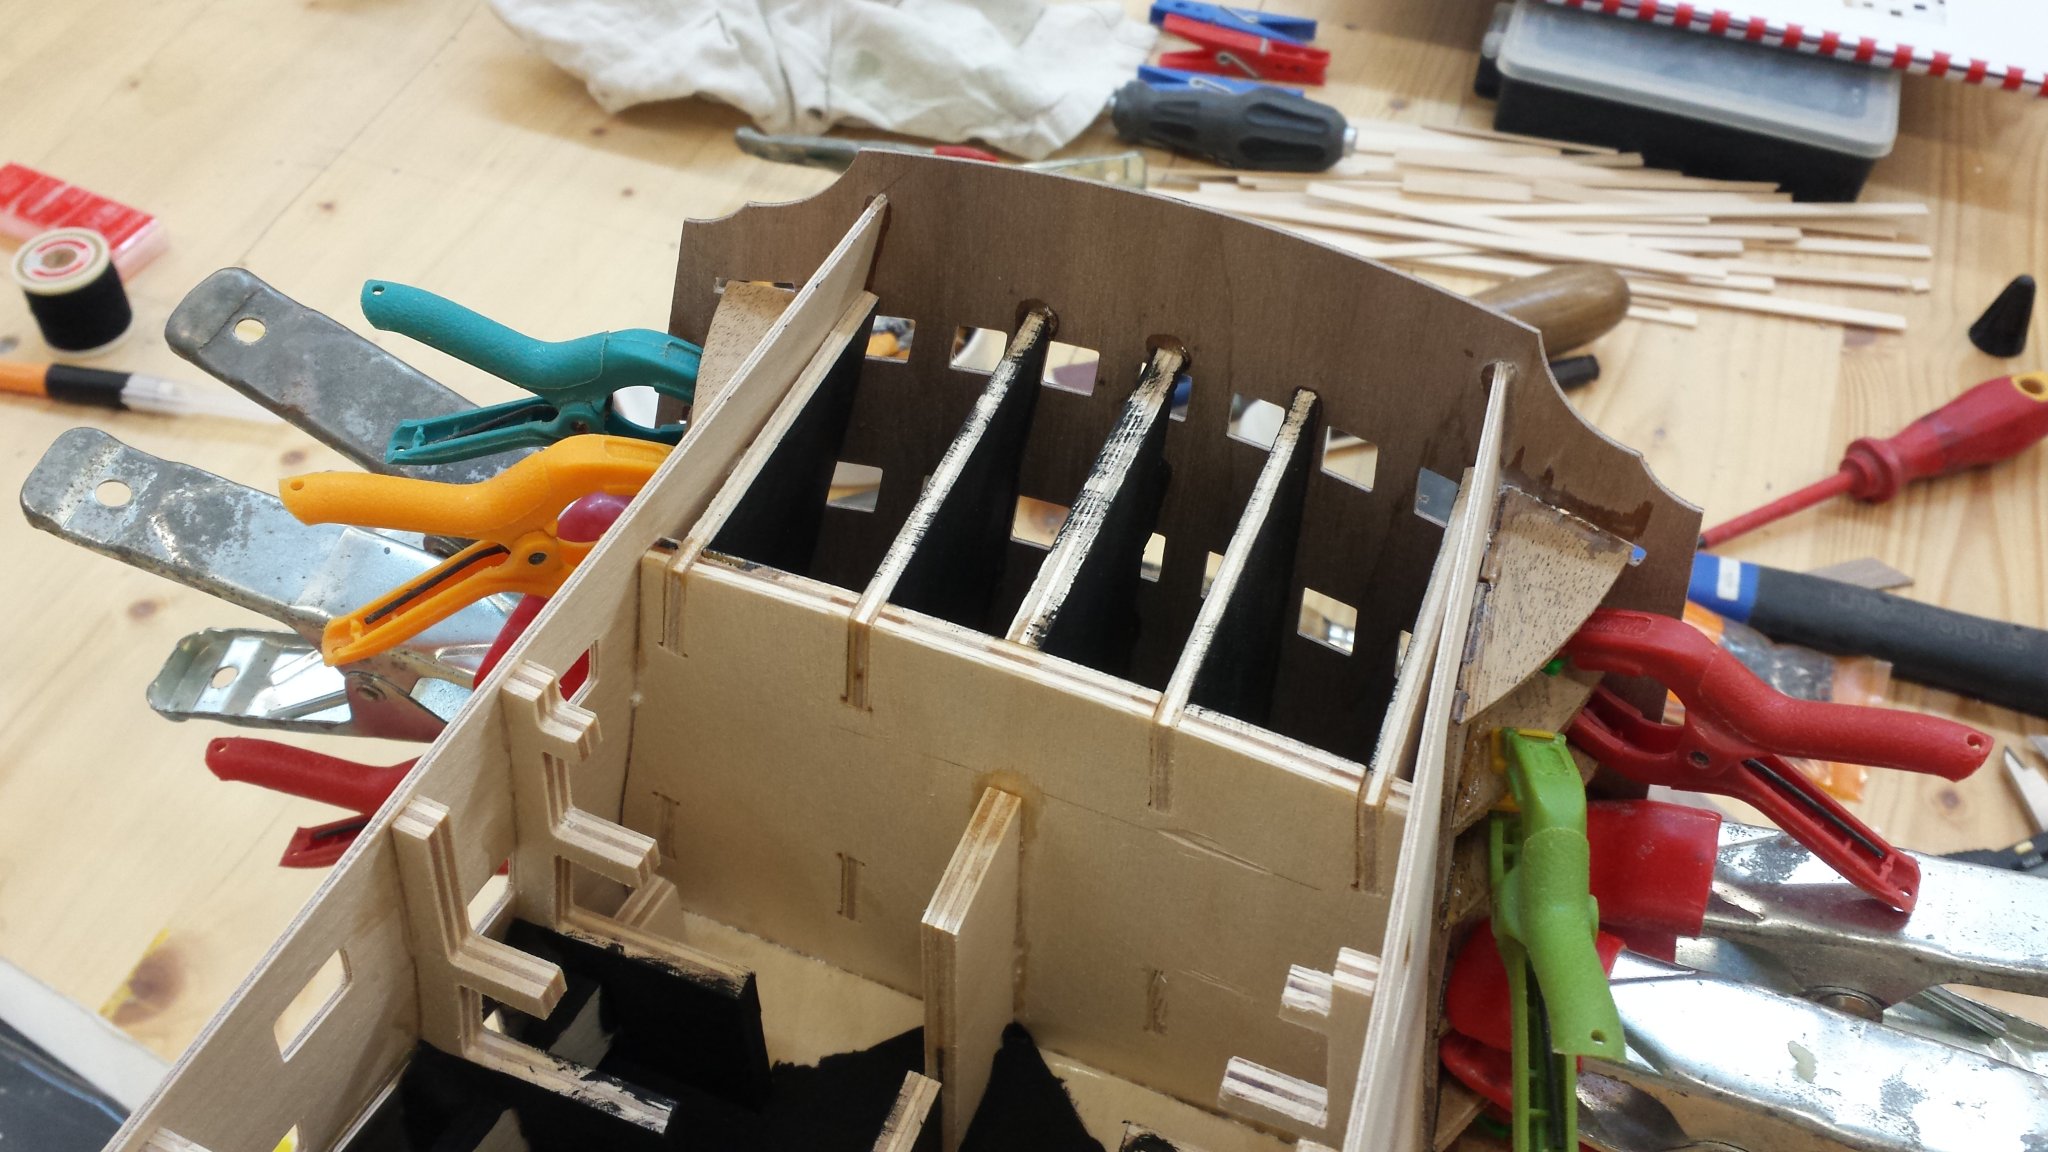
After everything was done, I started fitting the quarterdeck. The assembly of the sliding clamps was a bit tricky


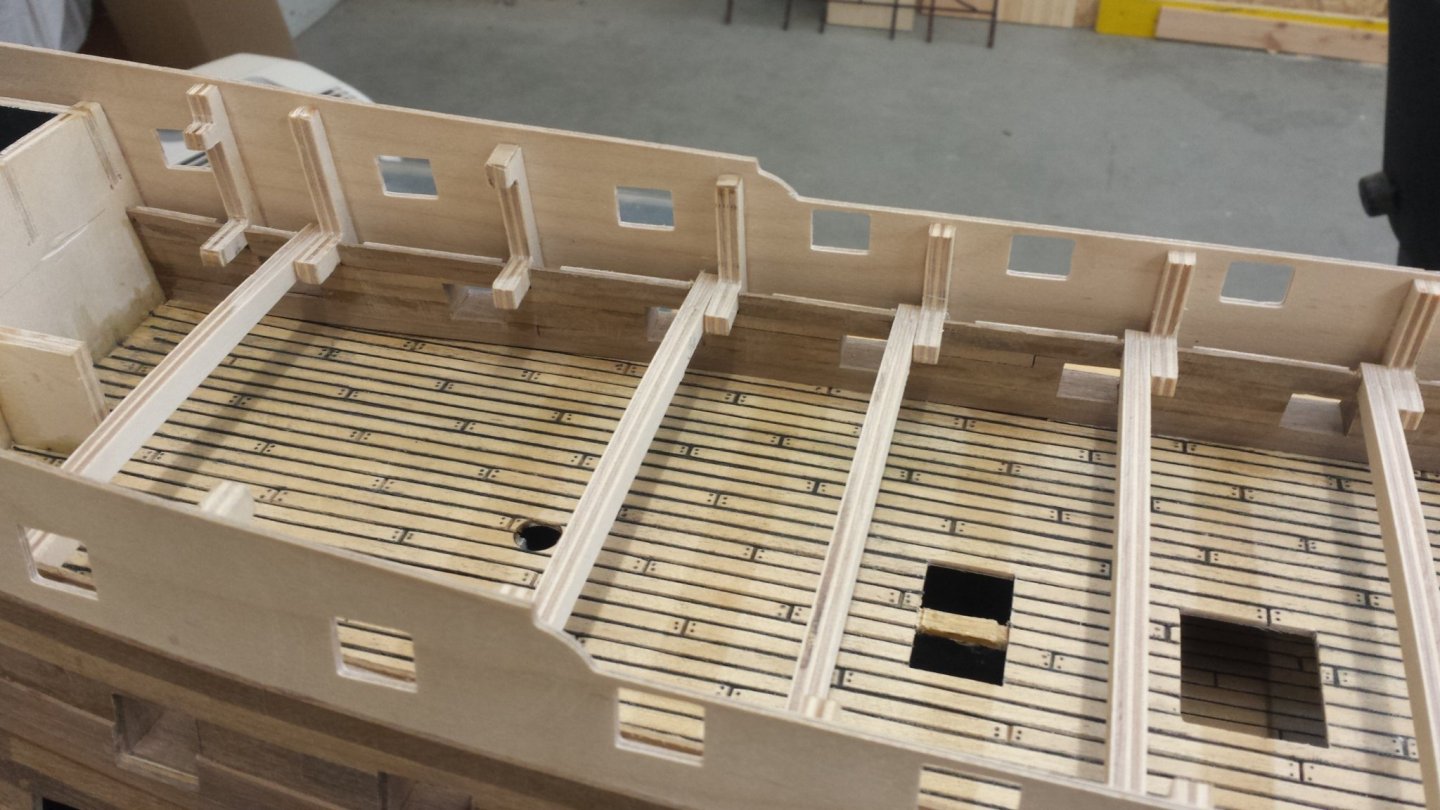
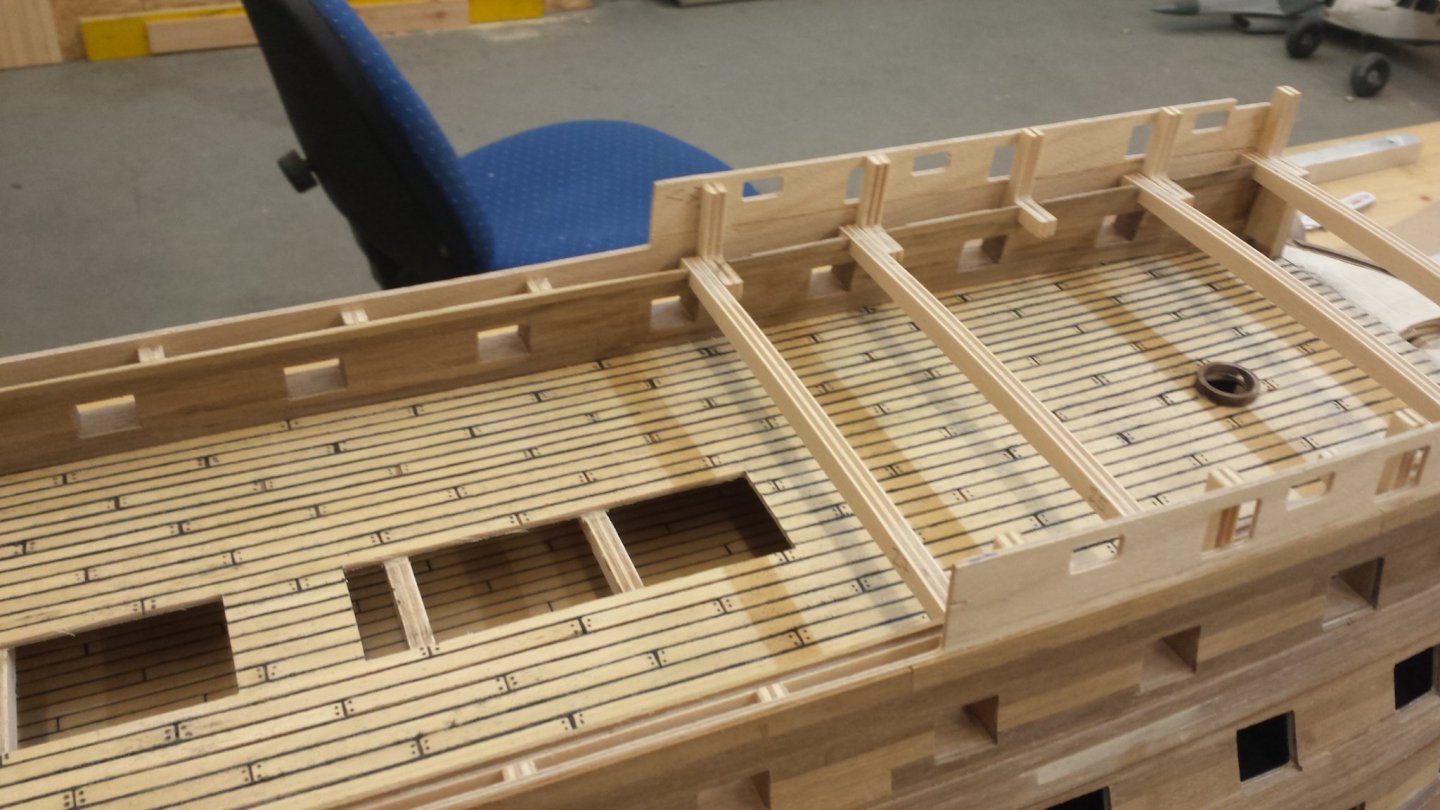
The planking of the quarterdeck can begin

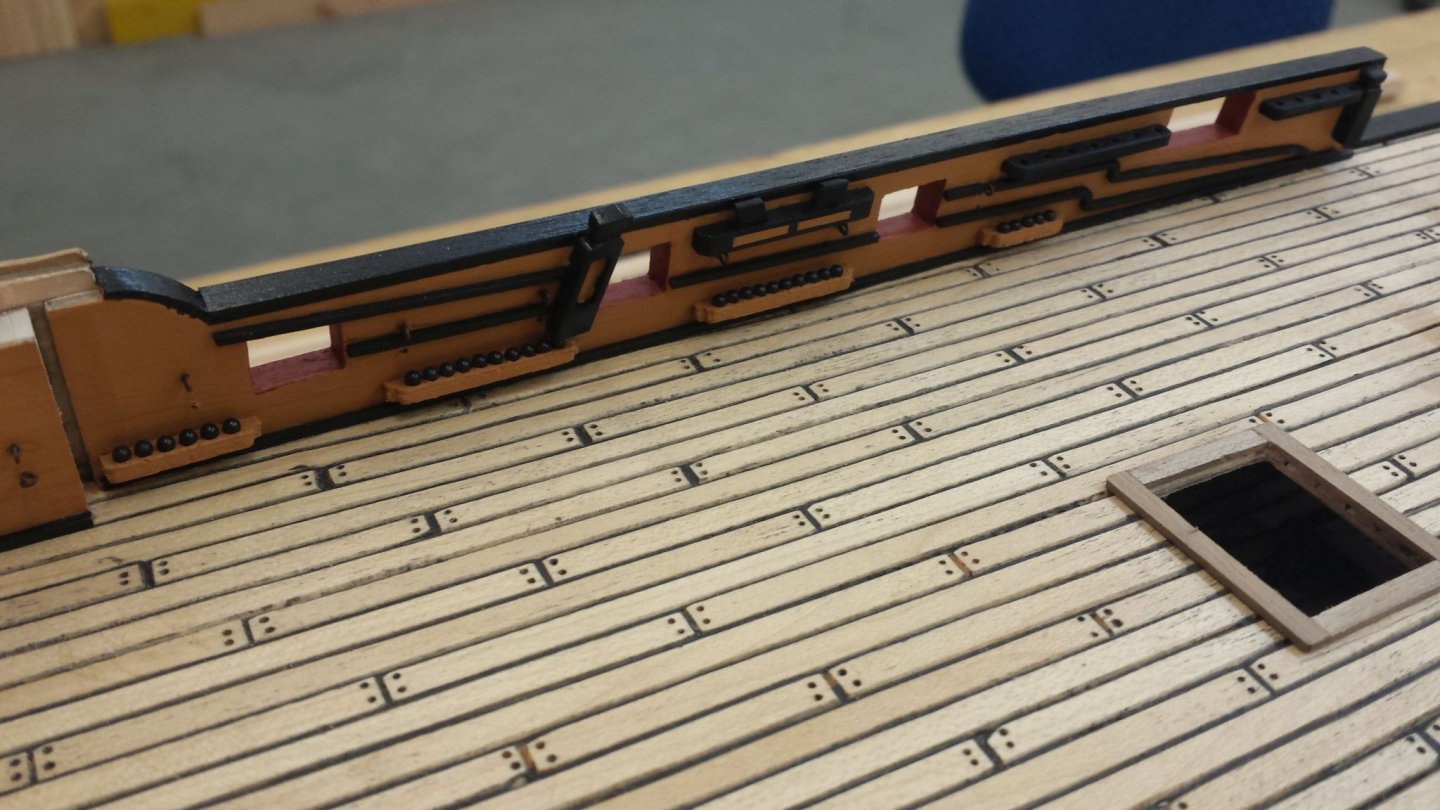
I have cut off the bulkhead so that I can assemble the inner gunport patterns and planked it
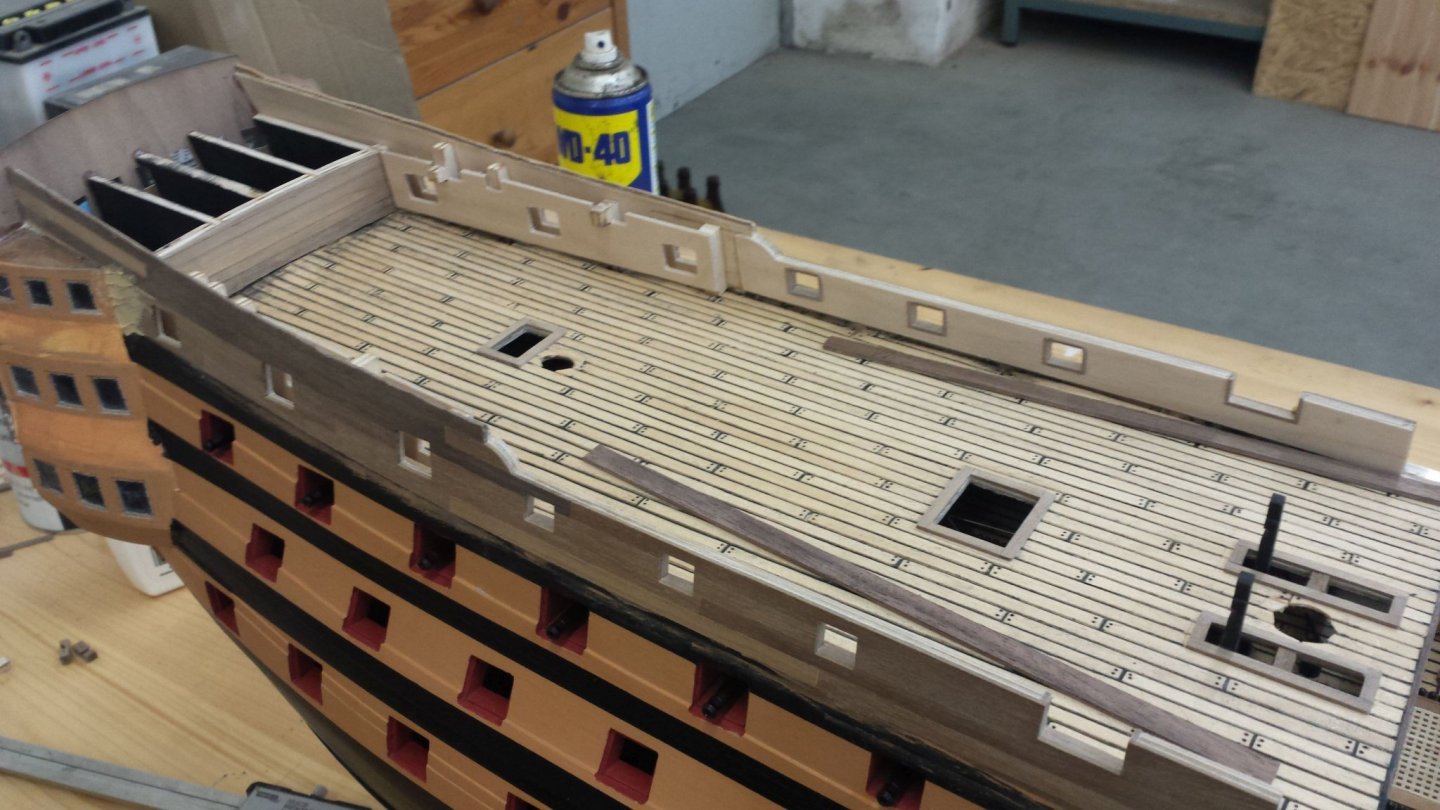

Then I painted them
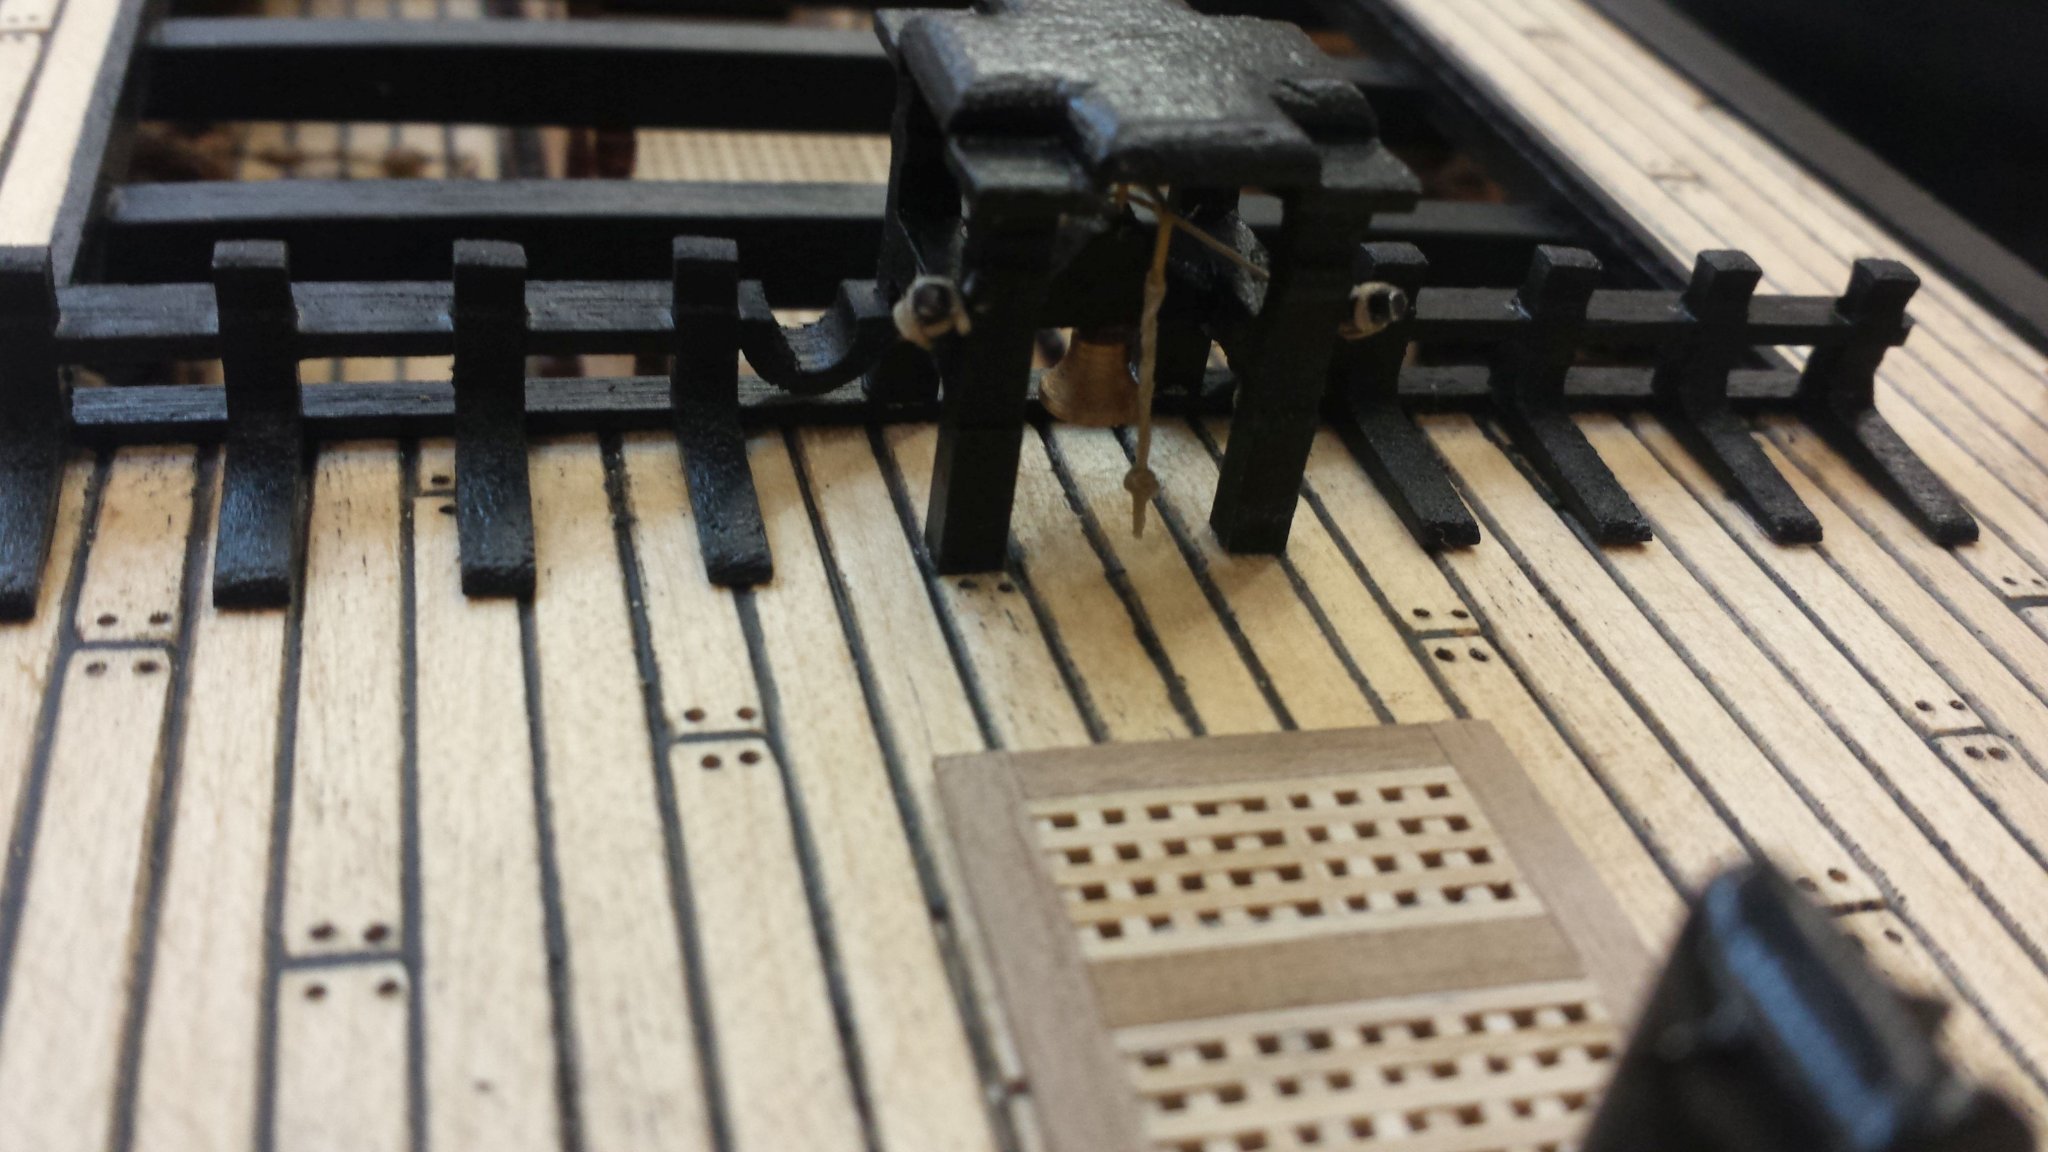
Forecastle breast beam

Bellhouse
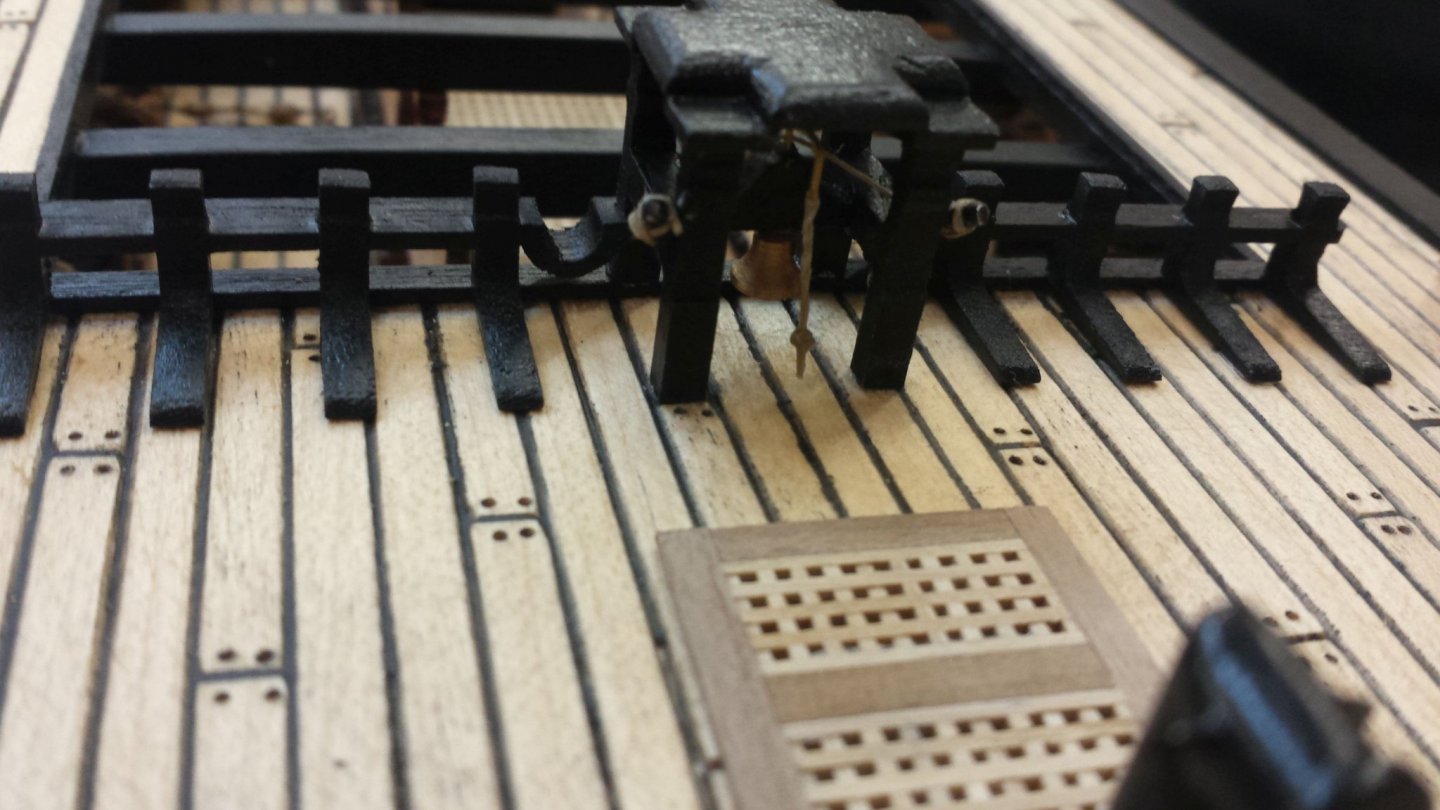
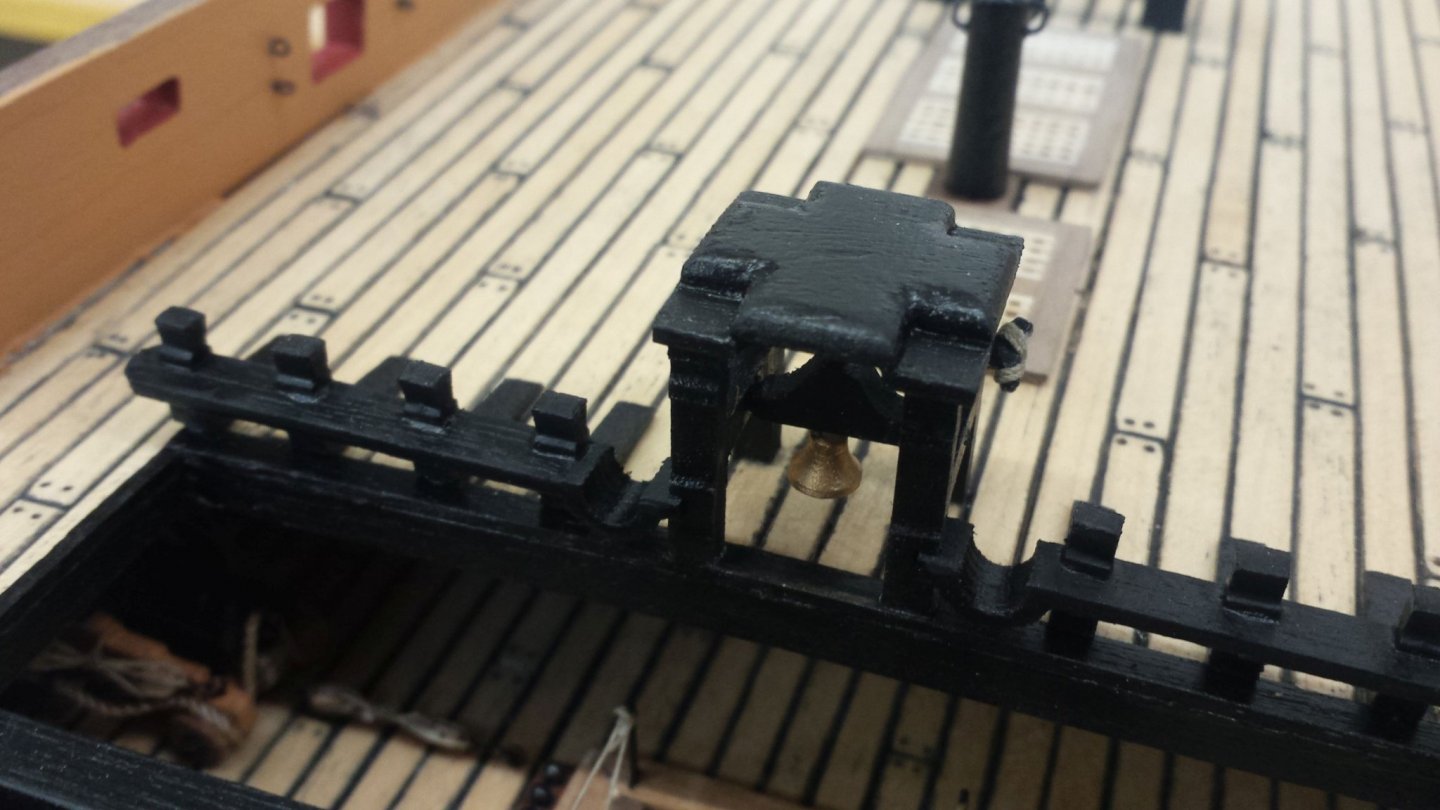
Now all the details on the inner gunport
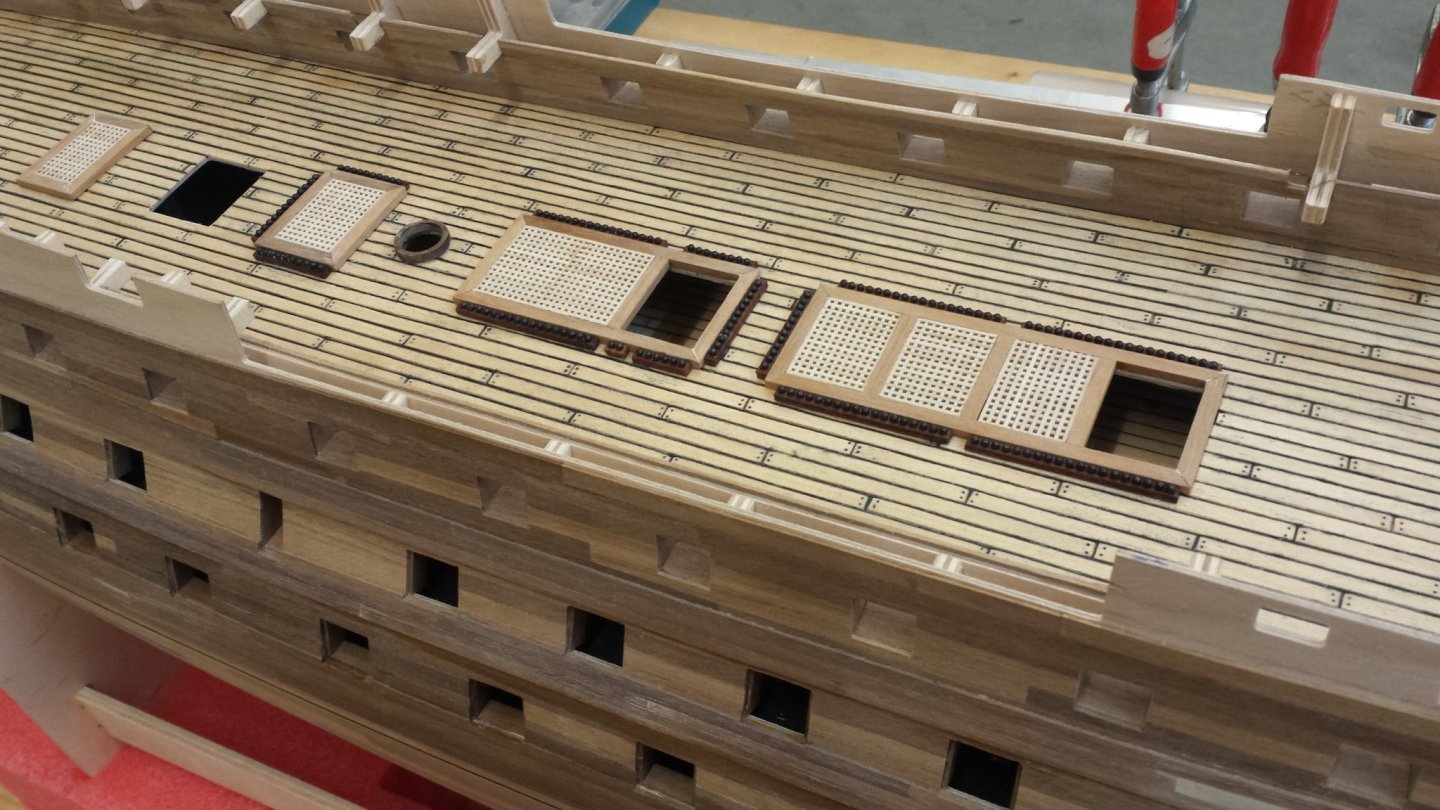
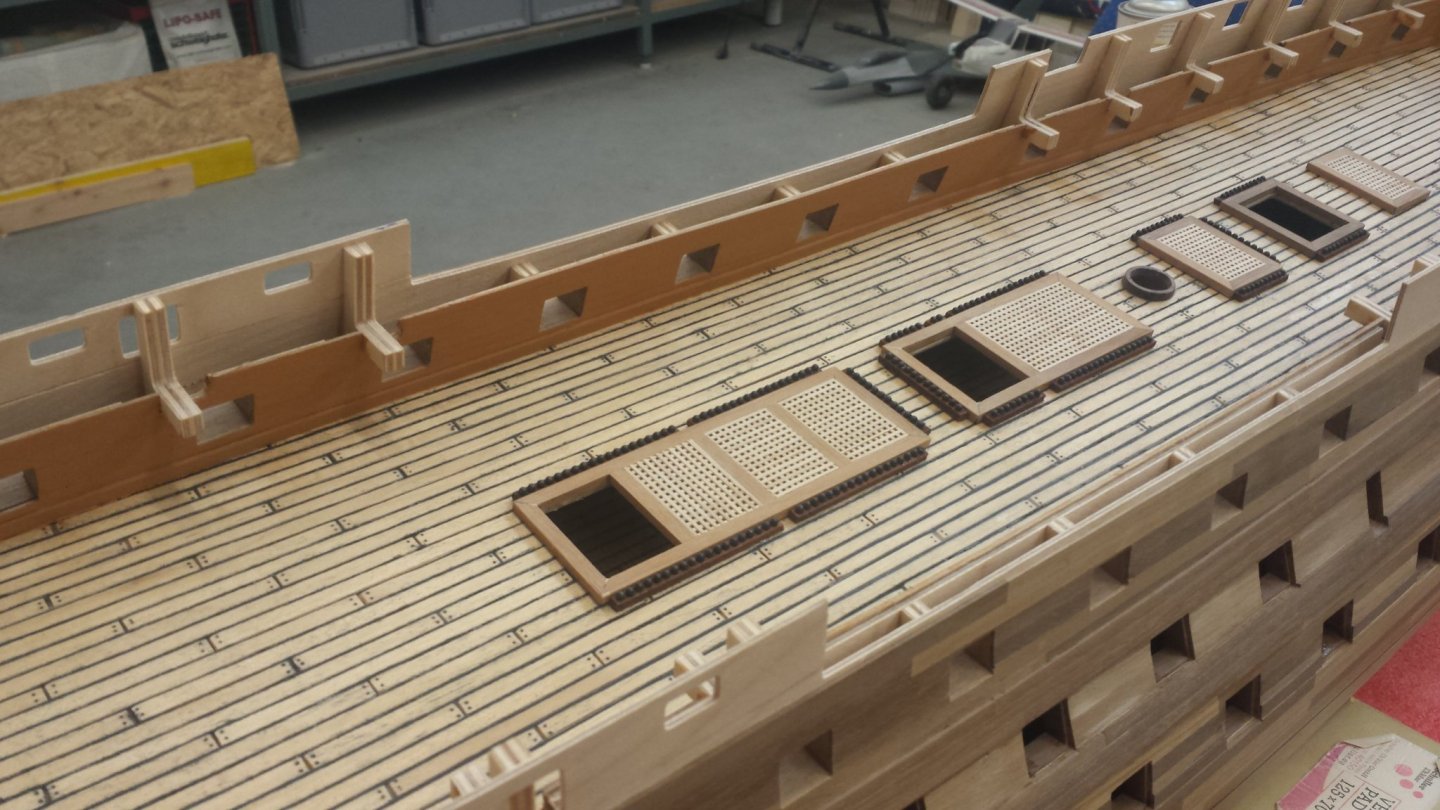
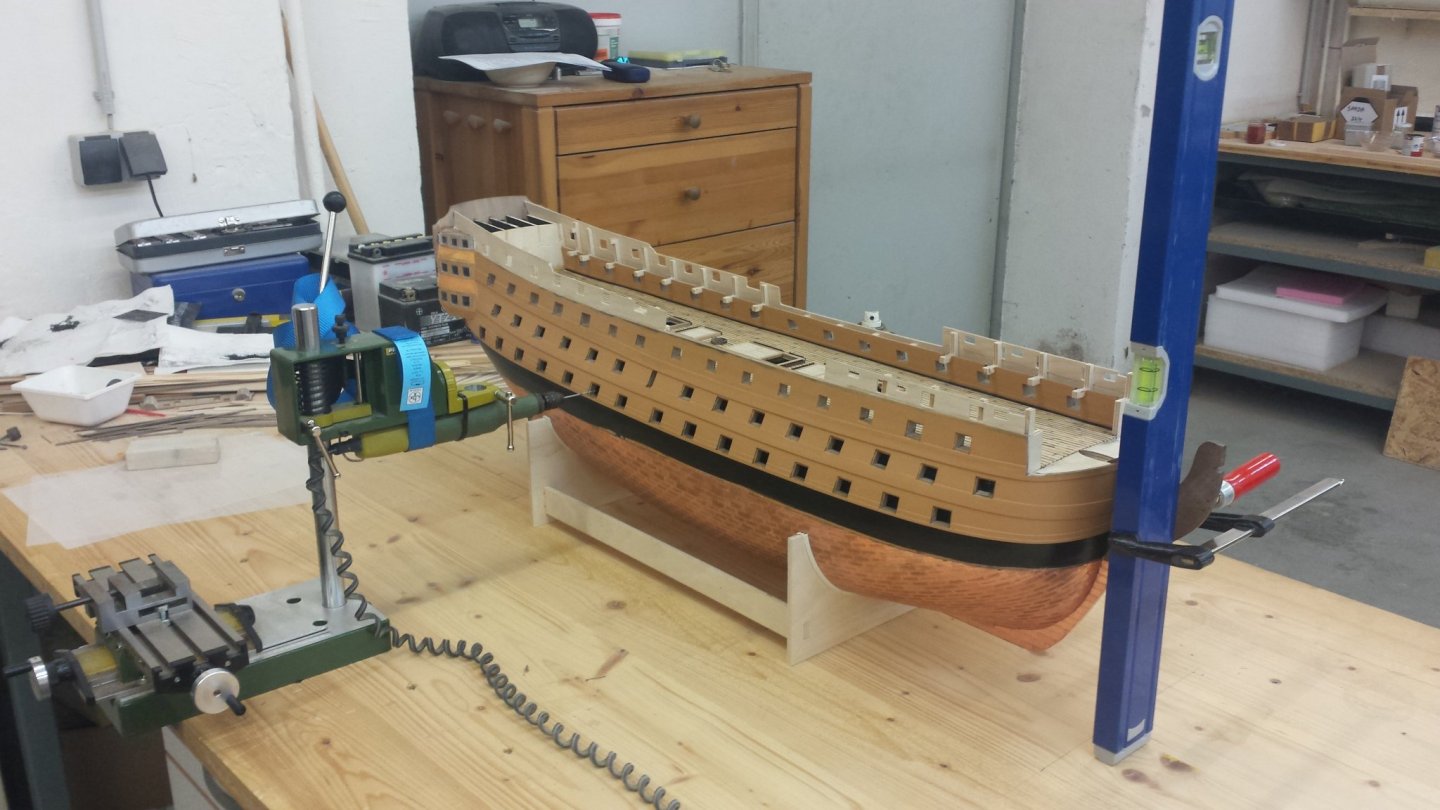
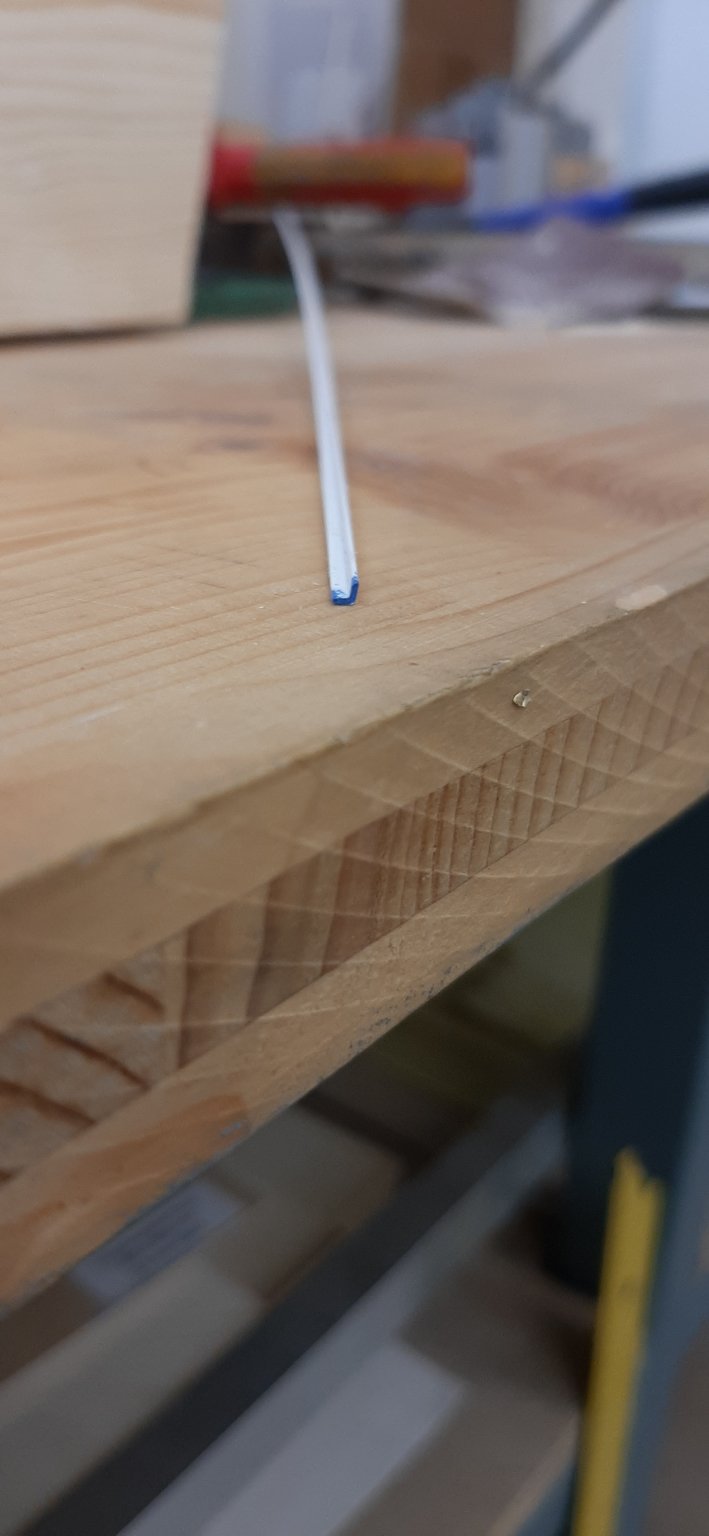
Assemble the copper profiles and the channels
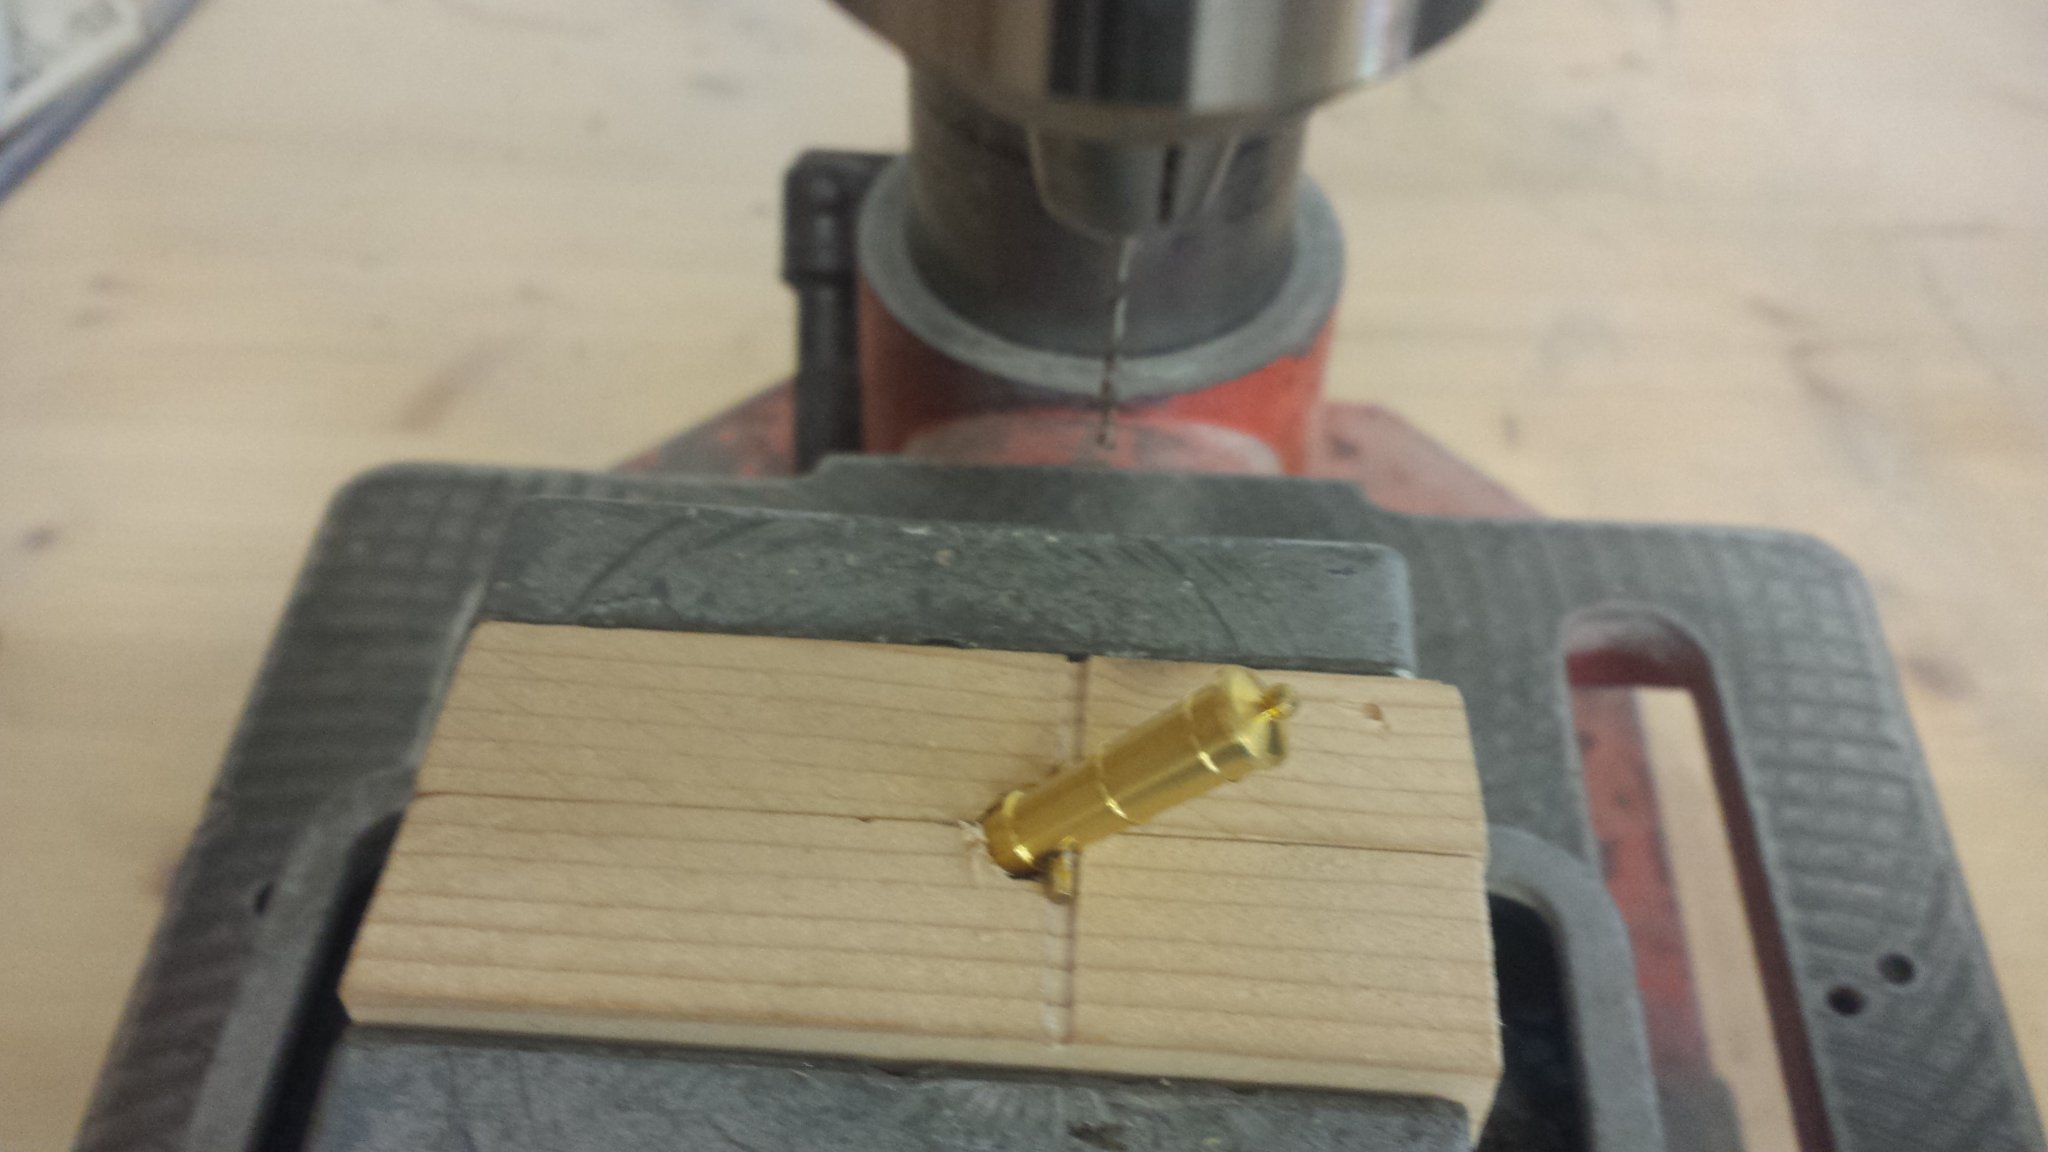
In the channels I drilled a 1 mm hole and put in a brass pin with cut off the head.
So that i can mount the channels on the hull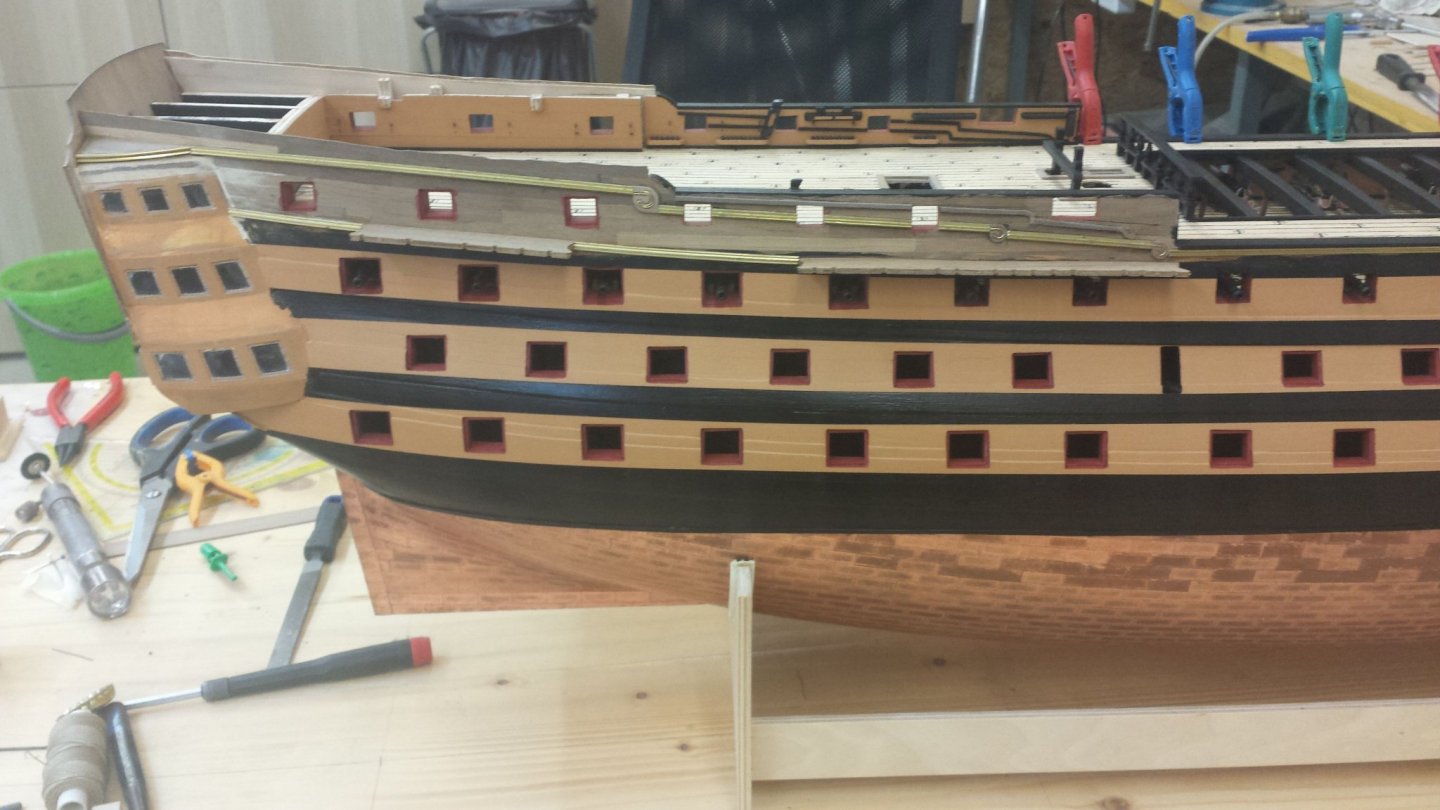
 Helli
Helli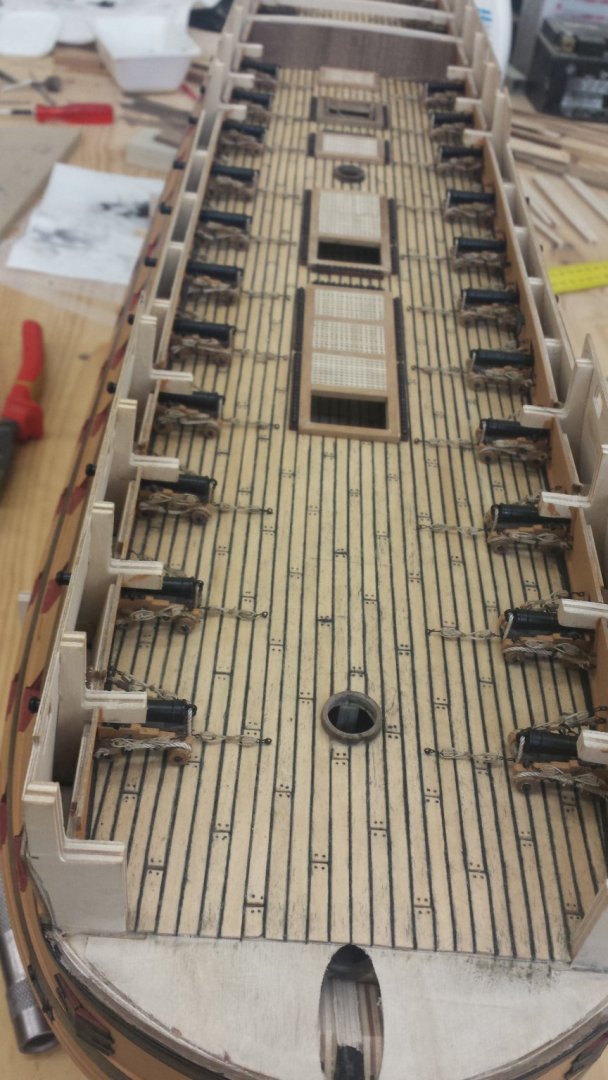

- Ryland Craze, BenD, Henke and 11 others
-
14
-
Hi
I would like to thank you very much Pronounce Charter33, gil-middleton and bertu. I found a lot of tips and tricks on their models and adopted them.
Cheers
Helli
-
Hi,
My build is only 5 days old, but I've been building for a year and a half. Therefore, I actually do a fast forward to my current status.
I am currently in the rigging. But I have some problems that I have already solved in another thread. But more on that later.
Helli
-
Hi,
It continues with the planking of the inner bulark gunport pattern and the production of the other details from the upper gun deck
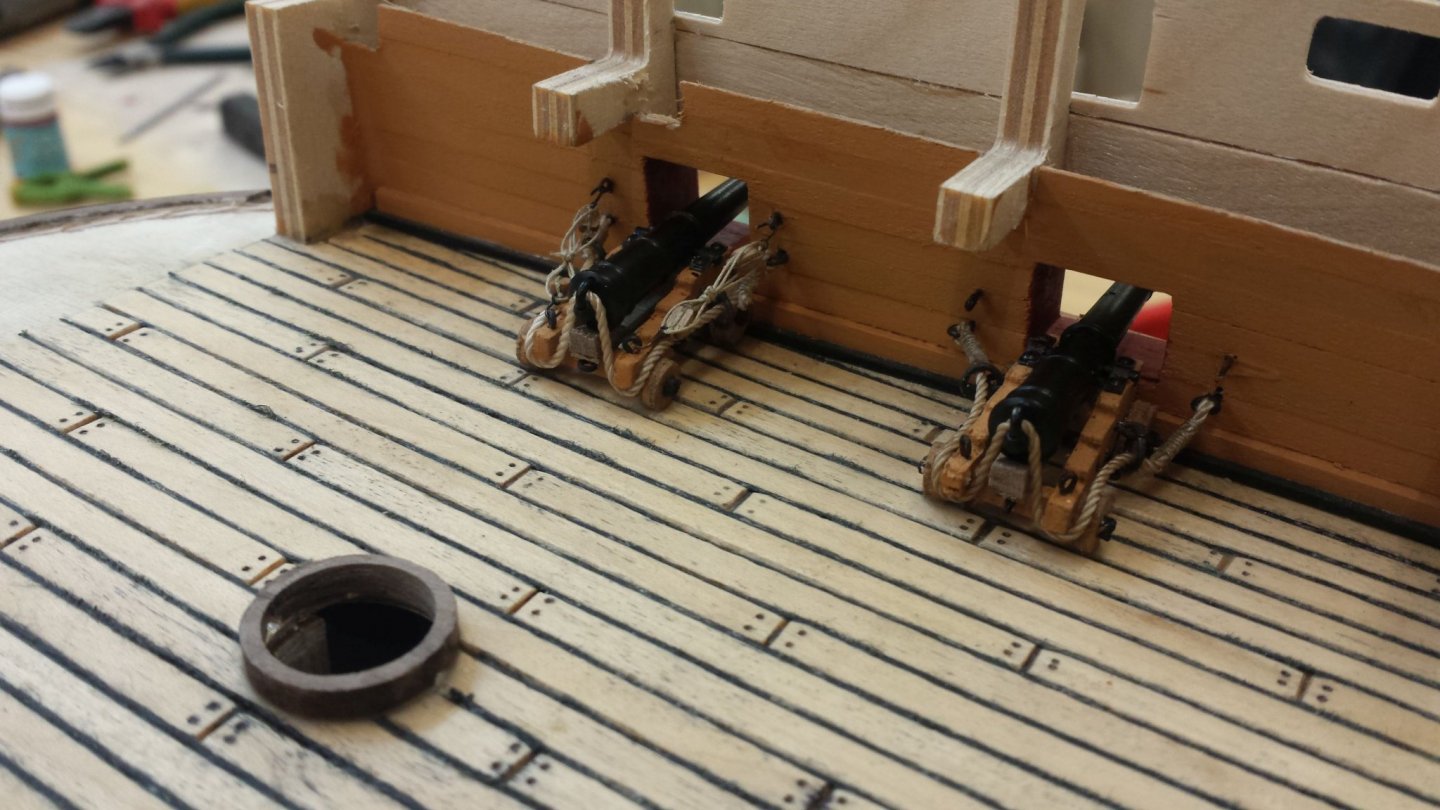
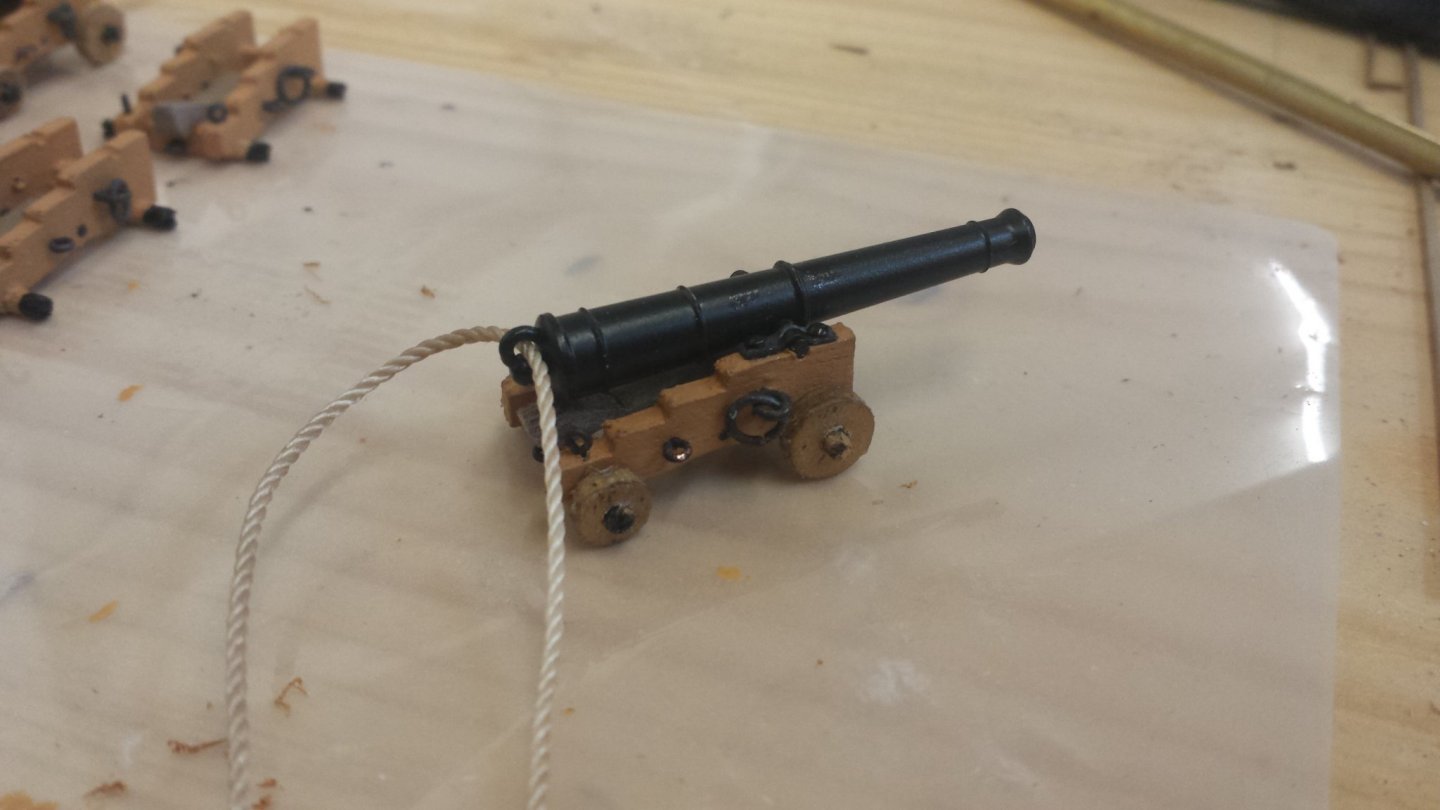
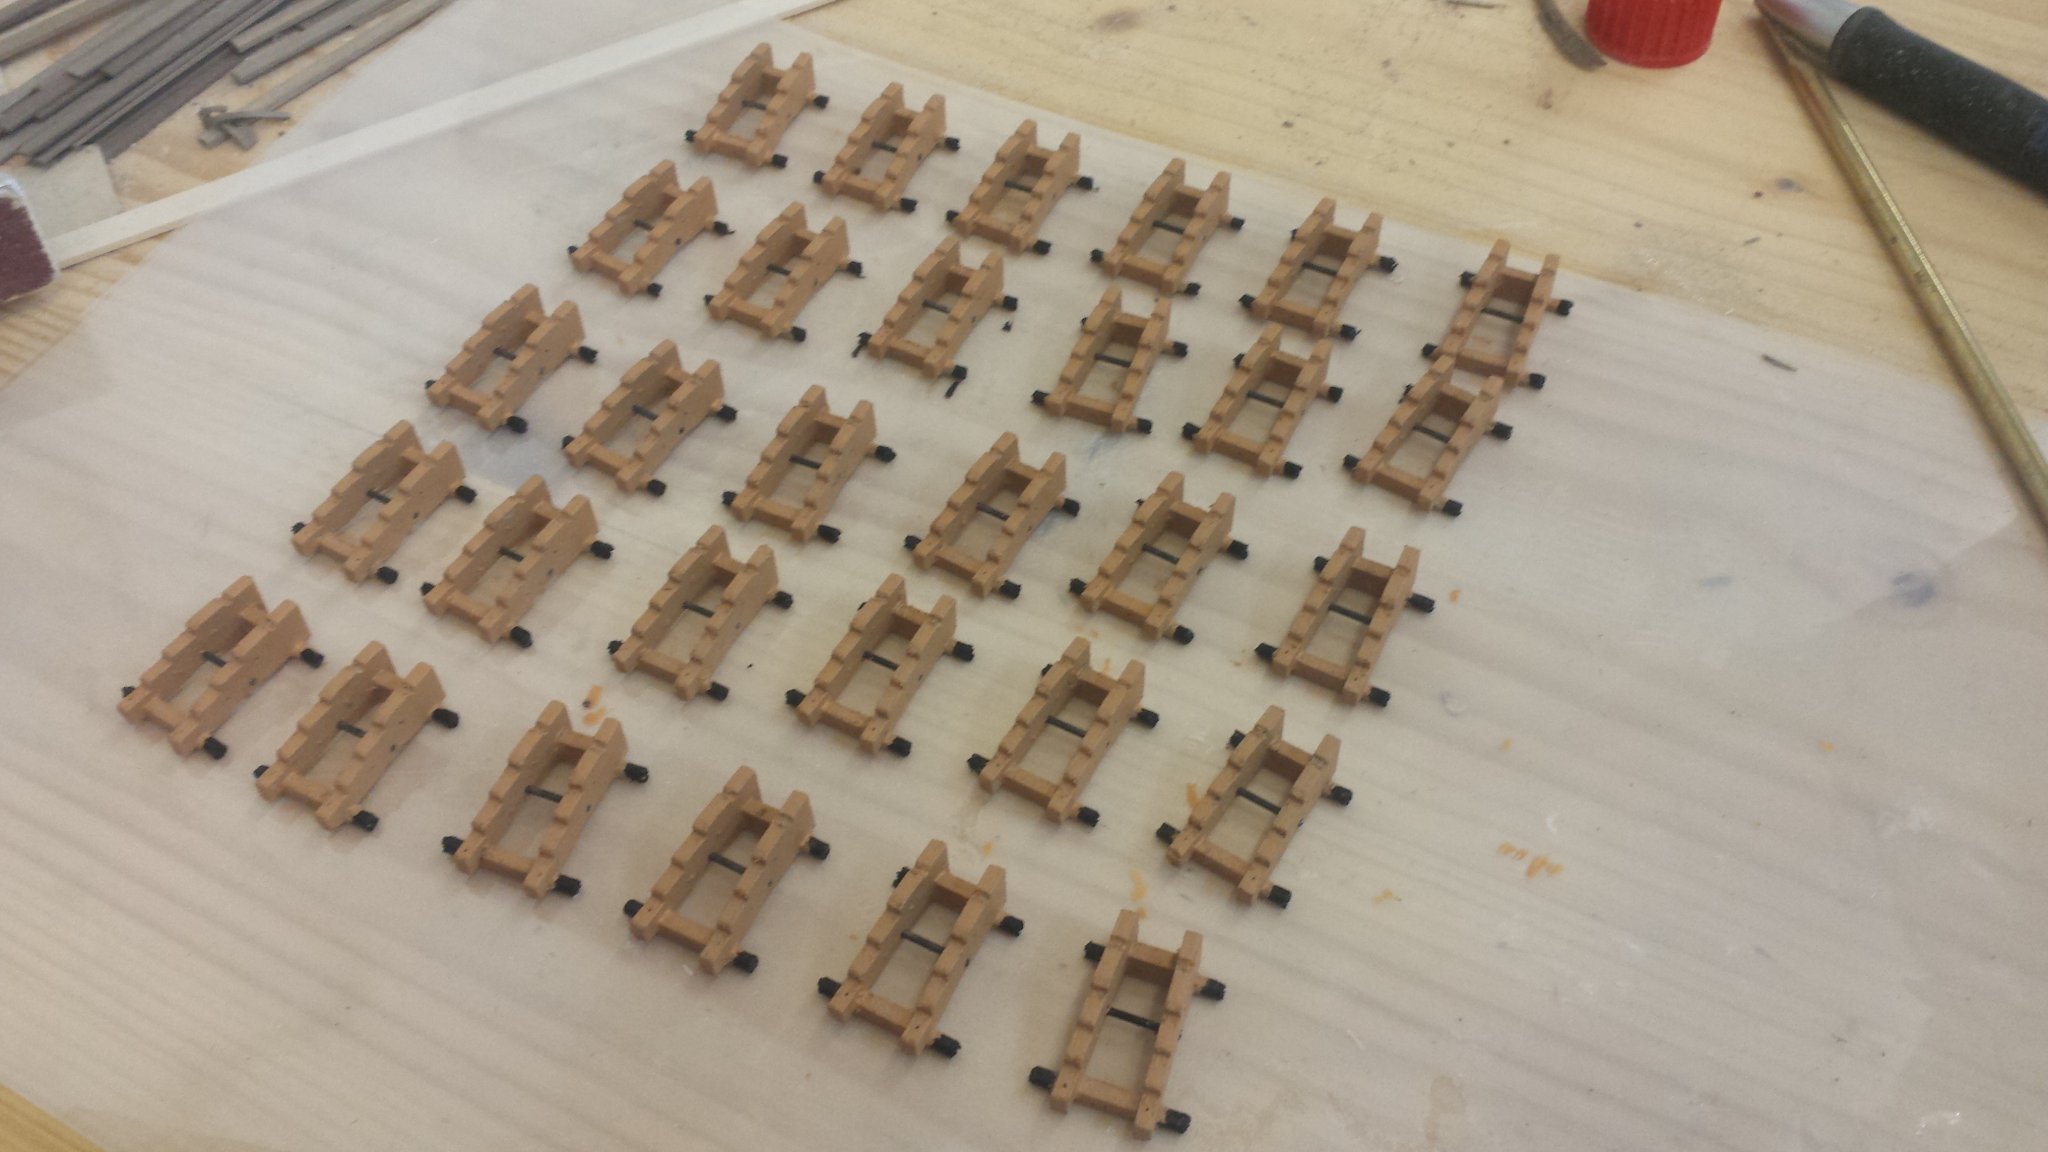
Now the cannons can be assembled.
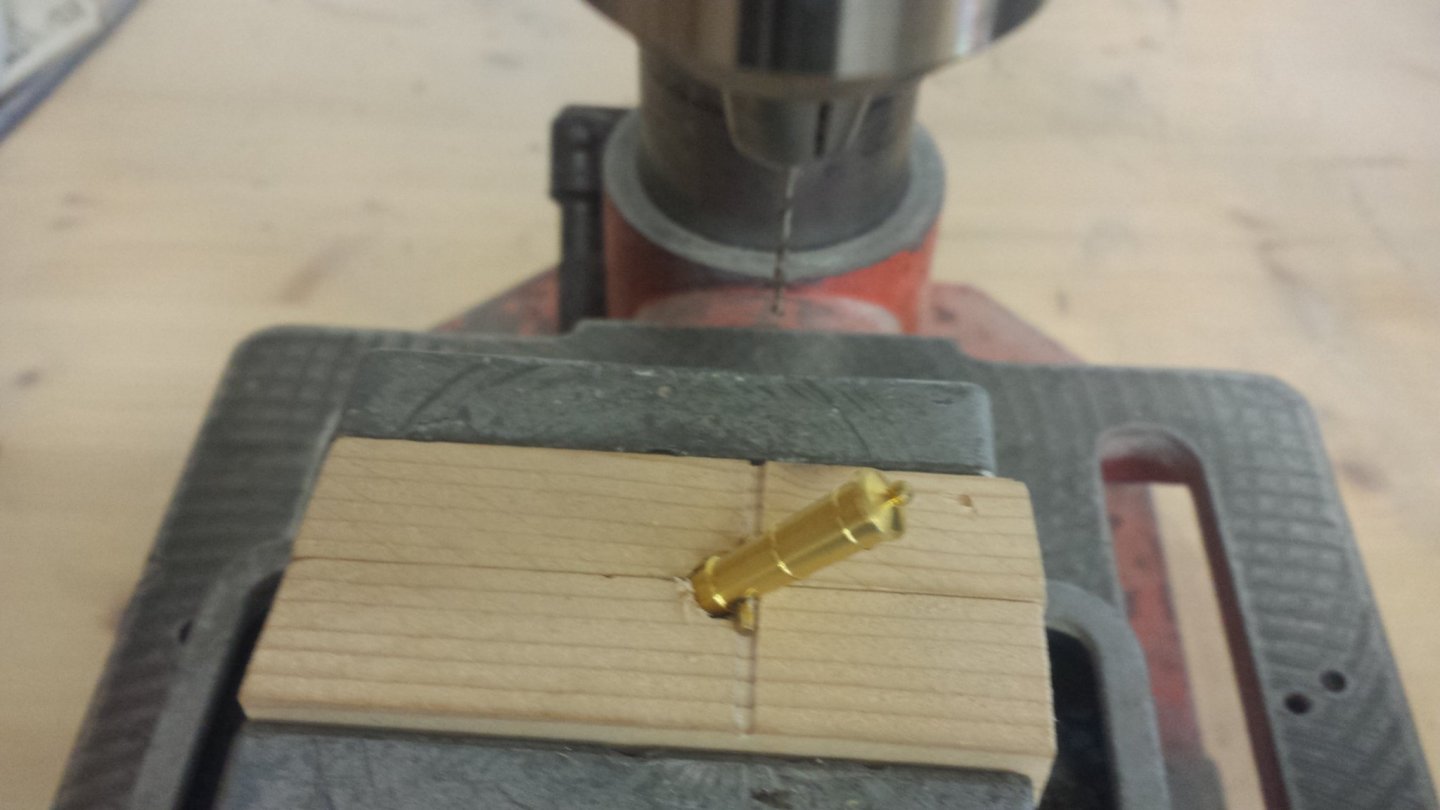
For this I made a template with which I can drill the cannons at a 45 ° angle. Then I made a strap with a 1mm wire
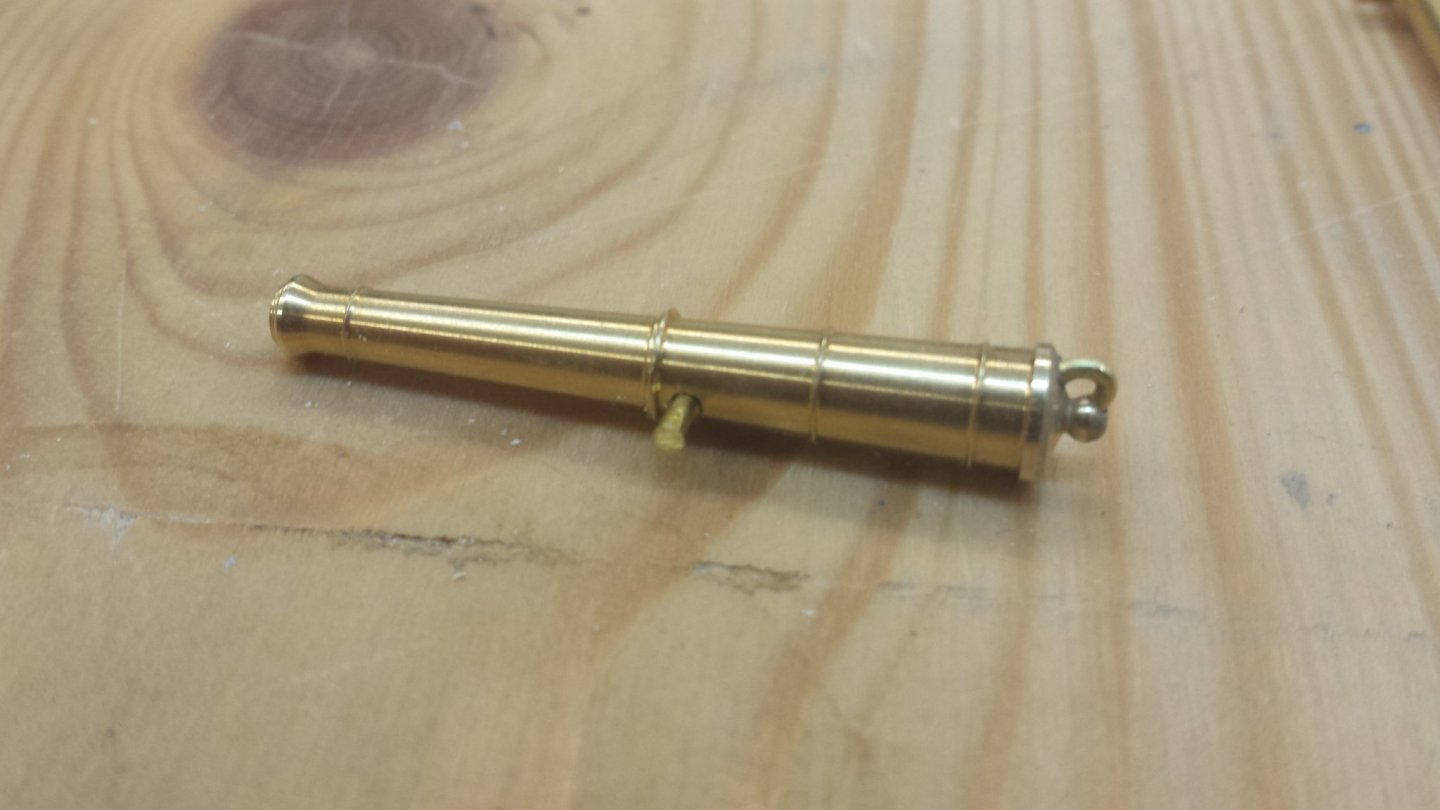
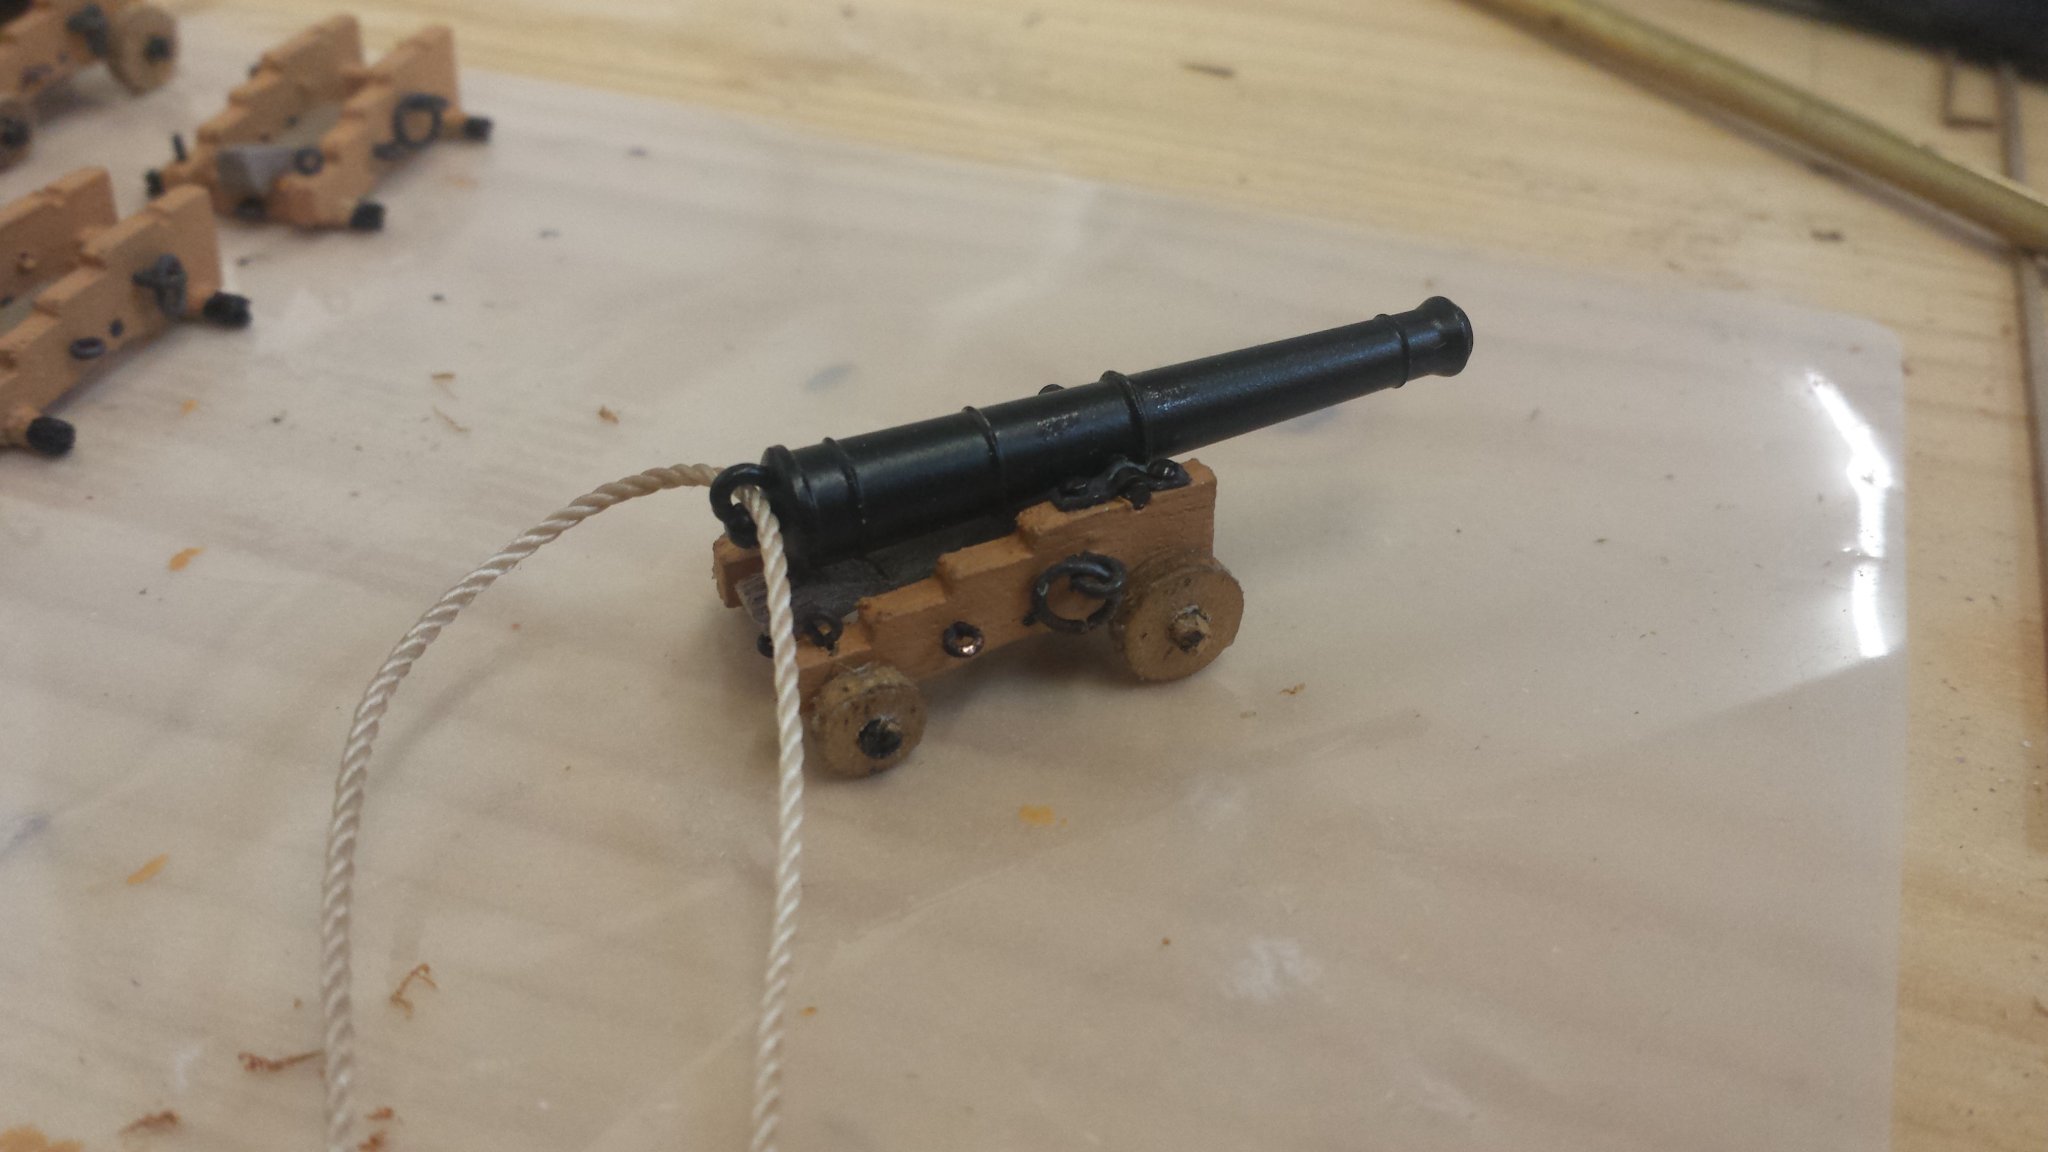
Then the cannons are assembled


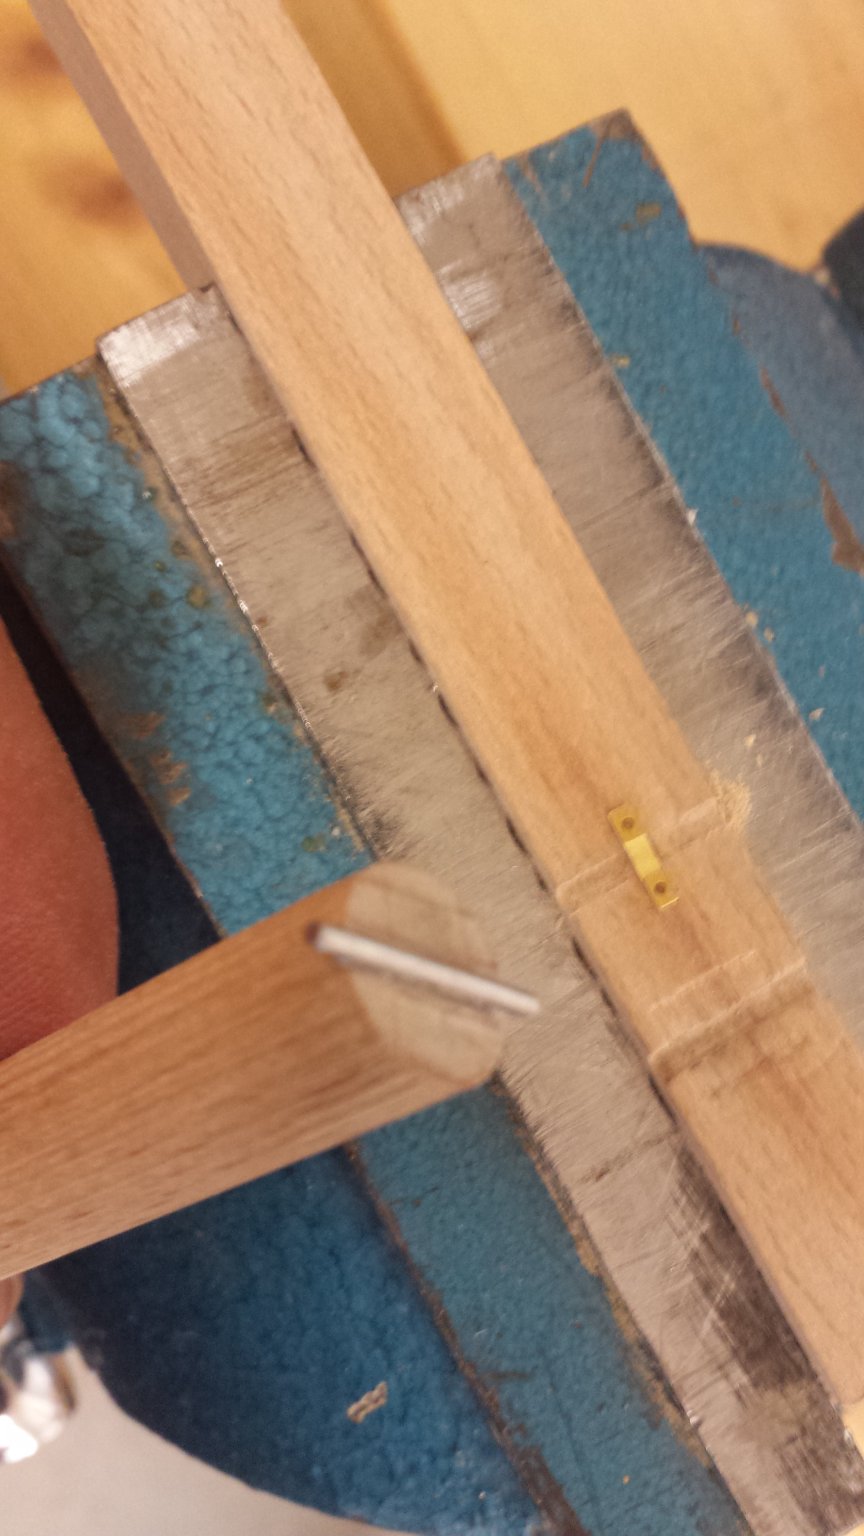
I had to make a small tool to bend the cannon axis bracket (by Charter 33)


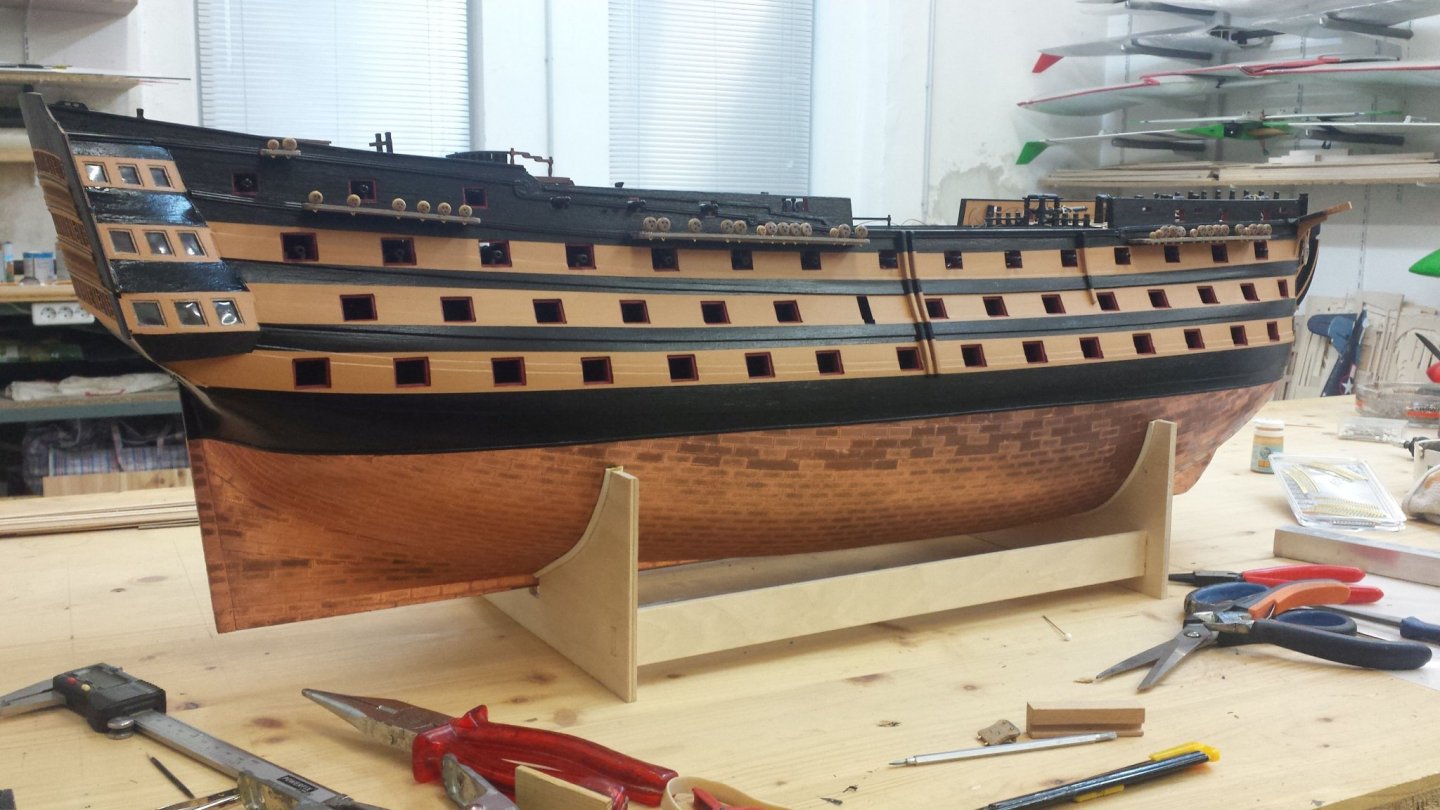
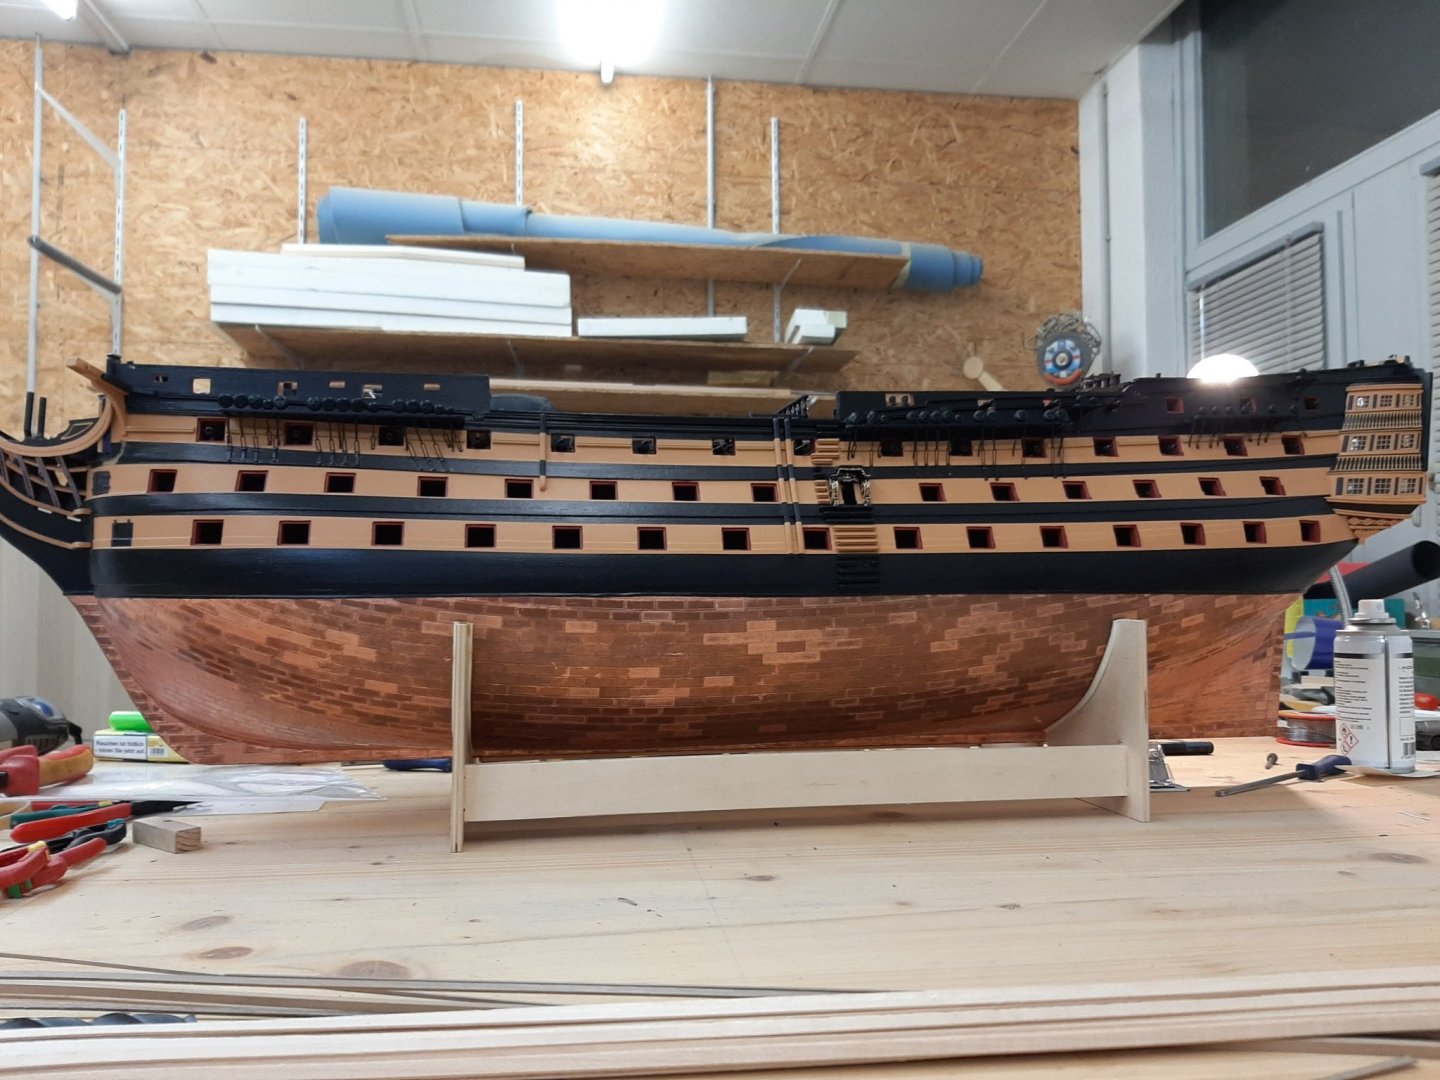
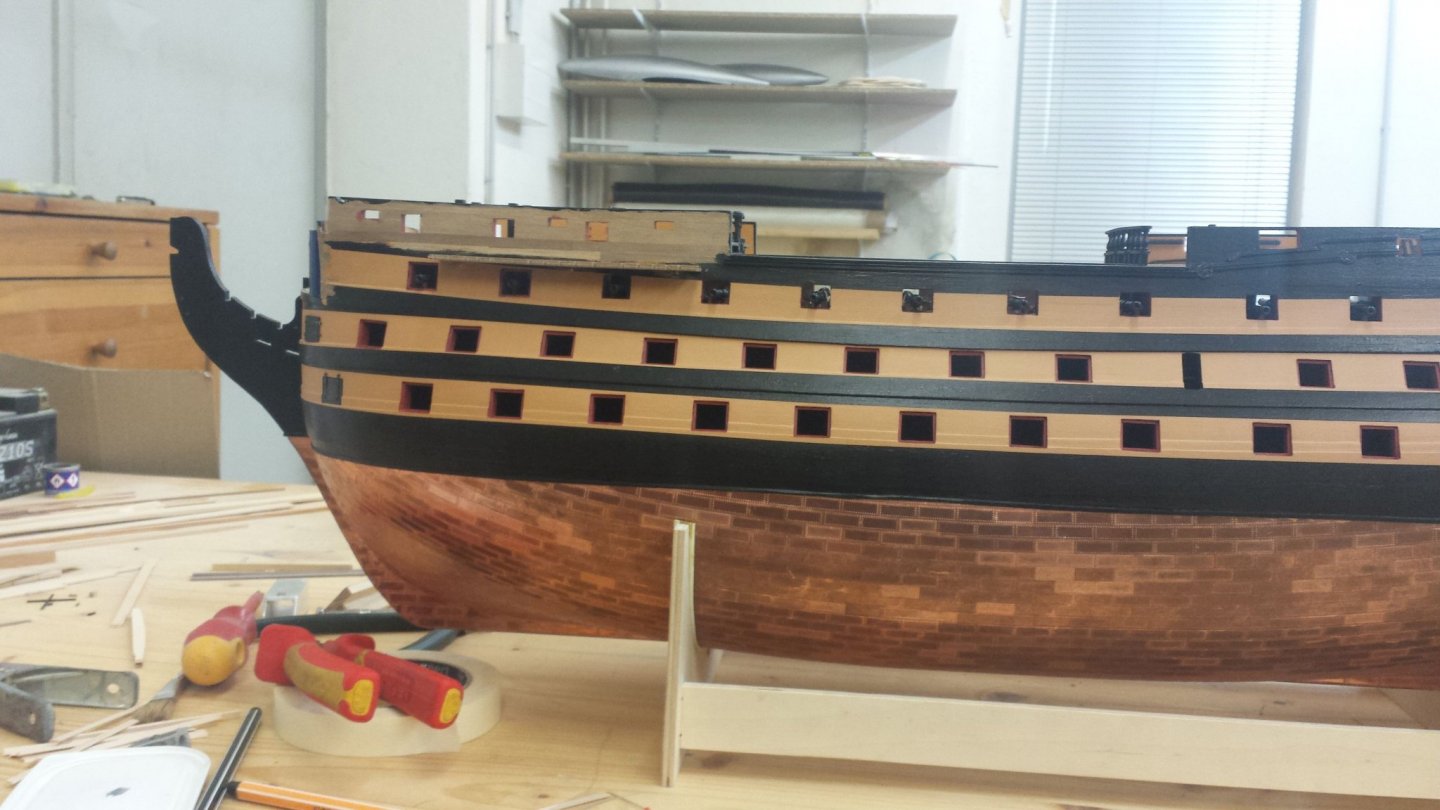
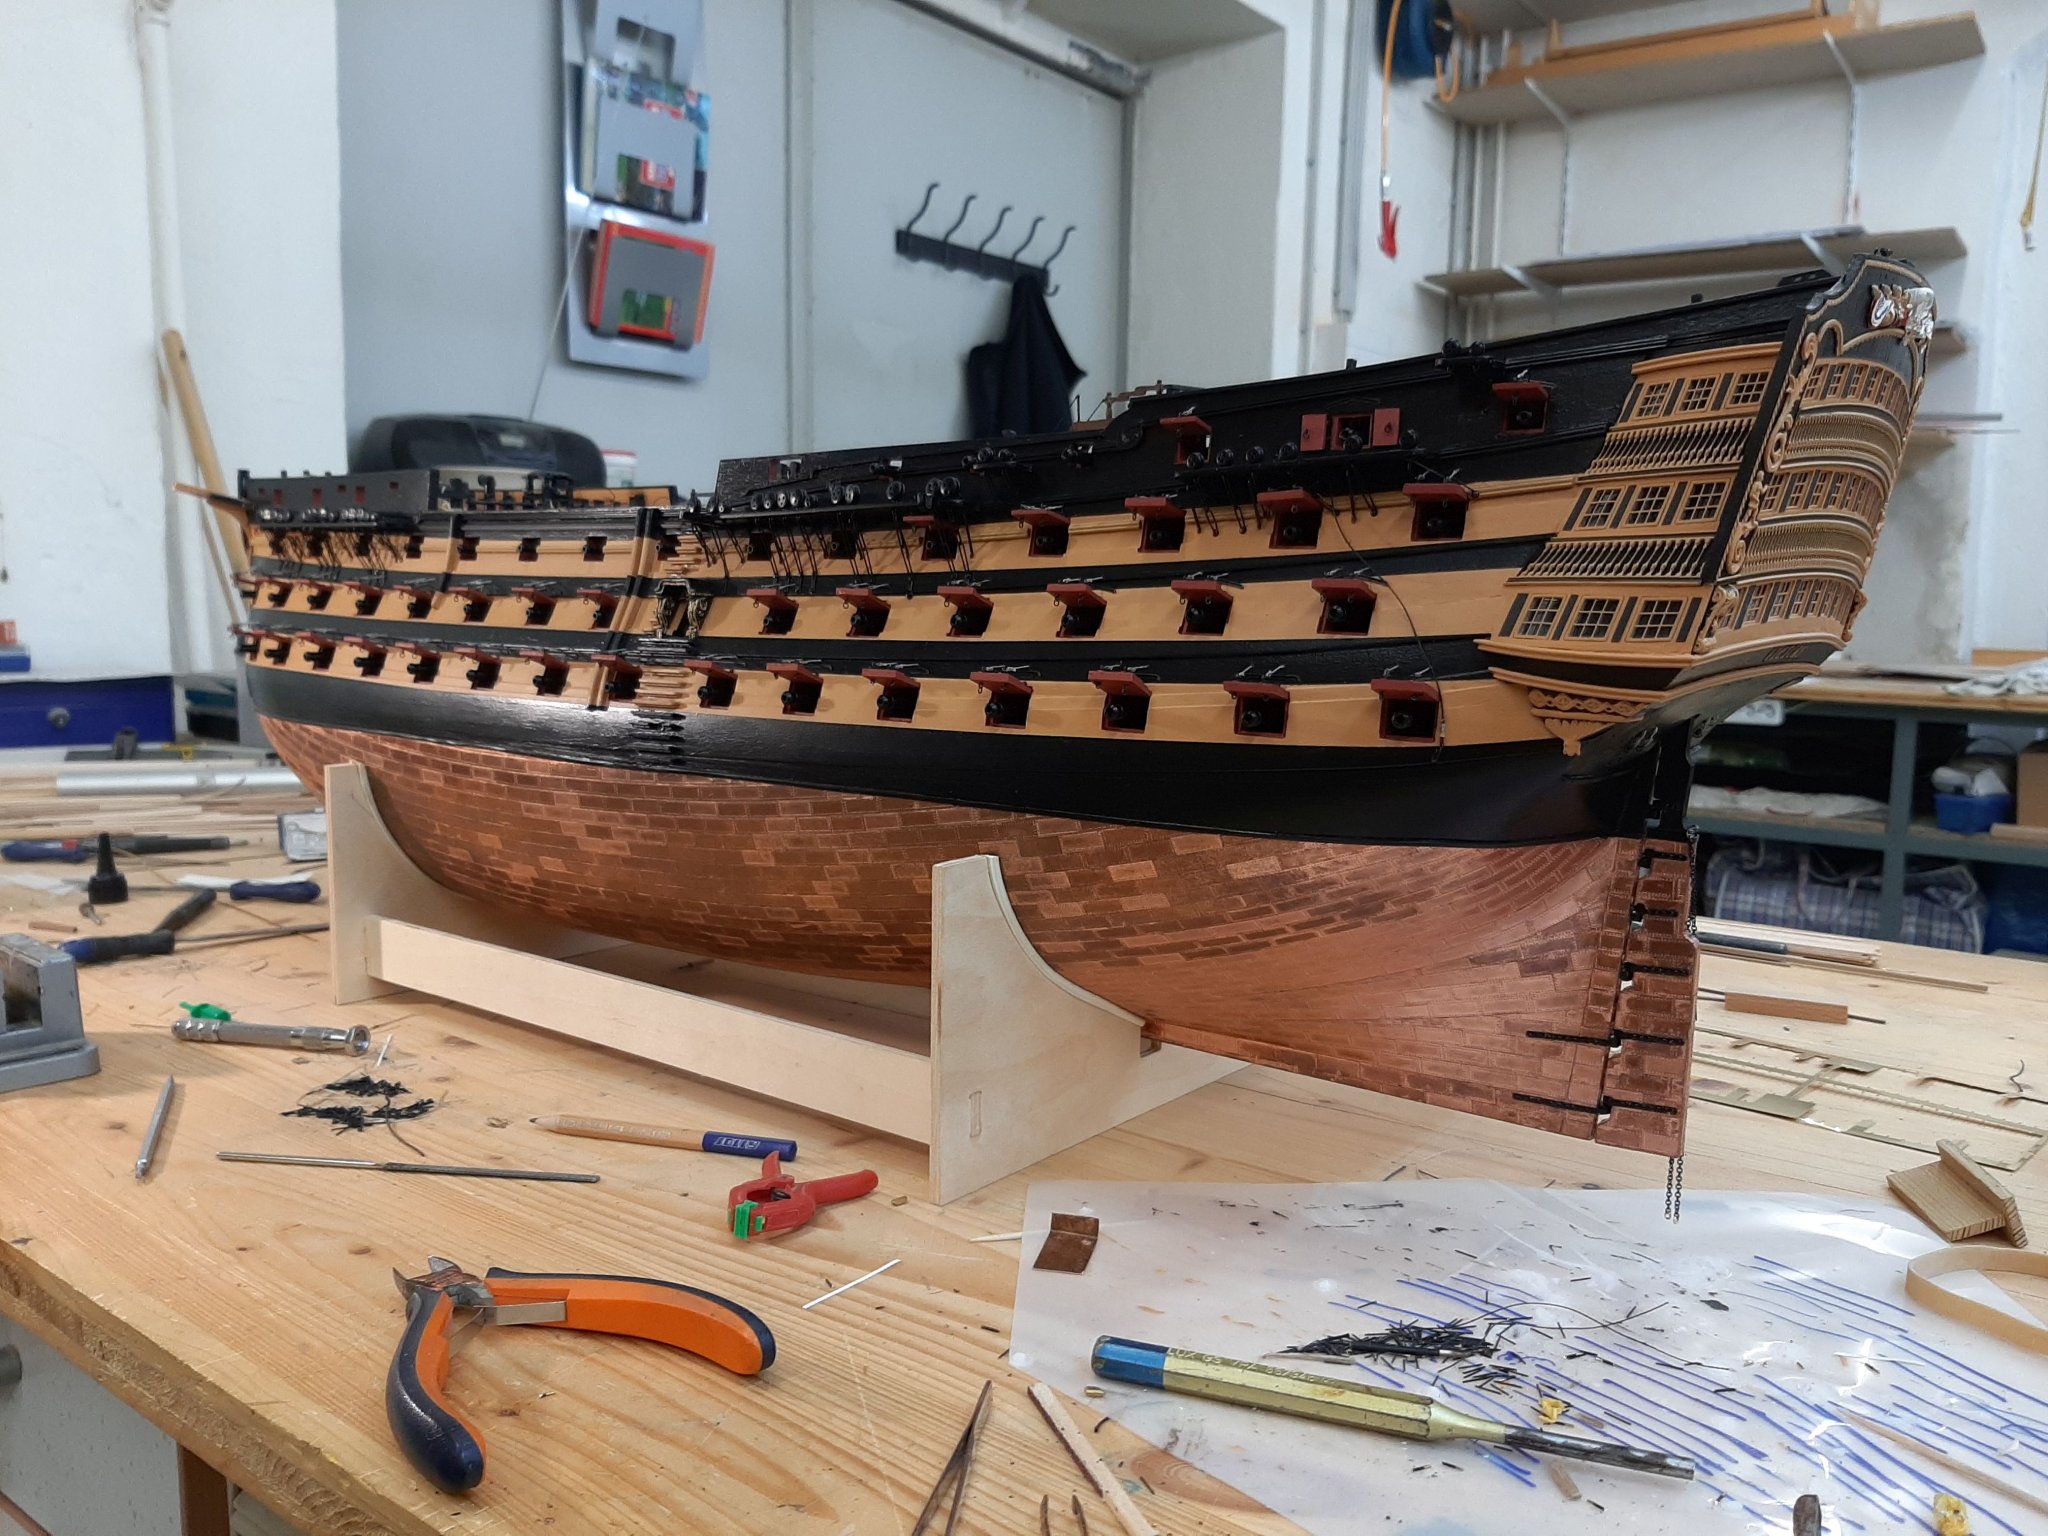
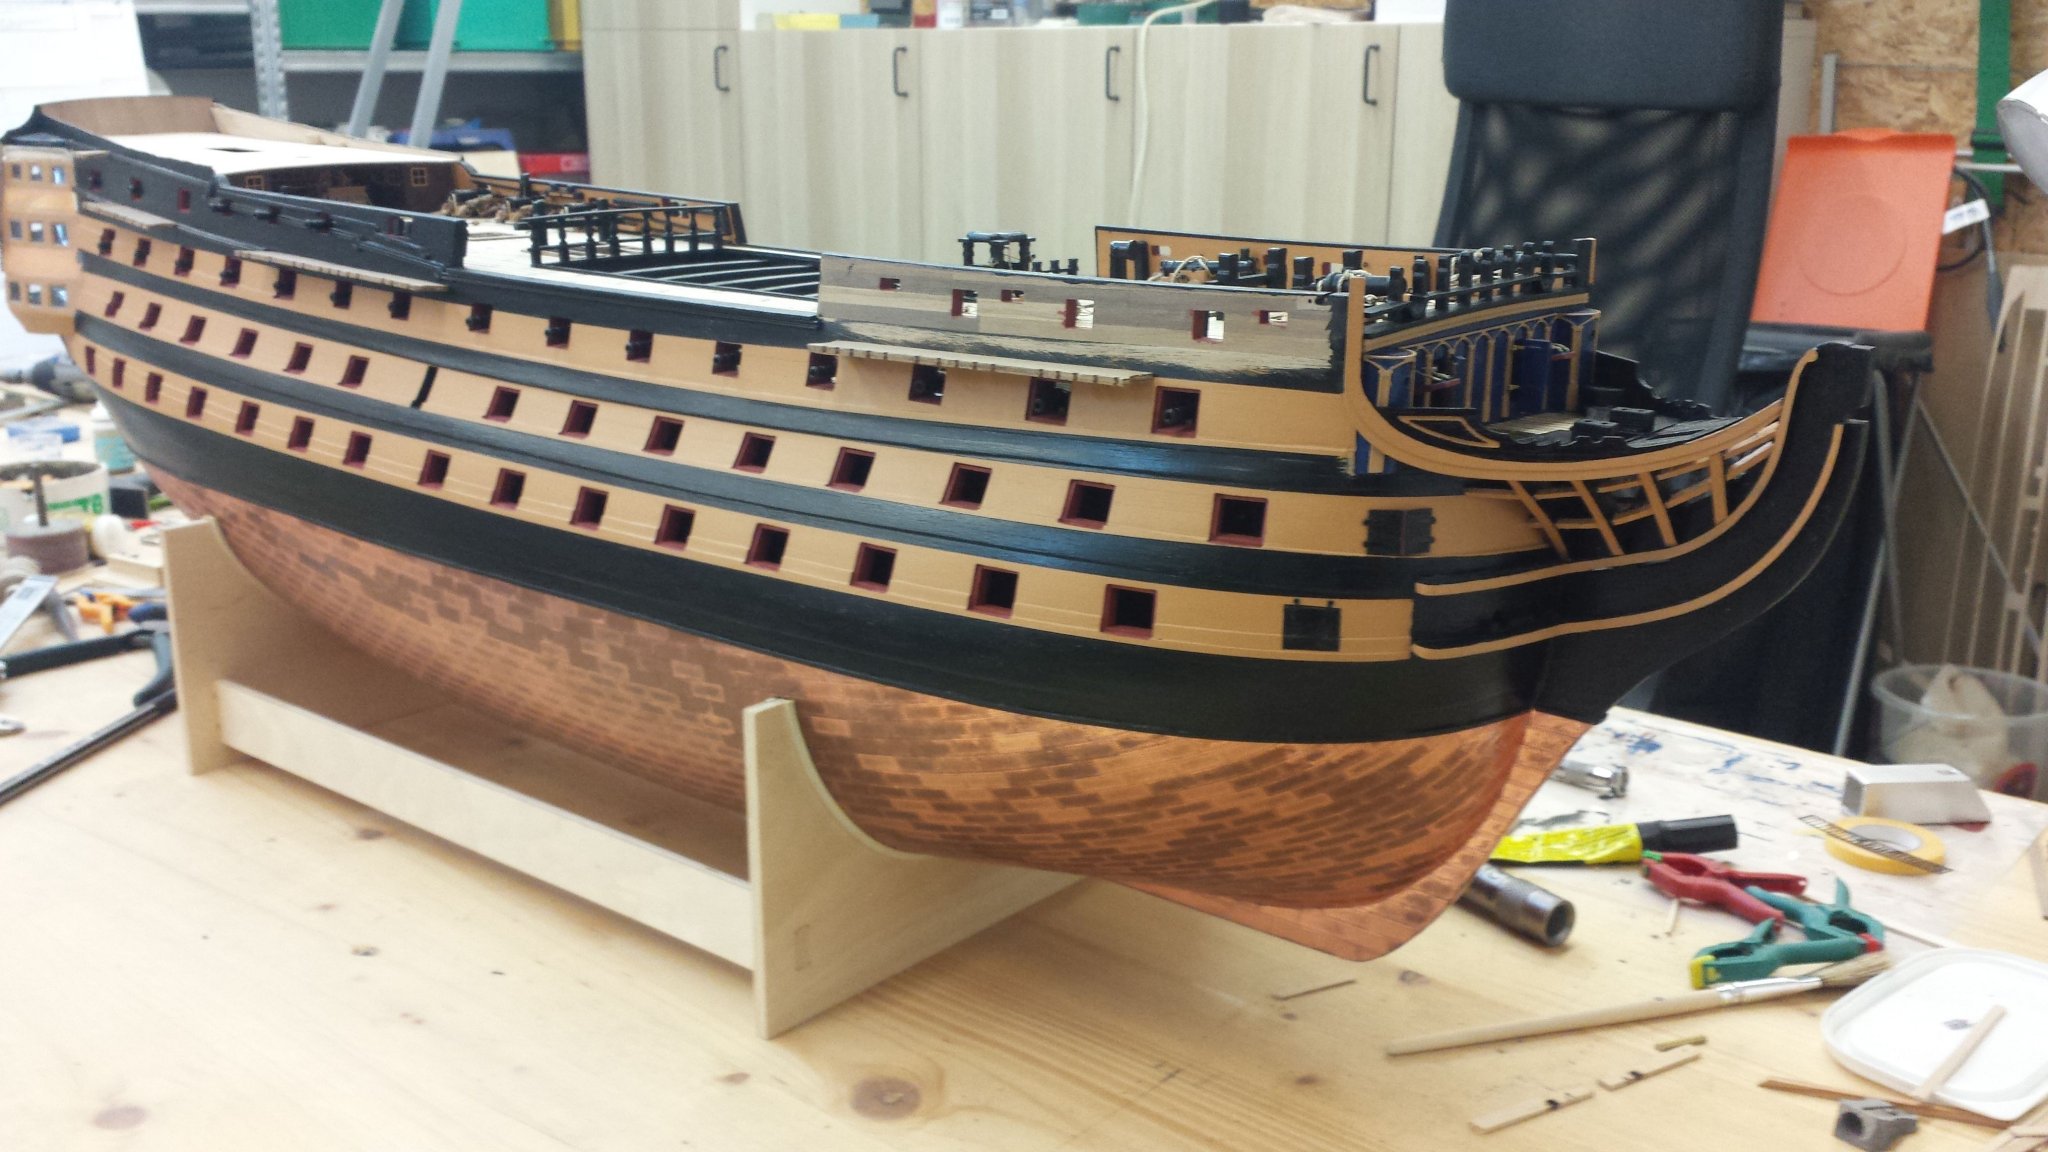
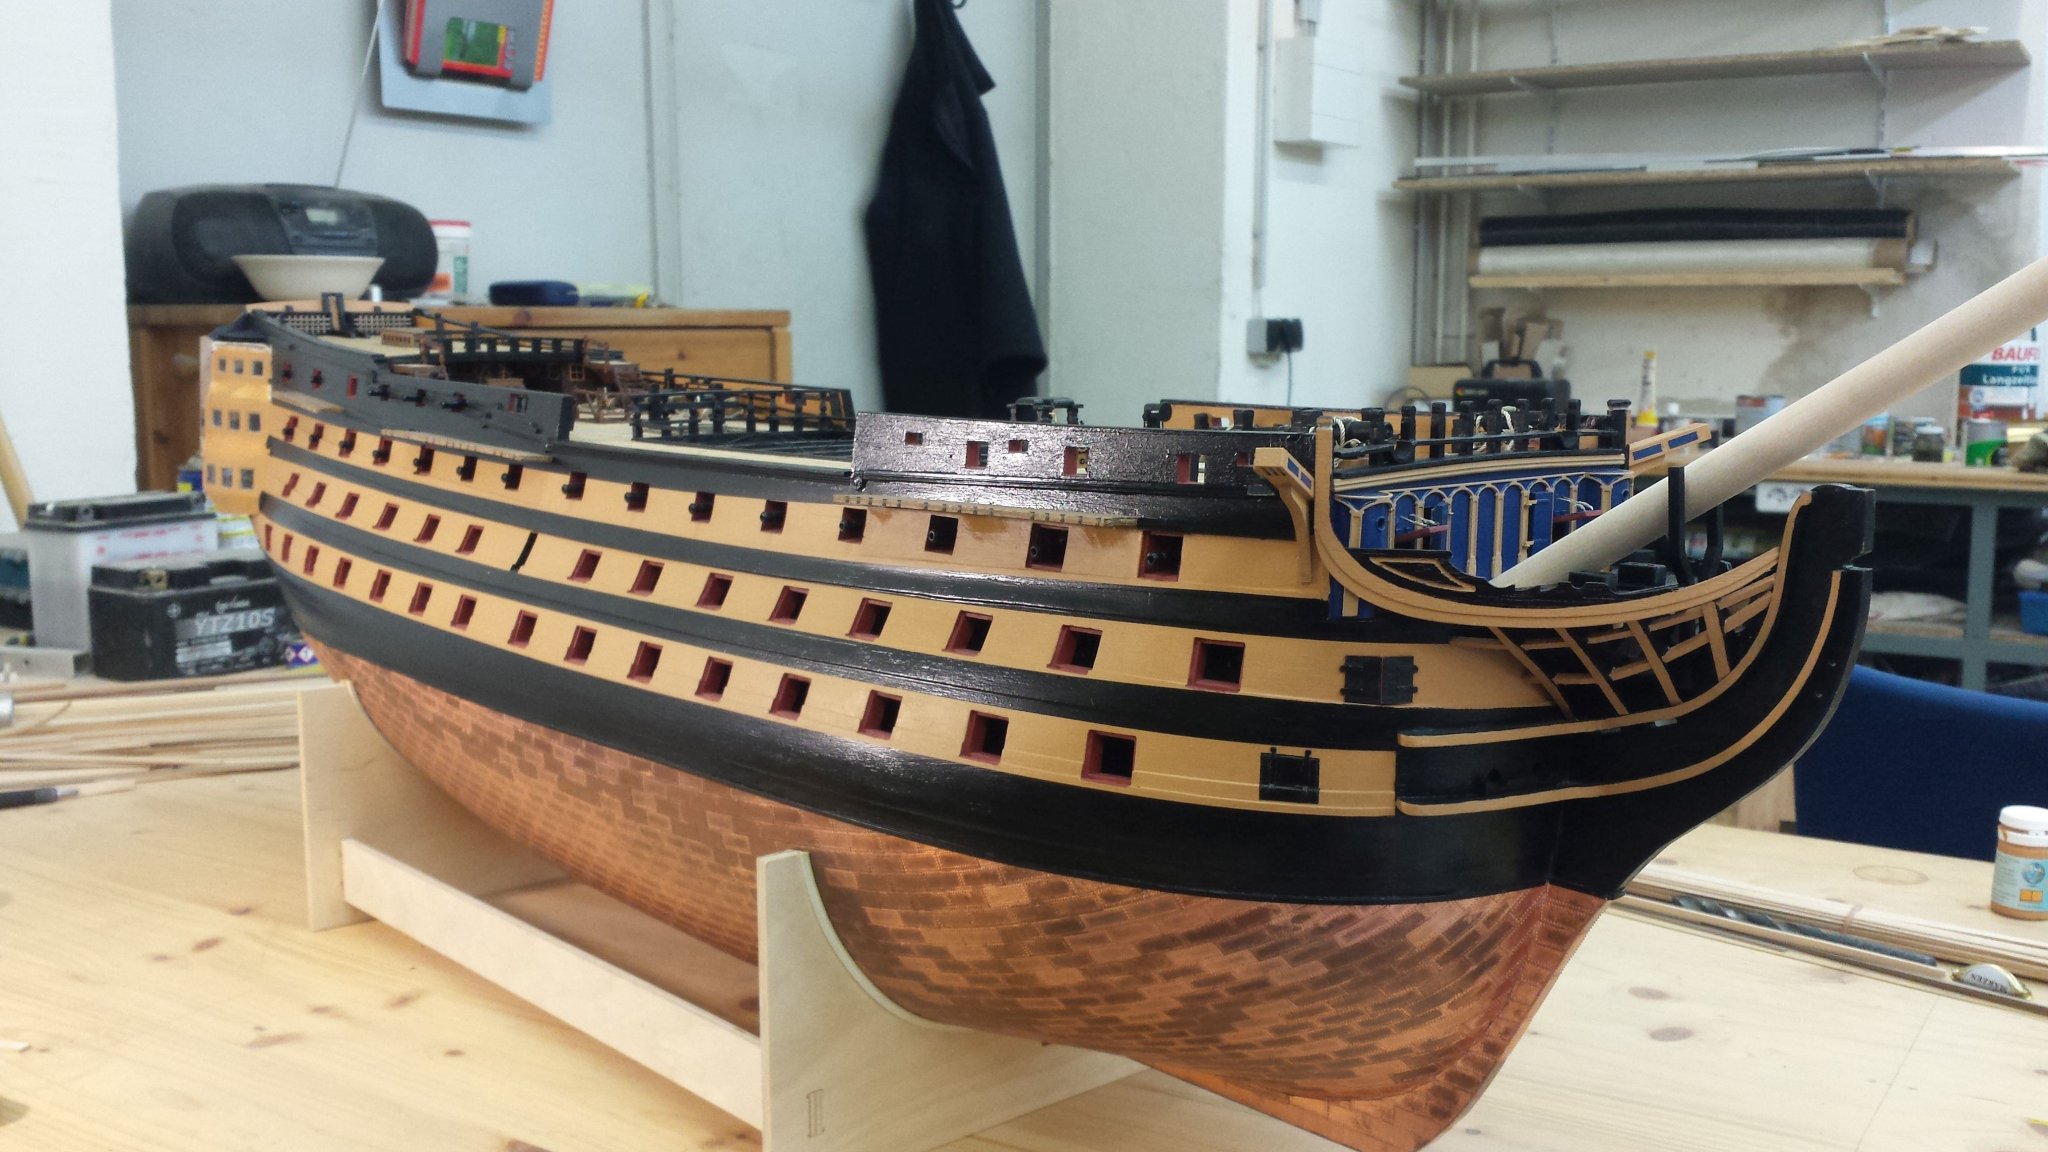
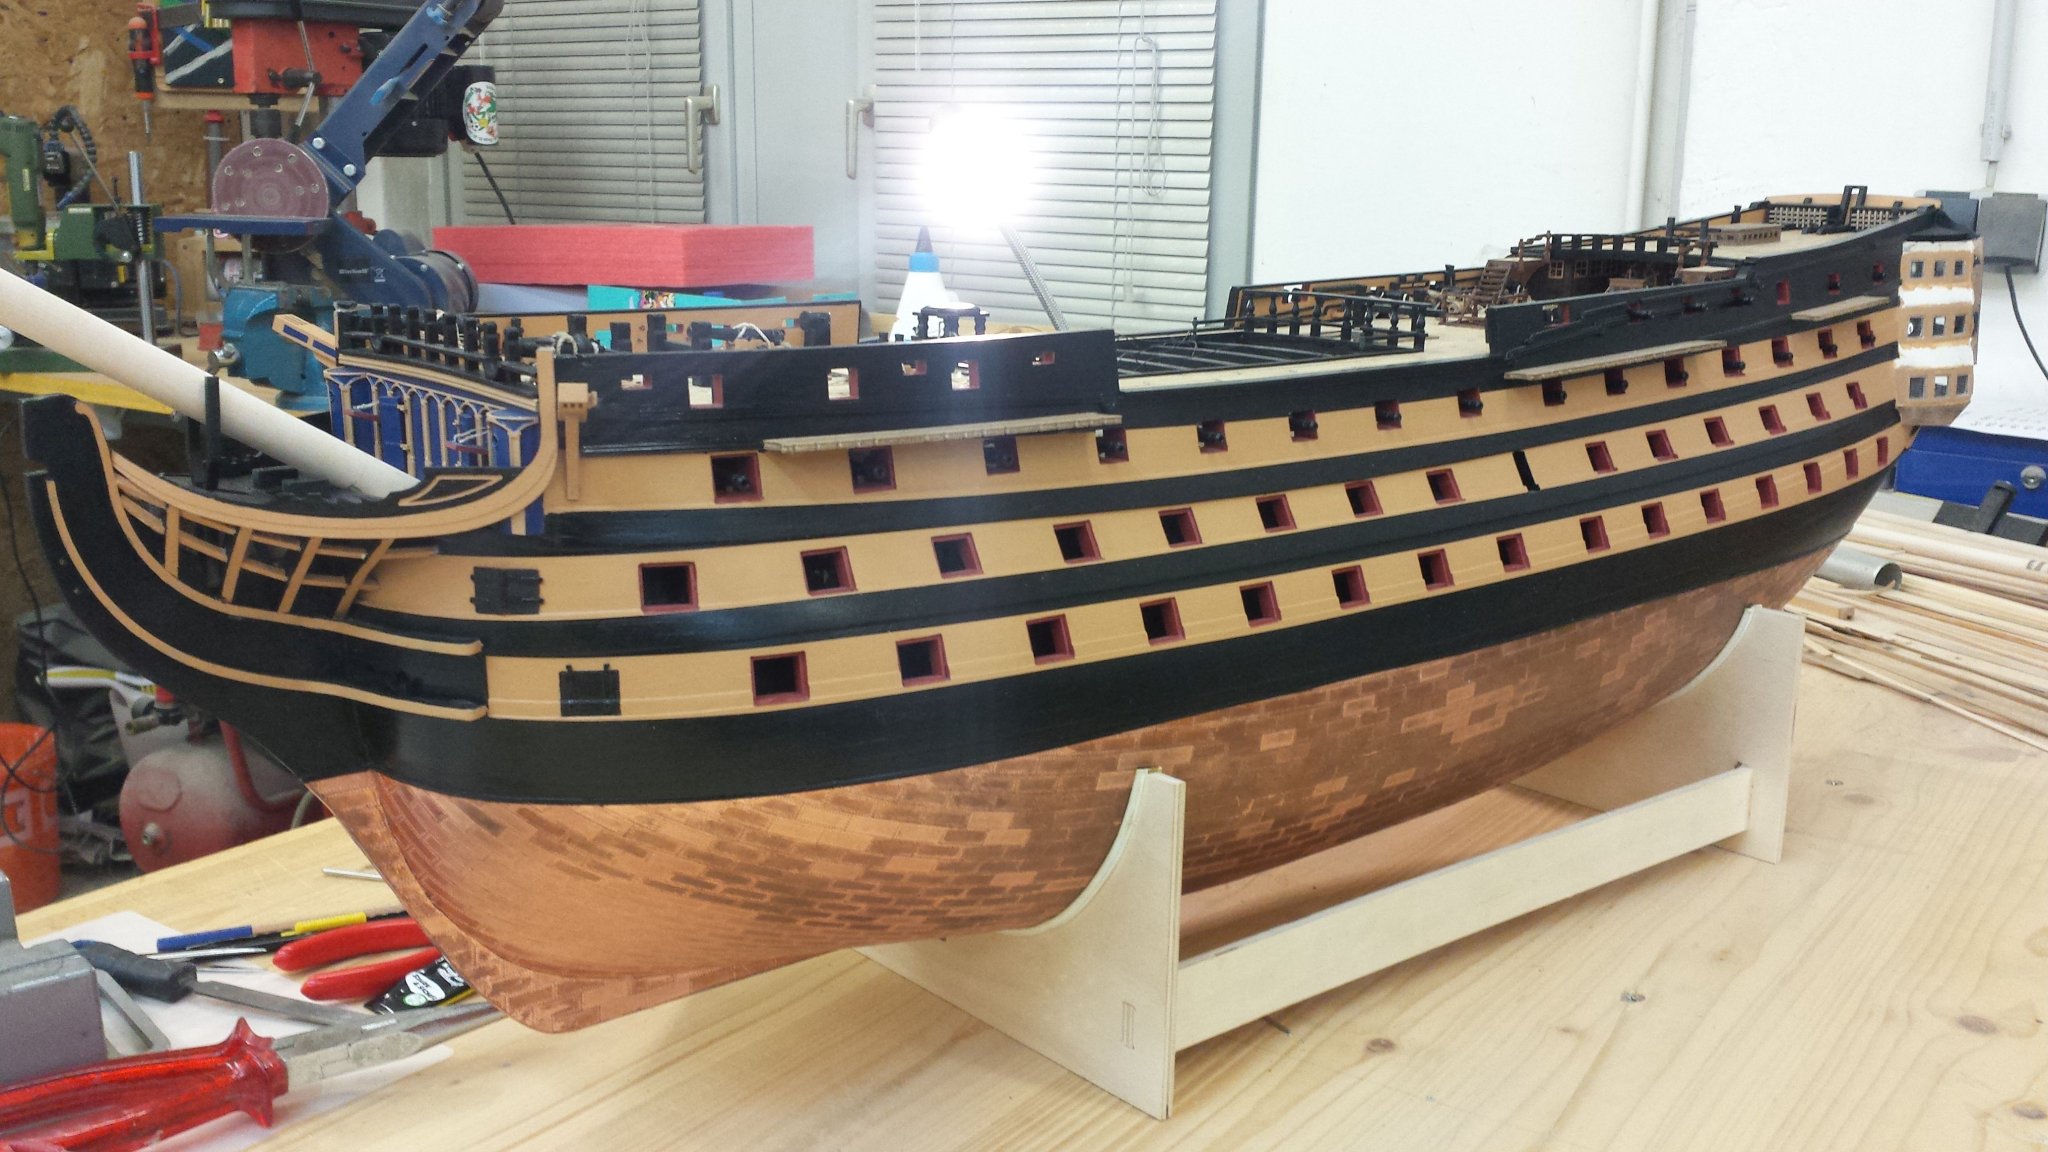
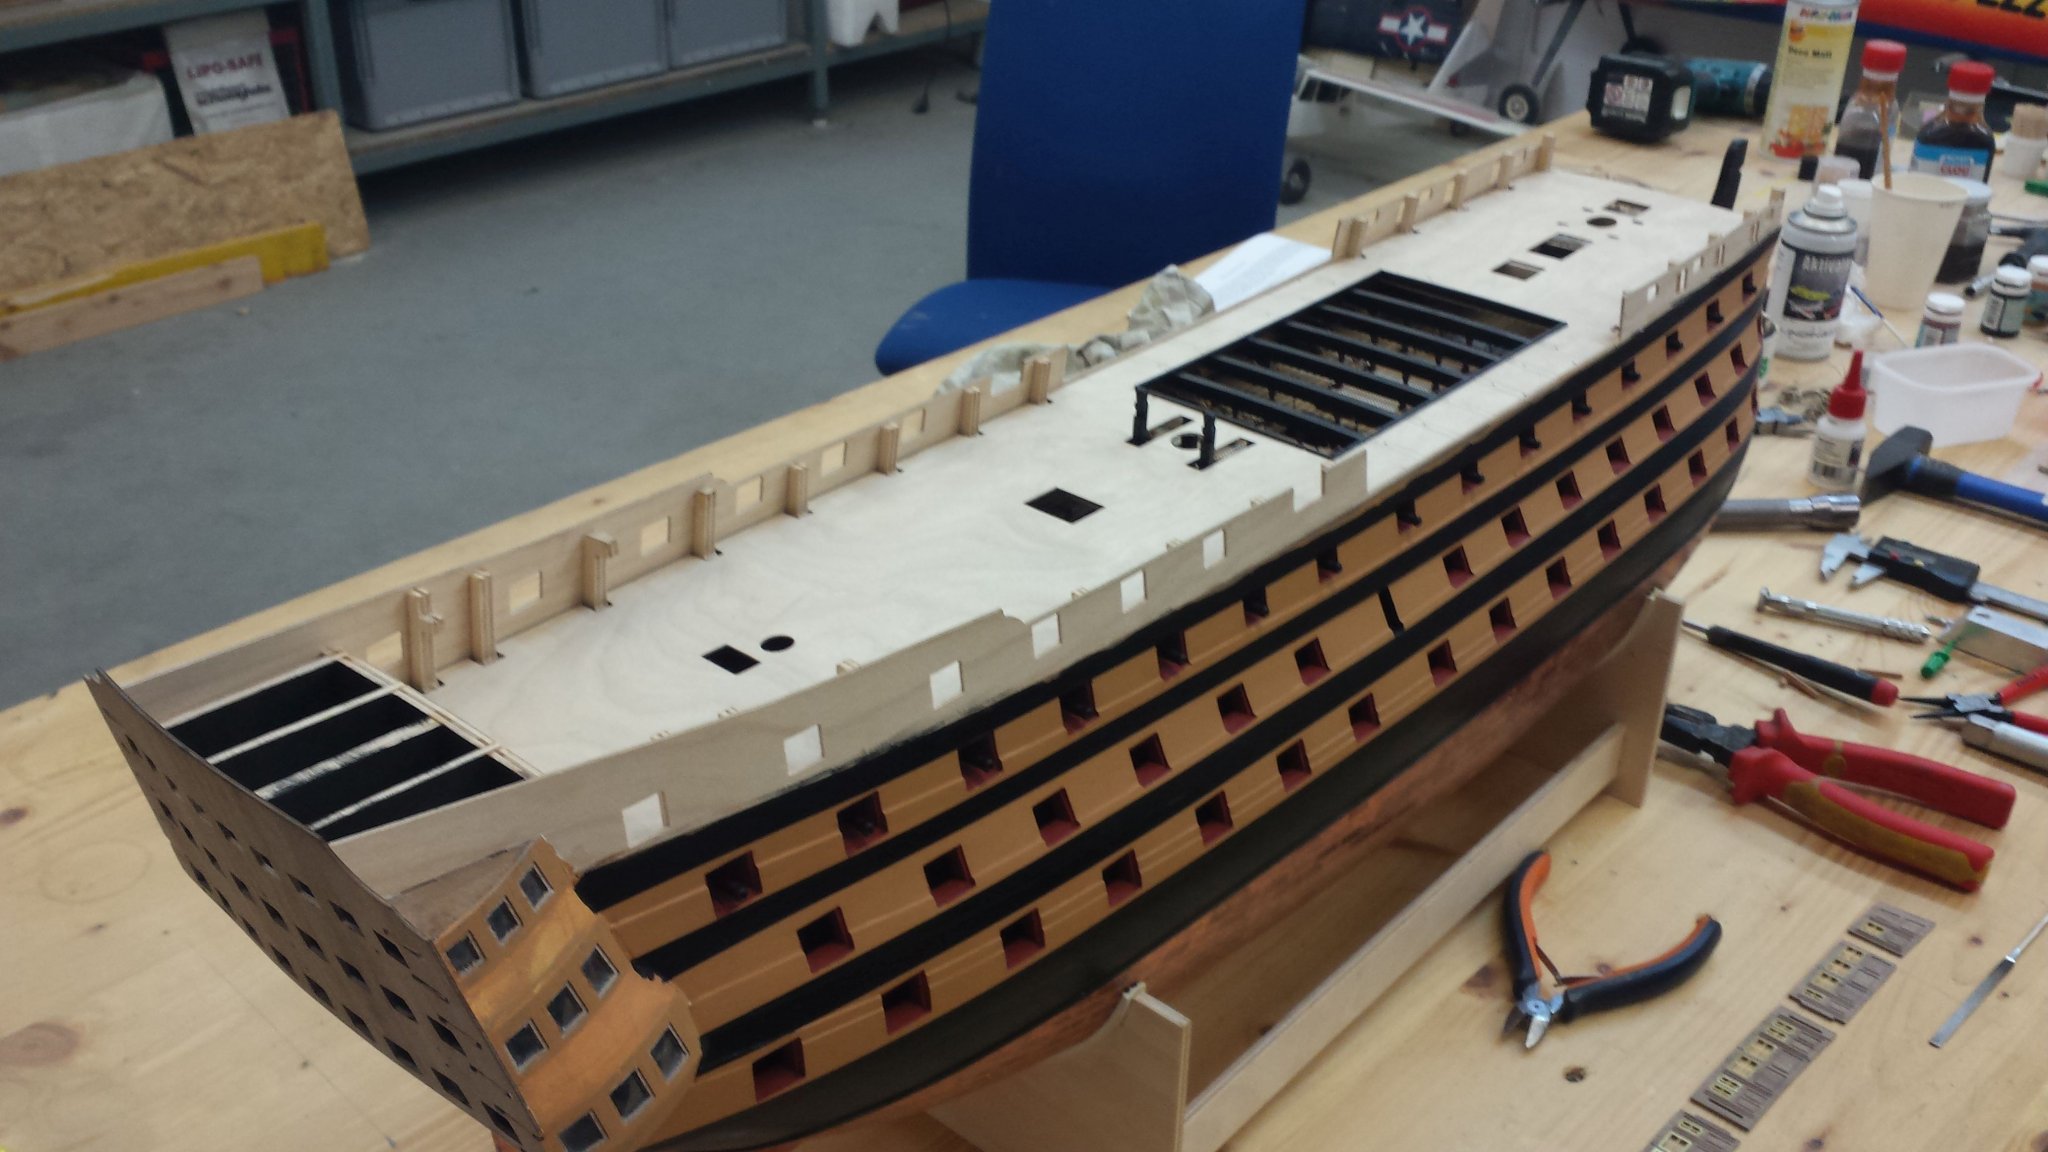
Then I could start painting the hull.
And now the copper
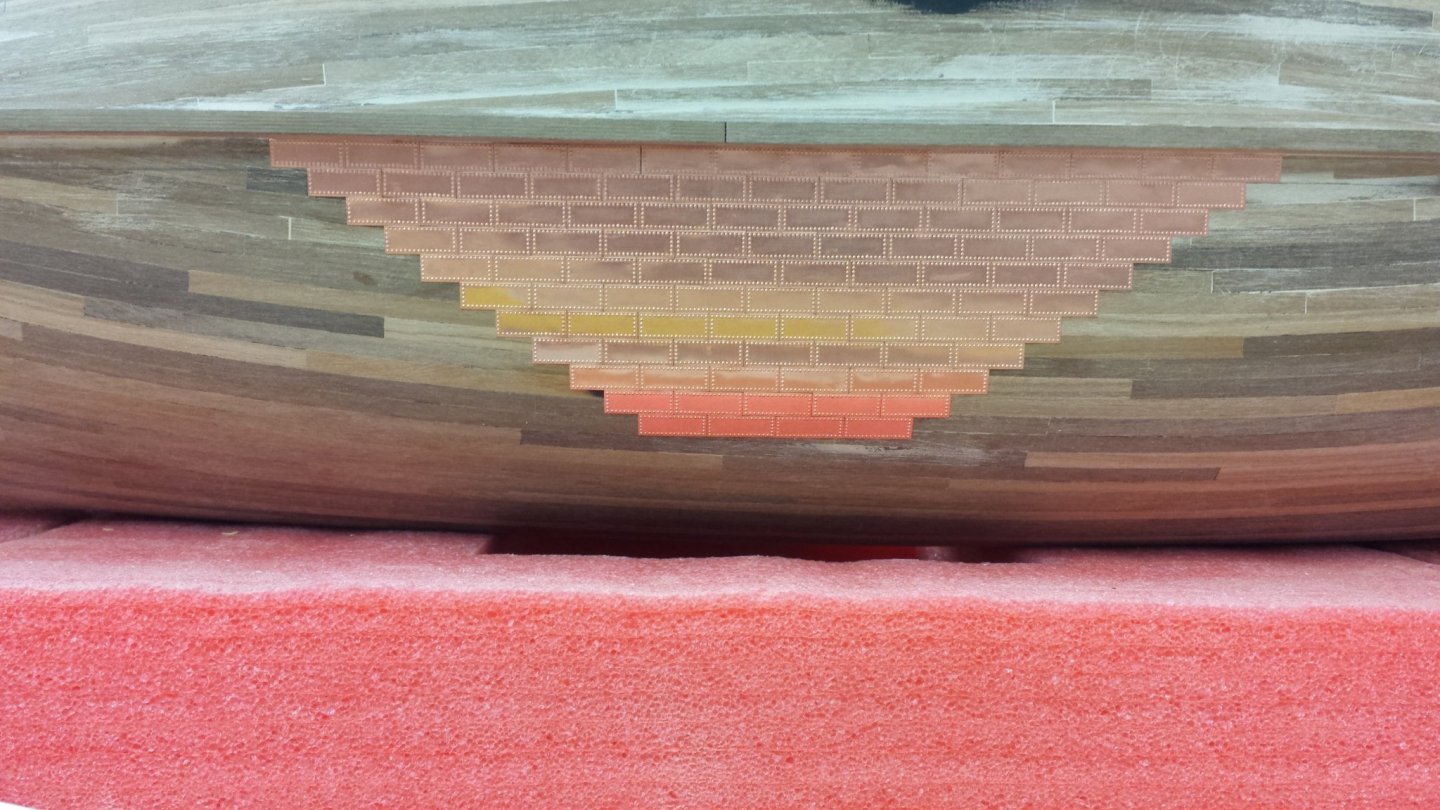
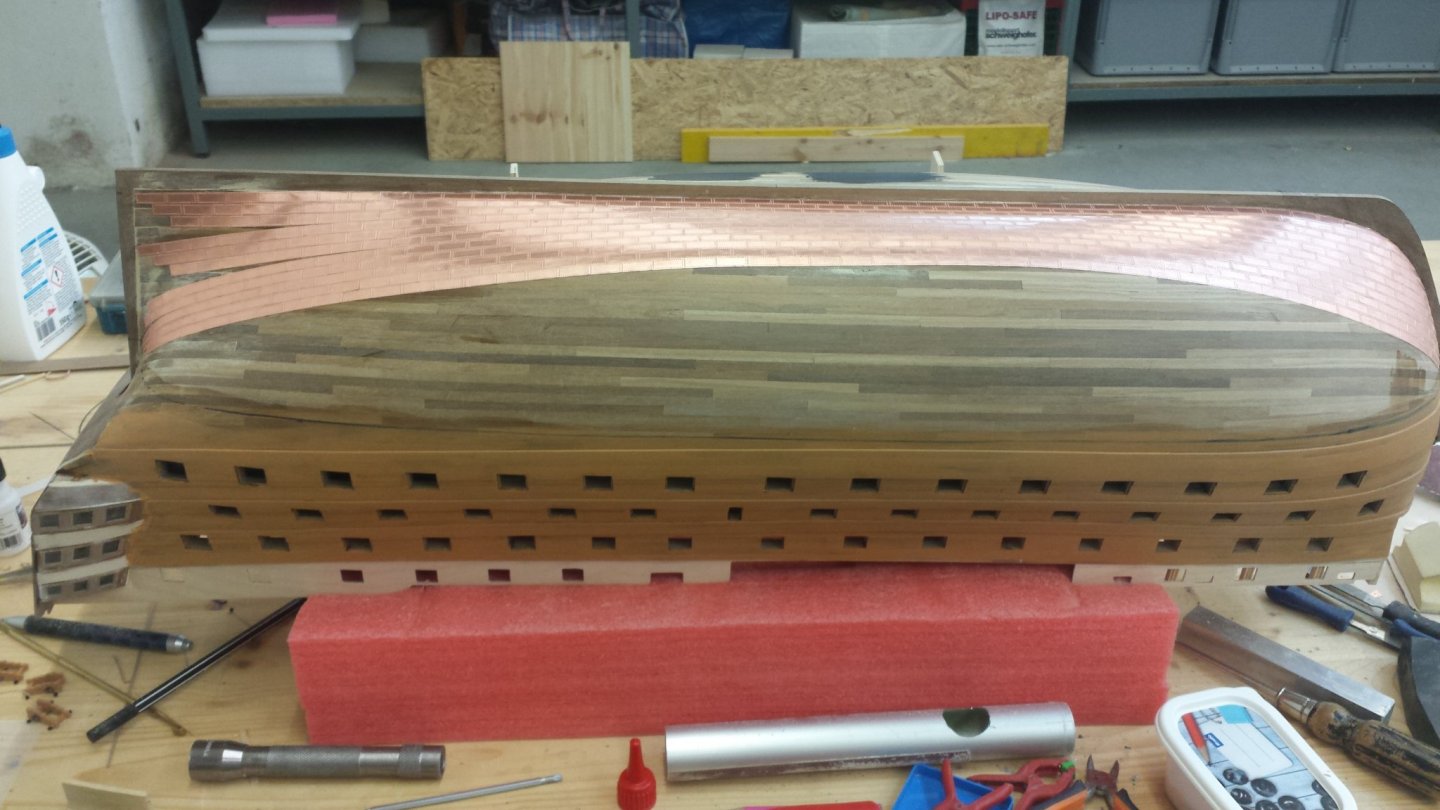
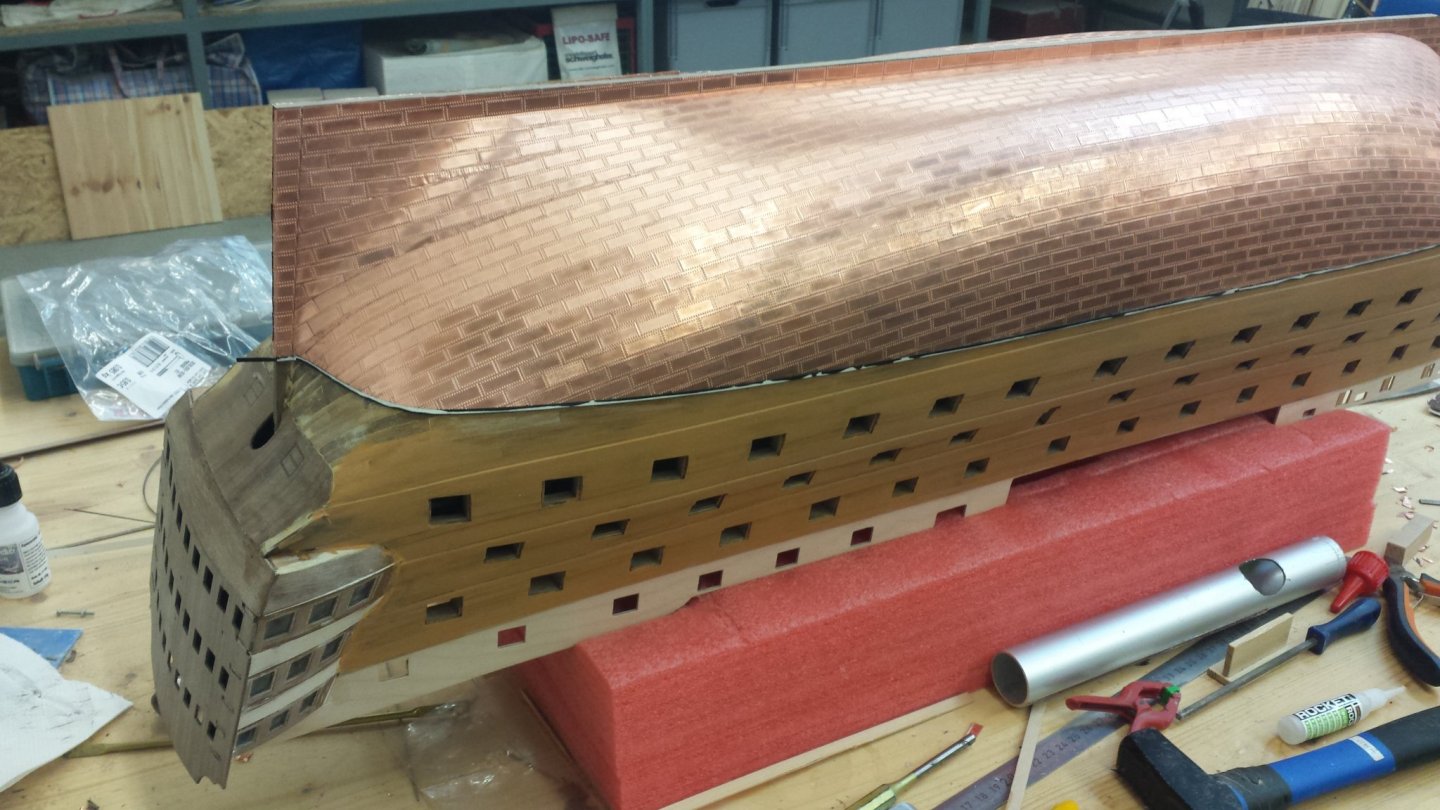
To finish off the copper plates, I sanded back an L-profile made of plastic on one leg so that it just barely covered the copper plates

Then I drilled the holes for the dummy cannons. So that I can drill horizontally, I built an auxiliary device as shown in the picture
Helli
- CiscoH, BenD, GrandpaPhil and 13 others
-
16
-
Hi,
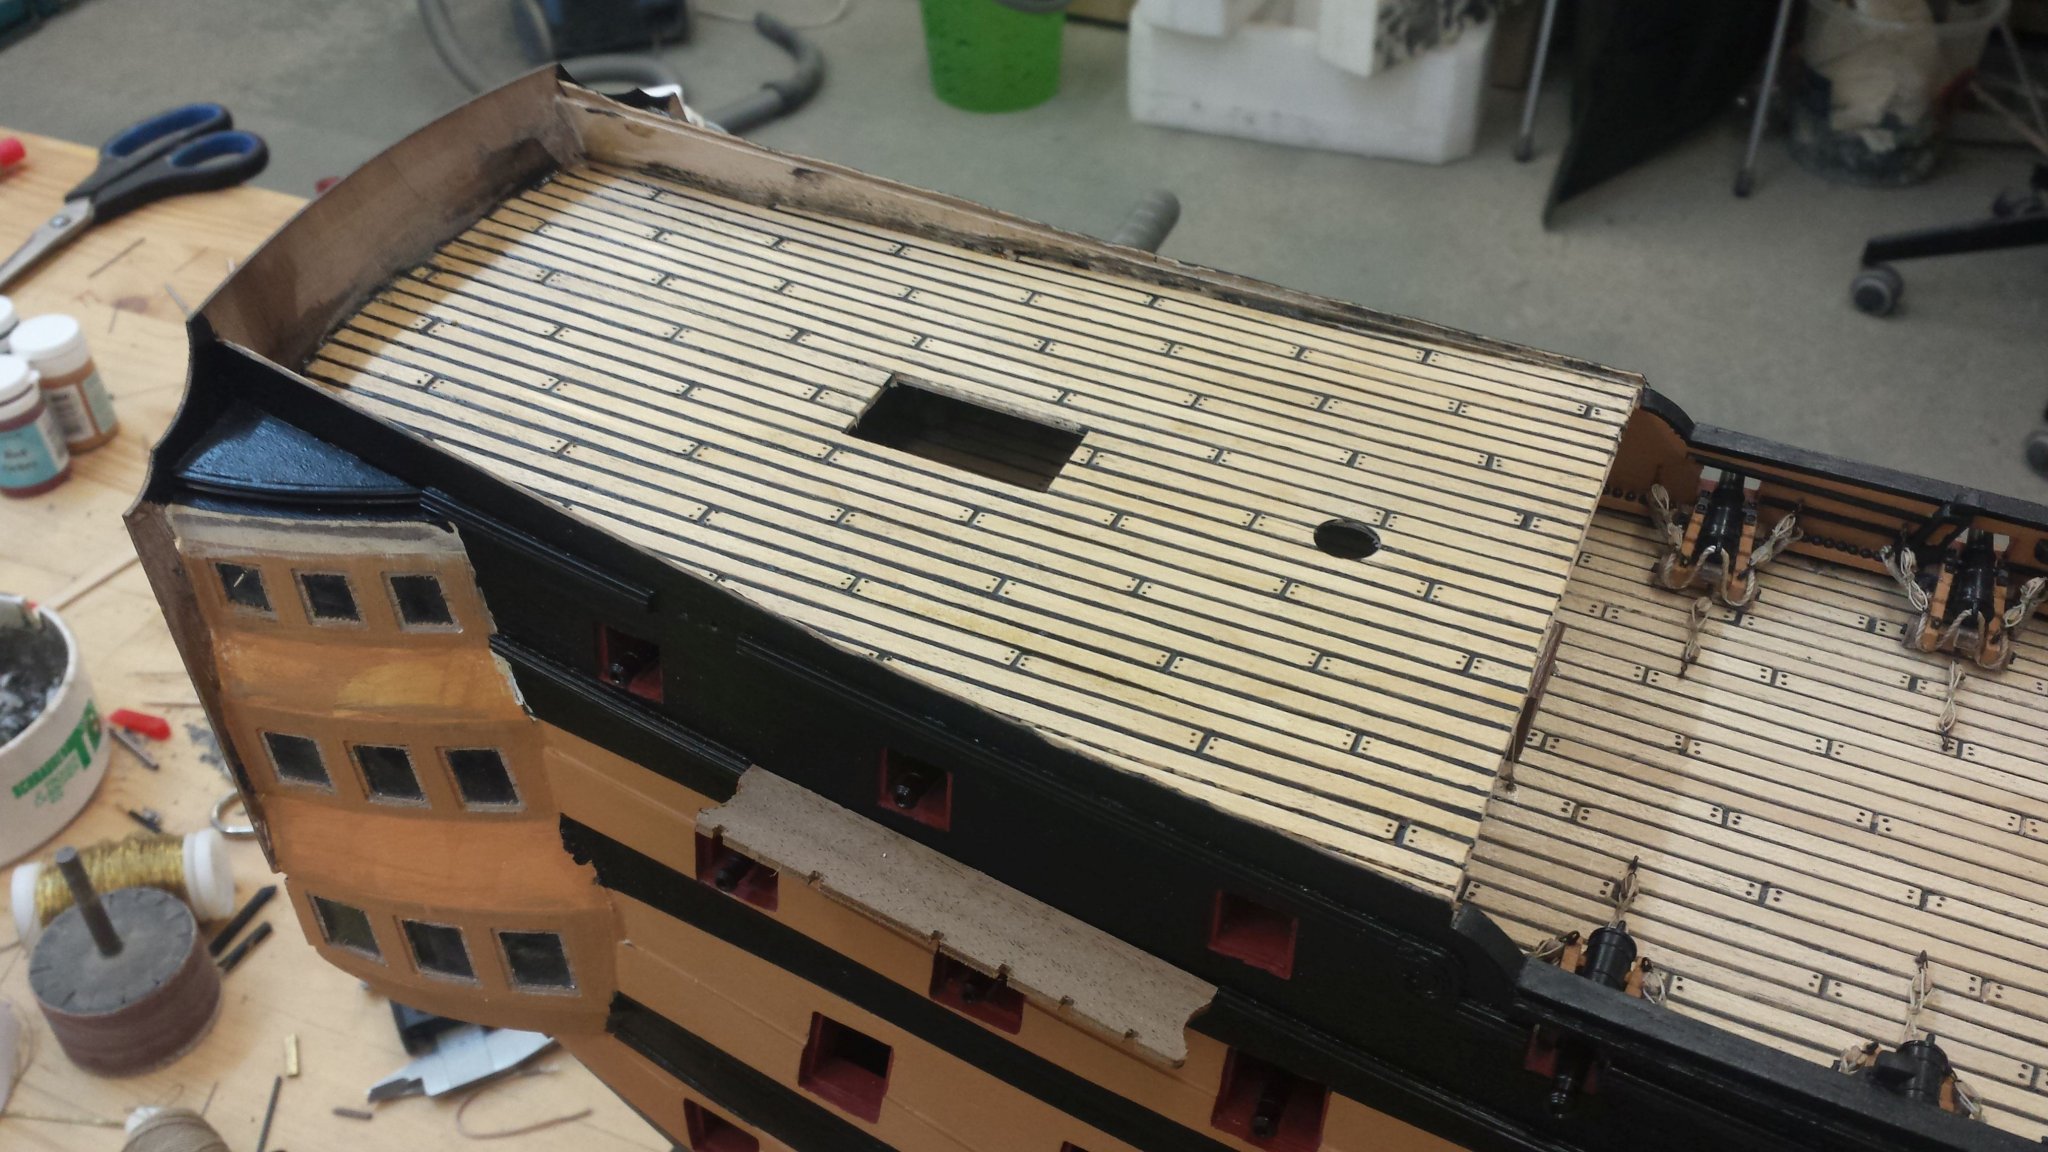
After my break i start again with my Report. After sanding the first hull planking, i started the quarter gallery and the middle gun deck planking.
Since I liked it better not to lay the planks in one piece, I took over the dimensions from charter33
Then i broke the edges all around and laid the planks with a small gap.

I put a thread in the gap for the kafalterung.

Then i glued the side gallerie in place
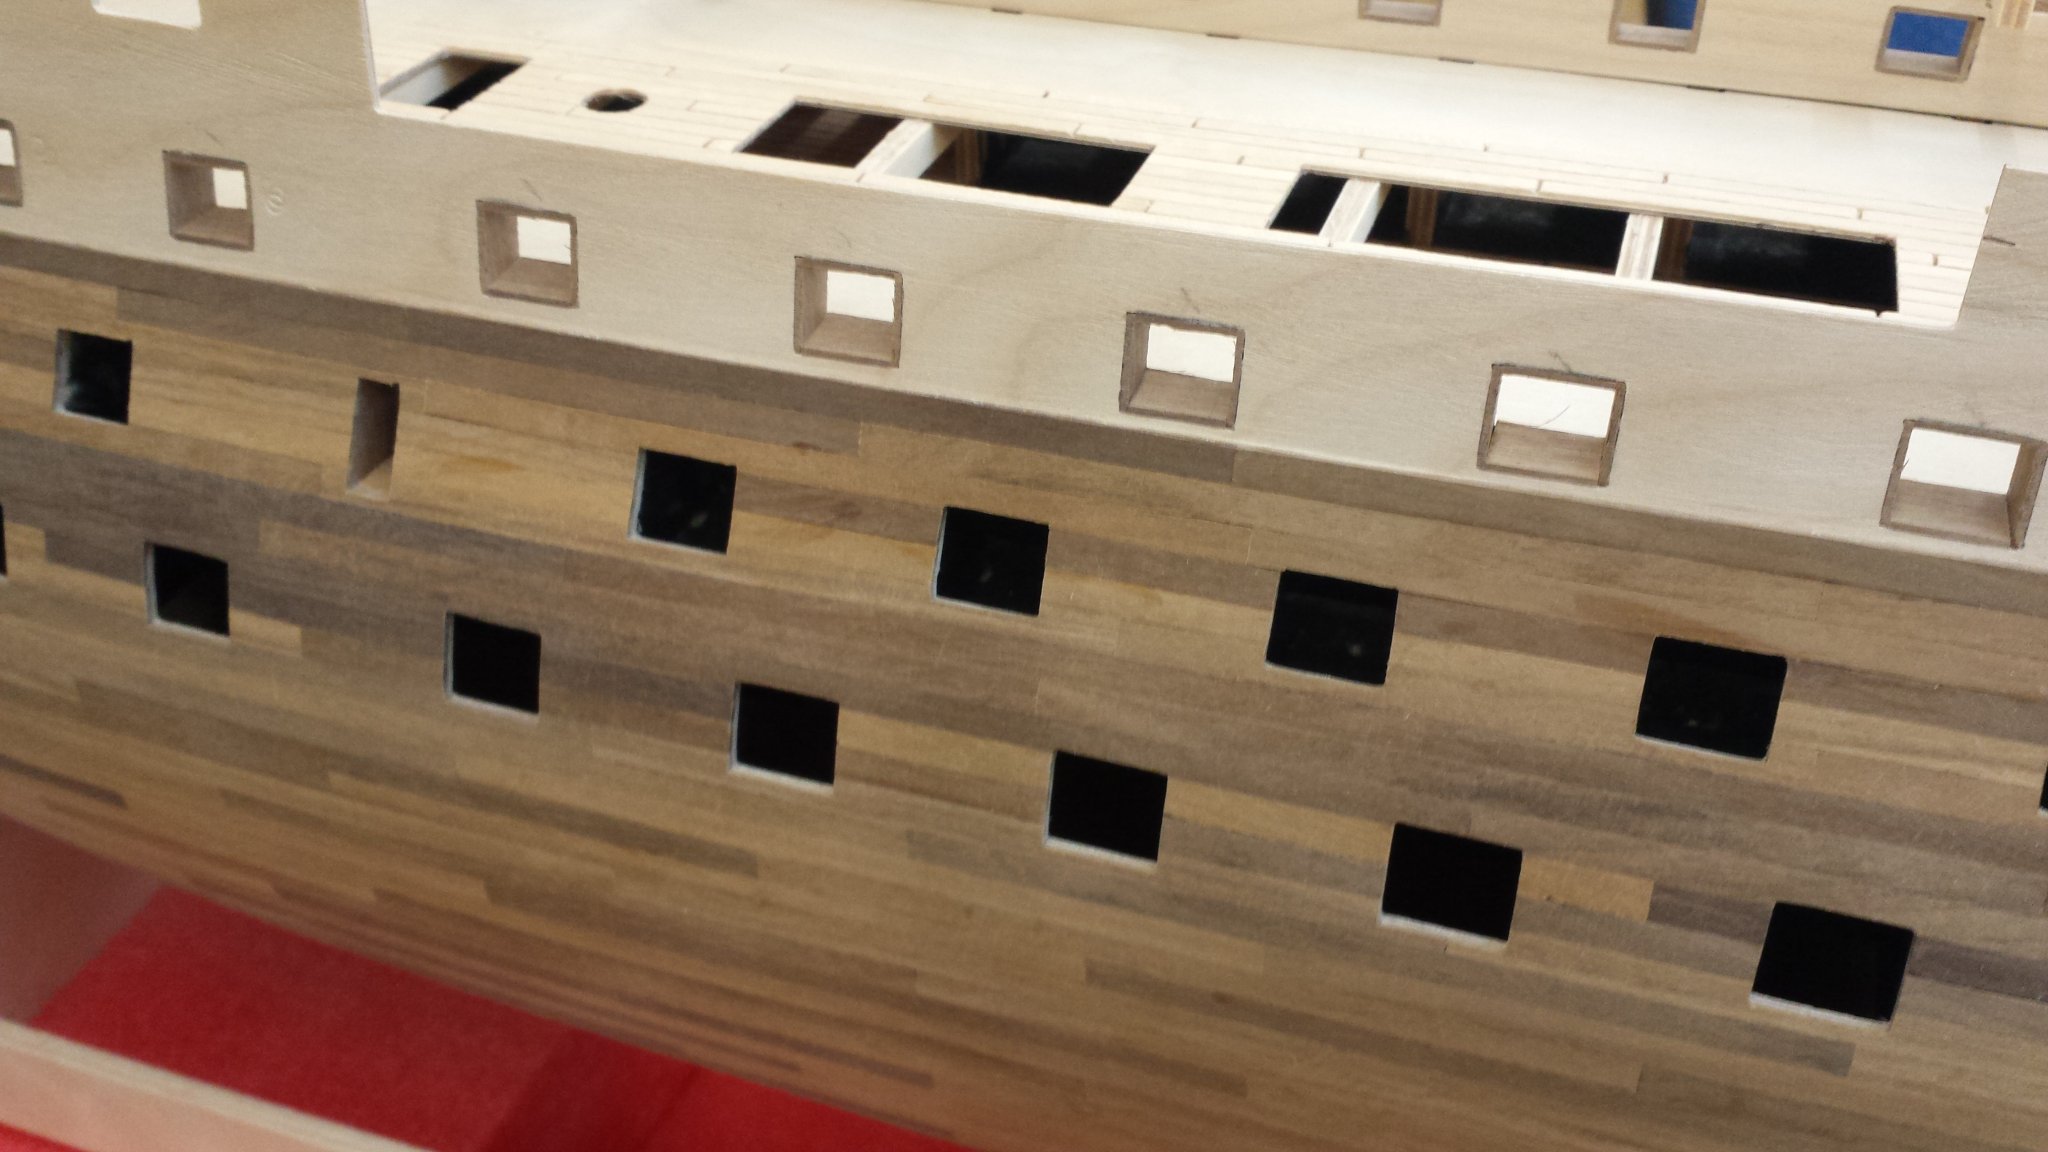
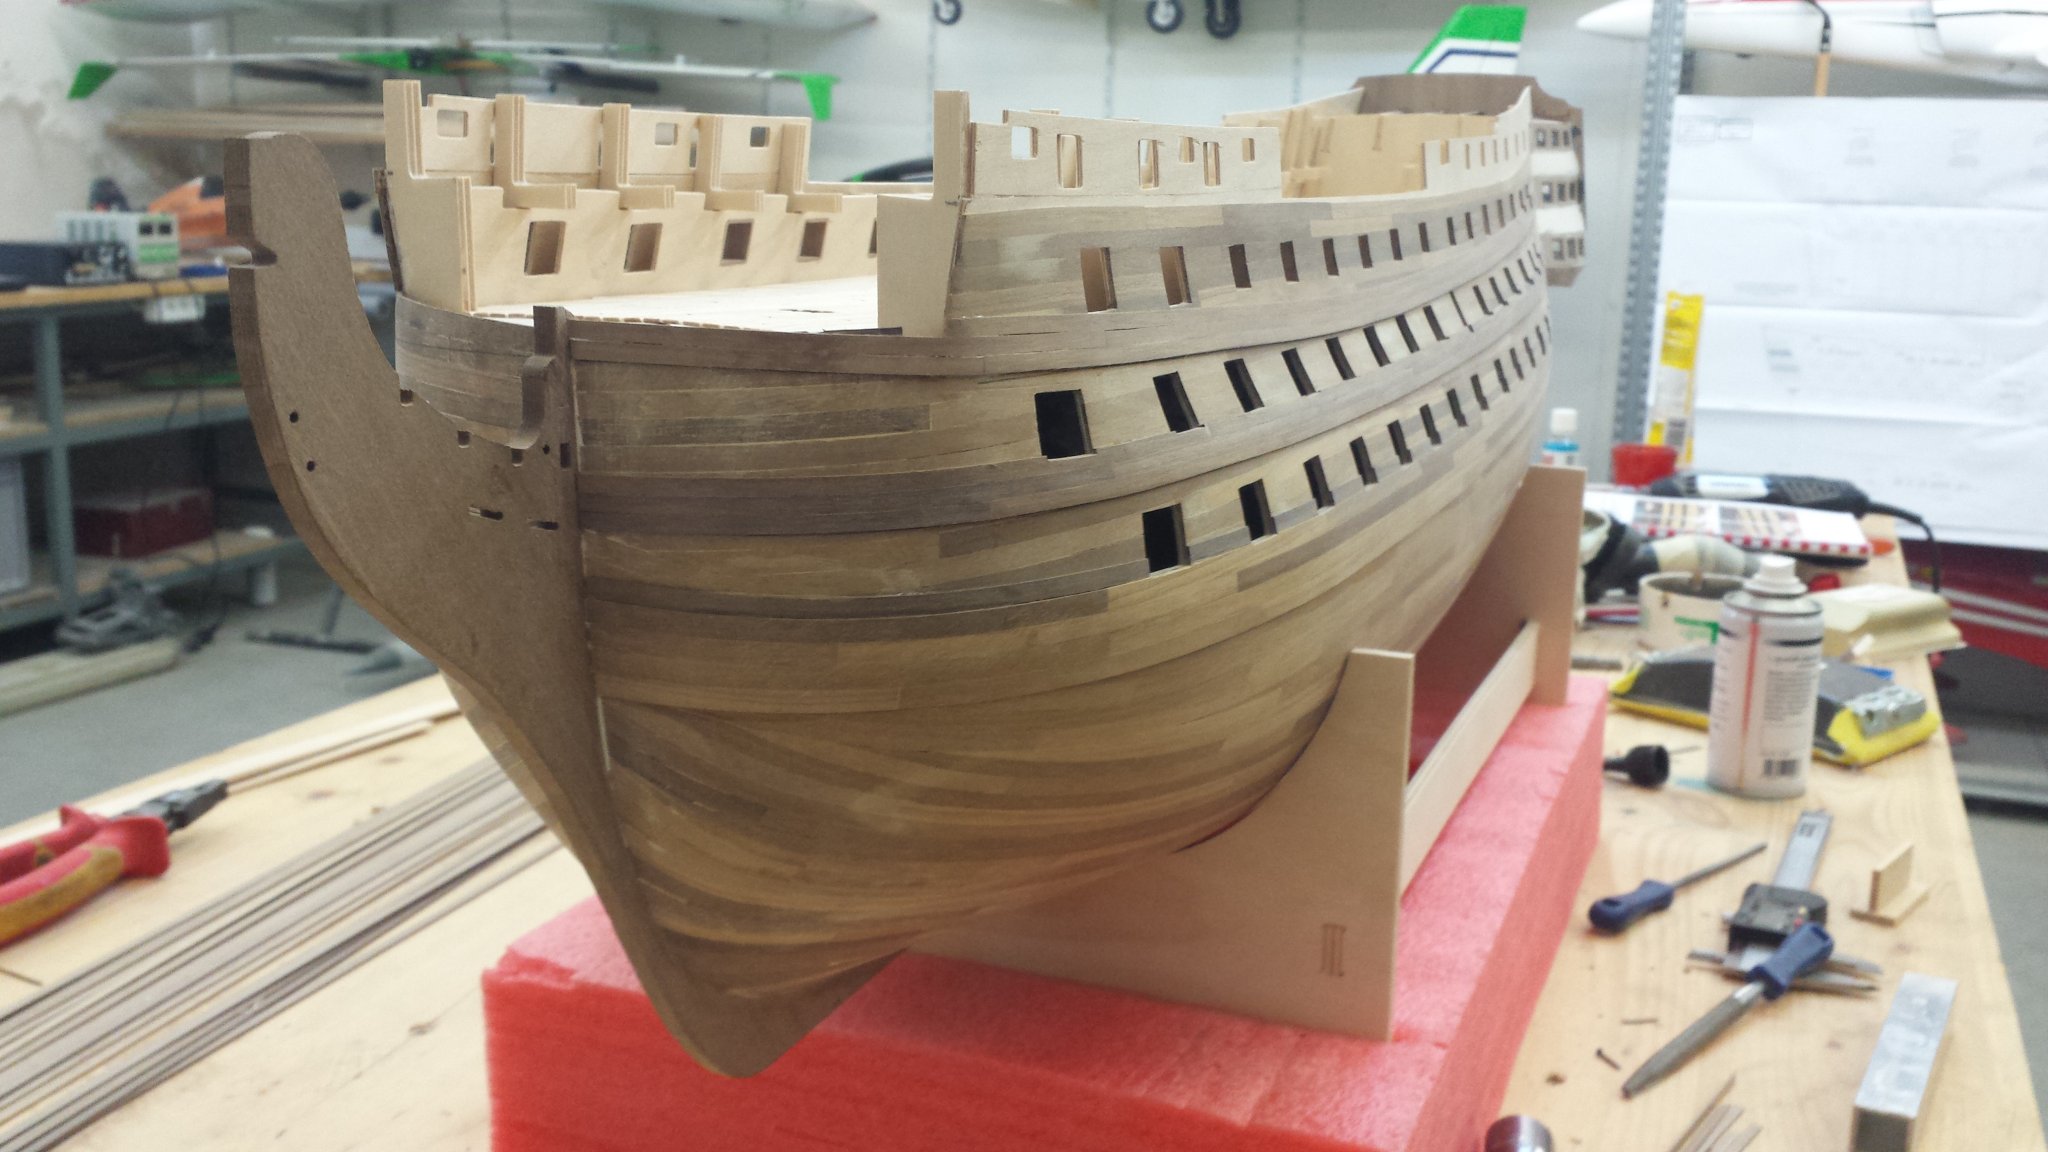
When this is done i started whit the second hull planking

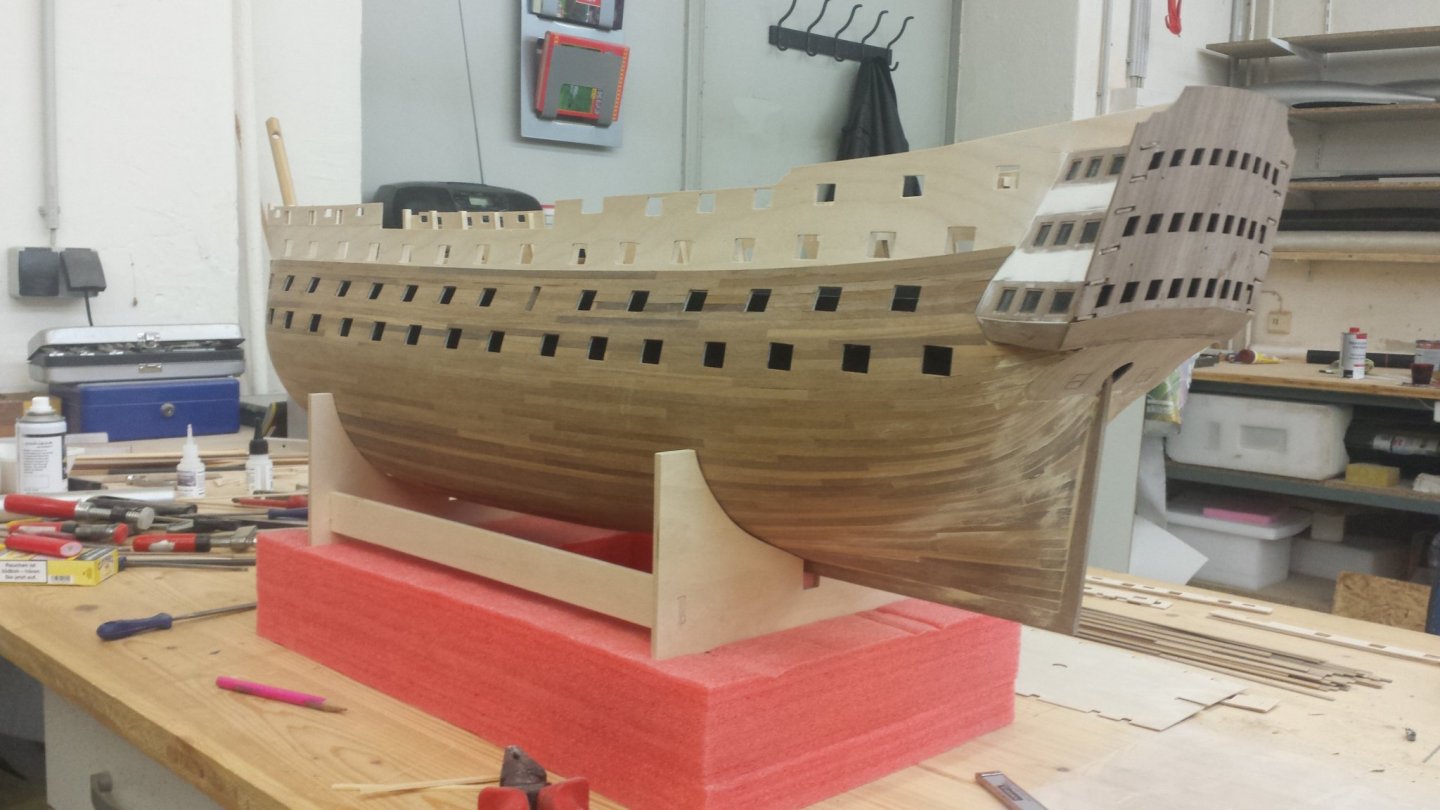
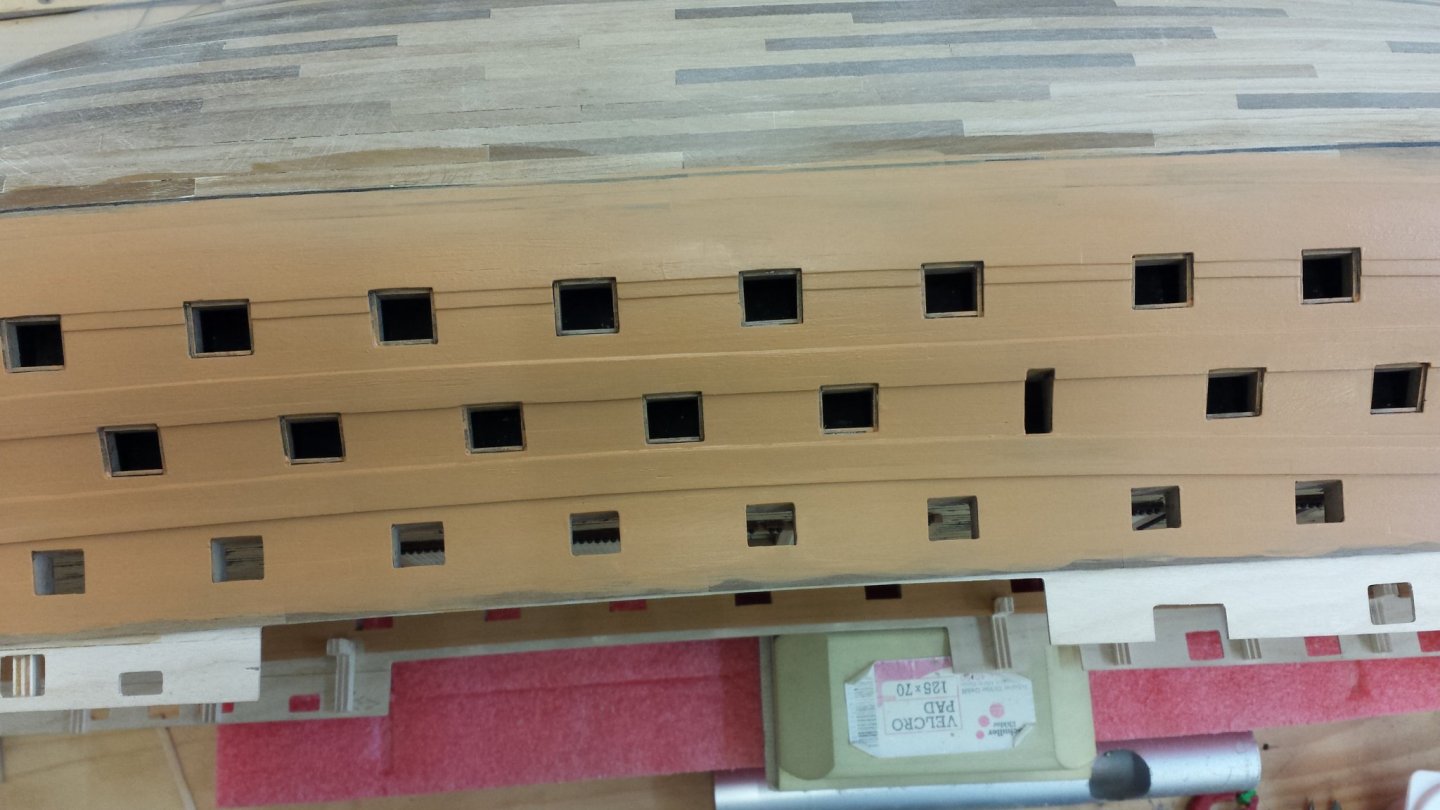
Then i started with lining the gunport

and mounted the wales

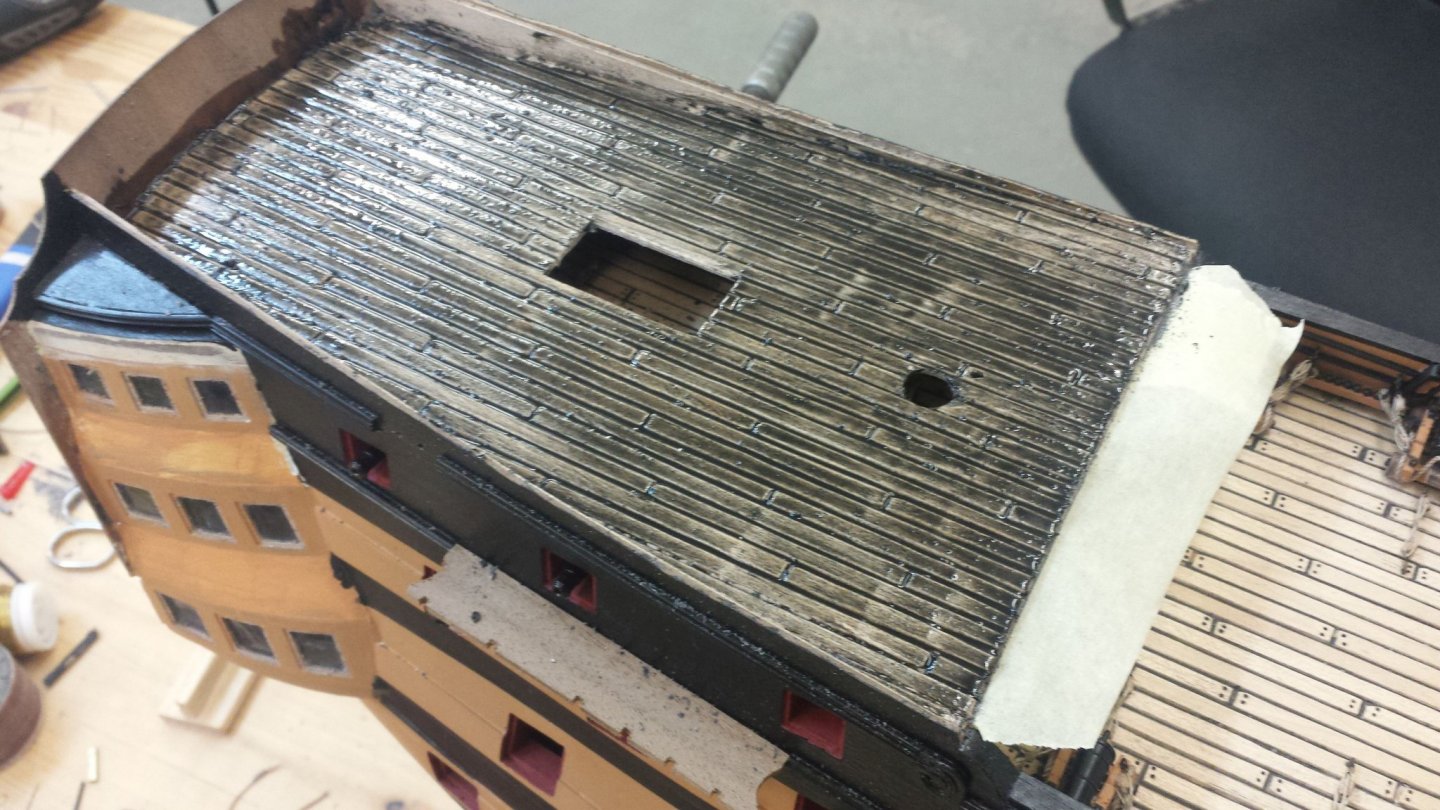
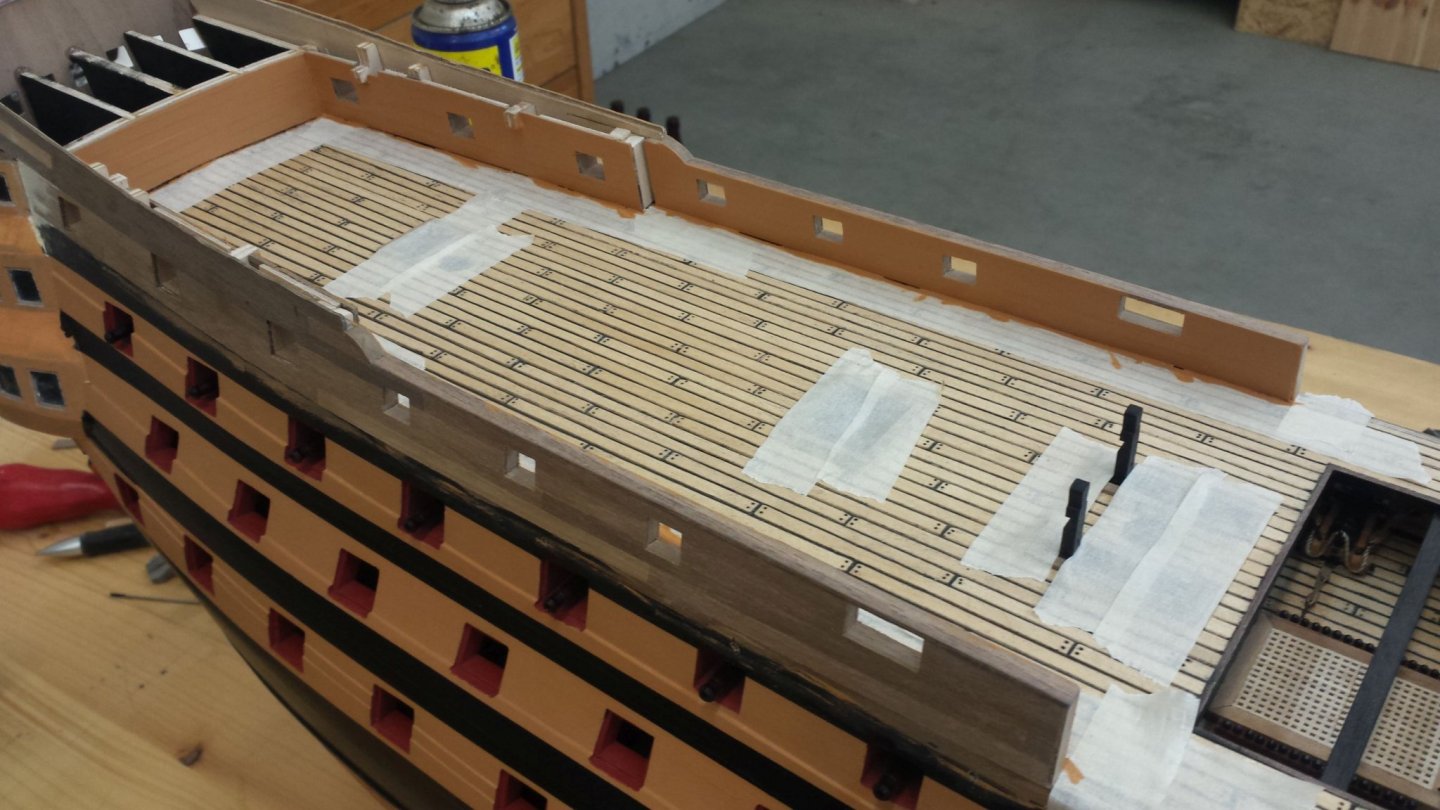
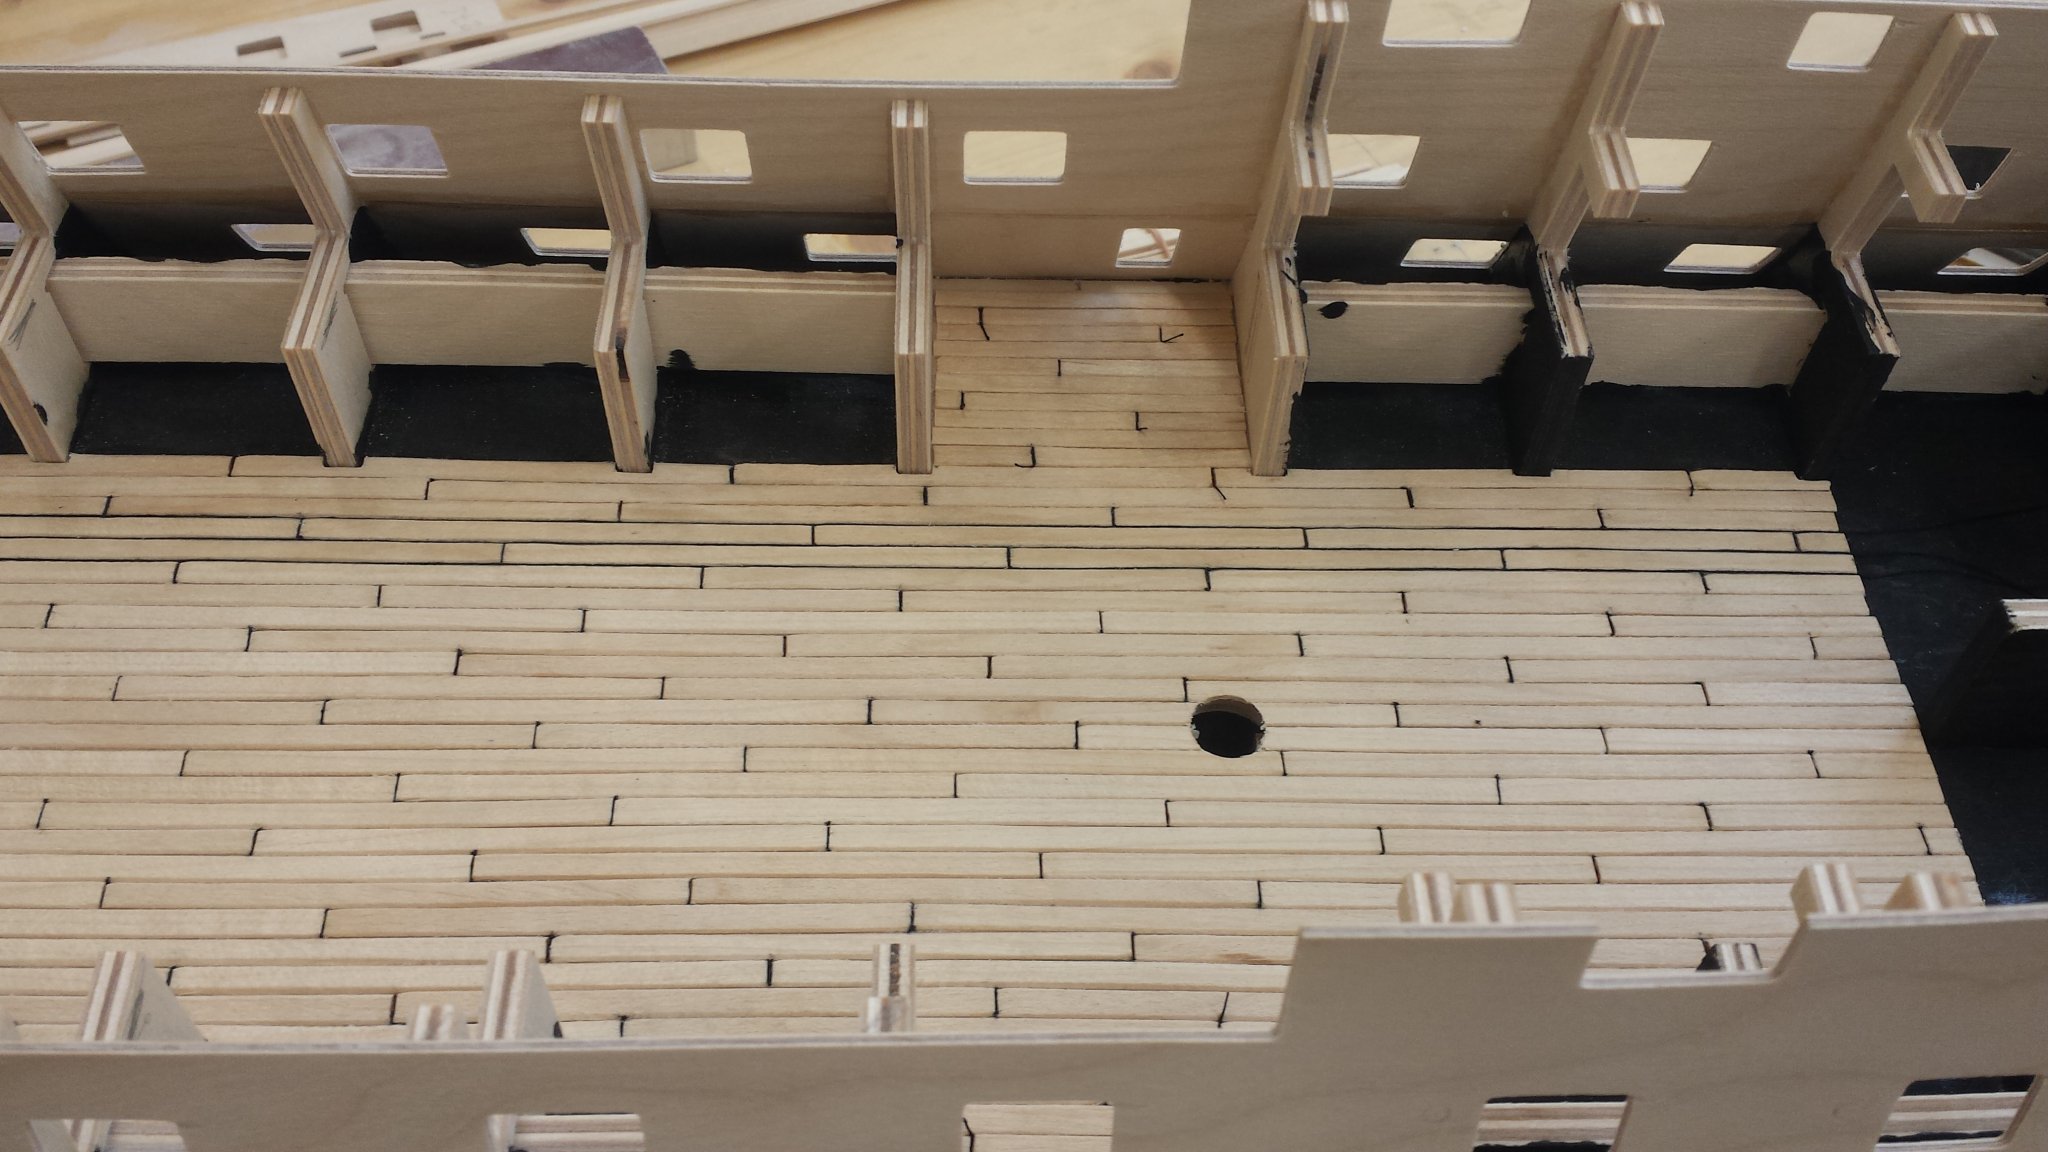
Planking the upper gun deck
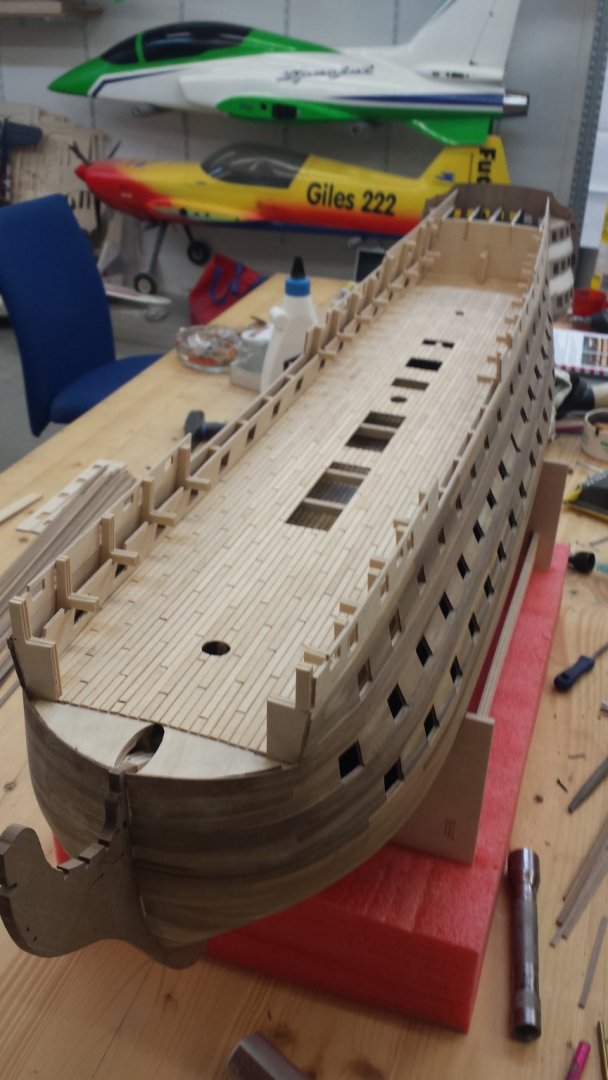
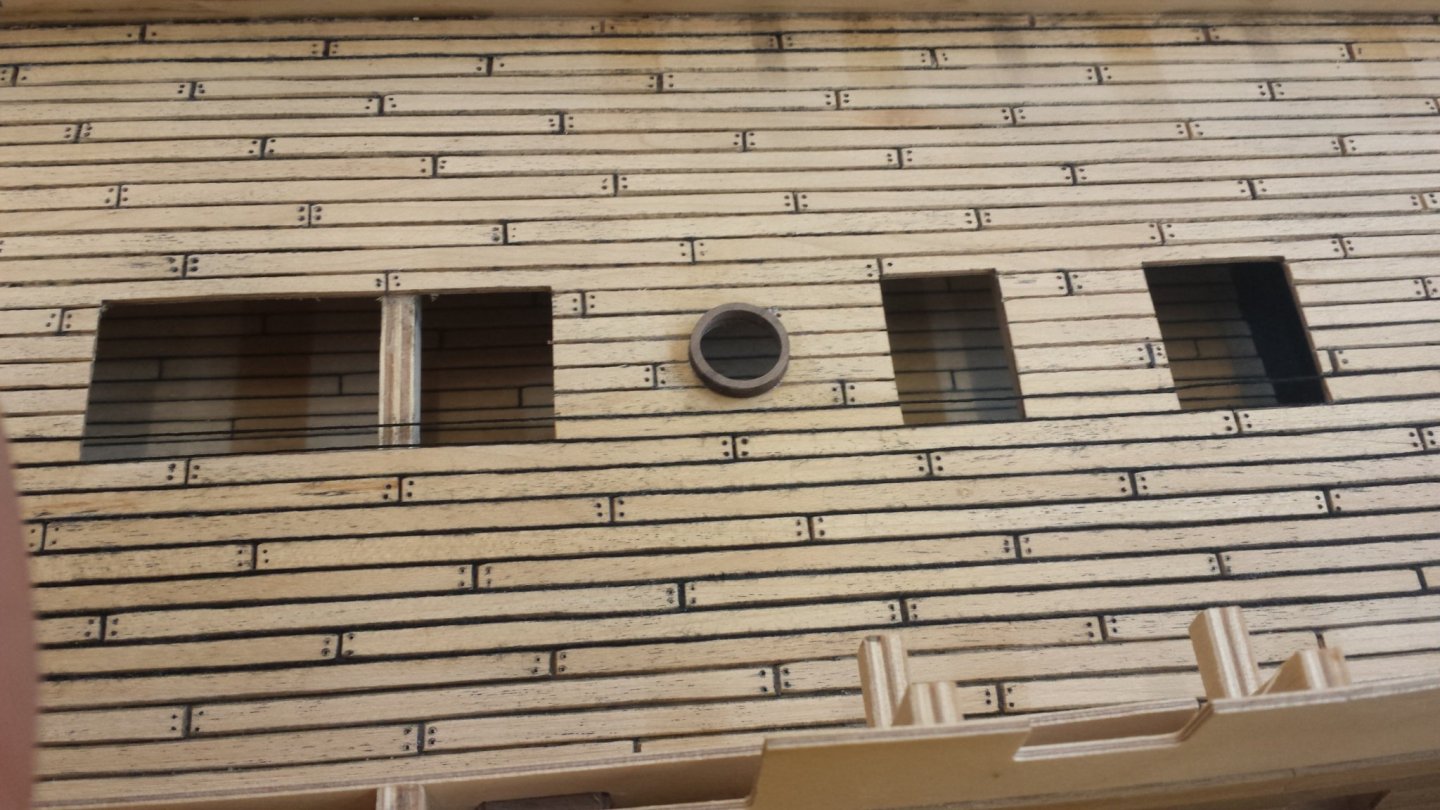
When weathering, I rubbed ashes into wood with a small sponge.
Then sealed with clear varnish so that the ash can be drawn into the wood.
When everything is dry, sand until the desired effect is achieved.
I drilled the nails with a 0.4mm drill and I filled the holes with coal dust with a pencil.
Then I sealed everything with matt clear varnish. Think the result looks ok!
So that's it for today
Helli
- CiscoH, Bill Morrison, Jonny 007 and 7 others
-
10
-
Hi,
Charter33
I've been reading your buildlog all the time and have copied a few things
 . Was pretty disappointed when you took a break for a year now. But now it goes on again
") .
.
Thank you for the kind words
-
Hi,
By popular request, I start here with a buildlog from HMS Victory by Caldercraft.
Please don't be so strict with me if the one or the other is not so perfect. This is my first ship I am building.
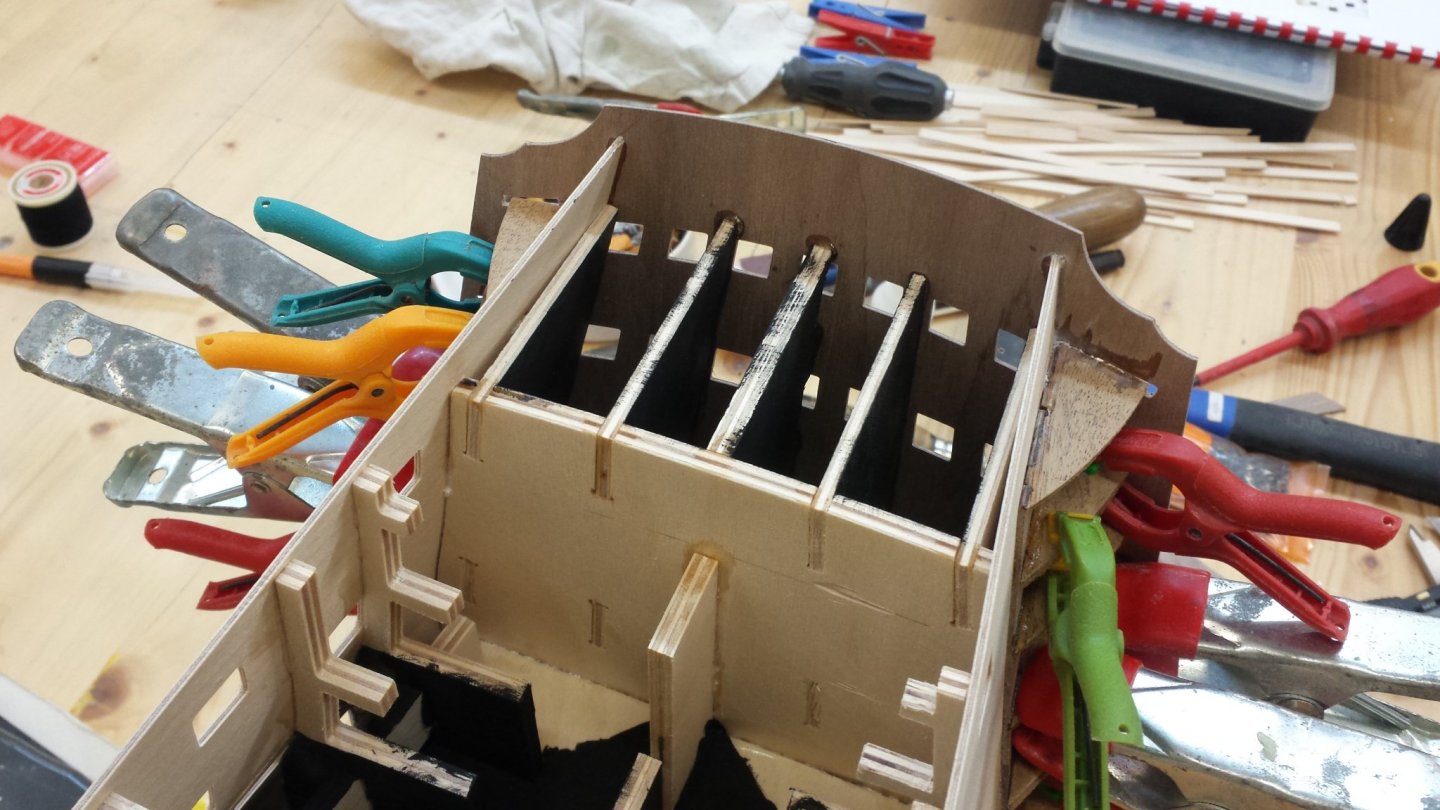
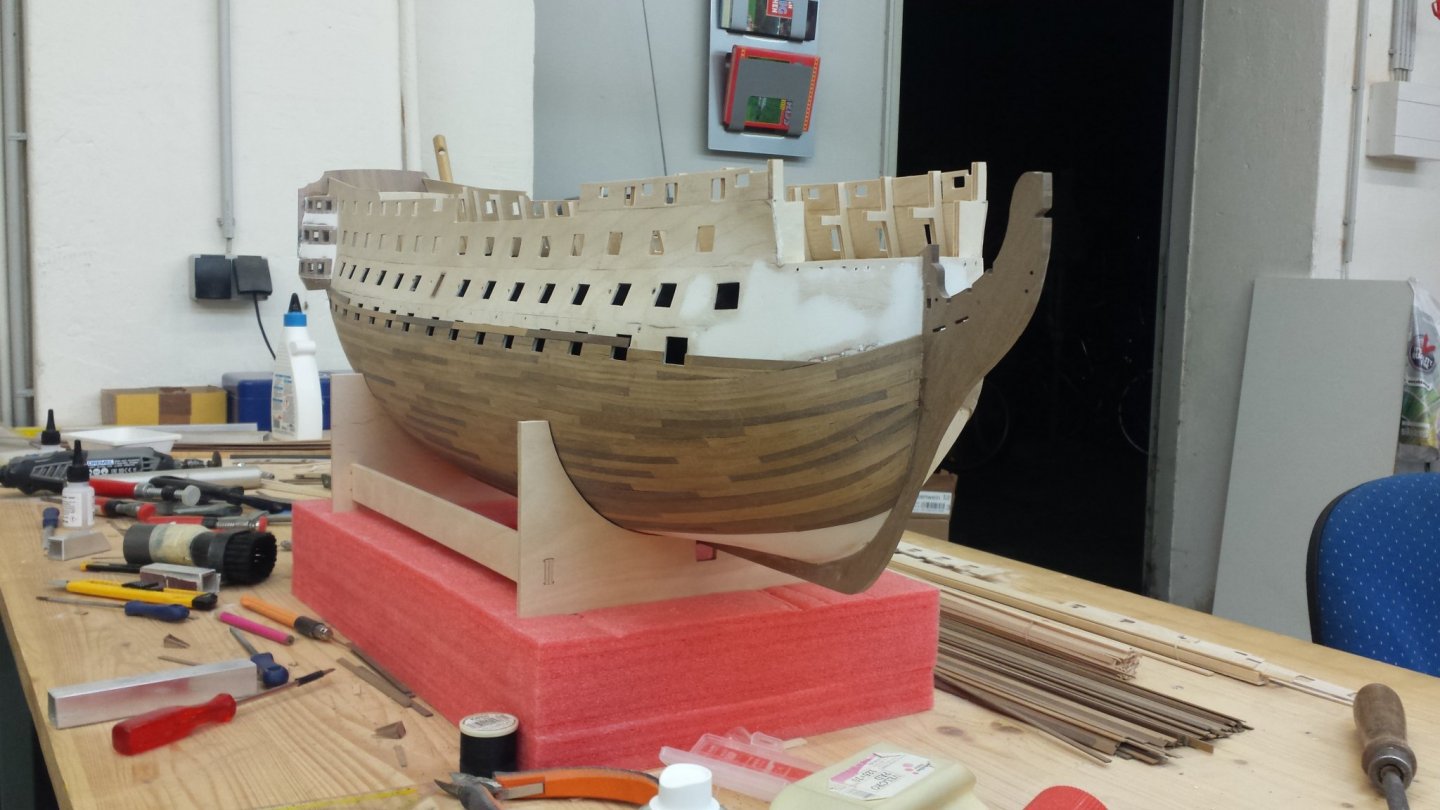
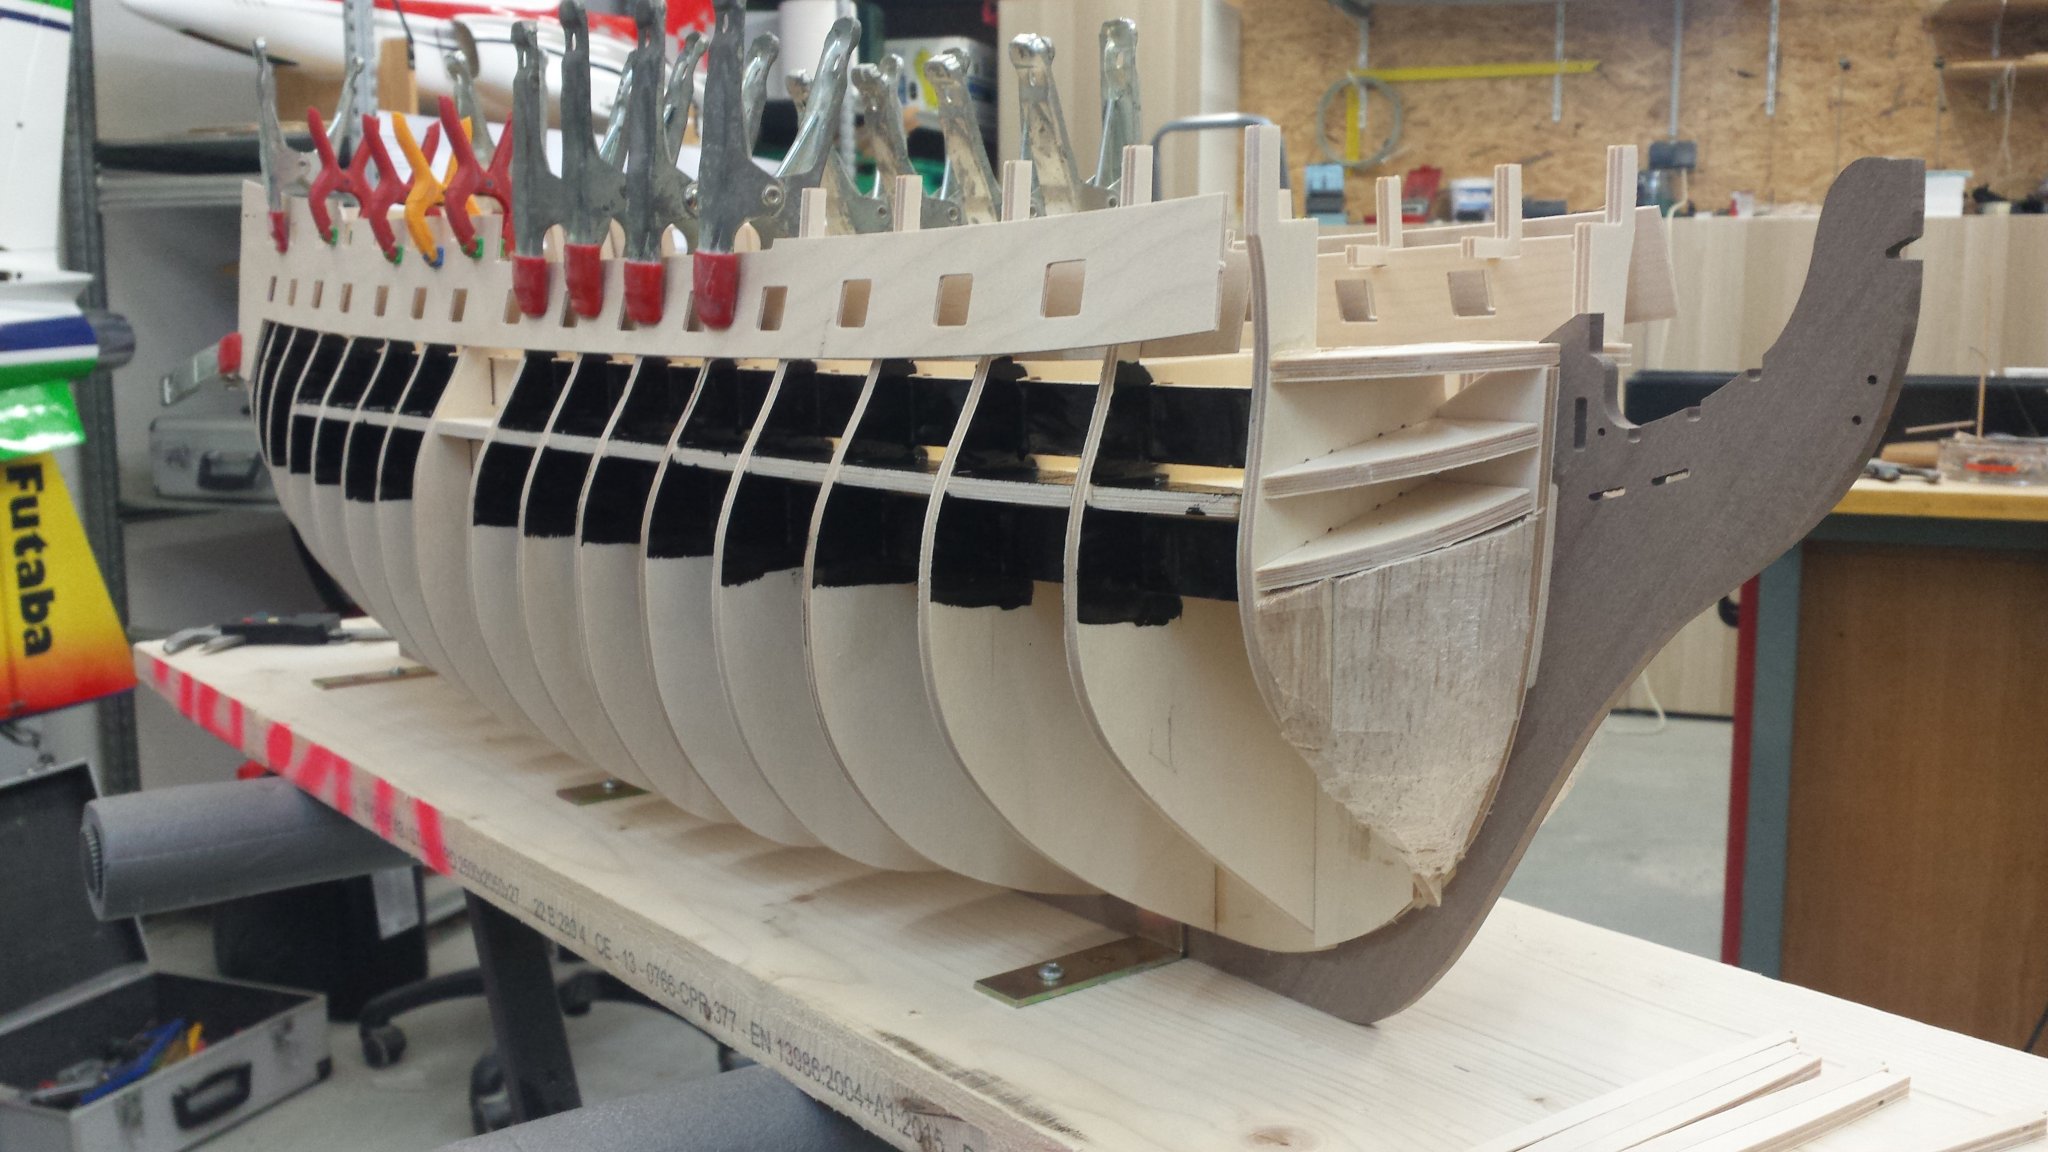
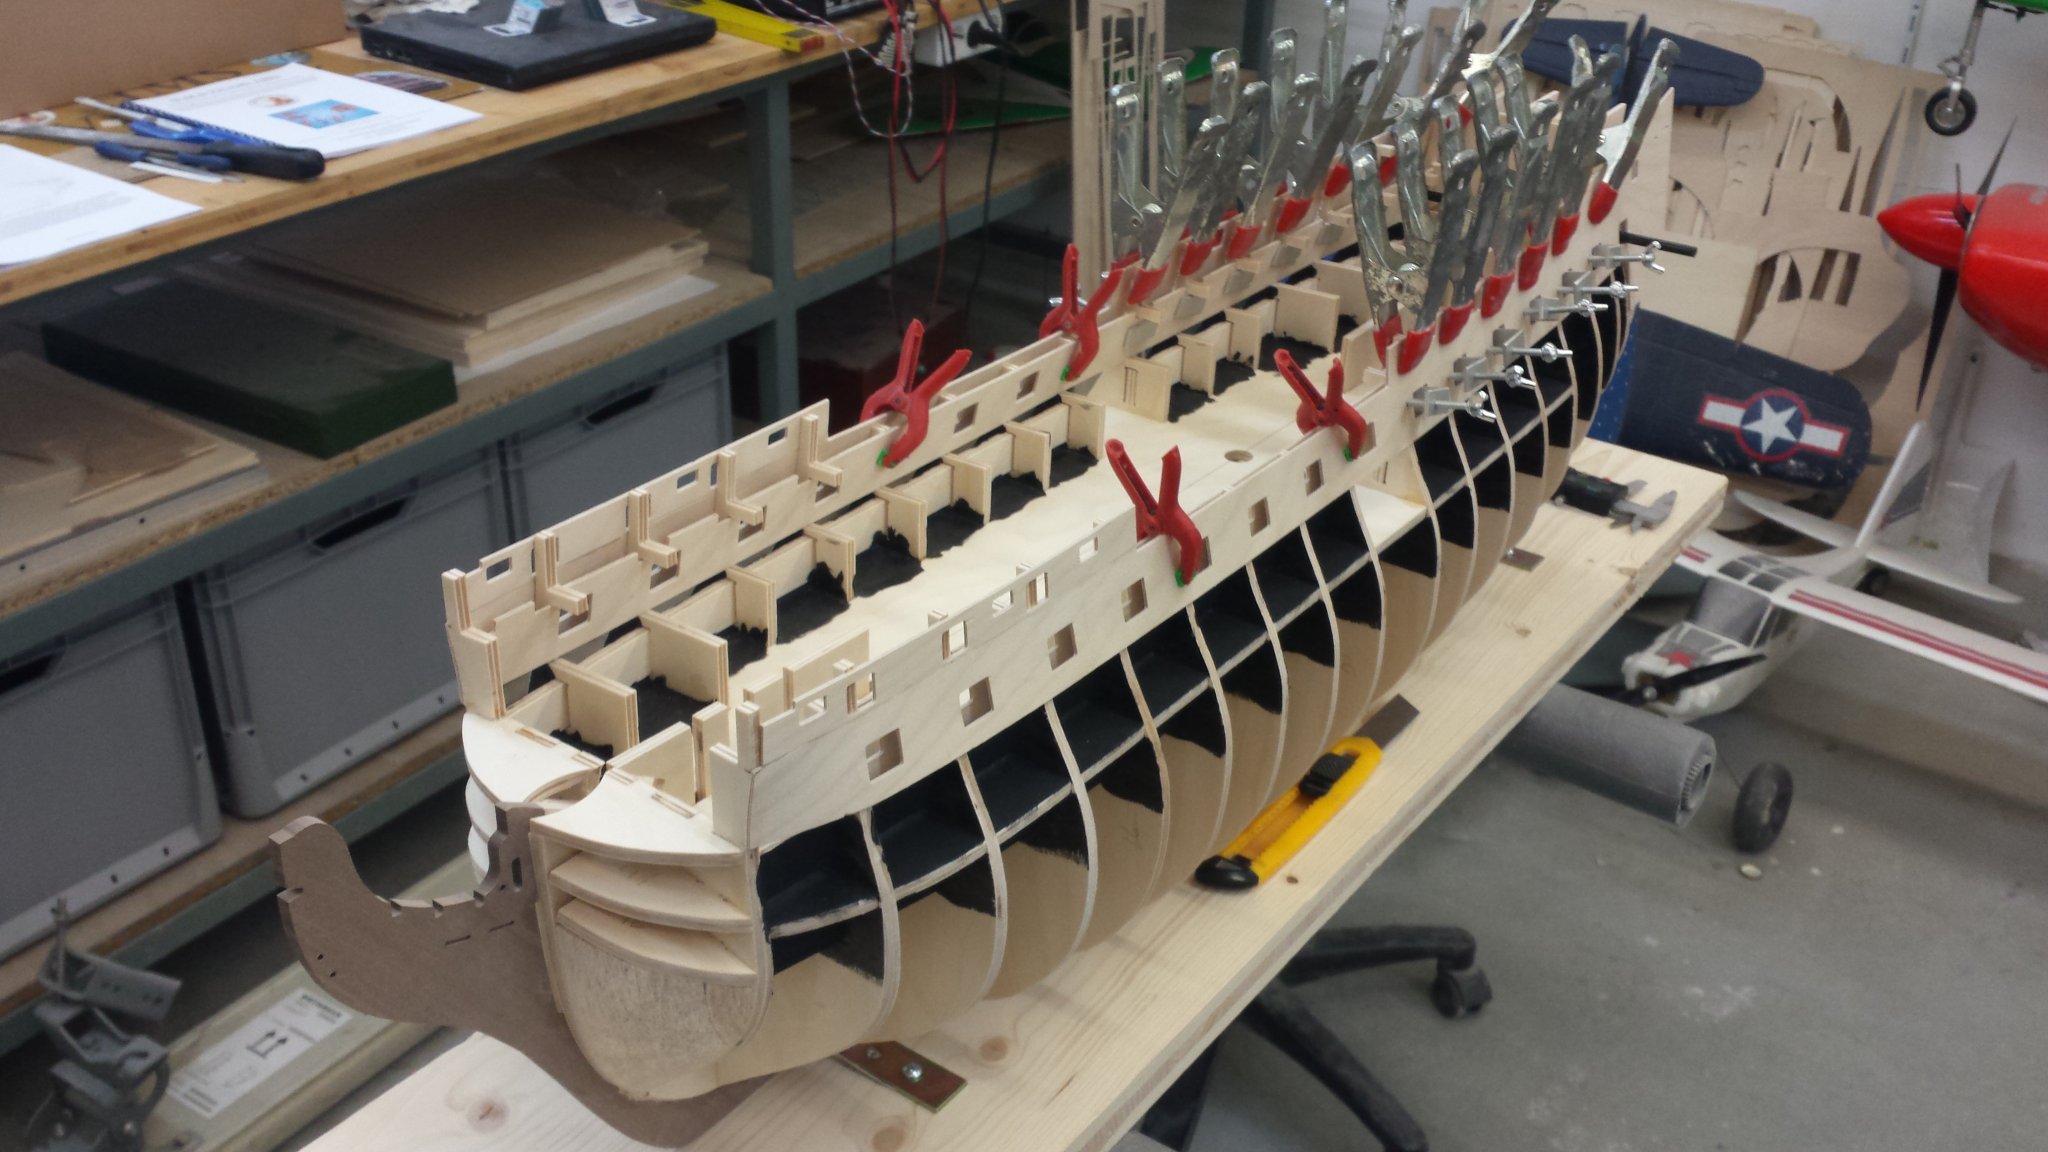
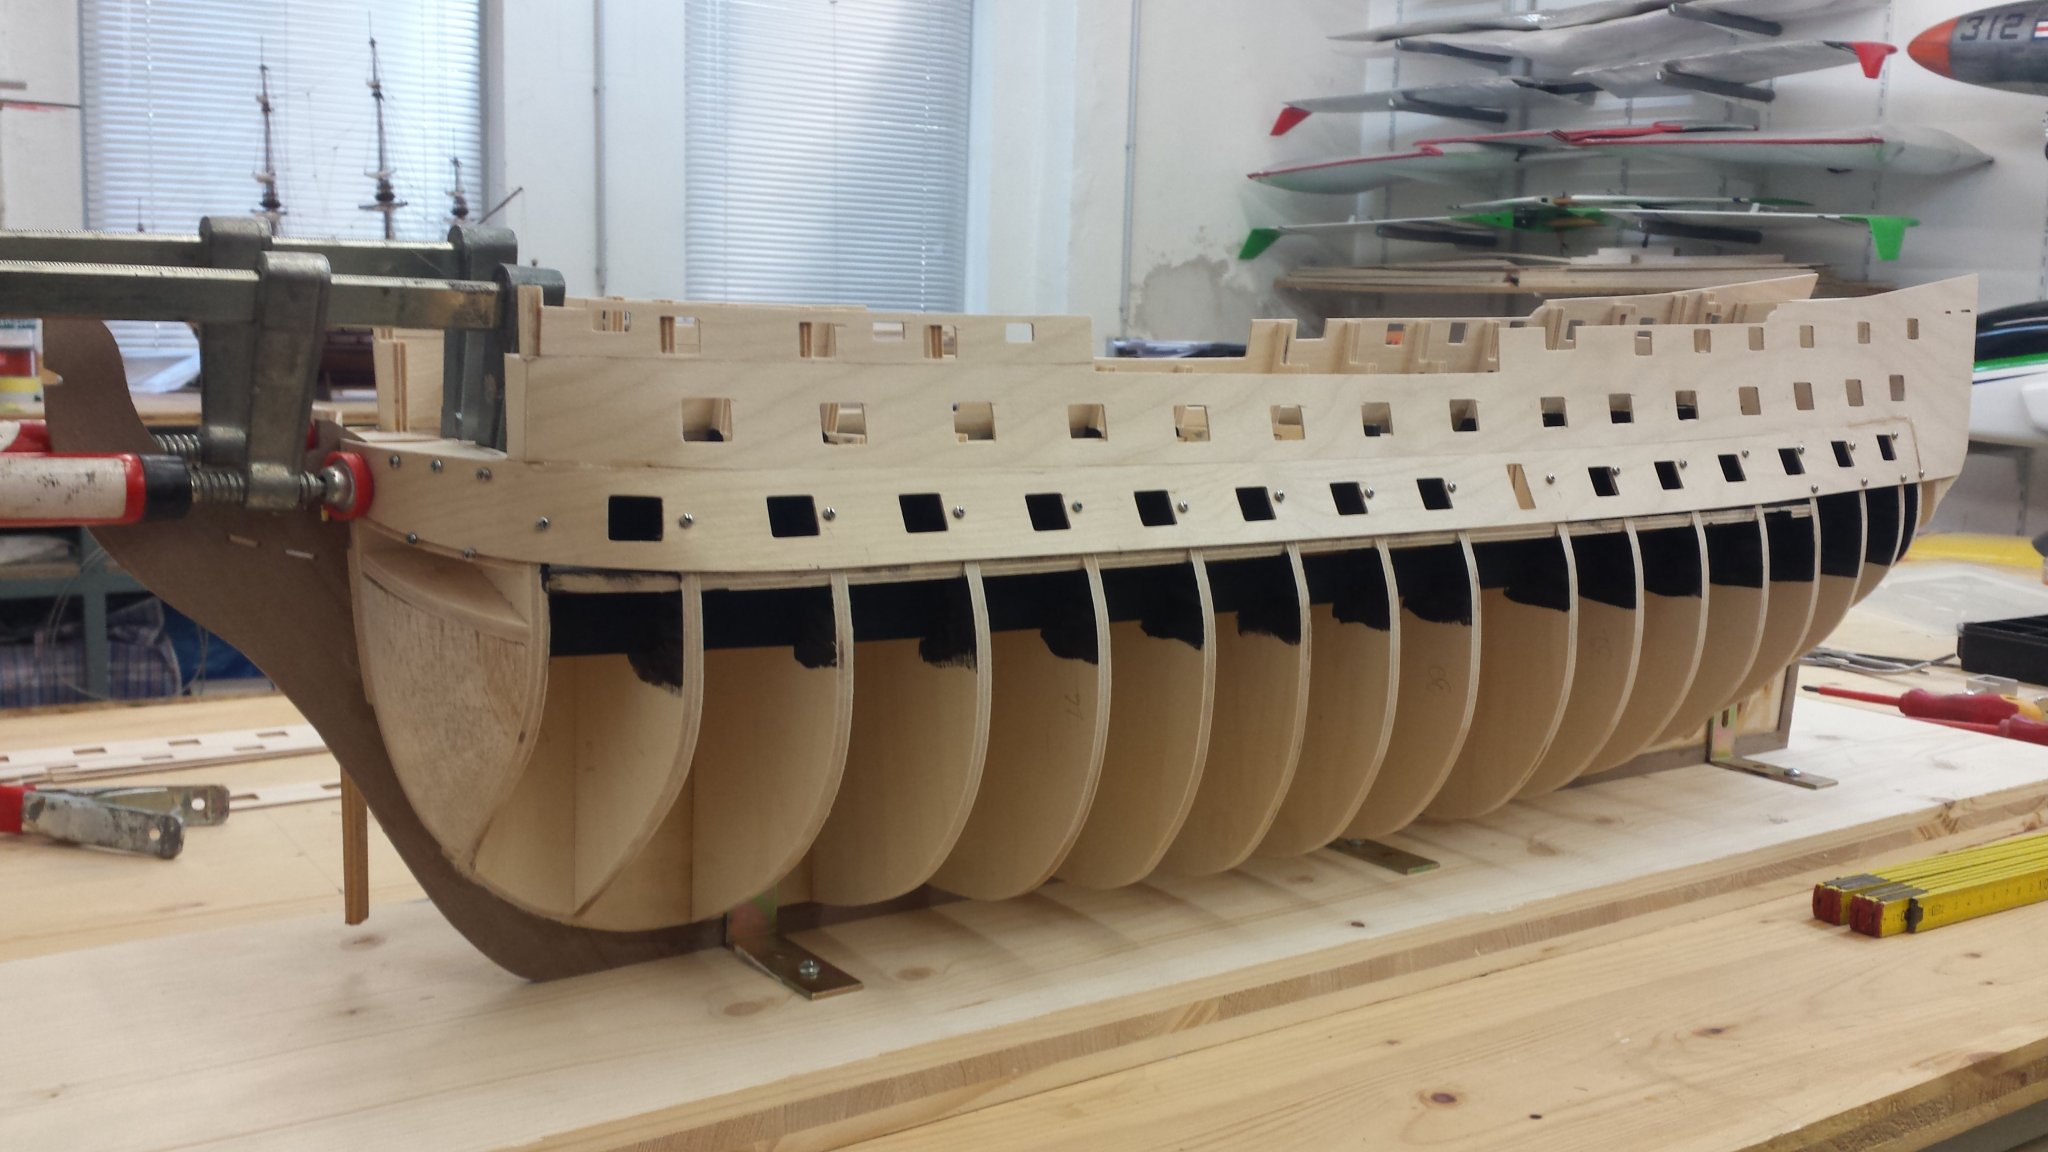
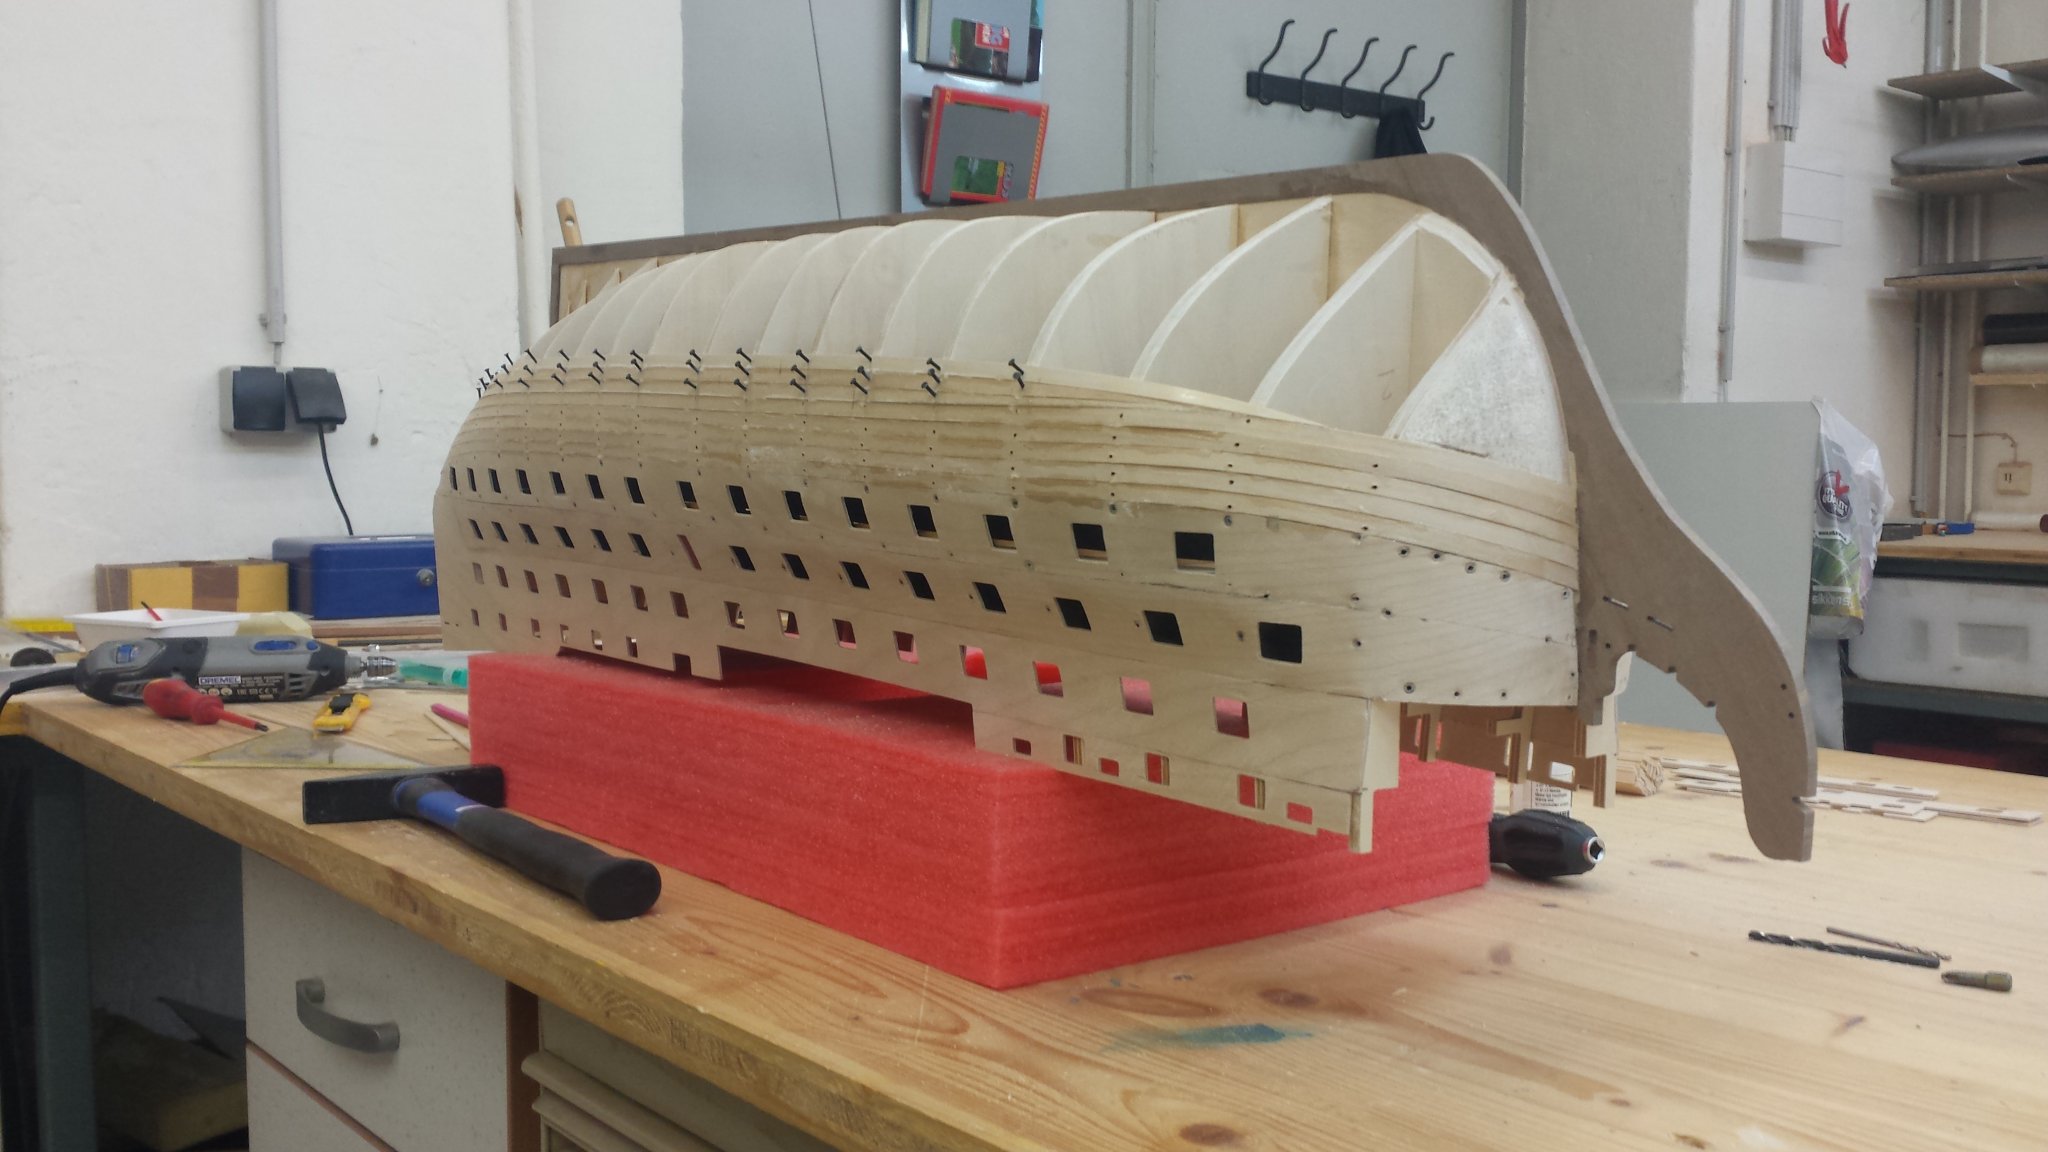
I started doing it about a year and a half ago.The bulkheads, the main keeland the middle gun deck are already glued together.
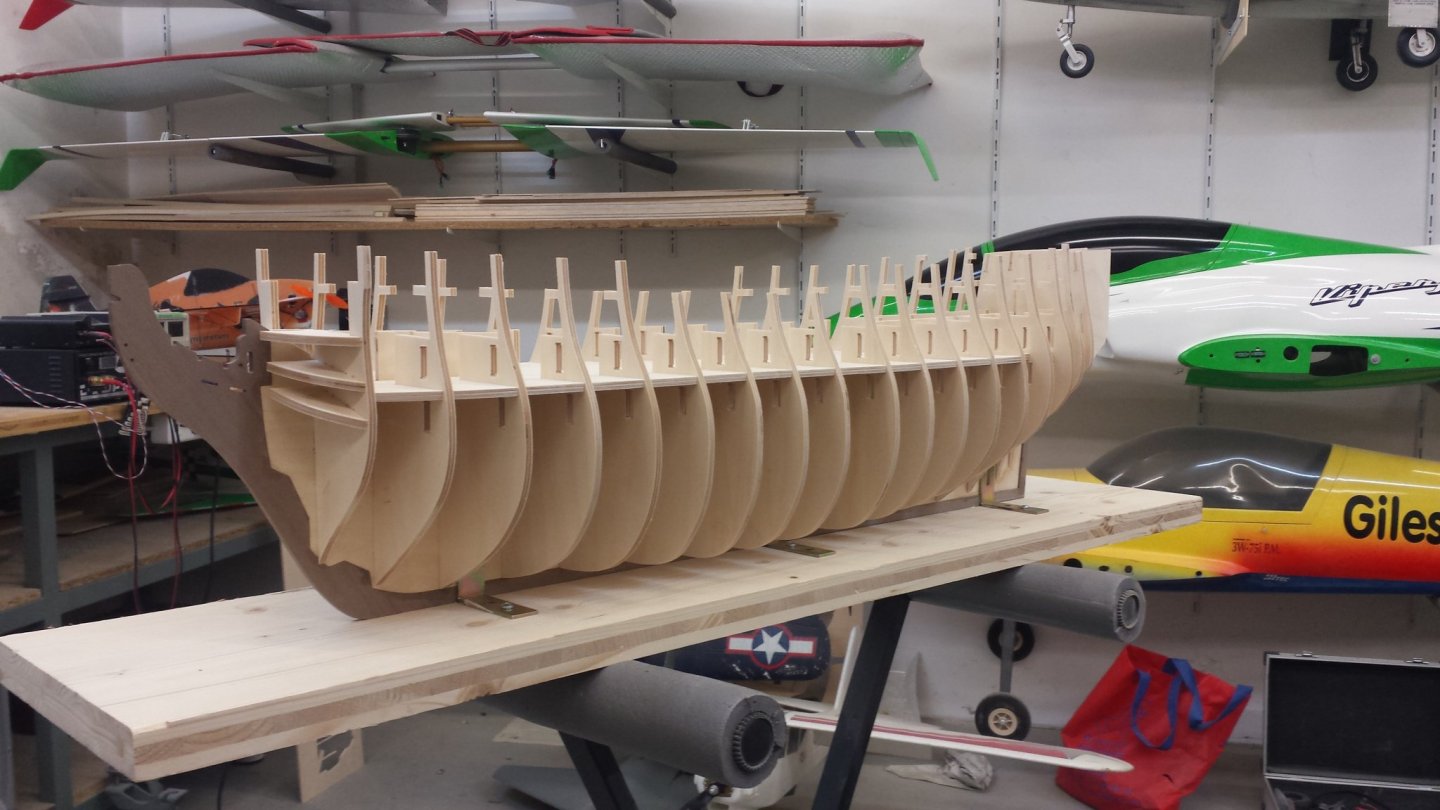

Here i painted it black and glued Filler Blocks in place
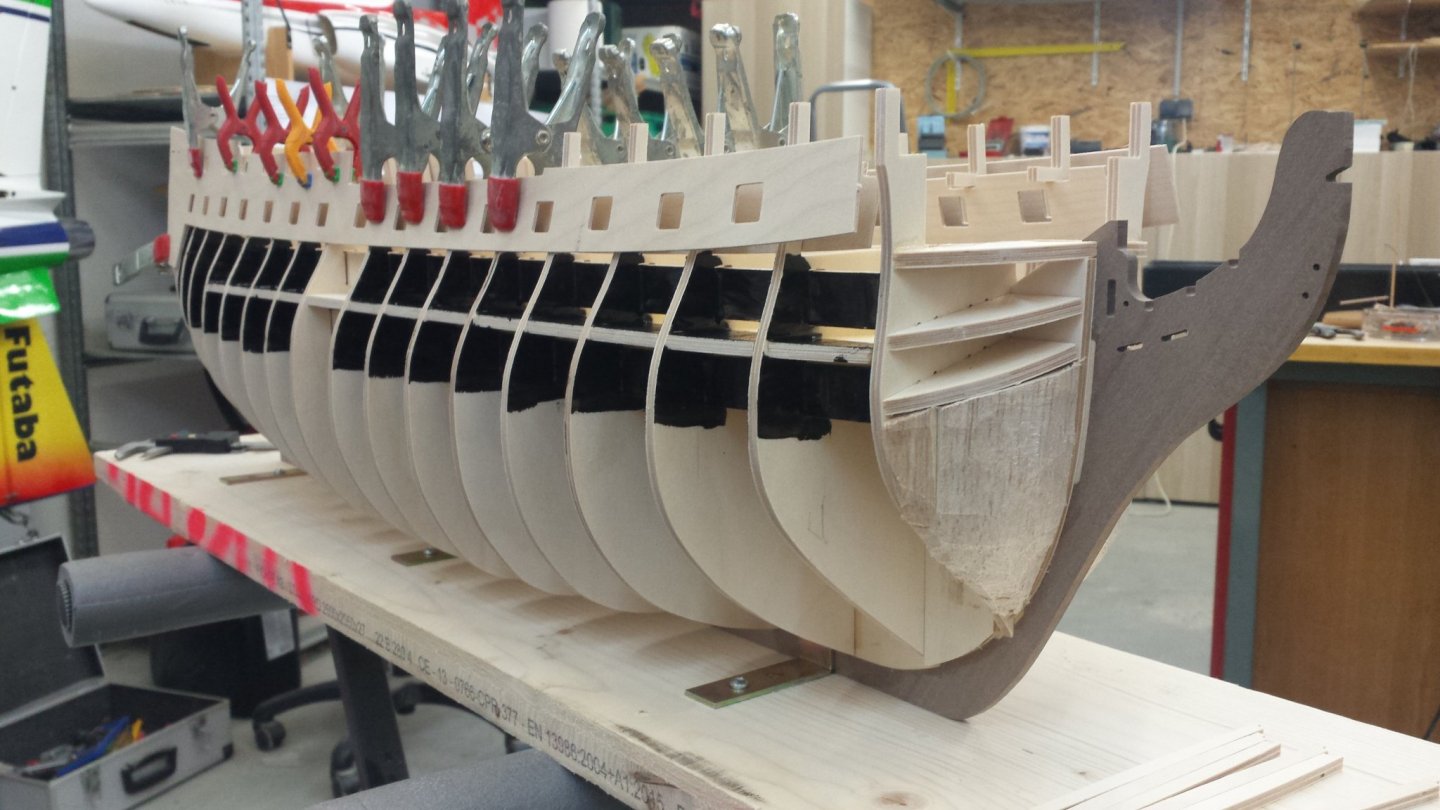
Than i sanded it all
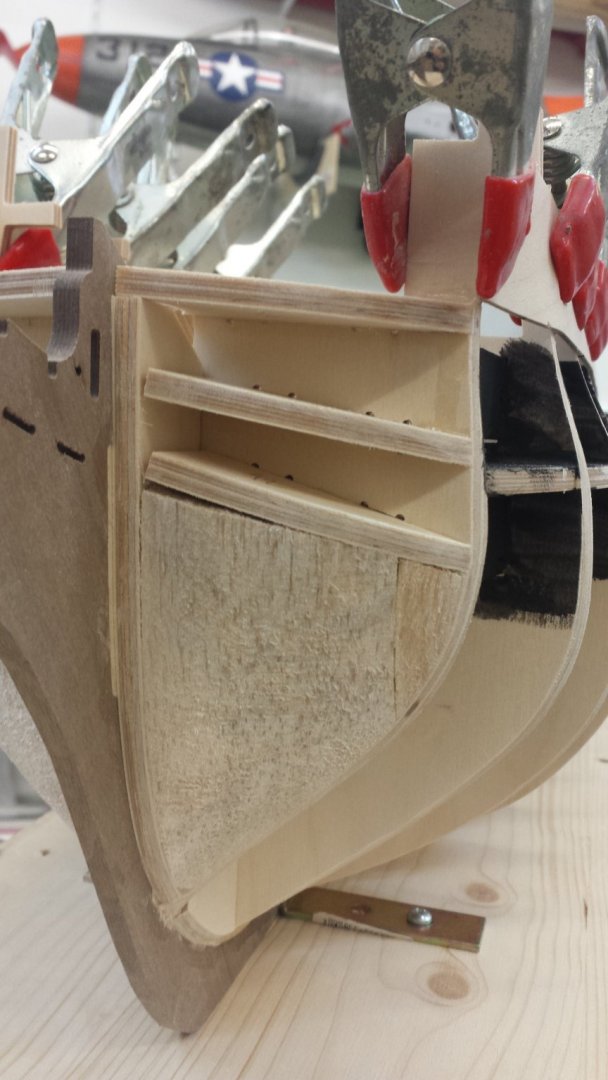
To assemble the gunport I built small screw clamps

I used small screws to keep the gunport 2 and 3 in position

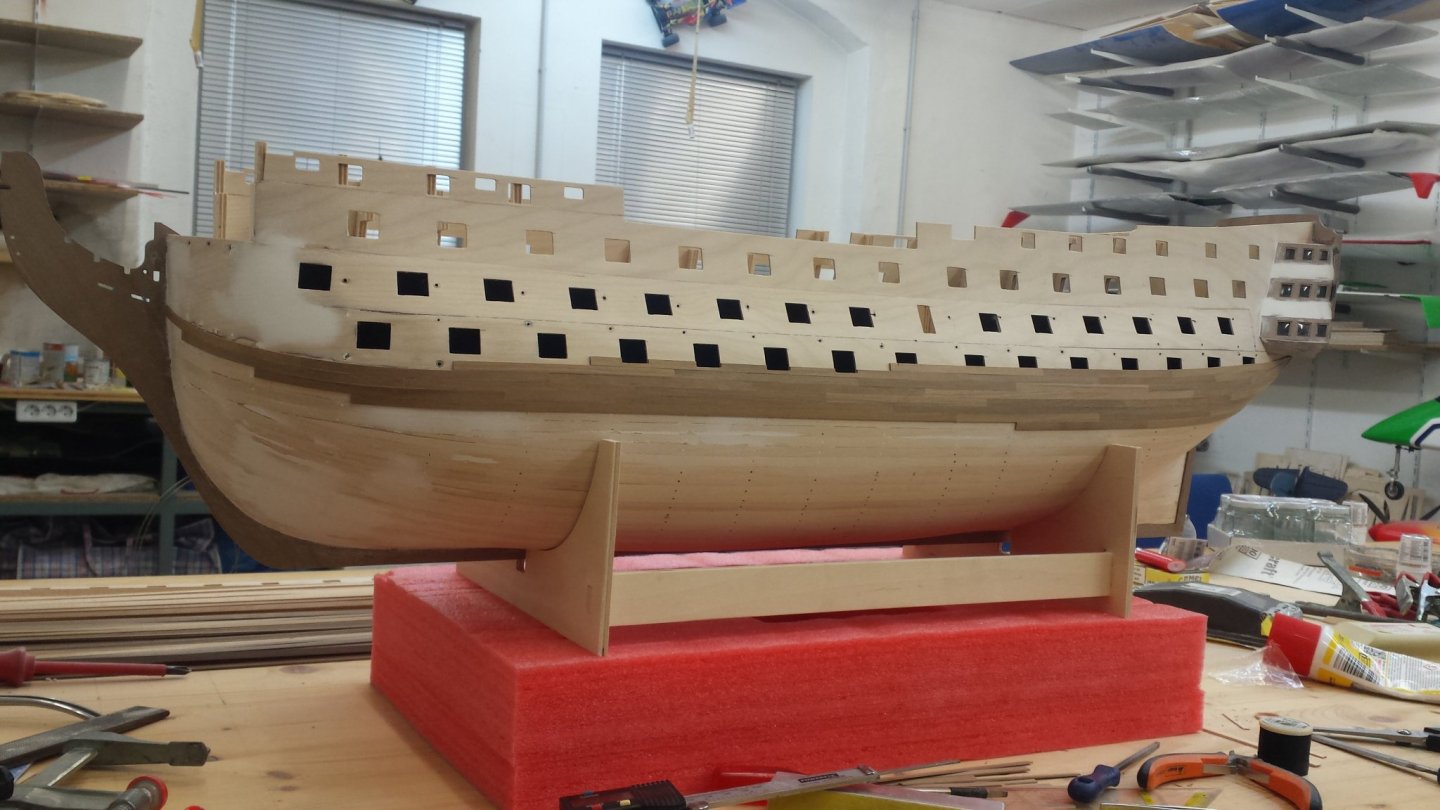
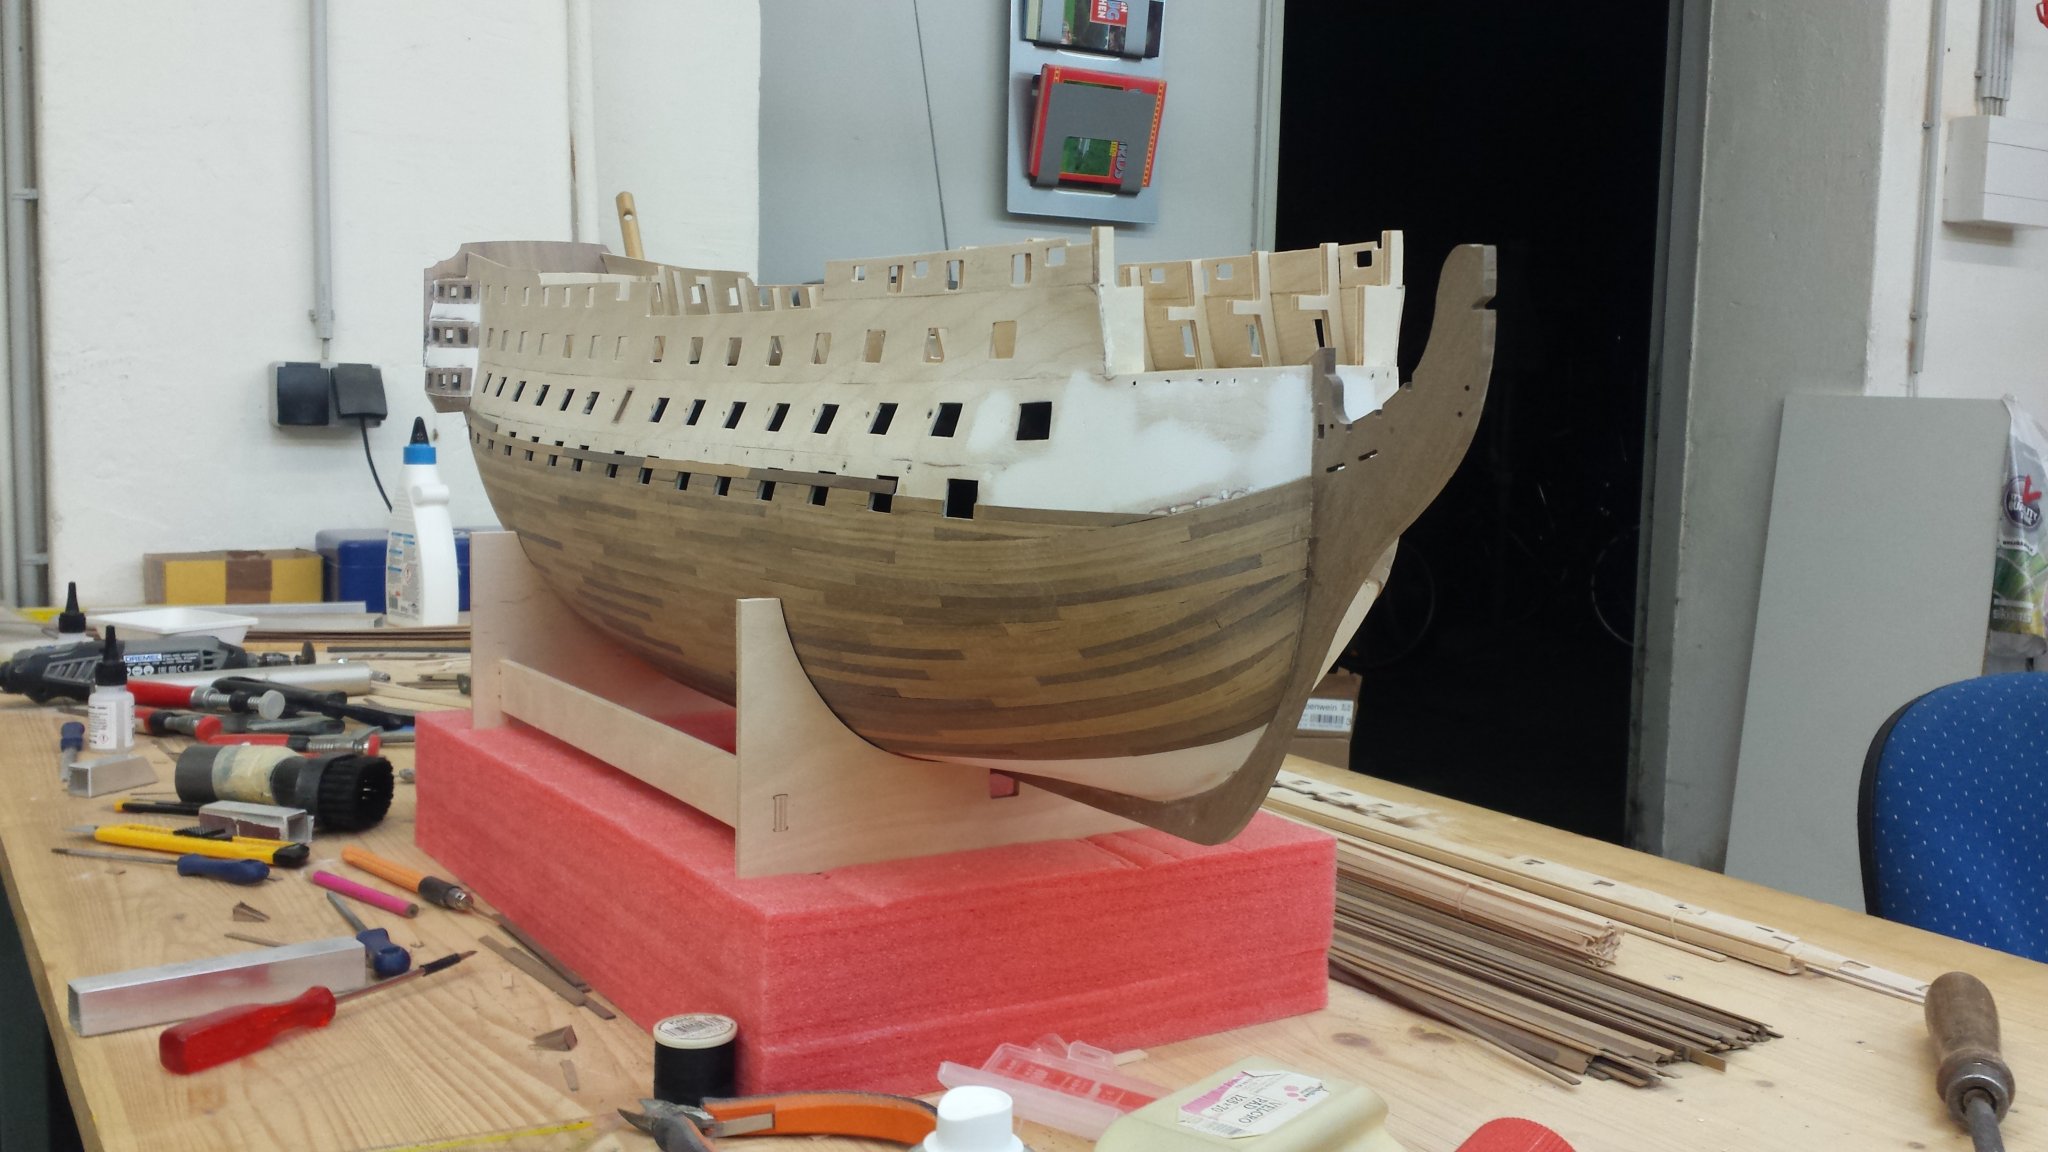
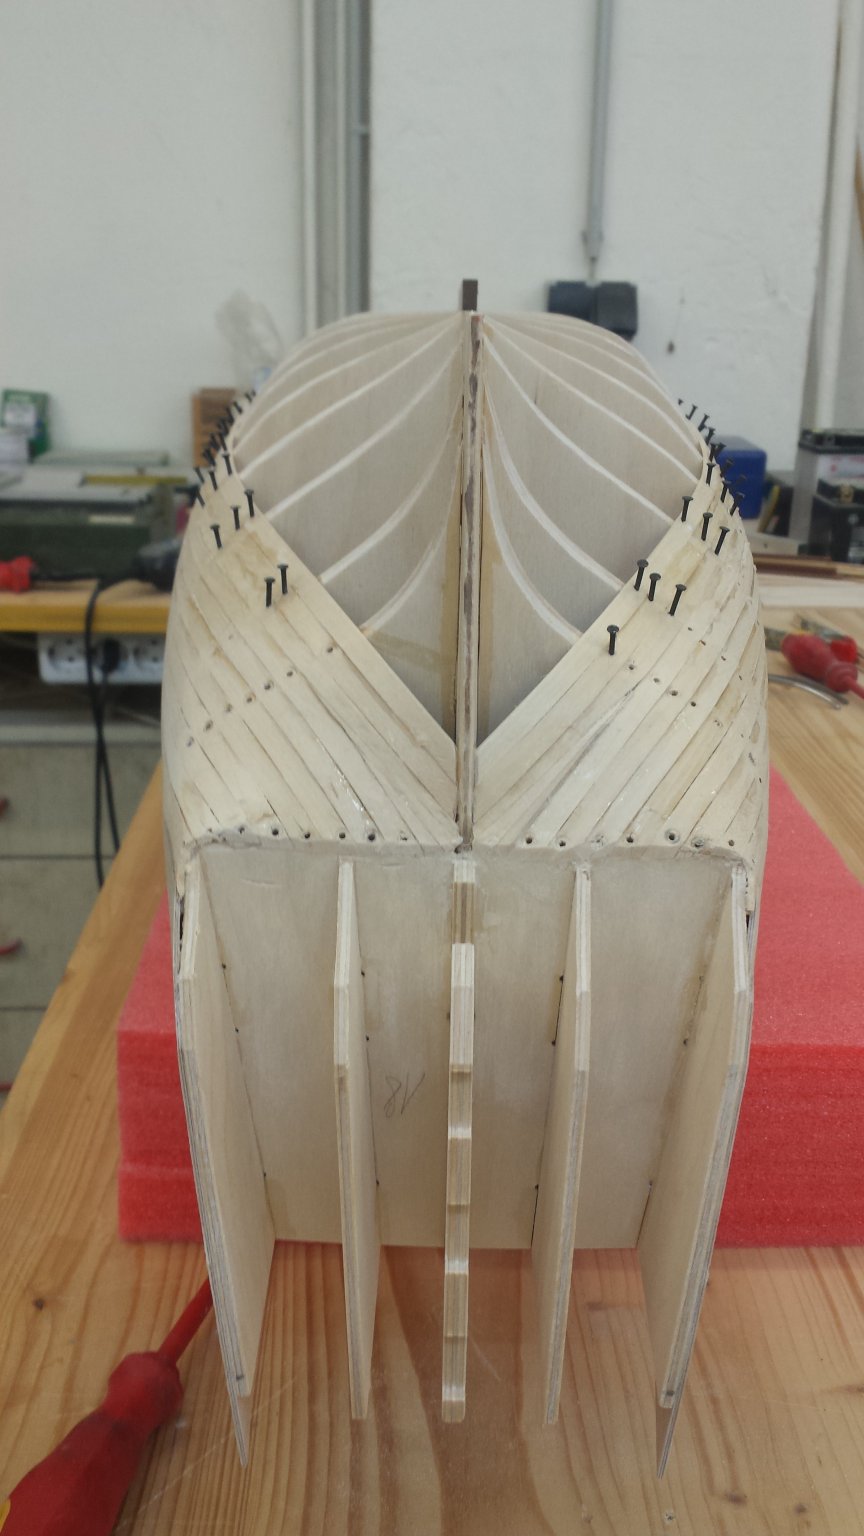
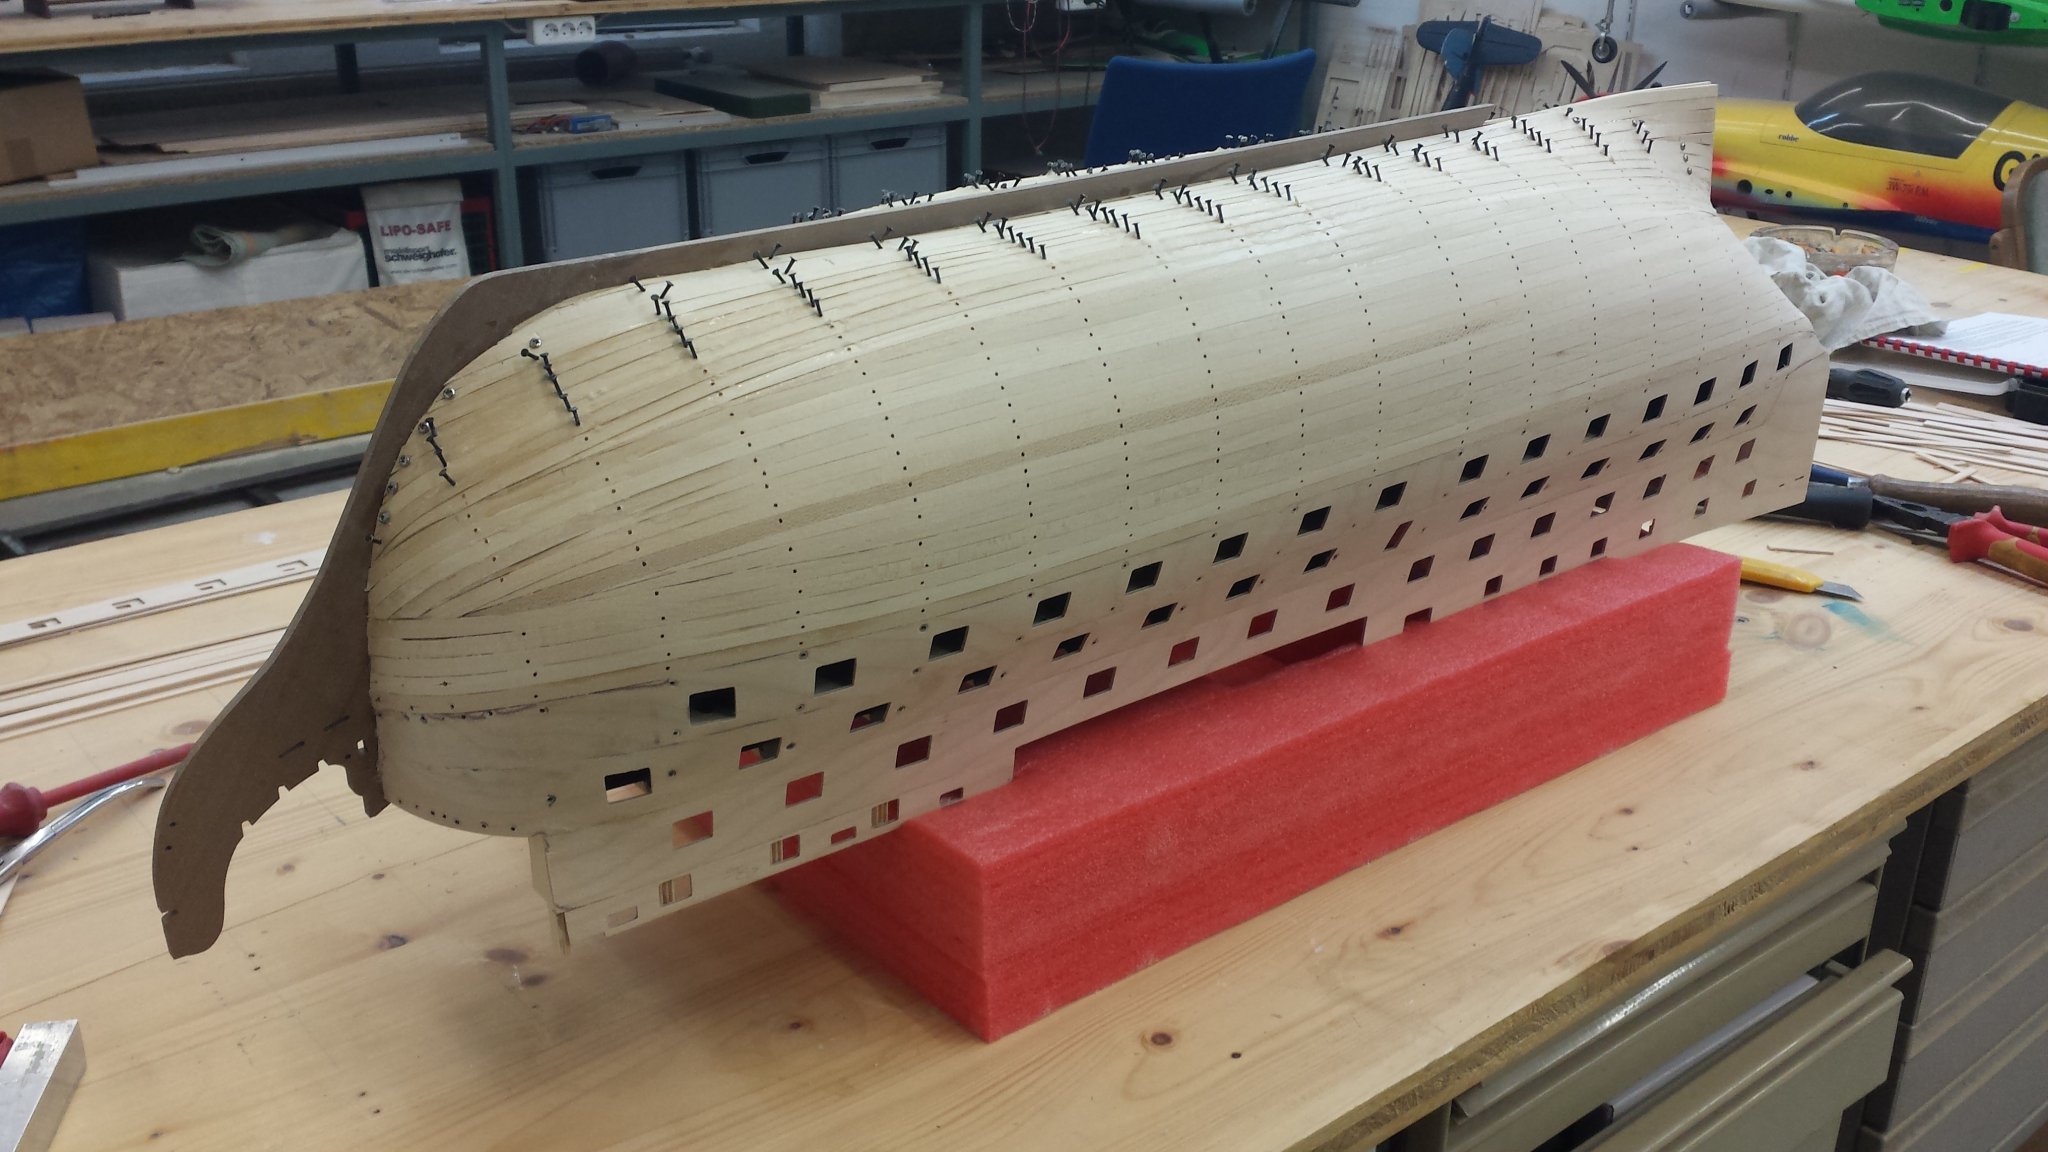
Than i startet with hull planking
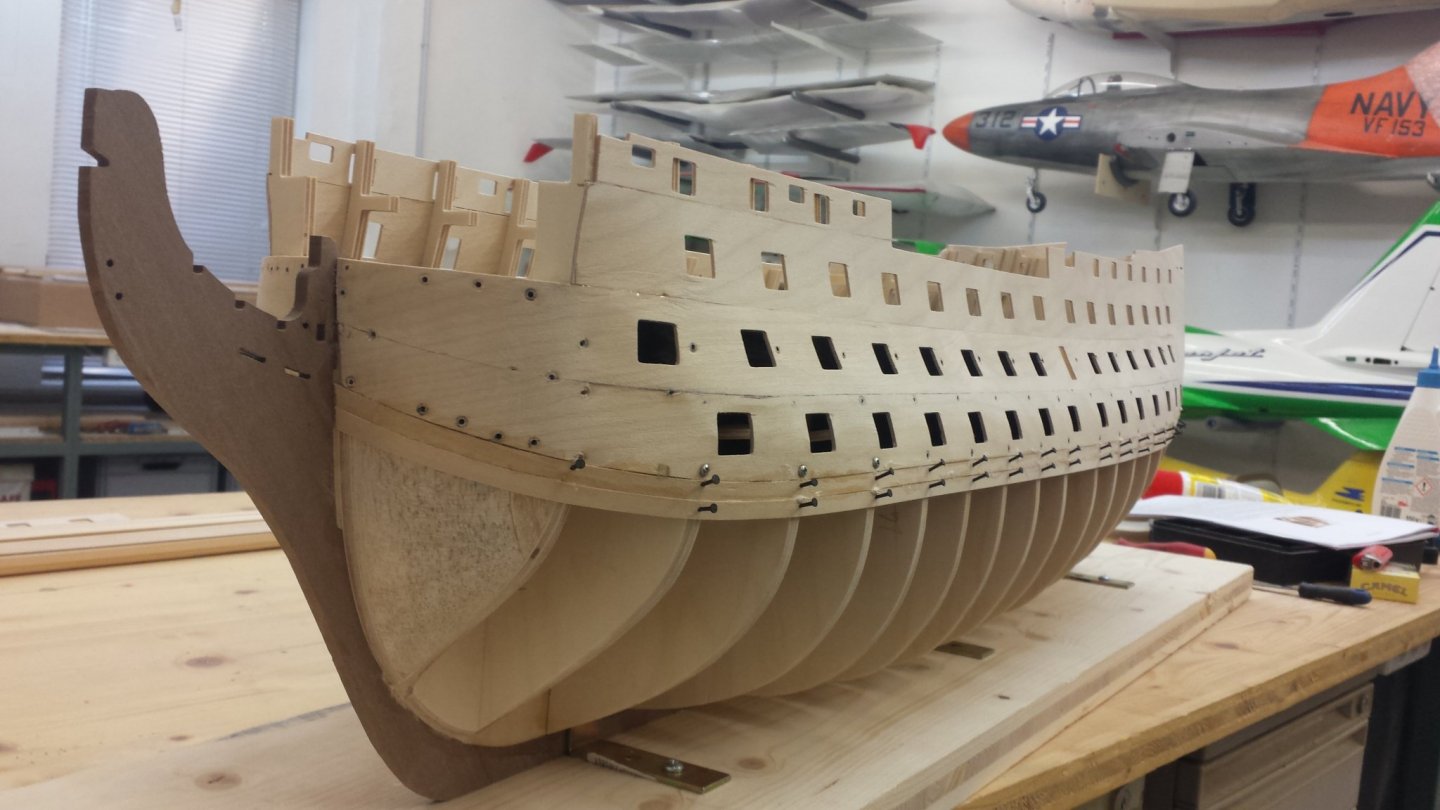
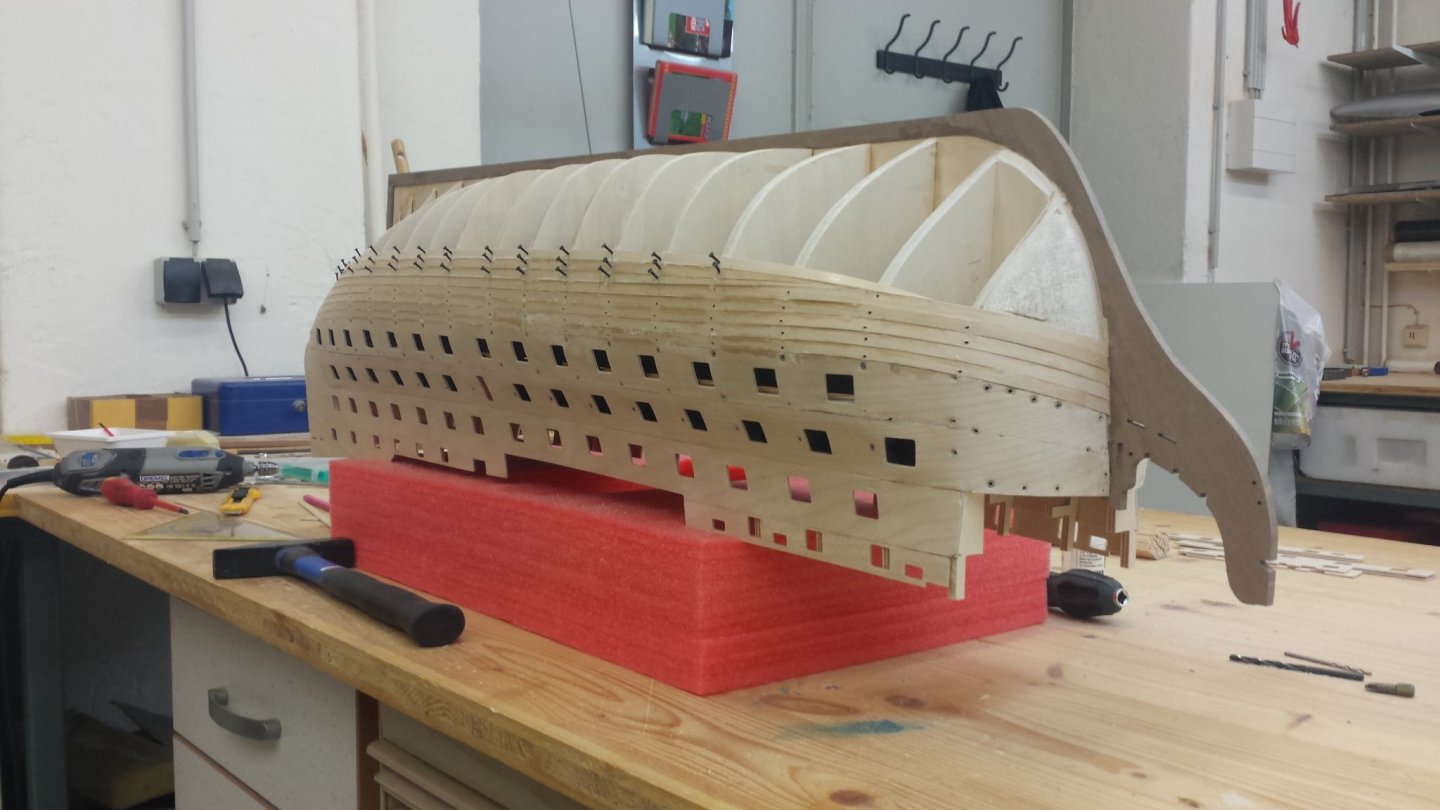
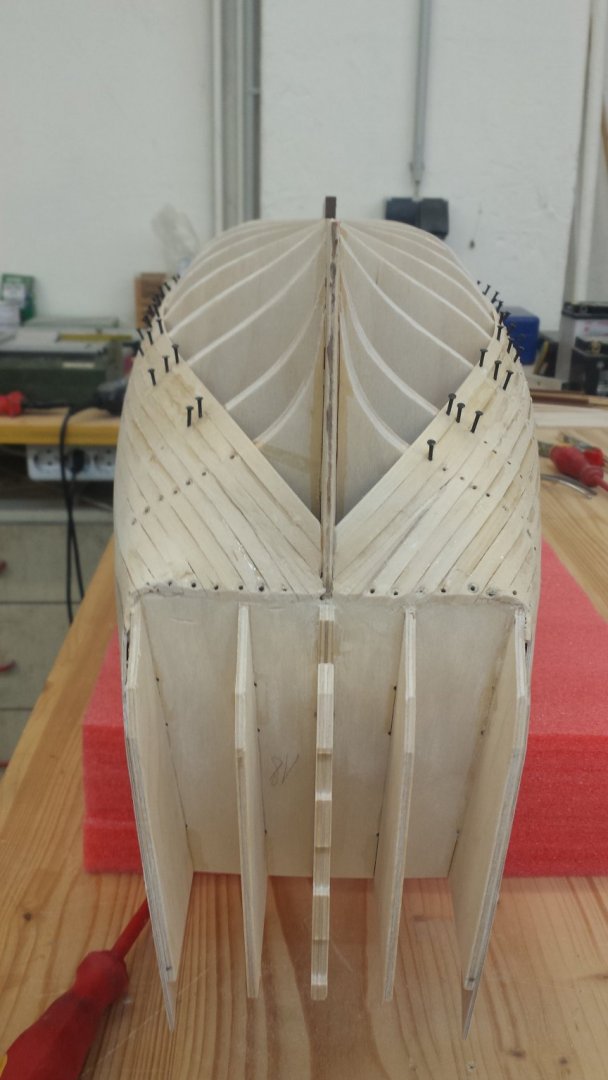

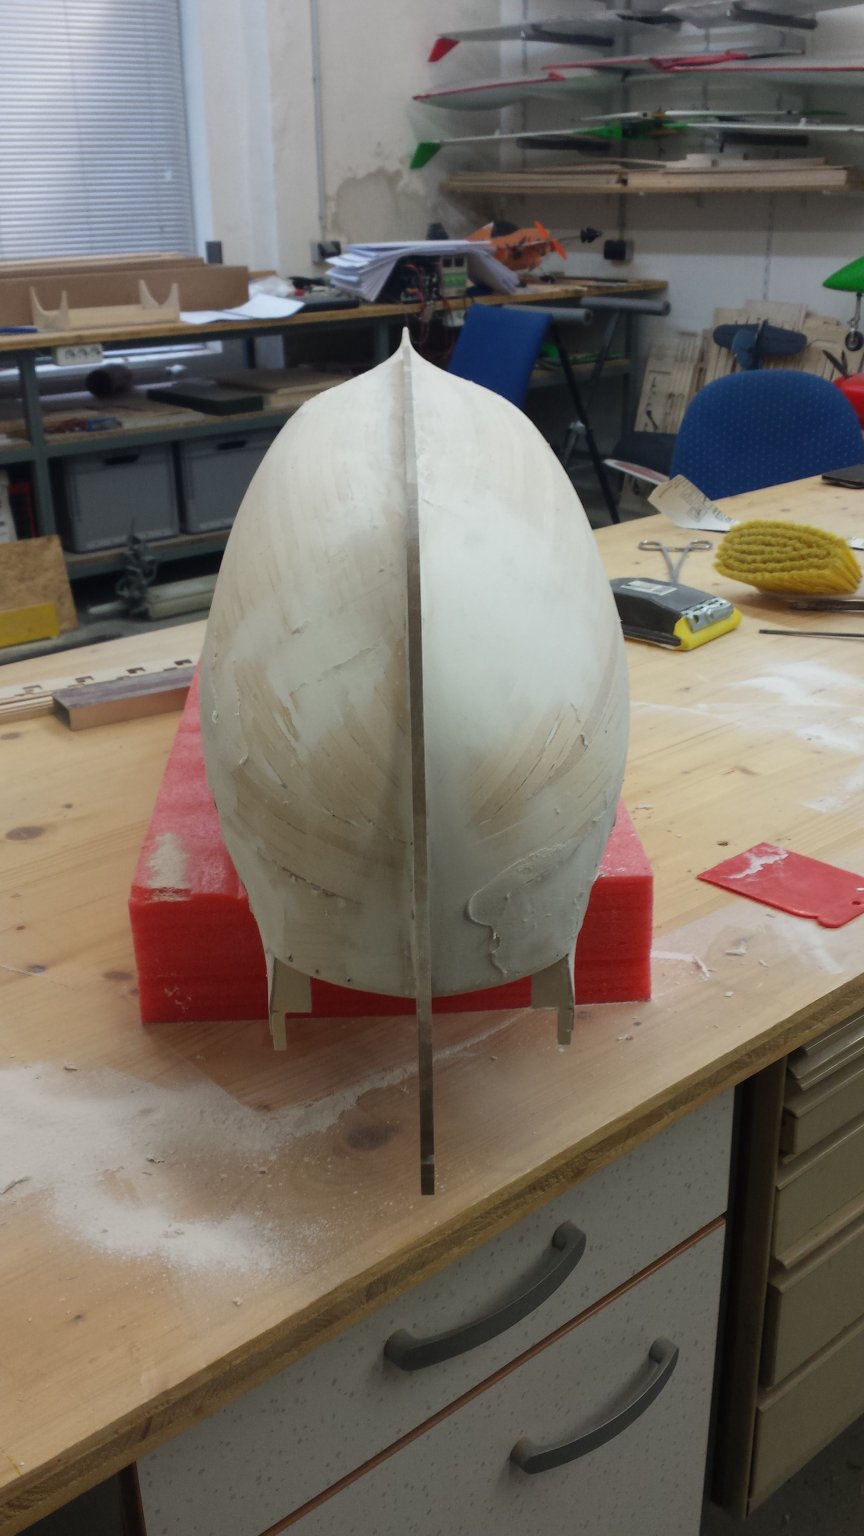
After sanding the first planking is finished

So that the buildlog is not too long today, I'm taking a break.
Cheers
Helli


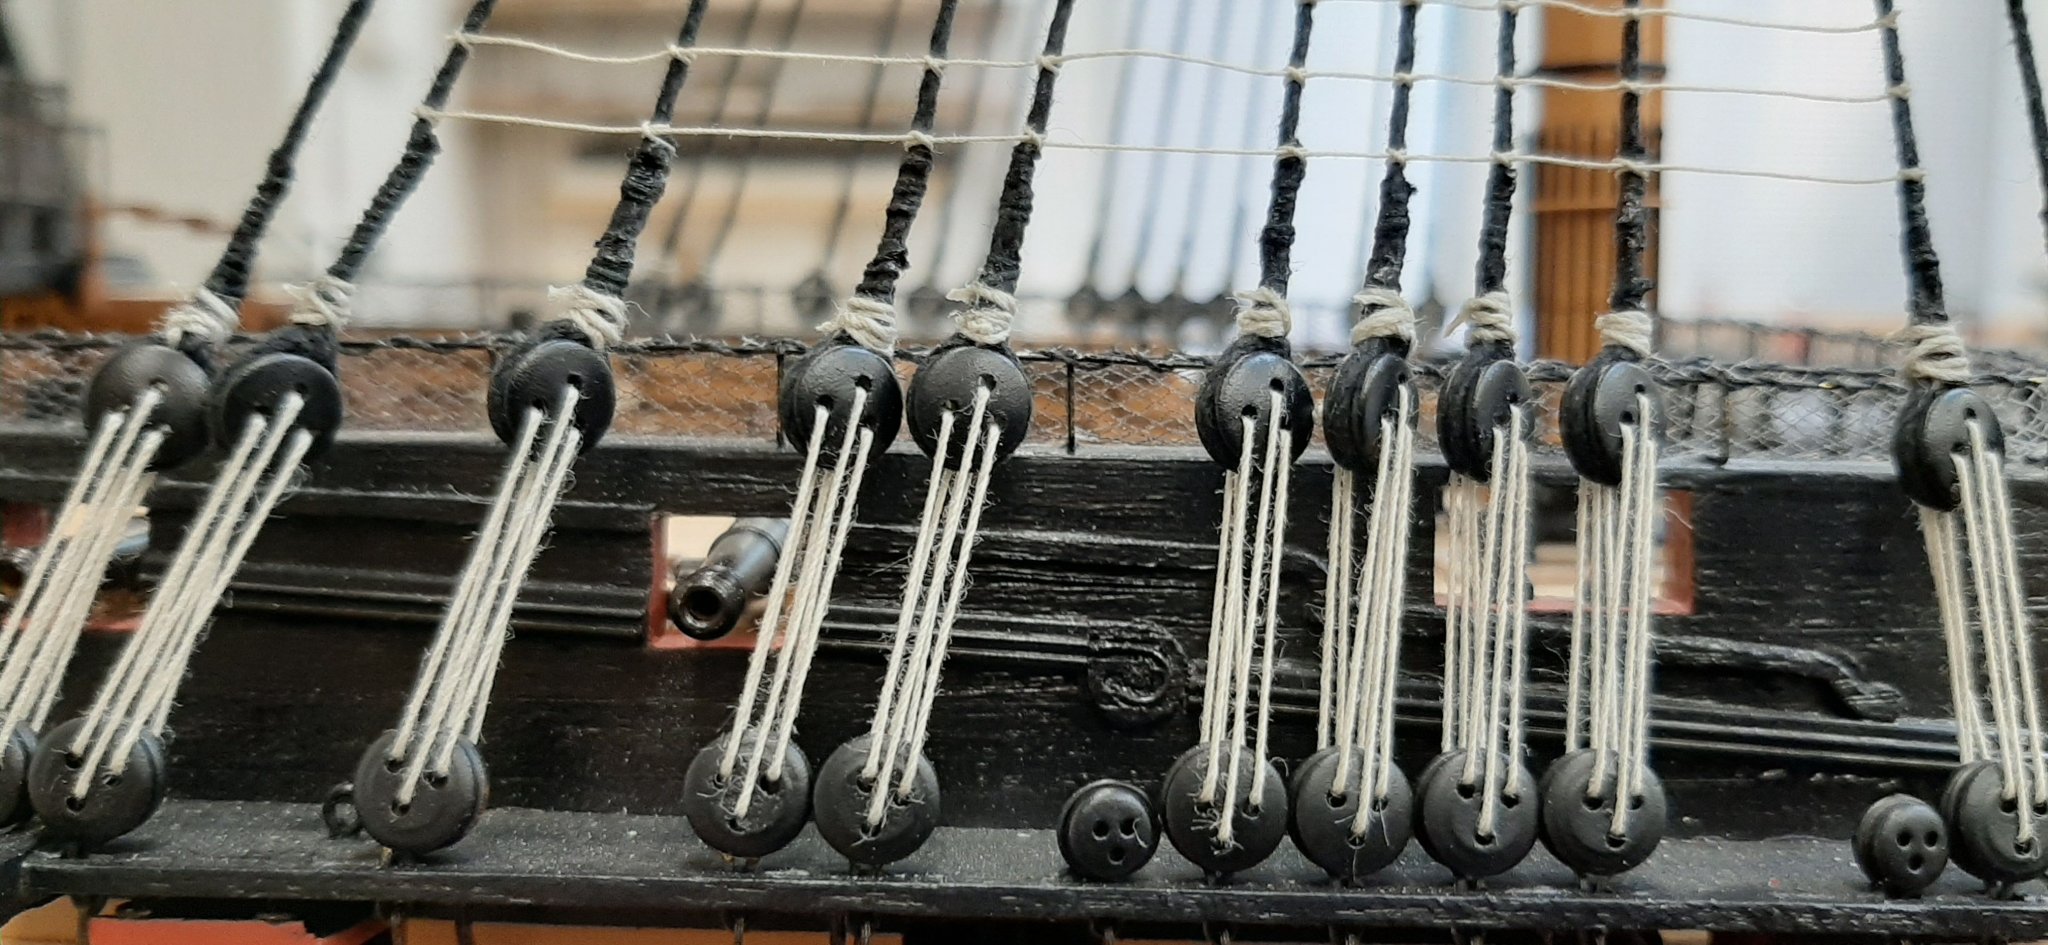


Standing rigging
in Masting, rigging and sails
Posted
Hello,
I have a question.
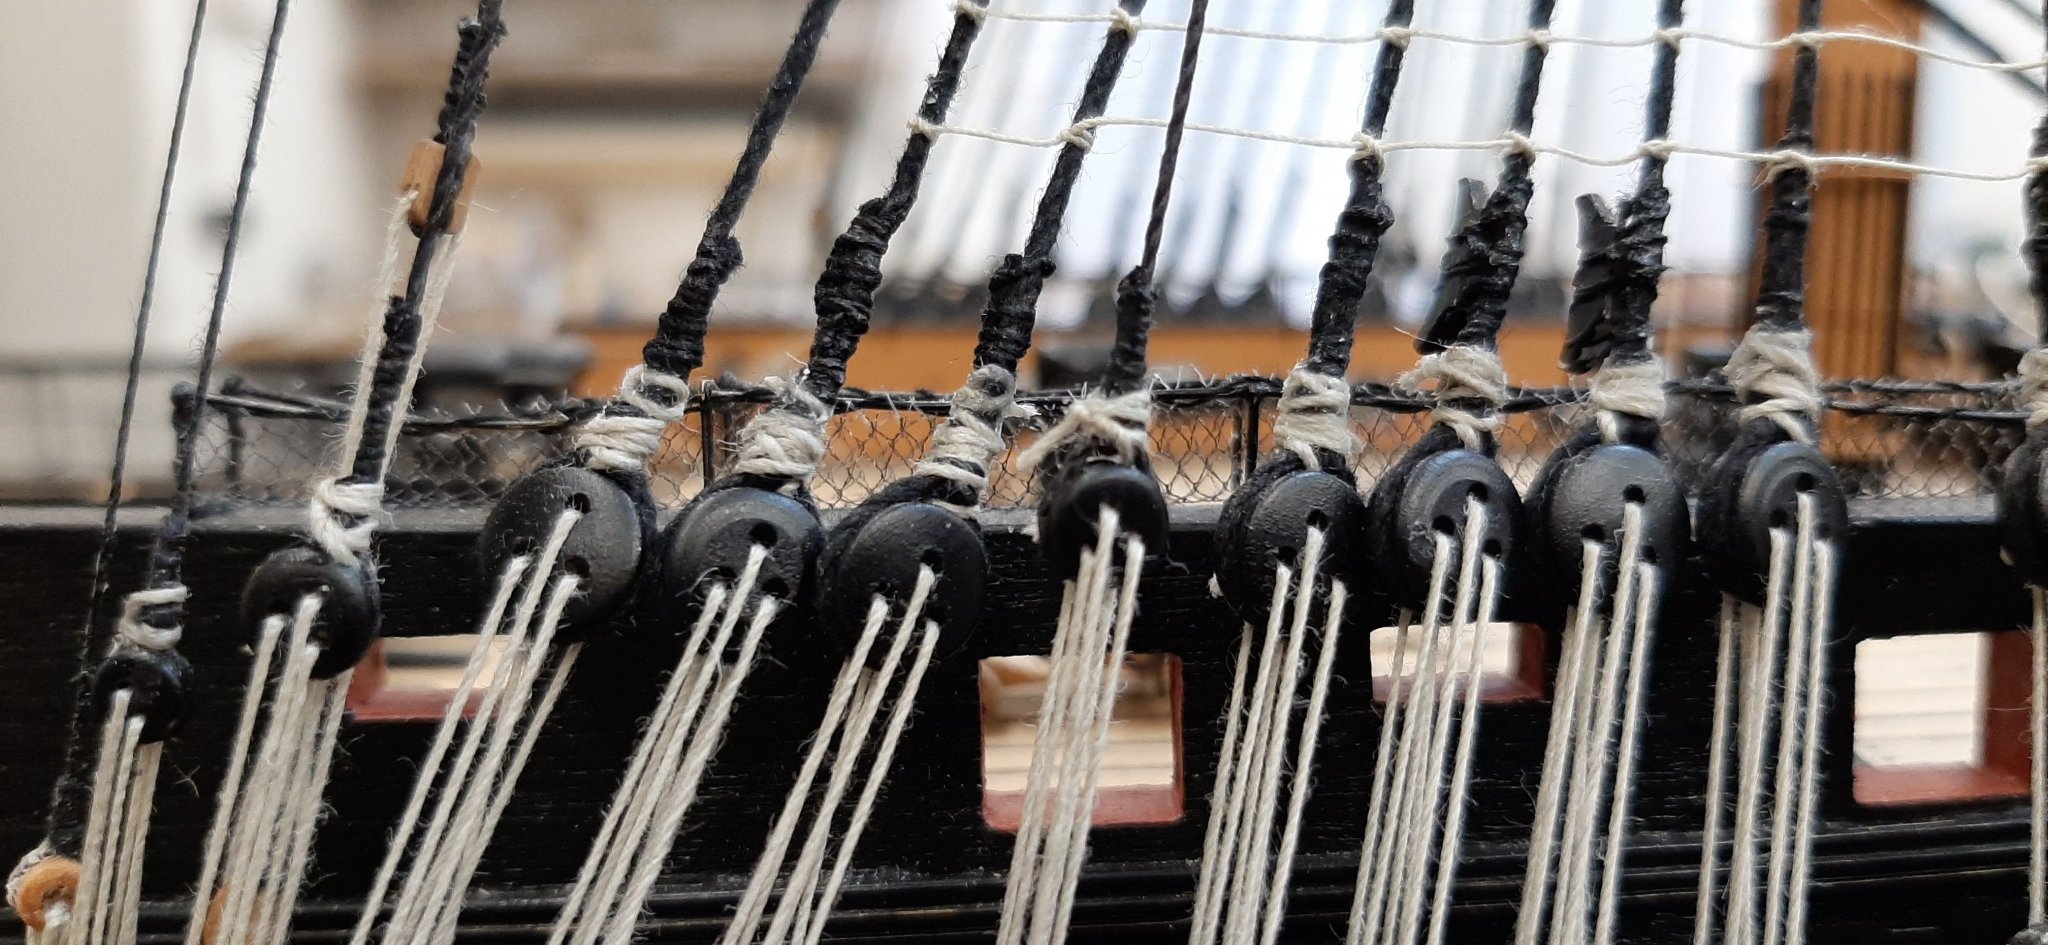
On the HMS Victory which shrouds are served?
Only the first fore shroud, here i`m shure or the first fore topmast shroud and all fore topmast futtock shrouds.
I can`t find any information how is correctly
Cheers
Helli