-
Posts
1,595 -
Joined
-
Last visited
Content Type
Profiles
Forums
Gallery
Events
Everything posted by John Ruy
-
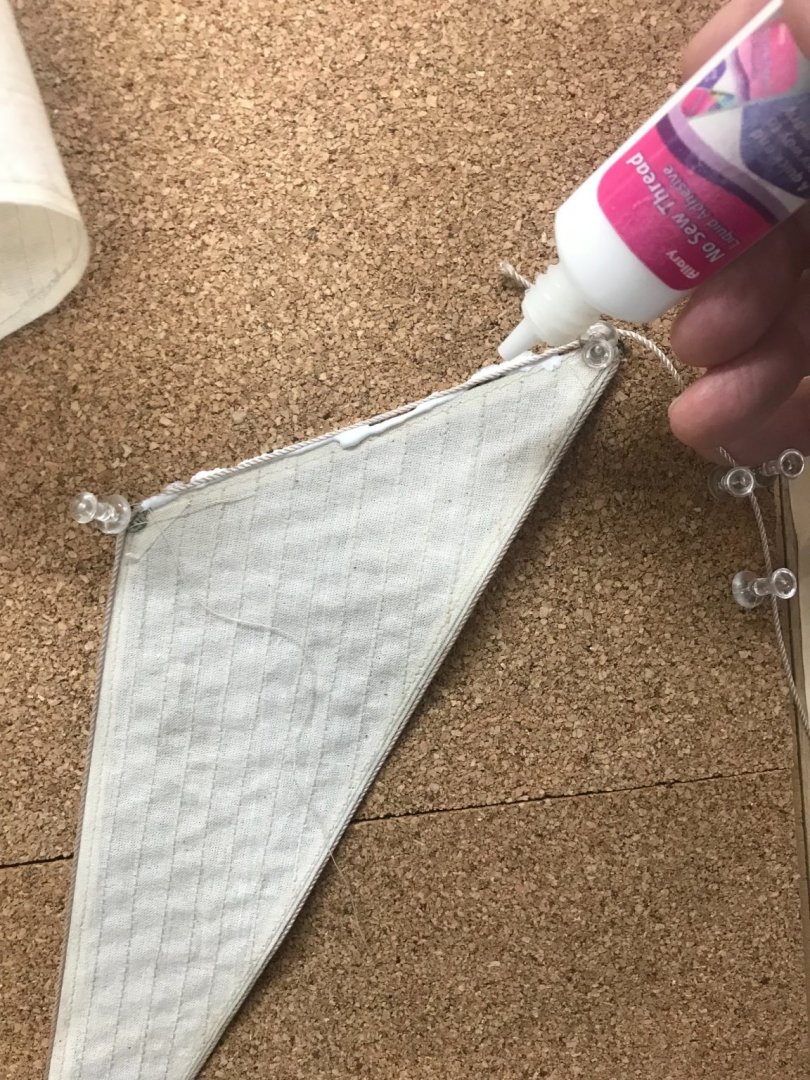
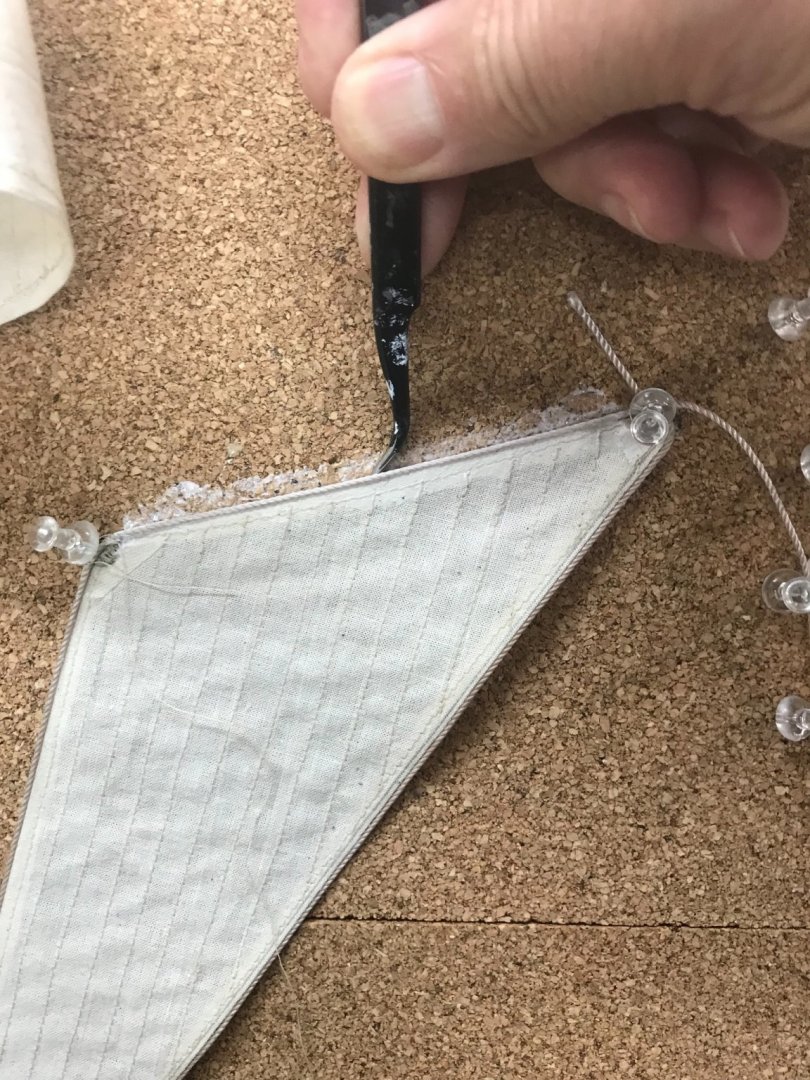
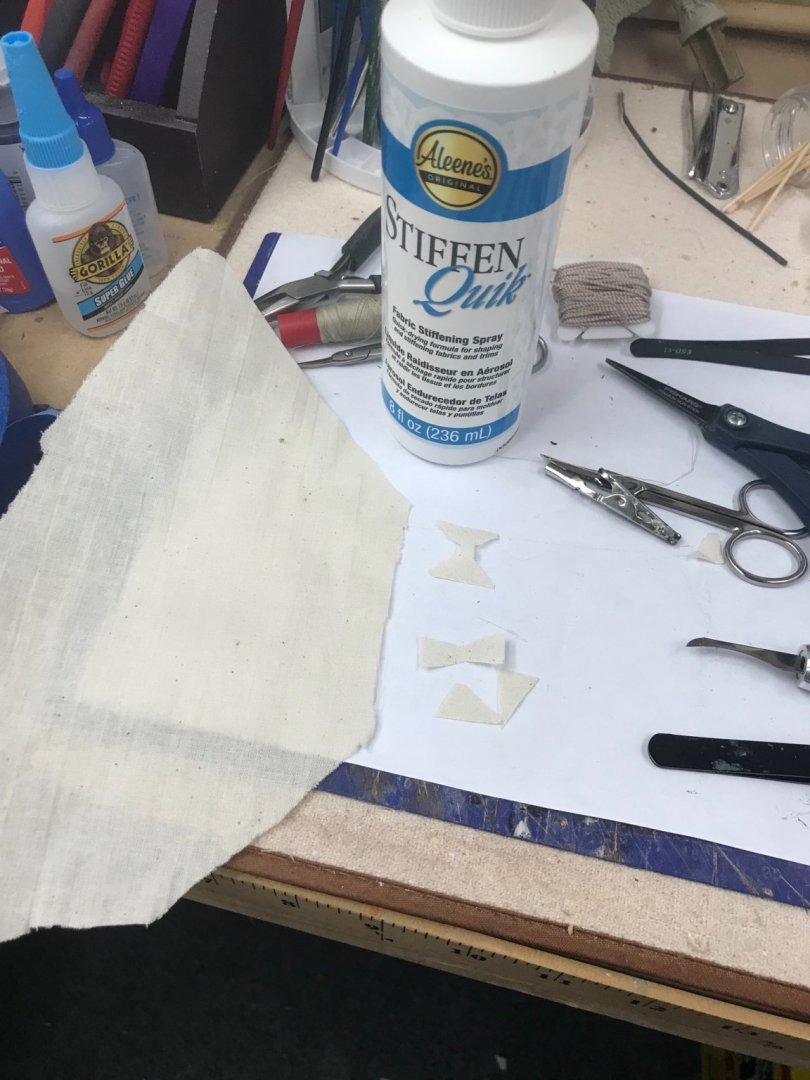
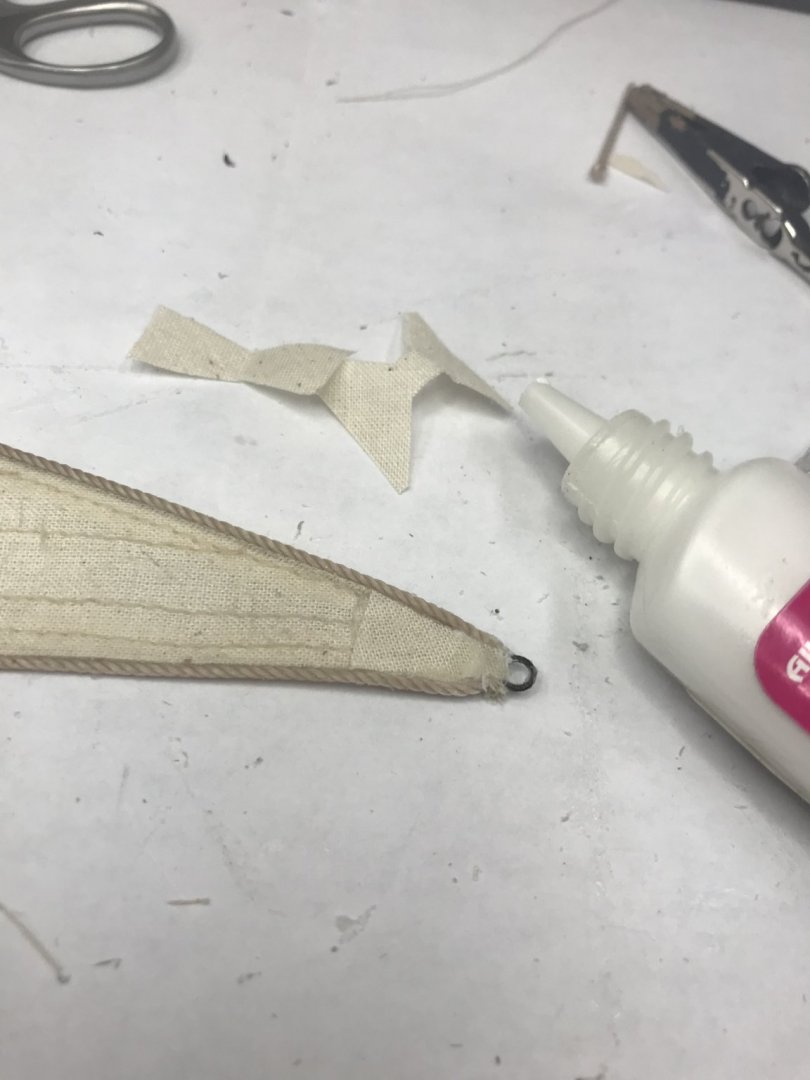
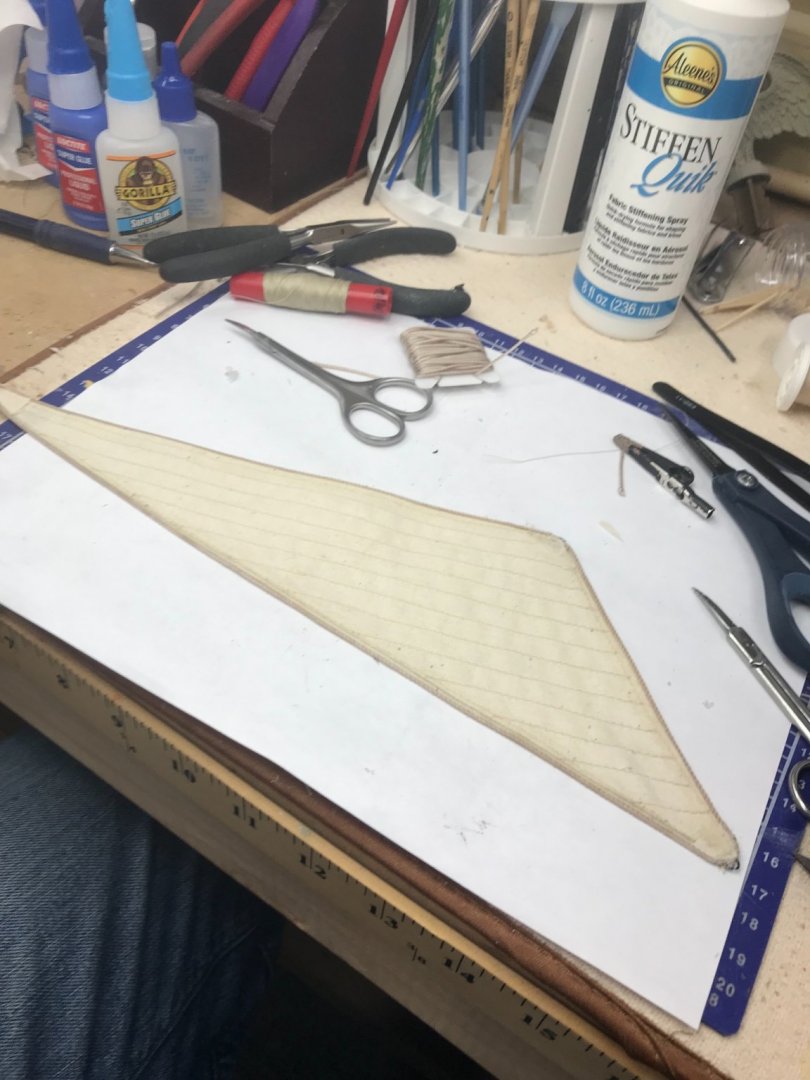
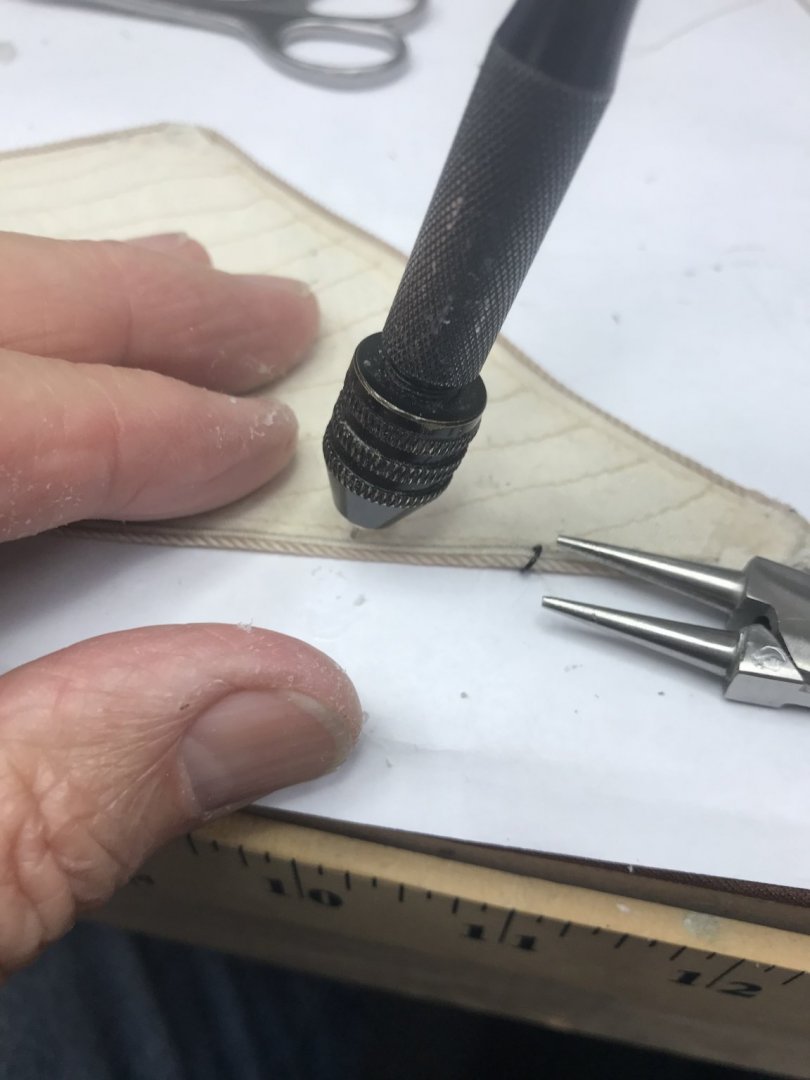
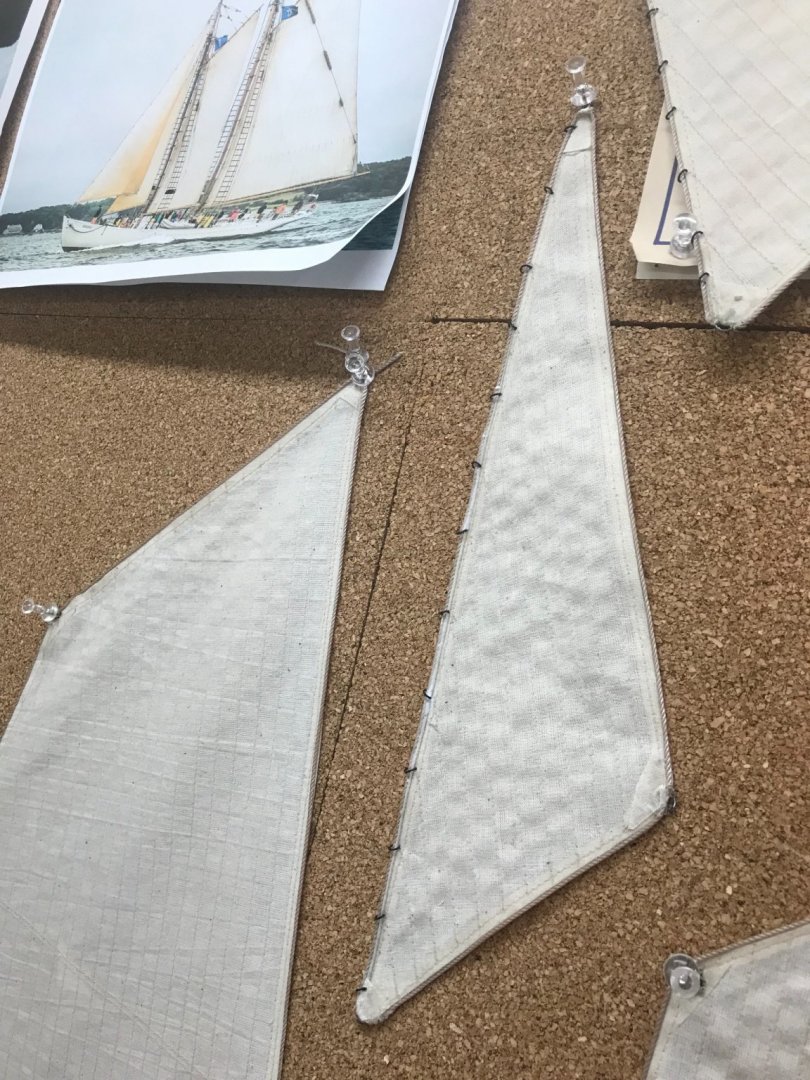
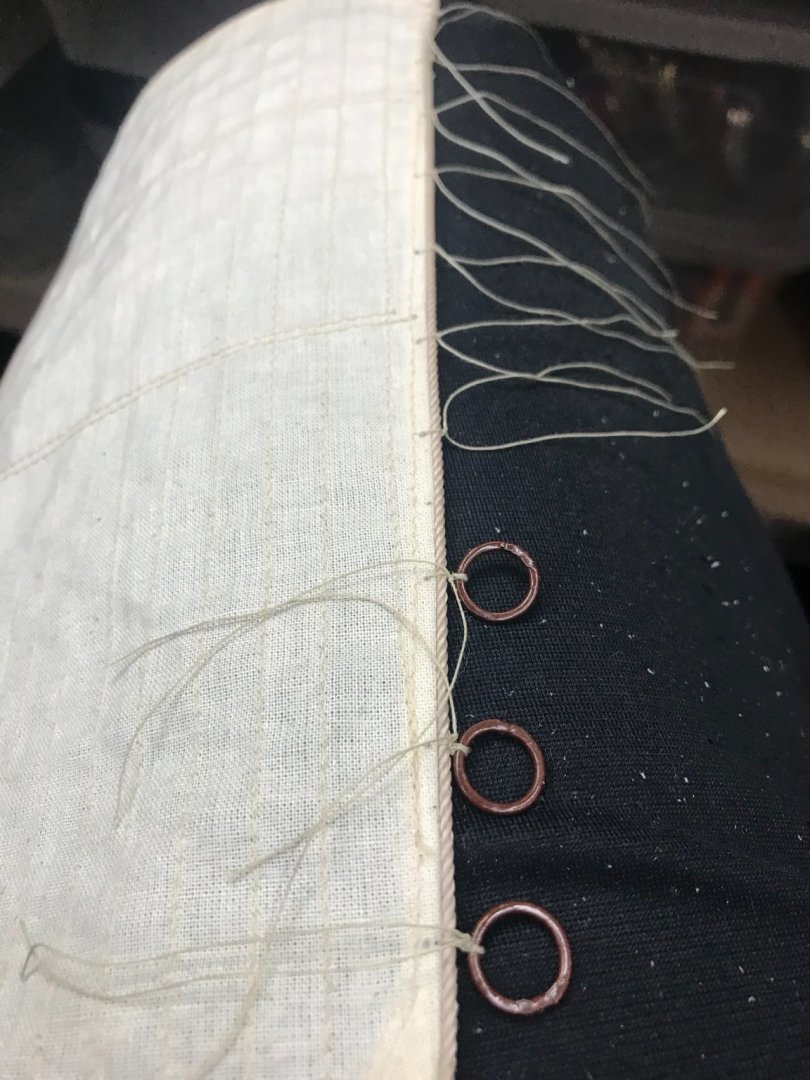
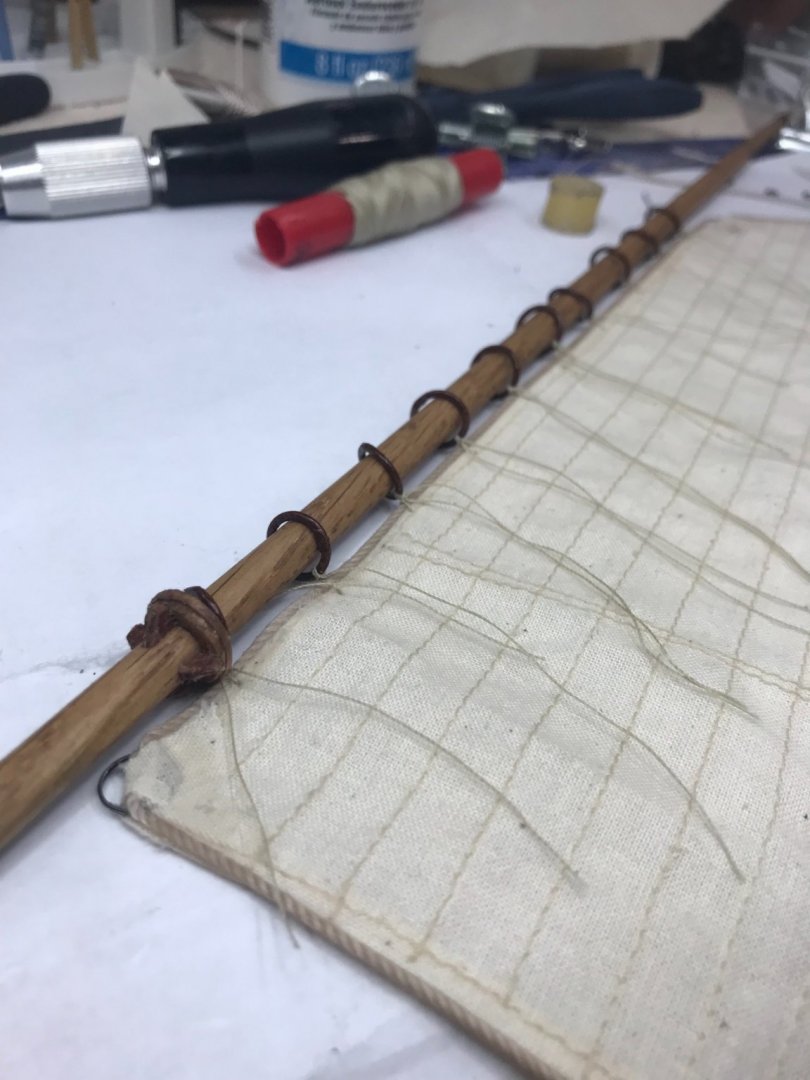
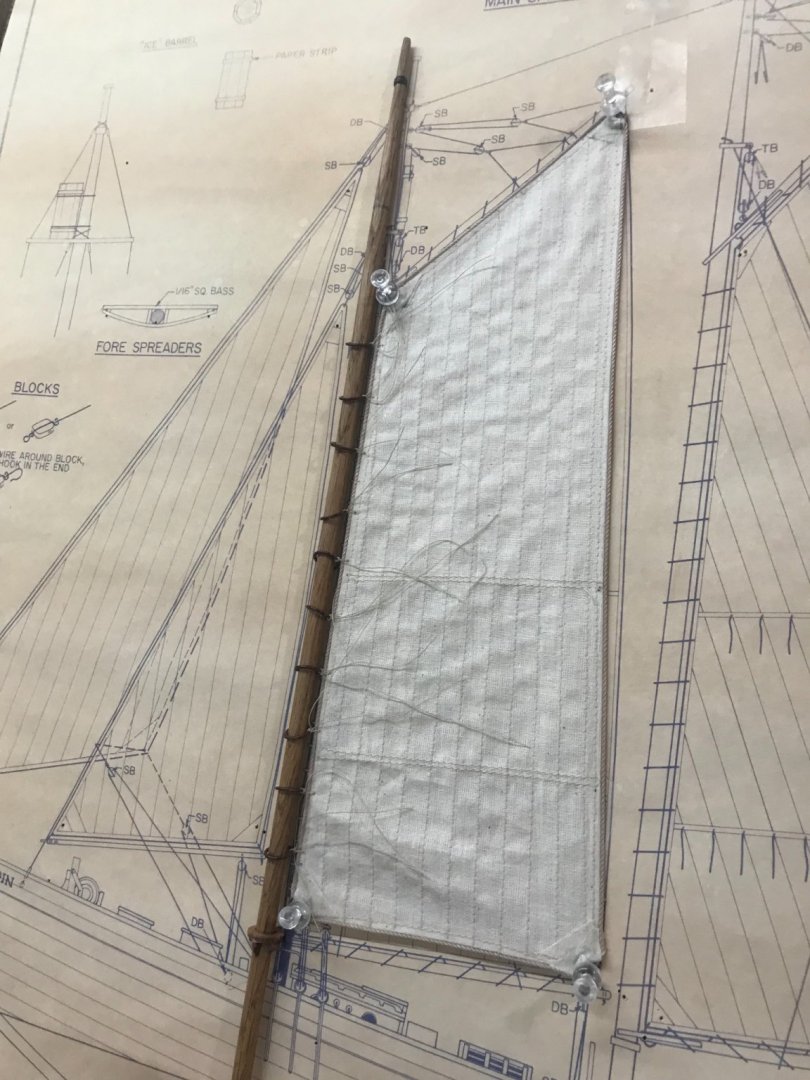
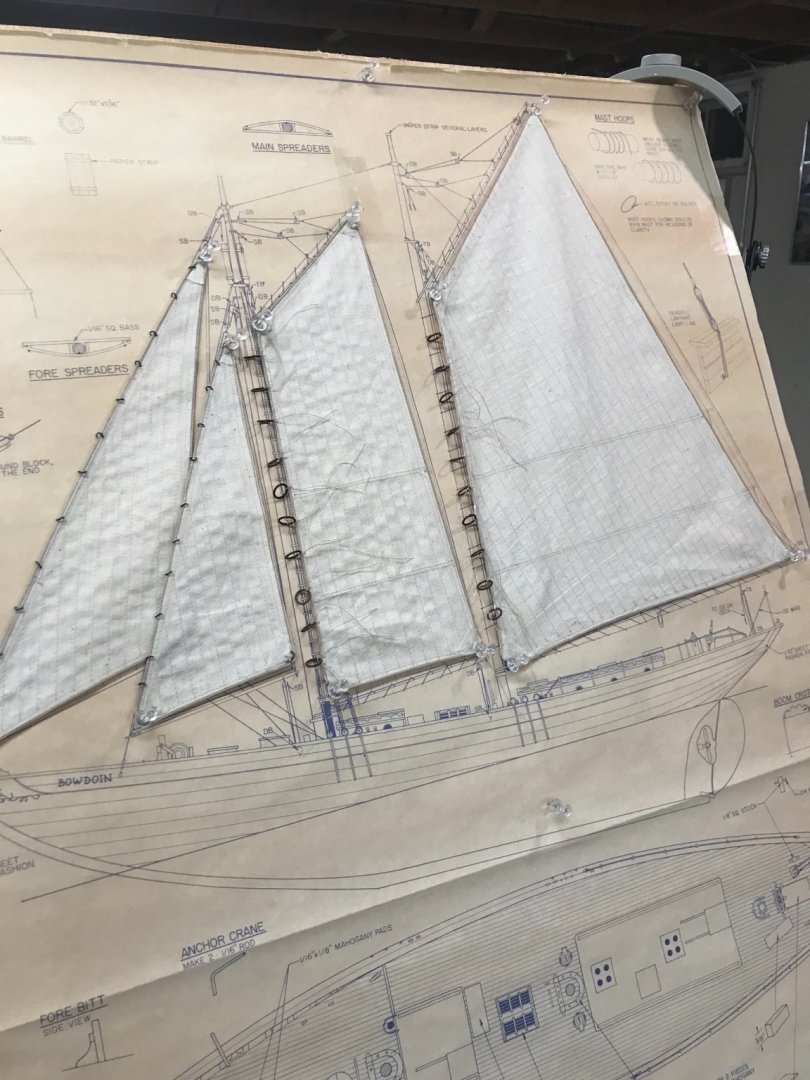
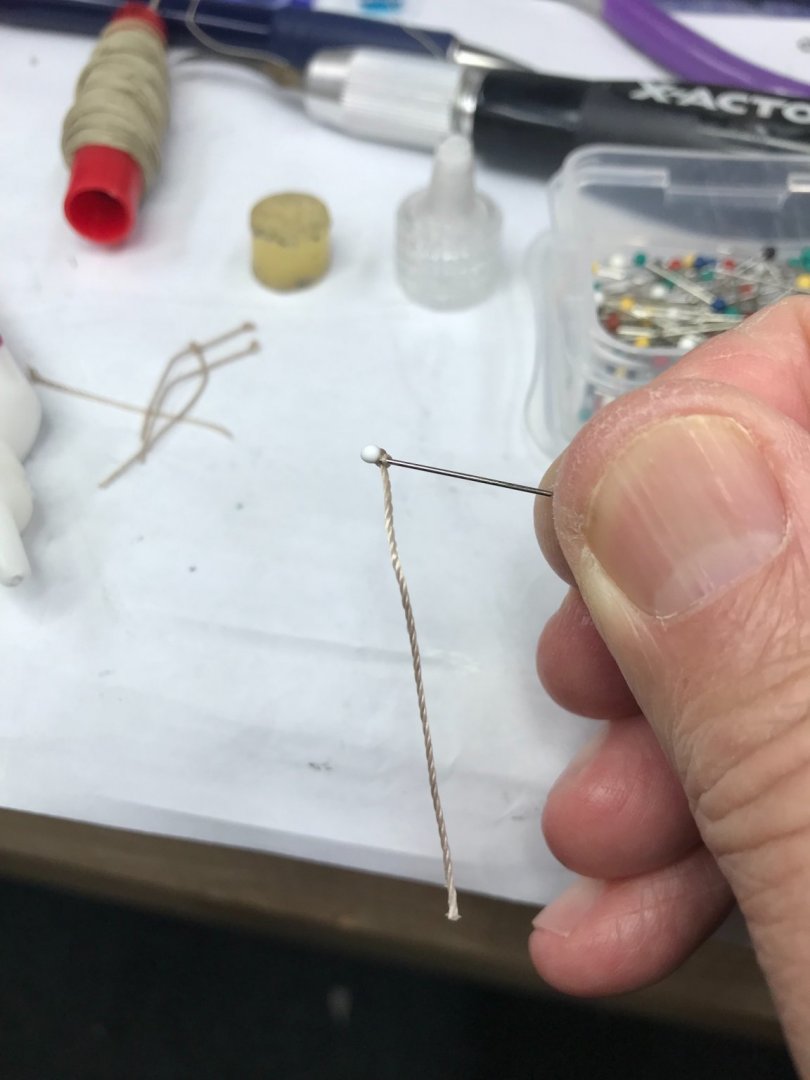
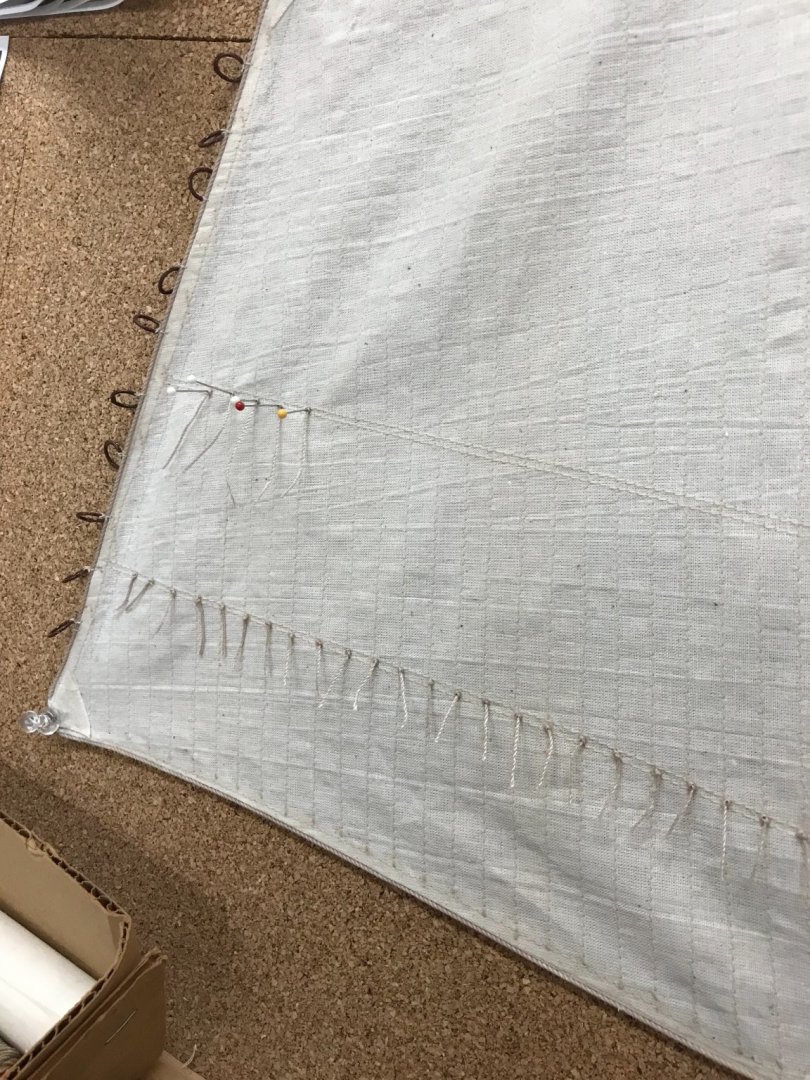
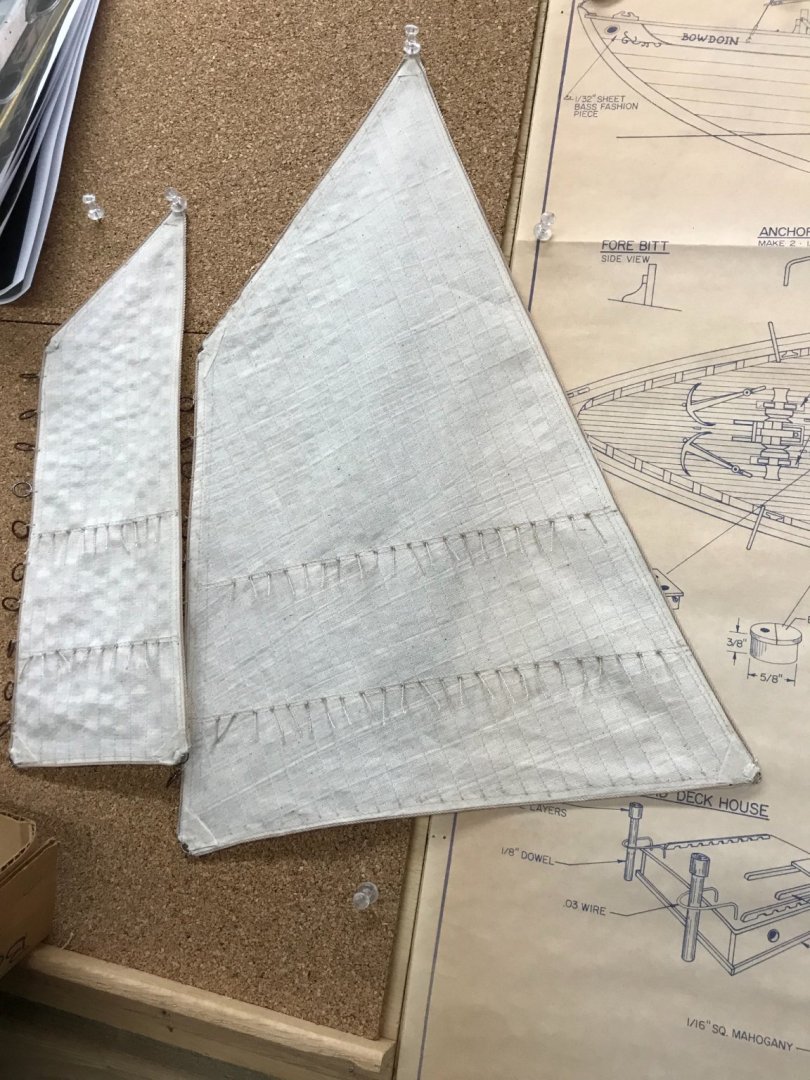
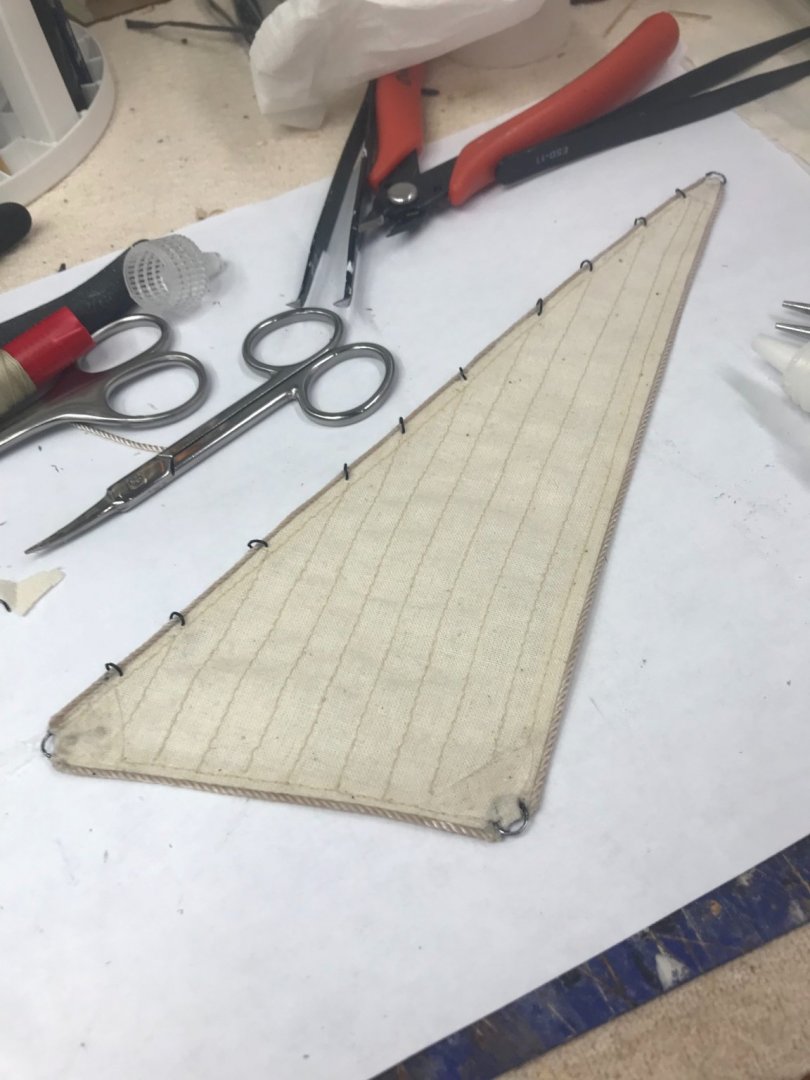
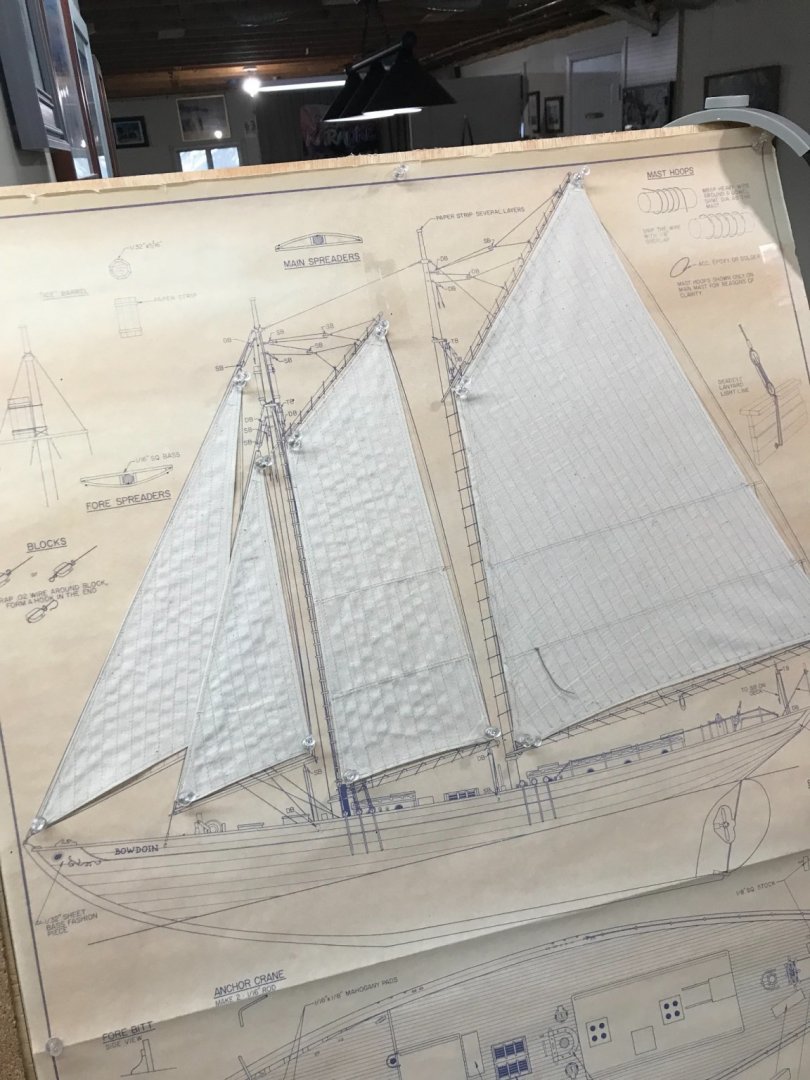
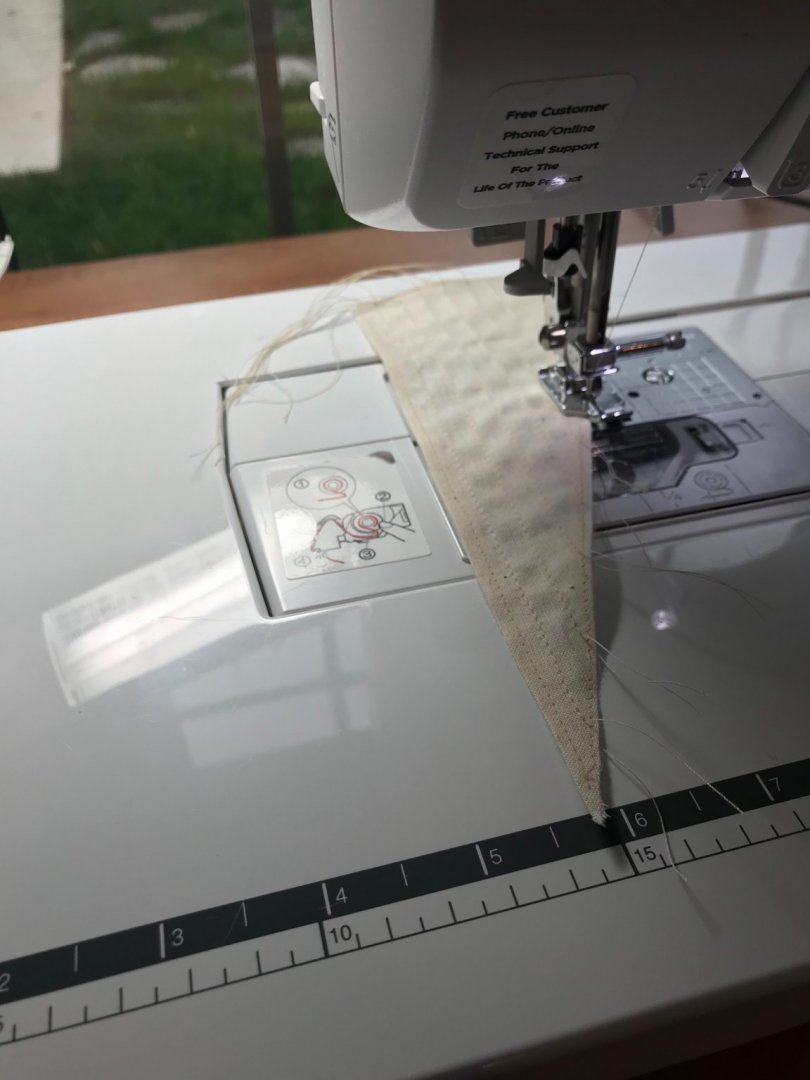
Sail Details… Gluing on Bolt rope, easier said than done. 😆 However, I like the end result vs hand sewing. Making sure it is not glued to the cork board. I made corner patches out of stiffened sail material. Glued the patches in place with fabric glue. Again stitching this is too tedious and appears out of scale. Jib corners completed. Drilling holes for the Jib hanks… Used black split rings. Jib completed… Mast hoops sewn on the Fore Sail. Mast hoops completed on the Fore Sail. All Sails completed with exception of those pestcky Reef Points. 😆 Again decide to try the glue on method vs sewing thru and knotting on both sides. Pinned reef points in place on cork board until dry. Pinned the tail on the sail 120 plus times, had to do it twice this way. I think it was easier than knotting on both sides. Finally, Sails are complete. 😎 Let the rigging begin. 🍻
- 127 replies
-
- Bowdoin
- Arctic Exploration
-
(and 3 more)
Tagged with:
-
Seven hulls in miniature. 😆 You are doing great Ron, I like these better than the metal/lead boats that I had to add wood parts. Took me a month or two to do those as well. Your time is well spent, they look great. 👍
- 294 replies
-
- charles w morgan
- model shipways
-
(and 1 more)
Tagged with:
-
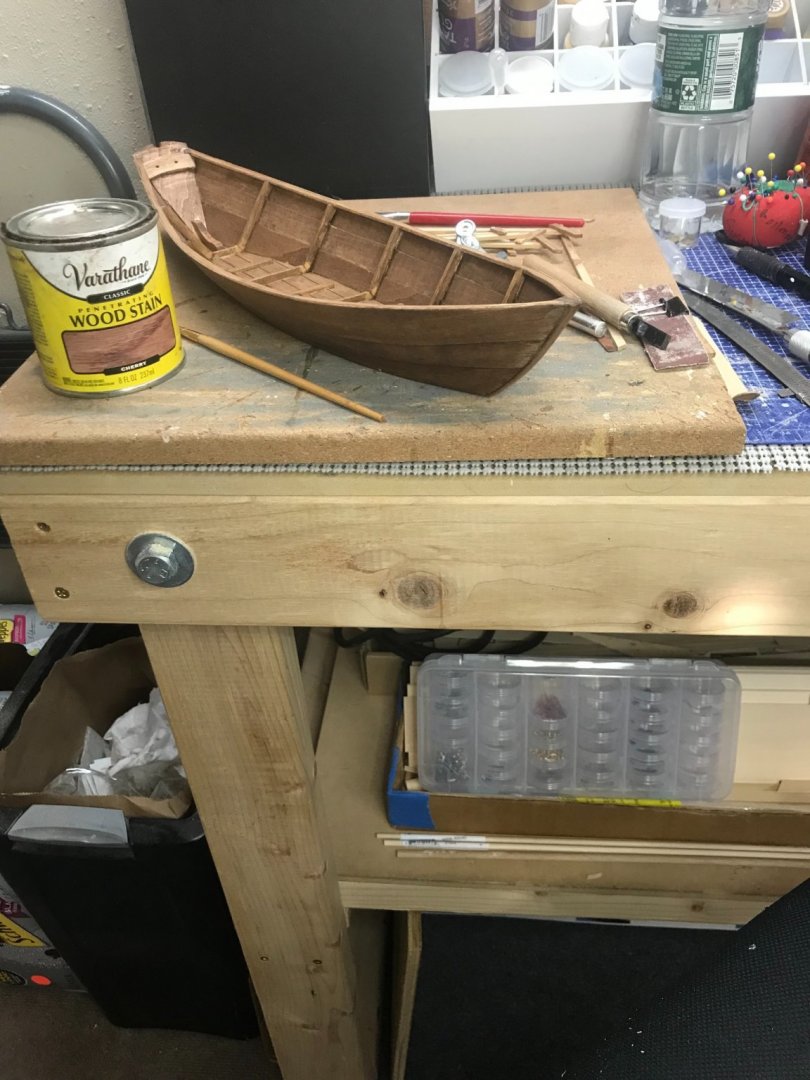
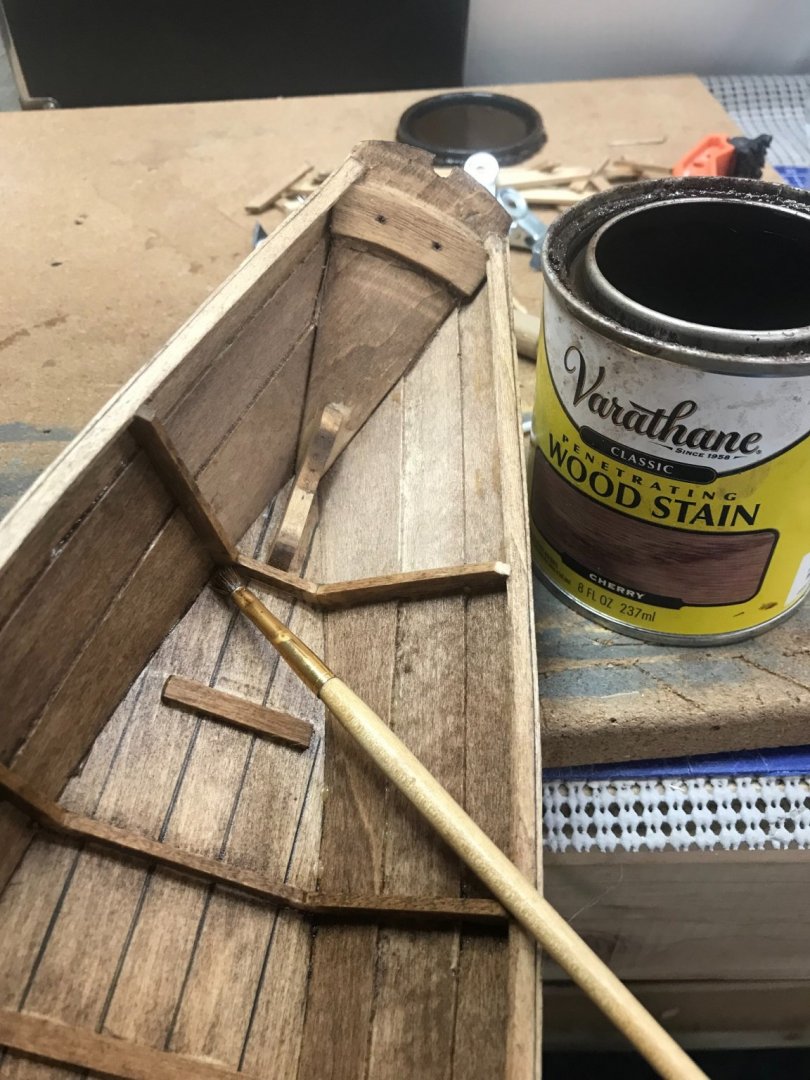
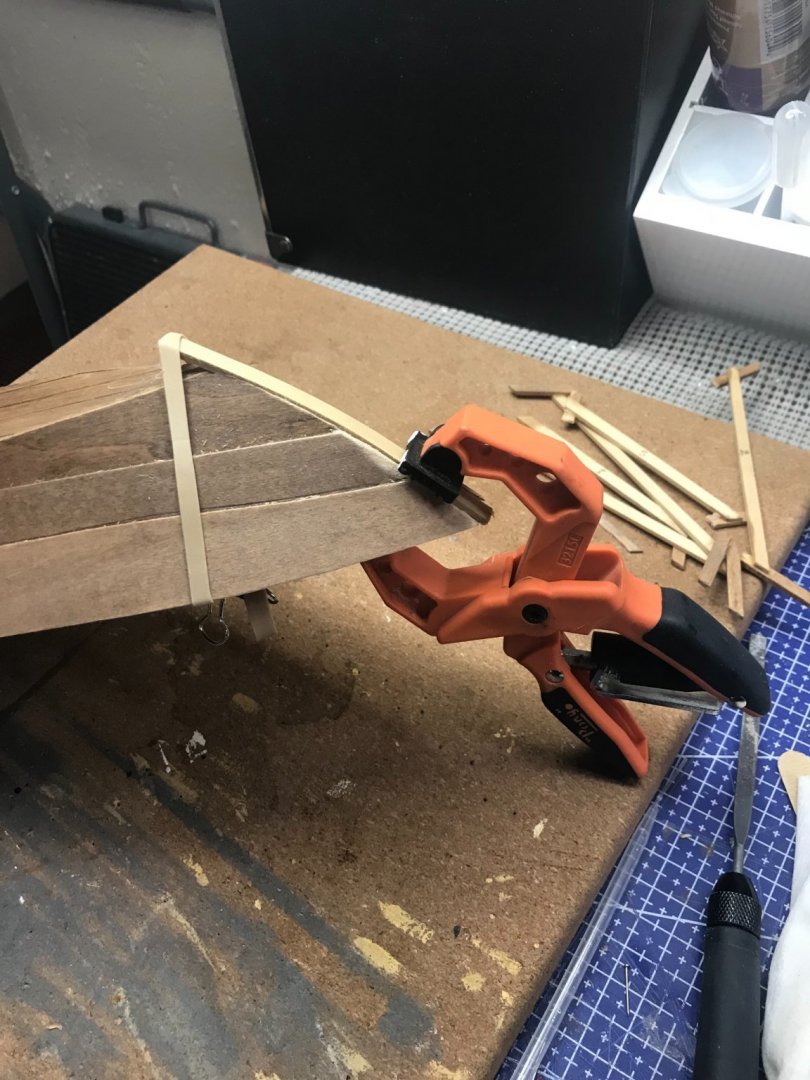
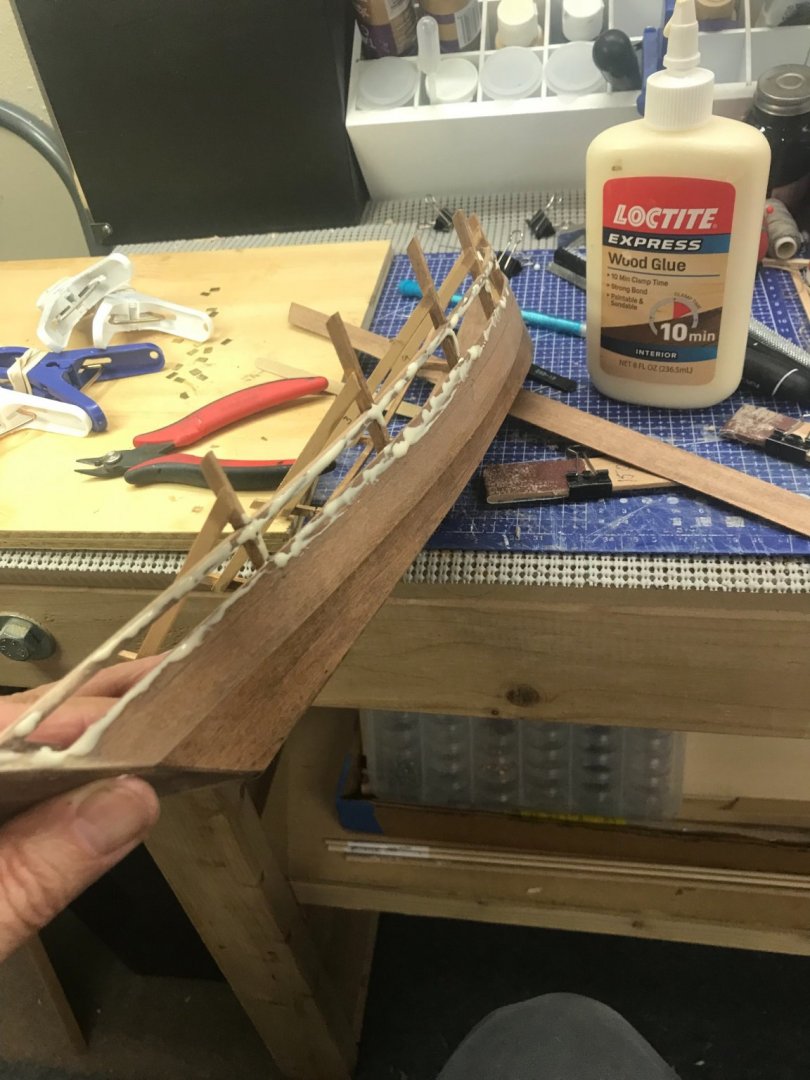
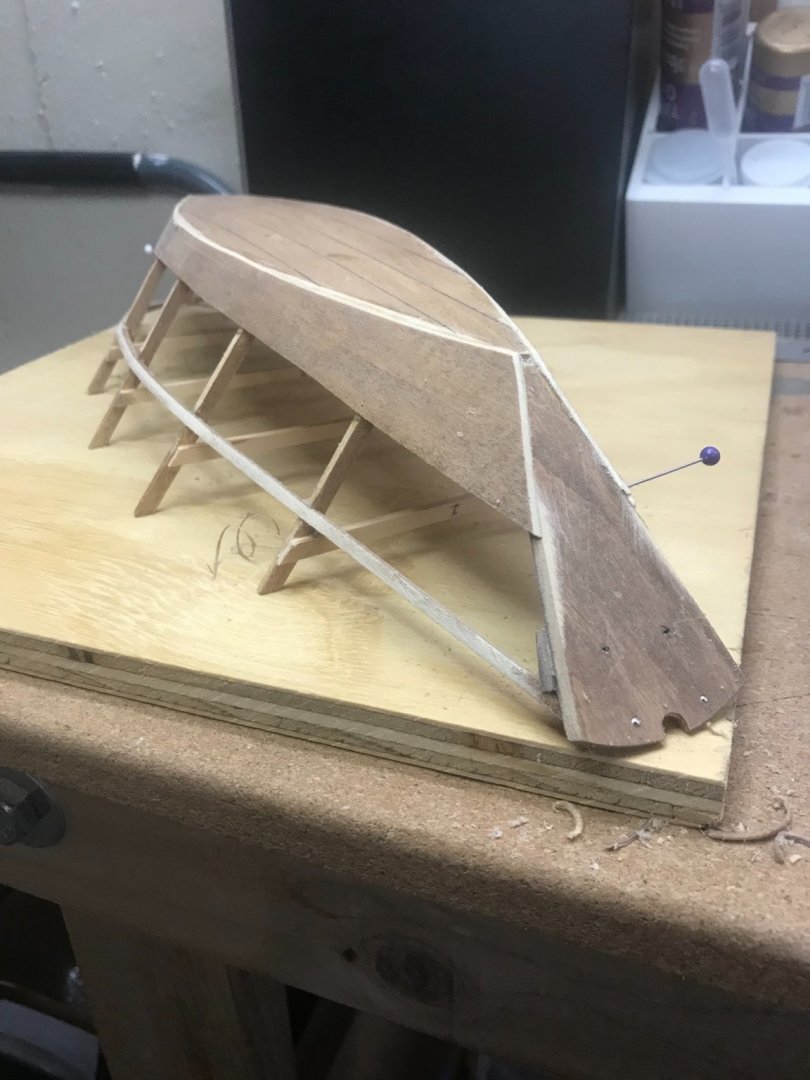
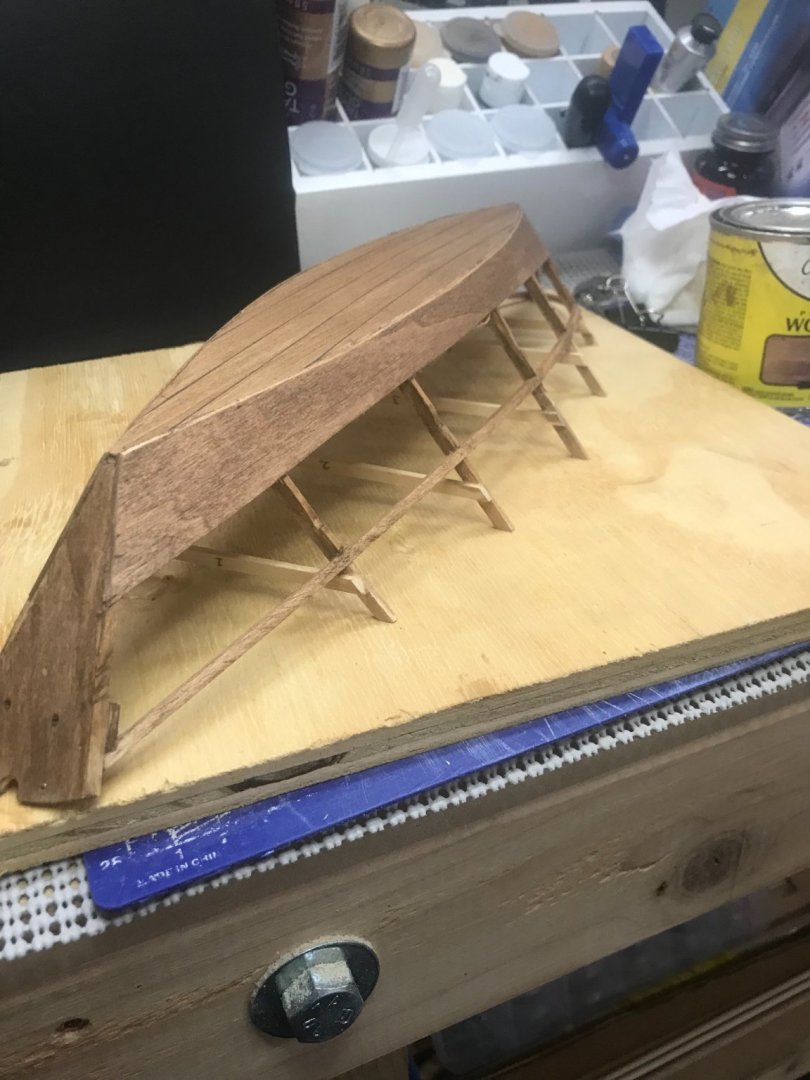
Clean up and re-staining of the hull… Cleaning up the excess glue on the inside was a bit of a pain. A better strategy would probably be to use it’s the right amount. 😆 I also, now know why that call that bent board on the bow a “gripe”. 😊 What a pain that was to get right. 😎 This Dory makes for a great way to get a break from Bowdoin for a bit. Later… 🍻
- 22 replies
-
- Laughing Whale
- Dory
-
(and 1 more)
Tagged with:
-
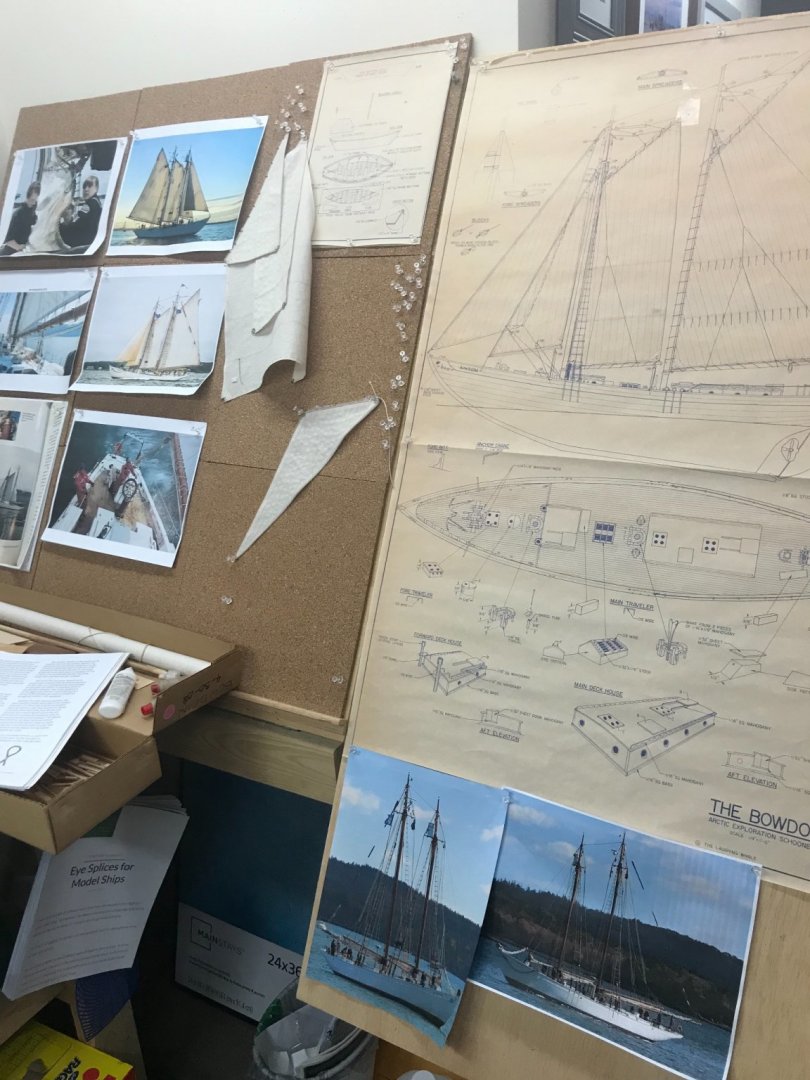
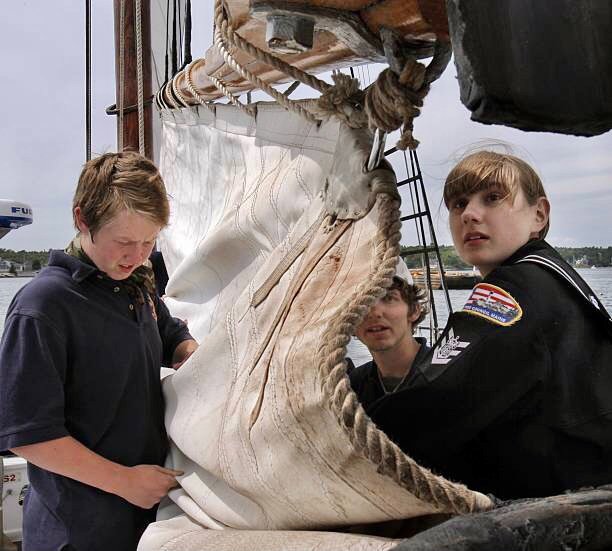
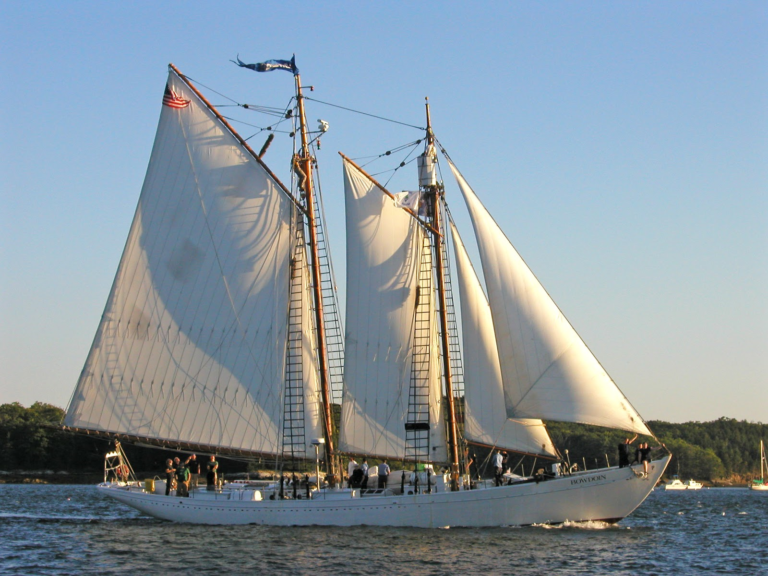
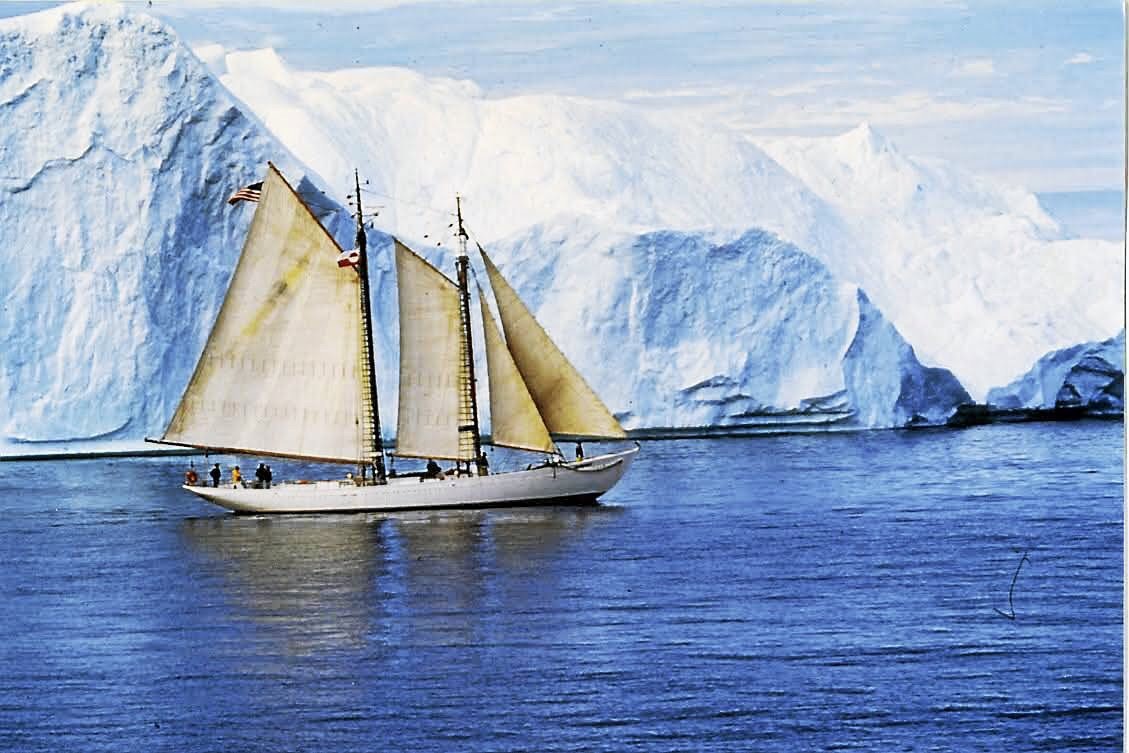
Got that Rope… Here is my inspiration photo for detailing the sails… Fore Sail now ready for mounting. Onwards 🍻
- 127 replies
-
- Bowdoin
- Arctic Exploration
-
(and 3 more)
Tagged with:
-
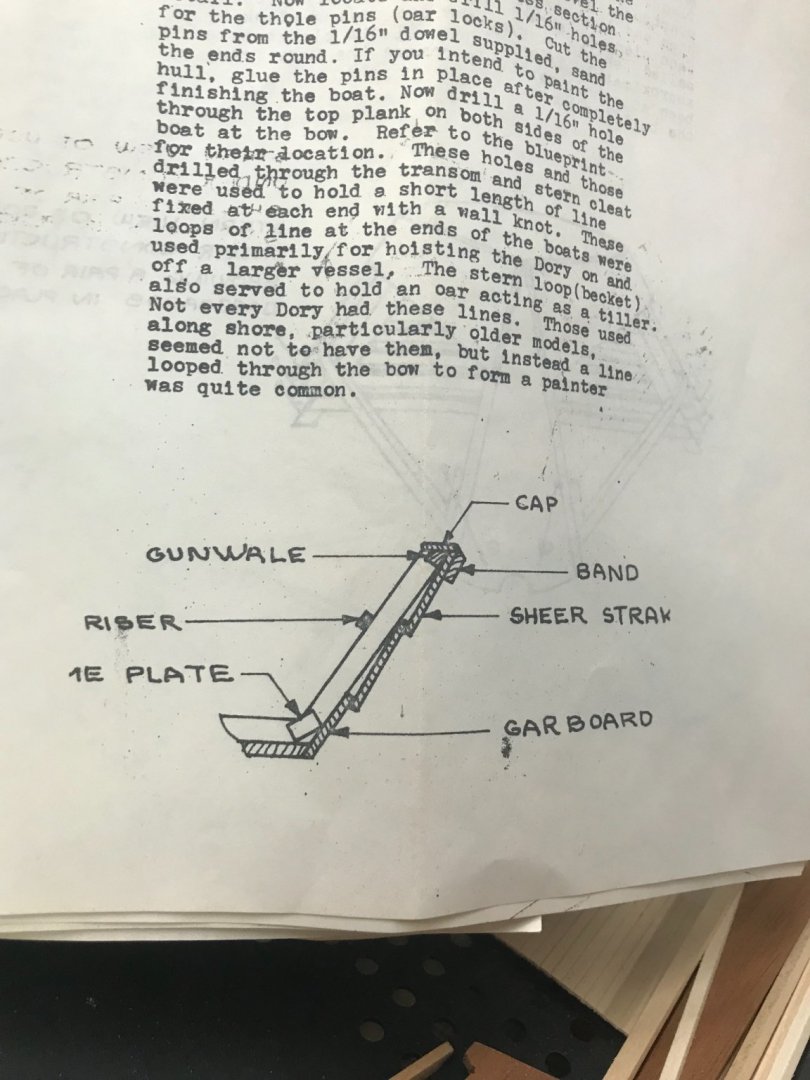
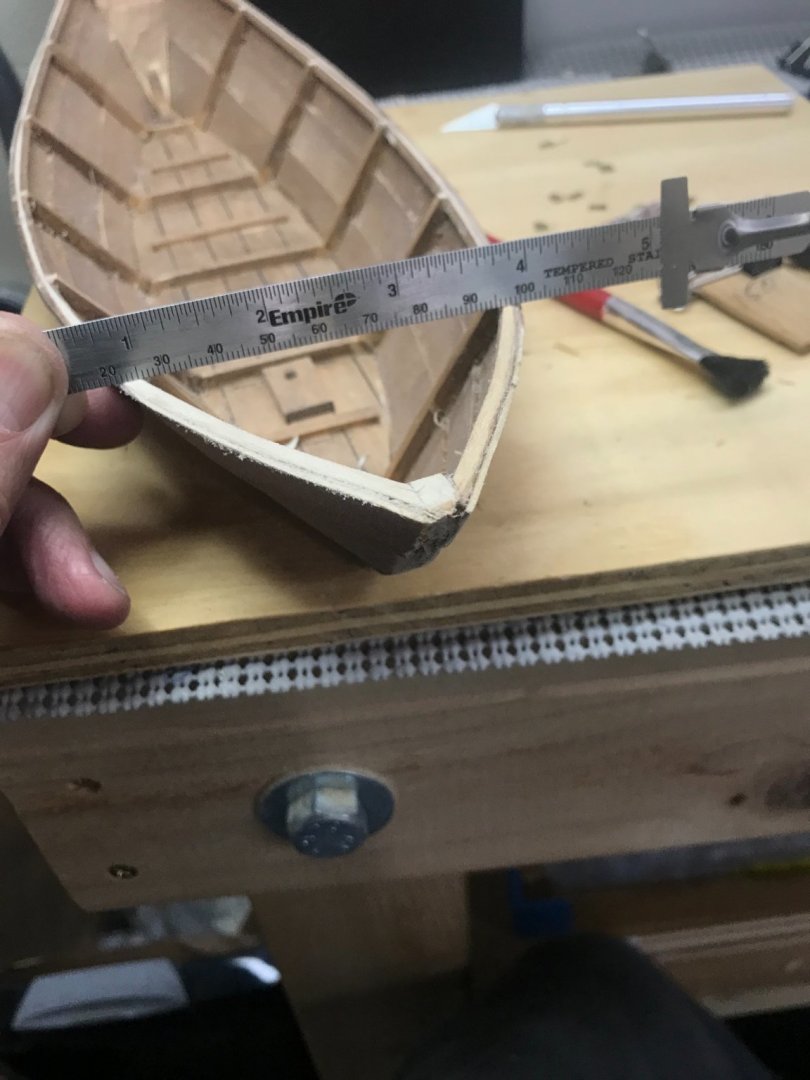
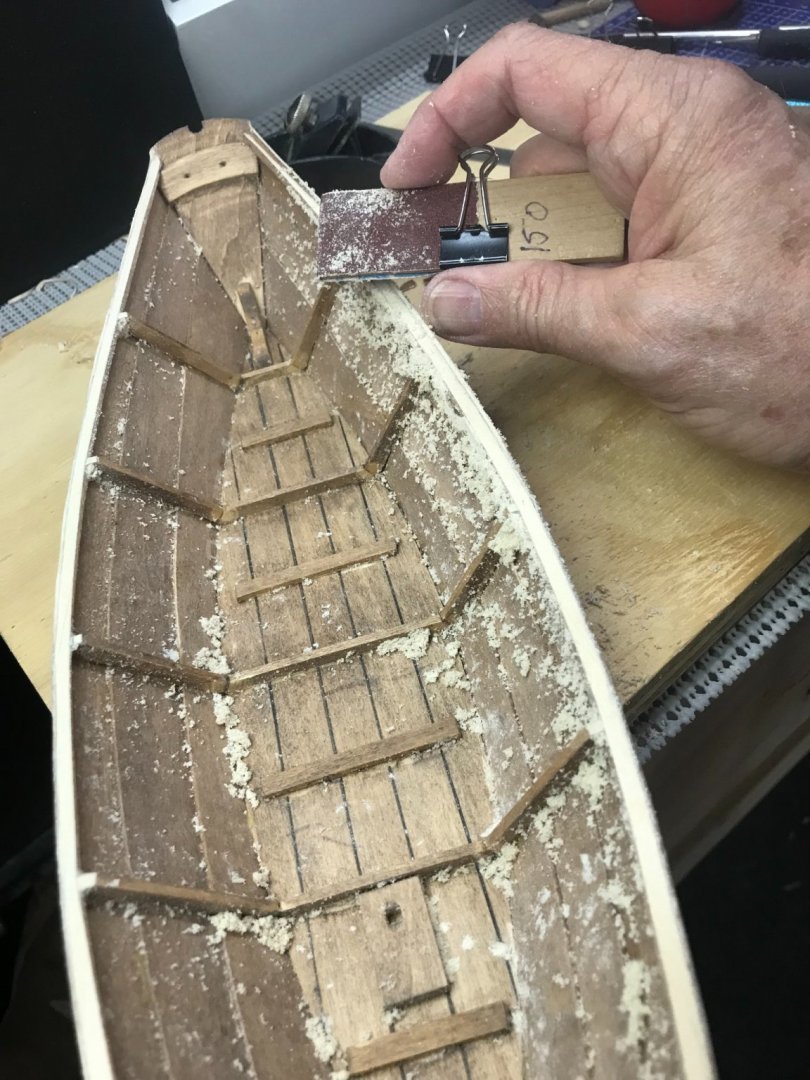
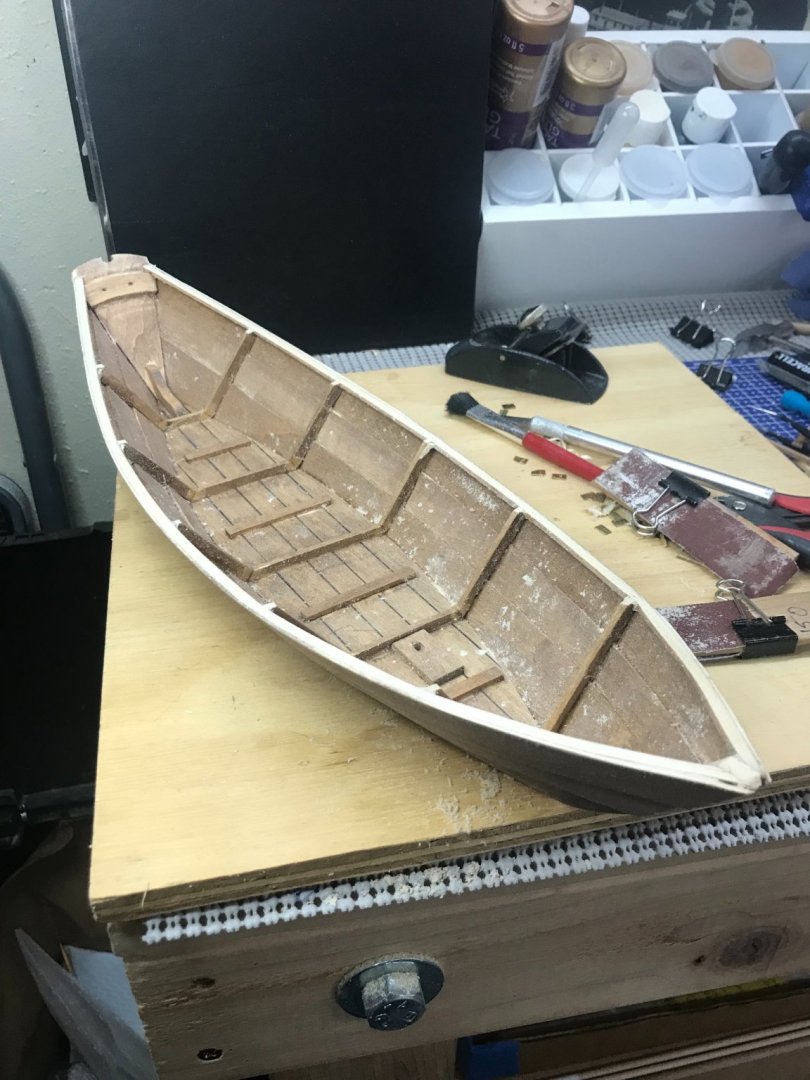
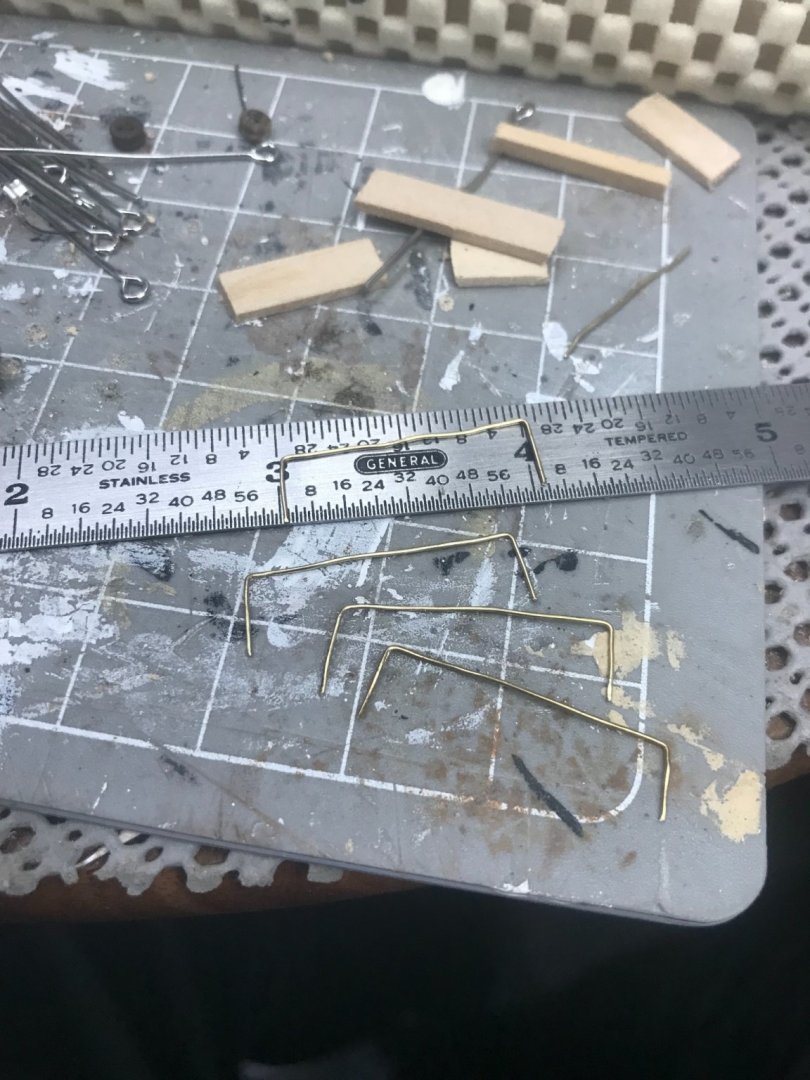
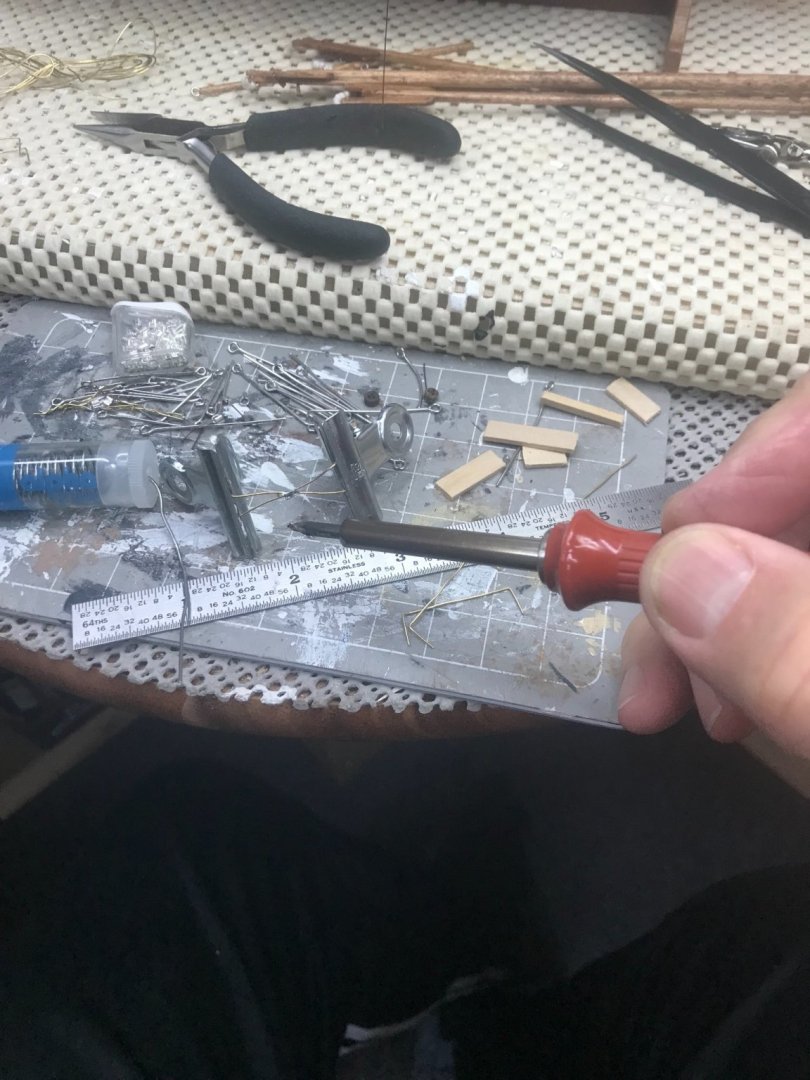
Gunwale Strake… Glue applied… Gunwale Strake set. Removed the frame above the Gunwale. Next, I will need to level the Gunwale in preparation for the Cap. Sanding with 150 grit to level the Gunwale. All set for the Cap Rail, after a once over clean up. I am replacing the brass supports after another coat of stain. I wasn’t happy with the fit and finish of the plates. There goes the OCD again, we will see how they come out. Cheers 🍻
- 22 replies
-
- Laughing Whale
- Dory
-
(and 1 more)
Tagged with:
-
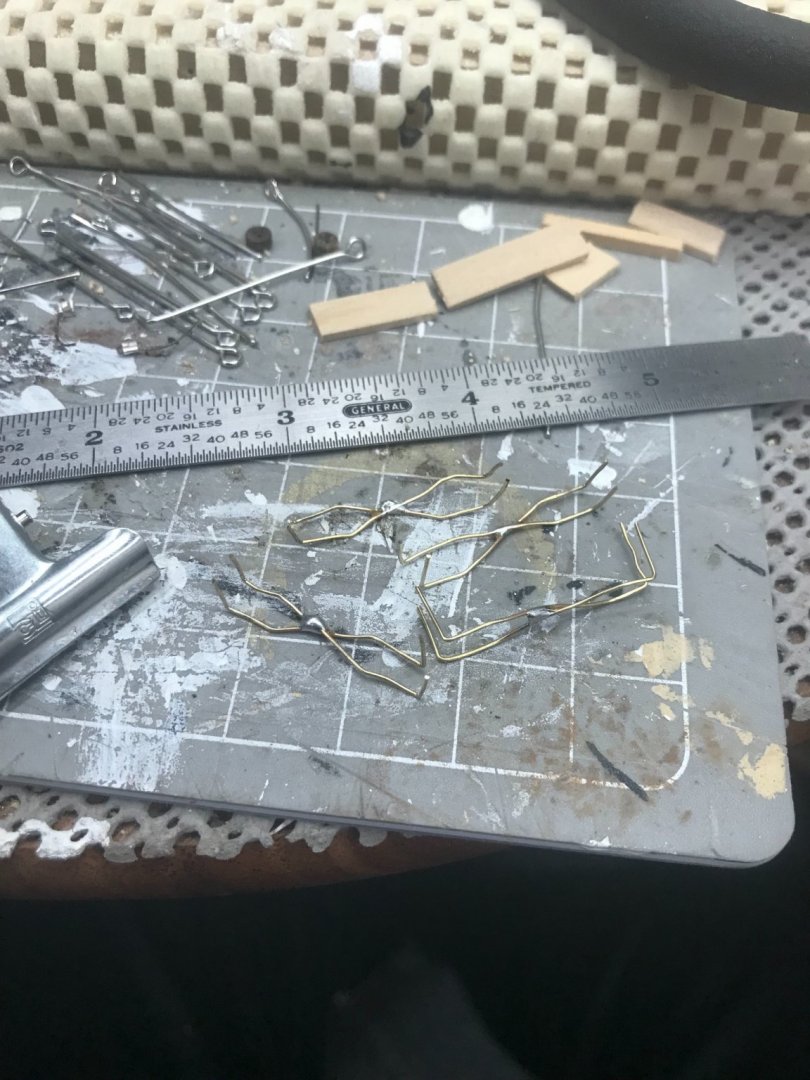
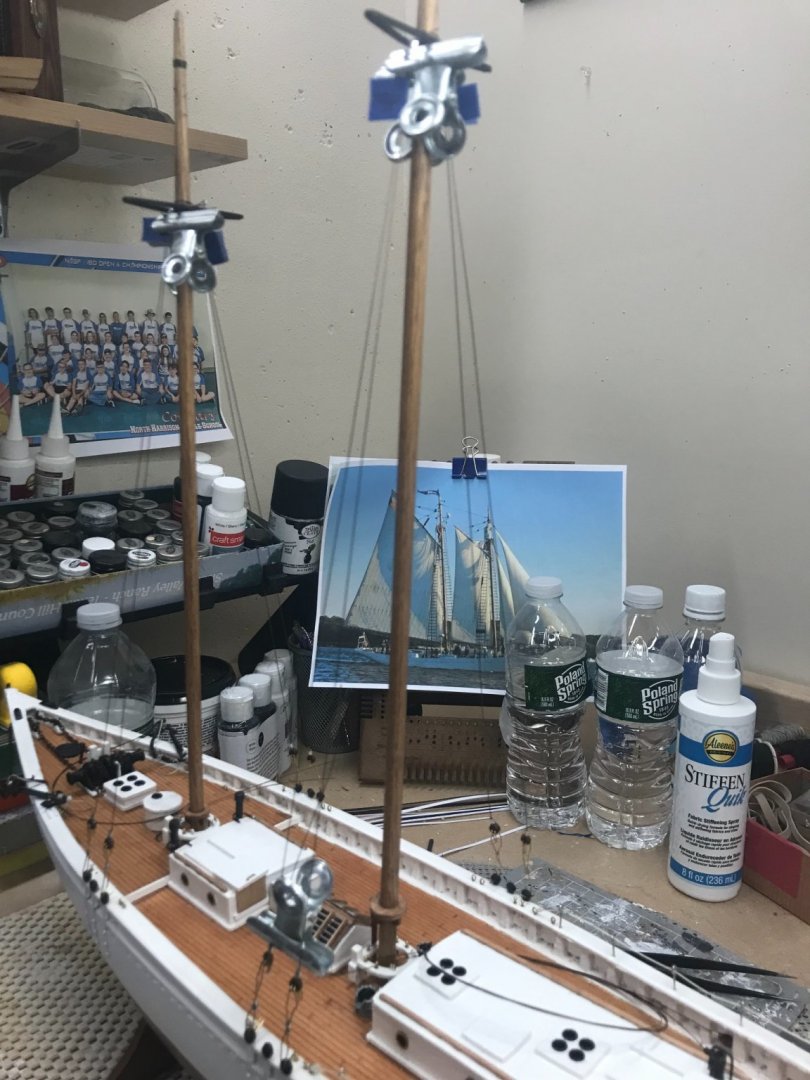
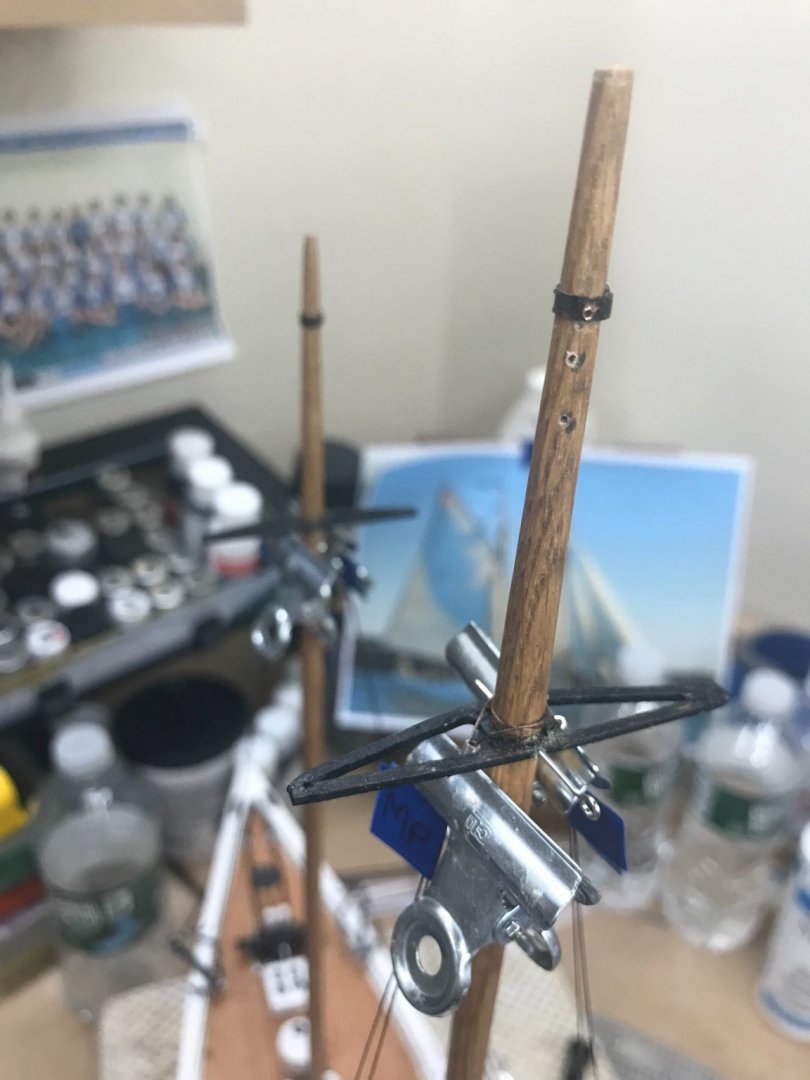
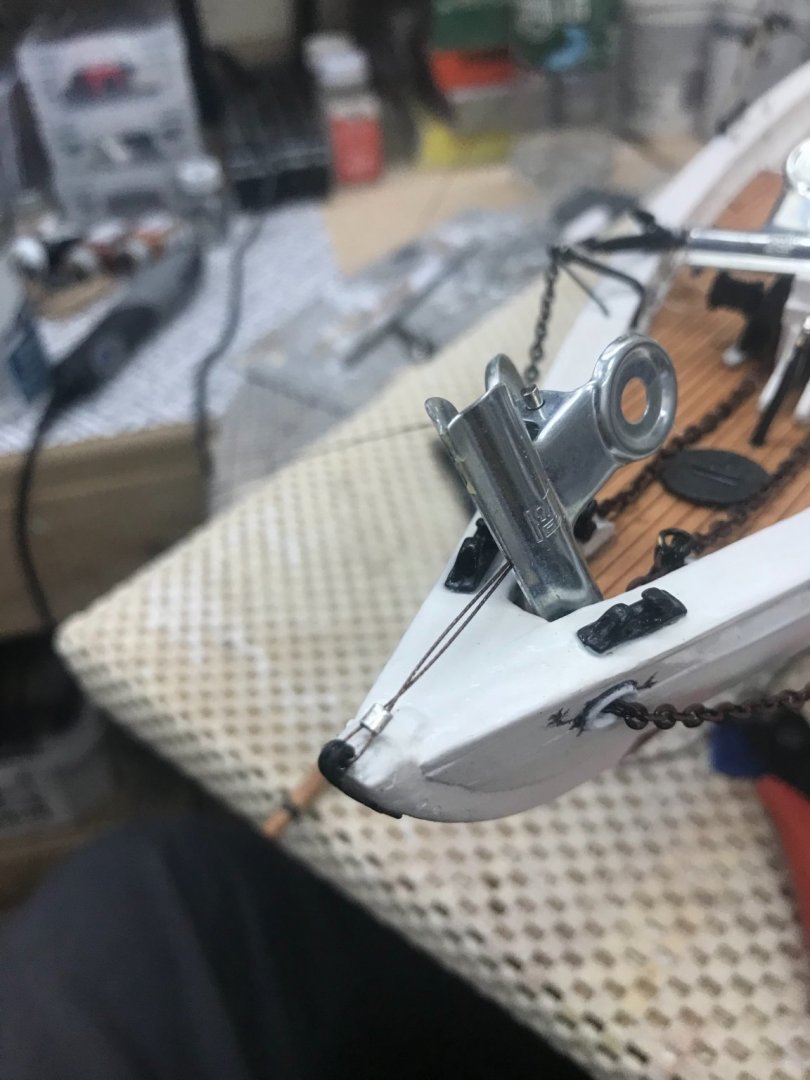
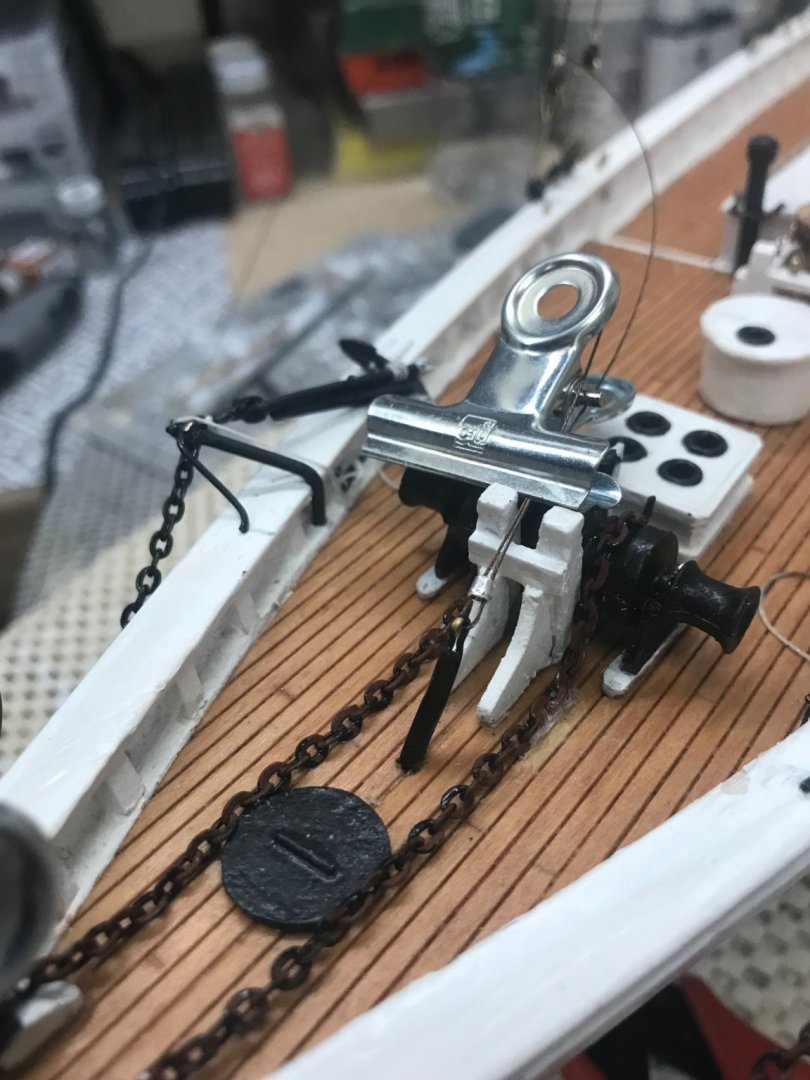
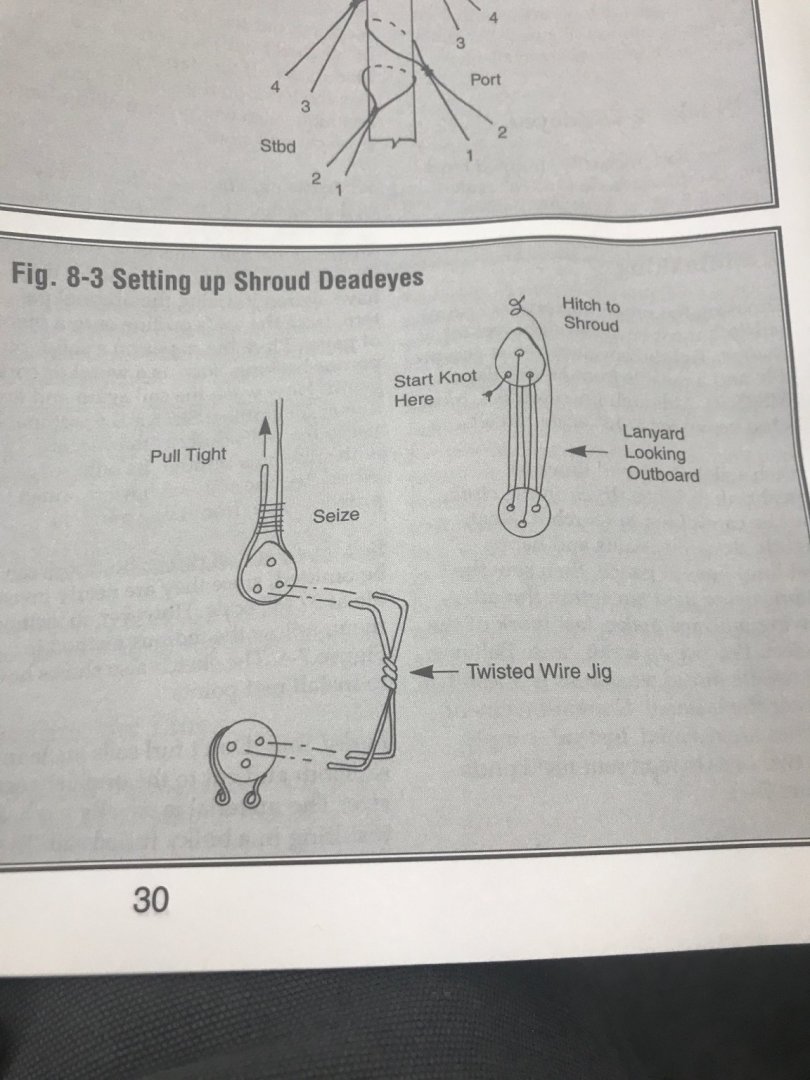
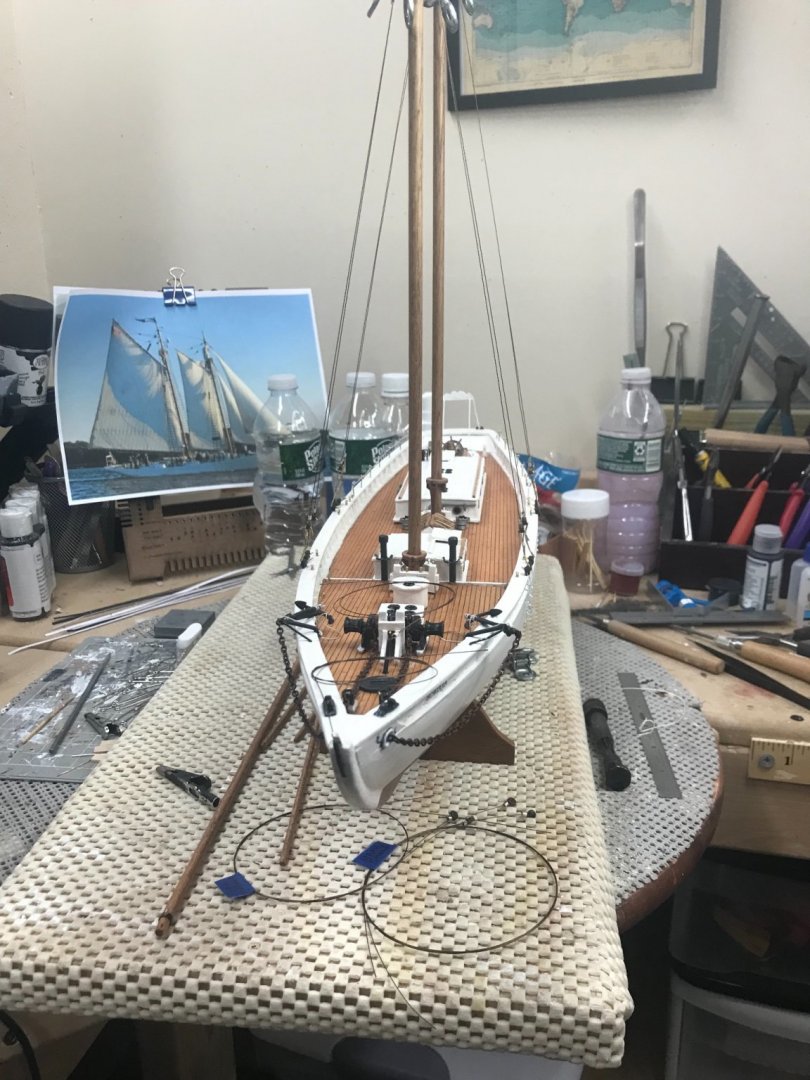
Shrouds and Forestays… While I wait on some rope from Model Expo, I’m going to set up the Shrouds and Forestays. Once rigged they will have to be removed to install the Main and Stay sails. That said, I’m using a jig taken from the Model Shipways Instruction booklet for the Bluenose. (From my, “can’t wait to build” stash. 😆 As easy as that… Fore and Main Shrouds… That was a bit tricky, I’m not going into the sorted details, but I got her done. 😎 Lower end of Forestays terminated. Shrouds and Forestays at the ready. Upper Shrouds terminated on the Deadeye lie in wait. 😎 Now where is that USPS Priority Mail with my rope? 😆 Later…
- 127 replies
-
- Bowdoin
- Arctic Exploration
-
(and 3 more)
Tagged with:
-
Second strake set, cleaning up some excess glue inside before gluing the last strake on to the Gunwale. later… 😎
- 22 replies
-
- Laughing Whale
- Dory
-
(and 1 more)
Tagged with:
-
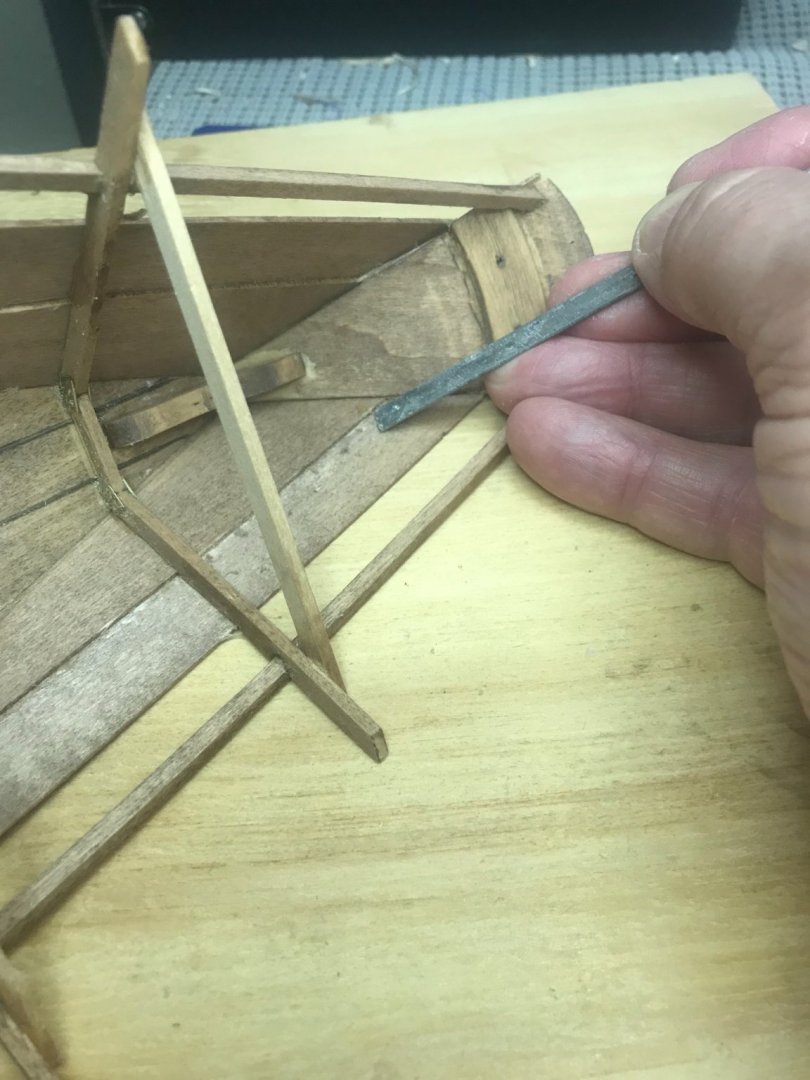
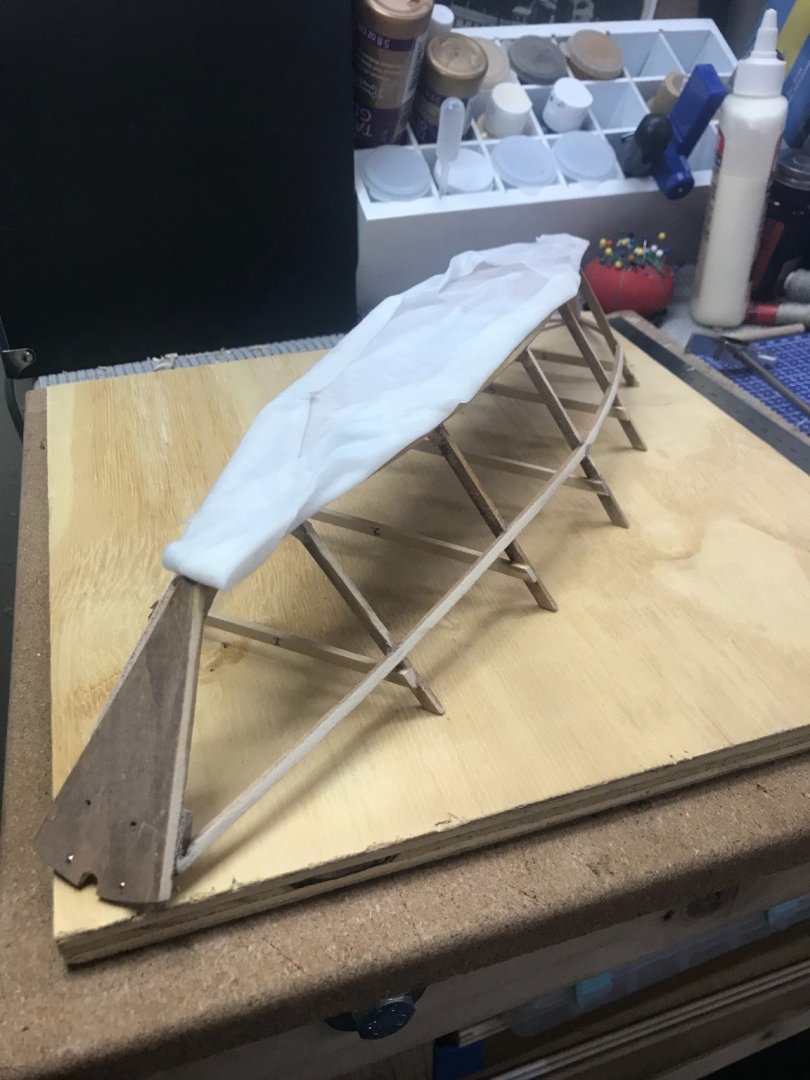
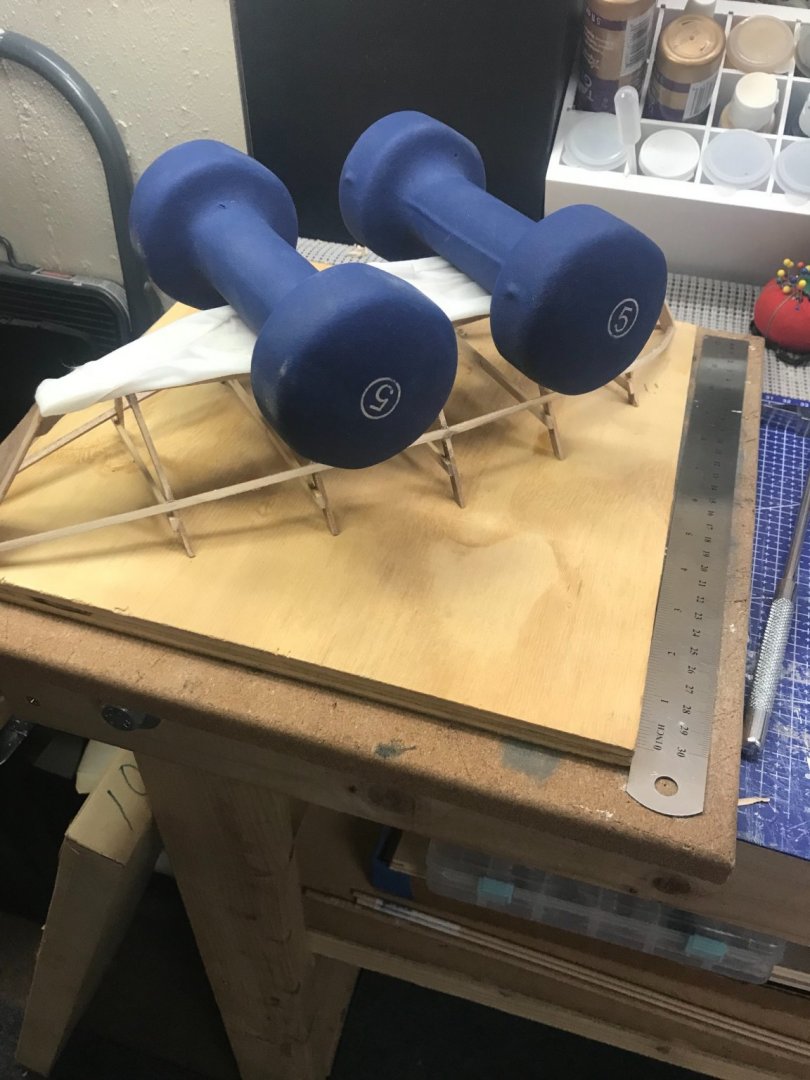
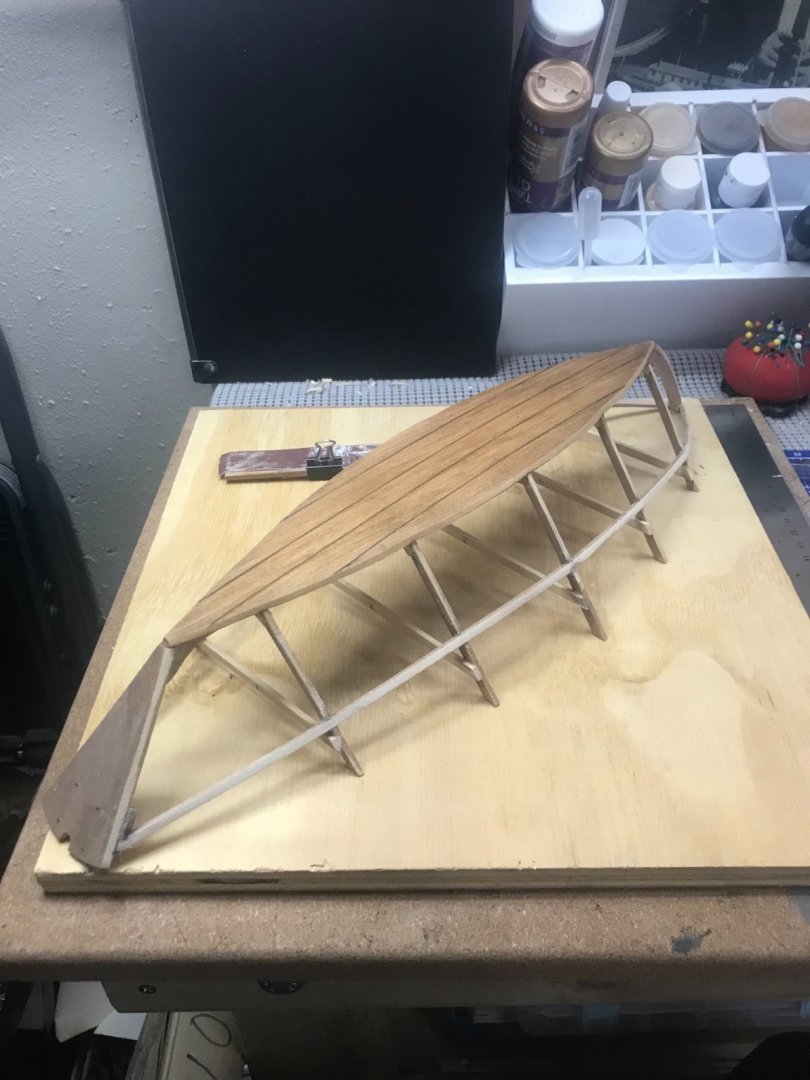
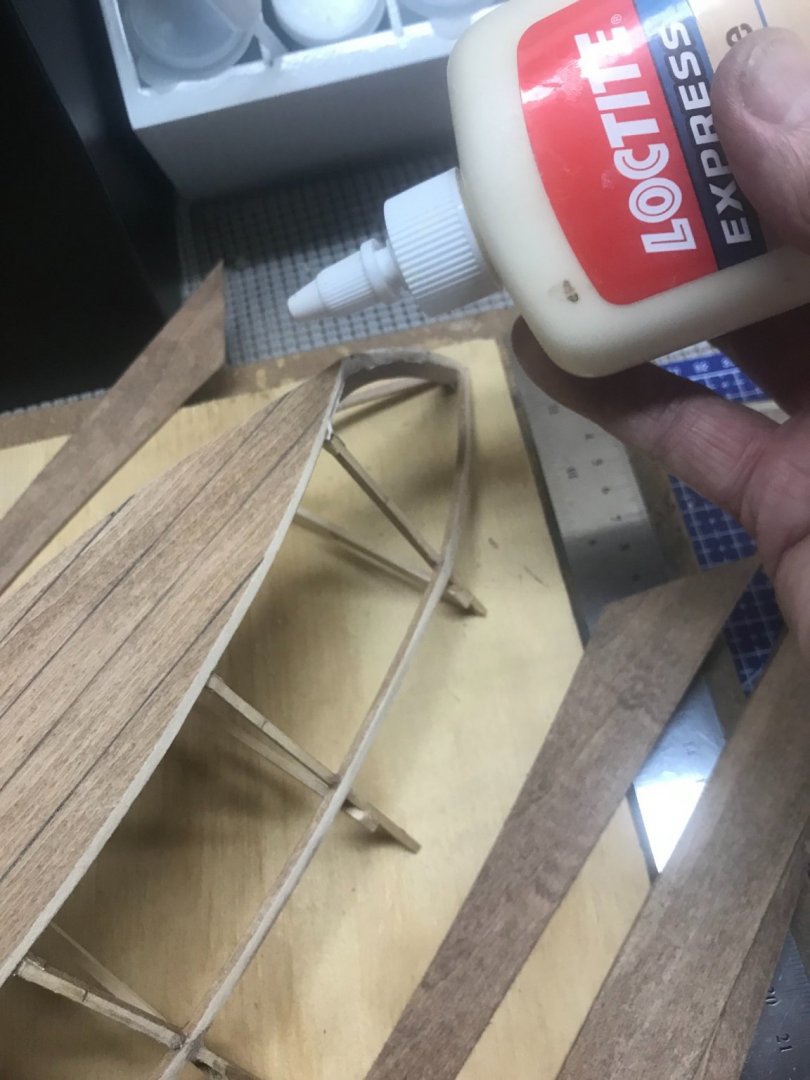
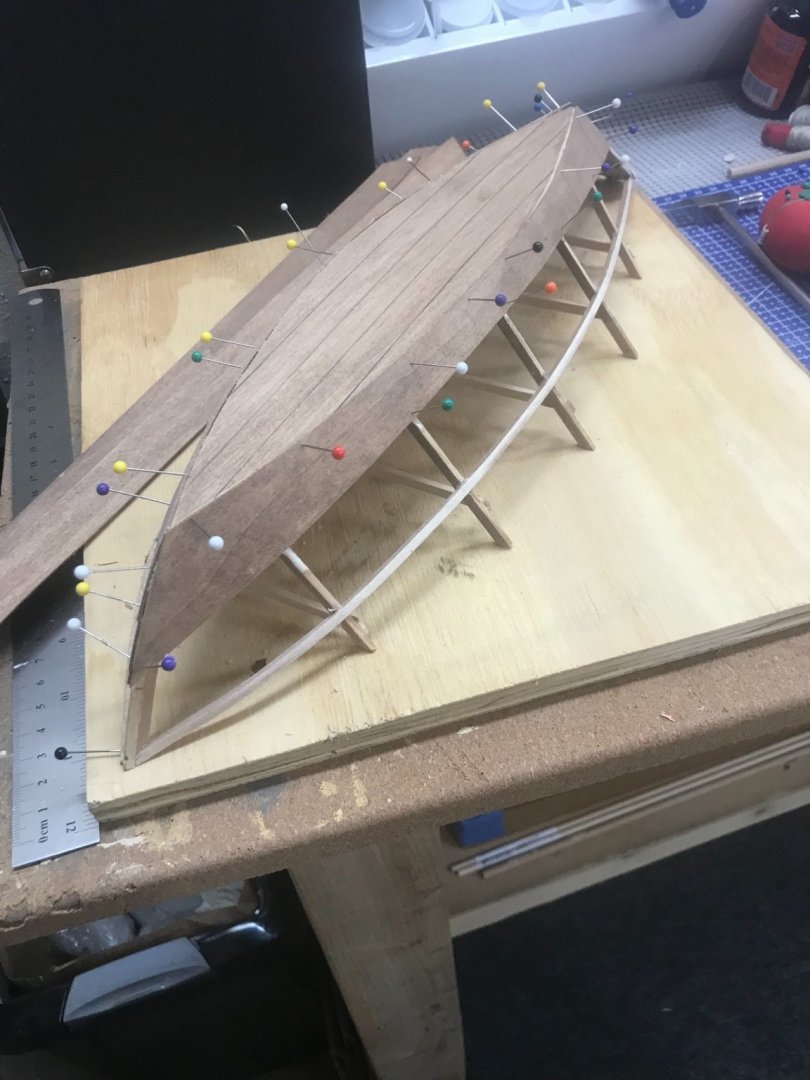
Strakes… I did not have the proper curve on the bottom of the dory. I believe it was the cork board I had it mounted to. I remounted to a good solid surface. Needed to soak the bottom with ammonia/water to get the wood the relax. Then had to use weights to get all off the frames to set down on the board. I let it dry out over night. Fared out the Frames, Gunwale and Deck to accept the strakes. These precuts were done nicely. Ran a bead of glue for the first strake or precut plank. Pinned the planks down… Sanded and/or carved away any excess material. Prepared for next strake to be set after stain has dried. Cheers 🍻
- 22 replies
-
- Laughing Whale
- Dory
-
(and 1 more)
Tagged with:
-
Thank you for the compliment, but I only do this to avoid paying those sailmaker’s prices 😆 Besides, No one could afford my prices. LOL 😂 Thanks, it is getting easier… 🍻
- 127 replies
-
- Bowdoin
- Arctic Exploration
-
(and 3 more)
Tagged with:
-
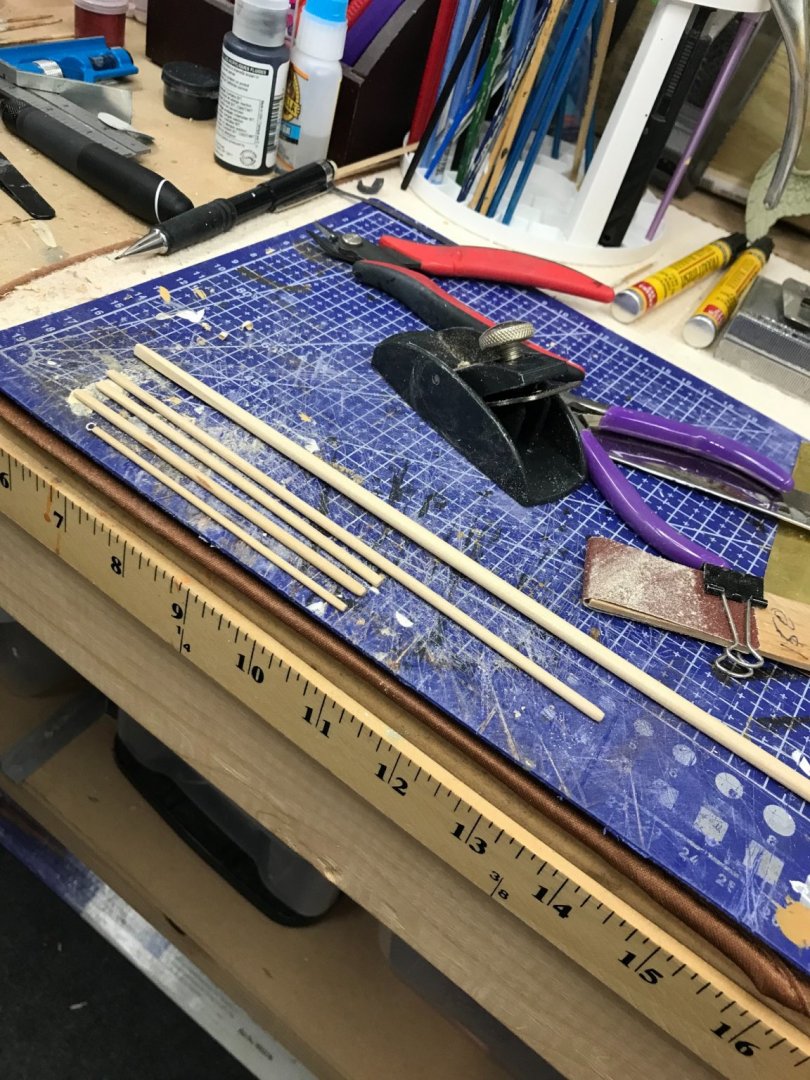
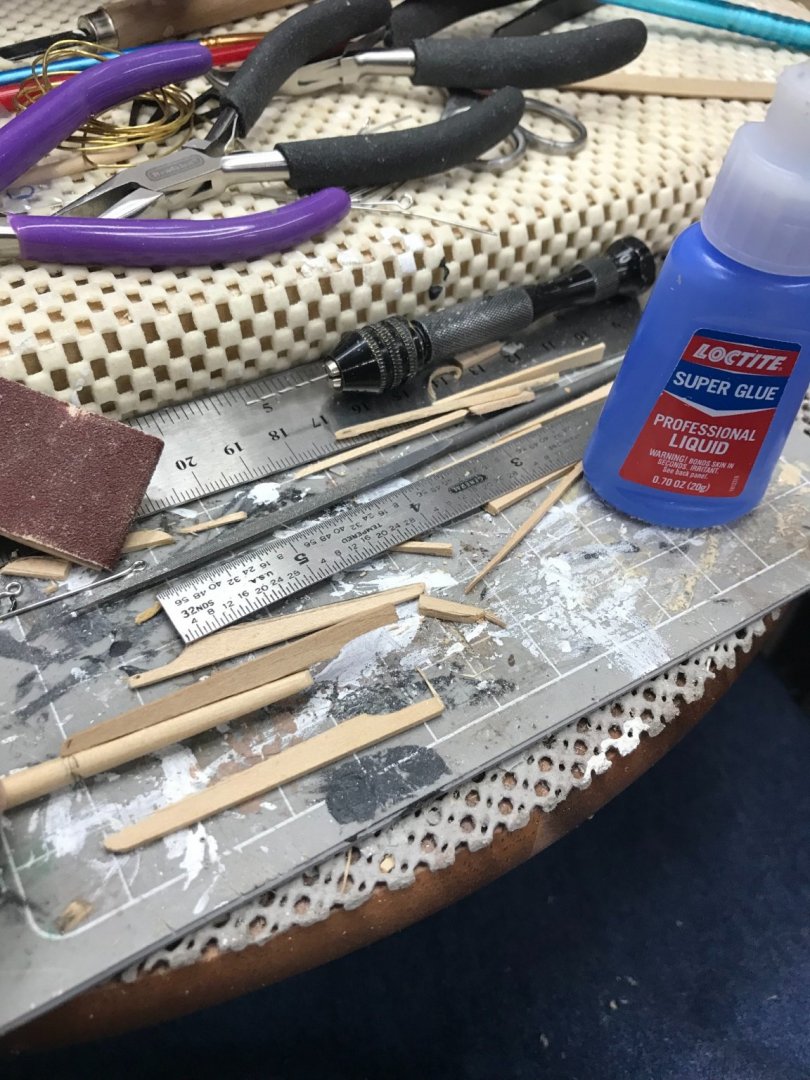
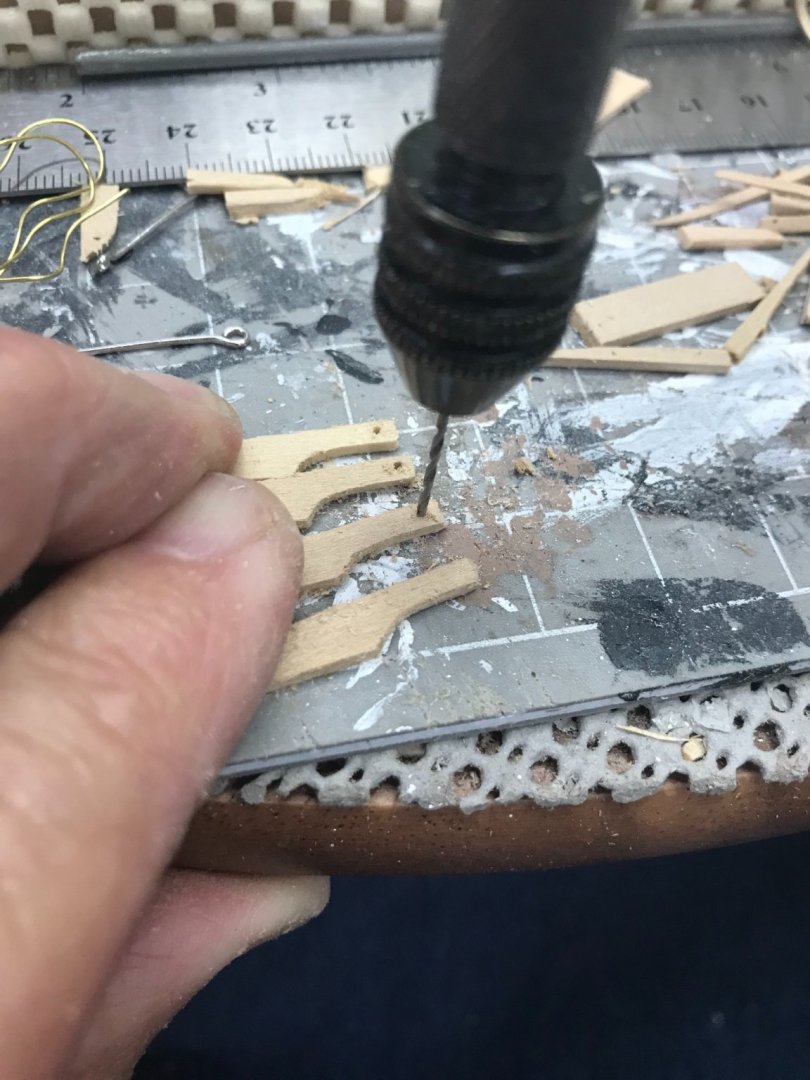
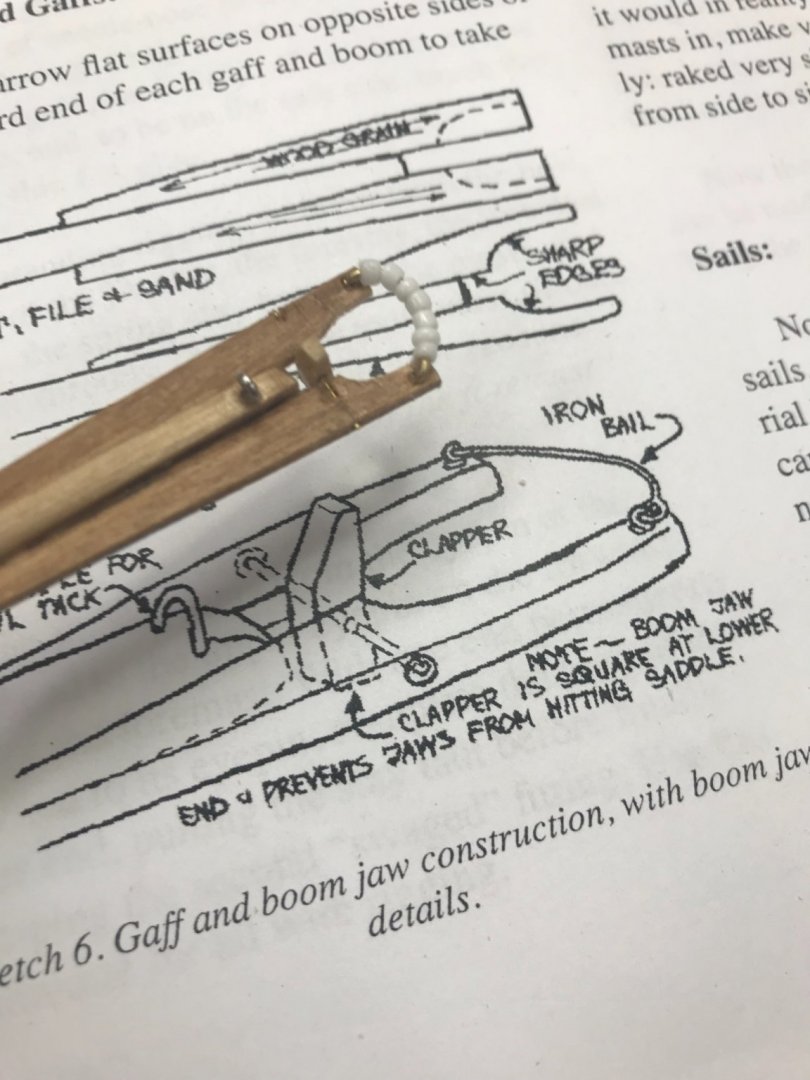
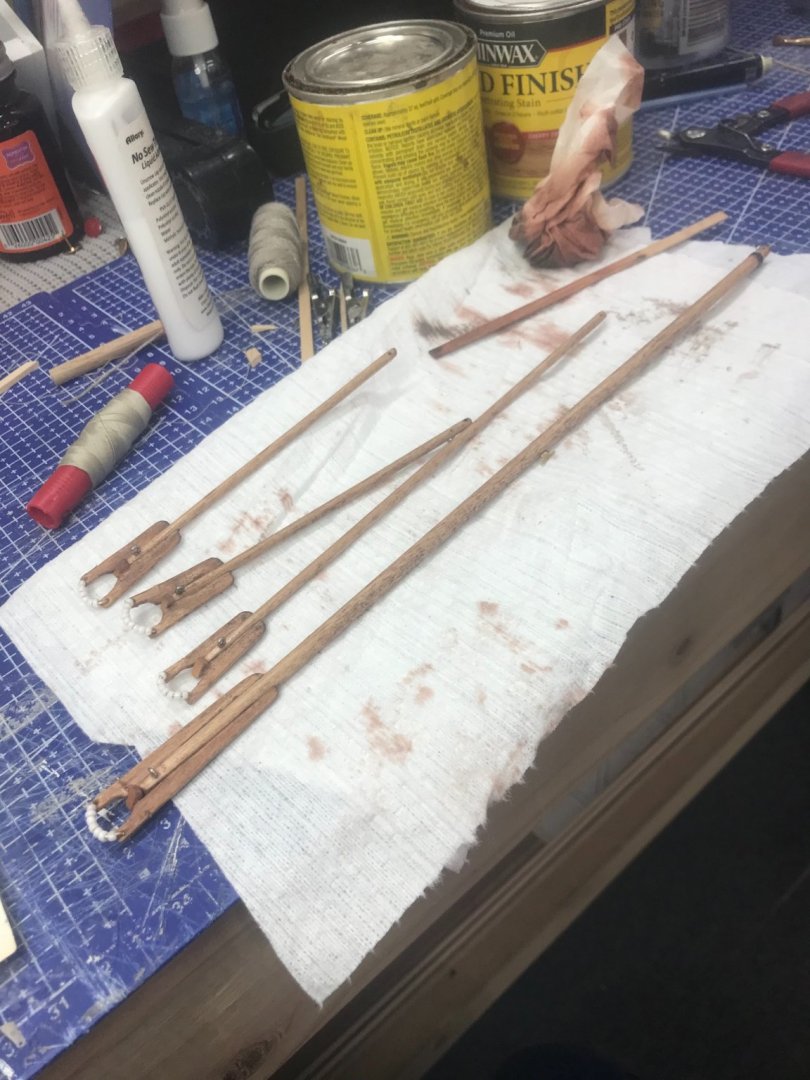
Booms and Gaffs… Booms and Gaffs tapered… Cutting the yoke out of 1/16 left over planking. Main boom completed… All set… Cheers 🍻
- 127 replies
-
- Bowdoin
- Arctic Exploration
-
(and 3 more)
Tagged with:
-
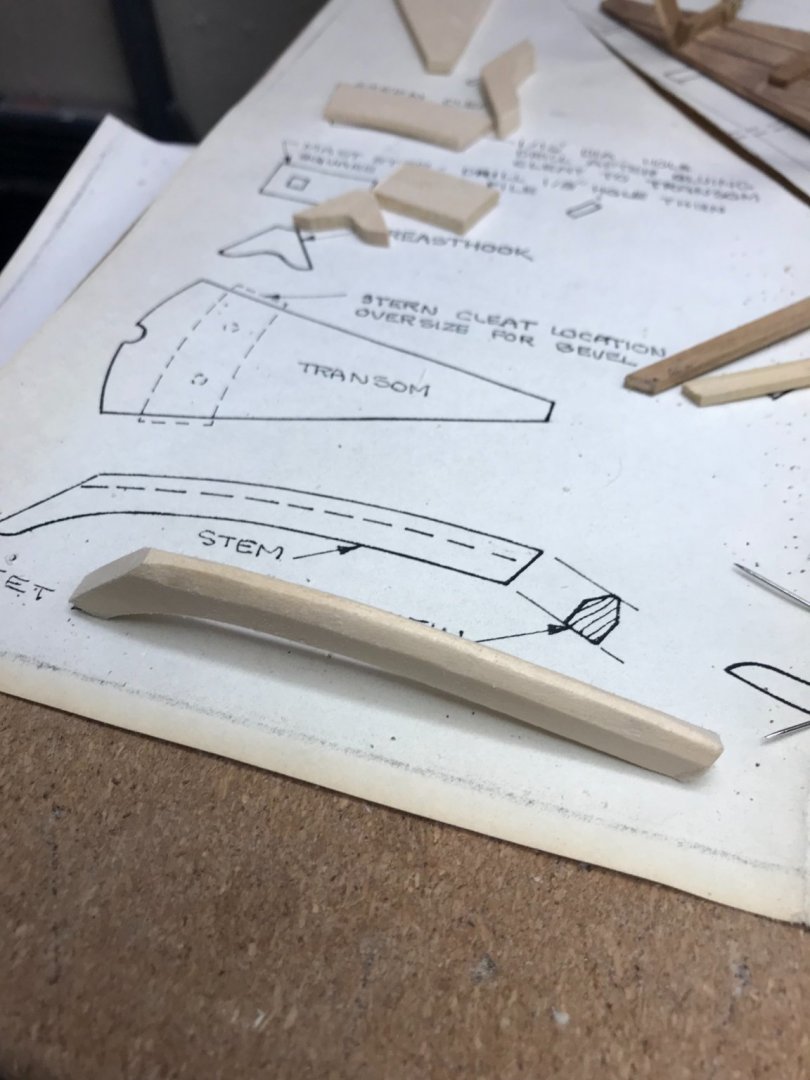
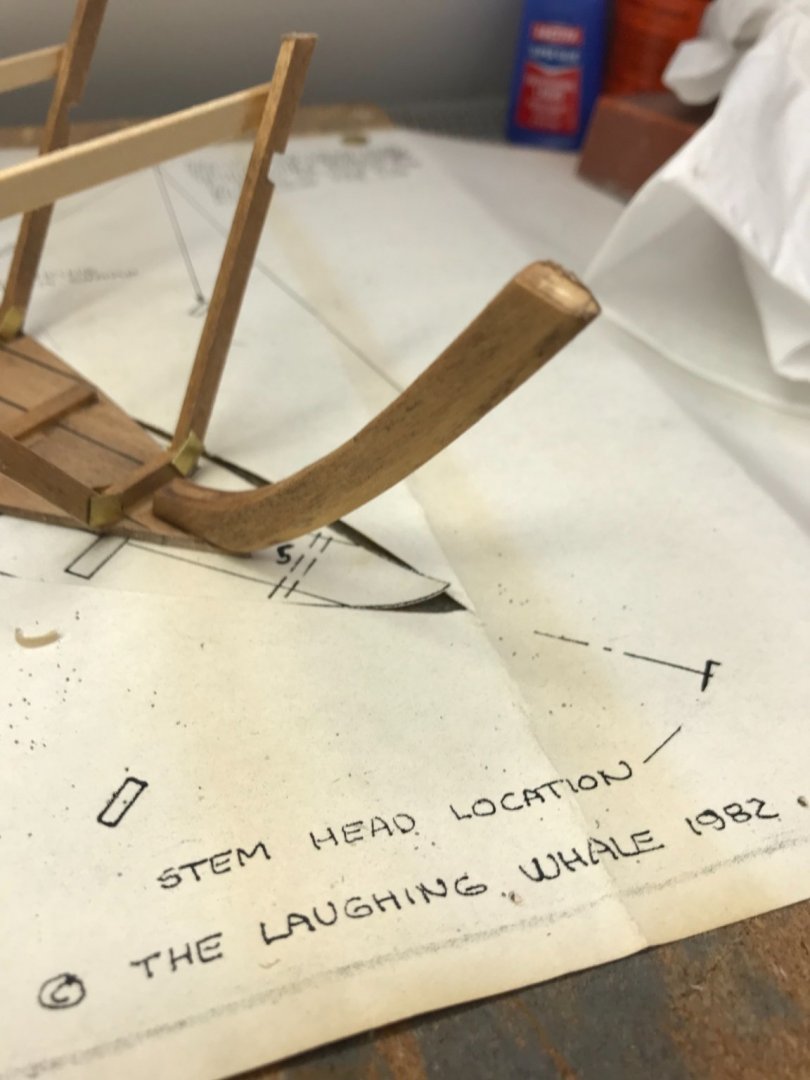
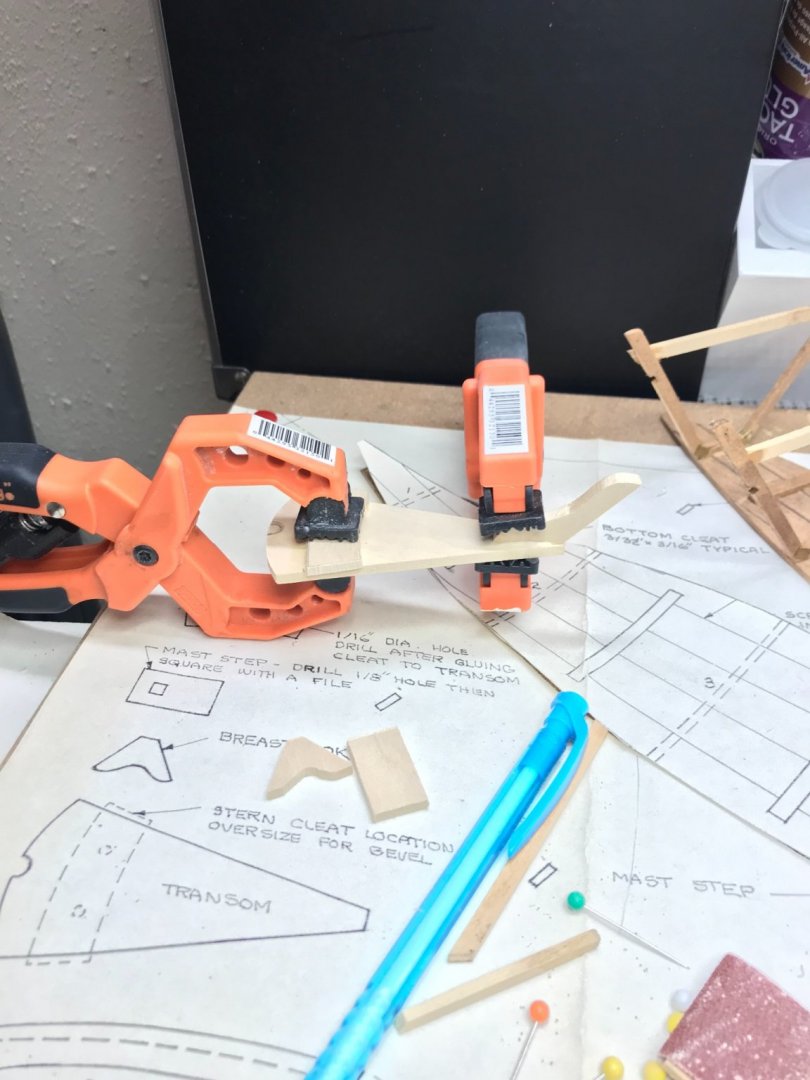
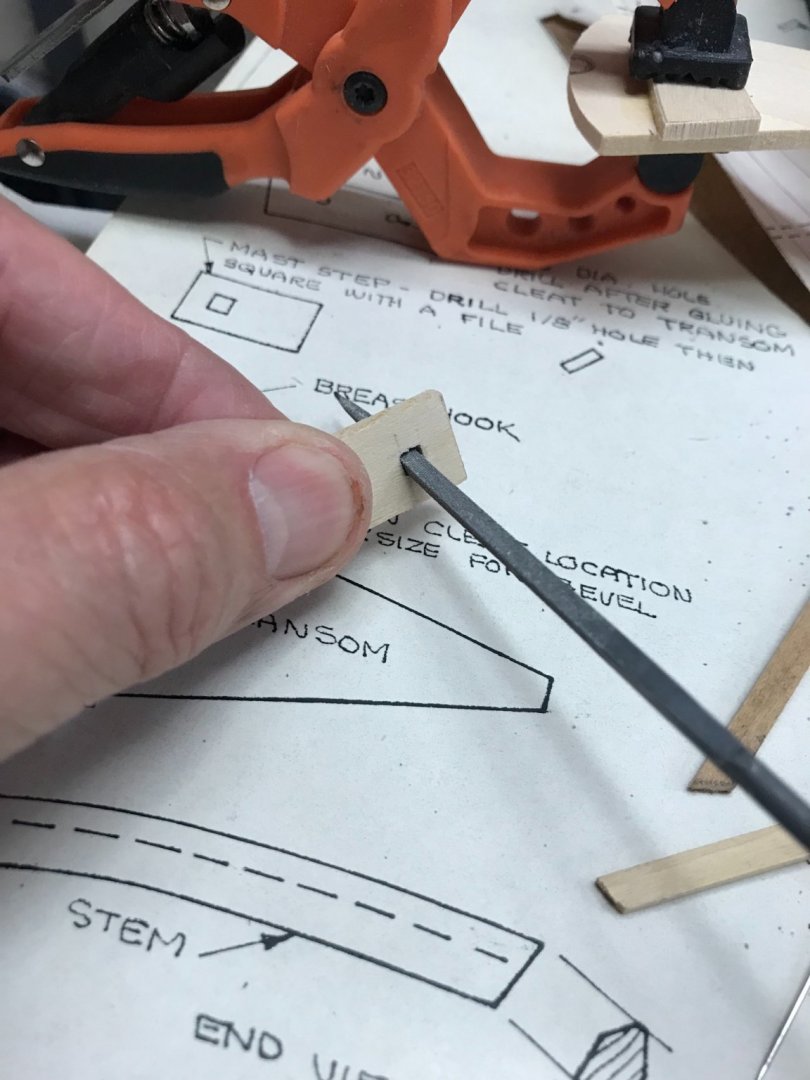
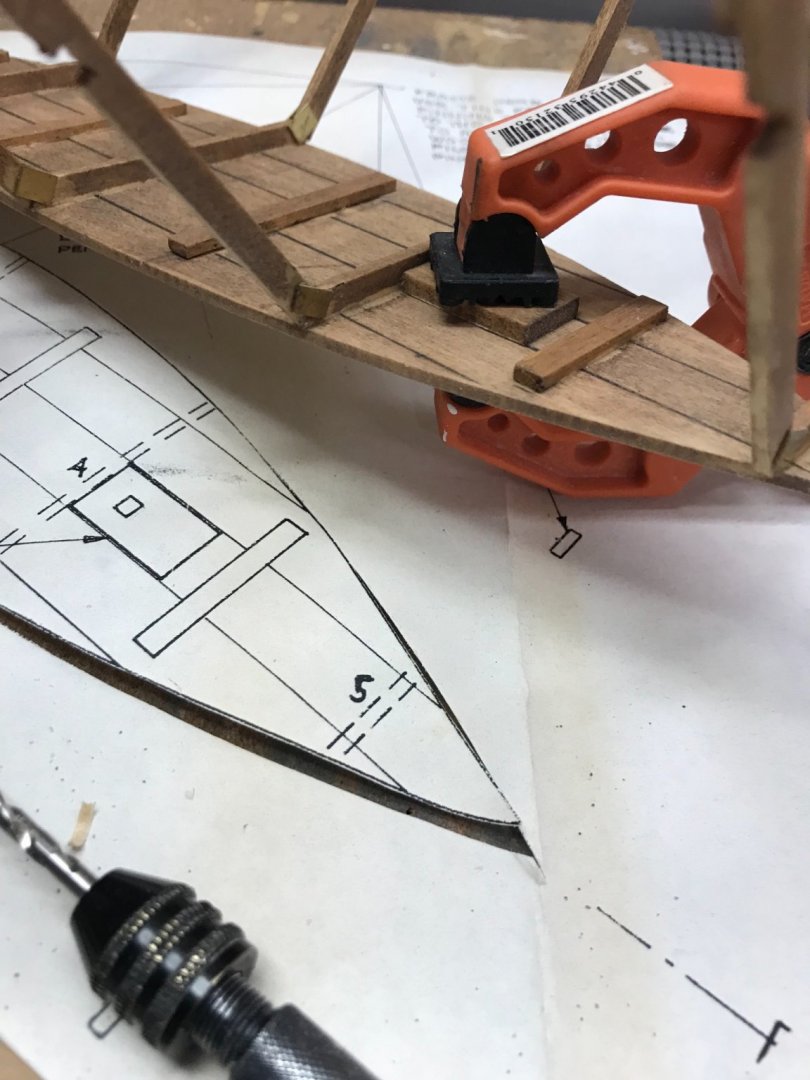
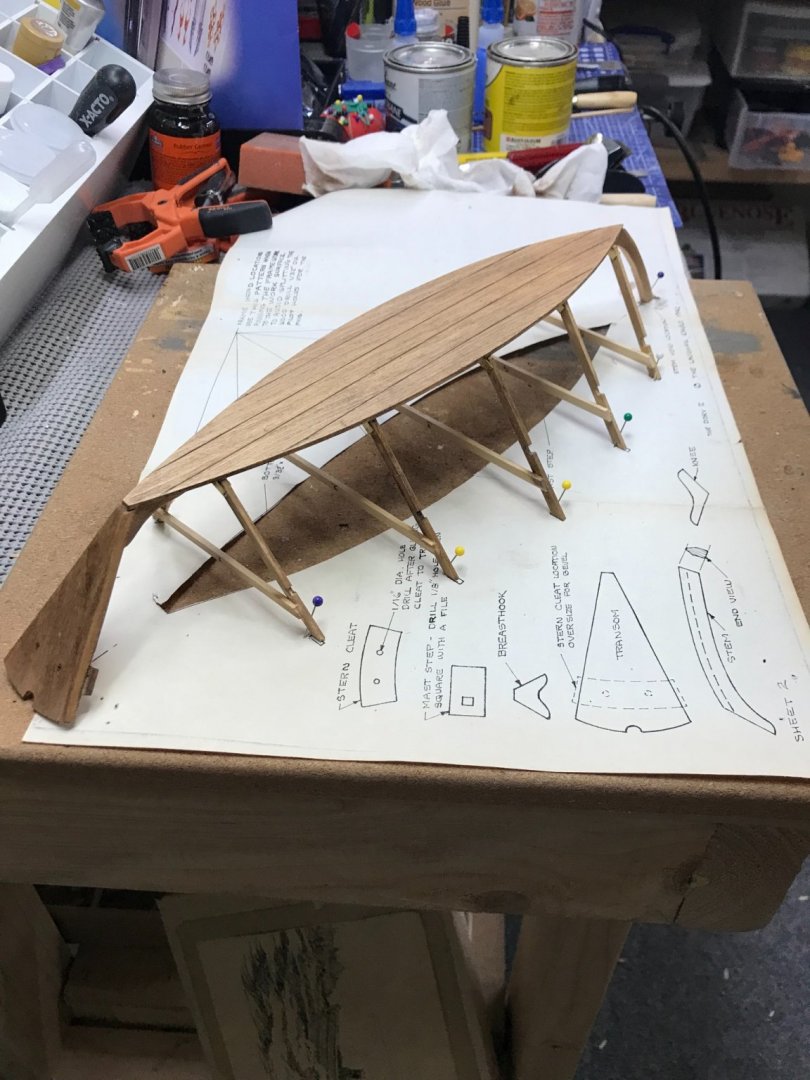
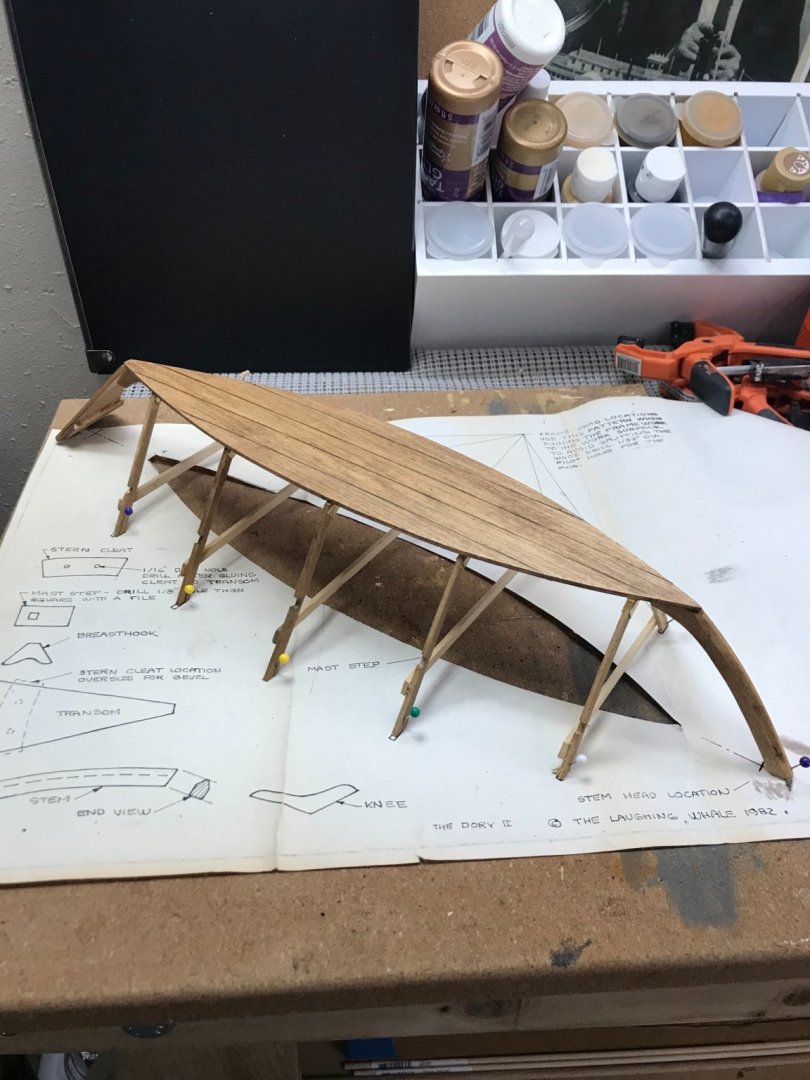
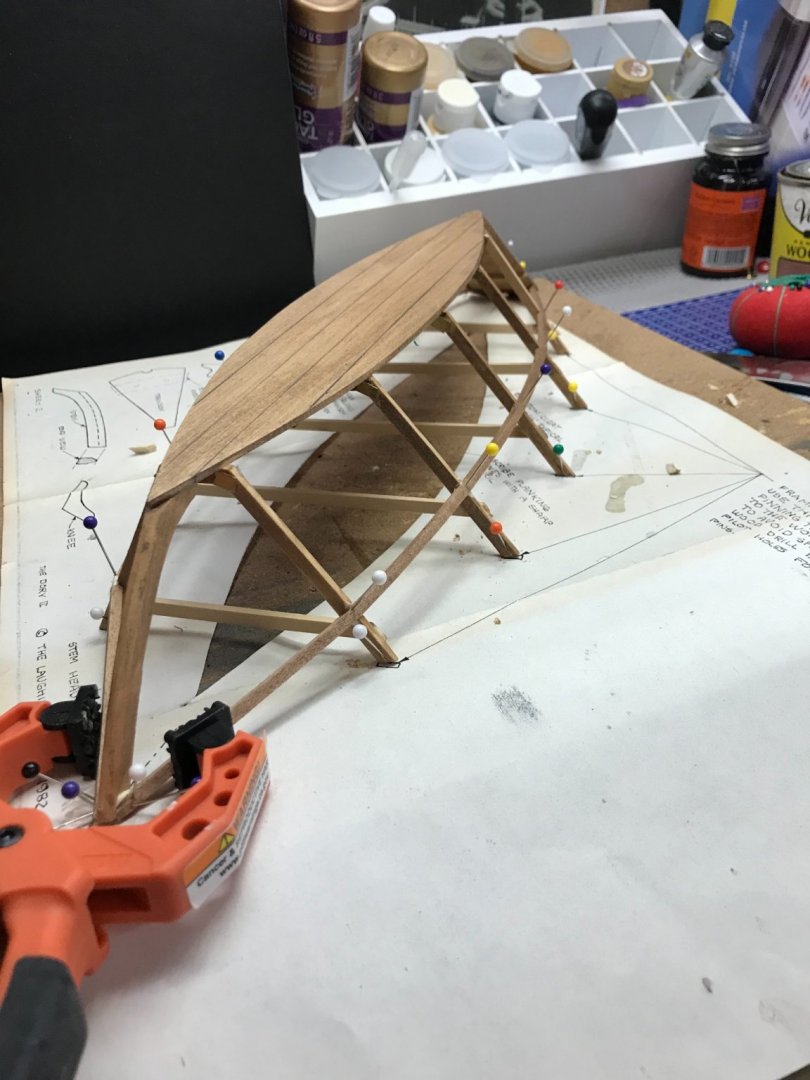
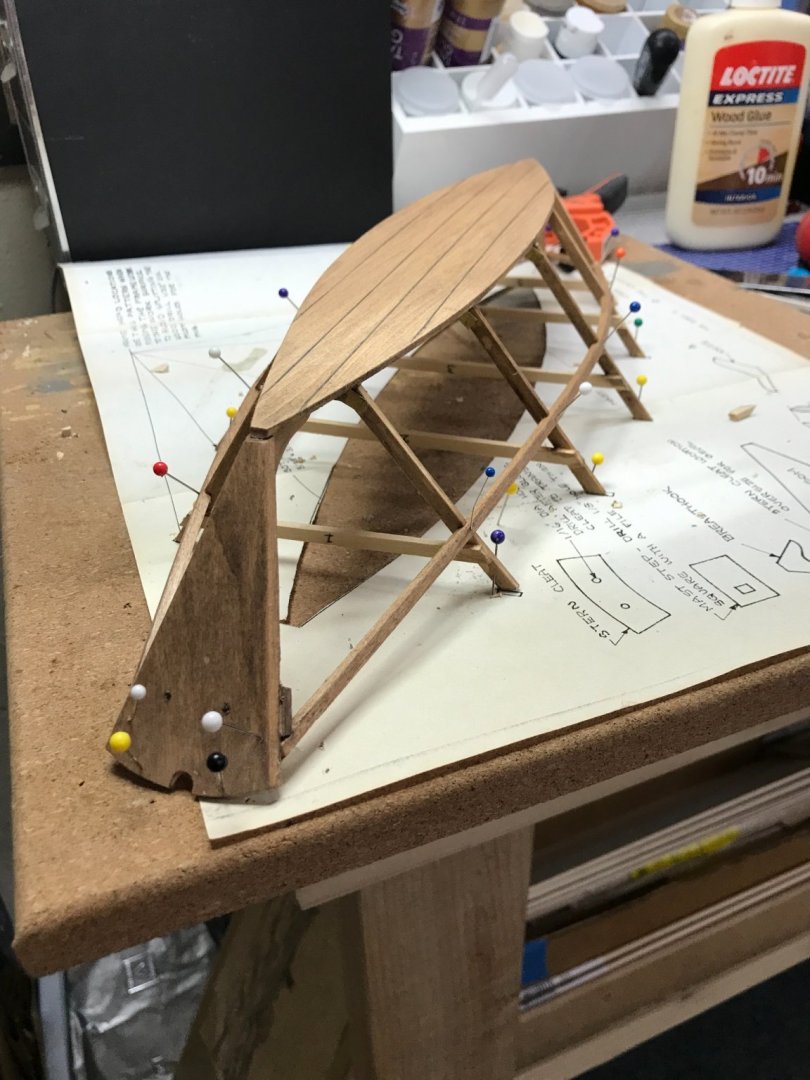
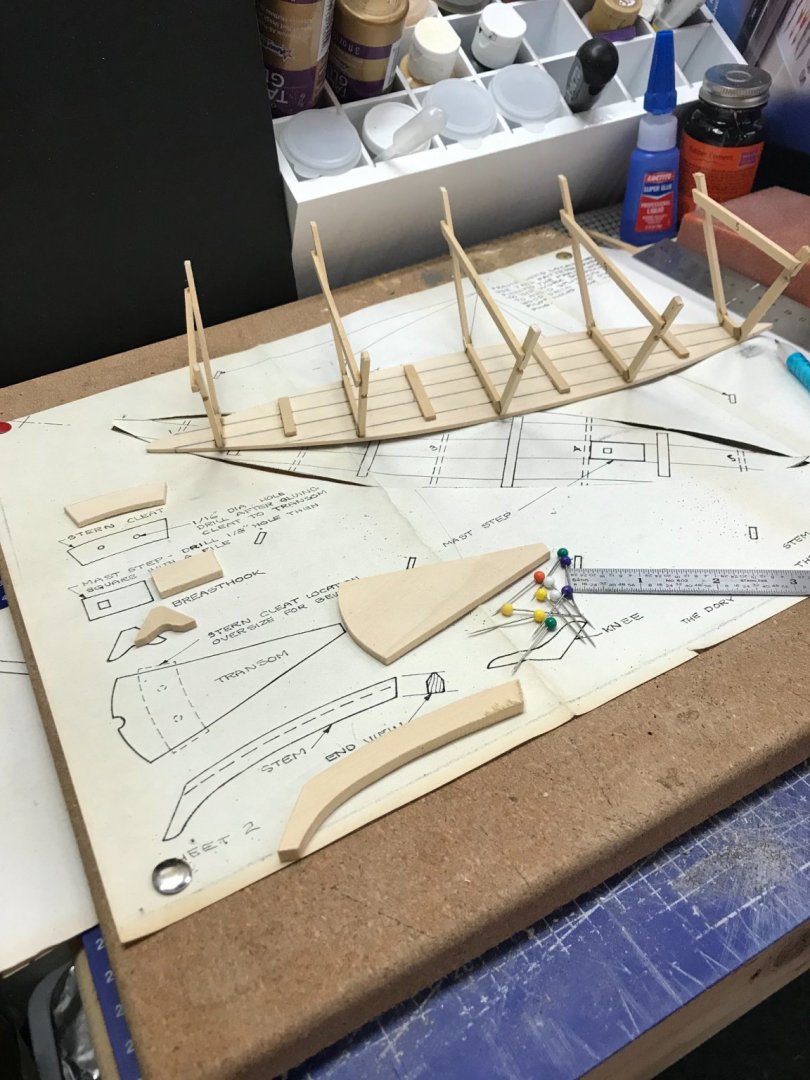
Stem and Stern… Beveling of the stem… Attaching the Stem… Assembly of the Transom… The Mast step… Frame assembly mounted to the construction board. Gunwale glued up, pinned and clamped. Later… 😎
- 22 replies
-
- Laughing Whale
- Dory
-
(and 1 more)
Tagged with:
-
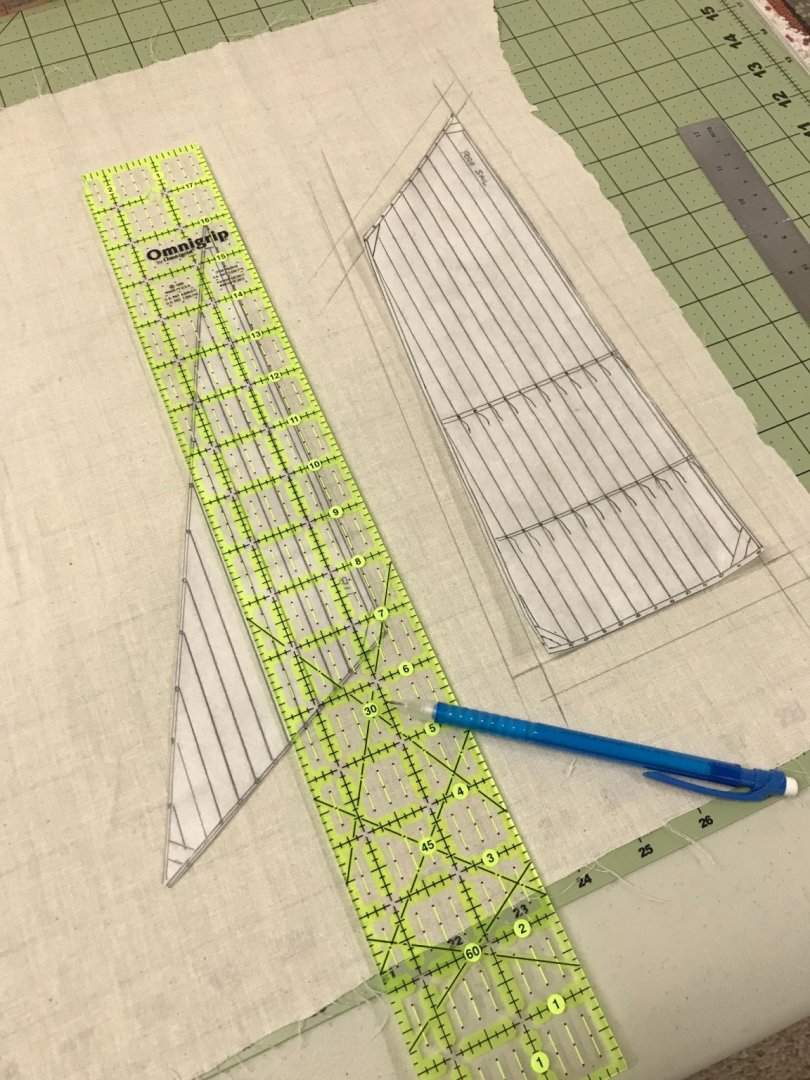
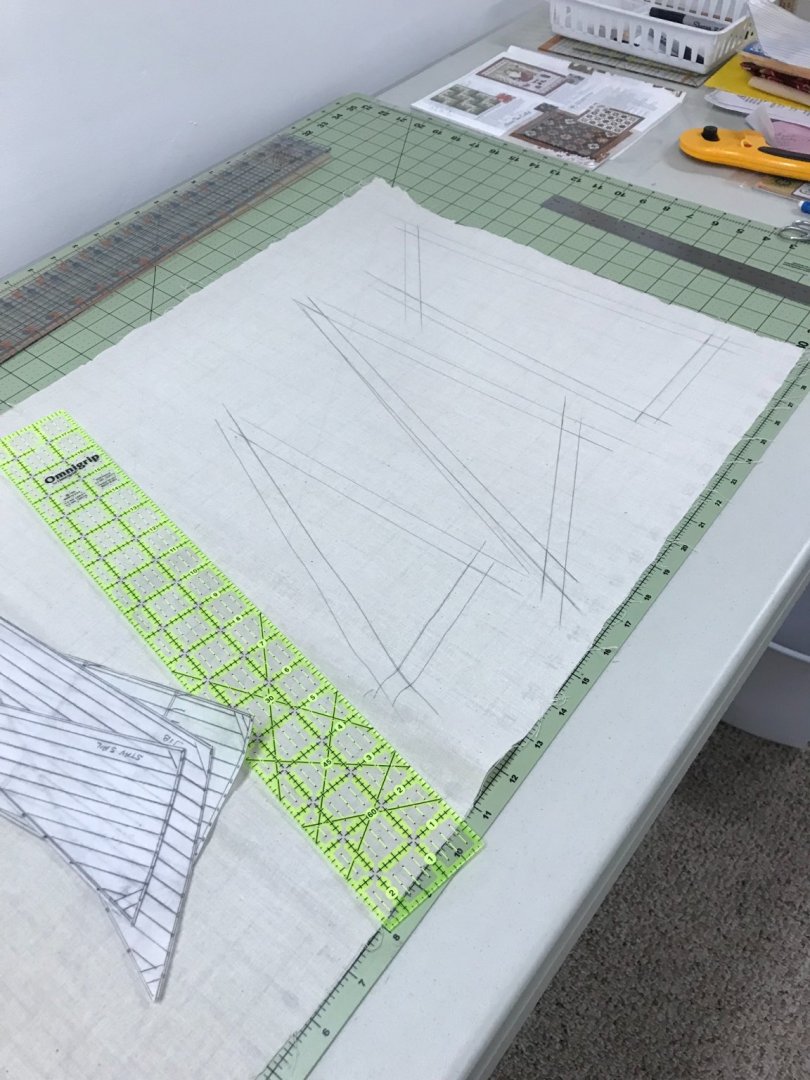
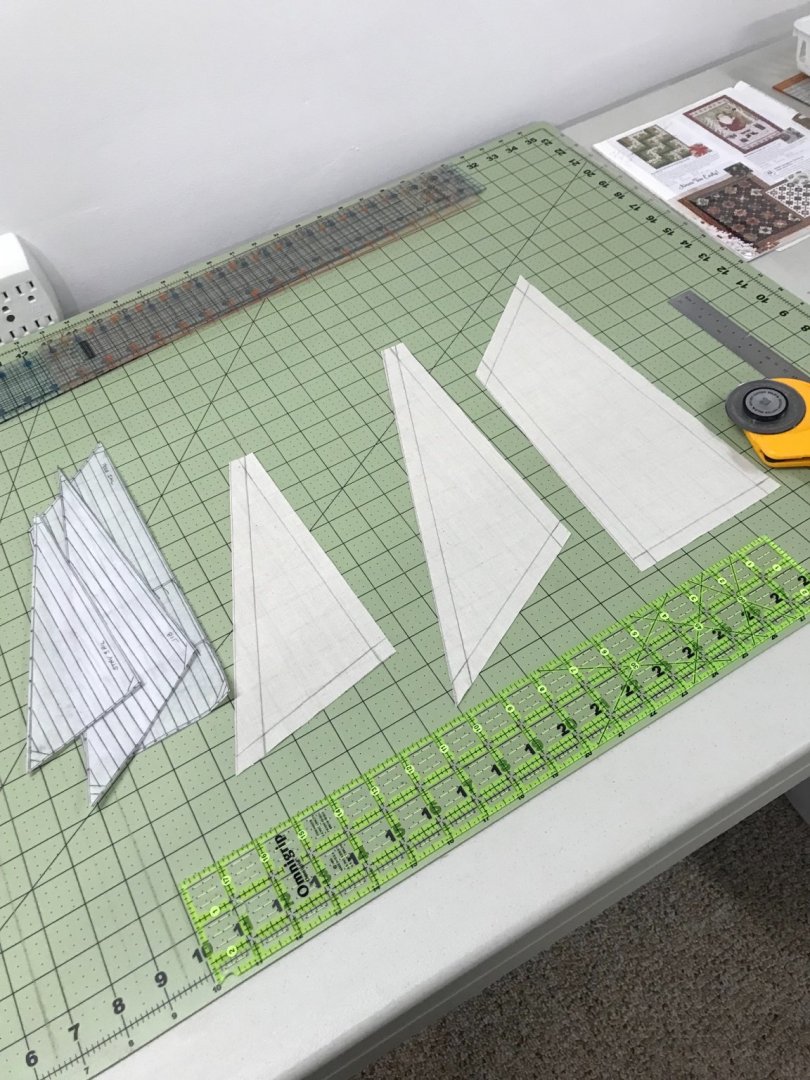
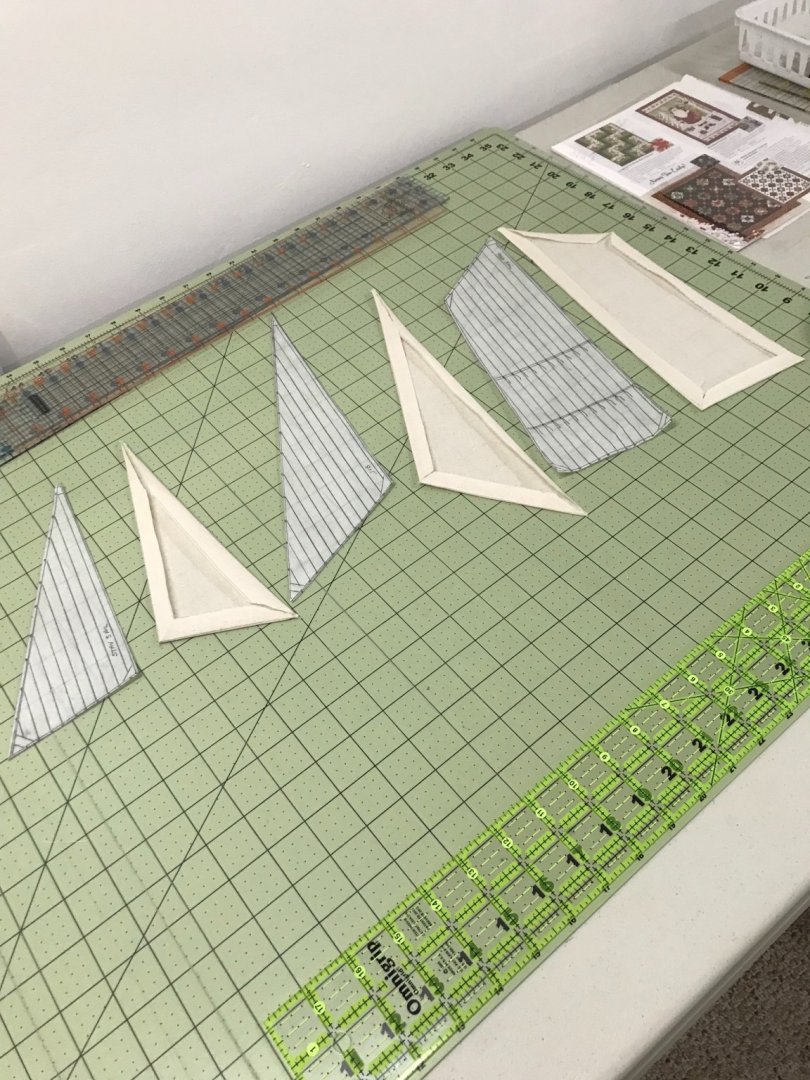
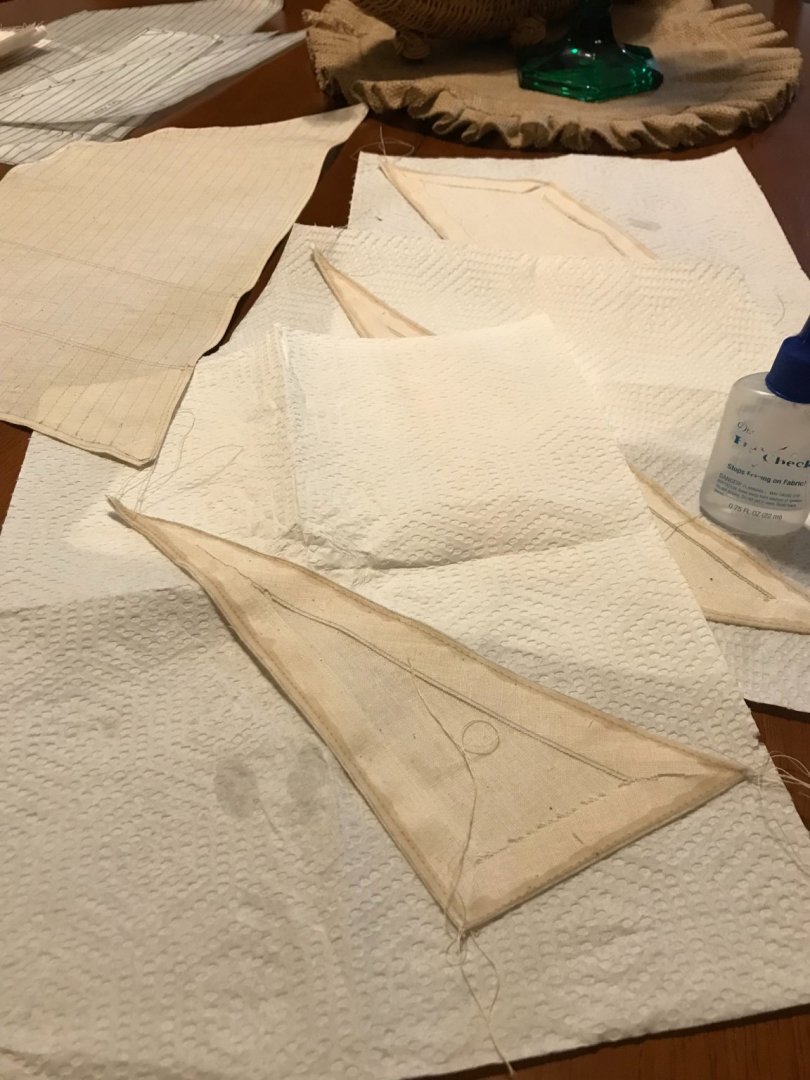
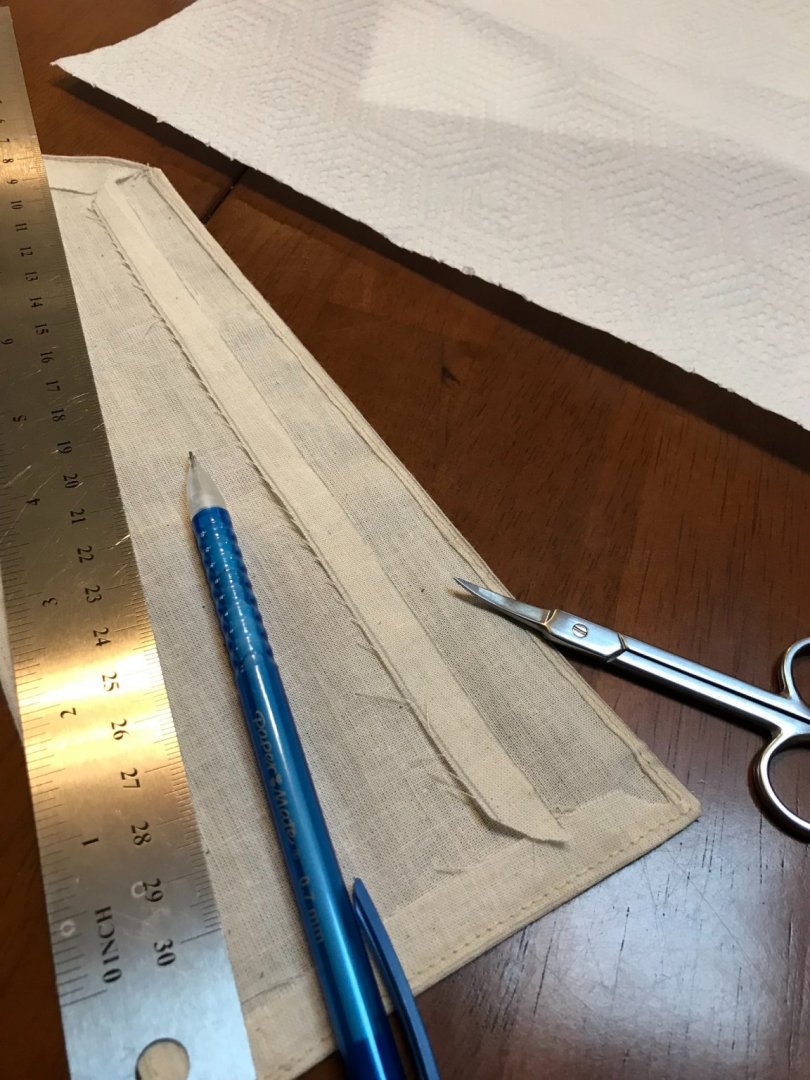
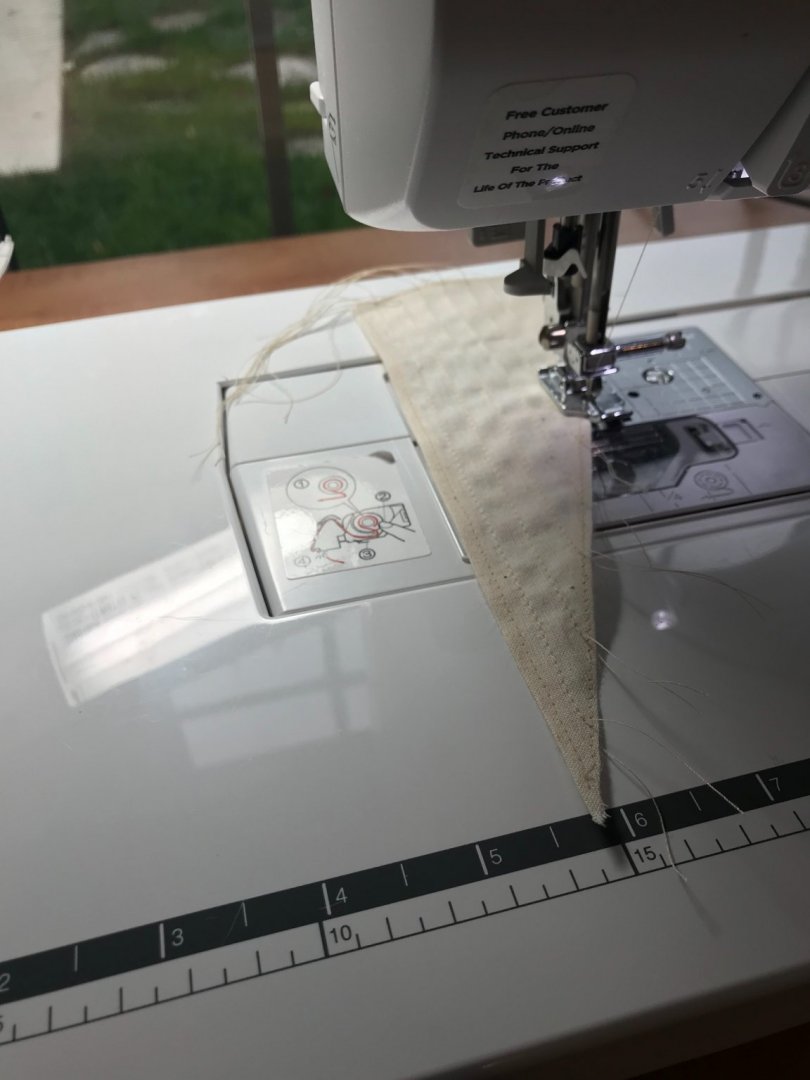
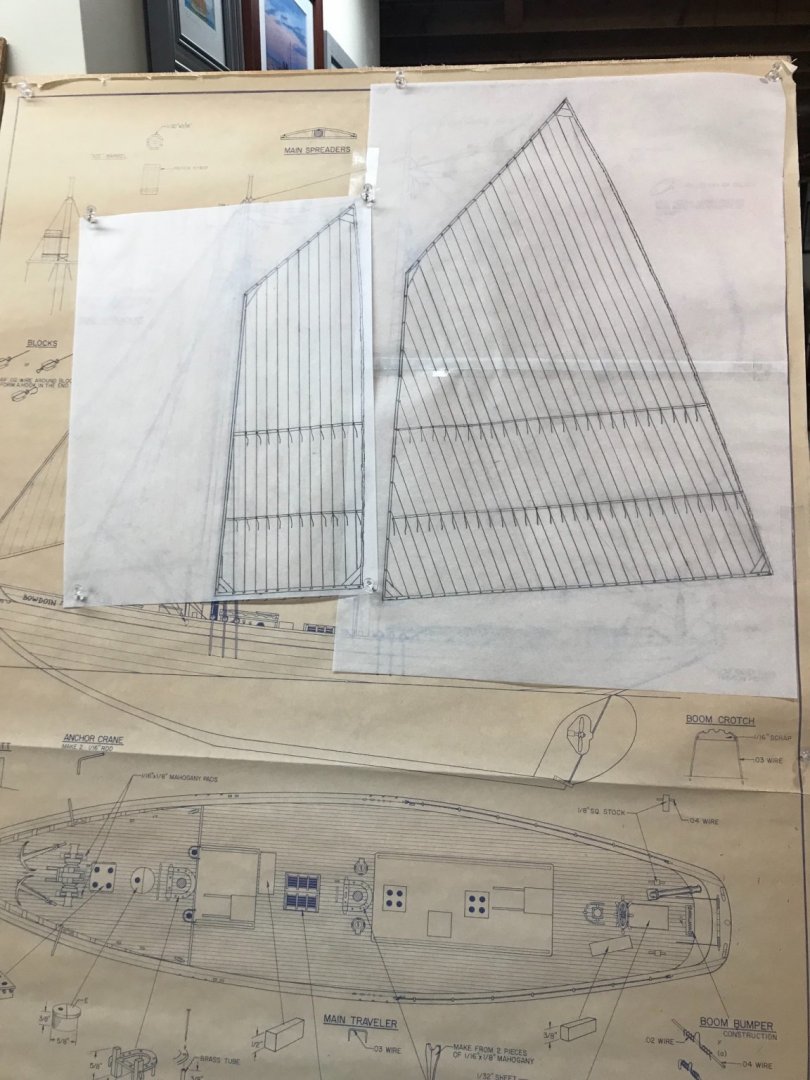
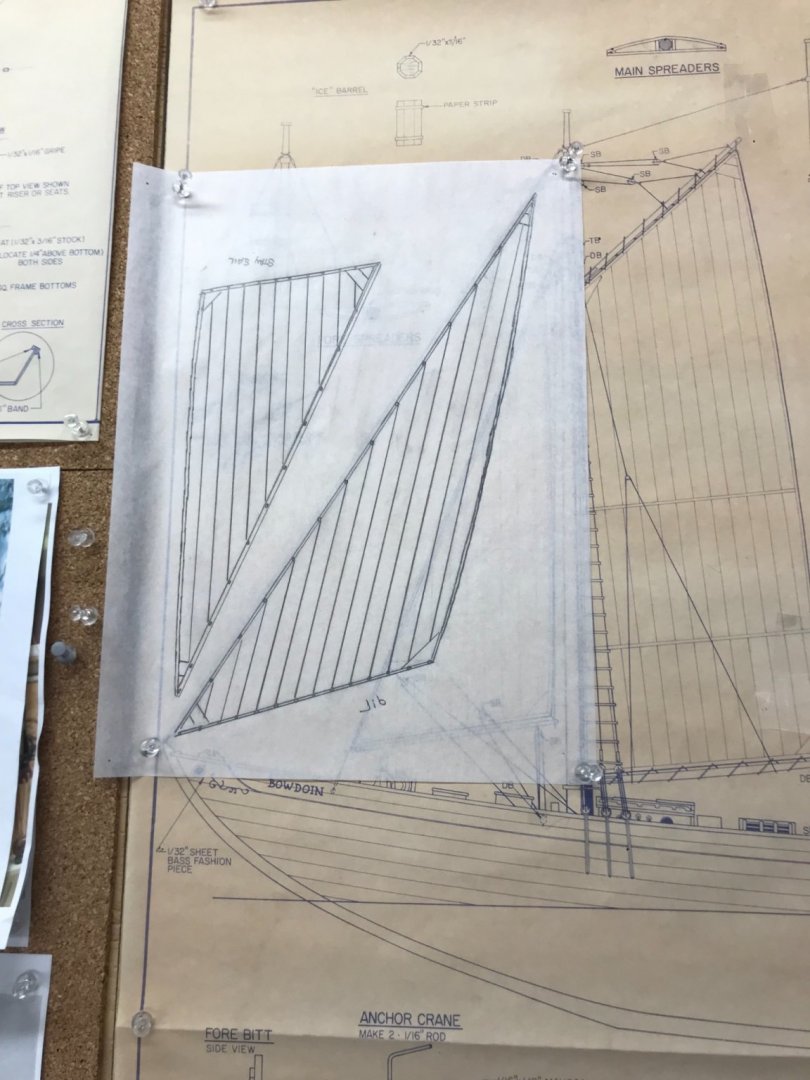
Sails… Making templates from blueprints with tracing paper… Using cutout templates to draw sails on to fabric… Allowing 1/2” to fold over for seams. Cut out sails…. Iron out folds and cut any overlap away. Sew 1/16 inch seams and seal with Fray Check. Allow to dry before trimming. Drawing a line to cut by is very helpful. Trim to 1/16 of sewn seam. Sew panels and reef seams… Sails ready for bolt rope and reef lines. Later… 😎
- 127 replies
-
- Bowdoin
- Arctic Exploration
-
(and 3 more)
Tagged with:
-
I know exactly what you feel, so many things to do. Then, another detail we can do a bit better. 🧐 Carry on sir… 🍻
- 294 replies
-
- charles w morgan
- model shipways
-
(and 1 more)
Tagged with:
-
- 127 replies
-
- Bowdoin
- Arctic Exploration
-
(and 3 more)
Tagged with:
-
Ron, I don’t recall any time line specified for any projects on this site your work is looking great. One of the things I like about this hobby is “who cares” how long it takes? We are in it for the end results and you are looking good. 👍
- 294 replies
-
- charles w morgan
- model shipways
-
(and 1 more)
Tagged with:
-
- 127 replies
-
- Bowdoin
- Arctic Exploration
-
(and 3 more)
Tagged with:
-
I agree, that’s where I am headed. We will see how it goes, I’ve gotten pretty good with the wife’s machine. I think I will lay out sails and build the booms and gaffs. I’ll rig them on the bench then set the mast and shrouds. Thanks for the confirmation @clearway 🍻
- 127 replies
-
- Bowdoin
- Arctic Exploration
-
(and 3 more)
Tagged with:
-
Yep @clearway the mast are not glued in yet either, so I can set the sails before dropping the masts in and setting the standing rigging. I’m still considering how to present the sails. 🧐 I’m thinking silk span rather than sewing, it would be a first for me. Although, at this scale I might use cloth, I am just not sure how it would look some furled and some set. I am leaning towards fully set suit of sails with sewn cloth, saving the silk span for smaller scale. Opinions please. 🤔
- 127 replies
-
- Bowdoin
- Arctic Exploration
-
(and 3 more)
Tagged with:
-
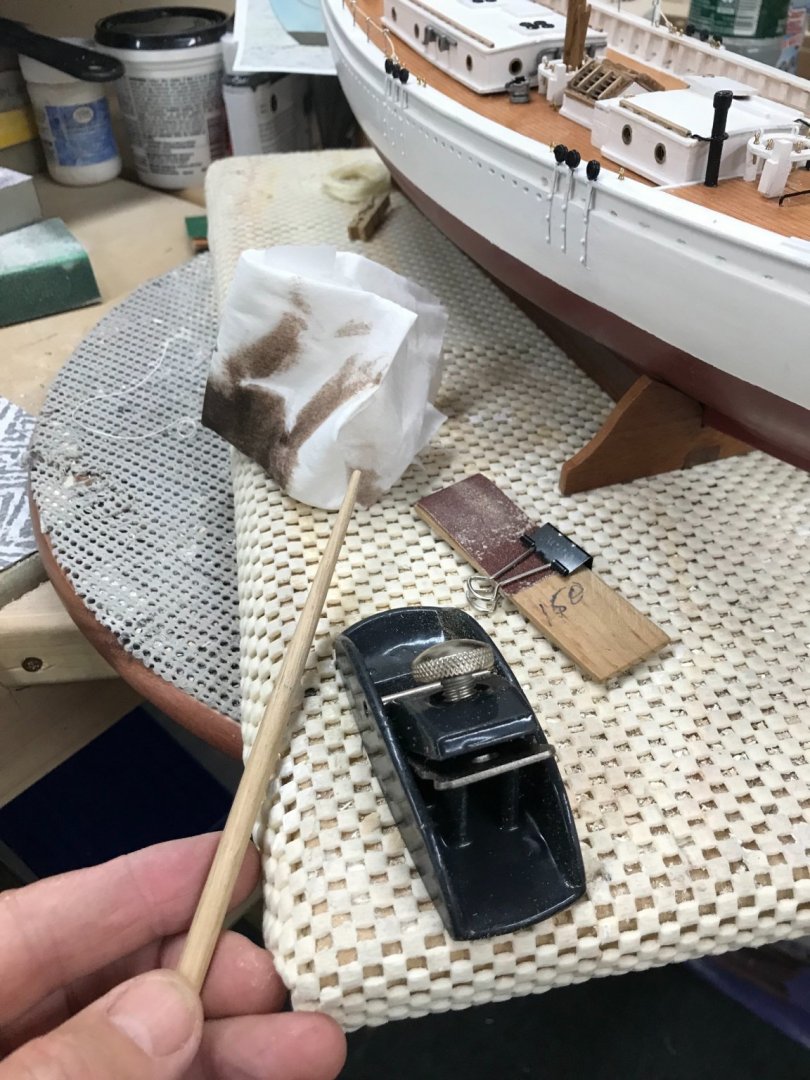
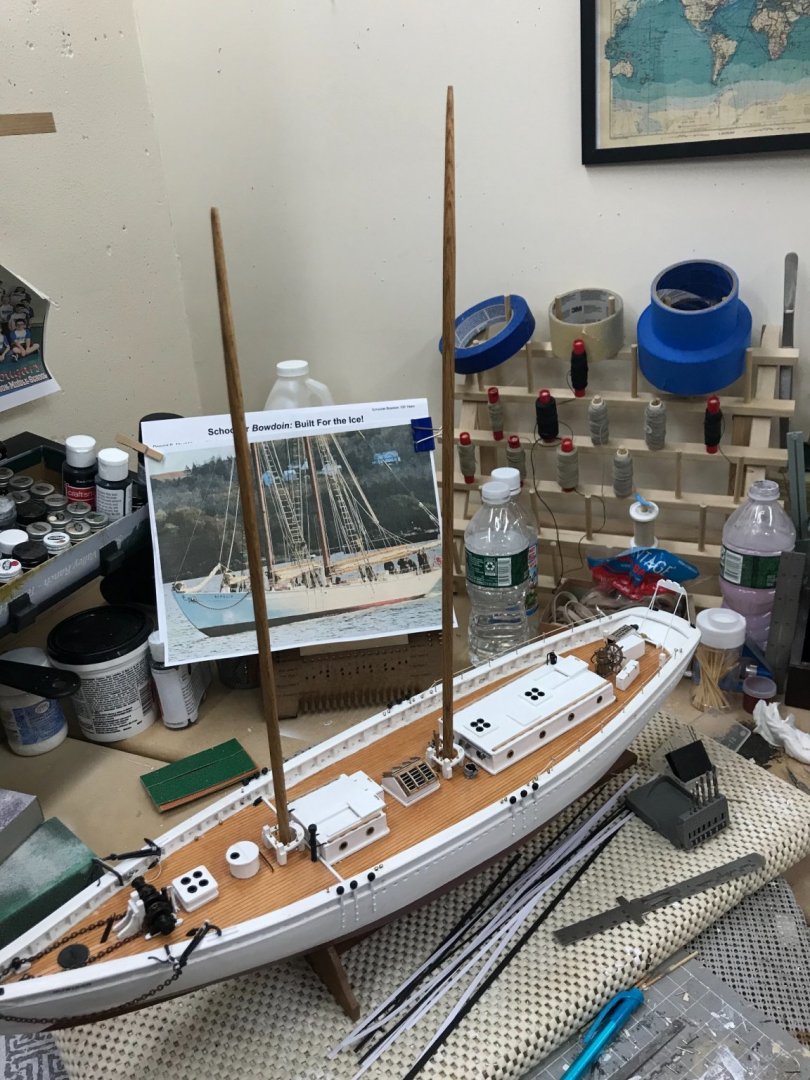
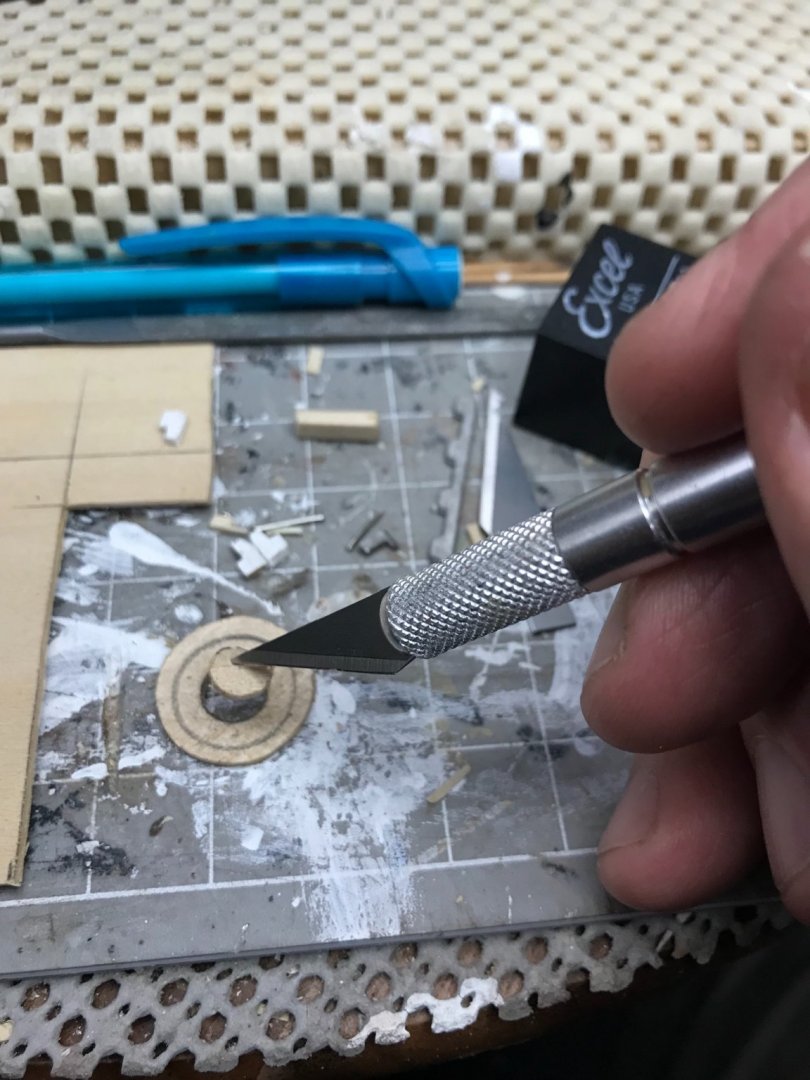
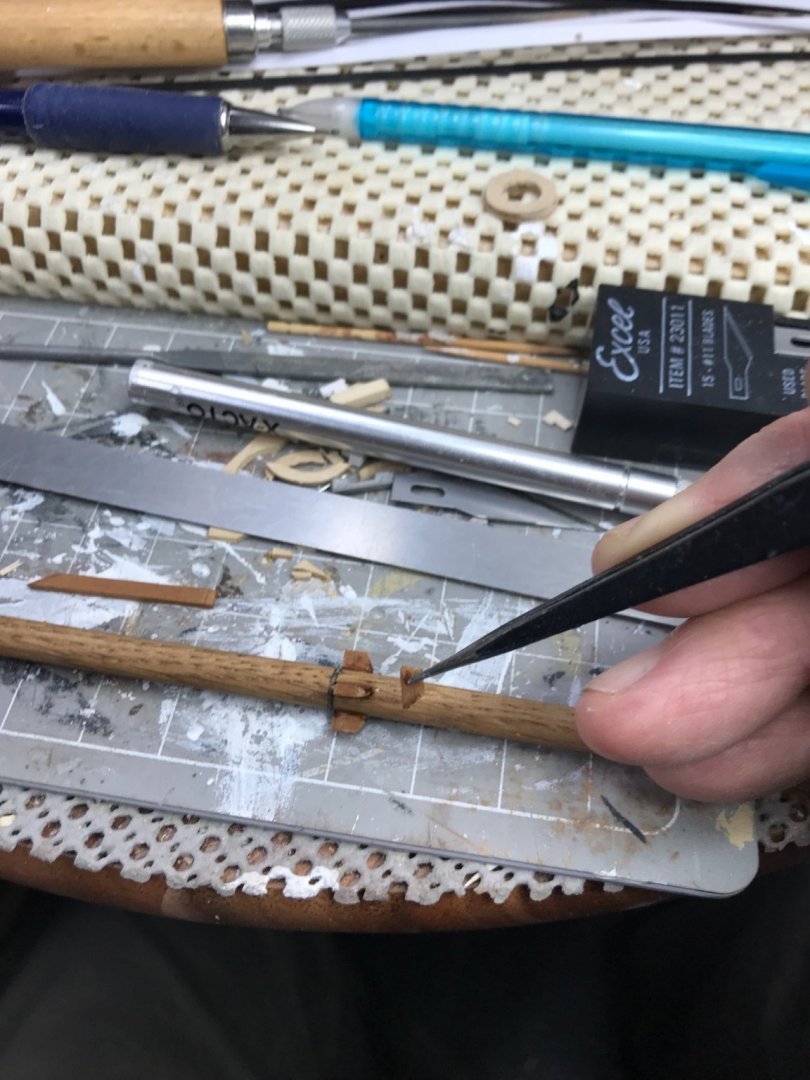
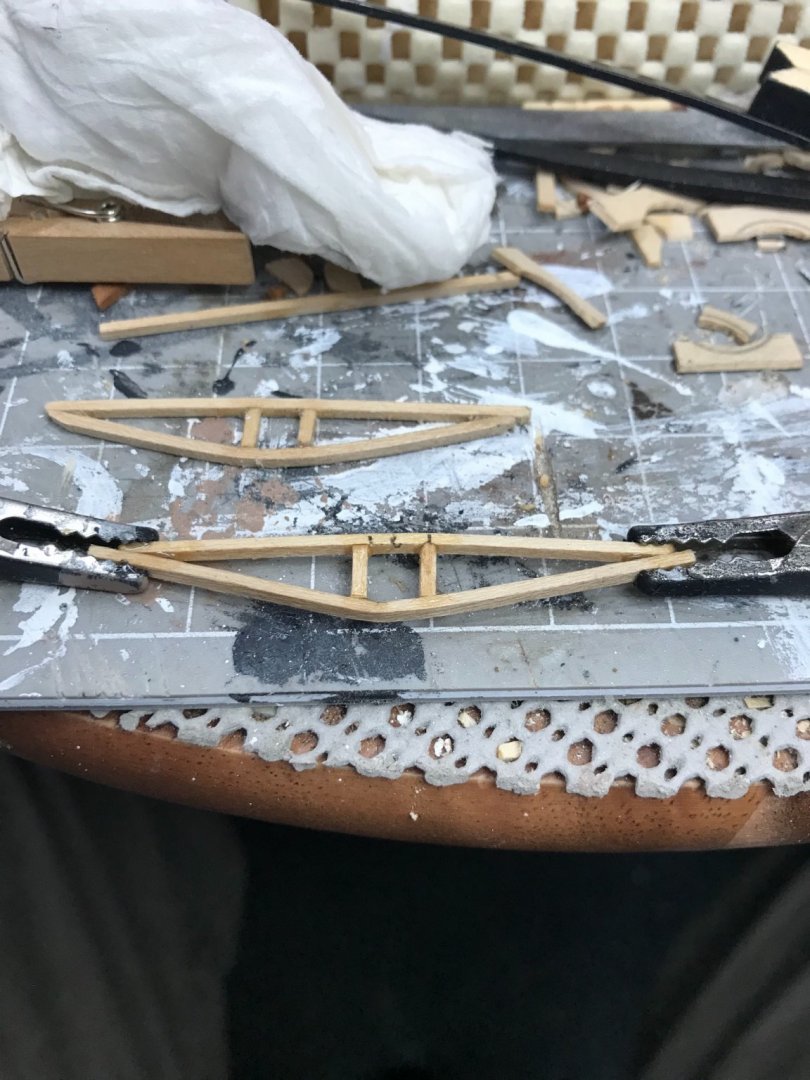
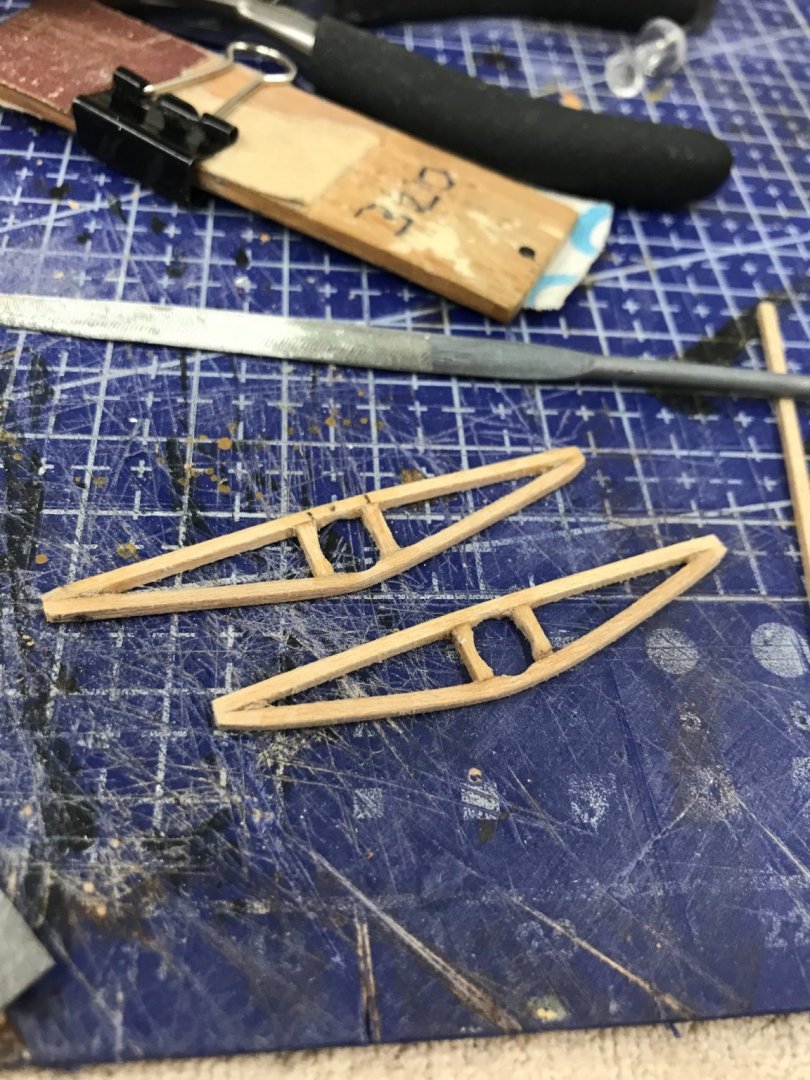
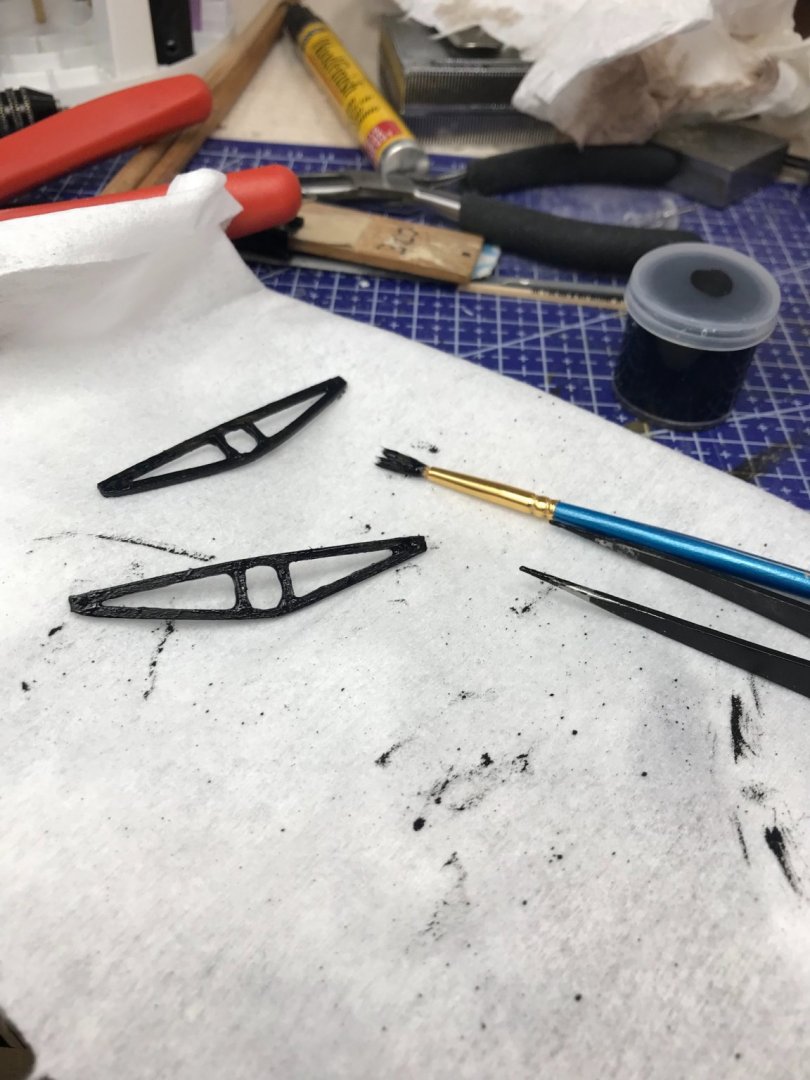
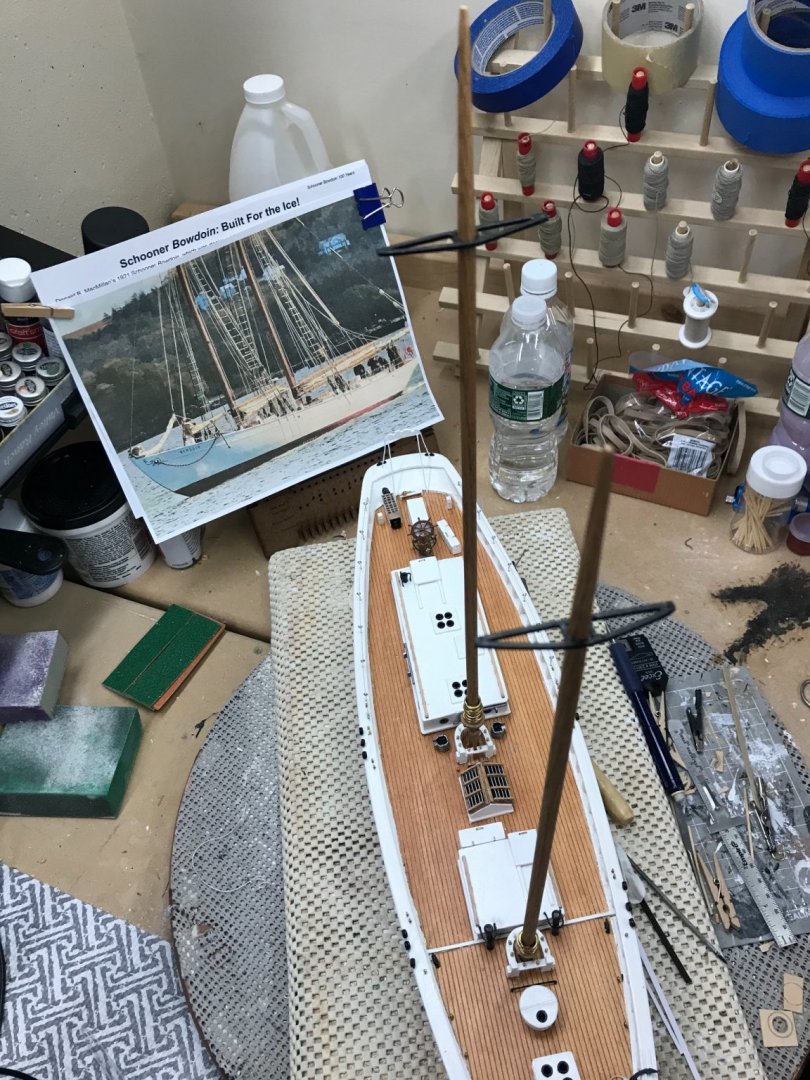
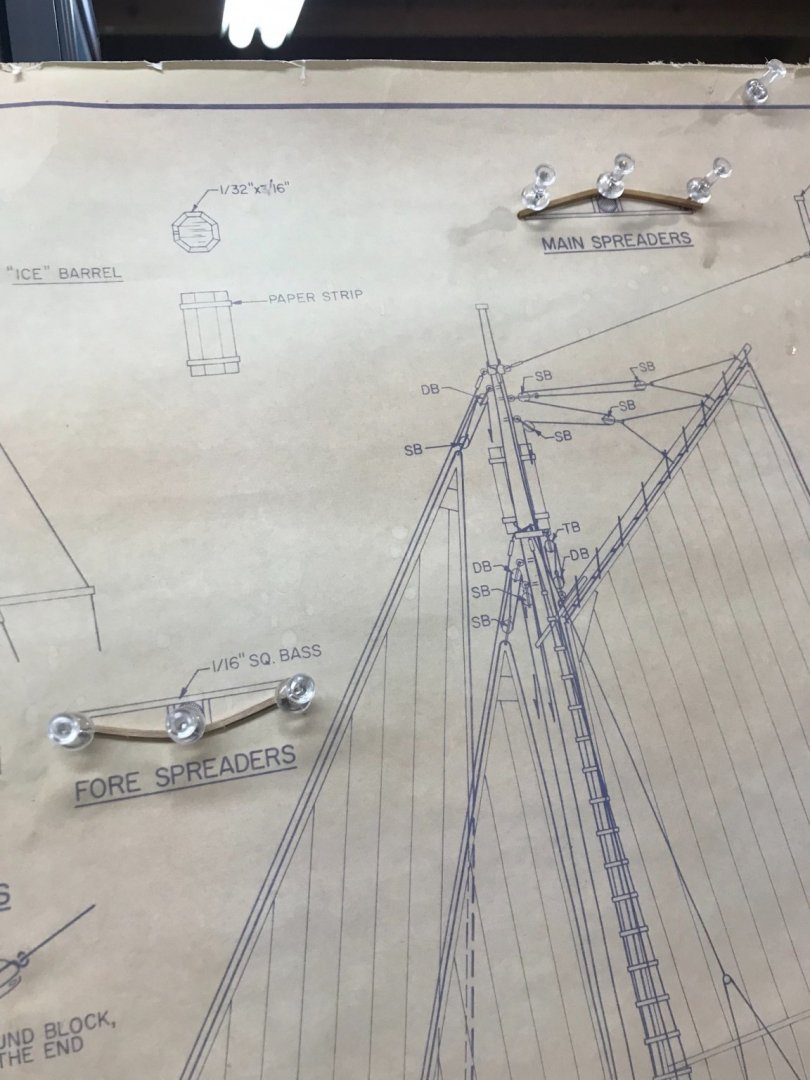
Masts… Tapering Mast, only from the spreaders up… Spreaders down stay consistent 1/4”. Found some nice dowels at Home Depot. The rods in the kit were too warped. These have a nice grain, they look like trees. 😆 Cutting out Boom Jaw Rests from 1/32” material, I will laminate two to get 1/16” thickness. Jaw rest supports are cut from scrap mahogany. Main Boom Jaw Rest completed Bending 1/16” square Bass Wood for spreaders Clamping and gluing. Trimmed up and sanded ready for paint. Used a rat tail file to round out the fit for the masts. Painted… Mast Hoops it from Brass Wire wrapped on a 1/4” dowel as per instructions. I will need to paint these to look like wood hoops. Spreaders fitted temporarily… I will need to finish hoops before gluing them in place. Note to self… 🧐 Later…. 😎
- 127 replies
-
- Bowdoin
- Arctic Exploration
-
(and 3 more)
Tagged with:
-
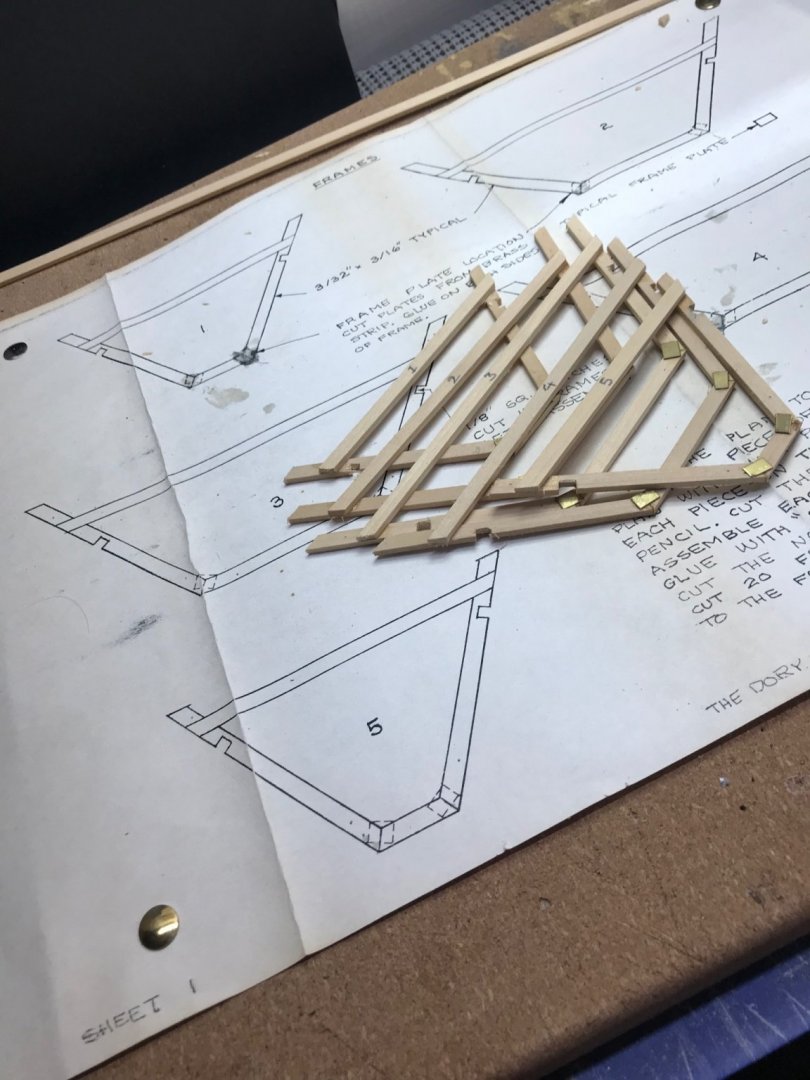
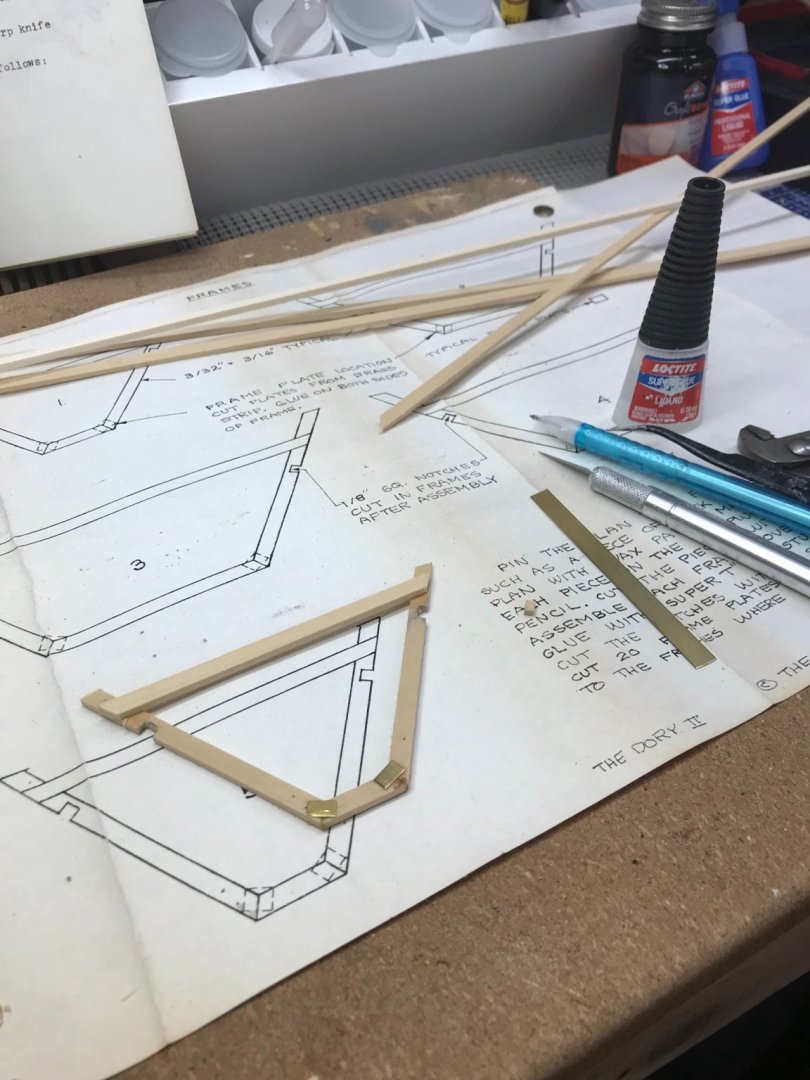
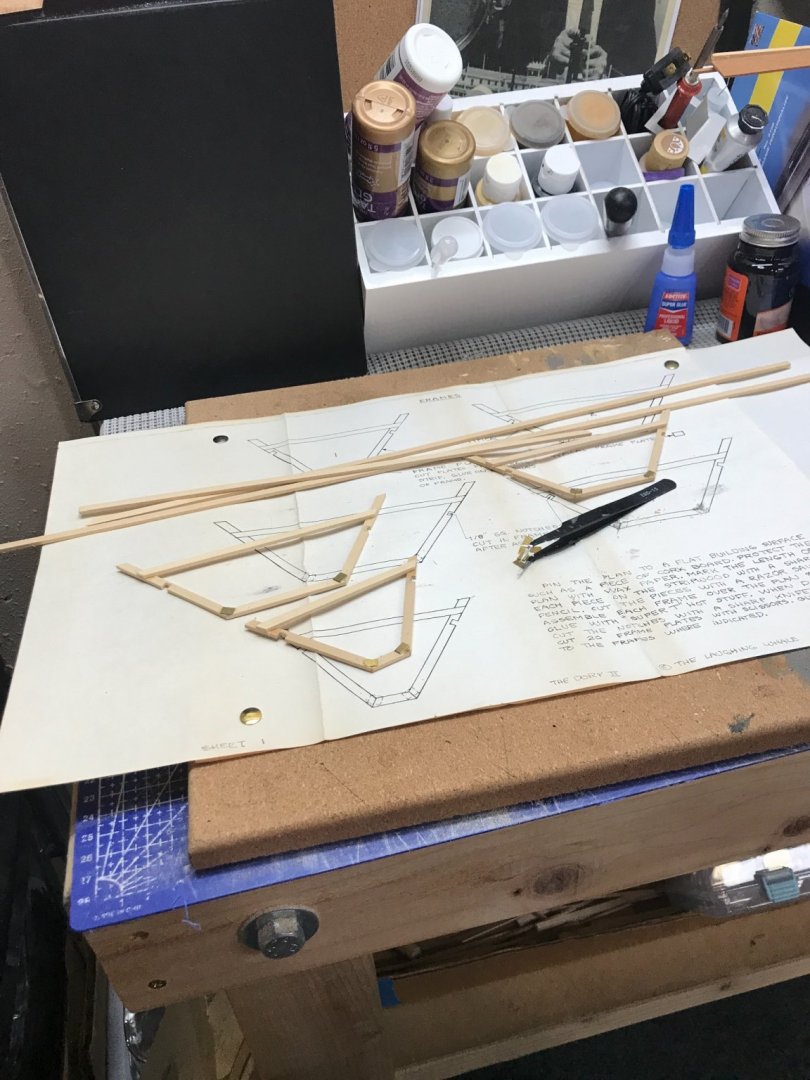
Frames… Sheet 1 completed… Some assembly required. 😆 Nice kit, some trimming up of the pre-cut pieces needed but very nice. Later 🍻
- 22 replies
-
- Laughing Whale
- Dory
-
(and 1 more)
Tagged with:
-
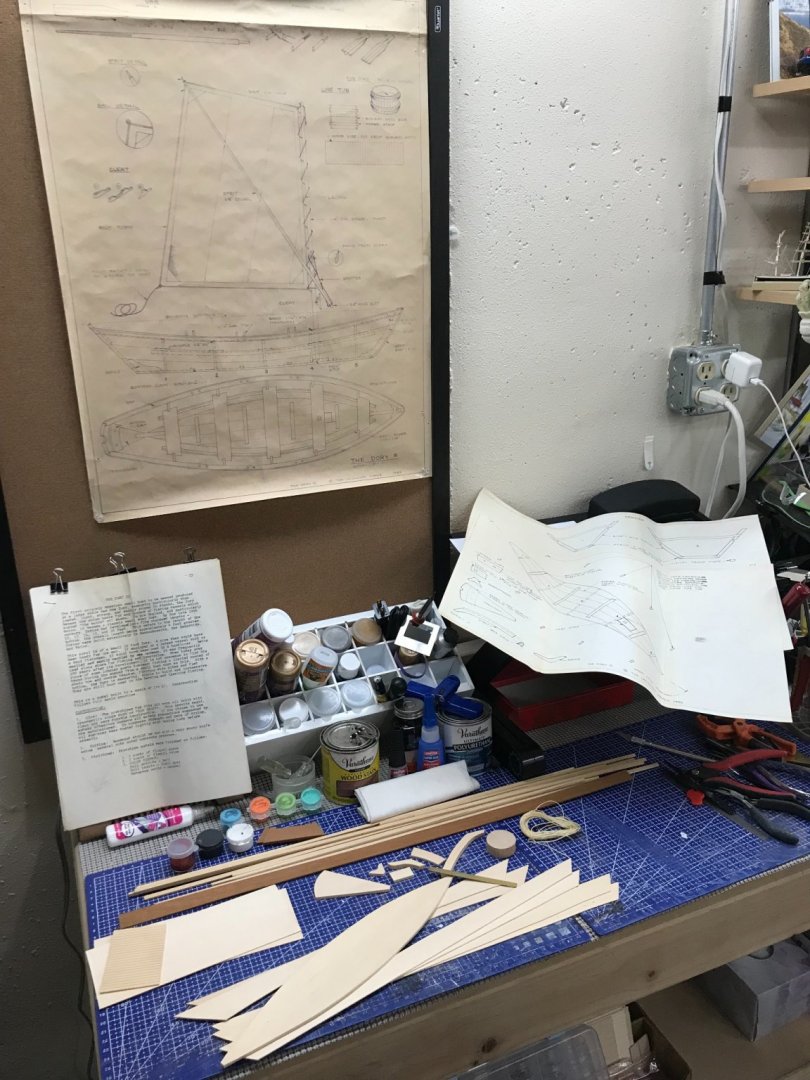
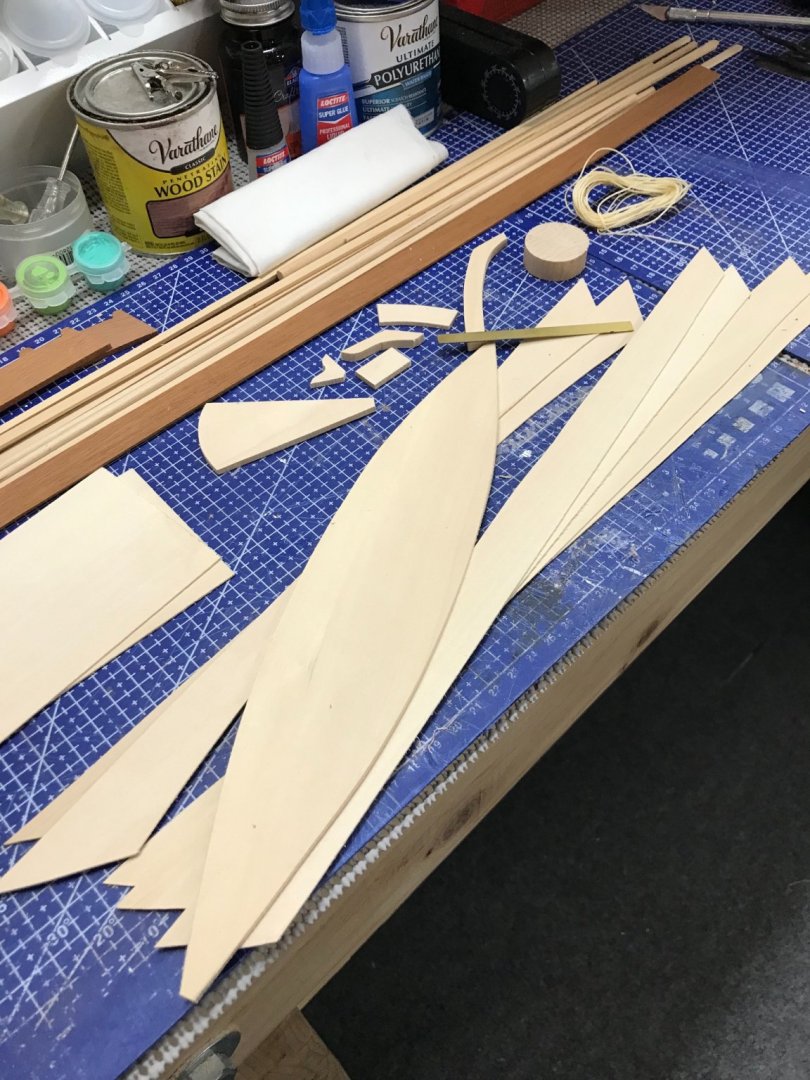
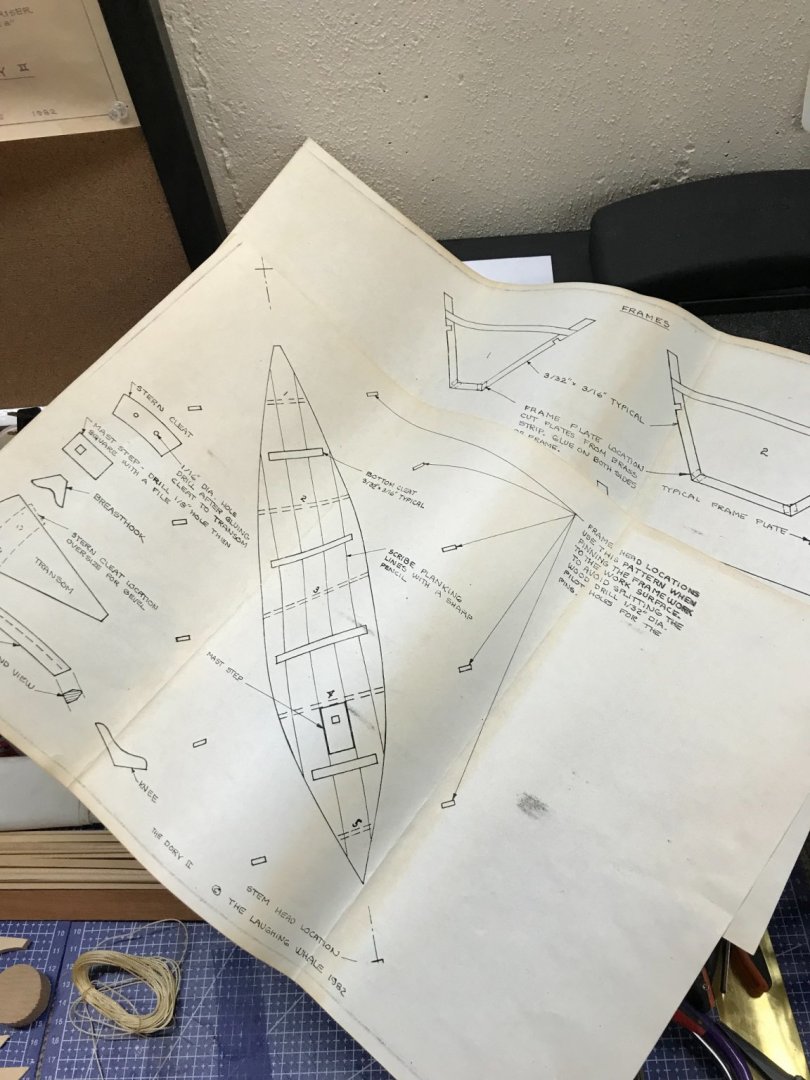
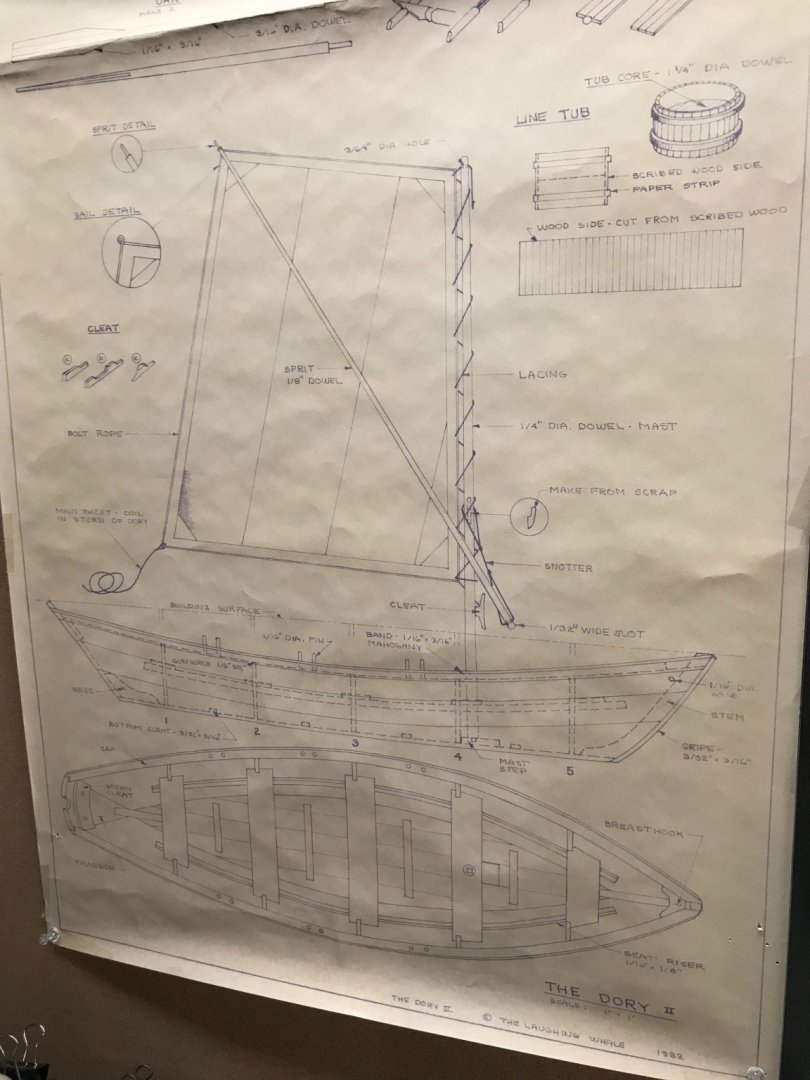
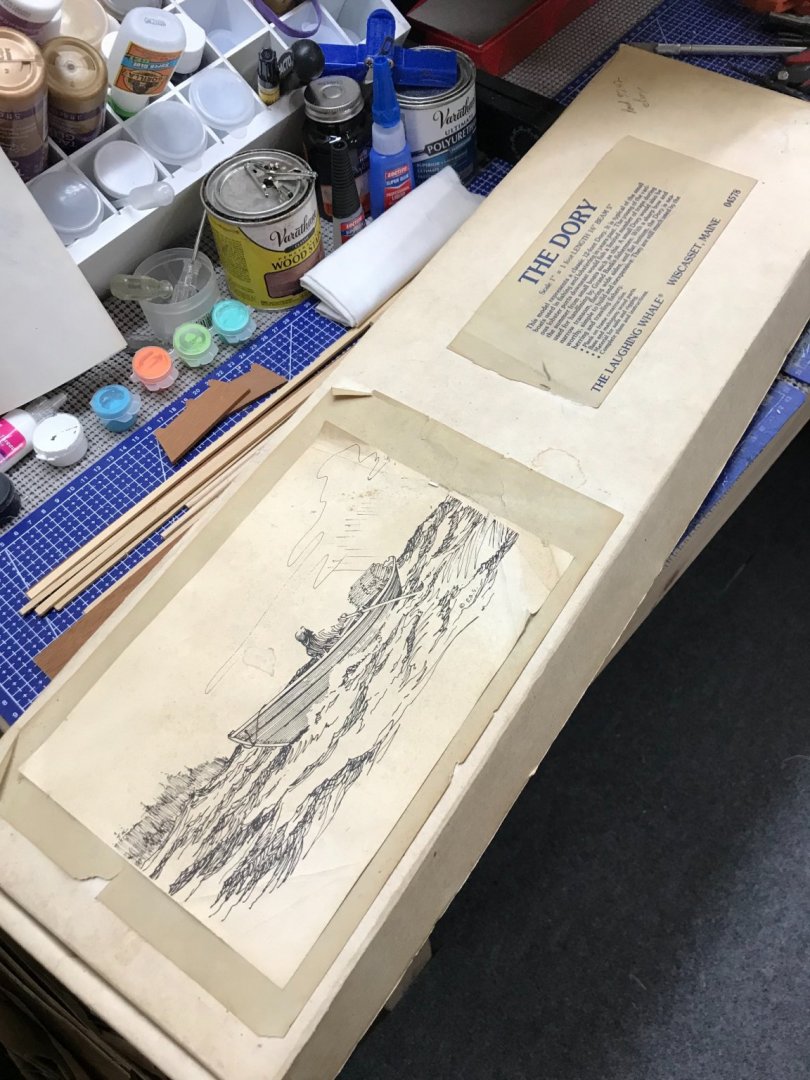
Another vintage kit by Laughing Whale. Found this kit on eBay, untouched and waiting to be built. 😎 Many of the pieces are pre-cut. Additional drawings and instructions look to be pretty good 👍 Construction starts with a the frame. This will be a lot of fun 🤩
- 22 replies
-
- Laughing Whale
- Dory
-
(and 1 more)
Tagged with:
-
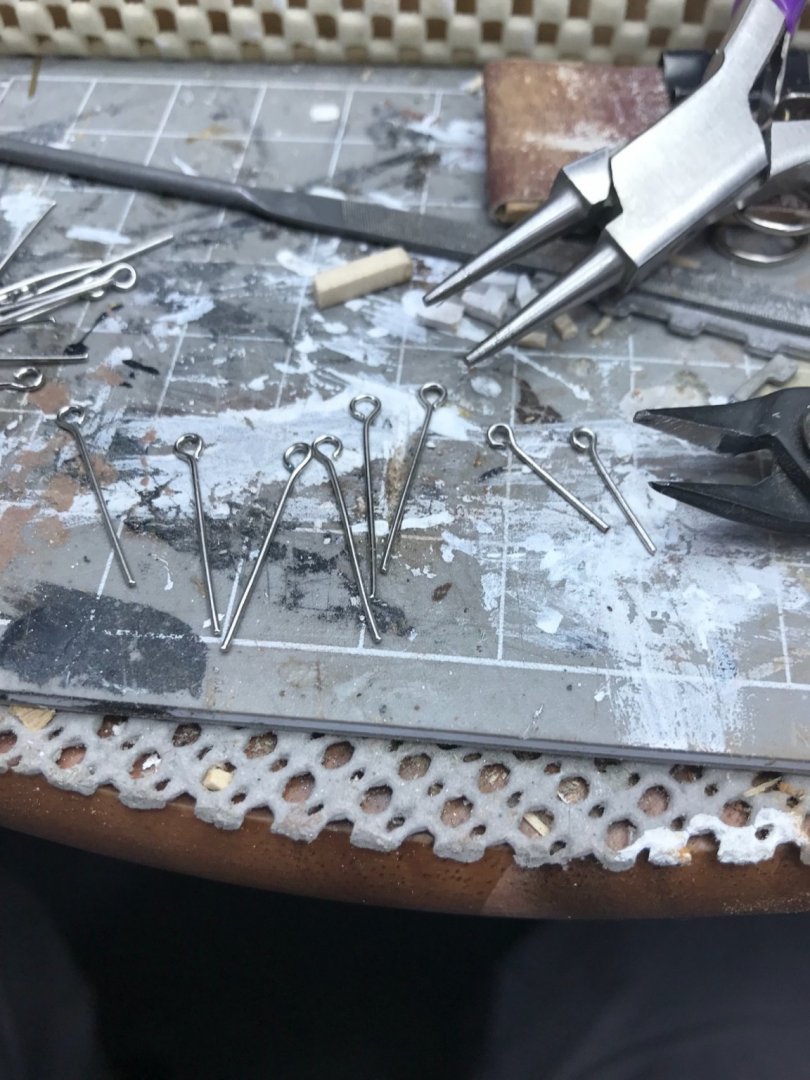
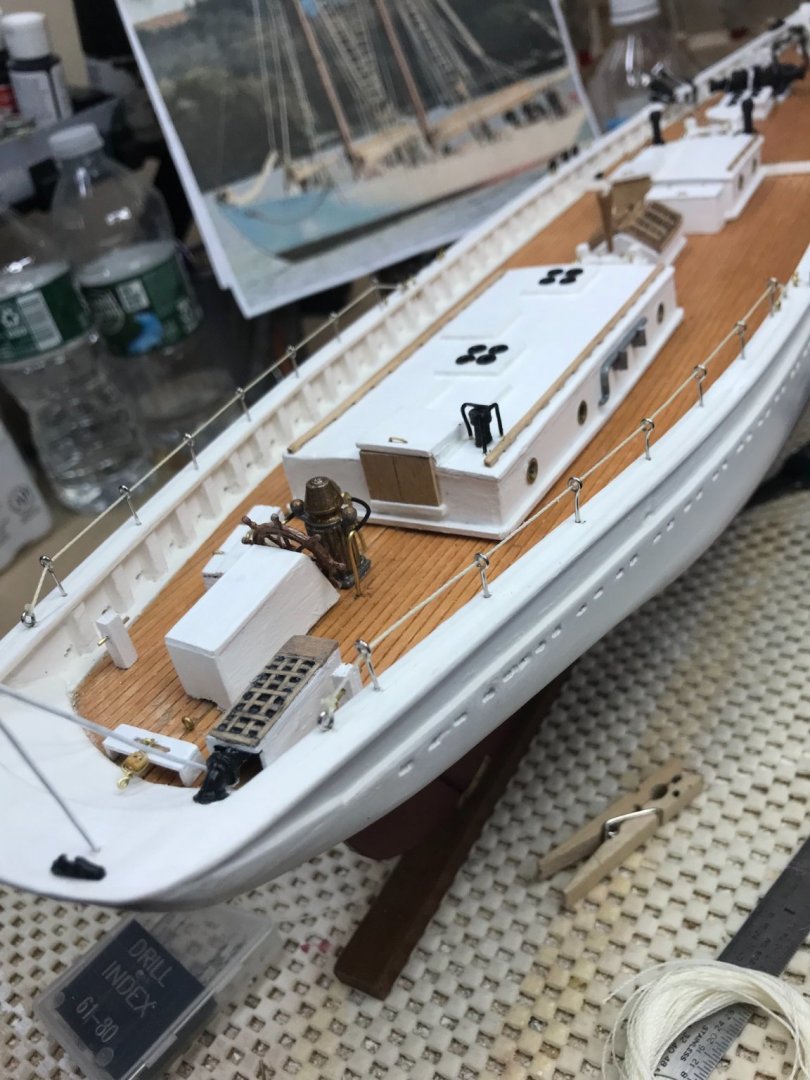
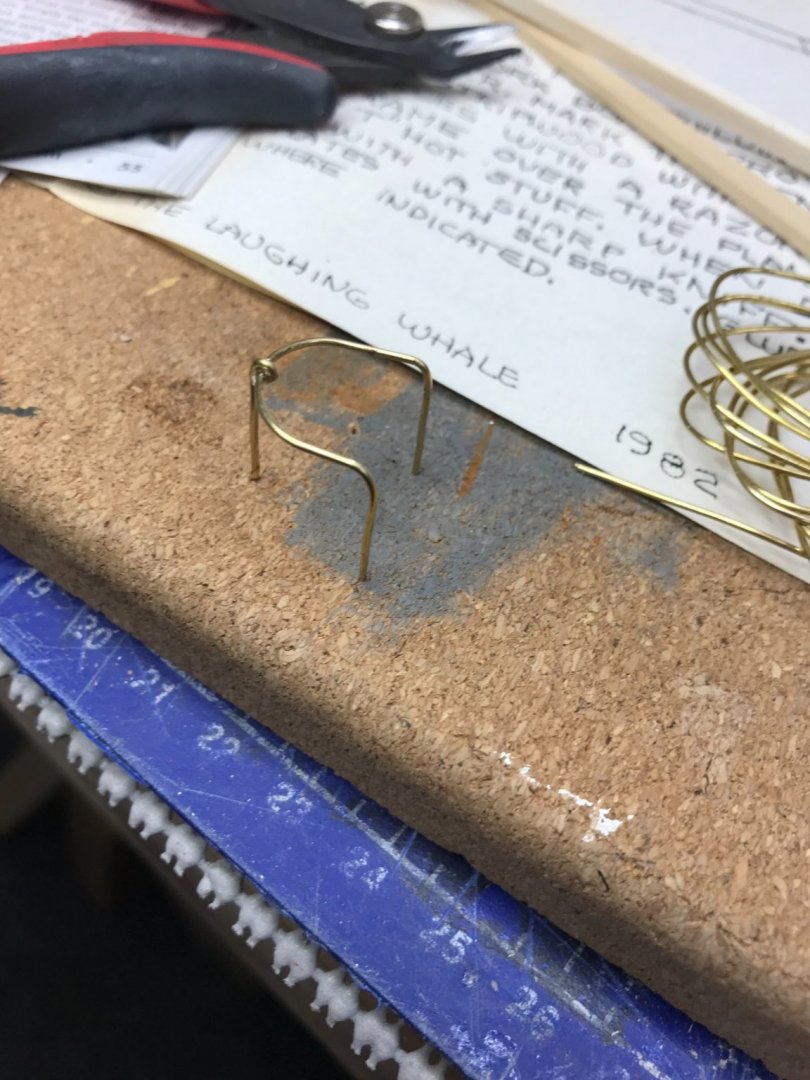
Boom Crotch and Life Line… Boom Crotch carved and placed at Main Fife Rail. Using Beading eyes for Stanchions. Better scale than 1/16th brass tubing supplied in the kit. Have to shrink the eye a bit. 😆 Life Lines installed Port and Starboard. Ready to build Masts and Spars. Cheers 🍻
- 127 replies
-
- Bowdoin
- Arctic Exploration
-
(and 3 more)
Tagged with:
-
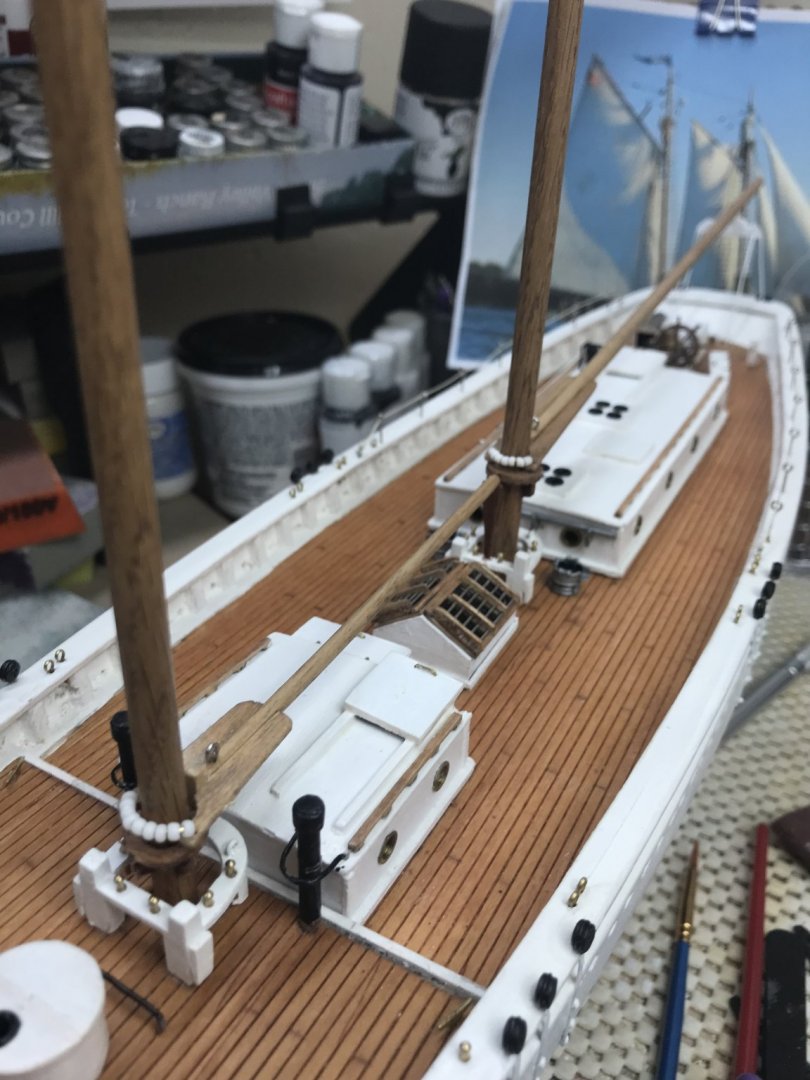
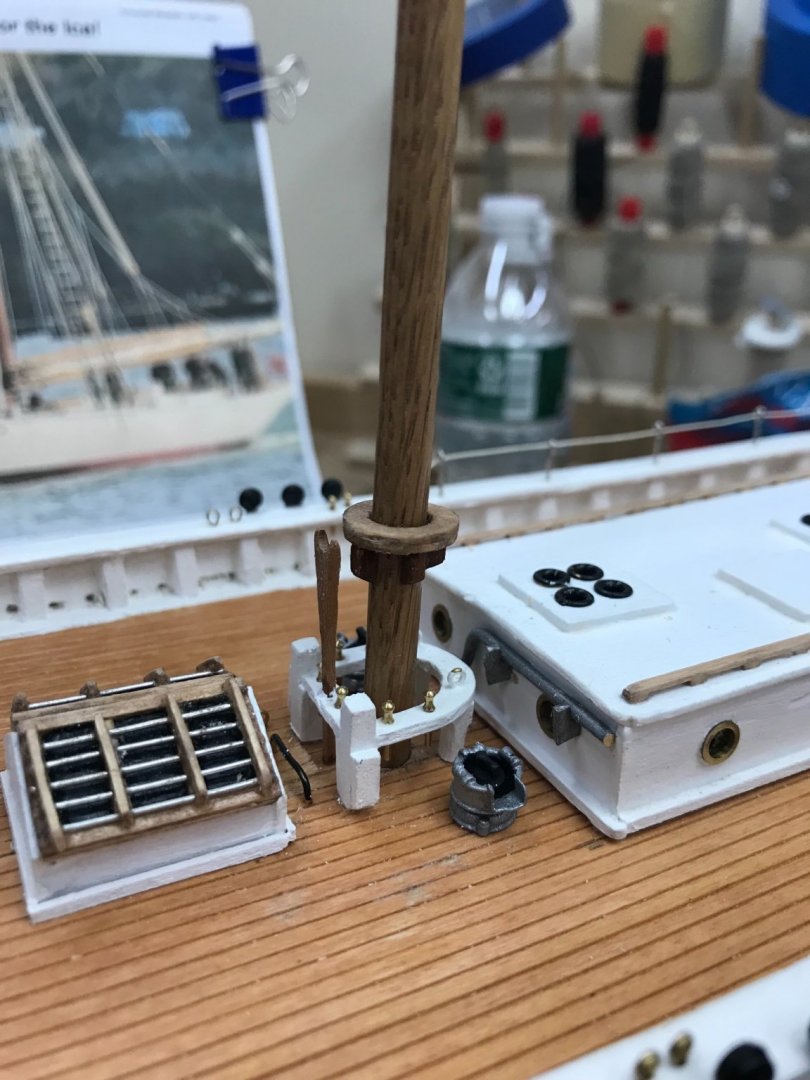
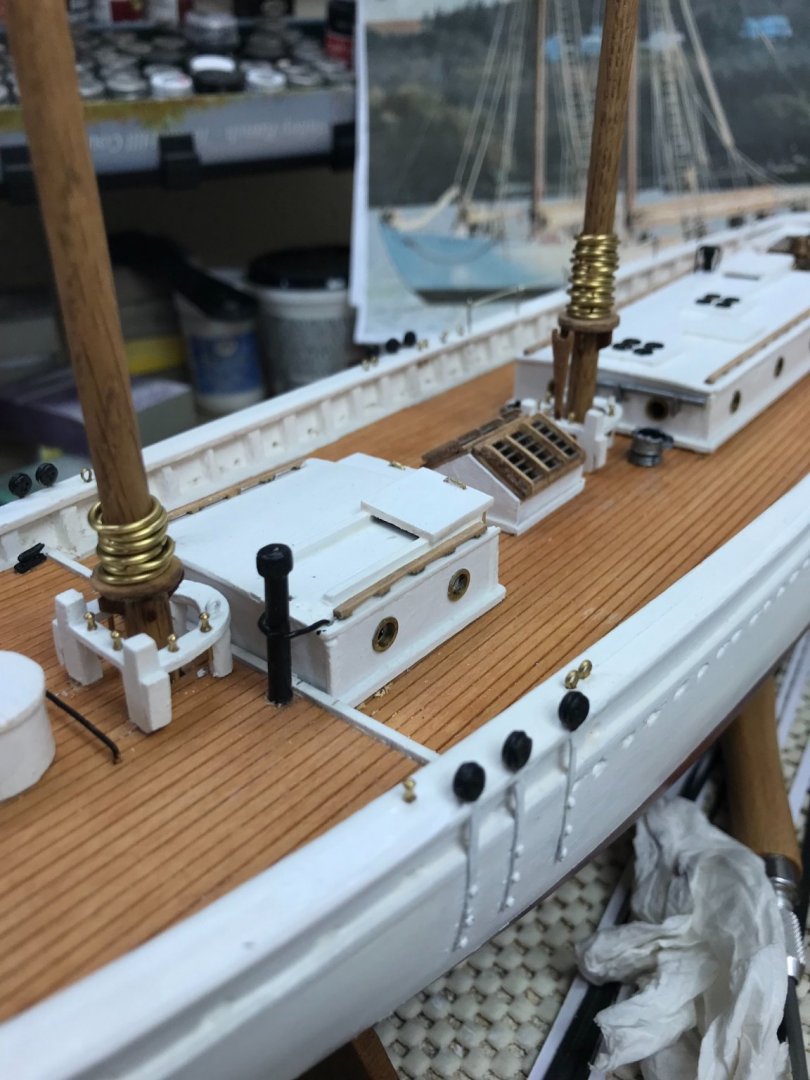
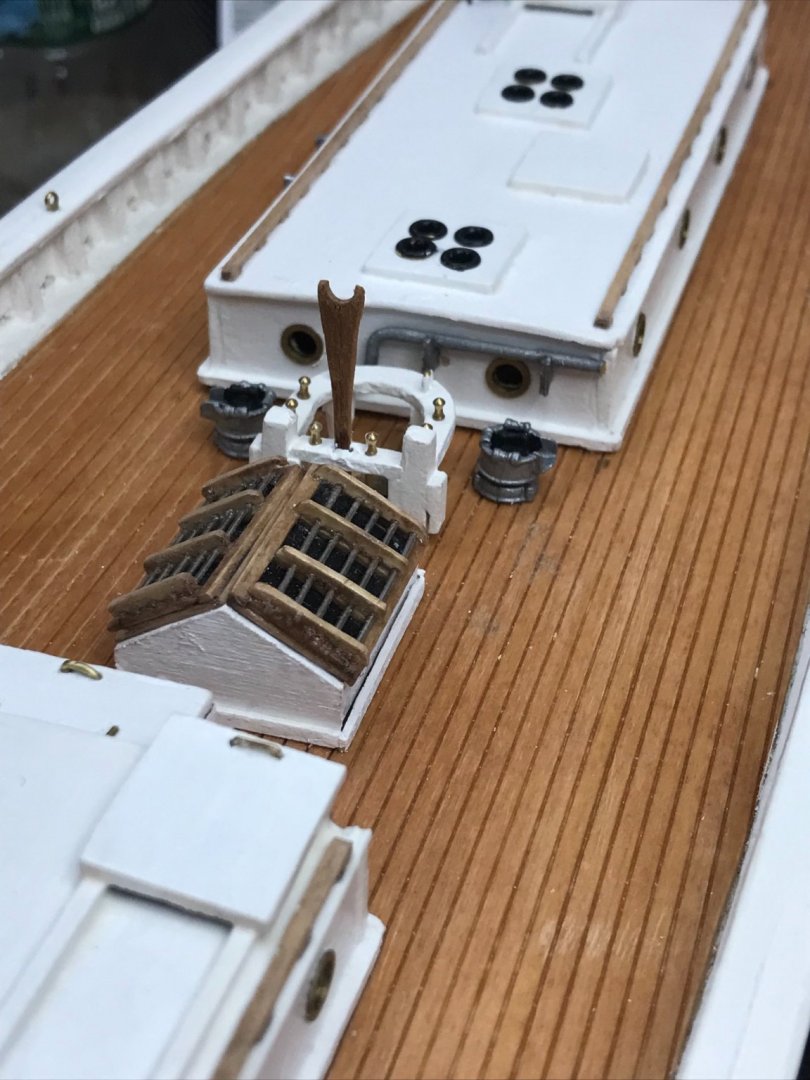
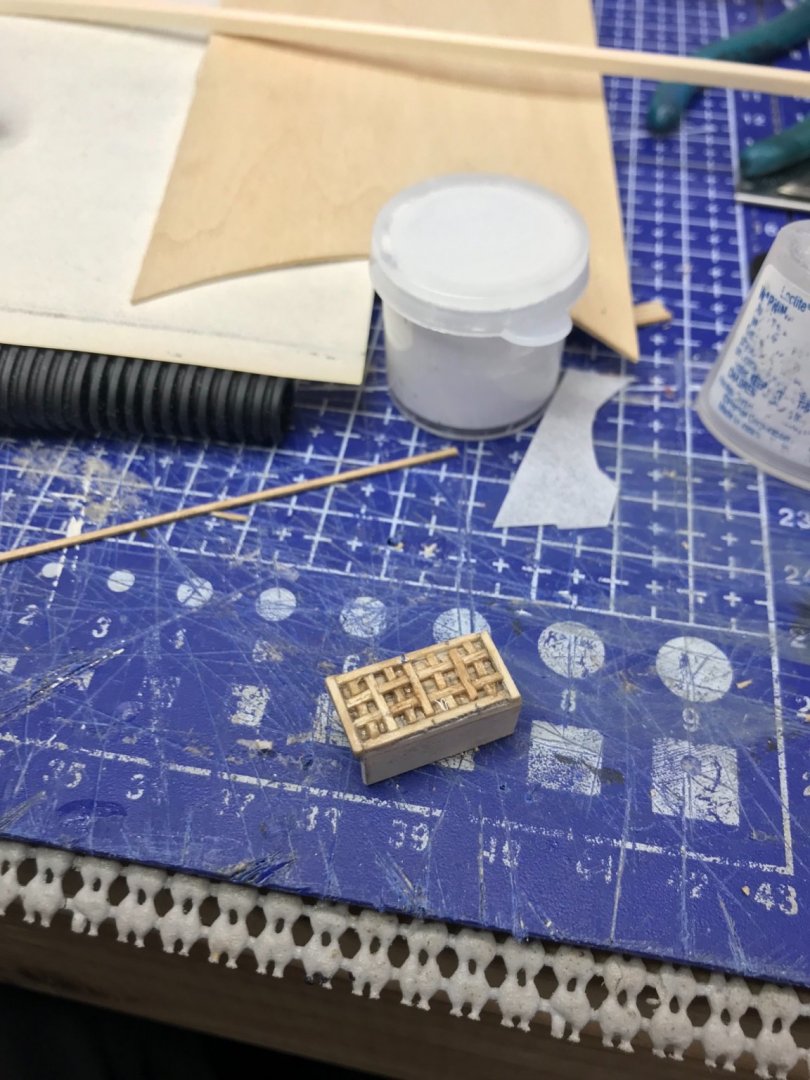
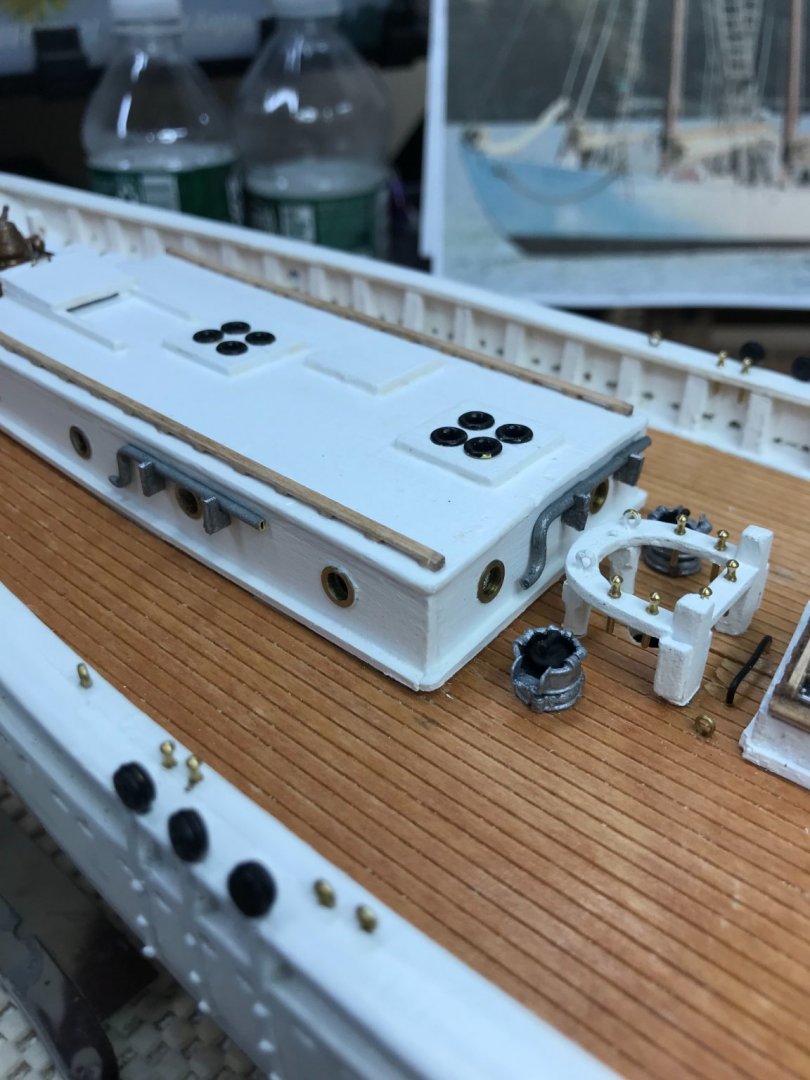
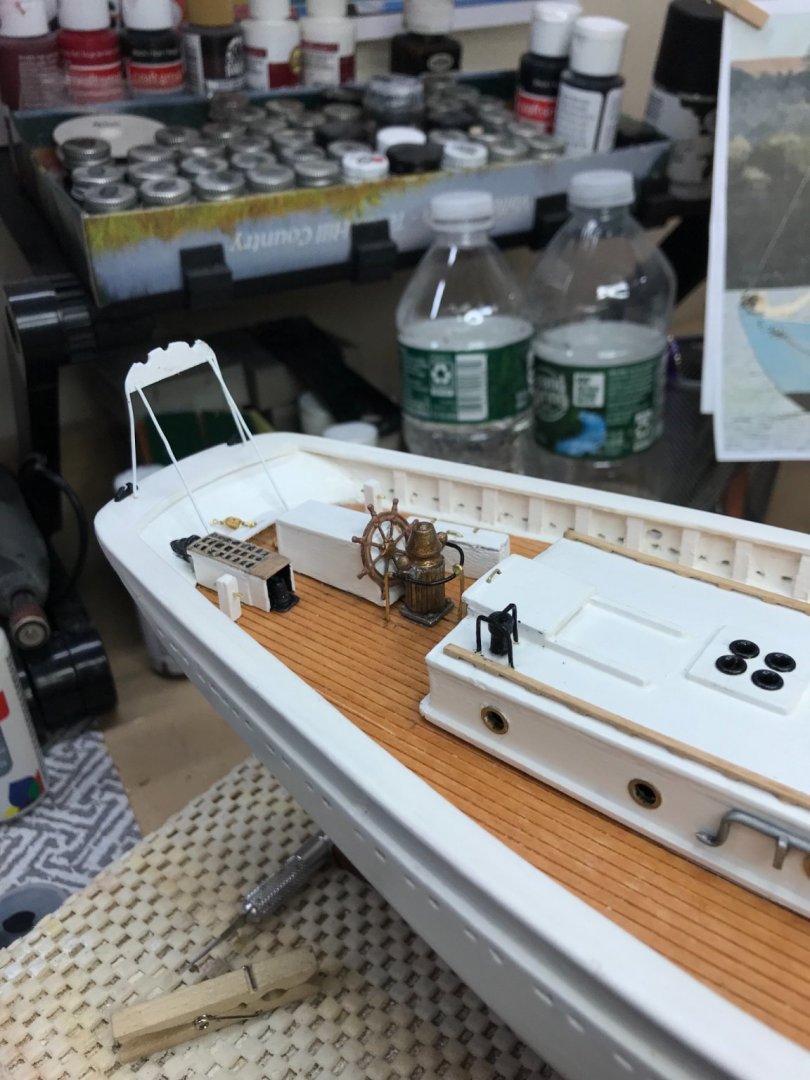
Progress… Wasn’t happy with the exhaust cover, reworked it to have a ventilated top. Brass rail for the Compass. Boom Crotch installed, and that brings me back to the Transom from the bow with all of the various a-sundry deck furnishings, belaying pins and eyelets. Placed pumps and pump handles… Later… 🍻
- 127 replies
-
- Bowdoin
- Arctic Exploration
-
(and 3 more)
Tagged with:
About us
Modelshipworld - Advancing Ship Modeling through Research
SSL Secured
Your security is important for us so this Website is SSL-Secured
NRG Mailing Address
Nautical Research Guild
237 South Lincoln Street
Westmont IL, 60559-1917
Model Ship World ® and the MSW logo are Registered Trademarks, and belong to the Nautical Research Guild (United States Patent and Trademark Office: No. 6,929,264 & No. 6,929,274, registered Dec. 20, 2022)
Helpful Links
About the NRG
If you enjoy building ship models that are historically accurate as well as beautiful, then The Nautical Research Guild (NRG) is just right for you.
The Guild is a non-profit educational organization whose mission is to “Advance Ship Modeling Through Research”. We provide support to our members in their efforts to raise the quality of their model ships.
The Nautical Research Guild has published our world-renowned quarterly magazine, The Nautical Research Journal, since 1955. The pages of the Journal are full of articles by accomplished ship modelers who show you how they create those exquisite details on their models, and by maritime historians who show you the correct details to build. The Journal is available in both print and digital editions. Go to the NRG web site (www.thenrg.org) to download a complimentary digital copy of the Journal. The NRG also publishes plan sets, books and compilations of back issues of the Journal and the former Ships in Scale and Model Ship Builder magazines.

