John Ruy
-
Posts
1,250 -
Joined
-
Last visited
Content Type
Profiles
Forums
Gallery
Events
Everything posted by John Ruy
-
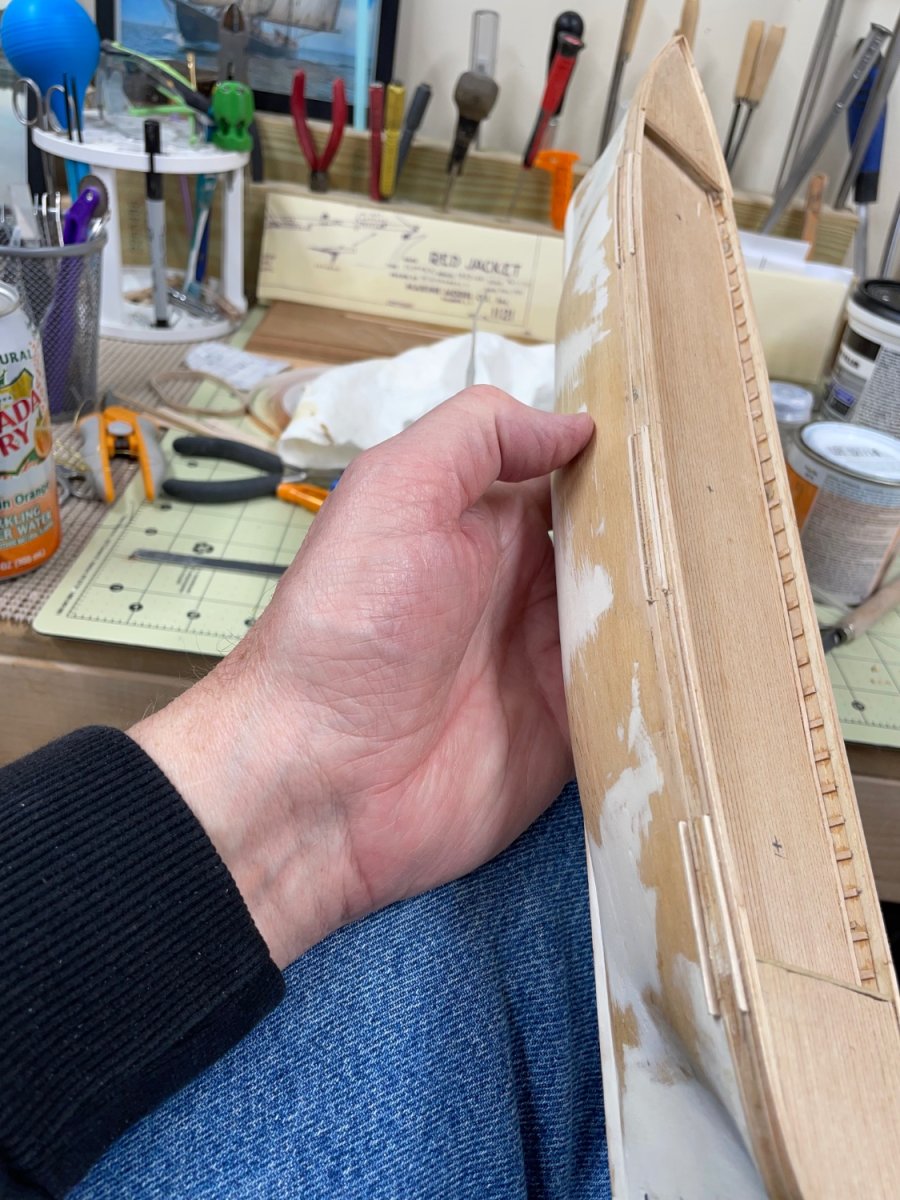
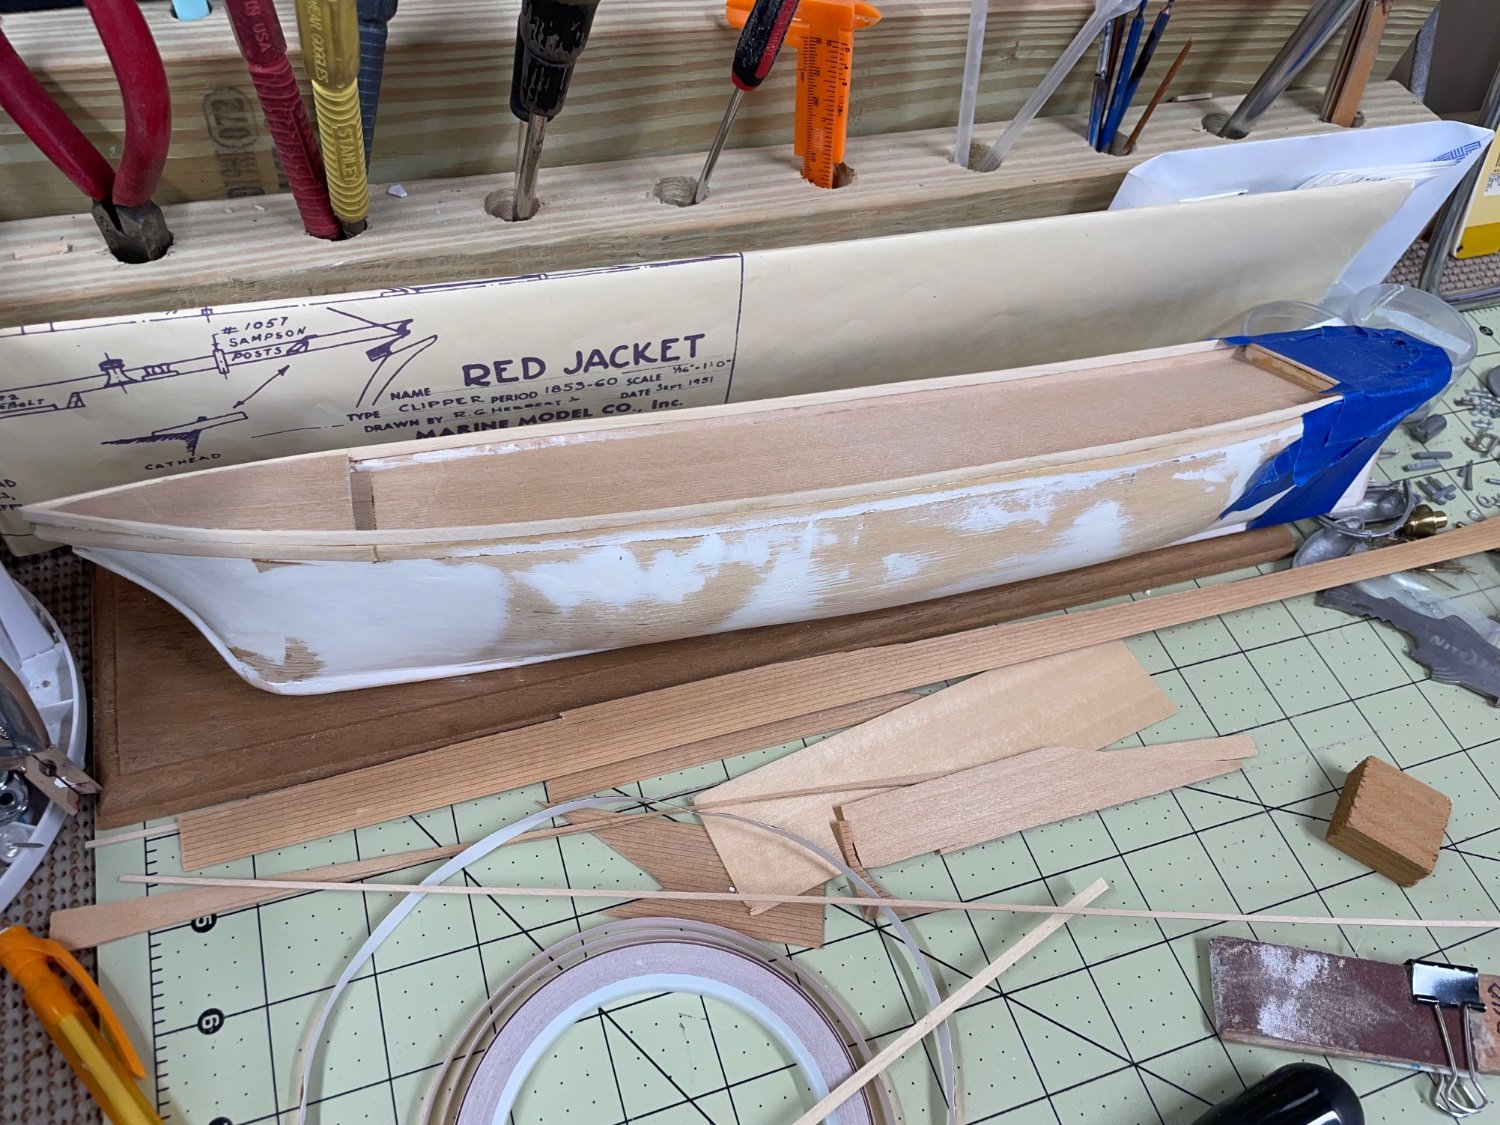
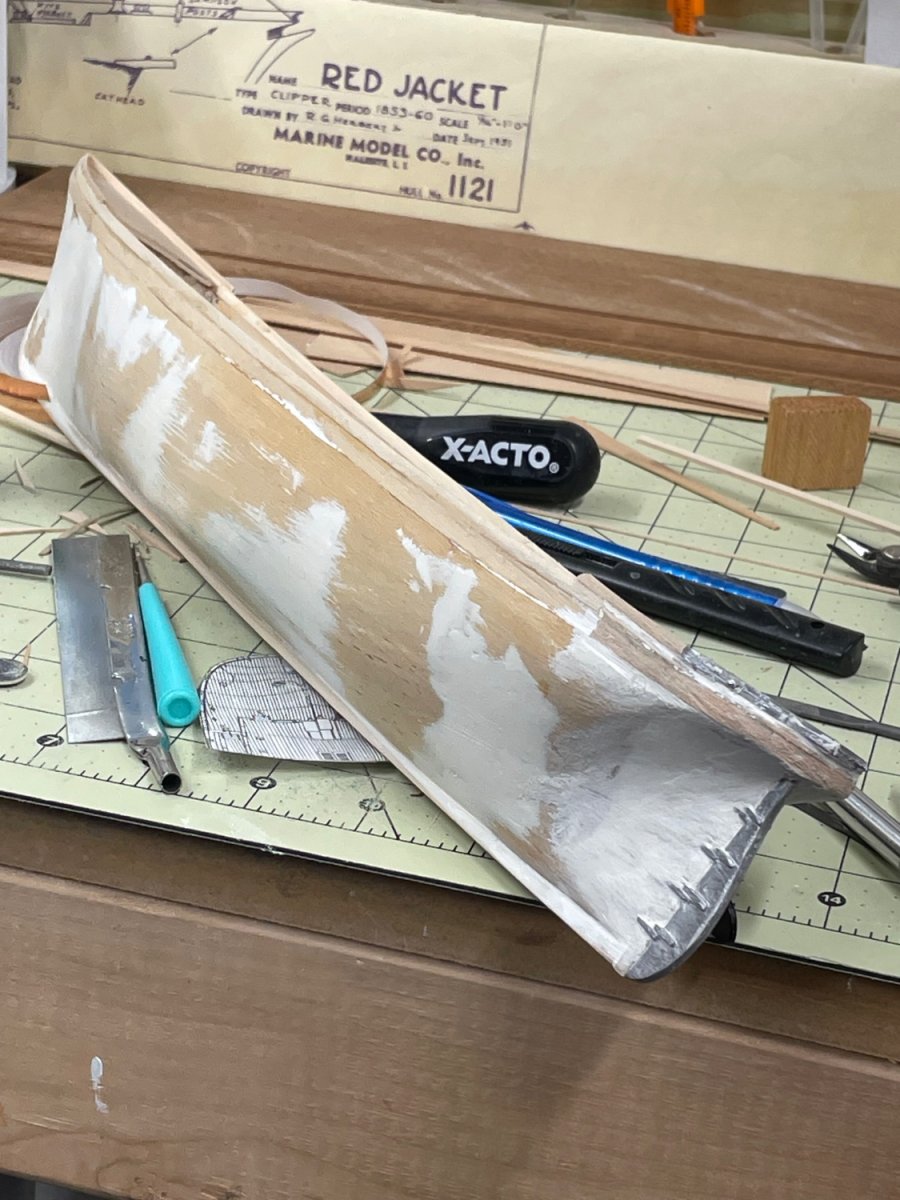
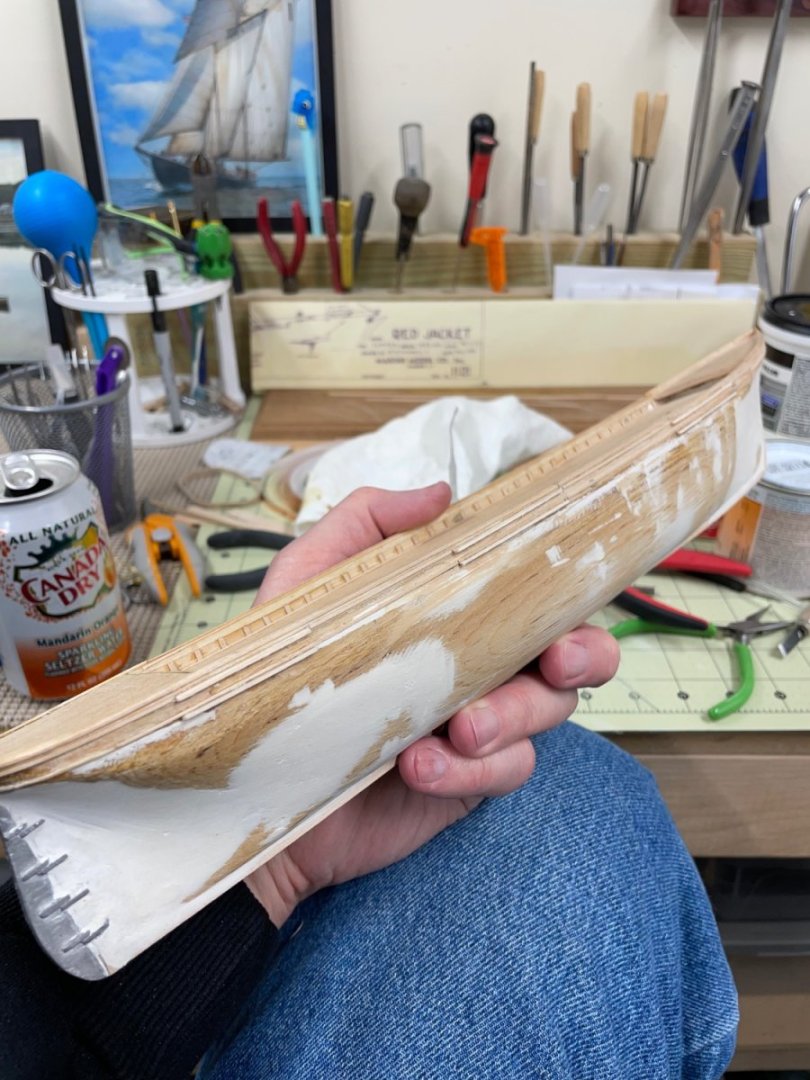
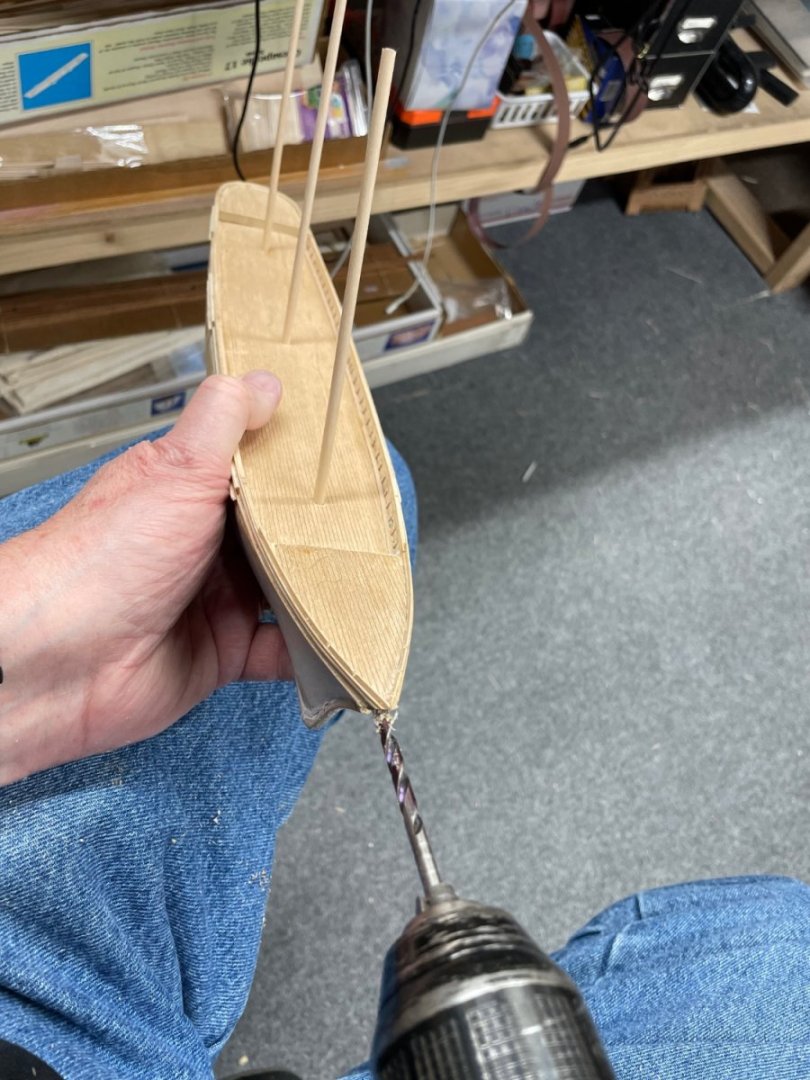
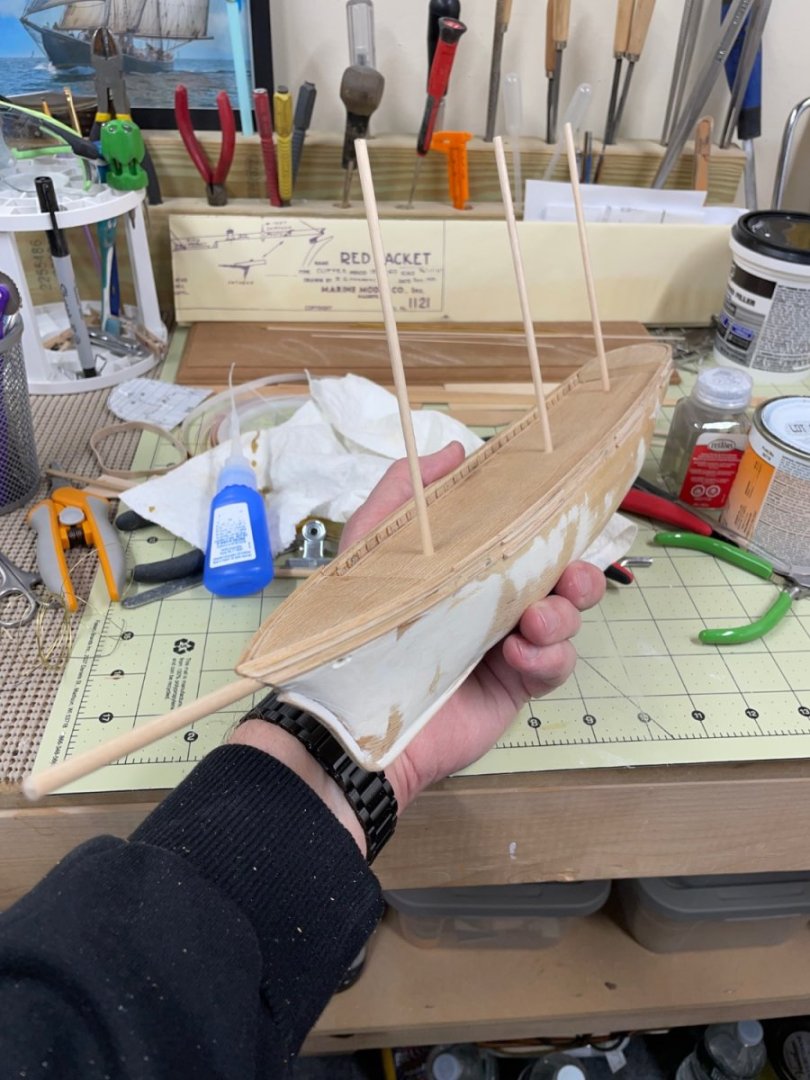
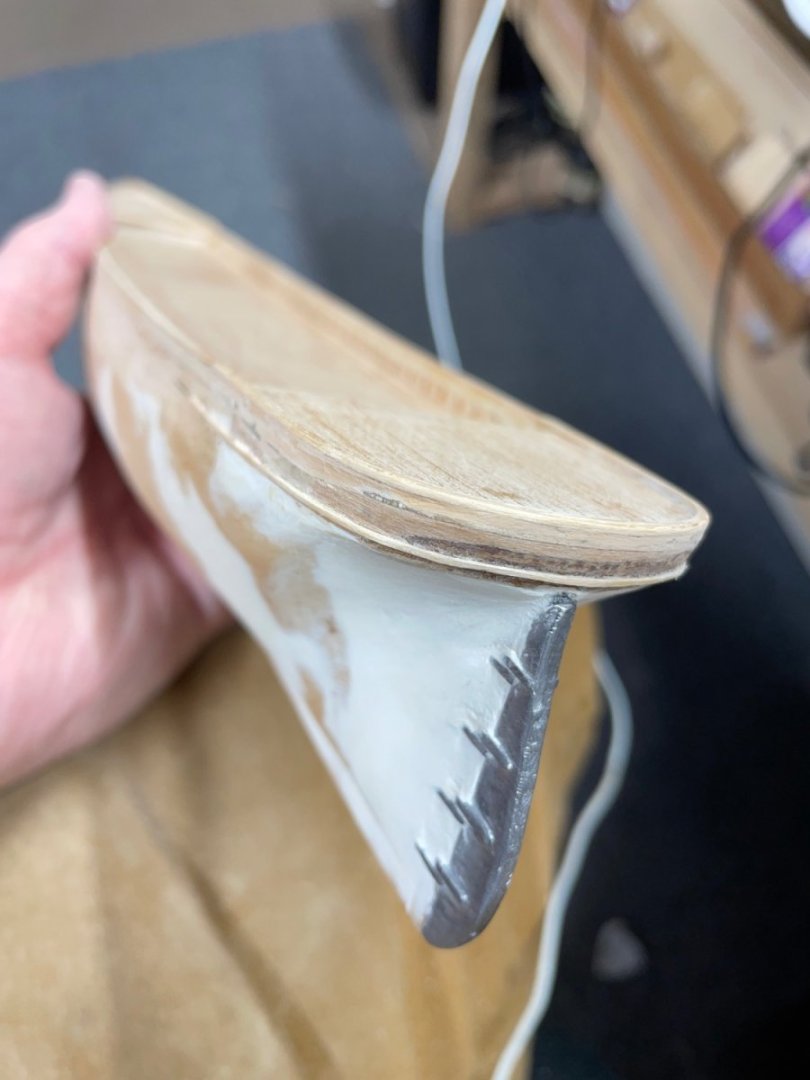
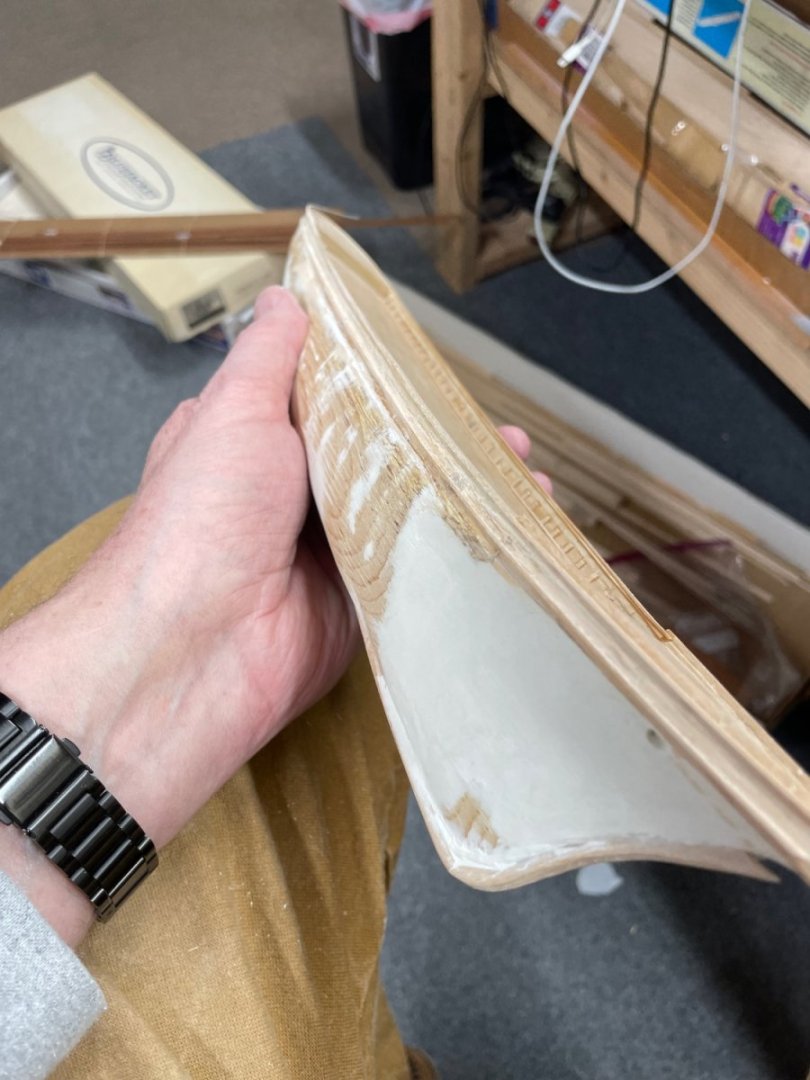
 Channels… Drilling for the Masts and Bow Sprit… No glue at this time. Ready to seal and paint the hull and bulwarks. Cheers 🍻
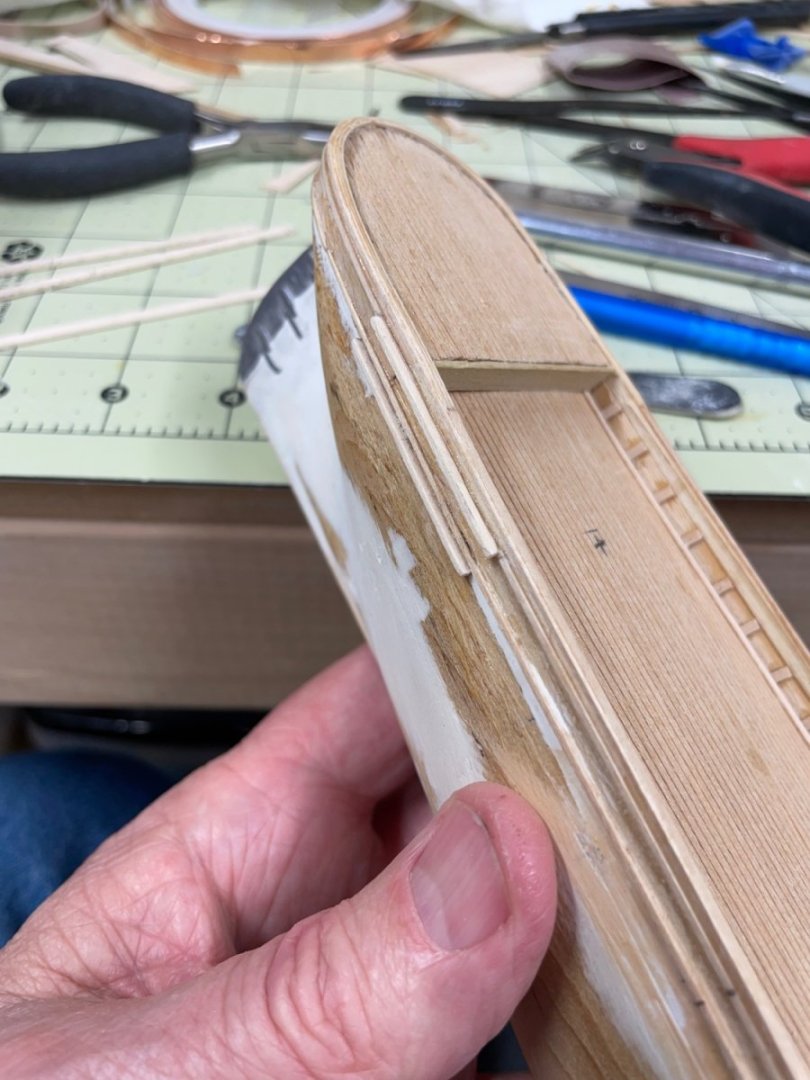


- 44 replies
-
- 7
-

-
- Red Jacket
- Marine Model Company
- (and 2 more)
-
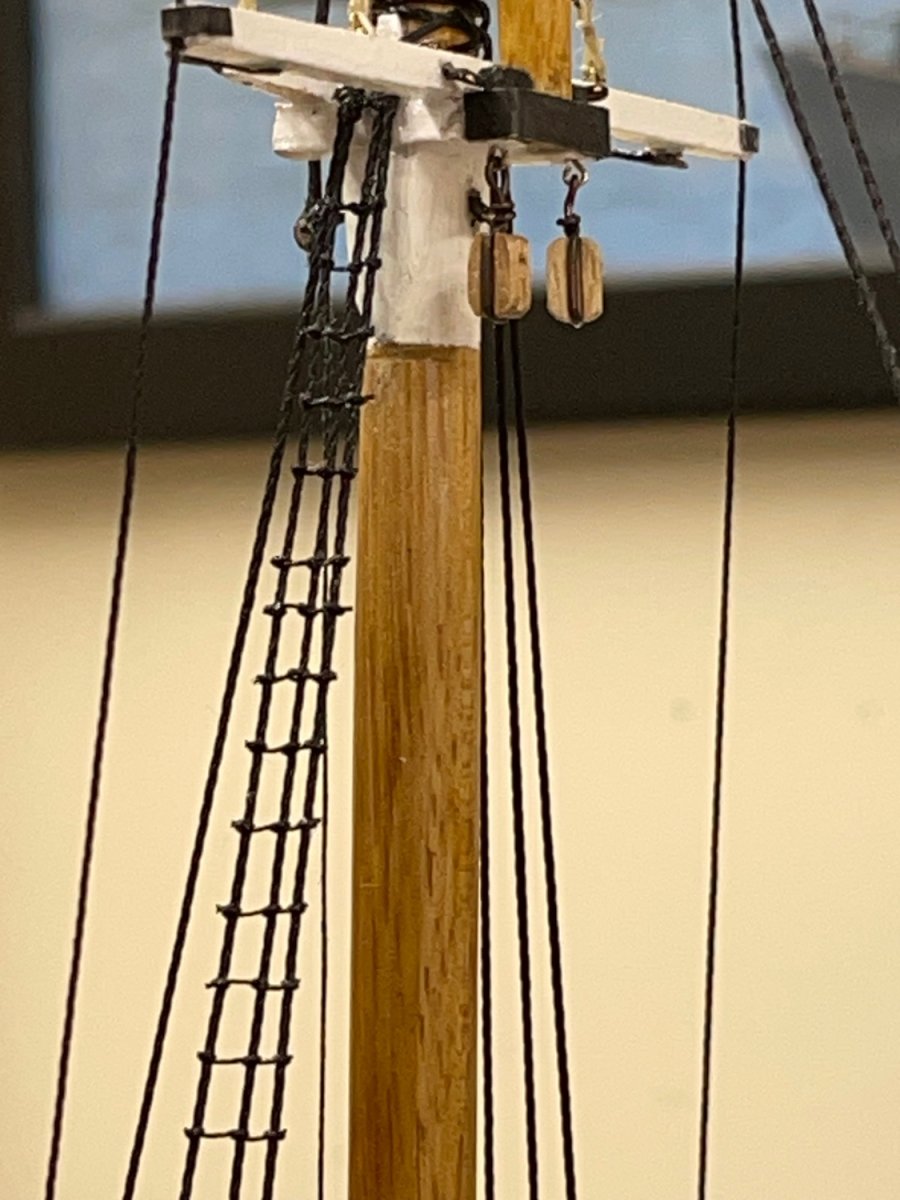
Wow! Nice work on the standing rigging, Phil 👍 Glad to see you are going to add the sails. I personally thing a model is not complete without Sails and it’s associated running rigging. John
-
Welcome to MSW, Bob… Registering here and joining Nautical Research Guild is a great way to get help. There are many build logs here that you can research and find your answers. First thing to do is introduce your self in the new member forum and start your own build log. Start asking away and you’ll get answers from many an expert. Moderators are very good at assisting you as well. Good Luck and have fun with your new hobby. John
-
I’m sure you will find something else to add. 😆 Great job, your narrative is great, I learn something new every time. John
-
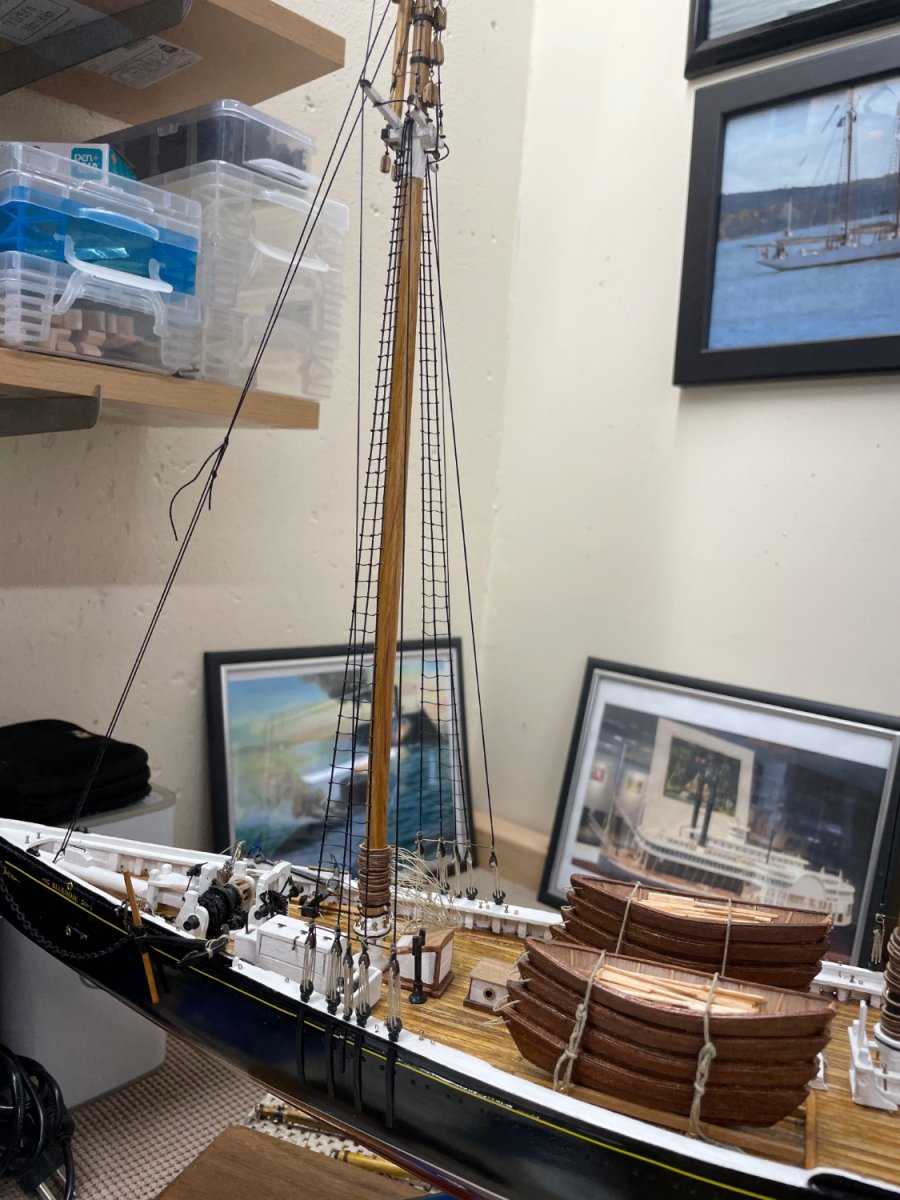
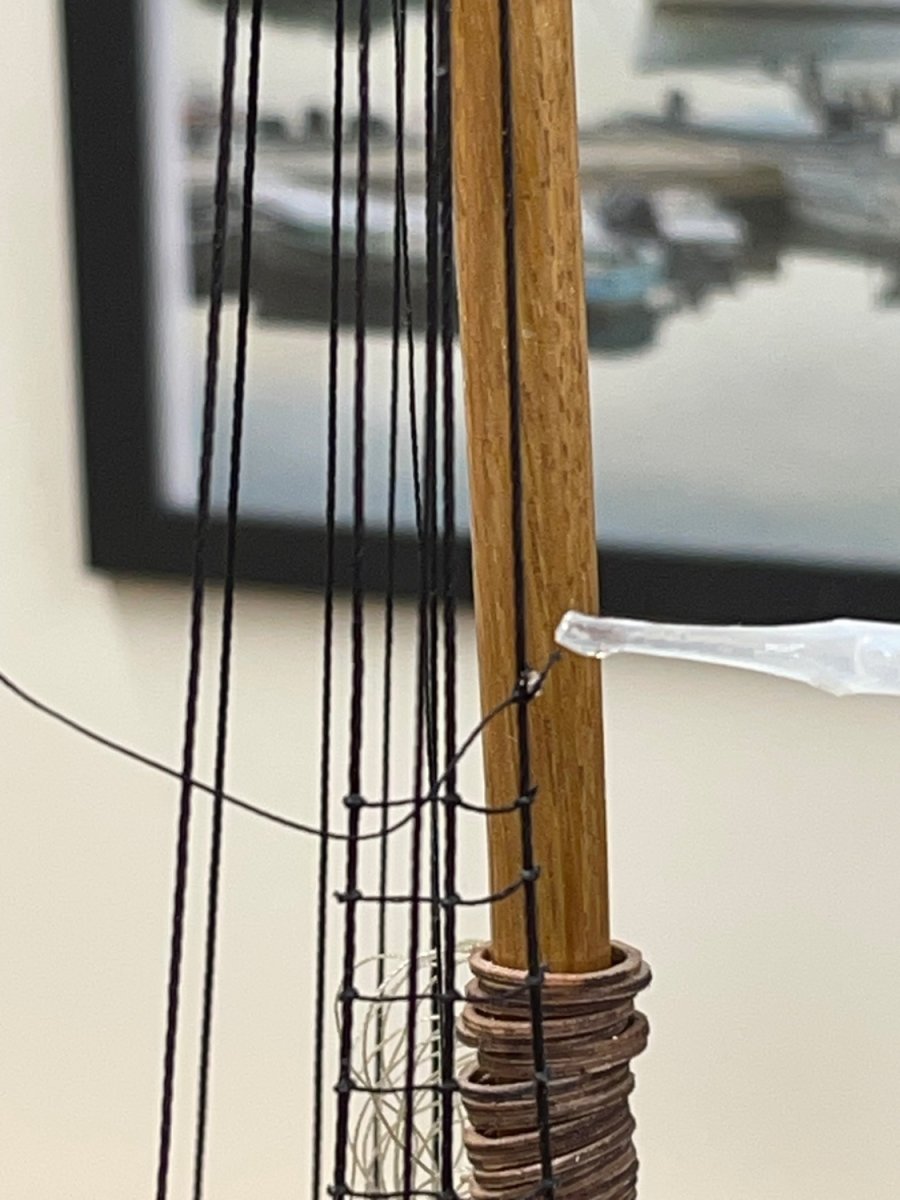
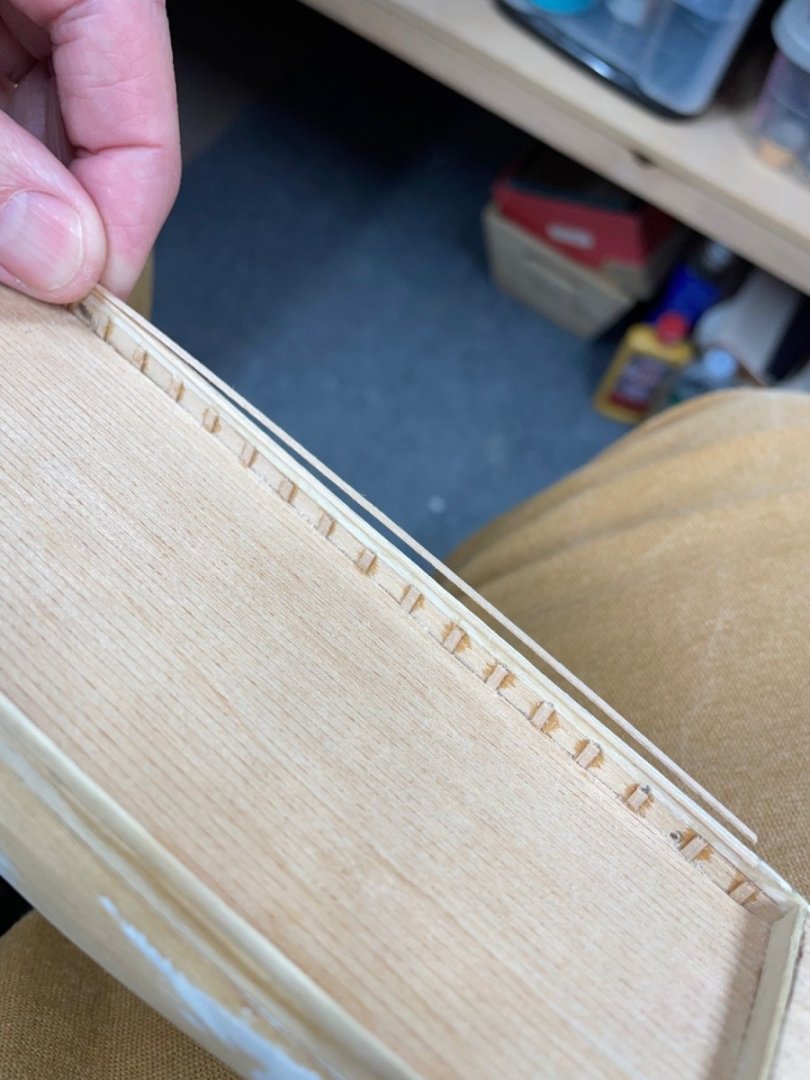
Lower Deadeyes… …and so it begins, the “smallest” deadeyes. Pin Rails are going to be so much fun. 😜
- 44 replies
-
- 6
-
-
- Red Jacket
- Marine Model Company
- (and 2 more)
-
Thanks… The idea came from Bluejacket’s build log of the Red Jacket.
-
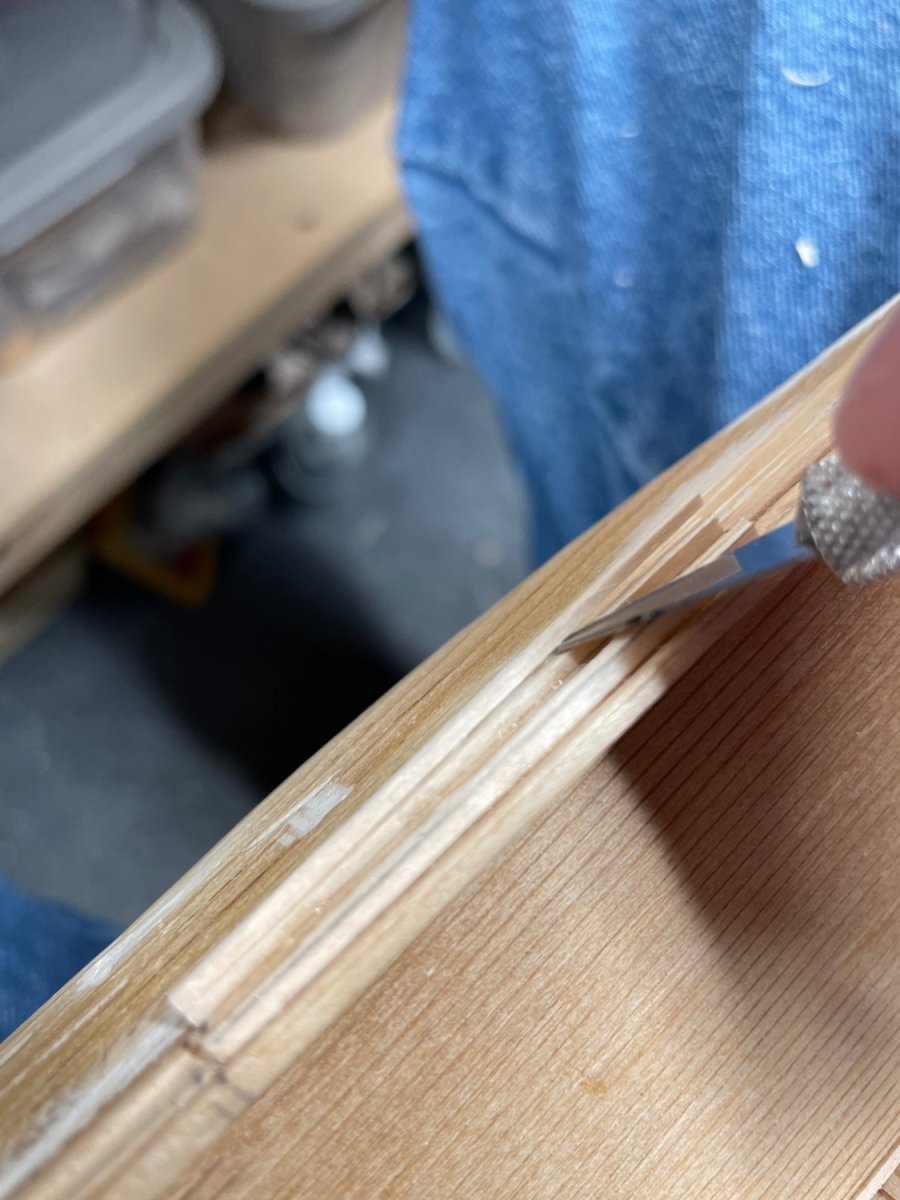
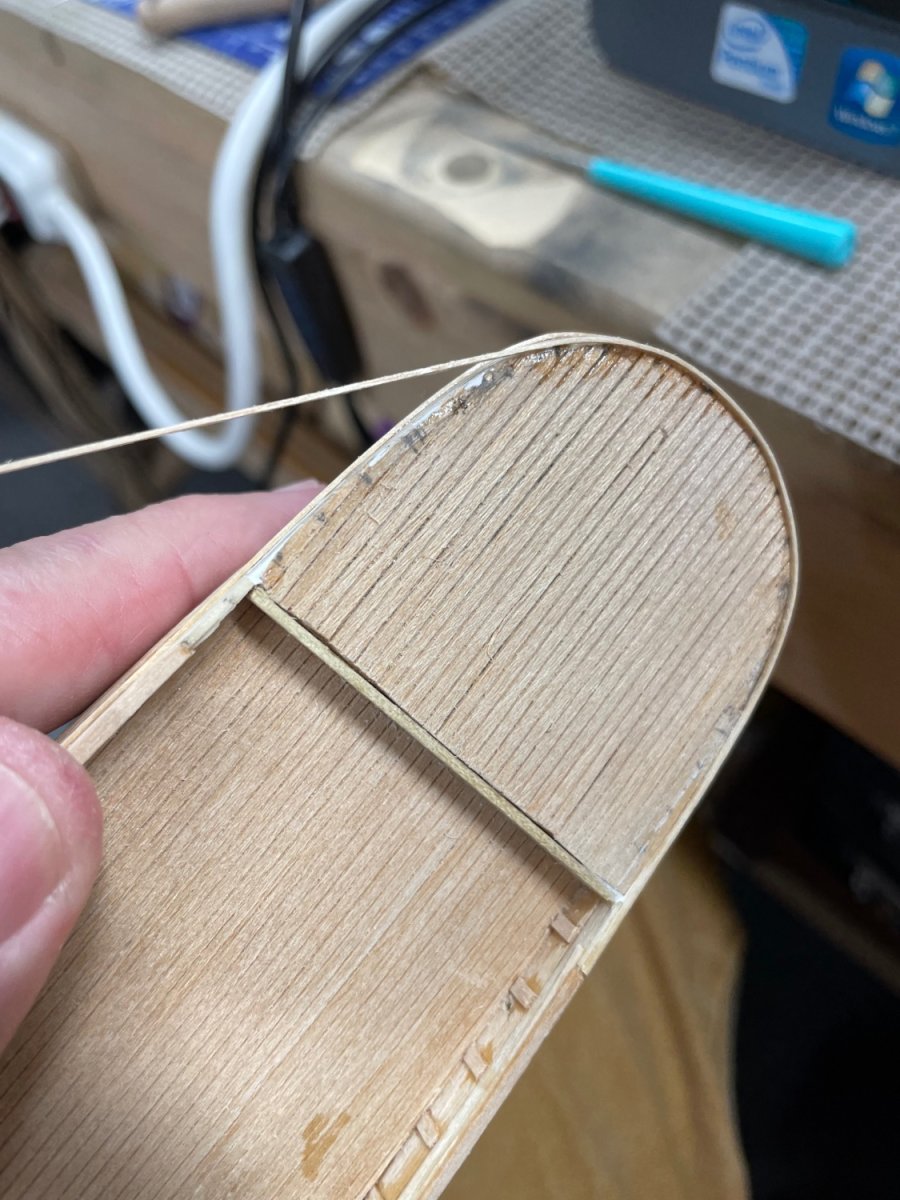
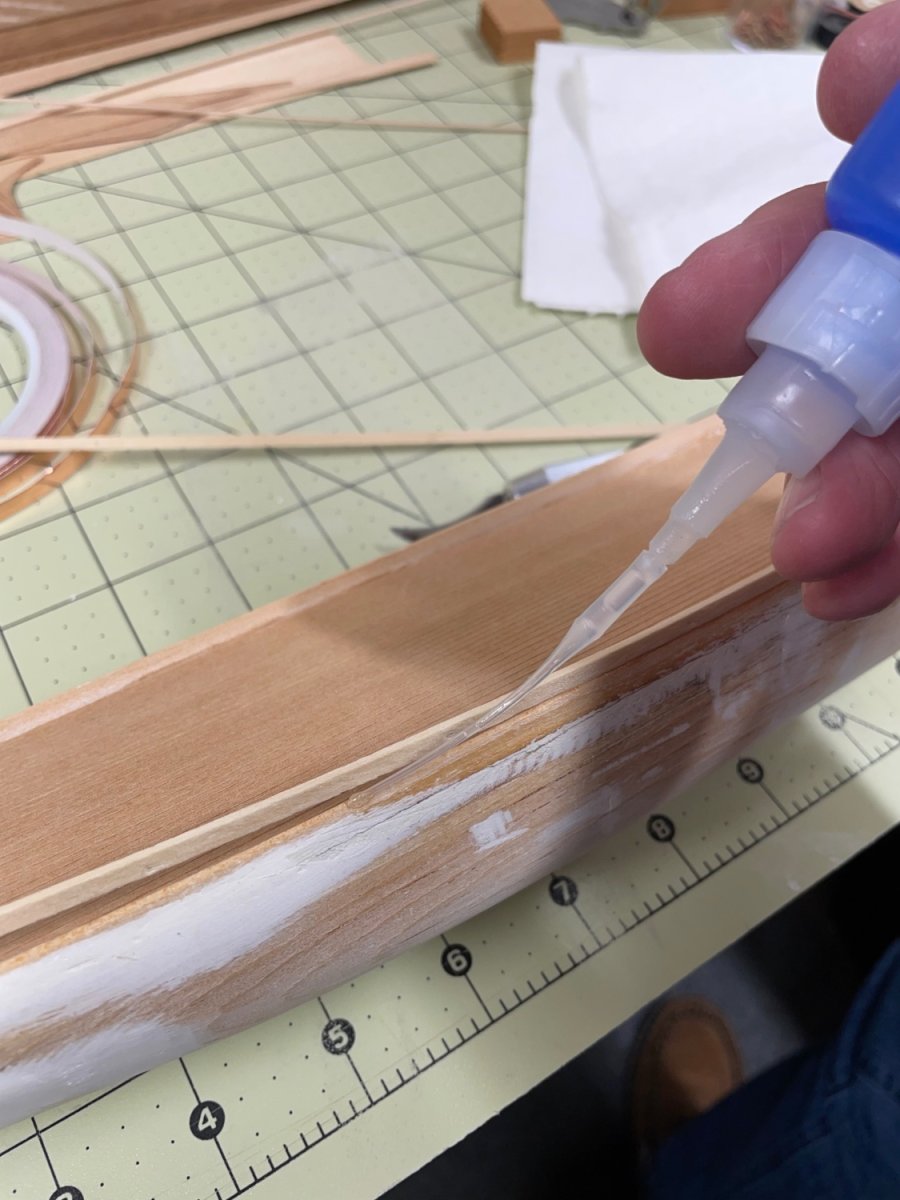
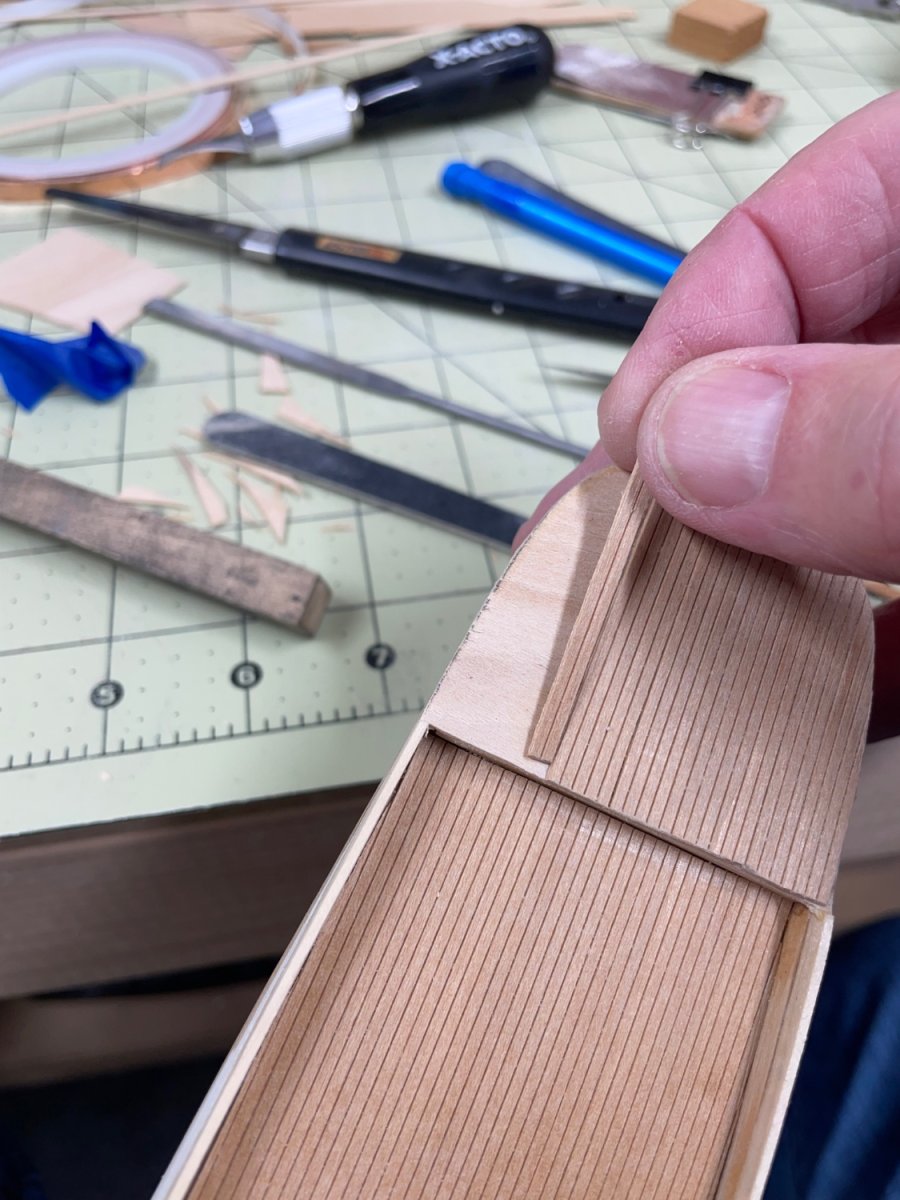
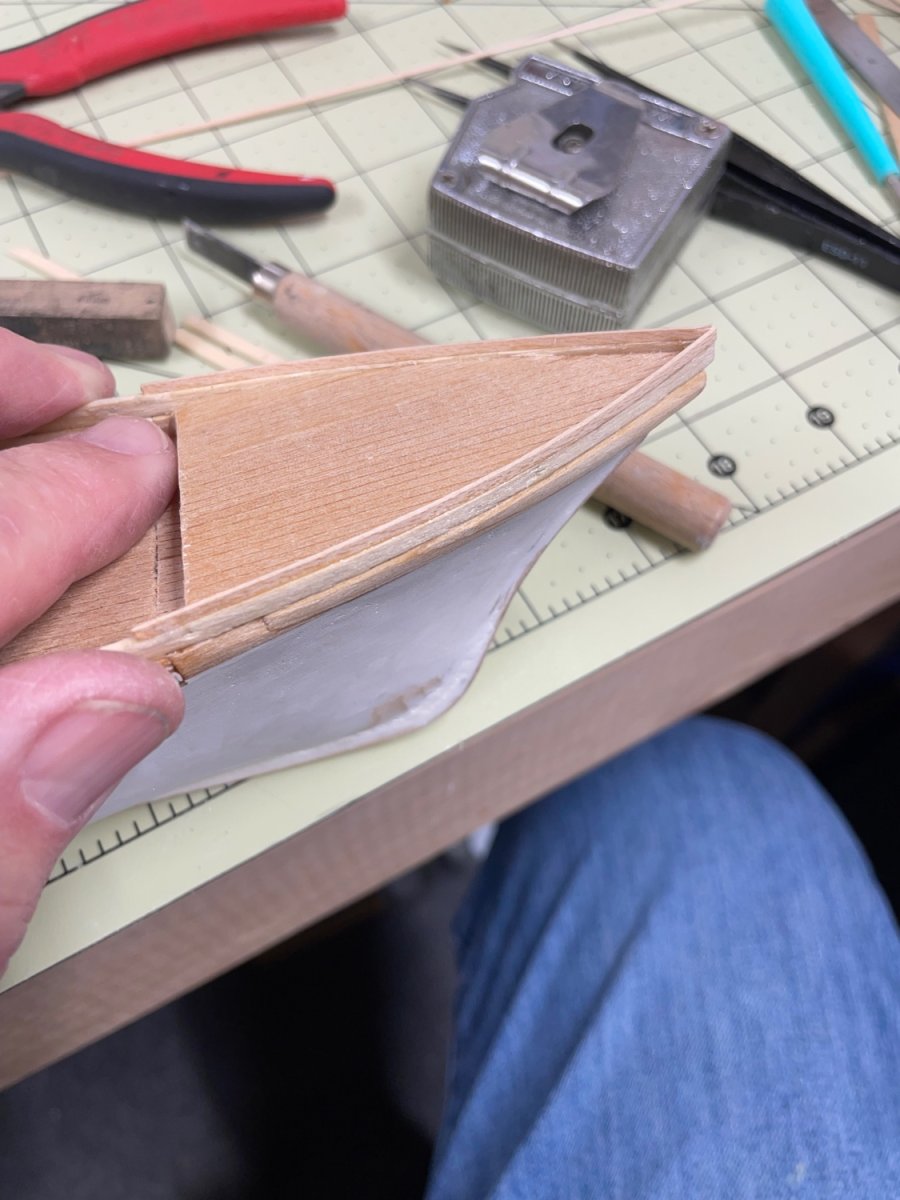
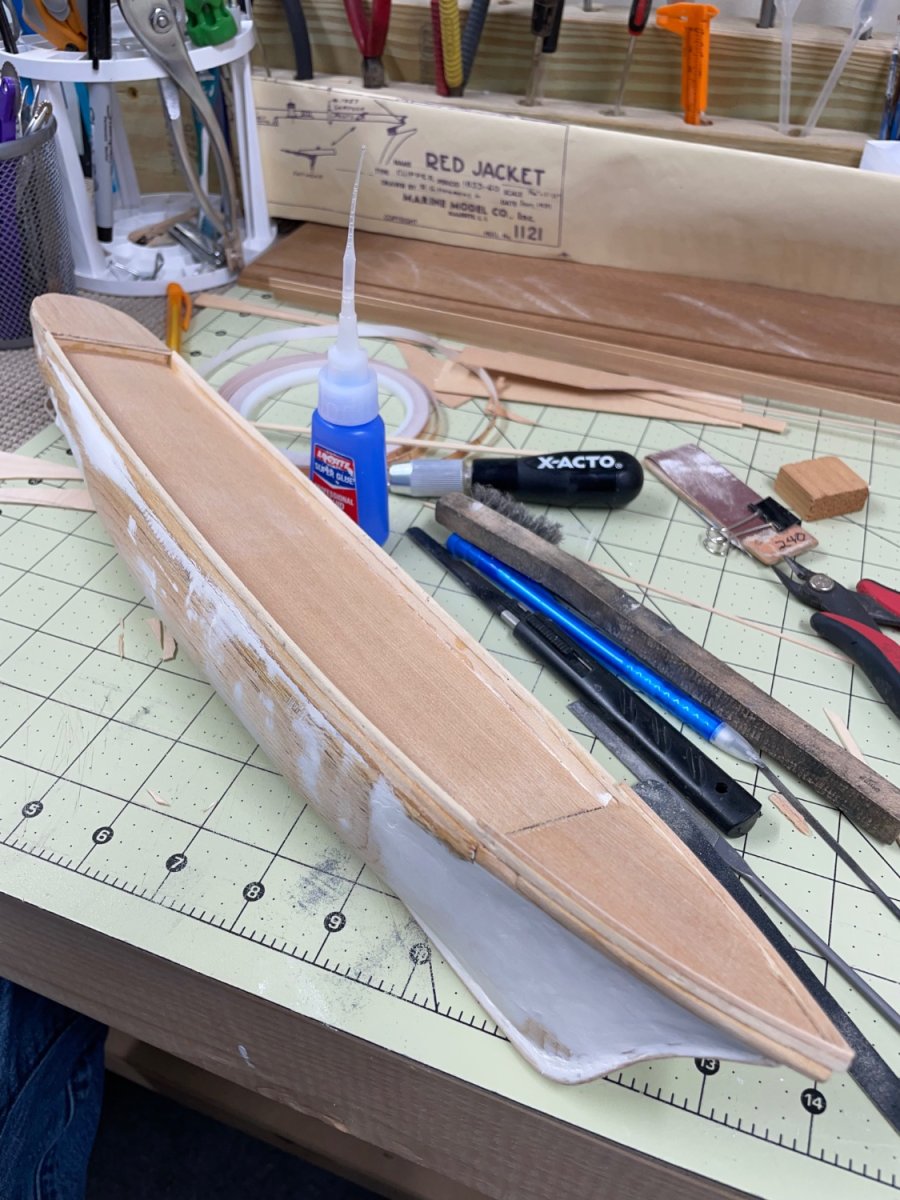
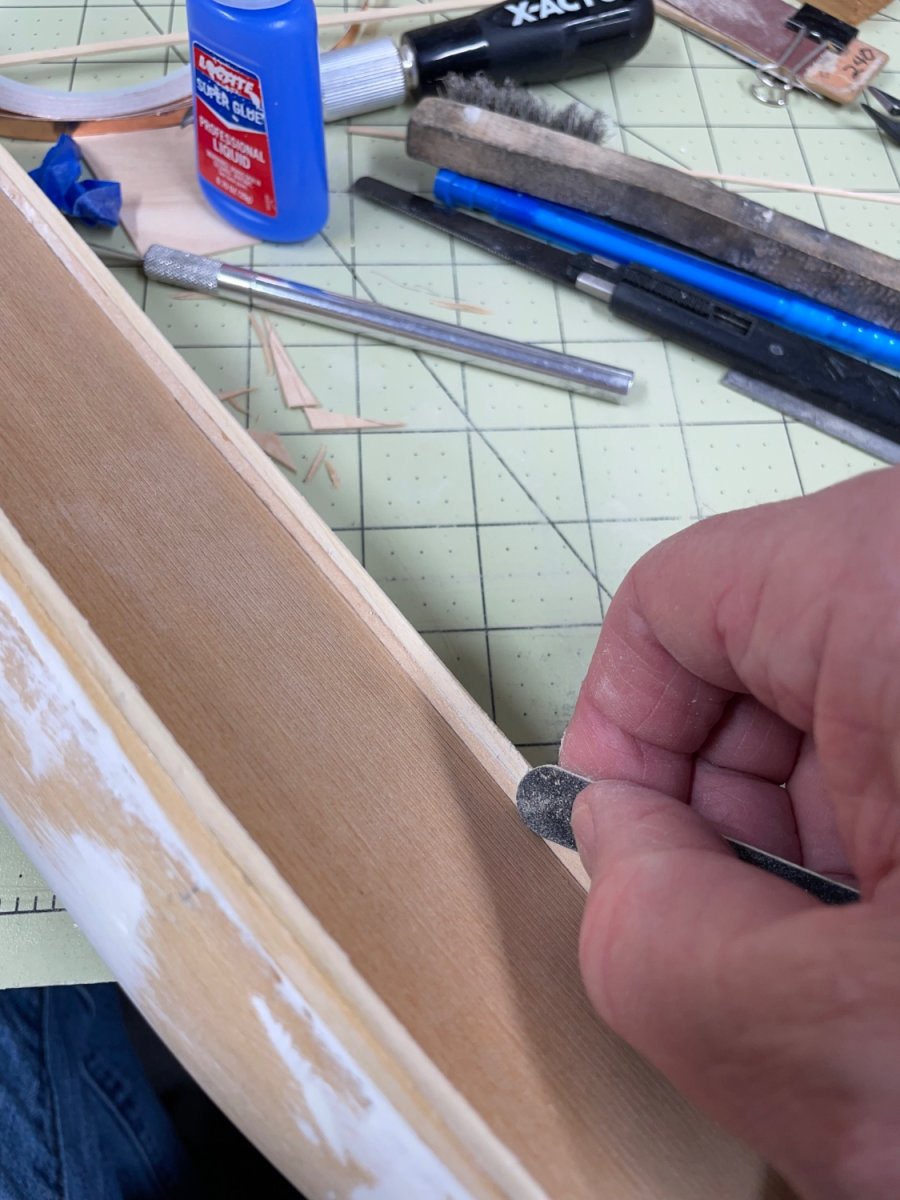
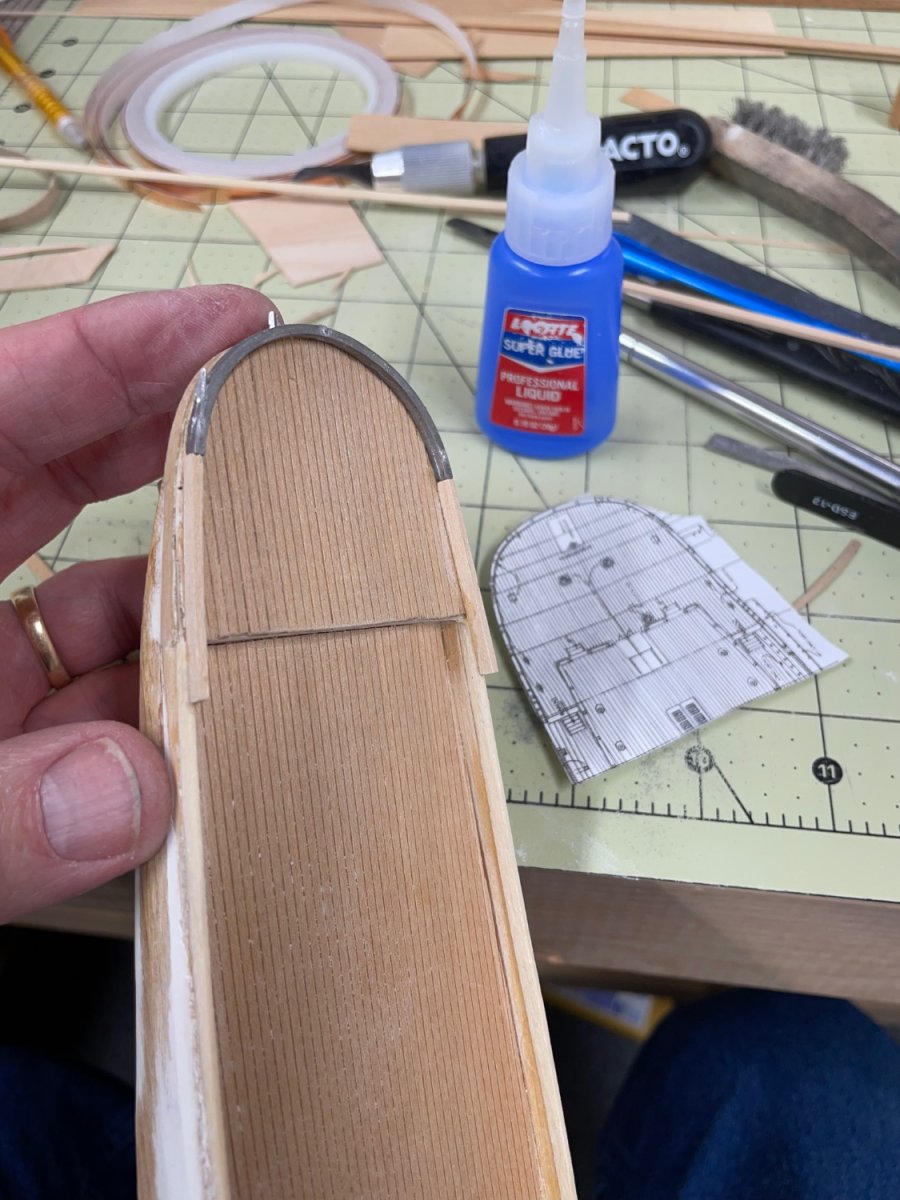
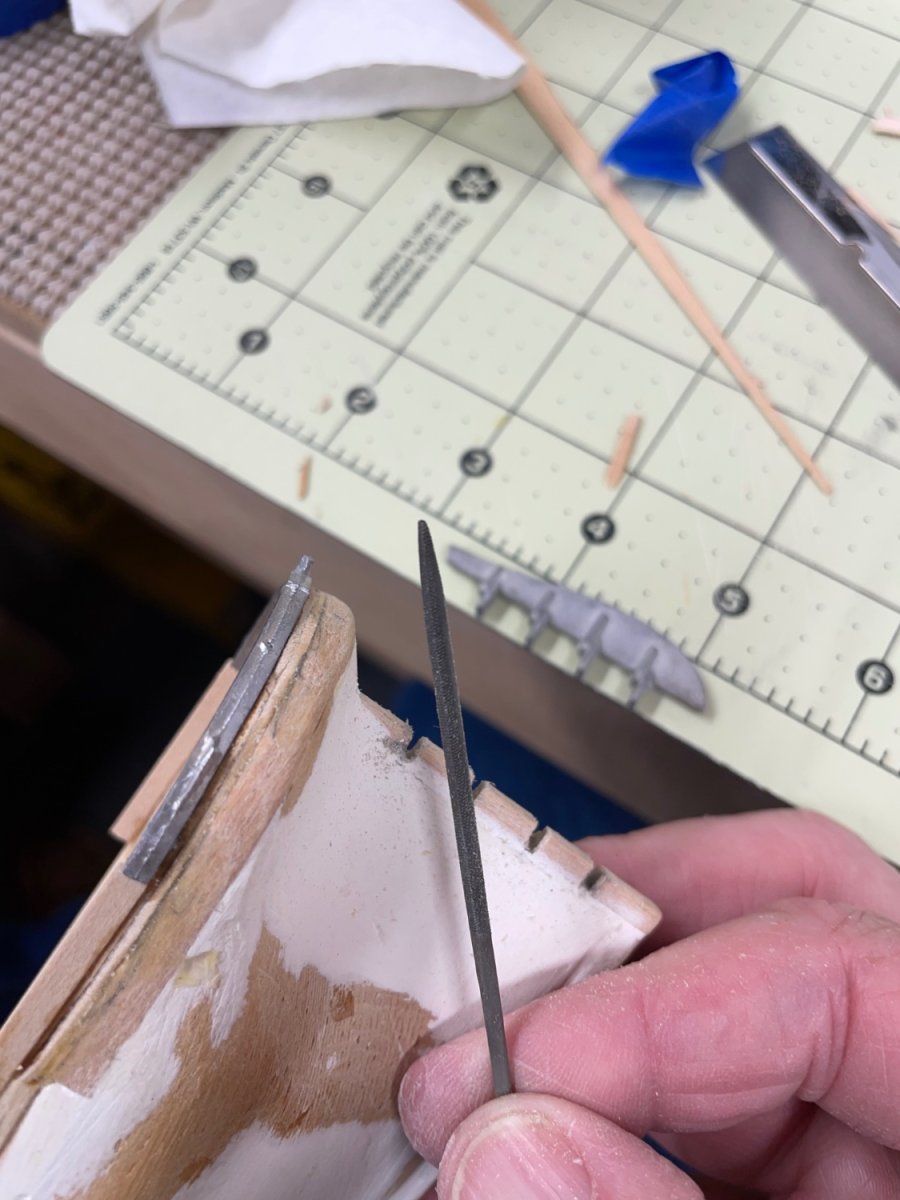
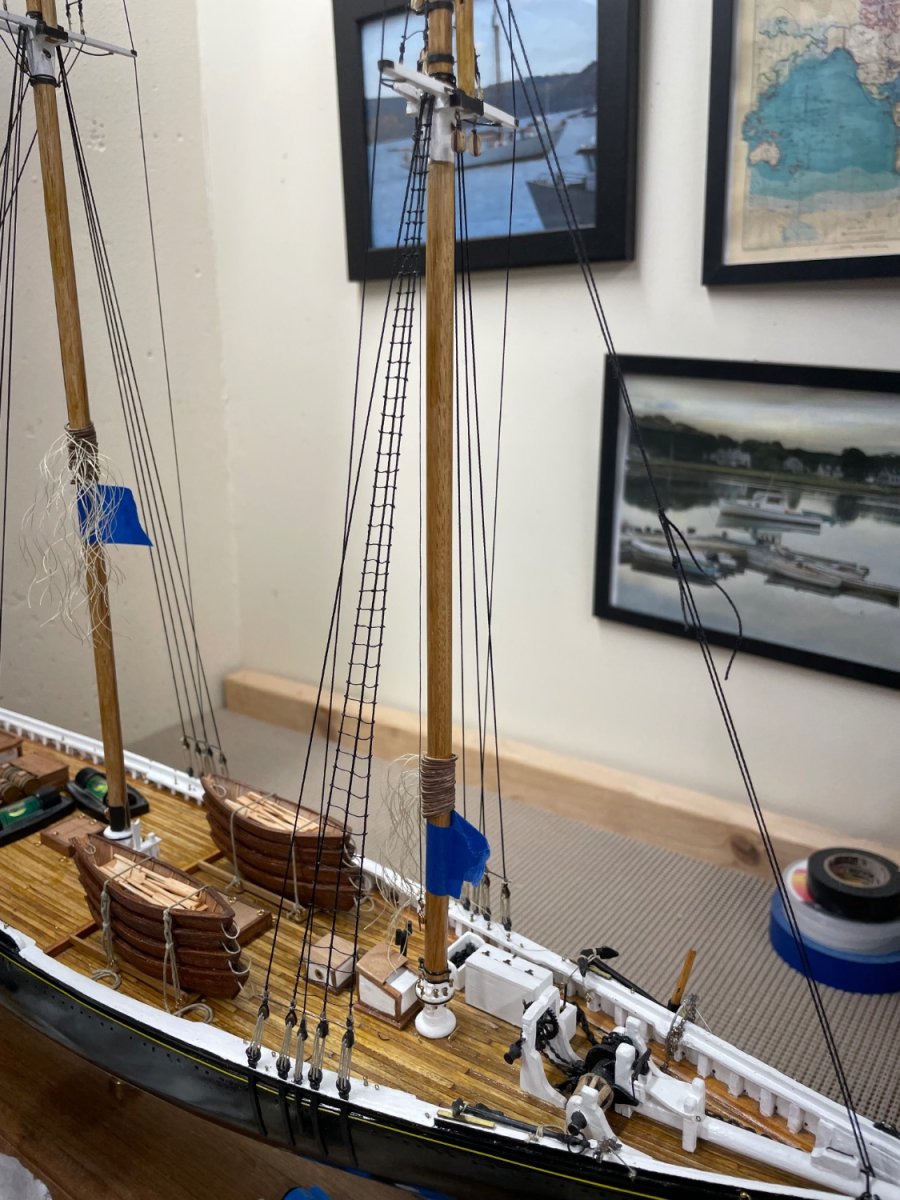
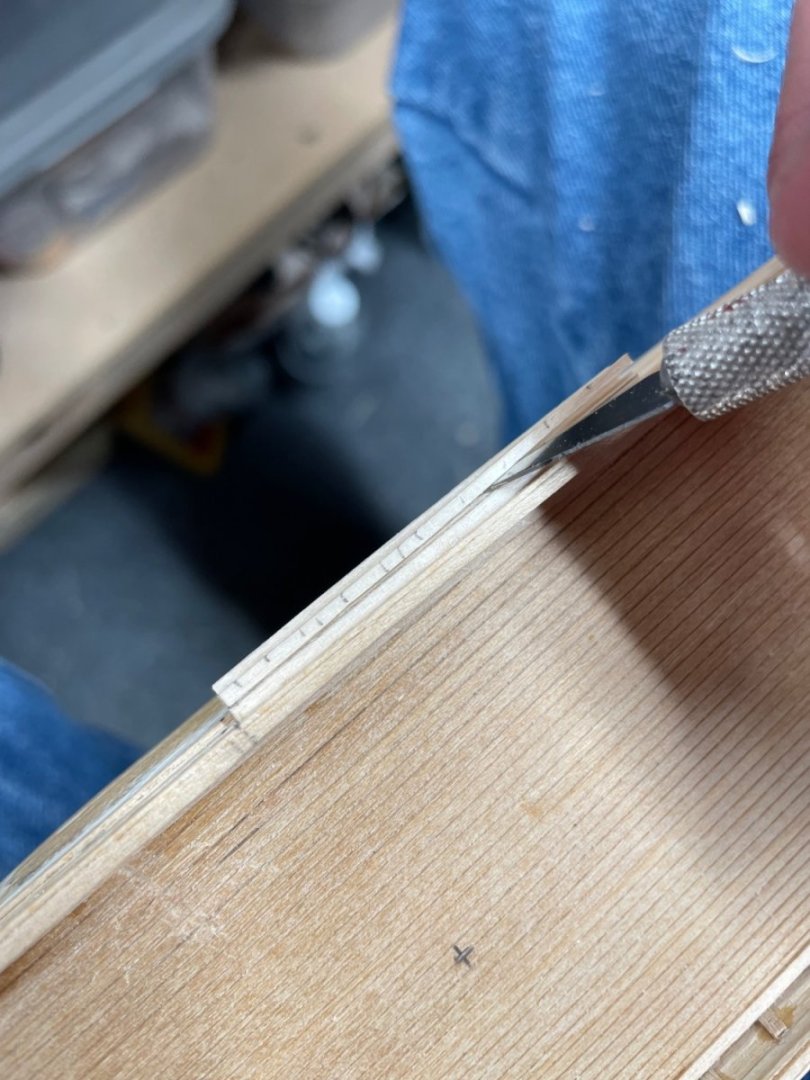
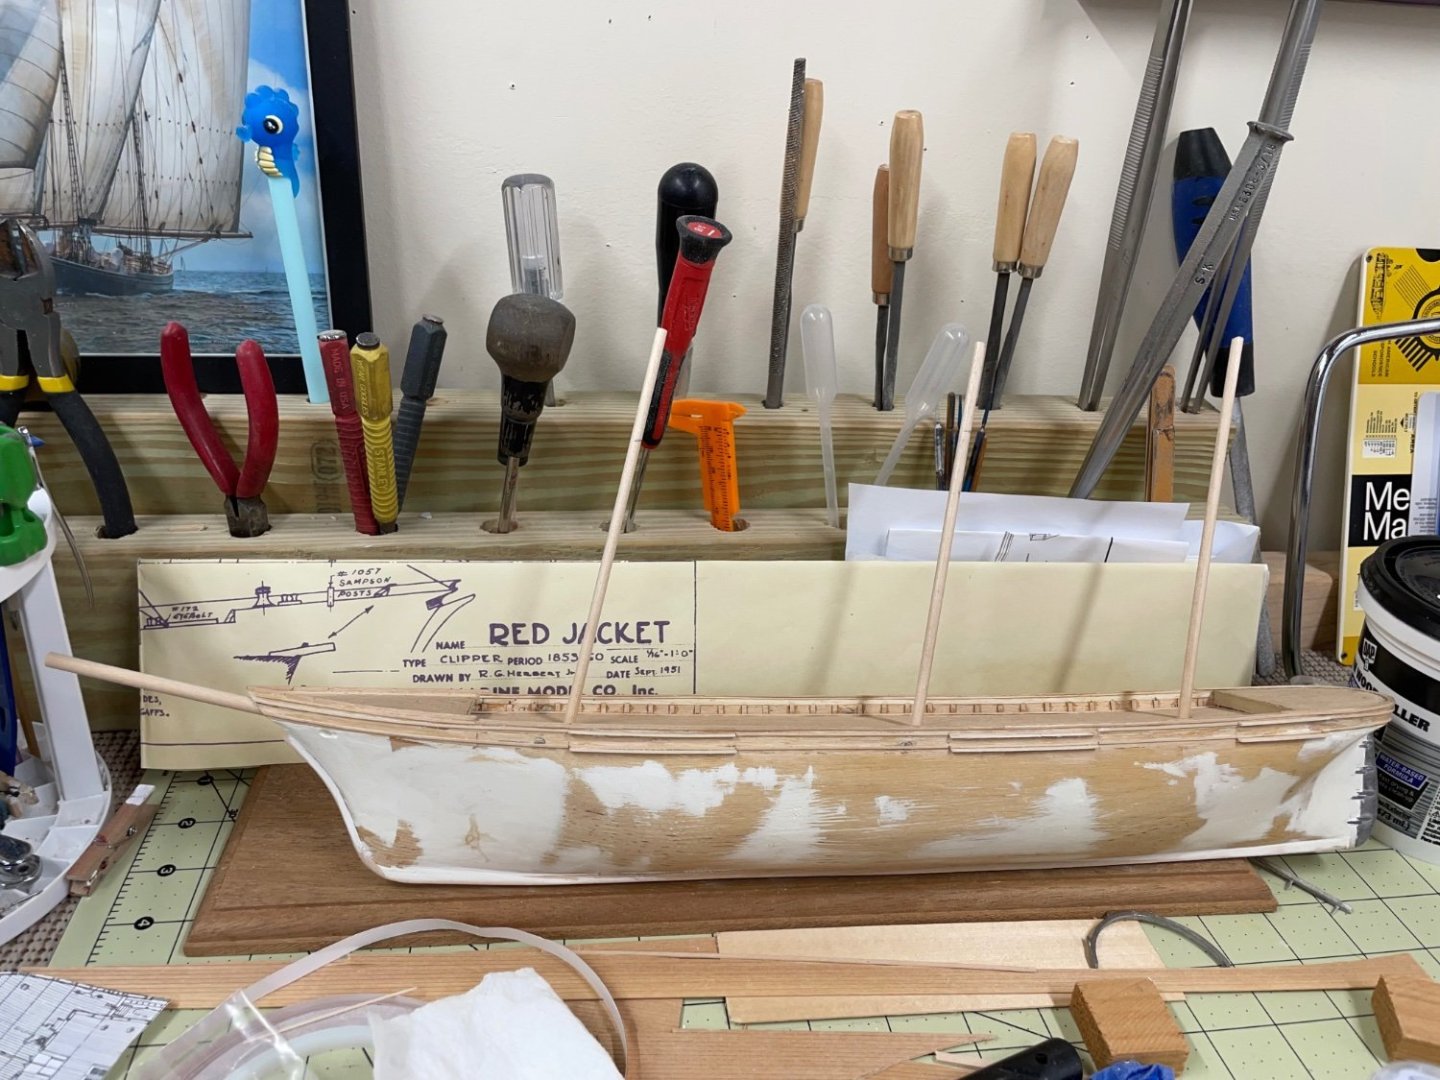
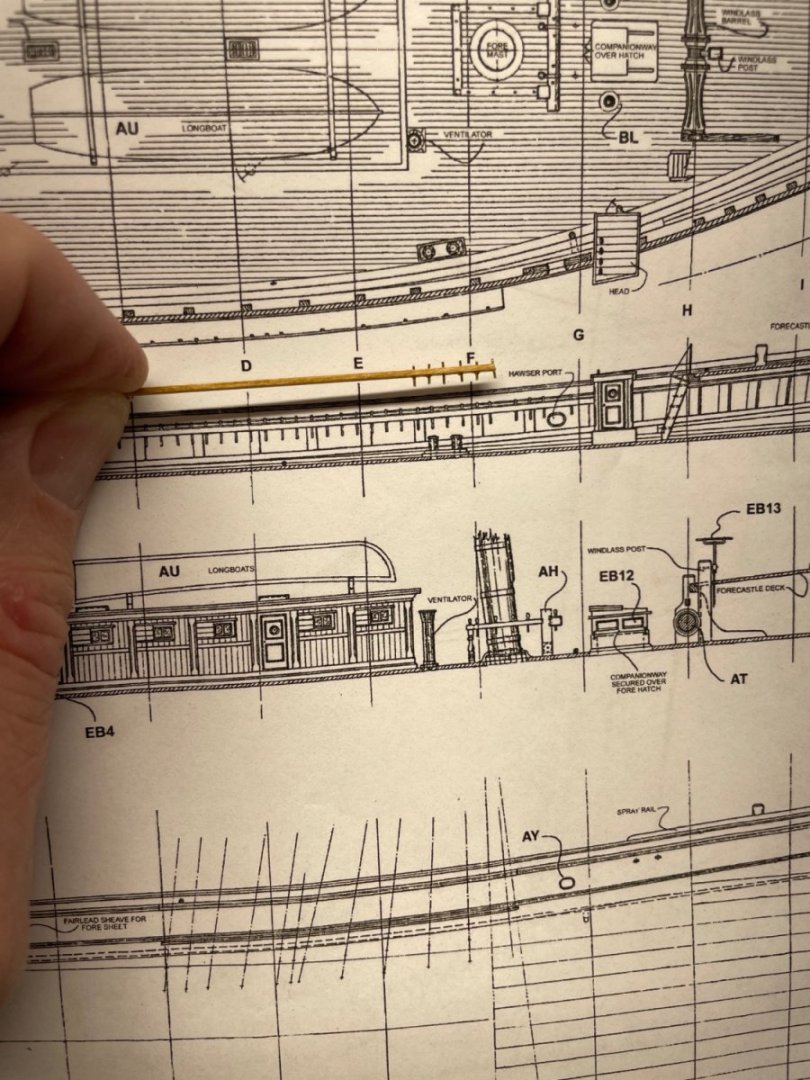
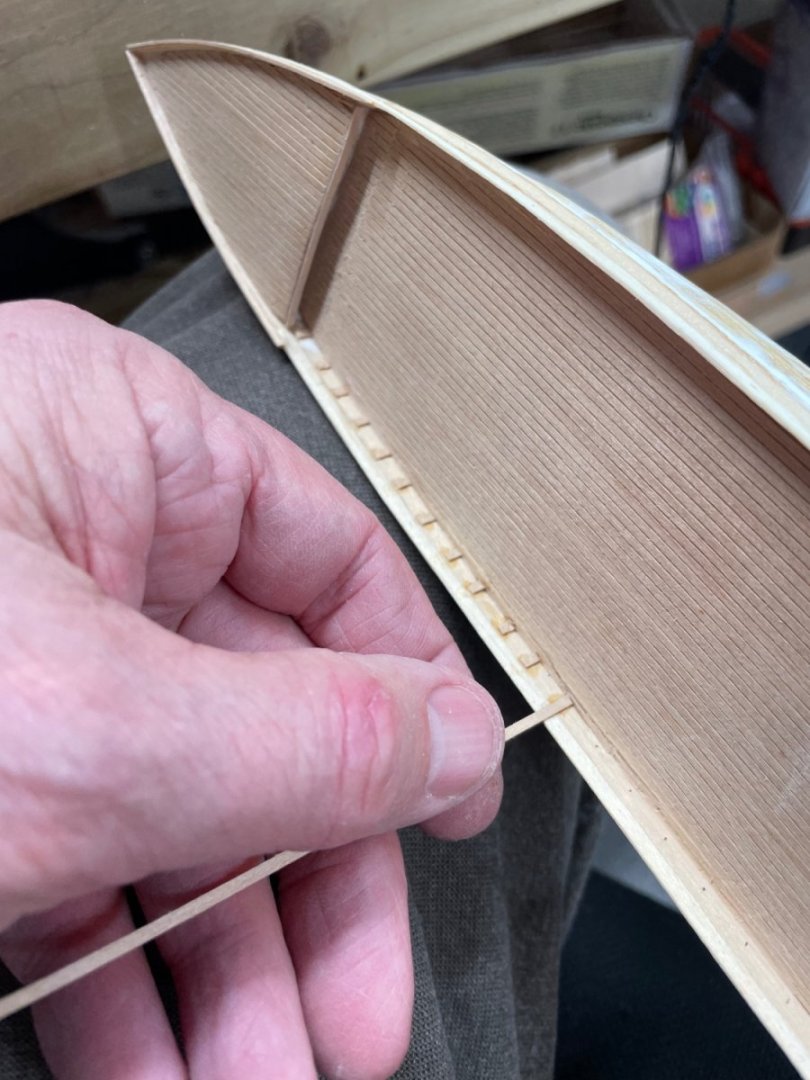
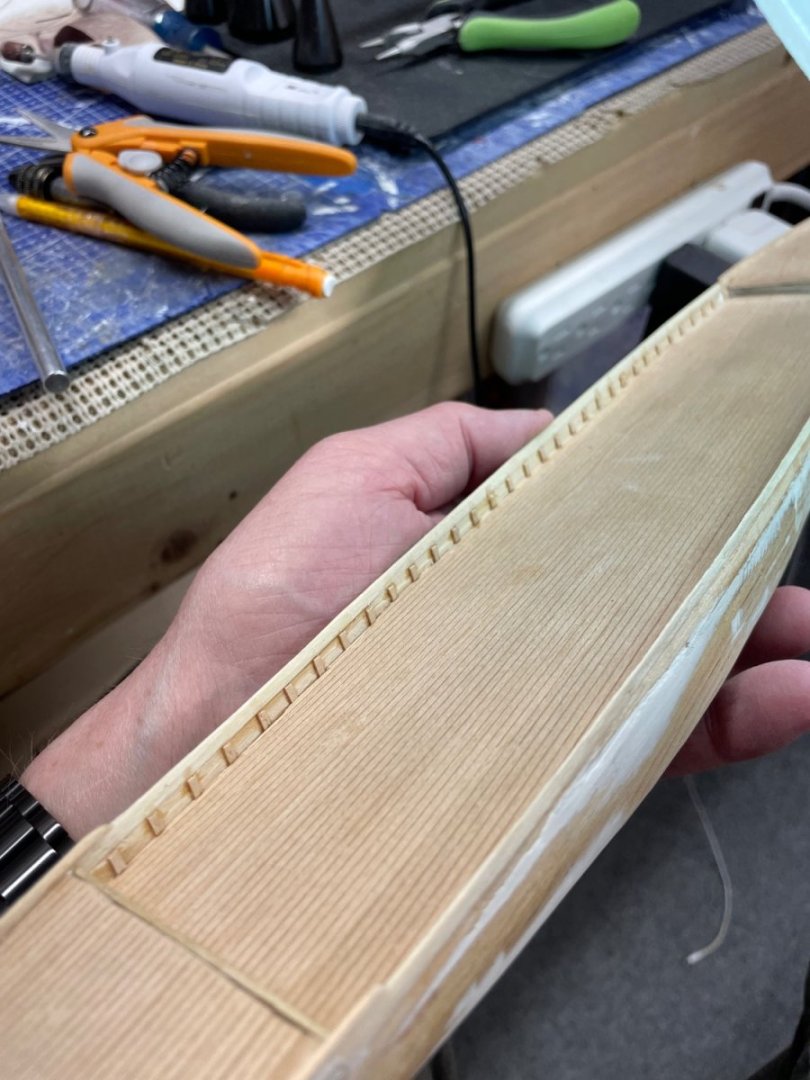
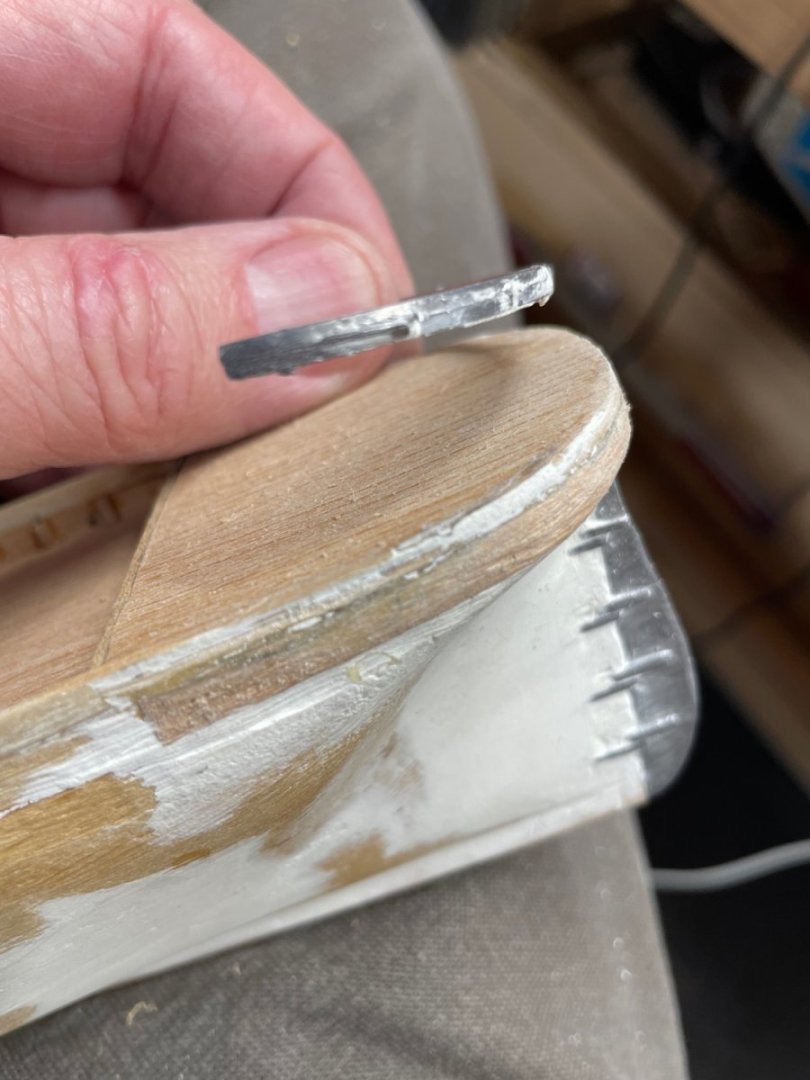
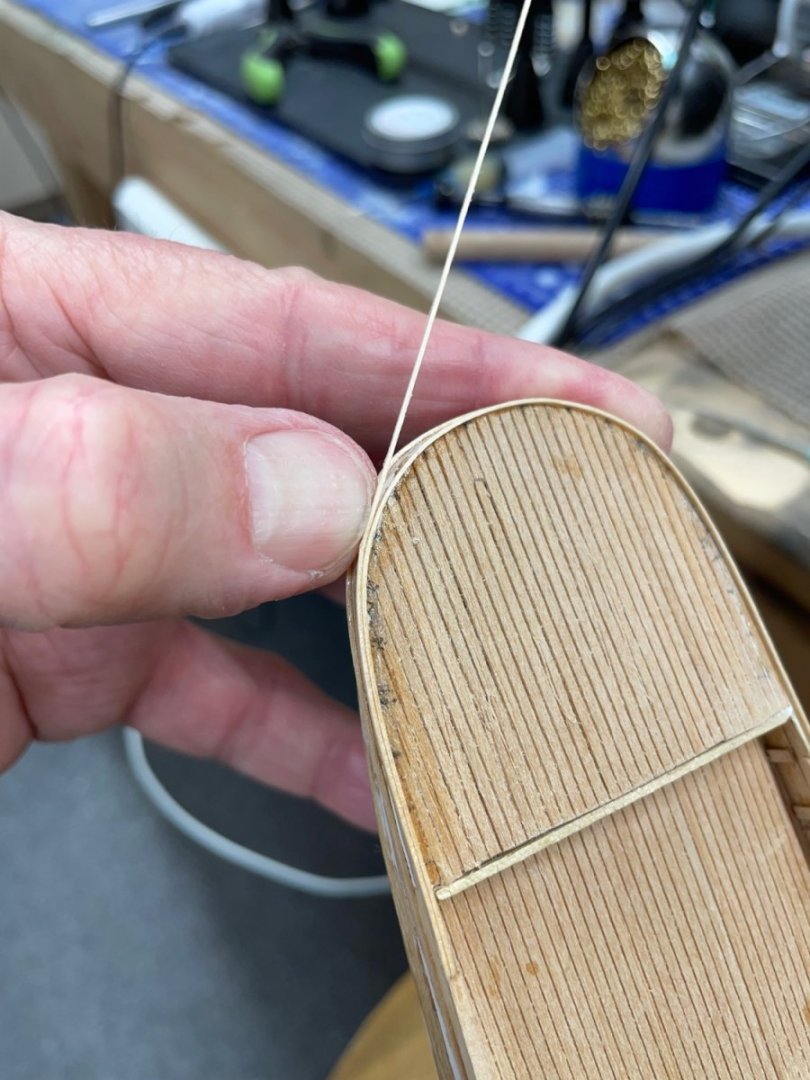
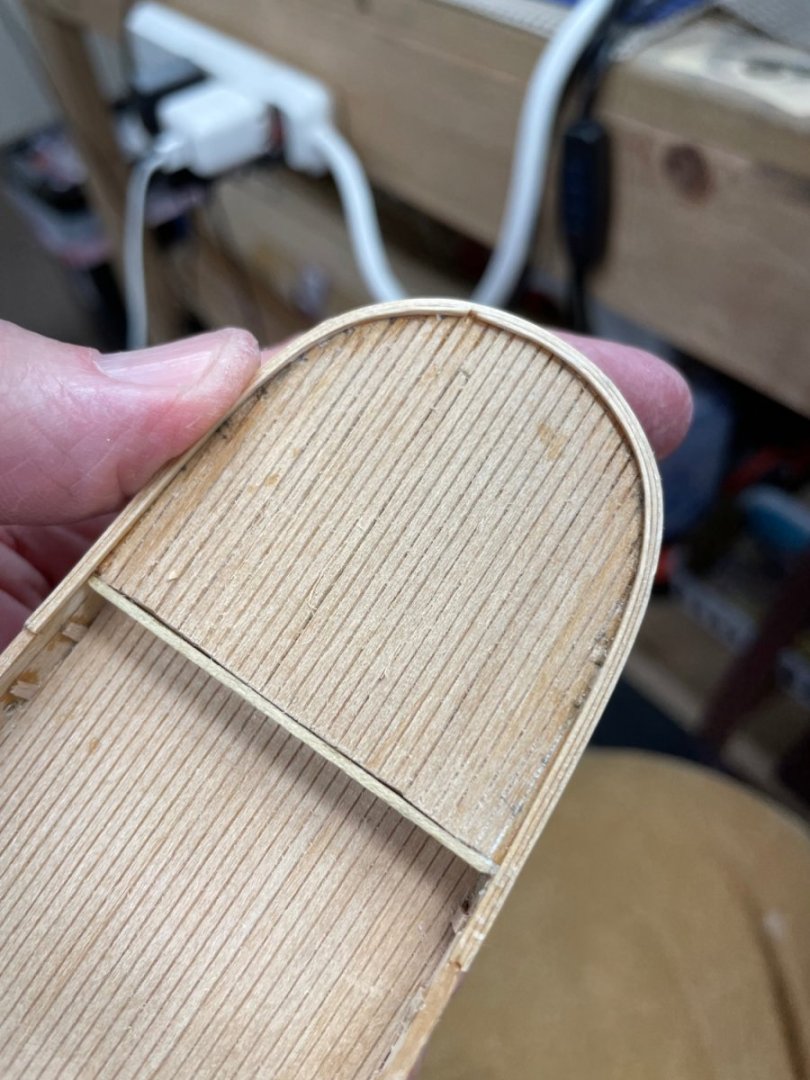
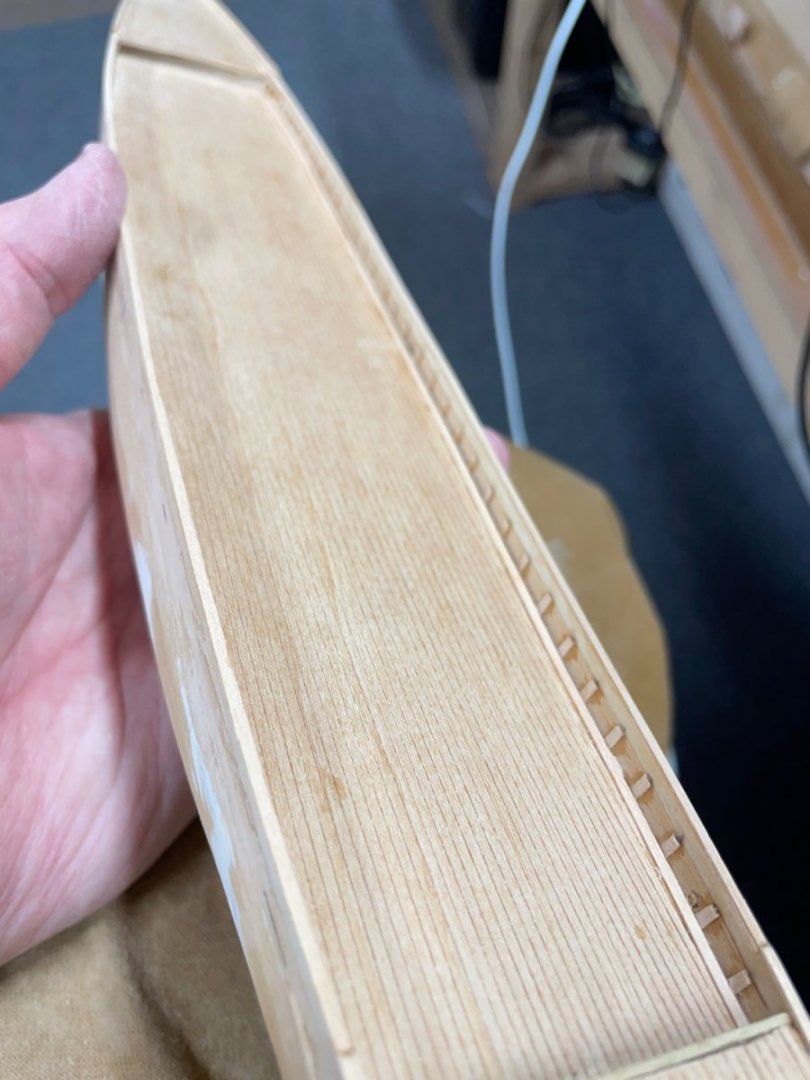
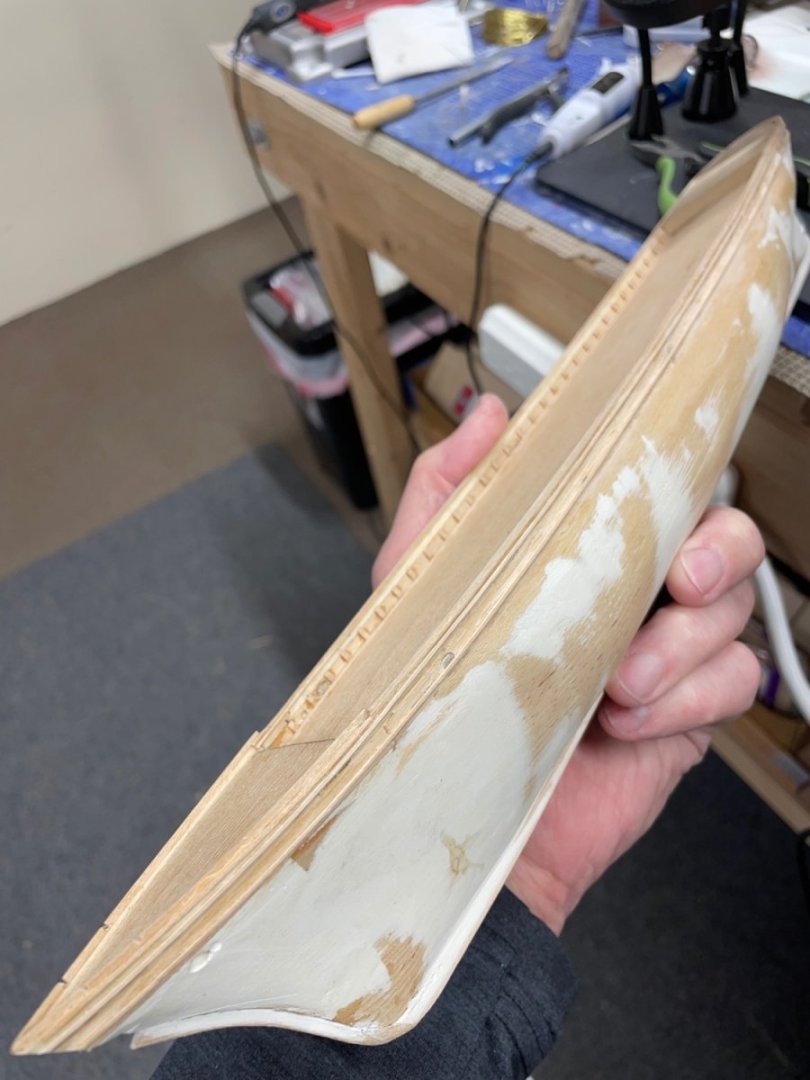
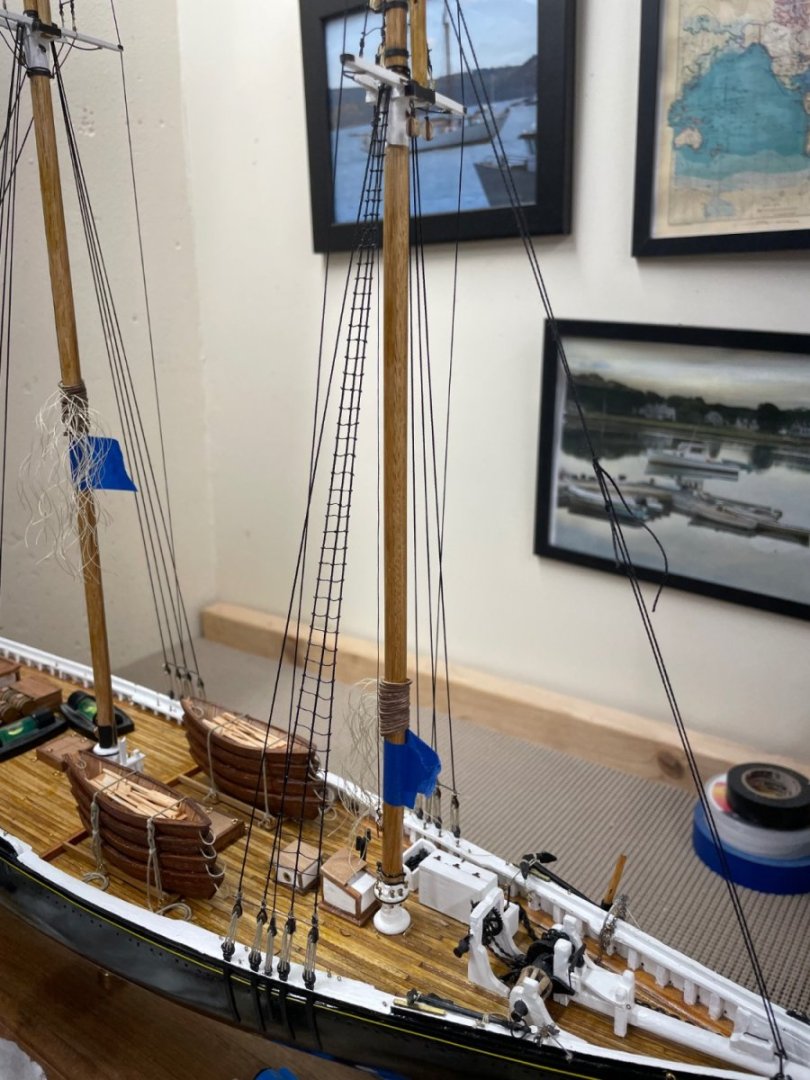
Bulwarks and Rails continued… Placing Bulwark Stanchions… Placing the Monkey Rail… Removed the kit supplied taffrail… Building up Taffrail with strip wood 1/64 x 1/32. Taffrail base completed… Monkey Rails completed… Placing water ways… Monkey Rail, Main Rail and Sheer completed. Onwards… 🍻


- 44 replies
-
- 10
-
-

-
- Red Jacket
- Marine Model Company
- (and 2 more)
-
Agreed… But we love it, don’t we. 😆
-
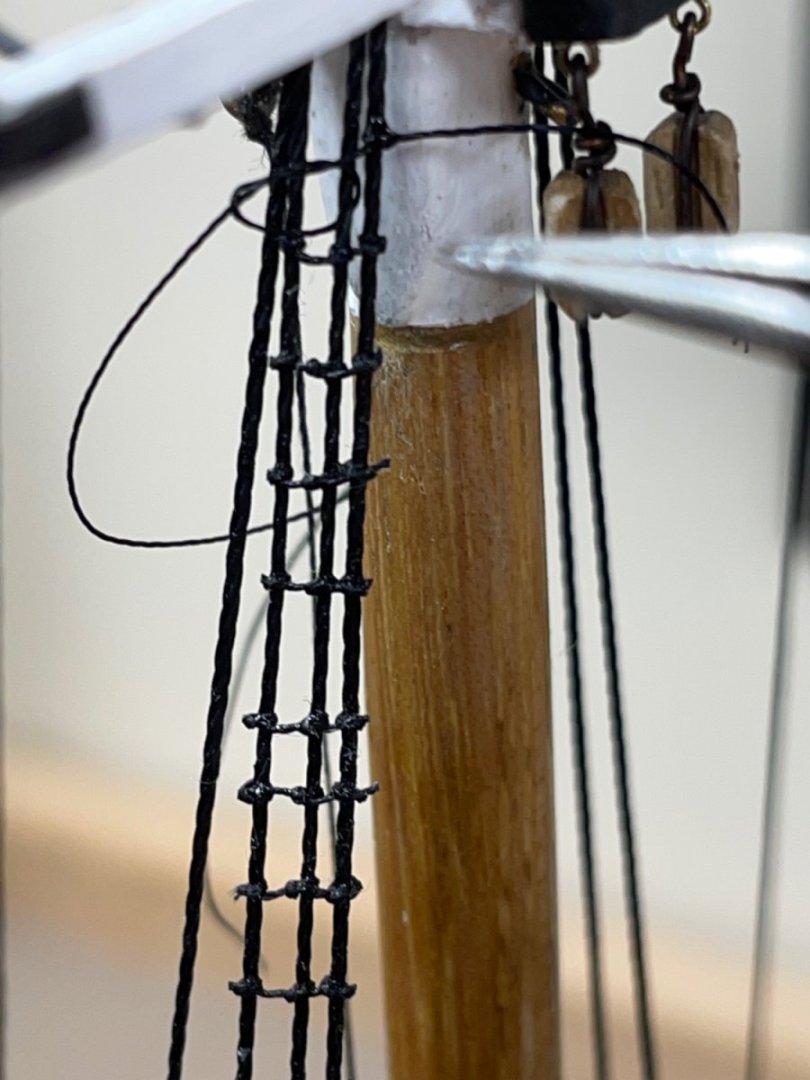
Fore Ratlines completed… Cheers 🍻

-
Thanks Ian for the heads up, I wasn’t following the thread either. 😆 Many thank to Mike for bringing these plans to MSW. The challenge is on, we will have to check back in her when one of us starts the build. Remembering to follow this time. 👍 John
-
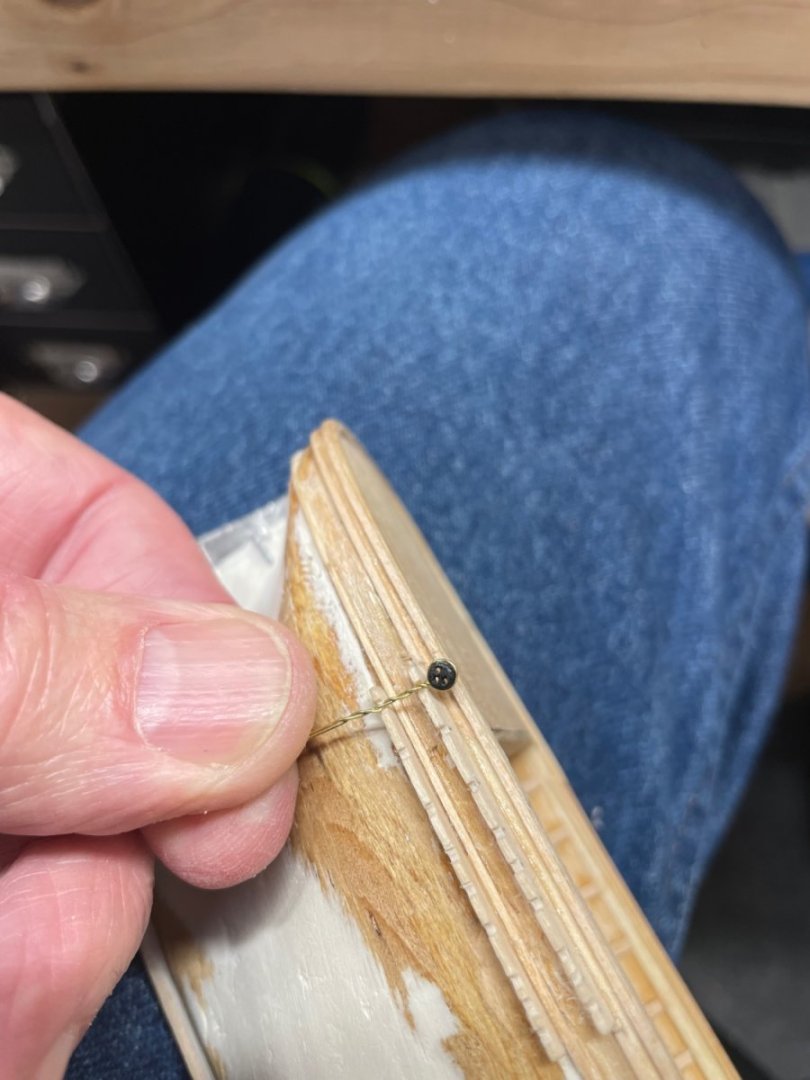
Thanks again for your comments, I’m glad you are finding my build log helpful. Im not sure to what pins you are referring? Would it be the nails I used? They are left overs from previous kits. I didn’t like the copper etched pieces supplied. Try this link, just be careful what size you order. The pins I used were .5 mm diameter, I pre drilled the holes and cut them to length as required. John https://www.aliexpress.us/item/2255801174526891.html?spm=a2g0n.detail.1000014.3.5776q7C6q7C6Sj&gps-id=platformRecommendH5&scm=1007.40000.326746.0&scm_id=1007.40000.326746.0&scm-url=1007.40000.326746.0&pvid=8687fea4-b5c1-40d2-84f7-6cb5de7ff991&_t=gps-id:platformRecommendH5,scm-url:1007.40000.326746.0,pvid:8687fea4-b5c1-40d2-84f7-6cb5de7ff991,tpp_buckets:668%232846%238116%23979&pdp_npi=4%40dis!USD!1.39!0.99!!!1.39!0.99!%402103011017069700467063820e1fff!10000015800220384!rec!US!!AB&search_p4p_id=202402030620467932208329681363973400_1
- 104 replies
-
- 1
-
-
- model shipways
- new bedford whaleboat
- (and 1 more)
-
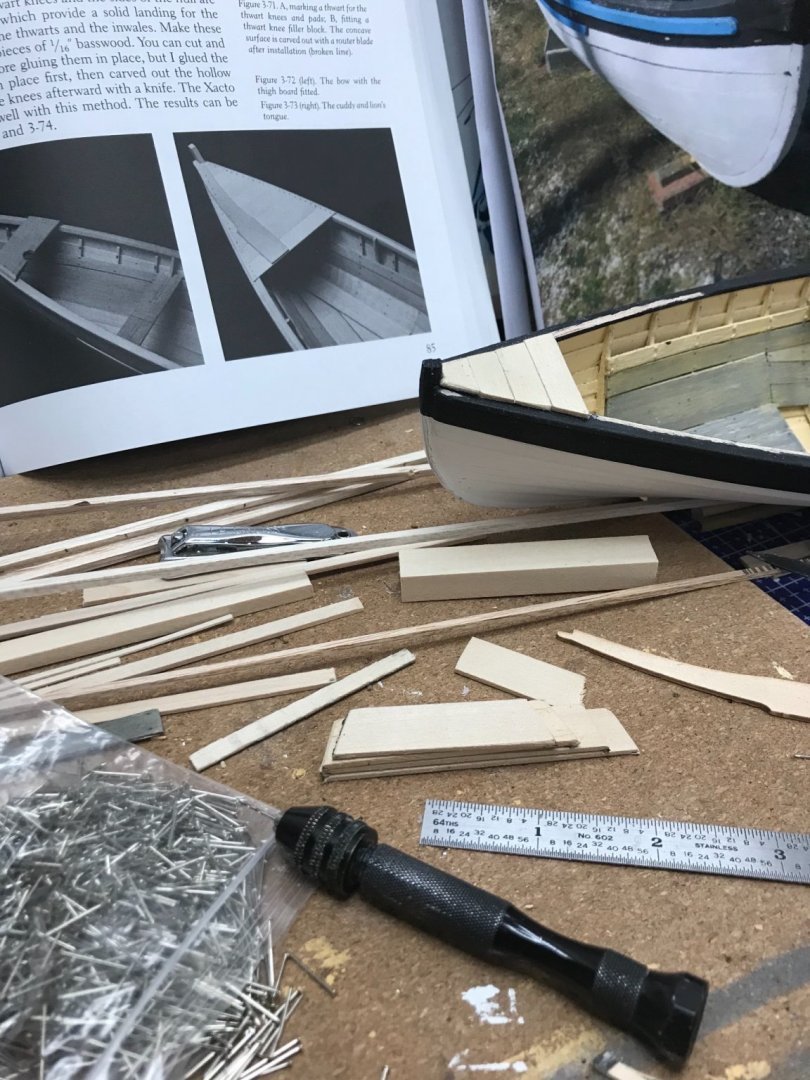
Greg, your Dories look great. 👍 Very creative alternative solution to those kit supplied parts. You are making very good progress. John
-
Phil, Excellent work as usual. Nice 👍
-
Eric, I think you are on to something. On my R.E.Lee, I painted the planking to look water proofed and to hide the plywood grain. If you use a covering (i.e. silk span) to mimic painted canvas you can hide the plywood grain without having to plank the boiler deck. The photos you have of the Peerless appear to show that deck coated as such. Sounds like a great idea.
-
agreed… additionally as I tend to chose less tall ships I personally am headed to more miniature scale ships. I am currently working on a vintage Red Jacket and am using the Bluejacket plans at 1/2 scale. The smaller scale tall ships meet my shelf requirements.
-
Thank you… I simply found an image on the internet and reduced it on my color/printer for the compass. Used white glue to place and arylic clear semi glass to cover the paper compass. Good luck with your build the instruction book is excellent, I learned a lot building that particular model. BTW… Do you have a build log? John
-
The CA Thayer has my vote. I have been looking this one for a long time. 1/8” = 1’ would be nice. 😊
-
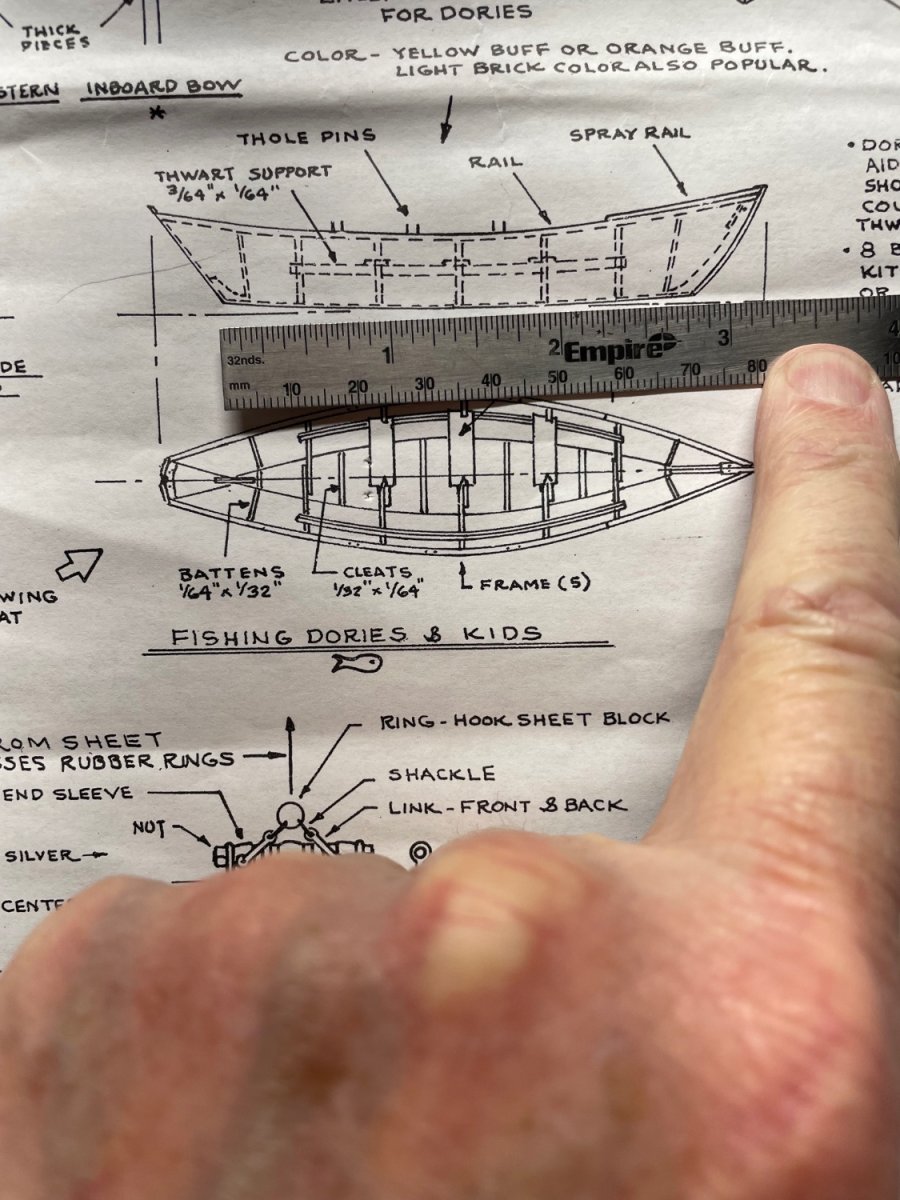
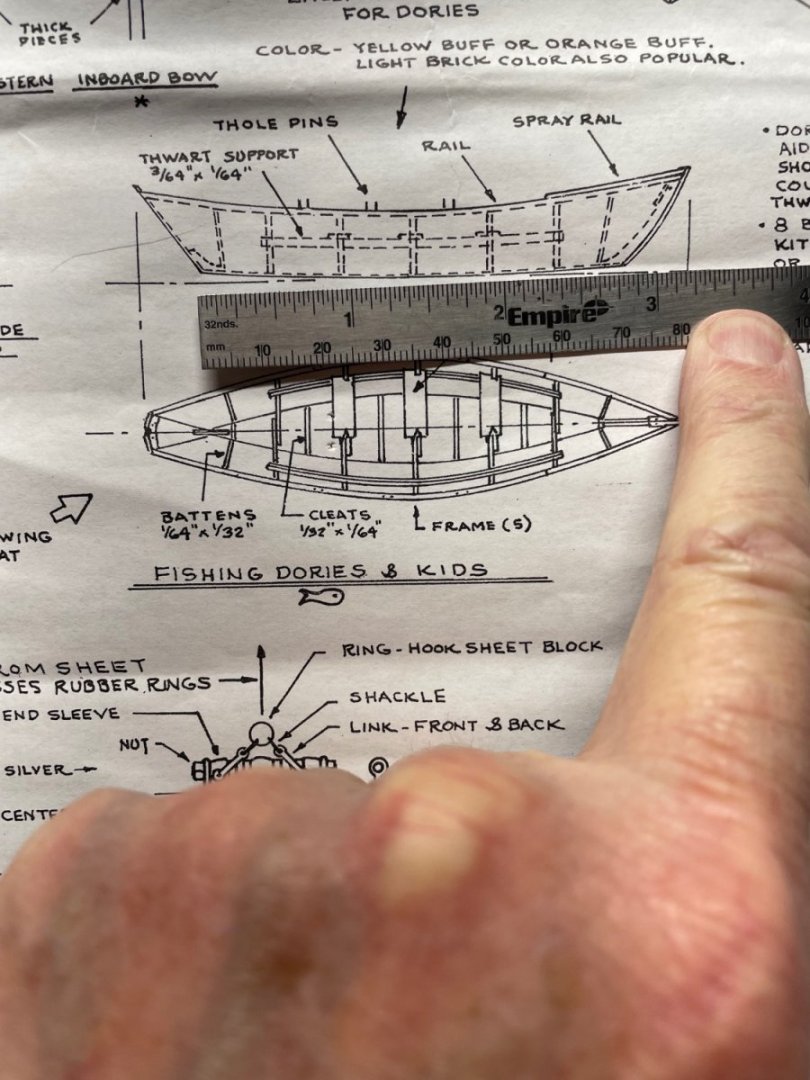
Could the issue be as simple as measuring the bottom of the Dory rather than the rail stem to stern? Measuring the bottom at 2.75 inches and dividing that by .1875 (3/16” = 1’) I get 14.66666 Feet as the length of the Dory as drawn. Just a thought…
-
Eric, I was born in Quincy Illinois and lived in the country NE of there. I was raised there 1953 and left there when I graduated high school 1971. I certainly remember the Lock and Dams. Your explanation on no ice flows makes sense, not that my family would venture over to see them if they were there. 😆 Great info on navigation of the Missouri River. 👍
-
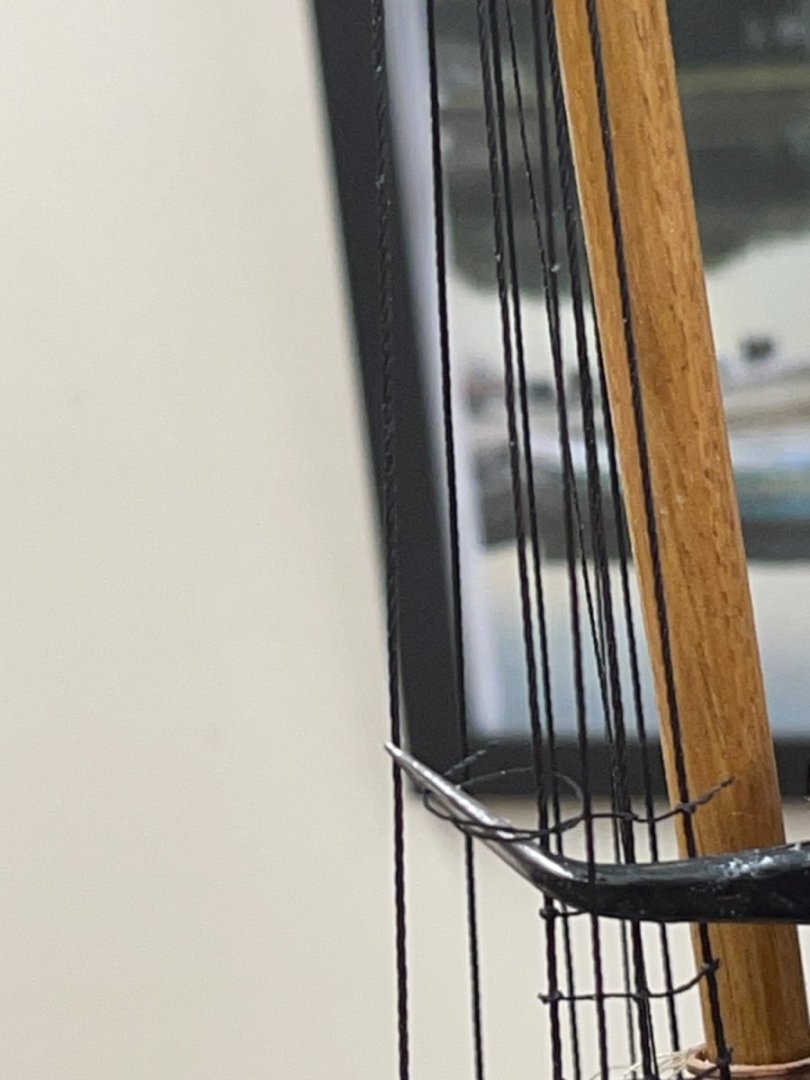
Thanks Ron… I’m plugging along, rat lines are one of my least favorite tasks. They just seem to take forever. Very tedious! 😜 The half hitch is much simpler than the clove hitch and the knot is smaller. As you said, the glue holds it in place. Maybe it’s “inspired laziness” as Nic puts it. 😆 It is much easier and the deference is not noticeable.
-
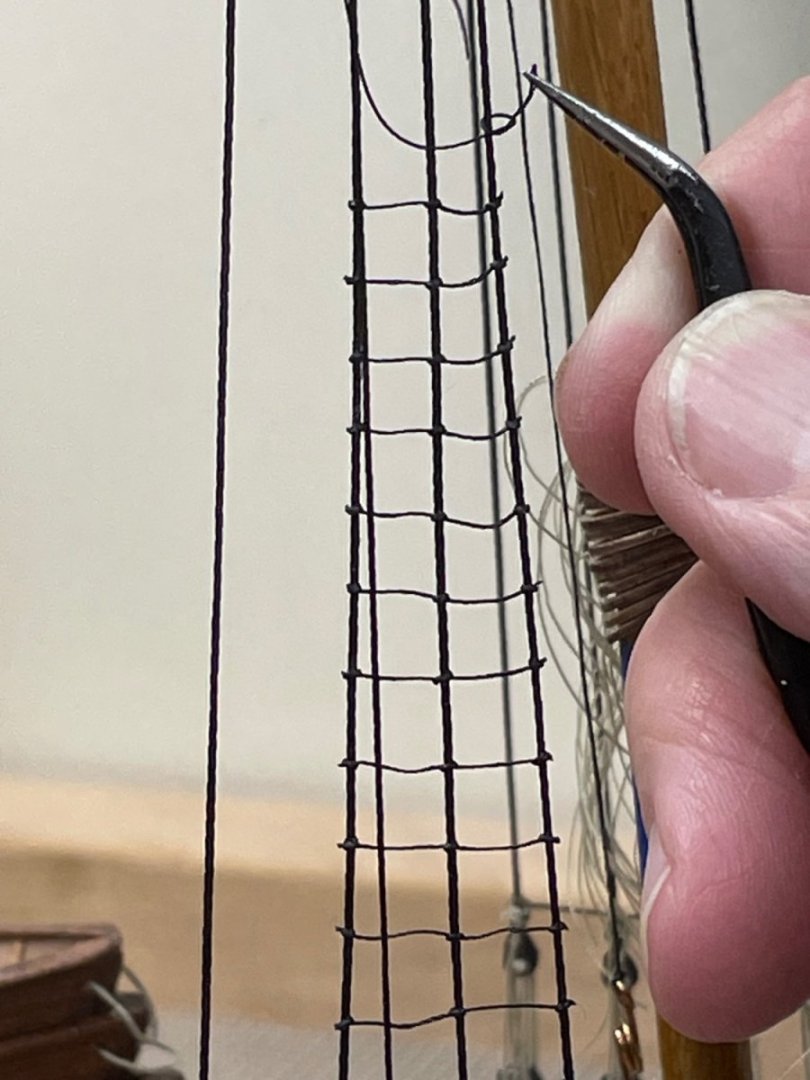
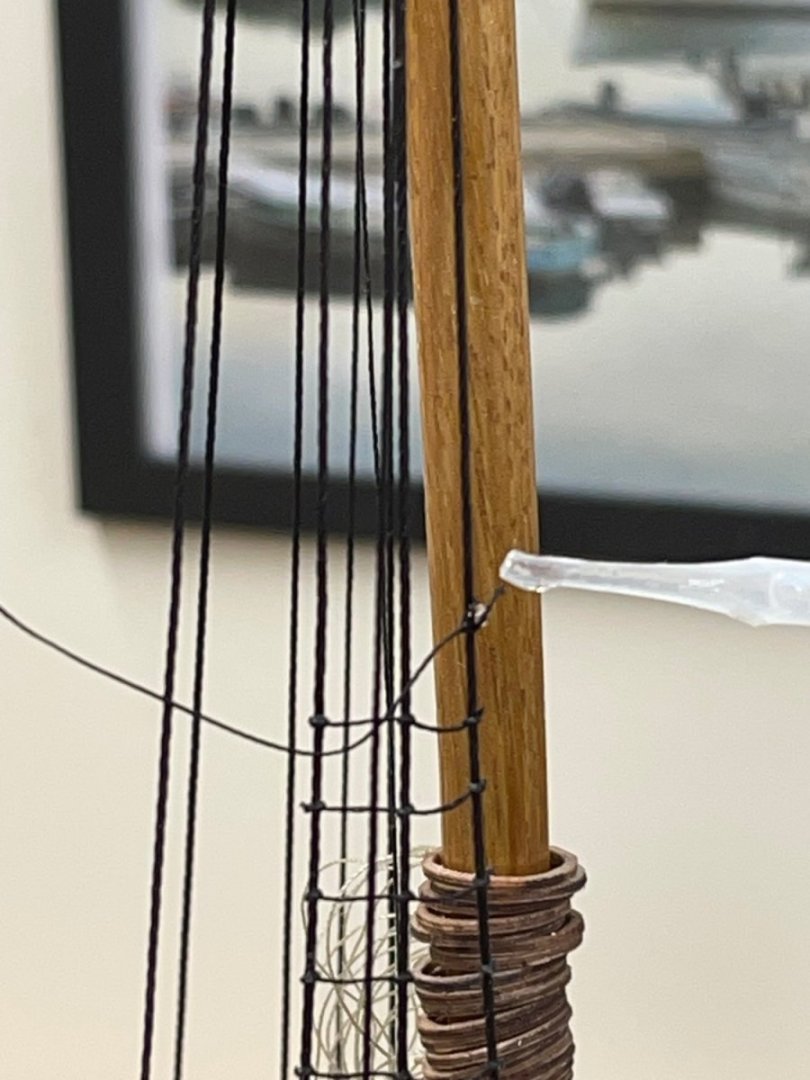
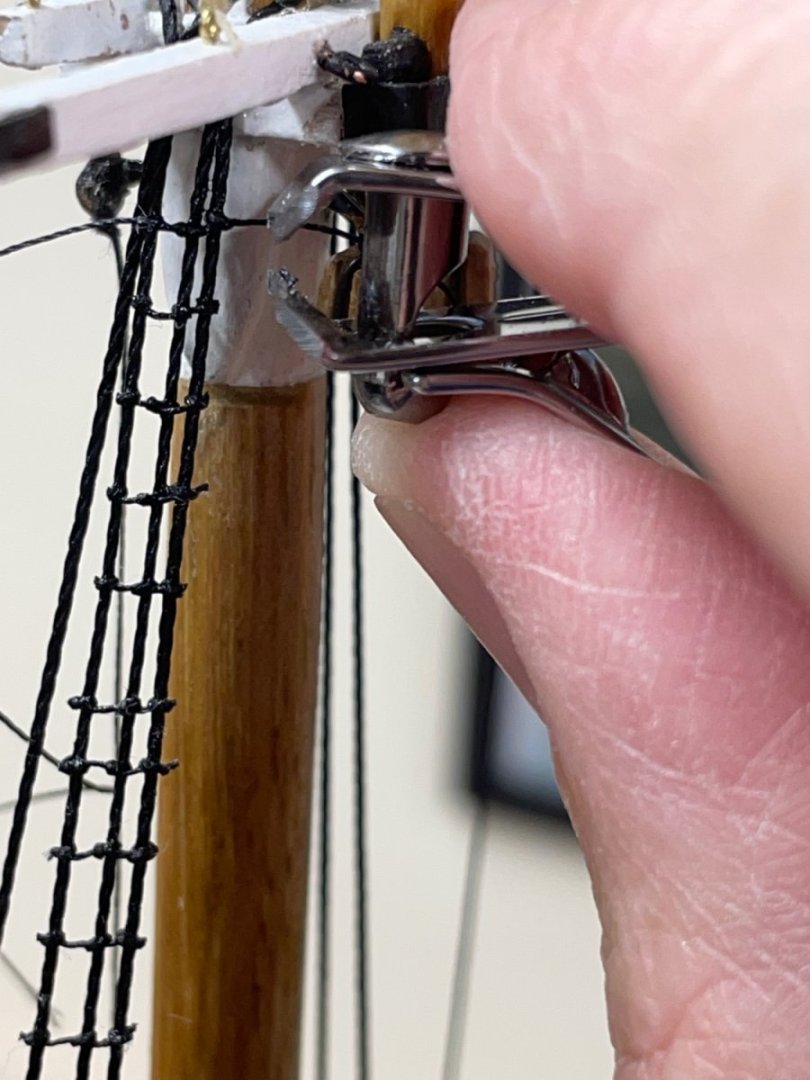
Rat Lines continued… I chose to place the rat lines across three of the four shroud lines. Each rat line starts with a half hitch on the first line. I then verify the distance. (5-6 mm) I then place a tiny drop of CA glue on the half hitch knot. Using a paper towel I immediately wick of the excess glue. I then complete the series of two more knots across the shroud. We fast forward to the top, where it really gets tough. 😬 I use nail clippers to trim each line, taking care not to clip the shroud. There are Fifty rat lines per shroud, that’s 100 tails to clip. Four sets of shrouds means I will have 400 clippings to clip on 200 rat lines. But who’s counting? 😆 1 of 4 should completed… Onwards 🍻


-
Very interesting Eric. Although I grew up in Illinois just 200 miles north of St Louis and 20 miles east of the Mississippi, I don’t recall going out to see the ice flows. Thanks for sharing… John
-
I agree… They would not want the fuel source to get wet. Although, I don’t believe coal would saturate with water the way wood could. They probably would stack the coal sacks under the decking to protect them from weather. They would also need a back stop to shovel against. I also agree with you on adding anything not verified. When in doubt, leave it out. Omission of the coal sacks and coal on the deck to be shoveled is a much cleaner presentation and authentic. That’s why I didn’t add coal sacks or live stock to the Robert E Lee, although both would have been there.
-
Worked for me your photo must have a high resolution. Mabe one of the moderators @mtaylor can help you. 🤔