John Ruy
-
Posts
1,584 -
Joined
-
Last visited
Content Type
Profiles
Forums
Gallery
Events
Everything posted by John Ruy
-
 Don’t we all... Us engineers that is. LOL 😆 Good pre-staging of the process always the best way to go. 👍
 -
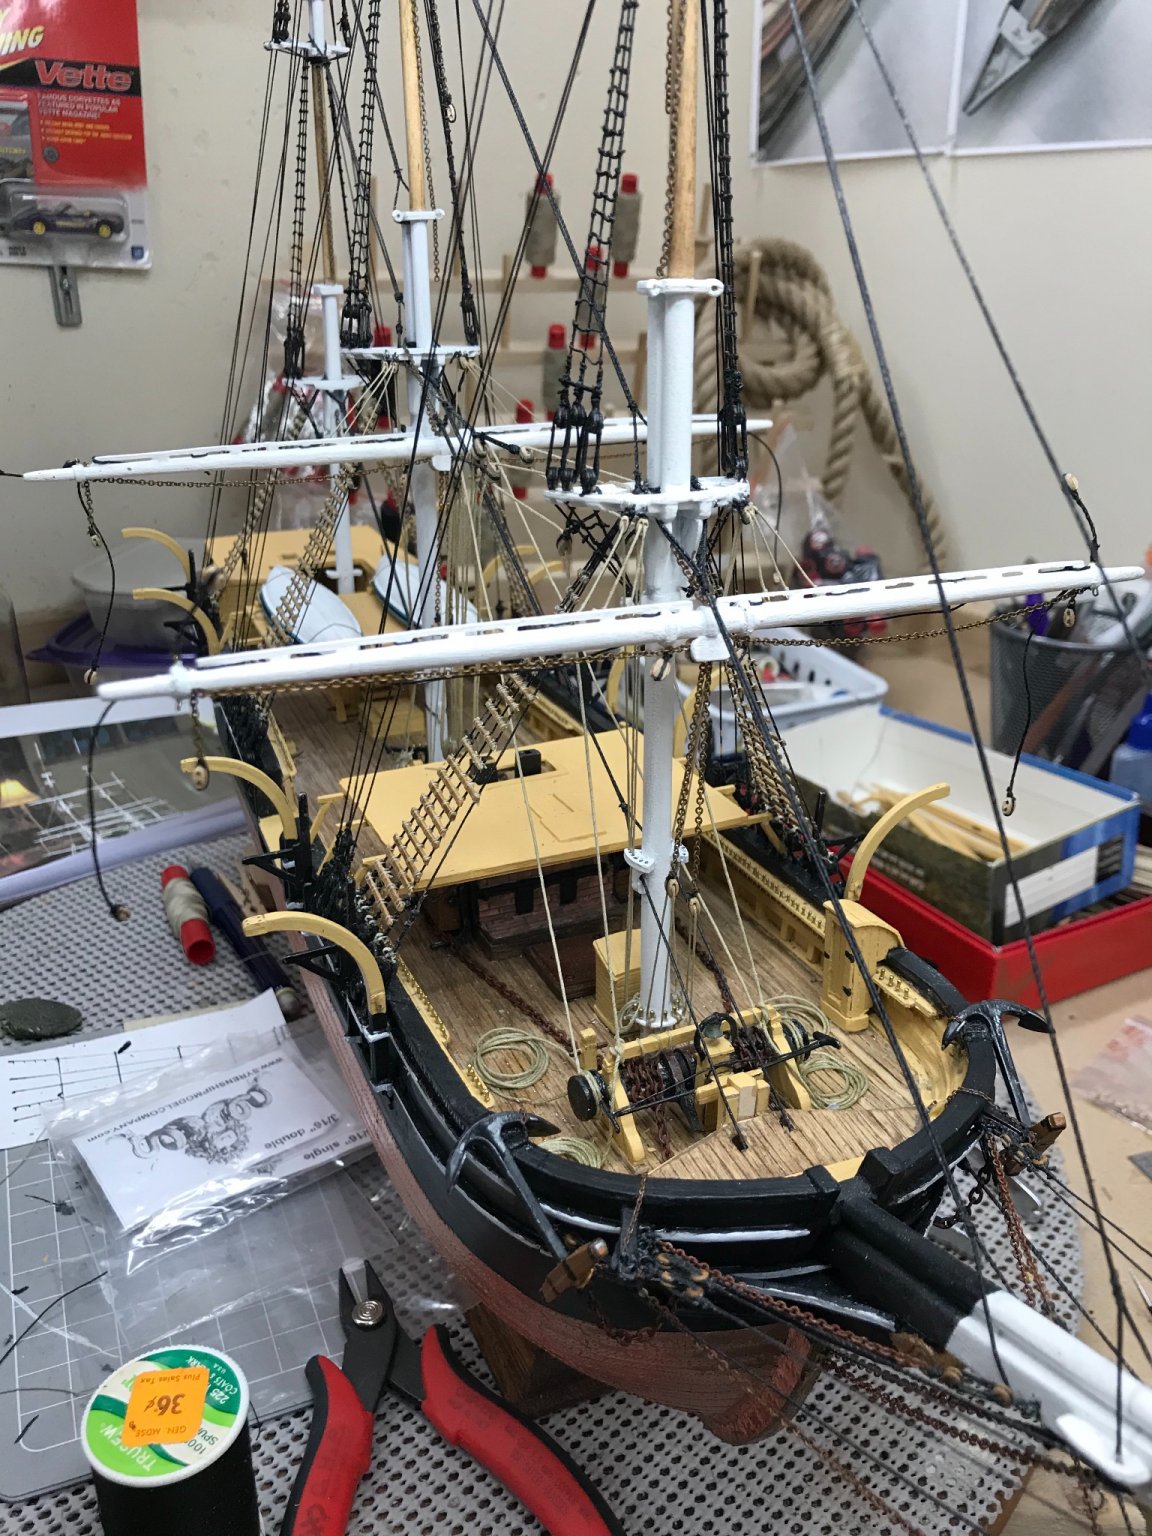
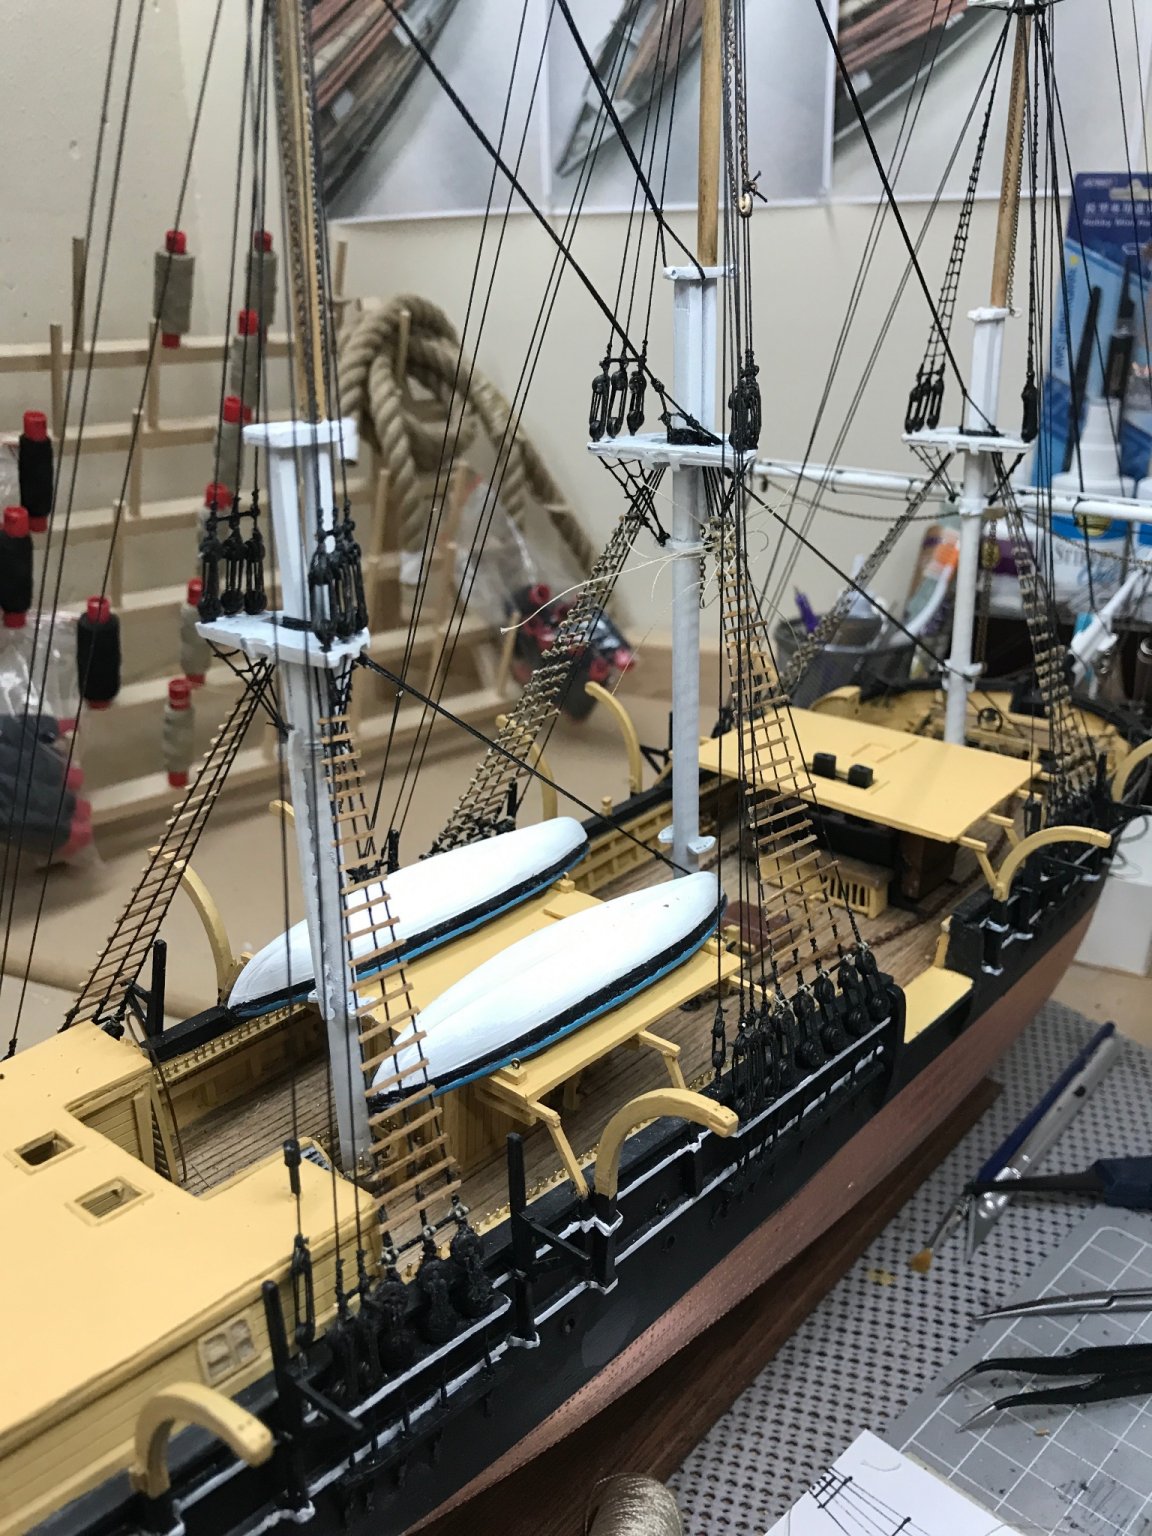
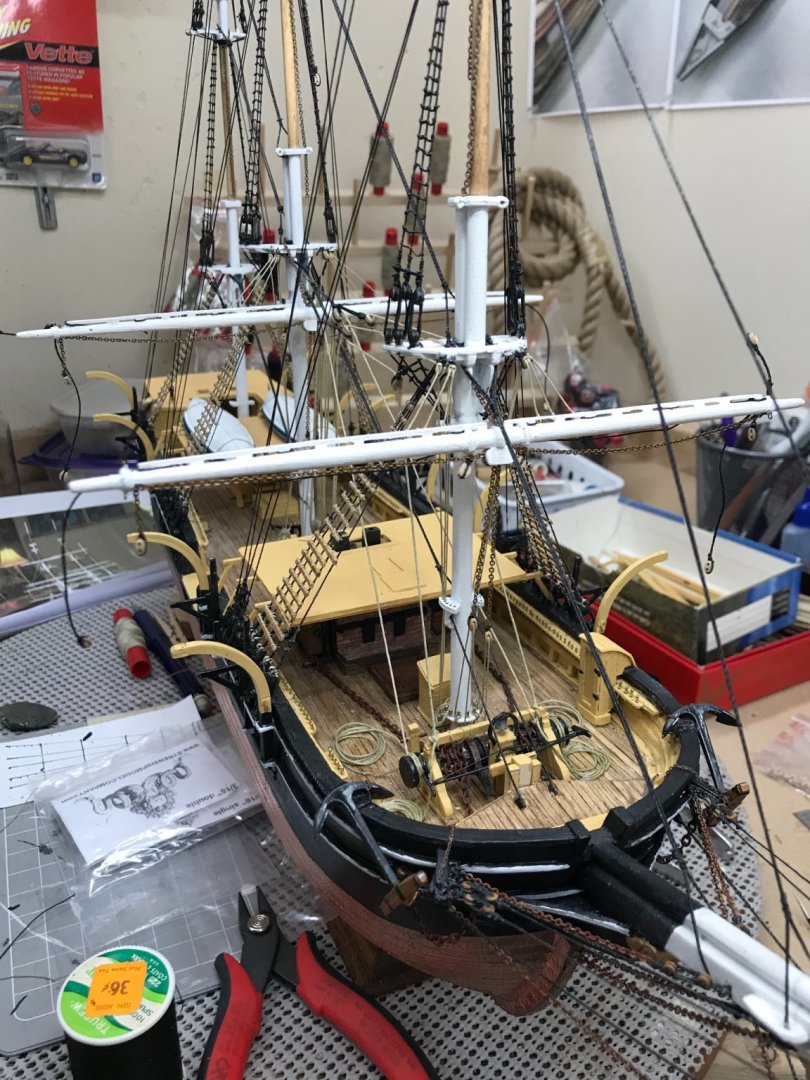
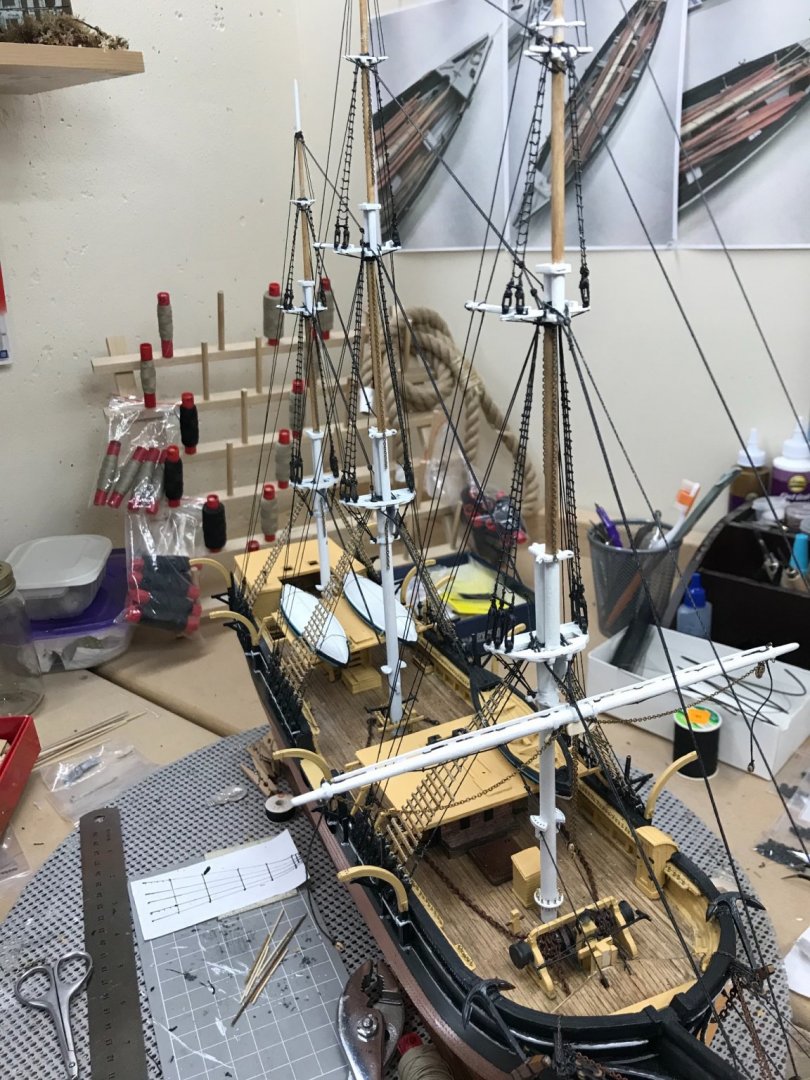
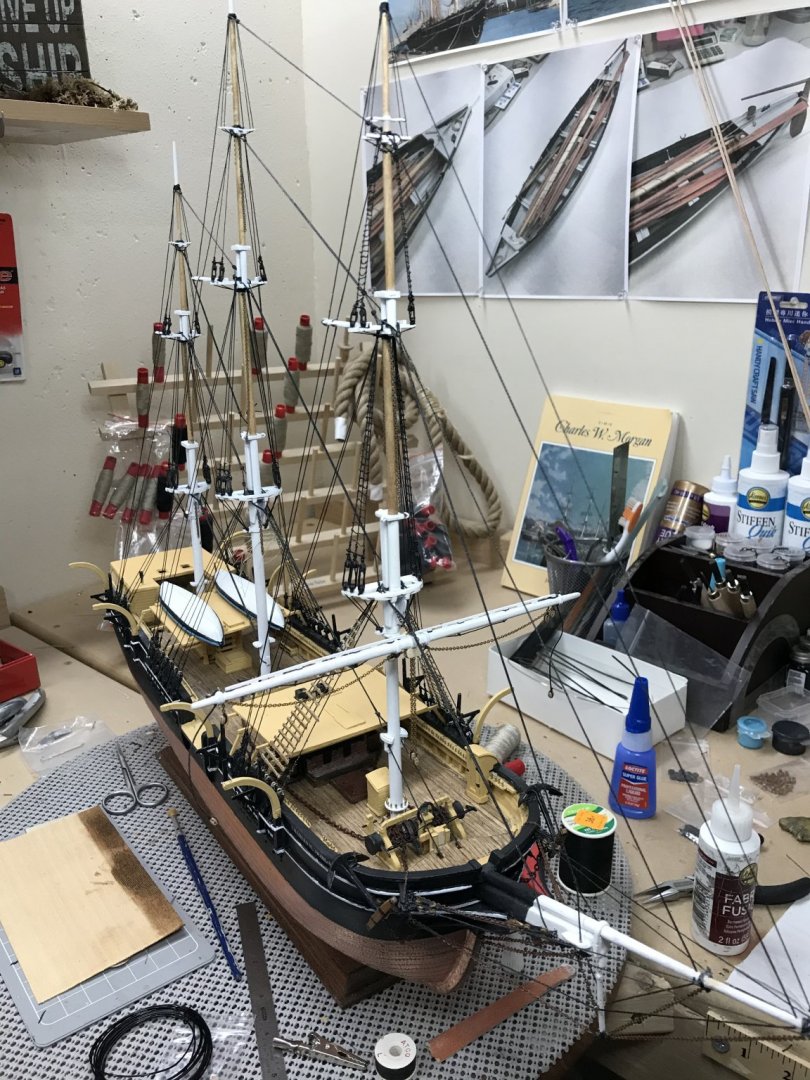
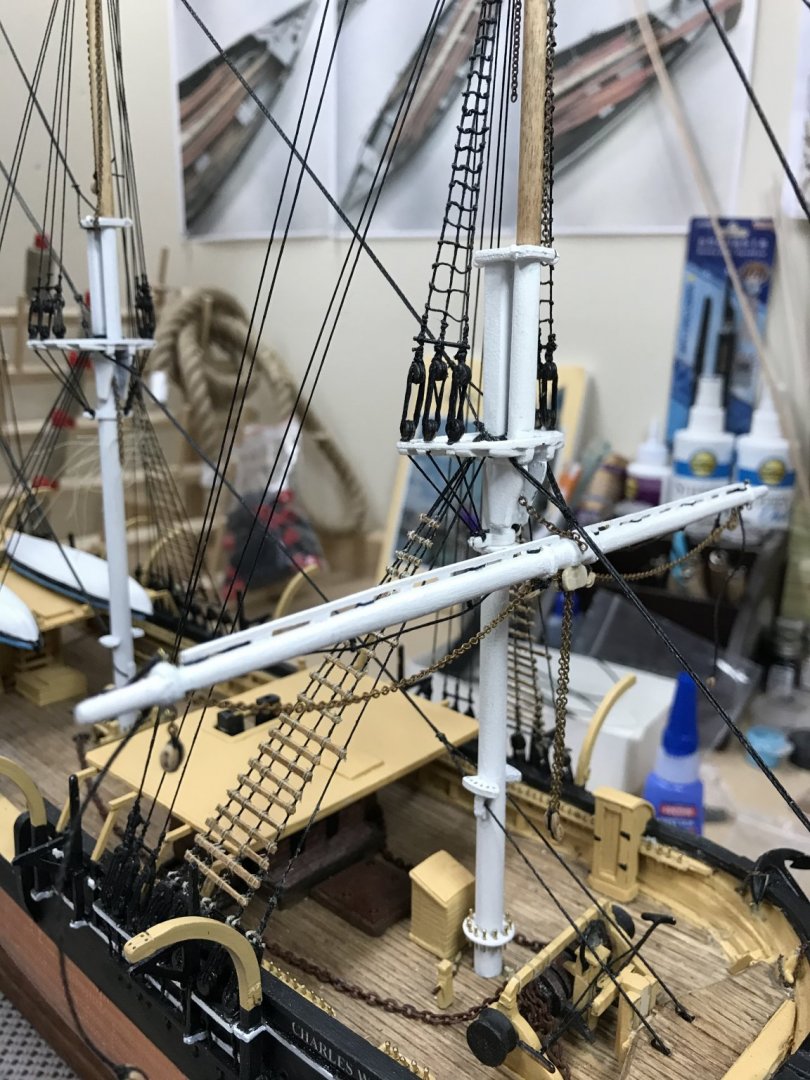
Fore and Main Lower Yards pre-rigged and hung. She is starting to look like a real ship. Onward! 😎
- 204 replies
-
- 5
-

-
- marine model company
- charles w morgan
- (and 1 more)
-
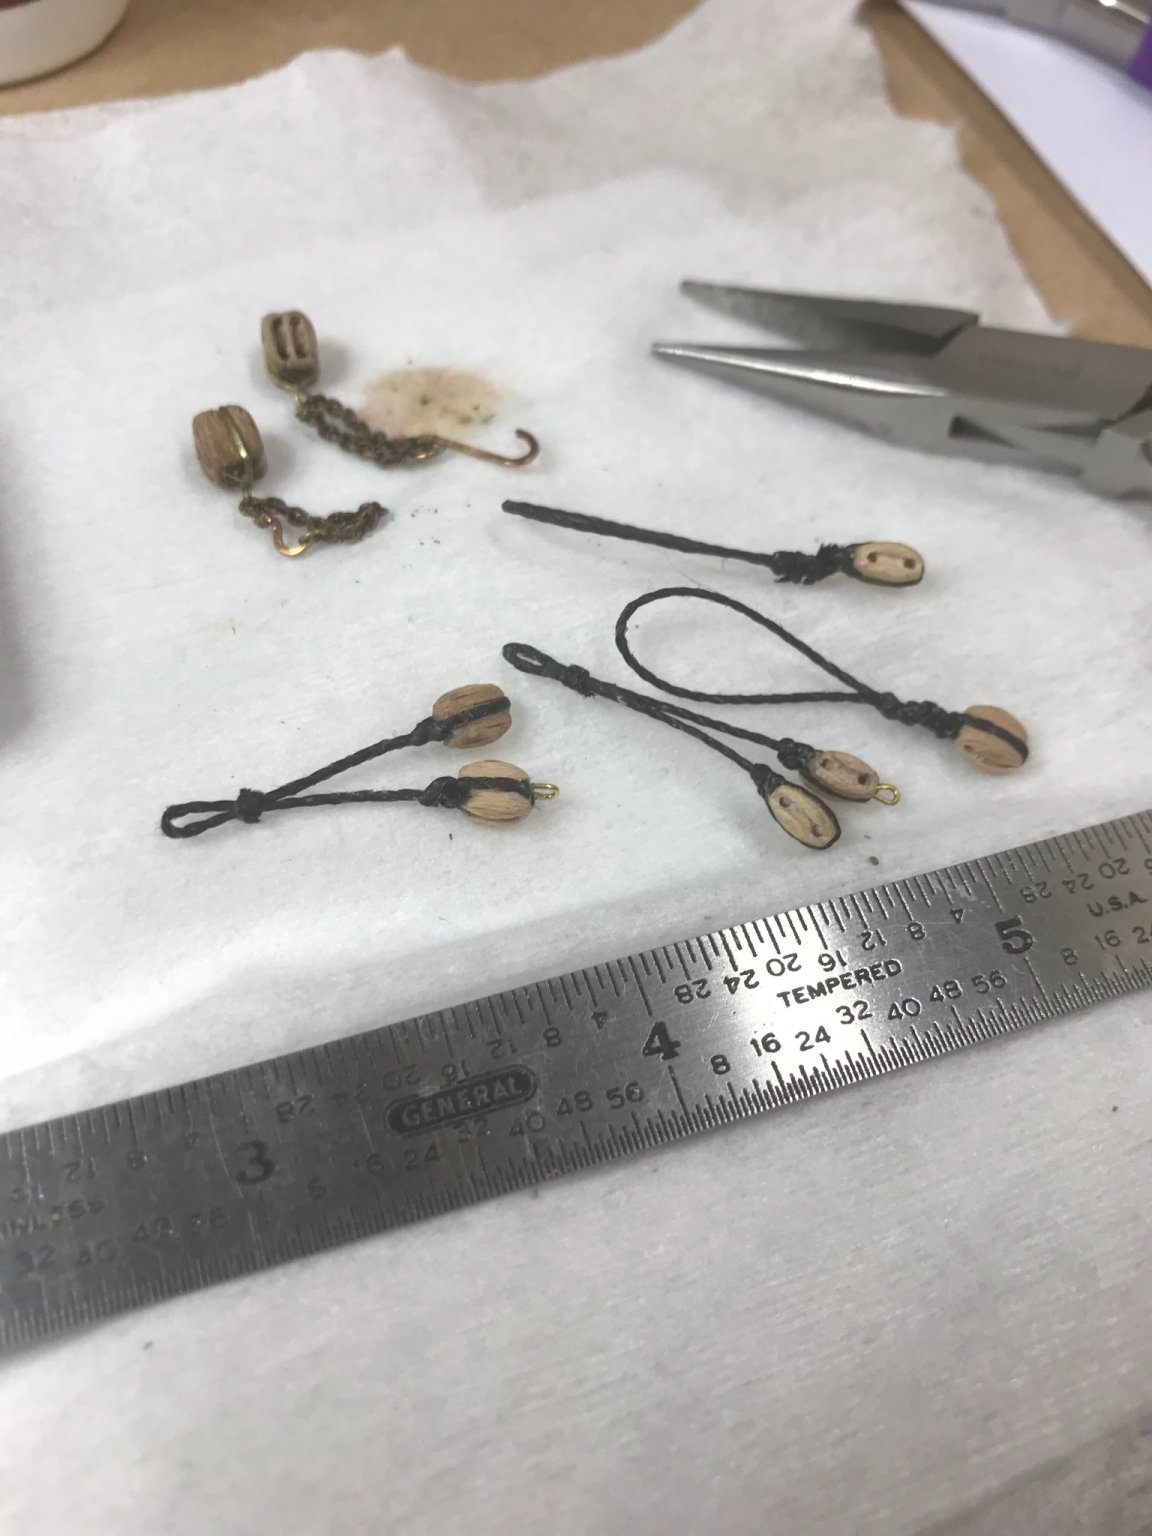
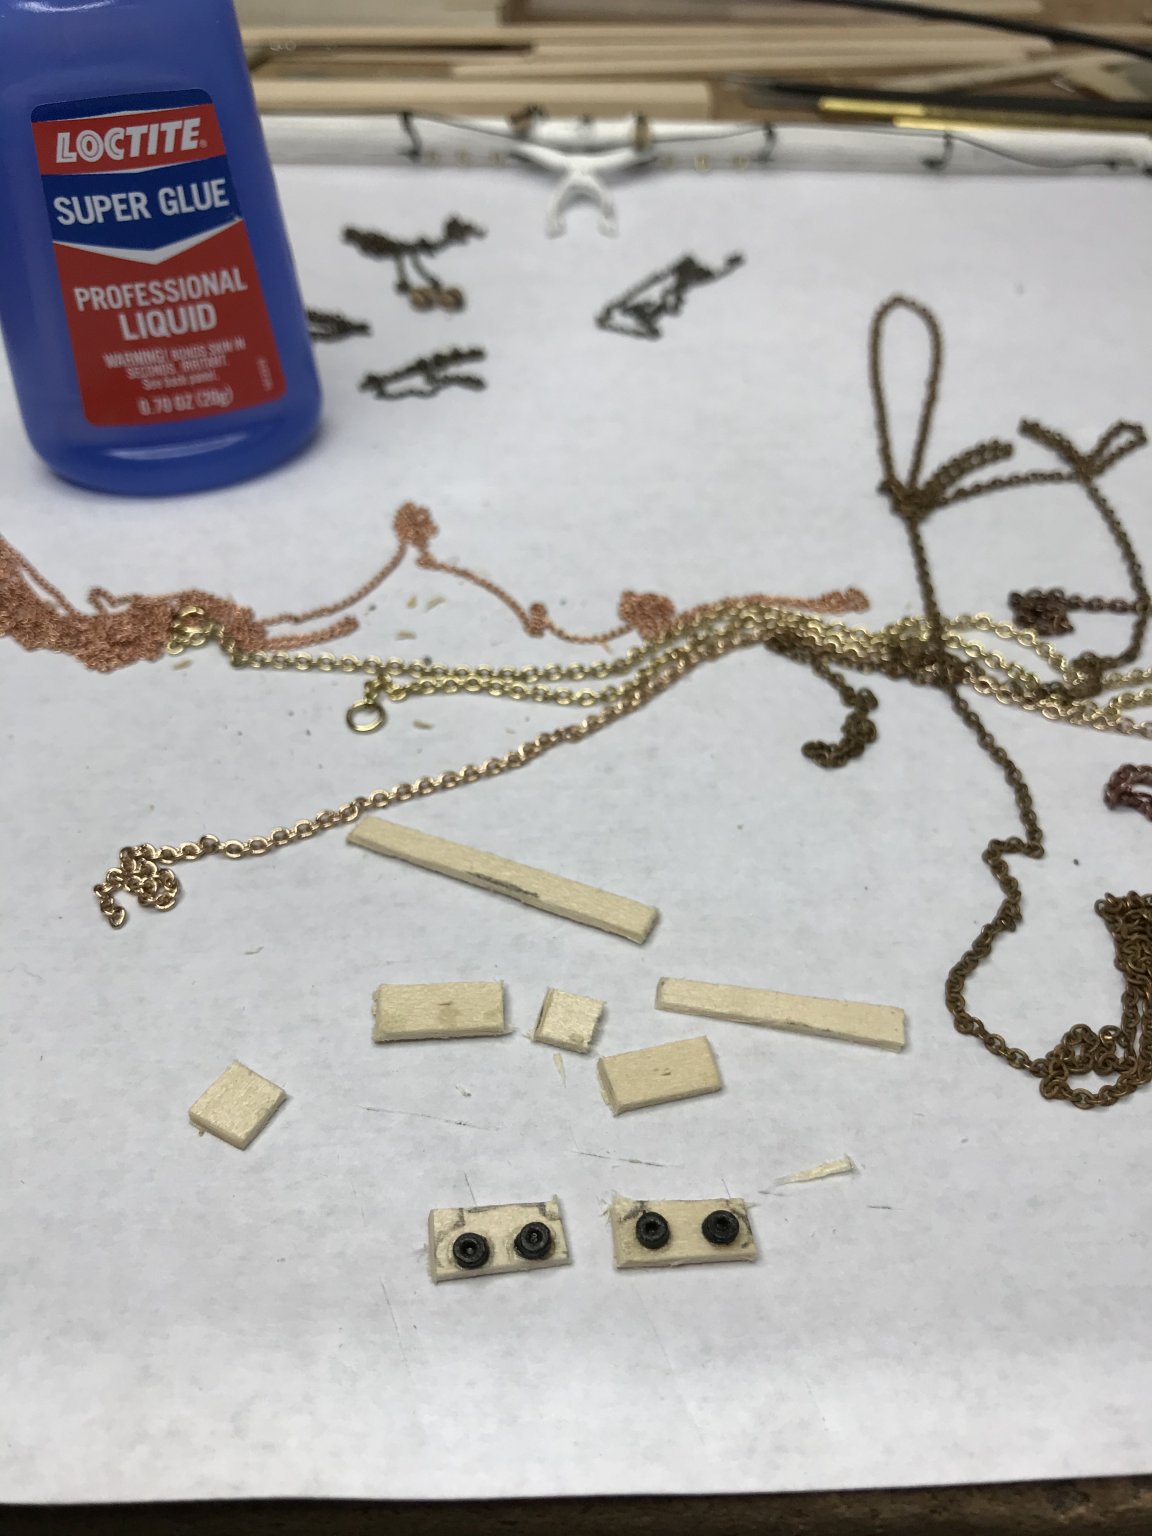
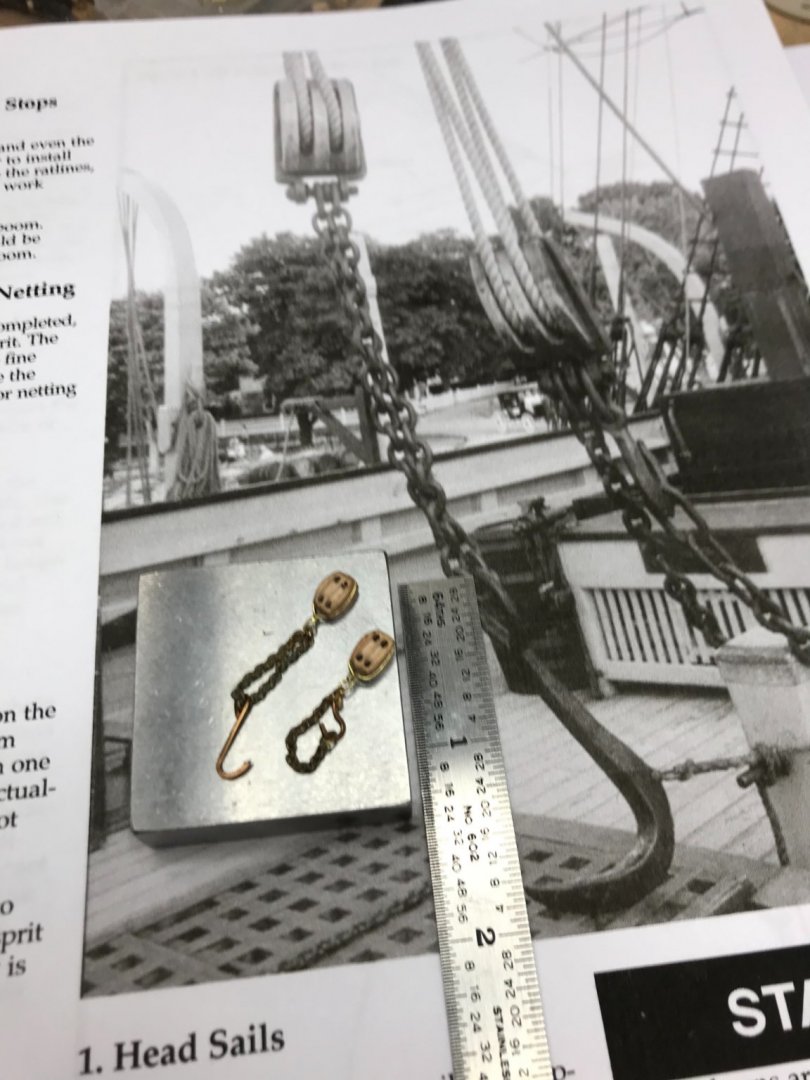
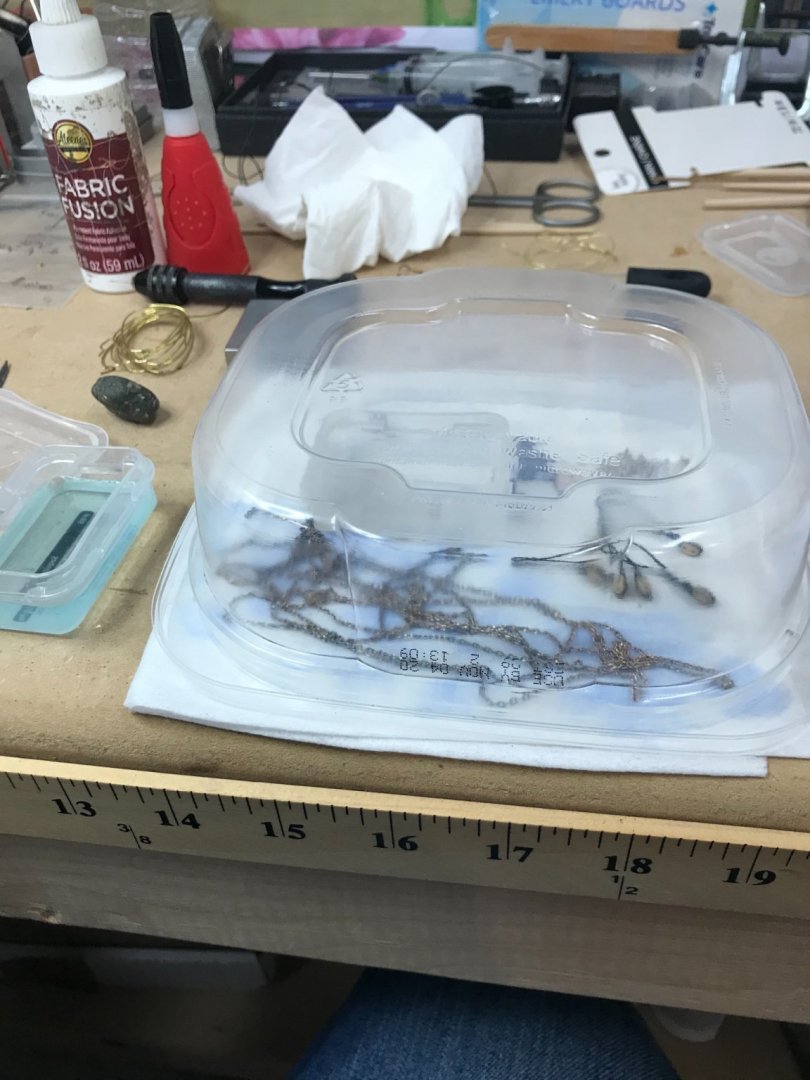
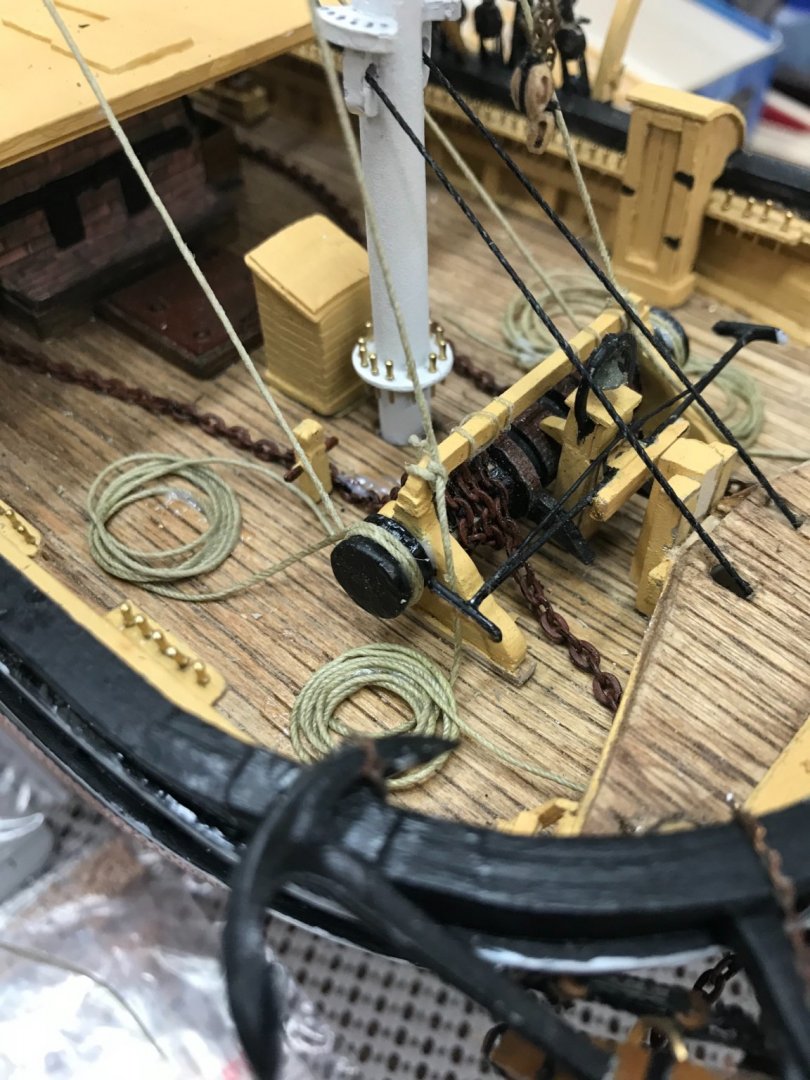
First step in running rigging on a Whaler, “Cut in” Tackle. Many thanks to David Lesters MS Build of the CWM, my vintage kit does not show any of this important rigging. Created the Tail Hook and Blubber Hook. Then rigged up the blocks for the cut in tackle. Needed patina the brass and copper pieces. Soaked the parts in a white vinegar. Let these parts stand covered next to open ammonia. The fumes of the ammonia will patina most anything. Cut in Tackle complete. Now for the Yard Arms. 😎


- 204 replies
-
- 4
-
-
- marine model company
- charles w morgan
- (and 1 more)
-
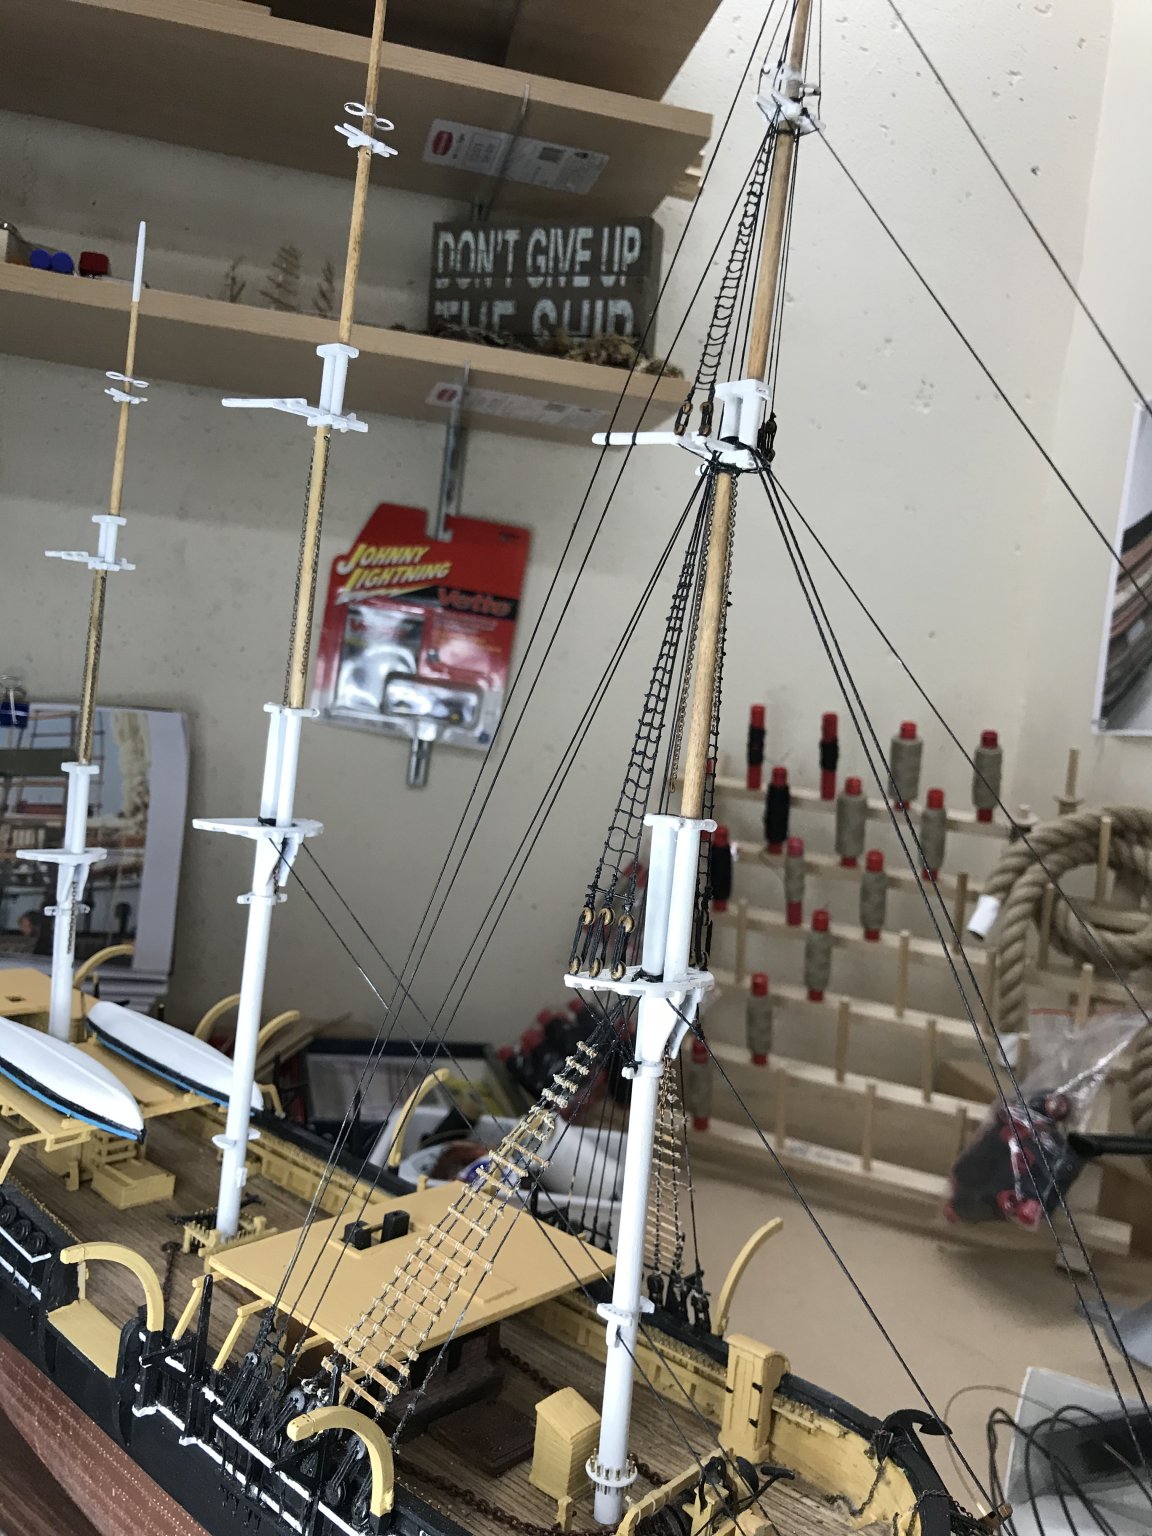
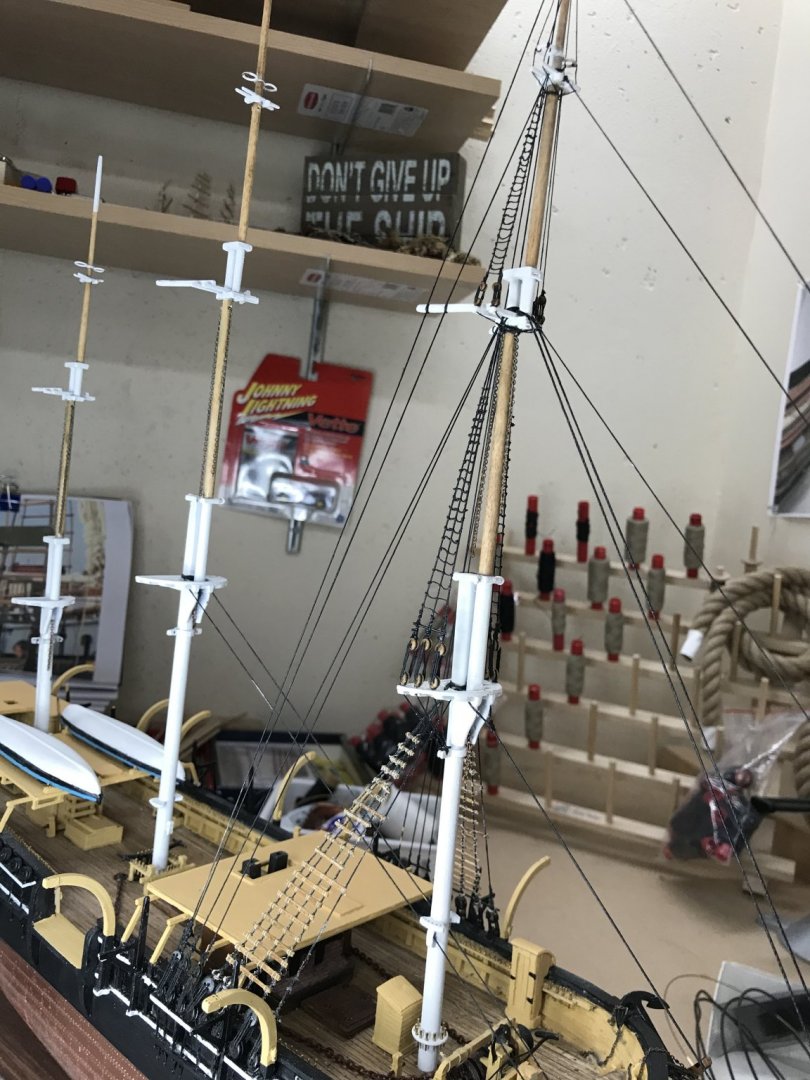
Standing Rigging Completed. Fore Stays, Back Stays, Bow Sprit, Shrouds, Battens, Ratlines. What a long strange road it’s been. Onward, to Yard Arms and Running Rigging. The fun never ends. 😆
- 204 replies
-
- 3
-
-
- marine model company
- charles w morgan
- (and 1 more)
-
BTW... Inspiration for my mini me whaleboats is coming from my MS New Bedford Whaleboat build. Please come follow this build. I can use all the encouragement I can get. 😉

- 204 replies
-
- 5
-
-
- marine model company
- charles w morgan
- (and 1 more)
-
Thank you Tom... I agree we can be a bit too critical of our own work. I believe that’s what drives us to the next level. I always feel it could be a bit better. It’s OCD without the CD. obsessed... 😆 I do appreciate you. As well as all who are giving me a 👍 along the way.
- 204 replies
-
- 1
-
-
- marine model company
- charles w morgan
- (and 1 more)
-
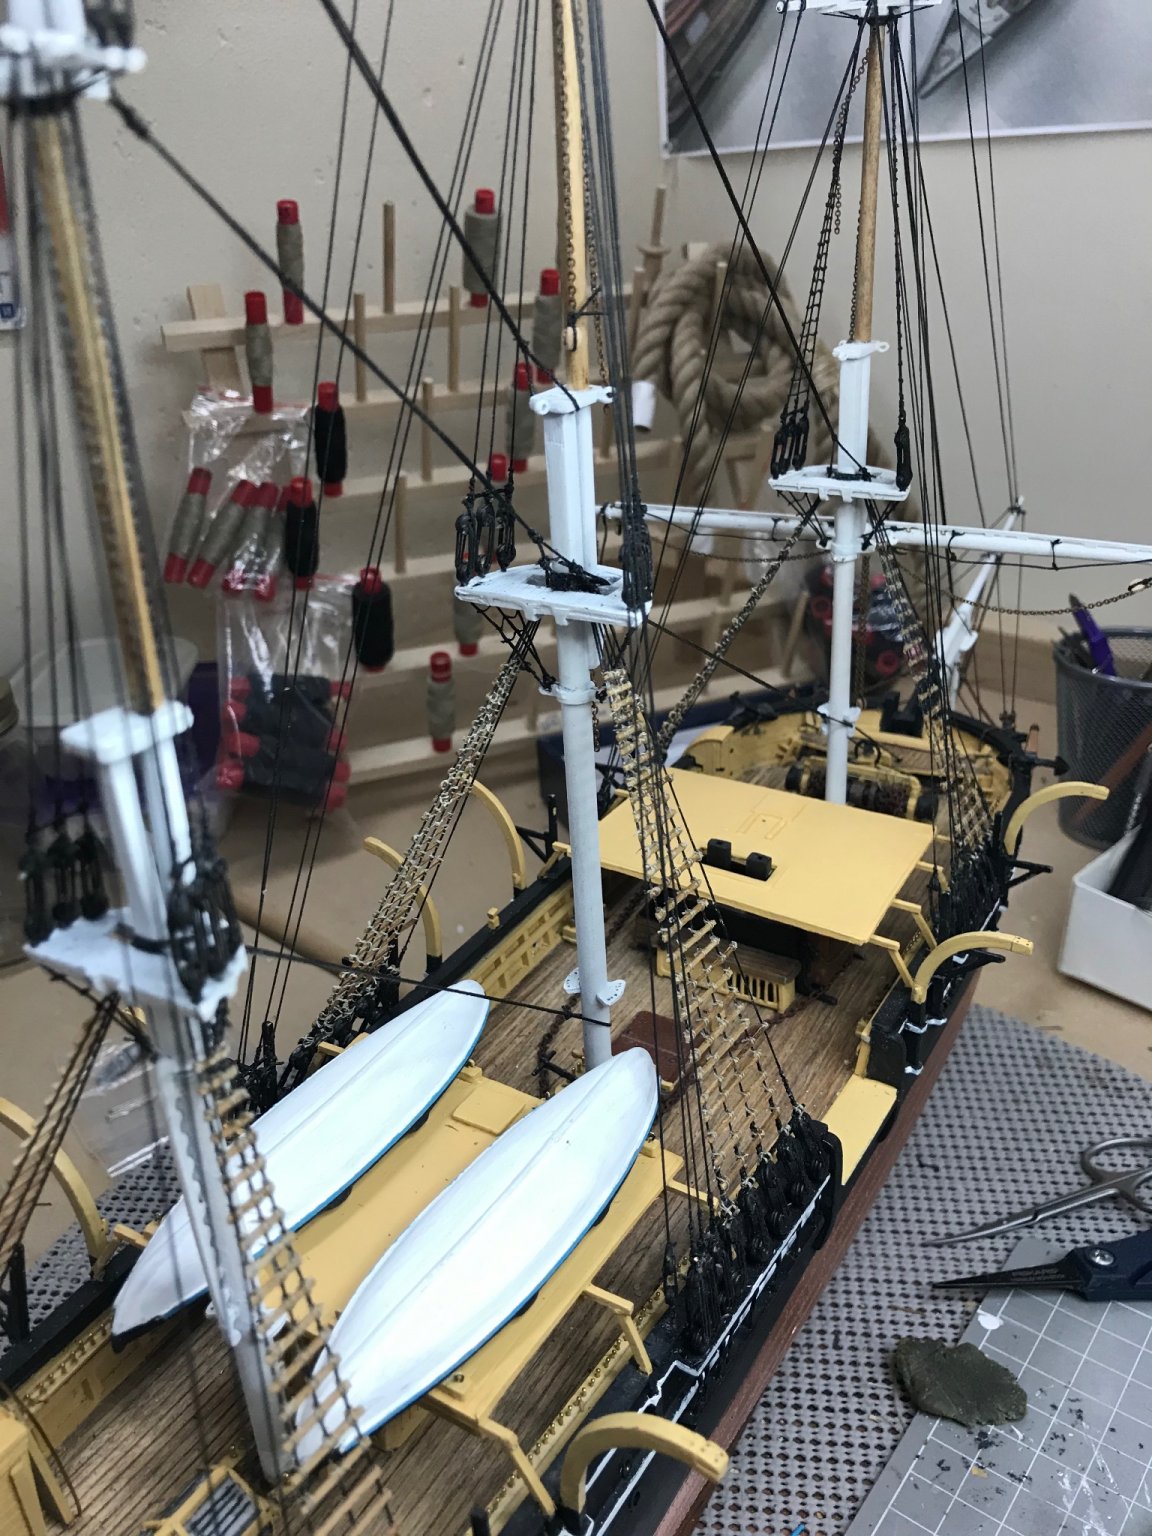
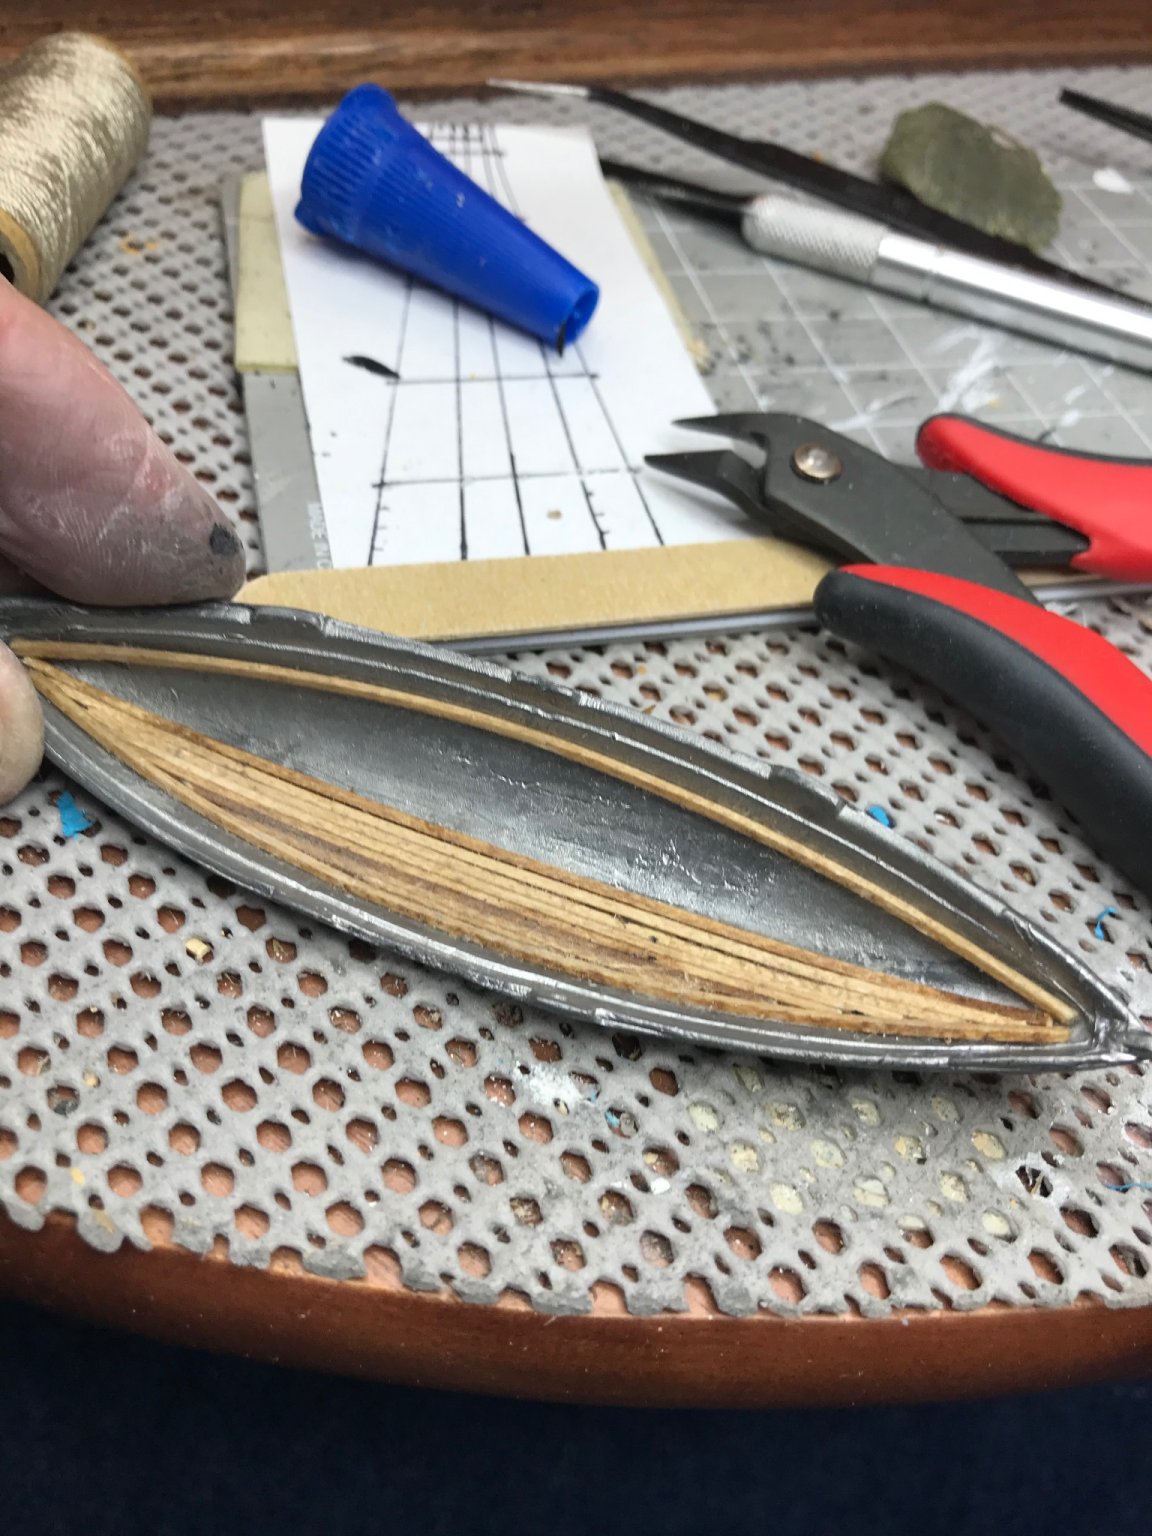
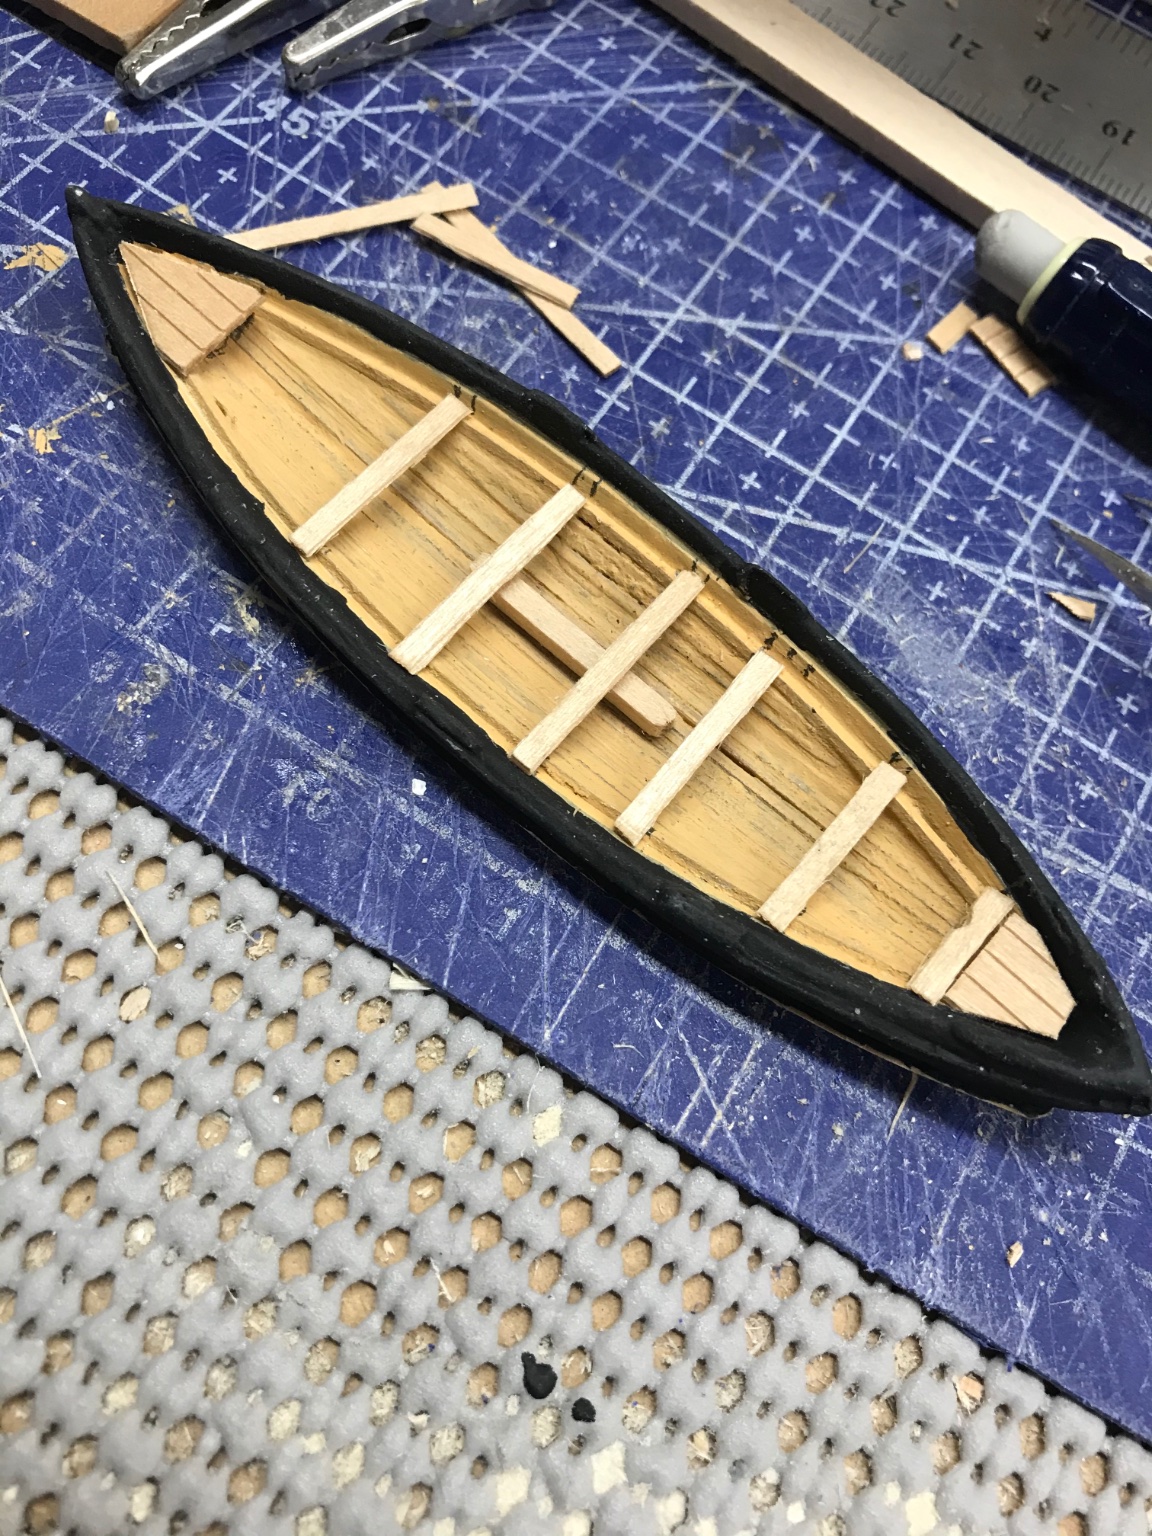
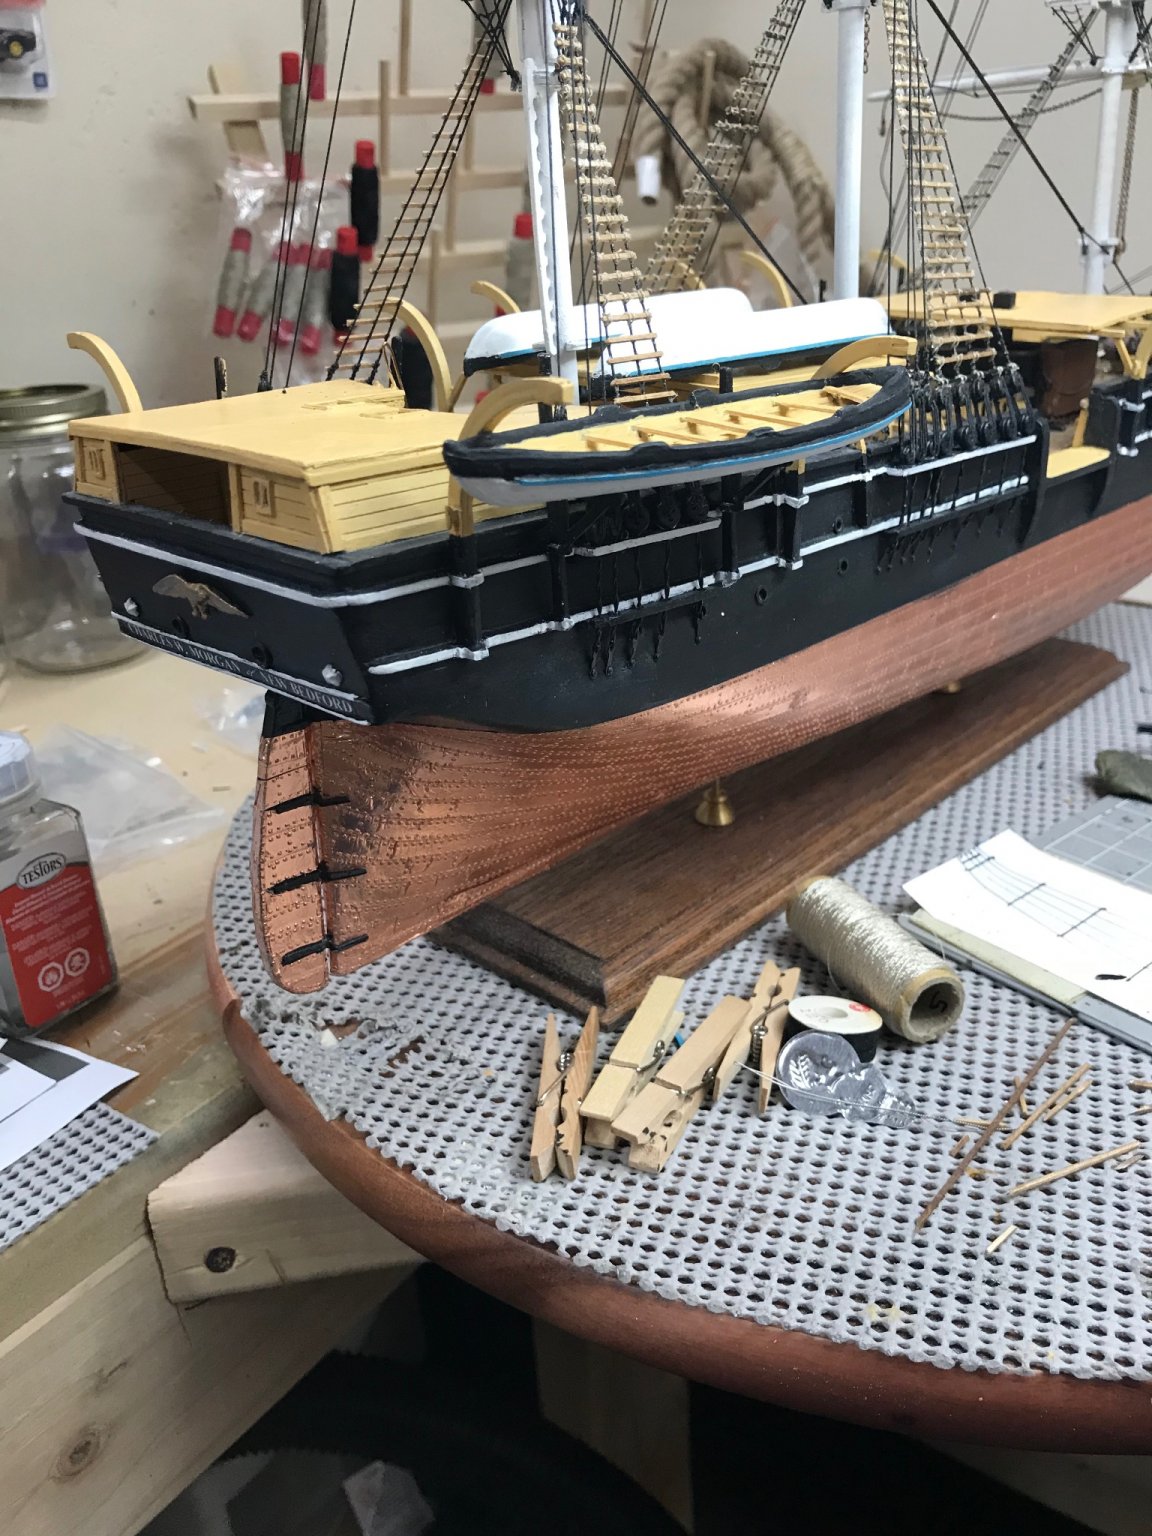
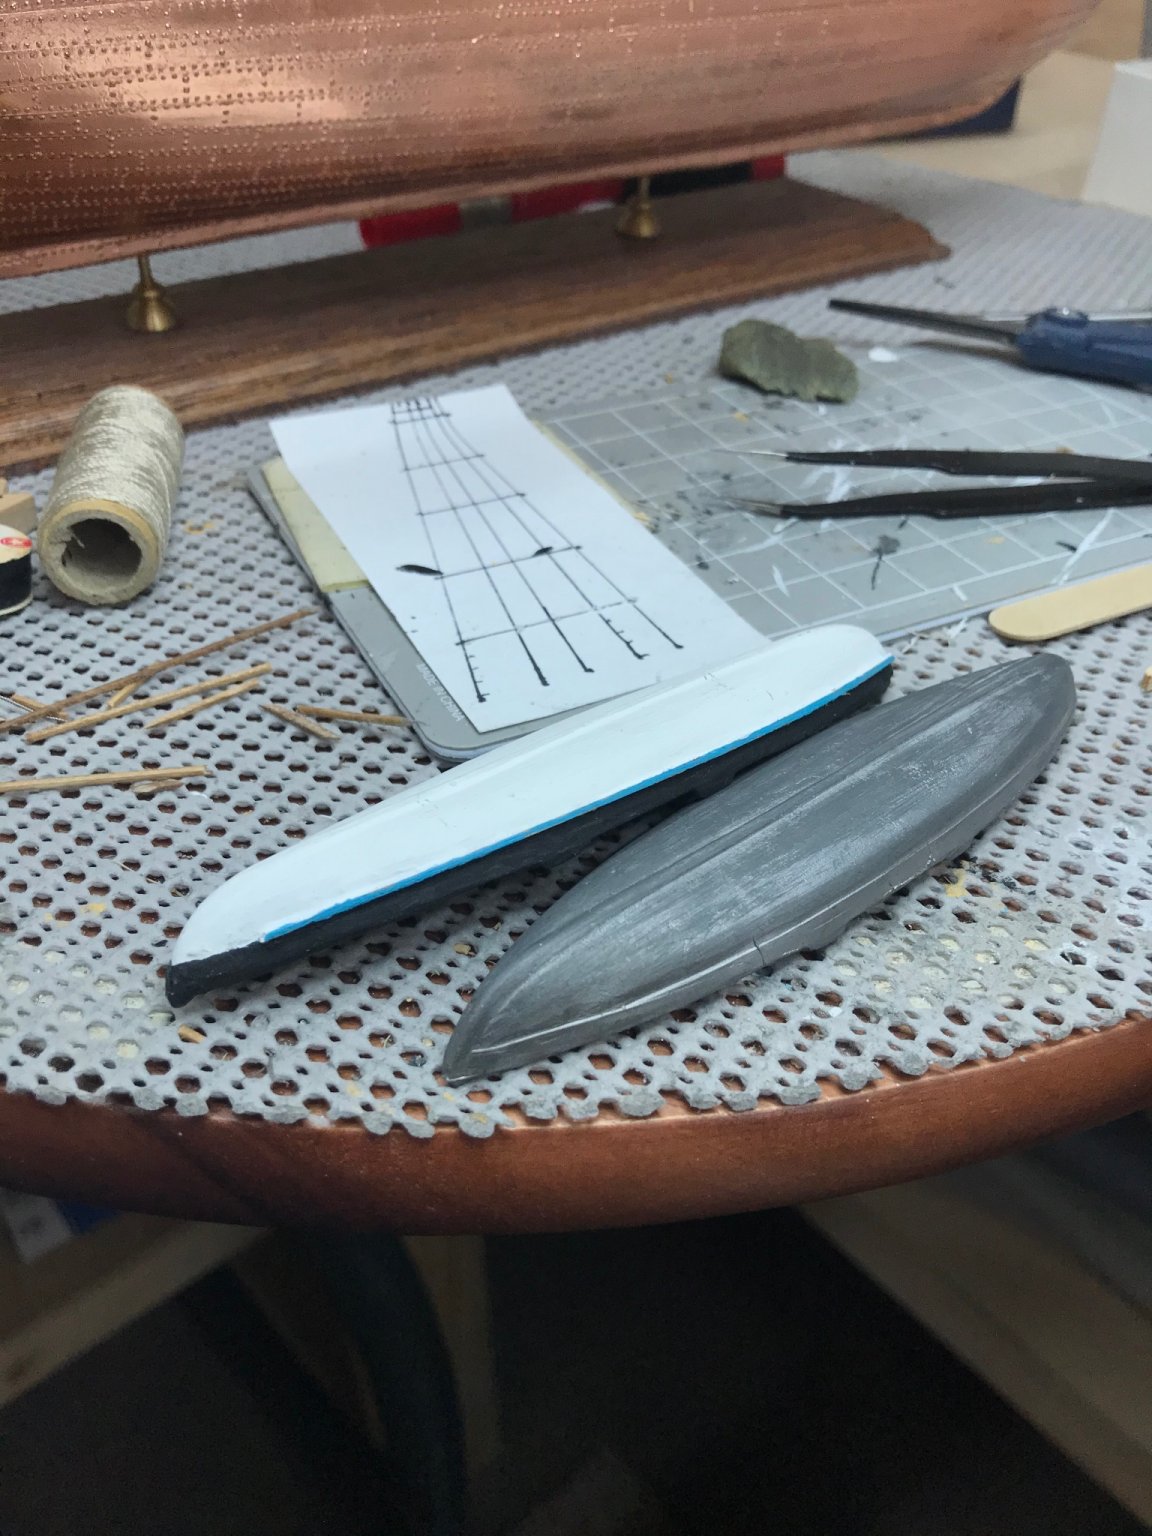
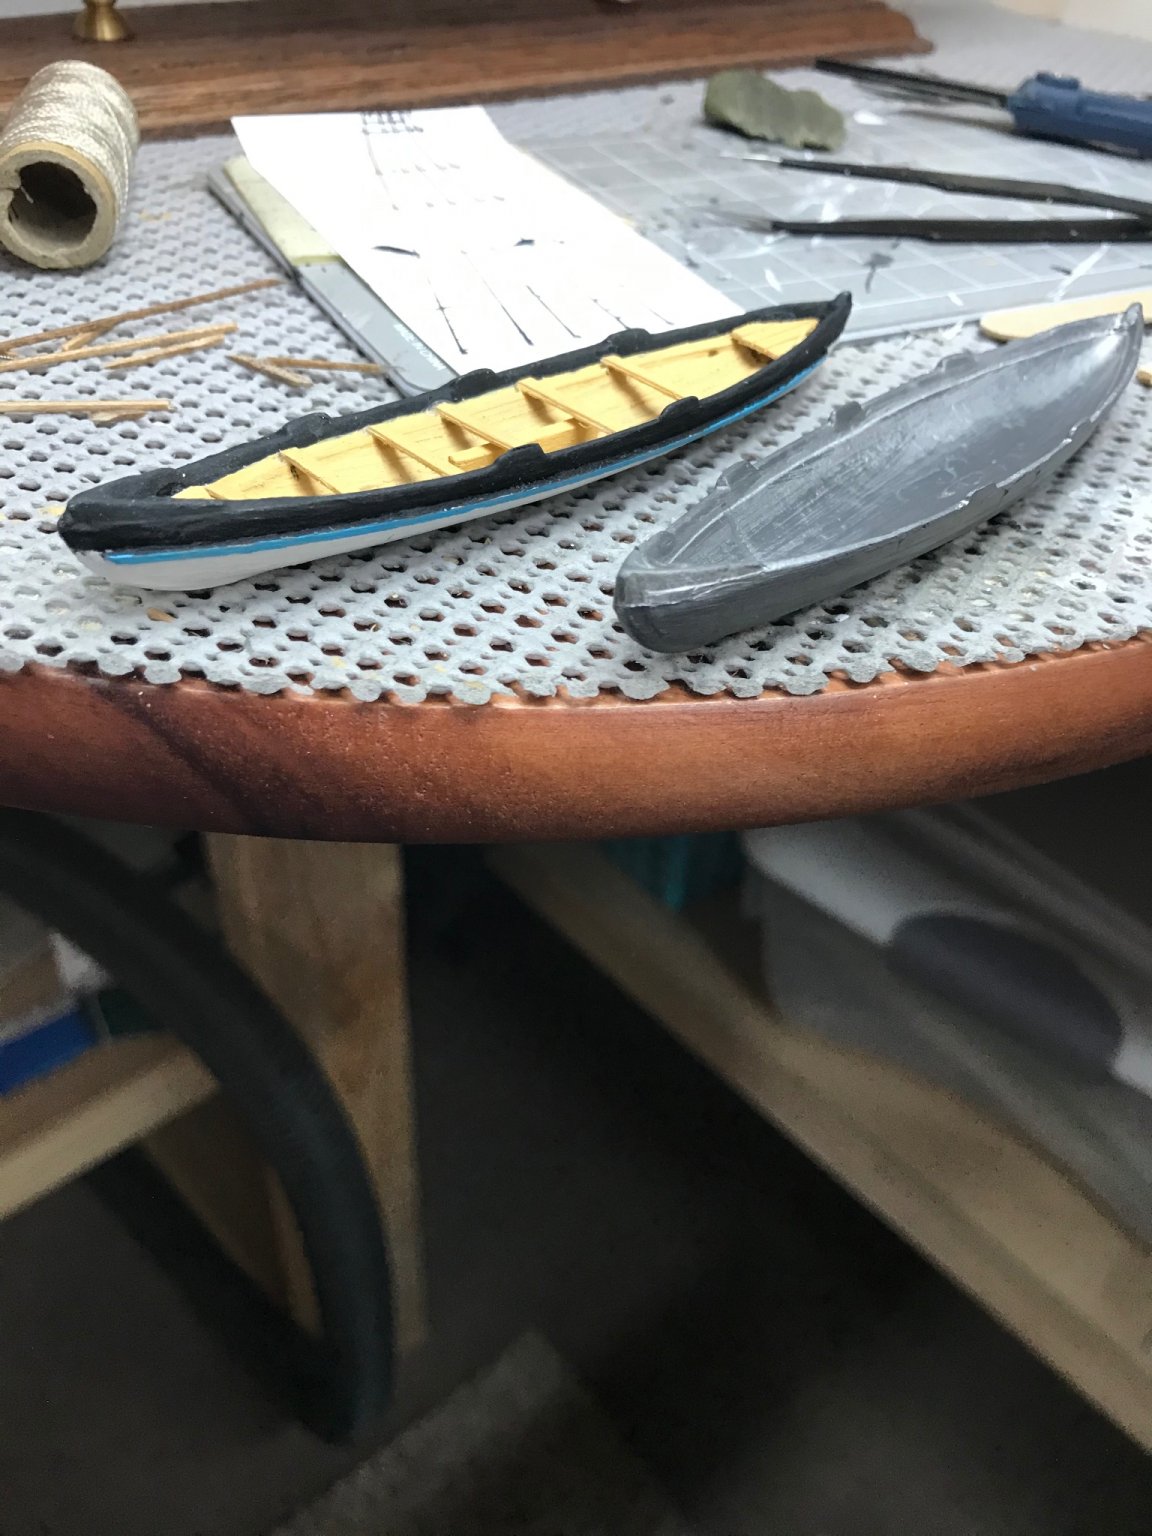
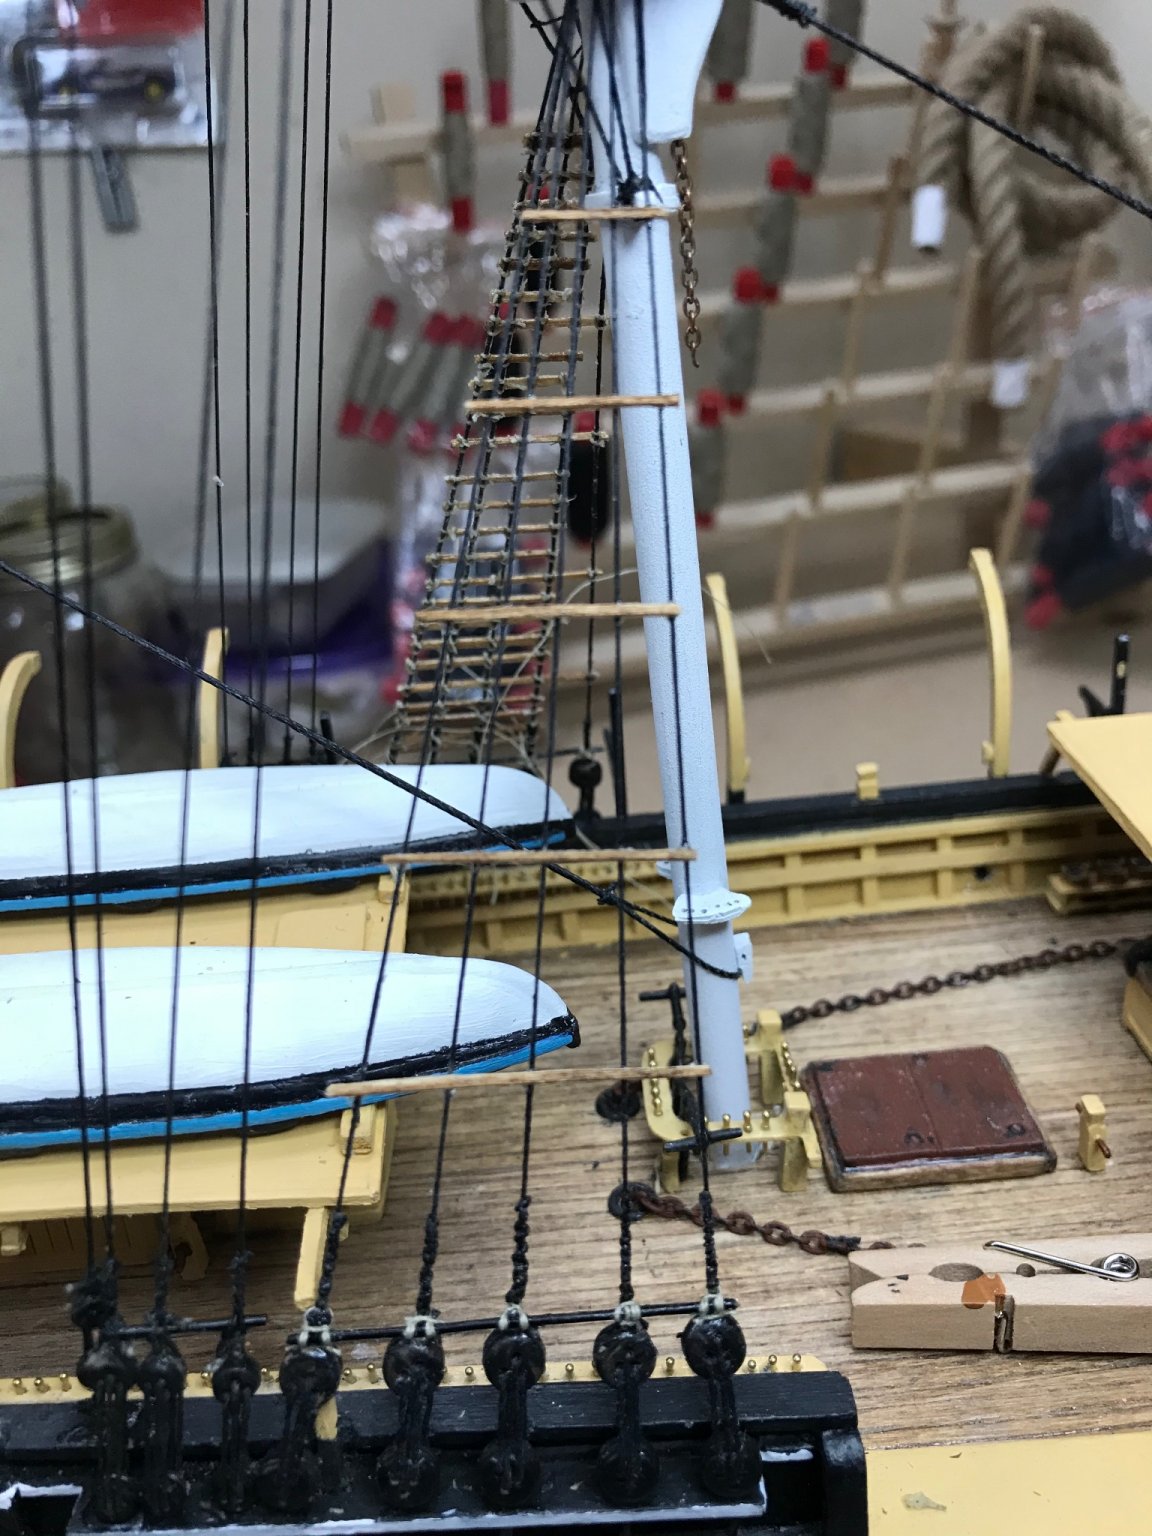
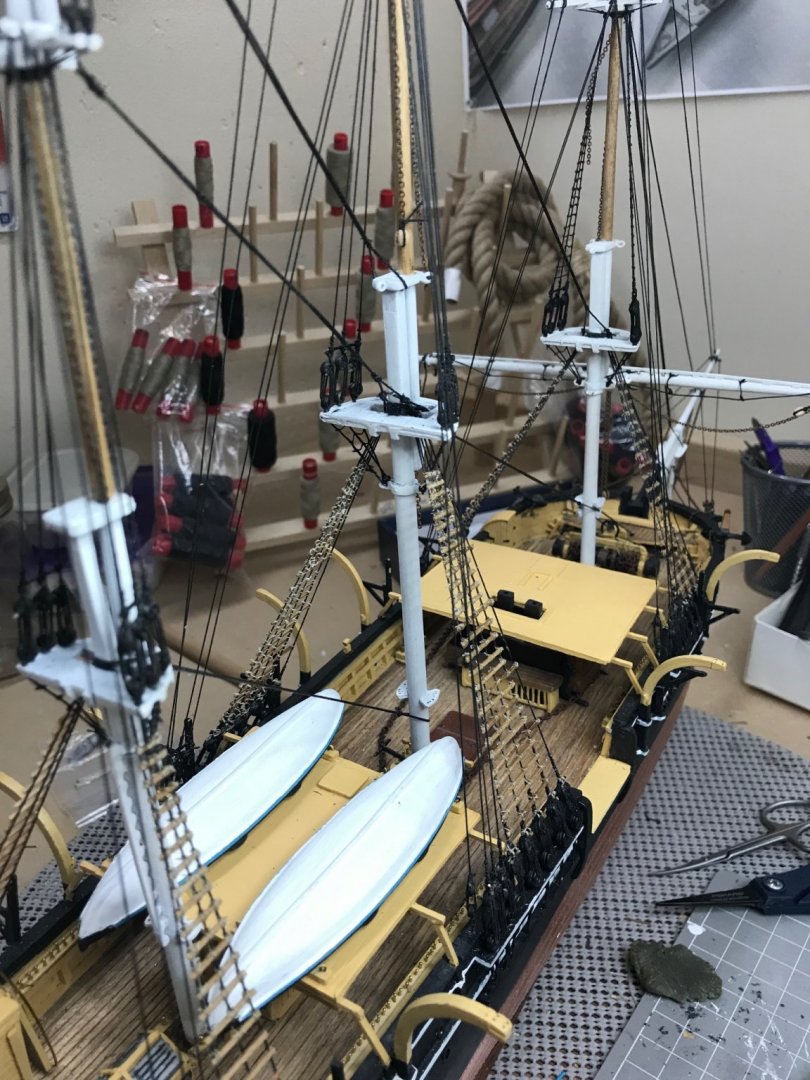
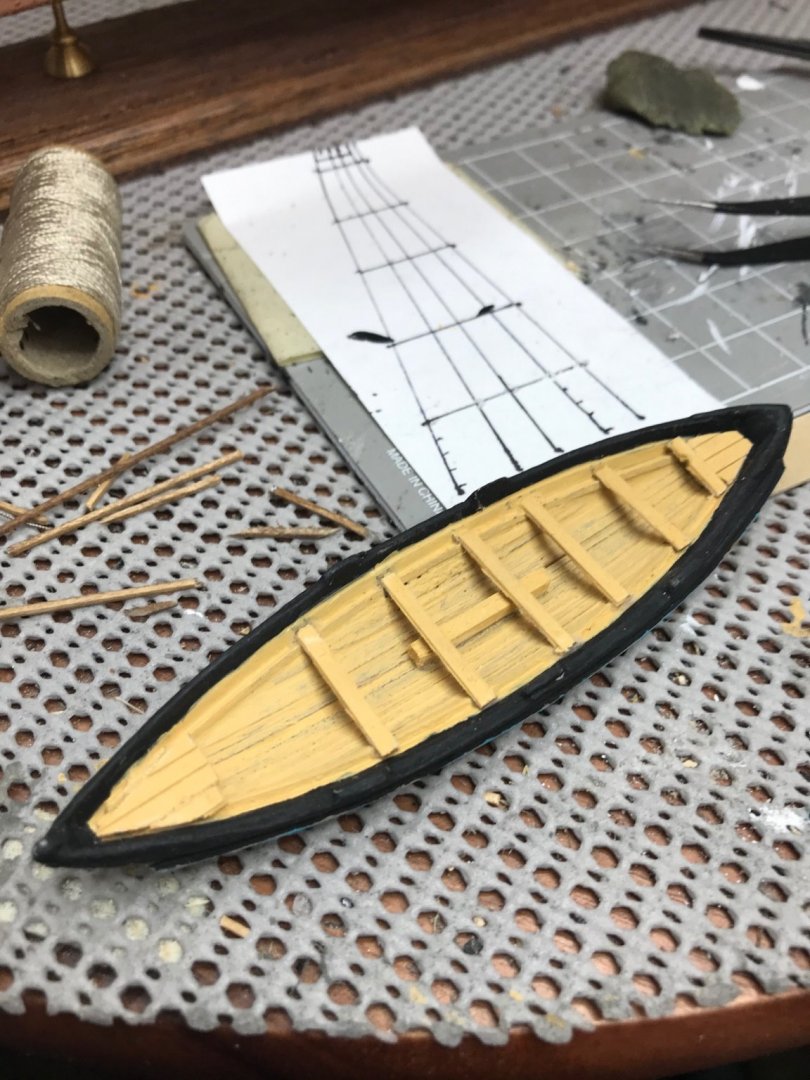
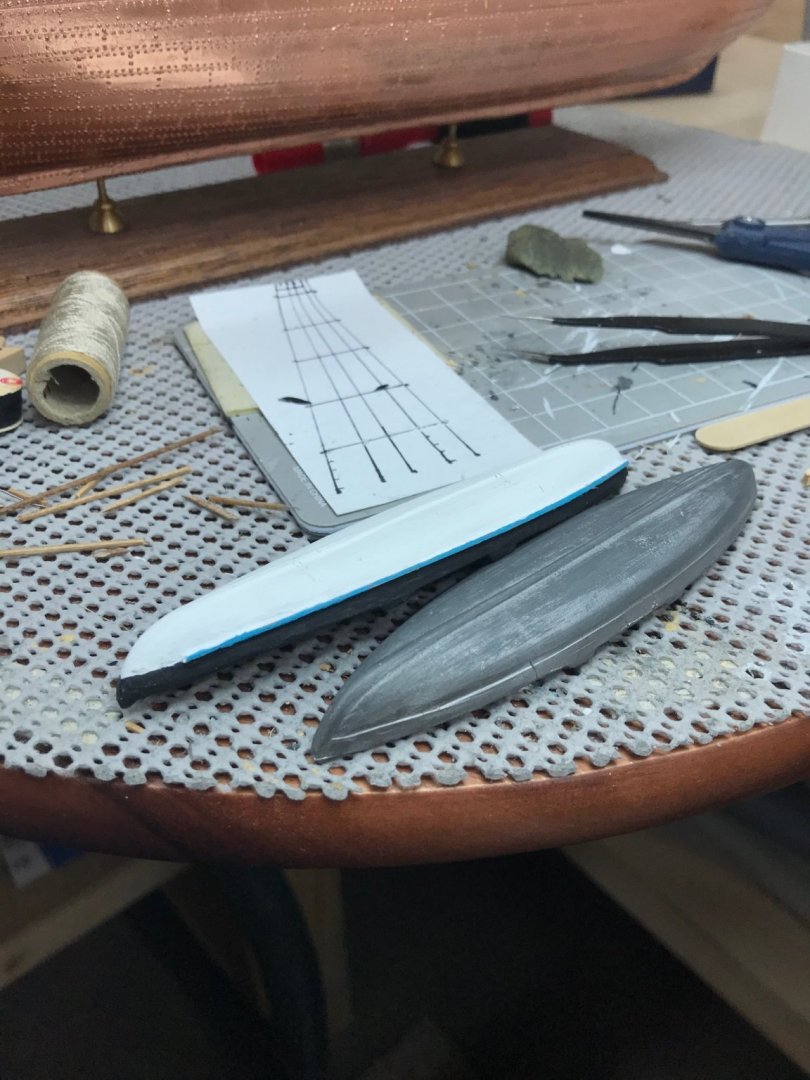
Lashing of battens completed on the starboard side. I started working on the whaleboats. This kit supplied metal whaleboats requiring someone detailing. I need a break now and then from tying ratlines and lashing battens. I’m sure you all know what I mean. 😆 I started with. 1/32 strips to recreate the ceilings and sheers. A bit of micro carpentry required for seating. Micro oars are in the works. I think this will do, only four more of these mini me’s to do. Not bad, pretty decent. 😎 I think so anyway. 🍻


- 204 replies
-
- 9
-
-
- marine model company
- charles w morgan
- (and 1 more)
-
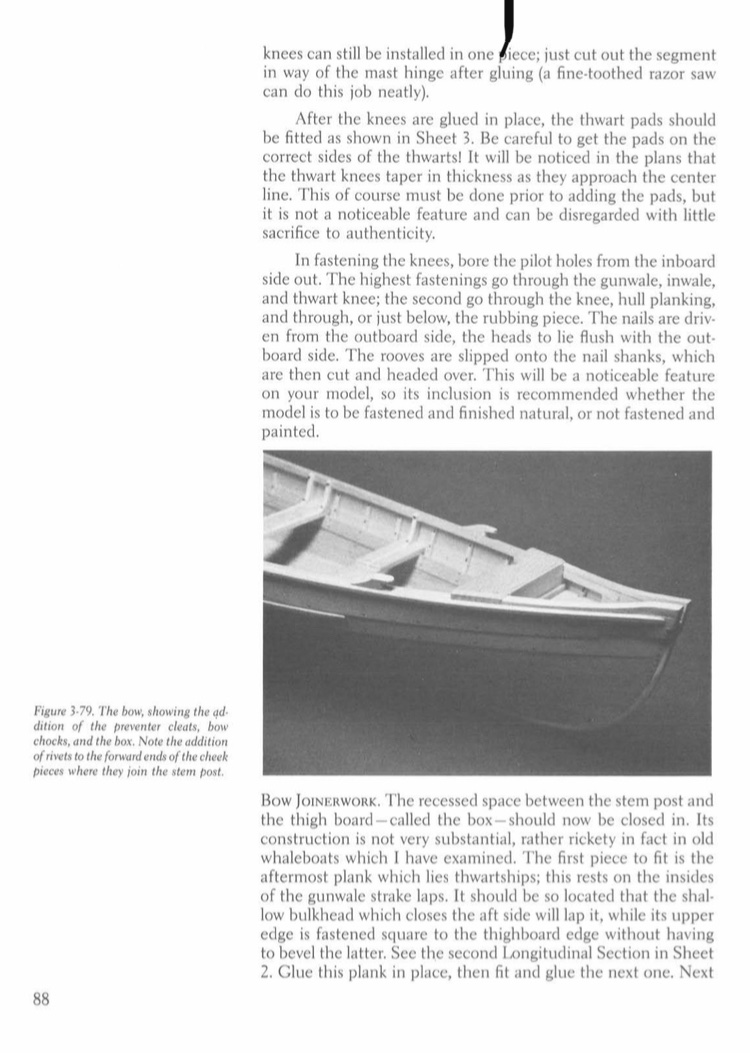
Brad, What you are looking for, Bow Chocks is on pages 88-89. Havent quite gotten there myself just yet. 🍻
- 104 replies
-
- 1
-
-
- model shipways
- new bedford whaleboat
- (and 1 more)
-
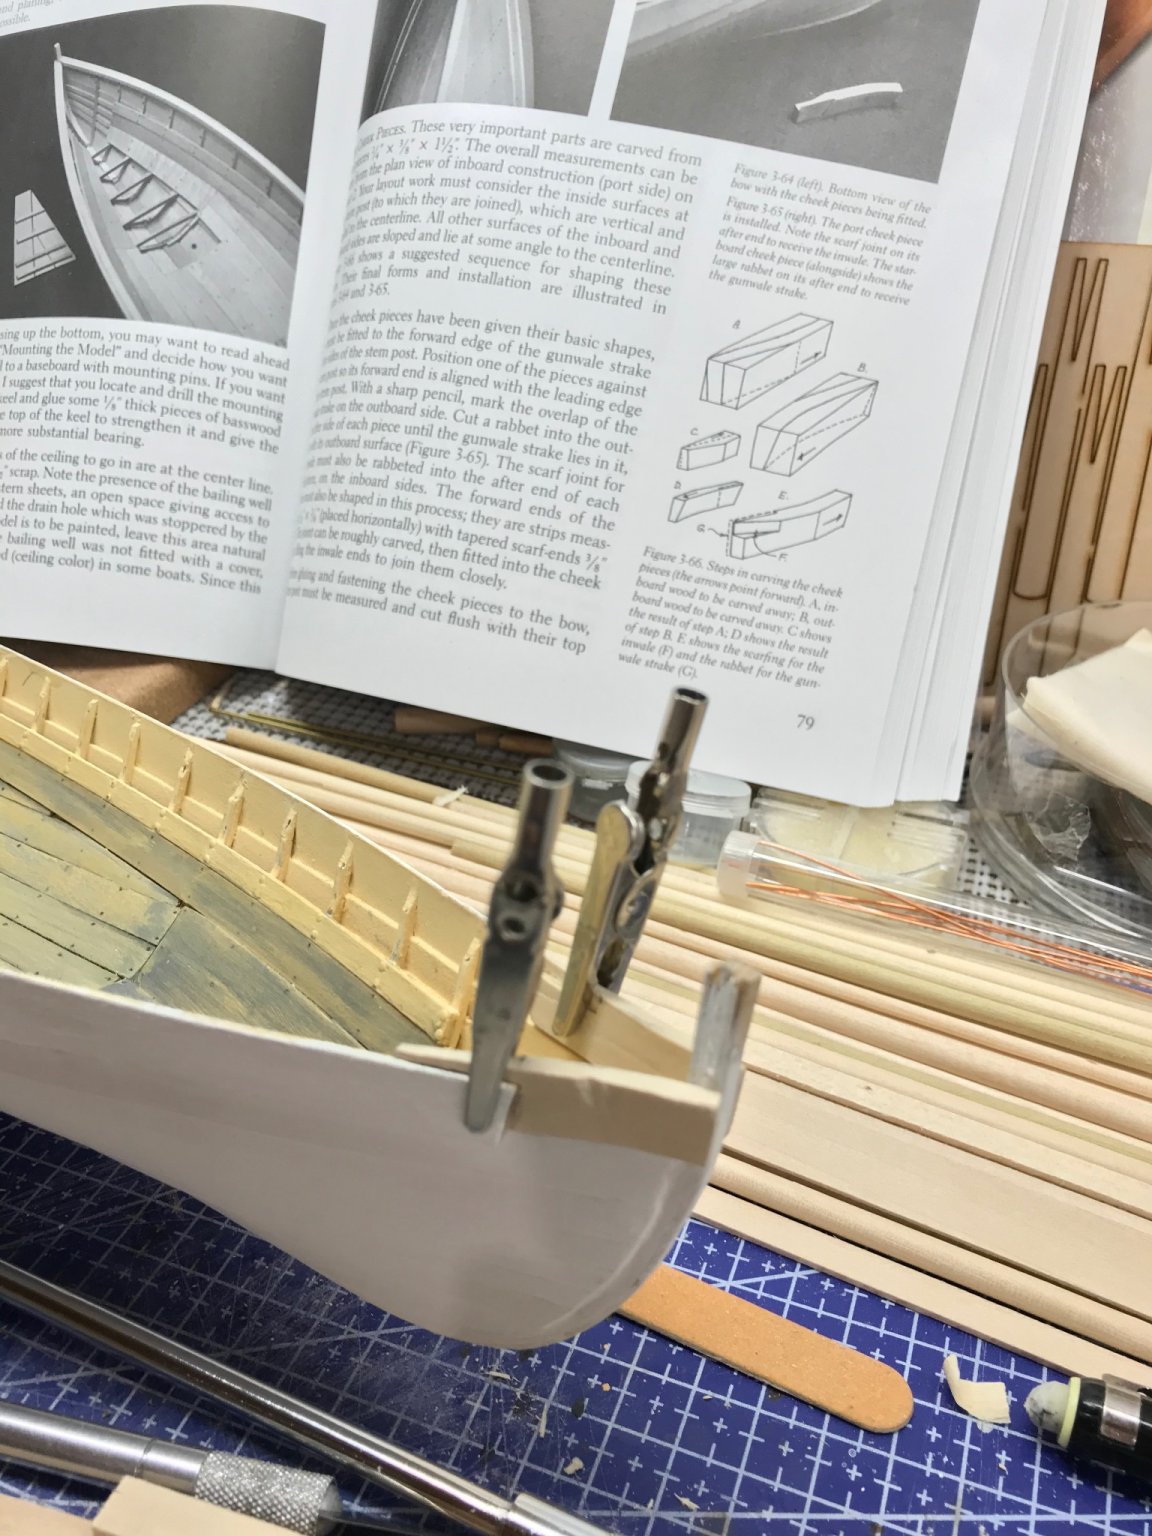
Catman42, would you be referring to The Cheek Pieces? Page 79. They are a bit confusing at first.

- 104 replies
-
- 1
-
-
- model shipways
- new bedford whaleboat
- (and 1 more)
-
Progressing on the Battens and ratlines. Aligning extended battens. Filled in the shorter battens glueing them in place for lashing. Foremast shrouds and upper ratlines completed. Battens in place on the Main and Mizzen Shrouds. Now to complete the lashing and upper shroud ratlines. Onward 😎


- 204 replies
-
- 4
-
-
- marine model company
- charles w morgan
- (and 1 more)
-
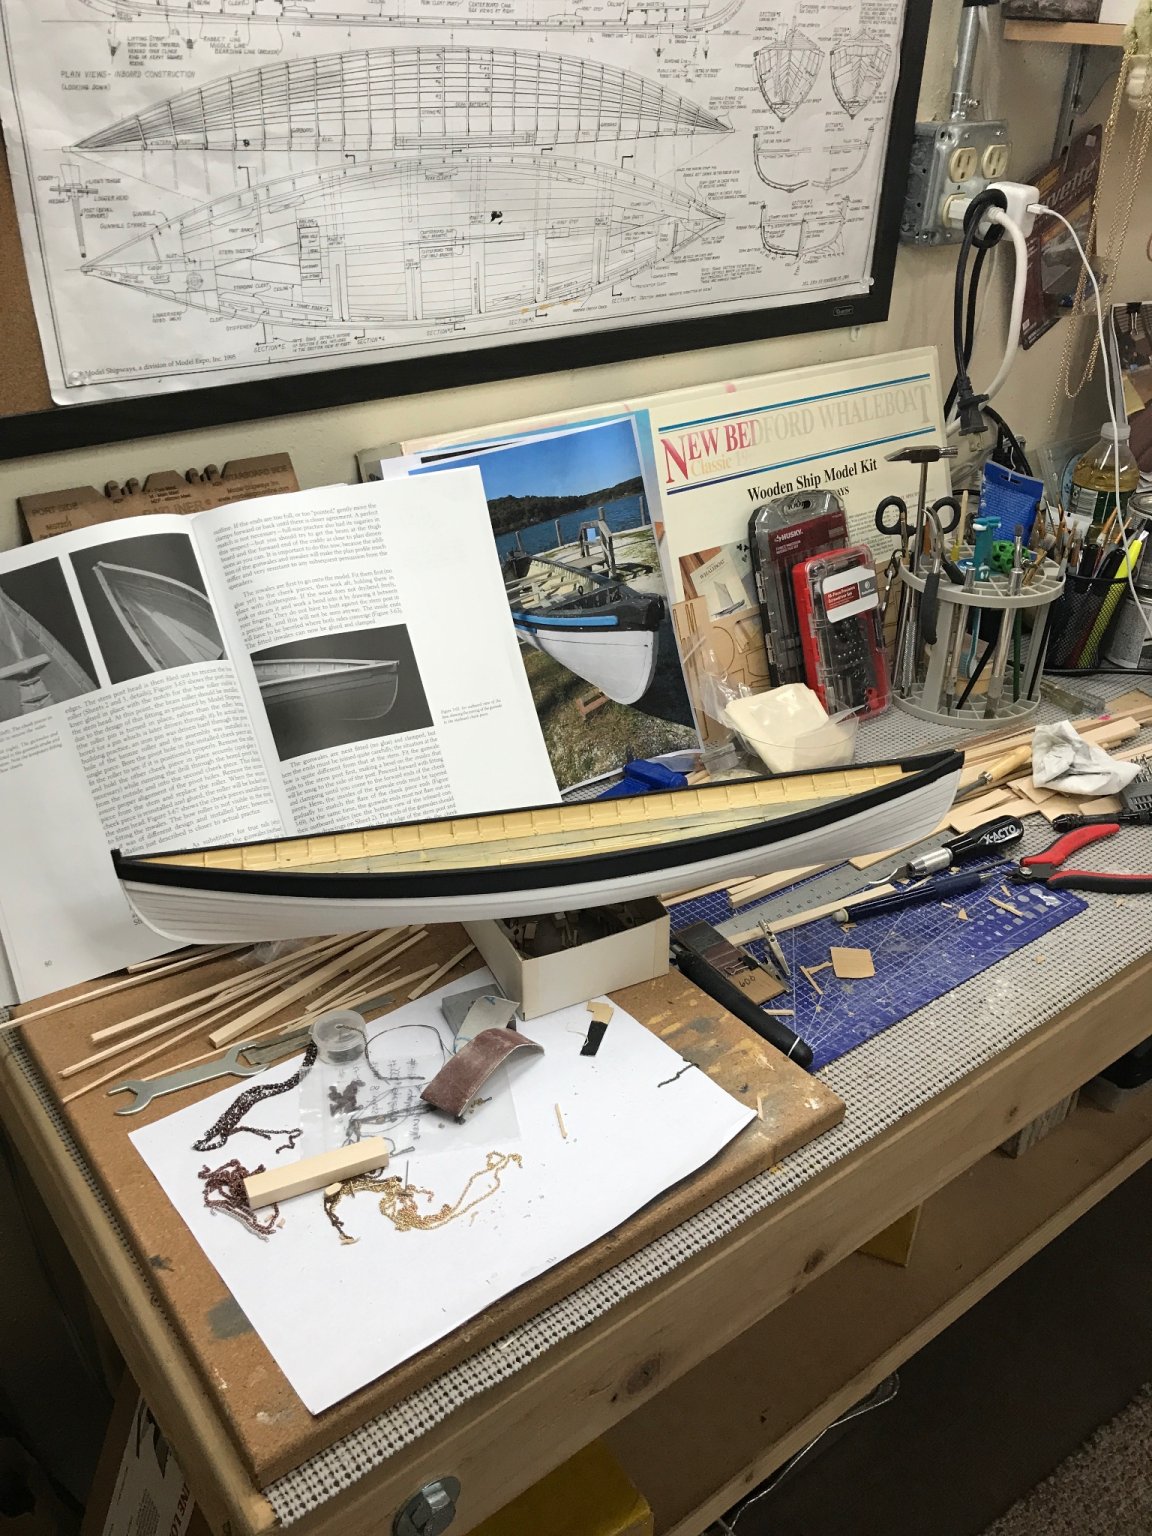
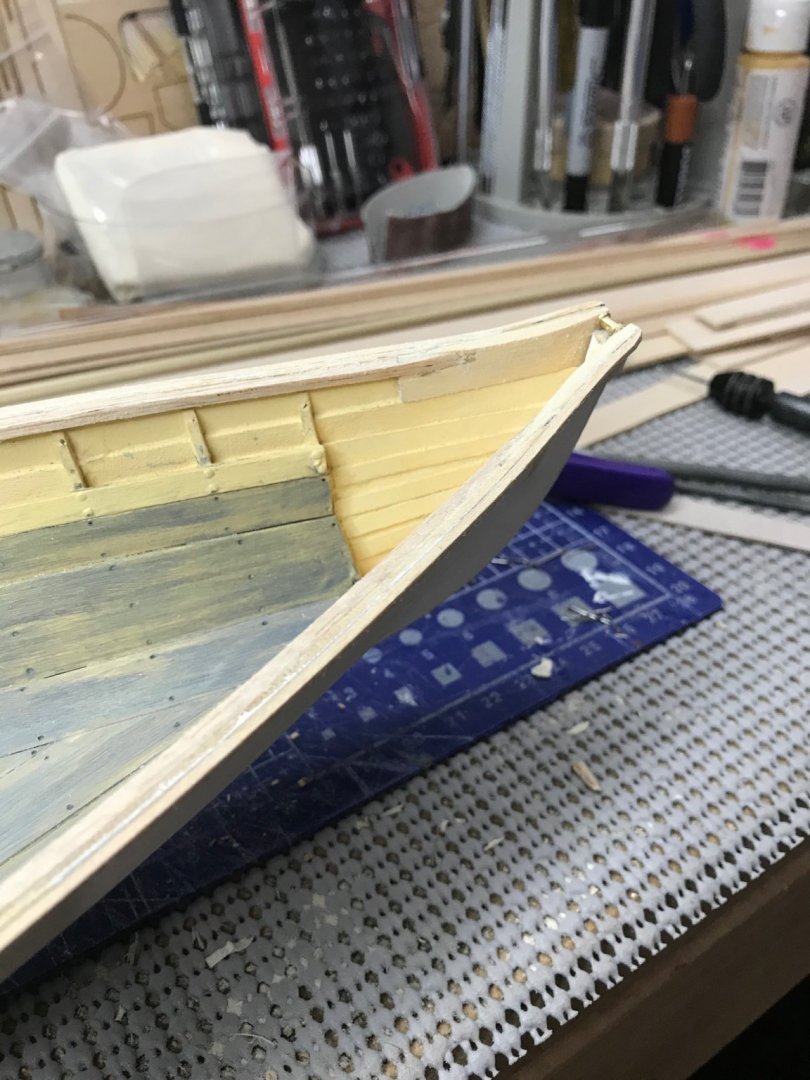
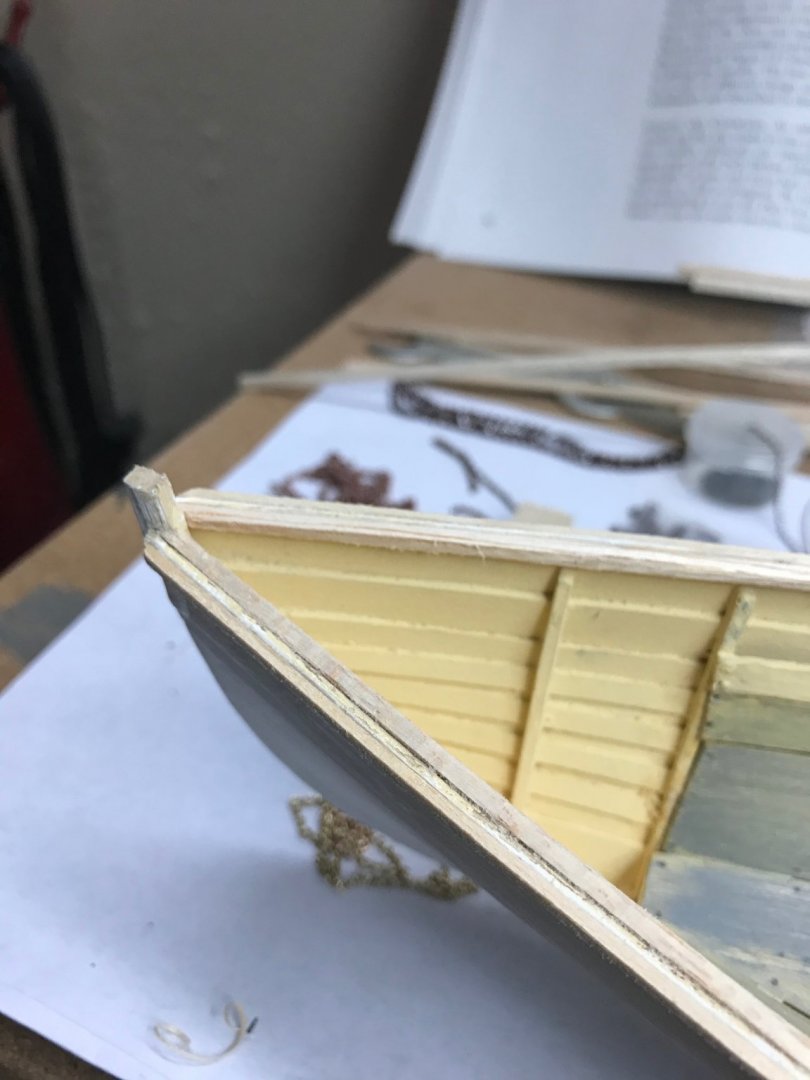
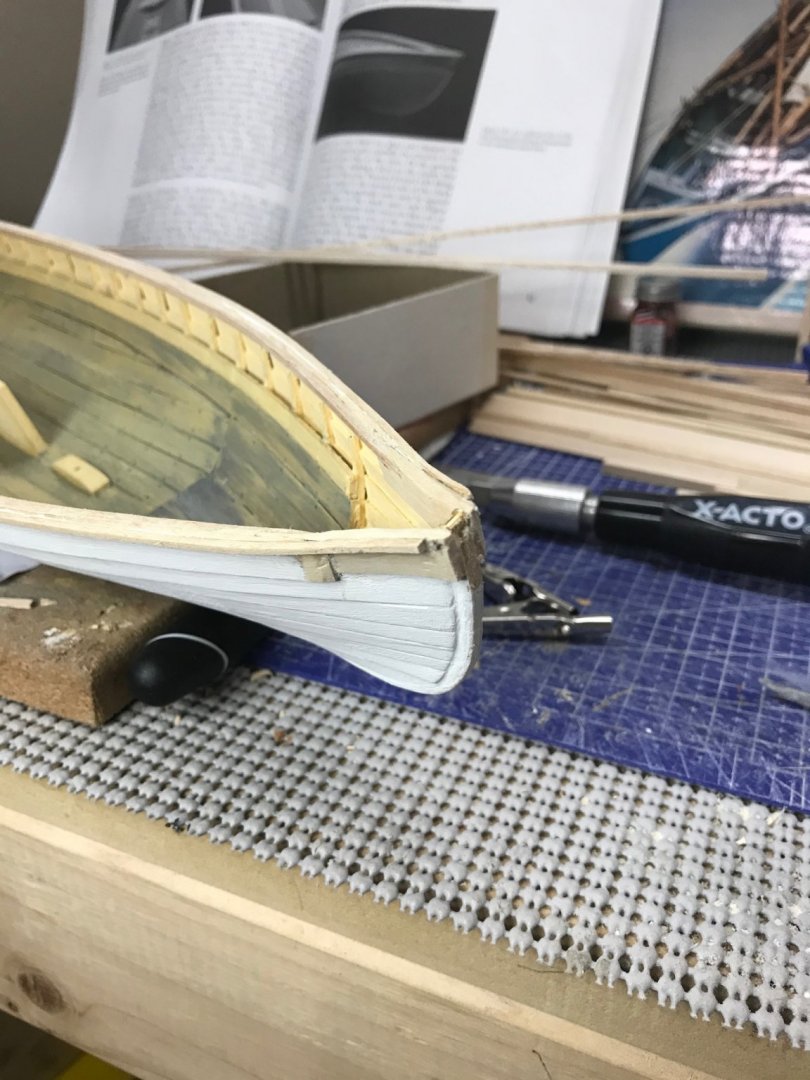
Bow roller installed... Ready for inwales and gunwales... cutting inwale into the cheek pieces. completion of gunwhale. Ready for. Final sanding and beveling. Onward... 😎 Filled, Sanded and Painted Gunwales. 😎


- 104 replies
-
- 5
-
-
- model shipways
- new bedford whaleboat
- (and 1 more)
-
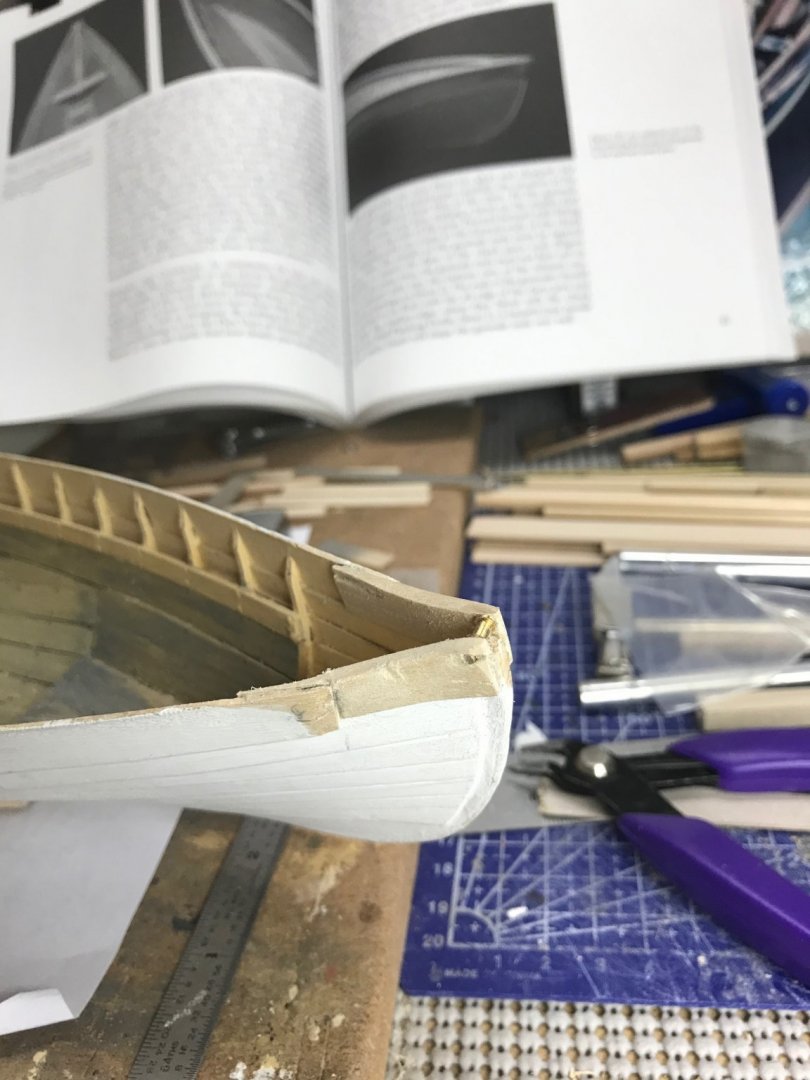
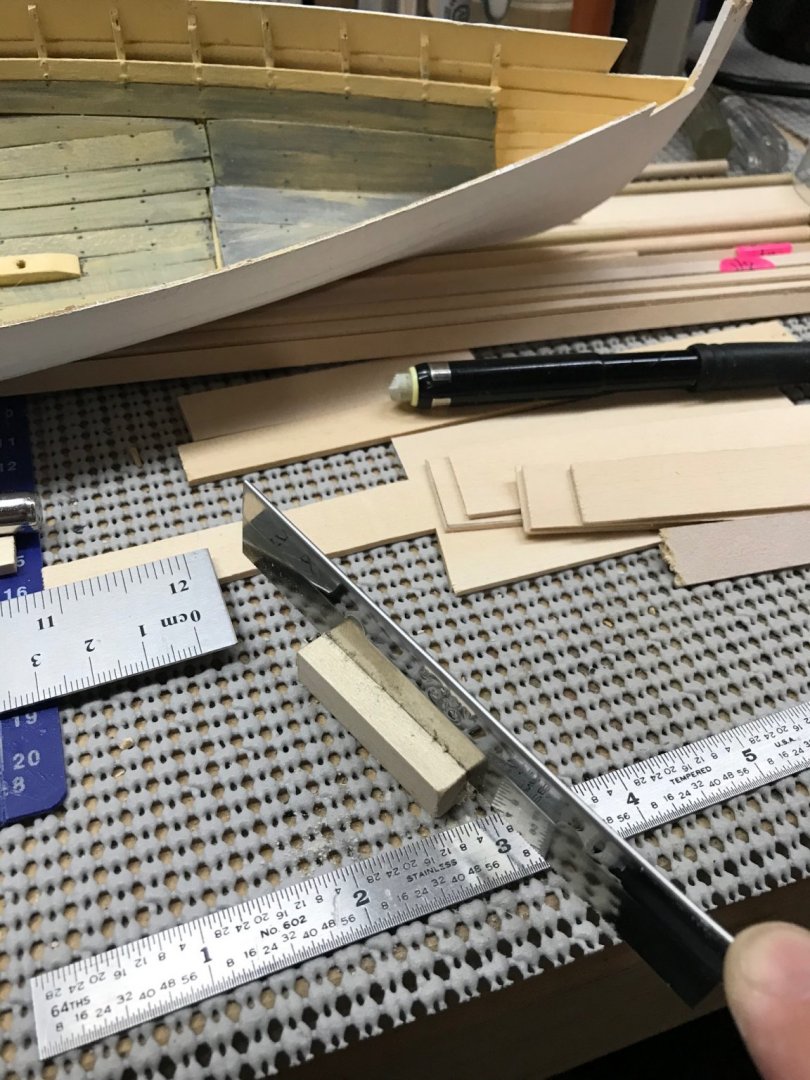
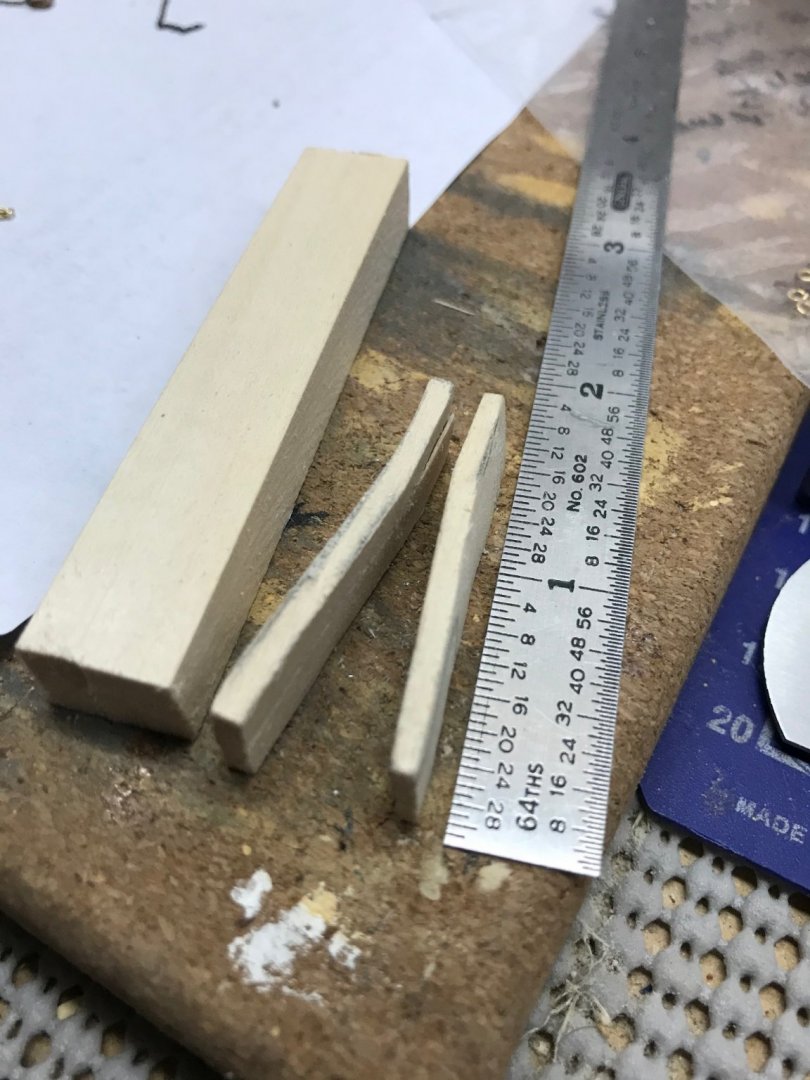
I’m back to the Whaleboat for now. Had to take a break from rat lines and battens on the Morgan. 😆 Time to build the Cheek Pieces. First step is to create two 3/8” x 1/4” From the 3/8” x 1/2” piece in the box. Then carve the cheek pieces from the two 3/8” x 1/4” piece. These pieces need to have rabbit and lap joints carved into them. Then glued into place on the bow of the boat. Saw off the stem post and glue the cheek pieces into place. Easy NOT... Version 2.0 made it to the bow. 😆 A bit more carving/shaping and installation of the bow roller. 😎 Latter 🍻

- 104 replies
-
- 2
-
-
- model shipways
- new bedford whaleboat
- (and 1 more)
-
Beautifully done!! I look at this model every time I pass through Searsport, ME in the Bluejacket Ship Crafters showroom. It’s been a wonderful voyage watching you complete this model. Bravo 👏
- 144 replies
-
- 3
-
-
- charles p notman
- finished
- (and 1 more)
-
Tom, You are comparing apples to oranges. Your scratch build is amazing. My USS Constitution was a 674 hour build over 14 months. This one at 335 hour over 7 months tells me I spend way too much time in the basement. Keep on keeping on. 👍
- 204 replies
-
- 1
-
-
- marine model company
- charles w morgan
- (and 1 more)
-
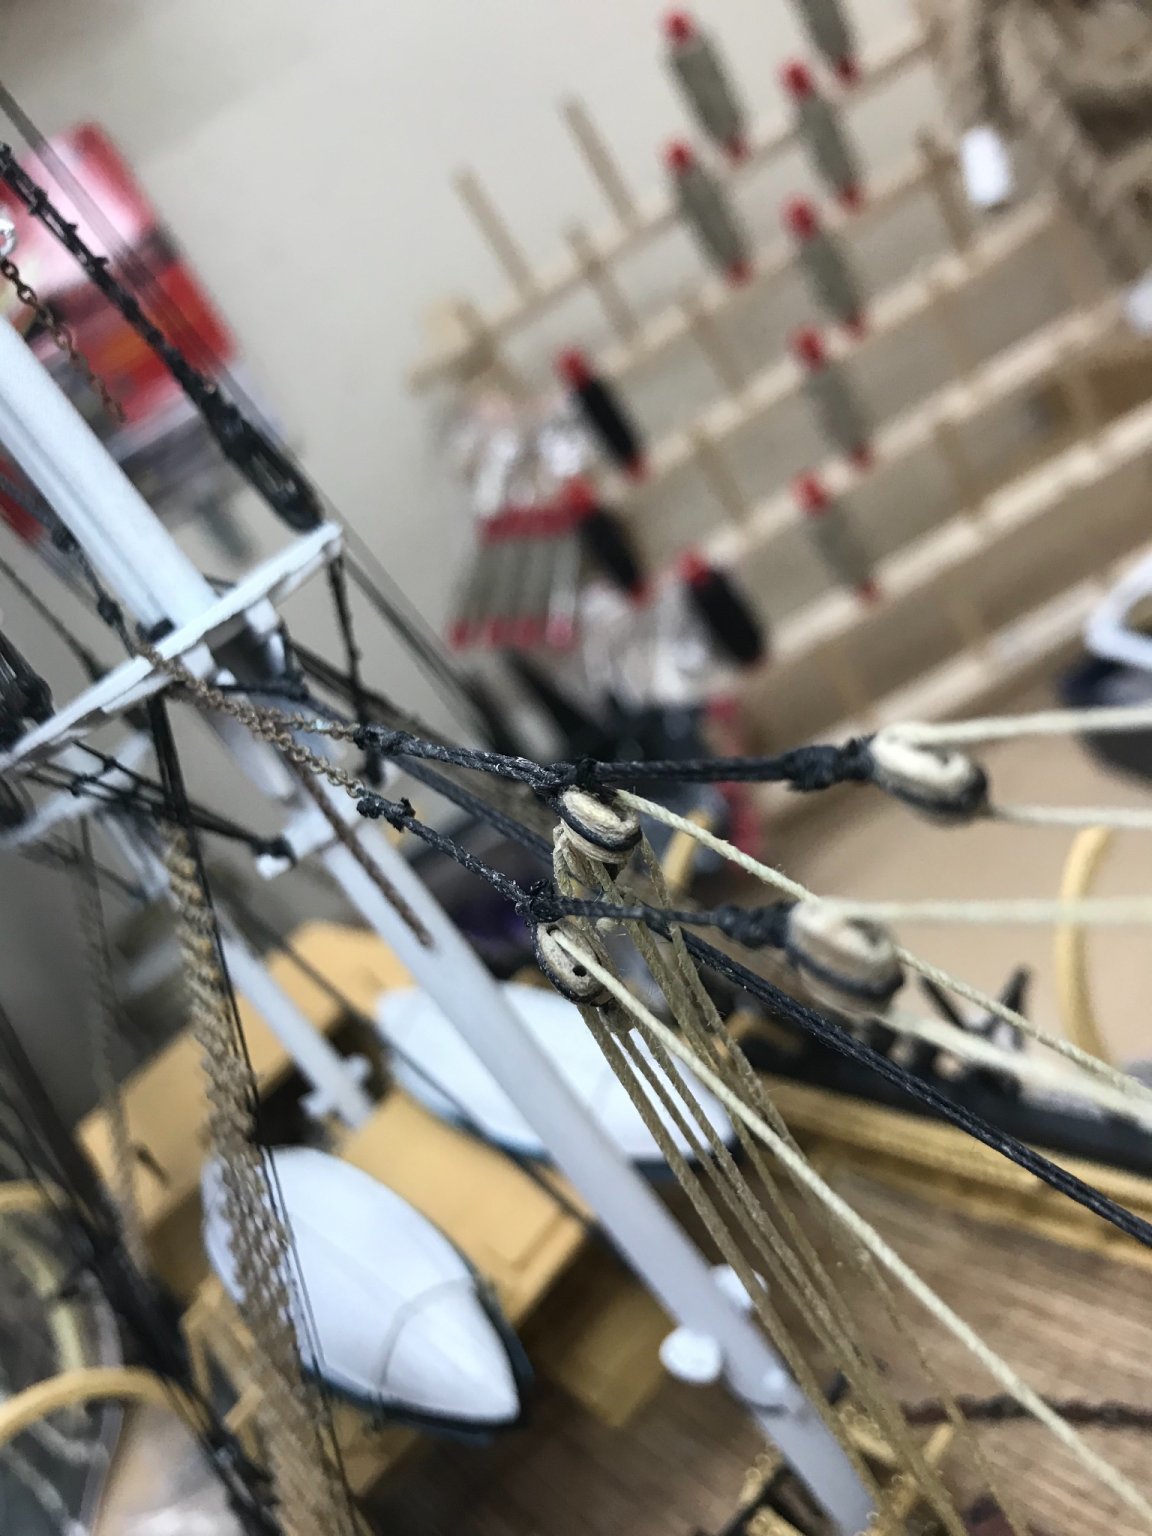
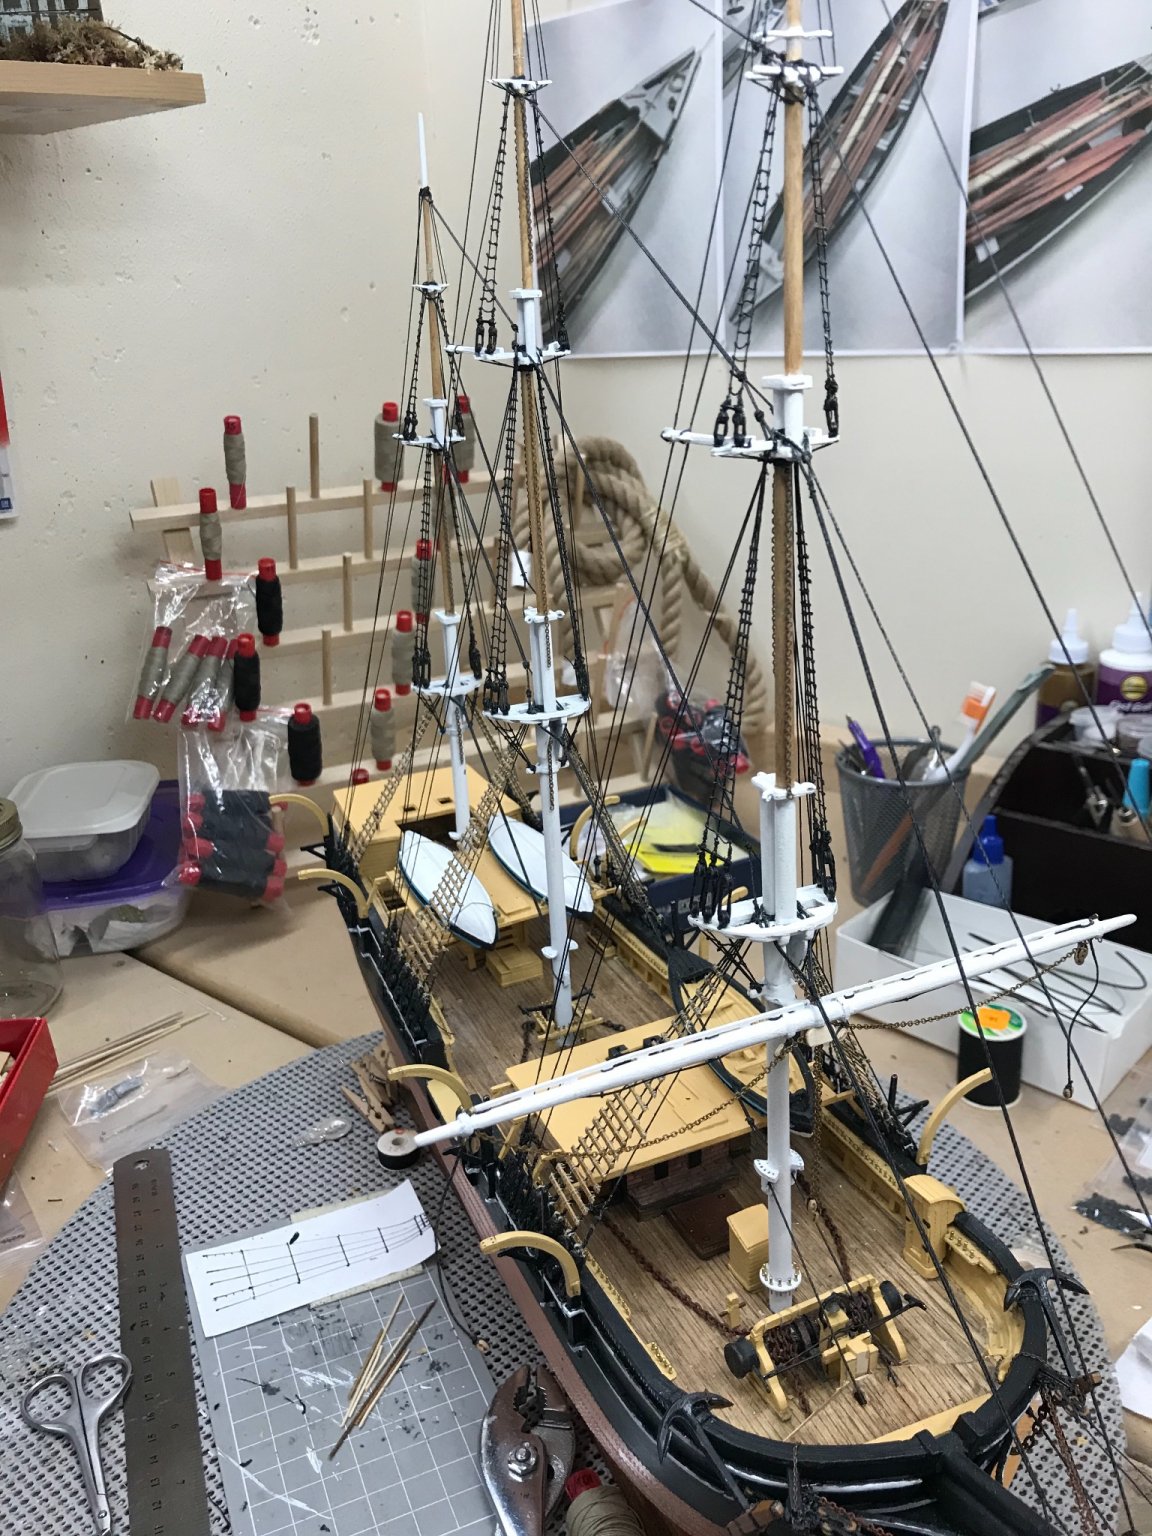
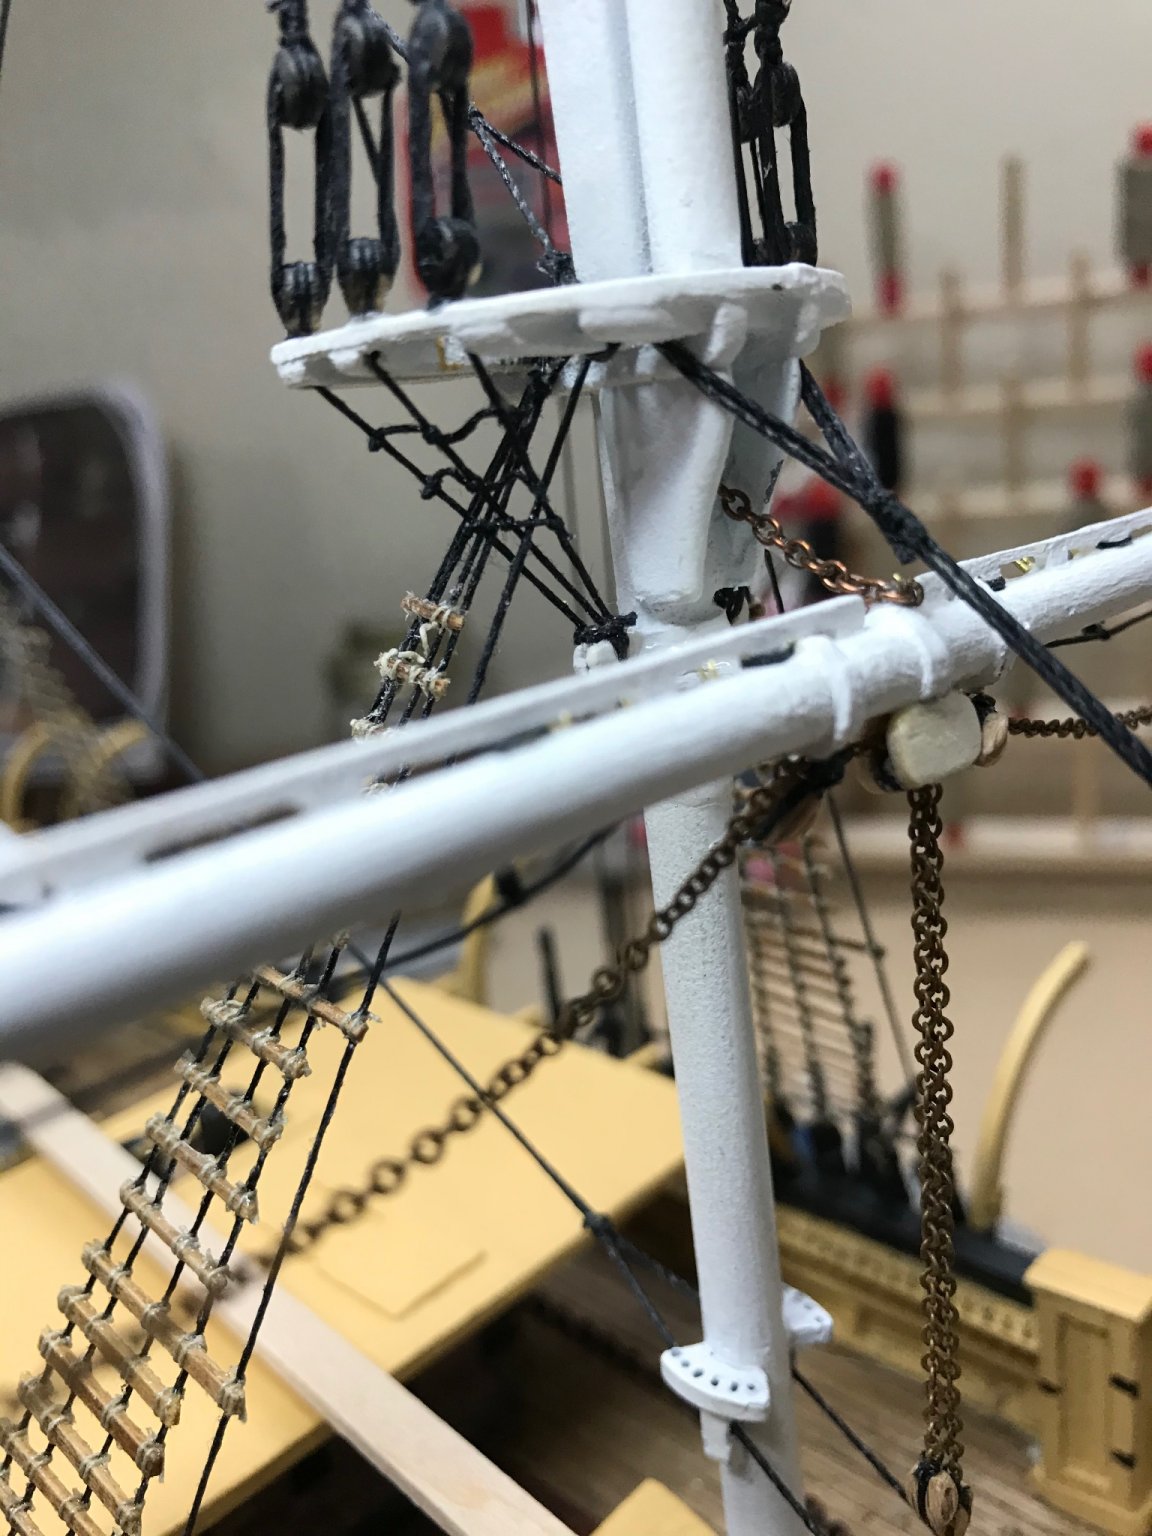
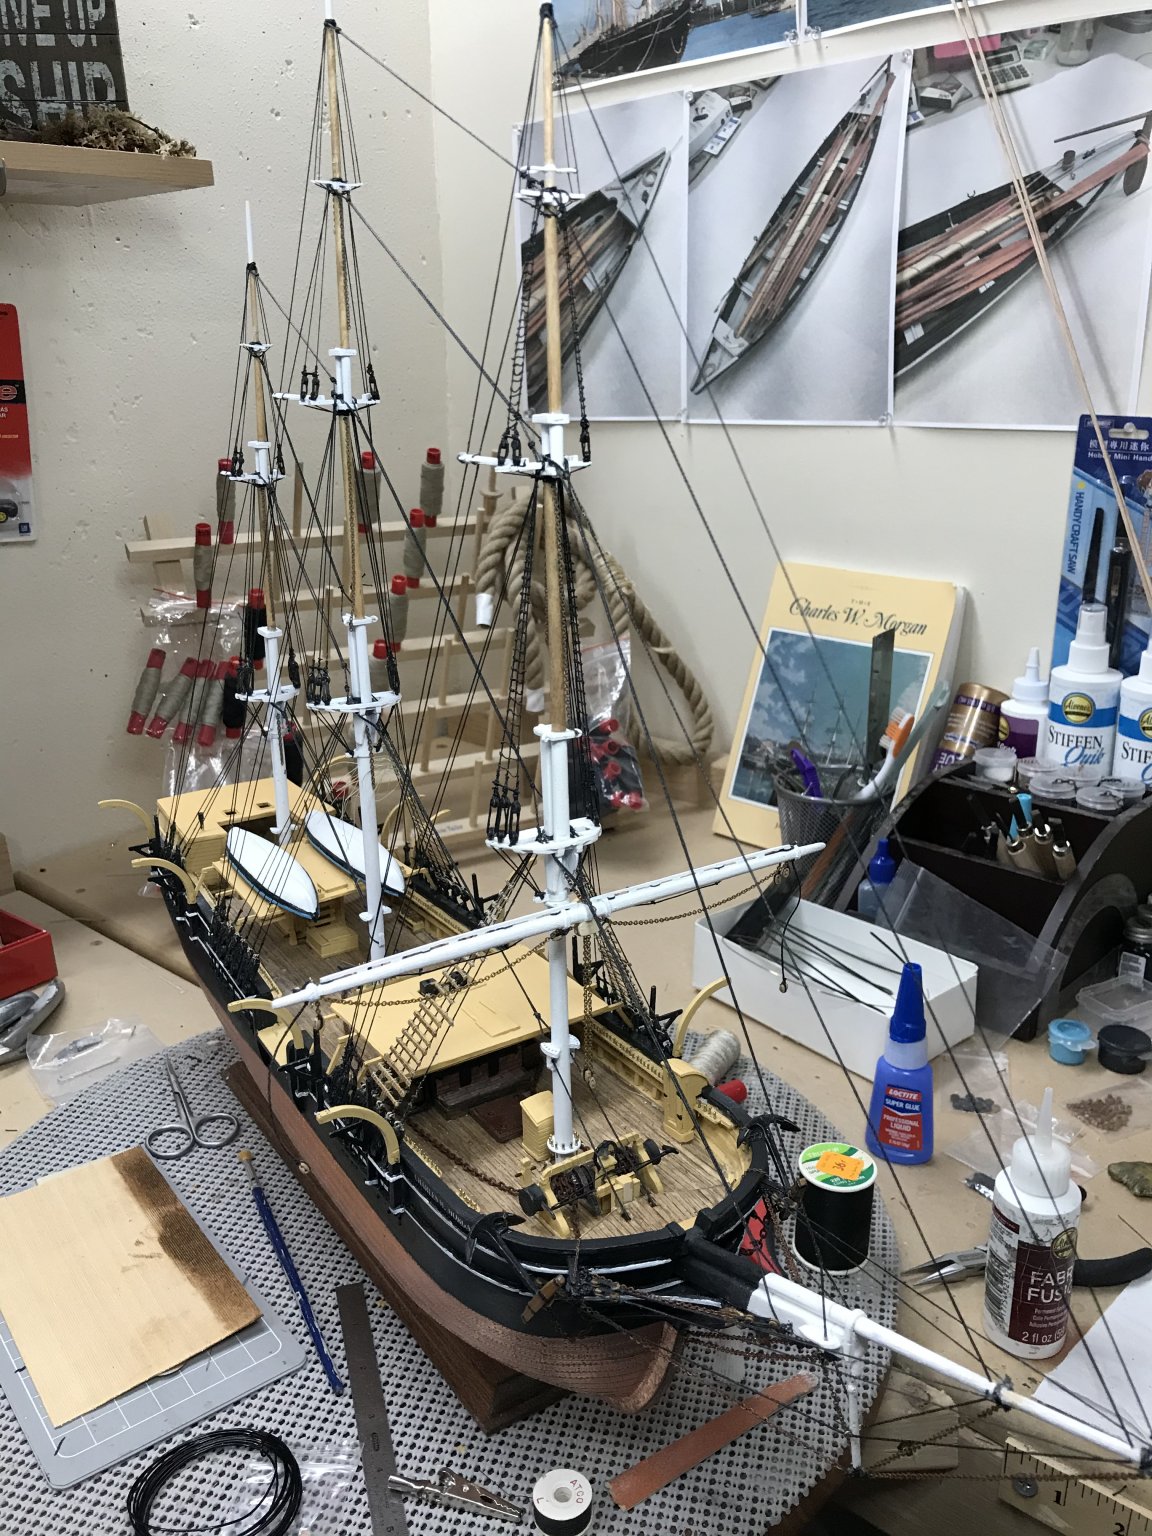
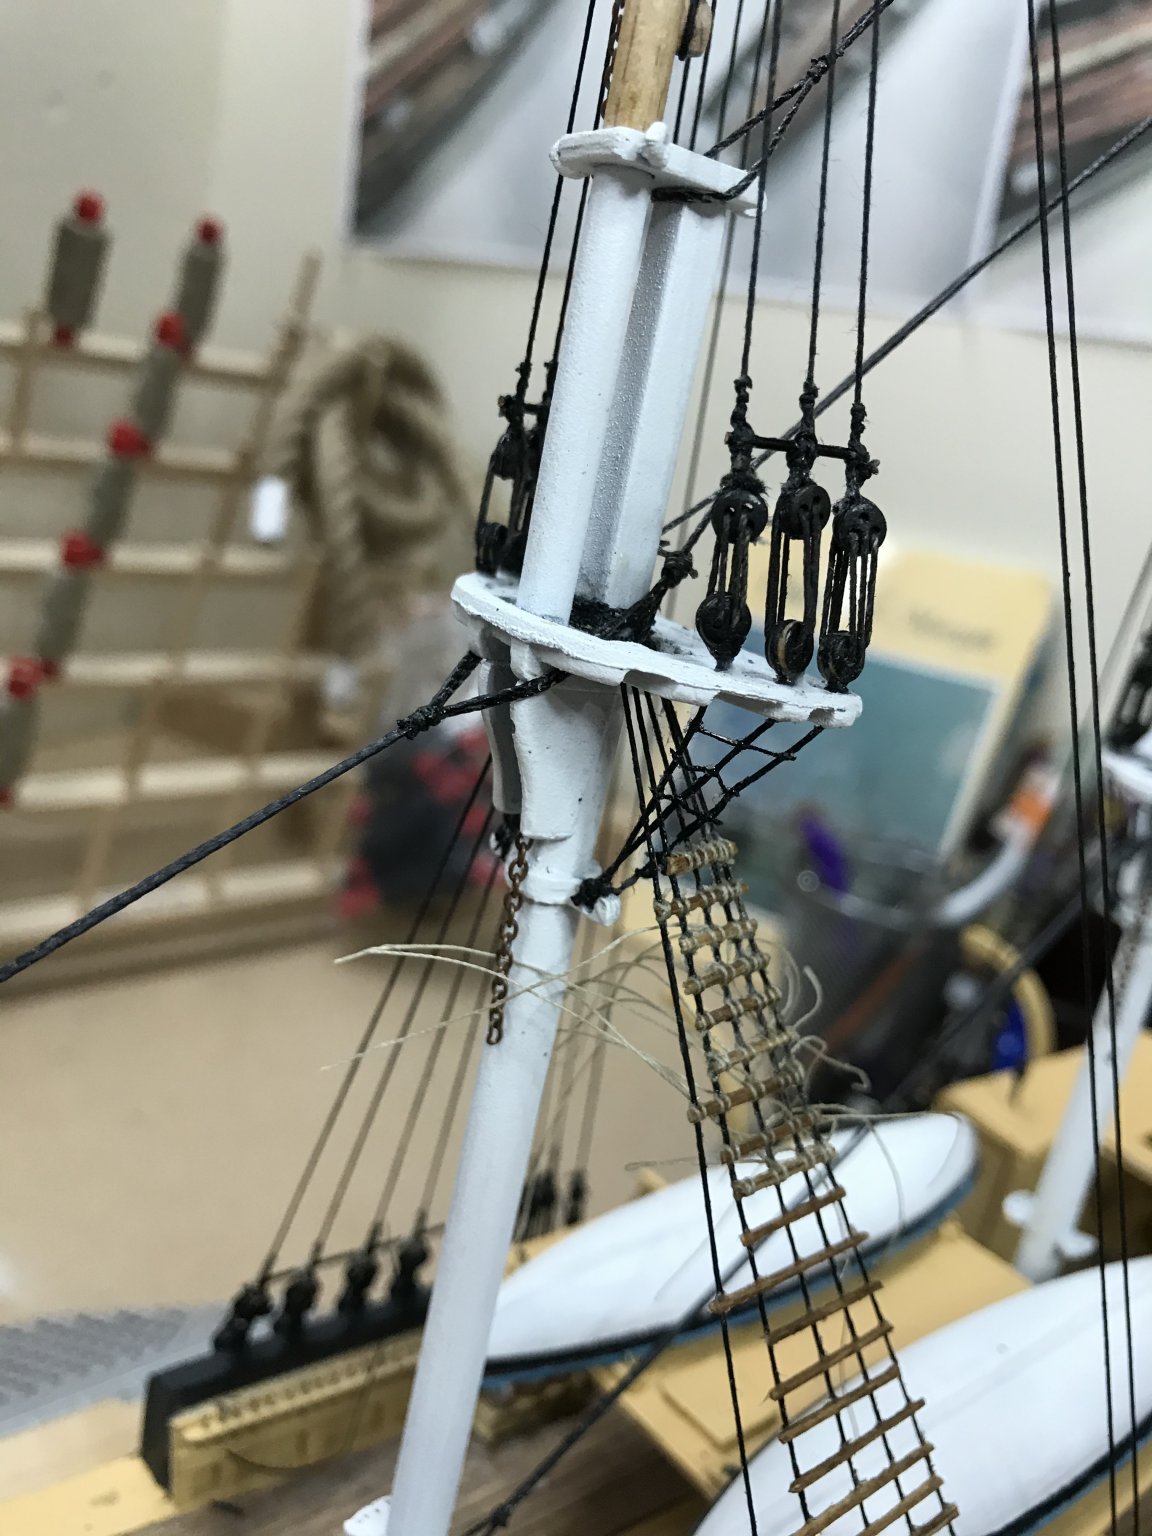
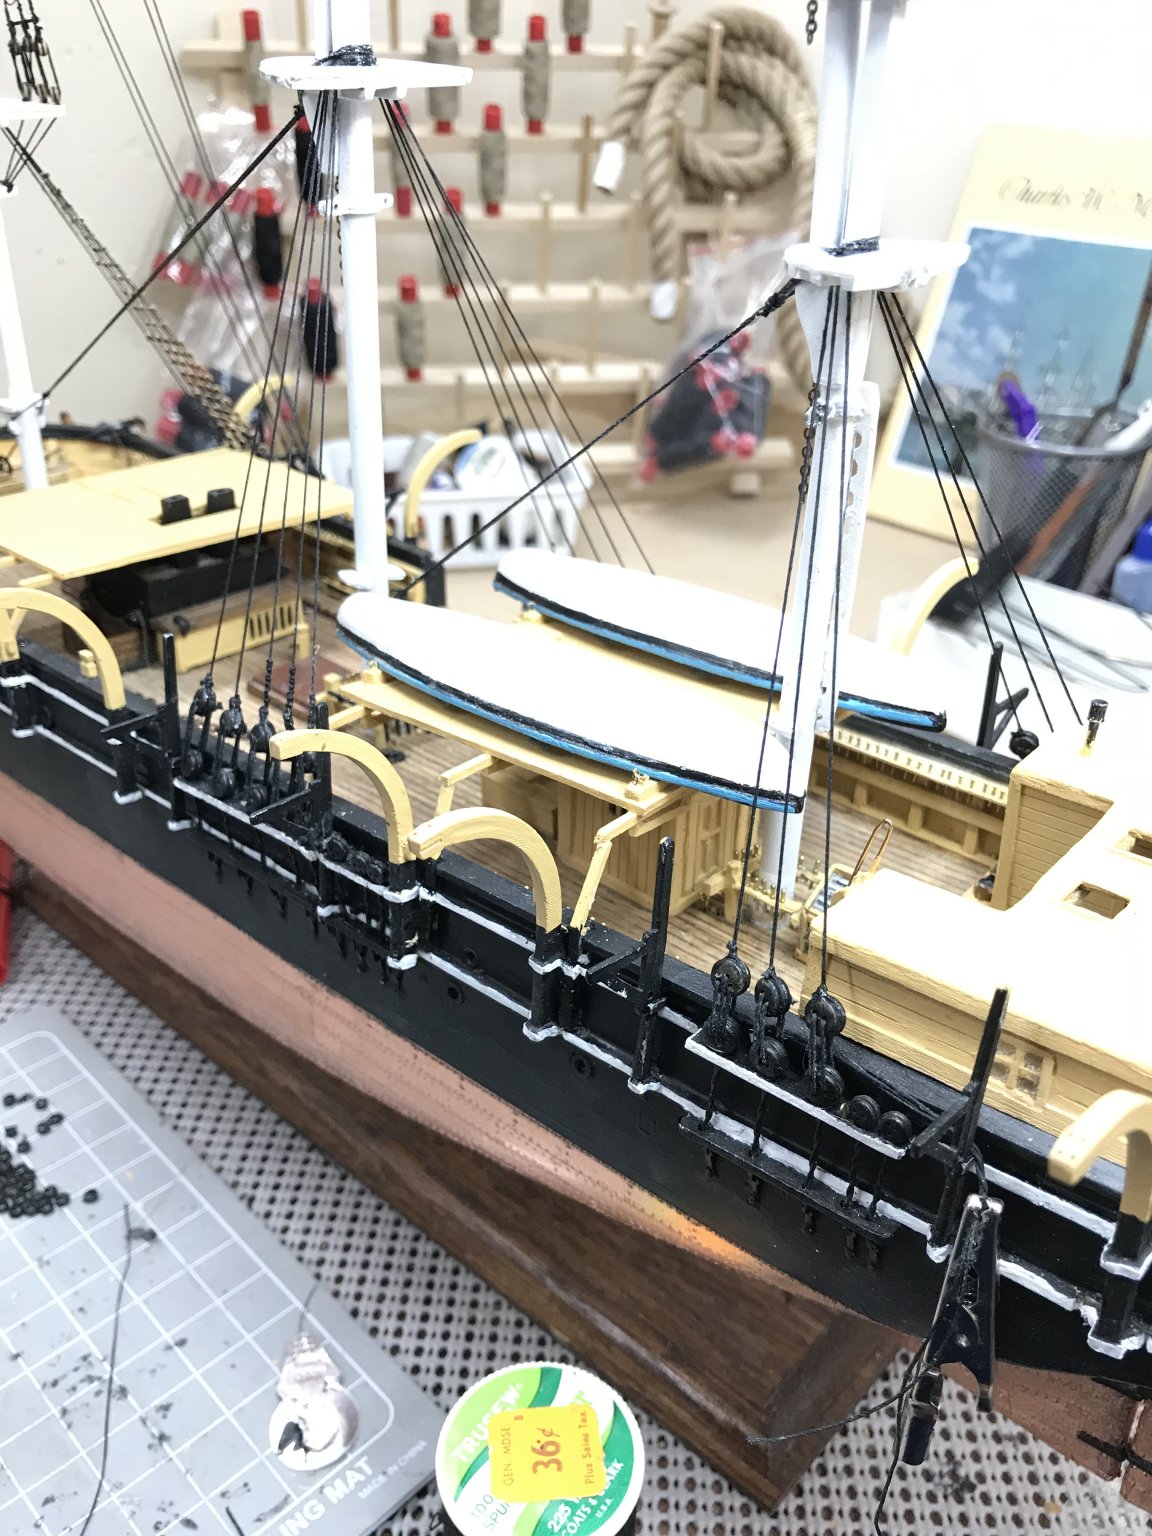
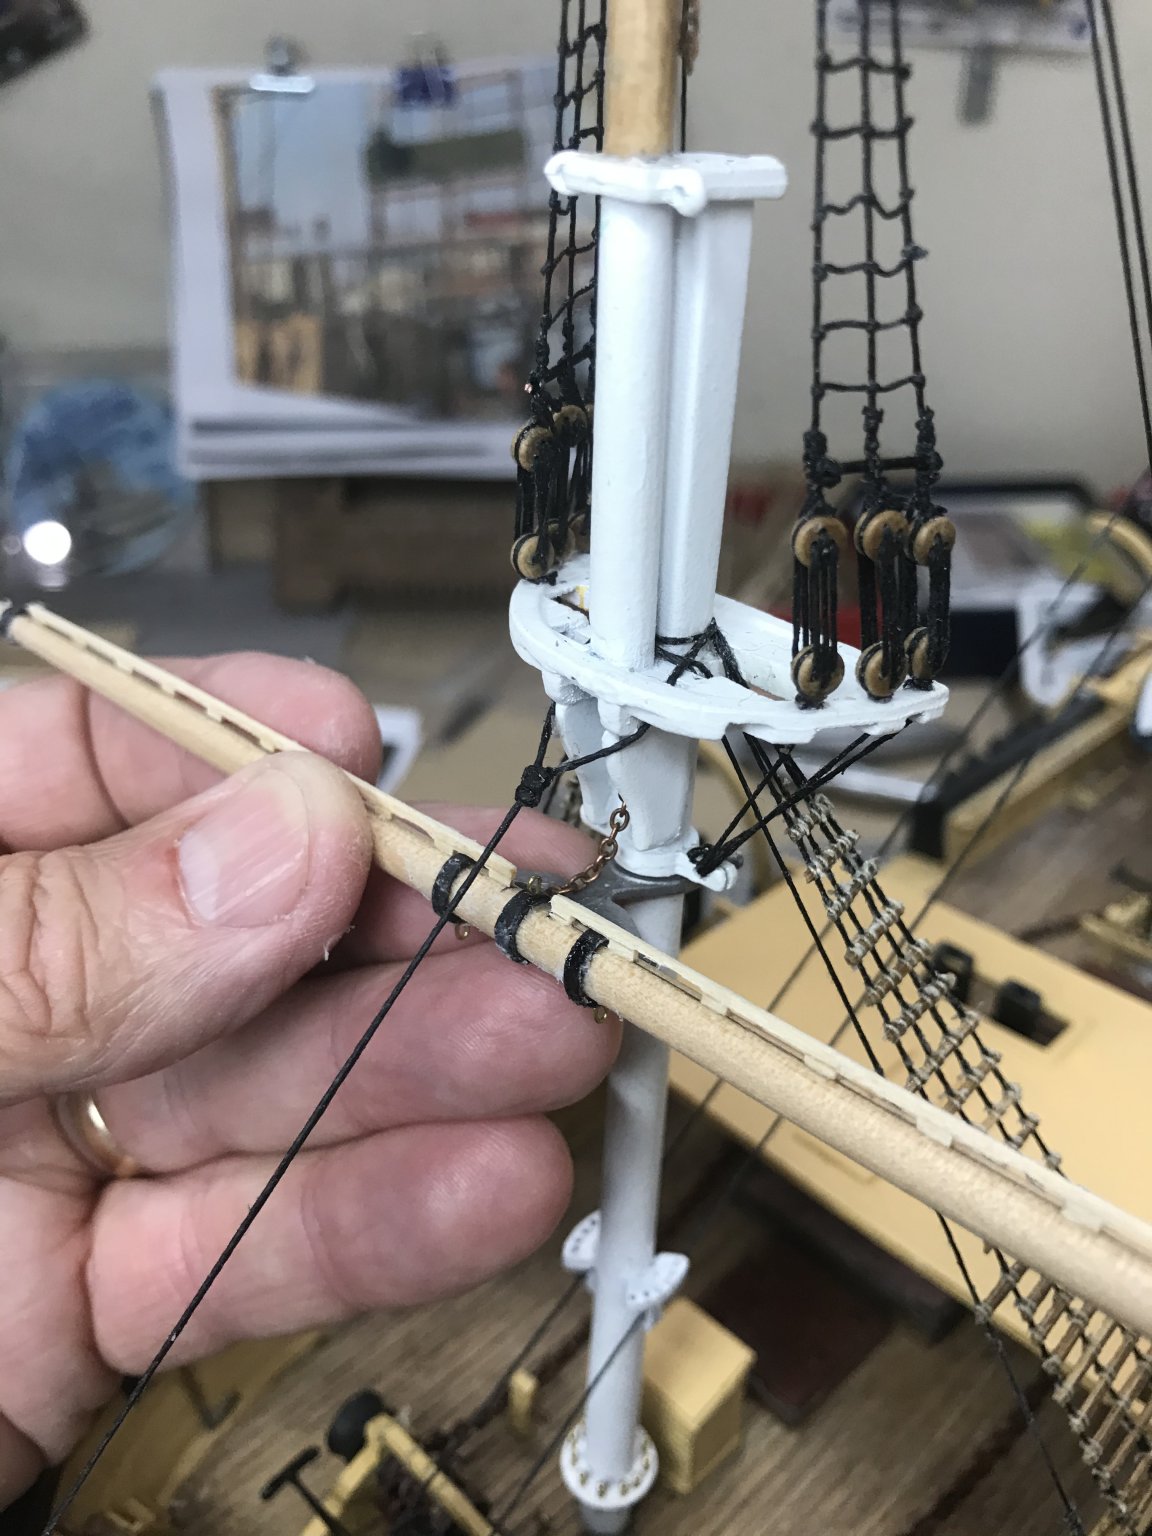
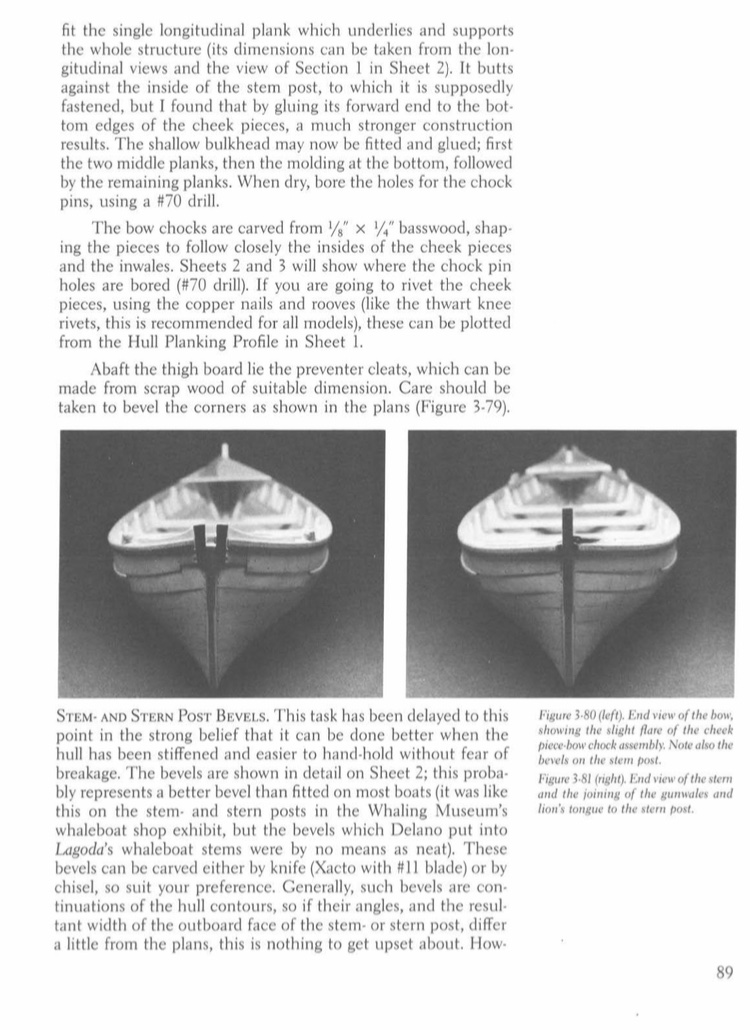
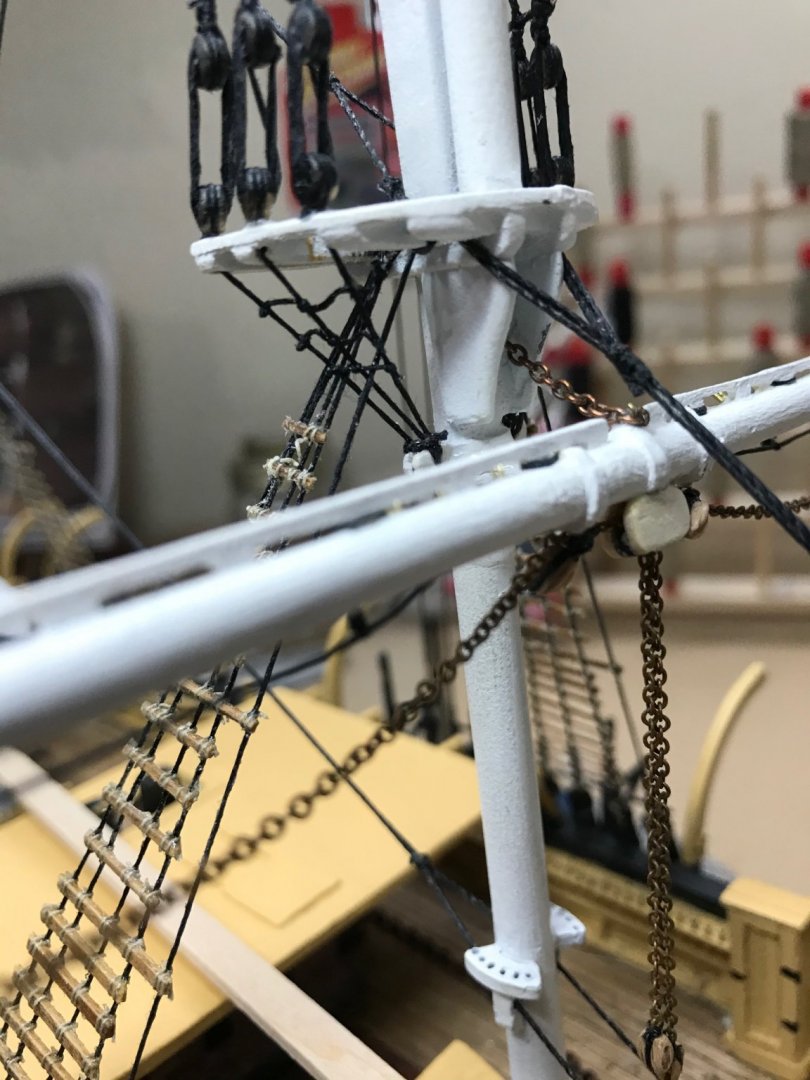
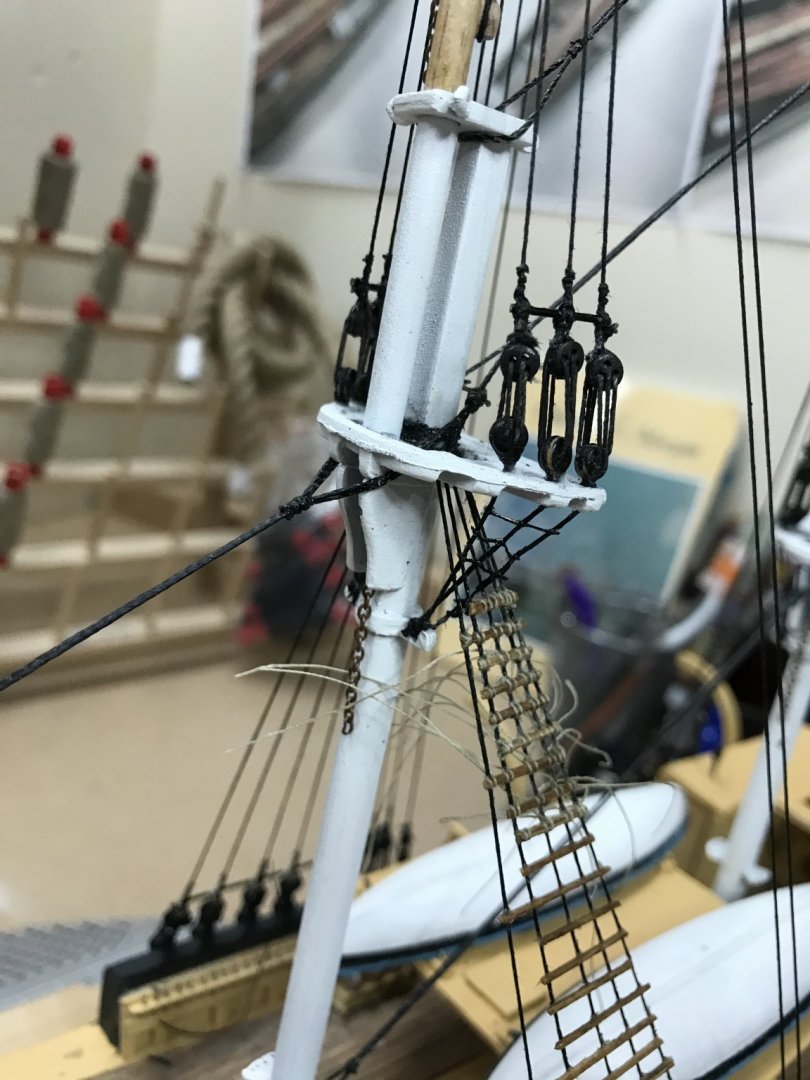
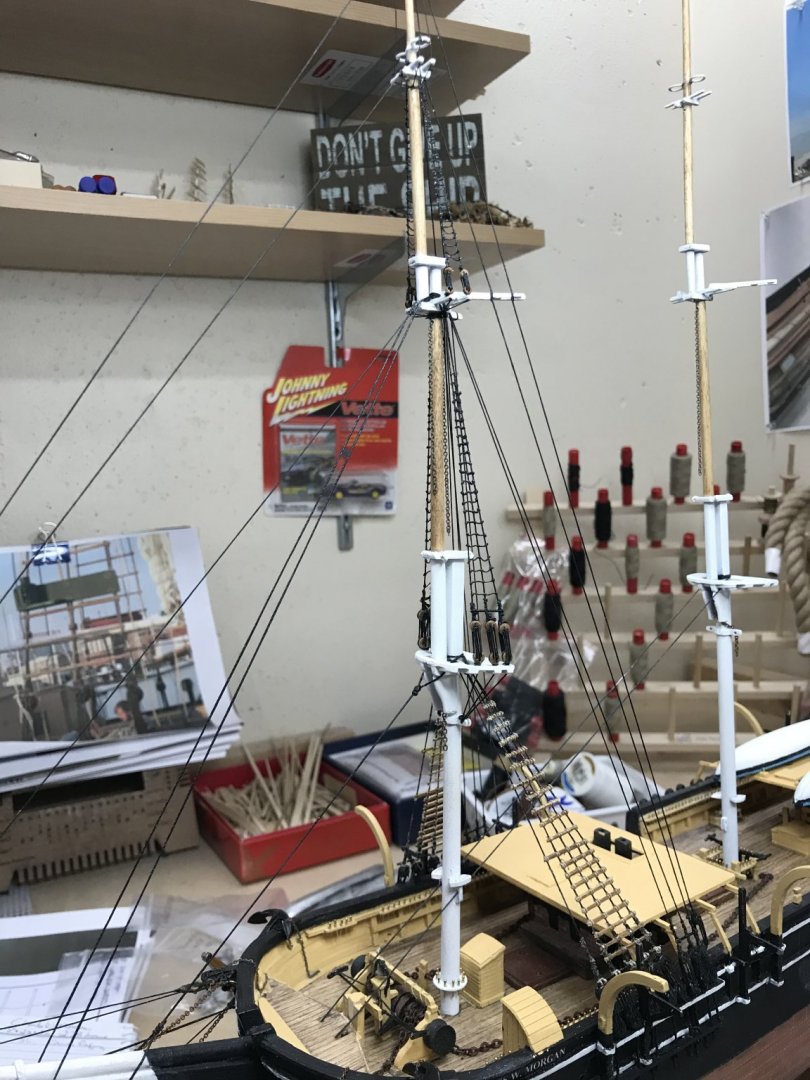
Seems like a long time since I have updated, but its only been about three weeks. Happy to report Standing Rigging is completed. The Fore Lower Yard is in place. Prepared with the associated Running Rigging Blocks and Sheet Chains. I have decided to build without sails. I would hate to cover up the details that are taking so long to complete. 😆 Still need to complete Rat Lines and Battens. Very tedious.... Here is a closeup is the Main Shrouds at the Main Lower Doubling. Feels like she has a long way to go. However, looking back there are a lot of accomplishments. Hours spent now stand at 344. Began this Journey back on January 21st 2020. Seems like so long ago...😎 Onward 🍻
- 204 replies
-
- 6
-
-
- marine model company
- charles w morgan
- (and 1 more)
-
Another interesting read on whaling. From the New Bedford Whaling Museum. https://www.whalingmuseum.org/learn/research-topics/overview-of-north-american-whaling/life-aboard
-
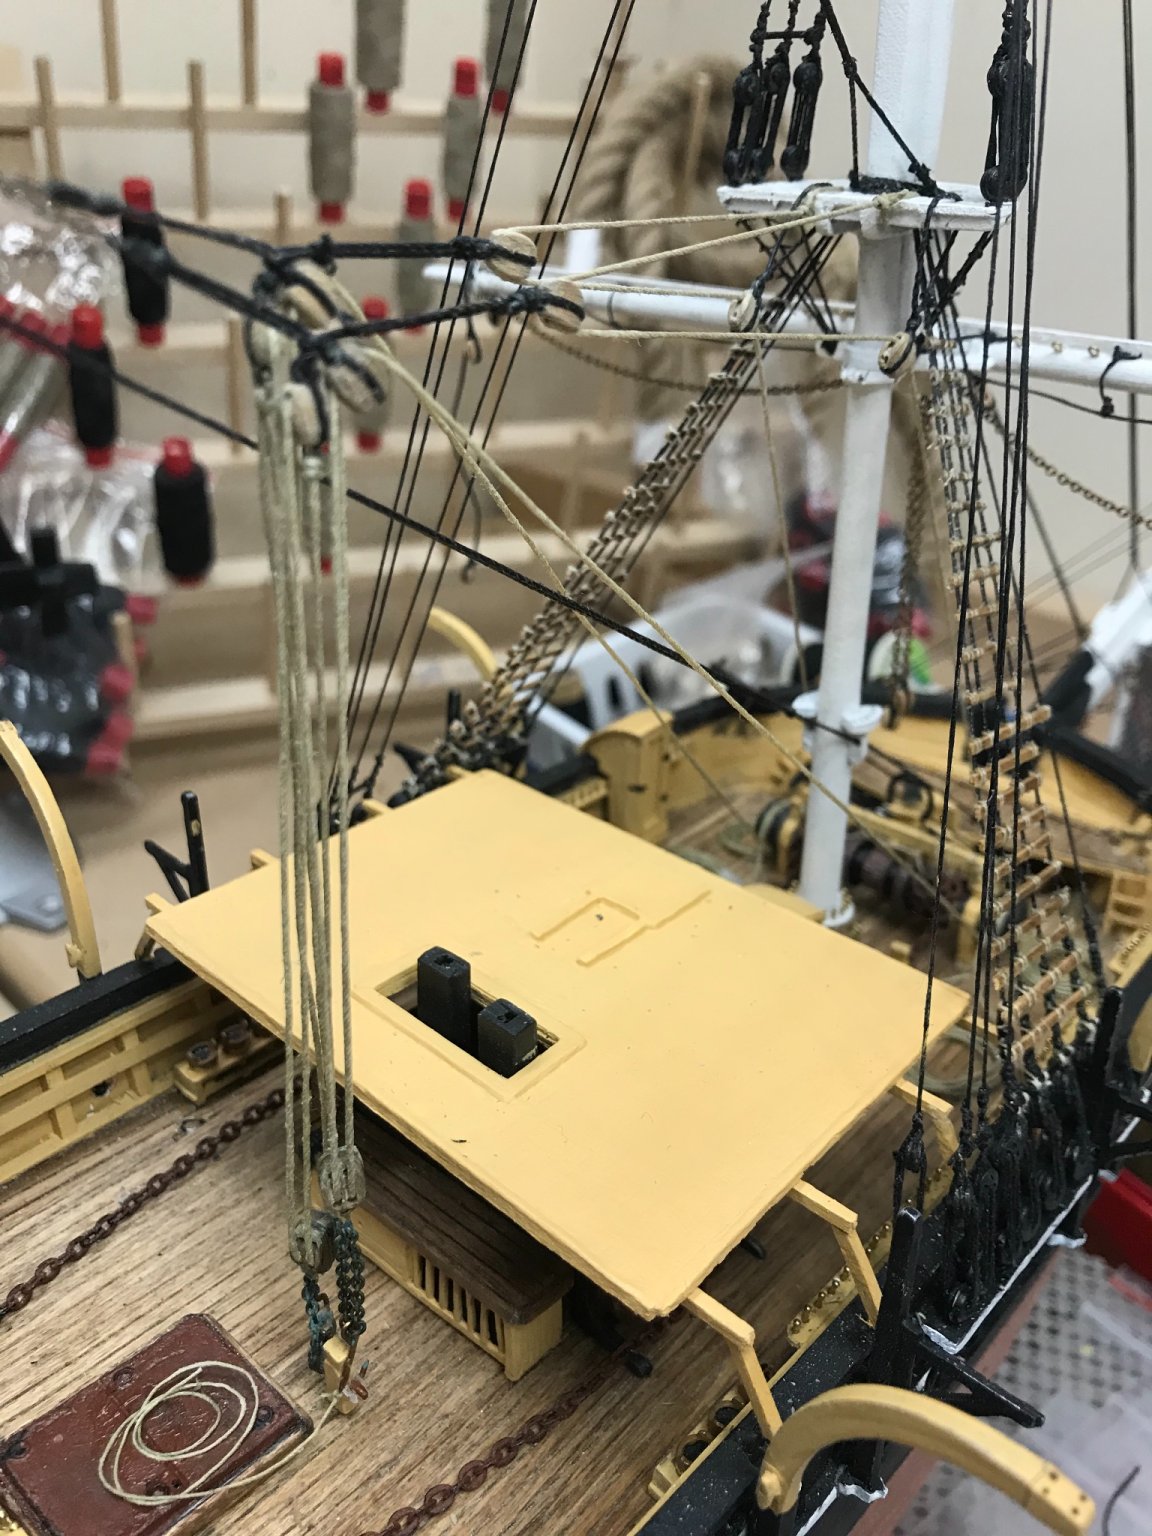
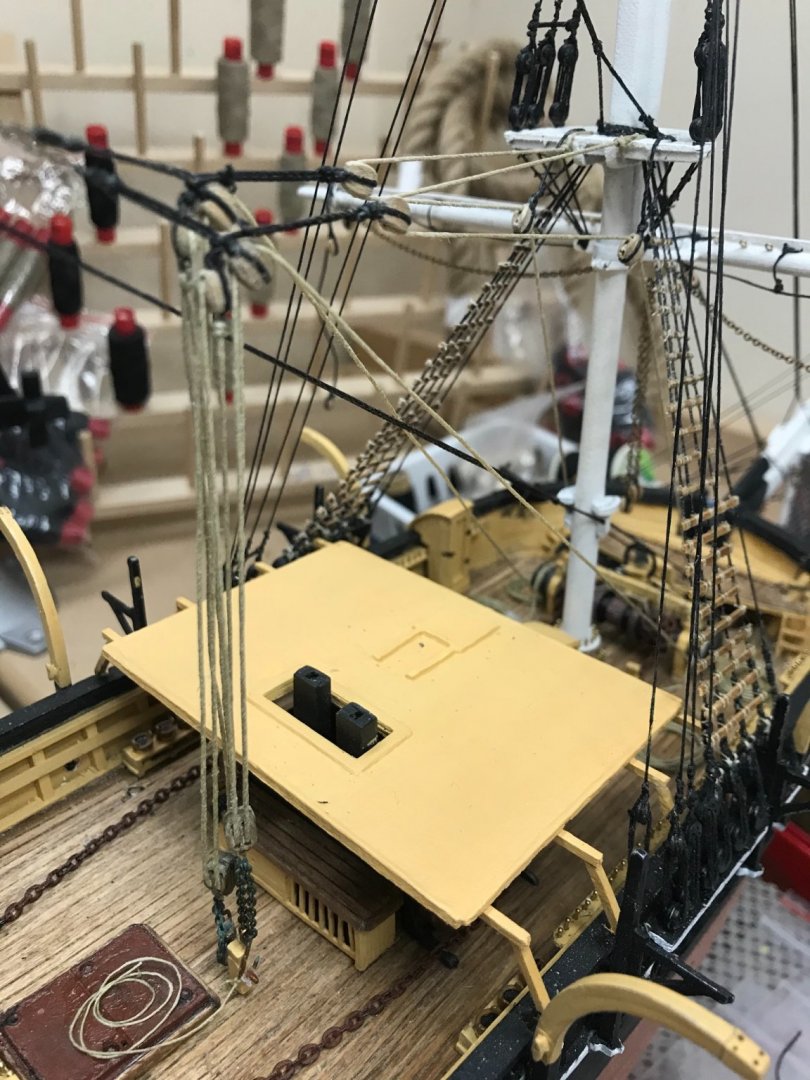
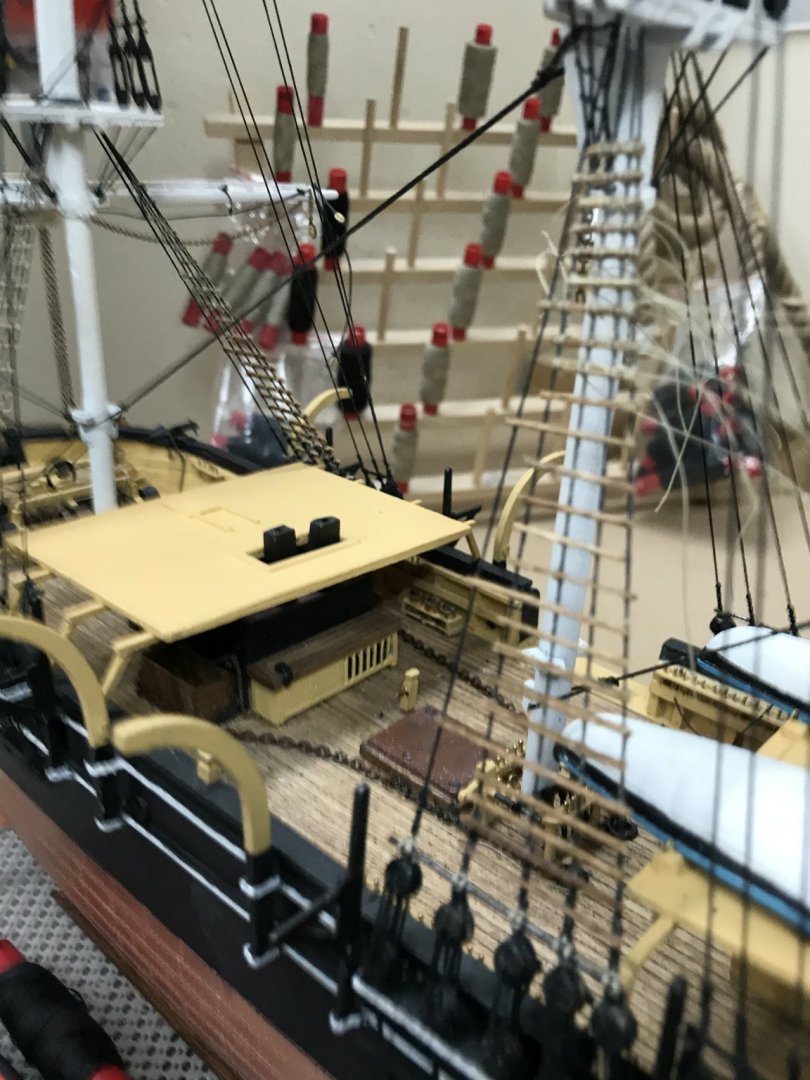
Ron, It appears that the roof between the two deck houses covering the steering wheel provided shelter for the helmsmen. I believe this was a unique feature of the whaling bark. Although that also juju included shade from the tropical South Pacific sun, I am sure it sheltered the helmsman from the rough storms including hurricanes. My thoughts based on what I have read on the Whaling Industry. http://www.girlonawhaleship.org/jernapp/refCard.do?shortName=bark The two cabins were connected overhead to provide shelter for the helmsmen at the steering wheel, in the "hurricane house."
- 294 replies
-
- 1
-
-
- charles w morgan
- model shipways
- (and 1 more)
-
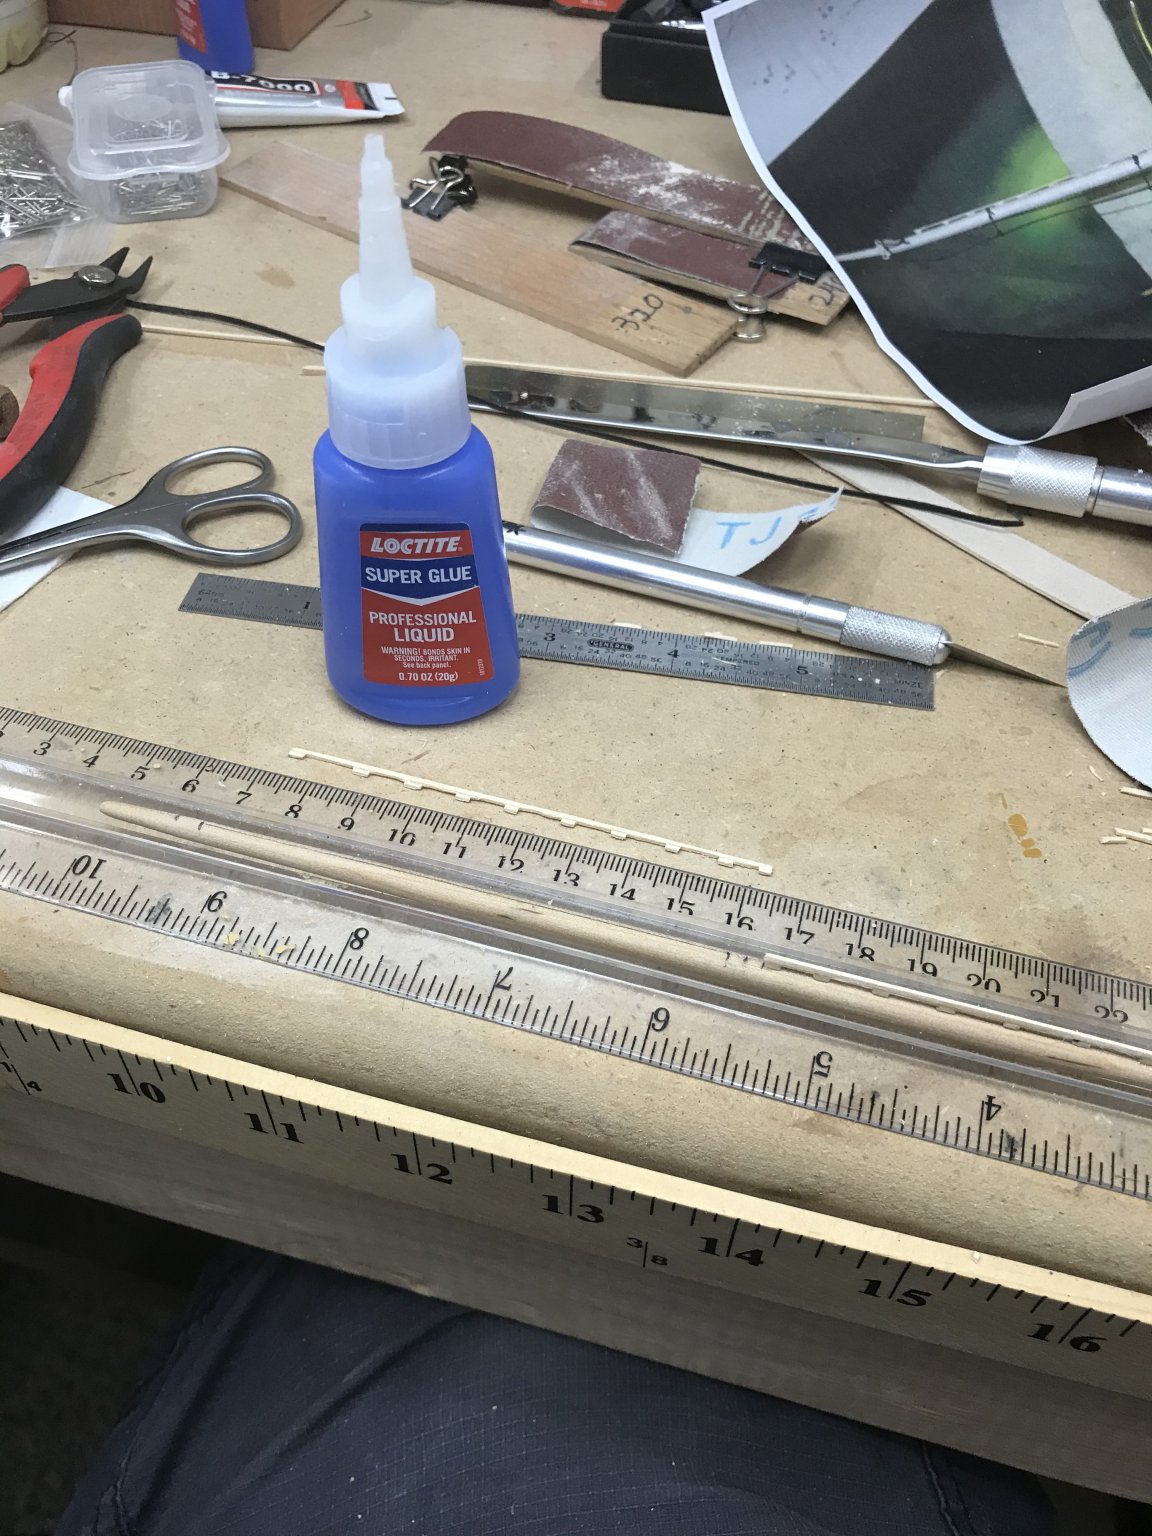
Brad, I have found Loctite Super Glue to work well. It seems to be CA glue of medium gel as to not run all over the place but form very small drops and stay were you want it to when gluing the wood strips. Needs clamping, but sets in a minute or less. You can find it most anywhere. I like the long tip applicator. John

- 104 replies
-
- 1
-
-
- model shipways
- new bedford whaleboat
- (and 1 more)
-
Brad, I have found Loctite Super Glue to work well. It seems to be CA glue of medium gel as to not run all over the place but form very small drops and stay were you want it to when gluing the wood strips. Needs clamping, but sets in a minute or less. You can find it most anywhere. I like the long tip applicator. John
- 104 replies
-
- 4
-
-
- model shipways
- new bedford whaleboat
- (and 1 more)
-
Great job David. This is a stunningly beautiful model. I love the detail.
- 37 replies
-
- 1
-
-
- Finished
- model shipways
- (and 1 more)
-
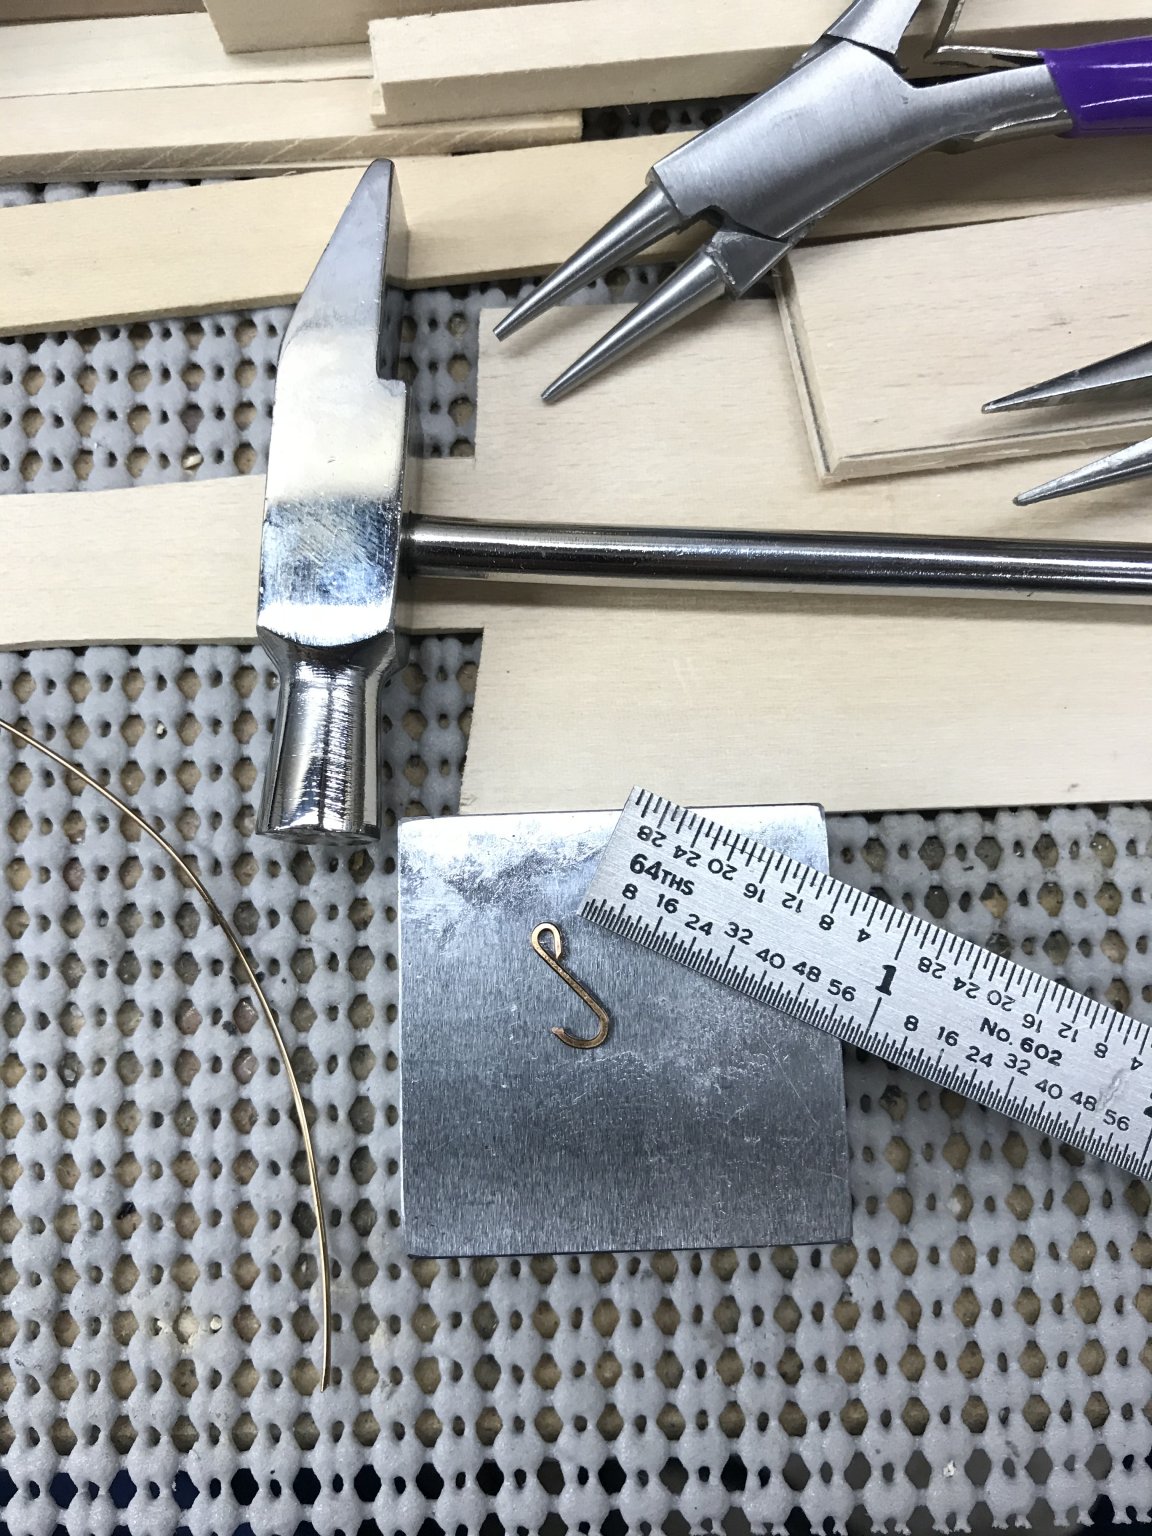
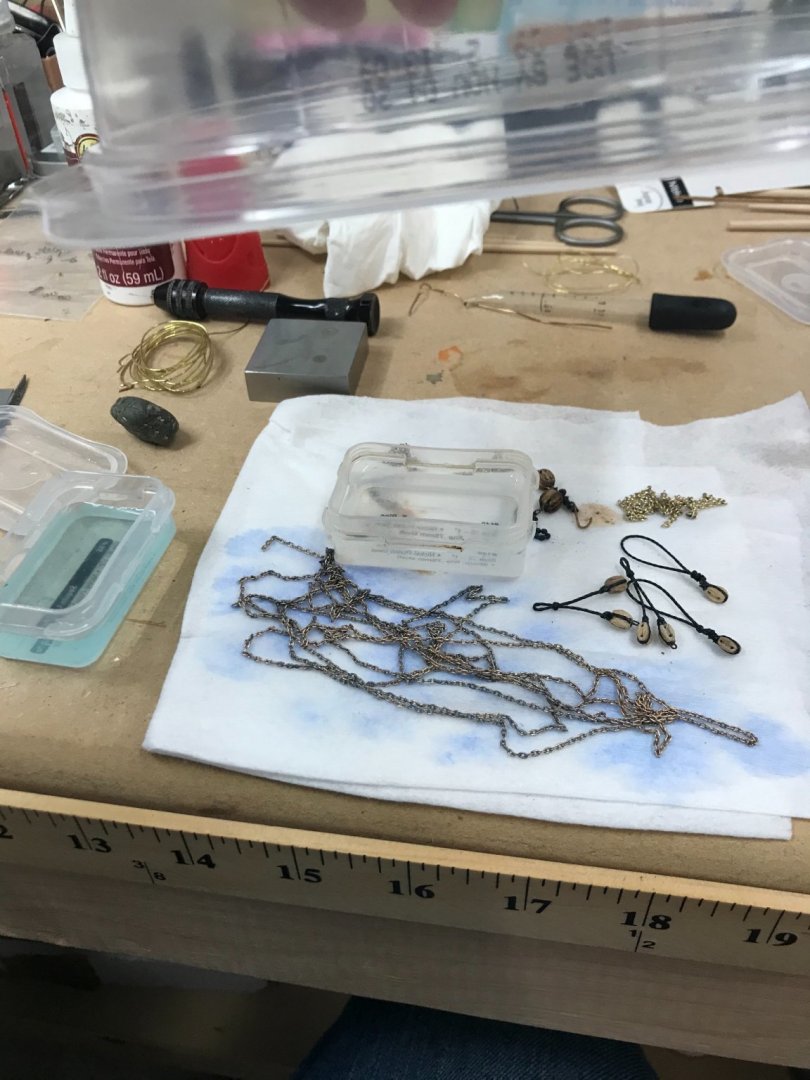
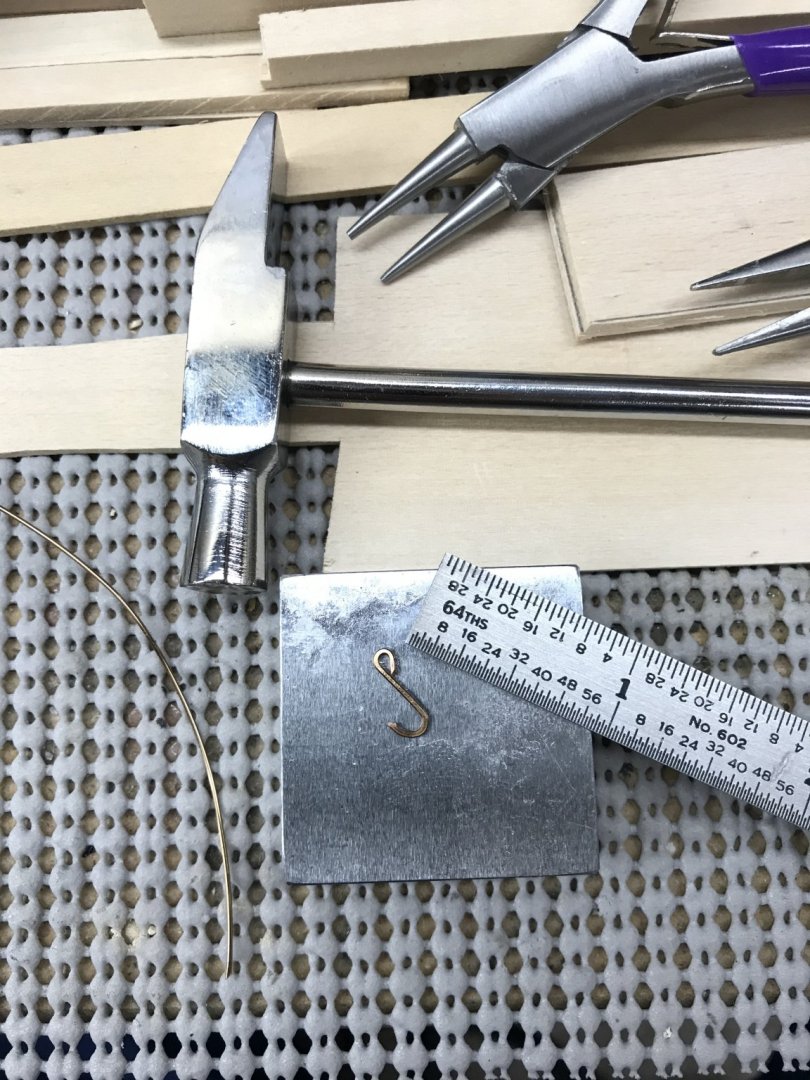
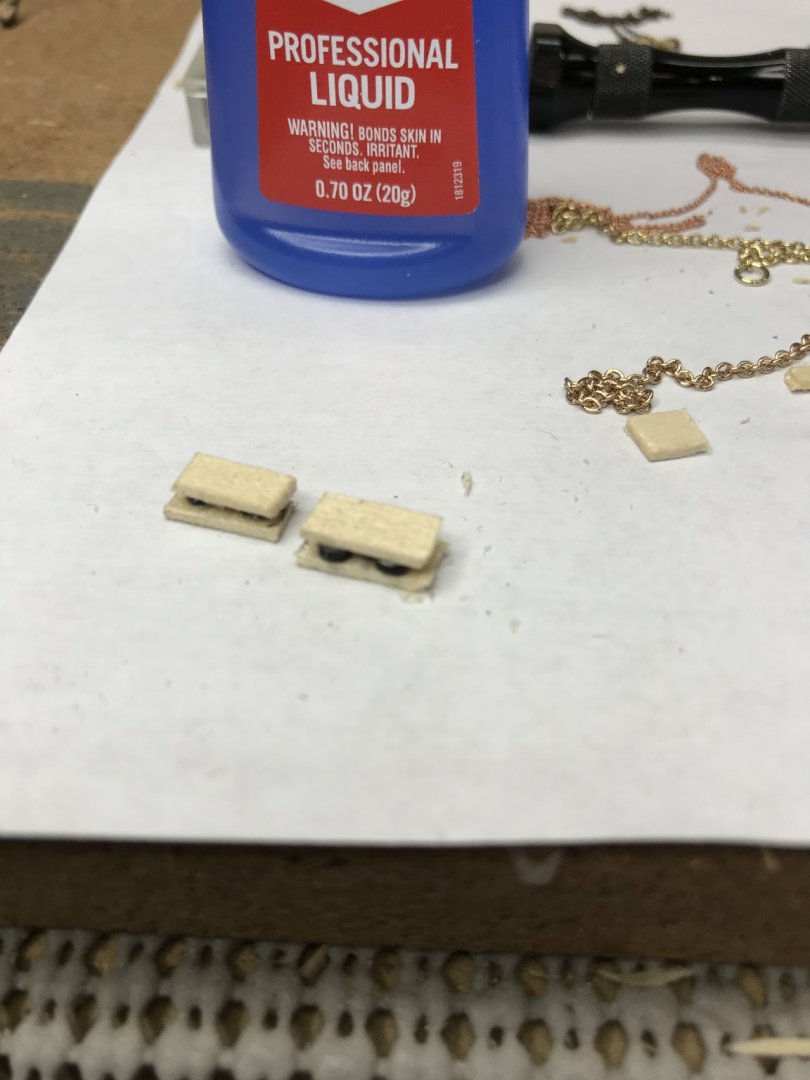
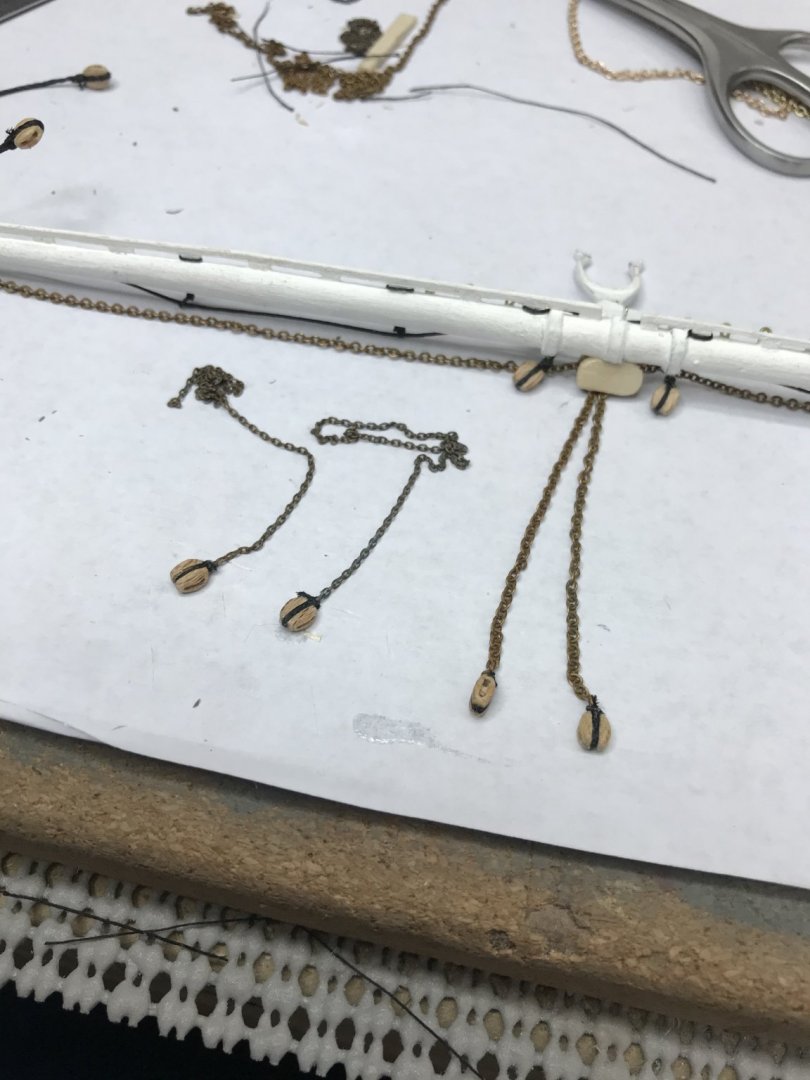
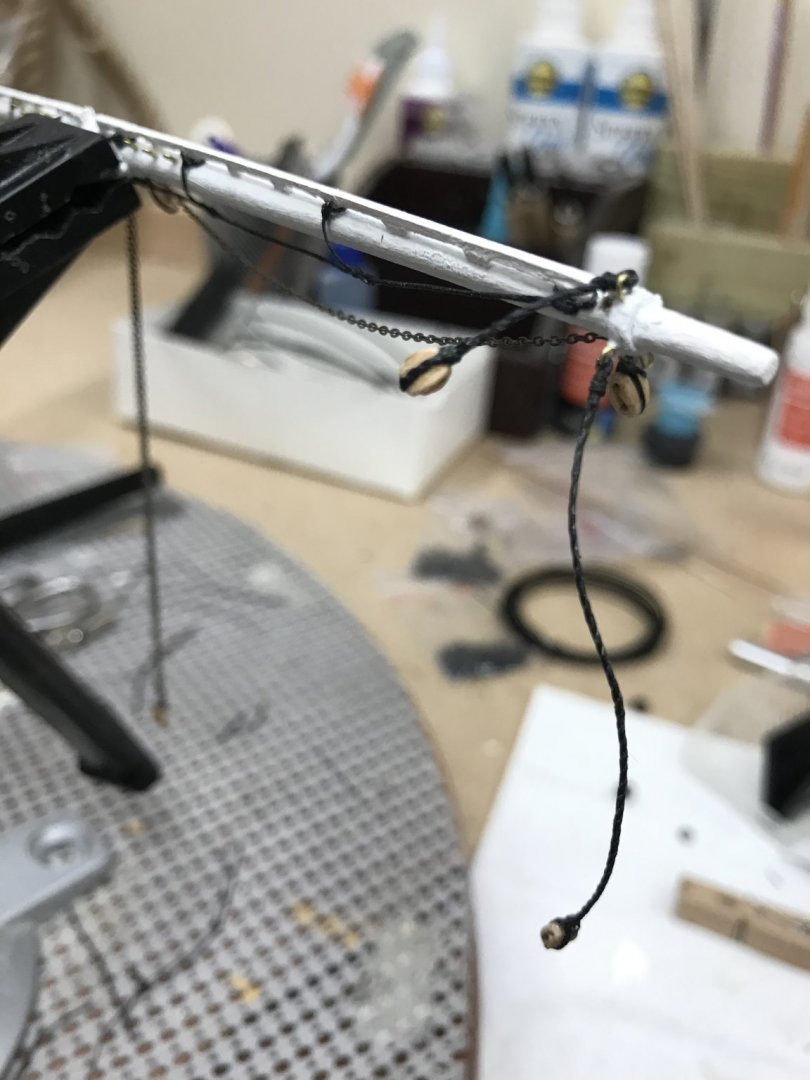
Started working on more details for the tackle. Hooks I need hooks... I also decide to let my OCD have it’s way and re-did the sheet chains on the lower fore mast. Better to change it now. 😆 I also wanted to redo the center block for those chains. Built one for the lower main mast as well. New chains a much improved look. 👍 Also finished the lower shrouds for all three masts. Later... 😎


- 204 replies
-
- 7
-
-
- marine model company
- charles w morgan
- (and 1 more)
-
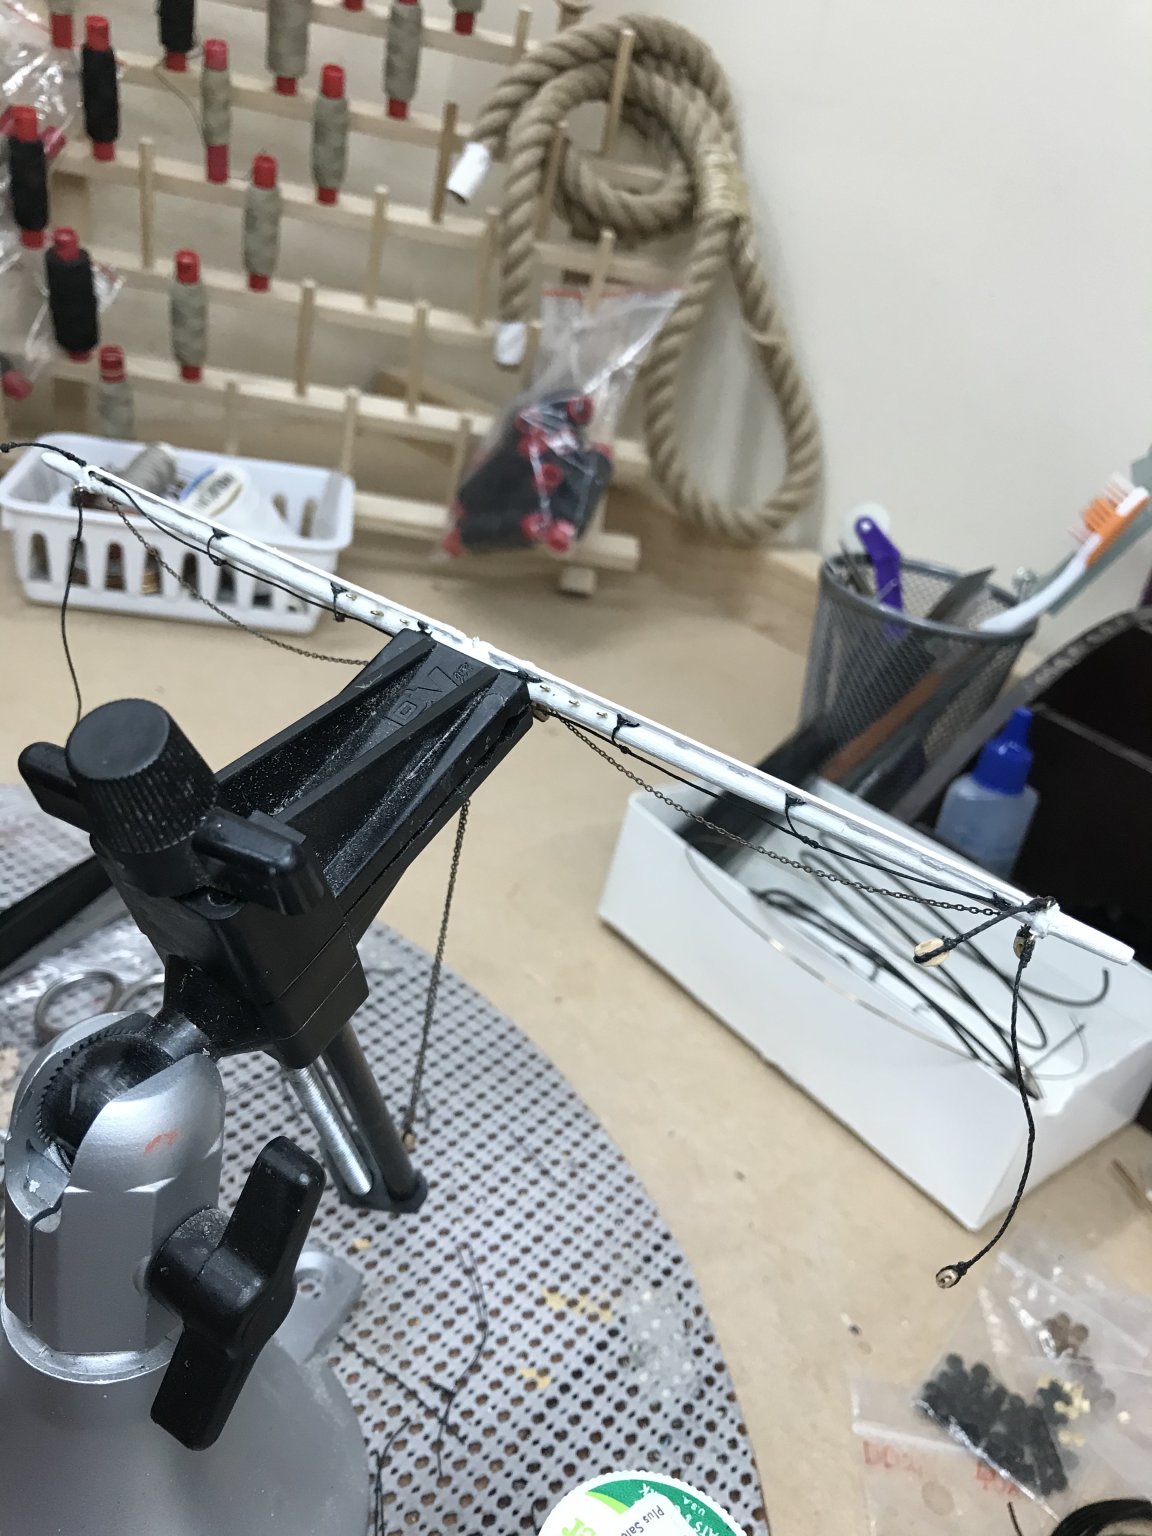
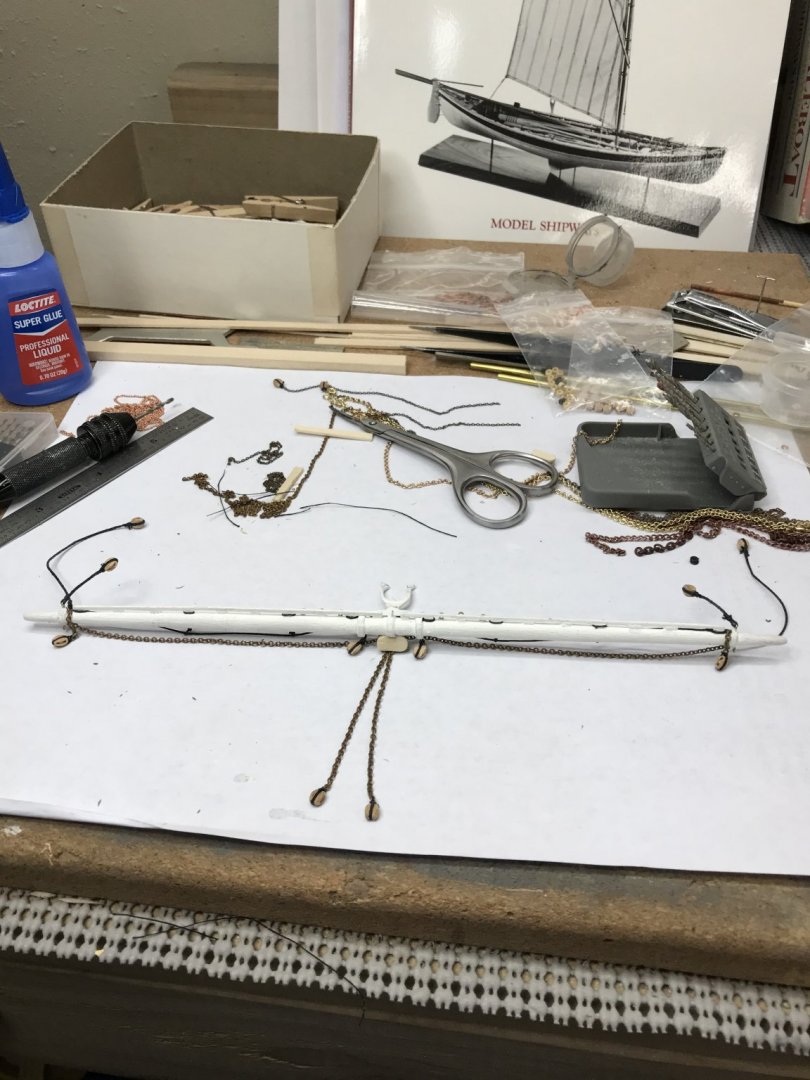
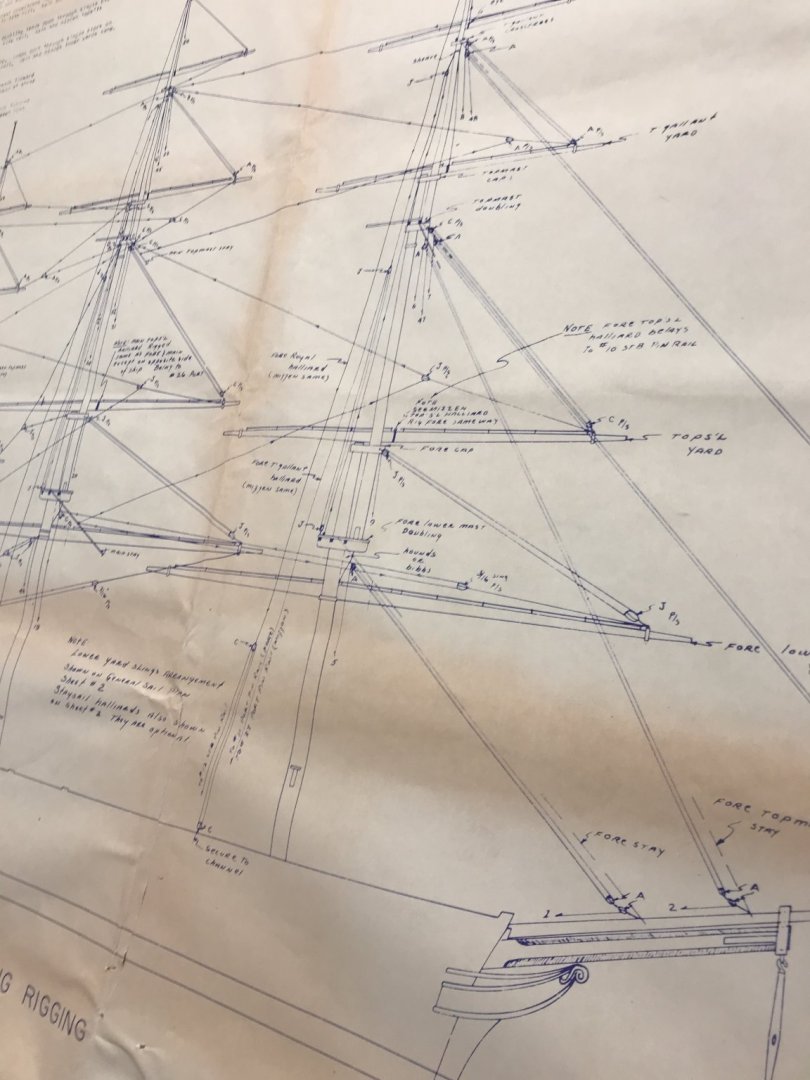
Lower Fore Yard rigging completed and ready mounting. A first for me, I have not built a yard arm from scratch. My Marine Model Company vintage kit did not included all running rigging in its drawings. Sheet Chains were completely left out. Perhaps for simplification, the reason is unknown. Fortunately I have a very good resources here on MSW. Thank you David Lester for your CWM build log. OK back to shrouds and standing rigging, this build getting more interesting everyday. And fun too. 😎

- 204 replies
-
- 5
-
-
- marine model company
- charles w morgan
- (and 1 more)
-
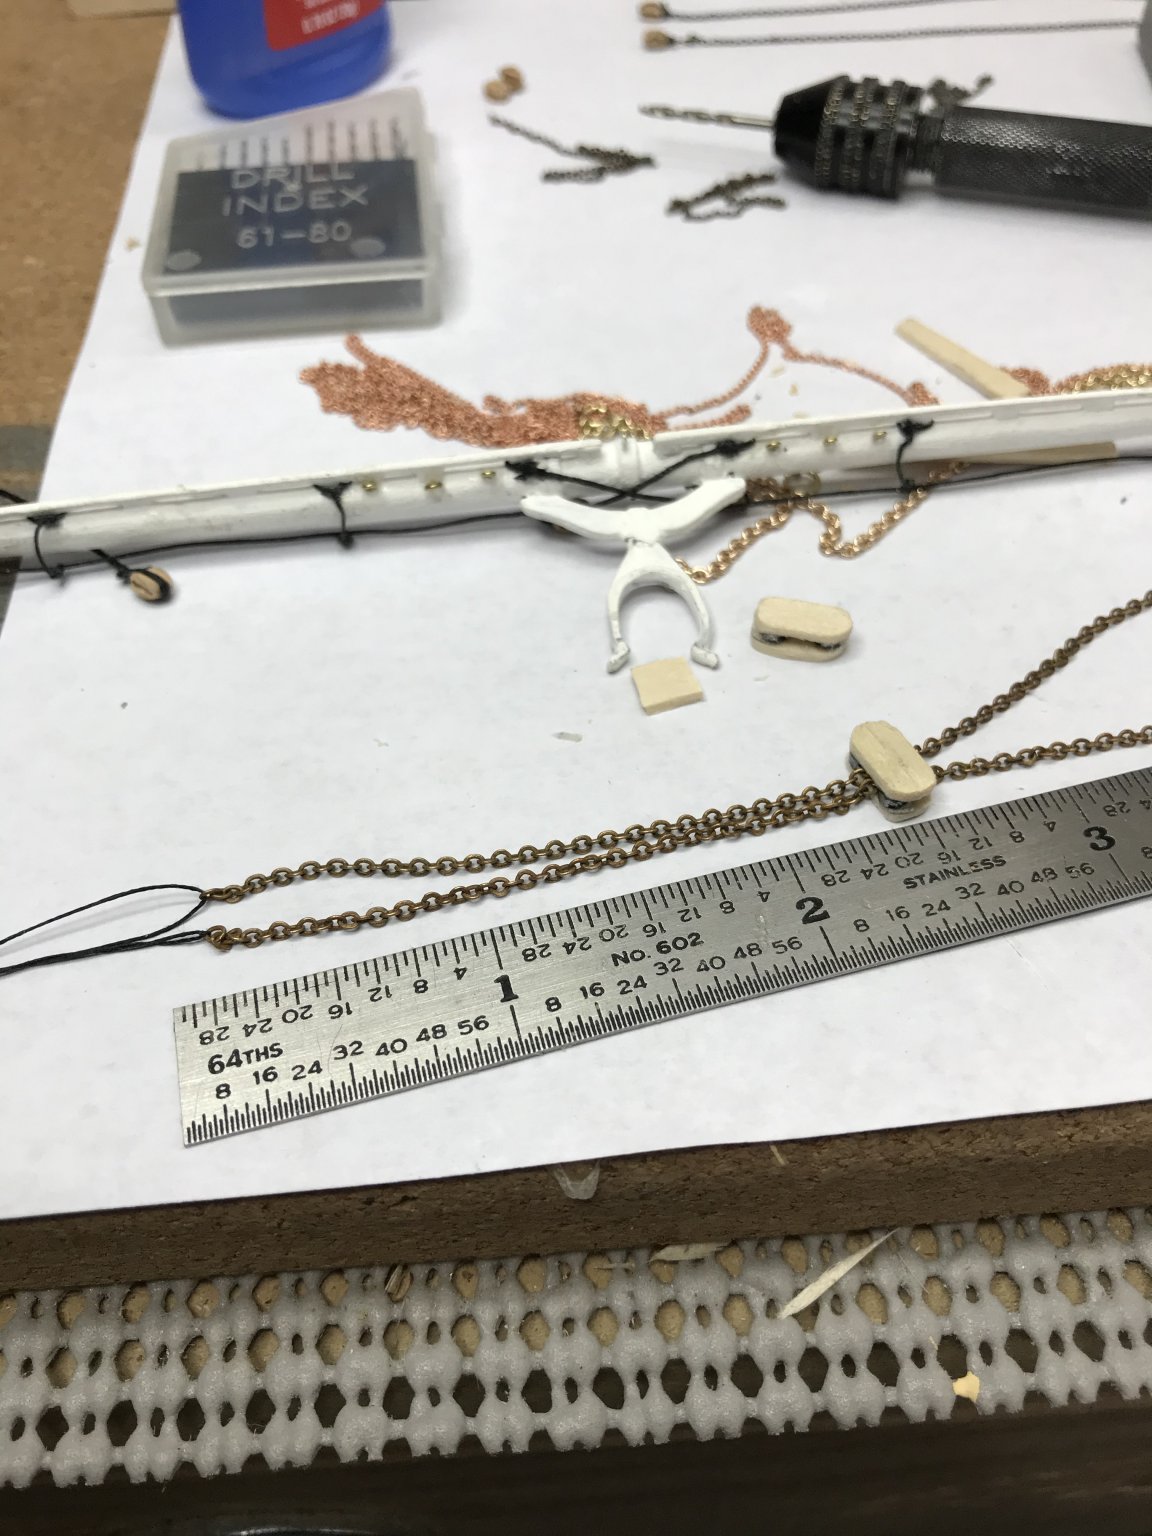
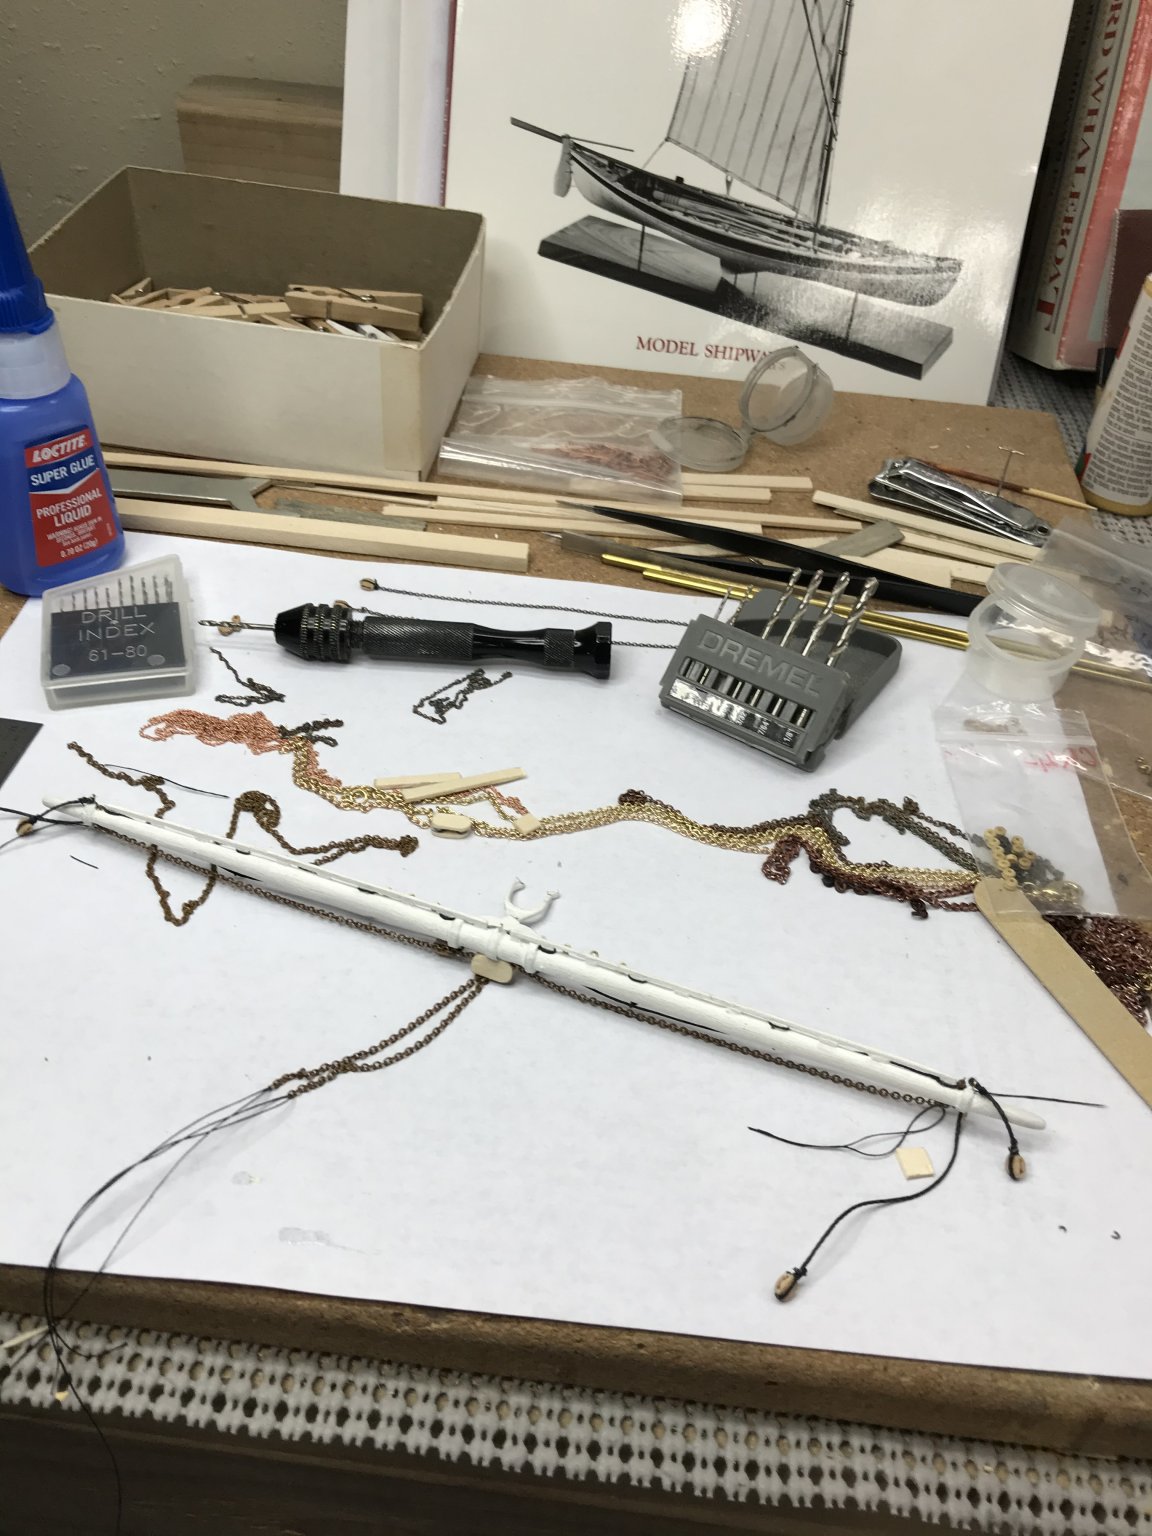
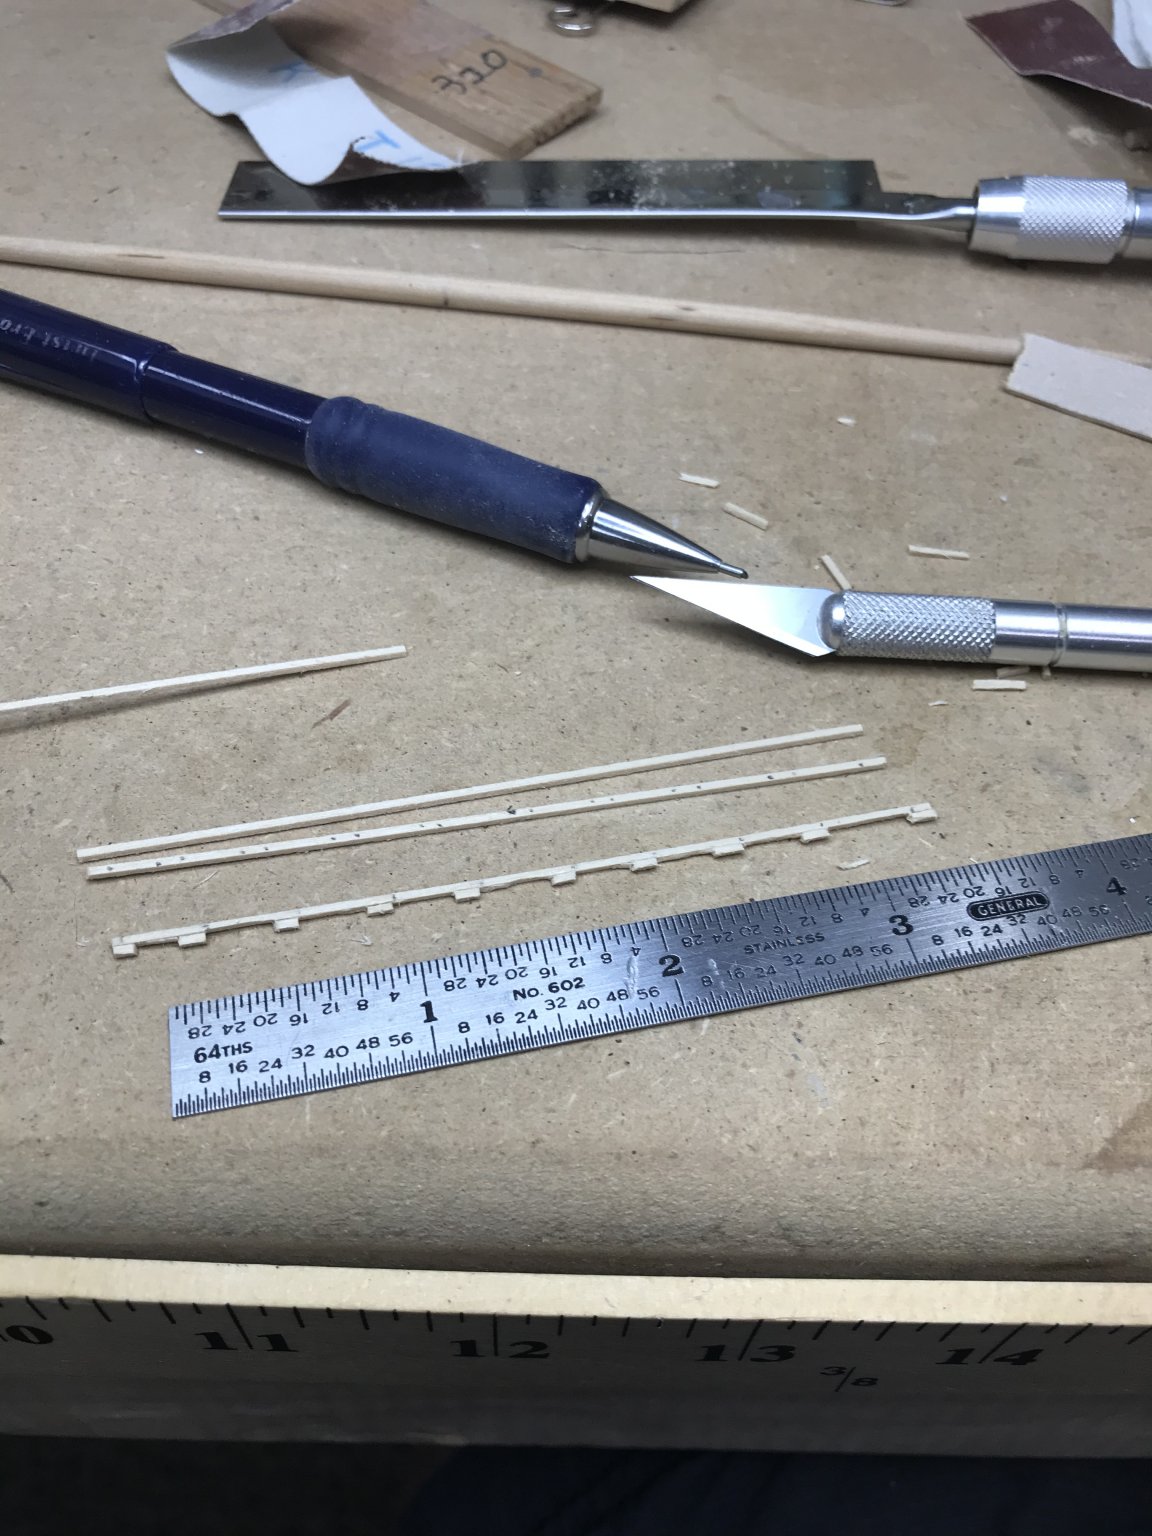
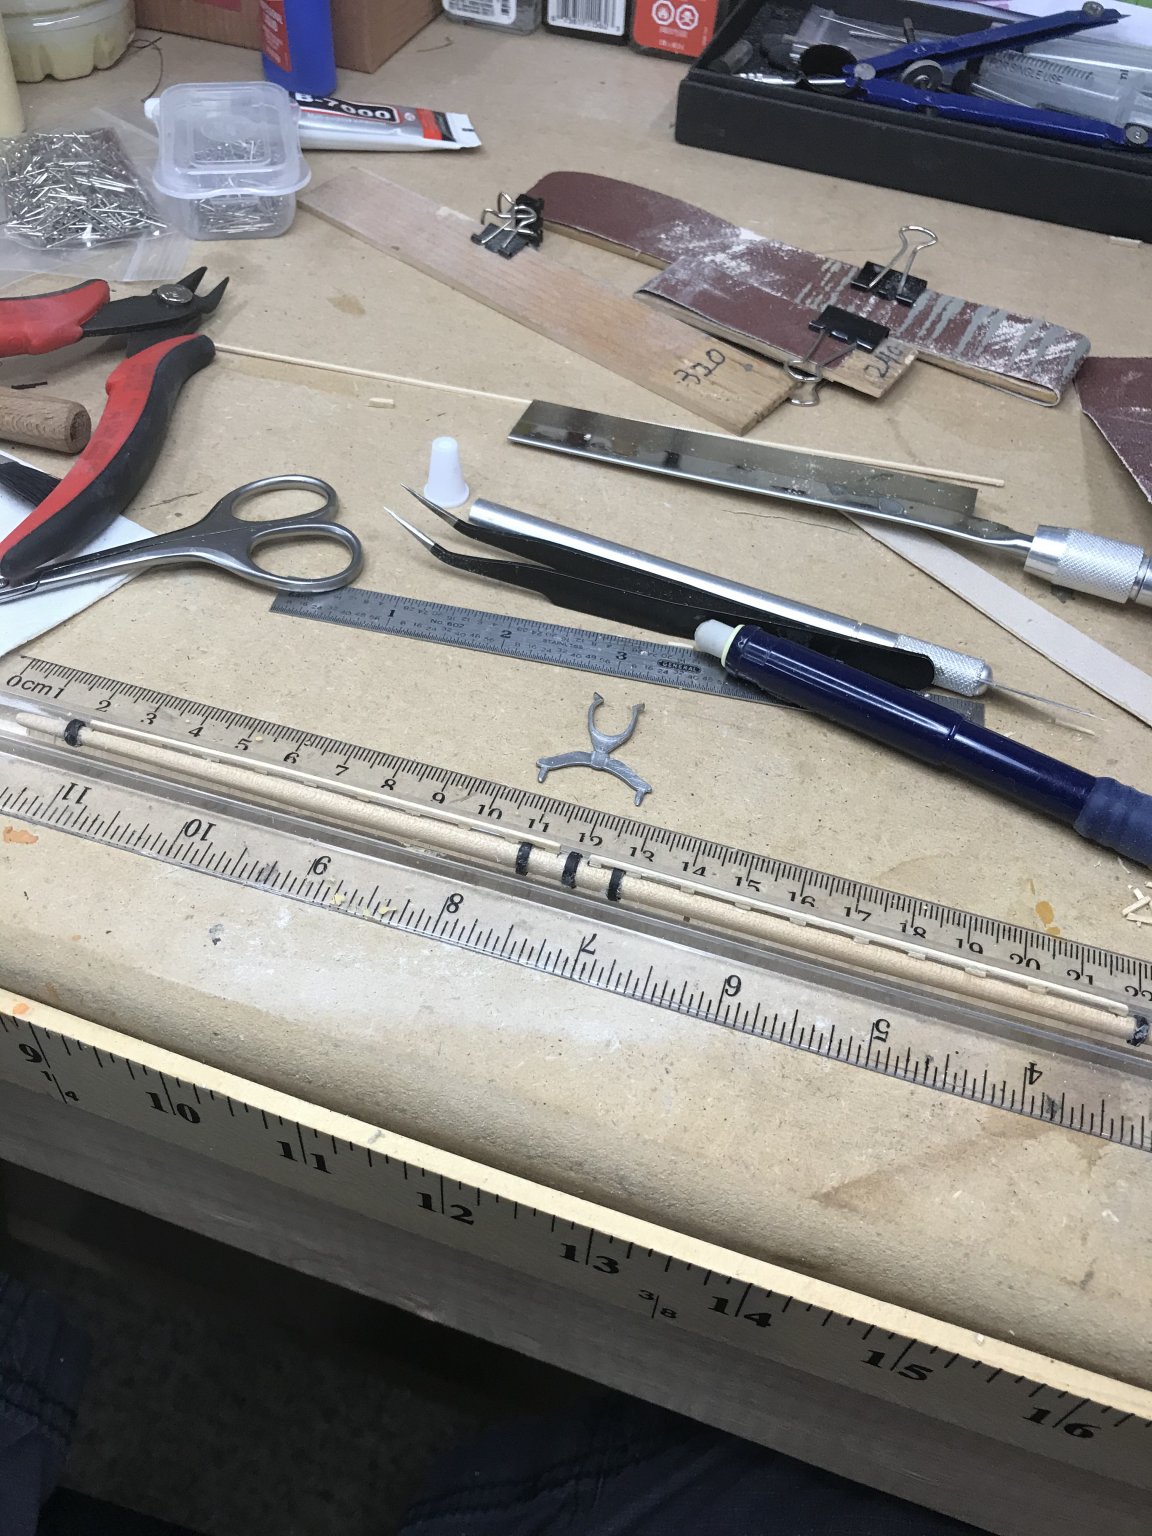
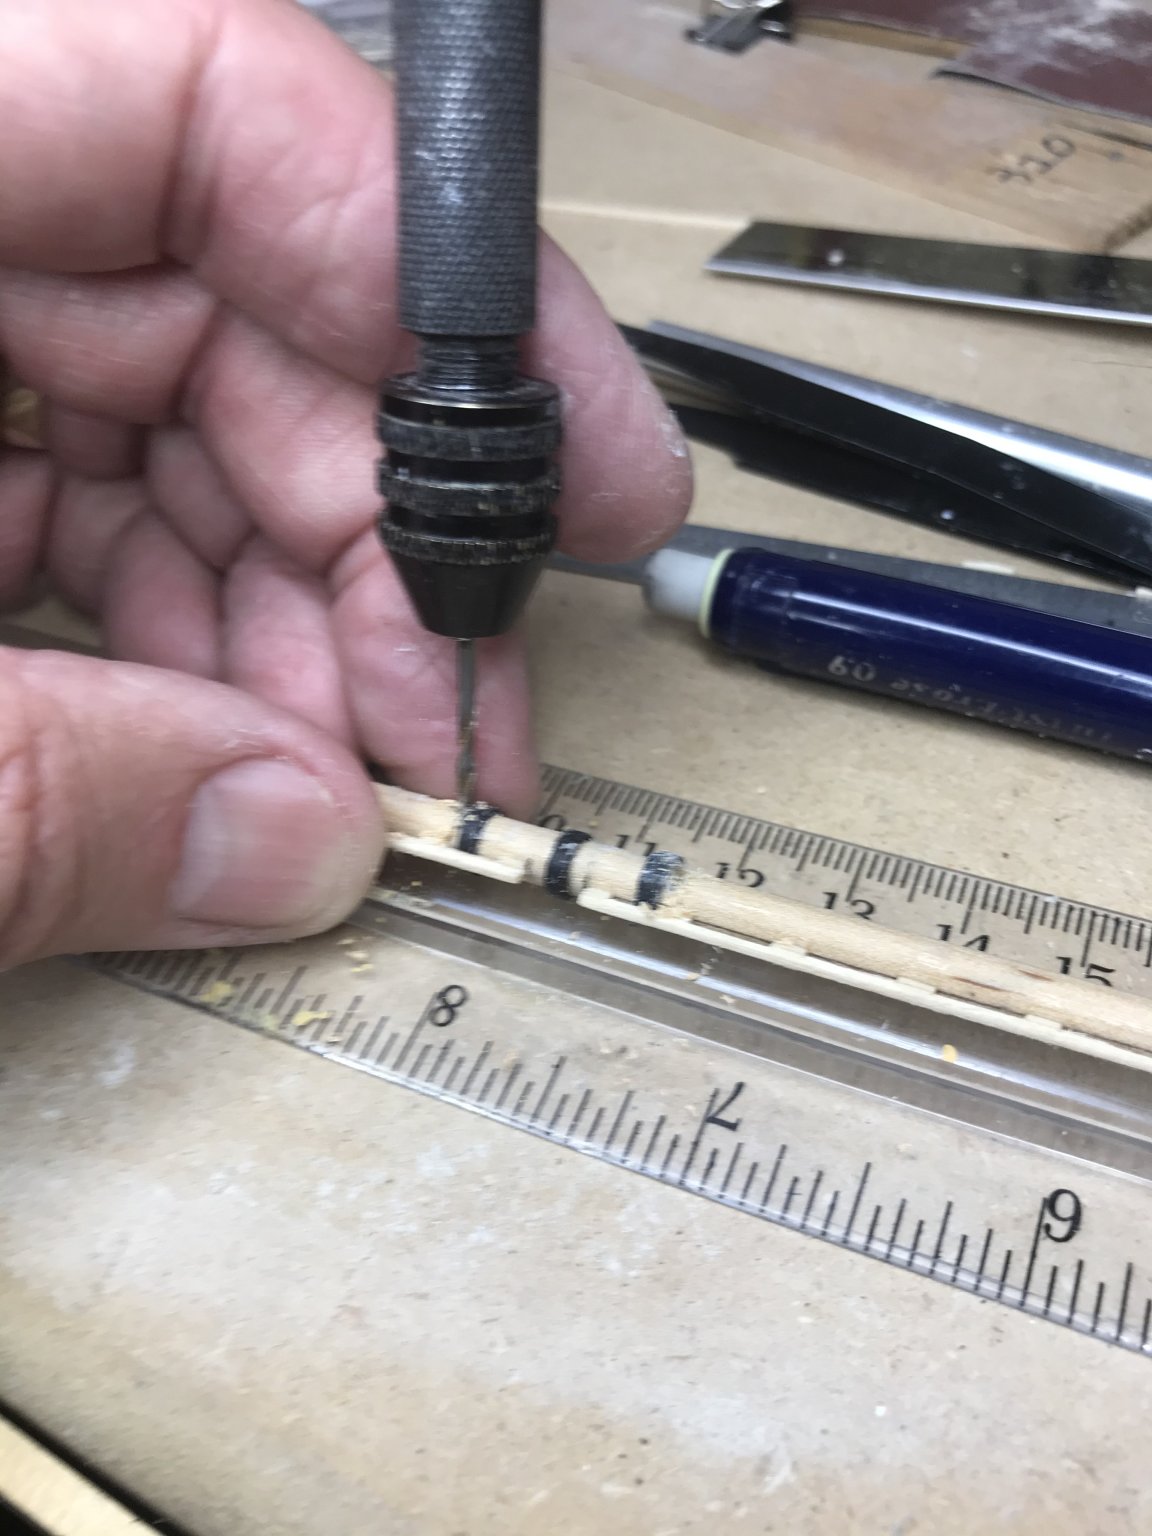
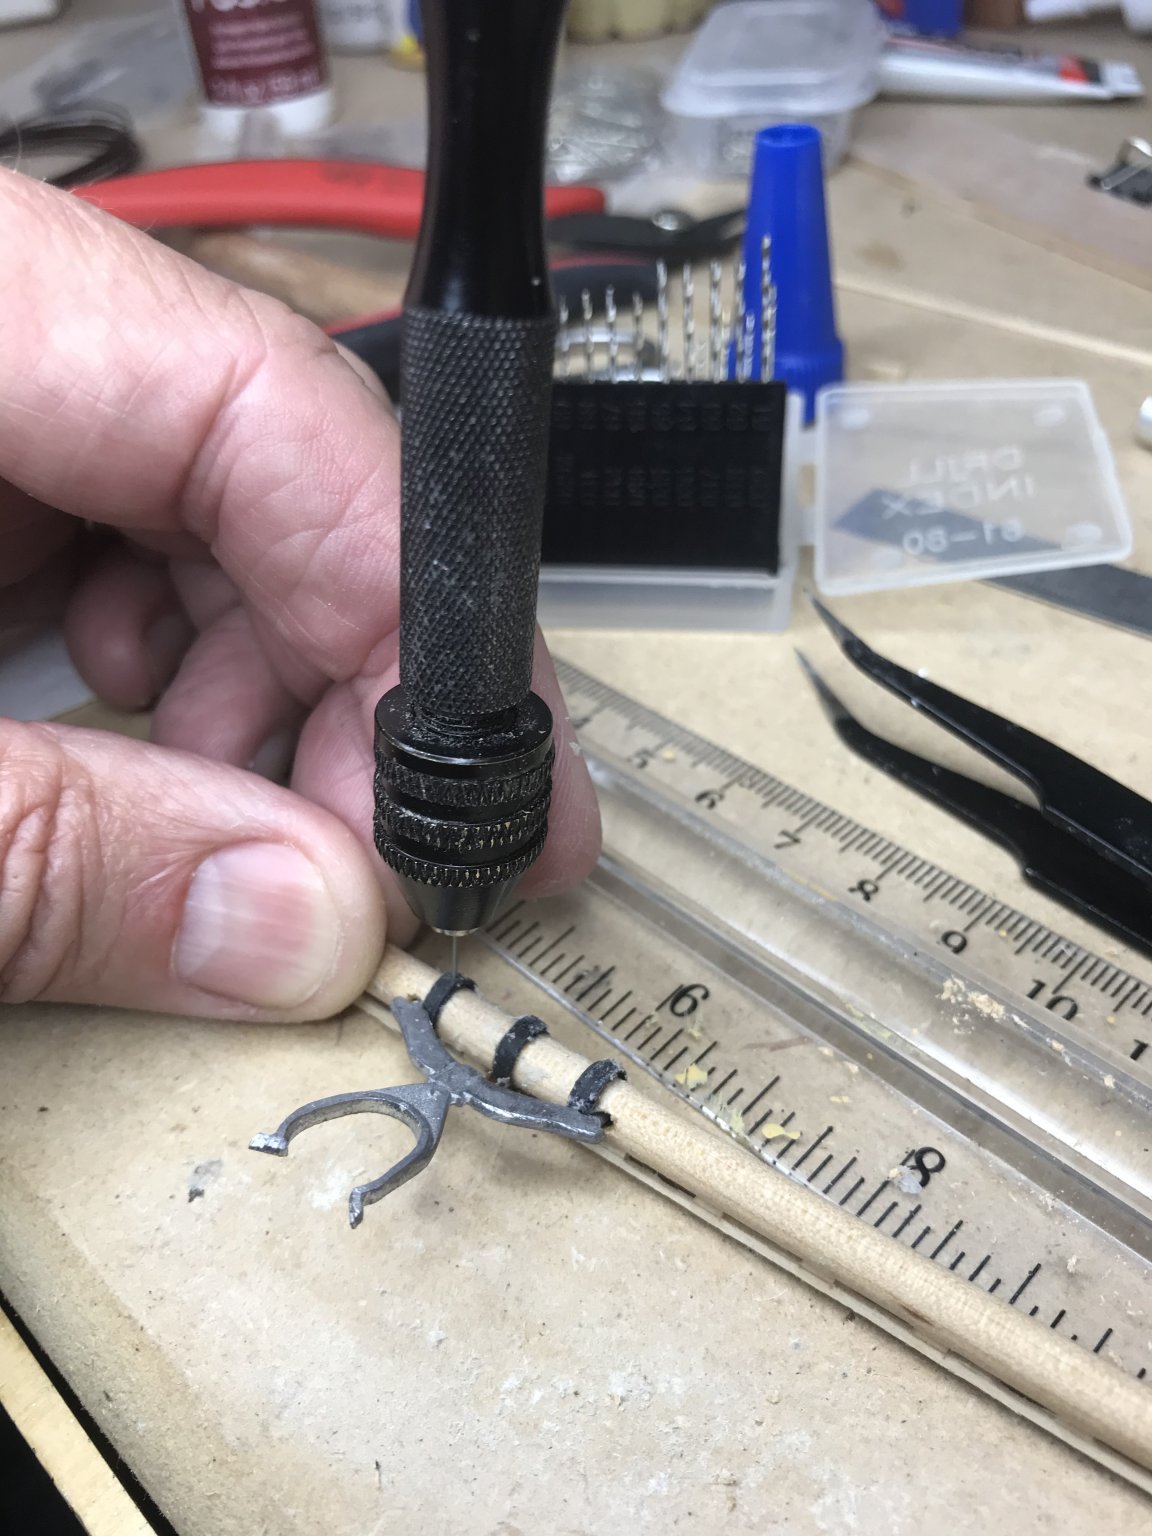
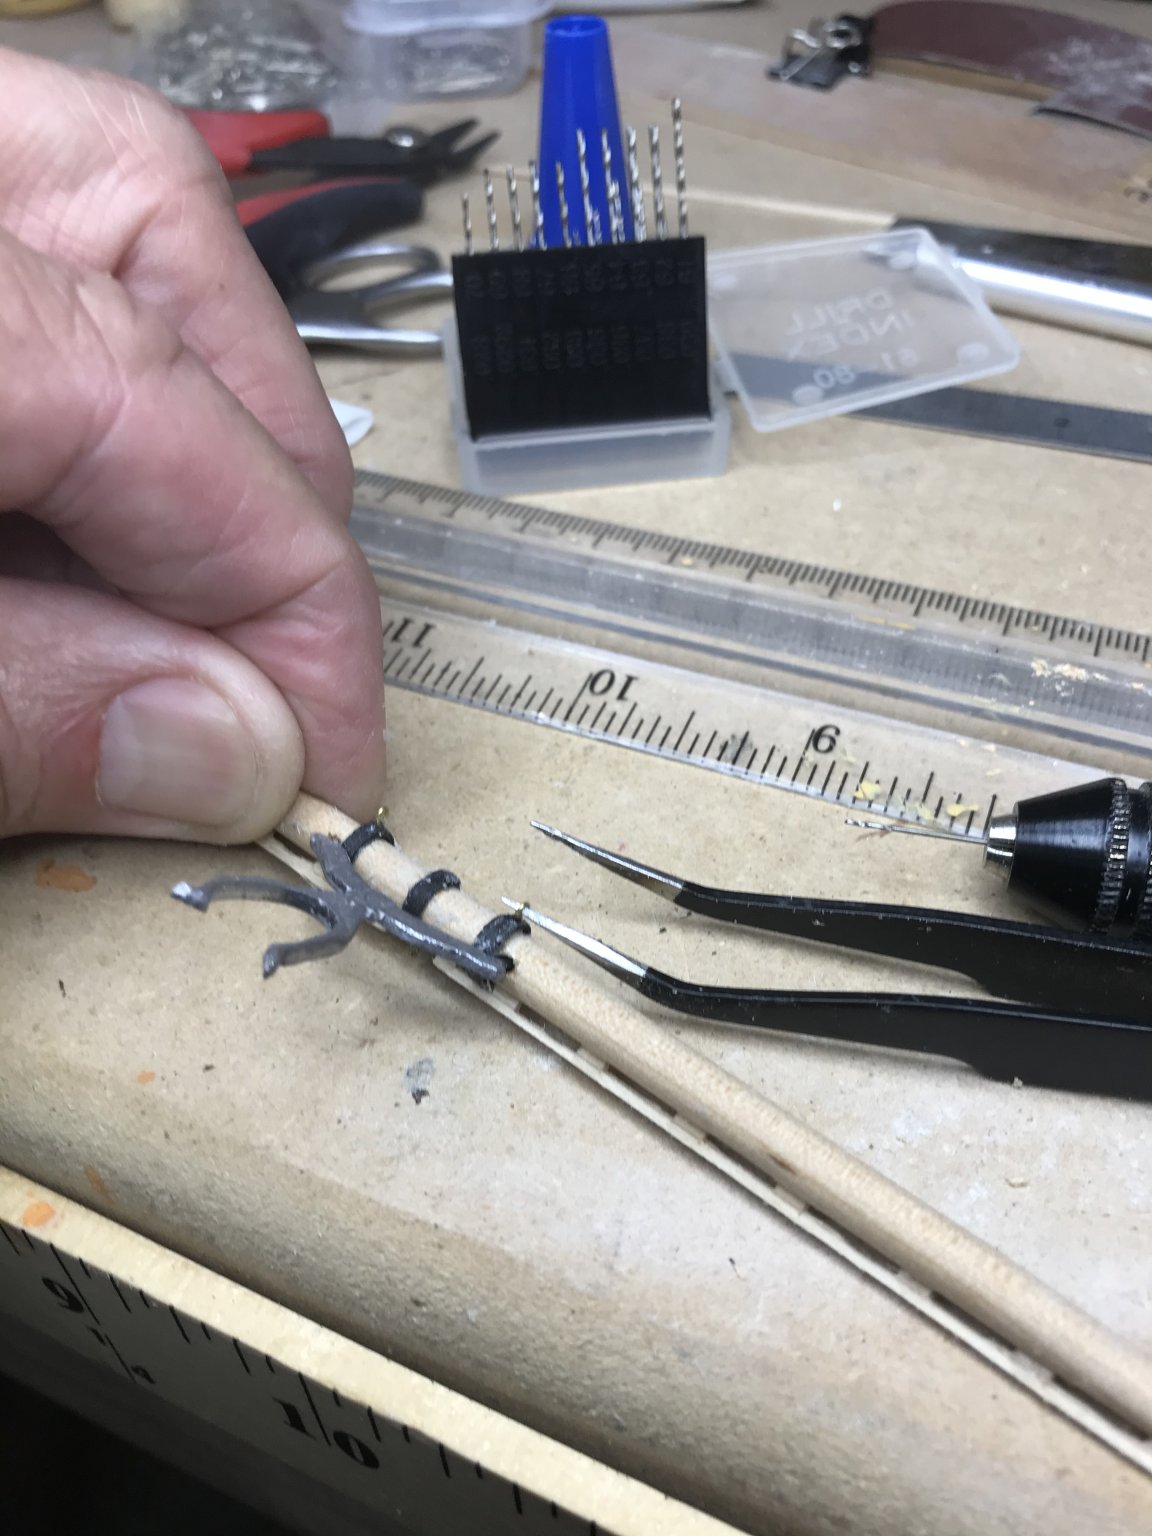
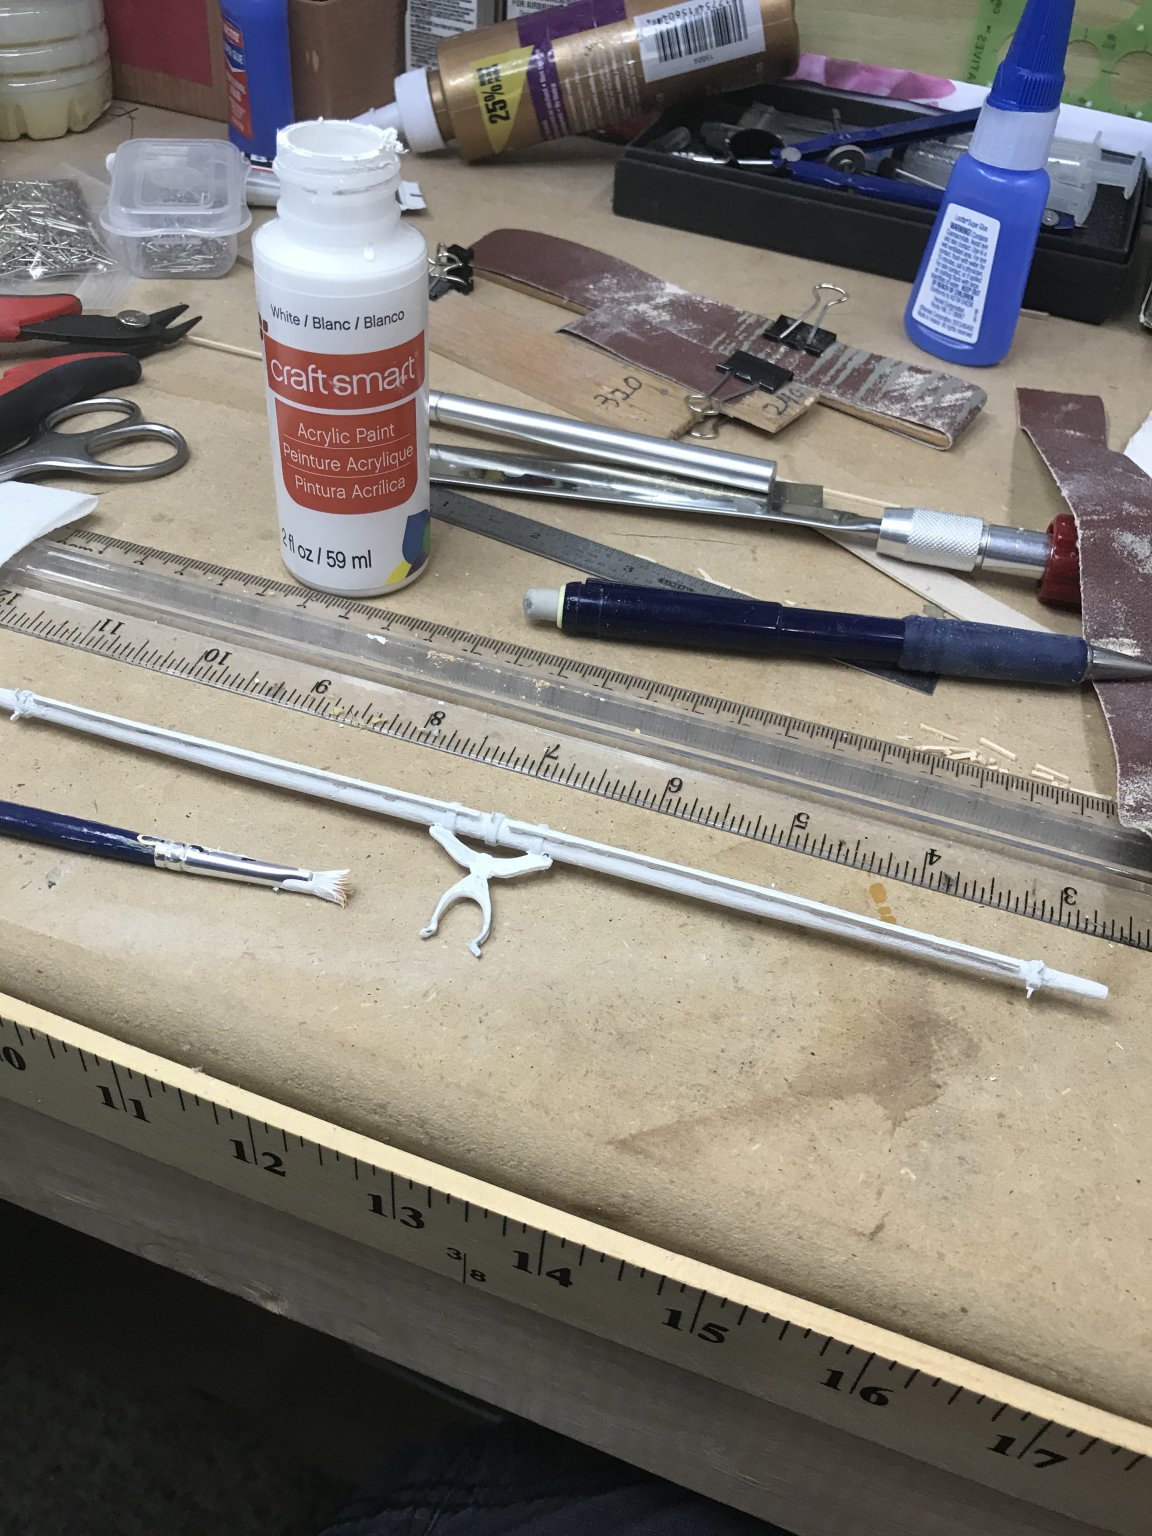
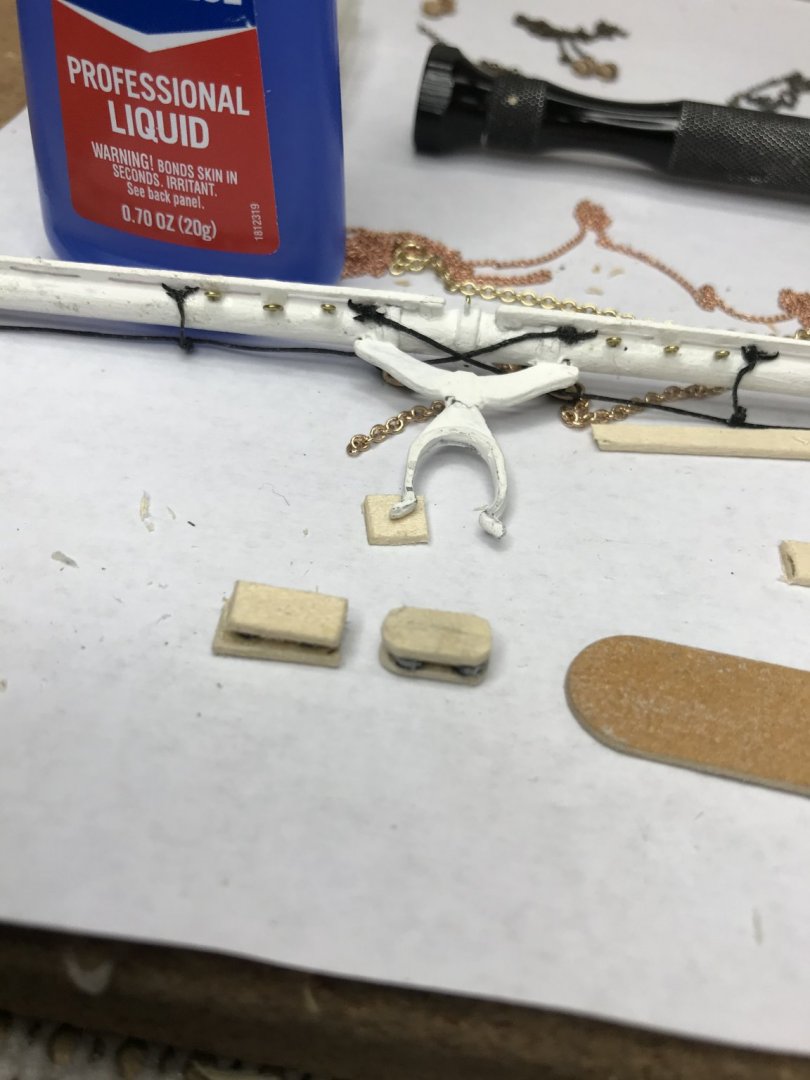
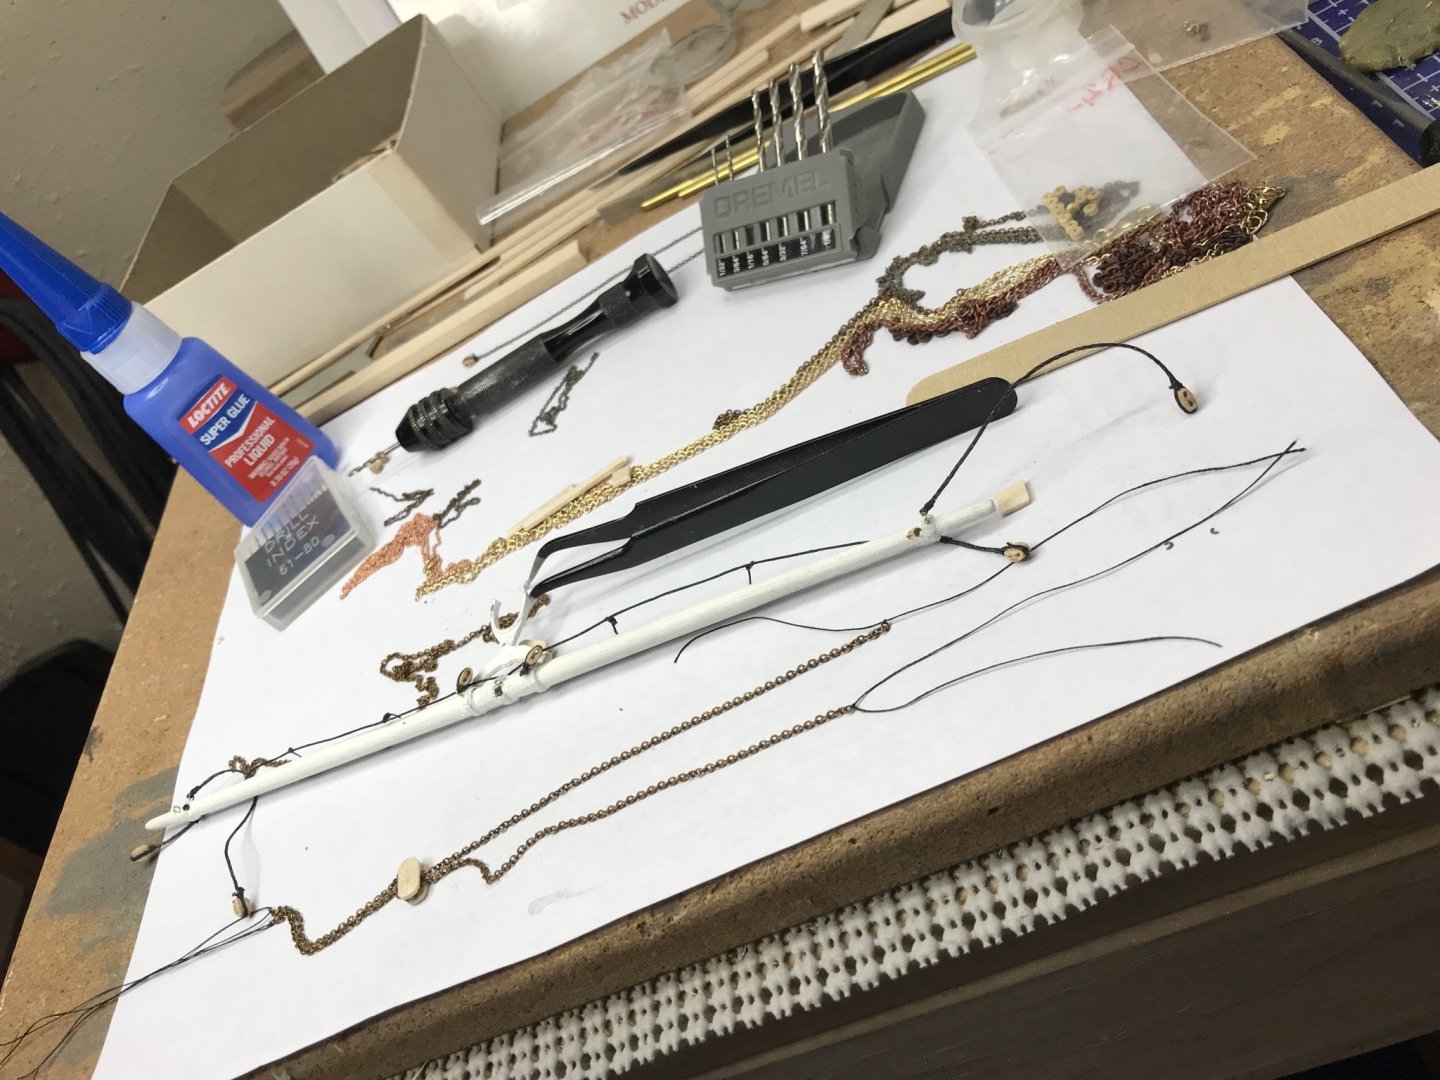
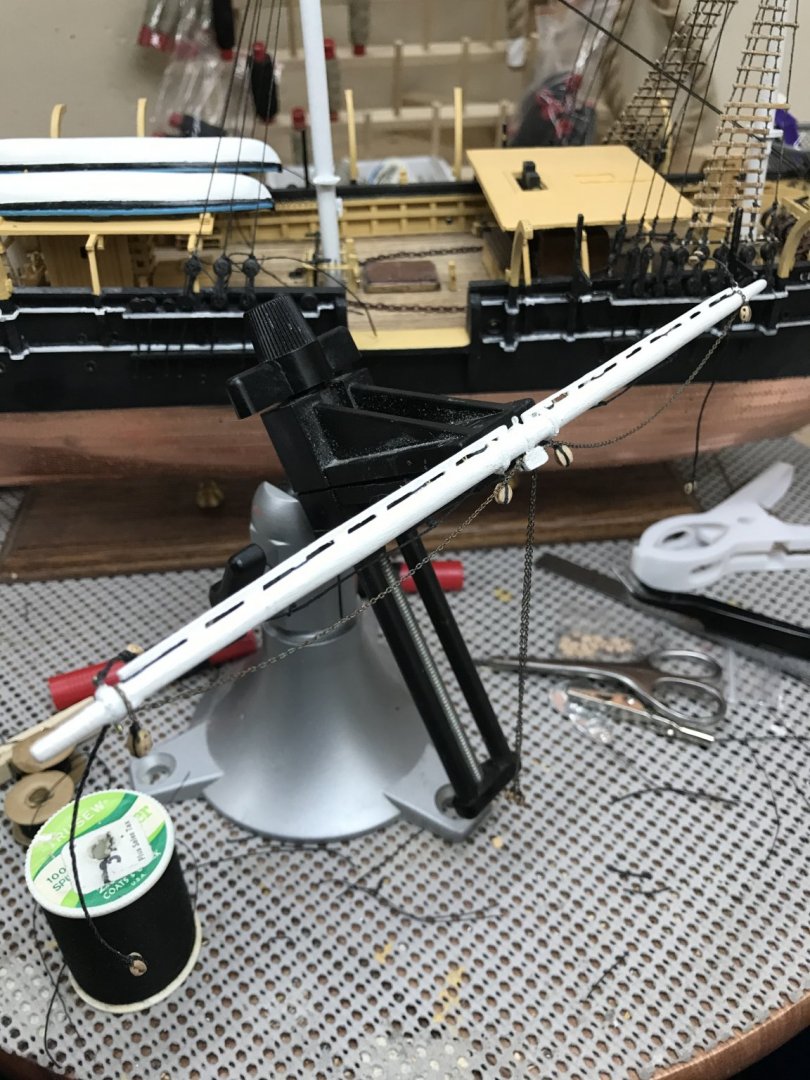
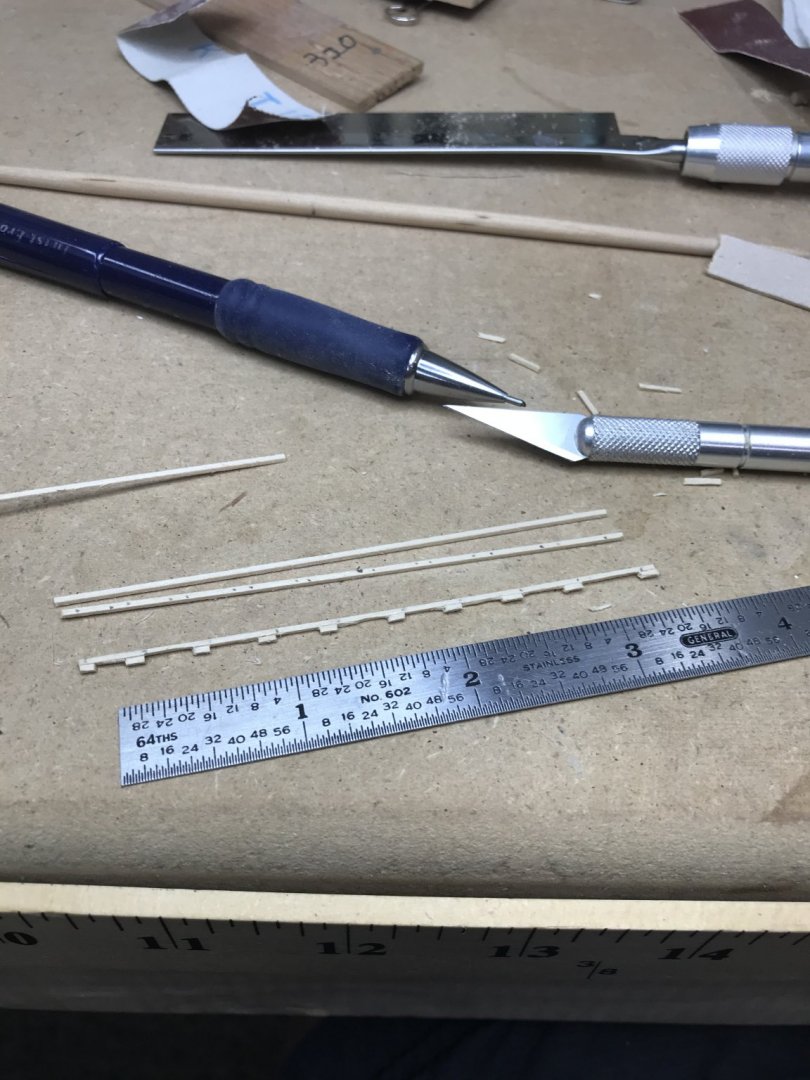
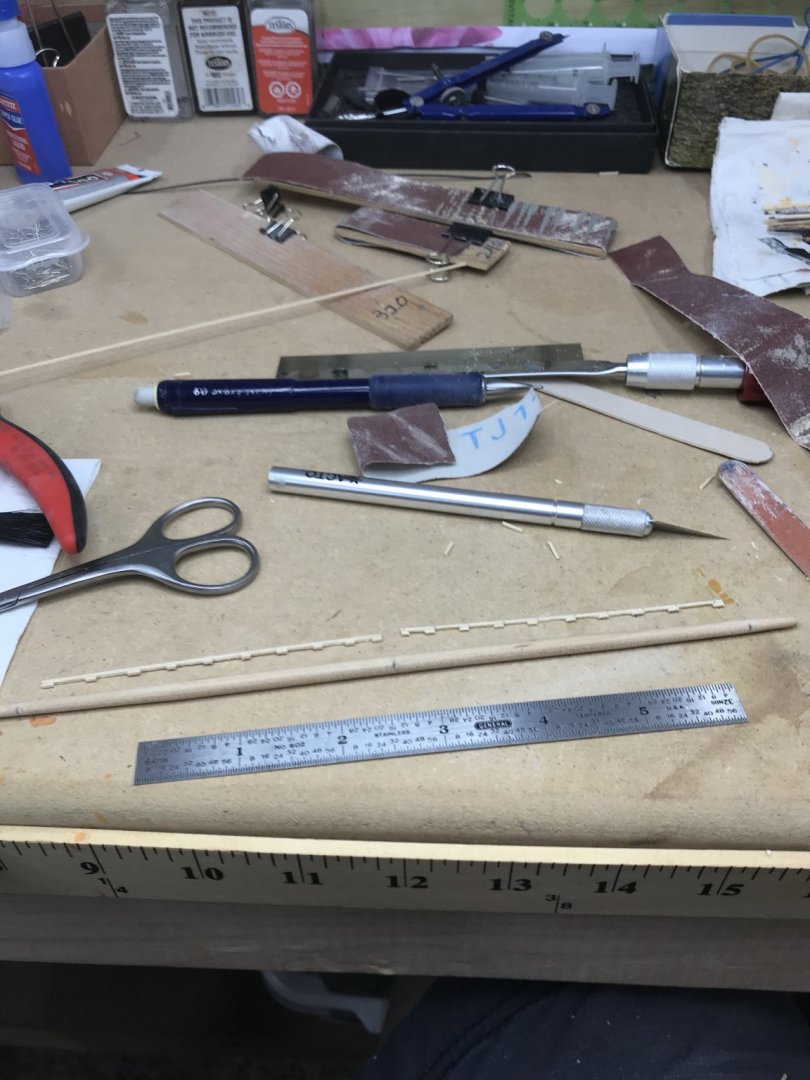
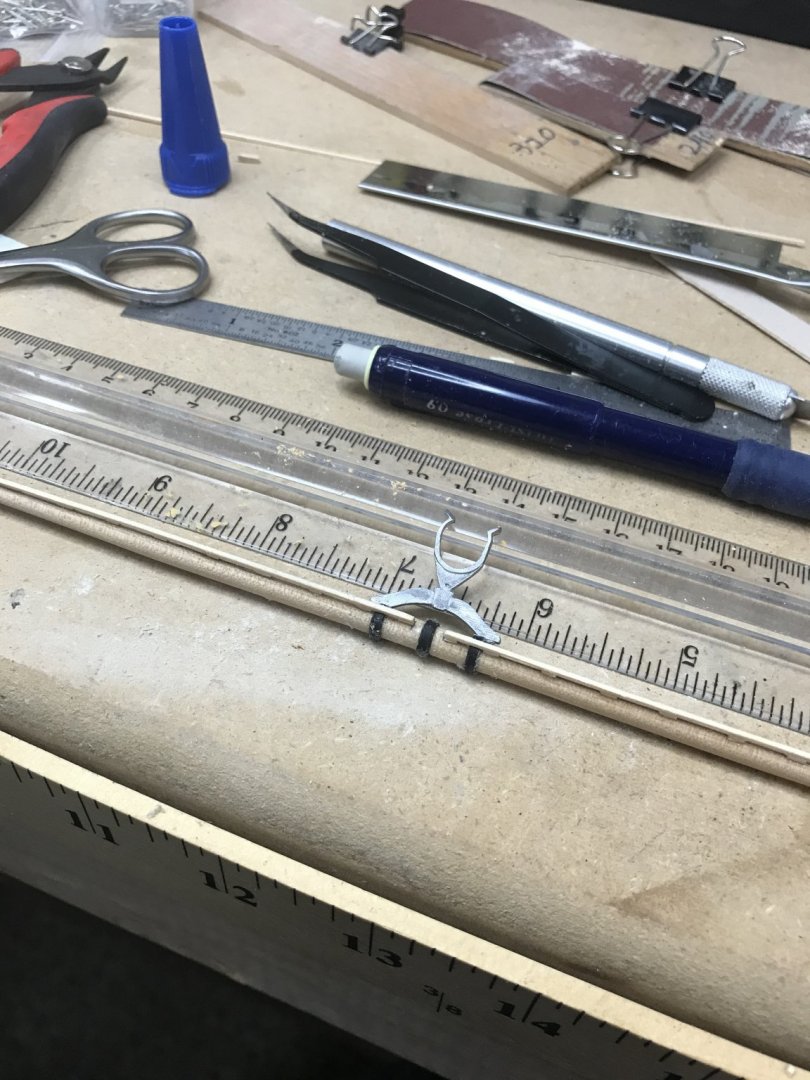
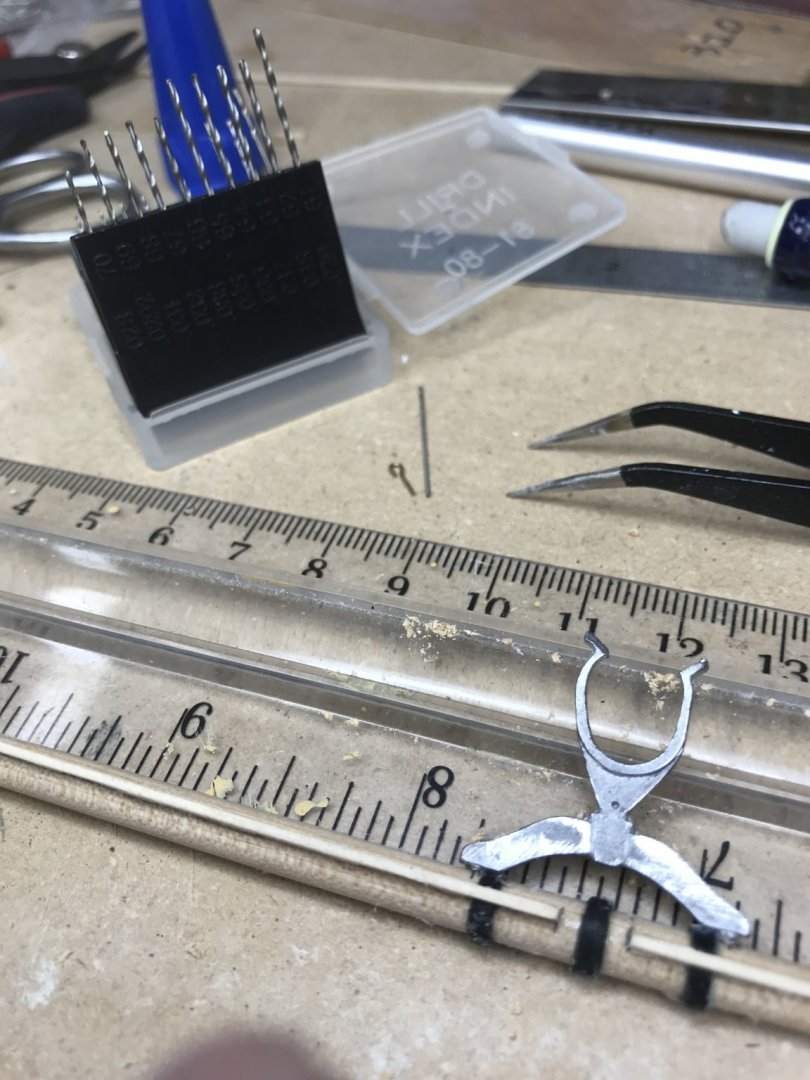
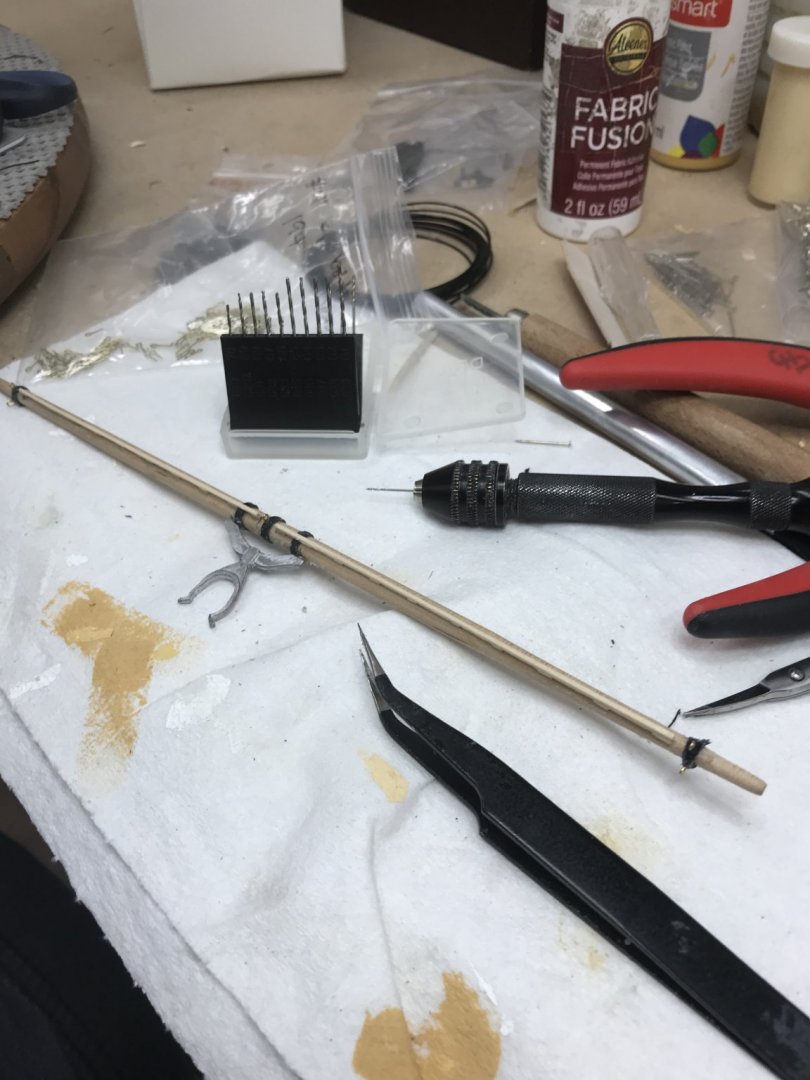
Decided to develop my process for building yard arms. So I can switch up from the rigging process. Building jack stays from 1/32 stock. I laminated two pieces together then cutout the bottom spaces. Detail sanded under a magnifier. 🧐 And marked the spar to ready them for assembly. Using very small amounts of CA glue placed the jack stays on the spar. Using black construction paper created iron straps and glued them in place with fabric glue. Drilled out the spar for mounting of the Truss. Drilled pilot holes and mounted the eyelets. Checked the fit and eyelet placement prior to painting. Painted the completed yard arm white. Ready for foot ropes and blocks. Only 11 of these to go, now I can change up from tying all those rat lines to building yard arms and back. Onward 😎


- 204 replies
-
- 3
-
-
- marine model company
- charles w morgan
- (and 1 more)
-
Fore Shrouds completed... On to the Main Mast 😎
- 204 replies
-
- 6
-
-
- marine model company
- charles w morgan
- (and 1 more)
-
One halve of Fore Shrouds completed. Got to celebrate 🎉 every milestone. 😎
- 204 replies
-
- 5
-
-
- marine model company
- charles w morgan
- (and 1 more)