-
Posts
1,568 -
Joined
-
Last visited
Content Type
Profiles
Forums
Gallery
Events
Everything posted by John Ruy
-
Thanks for the PM Bob, I didn’t know you had started on the Bluenoses. I will pull up a chair, just as you are ready to paint the hull. John
- 44 replies
-
- Scientific
- Billings Boats
-
(and 1 more)
Tagged with:
-
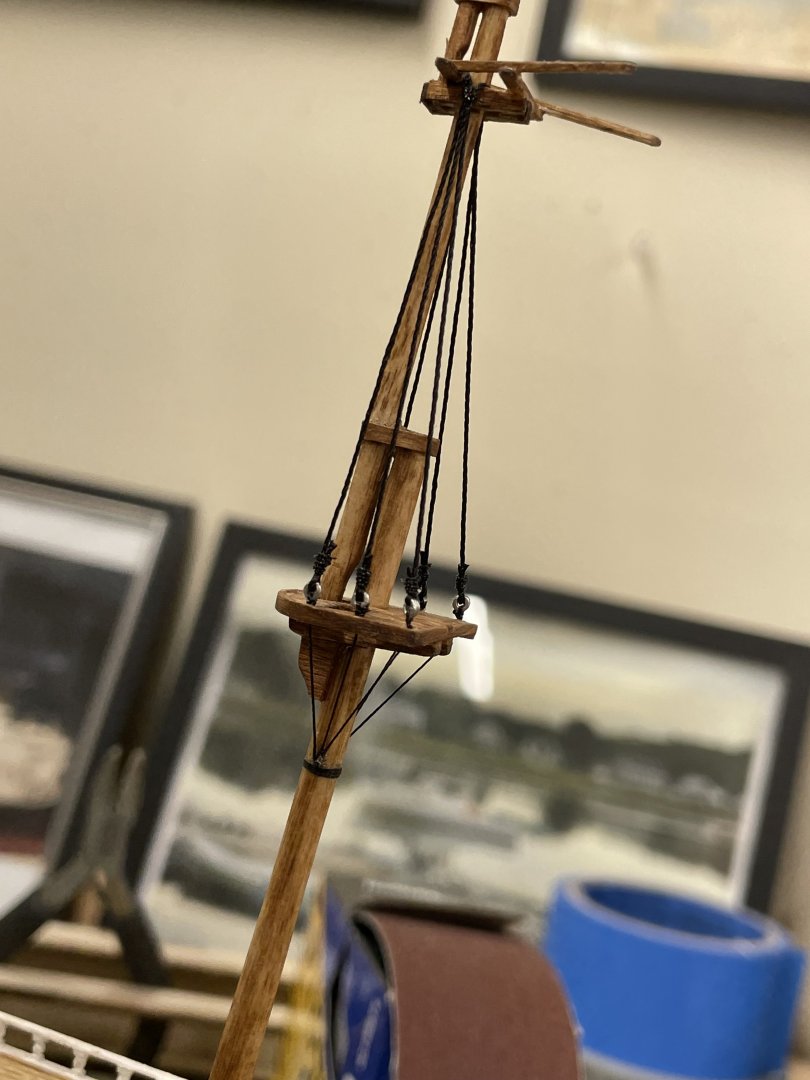
Agreed… here is a look at my first attempt at the mizen mast upper shrouds. I have line from HisModel. I’m still considering a rework of these shrouds. Darn OCD… LOL 😆
- 457 replies
-
- sternwheeler
- Hard Coal Navy
-
(and 1 more)
Tagged with:
-
Thanks Keith… I do have the deadeyes covered. Shrouds and Standing rigging are not the issue it’s the running rigging, should I choose to represent it, I was referring to. Yes, I will need both great eyesight and a magnifier as well as steady hands. 😆
- 457 replies
-
- sternwheeler
- Hard Coal Navy
-
(and 1 more)
Tagged with:
-
Agreed, At 1/192 my Redjacket will most certainly have many things left to the viewers imagination. i.e. rigging blocks will probably be carefully tied knots in the thread. I have already learned that a suggestion of paint color is a way to scale down the painting. But then I believe I learned this from you Keith. 😎 John
- 457 replies
-
- sternwheeler
- Hard Coal Navy
-
(and 1 more)
Tagged with:
-
Keith, Nice natural weathering. Off to a really good start. 😎
- 457 replies
-
- sternwheeler
- Hard Coal Navy
-
(and 1 more)
Tagged with:
-
Congratulations Phil, What a journey it was for you, your detailed explanations and in depth reporting of your research are such an inspiration. It has been great following your build to its completion. John
-
Looks interesting Keith, count me in…
- 457 replies
-
- sternwheeler
- Hard Coal Navy
-
(and 1 more)
Tagged with:
-
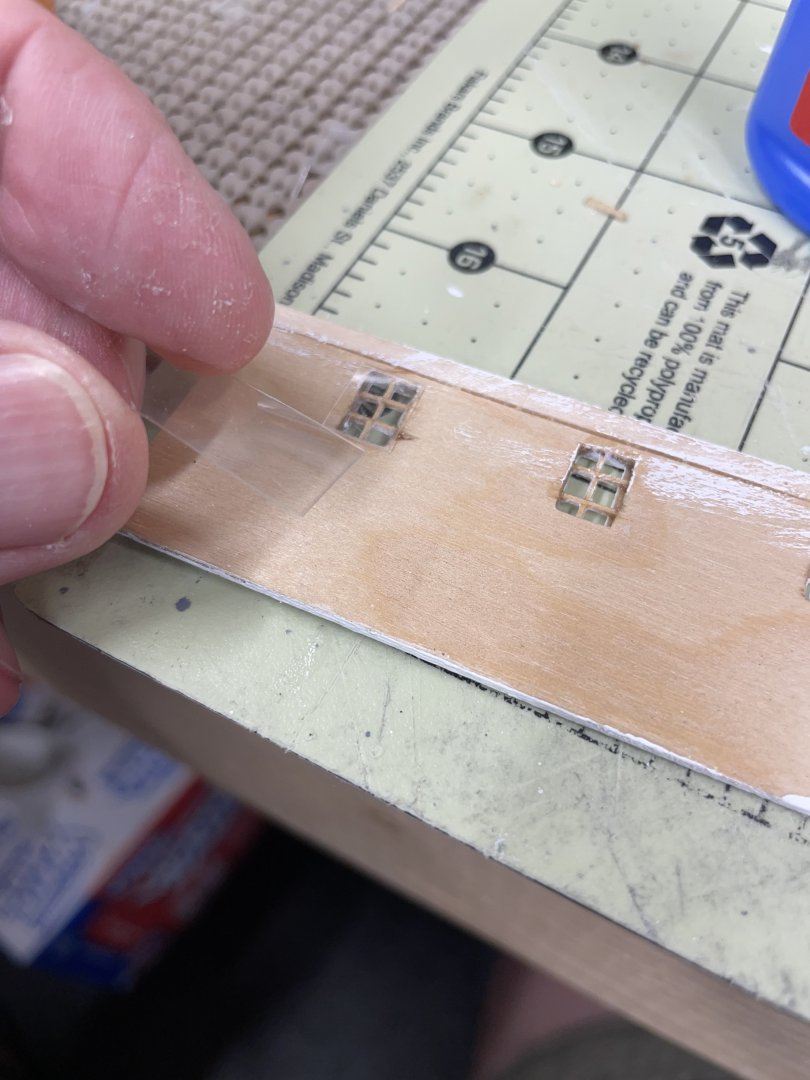
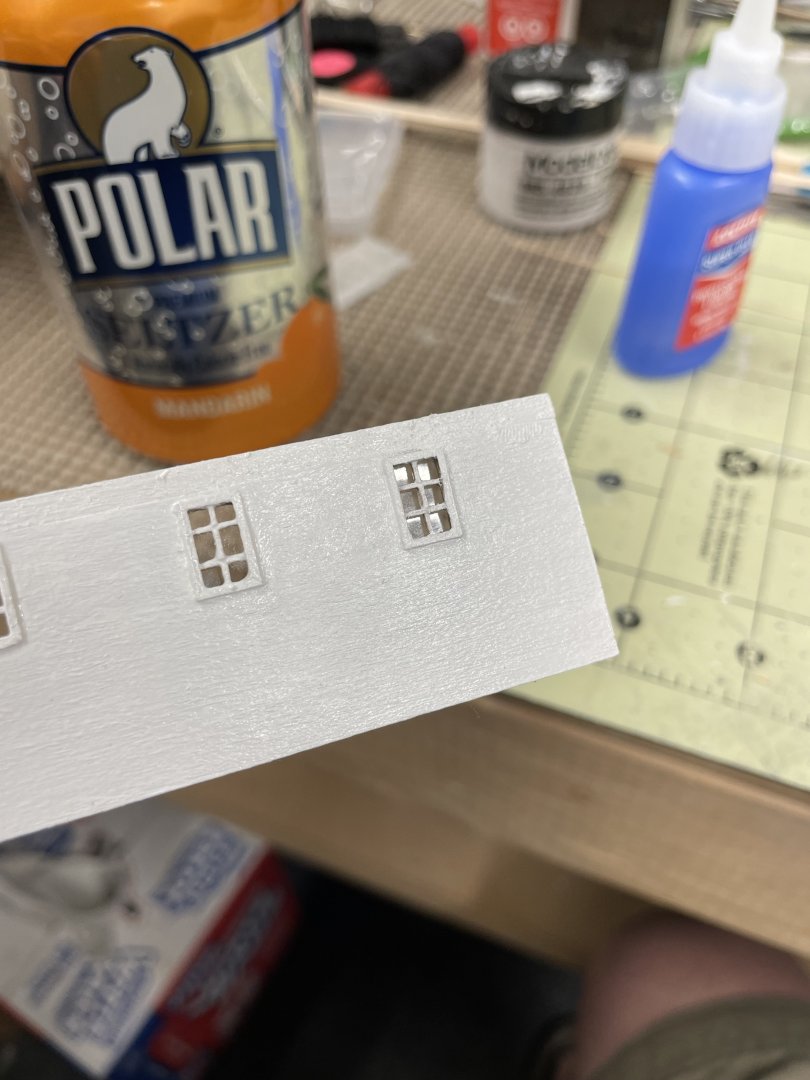
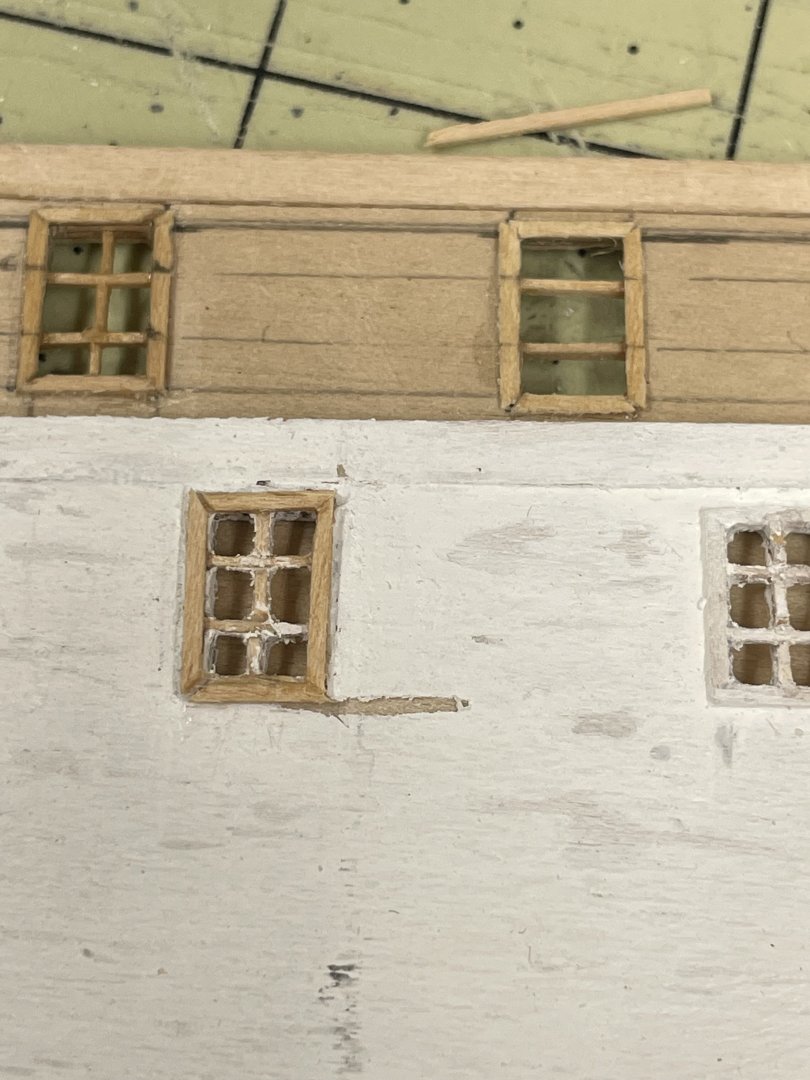
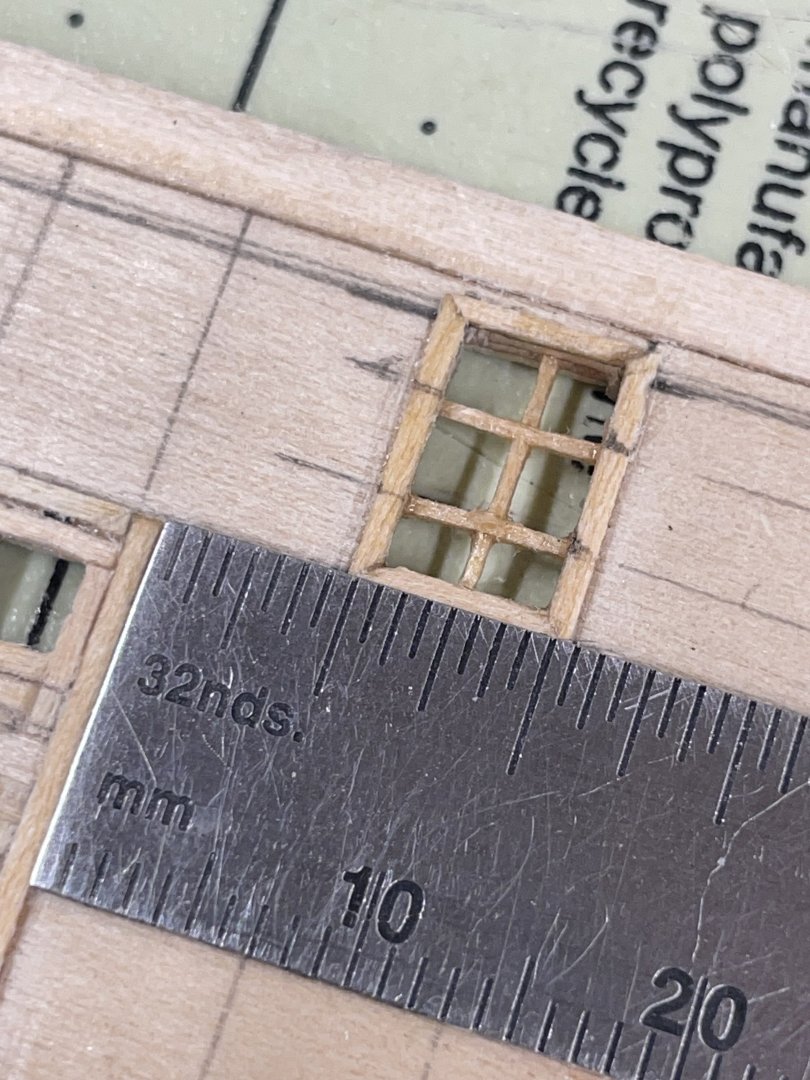
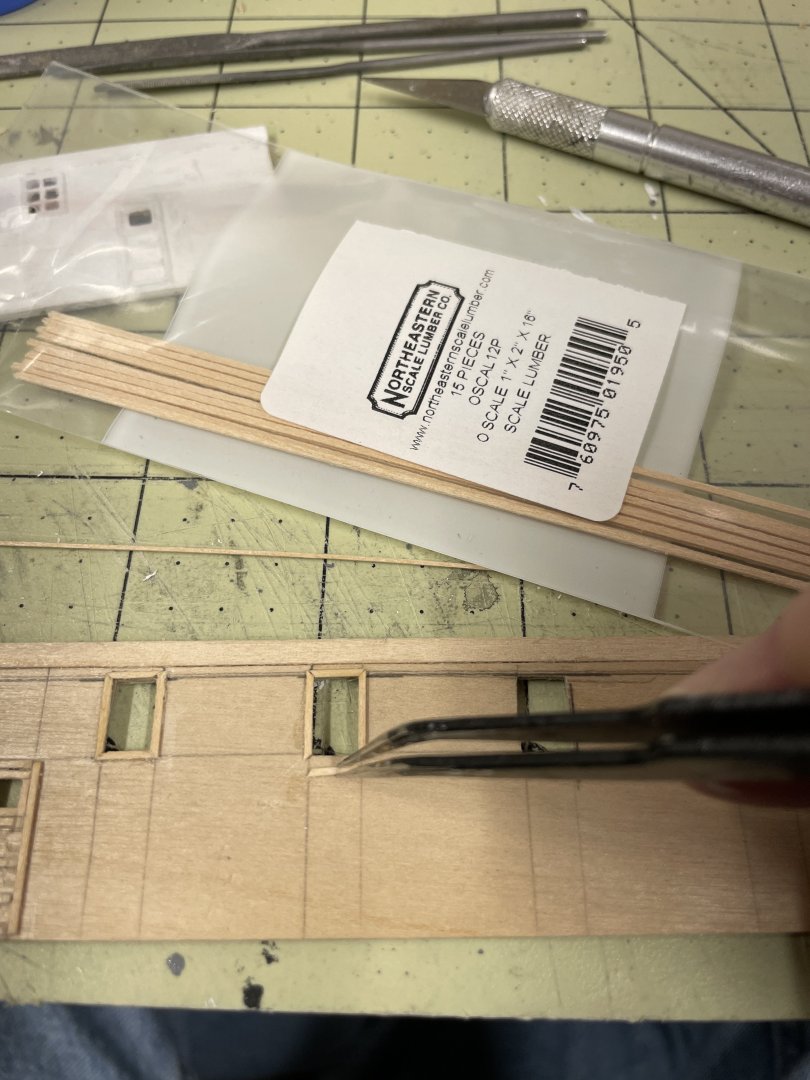
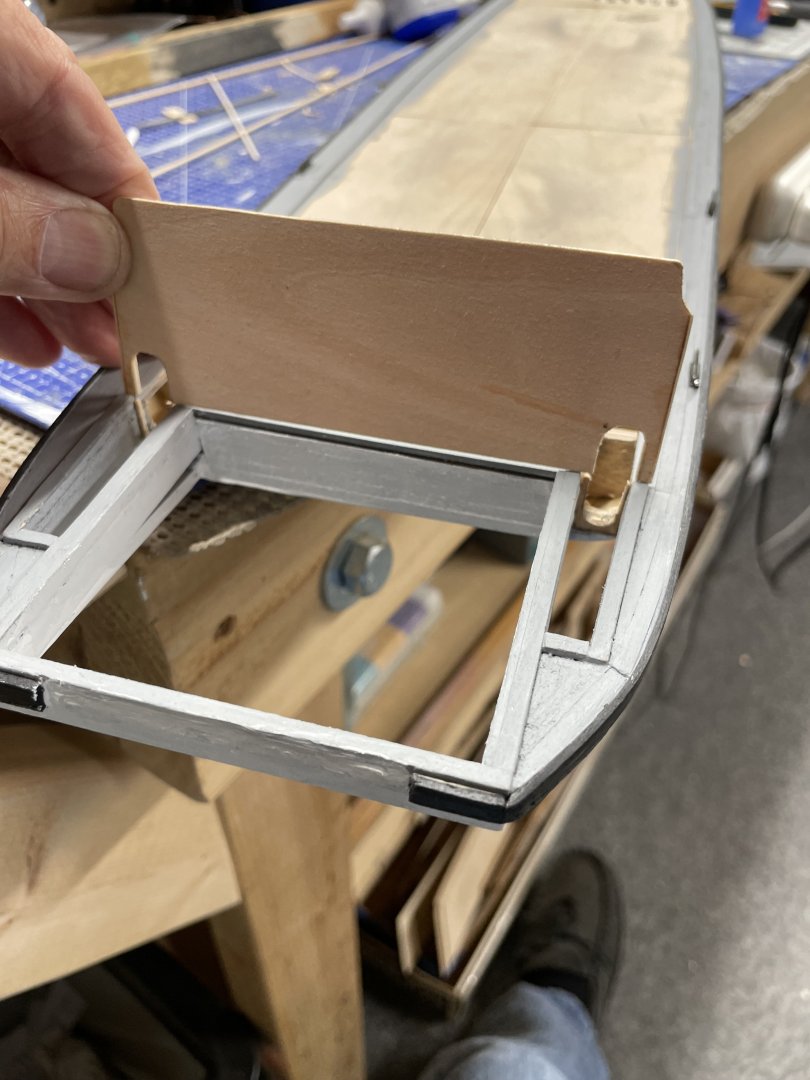
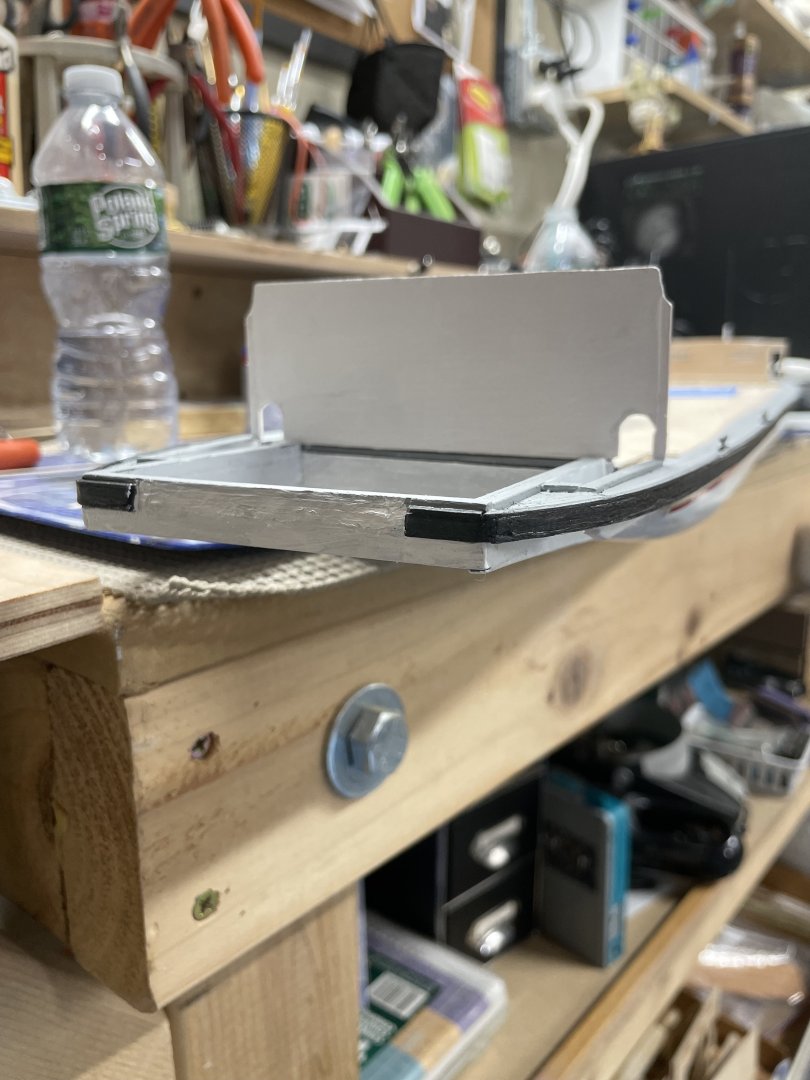
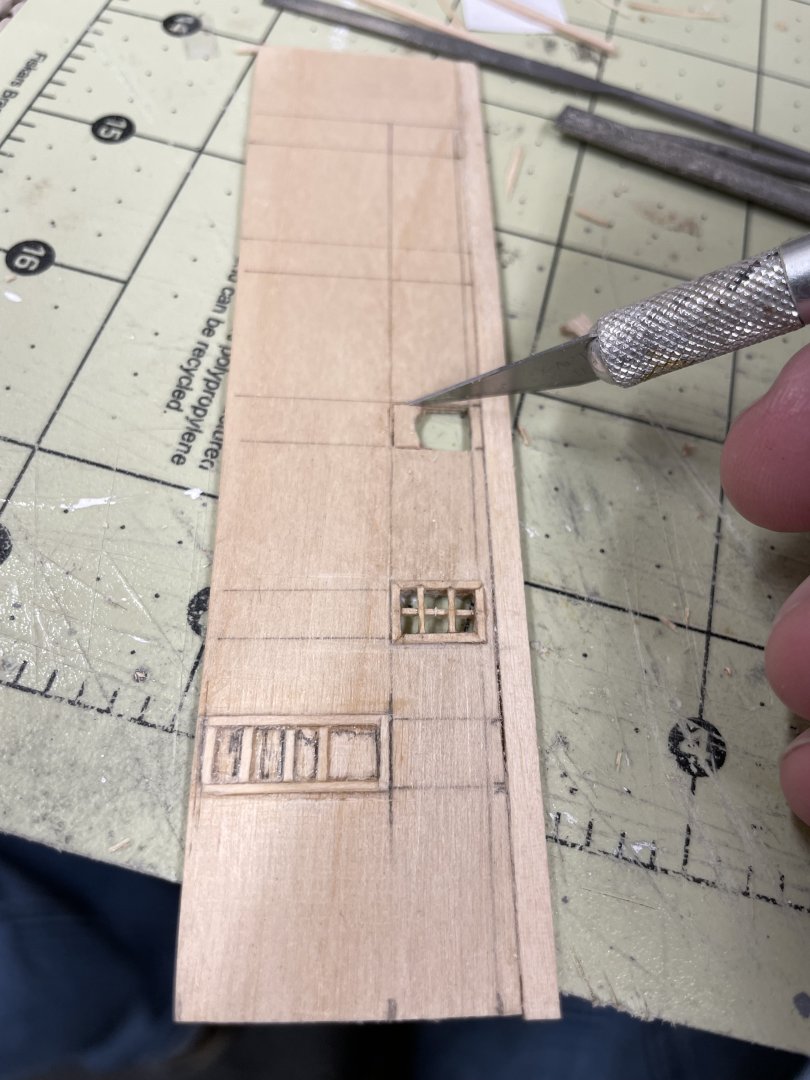
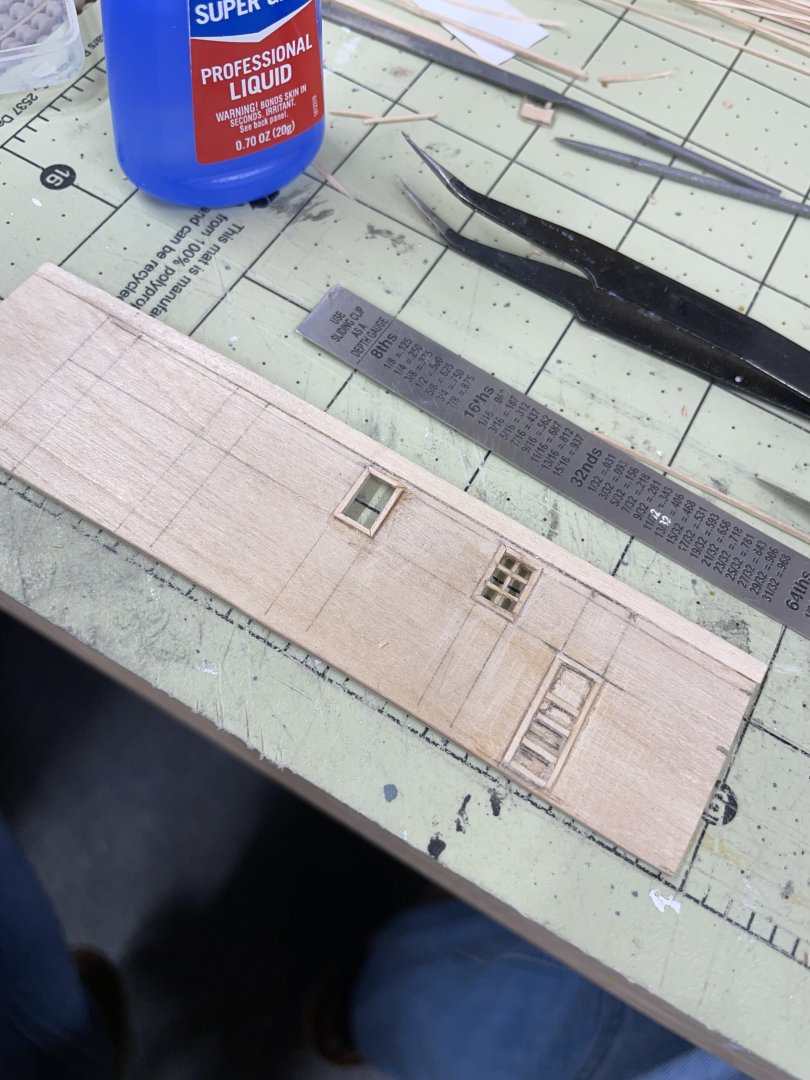
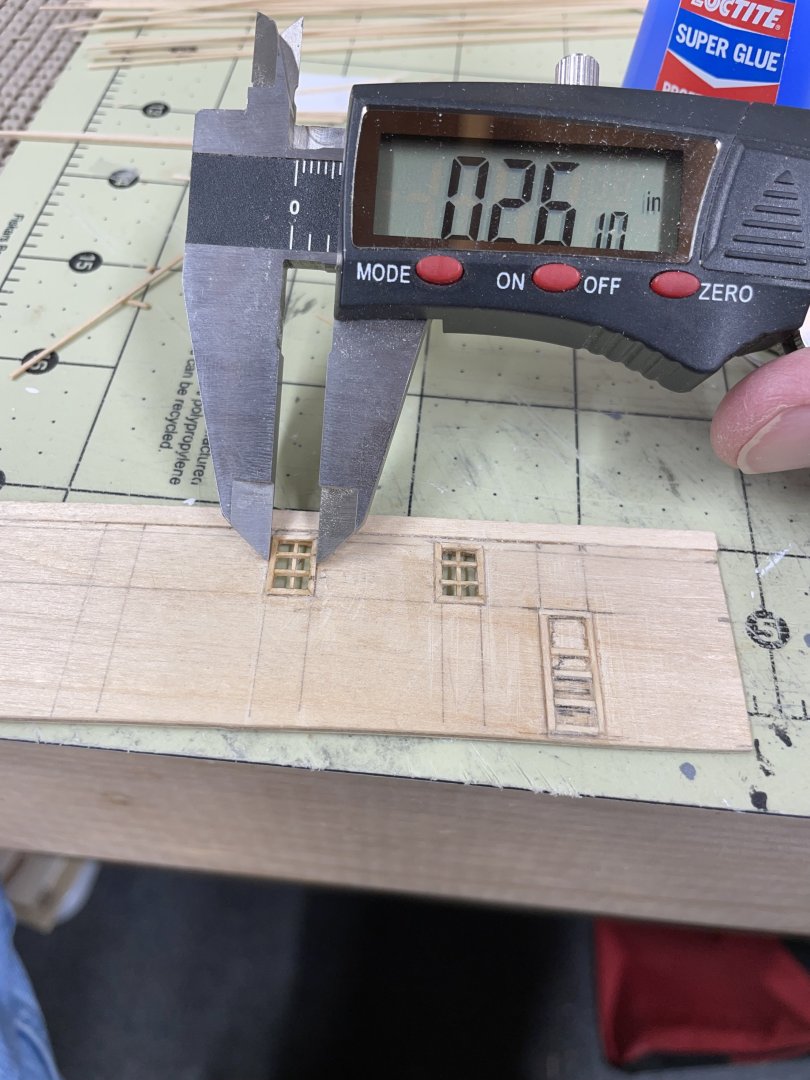
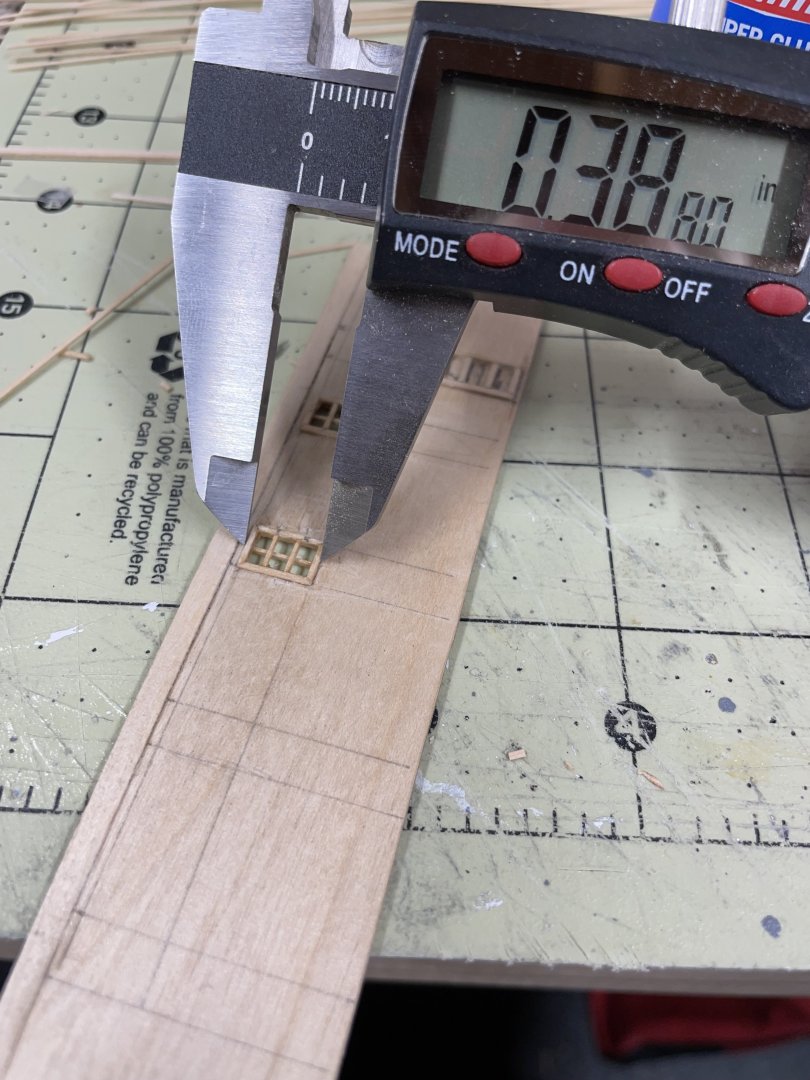
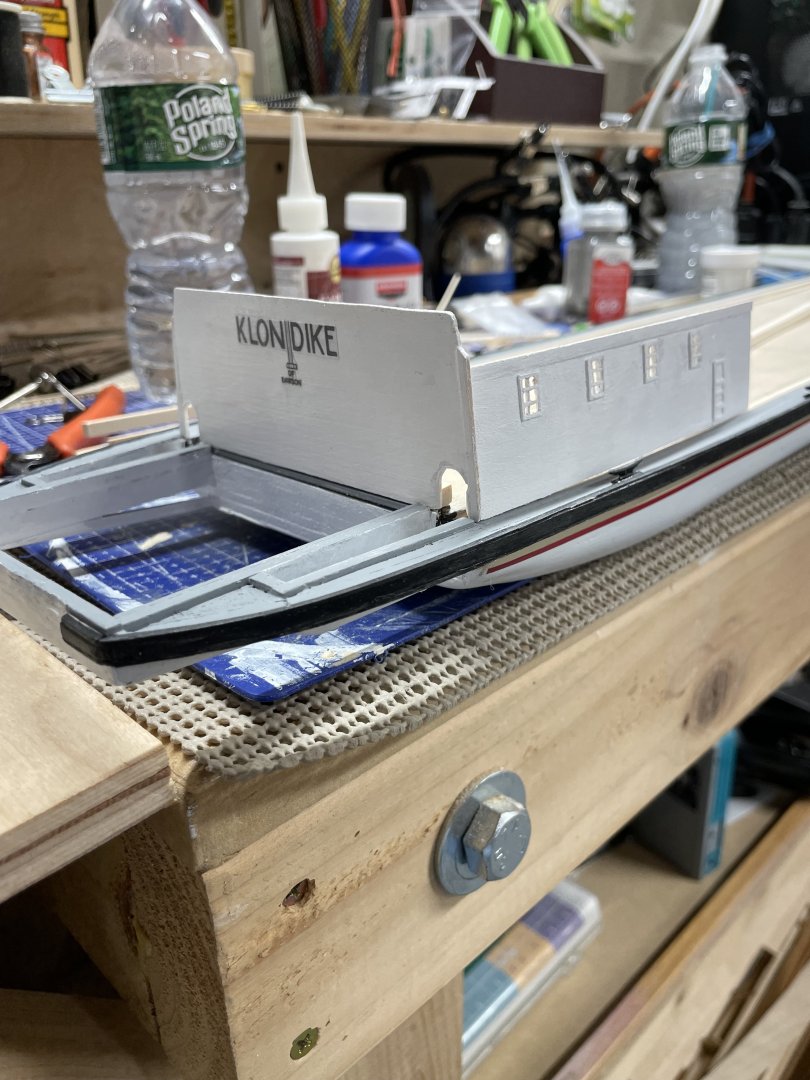
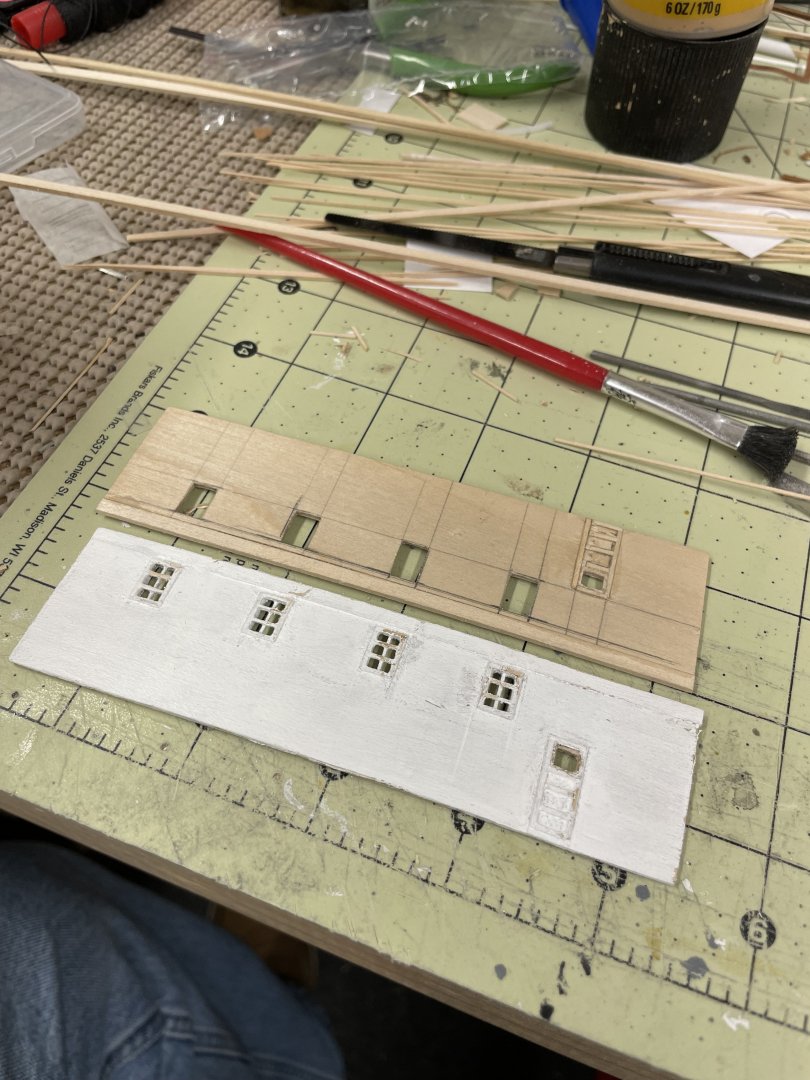
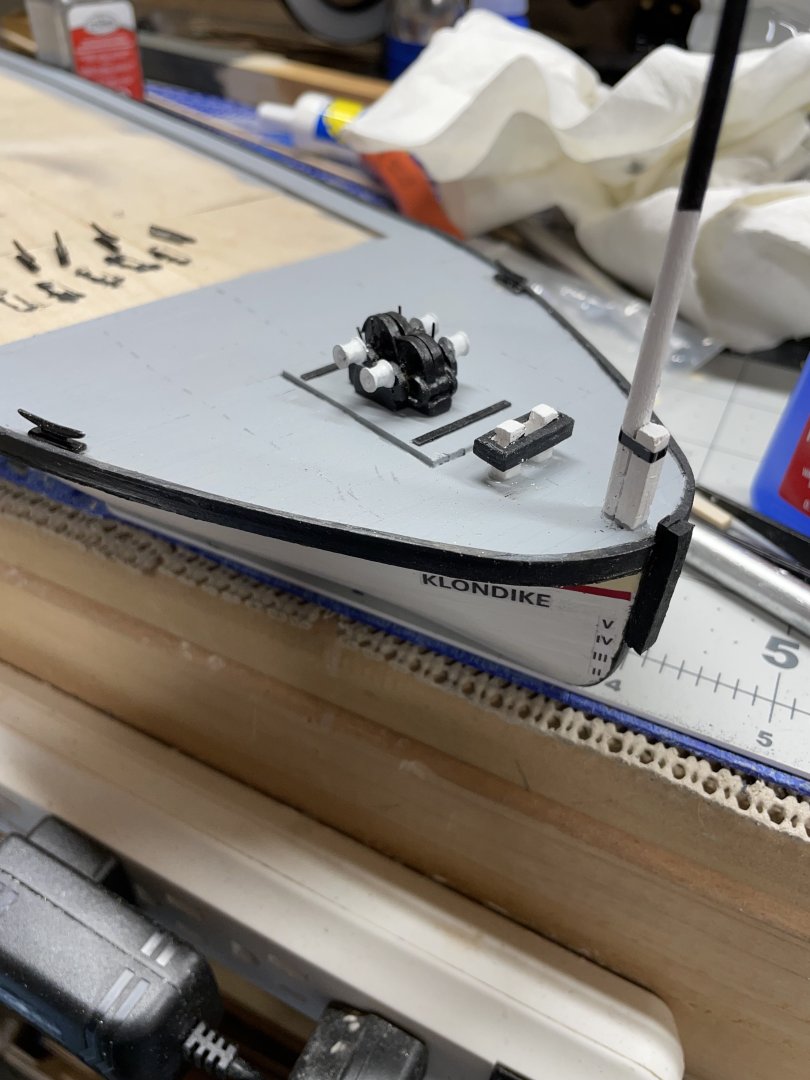
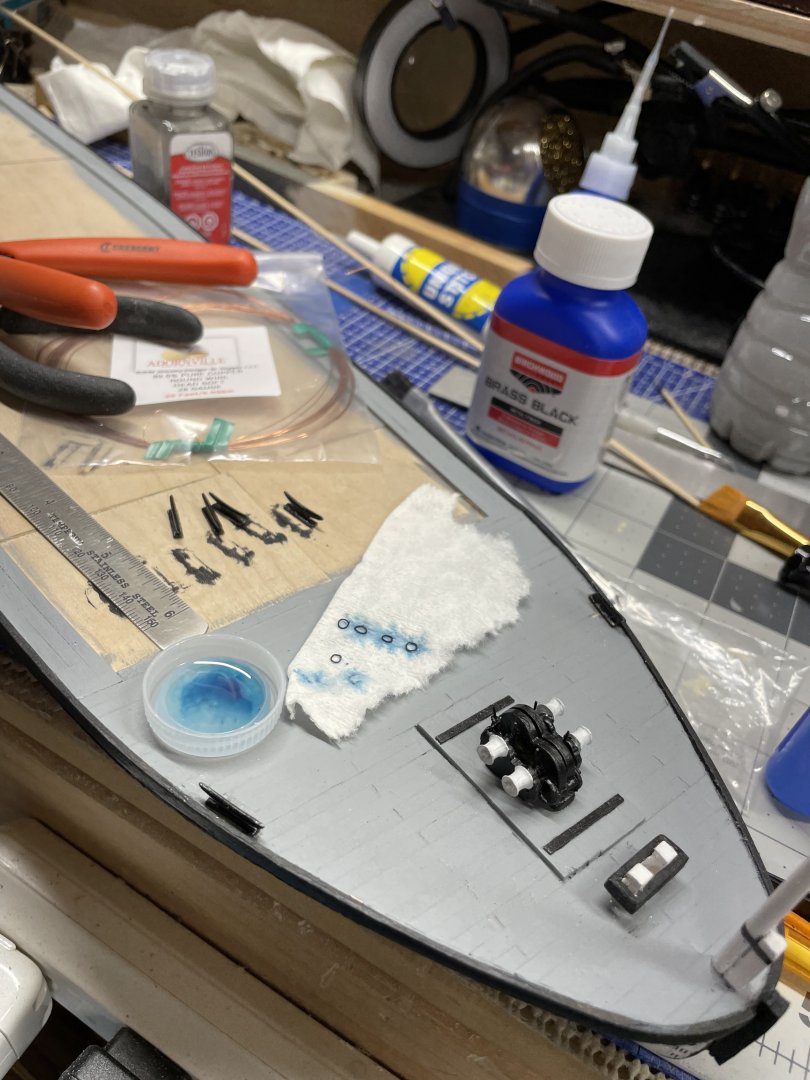
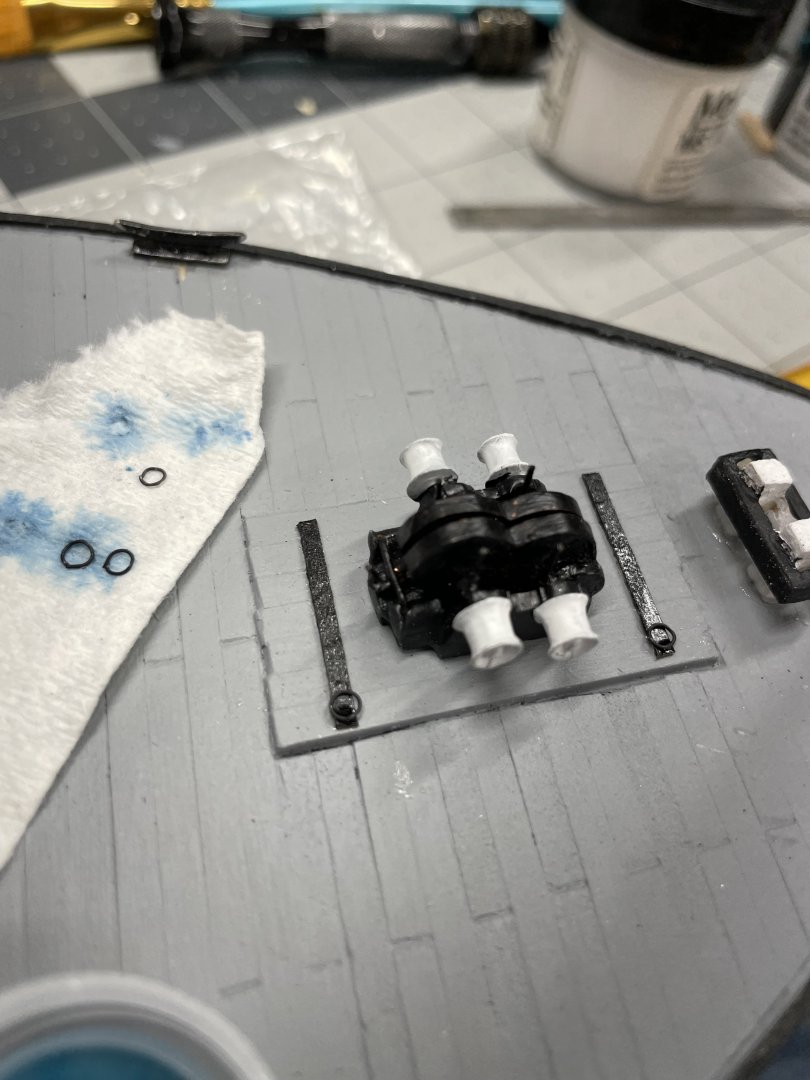
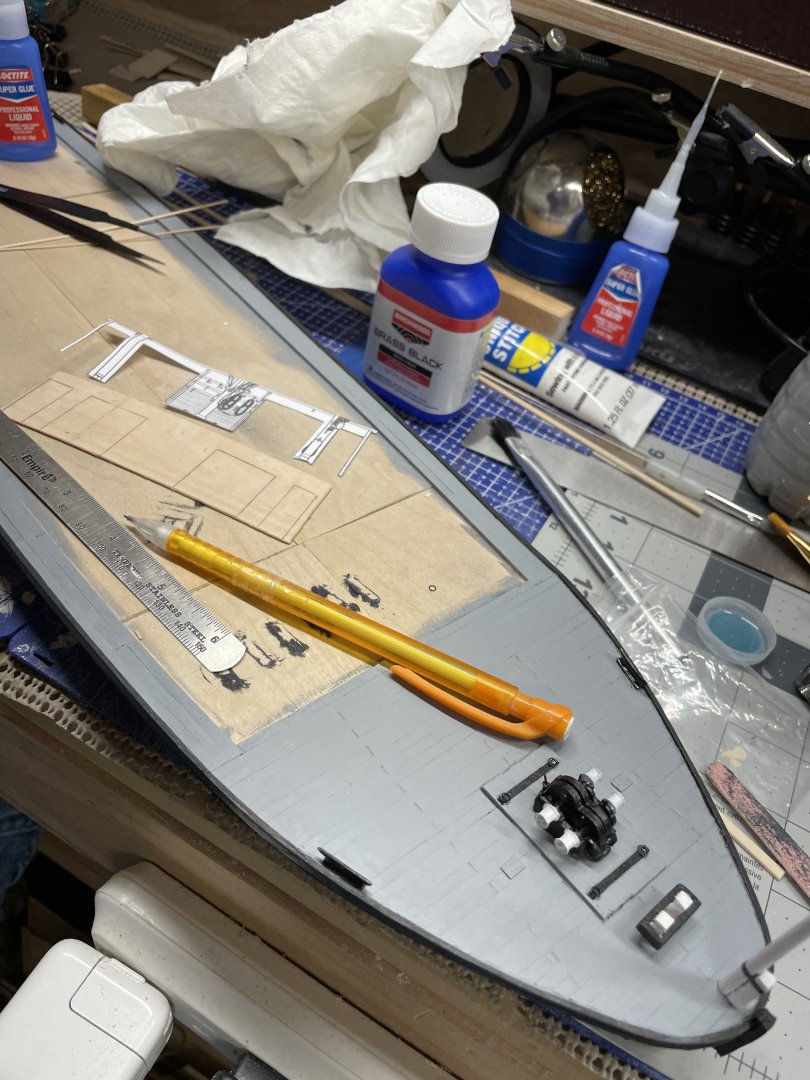
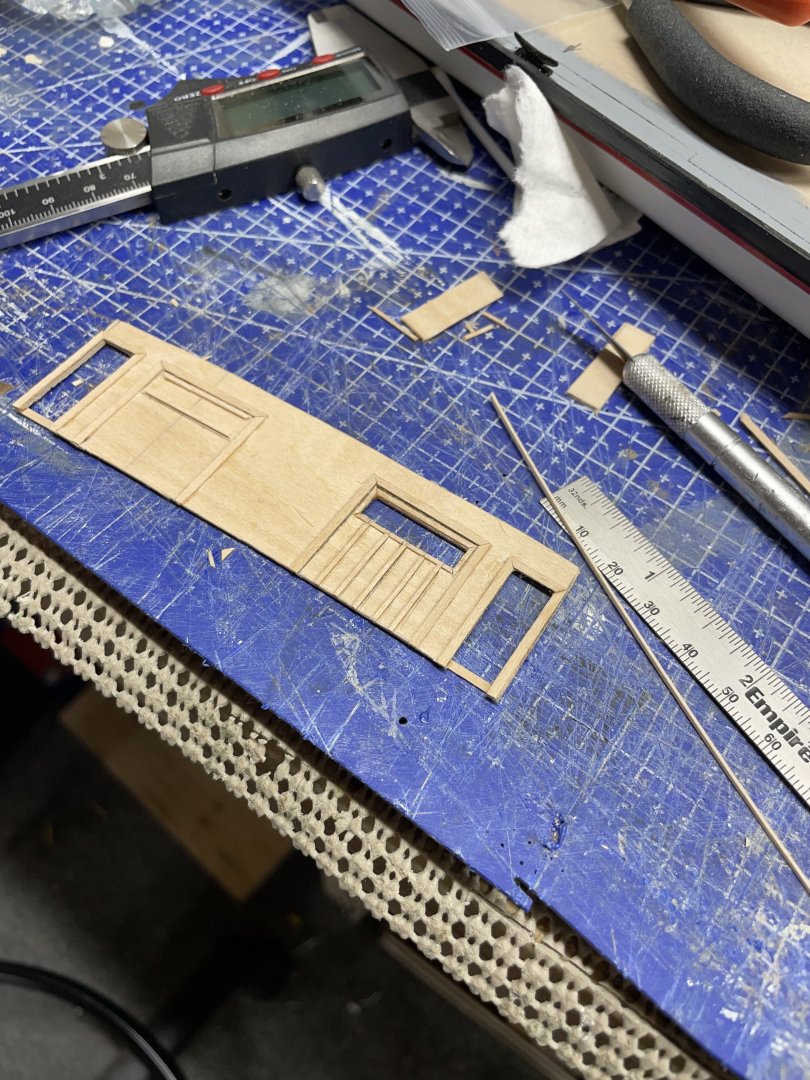
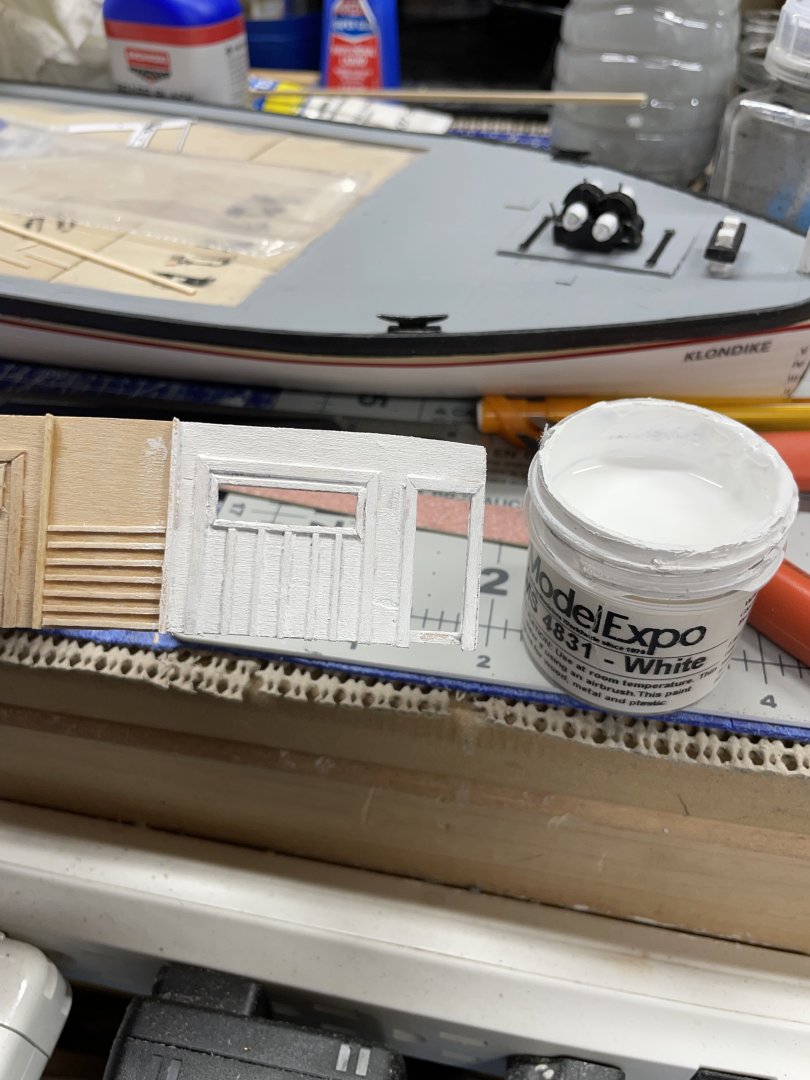
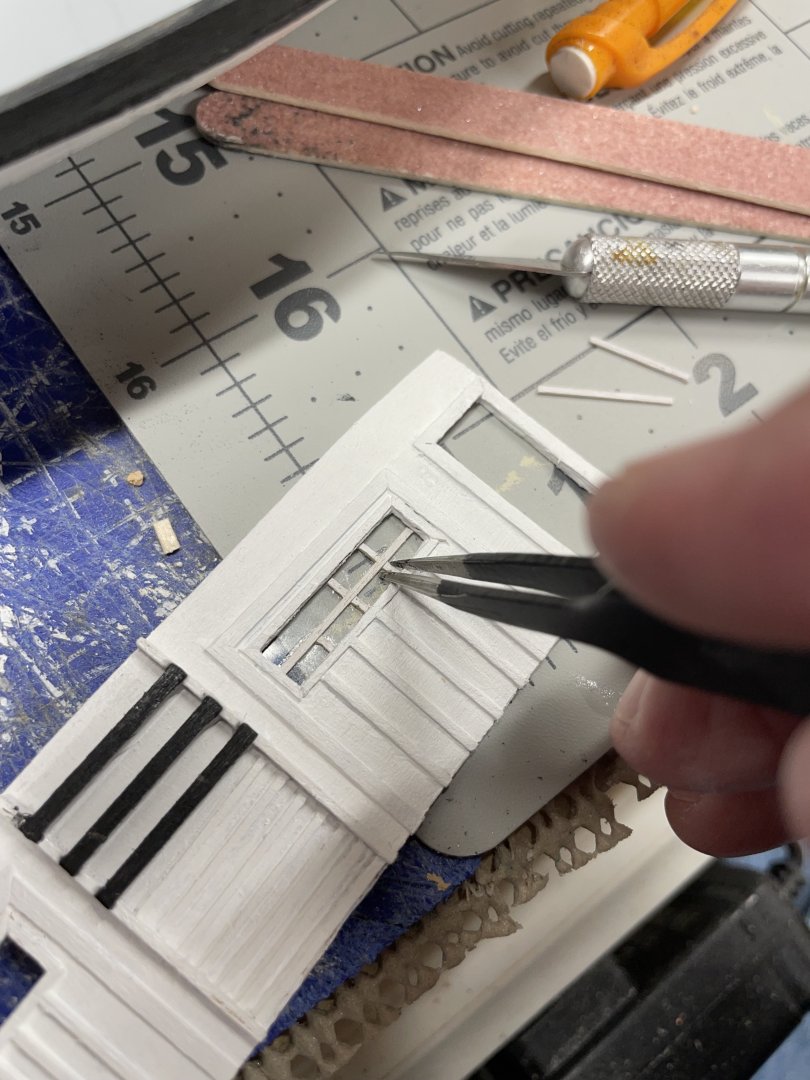
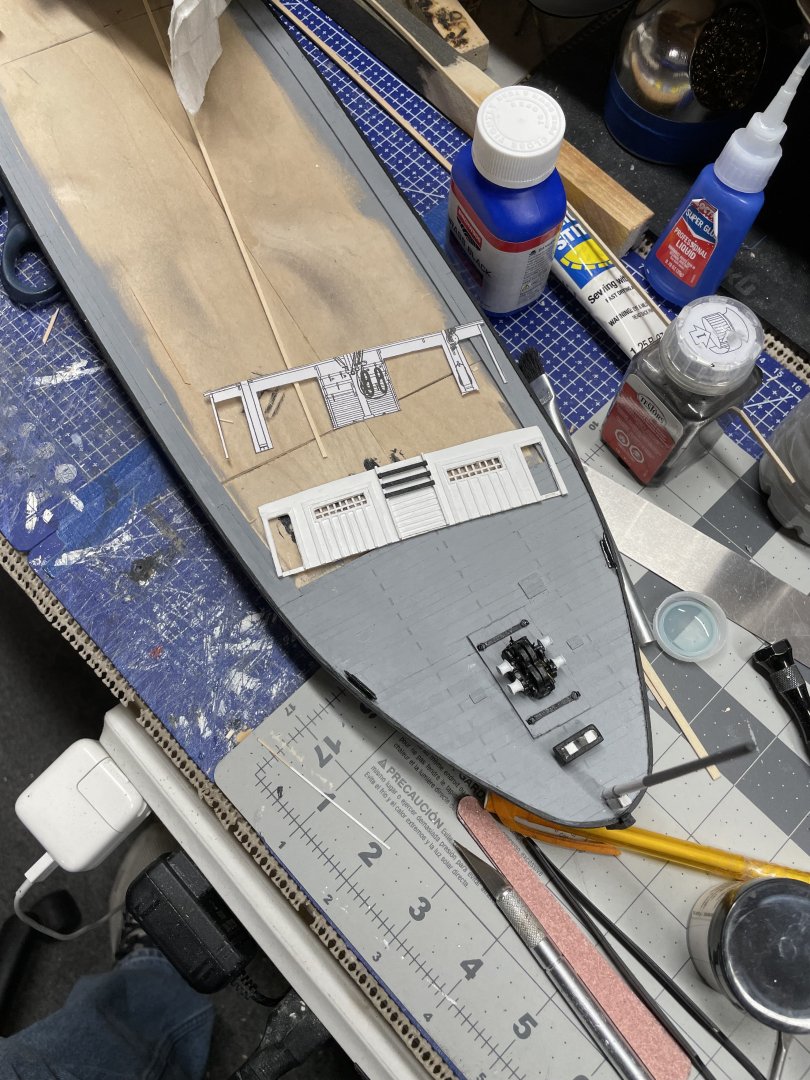
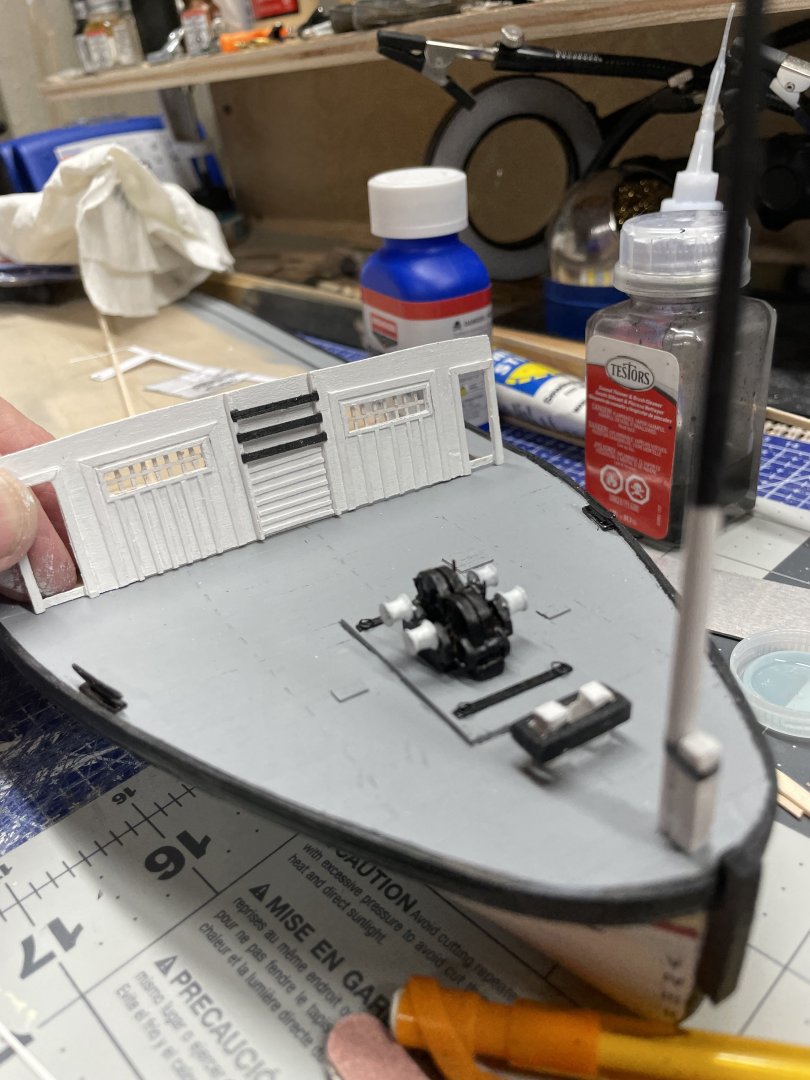
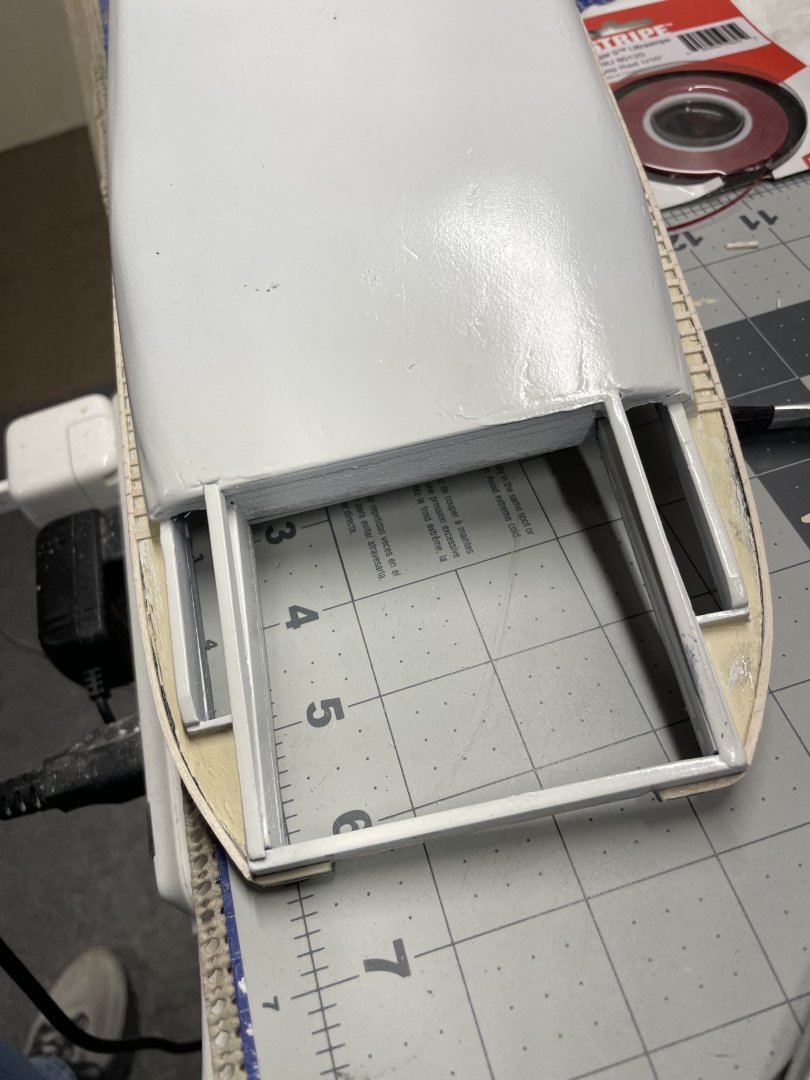
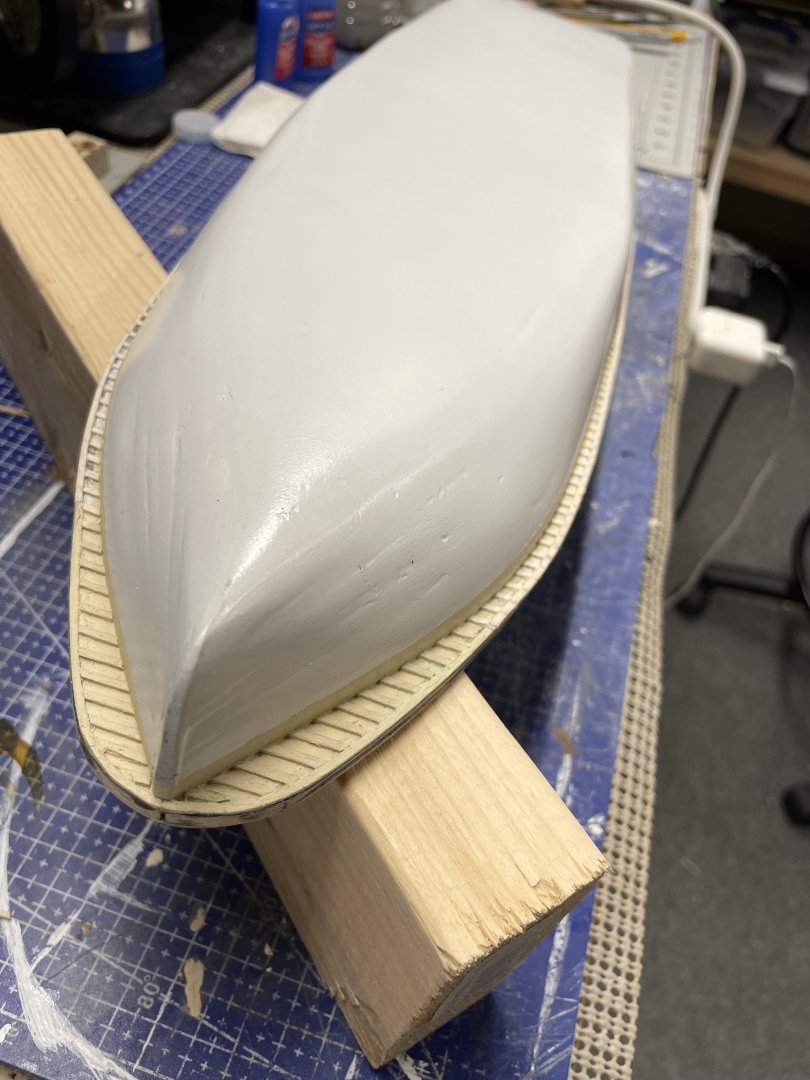
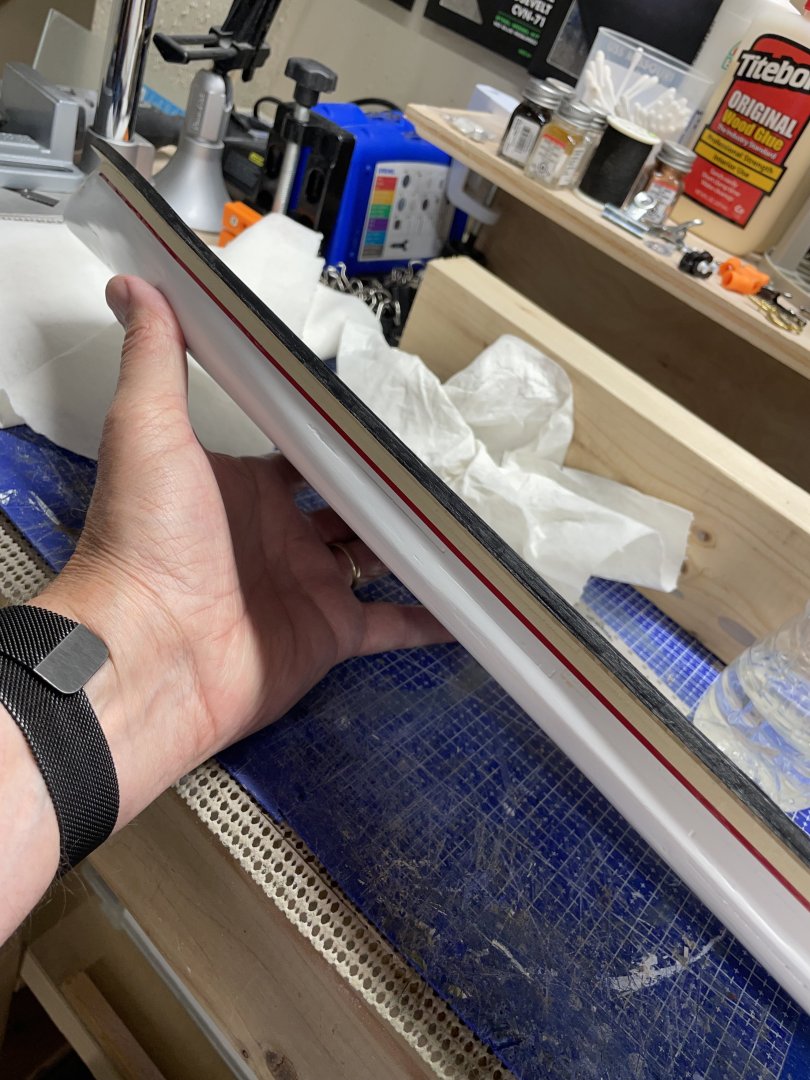
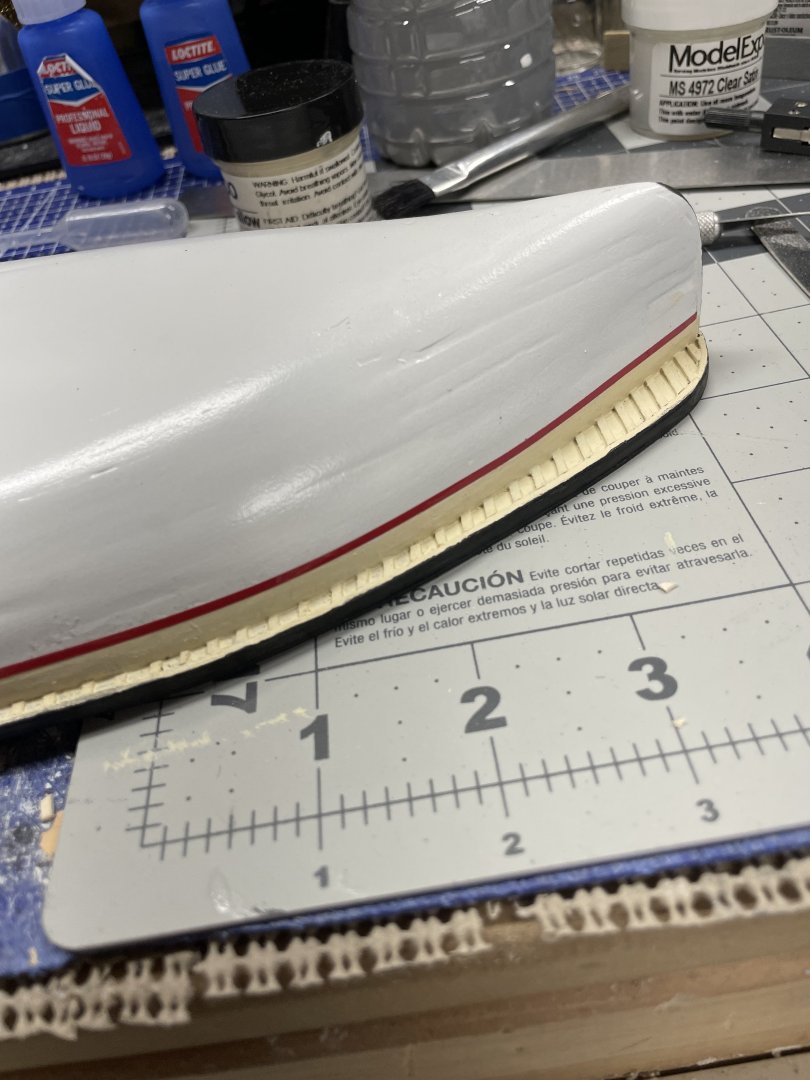
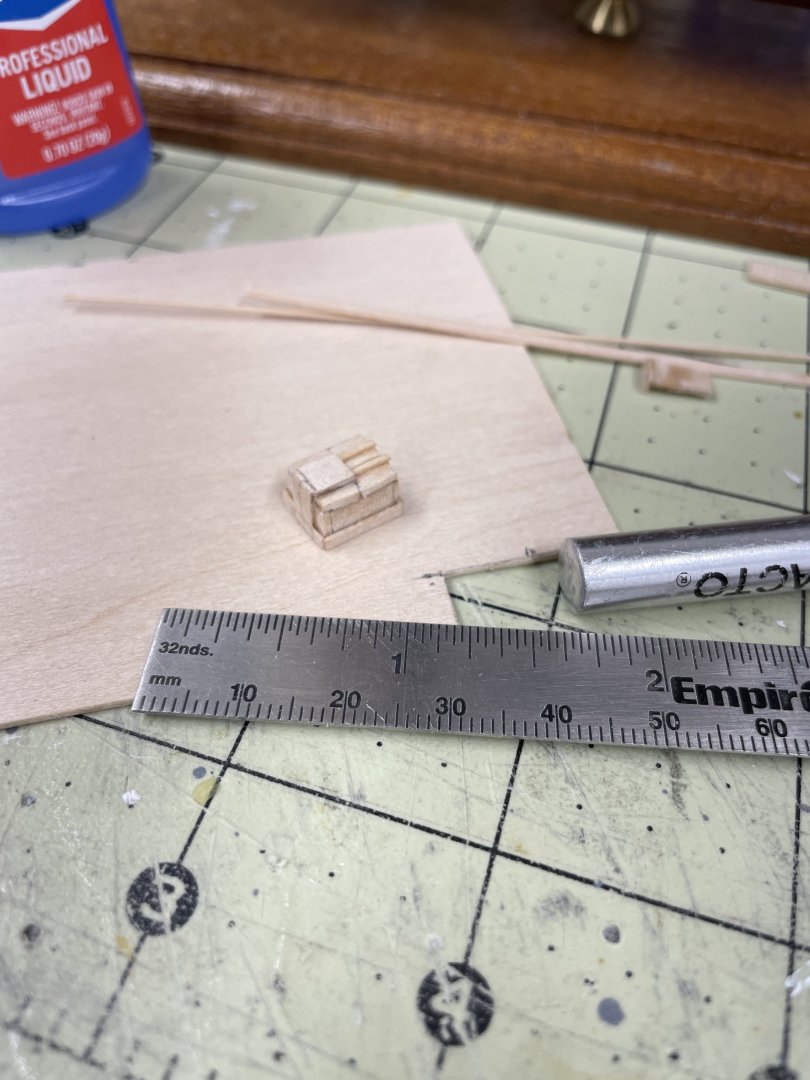
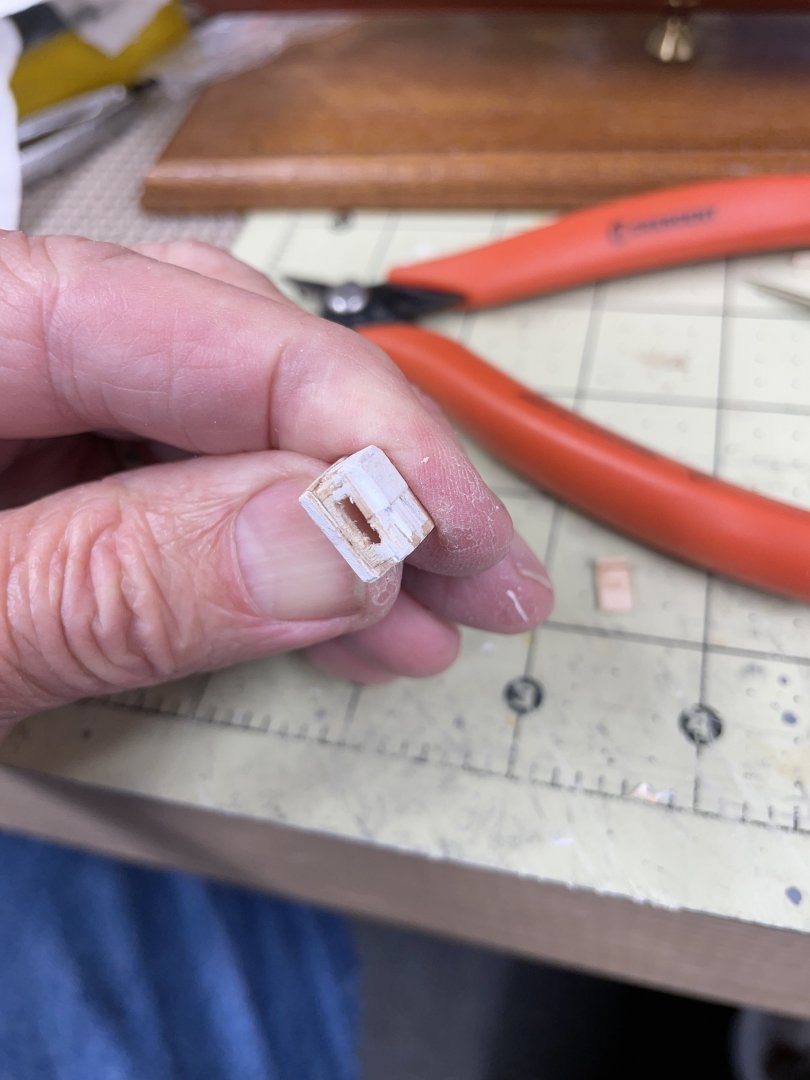
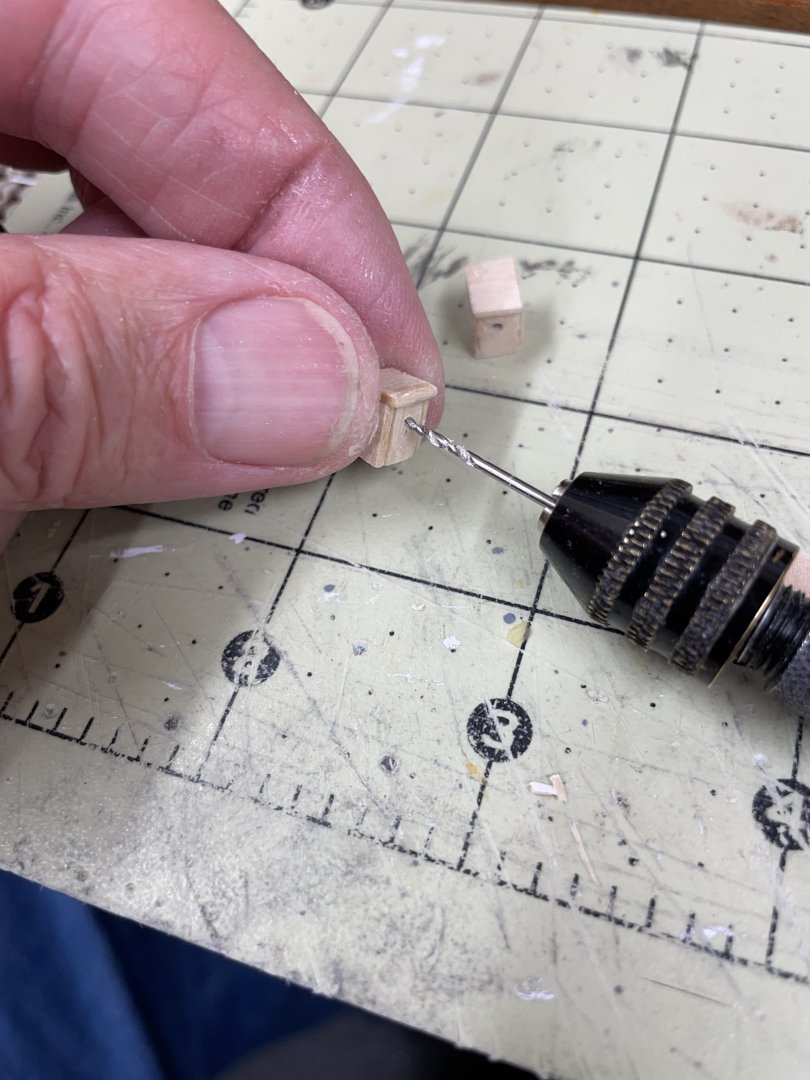
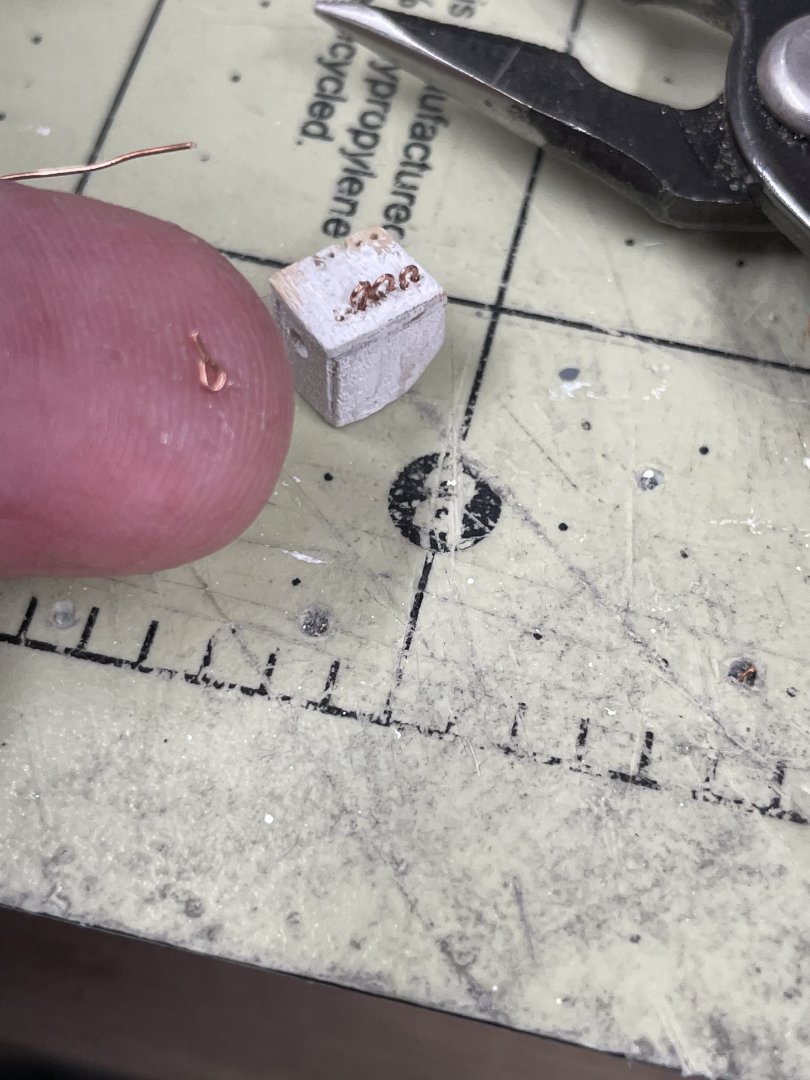
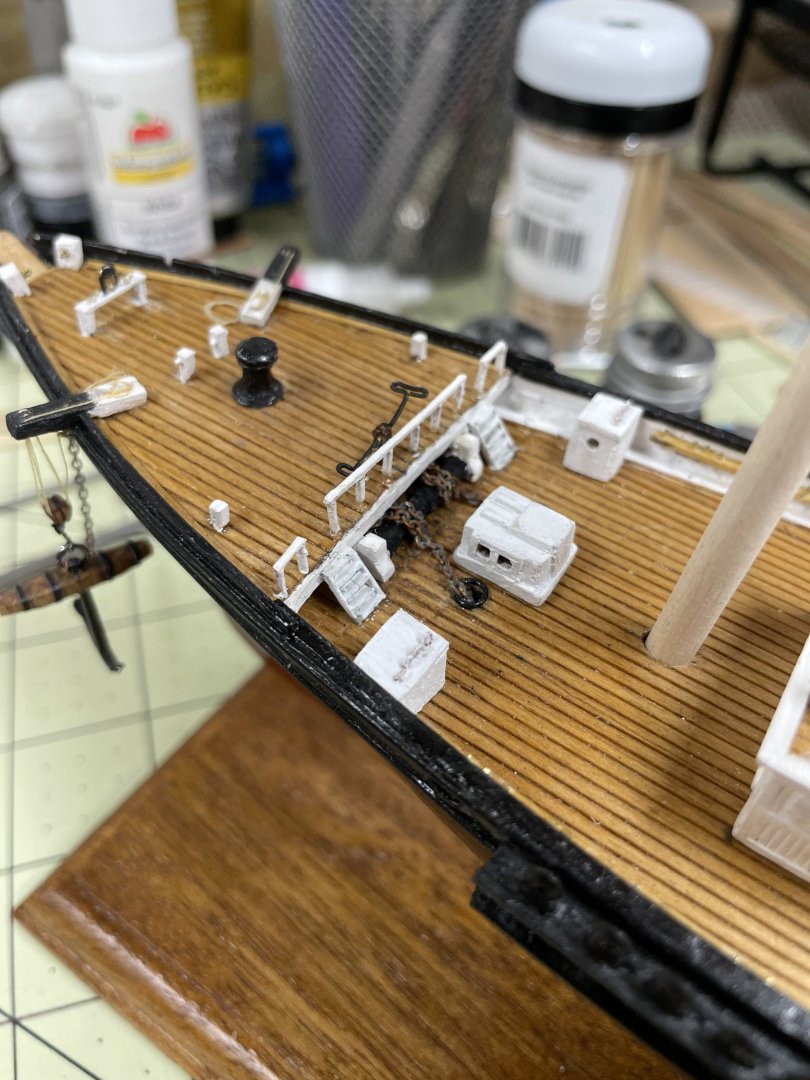
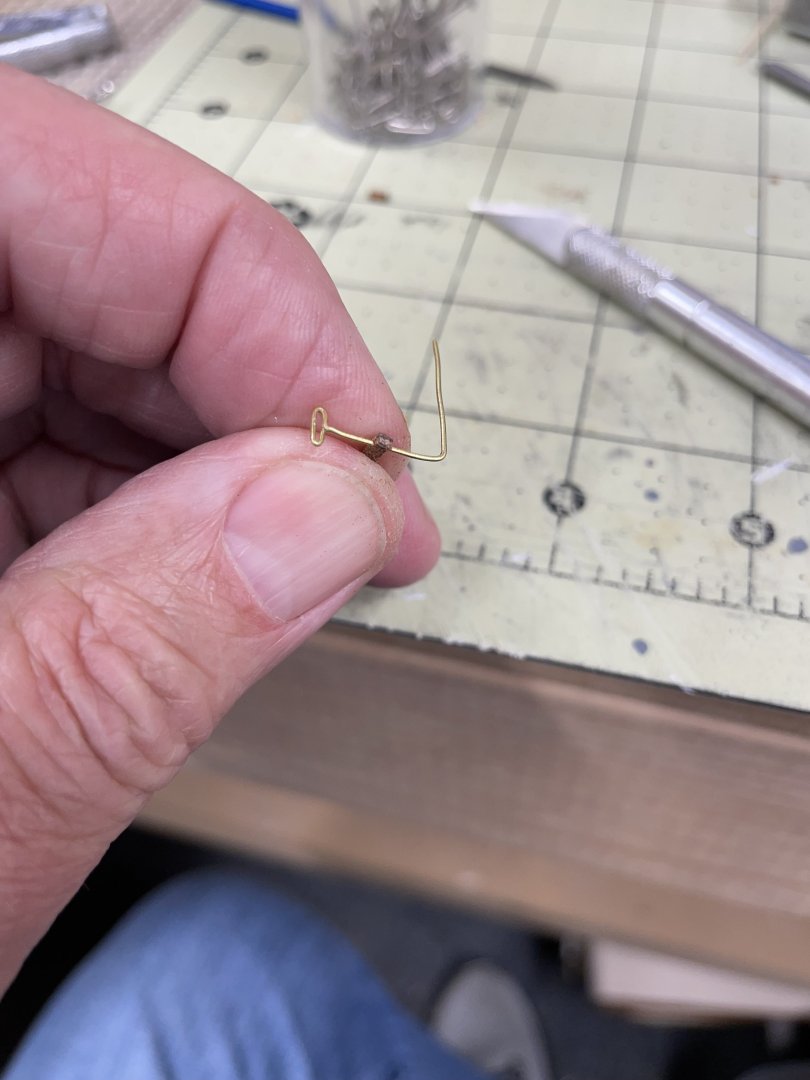
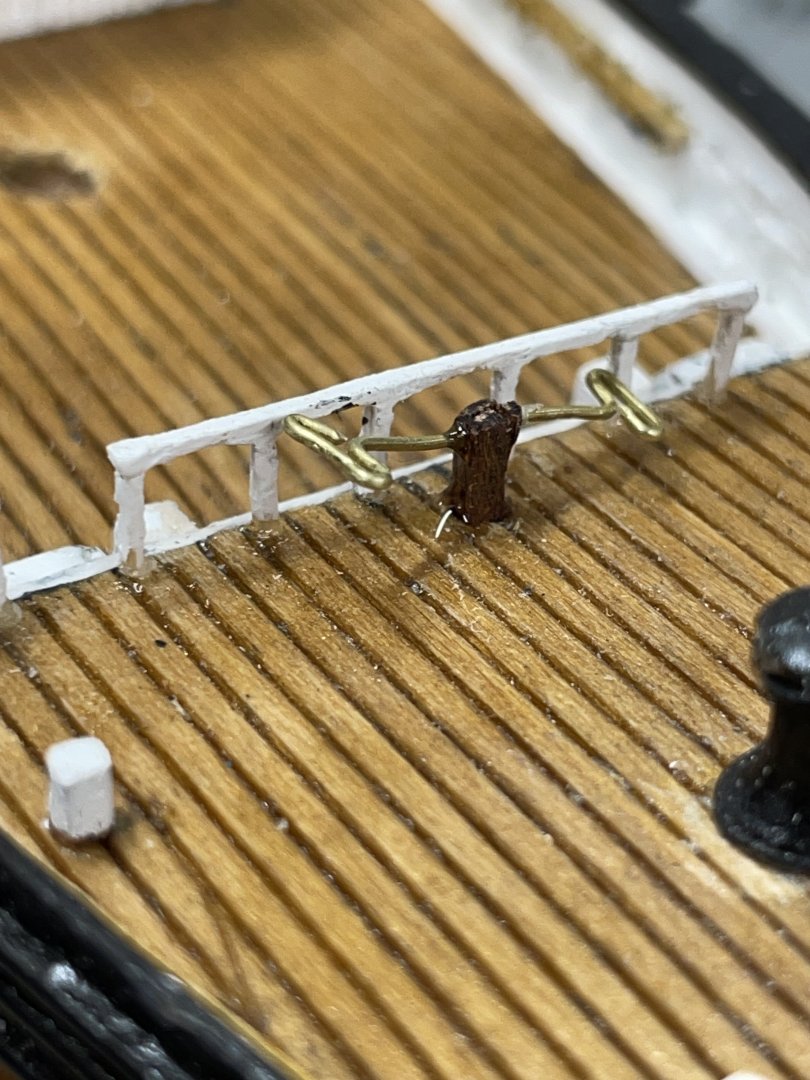
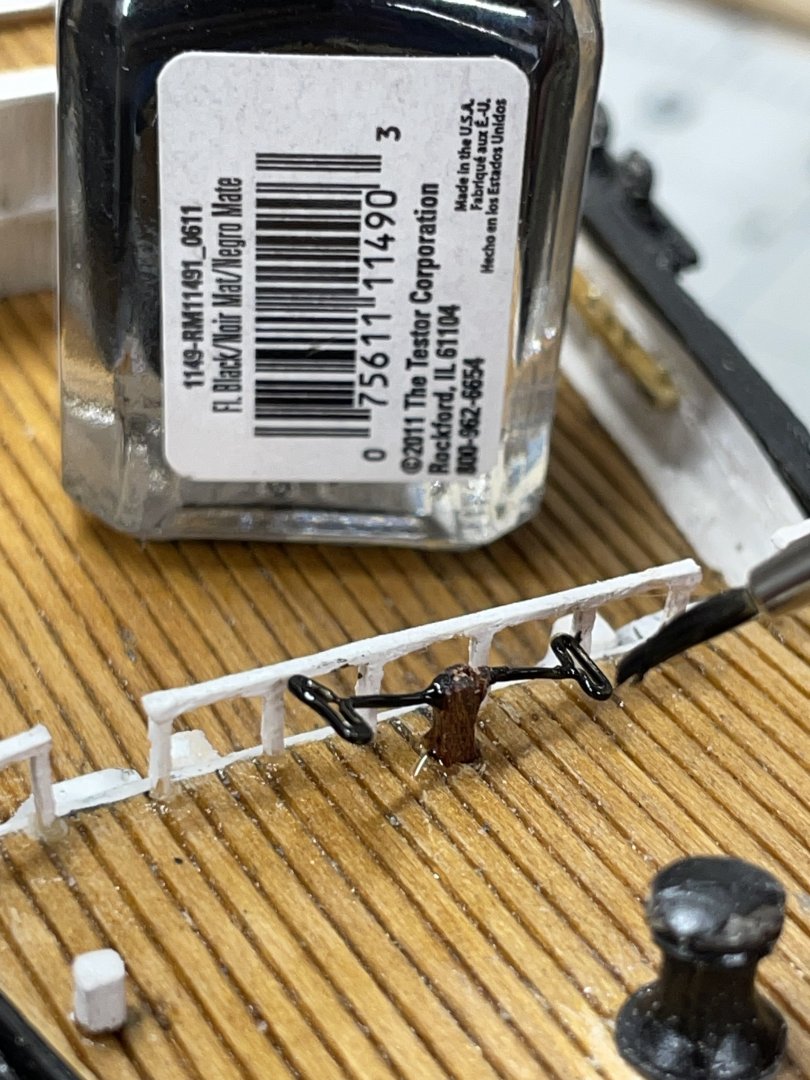
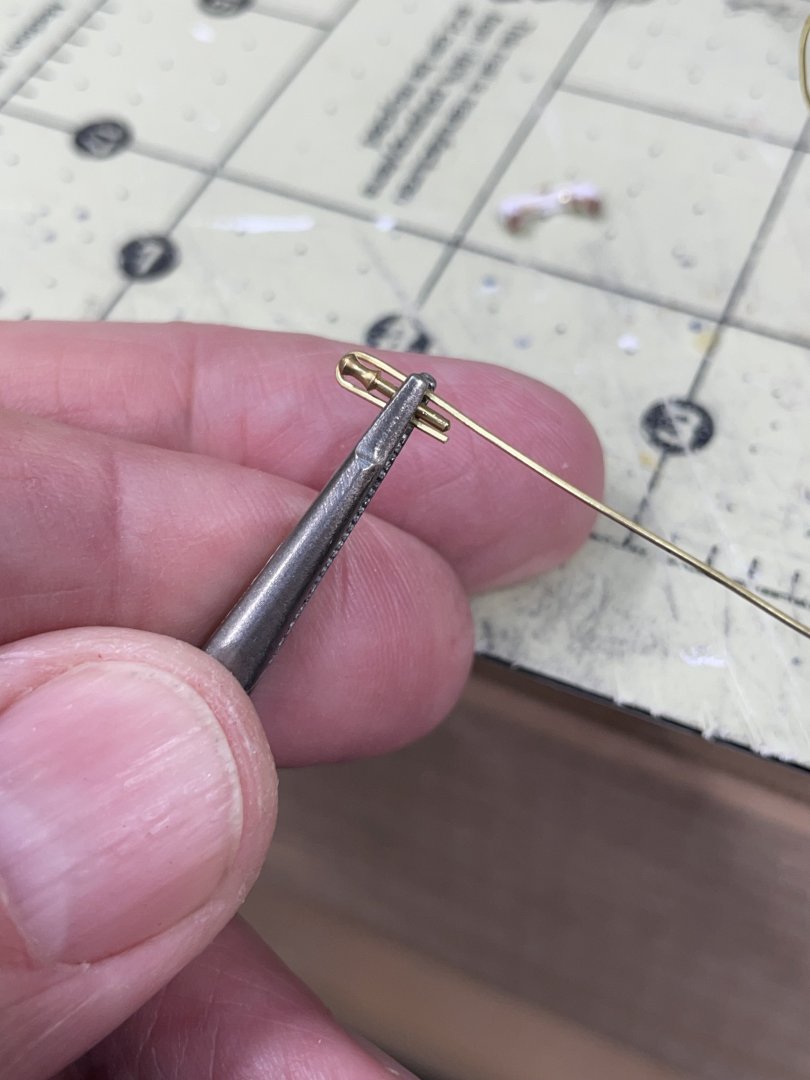
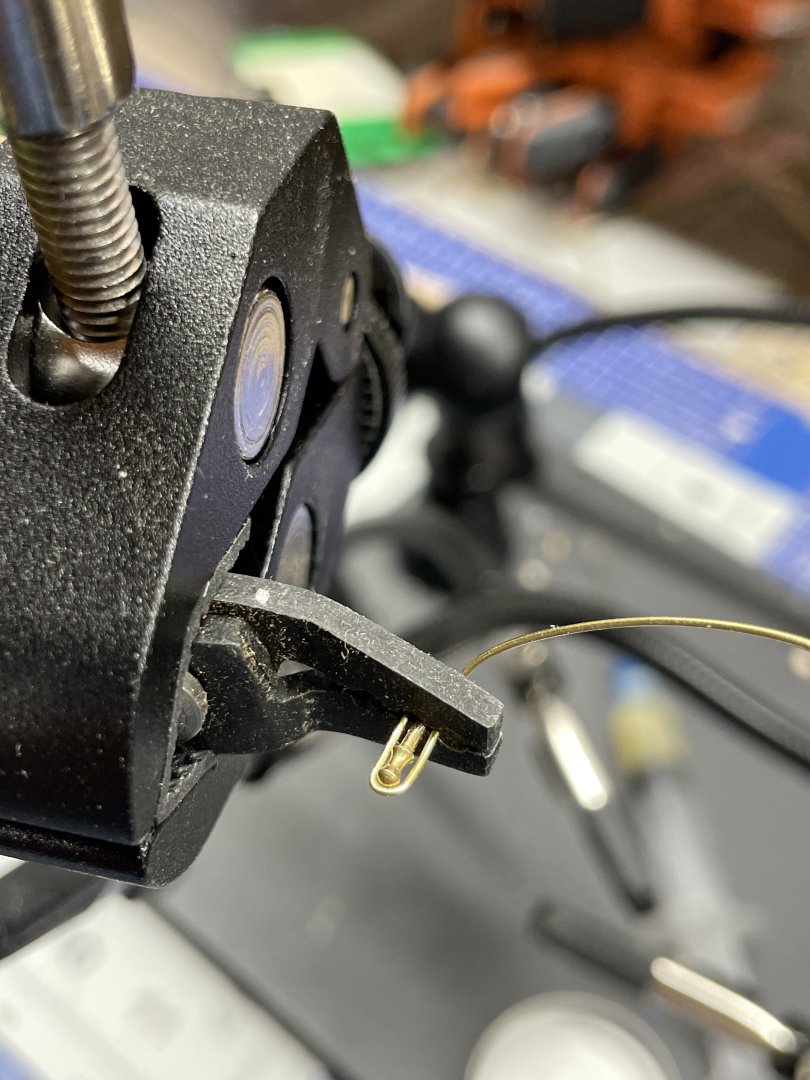
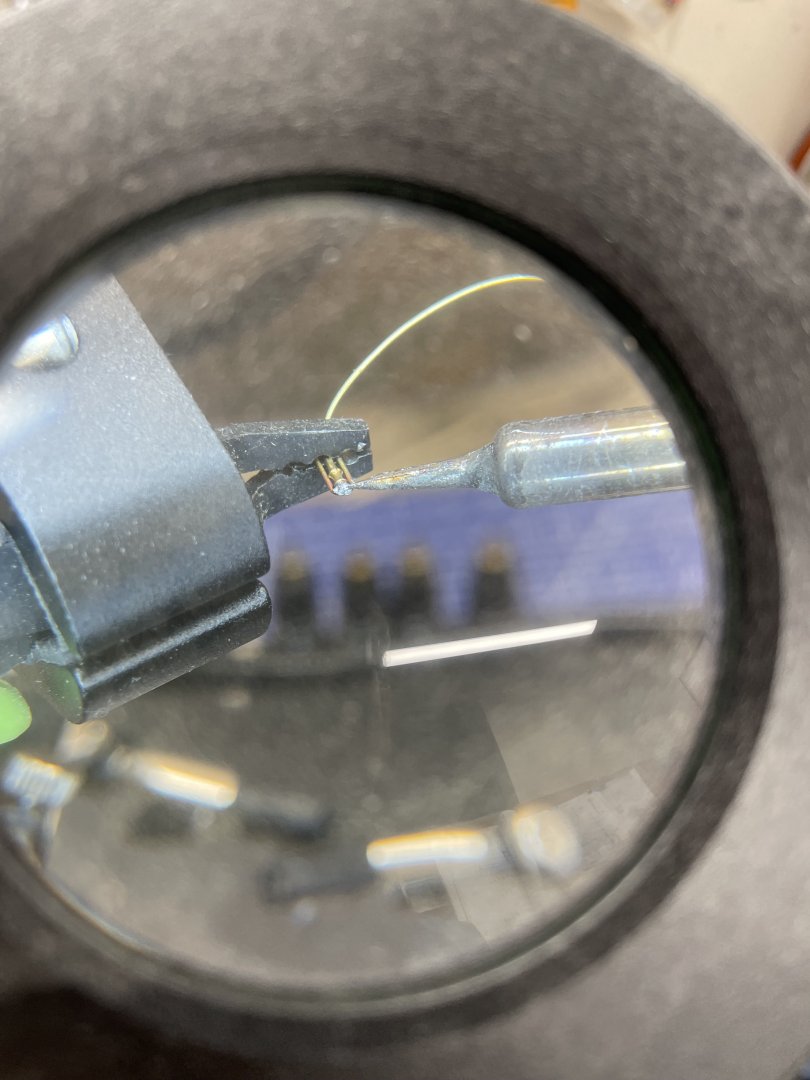
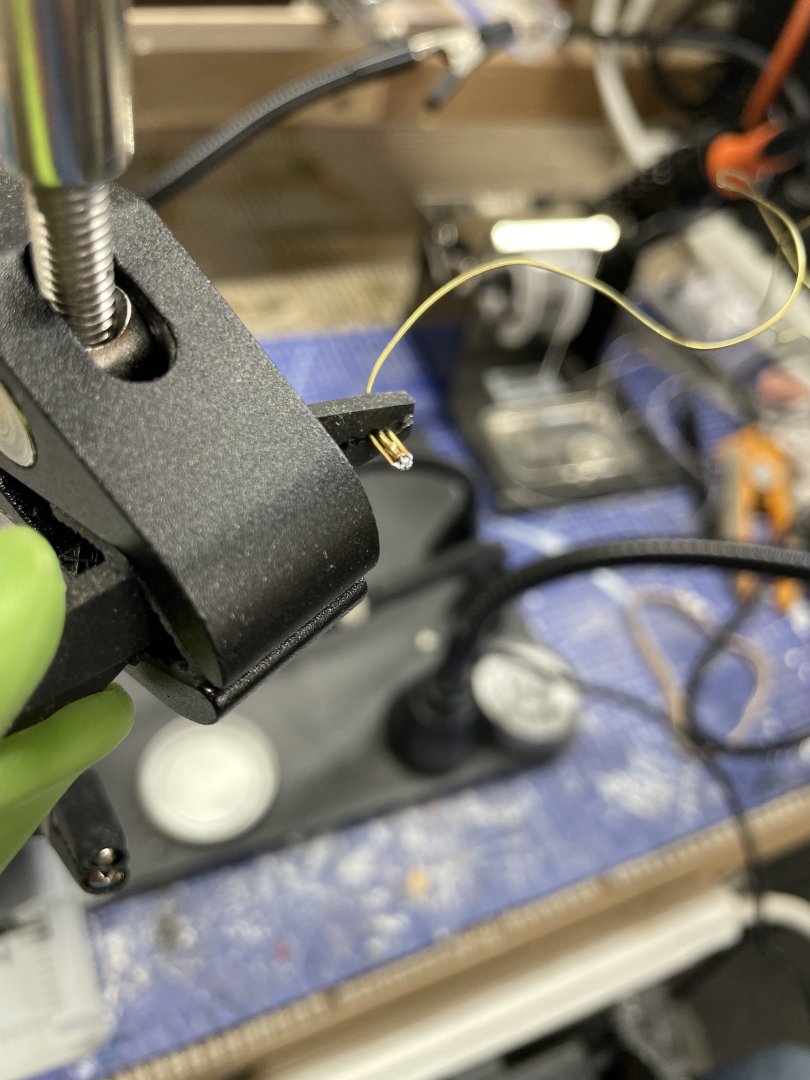
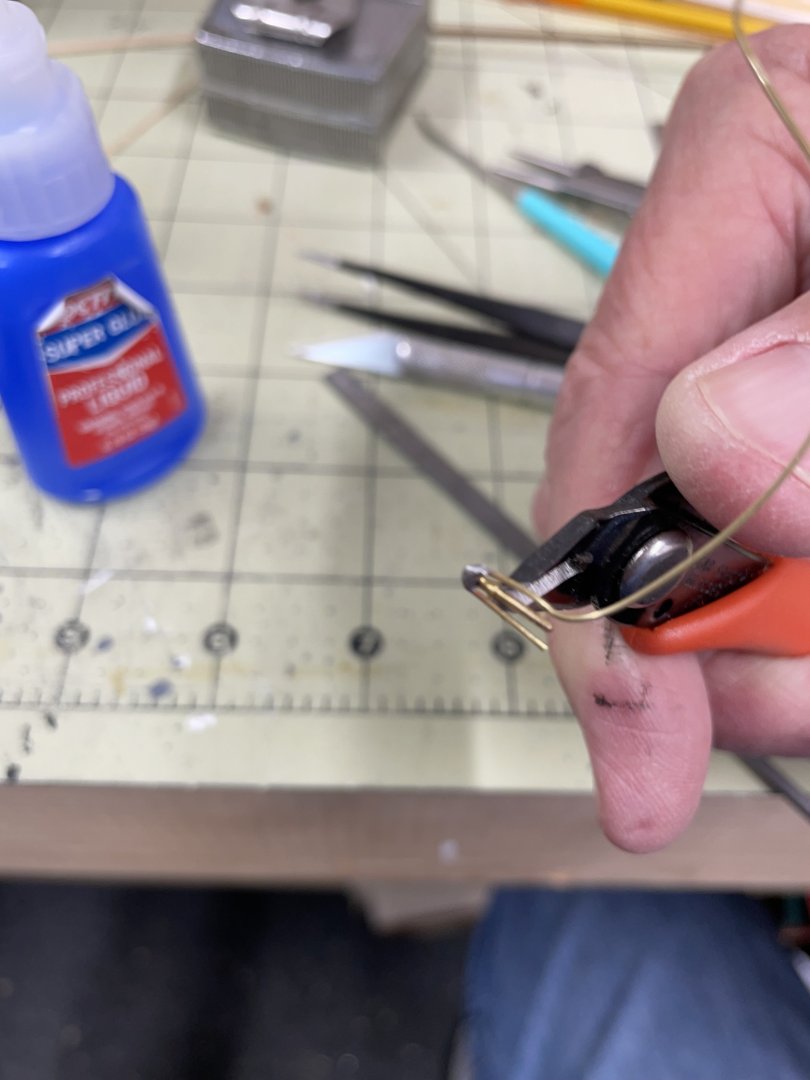
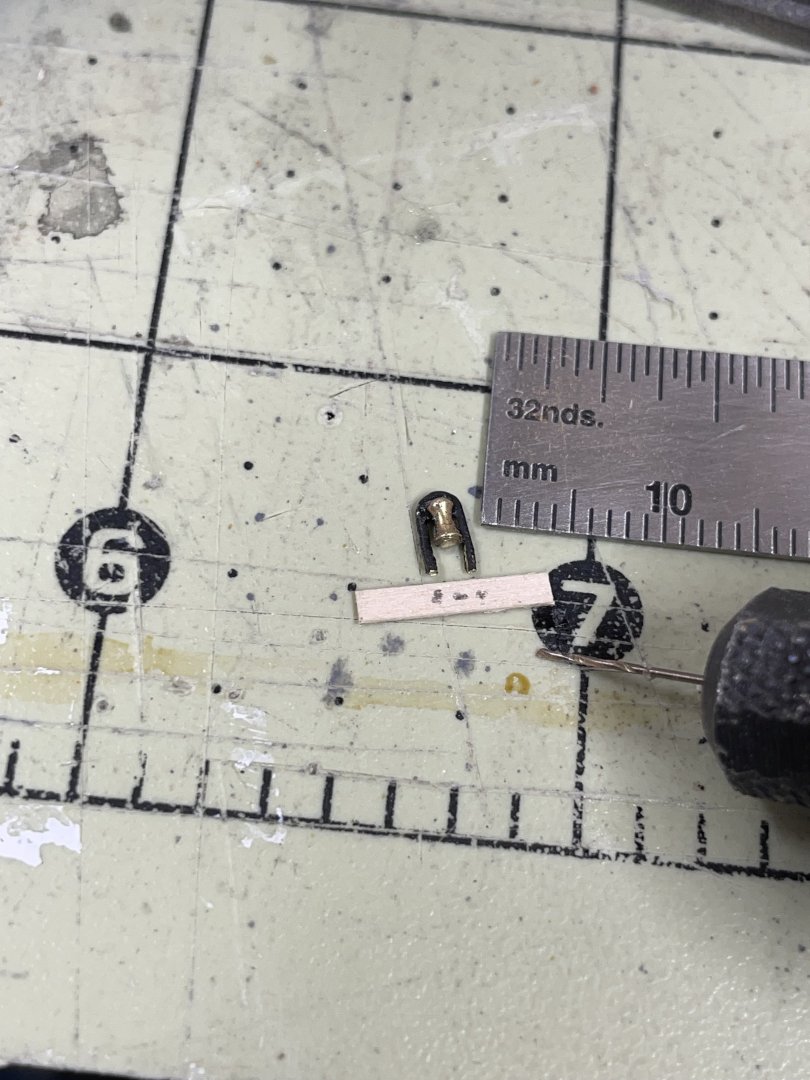
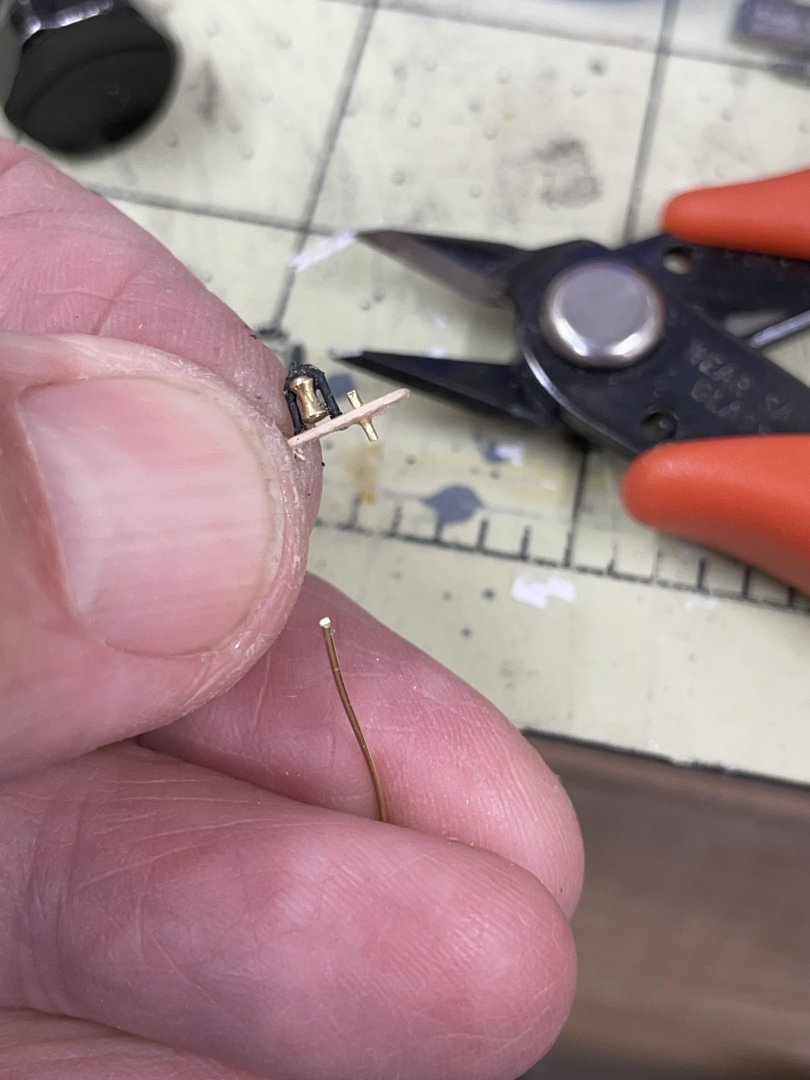
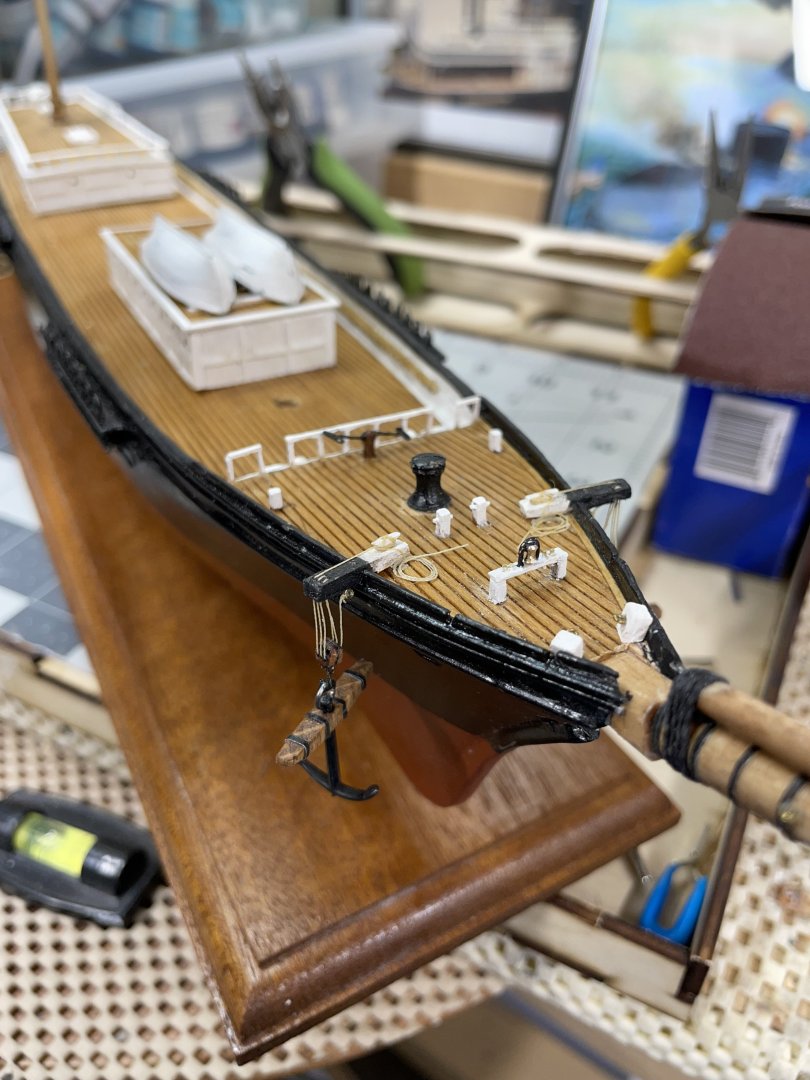
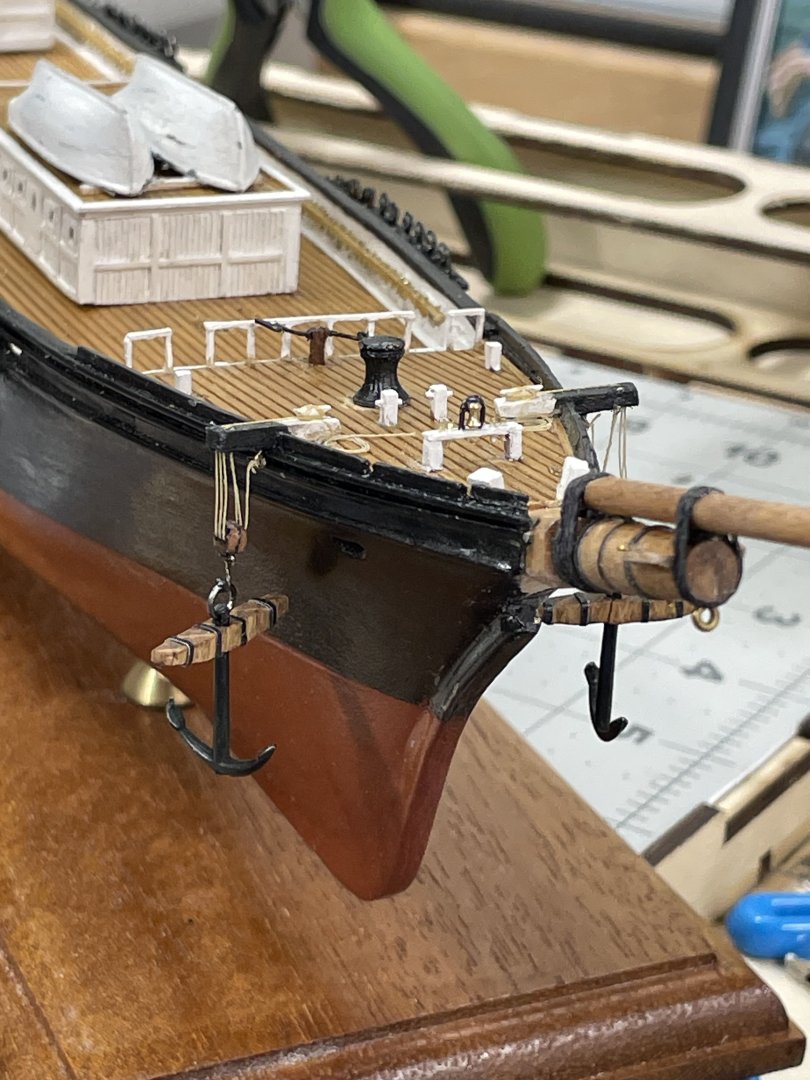
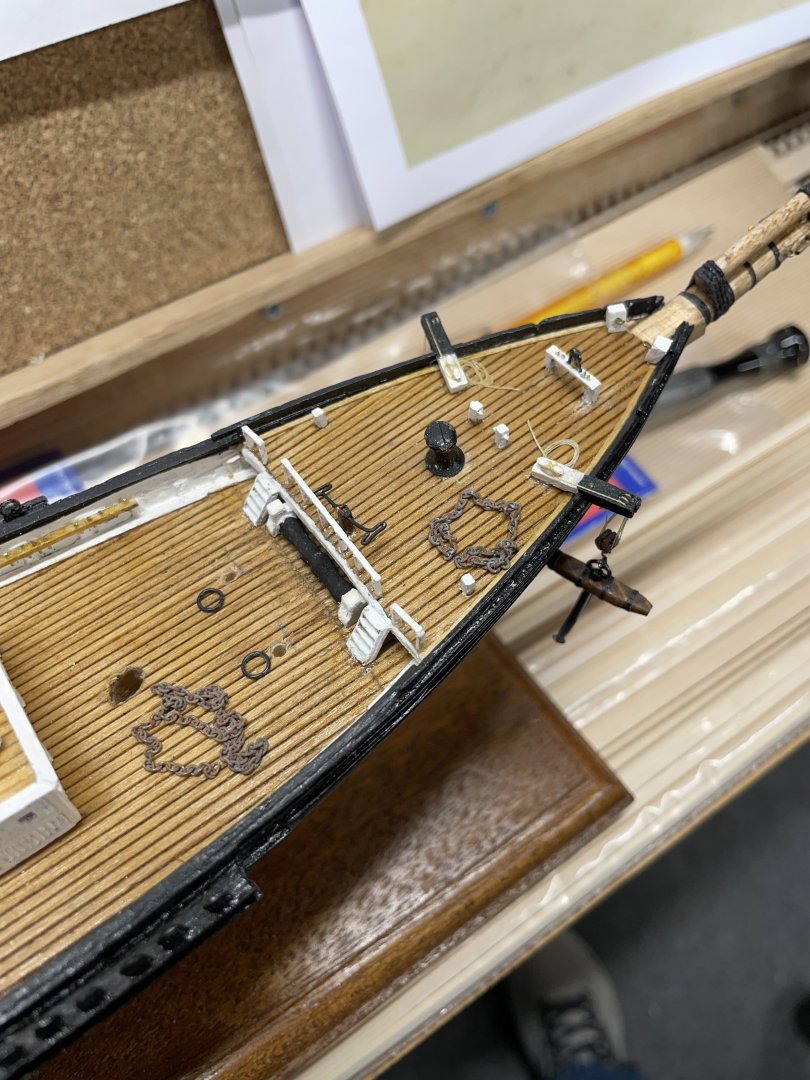
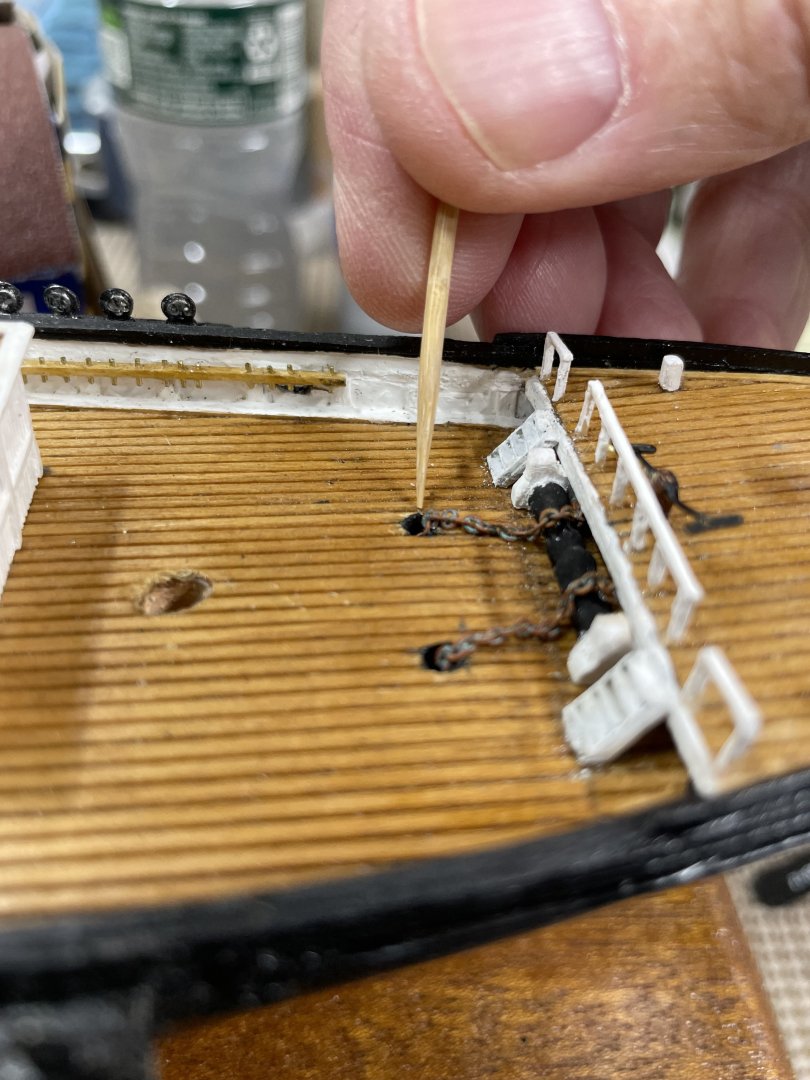
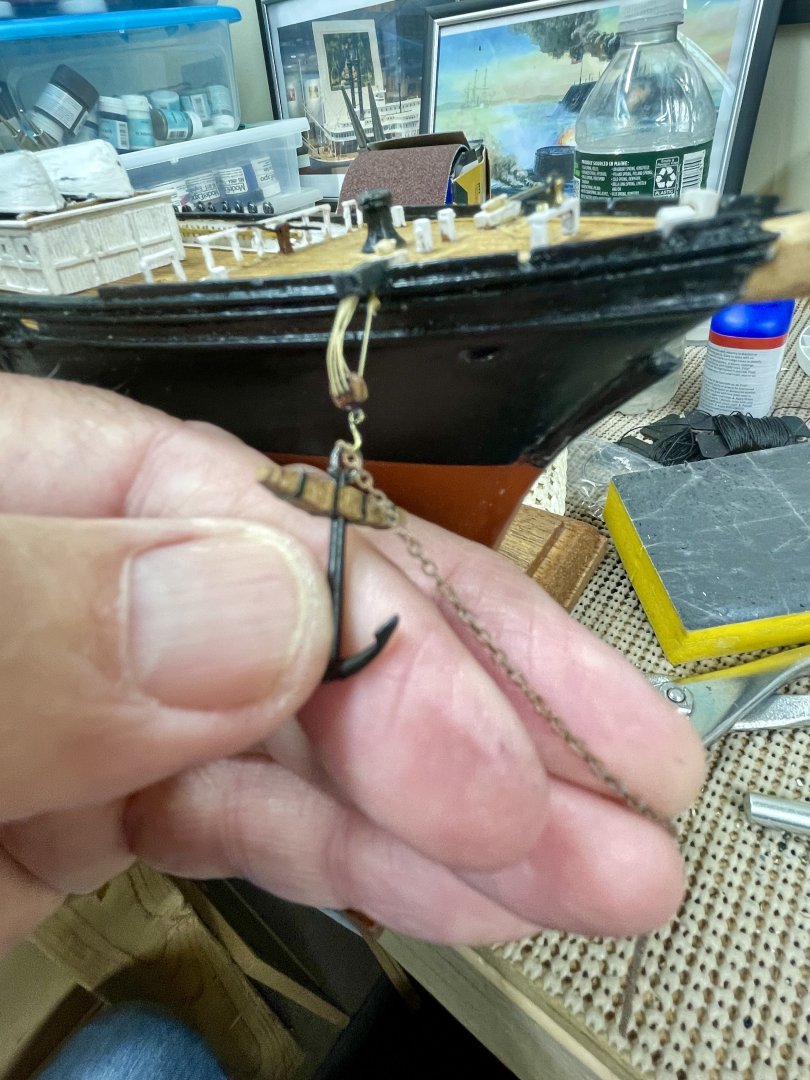
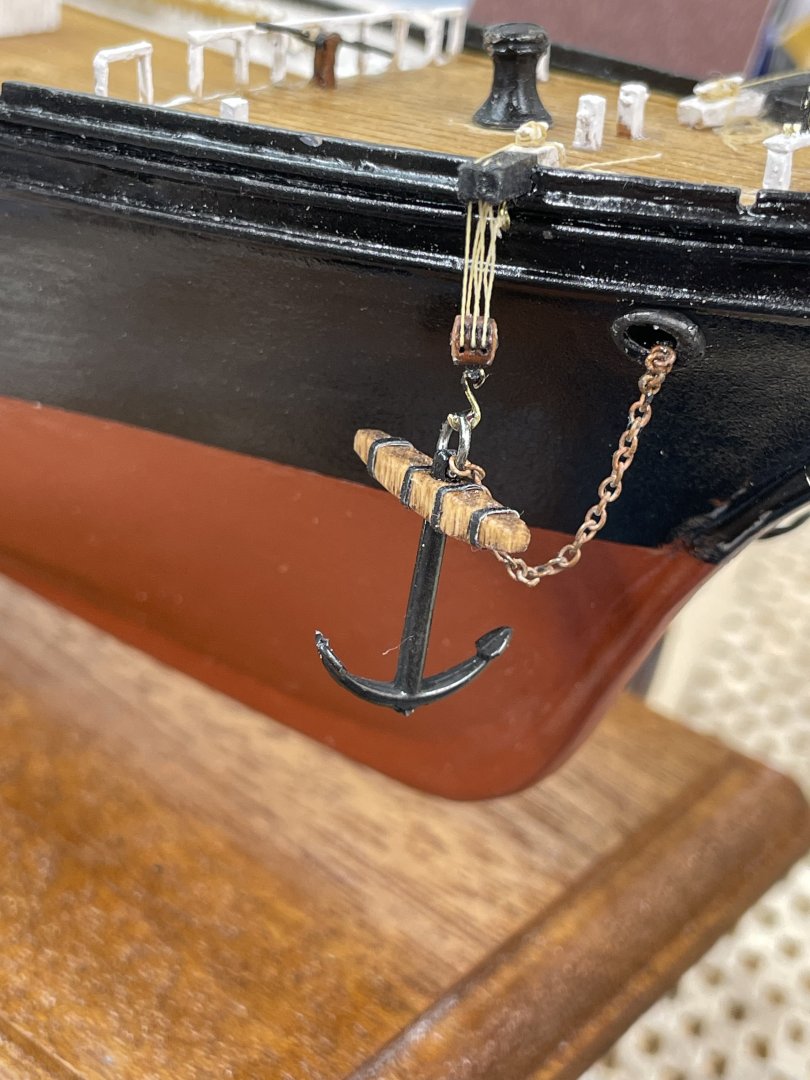
Deck Furnishings continue… Forward Companionway… Bosun’s Locker and Head… Fair Leads for Head sail Sheets… Cheers 🍻
- 165 replies
-
- Red Jacket
- Marine Model Company
-
(and 2 more)
Tagged with:
-
- 165 replies
-
- Red Jacket
- Marine Model Company
-
(and 2 more)
Tagged with:
About us
Modelshipworld - Advancing Ship Modeling through Research
SSL Secured
Your security is important for us so this Website is SSL-Secured
NRG Mailing Address
Nautical Research Guild
237 South Lincoln Street
Westmont IL, 60559-1917
Model Ship World ® and the MSW logo are Registered Trademarks, and belong to the Nautical Research Guild (United States Patent and Trademark Office: No. 6,929,264 & No. 6,929,274, registered Dec. 20, 2022)
Helpful Links
About the NRG
If you enjoy building ship models that are historically accurate as well as beautiful, then The Nautical Research Guild (NRG) is just right for you.
The Guild is a non-profit educational organization whose mission is to “Advance Ship Modeling Through Research”. We provide support to our members in their efforts to raise the quality of their model ships.
The Nautical Research Guild has published our world-renowned quarterly magazine, The Nautical Research Journal, since 1955. The pages of the Journal are full of articles by accomplished ship modelers who show you how they create those exquisite details on their models, and by maritime historians who show you the correct details to build. The Journal is available in both print and digital editions. Go to the NRG web site (www.thenrg.org) to download a complimentary digital copy of the Journal. The NRG also publishes plan sets, books and compilations of back issues of the Journal and the former Ships in Scale and Model Ship Builder magazines.

