HOLIDAY DONATION DRIVE - SUPPORT MSW - DO YOUR PART TO KEEP THIS GREAT FORUM GOING! (Only 13 donations so far - C'mon guys!)
×

Vladimir_Wairoa
-
Posts
1,566 -
Joined
-
Last visited
Content Type
Profiles
Forums
Gallery
Events
Everything posted by Vladimir_Wairoa
-
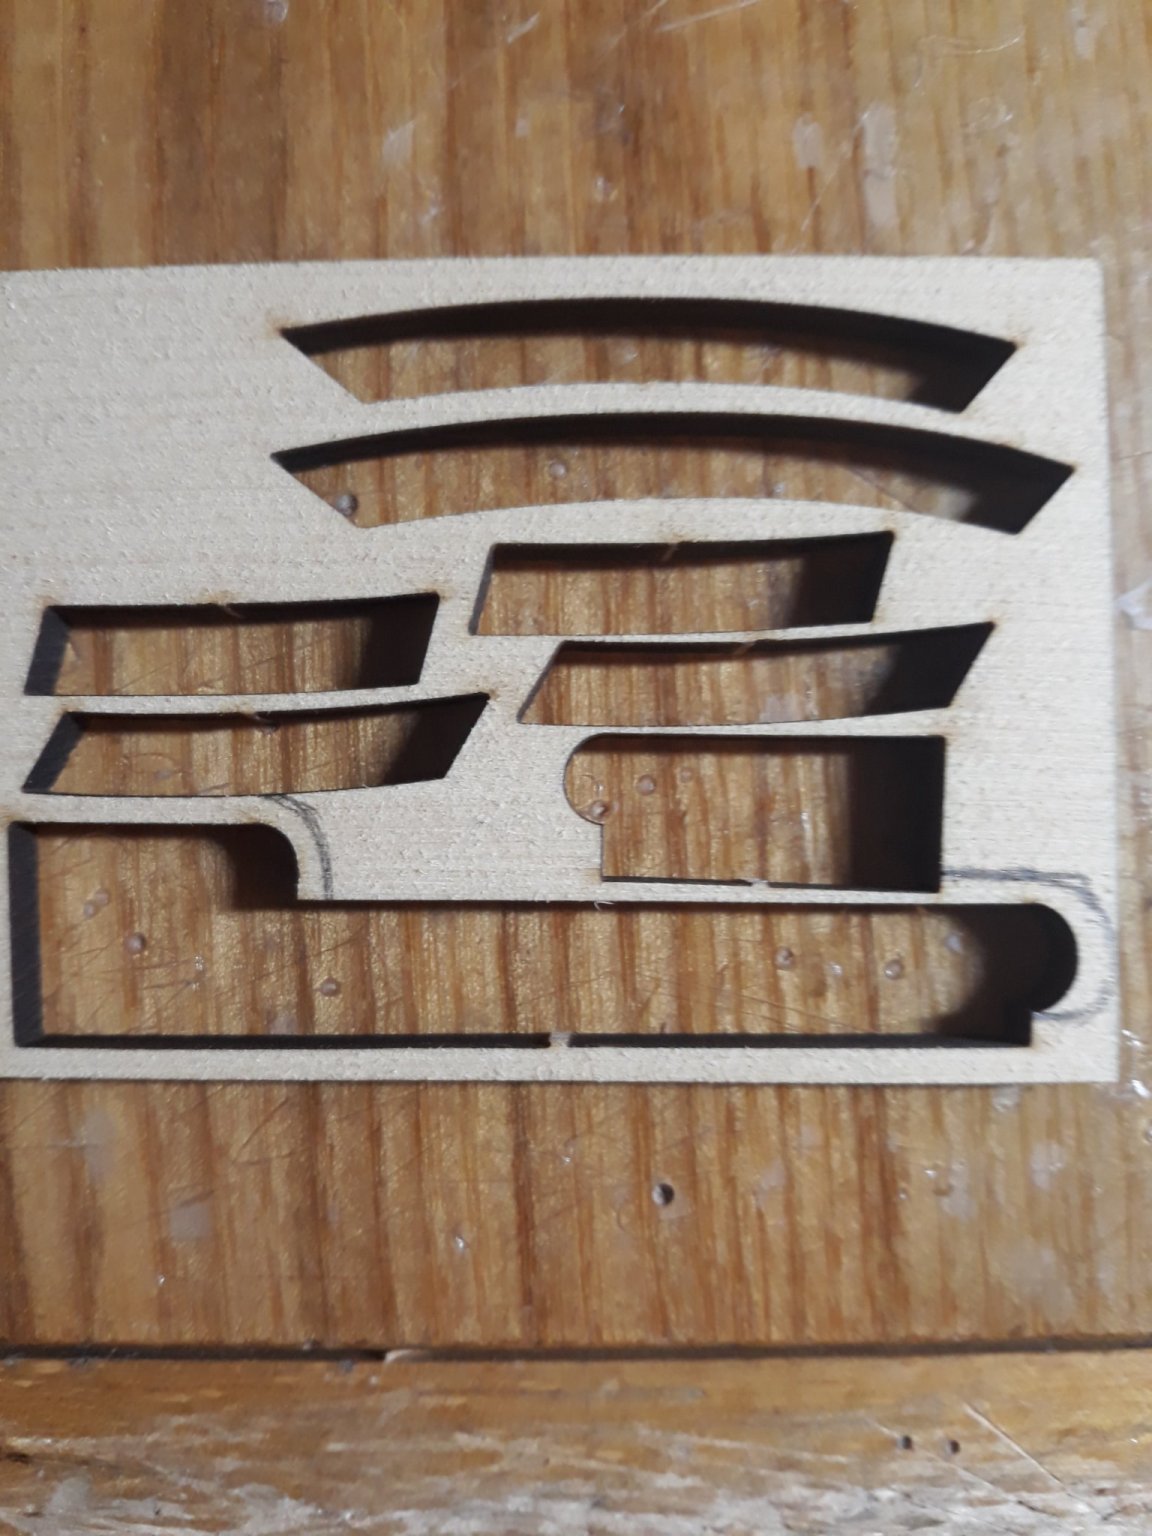
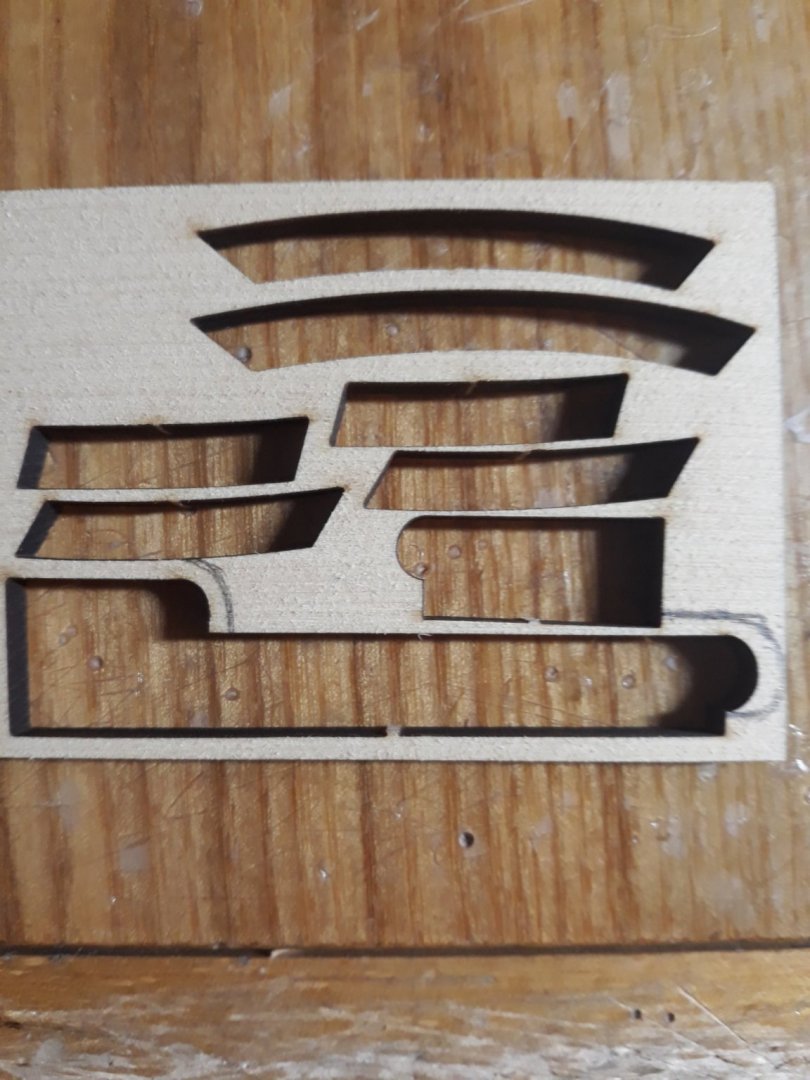
 Bruce, its Chucks provided laser cut piece for part 3. ! All credits to him! i would say it is really impossible to achieve as by any sort of handworking as it would be watch jewelery. Thanks for like.
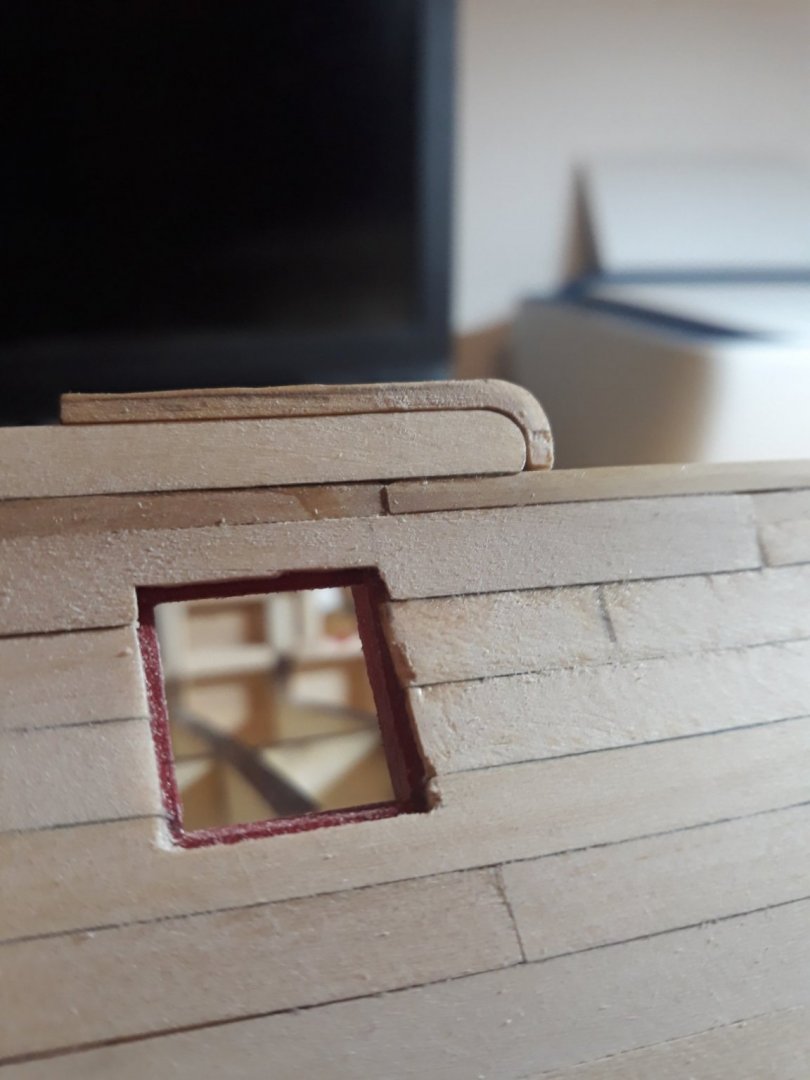

-
she is no more baswood ...End of chapter 2.

-
im sure you will enjoy Chucks POB enormously. its almost pof.... different
-
I must agree about that cedar - its quite unique in that perspective. not sure how it bends but its uniform and holds edge brilliantly. only concern I have though is scraping. Im set t ouse baswoon instead as I would probably ruin scraper before i make 10 cm shape. seems to me impossible to scrape...very stiff wood.
-
Stunning Mathias.
-
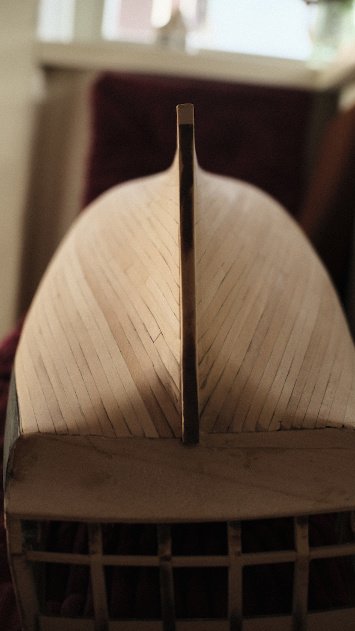
understood, Thank you folks. I thinned int in the middle but left it go wide at the top again ...will correct it.
-
It looks superneat to me Ron, enjoying the progress . i should have slowed and watch and ask for magic clues you use. I realized that cedar is quite stiff wood which helps in terms of maintainig seams very precise thats good. Cute litte fellow that chihuahua
-
Tom, I am new to this hobby started last year for my childhood old love of old vessels. I have also other main woodworking occupations as attempting violinmaker. in the middle of cutty sark soldering I did something very regrettable, I repeatedly poured soldering acid on top of my hands - for a coupl of days ! resulting in killing skin cells to the point of permanent alergic reaction - so every time i touch either glue, come to touch with sawdust etc my hands swirl red and sore for a couple of days so i have to put sepcial cream on them. I know its not back sore, just to share my shortcomings and thoughts I always have in my 40 ties since than - whether to continue working with wood. so far i manage but i have to stop after few days if it gets worse.... so i can say my dubness during modelling harmed me a bit to rest of my life in a way but thats life. everyone has unique story to tell. I hope your back betters and im sure you will come to right decision. Vlad
-
Thank you for likes youre very kind all !


-
Thank you ! , and you mean i scratched off some bit from there i will have to repair it for sure.:) v.
-
Thanks a milion Ron, I bet im not the one to look over the shoulder:) , its really my first proper model aside of cutty scratch attempt. When i think it cant be better and take pic and look at Chucks or others perfect straight tight seams etc ...I keep asking what the hell? as for my speed i am at home at the moment so time pays off...coating dilemma this seek to solve so fingers crossed. V.
-
Thank you Rustyj. I learnt aplenty. V.
-
yes thank you Bruce I reuploaded.
-
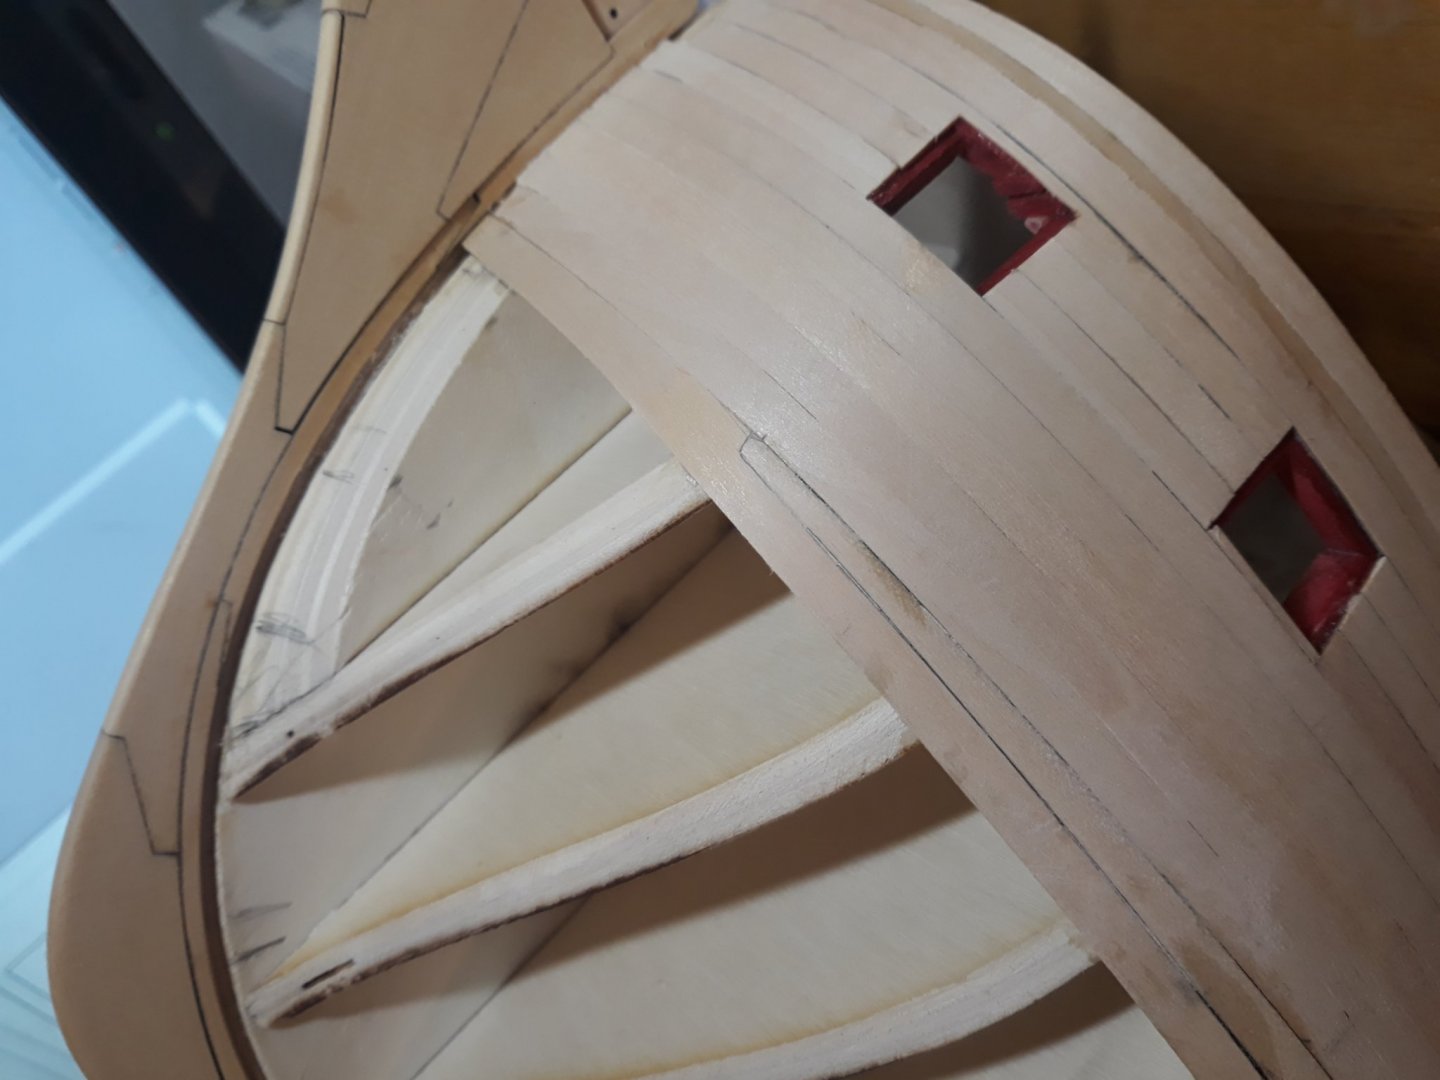
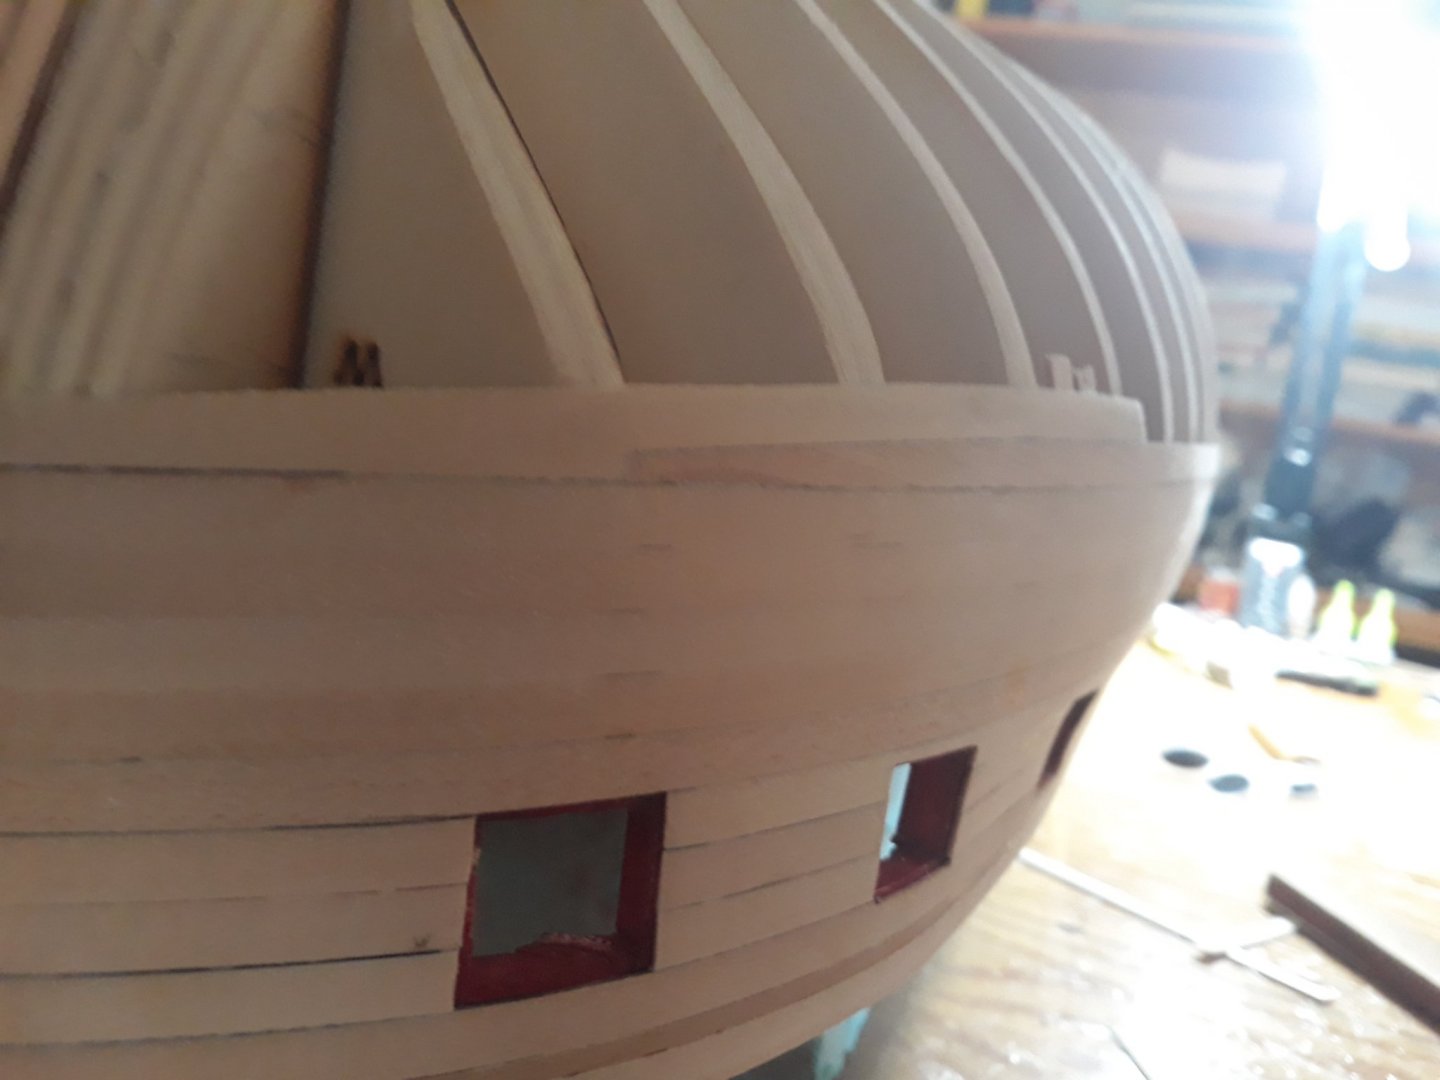
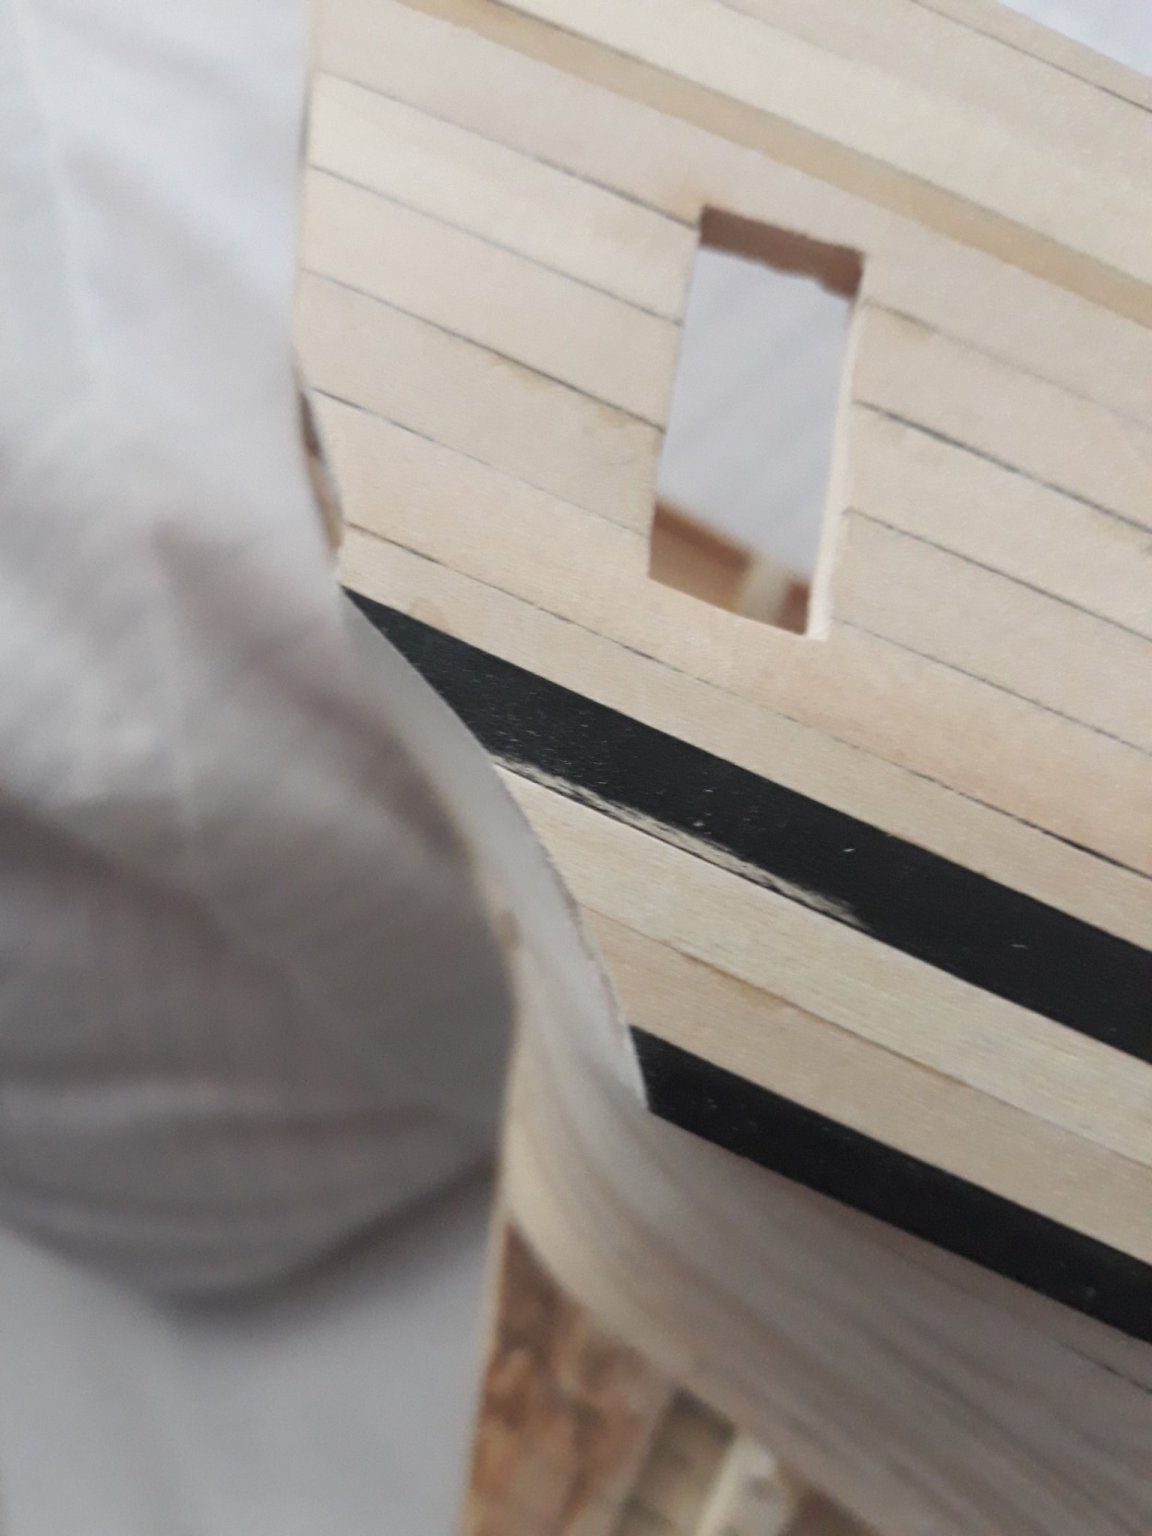
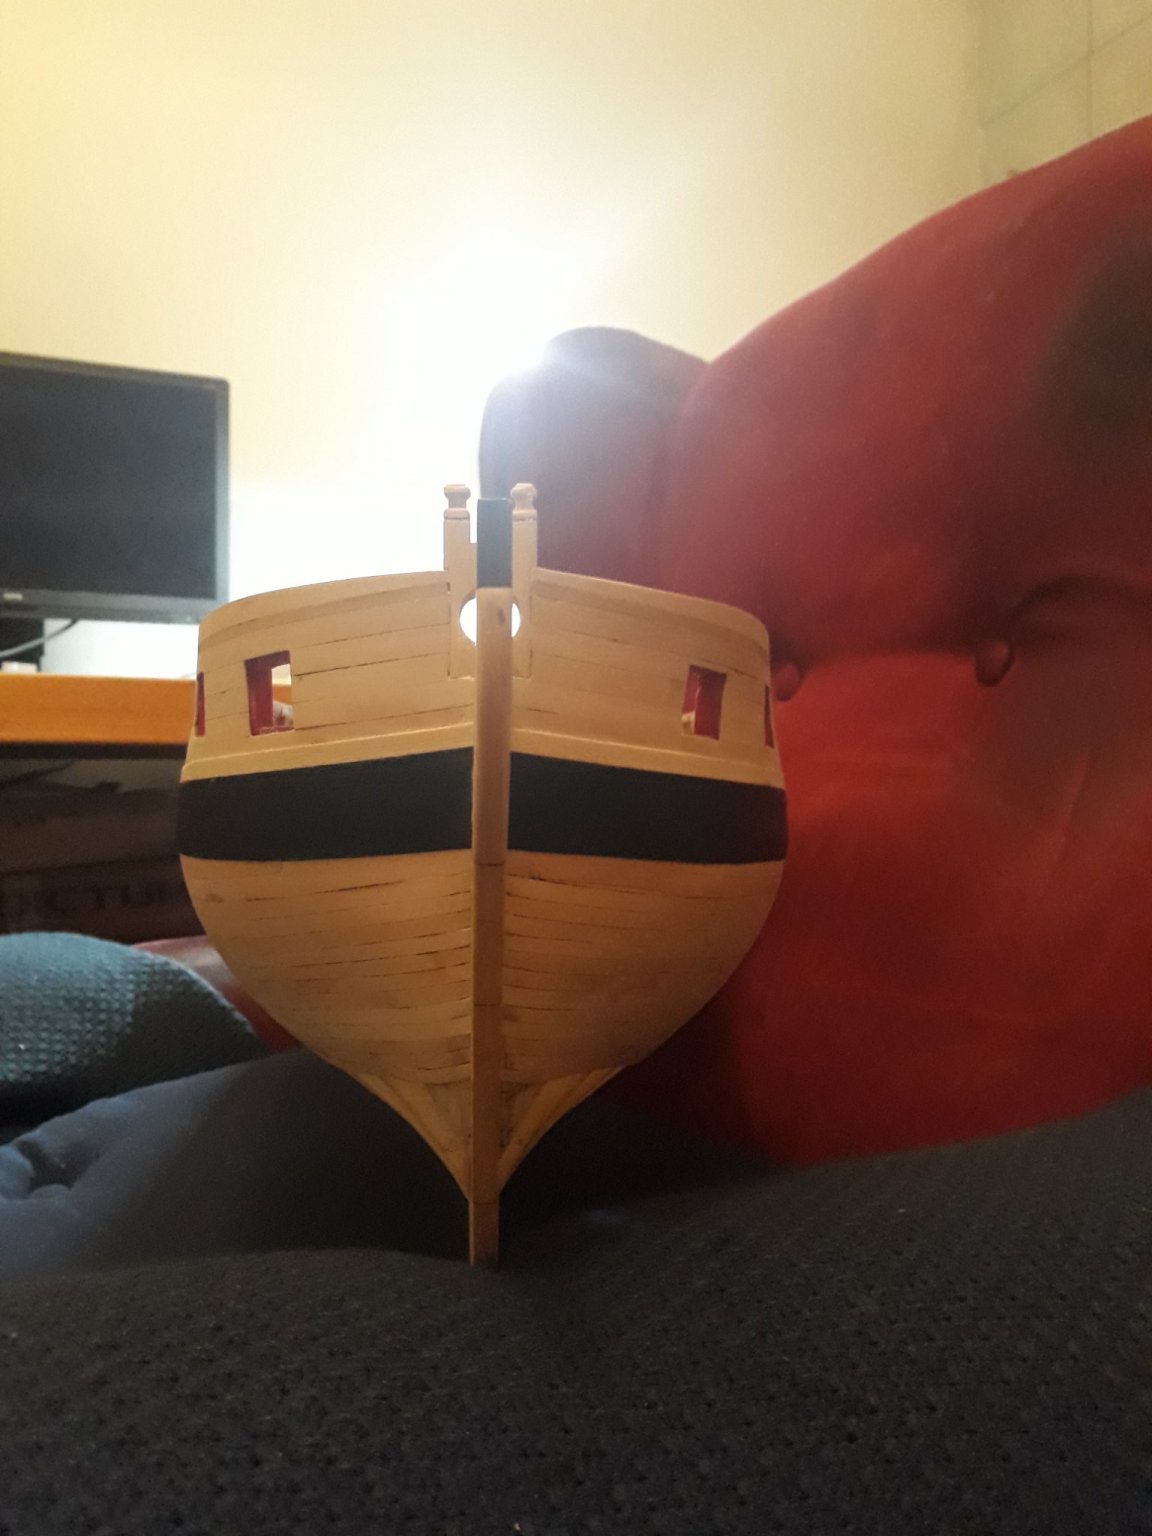
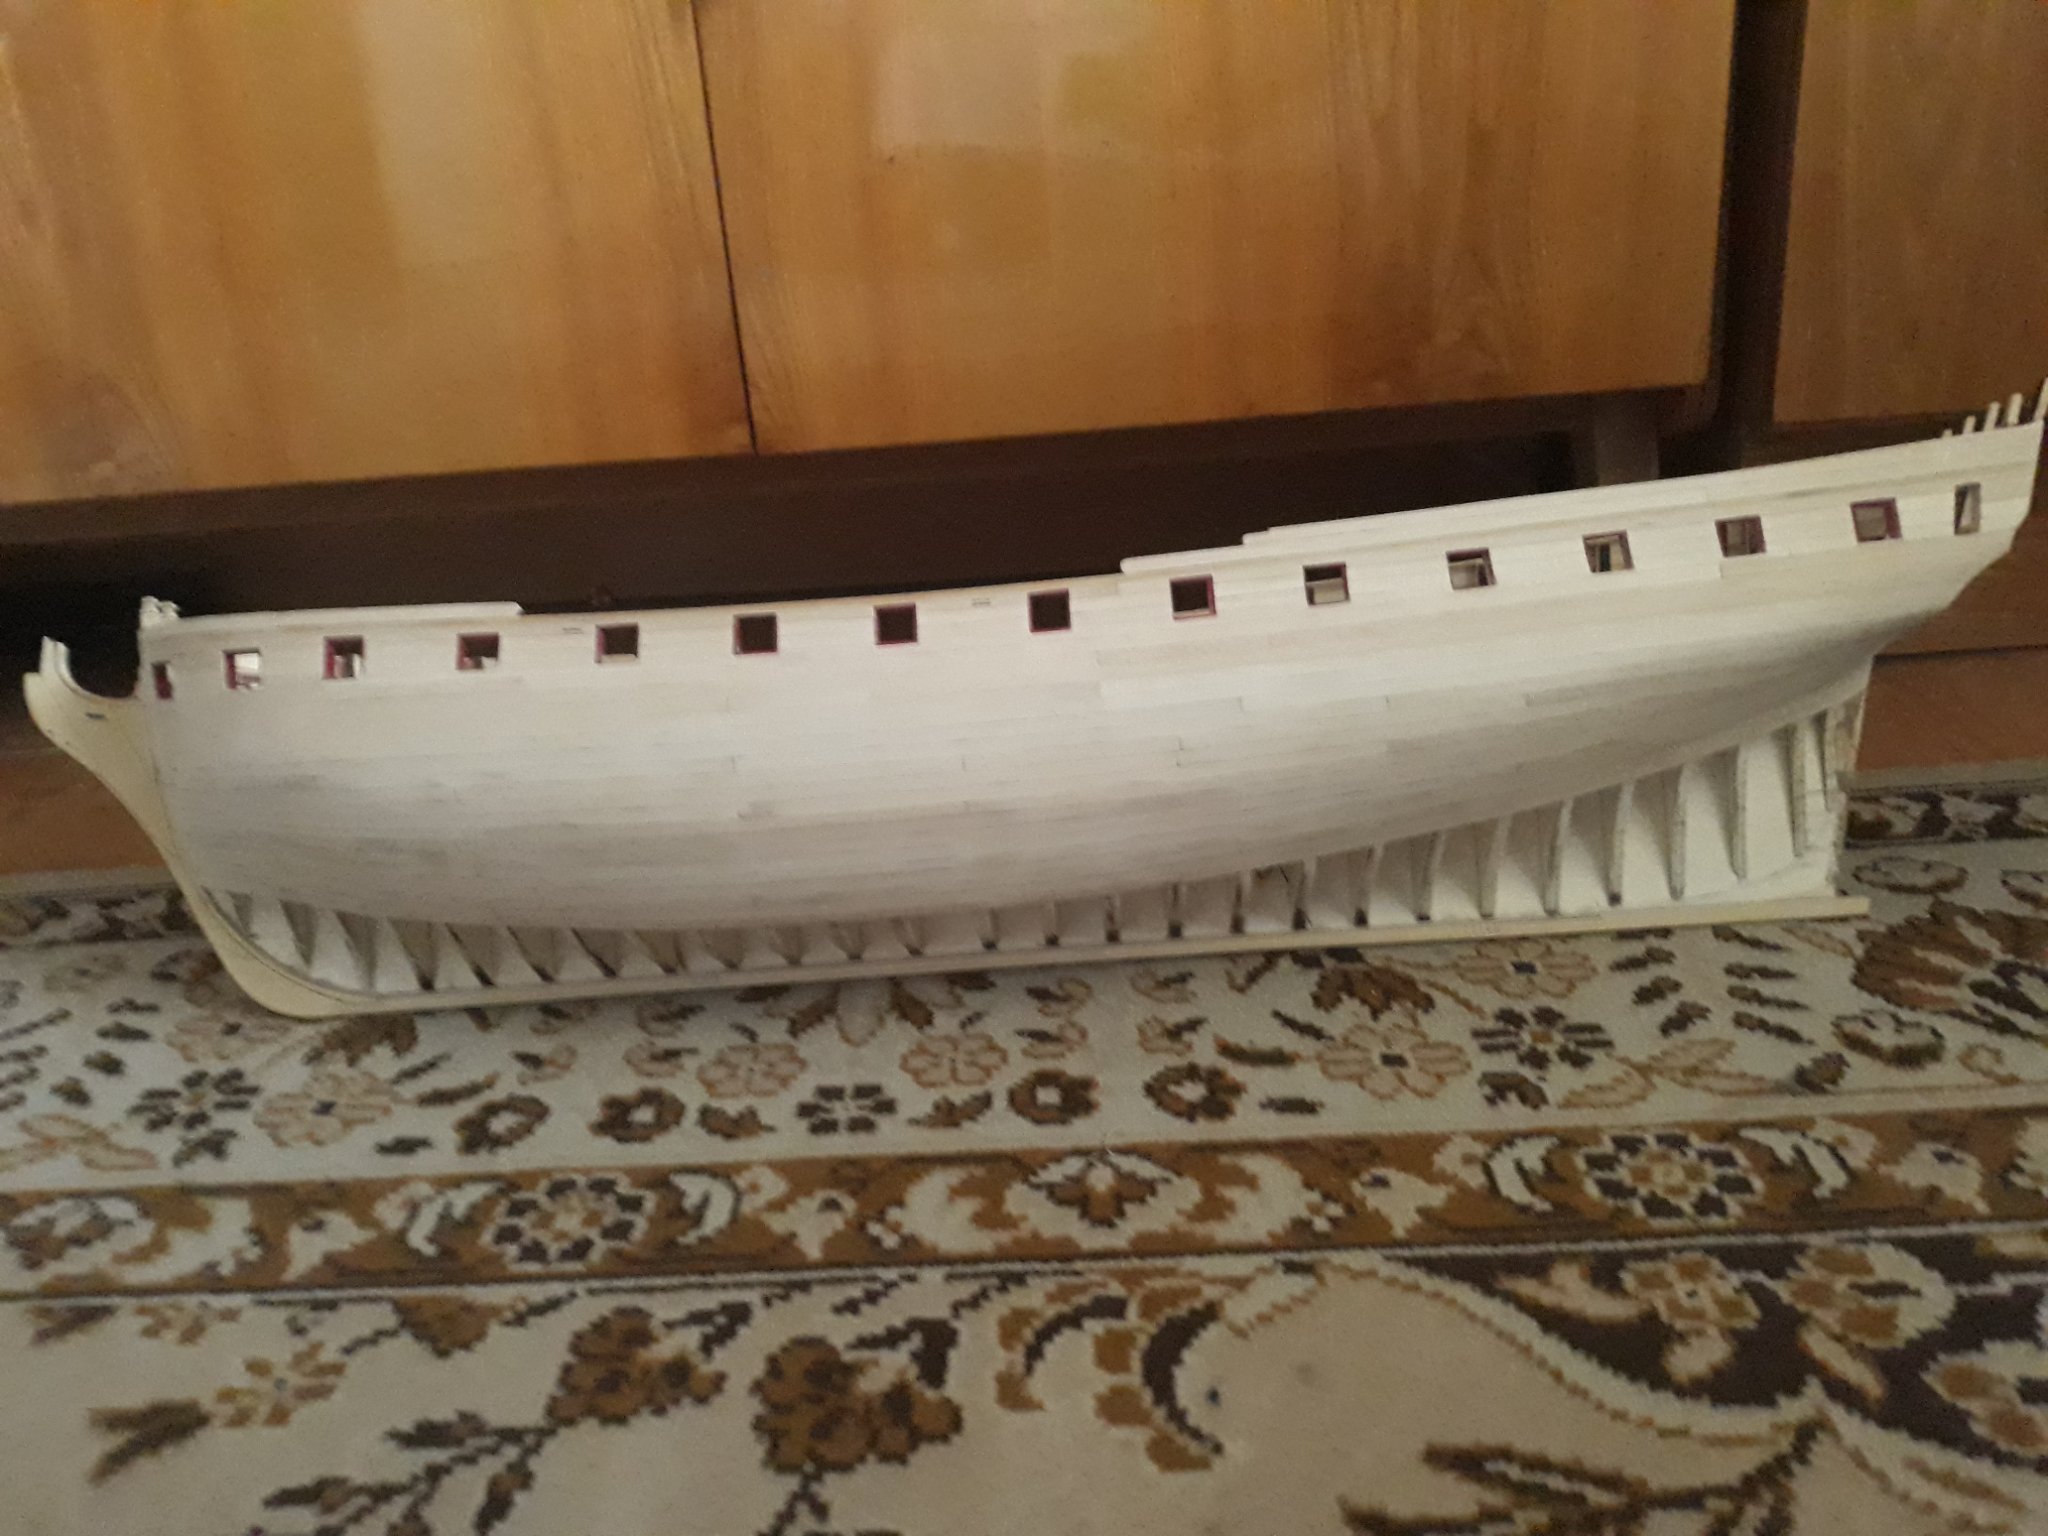
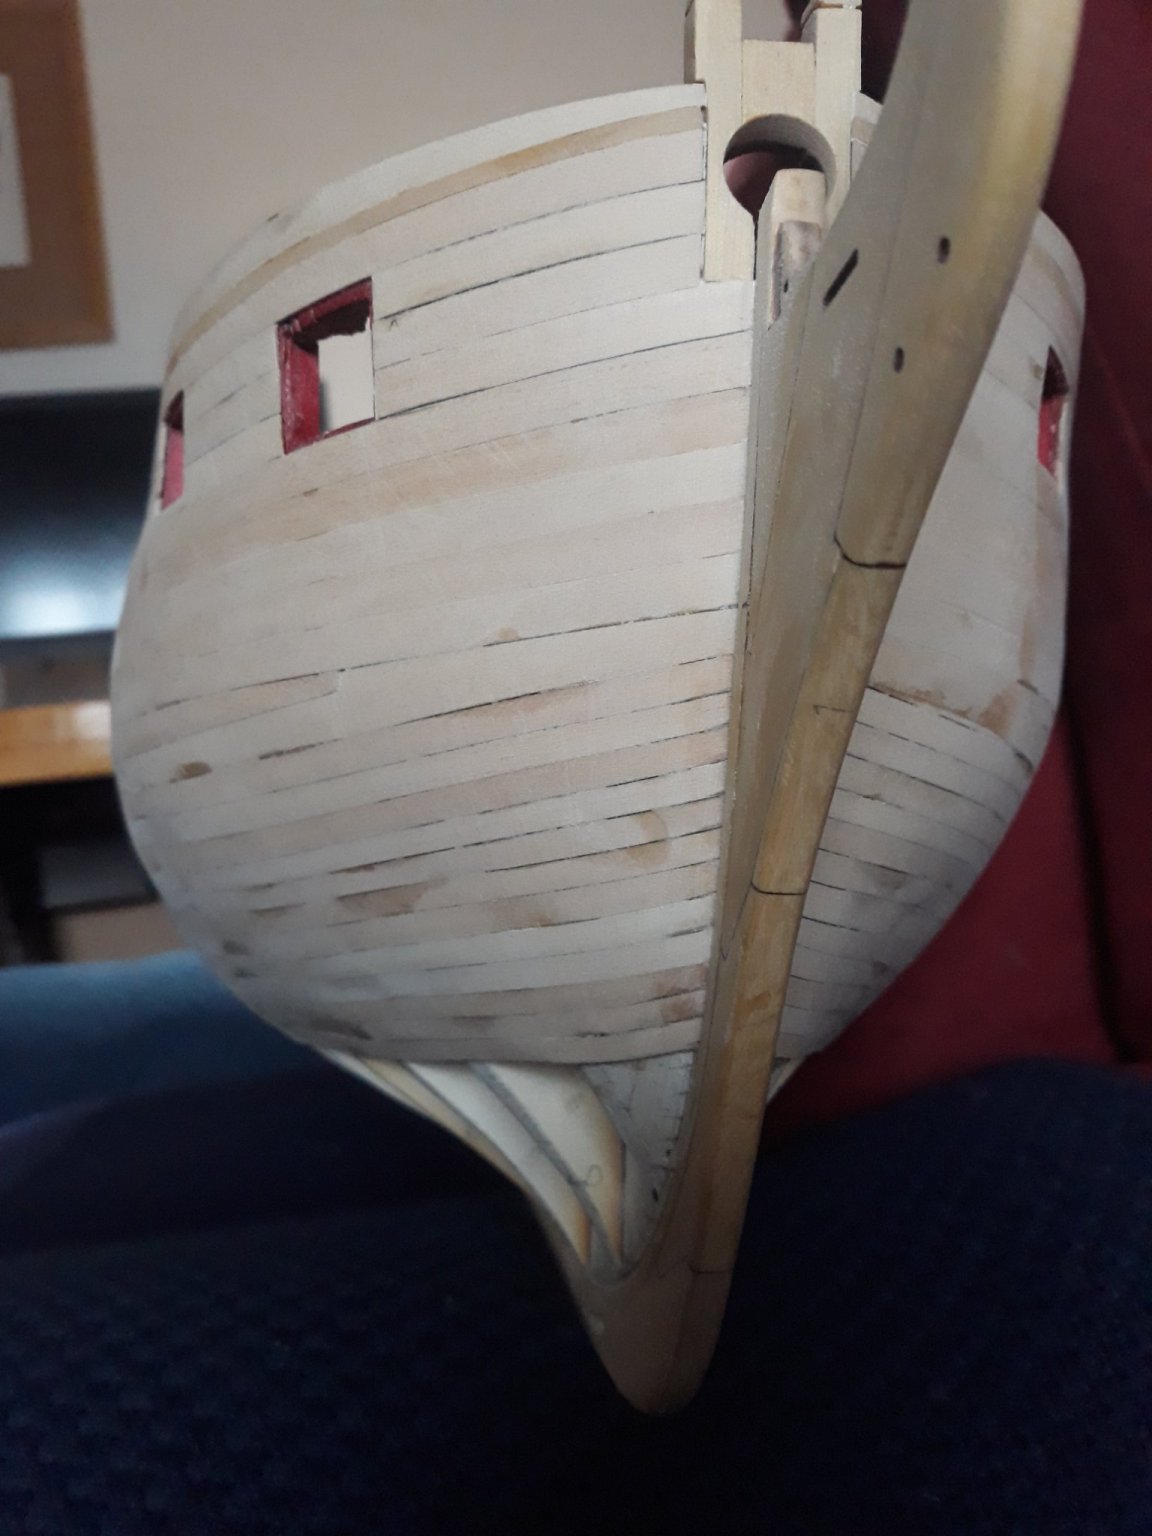
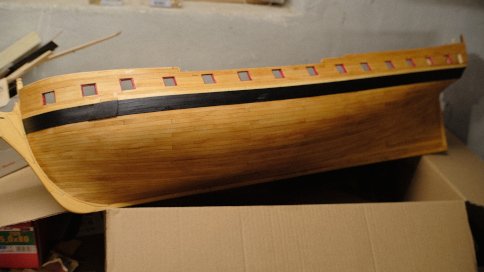
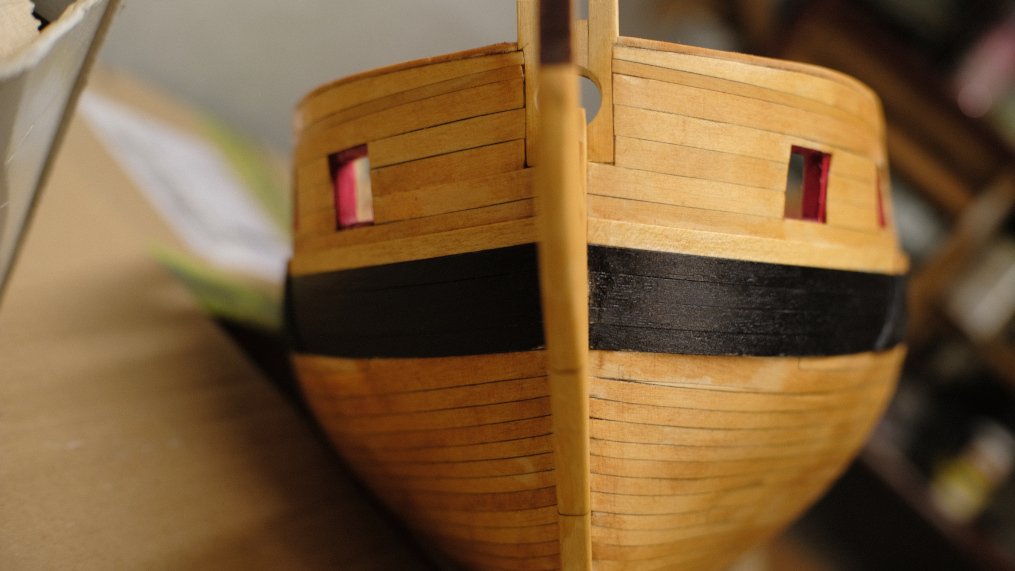
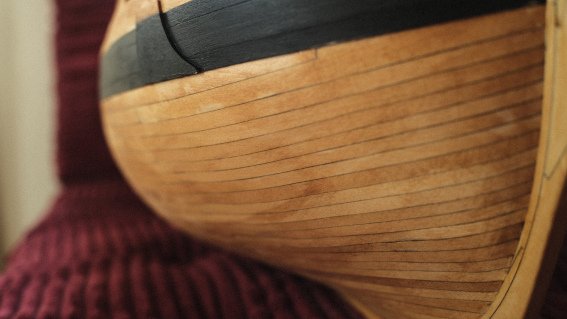
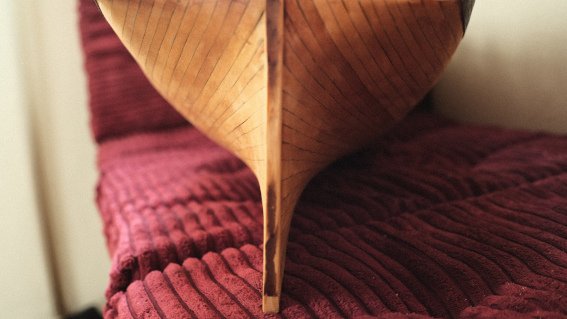
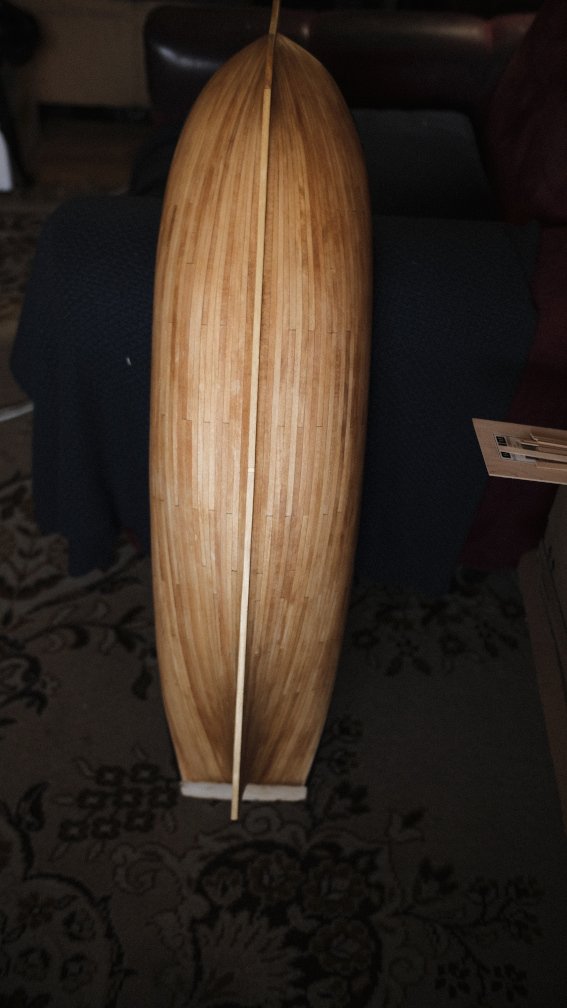
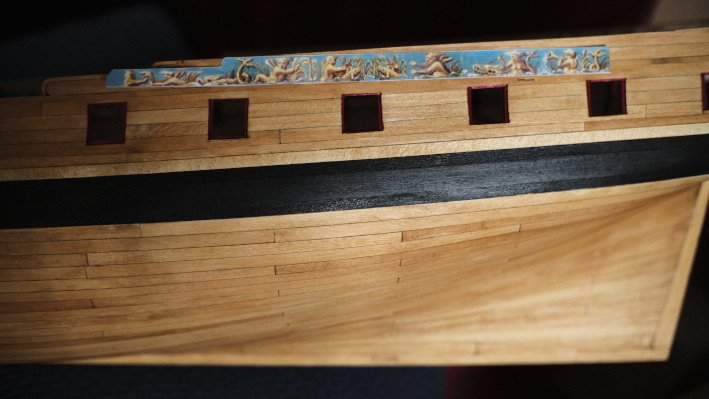
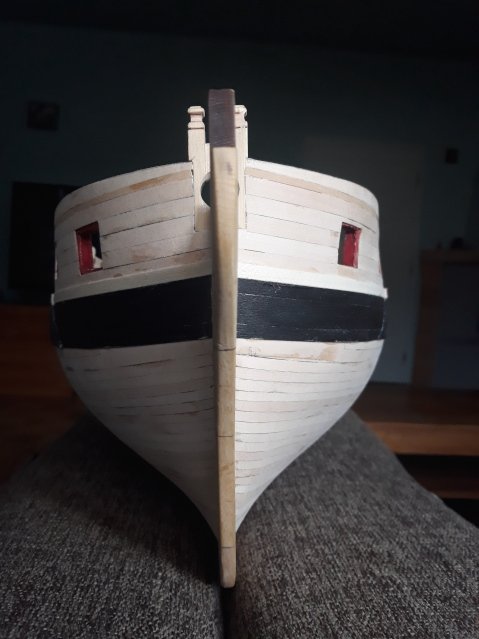
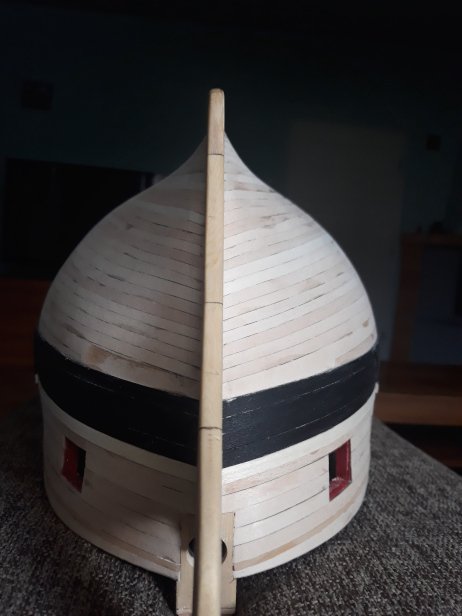
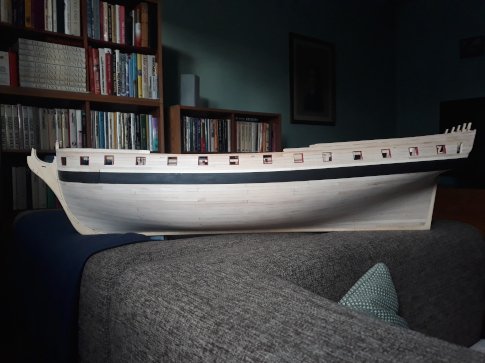
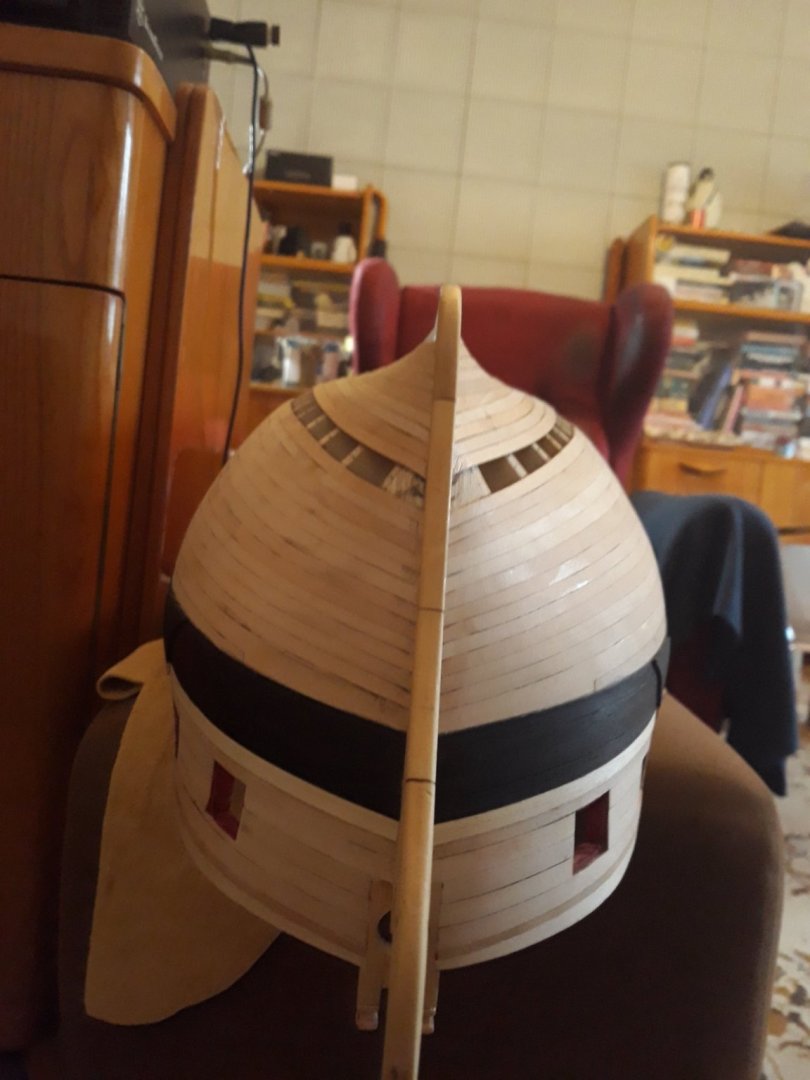
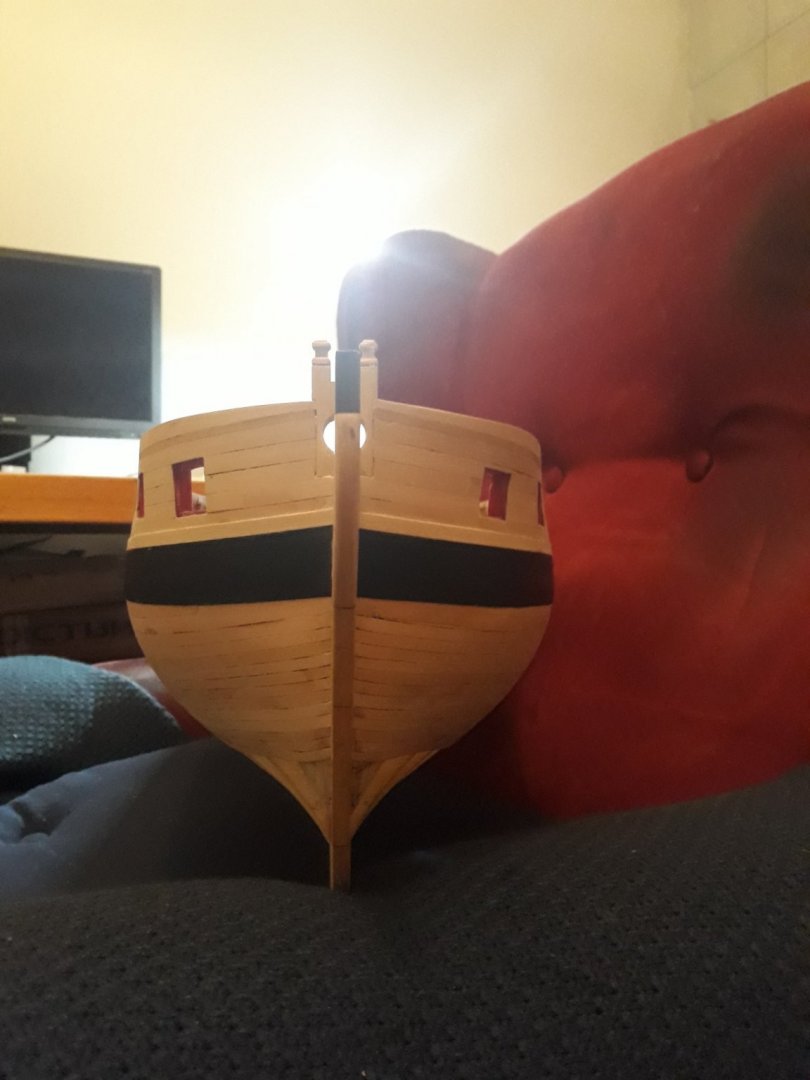
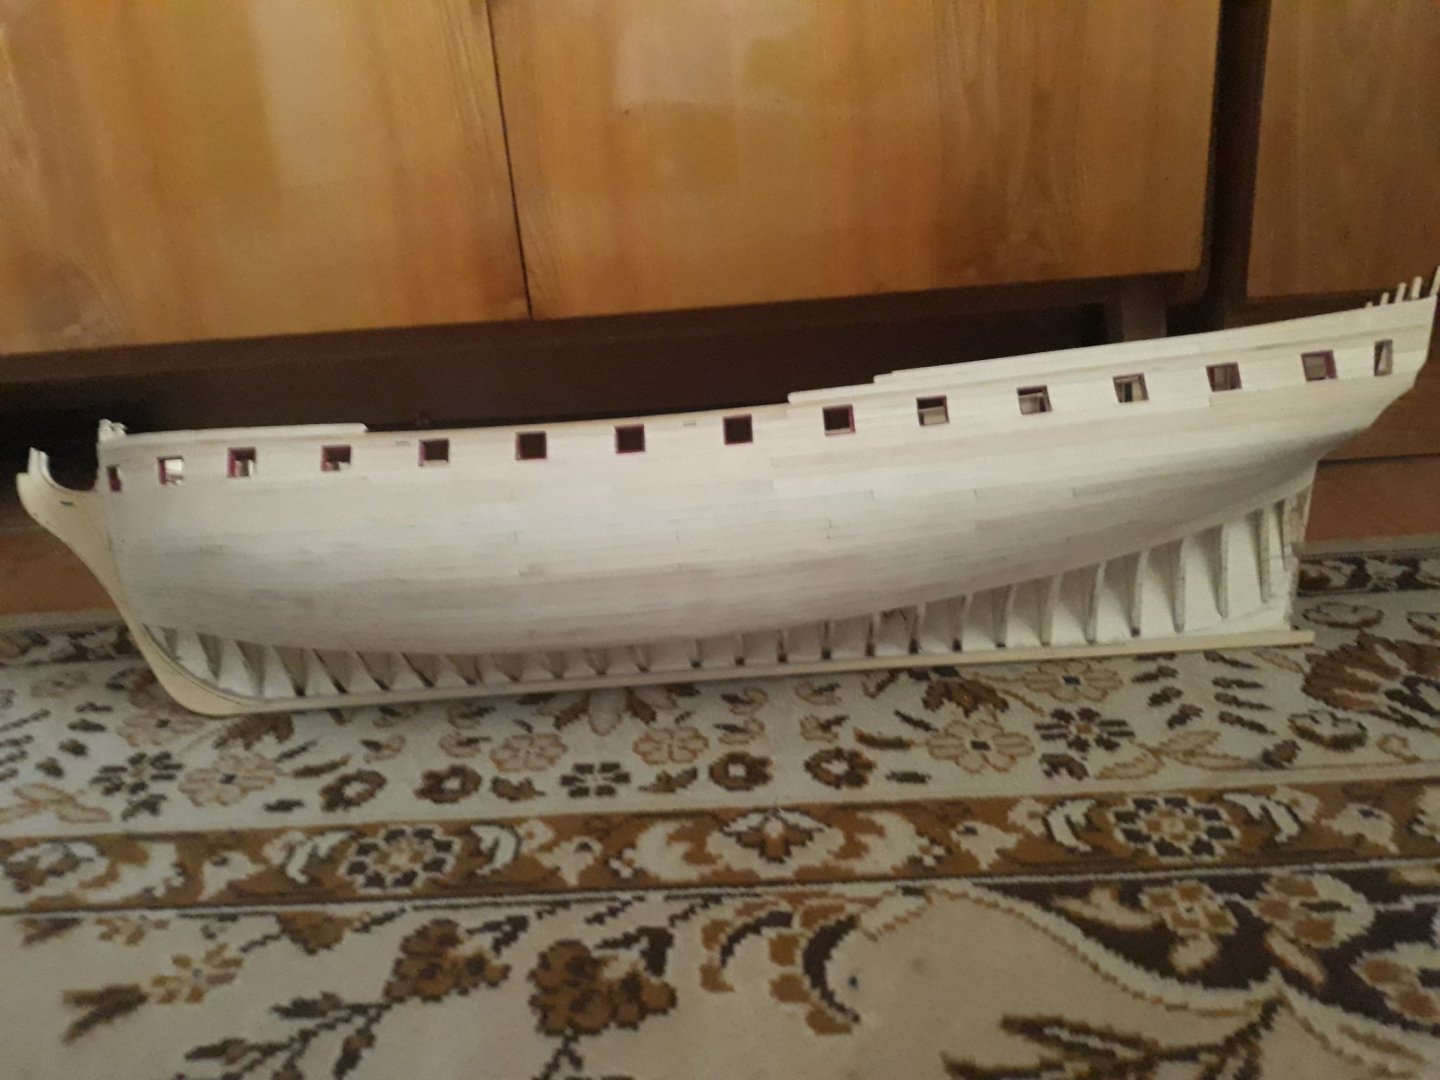
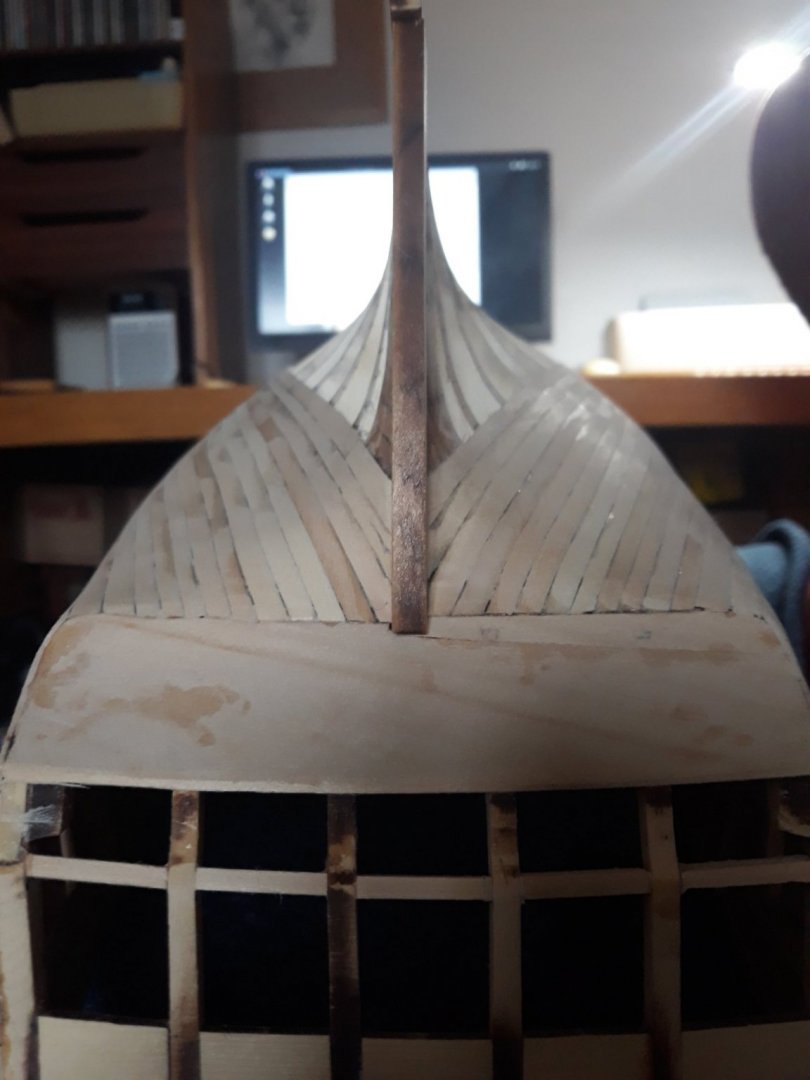
Something went wrong when uploading, I am adding some pics. My girl is dressed up now so next work will go around putting some "makeup" on so she could go out properly thank you for watching etc. Execution is not flawless, especially at stern counter line...:( i guess it may take another talent or years of experiences I dont have. nevertheless. Here she is. ready to put some coat on...not sure if leaving her blonde though...but basswood doesnt take stain well so i have to better be careful ...
-
Teaser before showing details raise the imginary glass for me :)) and cheers to everyone! LAST ONE ! Tour de force is nearing end, i cant imagine how near i am to 3rd part i most excited for. Now unexcited and demanding work is over. Hooray.. Well i sort of liked planing from keel up. Almost no hot bending...thank you for watching. You all are making me doing my best.
-
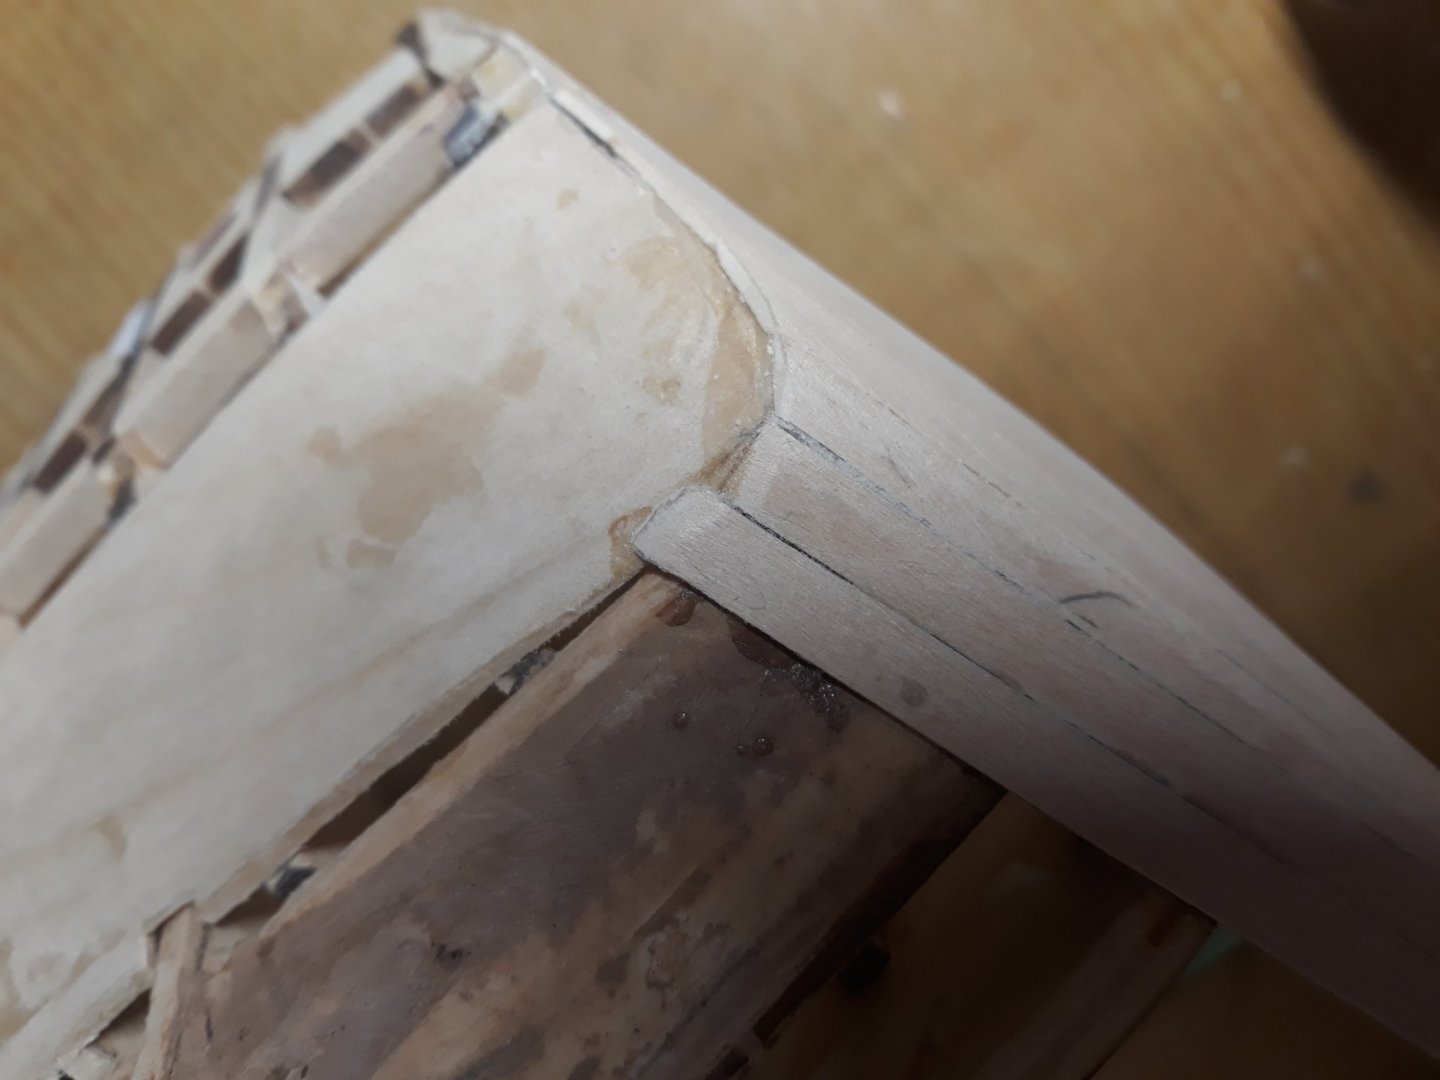
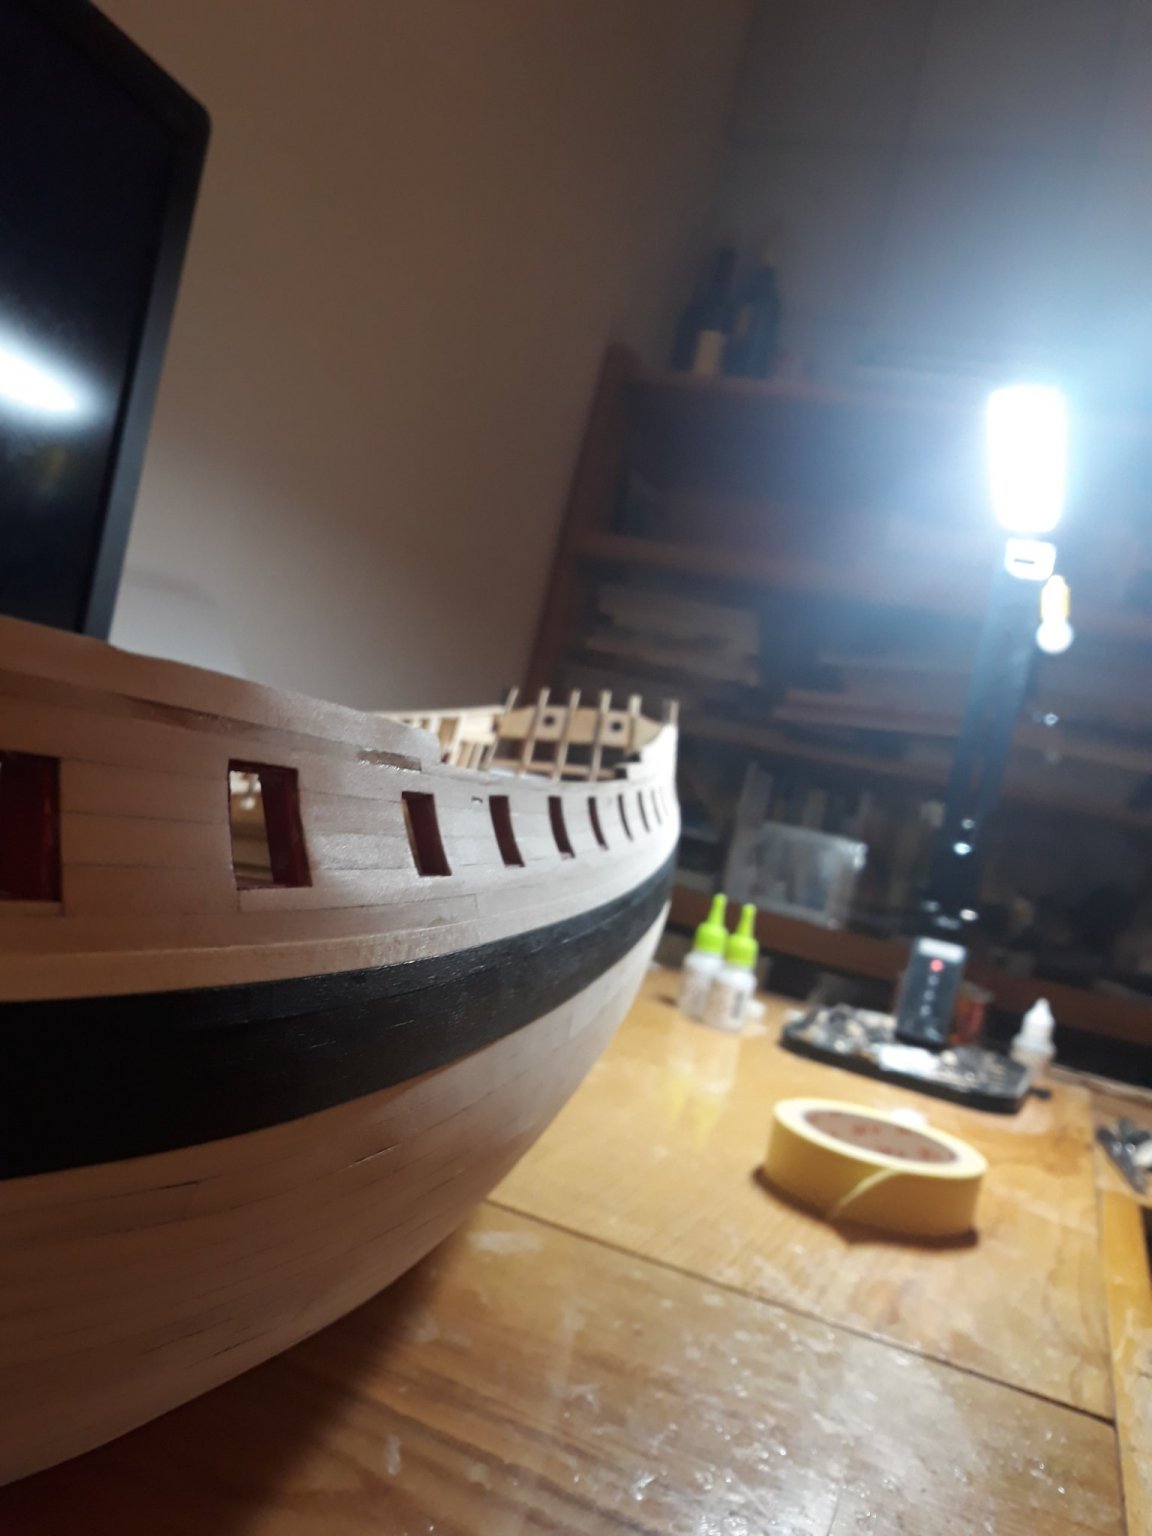
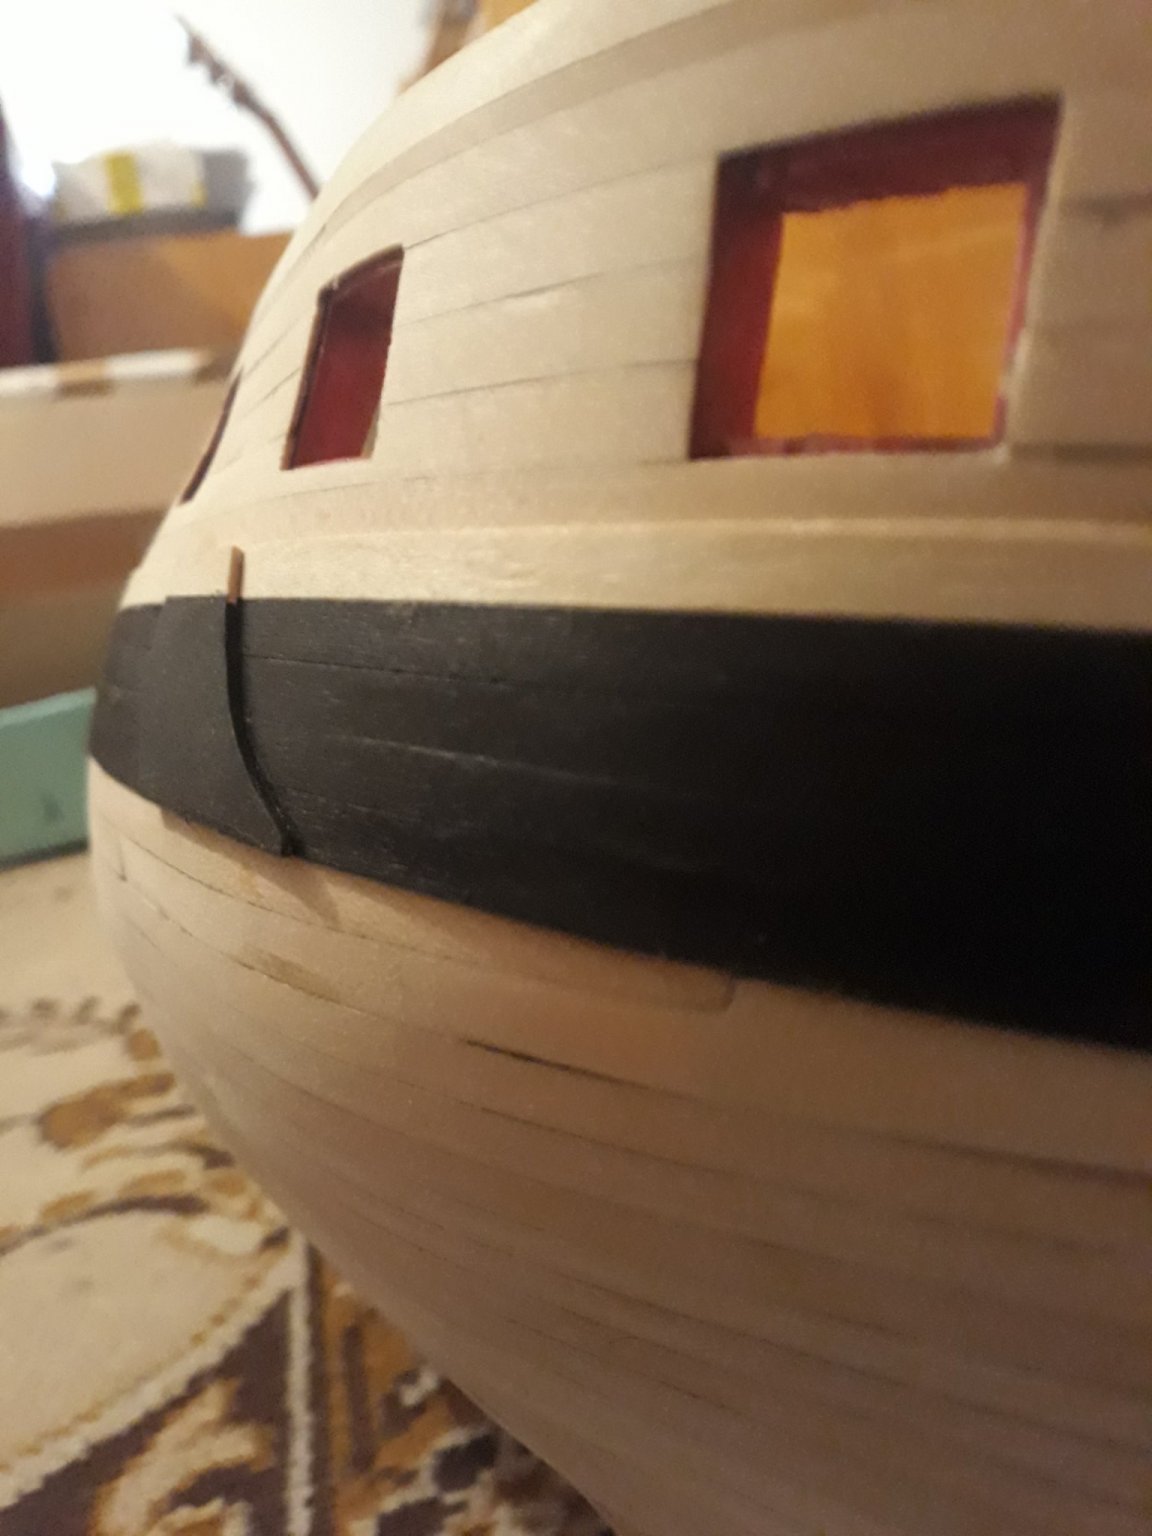
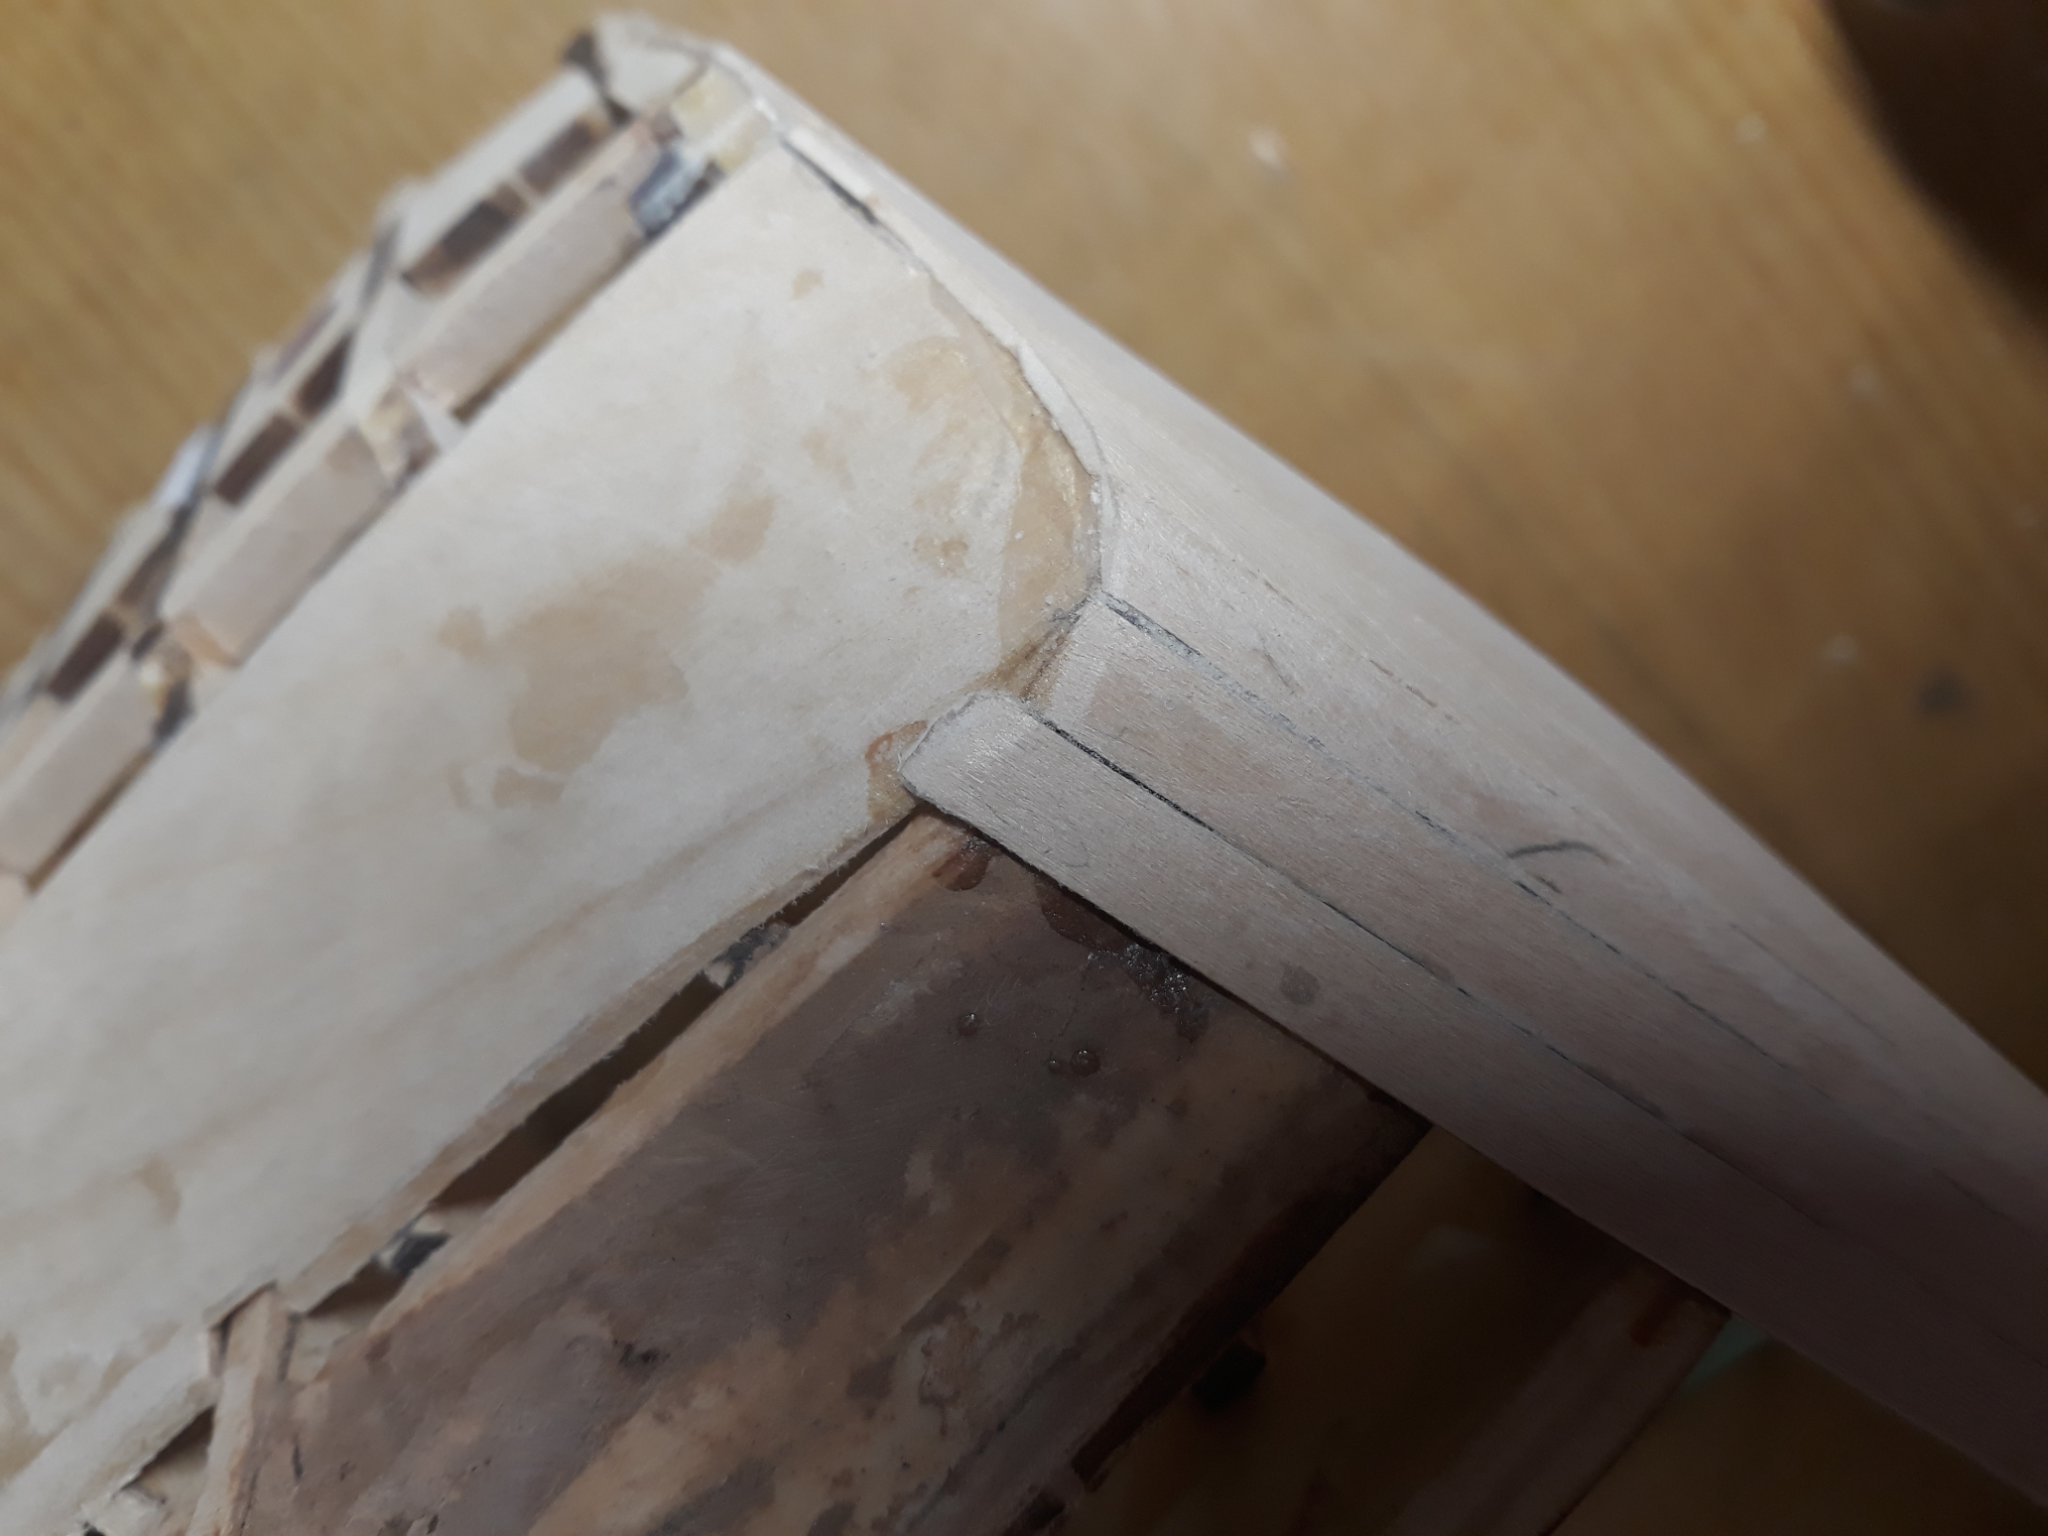
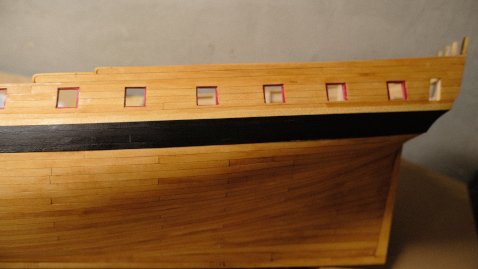
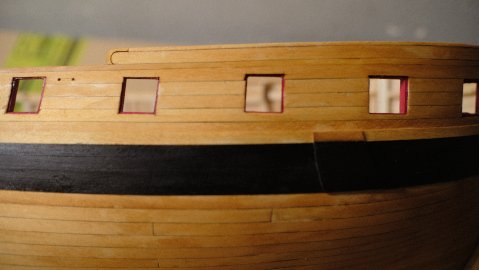
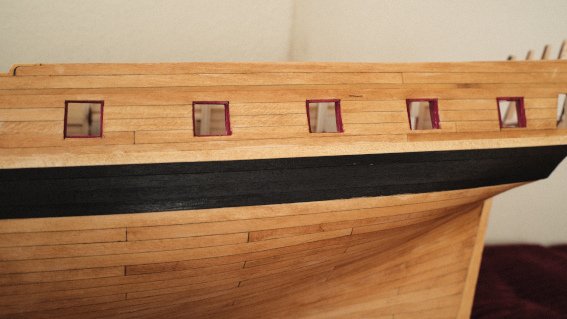
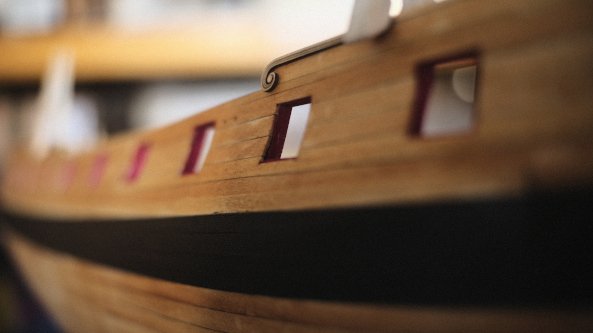
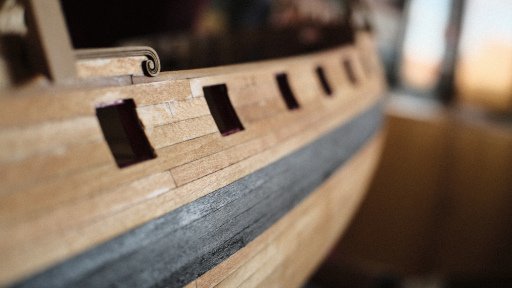
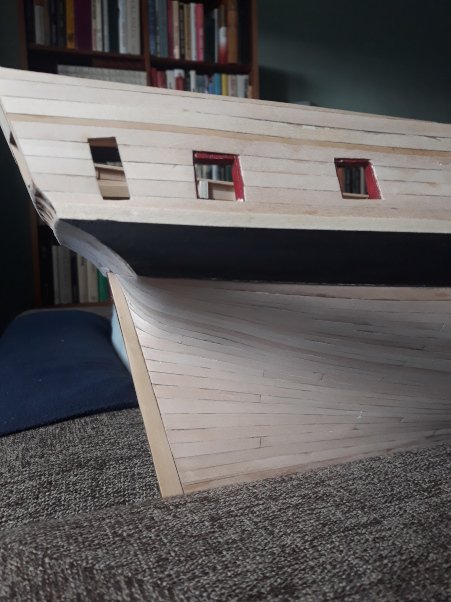
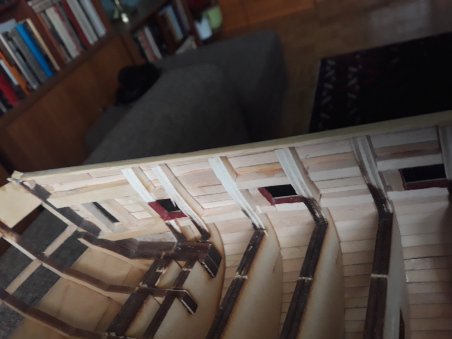
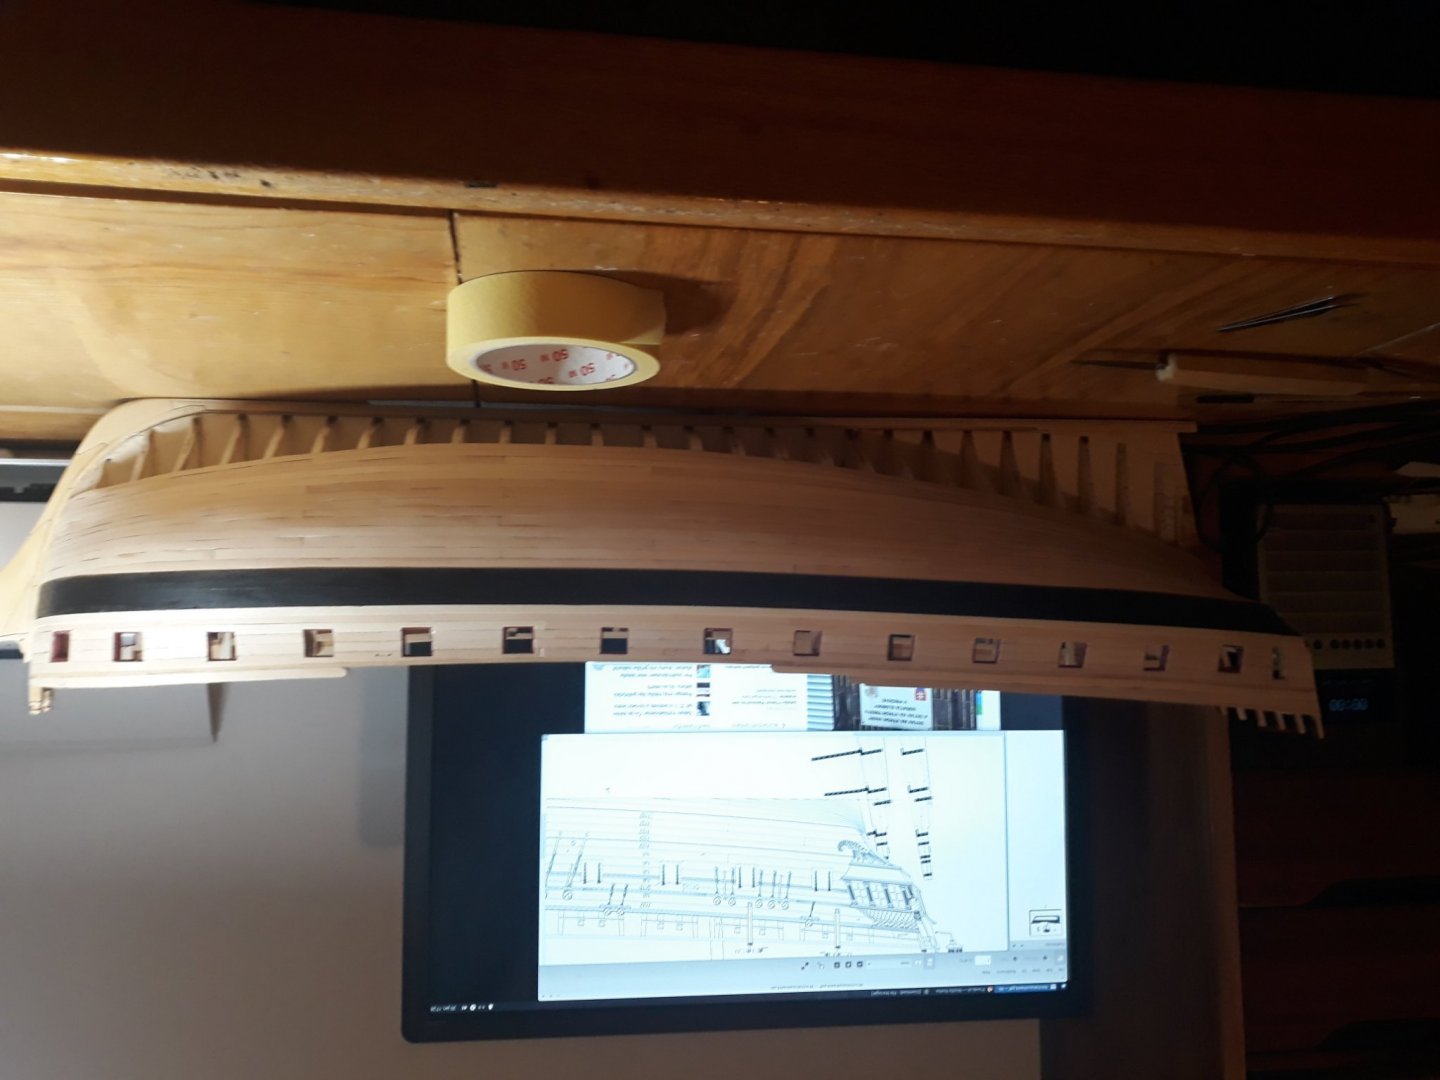
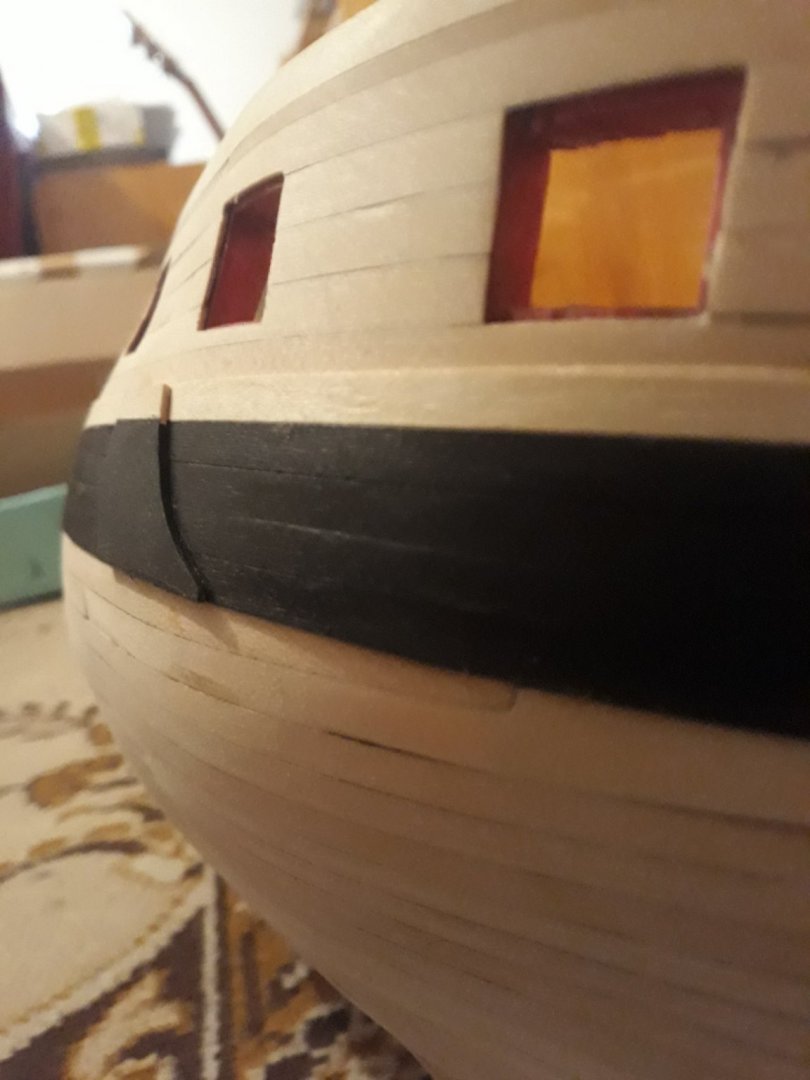
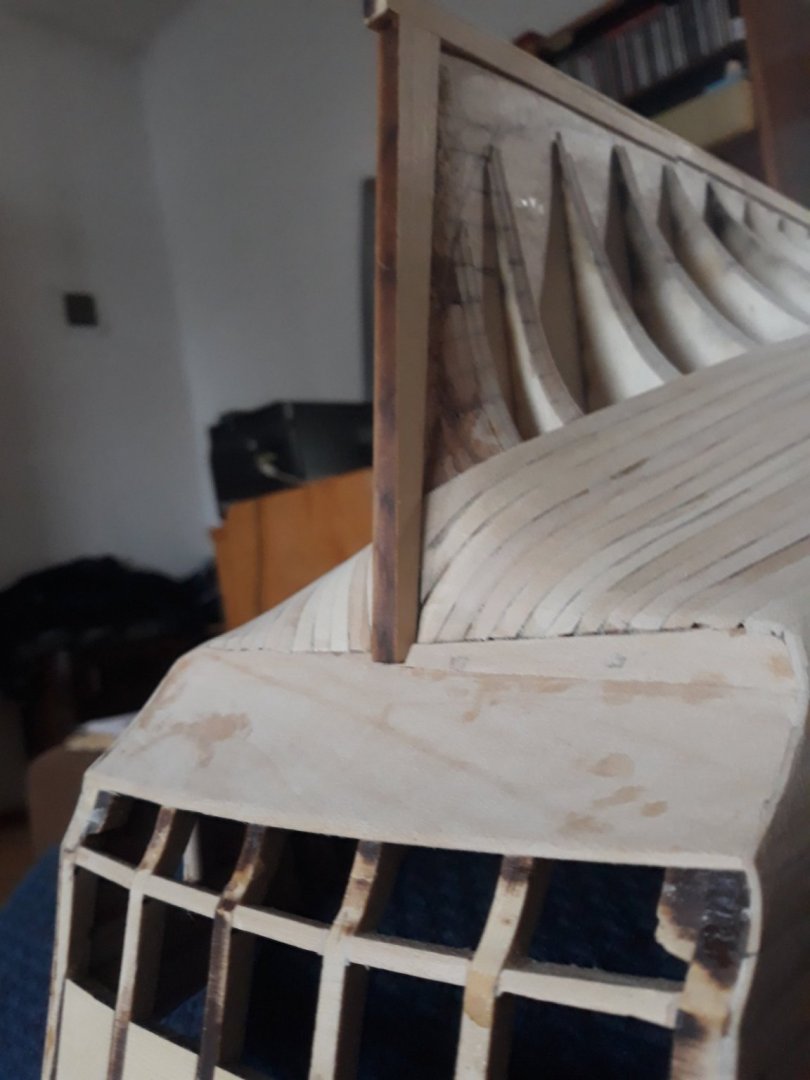
Good day all, last week i dedicated to black wale and making of top rail caps, sanding inside hull. it was welcome distraction before i turned back to (almost) completing planking...


-
splendidly done Ron, good luck and enjoy upper side. Vlad
-
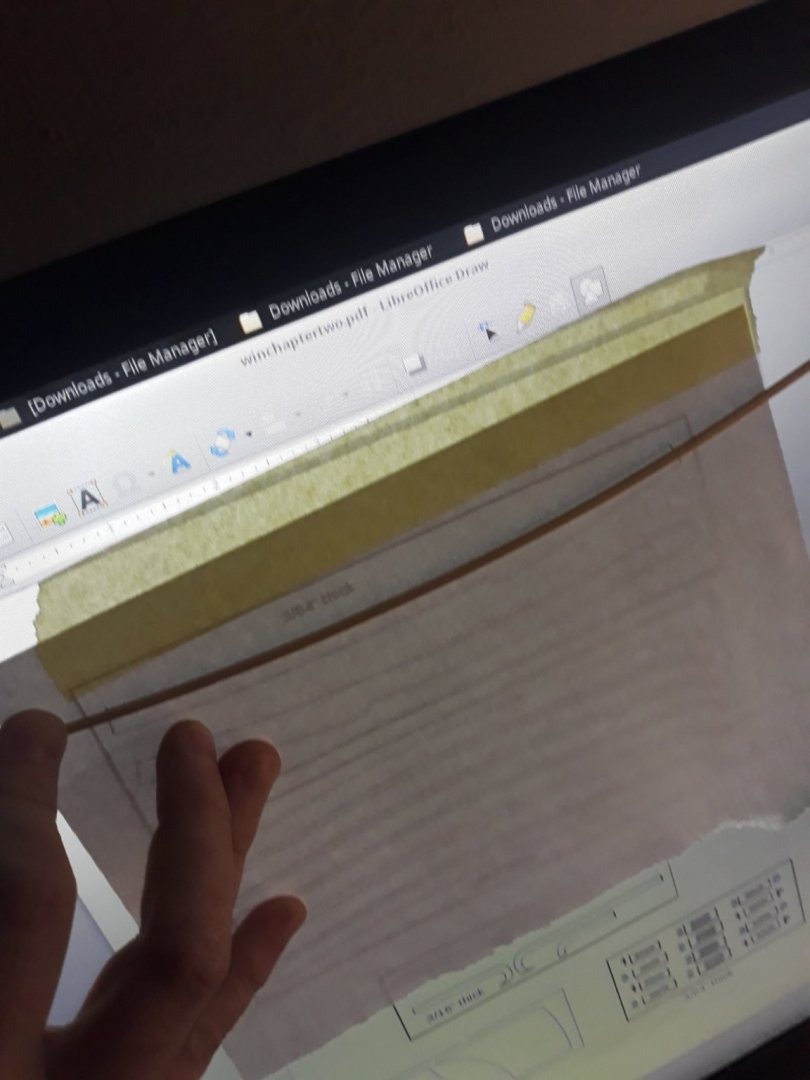
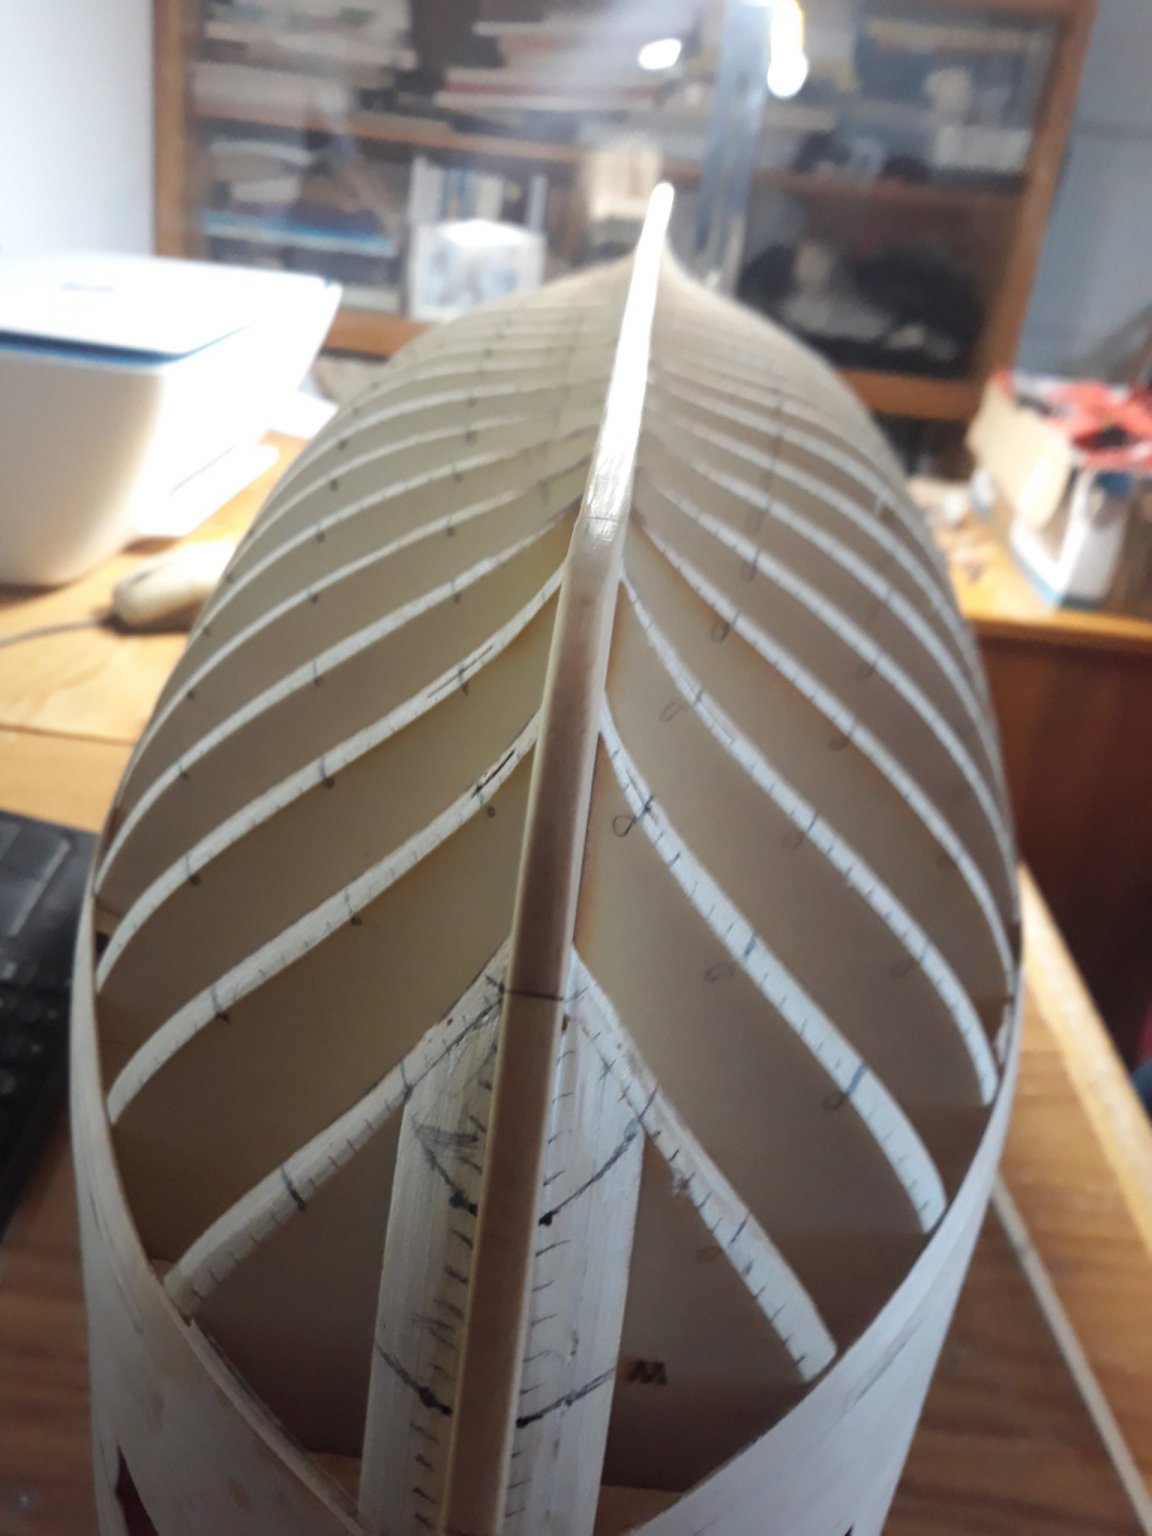
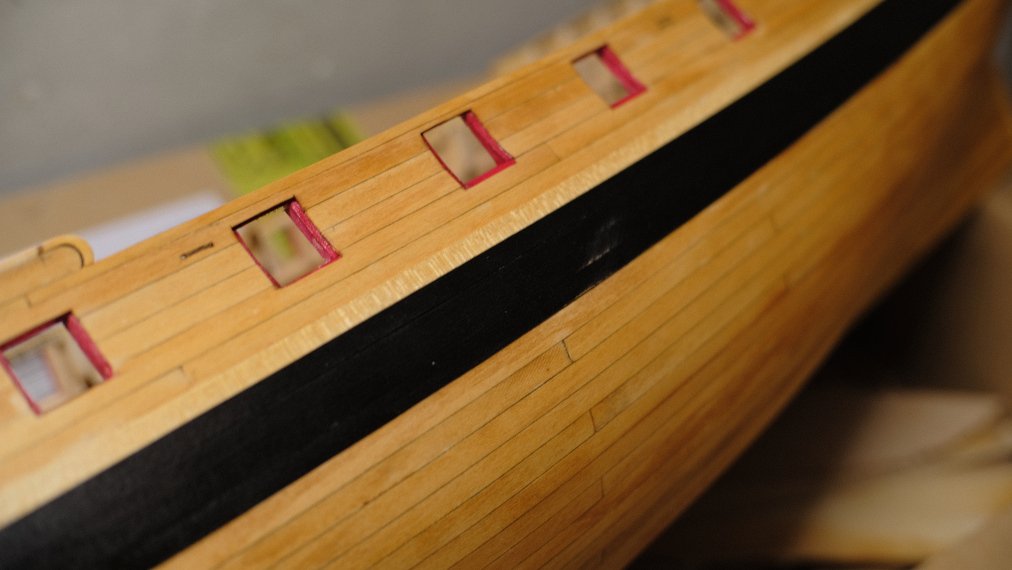
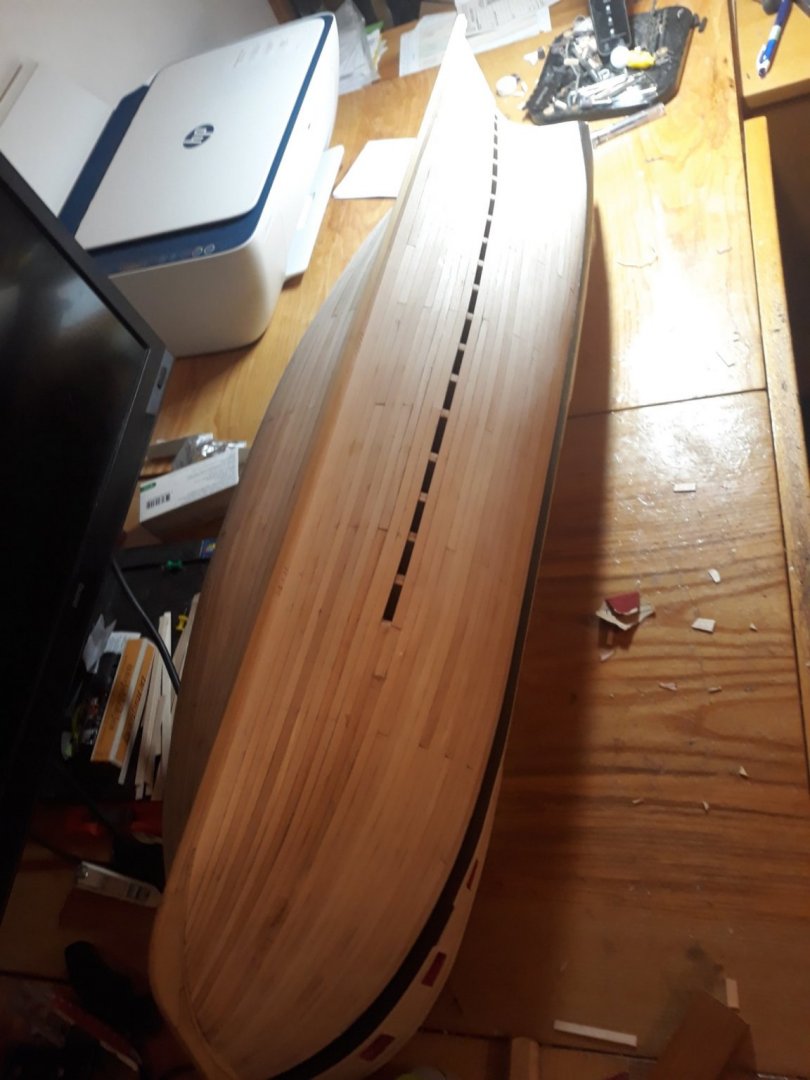
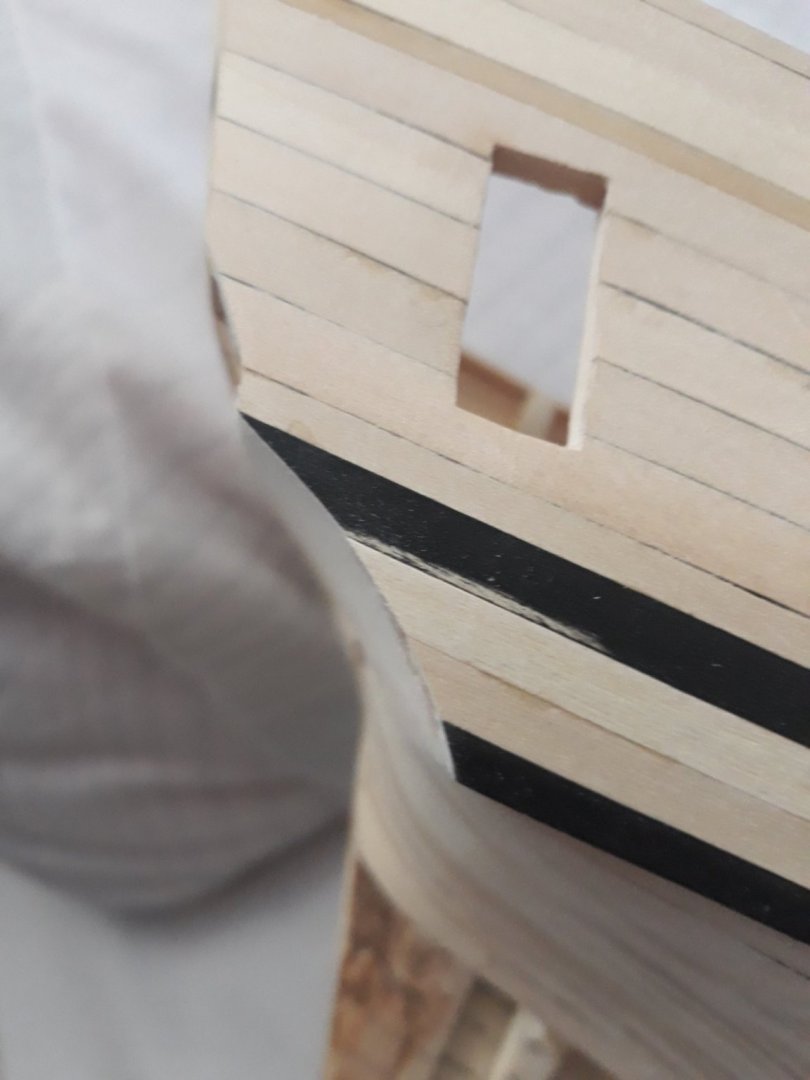
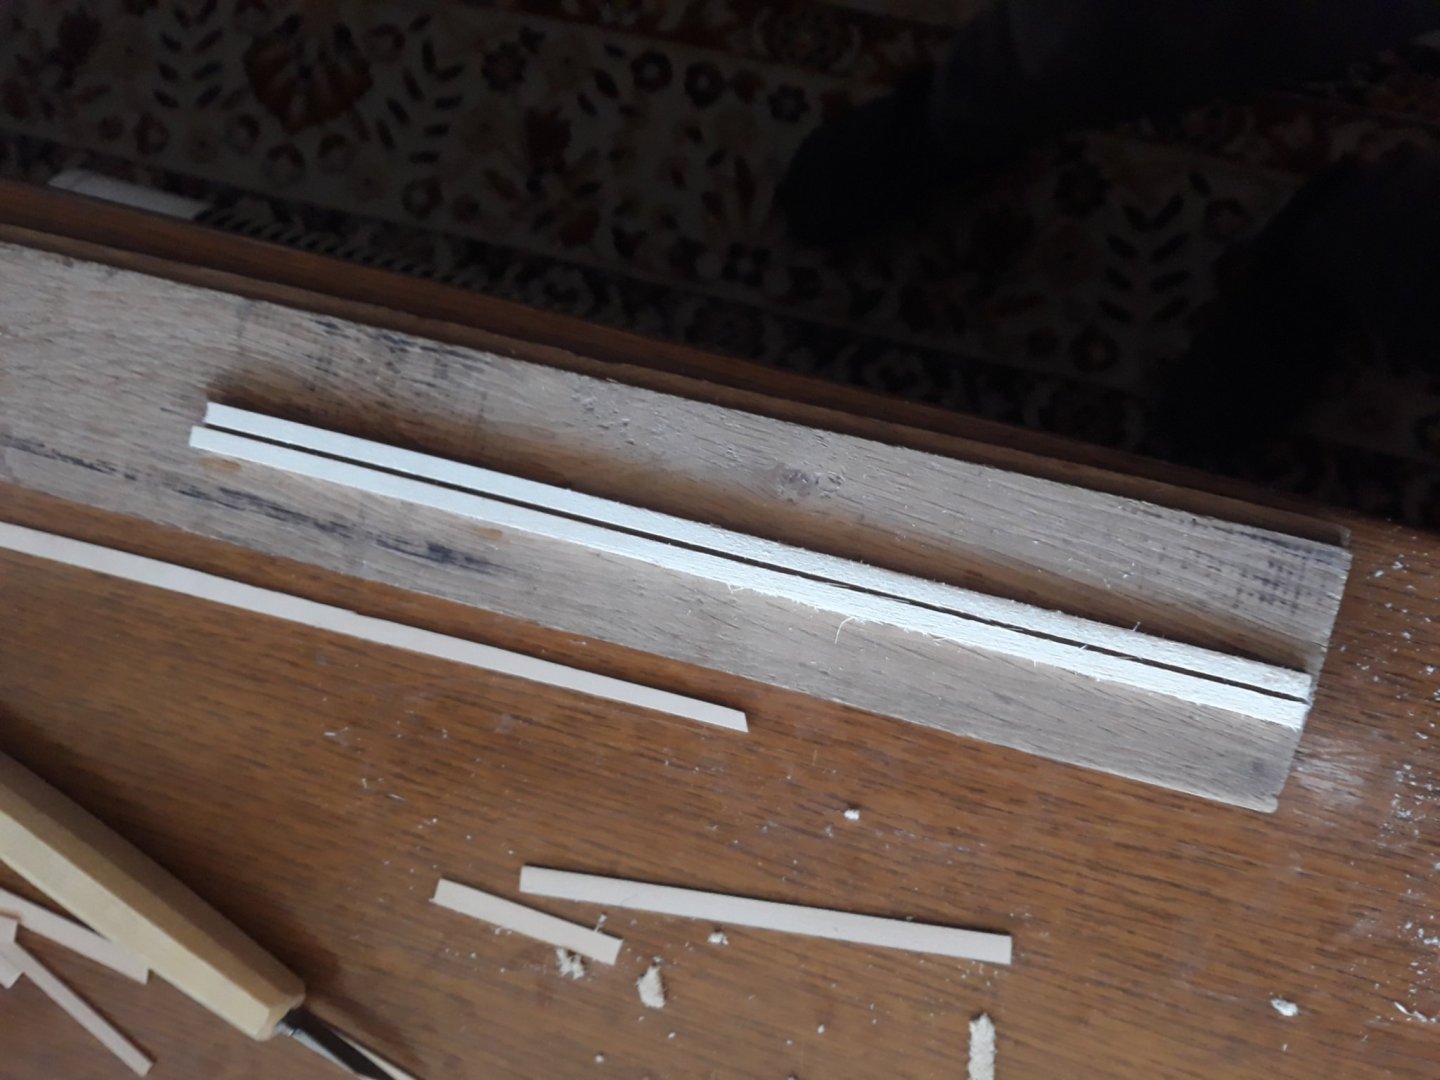
Ron, thanks for comment, yea machine for worse or good :)) i just cant imagine doing repeated stereotype thing longer than i dont get fed up. to be honest more i ddi it better it went so after pause it will take me again a lottle while to become robot :). lines ensures where your plans are heading . i cant imagine doing it without markings , as planks are being shortened towards bow end and stern end and ater on widened towards stern end just adding little bit of thickness and keeping it for two planks up can head towards missalignment on extreme sides of boat. wood it is just 1 mm thick baswood basically. but it is well cut bunch so im ok. stock is expriing quickly so i count each one:) as you can see color is not uniform though from light to darker shades so I think of trying to experiment with staining it. i like Rustys pear color but im not sure with stain it will look as glorious as his. for sure not . but i thinkdarker tone could help with uneven shades and rponouce them subtler pleasing way..well thats for later...
-
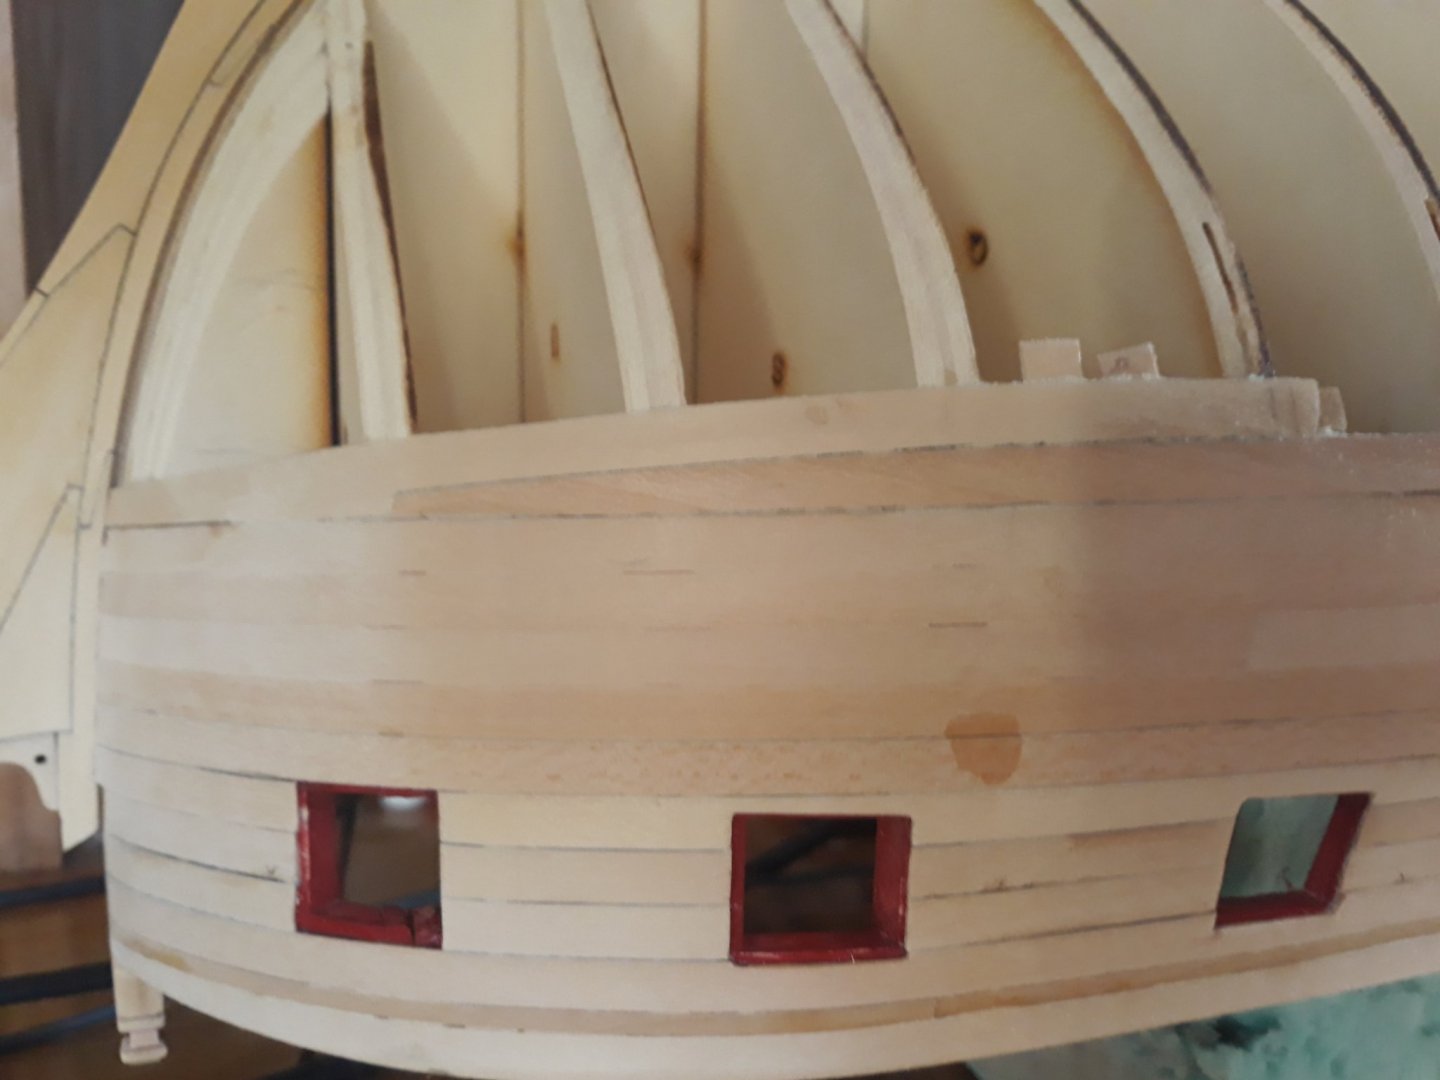
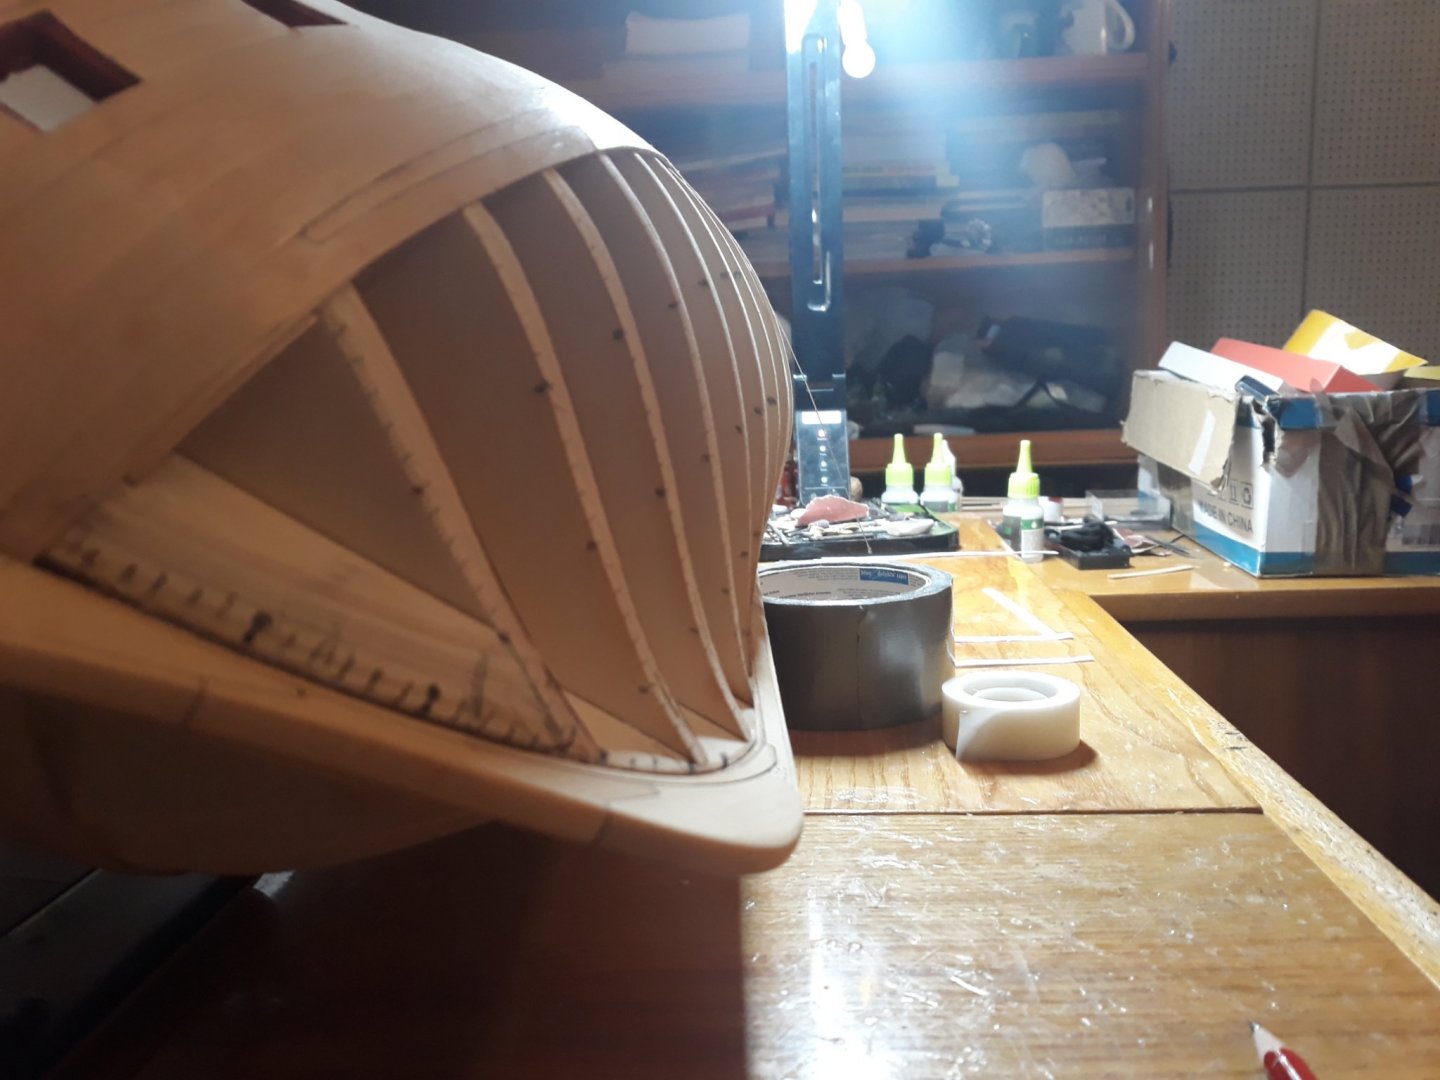
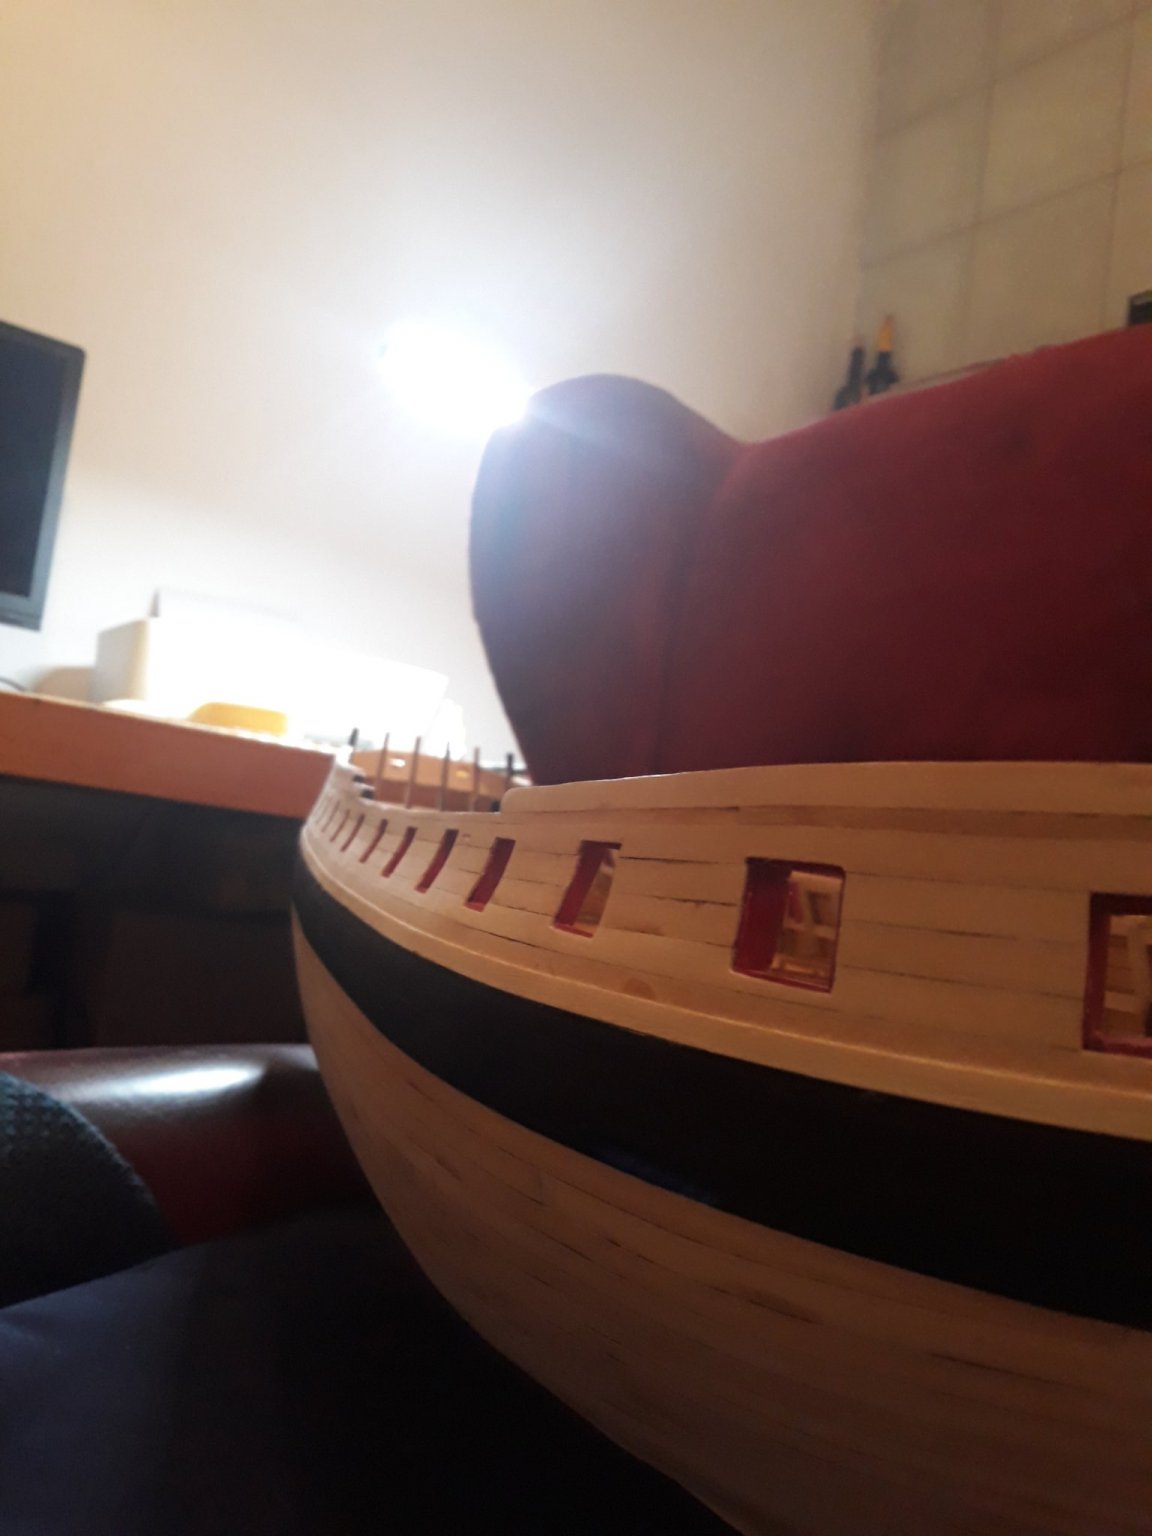
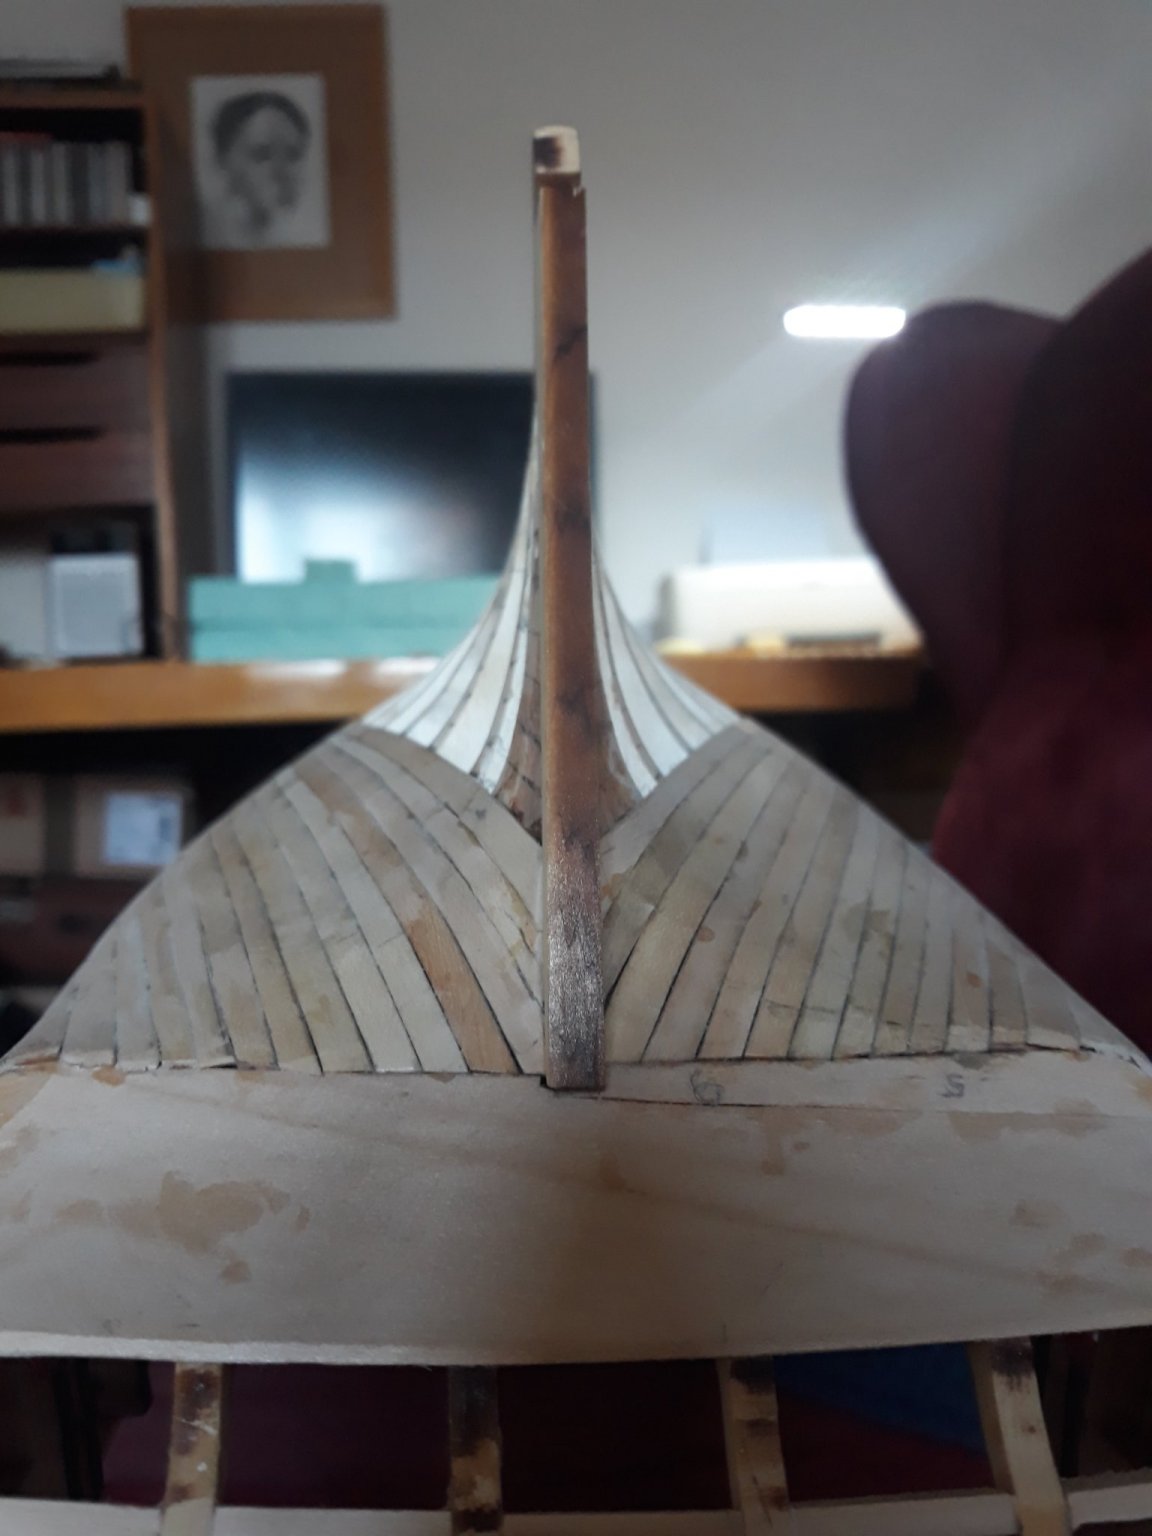
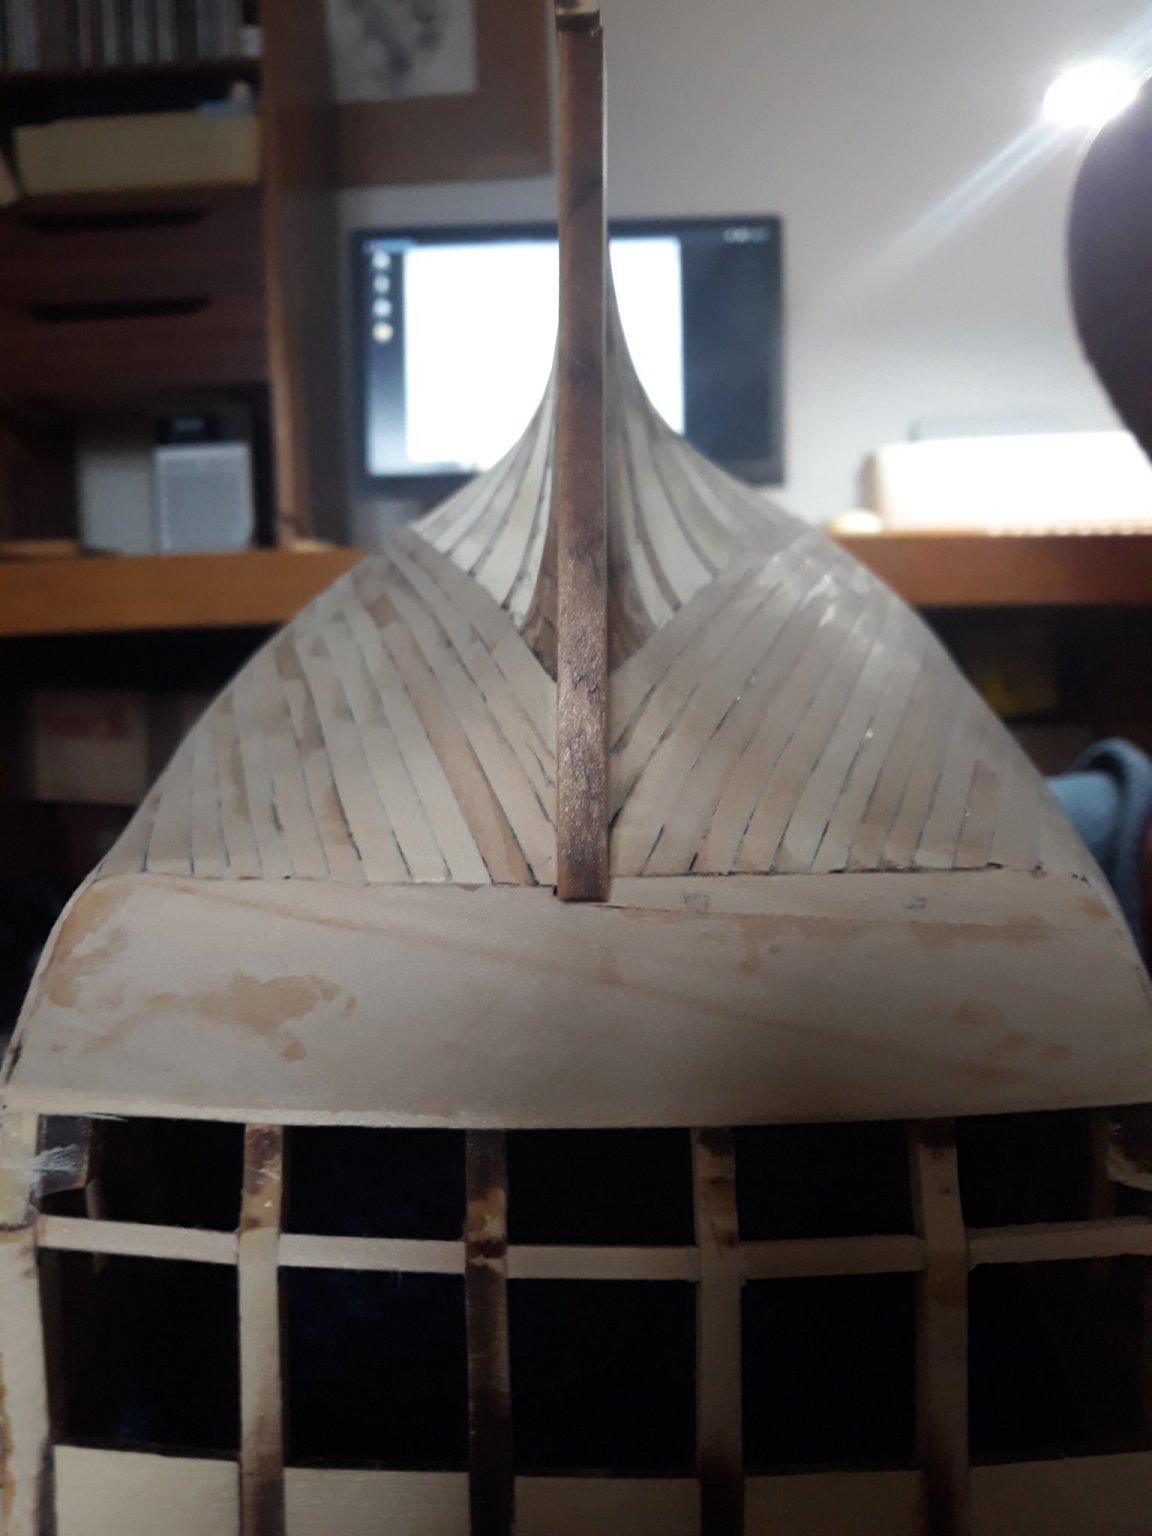
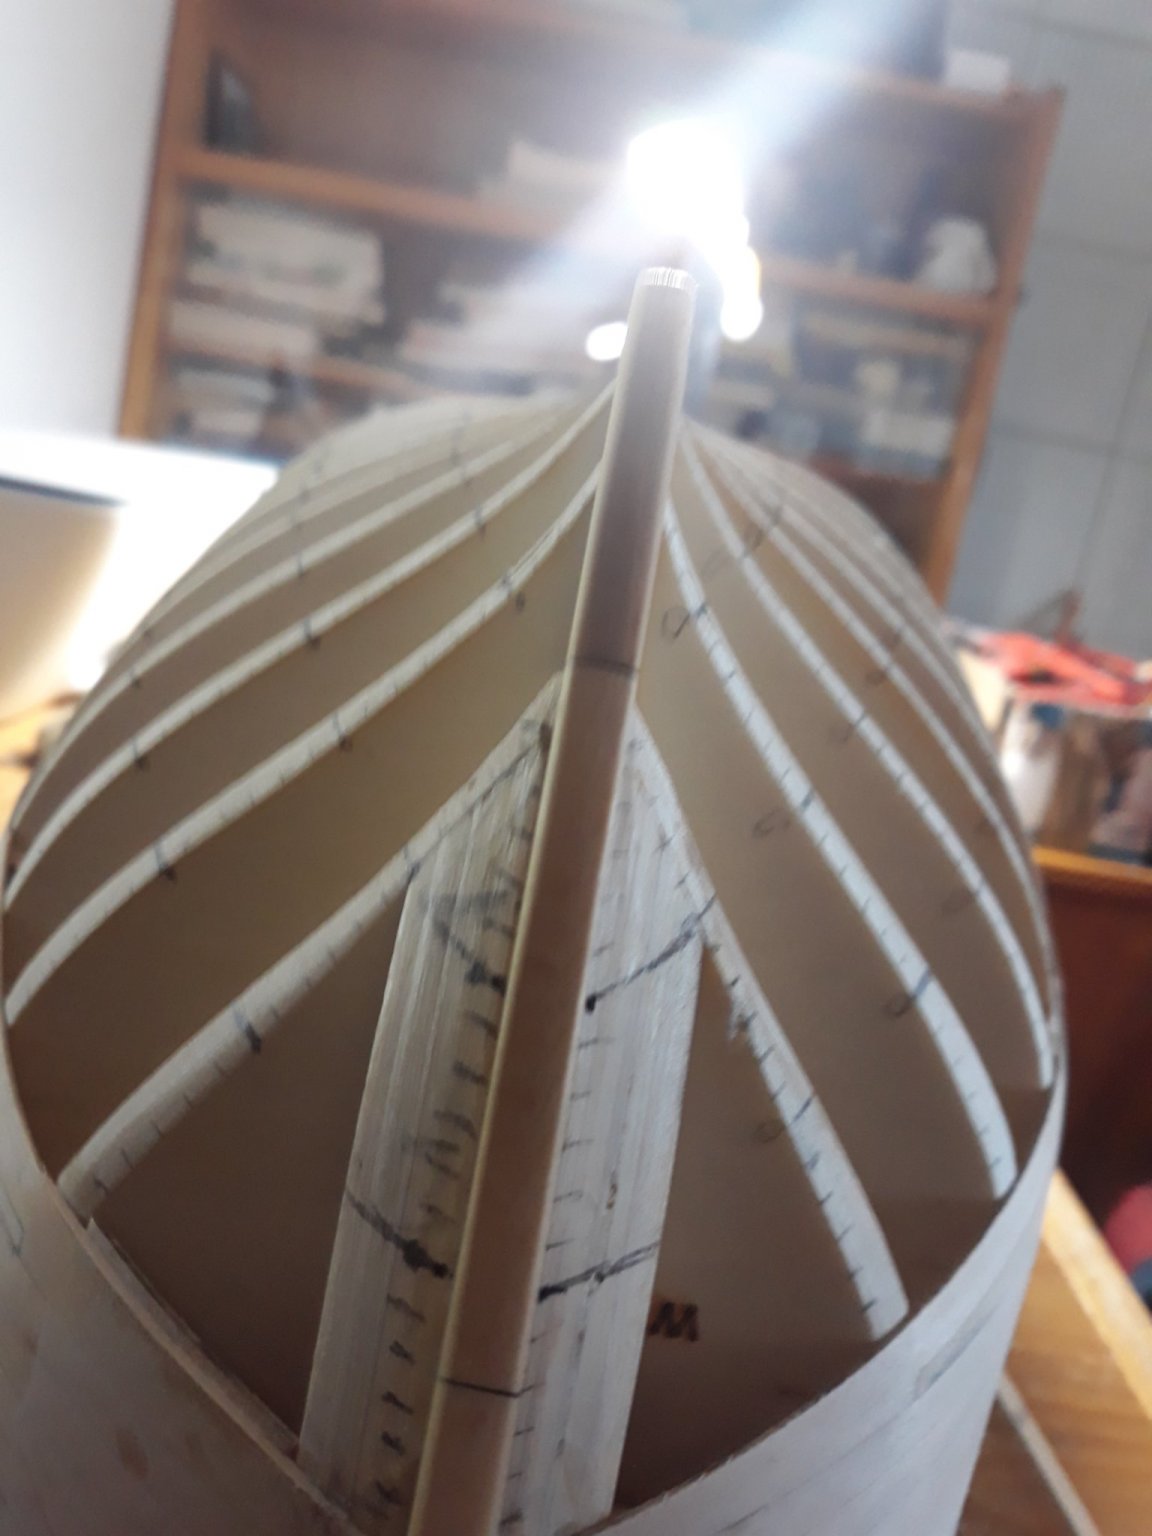
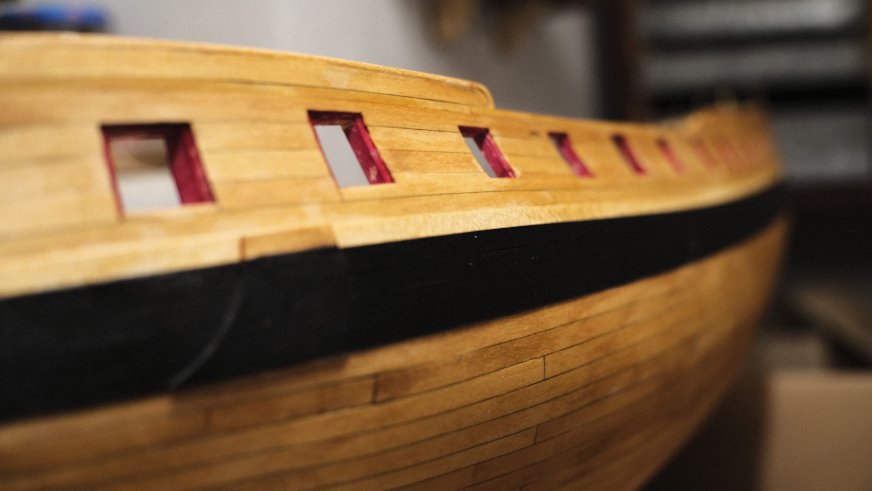
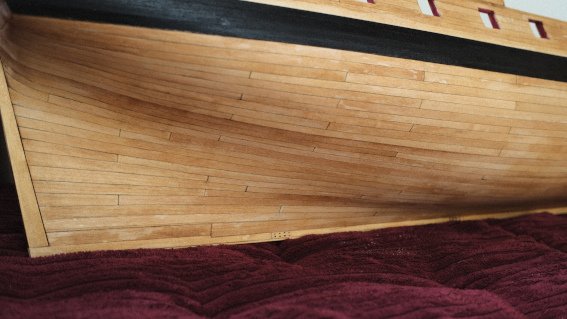
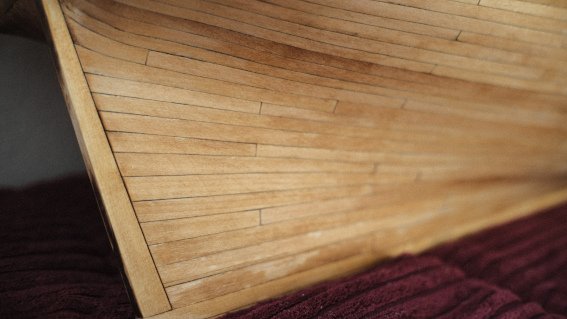
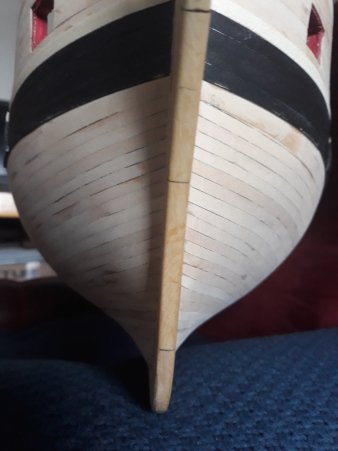
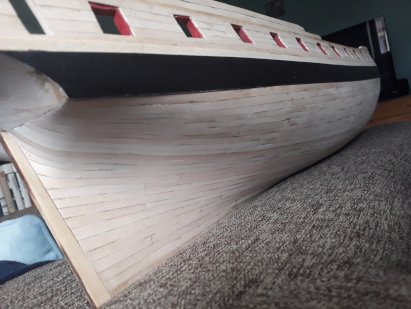
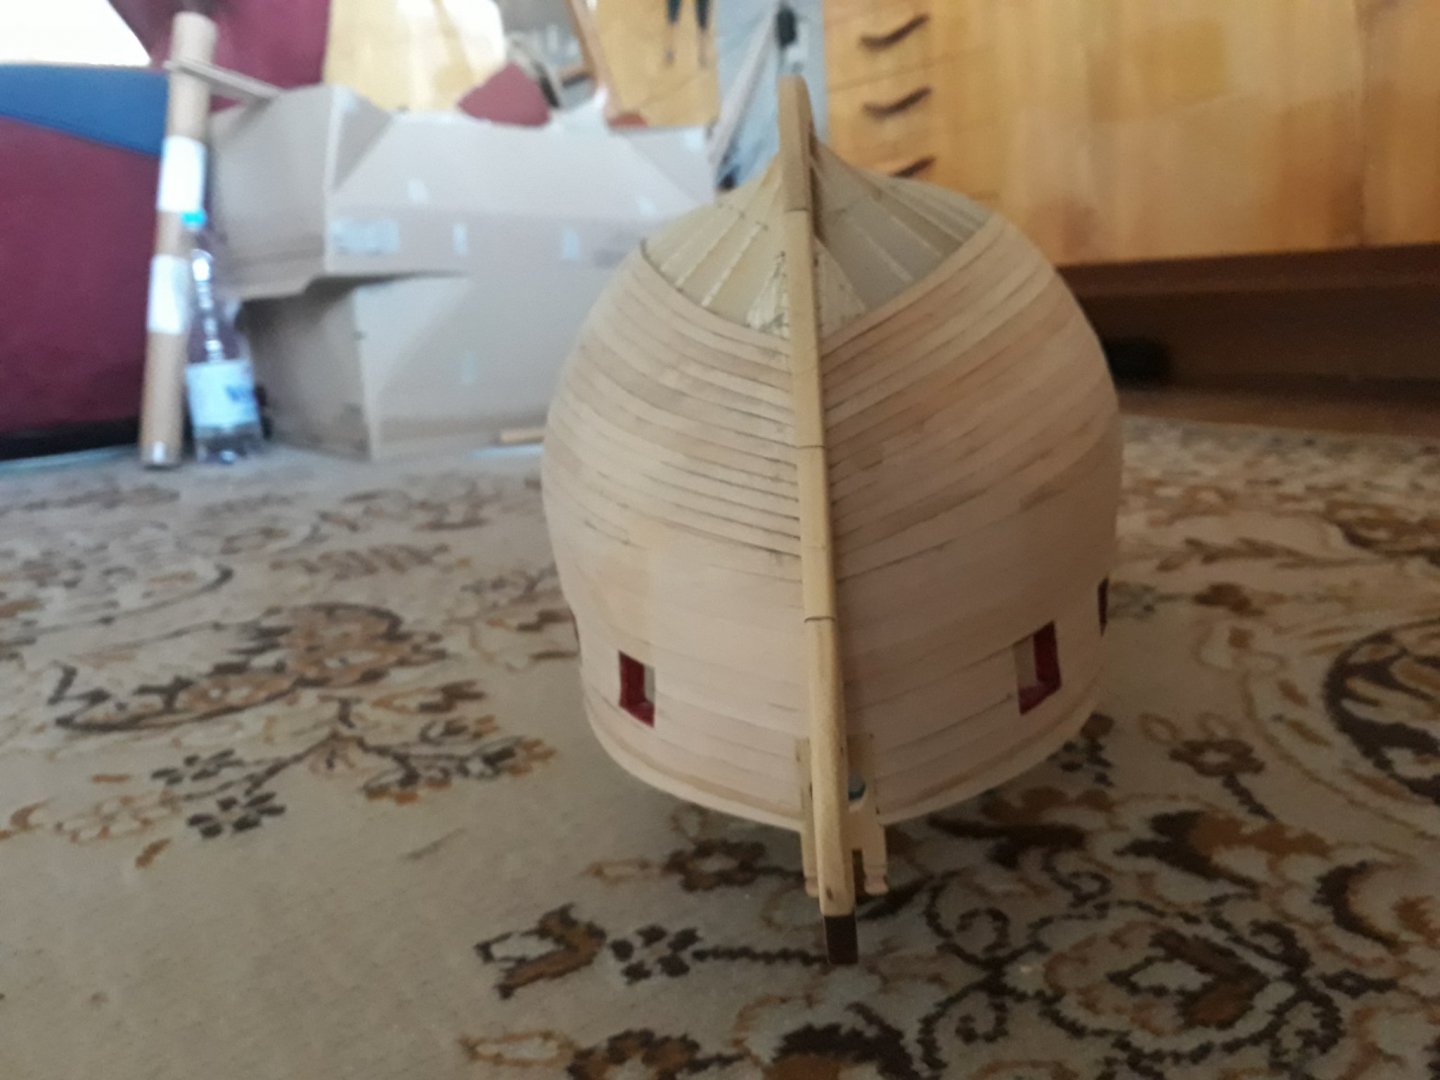
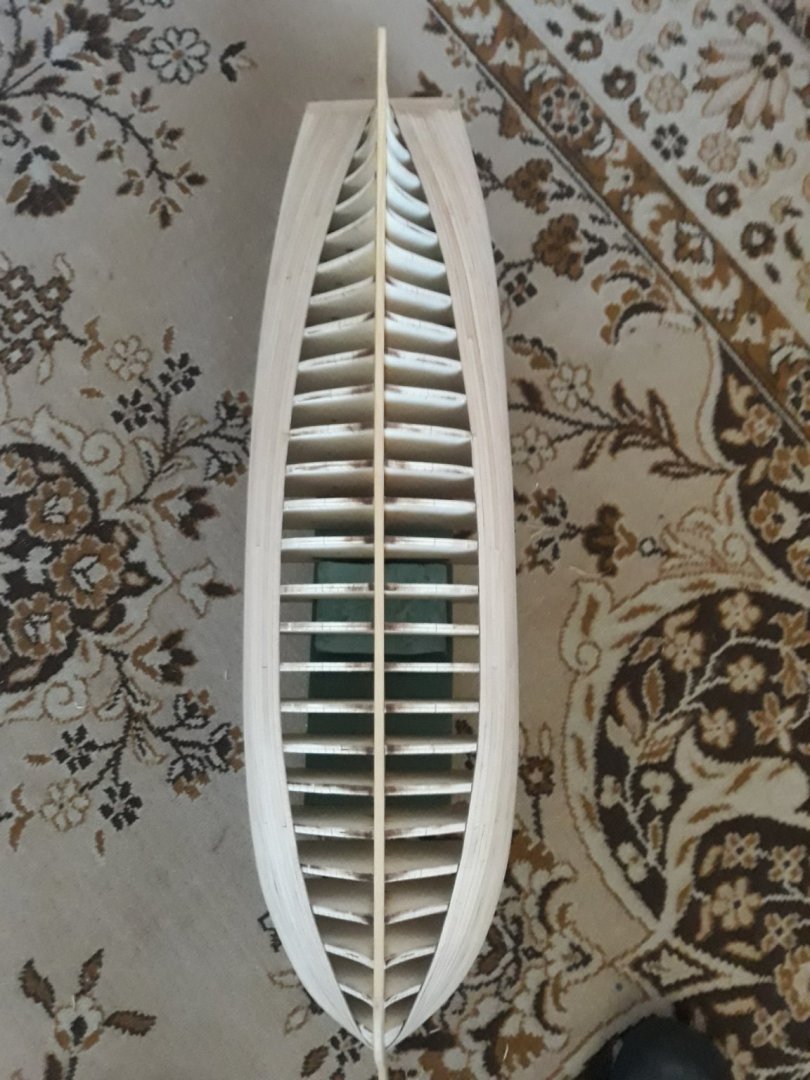
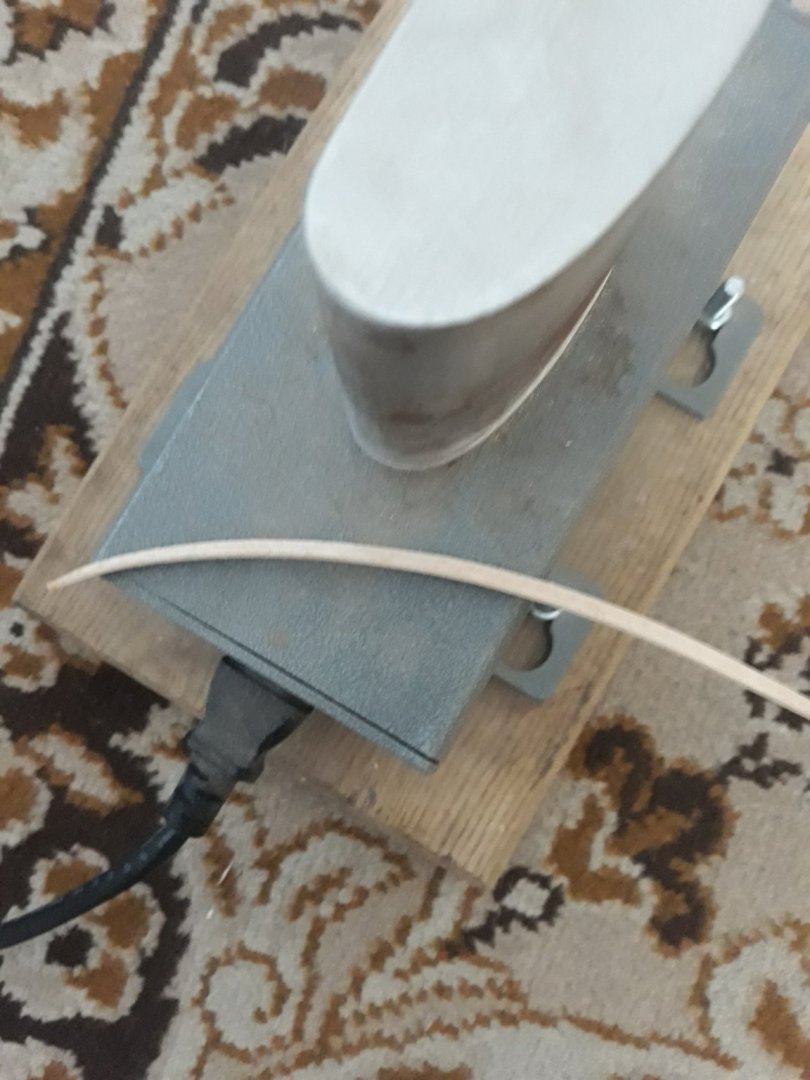
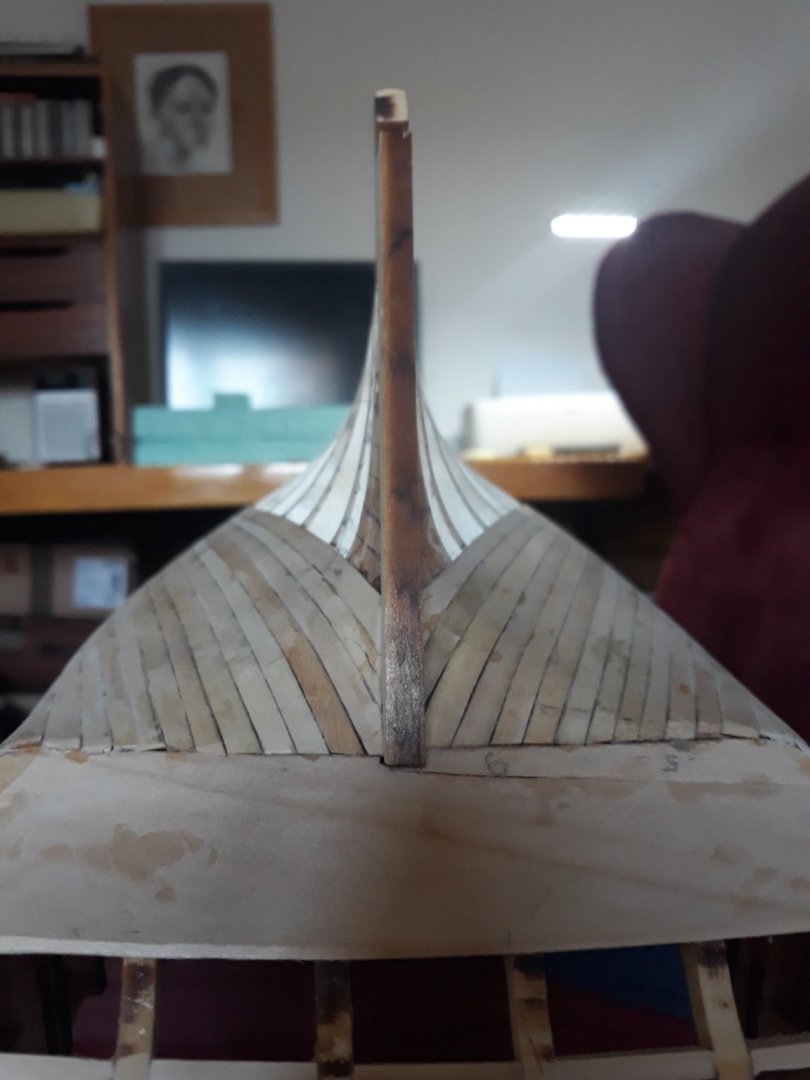
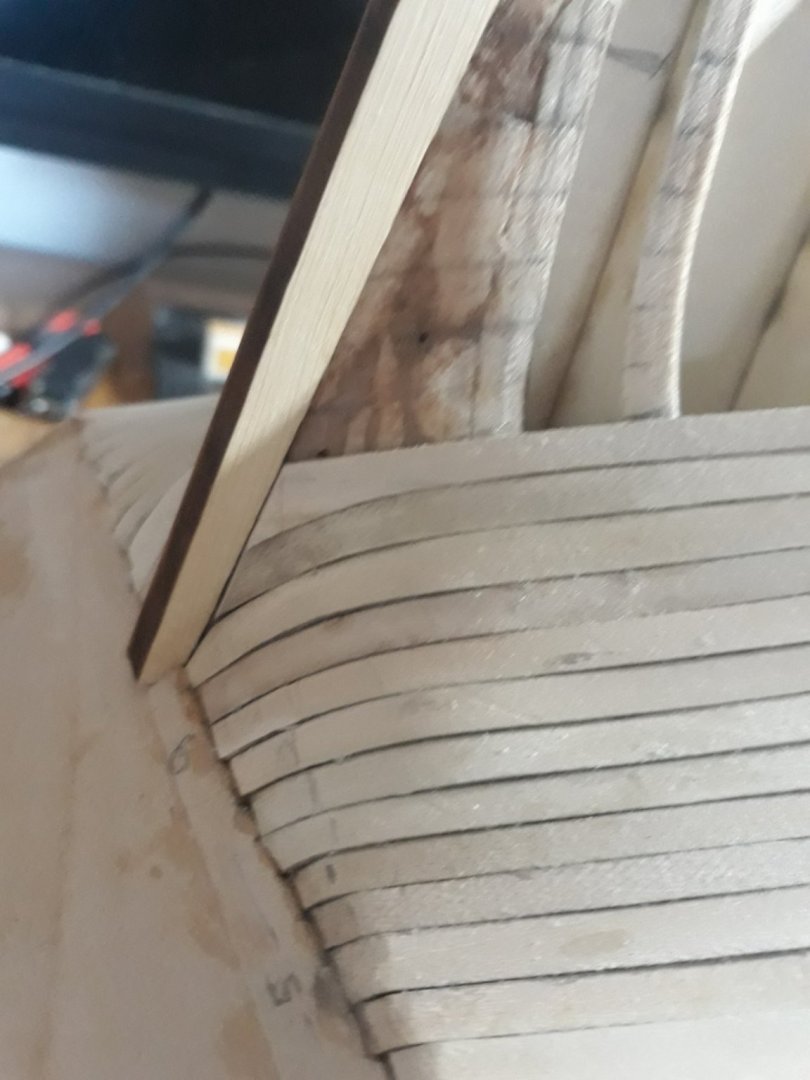
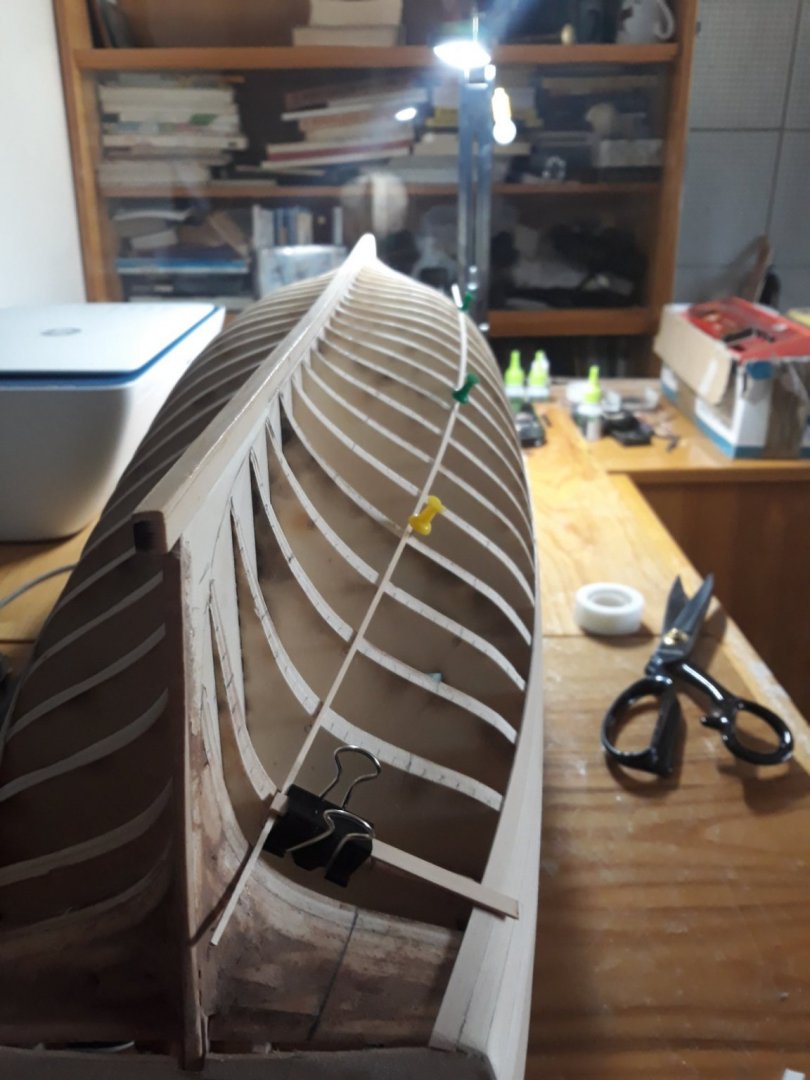
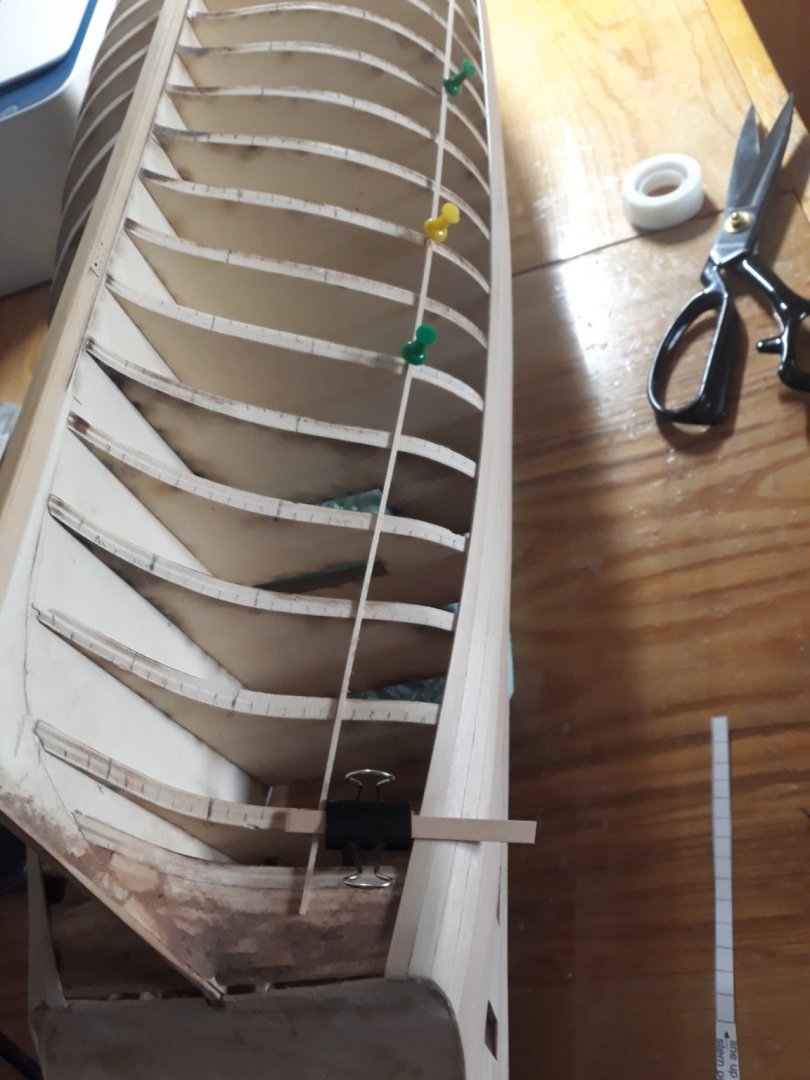
Good day. I celebrate a bit today with relief and satisfaction as half is planked. 12 + on each side. Looks like modeling on steroids but it took me a while while i mastered that smoothing straight lines and bending.. I made it over 4 days in total , it took approx 1 hour to make 1 line. I made some helpers and used violin iron bender i use when making violins. I focused on 5 things, to make sure cut line are straight for minimal seams , that bent is curvy and complete so i wont press and damage plank and that contact place is firmly glued to every bulkhead so each next line follows well and planks follows lines closest possible so they are as smooth curvy without bumping and uniform as possible. . With violin bender i did not need to use clamps of any sort just to bend at my will on top of 160 celsius hot plate and stick there in a while. . I only needed to moisture probably 4 planks towards stern clagressive curvature . At the end i made those planks original curvy as it was difficult to bend them qithout damaging it. So it how it went. At this point I really want to congratulate everyone who tried proper planking no matter outcome. Its harderst part of modelmaking for reason and for reason we try to mask omit or avoid it. I want to thank to Chuck to make all way into it predictable and kind of likable even. I really cannot imagine to do it without those lines. Observing others, there is many mistakes on mine and stern part finish is not so smooth as well. There start perfect work with previous perfect sanding of l bulkheads before as now you can see mine there is bump toward stren on one side and all clean work and perfect lines you guys accomplish, but I am happy I built a confidence now that i can finish my first proper planking ajd hull from this point kind of properly and sucessfully and that is important for me. Also that it wont take not months nor weeks probably few days after this pause. Now fairing inner bulwarks and I think of making black line as well. Than i will start from keel up towards the rest buf i am a bit scared not sure how to manage keel plank to instert inti rabbet...well...have to check some works... Oh another important point. I now see disadvantage of lime strips comparing to cedar not only for different shades which makes me firmly think I will go after kind of darker finish where those non uniform planks would look better than blond- ish....what do you think? i lean towards fruity wood colours so ordered some quality stain so i will post test samples. Looking at pics...Should i sand hull even more ? So its all for this week i guess, always apology for elaborate, thank you for stopping by thank you for helping and advices and stay safe!


-
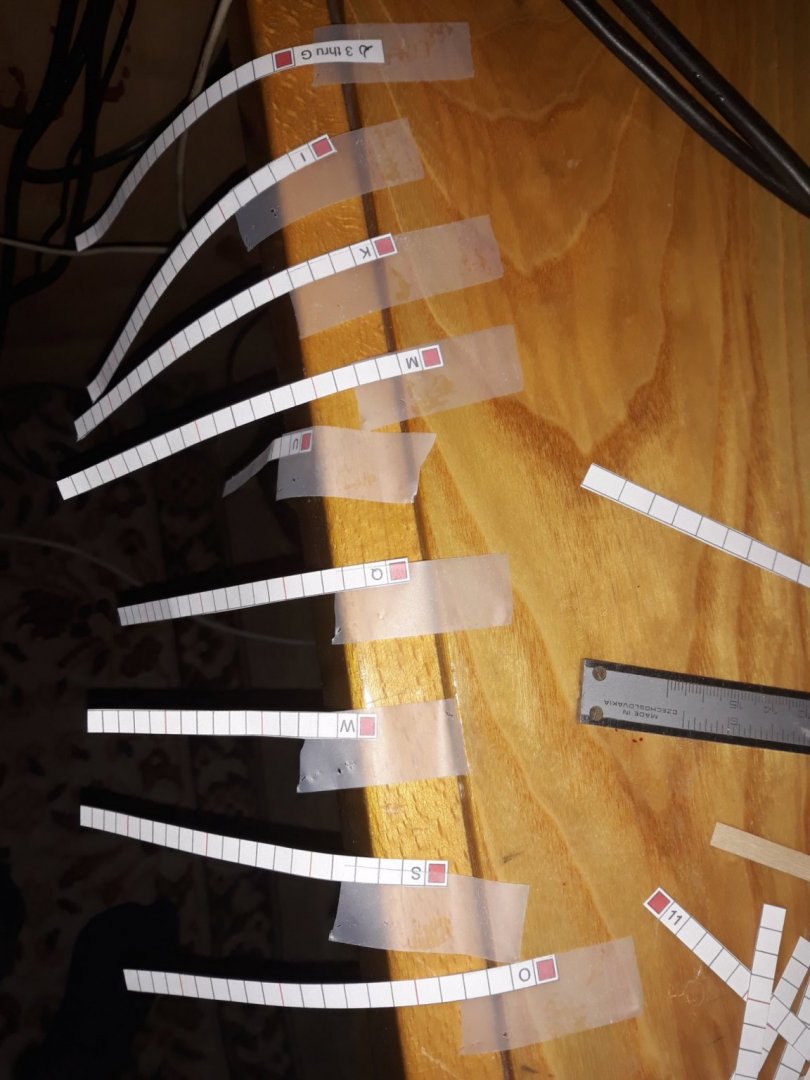
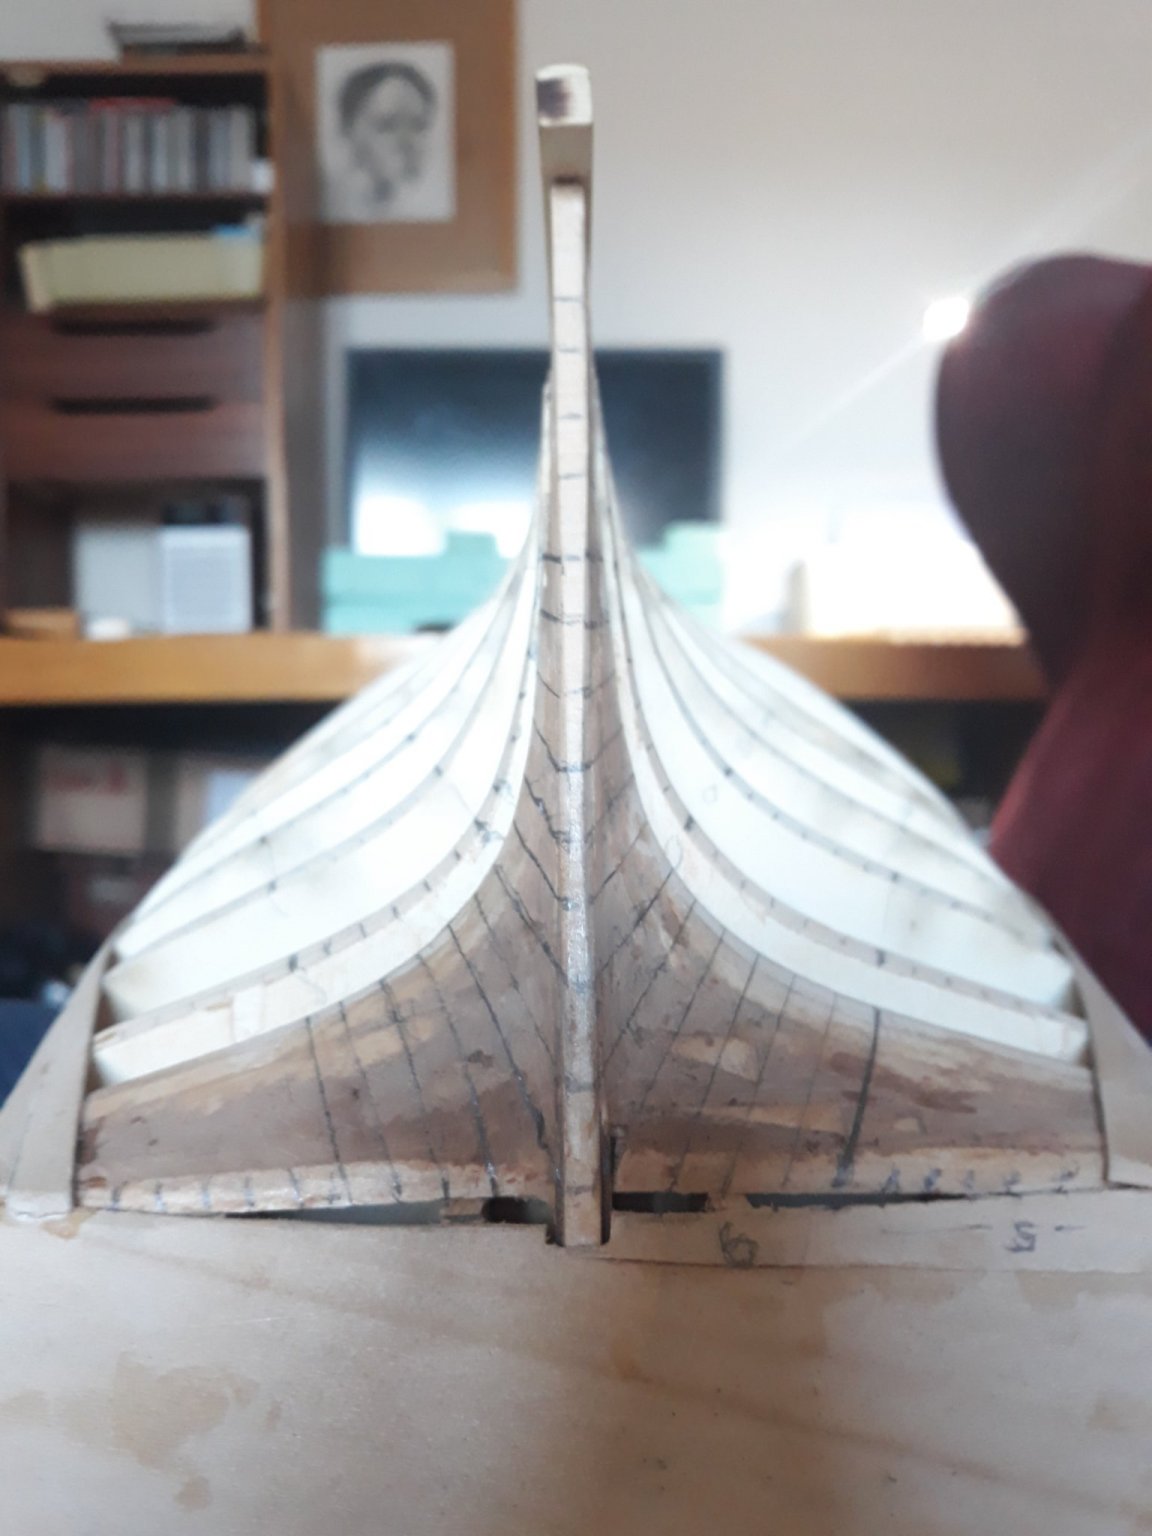
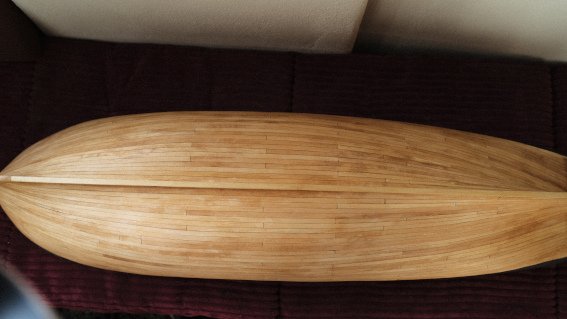
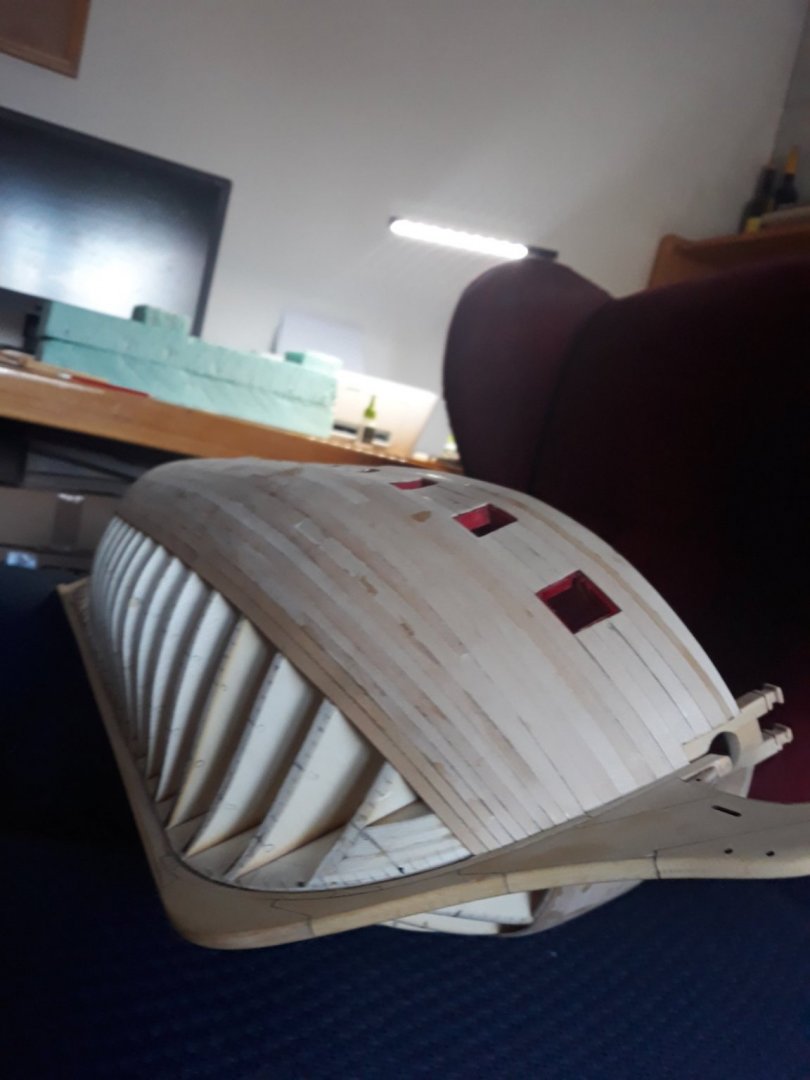
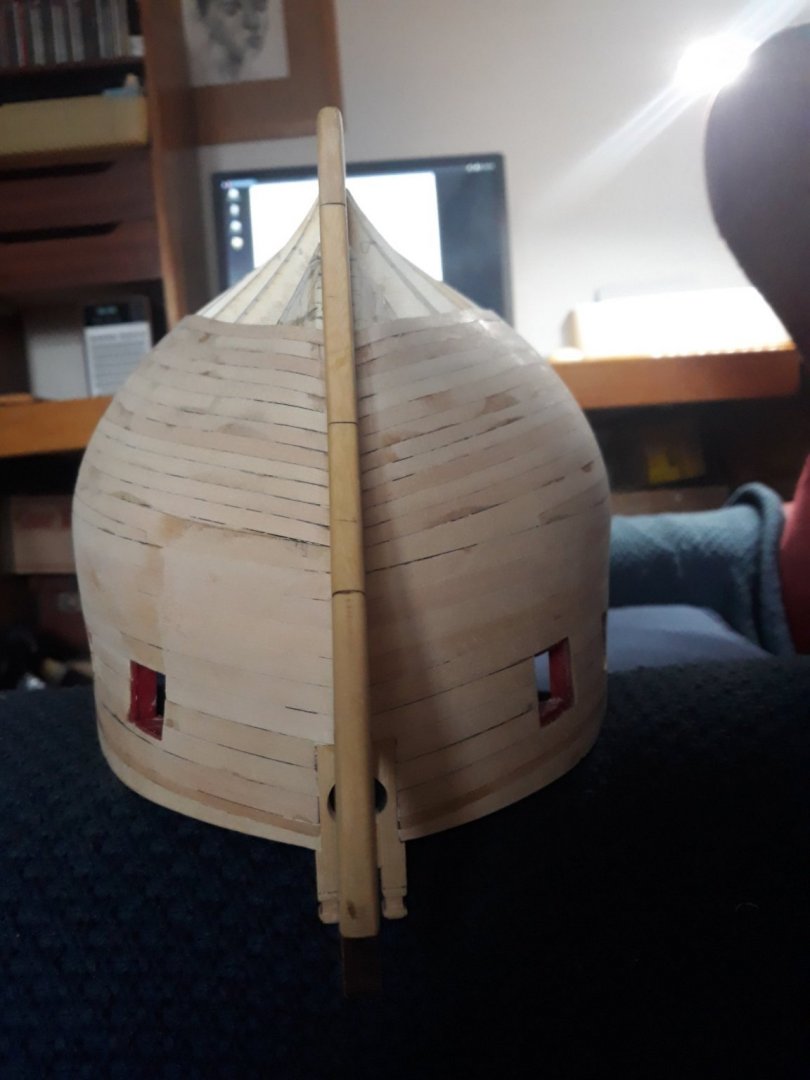
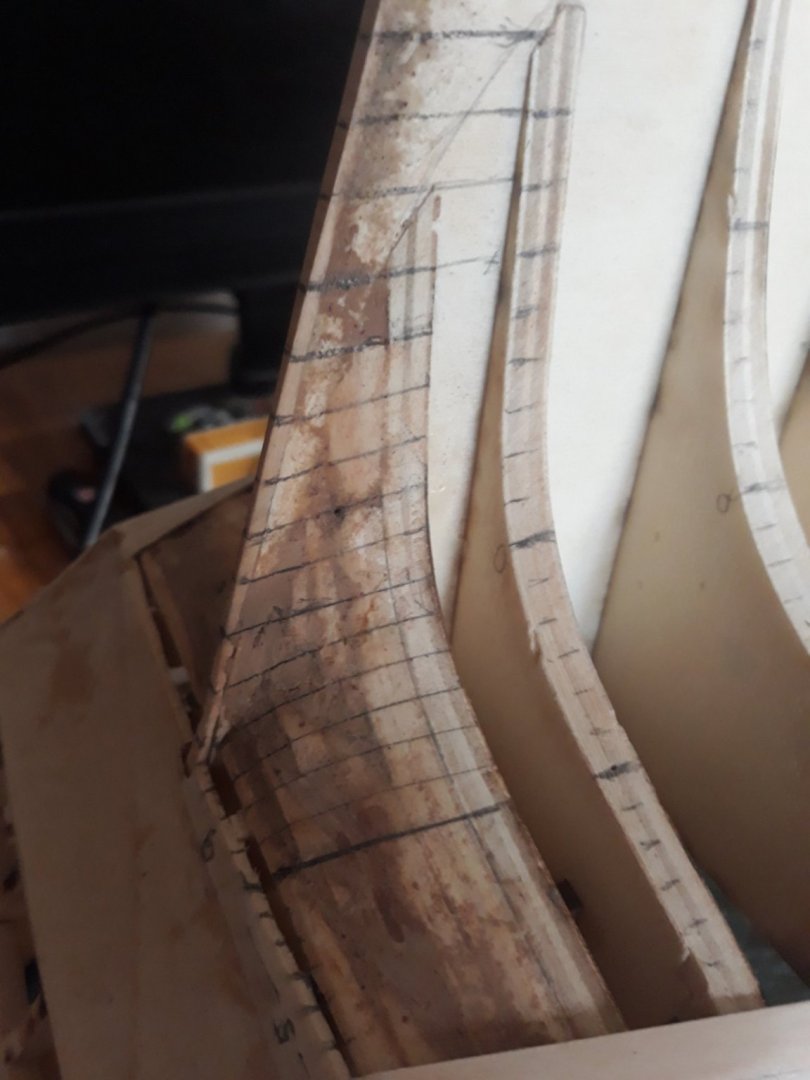
Good productive weekend to Evewryone. So winnie is marked like an old journal ...I didnt use last two strips that mark transom. Used advantage of red lines and simple math dividing by 6 and mark ending over transom - same on the other side so they met parallel. And now lets party :D. Fingers crossed. Have good weekend all.


-
Fabulous work !
-
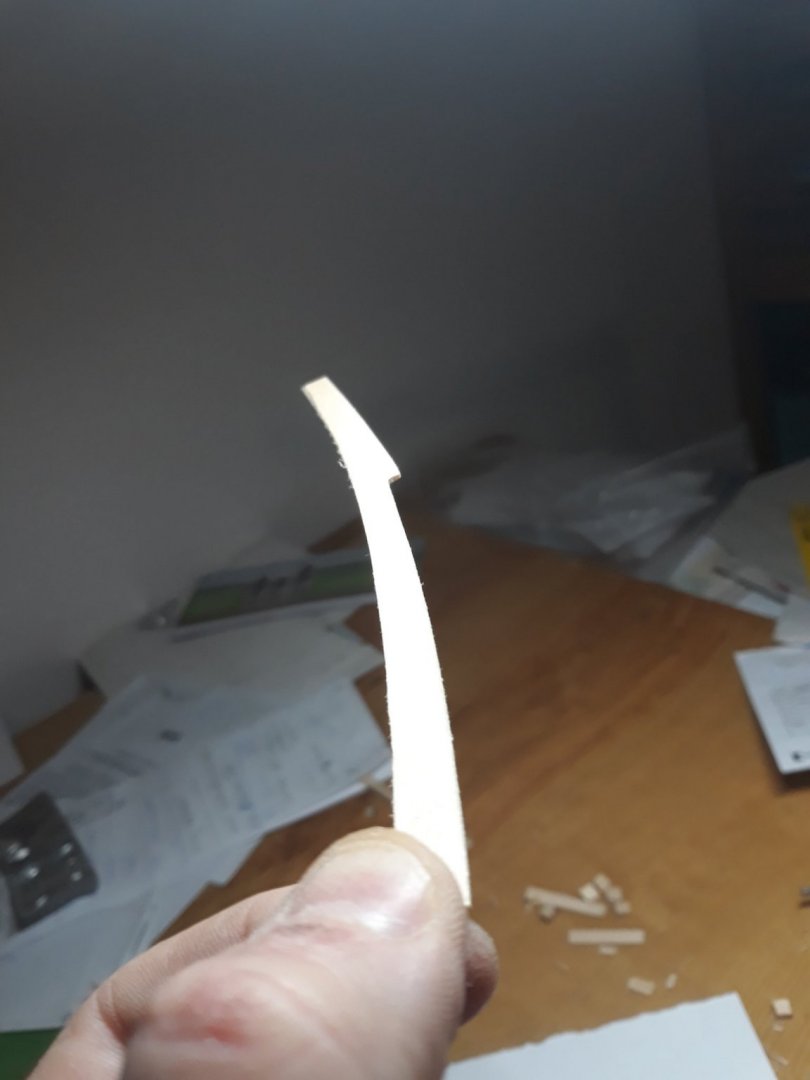
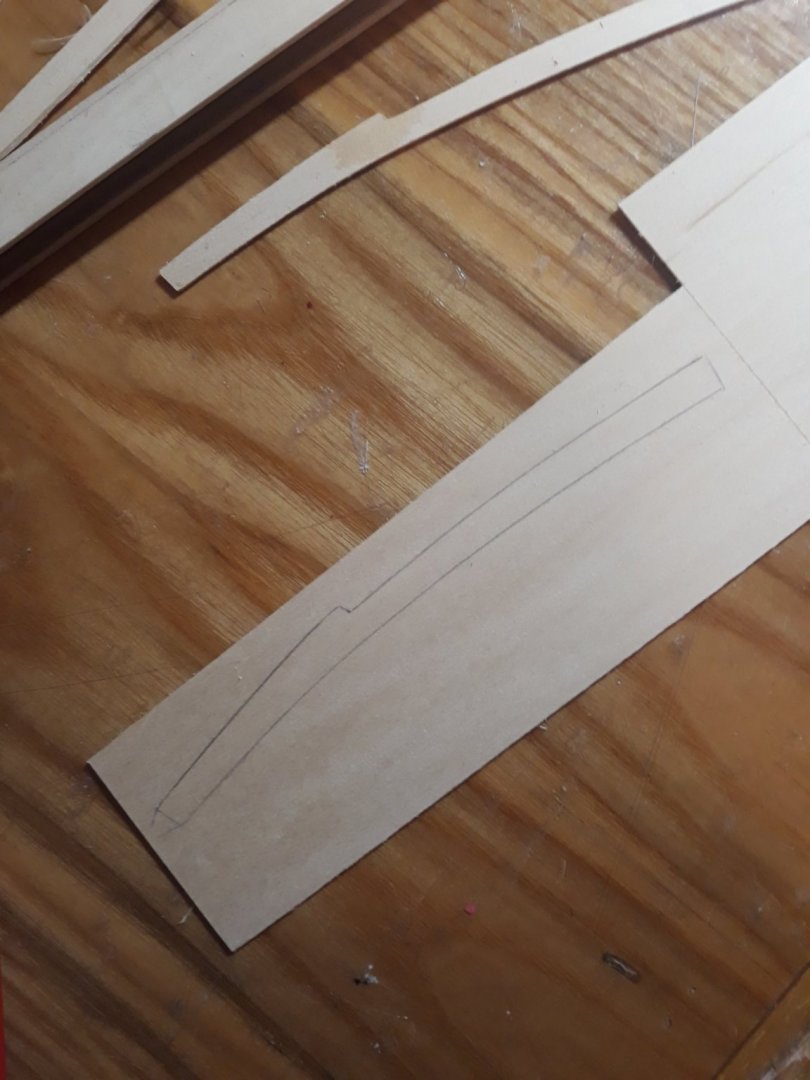
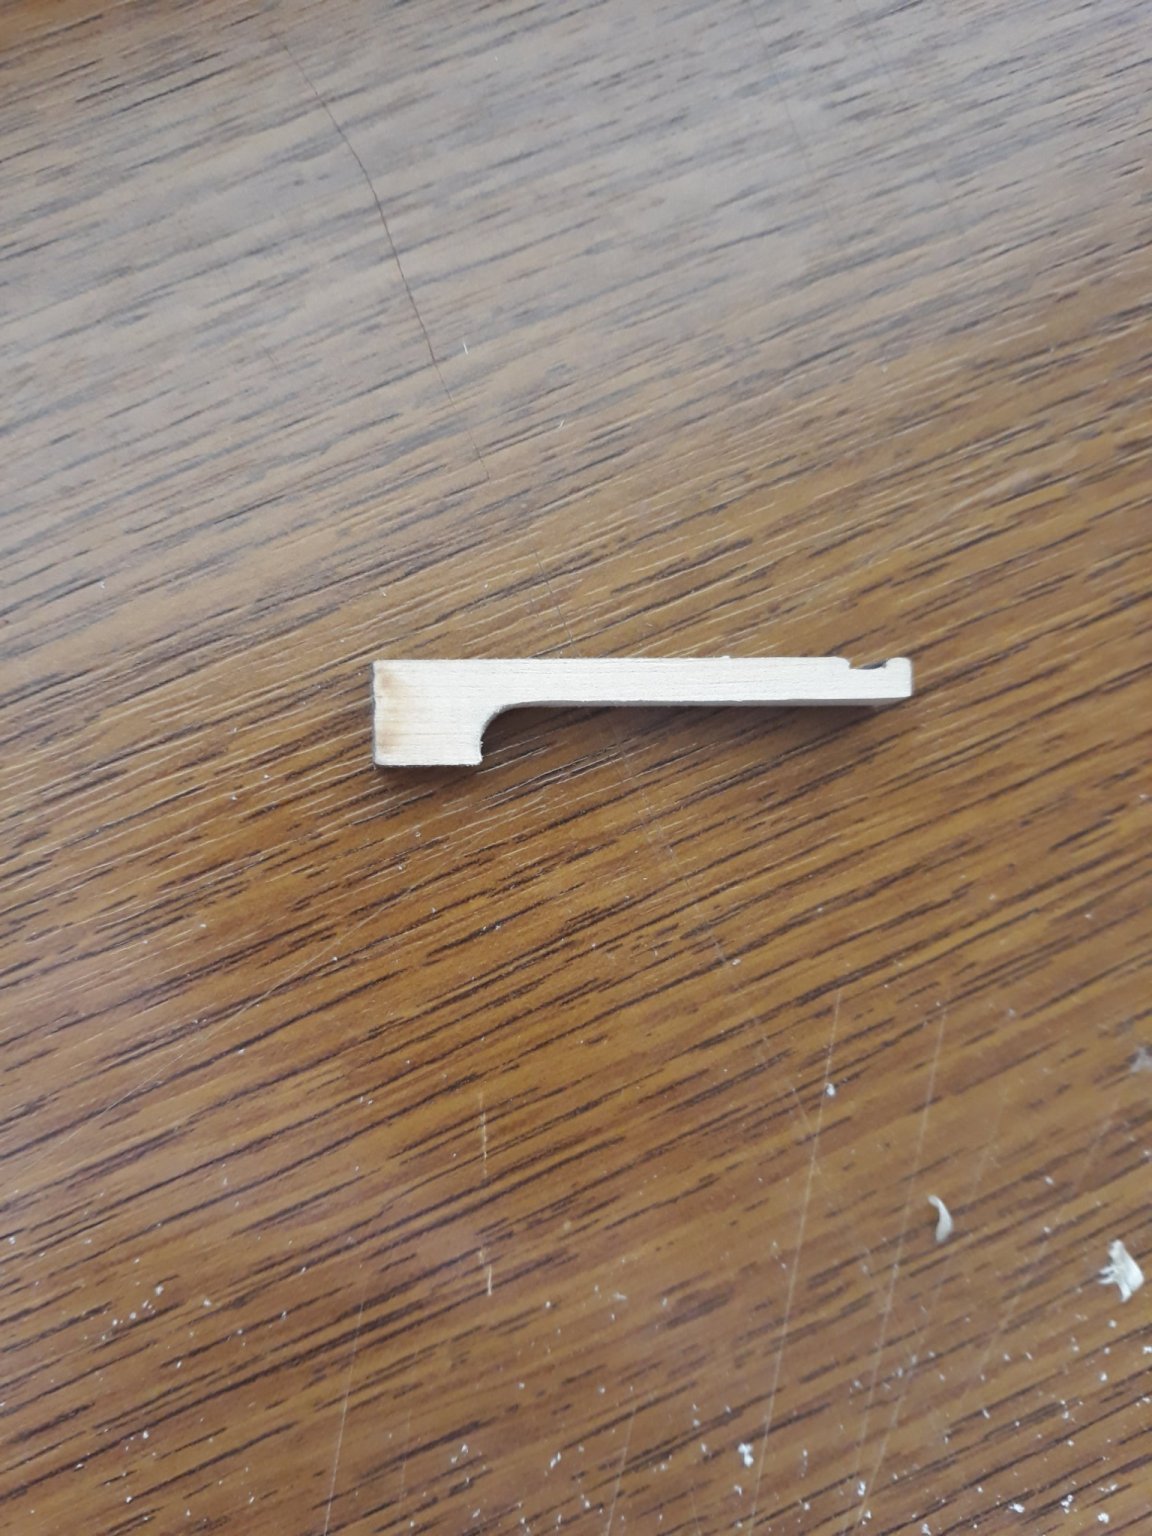
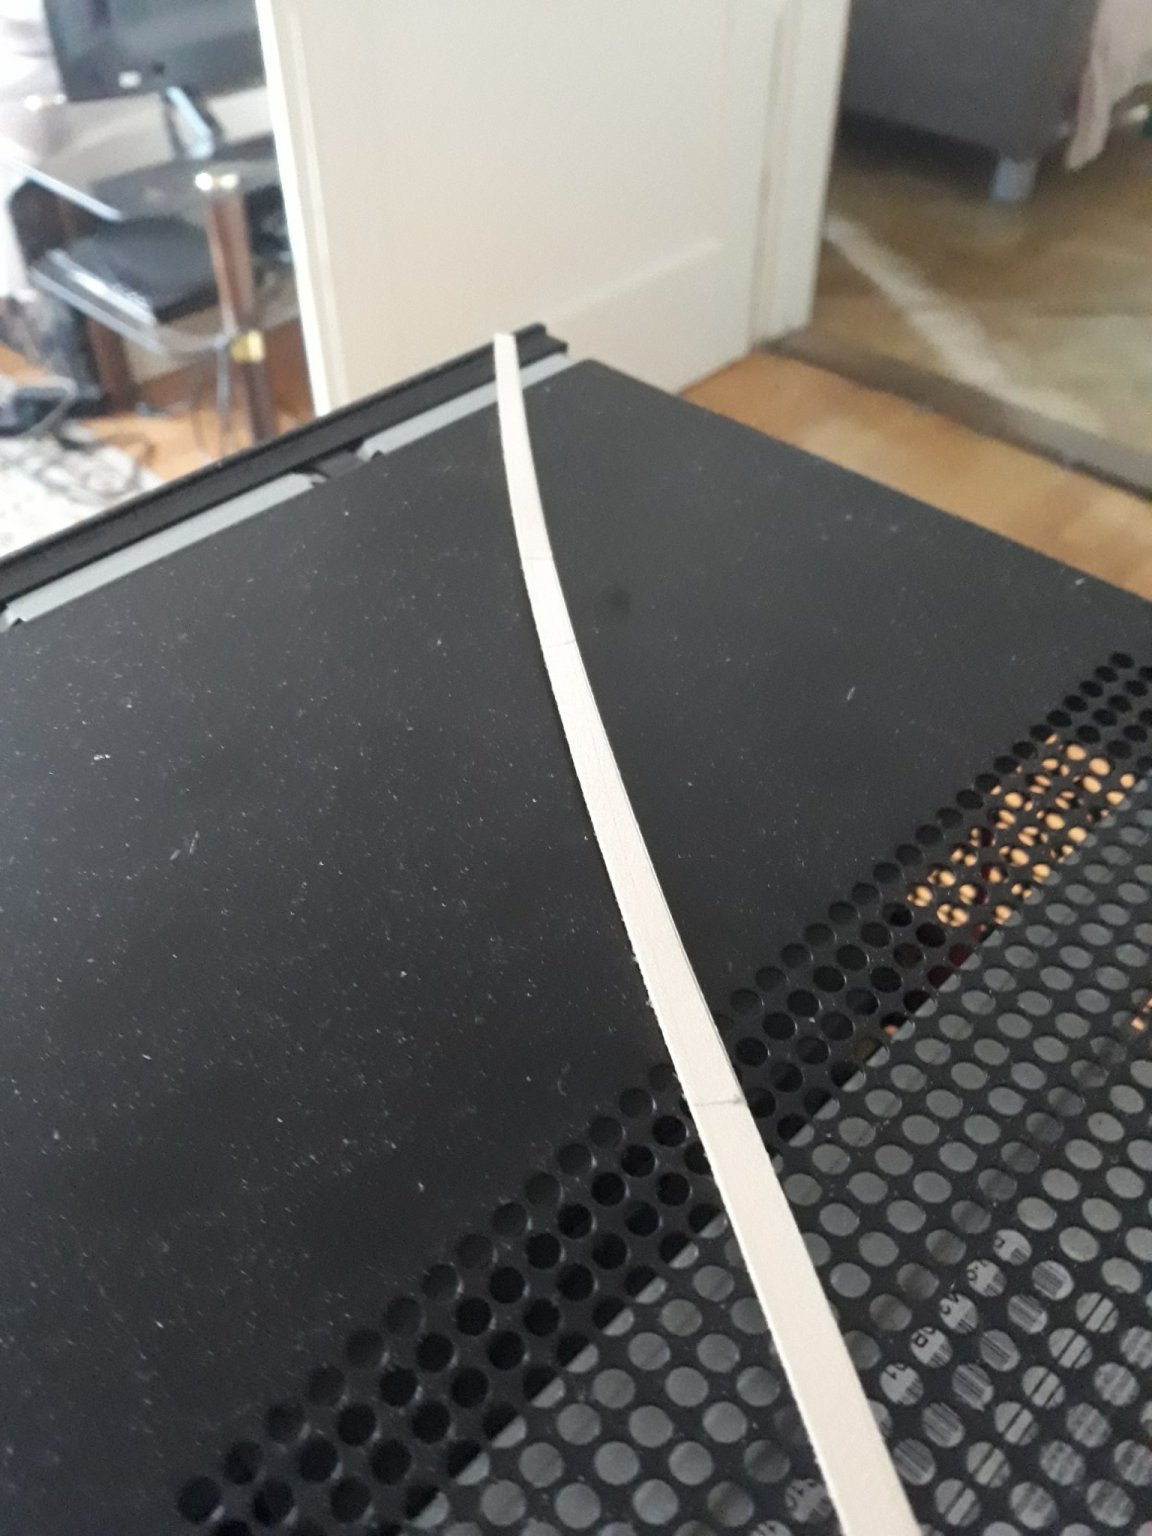
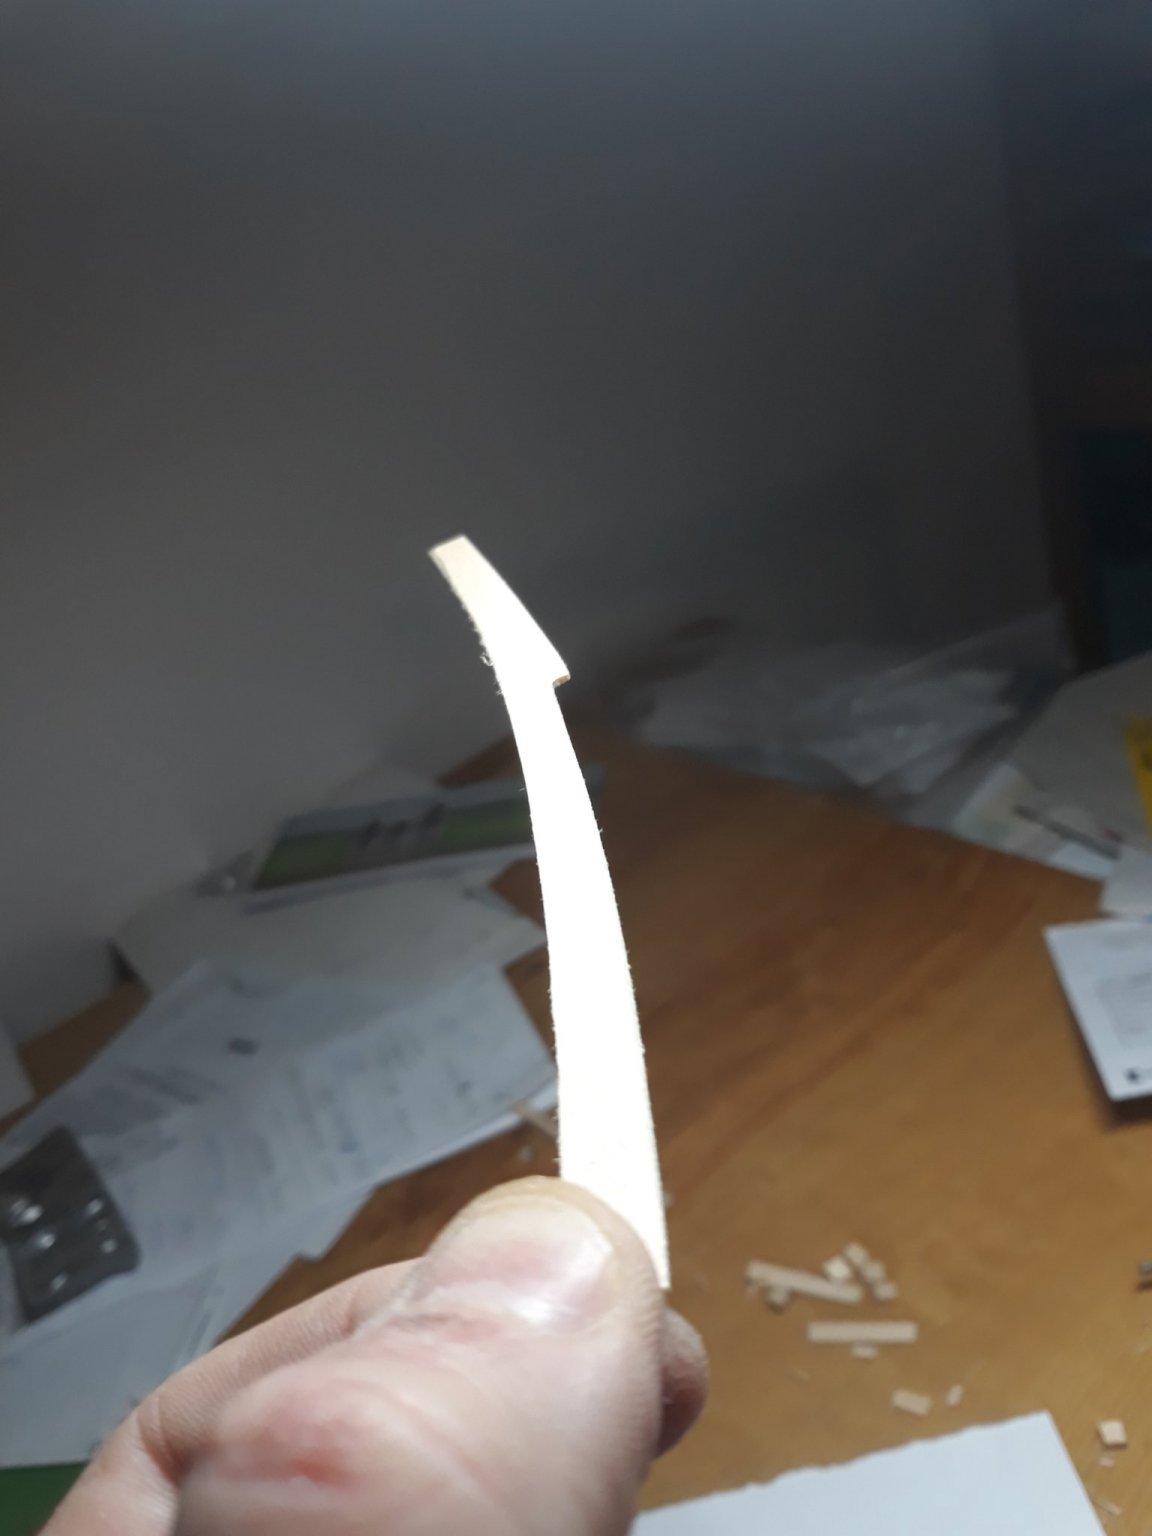
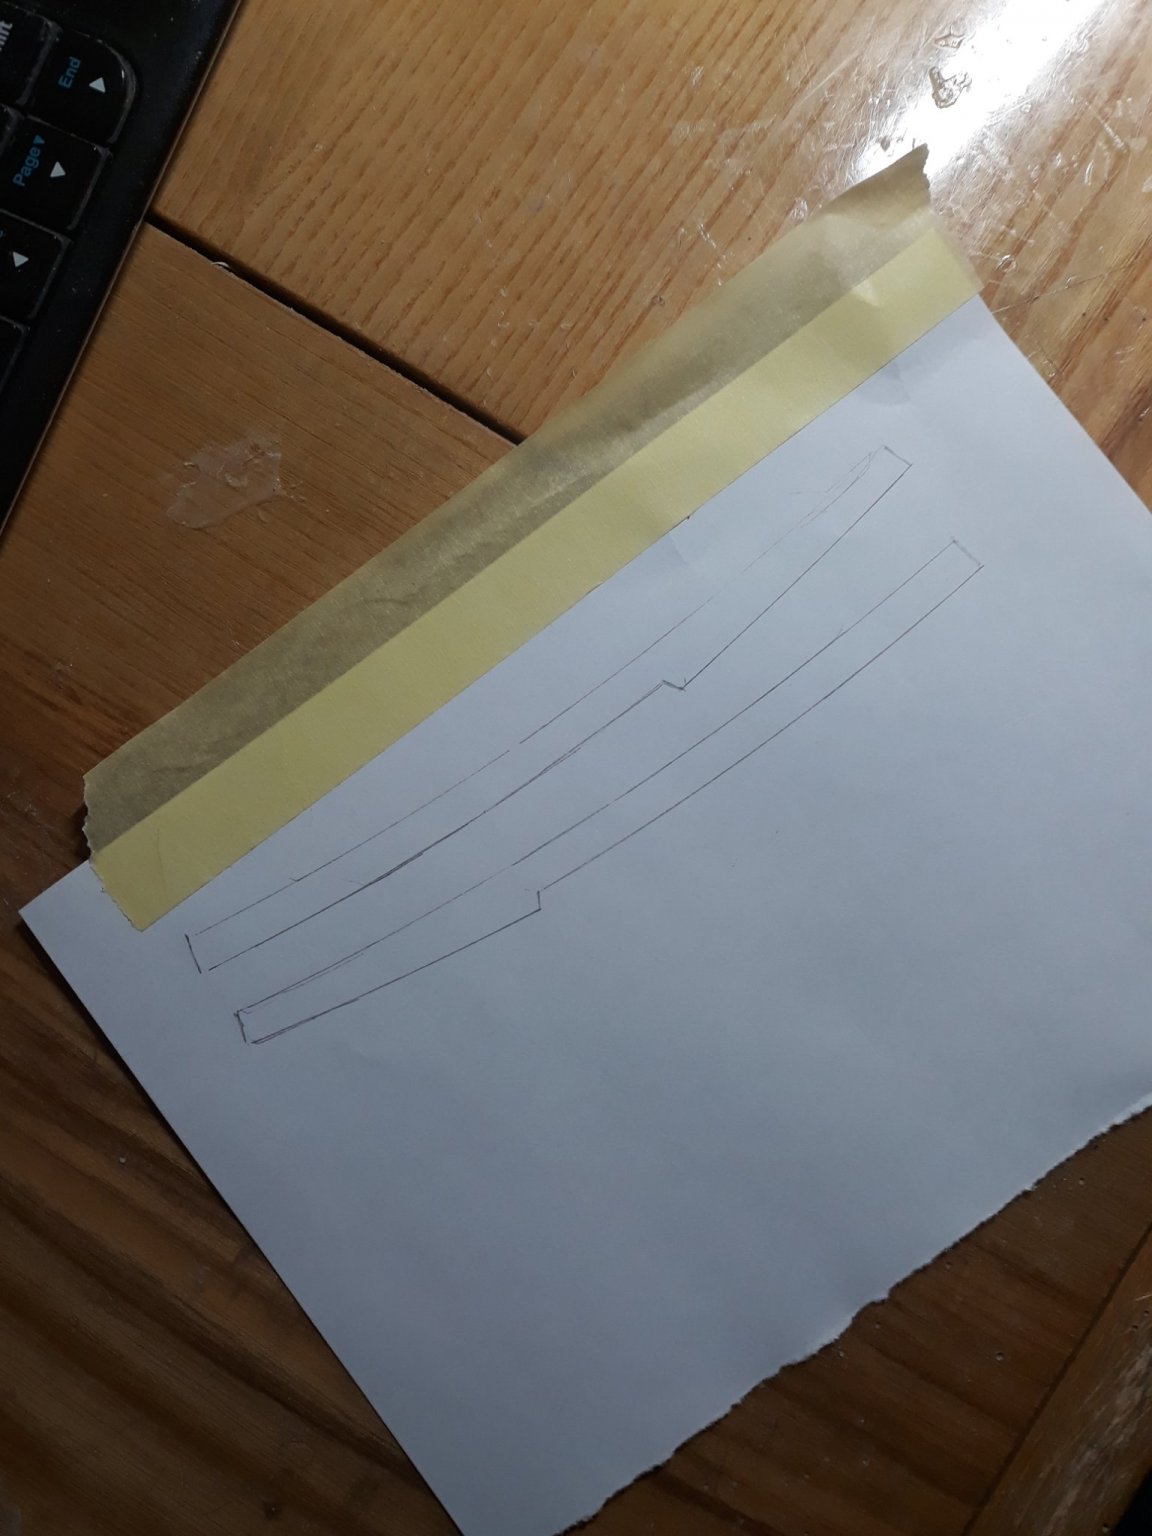
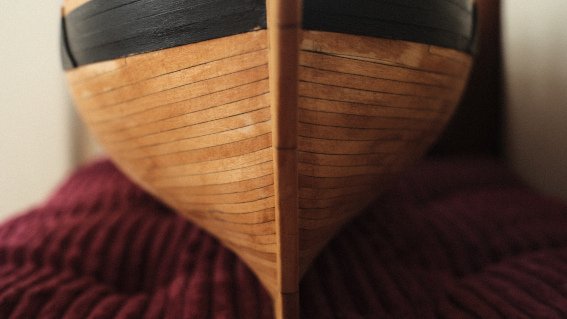
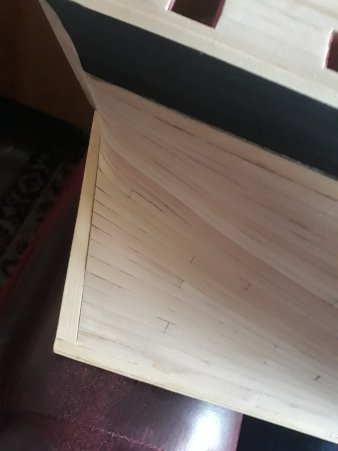
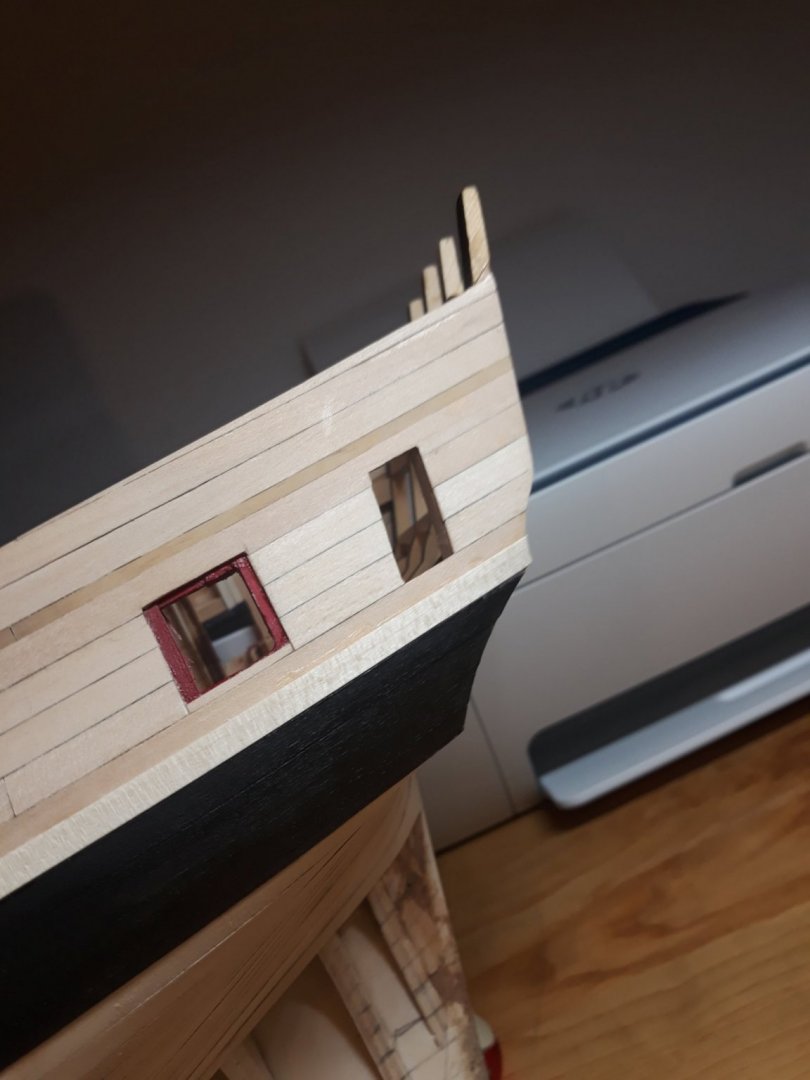
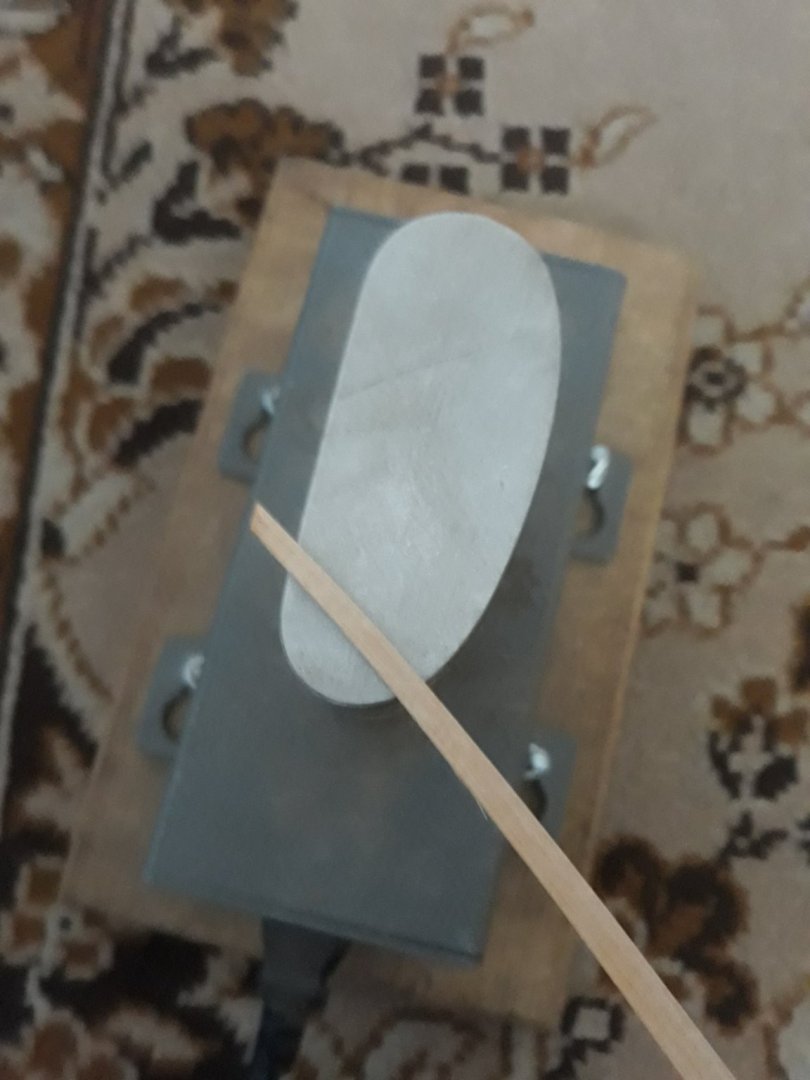
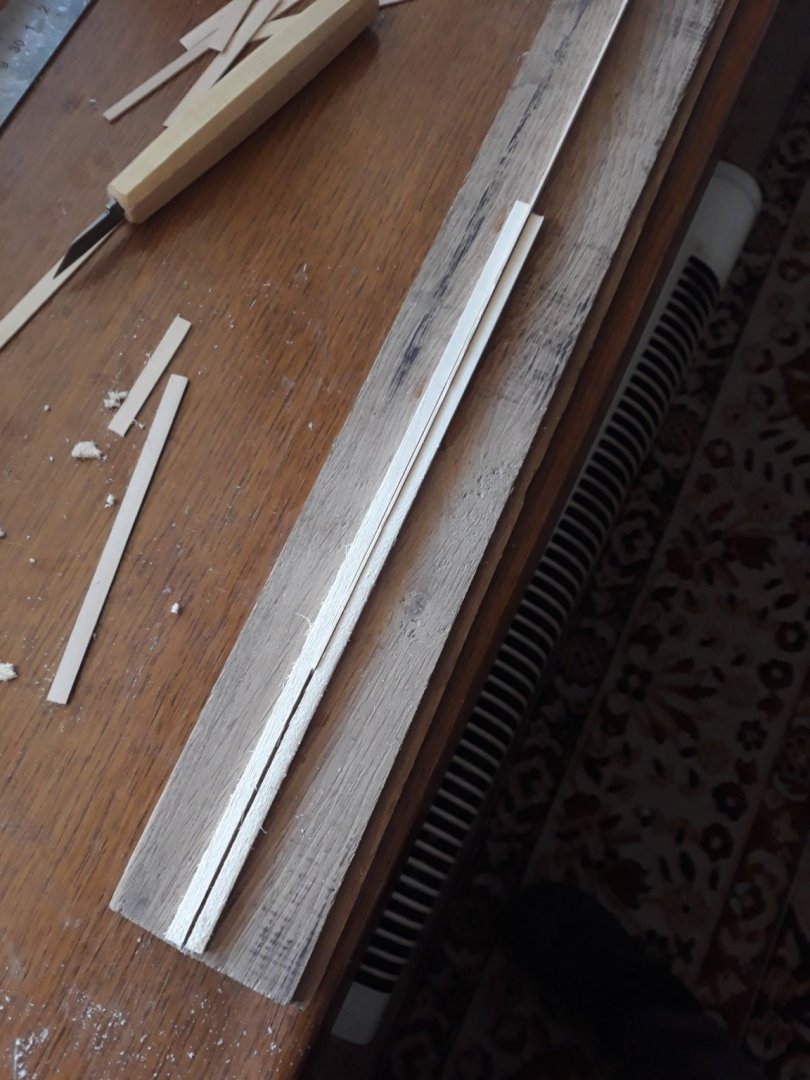
Dear fellow builders. Gone are times of mass work updates. Done only one plank per day so 2 per 2 days. !! Important ones. Made drop planks and installed. Making them was tough as they must be straight after bent and tapered. First was hardsip second turned out better as i found some clue. Already started outlining hull but i will not post for some time as it is slow i wish probably 2 strakes a day.. Big thanks to Chuck for that outline ! Im goijt to watch bow video first! And ..not goint after black strake atm , i wish to finish hull first. Hope there is not some peculiar reason for black strake to be done first..somewhere in middle i will sand inner bulwarks so dust can drop away while hole... Thank you for any criticism or comment etc.., v.