


James G
-
Posts
232 -
Joined
-
Last visited
Content Type
Profiles
Forums
Gallery
Events
Posts posted by James G
-
-
The rigging section on this website has lots of information on rigging. YouTube has plenty as well. Also Google searches can probably give you specifically what you’re looking for. I did all this when I rigged my first model and it worked out well. Good luck. It all gets easier as you gain more experience.
- Keith Black, Ryland Craze and mtaylor
-
 3
3
-
Fantastic idea Toni! I recently completed the NRG’s Planking Tutorial that you were instrumental in developing. That was very educational. I’ll be purchasing once available. Should prove useful when I get to rigging the Mayflower I’m currently working on. Thank you for creating this!
- JpR62, Mr Whippy, Ryland Craze and 8 others
-
11
-
David, I ended up doing the same on mine. I think it’s a manufacturing issue with the kit. Shims resolved the issue for me. Below is how mine turned out. Very educational and worthwhile.
- JacquesCousteau, KARAVOKIRIS, dvm27 and 2 others
-
5
-
Greg, you are a model making machine! 😆 Really do enjoy your logs.
- Greg Davis and Mr Whippy
-
1
-
 1
1
-
It is a piece of art so my feeling is it depends on which master you’d like to serve. Accuracy or clean lines? The beauty is in the eye of the beholder so your call. I can make a case in my own head for either direction. Enjoying the build!
-
Welcome back! Glad to hear you’re feeling healthy! Always enjoy your build logs and this one looks interesting.
-
-
-
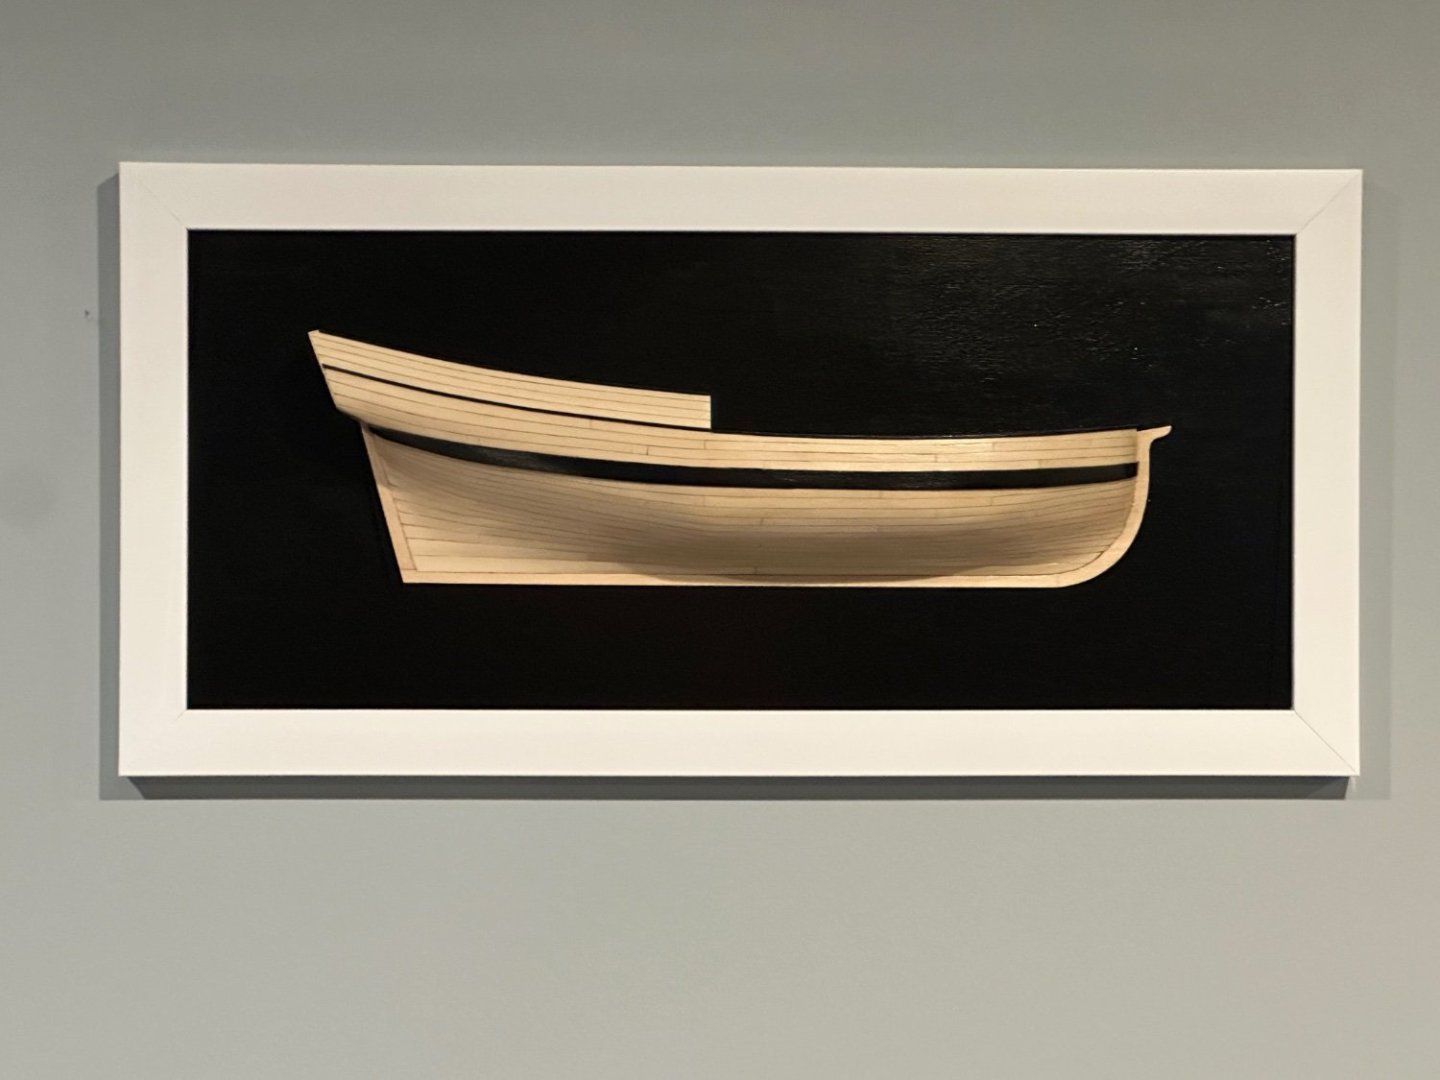
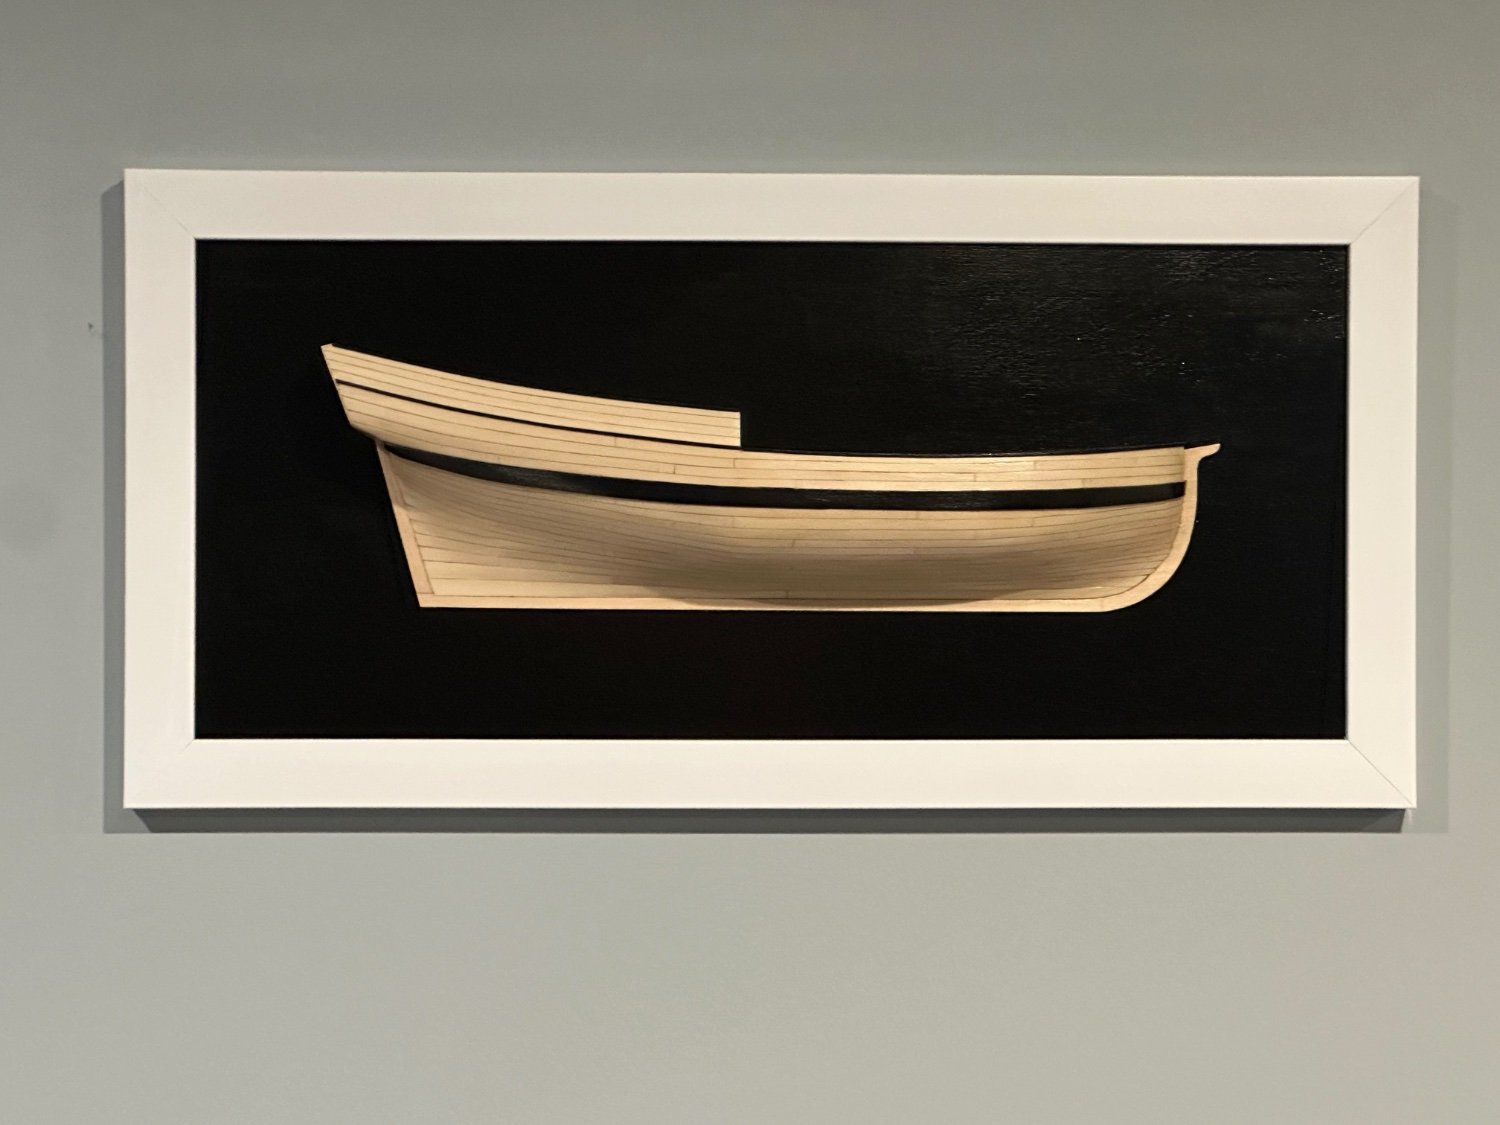
Before beginning the planking process in Chapter 2 I wanted to learn and practice a bit more . To help with my skills I’ve been working through the planking skill building project that’s offered through the NRG. A very helpful tool! If you want some additional training and practice this is a wonderful resource. I’ll begin Chapter 2 once I’ve completed this half hull. Happy New Year 🎊 everyone!

- FrankWouts, Chuck, scrubbyj427 and 6 others
-
9
-
Welcome Kenny! I started my Winnie about a year ago. Just beginning Chapter 2. A great model and a great group here. Lots of support whenever you need it. Looking forward to watching your progress!
- FrankWouts and KennyH78
-
2
-
Beautiful Frank! Looks like the PVA will be flying soon. 👍
-
That’s what I did when I built mine. No regrets…would do the same again.
-
-
At the risk of sounding redundant Glenn, absolutely stunning work! A pleasure to follow.
- Dave_E, glbarlow and FrankWouts
-
3
-
Great to hear Greg! You select such interesting subjects and I was hoping you would be forging ahead with this one. Getting colder here on our side of the big lake. Should mean more time for the fun projects!!!
- Greg Davis and mtaylor
-
2
-
It looks wonderful Glenn. So precise, as usual. A quick question…have you used your Byrnes thickness sander much on this build? It’s on my tool acquisition list and was just curious on how helpful it would be during building of the Winnie.
- FrankWouts and Dave_E
-
2
-
-
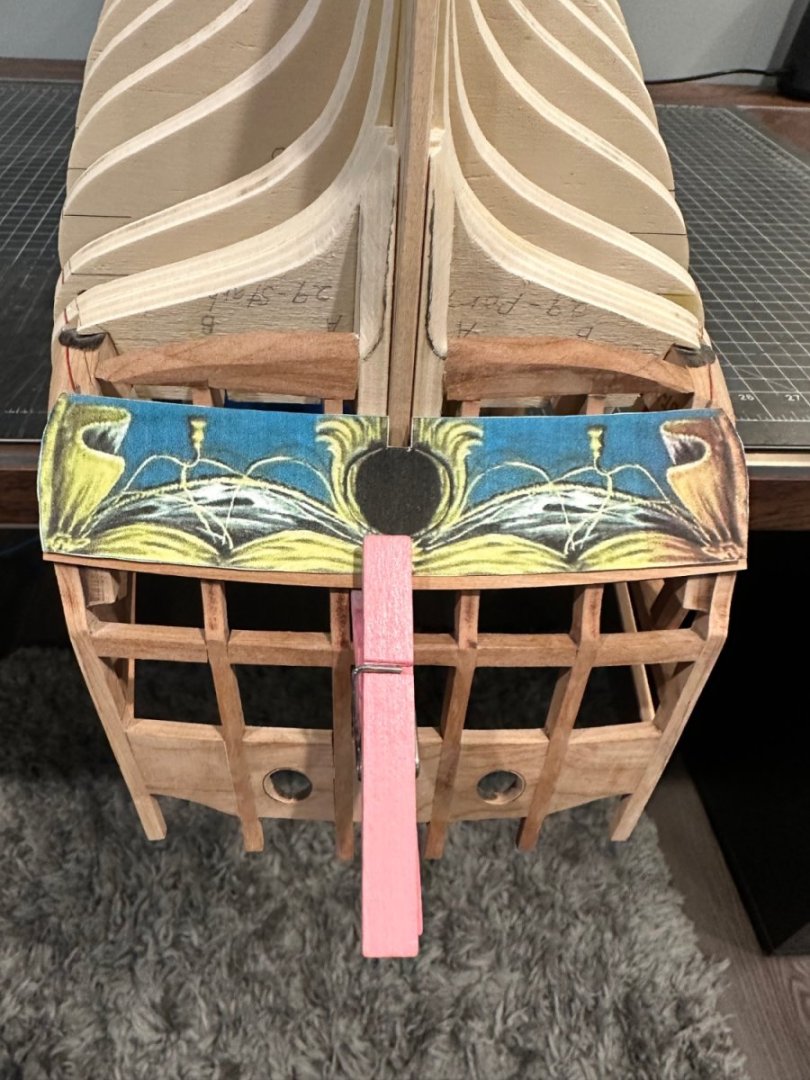
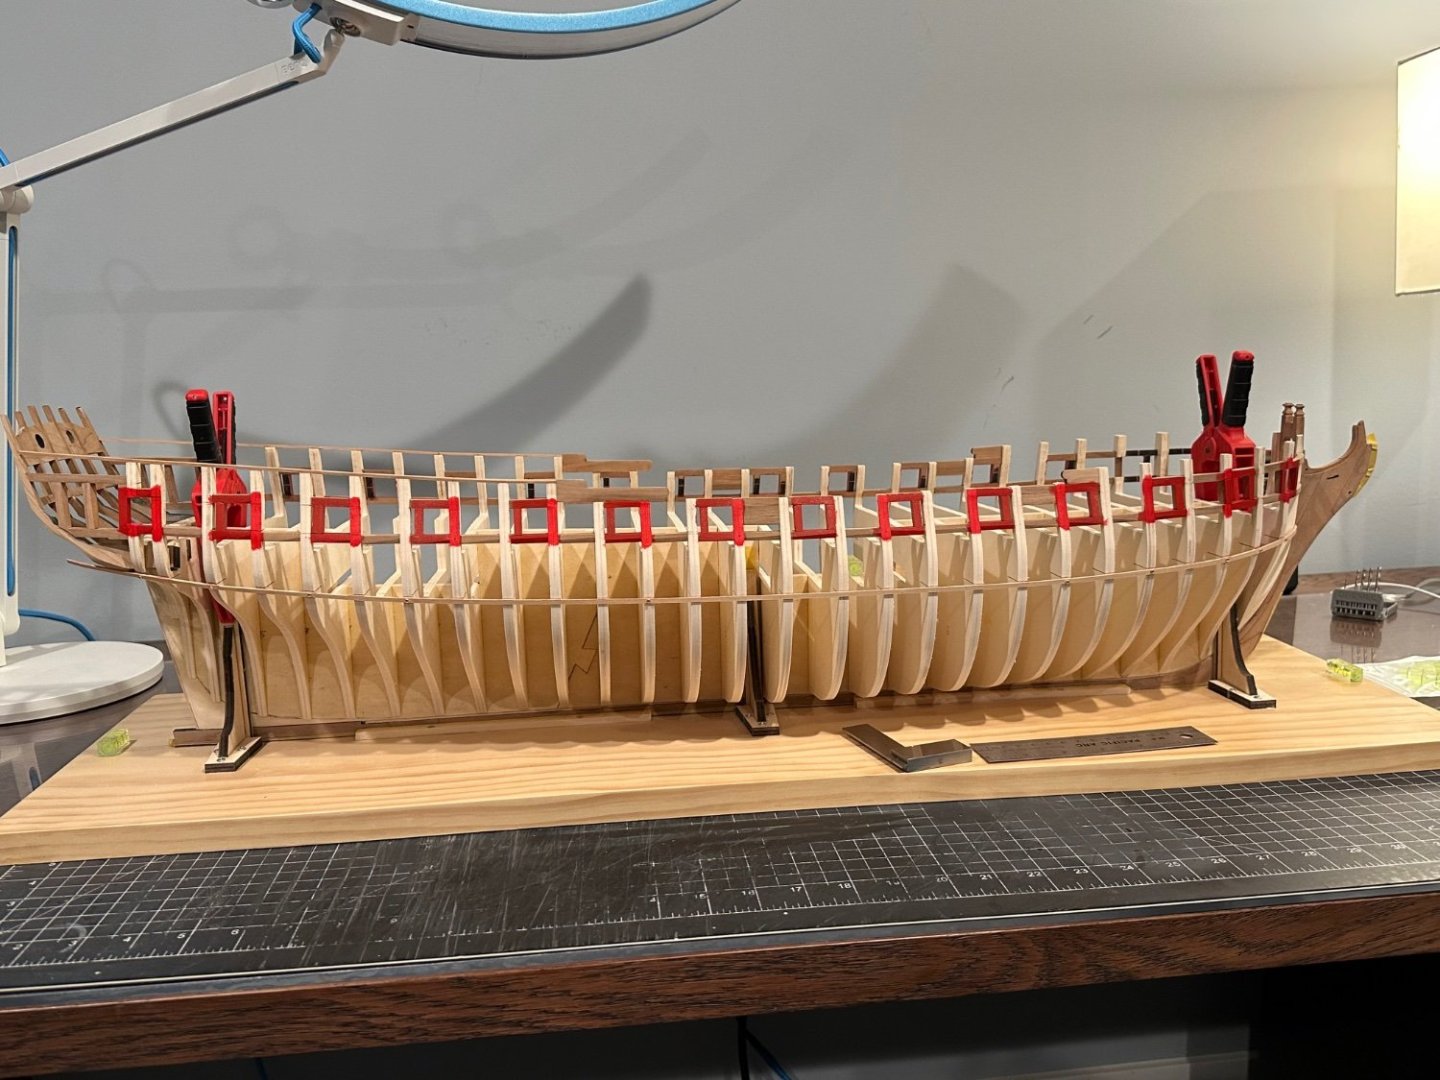
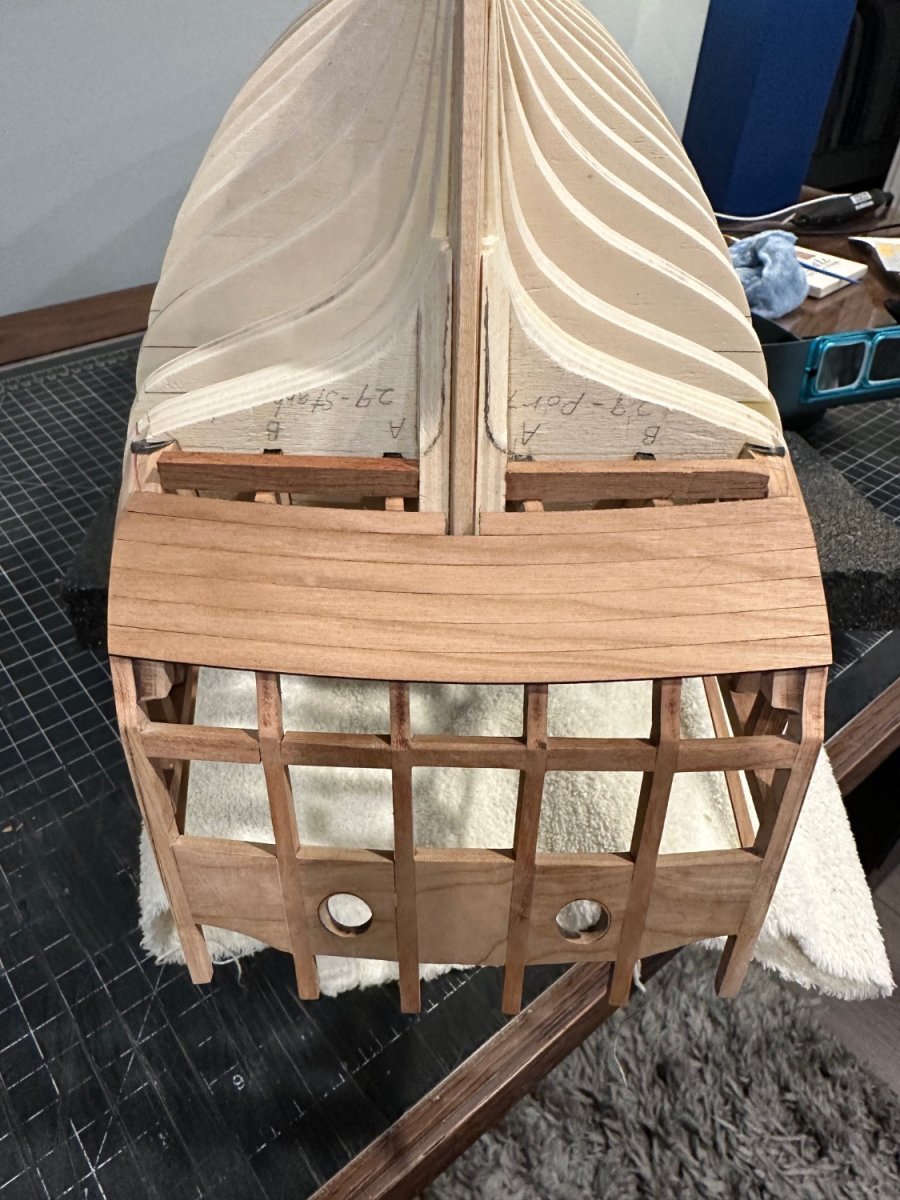
A quick update. I installed and shaped the planking on the lower counter. A big thank you to Frank and Glenn. Your build logs and feedback continue to be helpful. The lower counter reflects the shape of the frieze and I’ve accounted for the addition of the wales. Hopefully I hit it right! 😆 I know this part can be a bit tricky. Finally, I decided to redo the filler strips. I still need to fare them but what I’d installed before wasn’t going to hit the mark. Became evident once the lower counter planking was in place. Thanks for taking a look, the likes and appreciated feedback!


- FrankWouts, Ryland Craze, Freebird and 4 others
-
7
-
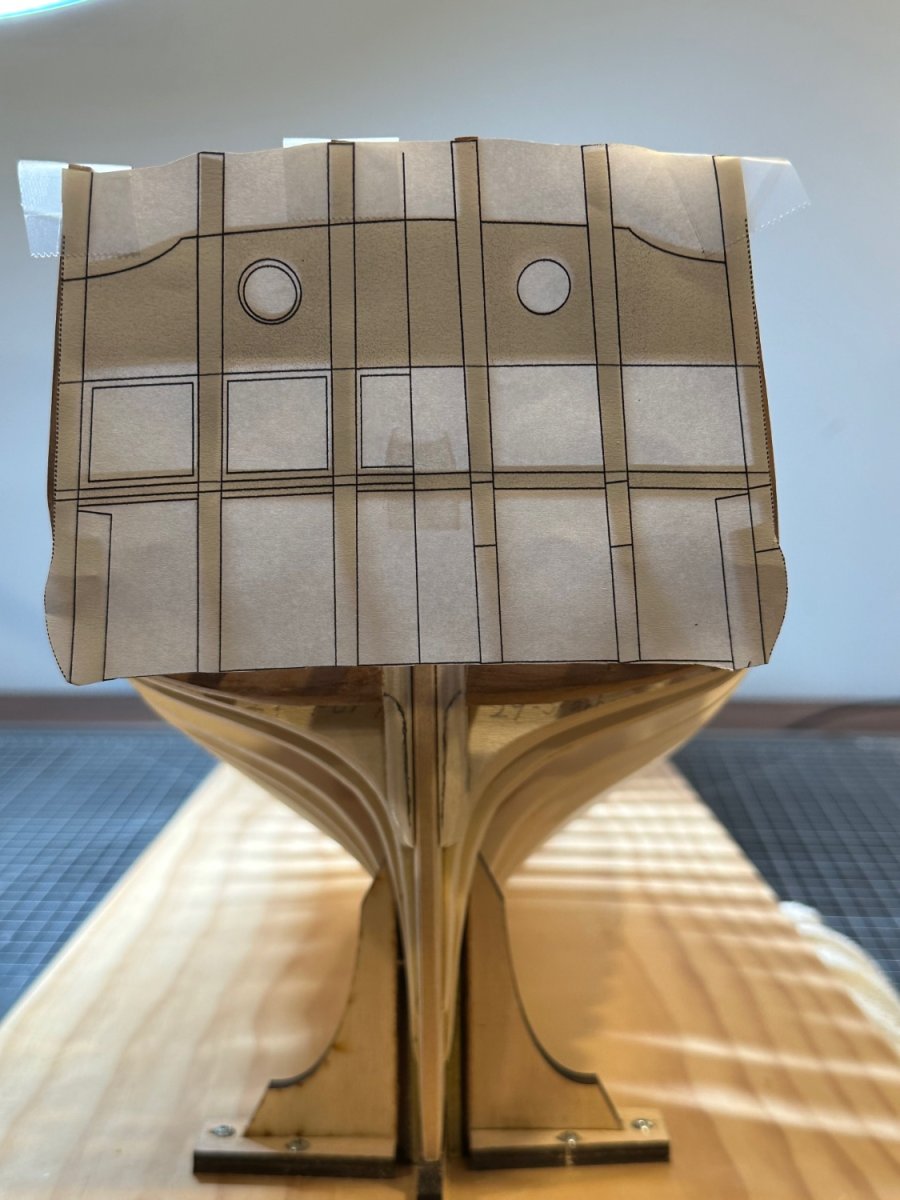
5 hours ago, glbarlow said:
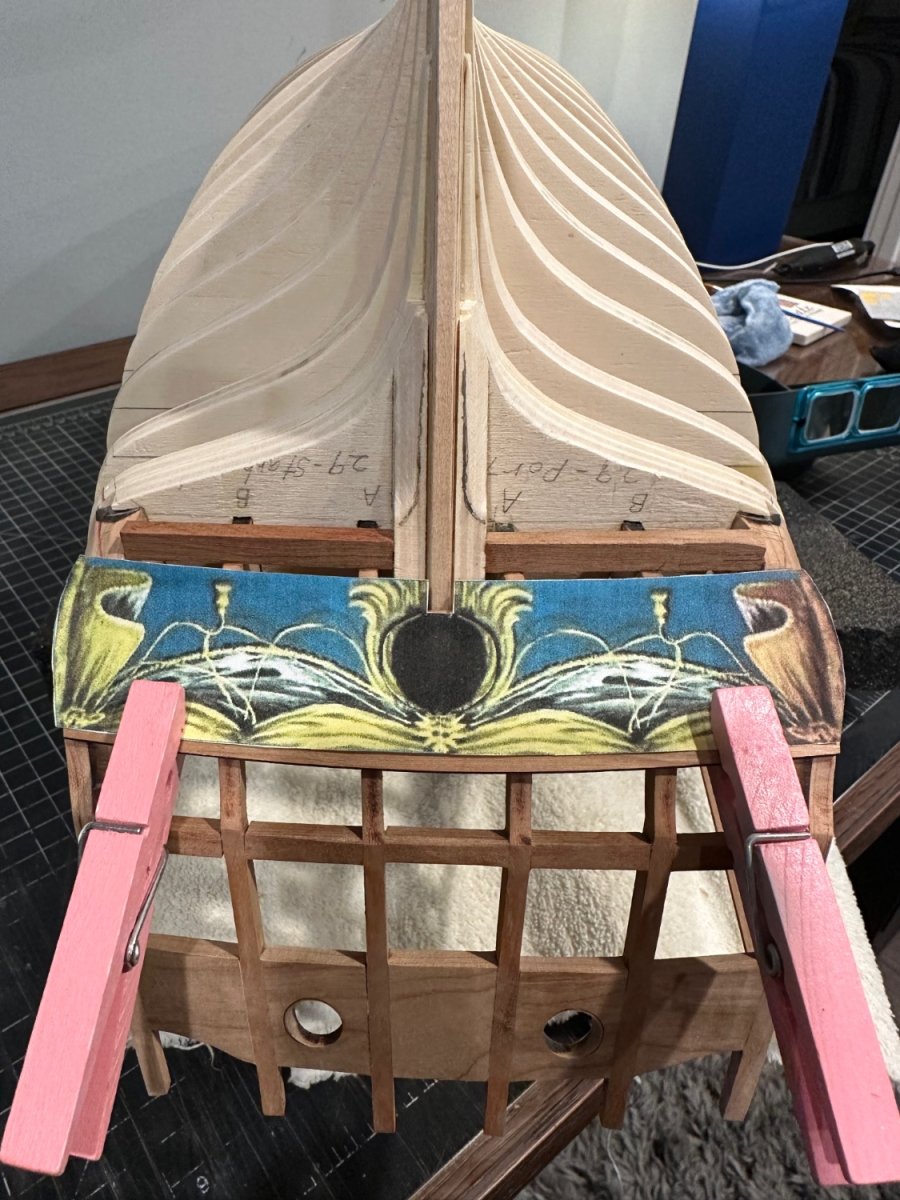
I actually printed and cutout the lower counter decoration (in B&W)to see how it would fit, of course the planking and wales add width. Looks like your ready to plank, let the fun begin.
Thanks Glenn. I misunderstood. Here is a pic based on your recommendation. I still have some final shaping to do but I think I’m close
 1 hour ago, FrankWouts said:
All is looking very good thusfar Jim. Once you’ve glued on those lower counter planks positioned with that template you’re using, you’ll see where planks have to start and end. Let the planking journey and fun begin!
Frank.
Thank you Frank. I’ve been using your log to ensure I’m taking into account the spacing the planks take with the overall build. Especially when it comes to the q gallery and window positions. Your documentation really helps!
- FrankWouts, scrubbyj427 and CiscoH
-
2
-
1
-
6 hours ago, glbarlow said:
Looks good, seems like excellent work on the fairing. One suggestion if you haven’t already done it. Make a copy and cut out the transom diagram and check your fairing, especially the lower counter where the curve meets the wales. It doesn’t have to be exact but it should be close, almost a reverse C.
Thanks for tip Glenn! I checked it out and I think I’m pretty close. I do see the reverse C. No doubt lots of tweaking will have to happen throughout the planking process. Appreciate your hard won experience and guidance.

- Freebird, scrubbyj427, FrankWouts and 2 others
-
5
-
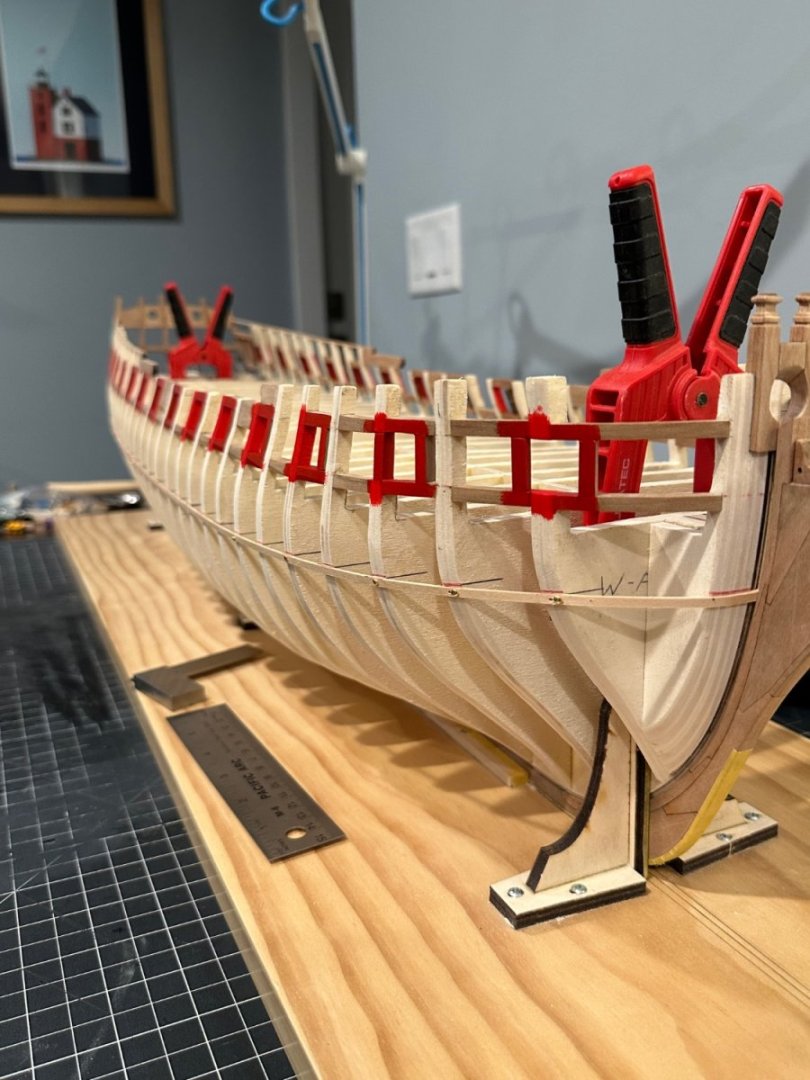
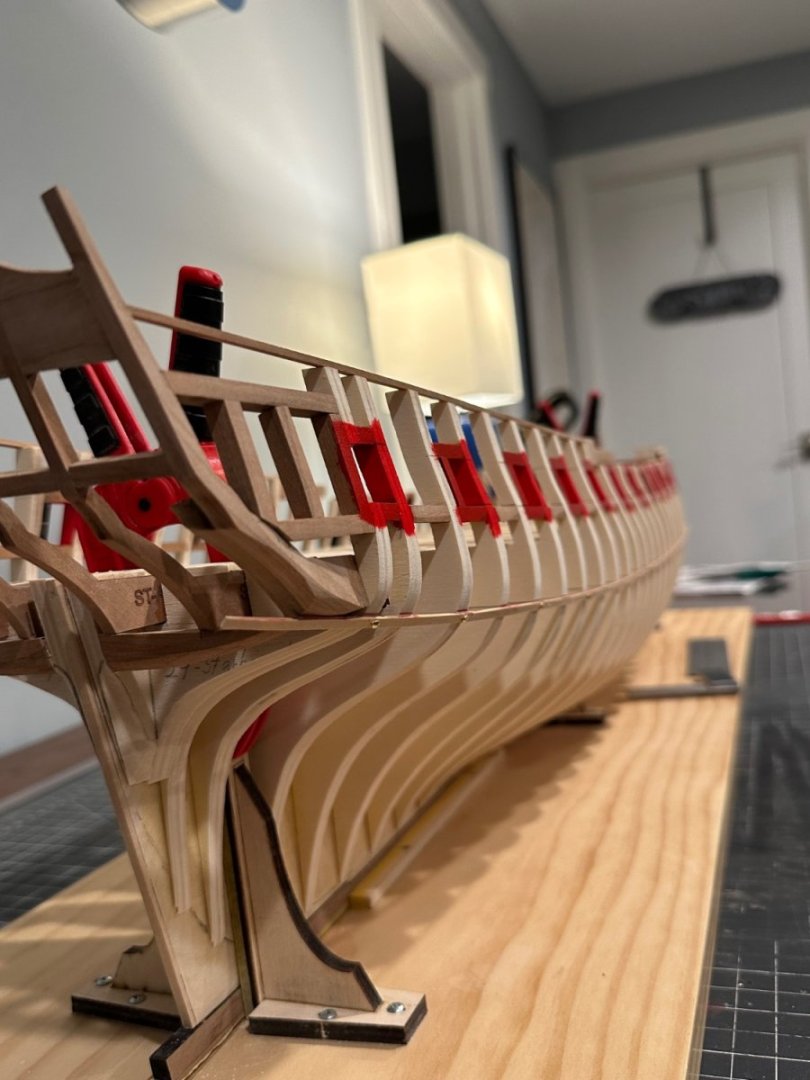
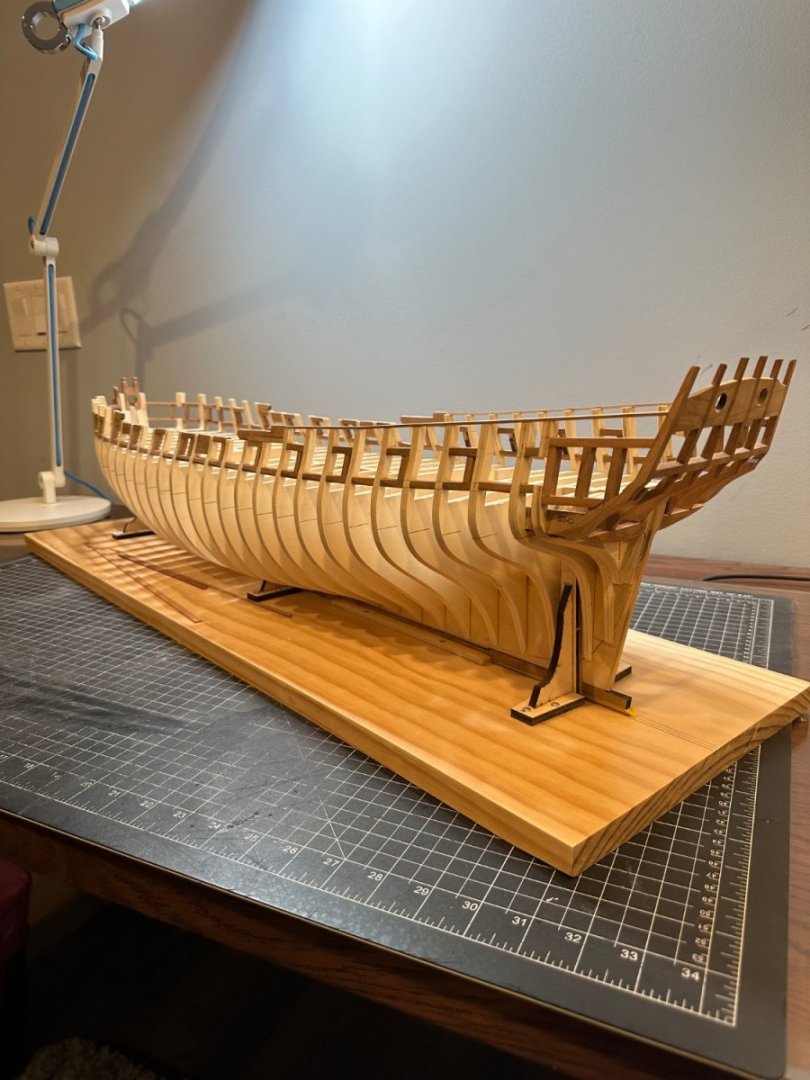
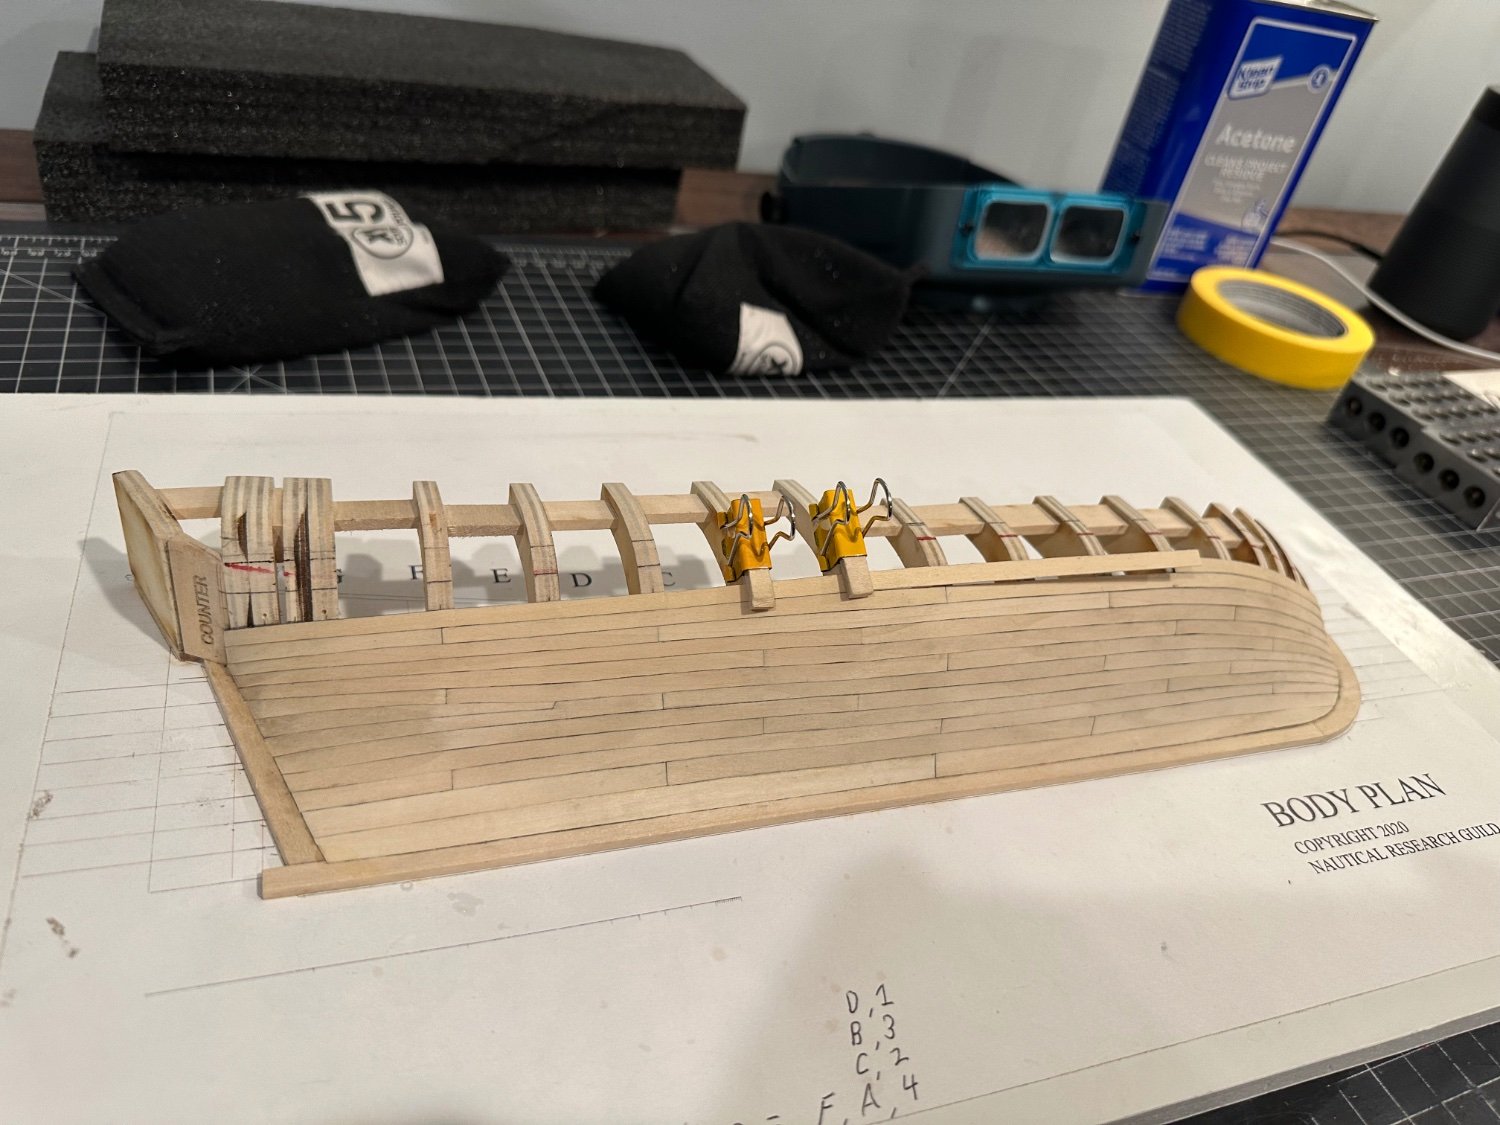
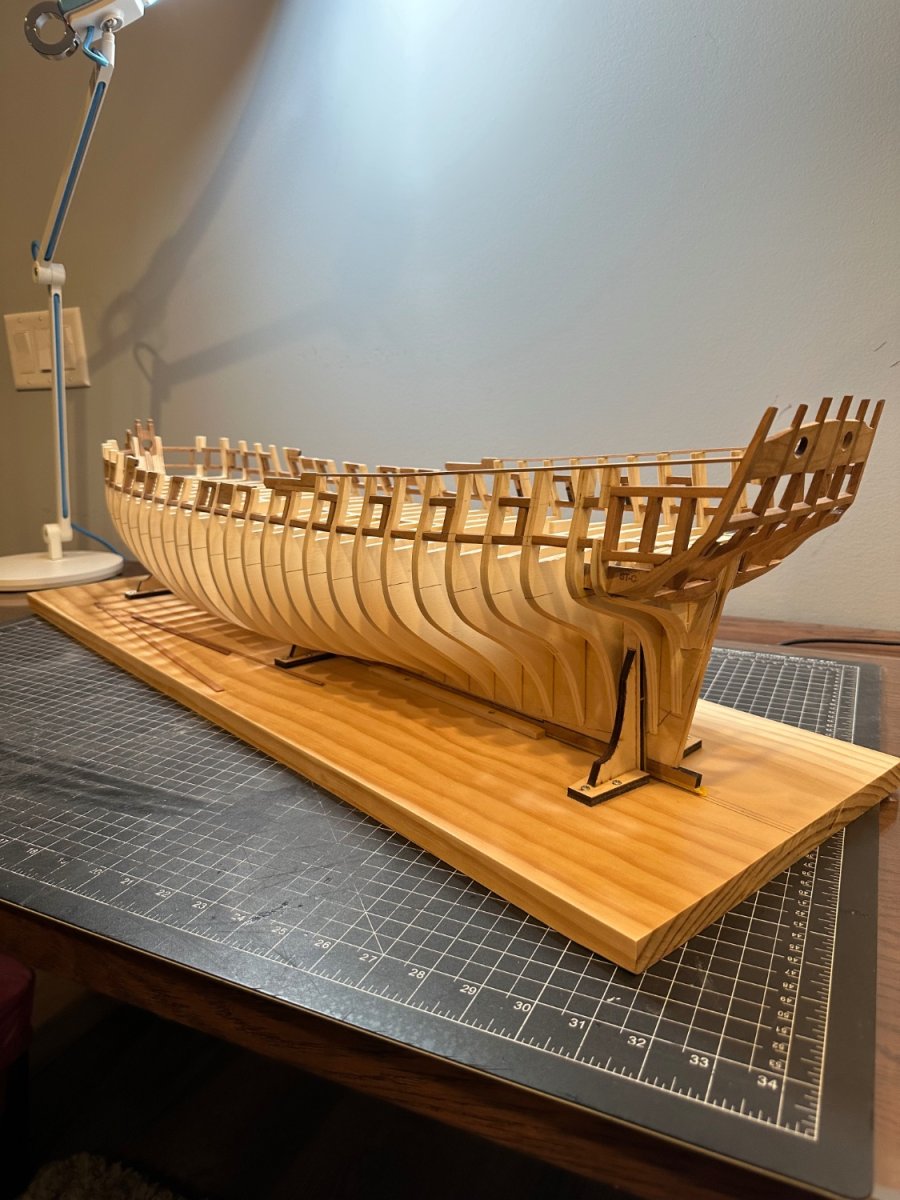
Hey guys, quick question. Here are a few pics of the batten marking the run of the wales. Does this placement look accurate? I know this is a critical step and want to ensure this is where it should be. Thank you!
- ccoyle, FrankWouts and Freebird
-
3
-
The bollard timbers were an interesting challenge. I’ve never done much carving or whittling. I did a couple of practice runs to get a hang of the process Chuck outlines in Chapter 1. He really broke it down into easy steps that even an amateur like myself can follow. They’re not perfect but I’m hoping after they’re painted black the imperfections I see will disappear.
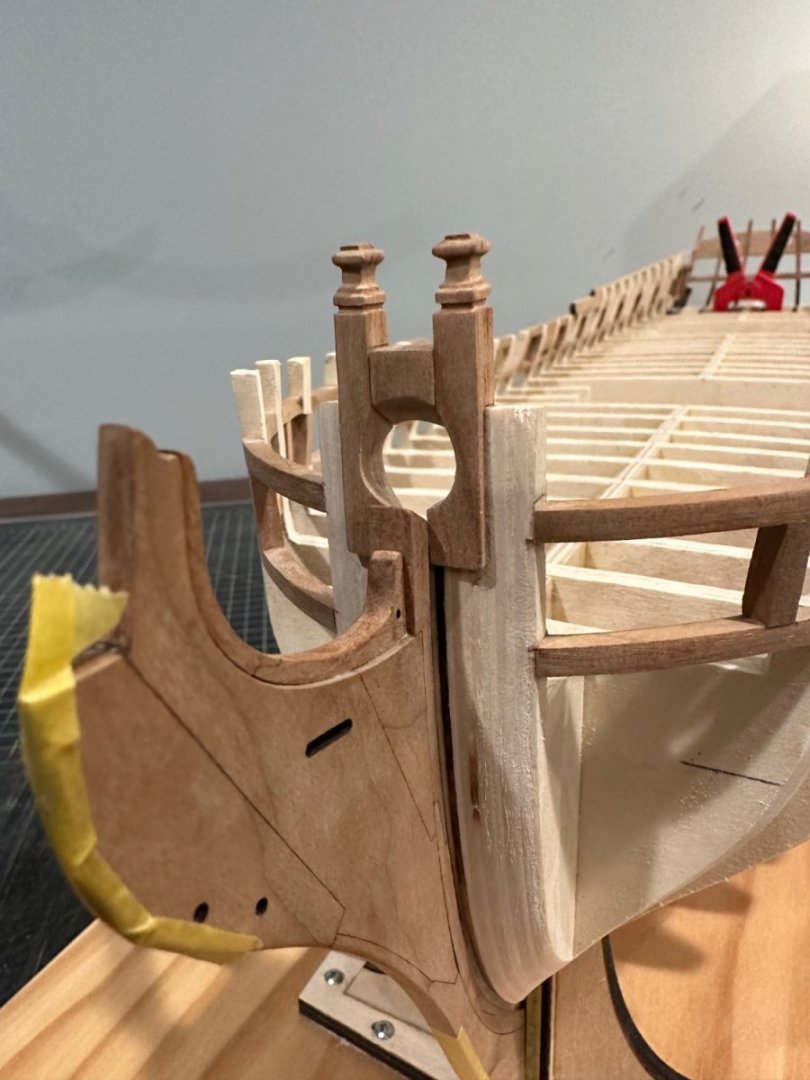
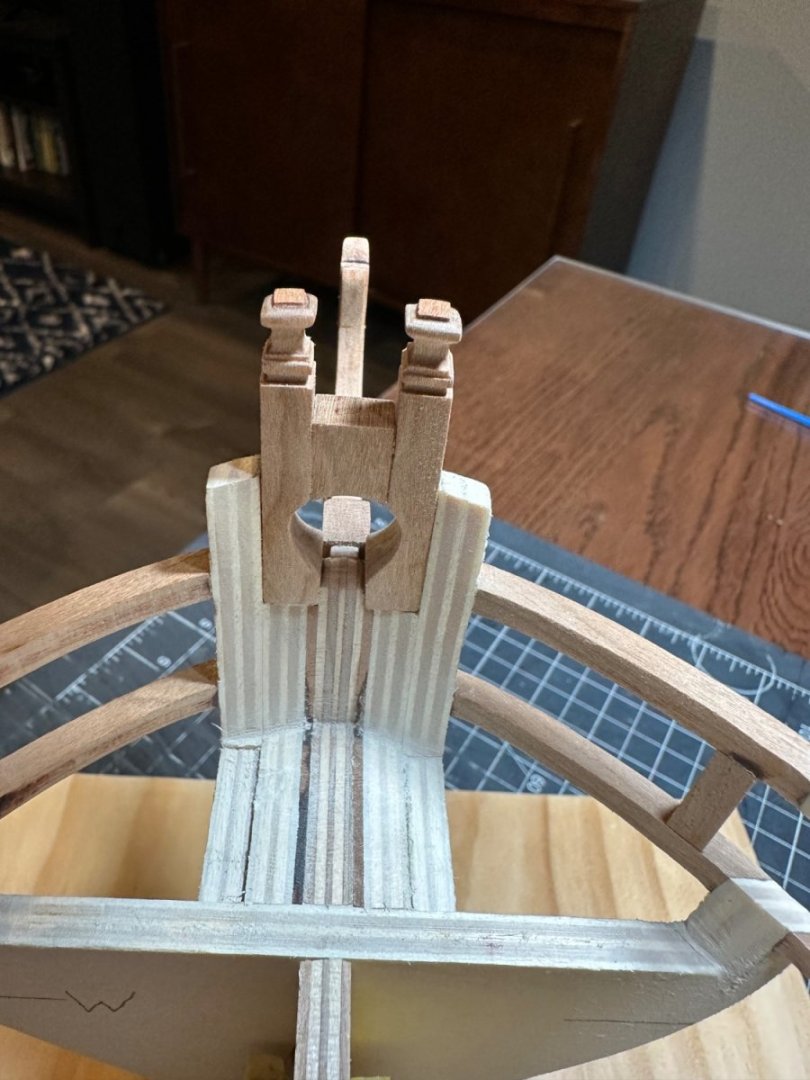
This wraps up Chapter 1 for me. I’m so excited to start planking! I decided to order the planking package offered by Modelers Sawmill. I considered cutting and milling my own but in the end just didn’t want to spend my time on that. The order has been placed and is supposed to arrive the first week of November.
Thanks for checking in!
- mgatrost, glbarlow, hollowneck and 6 others
-
9
-
Frank, your moldings look GREAT!!! All your practice and patience has certainly paid off.
-
Glenn, it looks so good!!! You really are your own harshest critic. However, I have a hunch it’s that perfectionism that’s helping you to create such a beautiful model. Thanks for continuing to offer such an inspirational example to all of us current Winnie builders.
- glbarlow, FrankWouts, Dave_E and 1 other
-
4


The Hayling Hoy by jpalmer1970 - 1:48 scale - First POF build
in - Build logs for subjects built 1751 - 1800
Posted
Good luck! I have this book as well and this is one I’m considering for my first scratch build too. Am very interested in following your journey. Thanks for sharing.