
HardeeHarHar
-
Posts
615 -
Joined
-
Last visited
Content Type
Profiles
Forums
Gallery
Events
Everything posted by HardeeHarHar
-
 Indeed, I never would have imagined that the conversation would go to such an elevated level. I am glad I asked the question, and that I have such informative replies!!!! I will take a picture of the part(s) that is/are called kevels or kevel cleats so we can be further bewildered and/or amused, but it might take me a few days to get back to the Granado to do it. So, stay tuned and thanks again!!!!
 -
The Granado build manual from Caldercraft calls the 4 "posts", 2 of which are leaning a little, timberheads, and uses the term kevel cleat for a different part. But having read Allanyed's latest commentary, I suspect the 4 posts they call "timberheads fore" and "timberheads aft" are likely to more appropriately called a Cavel block.
-
Thanks for taking the time to provide such detail. Having the kit on the shelf, I will have to reference your build log if I am to have even a chance with this planned future endeavor.
-
Interesting, after looking at the photos in AOS, the aft "kevels/timberheads" are at the angle, but aren't in the same place as shown in the kit's plans, and the photo has them sticking above the capping rail, whereas the kit's plans show them flush with the capping rail or slightly lower. I wish I had looked at the photos just to give it full consideration before I glued them in place, but I think it will "all be ok in the end" 😉
-
It is interesting, because the build manual does use the term kevel for some of the other parts of the ship, but calls these 4 items timberheads. I looked at the AOS Granado and couldn't locate them in the drawing. I will go back and look more now that I know where they are. Thanks a ton @Dr PR and @allanyed, I am learning more and more as I go along!
-
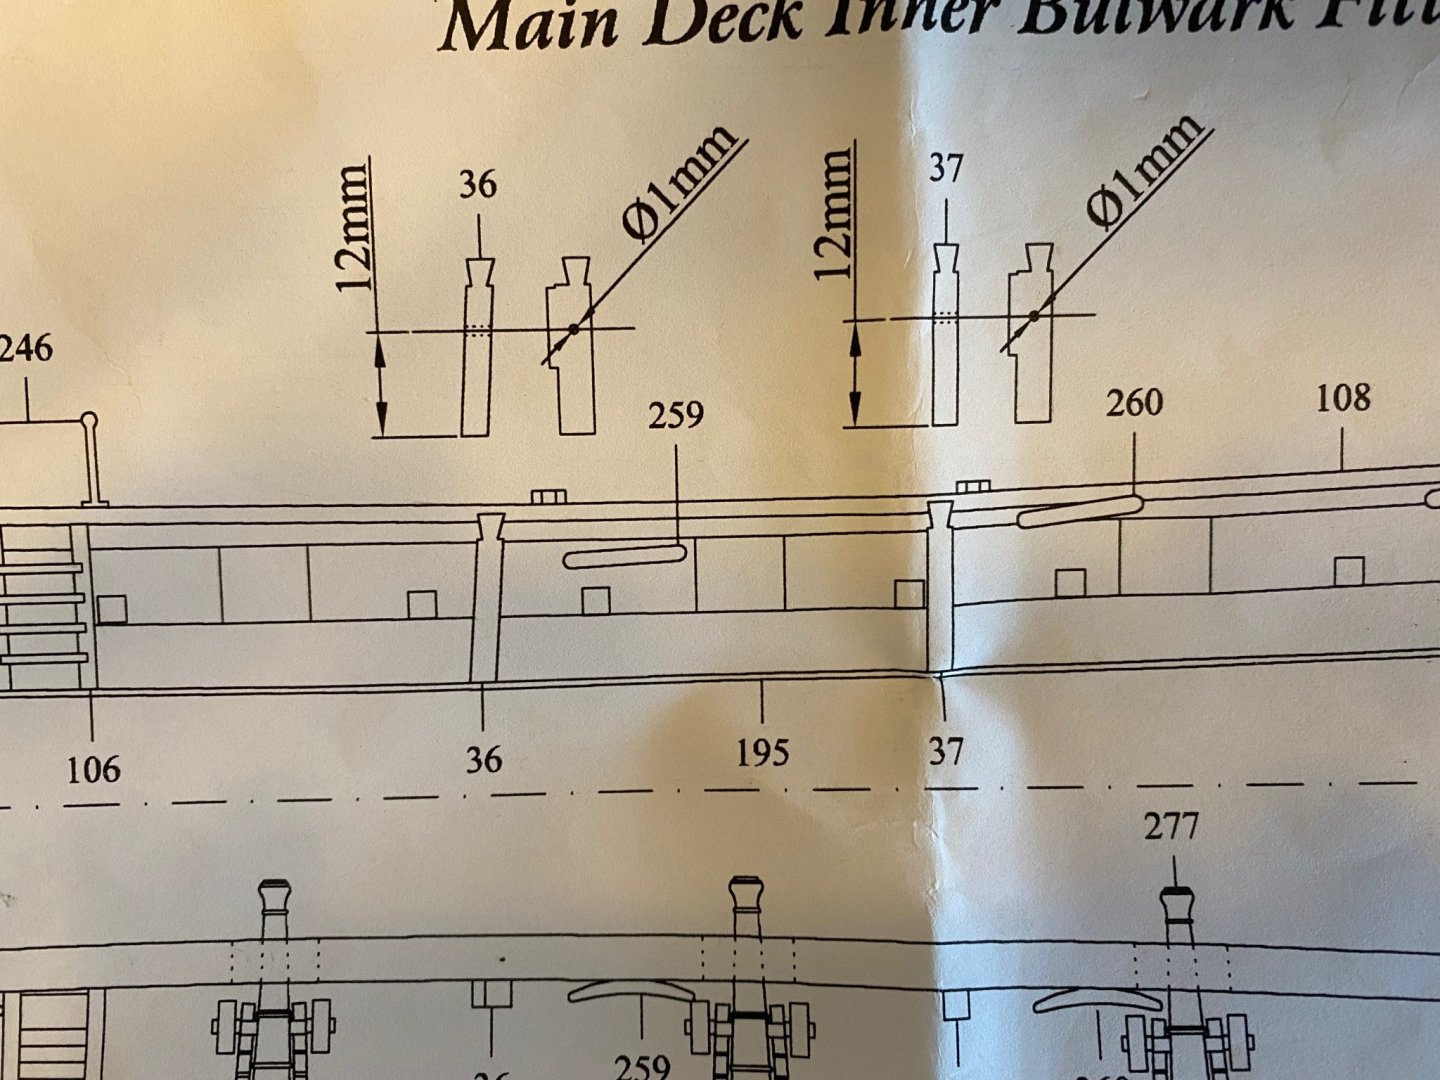
@allanyed Well I'll be darned, it does look like there are 5 on that model, but looking at the plans that came with my kit, it looks like the modeler put the swivel cannons where the 6th timberheads should go (see plan below). It also looks like the modeler lost one of the swivel cannons on the starboard side (the one where there should be a timberhead ;-). I also included a picture of the plans to show the angle of the timberheads (part nos 36 and 37). You can see (I hope) that the aft main deck timberheads are at a slight angle as opposed to the forward main deck timberheads (which are pretty much vertical at 90 degrees). Just interesting to see them at that angle...and it seemed strange to me that they weren't vertical because as you said, the timberheads "pretty much follow the line of the top timbers if it were a fully framed model". So be it, they are CA'd at the angle in the plan, for better or worse! Thanks again Allan, I do appreciate your kind and informative replies!!!
.thumb.jpeg.5319fbbfd8a9476b979d98c3b4172f9b.jpeg)
-
@allanyed Hey Allan, that is exactly the kind of advice I was hoping to receive. Thank you so very much for your kind reply! Interestingly, I have the image of the official Granado plan you sent framed and hanging on our entryway wall along with three lithographs by John Noble. I wouldn't have considered using a chisel, but that sounds like the appropriate approach, and I just happen to have a set of good chisels that should do the job nicely. One thing I should note, the Caldercraft kit plans shows 6 timberheads between the aft most and middle swivel gun posts, port and starboard on the forecastle, and has 6 recesses on the capping rail to accommodate the timberheads (I believe I am reading things correctly). I don't want to take advantage of your time and good will, but your response brought a question to mind about the timberheads on the main deck of the Granado. There are two sets, the forward pair of timberheads is verticle in orientation, and set at a right angle to the deck, whereas the aft pair of timberheads is set at an angle. I was contemplating not doing that and putting it at a right angle because it looks strange at an angle, but then I went ahead and did it the way it is shown in the plans. Is this commonly seen on ships and common practice, or is that an oddity of the Granado? Just curious on this issue. Thanks again Allan, I really appreciate your thoughts because I would not have thought of the chisel approach!!! Best regards, Brian
-
Just curious, the timberheads as provided in the kit don't fit in the recesses in the forecastle capping rail where they are to be positioned. I figure I can file either the timberheads down or the recesses bigger and get them to fit, or figure out how to attach them so that they are firmly attached to the capping rail, even though not set within the recess. I suspect many of the ship modeler's on this site have encountered the same issue, and have figured out the best way to proceed. If so, please reply with your ideas or solutions (I realize this may be a trivial question, but that is why I am asking it, because it must be a no brainer to everyone but me....). Thanks in advance for any and all assistance. Brian
-
Greetings Adam, and welcome to the community.
-
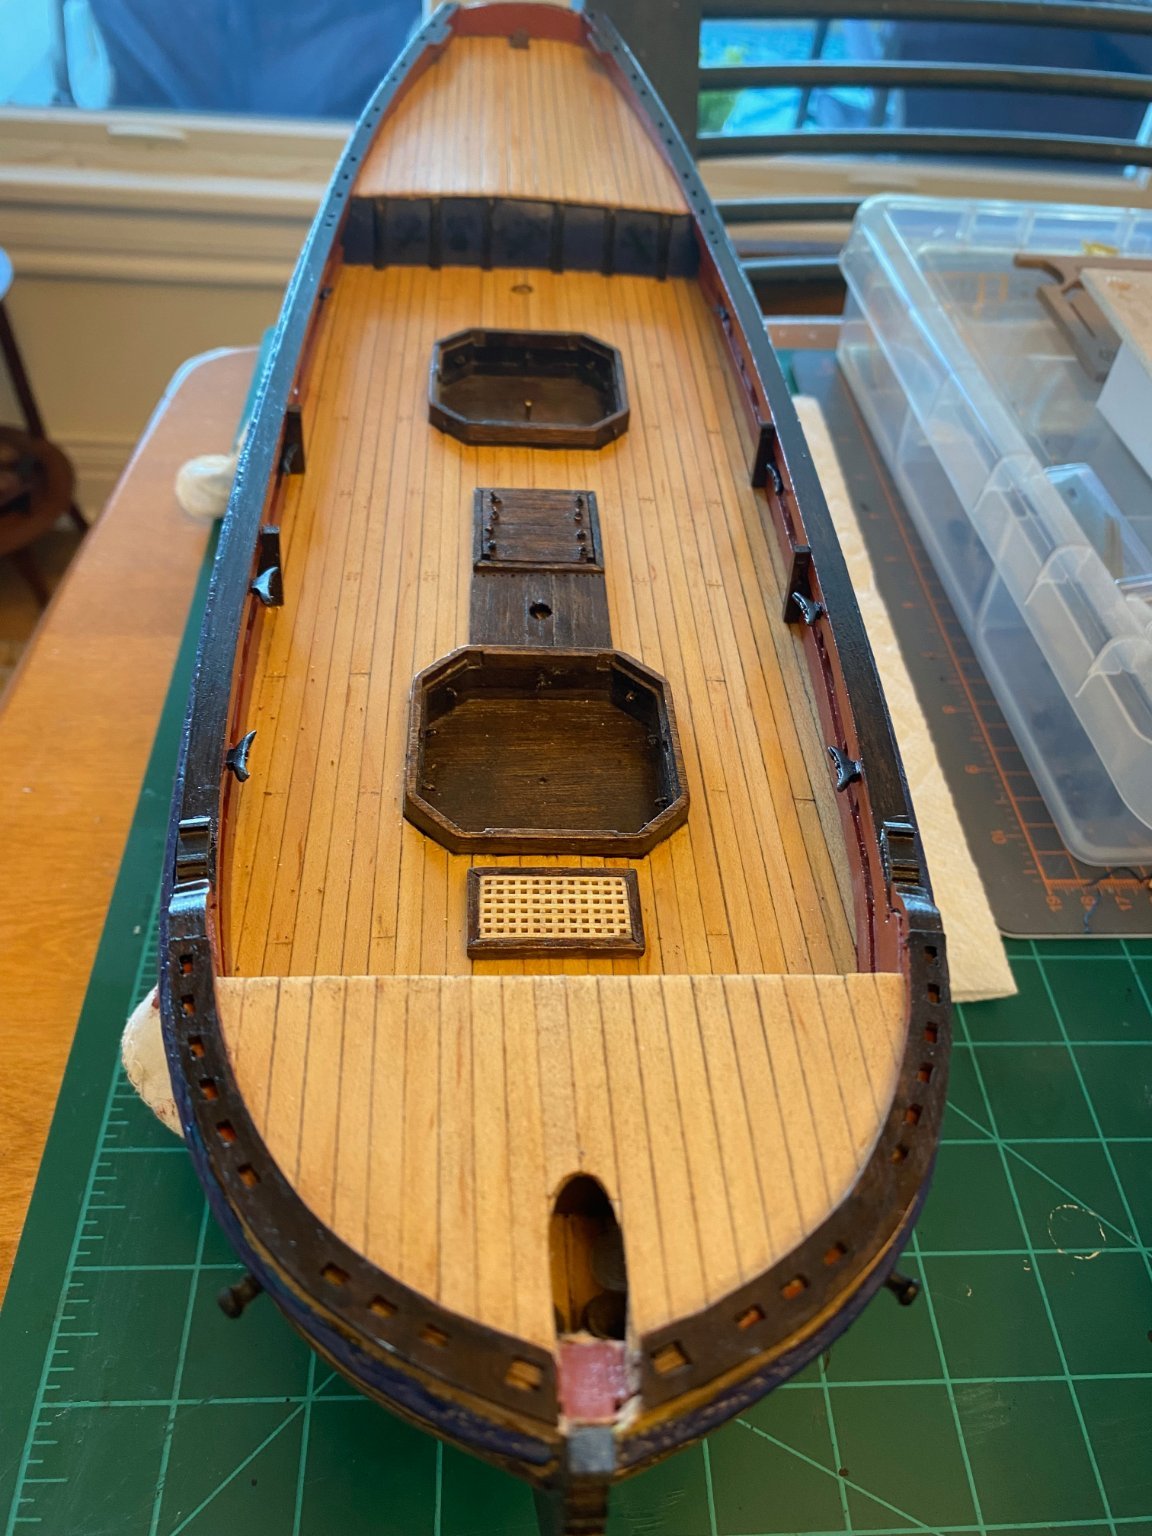
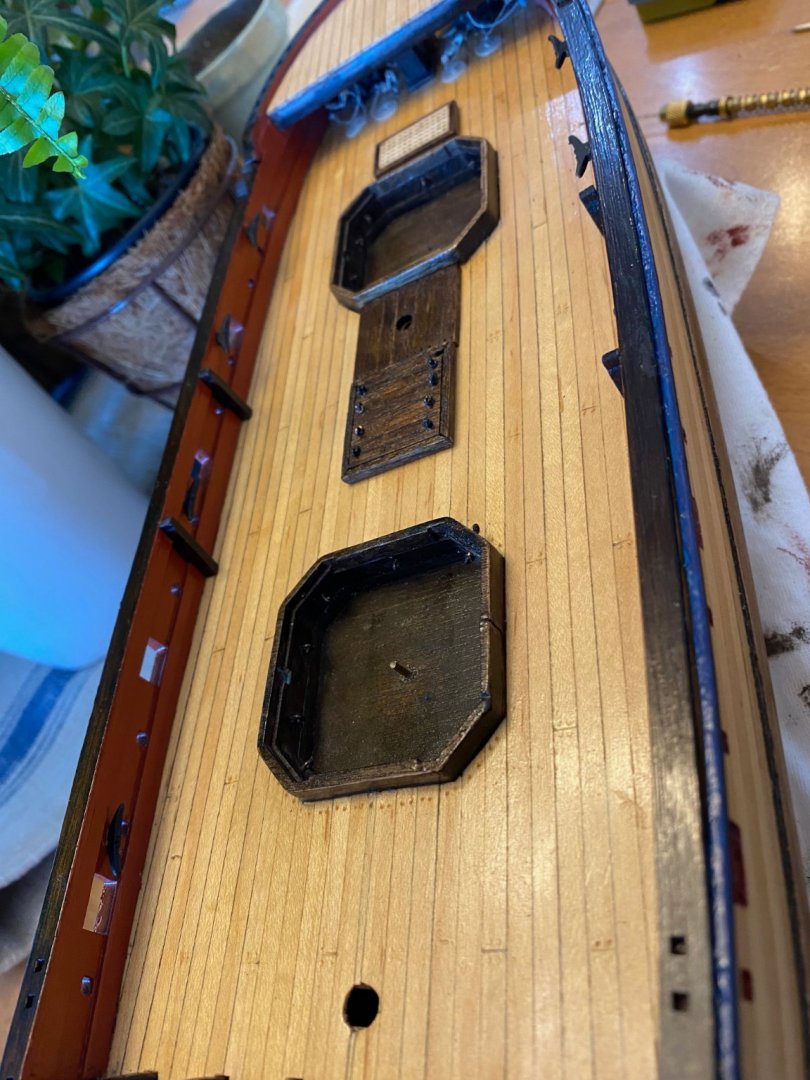
So, the timberheads are fiddly, like a lot of things are for me. In this case, they have to be trimmed and formed so that they fit neatly in the bulwarks, along with the cleats. I got them in position and glued in place with CA with some cursing involved. In the photo below, I realize the forecastle deck looks in need of some work, as do a lot of things, but I just put a little wear on the planks and still need to clean it up and poly it again. I realize this isn't that remarkable of an accomplishment, but its done and i am moving forward still. Thanks for the thumb up Grandpa Phil!

-
Let me know if it rubs off when done, I have had a lot of issues with that. I have gone to painting, because of that issue, where it ends up more on my fingers than on the part. By the way, your mortar housing look fantastic.
- 101 replies
-
- 1
-

-
- caldercraft
- granado
- (and 1 more)
-
I'll be interested to hear how things turn out Kev! On the positive side if successful, you can take solace in the fact that re-reattaching is a lot better than re-re-reattaching.
-
In the immortal words of the Hitchhiker's Guide to the Galaxy: DON'T PANIC! All will be well in the end. Breathe deep, breathe deep, breathe deep again, and overcome adversity. Of course, adjusting one's attitude is often called for in this endeavor... Just be thankful you didn't cut the keel off before you attached the stern post like some knucklehead I know once did (yes, you know that's me =). I work with mass spectrometers that have intricate little parts to focus charged molecules (ions), and there were some spring clips on the ionization sources that we used to call "Jesus clips", because when they shot off into the ether never to be found again you instinctively yelled "Oh Jesus!" If you let your wife, children, neighbors, or dogs/cats (or any other living thing loose in the area) , I can assure you they will find it by either having it stick into their foot or by eating it and throwing up the remnants. Also, to make you feel better, I have just spent a few hours working on two tiny timberheads that have to be perfectly fit into the bullwarks on the Granado, and I held on to them for dear life. Presently, I think I can still locate them, stain them, and use them as intended. However, what they are used for, I have no idea yet. Hang in there, and fight back. You got this! P.S. Perhaps that is why I prefer CA over nails, because CA doesn't fly away into the ether. It can always be found, right on my fingers....
-
Looking great Vane!
-
Looking good Vane! I agree with you that those mortar housings are a LOT fiddly to deal with, that is for sure. I see you also lined the cabin lights, and are preparing the quarterdeck bulkhead. It's really great to see your Granado build log back in action!!! Wishing you smooth sailing ahead. Brian
- 101 replies
-
- 1
-
-
- caldercraft
- granado
- (and 1 more)
-
Outstanding work. Love, love, love your artwork. Simply fantastic!!! I have a lot of empty wall space that could use a few of these 😃
-
Doooood, you crushed this build log, and what a beautiful ship and case and presentation. AWESOME WORK.
- 436 replies
-
- 1
-
-
- vanguard models
- alert
- (and 1 more)
-
Thanks for the shout out and the continued encouragement Kev!!! Believe me, I have often wondered "what in the heck am I doing building the Granado as a second build!!!!!!" Still, it did seem to me that any model ship takes a considerable effort and lots of time to complete, so why not push the limit a little bit and see what happens.... The killer part is that I am also upgrading the wood, and the rigging, so while I am not a perfectionist, I do want to make it look as good as a newbie like me can. I have recently begun to realize that I have a ton of work left to do, and that there is no time like the present to forge on with the rest of the woodwork in relative haste so I have plenty of time to work on the masts, yards, and rigging etc., which definitely takes considerable time, skill, know-how, and steady hands and calm mind (none of which I have a lot of). I have a couple of other kits on hand that I have been tempted to start in parallel, but that even I considered C R A Z Y considering that I am such a newbie. Once/if i show I can complete the Granado, I'll build more than one at a time if I so desire 😃. Thanks again for the support brothers @Peanut6 and @VTHokiEE and the rest of you kind souls who throw thumbs up my way during the Granado build!!!
-
I agree with you both, you have to watch out for the CA smearage. However, I have recently learned that masking the area you don't want smearage on with tamiya kamoi masking tape appears to be successful in preventing that from happening to any great extent. I also agree that using CA very sparingly, with a needle or a pin is often more than sufficient. If I didn't use CA, I think I would be lost and have to quit building (I simply have no patience and faith in most PVA applications, and even less experience 😃
-
Well, I will say one thing is for certain. You are doing a much better job on your jolly boat than I managed. It looks great! I like the fact that you are focused on making it as real-life as possible, with removable rudder, etc. That kind of thinking was way over my head in design and construction. I haven't even fixed the keel on my launch, and it looks terribly wonky and is certainly more noticeable than I would like. But I figured if I tried to fix it, it might go one step forward, three steps back, and I didn't want that to happen. I also never worried about nails splitting wood on my Jolly Boat model, because if I was worried, I would have simply glued the gudgeon, and then cut the heads from the nails and glued them on to look lie they were actual nails. The more I learn, the more willing I am to try new things out or redo something that doesn't look right or is simply wrong. Every aspect of this hobby, from construction, to staining, painting and finishing methods are entirely new skills I am learning from scratch. Despite my lack of skills and experience and irrational fears, I am trying to enjoy the process, improve my knowledge and skill sets, and avoid mistakes. I also do absolutely enjoy your approach to your build log, where you provide your rationale and reasoning. Keep up the good work, it is looking great and your hard work is paying off! Oh yeah, one more item: I think I used a paper clip to make the horse out of, it was the right diameter, etc.
-
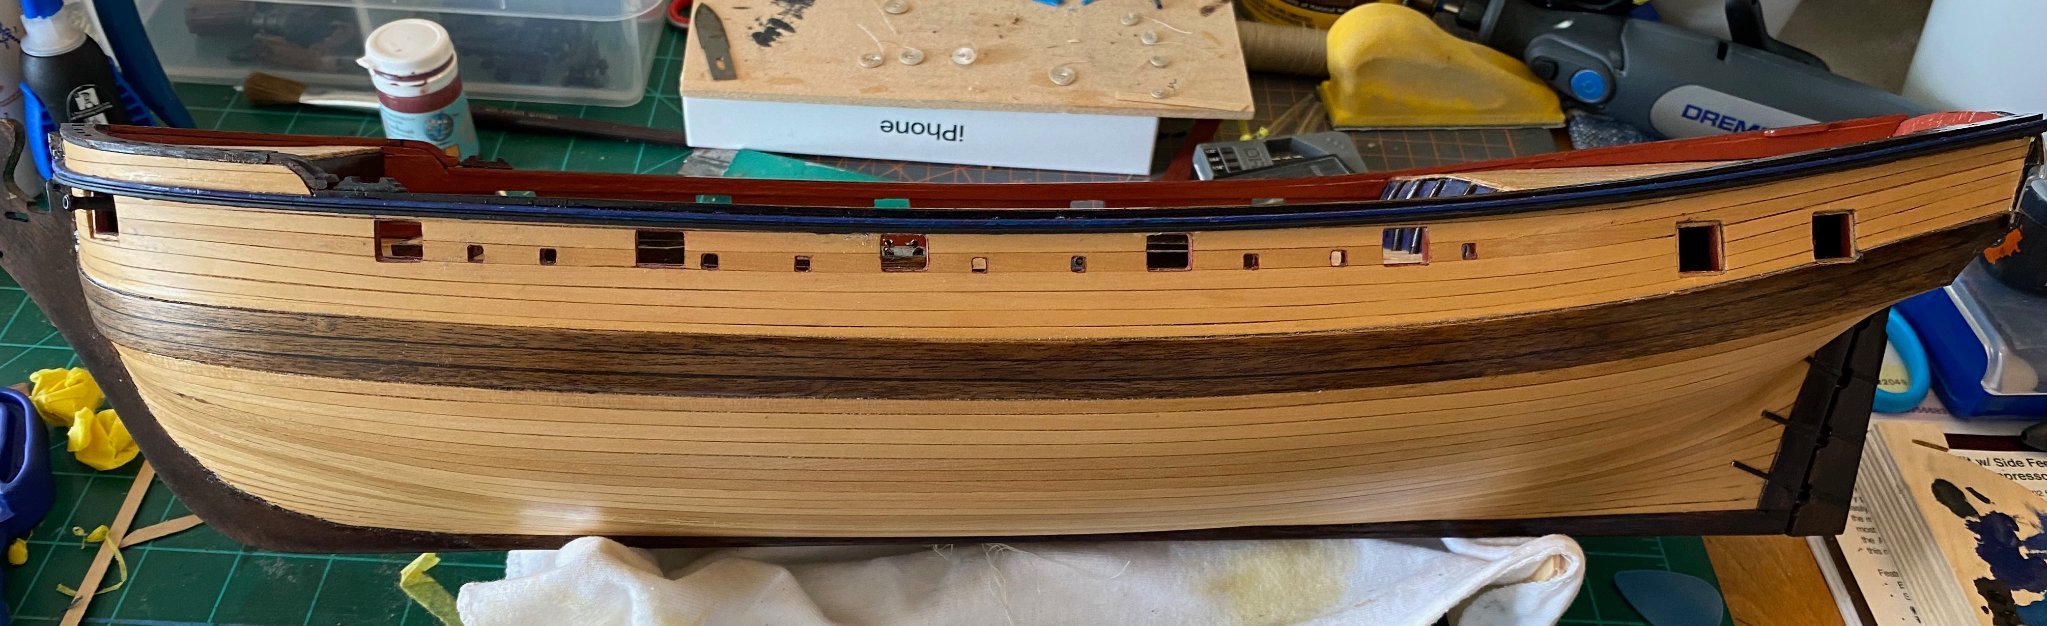
Not as bad as it looked it was going to be about half way through "gluing" the sheer rails.


-
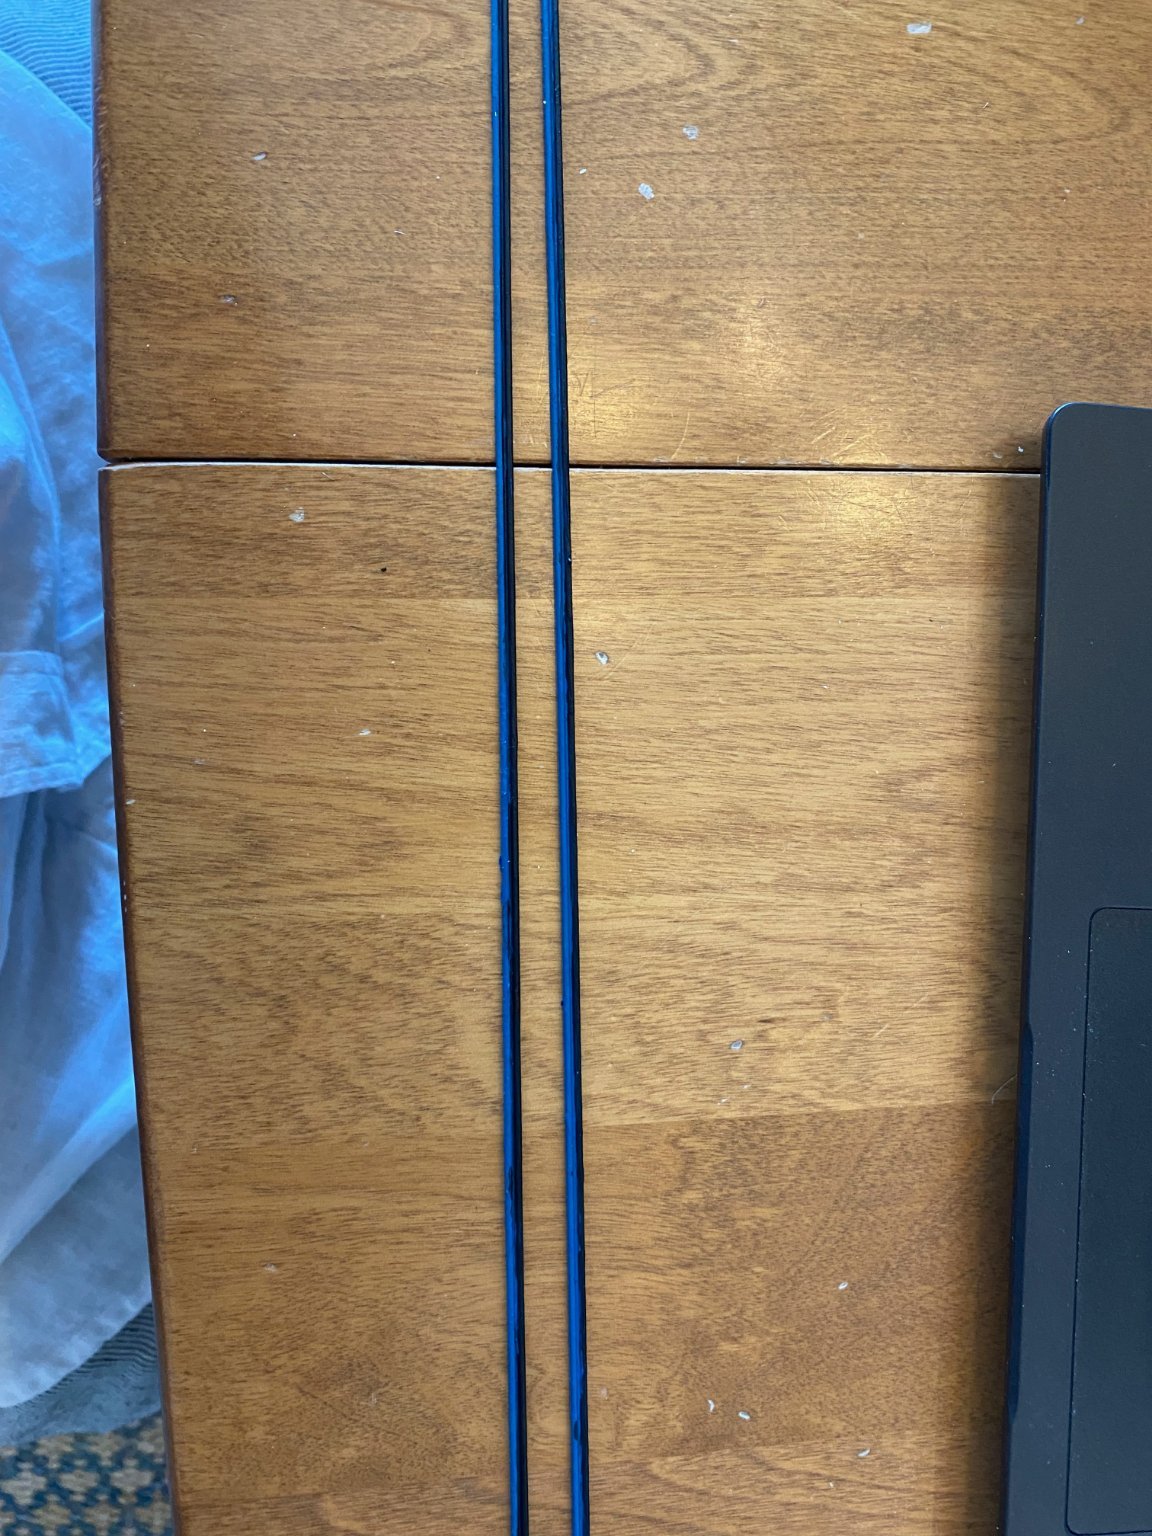
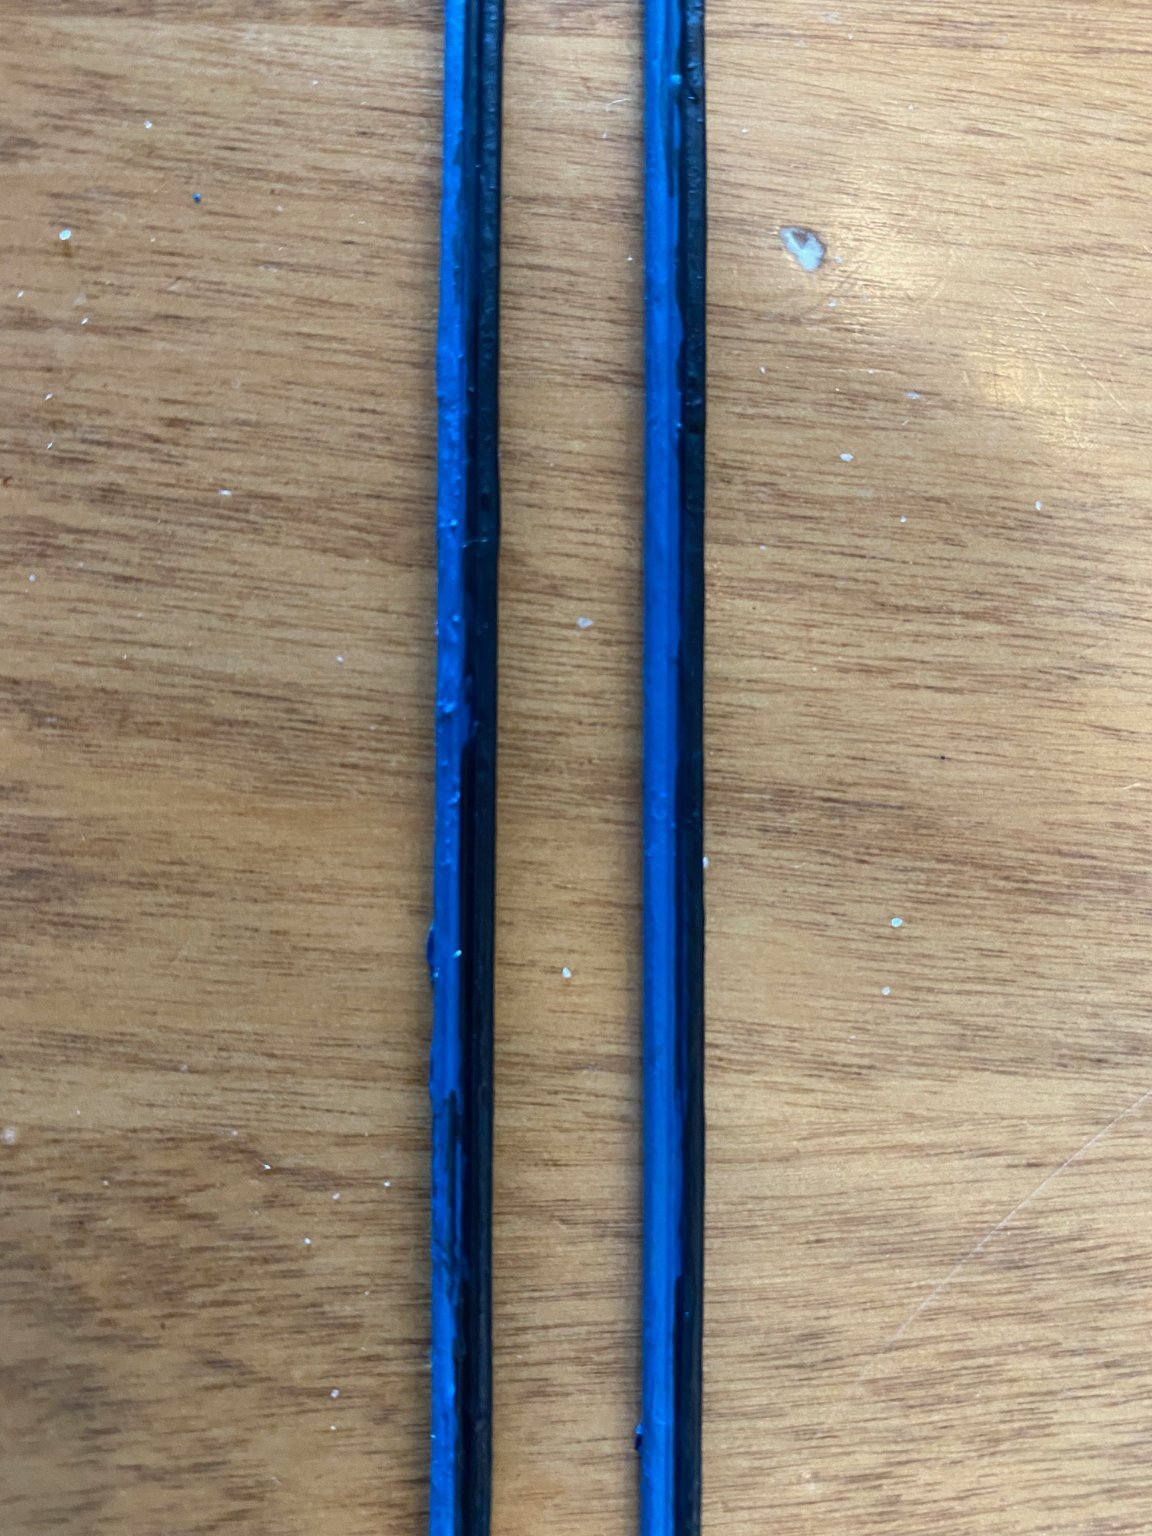
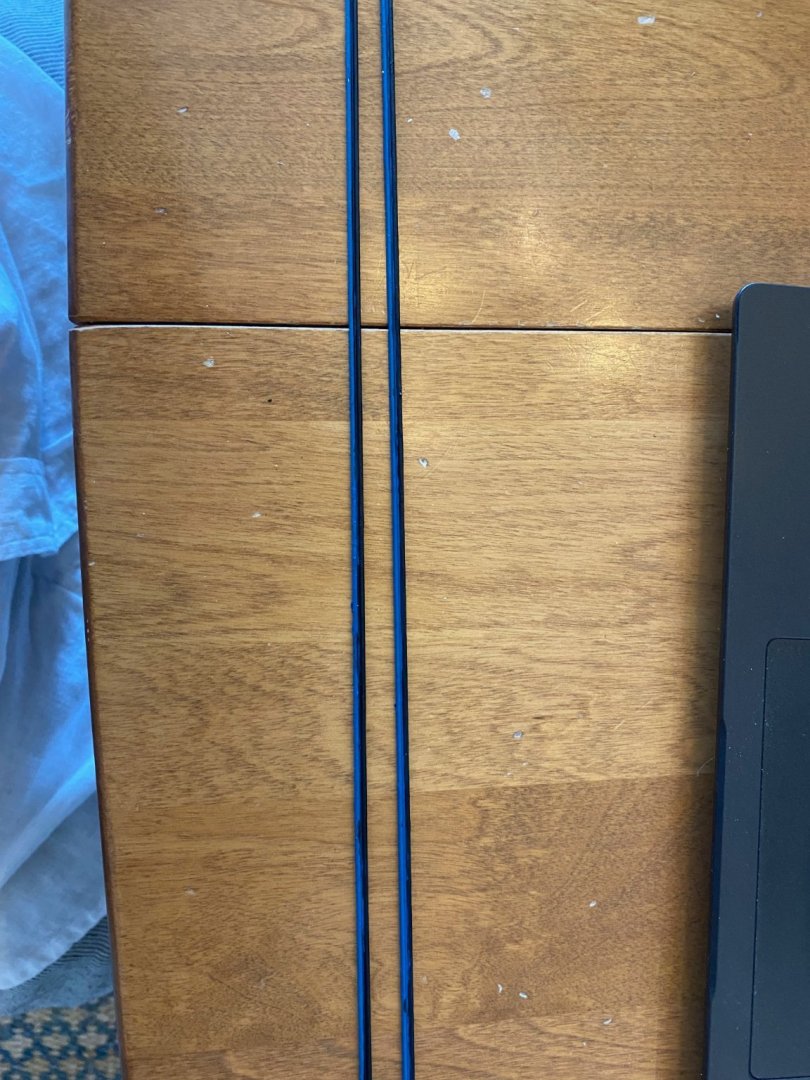
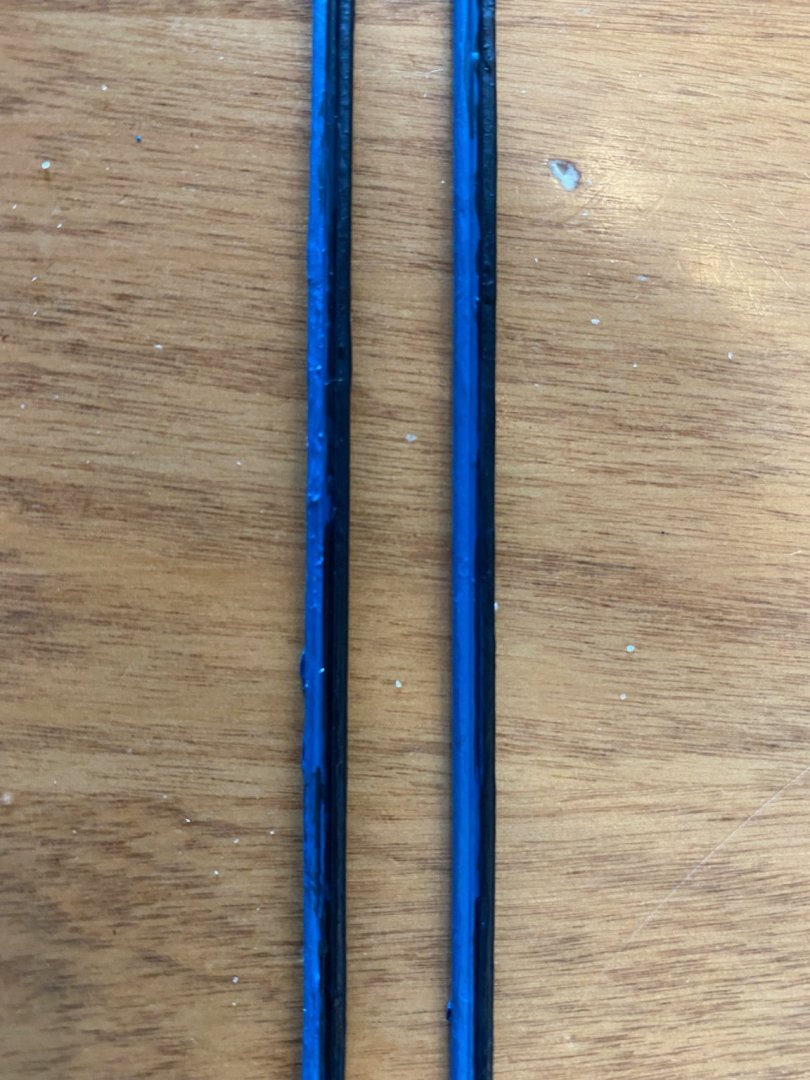
So, the color of the sheer rail is not as important as it is getting the sheer rail attached to the boxwood hull with no gaps. That is clear to me now. Getting the sheer rails to hold in place, that took some patience, elbow grease, and thank goodness for Tamiya's masking tape that prevented me from getting CA everywhere. Now I know that next time I will use an epoxy, and I will make sure I get the rails painted in a color that is satisfactory before I put them on. I will do some touchup on the rails and then put a little wipe-on poly to make the whole thing look a little bit better than it does right now. Photos and details to follow once I get my fingers un-glued.
-
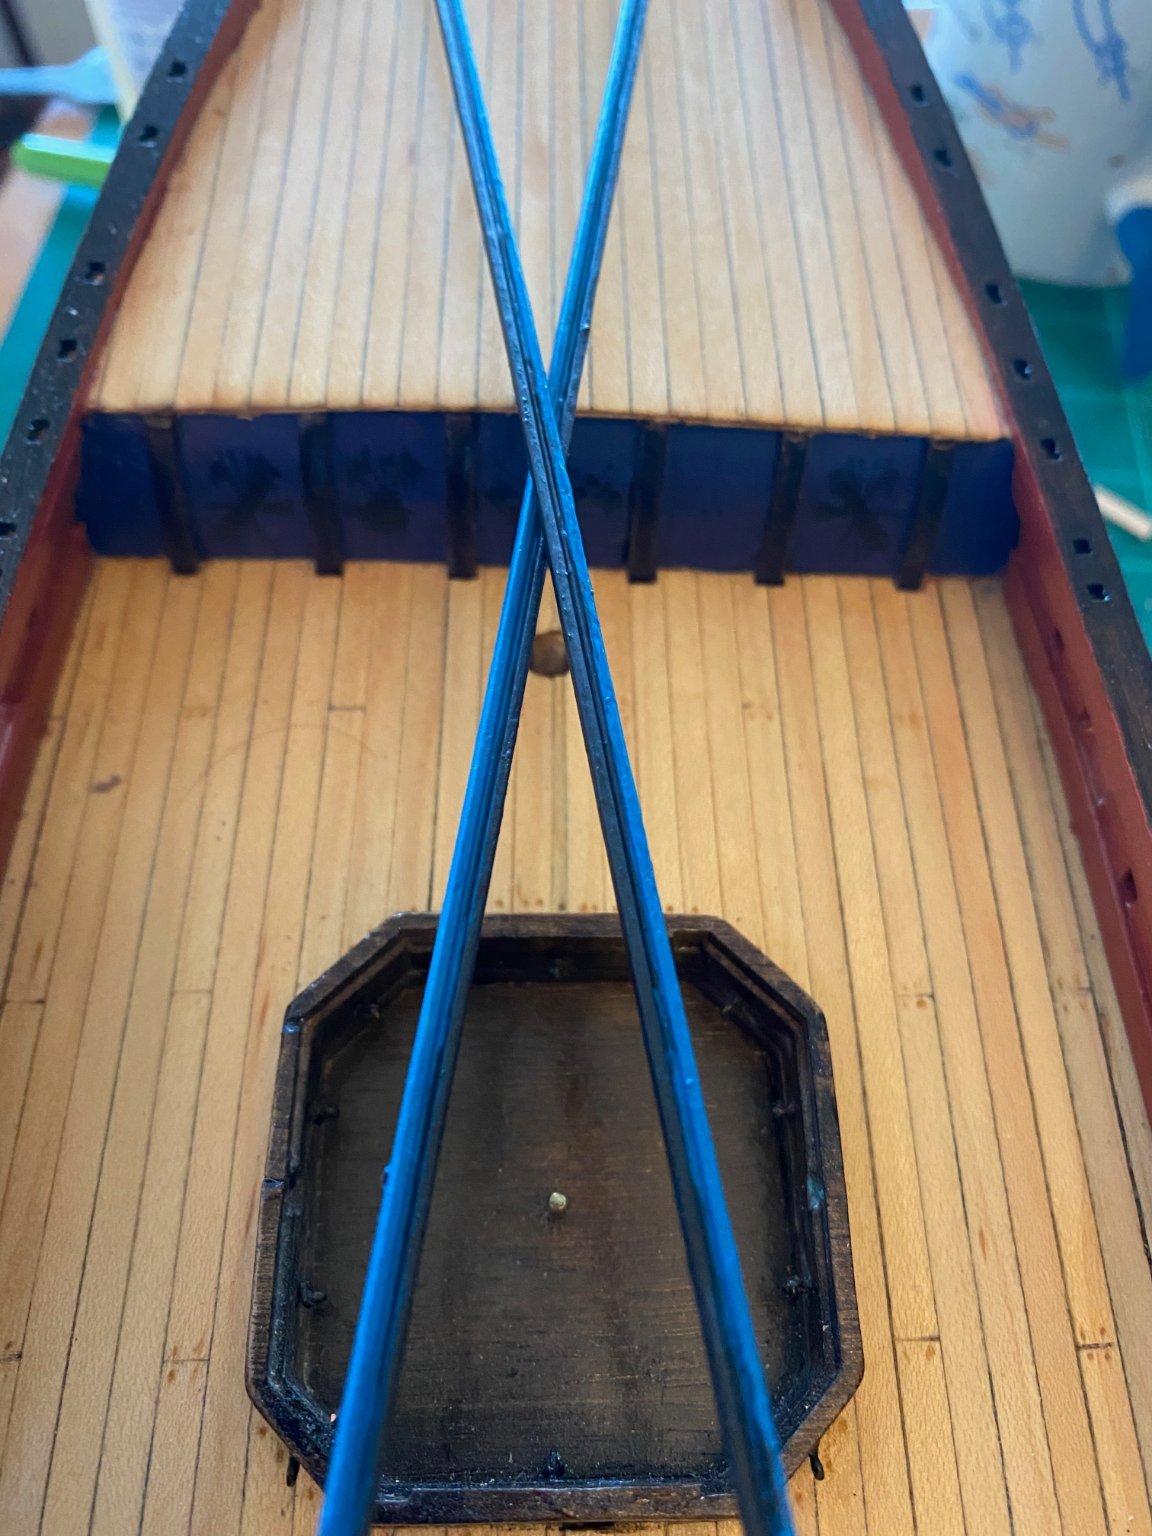
Those rails are too bright blue, don't you think?!? I am thinking I should give it a try with a coat of the Admiralty French Blue...sound like a good idea?
-
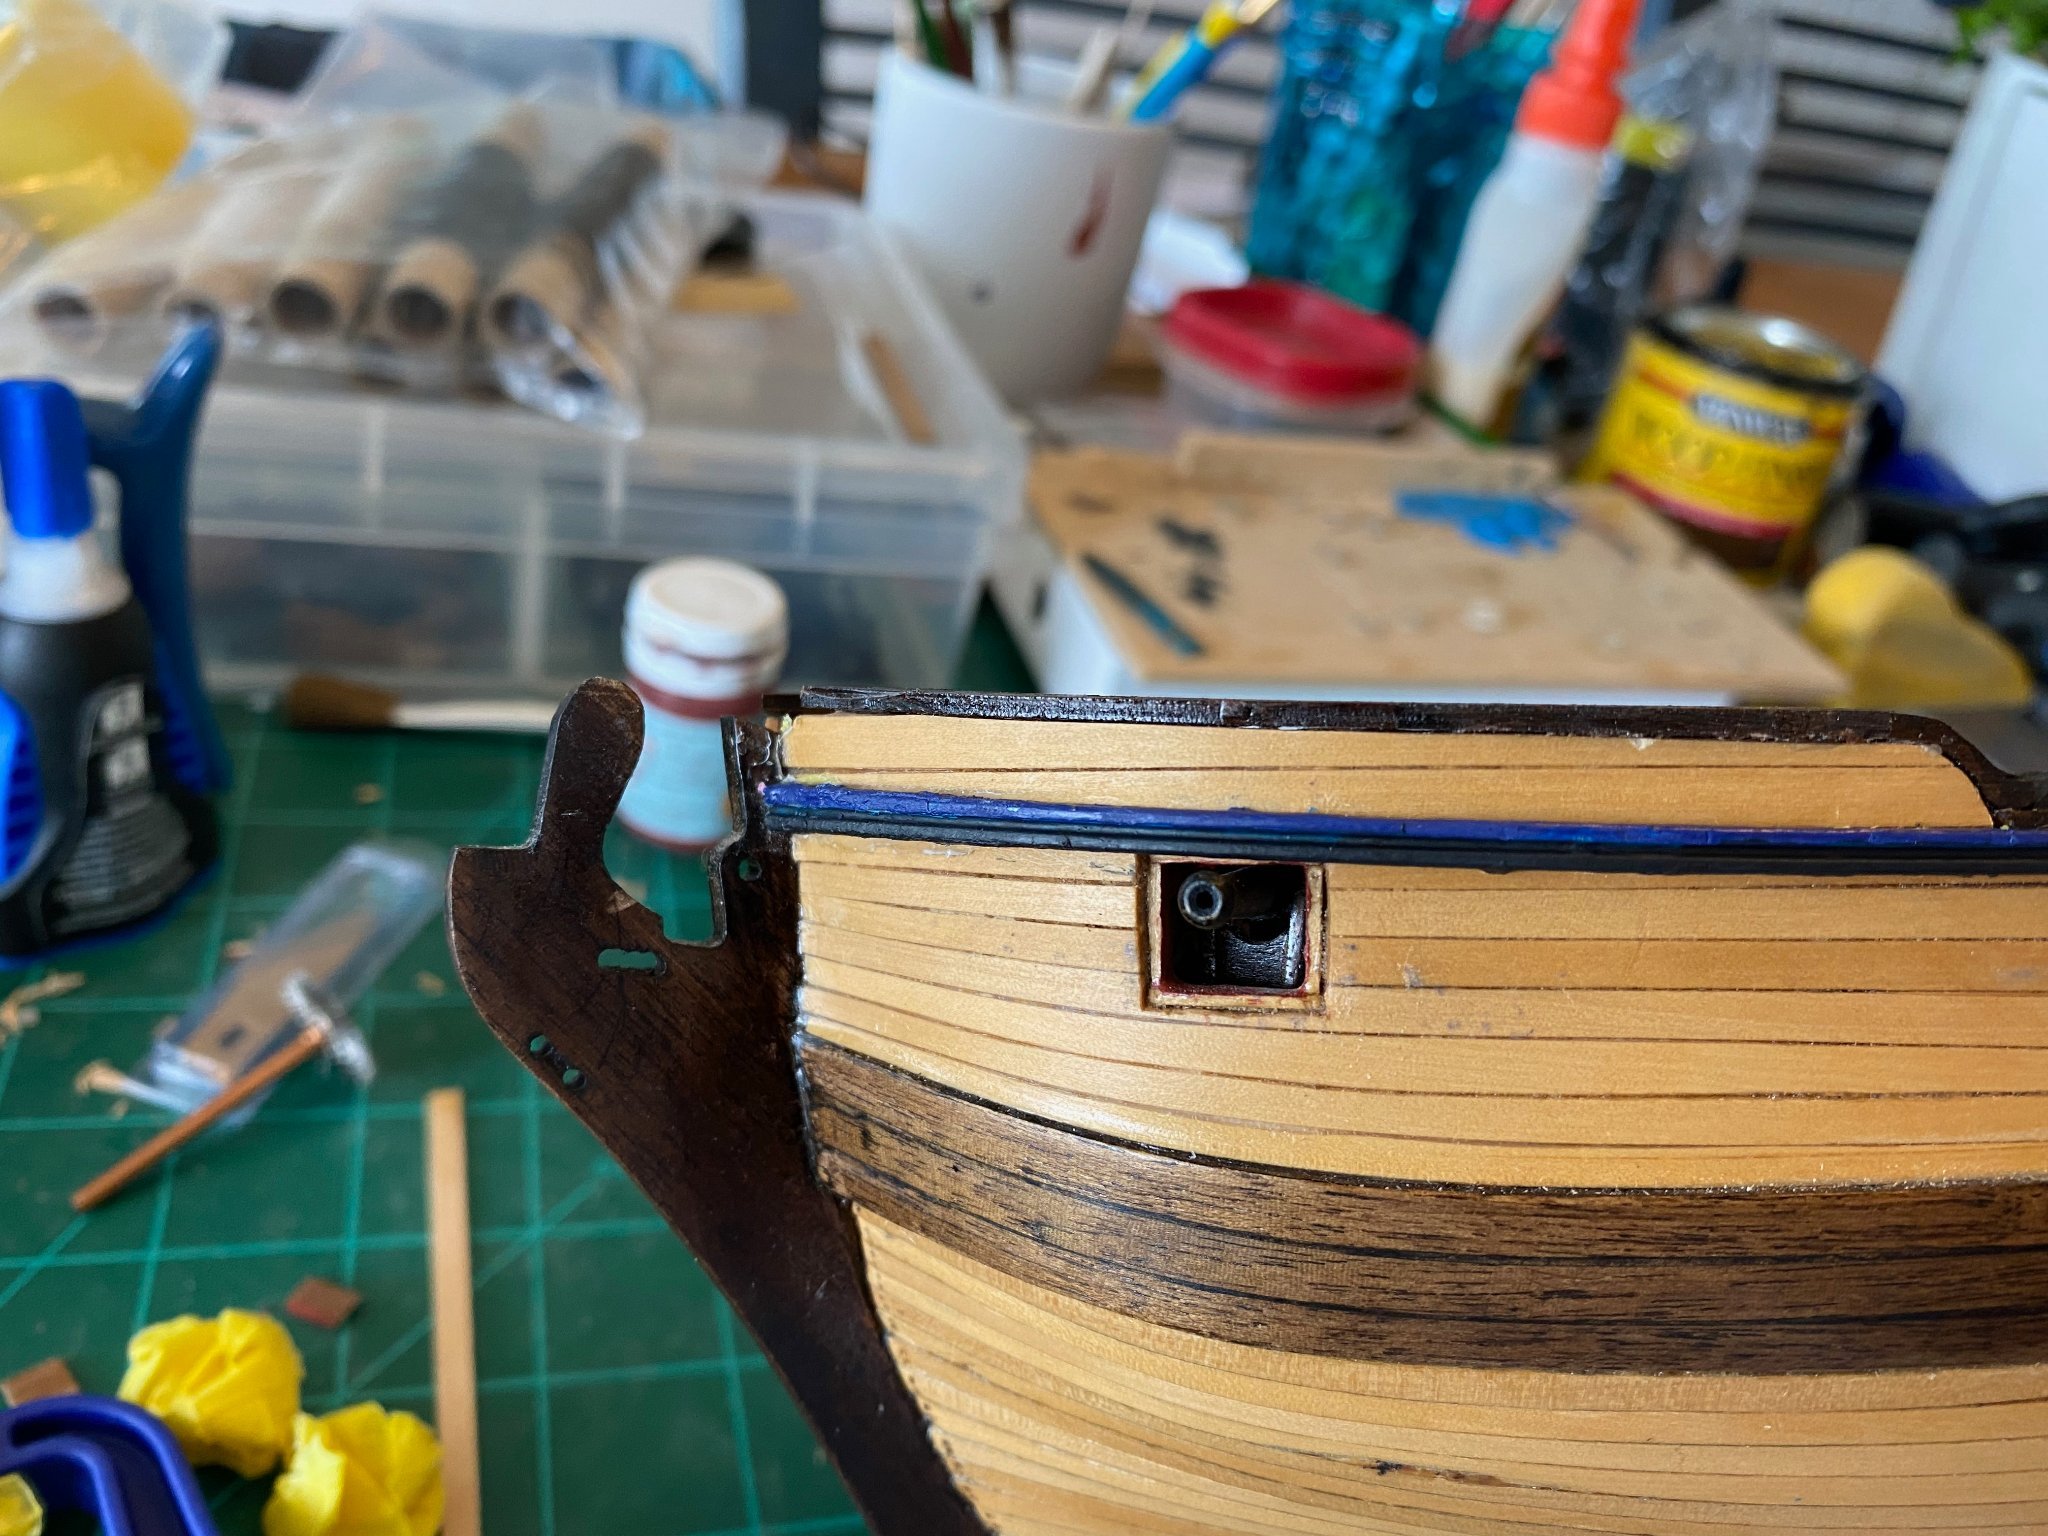
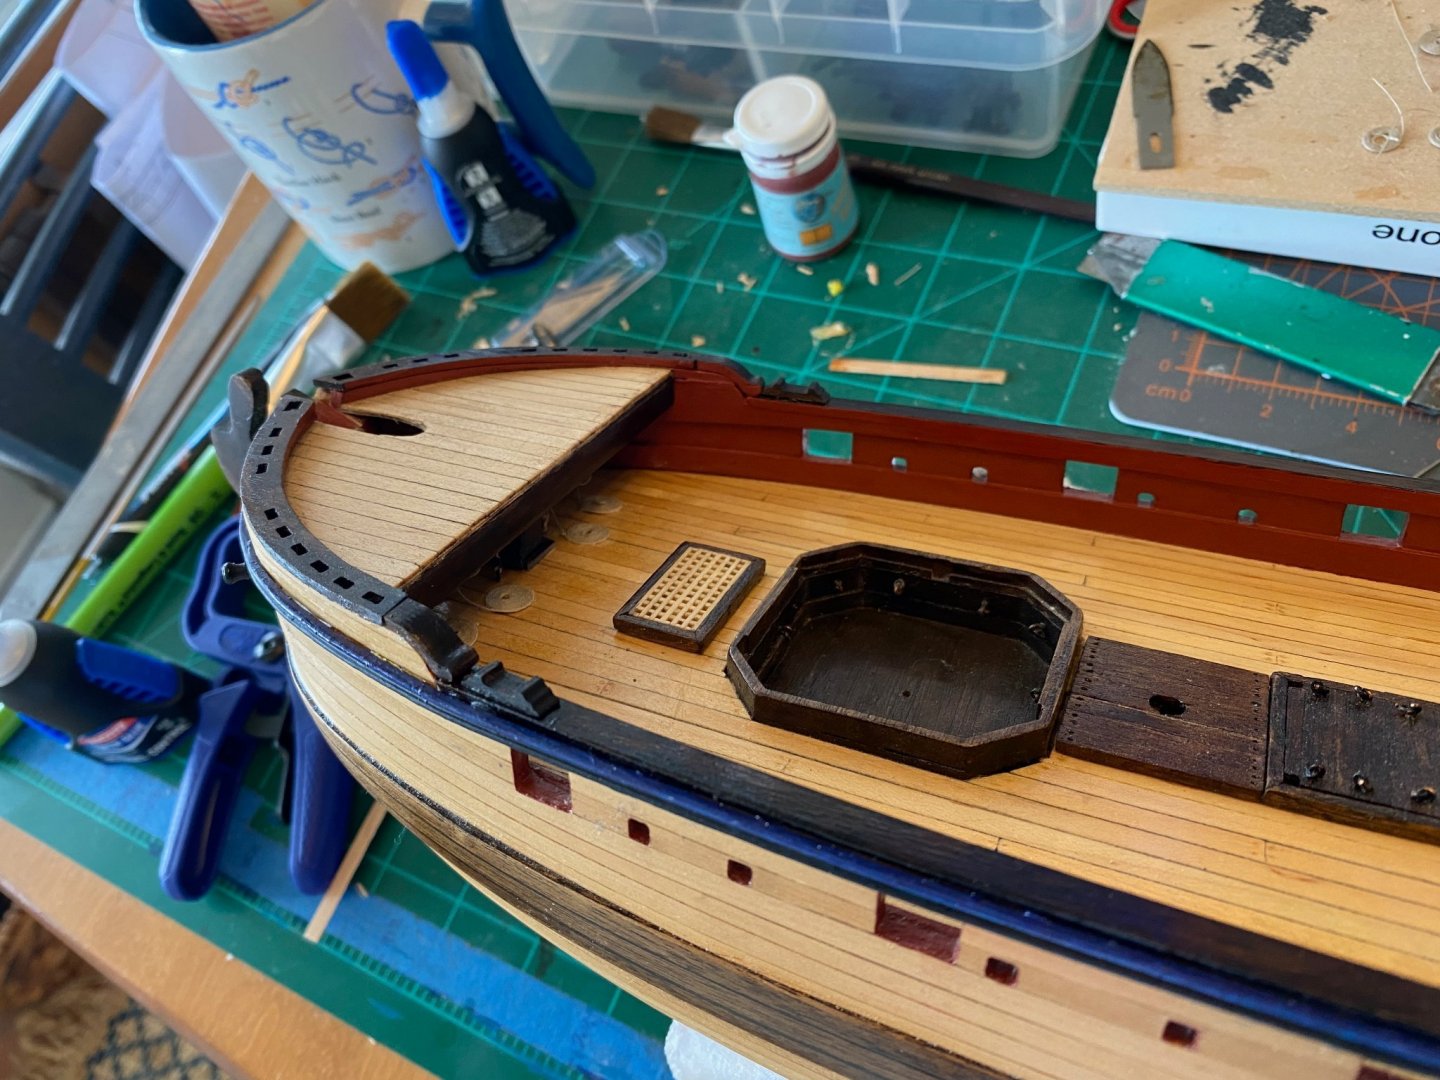
I attached the fish davit cleat onto the capping rail and poly'd the forecastle to look wornish (heh heh, see what I did there...). I did see in @Timmo excellent Granado building log that he had answered my question on reducing the 8mm dowel to fit into the bowsprit step and illustrated it quite nicely. I think I will soon need a little lathe and marital therapy? I also did an attempt at painting the sheer rail in black and blue in an attempt at giving the whole boxwood planking a nice bling along the capping rail. It needs work, or maybe I should just go straight black, that is the question.

-
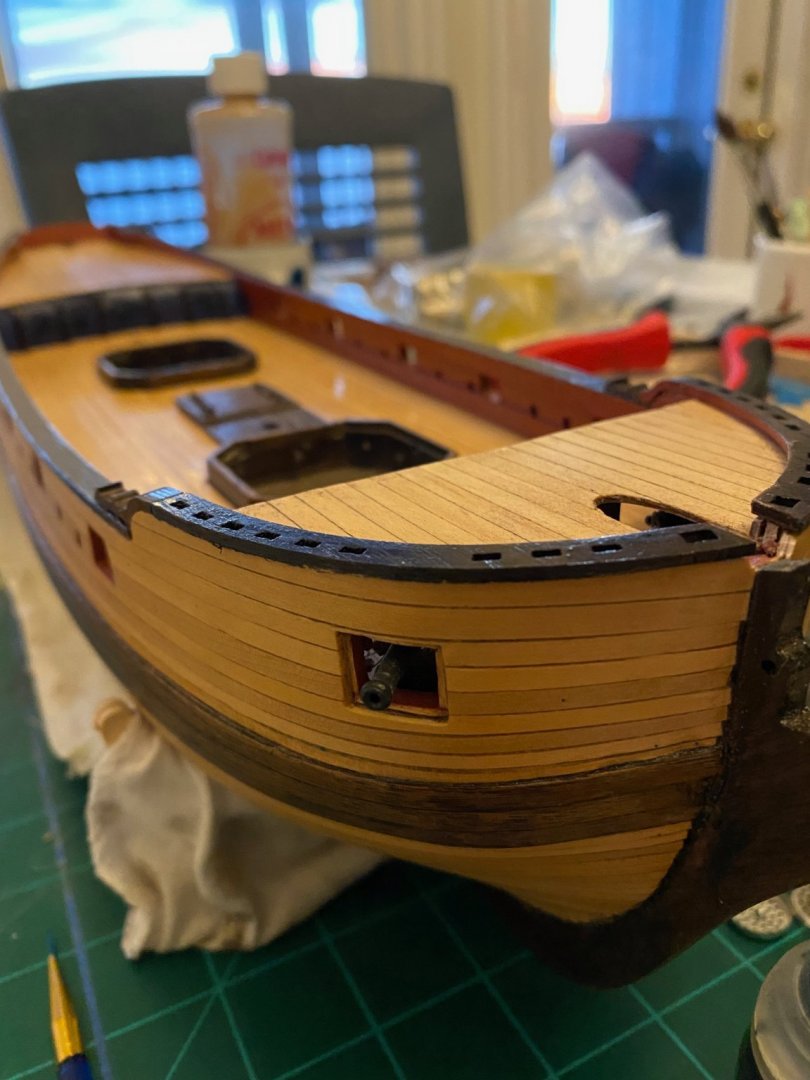
One thing I should note, I did make a mistake that is fairly significant, but not immediately apparent I suspect. I am wondering if someone will be able to pick it up, and if so, I will ask them if it is worth "fixing" it. And one other note, I will poly the forecastle deck once I get it in a little better shape..... And thanks for the thumbsup @GrandpaPhil @Spellapeaka and @Penfold!!!!


.jpeg.bd1f33dba1575cf5007f24a878b06bcd.jpeg)