
HardeeHarHar
-
Posts
615 -
Joined
-
Last visited
Content Type
Profiles
Forums
Gallery
Events
Everything posted by HardeeHarHar
-
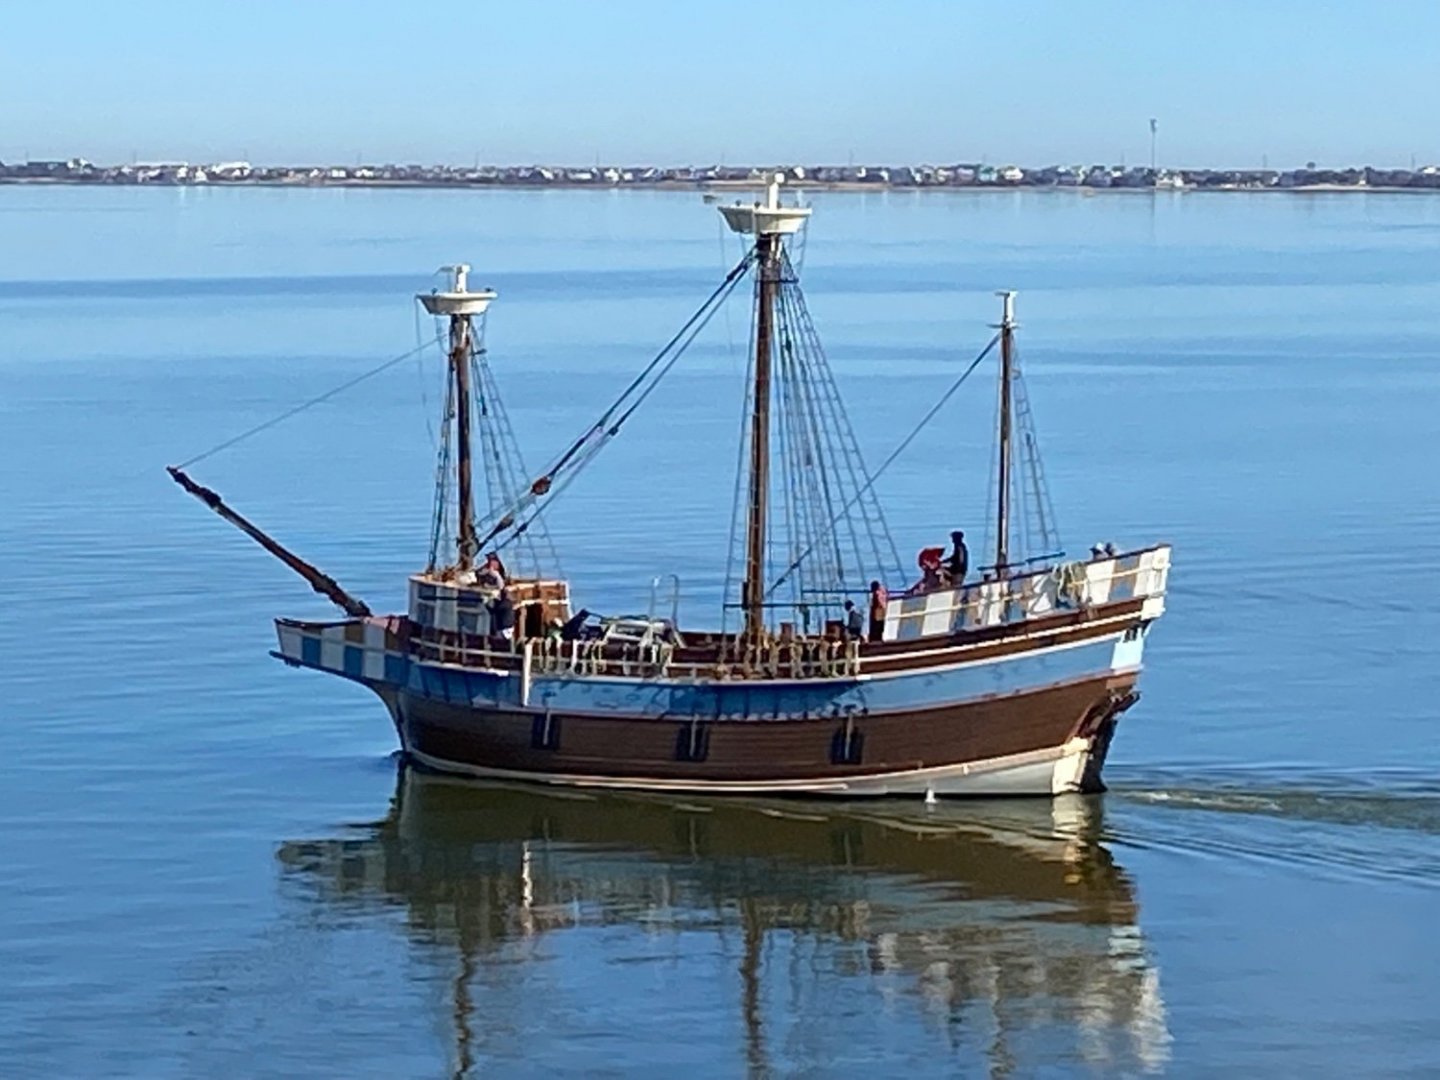
Yes, the sounds are VERY shallow, and the inlets were pretty treacherous. They had to dredge the channel to get her out of her berth and over to Wanchese for repairs last year. I'd like to see her fully rigged:
-
The Elizabeth II, a handmade replica of a Lost Colony 16th Century sailing vessel, had its bowsprit replaced and was cruising back to Shallowbag Bay.
-
 I'm psyched that your build log is so nice and detailed and your work is so well executed. When I finish the Granado (some day in the distant future) I want to start on the Secret Vessel Kit that Santa gifted to my wife (quite surprising how that happened! 😉 ) and is sitting on the shelf. I have been trying not to start on any other project, but just keep focused on the Granado task at hand. So, at least I can enjoy watching your fine work!
 -
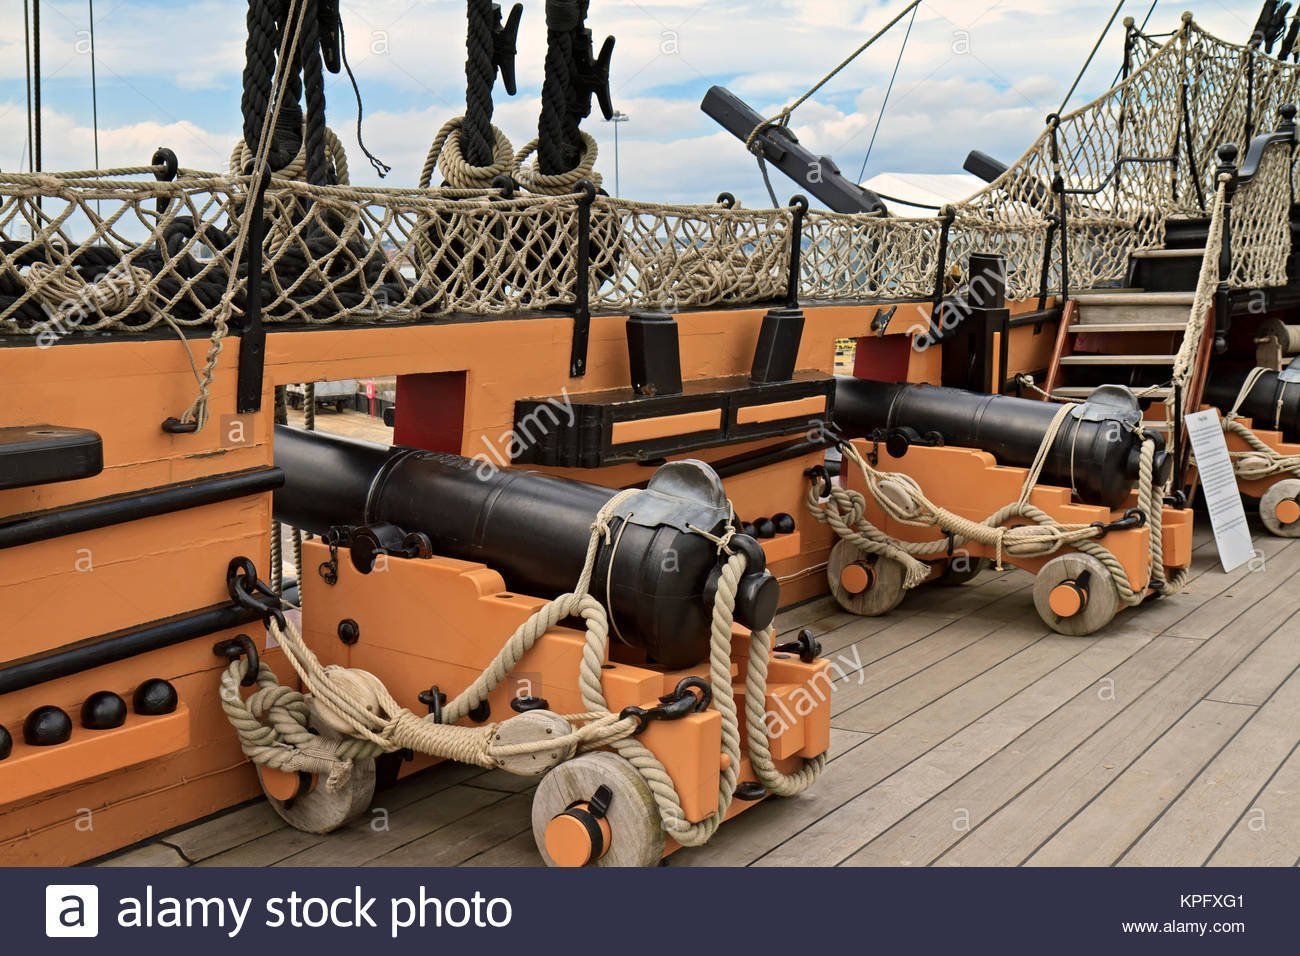
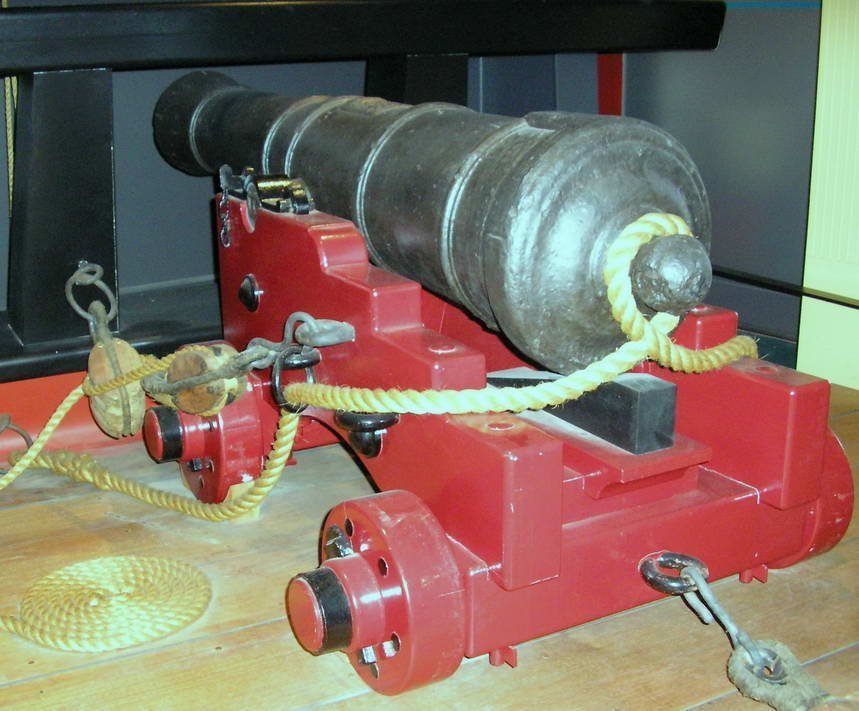
Thanks for the input @glbarlow, I appreciate all of your thoughts and suggestions. I did look at Delf's references as you suggested, and they were very informative and helped a lot. I also looked at your Granado, and you did a fantastic job on the build!!!!! I have looked at your other work as well, and it is all amazing quality I can truly admire. I noted that you fully rigged your cannons on the Granado, and I am still leaning towards doing the same thing with the materials at hand. I do like the look of it on your build and the other Granado builds I have been able to review. I do agree that 2 mm blocks would be best for the little six pounders on the Granado, but looking at Delf's references, there seem to be plenty of examples of cannons having pretty big blocks on the outhaul tackle! - I copied some pictures below that seem to be about the same size in scale as the ones I have used. I think one of the earlier photos I posted my have been zoomed and distorted the size a little to make that look pretty huge. Also, it appears that doubles are typically employed on the bullwark and then singles on the cannon carriage, and the AOTS Granado also shows them that way. And I have followed the AOTS and what I have seen in my reference pictures, and have therefore used a double on the cannon side of the return tackle, and a single that will go into the deck (provided I actually do install the return tackle). When you built your Grandado, did you find a way to make the return tackle long enough to look realistic in the limited space available?!? I think the blocks in the kit were 2.5 mm, yes? I clearly need all the help I can get, as Granado is my second build.... Proving that I can finish the entire build with some modicum of quality is my major driver right now, and it is making me want to proceed with the 3mm blocks I am using, rather than going backwards. And after all, Chuck said they were "ok" - albeit, he also sold them to me 😉 You should have seen the ring bolts I was thinking of using before I consulted Chuck, now *they* were BIG! Thanks again Glenn, I really do appreciate your interest in my Granado build, and all the help and kind suggestions!!! That is one big double block right there!!! Maybe its a gigantic gun....

-
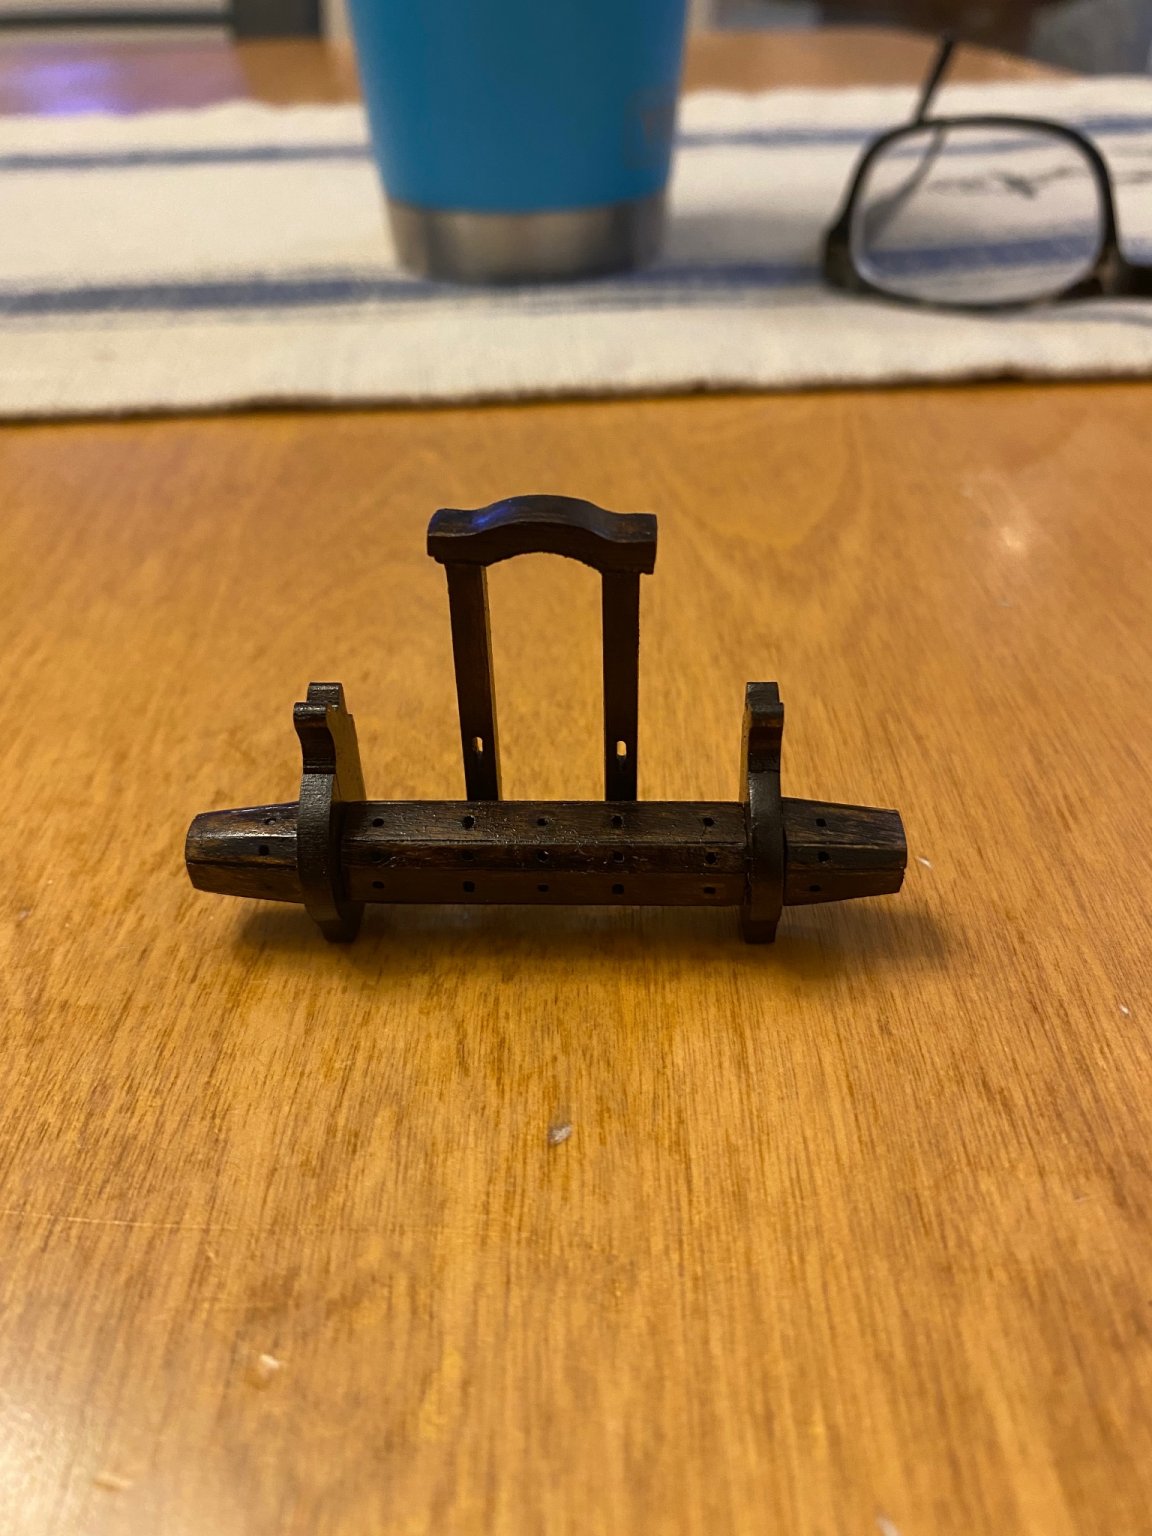
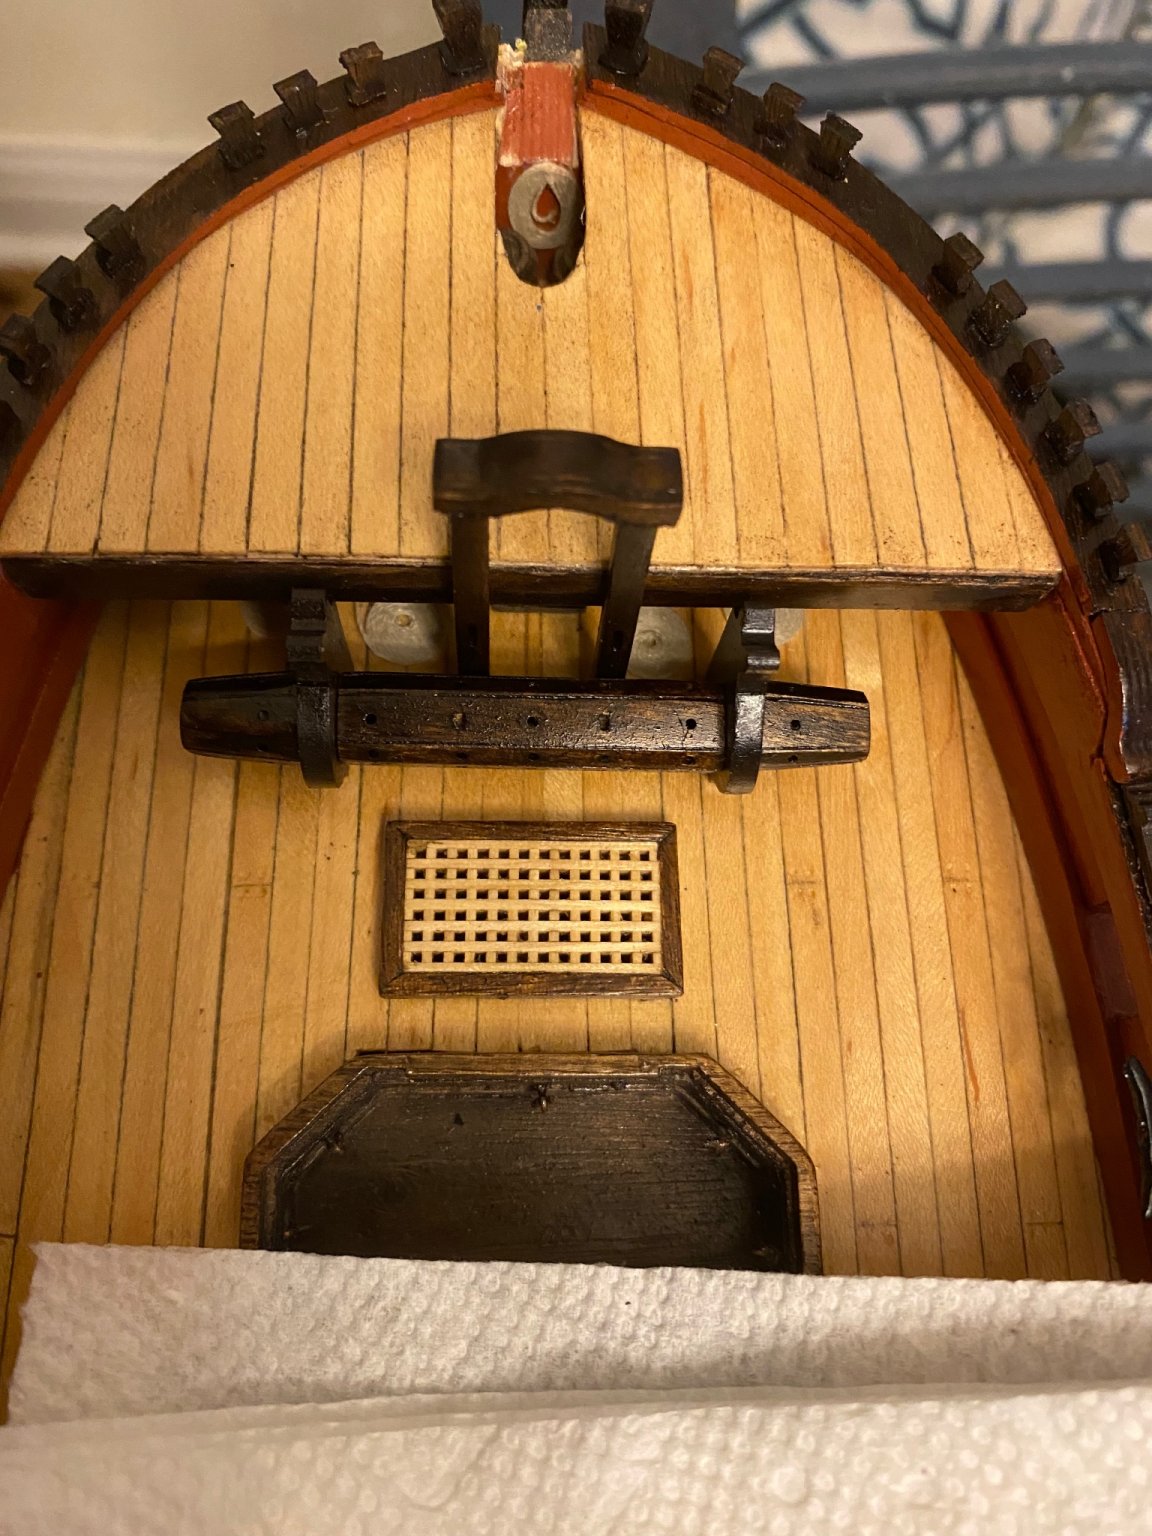
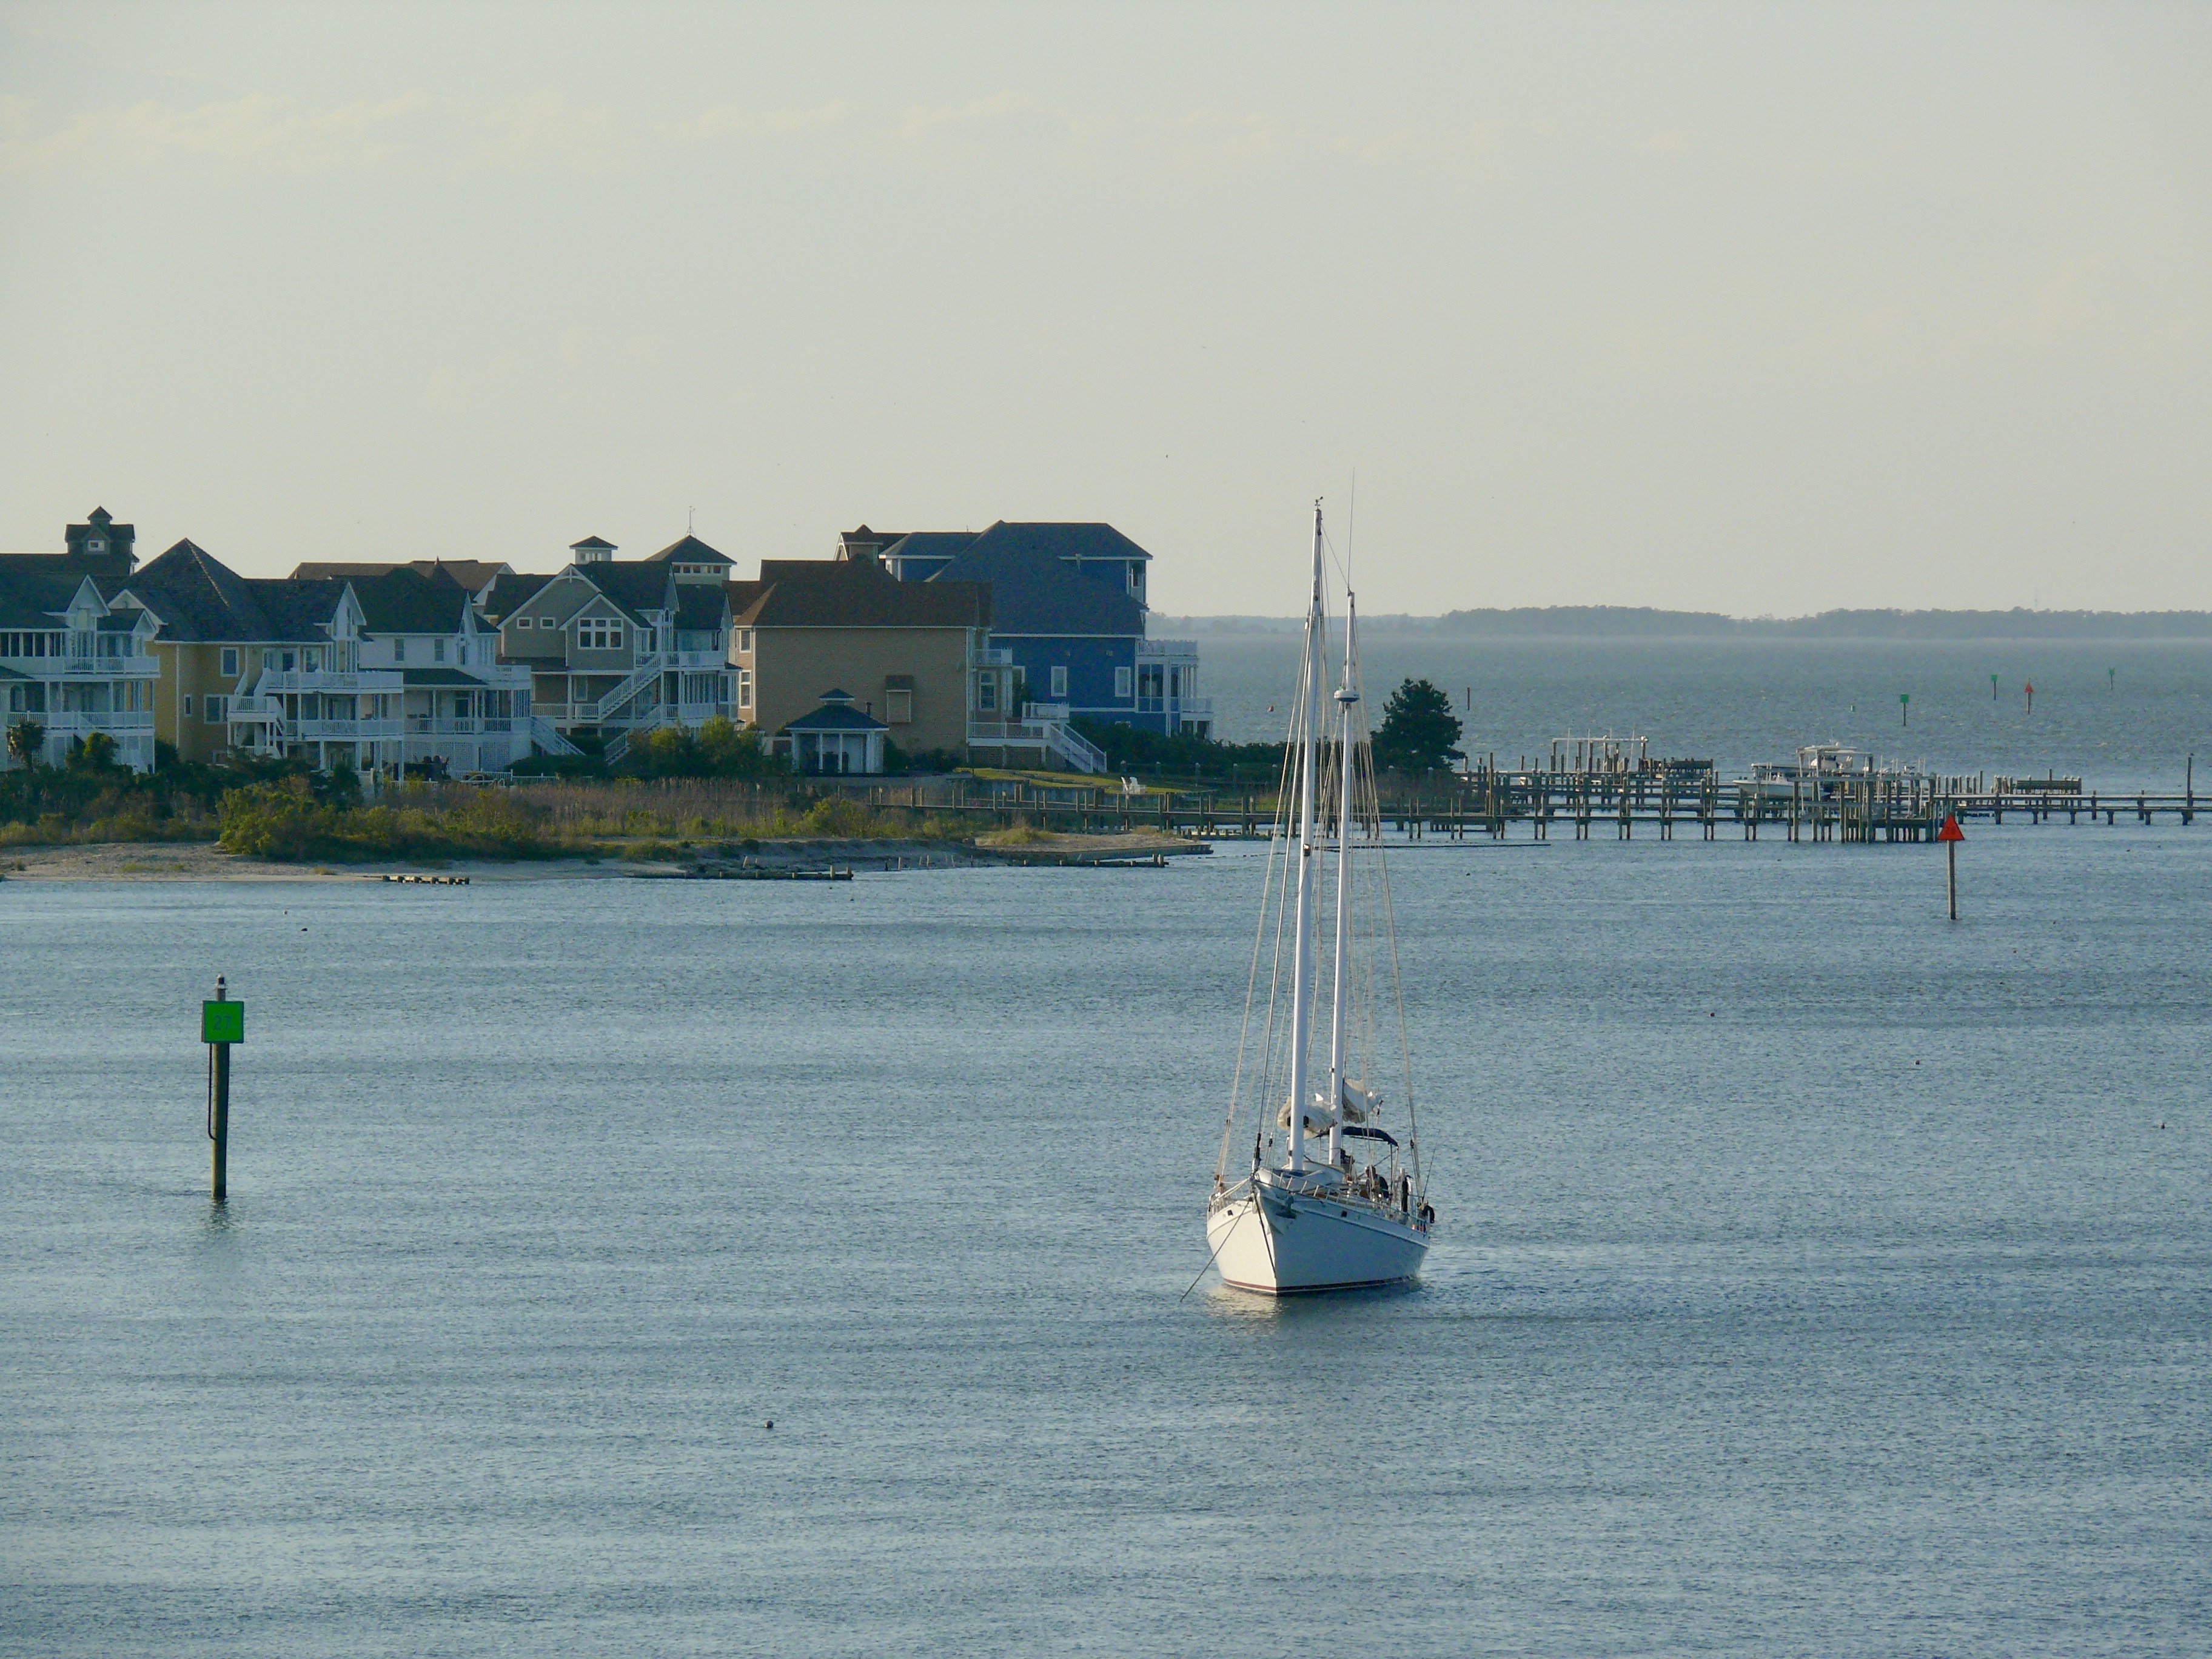
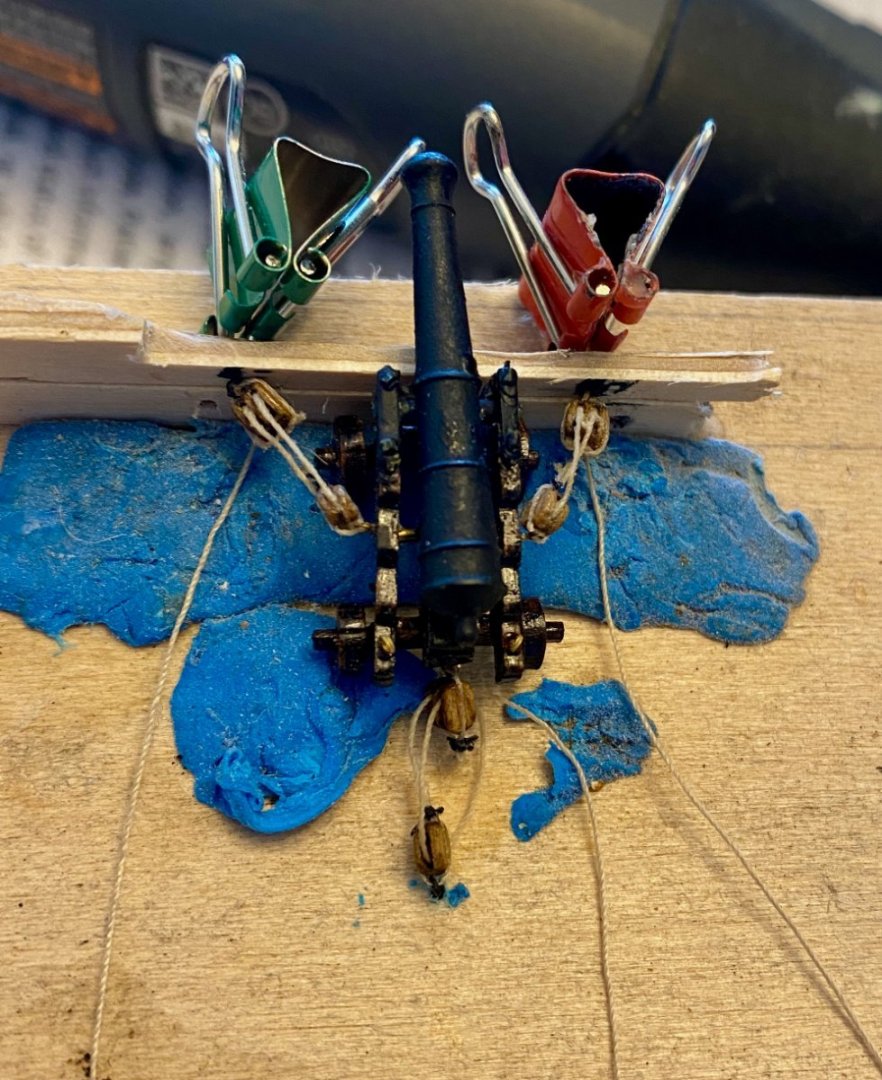
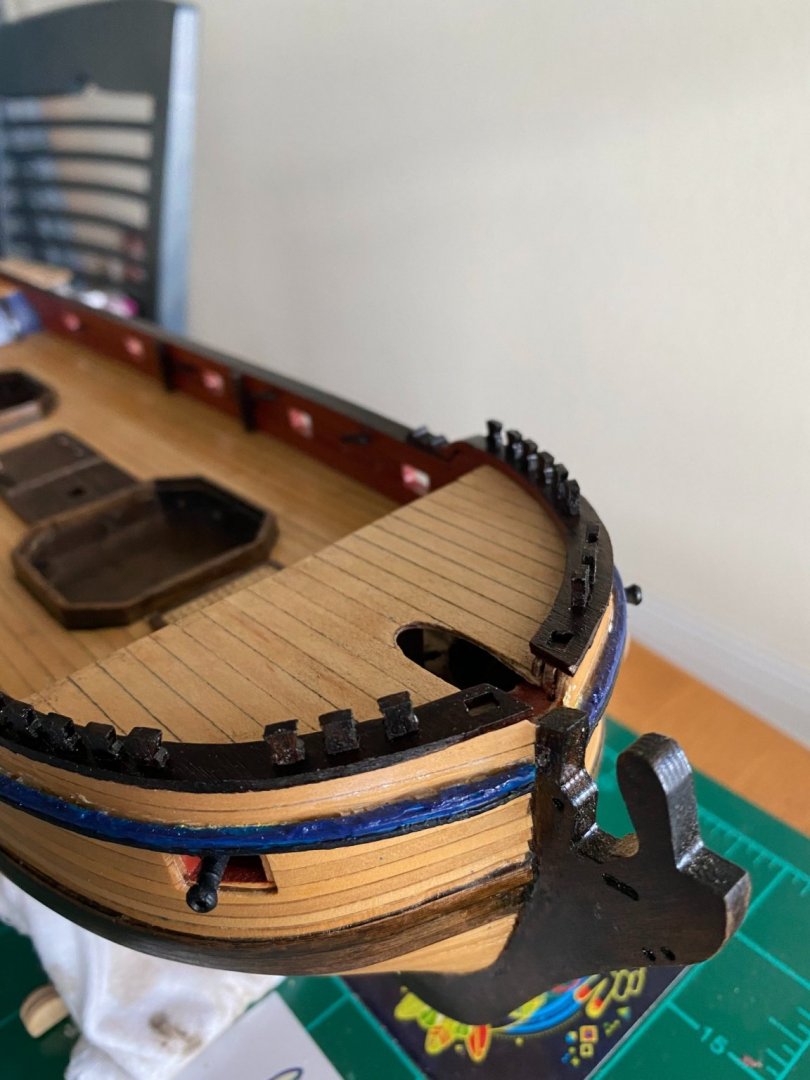
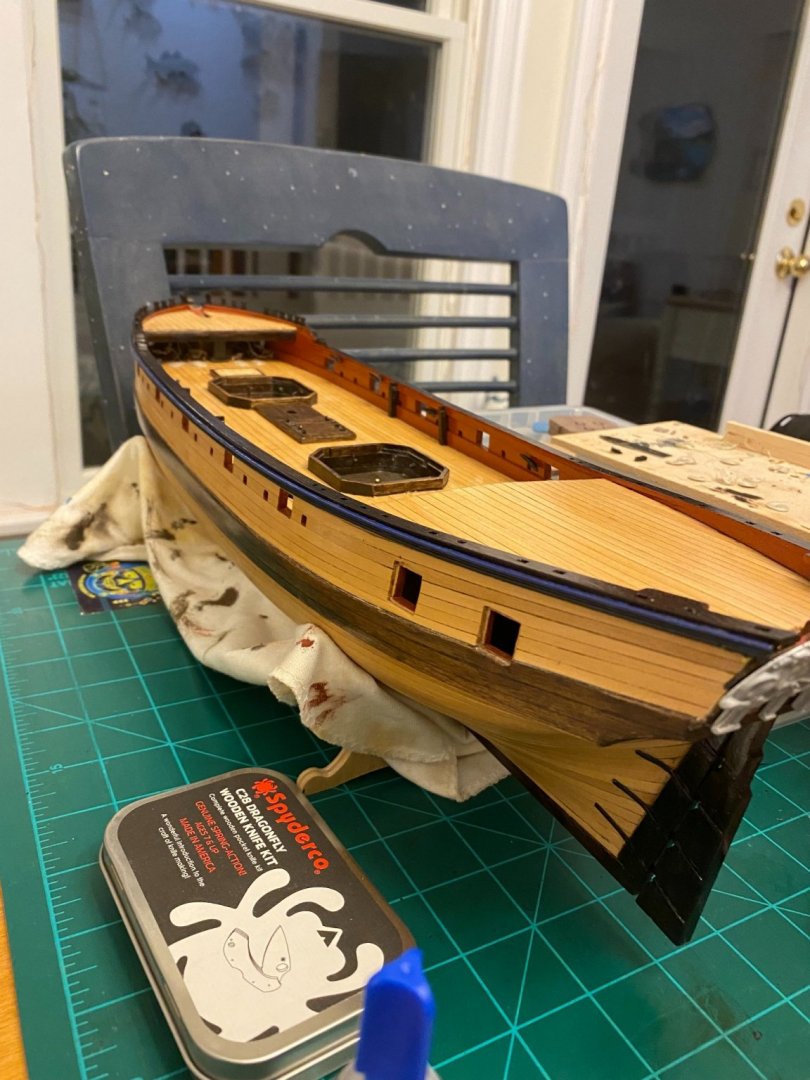
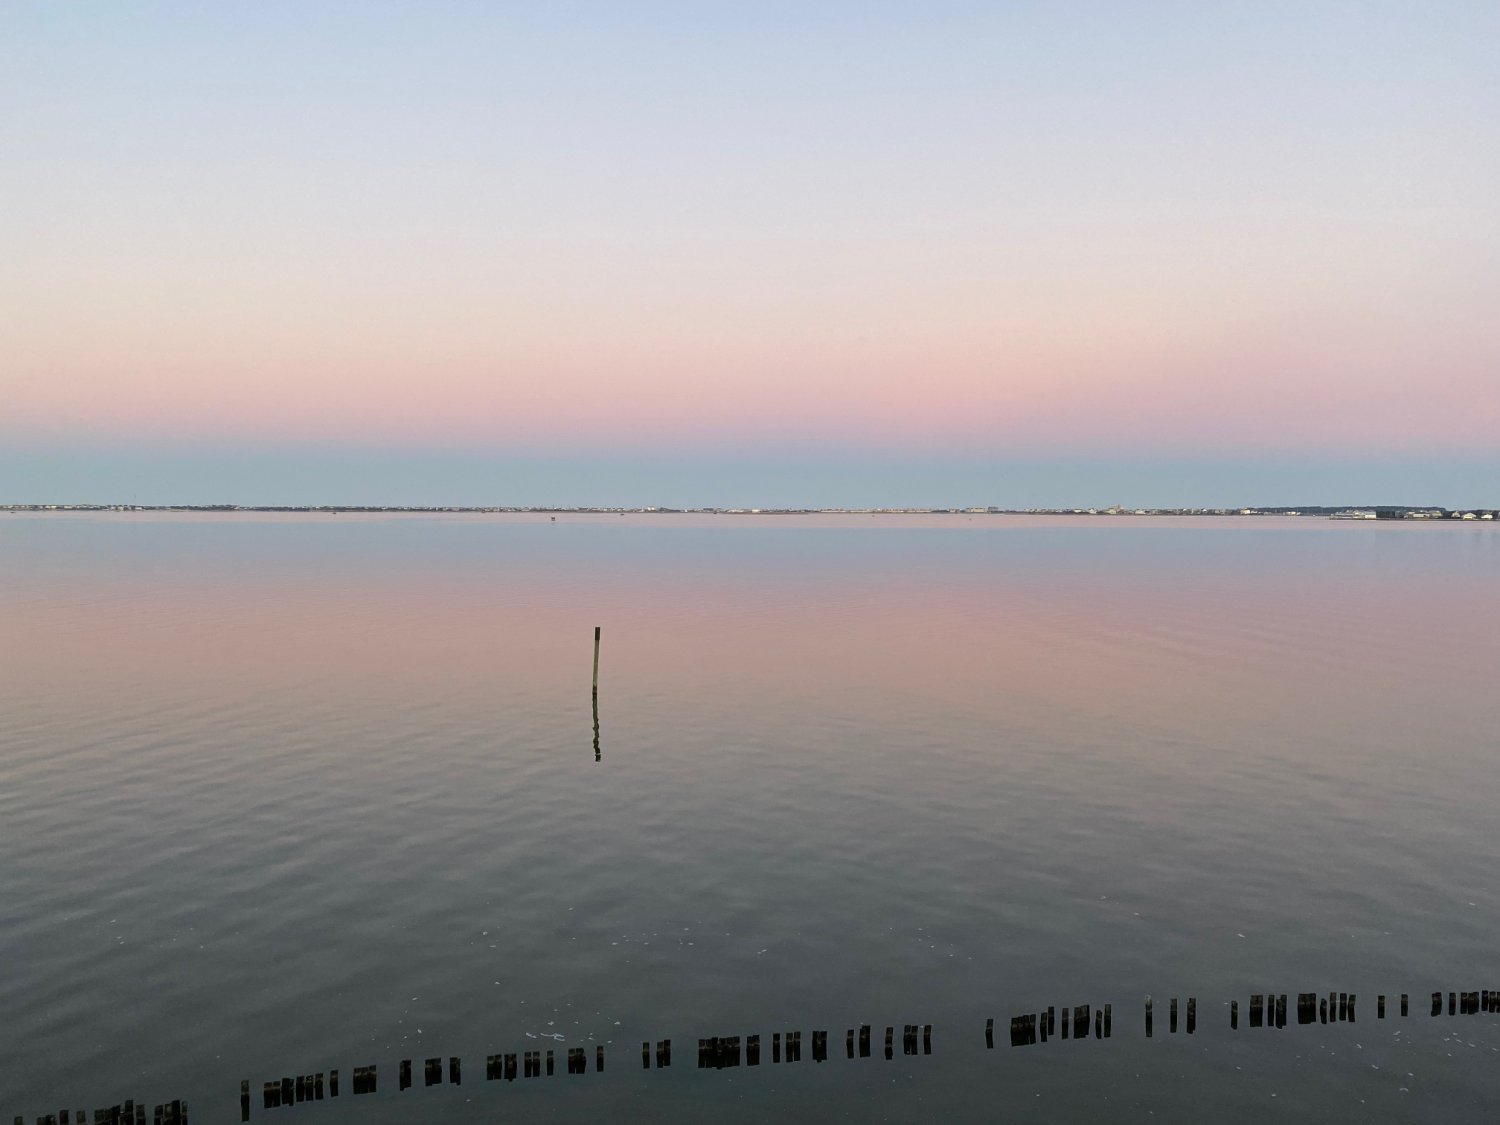
@AJohnson the rig helps make sure I get the lengths set for the tackle, with the exception of the return tackle, that I have left free so that I can adjust it during installation and then fix it in situ. As @glbarlow has correctly noted, the return tackle should be much longer, as the way I have it configured on the jig would not serve well to pull the gun back far enough. However, there isn't sufficient room on the deck (see picture below) to accommodate much more length in the return tackle, so I have to admit I am considering omitting it entirely. With respect to the size of the blocks, they are in fact 3 mm blocks, and while I agree, they seem awfully large....I solicited the opinion of (the honorable) @Chuck before I started to use them, and he gave them an "ok". So, I have mixed feelings about going forward as is, or finding 2 or 2.5 mm blocks, ordering them, waiting for them, undoing what I have done, and doing them all with smaller blocks that are likely to still look too large anyways. I don't want to omit all the gun tackle except the breeching ropes, because I actually like the look of the gun tackle as it was rigged in real life (or at least as close as I can get). So, if anyone wants to add their opinion I am willing to give it full consideration. Speaking of breeching ropes, for sure, that needs to be added before installation, and I intend to do so, using some slightly larger diameter rope fresh in from Chuck's shop. His rope is wonderful to work with in my opinion, when handled carefully. Finally, @AJohnson - I have to admit that the last picture is taken from the deck of the Granado Workshop, overlooking Roanoke Sound and the Outer Banks of NC and the Graveyard of the Atlantic, and does provide inspiration for boat building on a daily basis. Thanks for looking in, the kind words, and helpful comments and sage advice! It's great help and encouragement! BT

-
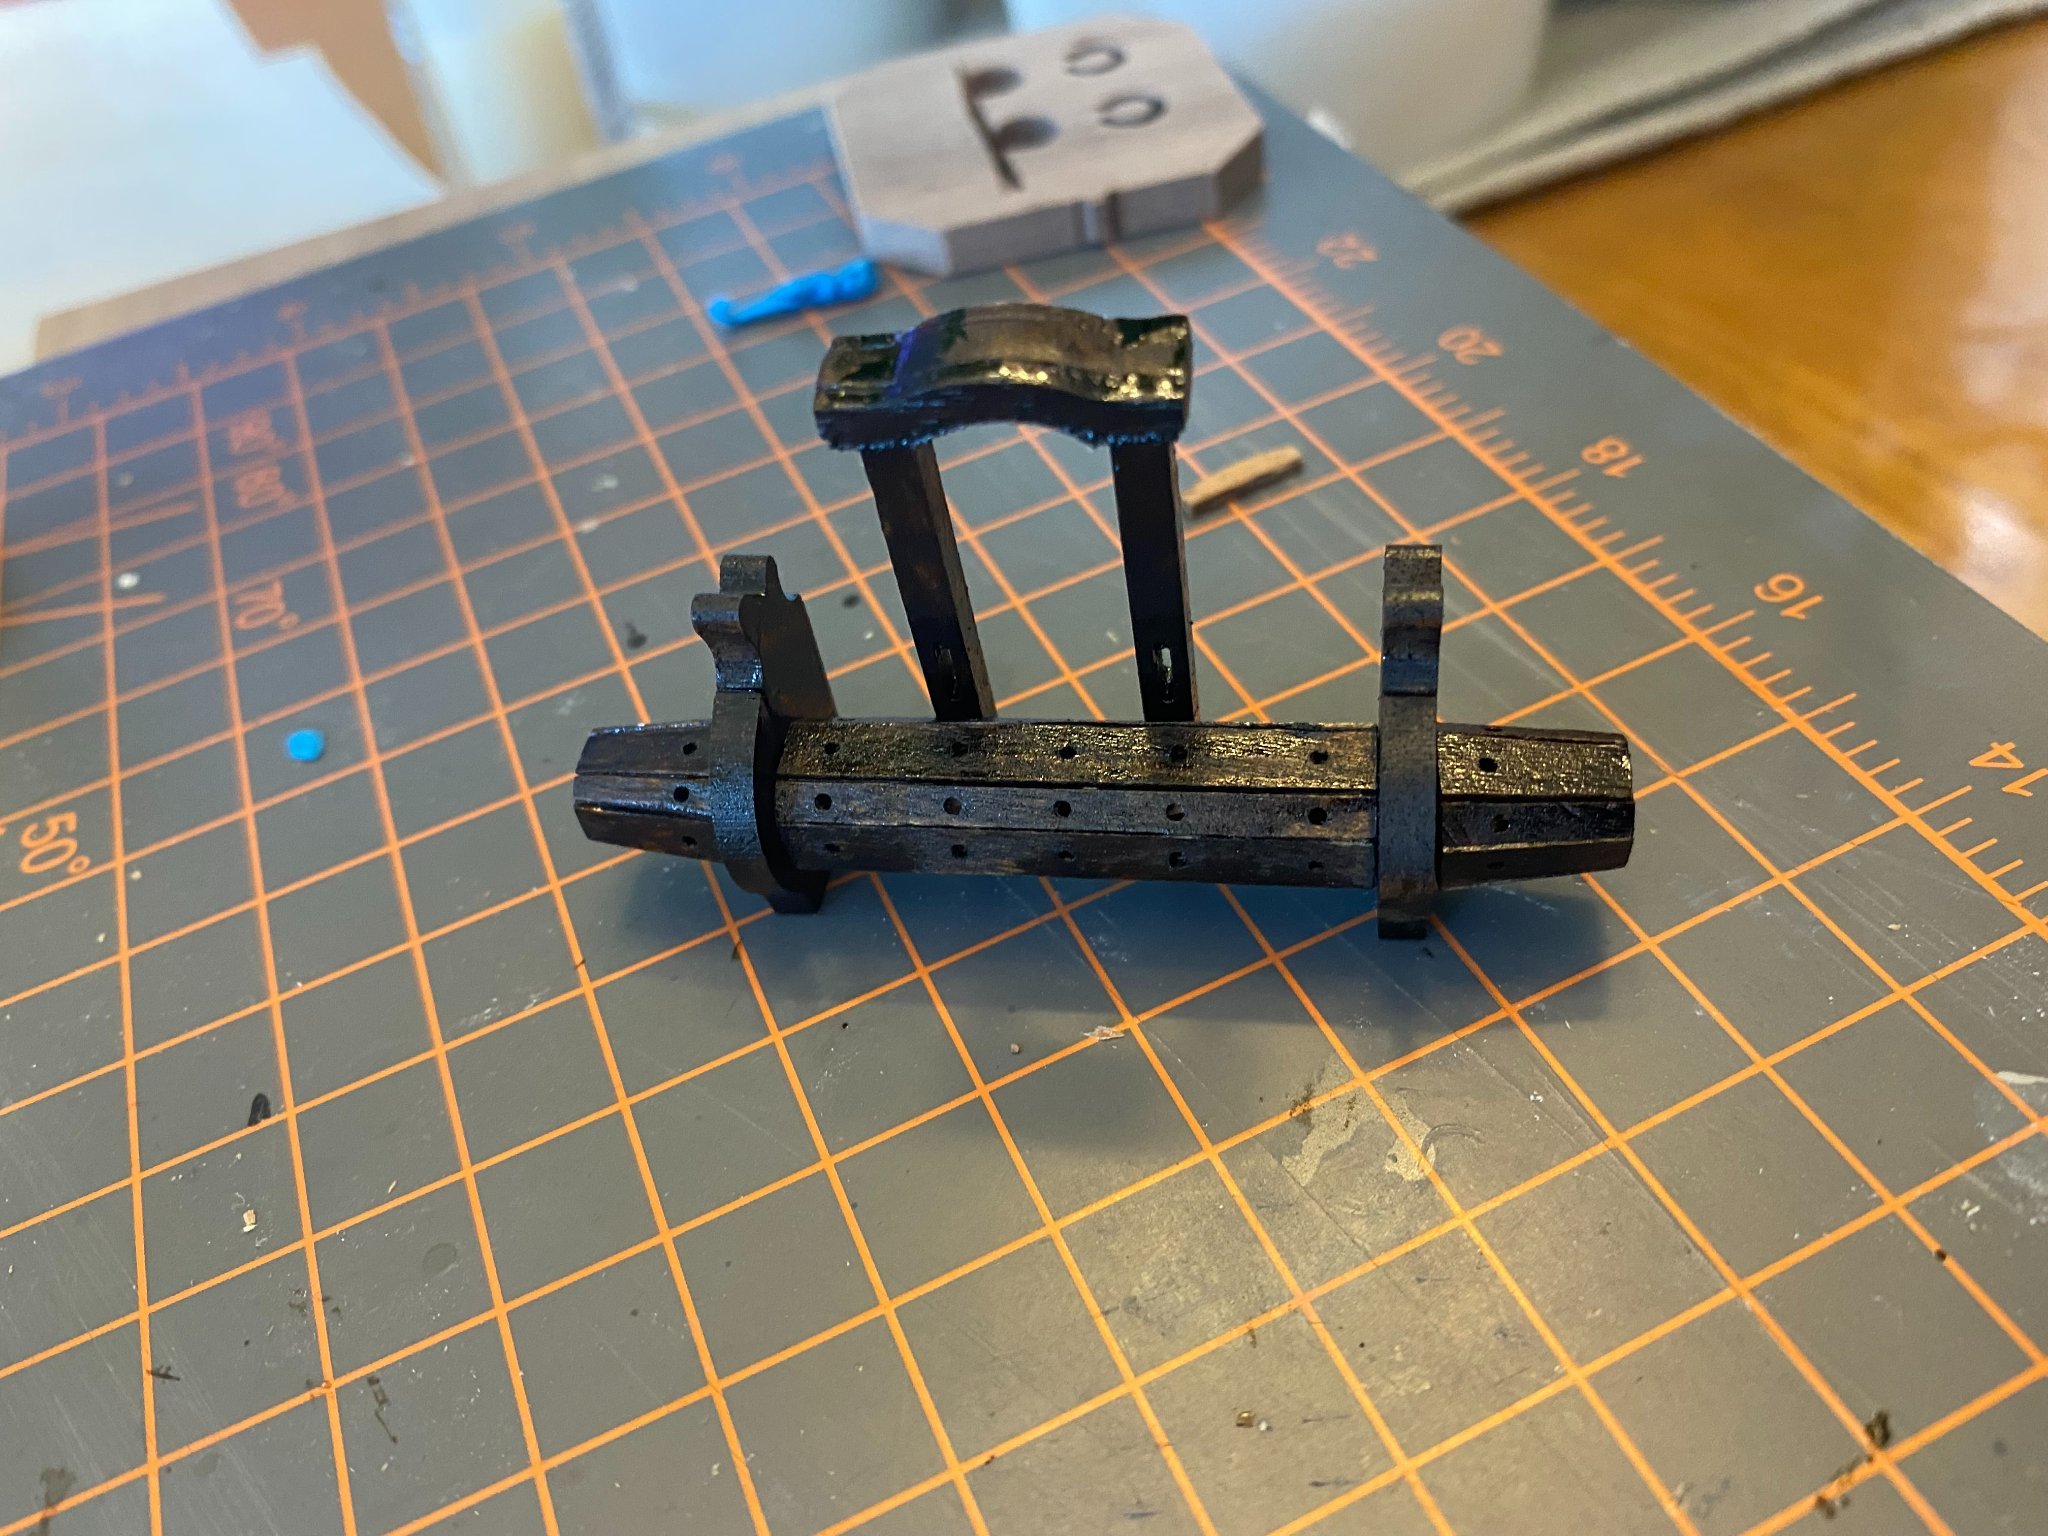
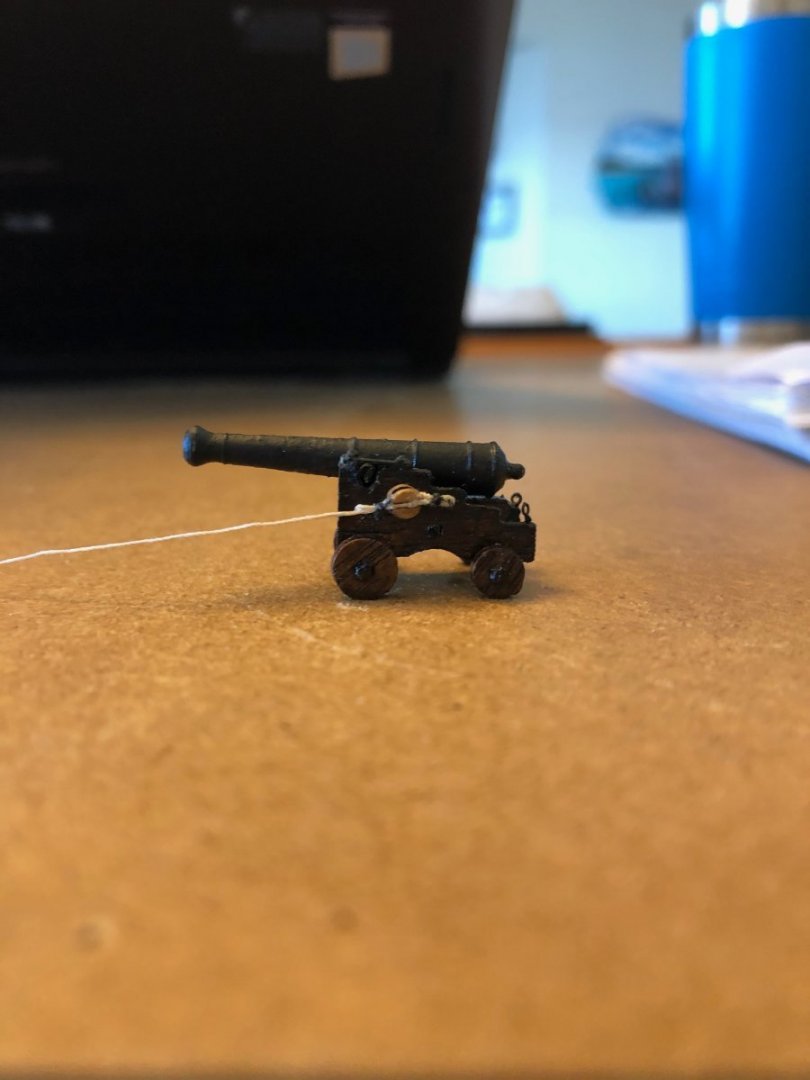
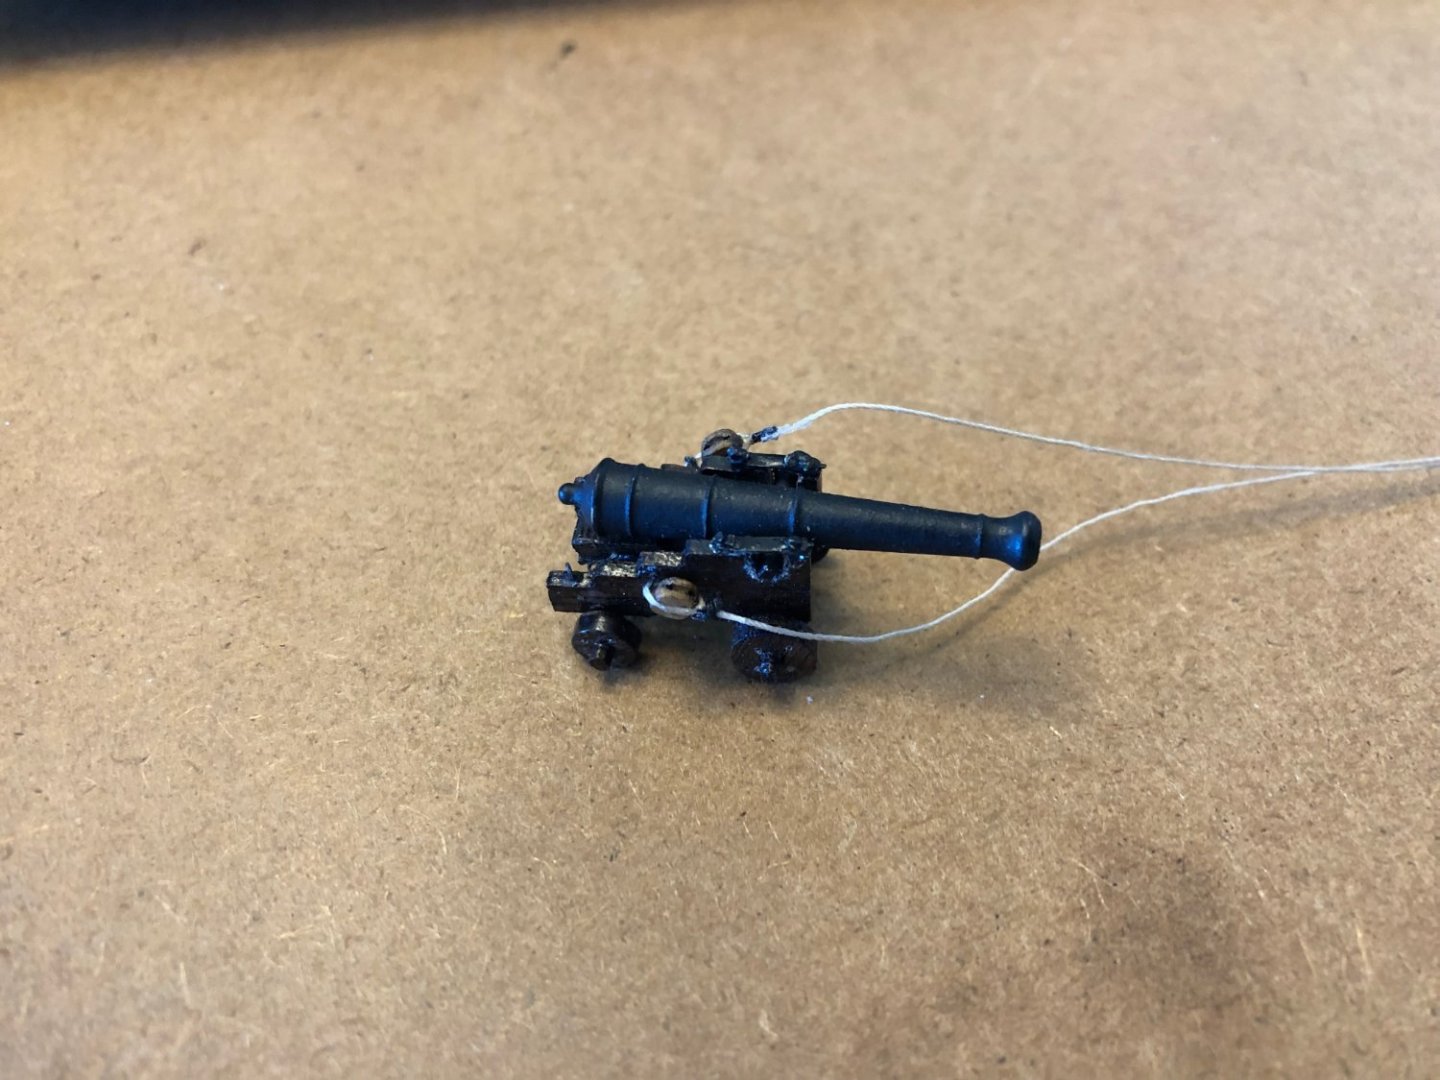
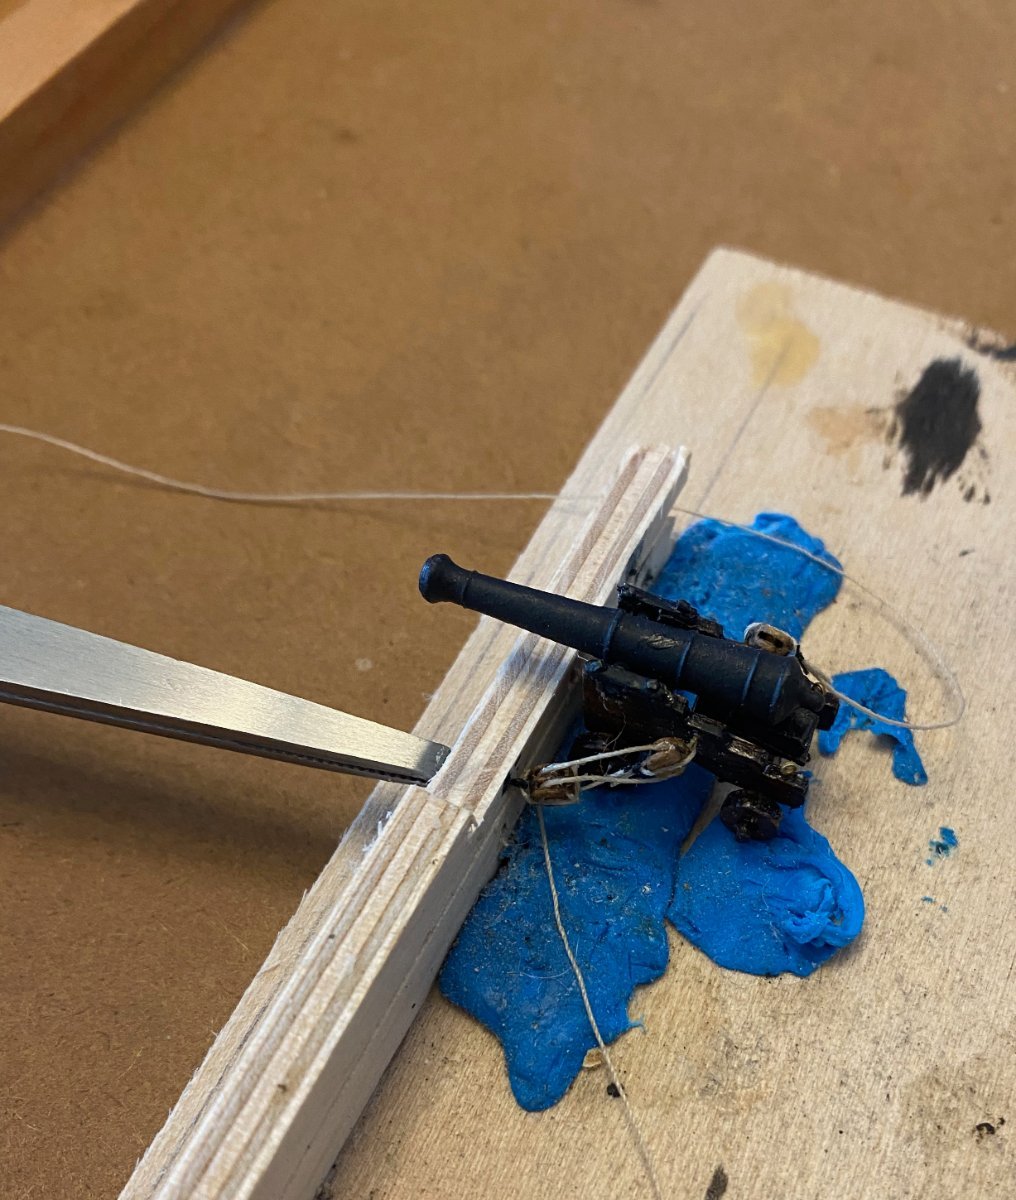
Rigging gun tackle, wooof. However, it needs to be done before I make the deck less accessible. Here are some pictures of my initial attempts at doing justice do Chuck's rope and blocks. Please forgive my dust and amateur attempt, but I am doing my best with the tools I have (my bad eyes, shaky hands, and limited experience and knowledge). The jig is not great, and the cannons and carriage are not as good as I would like, but I think the rope and the blocks look to be at a relatively good scale in this application. Any comments or critiques would be appreciated, as I have only finished two of the ten I need to do for installation, and there is time to undo and redo before I get too far ahead.... I have provided one last picture that isn't quite as hard on the eyes 😃

-
Having rigged a gun tackle backward, I can attest, it is easy to do. I had only done one side of one cannon, so I redid it, and then have just about finished doing the other 9 in the way that @allanyed has described, which is also how it is shown in the AoS HMBV Granado.
-
Interesting!! I haven’t heard about the dark side!!
-
Hey Andrew - I certainly agree with you that the Caldercraft gun carriages are not even close to what Chuck can offer with respect to quality and authenticity, and when I got done with them, they were definitely crude!!! 😃
-
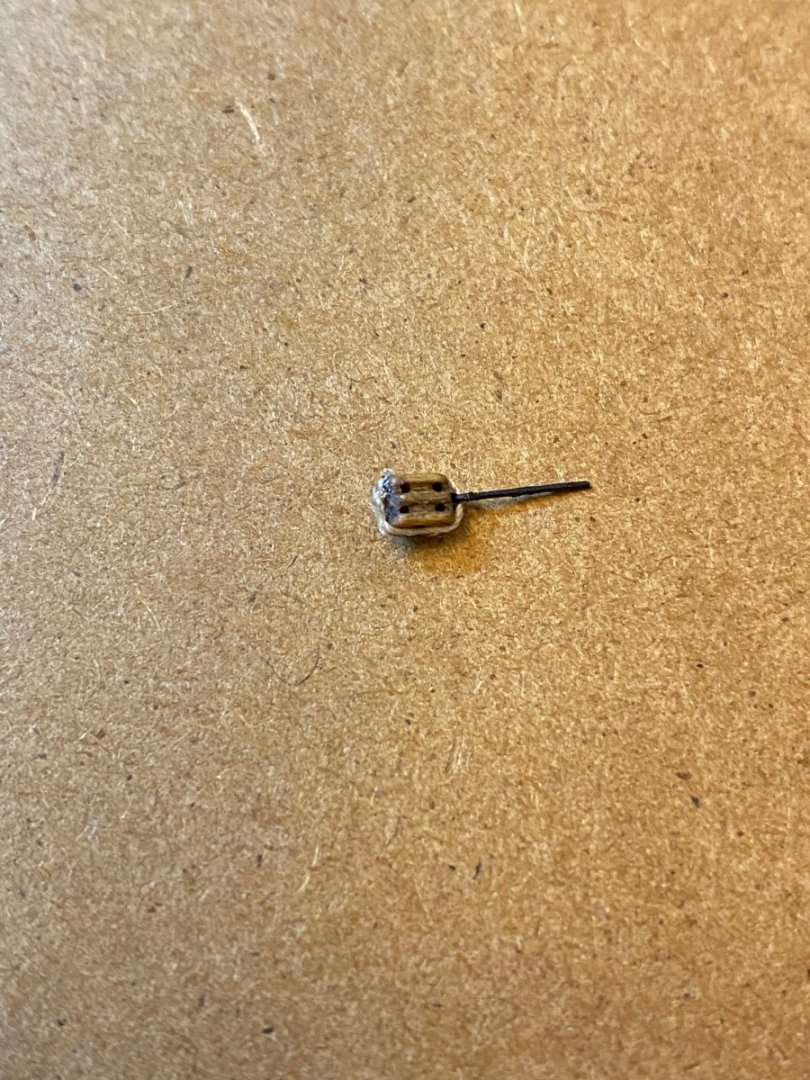
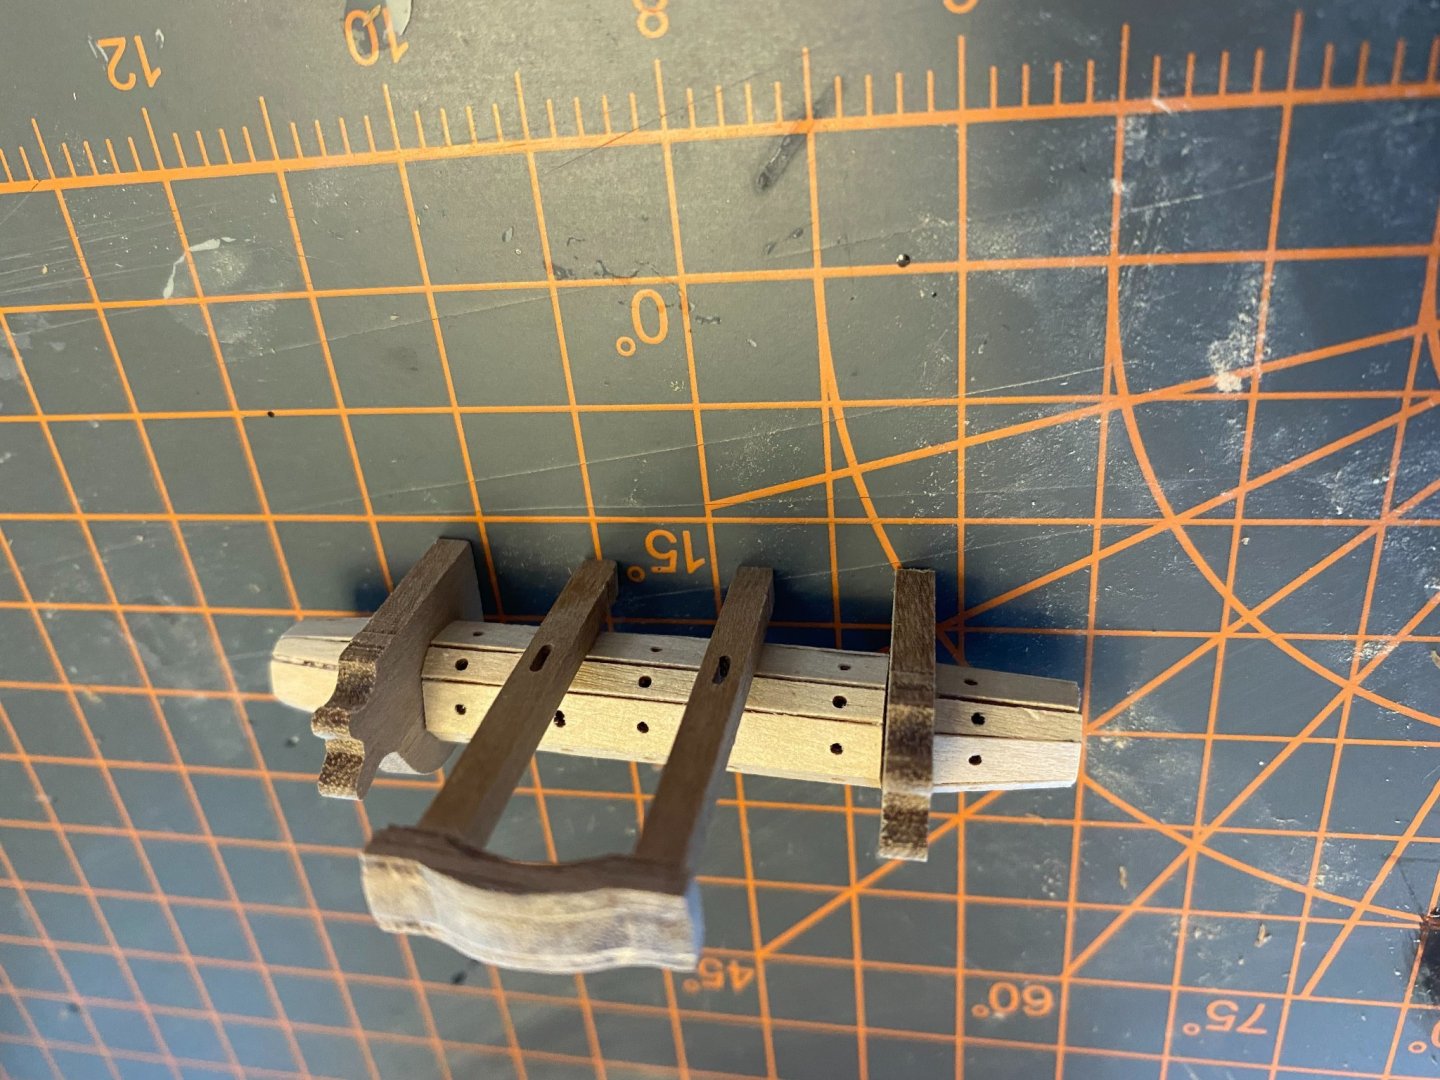
Thanks for the kind words and for following along for the ride Andrew! Also thanks to @Ryland Craze @VTHokiEE @GrandpaPhil @Peanut6 @Spellapeaka and the other kind peeps out there who stop by to look and offer encouragement or advice in the form of thumbs up (e.g., @glbarlow 😉 ). I recently bit the bullet after looking at Andrew's great work on the bounty and his comments about doing the cannon tackle rigging. I had been delaying doing this, and building the windlass and other deck accoutrements and not installing them to save room for the inevitable installation of the cannons. But, I was starting to worry about this approach as the completed elements were starting to build up and could get lost or damaged, so I decided to tackle the tackle (ugh). My cannon builds are not very pretty, and I should have replaced them with Chuck's cannons, but I had already completed them and was hesitant to go and make them all over again. Nevertheless, I did order and am planning to fully employ Chuck's rope and CNC boxwood blocks to make the cannons look as good as possible. [Seriously, with my eyesight, everything looks pretty reasonable until I take a picture and blow it up to the point where I can see the details of every wart (and there are many)]. Having done a few components, I thought I would share some pictures and solicit some opinions, and the primary subject is something Andrew (AJohnson) has recently noted in his build log. That is, that if I seize the block to the cannon ring (even without using a hook), and then seize the line on the other side of the block, it adds considerable length to the tackle so that the other block is going to be awfully close in proximity and decreases the length of the lines running between the blocks to near zero. I have posted one picture with just one use of seizing, and another with two around the block. I am now of the mind to just use one to save room, but if anyone has any opinions on the matter feel free to chime in. I also included one picture of the double blocks that will be used at the bullwark for the gun tackle lines. You can maybe see that I have stained the boxwood blocks a little to give them a weathered look. I hope that is a reasonable thing to do. I also have to decide on the thickness of the breeching line I am going to use, and for simplicity, I think I will stick with looping it around the cascobel, even though I would love to employ the more complicated cut-splice approach. That is the approach I used for the bow-chaser cannons that I have already installed. Cheers mates, and thanks again for stopping by (and giving your thoughts if time permits)!!!
-
Hey Andrew, Your work on the Bounty is very impressive!!! I just started the task of tackling the gun tackle, and I am heeding your comments about how space gets tight in a hurry and leaving out the hooks. I have been seizing the block, and am using some of Chuck's awesome rope and his CNC 1/8 boxwood single and double blocks that I have given a touch of stain to make them look a little weathered. I have been pleased with the appearance of the blocks with their seizing, but haven't put it all together yet to see how it will "fit" when installed. I think having the hooks would look better, but I was surprised there wasn't much room for anything with the 2 bow-chaser cannons I have already installed and hidden under the forecastle deck. It is amazing how much rope I used in the flemish coils for those 2 cannons (even though they looked really nice and neat), but it didn't look that realistic to have about 20 feet of rope lying in a coil, so I am going to rethink them for the cannons that will be seen. I haven't installed any of the deck gear so I have room to install the cannons once I have them rigged, so that is a positive, but I am still thinking it won't be easy to do. I will look over your build logs and keep learning from your work, which is solid! Cheers mate! Brian
-
@glbarlow That's the hardcover set I have, but I couldn't take the time to figure out if it was going to be cost-effective to purchase the individual books on Amazon or whether I could find some vendor who had all of the individual books for sale as a collection. Seems like Amazon would be the approach...
-
@Cathead @AJohnson Wow, those are great recommendations for the library. I will definitely add those to the top of my wish list. Thanks for the recommendations!!
-
I am/was looking for the whole series in one (and only one) of the older formats…
-
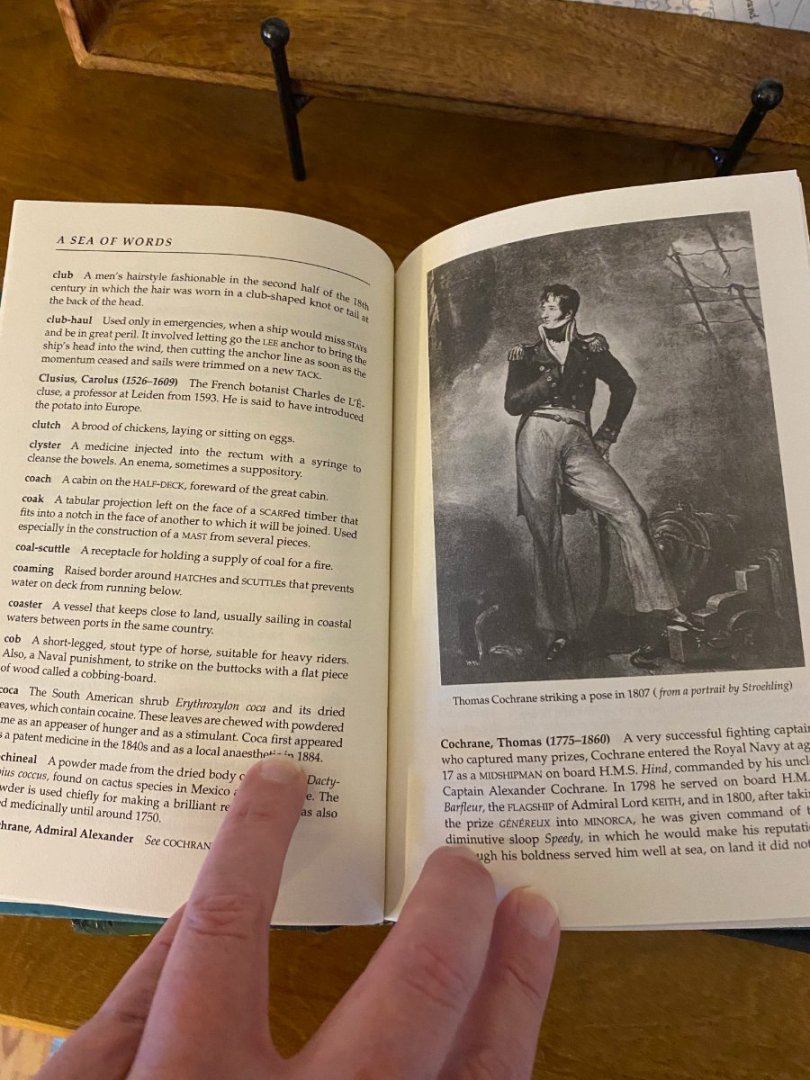
@BenD I would love to have the whole series in the older print version! However, I didn’t have the time or knowledge to find a good source before Santa made his rounds…please share if you have any sources. The Sea of Words is pretty awesome!
-
Welcome aboard, but I have dibs on dumb questions, just ask Chuck how many I have asked him.
-
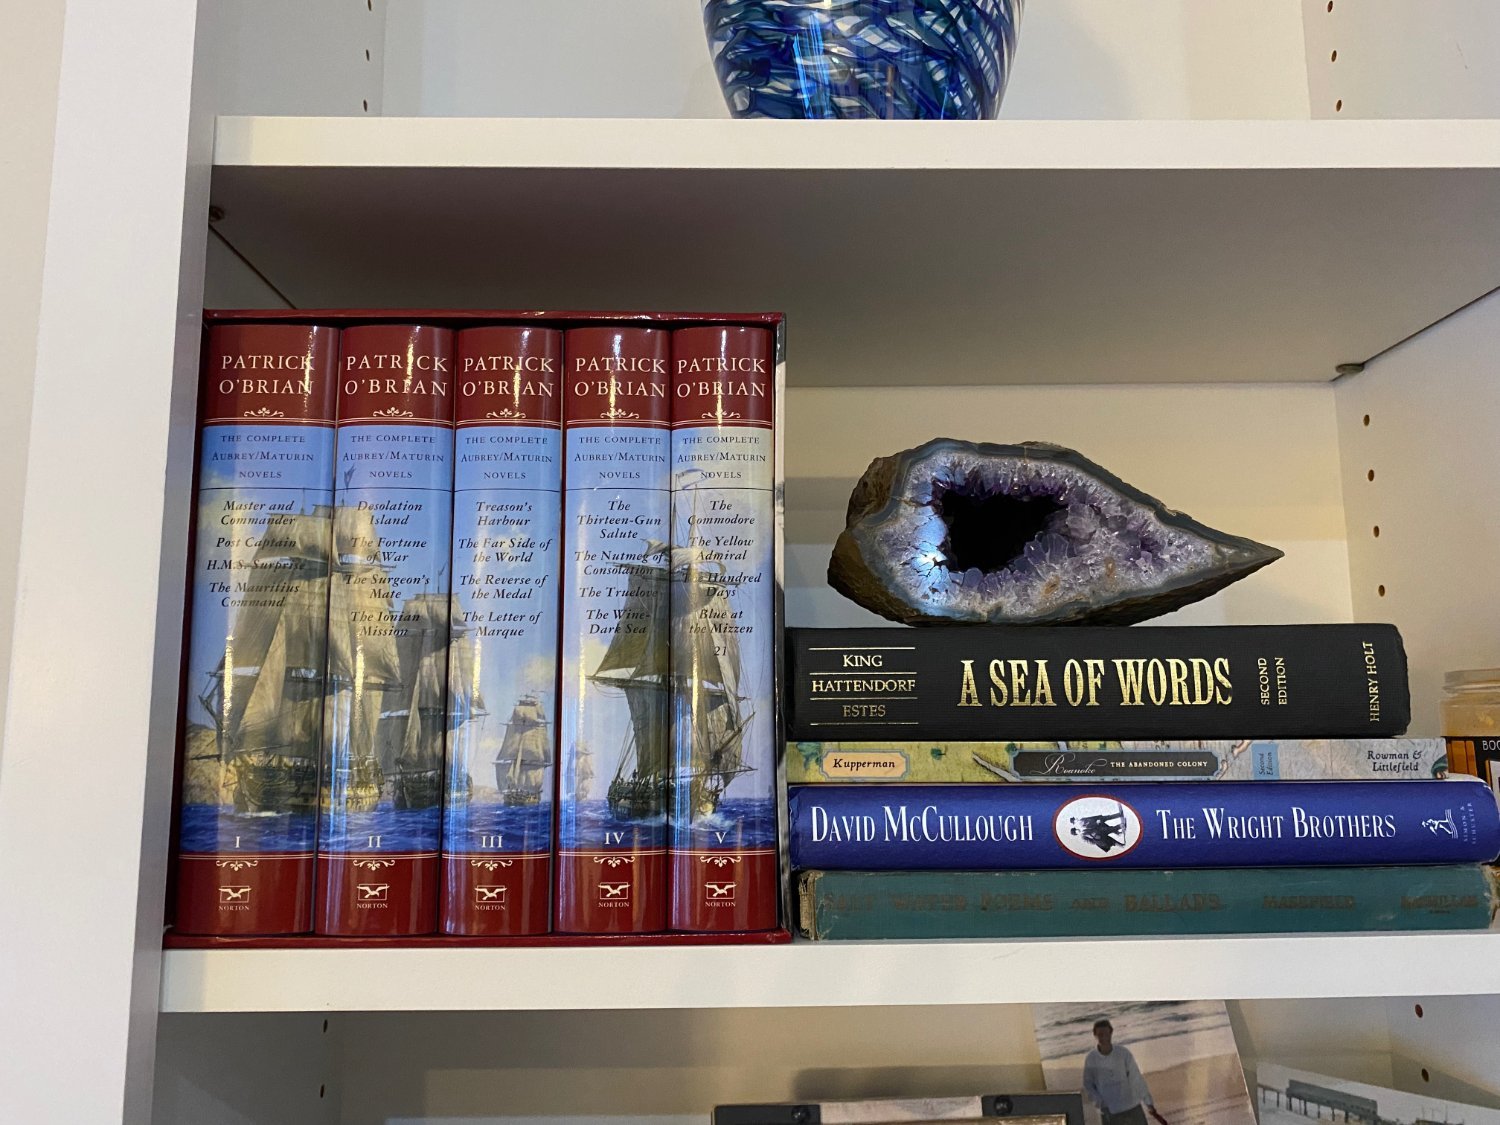
Hey Gang, Hope everyone is doing well in 2022! I wanted to share a little bit about two Christmas gifts I got for my wife (and myself =). One is the Patrick O'Brien Series, which is a beautiful collection of tales including Master and Commander, etc. A lot of complaints have been made regarding the print size and the thin paper, but it is quite an amazing compilation of sea novels set in the Royal Navy during the Napoleonic Wars, and centered on the friendship of the English naval captain Jack Aubrey and the Irish–Catalan physician Stephen Maturin. I also bought her A Sea of Words: : A Lexicon and Companion to the Complete Seafaring Tales of Patrick O'Brian, written by Dean King, John Hattendorf, and J. Worth Estes. Surprisingly, she actually loved these gifts! They both are truly beautiful works, and the Sea of Words is full of useful information regarding nautical terms, etc., with awesome drawings (albeit few and far between).


.thumb.jpeg.99869b674b71fdd2e516a8b9d61f2c4a.jpeg)
- 21 replies
-
- 14
-

-
It's looking great Sam! Nice work for sure, and you are making it look easy. Lots of progress being made in short order, very impressive!!!!
-
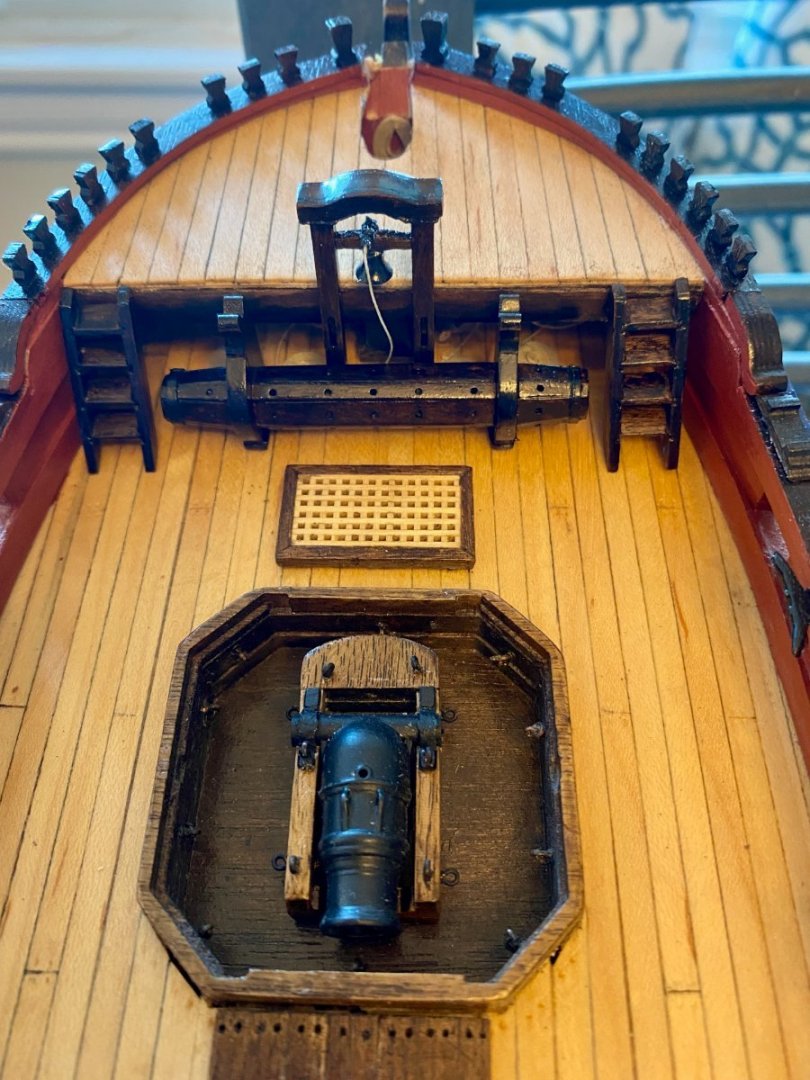
Well, I added the banding around the windlass, put the bell on the belfry, and built all the ladders. I have them dry fitted, and have posted a photo that shows all the warts that still remain to be touched up with some stain and some WOP. It still feels like progress is being made, warts and all. I have also completed the quarterdeck barricade, and have the elm tree pumps almost finished as well. Will post photos of those soon, as it helps to see what needs to be touched up more =\ Please forgive my repetitious pictures, but I did touch up the windlass a little more, and did so semi-successfully from my perspective. I also touched up the ladders a little, in order to reduce the appearance of the layers of different darkness on the sides of the ladder. I don't think I did as good of job with the rungs of the ladder, but maybe if you use your imagination we can all "believe" they look "used" and "weathered". I believe I could do this kind of touch up work forever, with little to no further benefit, so I am going to move on for now....and perhaps spend some time rigging the cannons, instead of staining wood poorly. Thanks for the thumbs up and build fly-bys.
.thumb.jpeg.ded686d5b66e1abe010cb020f1de97b2.jpeg)
-
So….here is my “improved” finish on the windlass and belfry. The parts are just temporarily placed on the deck. Work is making things slow going lately, but I hope to make some significant progress soon!!!

-
Beautiful work! Congratulations on a great job!!
-
I should also add that I will need to sand them with fine sand paper before I put one more coat on and poly them, as they look pretty rough in their current state.
-
So, I have got the windlass and belfry completed to the point where I have stained them with a couple of coats of stain and they are drying. It felt good to make some progress. Sometime soon I will have to finish rigging the cannons so I can get them on the deck and installed. Then I will feel I can start to put in all the deck hardware, and the mortar assemblies, which are on stand-by to give me as much room as possible when putting the gun rigging in place, Flemish coils included....

-
Hey Vane. I recognize that my Granado is not an exemplary piece of work, but I thought I would chime in with my "lessons learned. Like you, I also did as the directions indicated. However, in order to get an even coating of blue on the stickers (or decals), I had to do more than one coat of paint. It made the decals much less striking (as in it decreased the contrast of the black and blue), but in the end it seemed to work in a subtle fashion. I should note that once I got the decals glued in place, I put a light coat of poly over them. I stained the dividers of the quarterdeck panels with dark walnut stain as well. With respect to the deck and the pencil bleed, I wonder if a coat of poly will help blend the appearance a little?
-
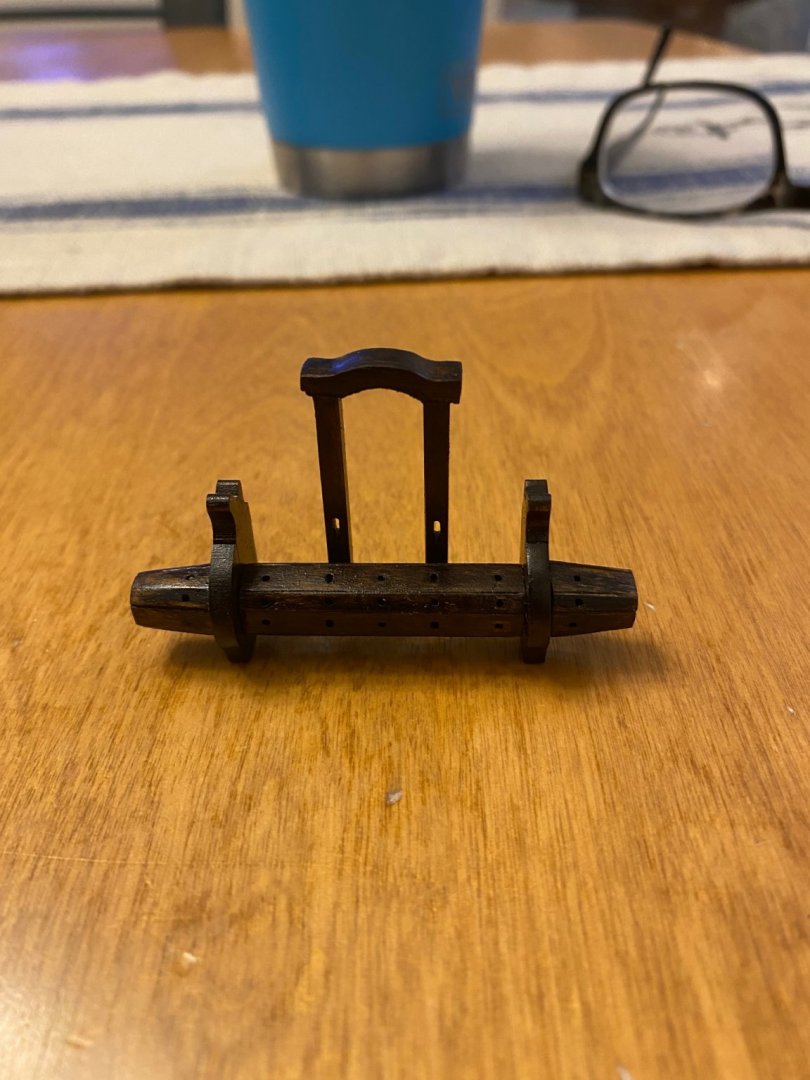
Had to travel out of the country for work for a while, and it was fun and covid-free, but it is also good to be back in reach of the Granado. I have tried to make sure I post any amount of progress made, so I keep up some momentum in the building and the logging, so here is an update, with pictures to follow: Timberheads and knightheads. Fiddly. Little. Hard to handle pieces of wood that have to be reduced to fit in capping rail slots. I started with a diamond valorbe file, but it was painfully slow. After only two or three, I reached for the dremel with the cutting wheel attached and went at them with abandon. Only one shot out of my fingers during this high speed manuever, and luckily I found it on the floor before my dogs or wife ate it or got ahold of it, respectively. Once trimmed to fit, I stained them dark, and CA'd them in place. They look pretty darn ok! Belfry. straightforward so far. Haven't located the bell and painted it yet. Have to decide what color to paint it. I am thinking black. Windlass. I thought the timberheads were fiddly, holy toledo, building one section (the warping head?) in the octagonal fashion required was fairly challenging, and I still have the rest to build. Once I finished with the one warping head (the end), it looked pretty good, so I am happy and ready to continue the painful process. I'll make sure to add some pictures so that you get an idea of what a newbie thinks "looks pretty good" 😃 Hope everyone had a happy Thanksgiving, and that your football team won (unless you are a Raiders fan =P). Talk about some horrible refs, and bad calls, missed calls, and ugly behavior on all sides of the field.


.jpeg.4ba668b3053be138e9bb2544a5d789ff.jpeg)
.jpeg.5f02ab47013883d27f0f8939851e84d4.jpeg)