
HardeeHarHar
-
Posts
615 -
Joined
-
Last visited
Content Type
Profiles
Forums
Gallery
Events
Everything posted by HardeeHarHar
-
 Timmo, your handiwork is amazing. I also noticed that you had a beautiful schnauzer pup in one of your pics. Always glad to see a happy fuzzy face.....we have two schnauzer first mates, and they do love boats!
- 28 replies
-
- 1
-

-
- frigate
- enterprize
- (and 2 more)
-
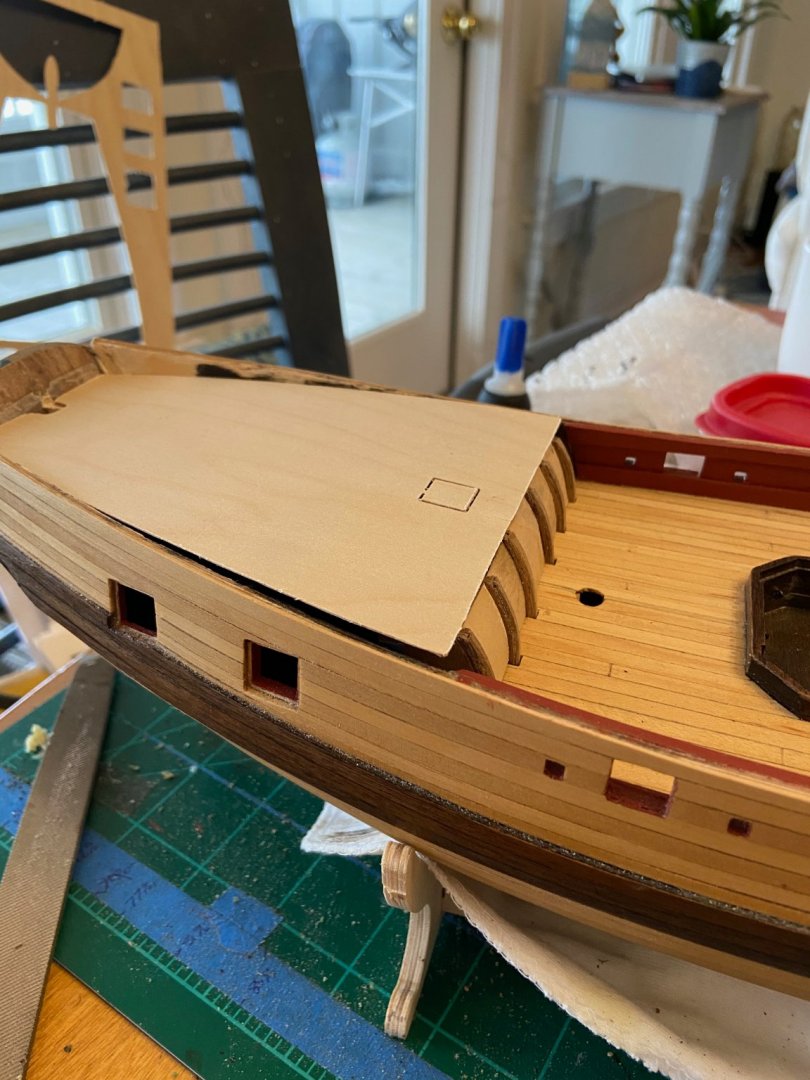
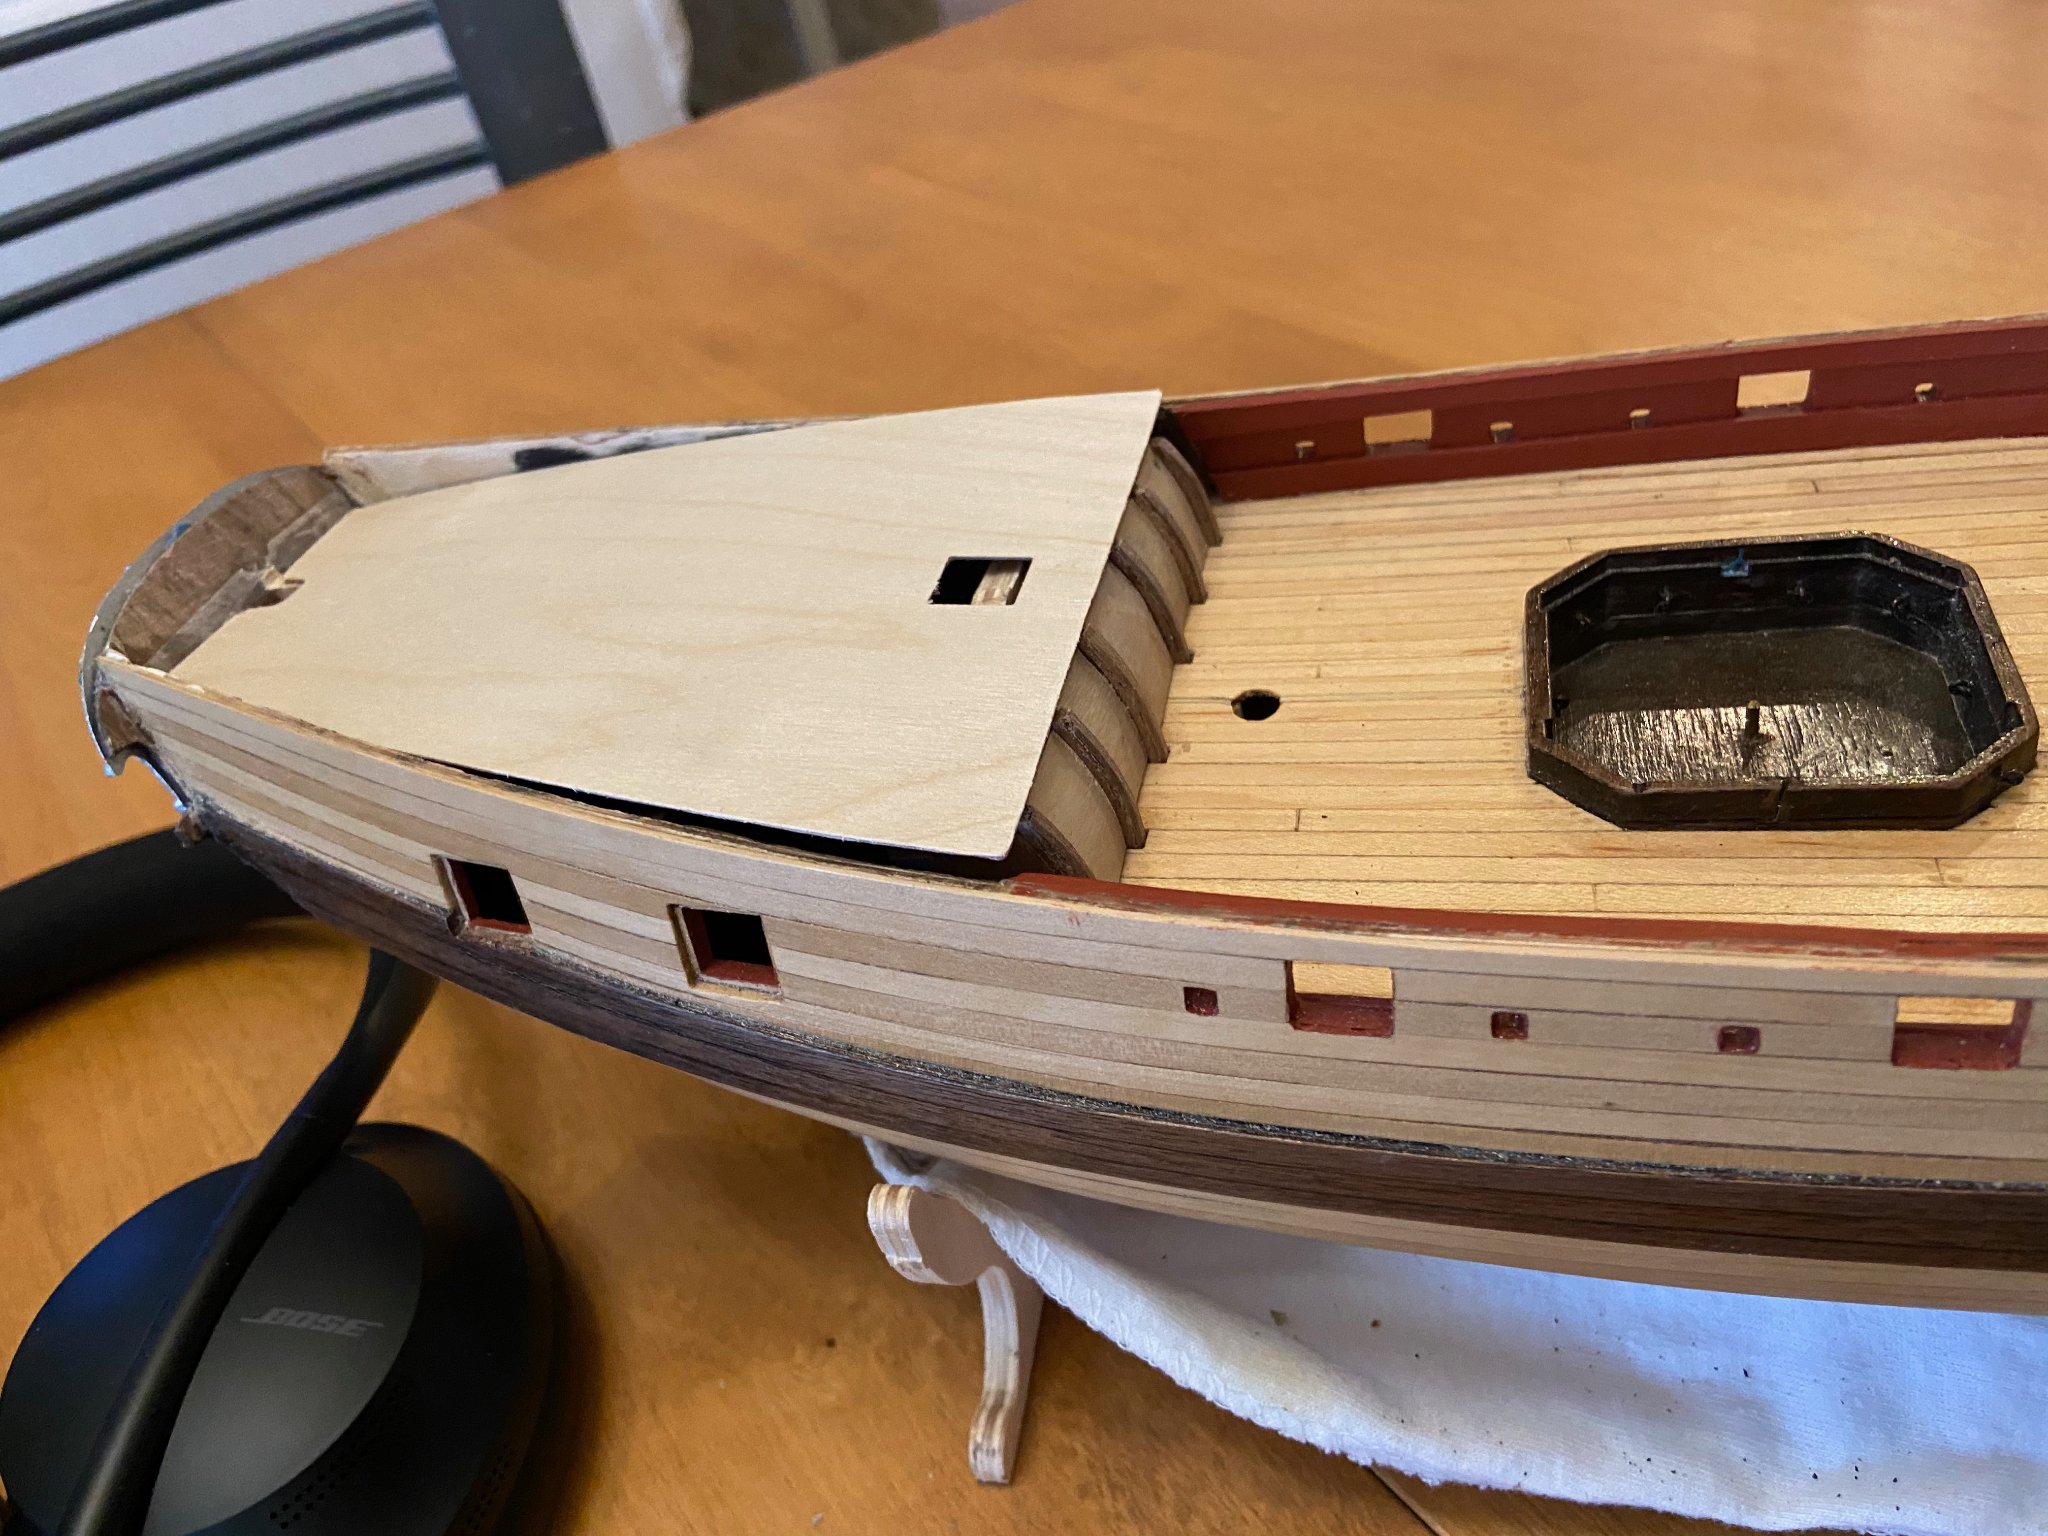
Slowly continuing with the quarterdeck. The instructions are a little unclear when it comes to the bullwarks, and I could use a little help here.... The manual says to use a piece of scrap 1.5 mm walnut ply and cut out the shape of the bullwarks above the quarterdeck and glue into position, which I have done on the port and starboard sides after I painted them red ochre (see the pictures below). I have also shaped another piece of scrap to fit on the stern bullwark, and am planning on painting that red and gluing that in position. However, the manual then says the bullwark should be planked in 1x4 mm walnut strips, which should be trimmed back to the bullwarks and painted red ochre. So, apparently I got the red ochre paint out a little early, and still have to do a wee bit of planking!?! When I look at other Granado build logs its not clear that people used planks, but I guess it makes sense to have them be the same thickness of the vessels sides. Any words of wisdom would be appreciated....
-
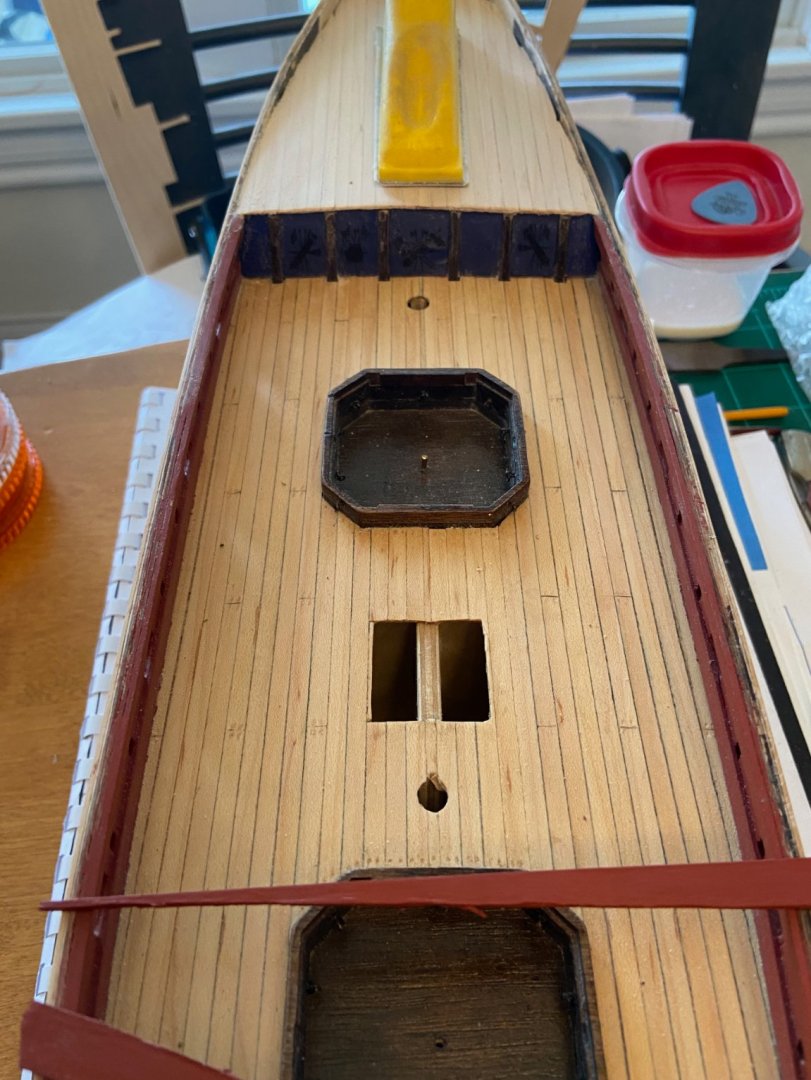
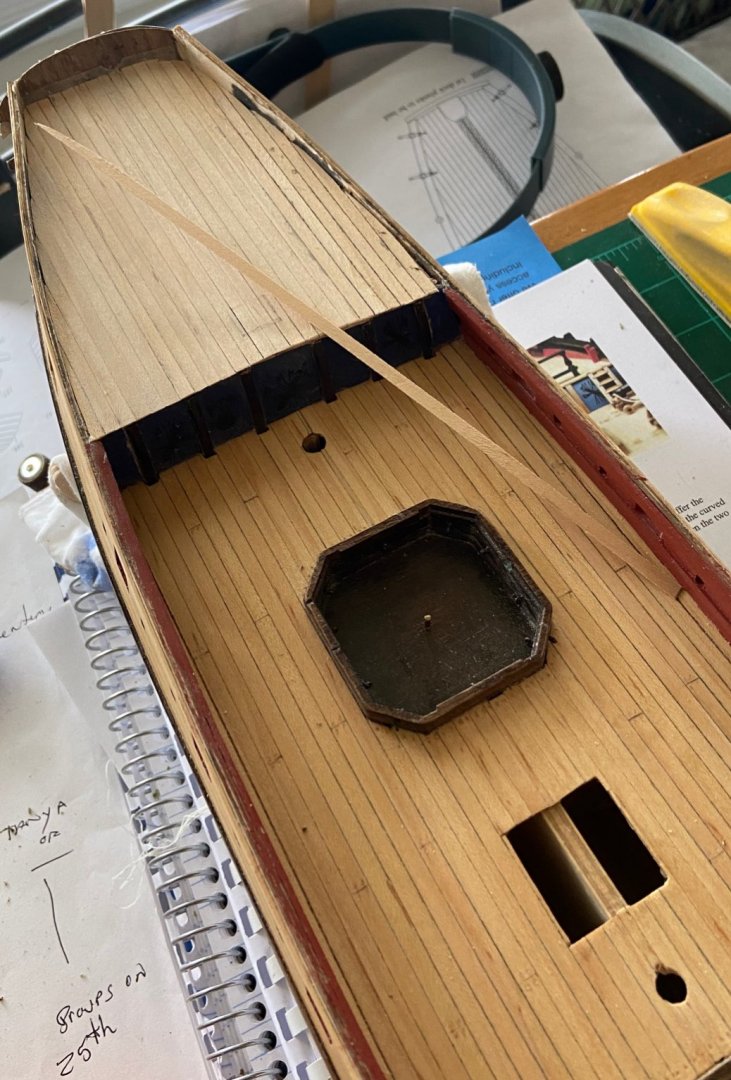
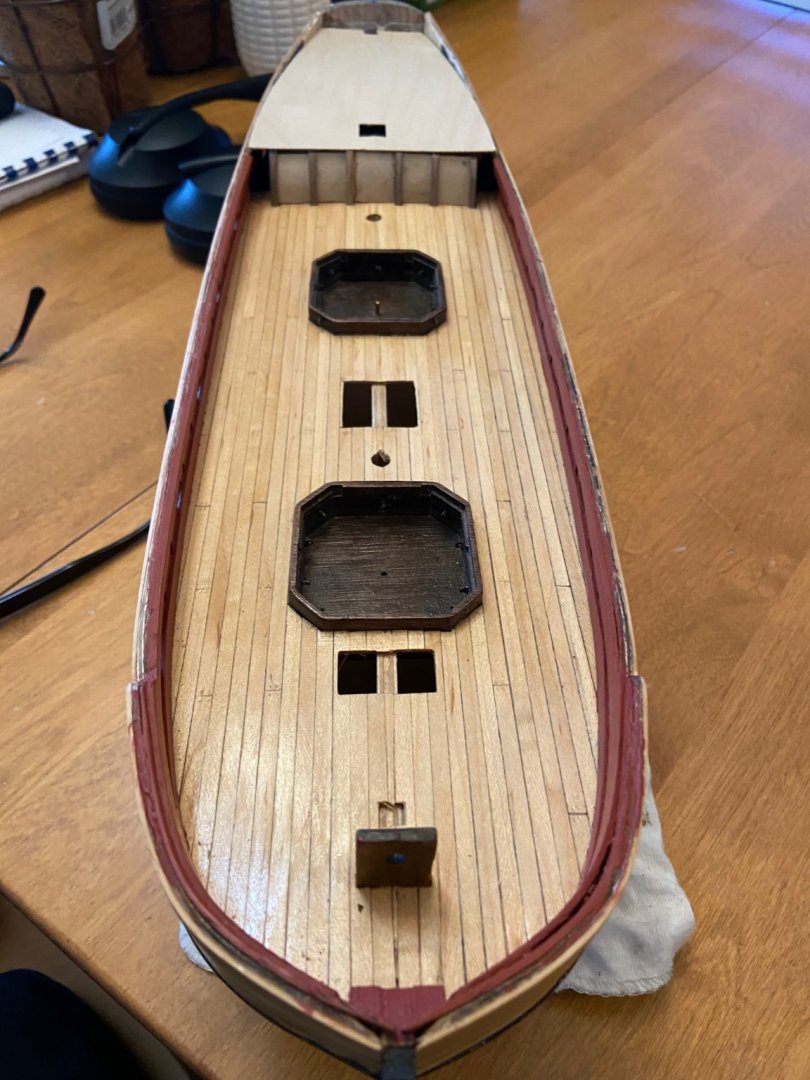
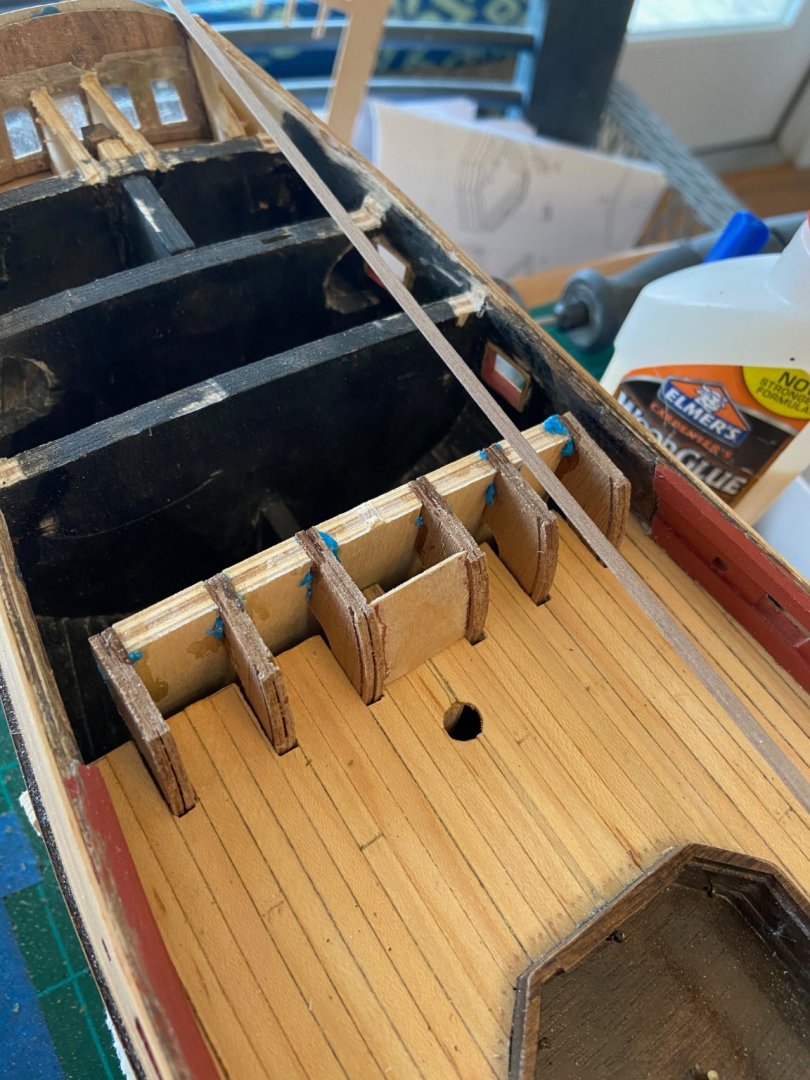
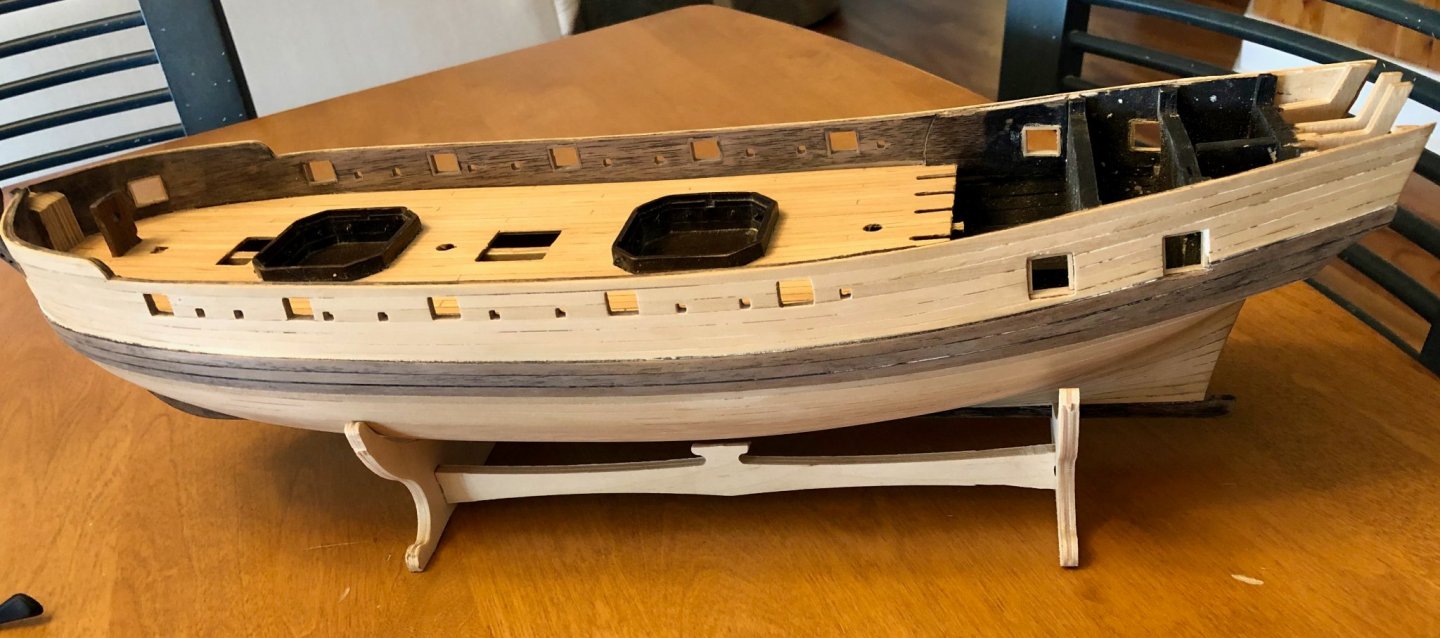
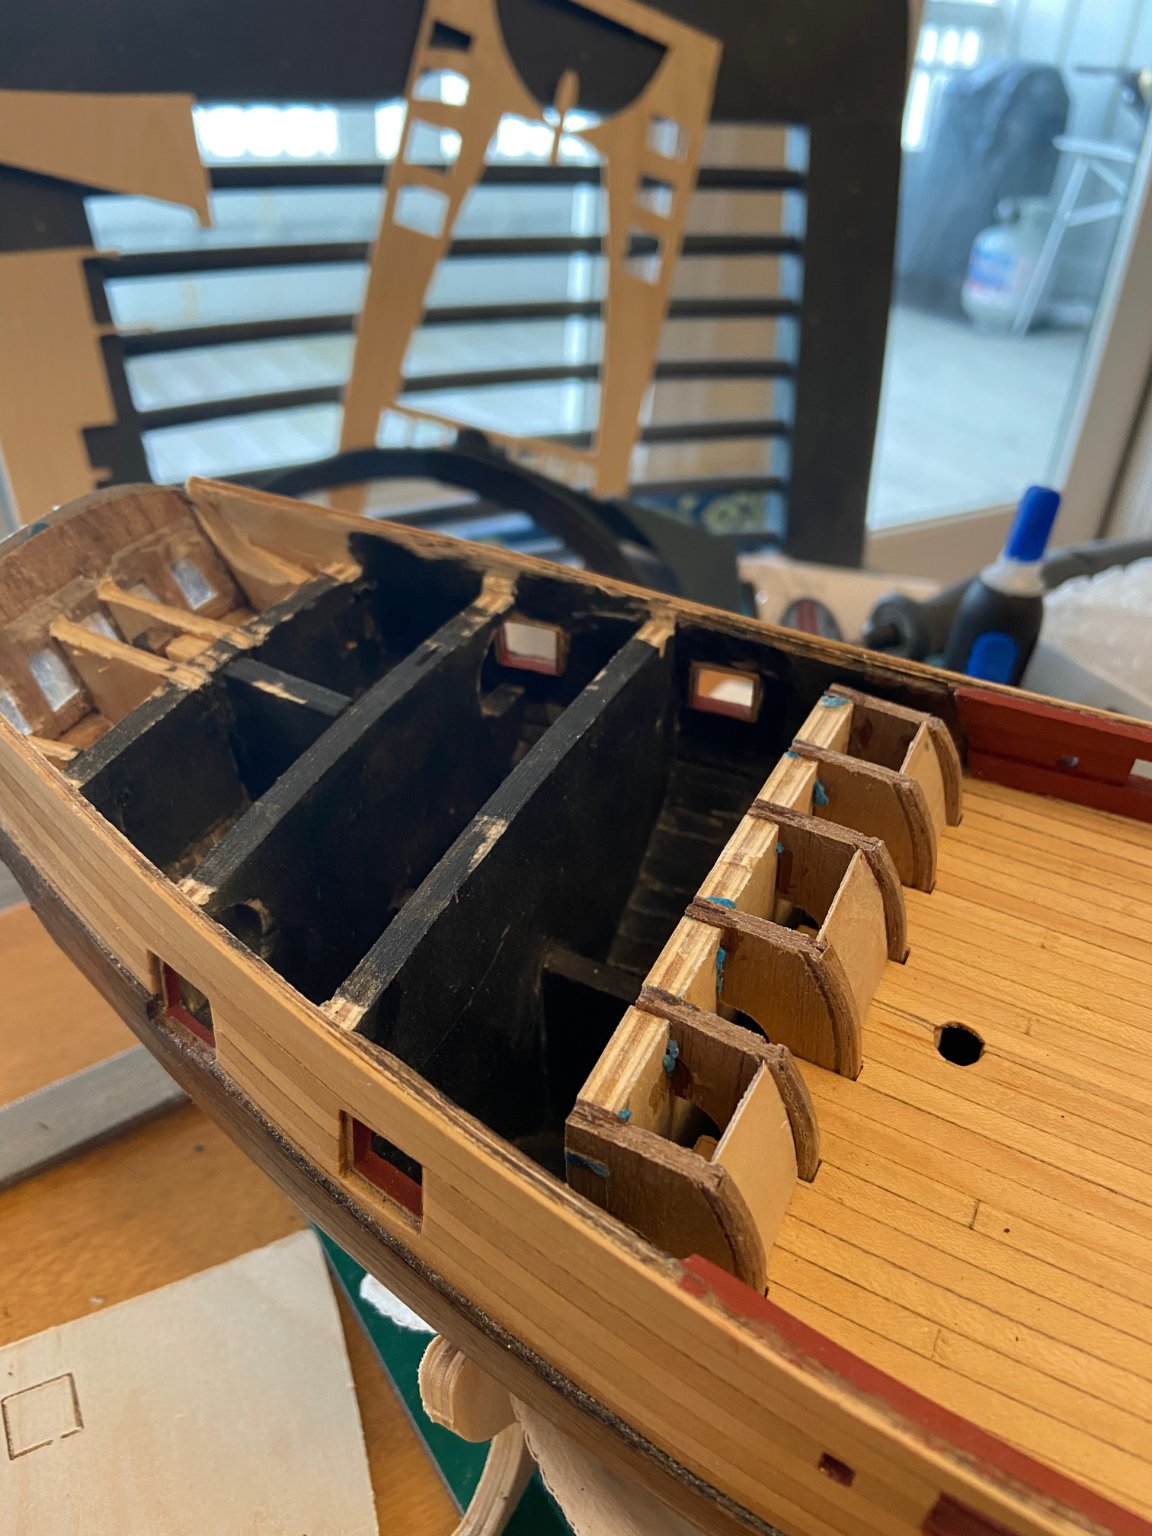
Progress continues with the quarterdeck bulkhead and planking, with fine tuning and cleaning up badly needed.....here the bulkhead panels have been roughed in and need to be cleaned/painted and poly'd. Looks very rough with all the dust and debris, but I think it can be cleaned up quite a bit and won't look that bad when I give it a little attention.... The planking on the quarterdeck went quickly, and I think it looks pretty good so far. You can see the bulkhead panels still need to be cleaned and painted/finished. Now I think it's about time to clean this mess up, and then stop my procrastination and finish the cannon installation and tie down up front and get the foredeck planked.

-
Great work there Mick! Your deck planking, make that all of your planking work looks super nice, and the deck details, gratings look nice too. I'd be showing that work to others, that is for sure! We are pretty much at the same spot for sure, so I am glad to see familiar images and progress being made. Keep up the posts and you can post a build later as needed, but keeping sharing your work if you can!!!
-
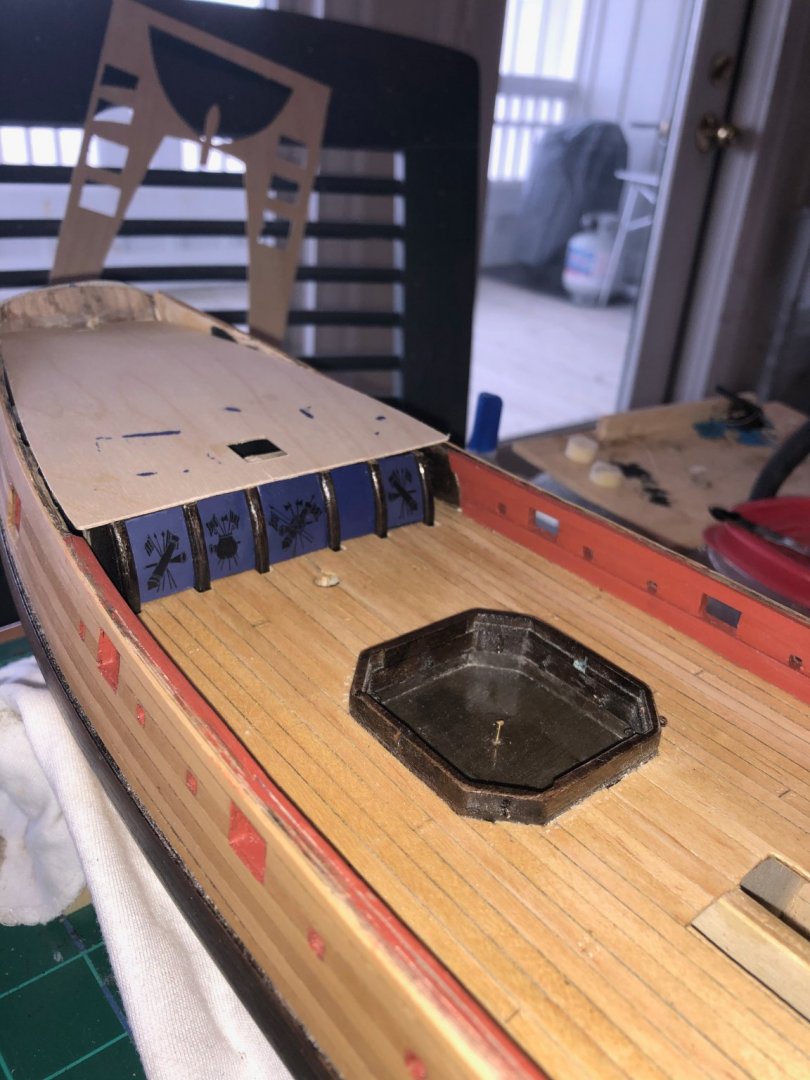
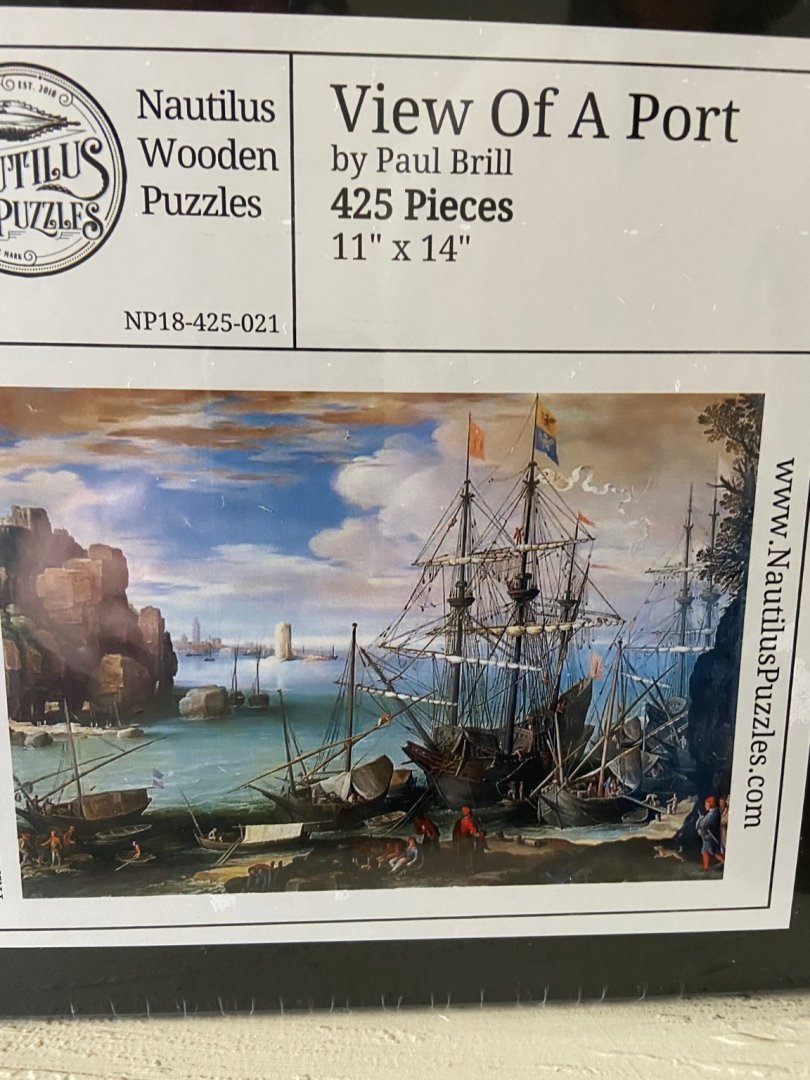
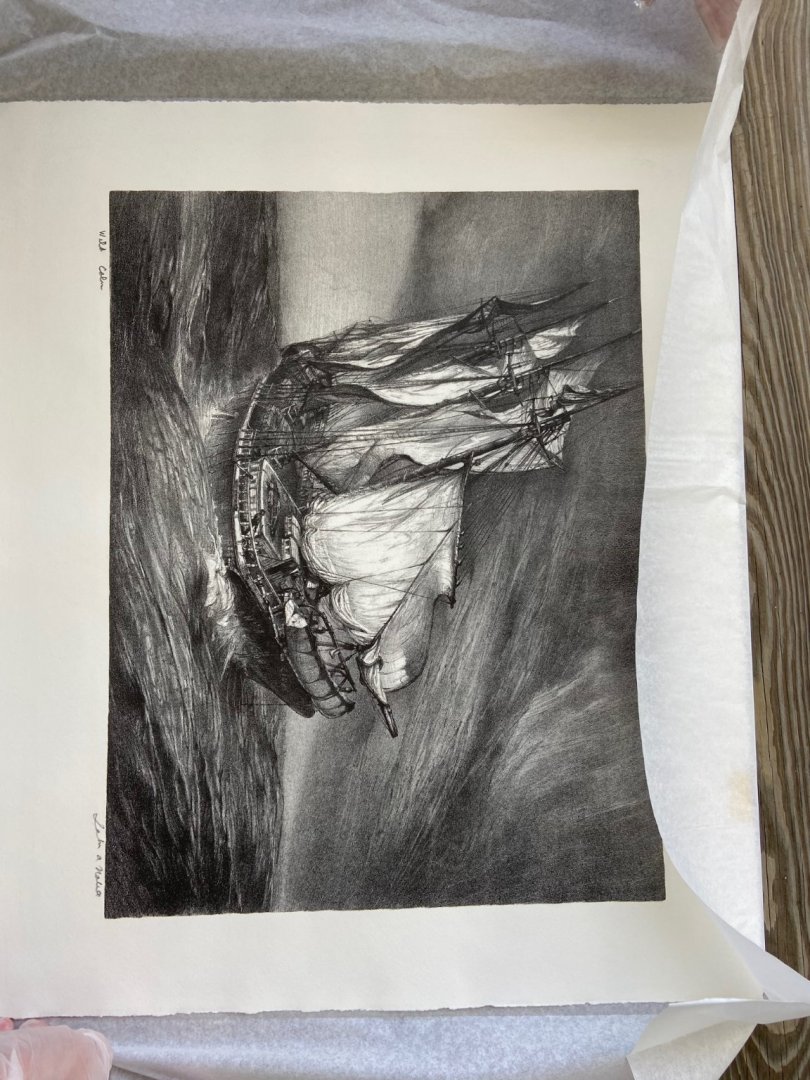
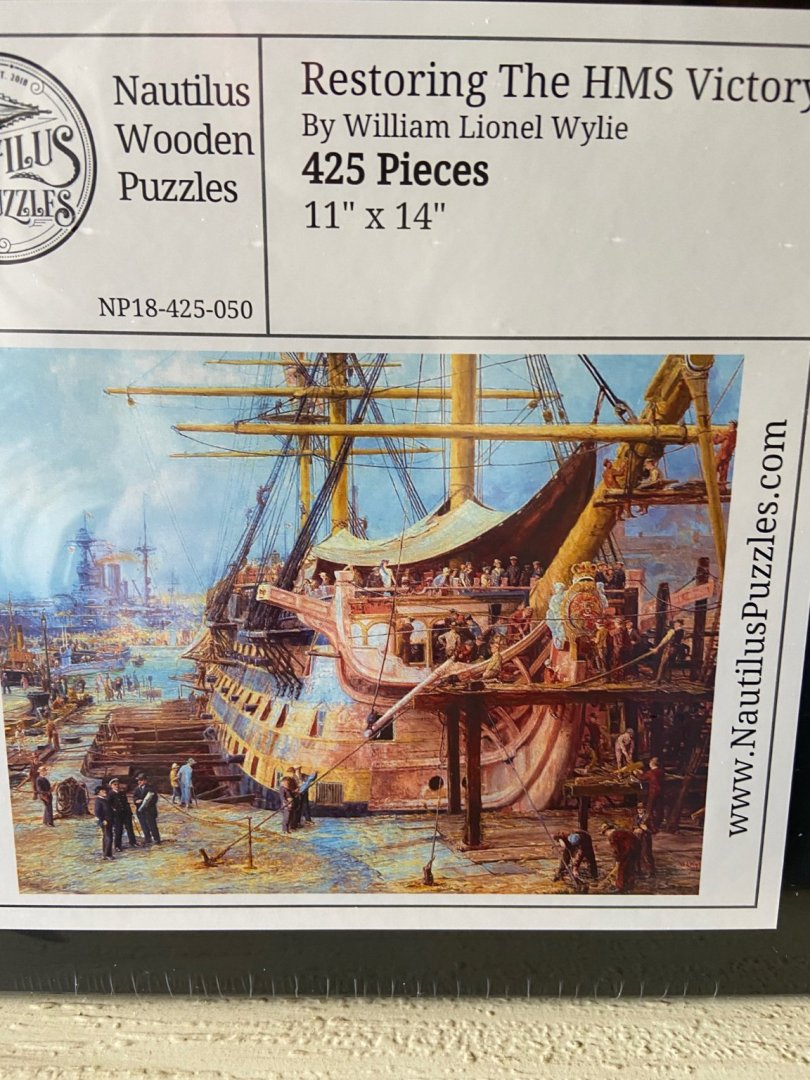
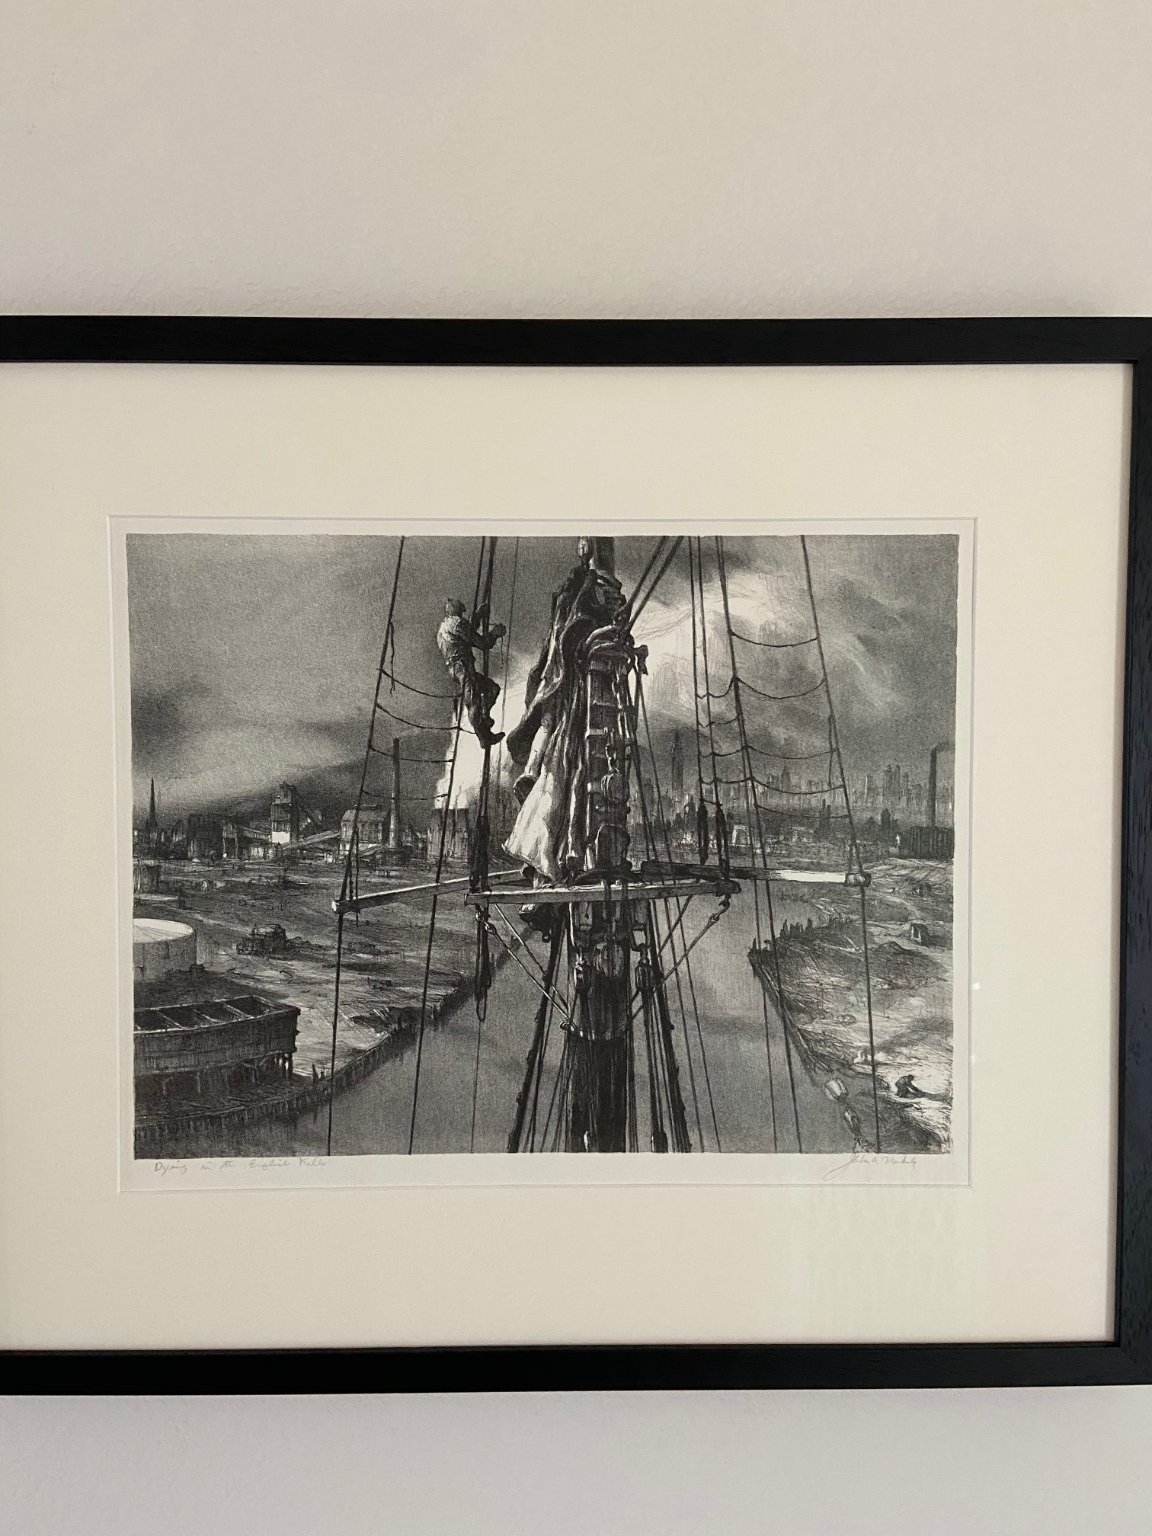
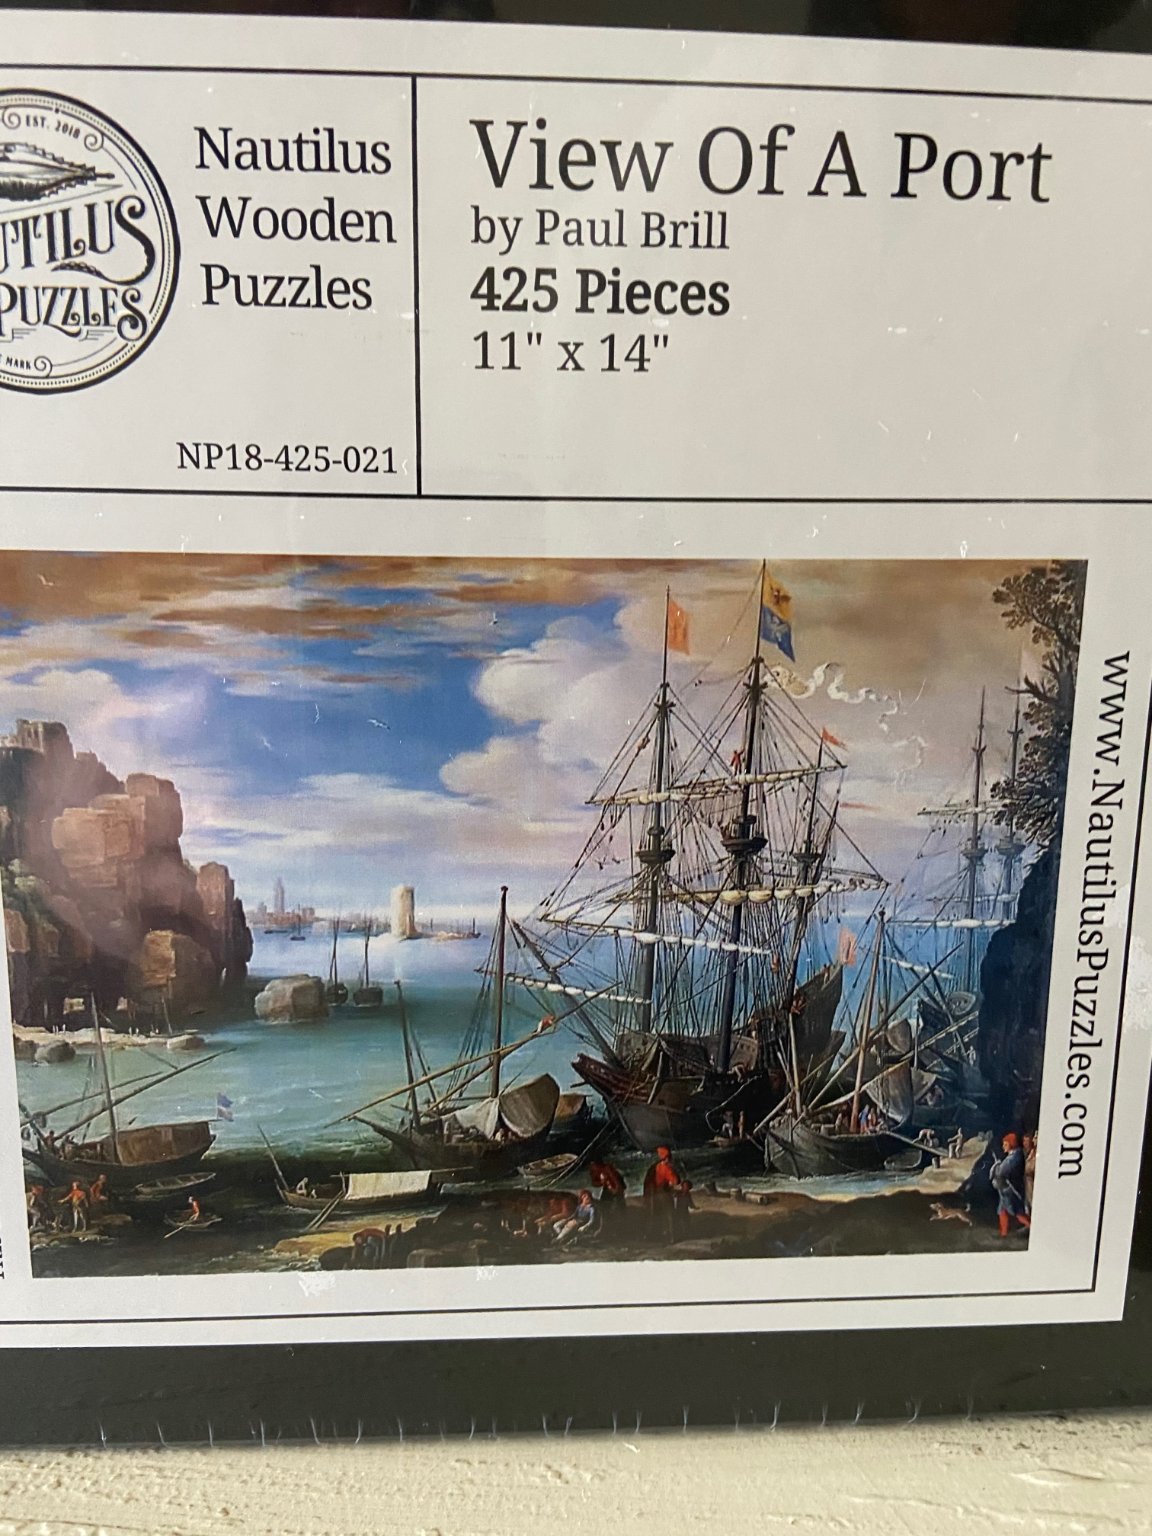
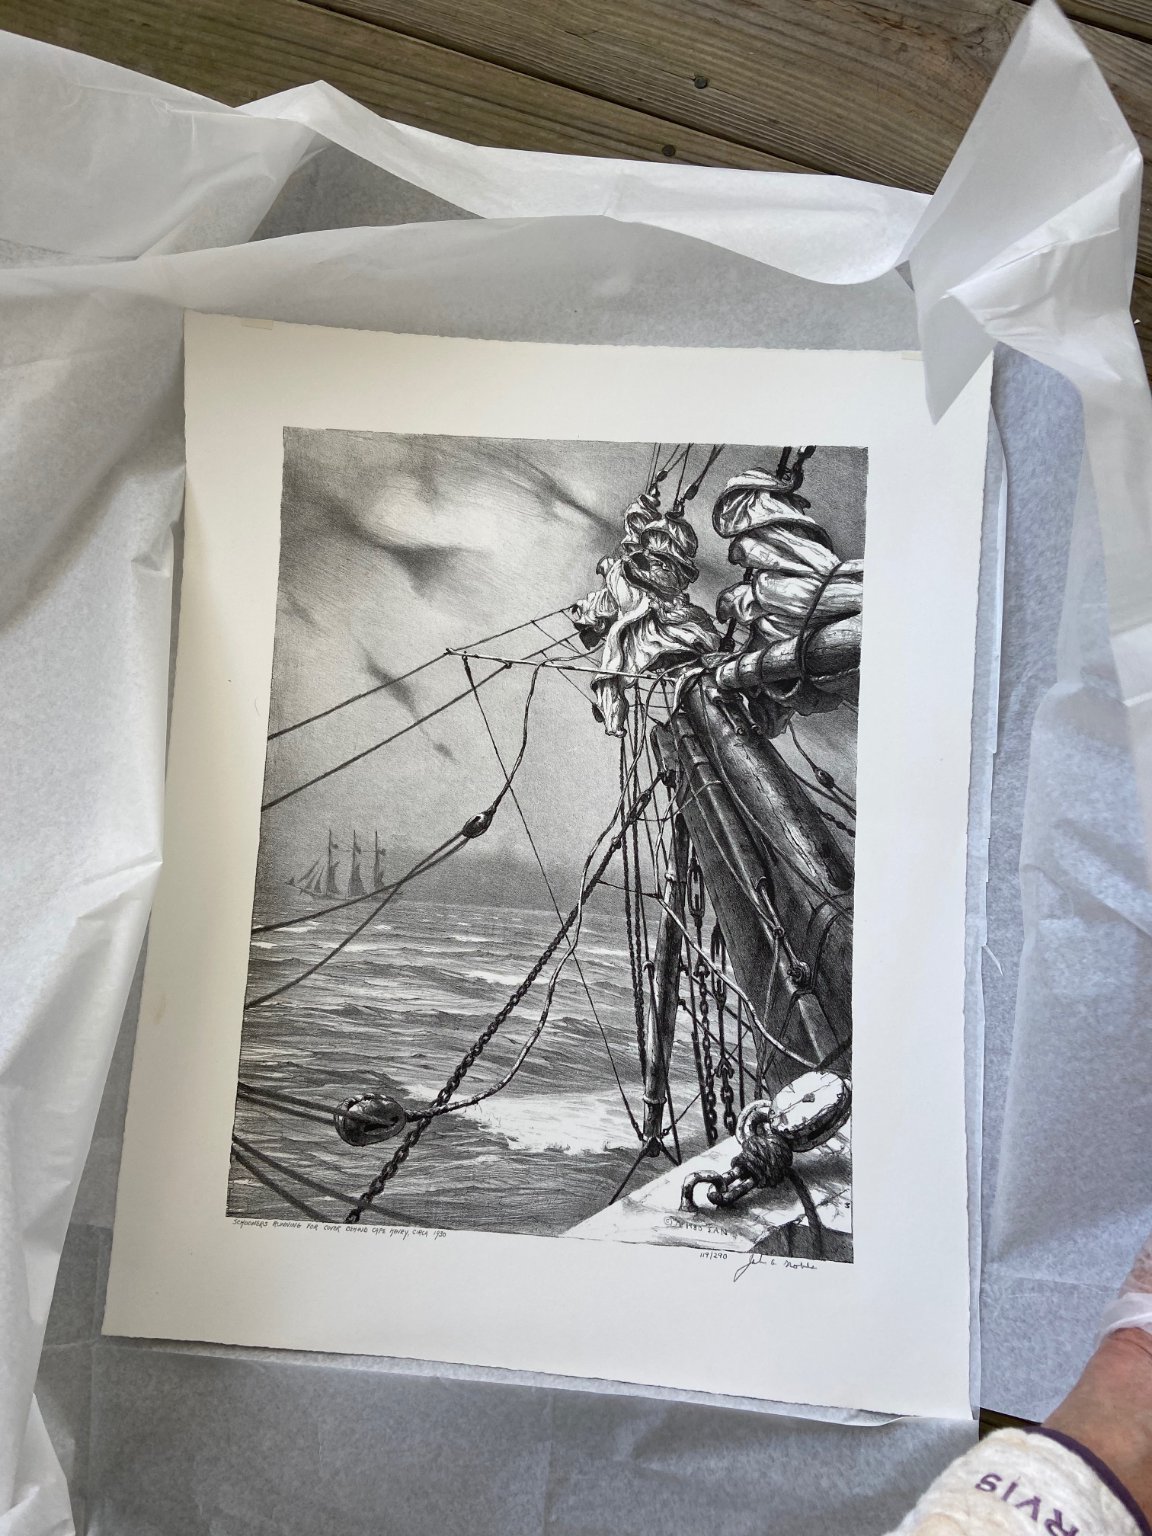
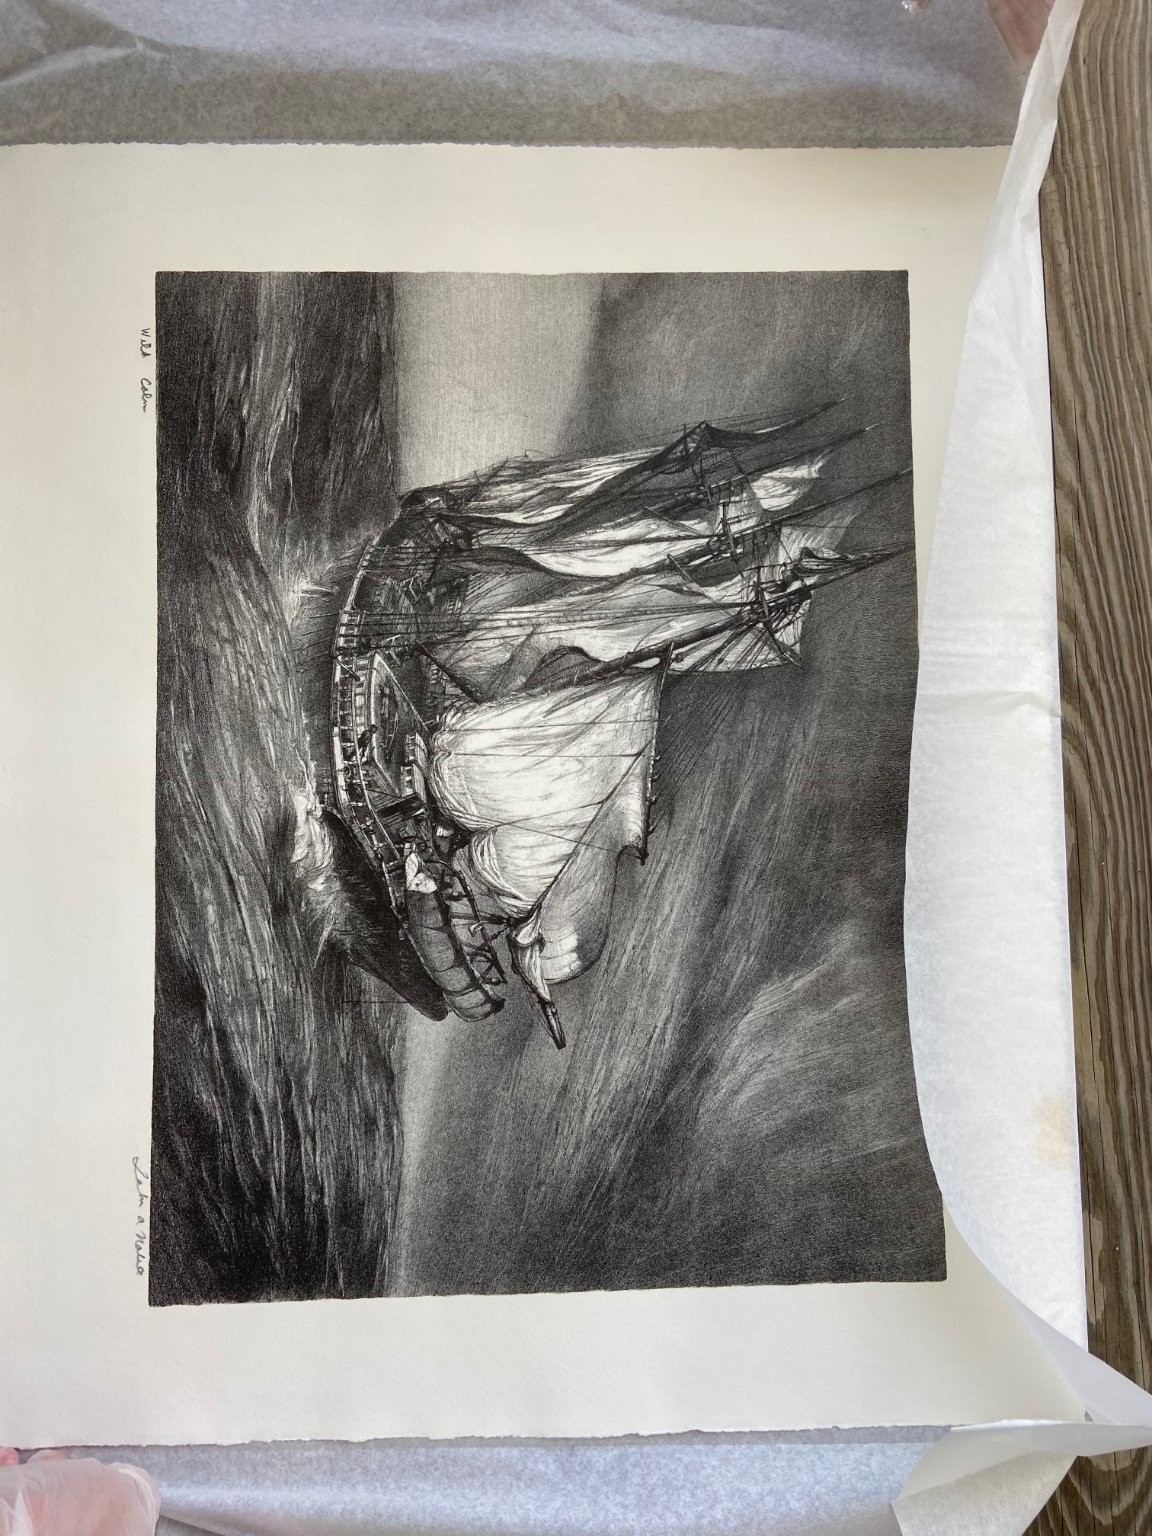
Thanks Mick, I hope you start a build log (did I miss it?) and/or share some pics of your Granado! I was pretty hesitant to start documenting, but so far it has definitely been worth it for getting some helpful commentary and moral support. Here is a picture of the nearly finished bullwark dry-fitted in place.... We managed to join the Noble Maritime Museum and got a discount on 2 more lithographs to join our one hanging in the hallway. The one below is "Schooners running for cover behind Cape Henry" The one below is "Wild Calm" And the one below is Dying in the English Kills.... Finally, here are two ship-building kits that my wife likes to complete.


-
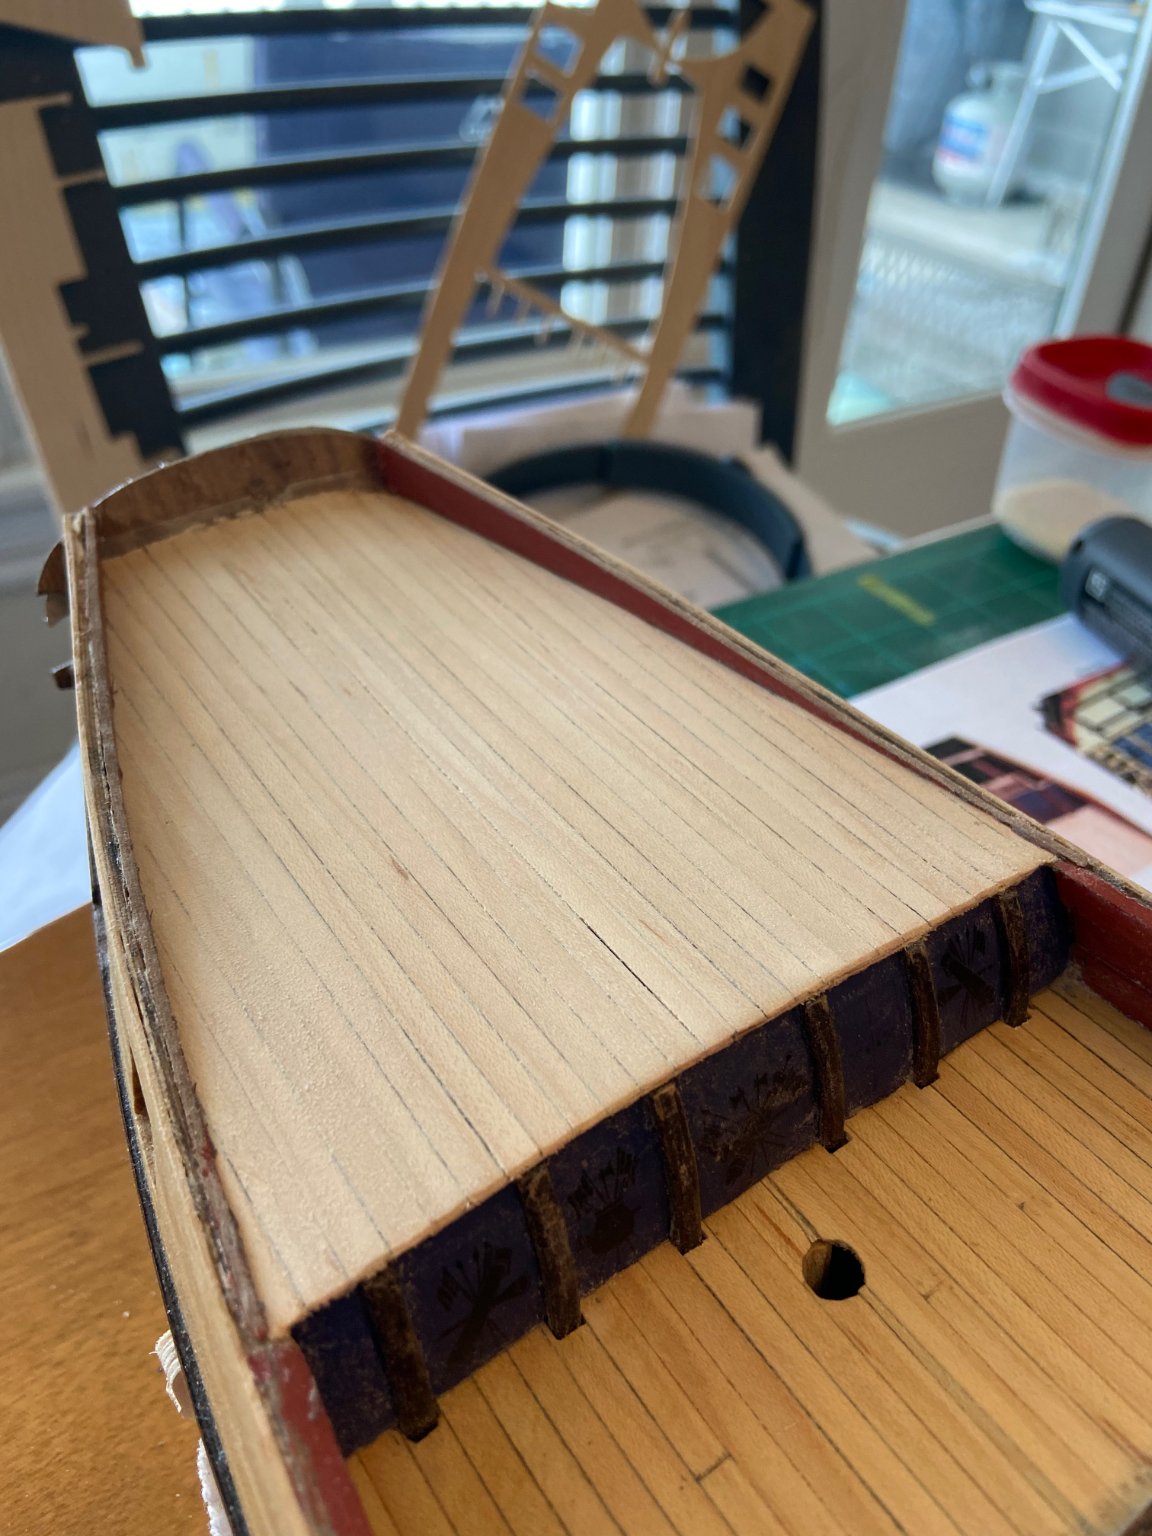
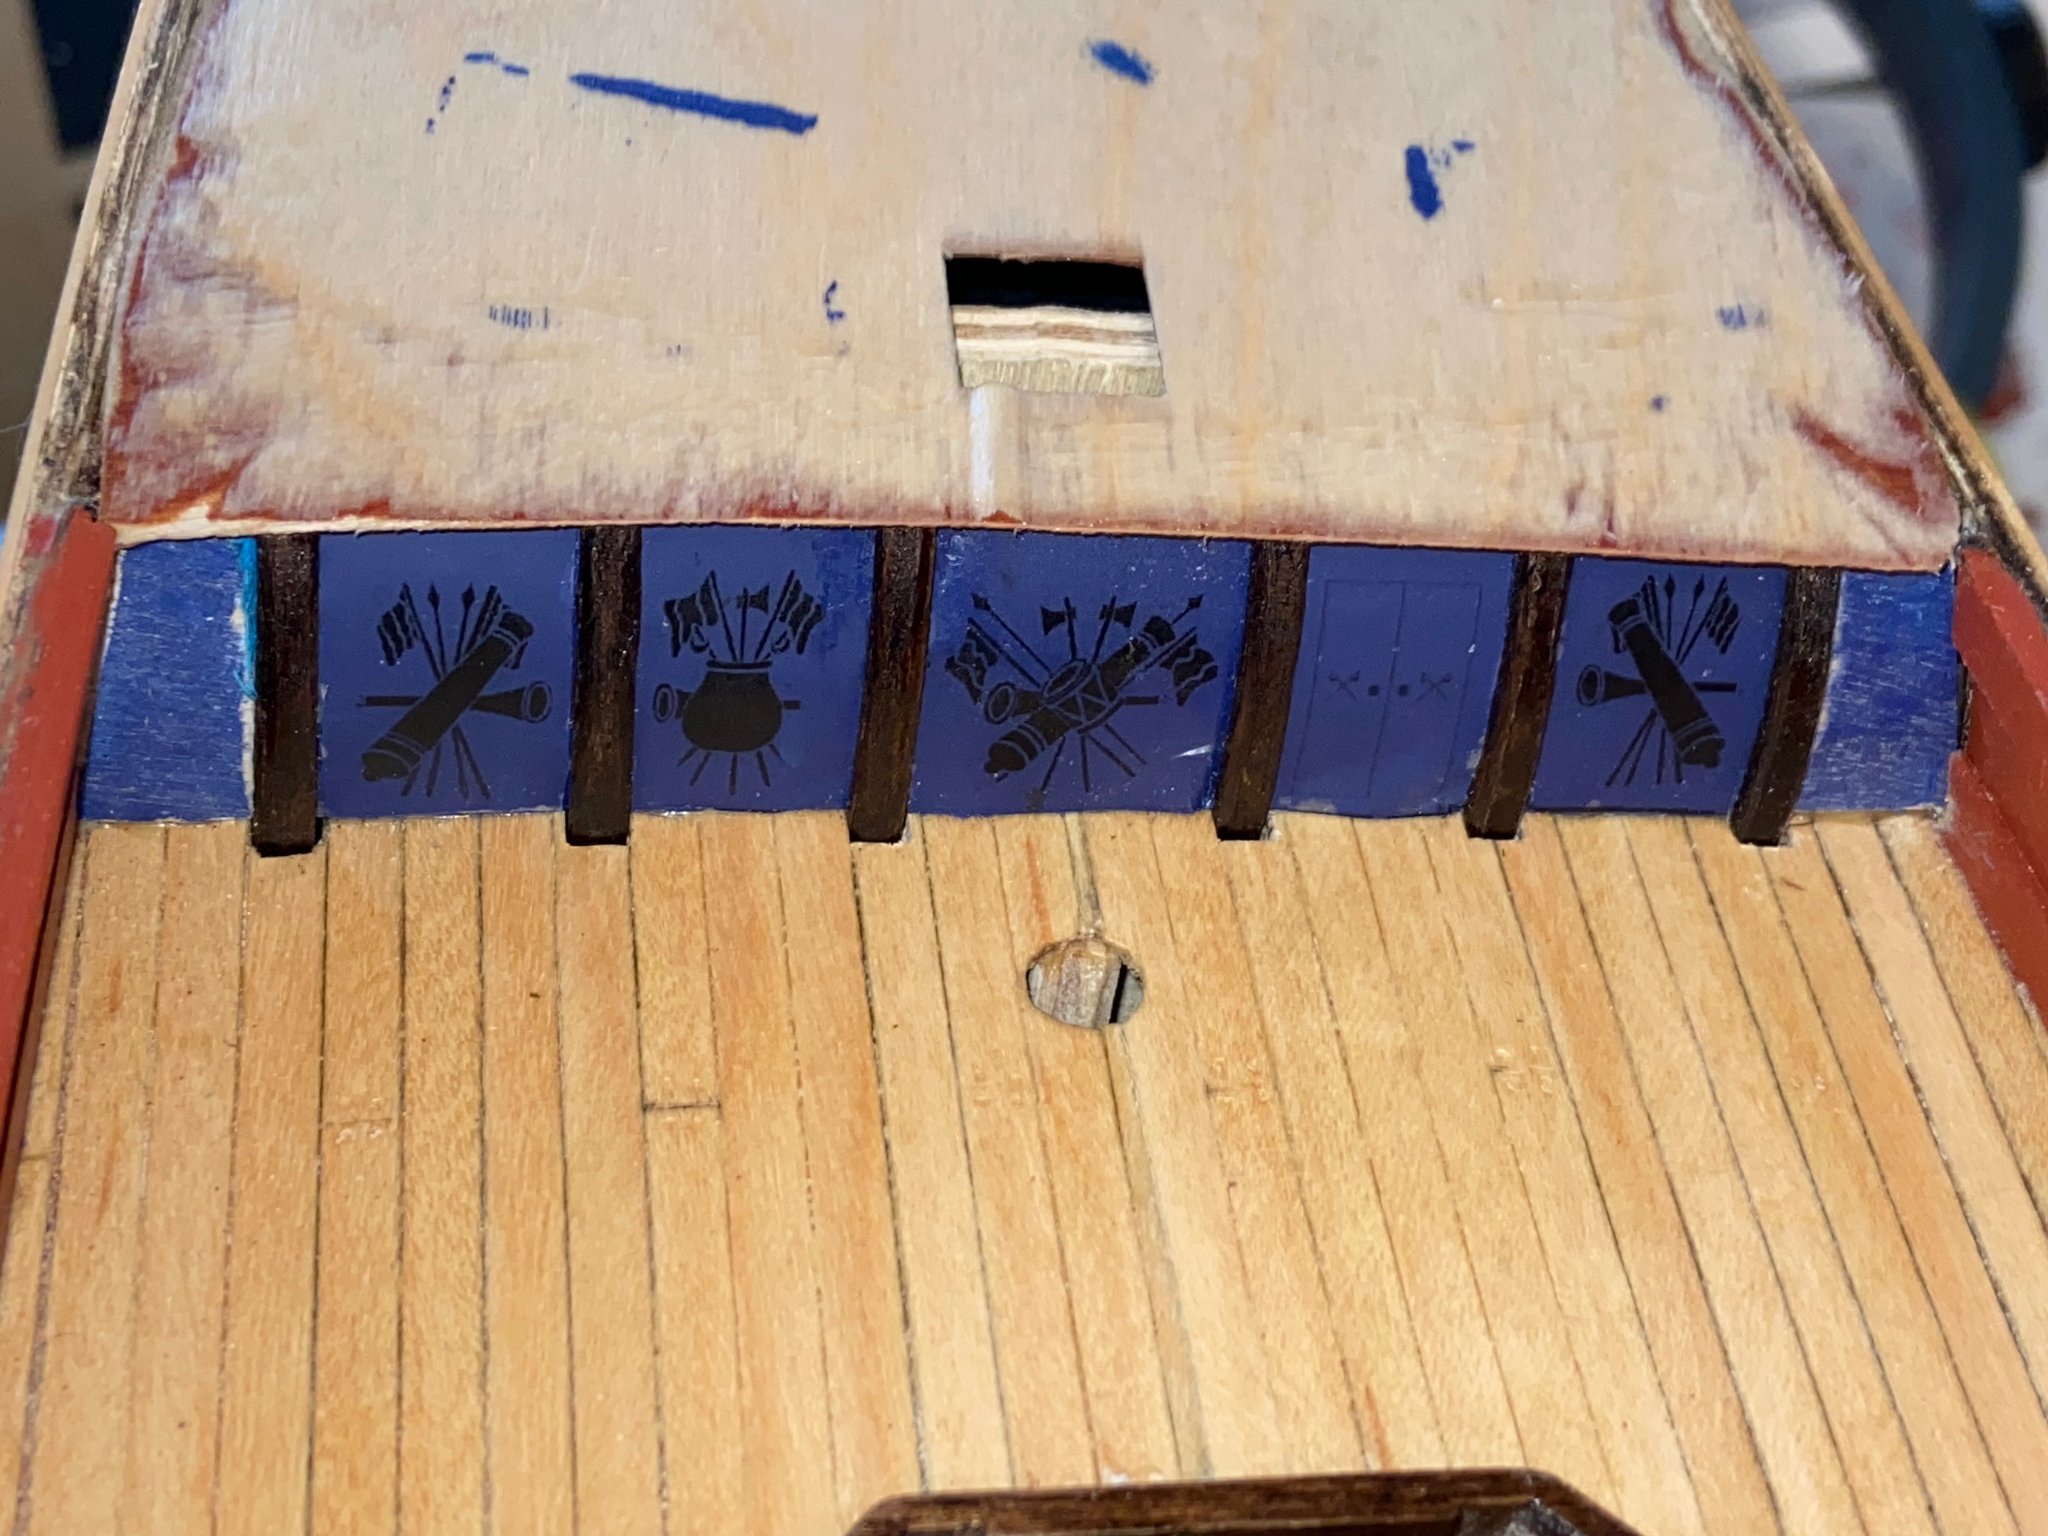
Hey Philly, Glad to hear that another Granado is in the making. I have found the quality of the kit to be good, the vendor I purchased it from to be extremely helpful when needed, and from what I have seen on the forum, it builds into a beautiful ship when done with talent. I gave a lot of thought to how to do the sweep ports, factoring in multiple approaches and ease and complexity, whether to cover them or leave them without covers, etc. That and treenails have made me pause and debate the options. With the sweep ports I had considered not cutting them in and faking it using just the lids, based on it being my second build and it seeming to be exacting work. However, I really liked the look of them open and un-covered when done nice and meticulously like on some of the other builds you can see on the site. Like you, I think I asked Vane and a few others if they had considered cutting the sweep ports in the gunport template, and the general consensus was that it hasn't been done very often if at all, I think mostly because you are going to have to cut them out again eventually when you plank above the wales and it might not save you that much time and effort. So, I went along intending not even to cut them out at all and just stick lids on the hull where the ports would be, but after the planking above the wale was completed and I had gotten familiar with cutting out the lined gunports, I got possessed and ordered the micro-drill bits and expensive needle file(s) and cut the sweep-ports in too. I took my time to make sure I had them positioned correctly, then checked again, and then it went very slowly and smoothly (I think ;-). Now, I believe I will leave them un-covered. Last night I finished one of the curved bulkhead panels with one of the decals provided, as compared to the amazing hand-painting others have done I am embarrassed to say. However, it doesn't look that bad in my humble opinion, and it looks better when it is installed in the bulkhead with the dark walnut border.

-
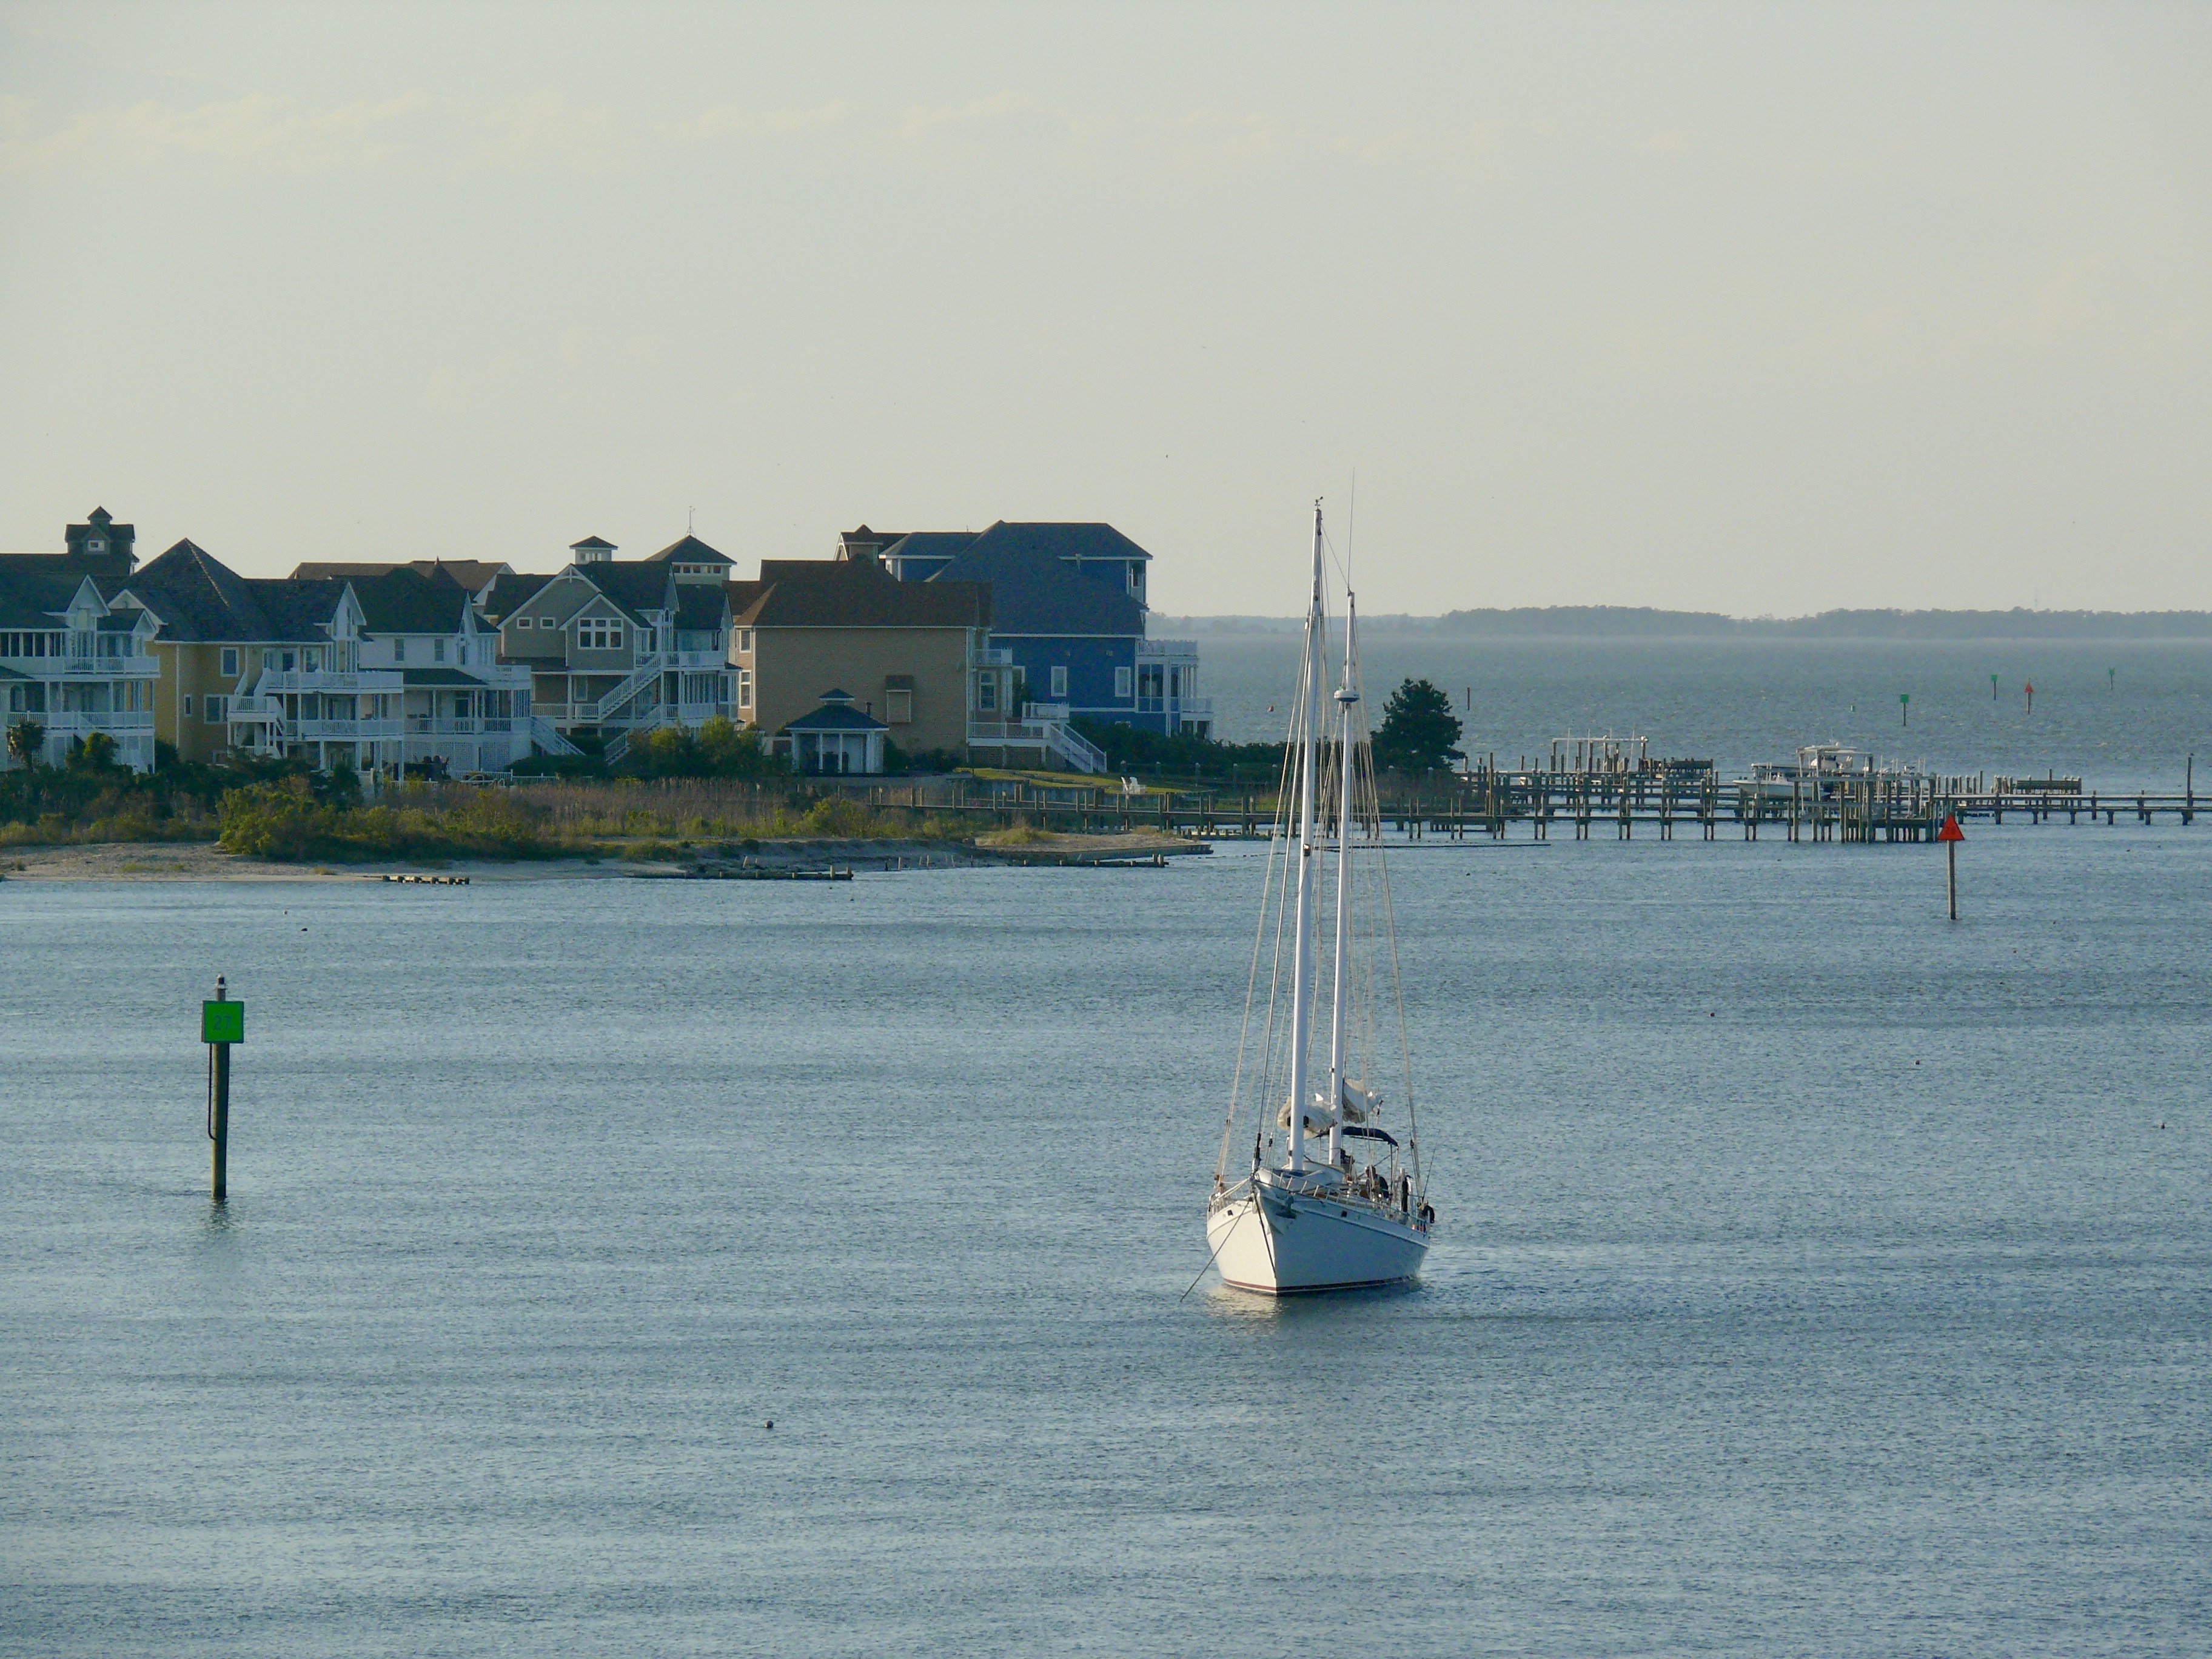
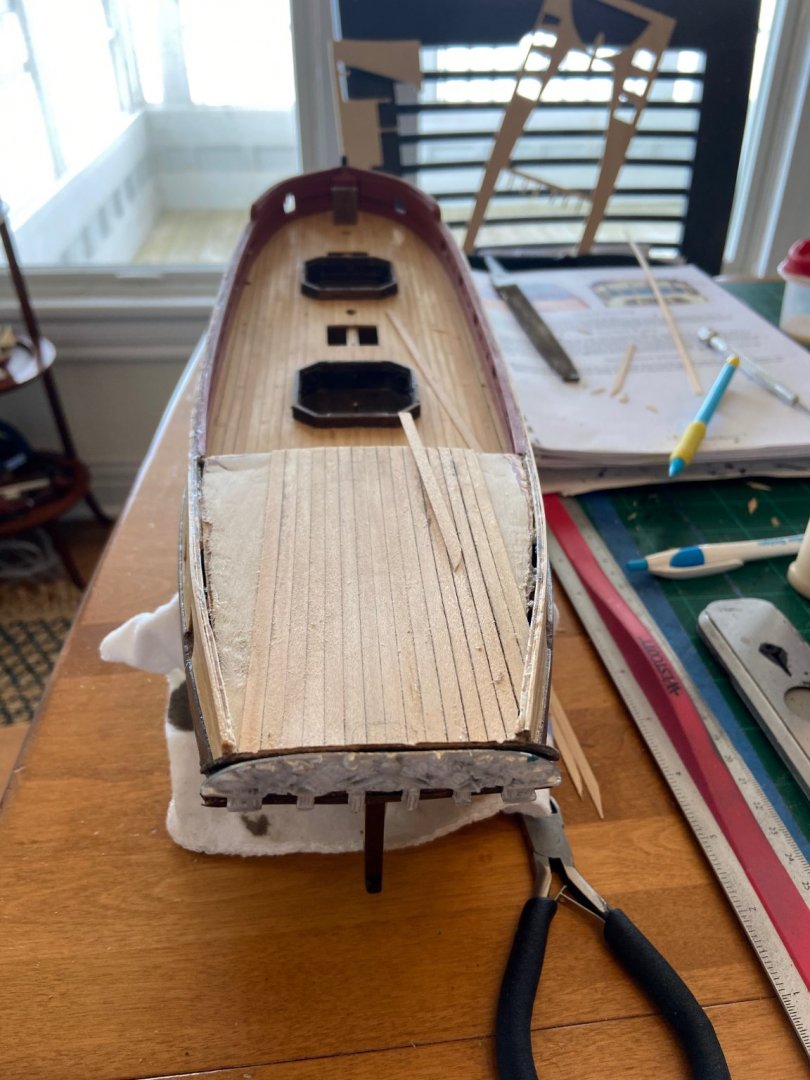
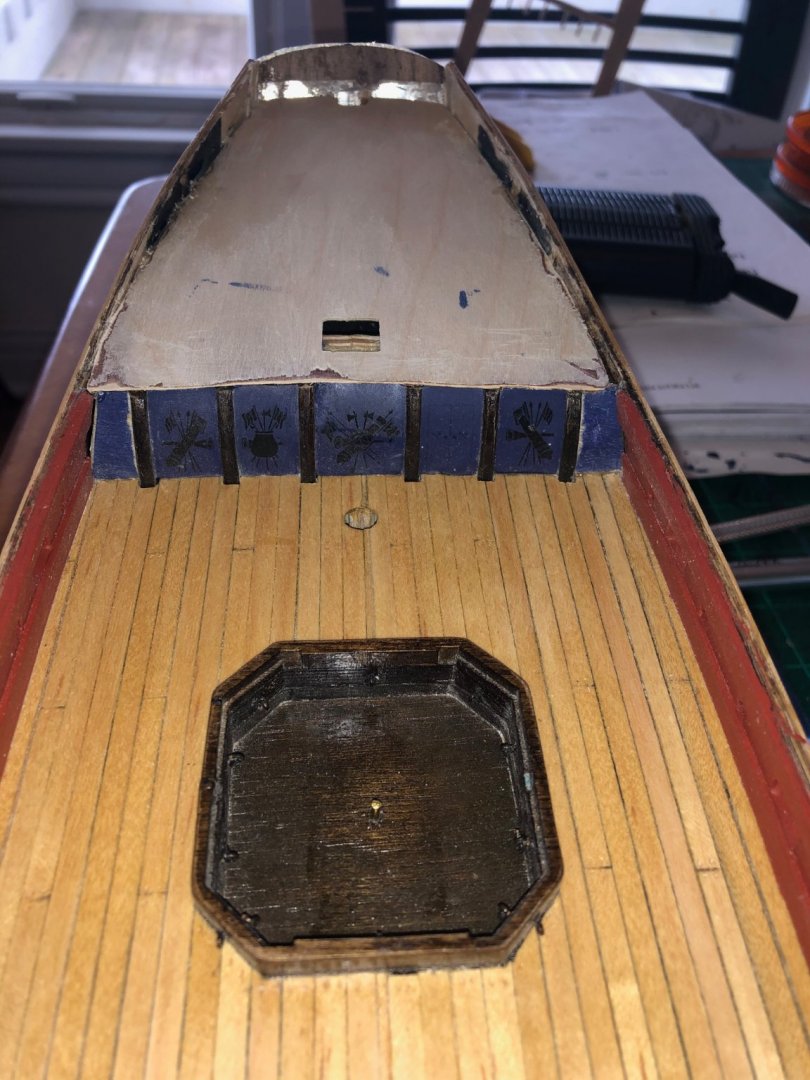
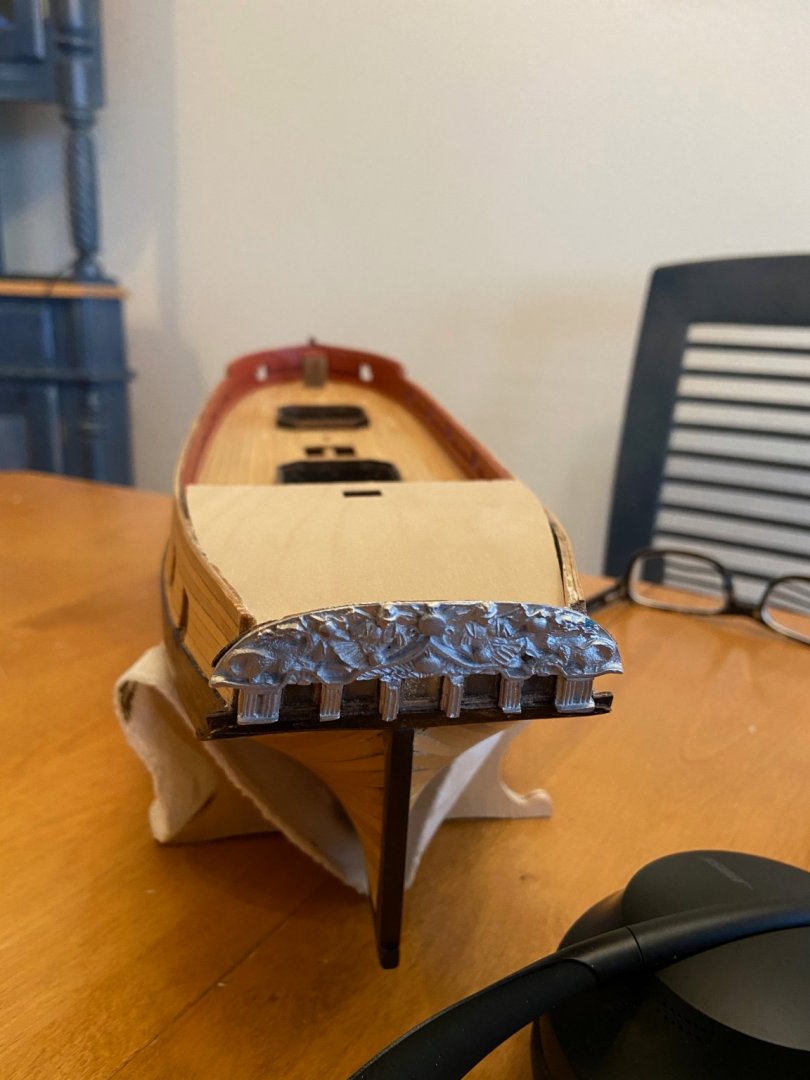
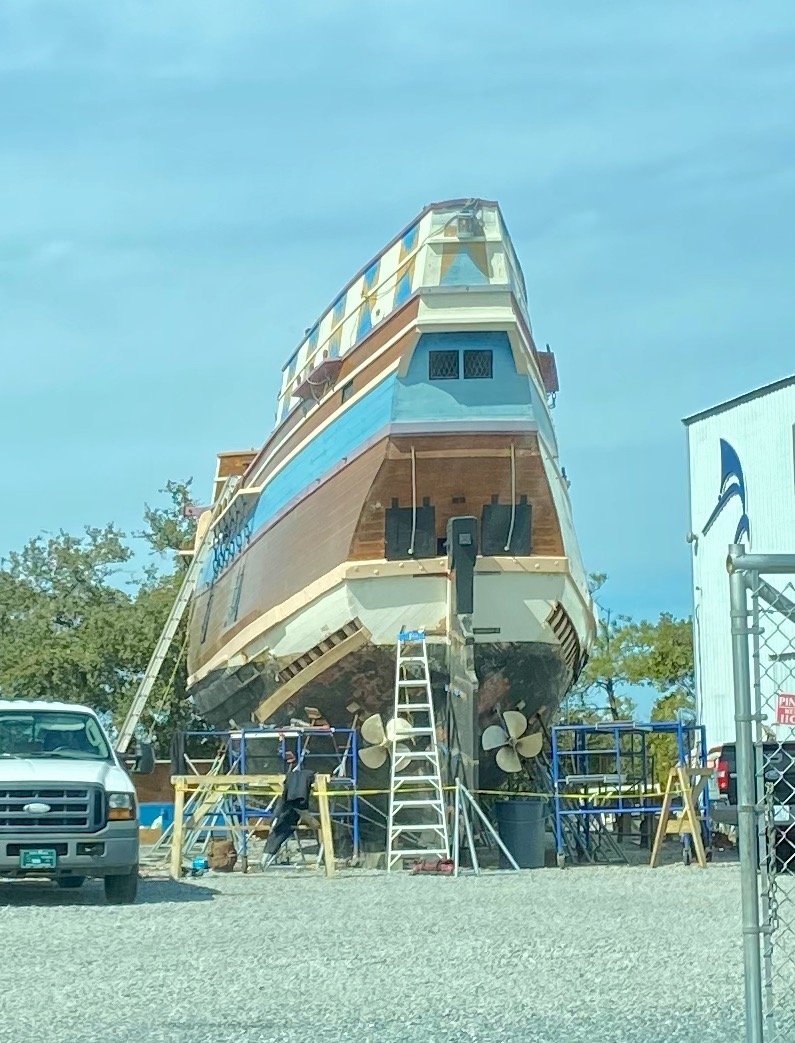
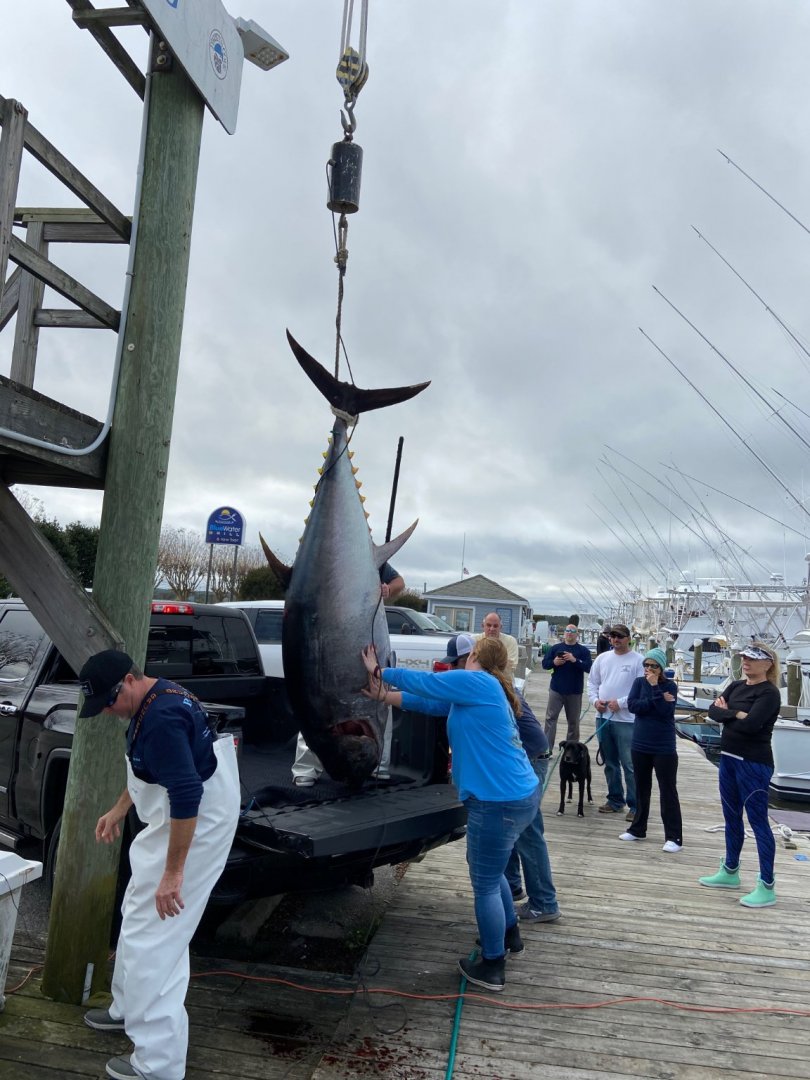
Progress slow and steady, or just slow. But some progress is being made during non-work hours. I have added the stern transom and counter, but haven't added the vents and accoutrements yet (but still plan too, just don't want them getting banged around (yet). The cast metal transom is just dry-fitted here with bluetak. I have also dry-fitted the quarterdeck bulkhead, which is going along well I am surprised to say.... I also happened to catch some dry dock work being done on the Elizabeth II, a 69-foot, square-rigged sailing ship representative of the Elizabethan vessels used to carry the first English colonists to the New World. Sir Walter Raleigh sponsored three voyages to Roanoke Island between 1584 and 1587, and the Elizabeth II is named for one of the seven vessels that sailed in Raleigh's second expedition in 1585 and established the "Lost Colony" that included Virginia Dare. The original 50-ton Elizabeth was captained by Thomas Cavendish and probably carried mariners, colonists, and supplies to be used in establishing a military garrison to support England's claim to the New World. I also happened to catch it after its repairs when it was running by our place headed for shelter in Shallowbag Bay and its moorings in Manteo Harbor. One quick question if anyone see this....why doesn't my post have a page break yet....its like the longest scrolling build log I have ever seen! WTH? And one last photo, because the tuna fishing in NC has been H O T.


-
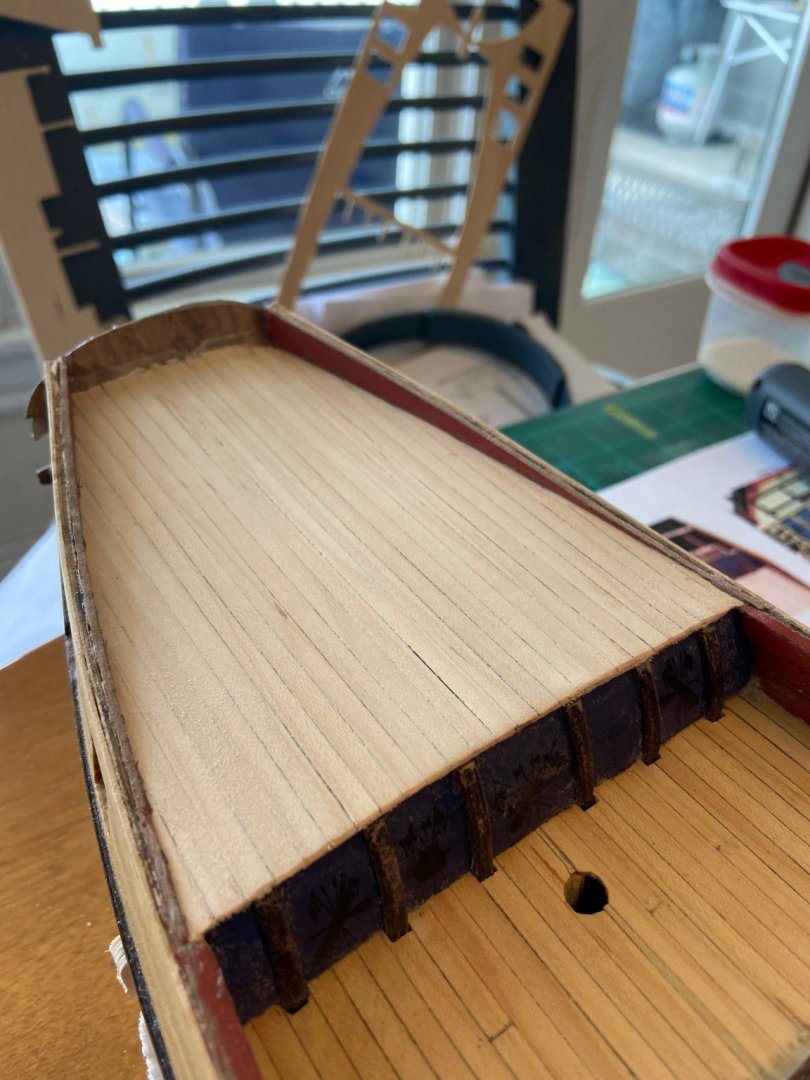
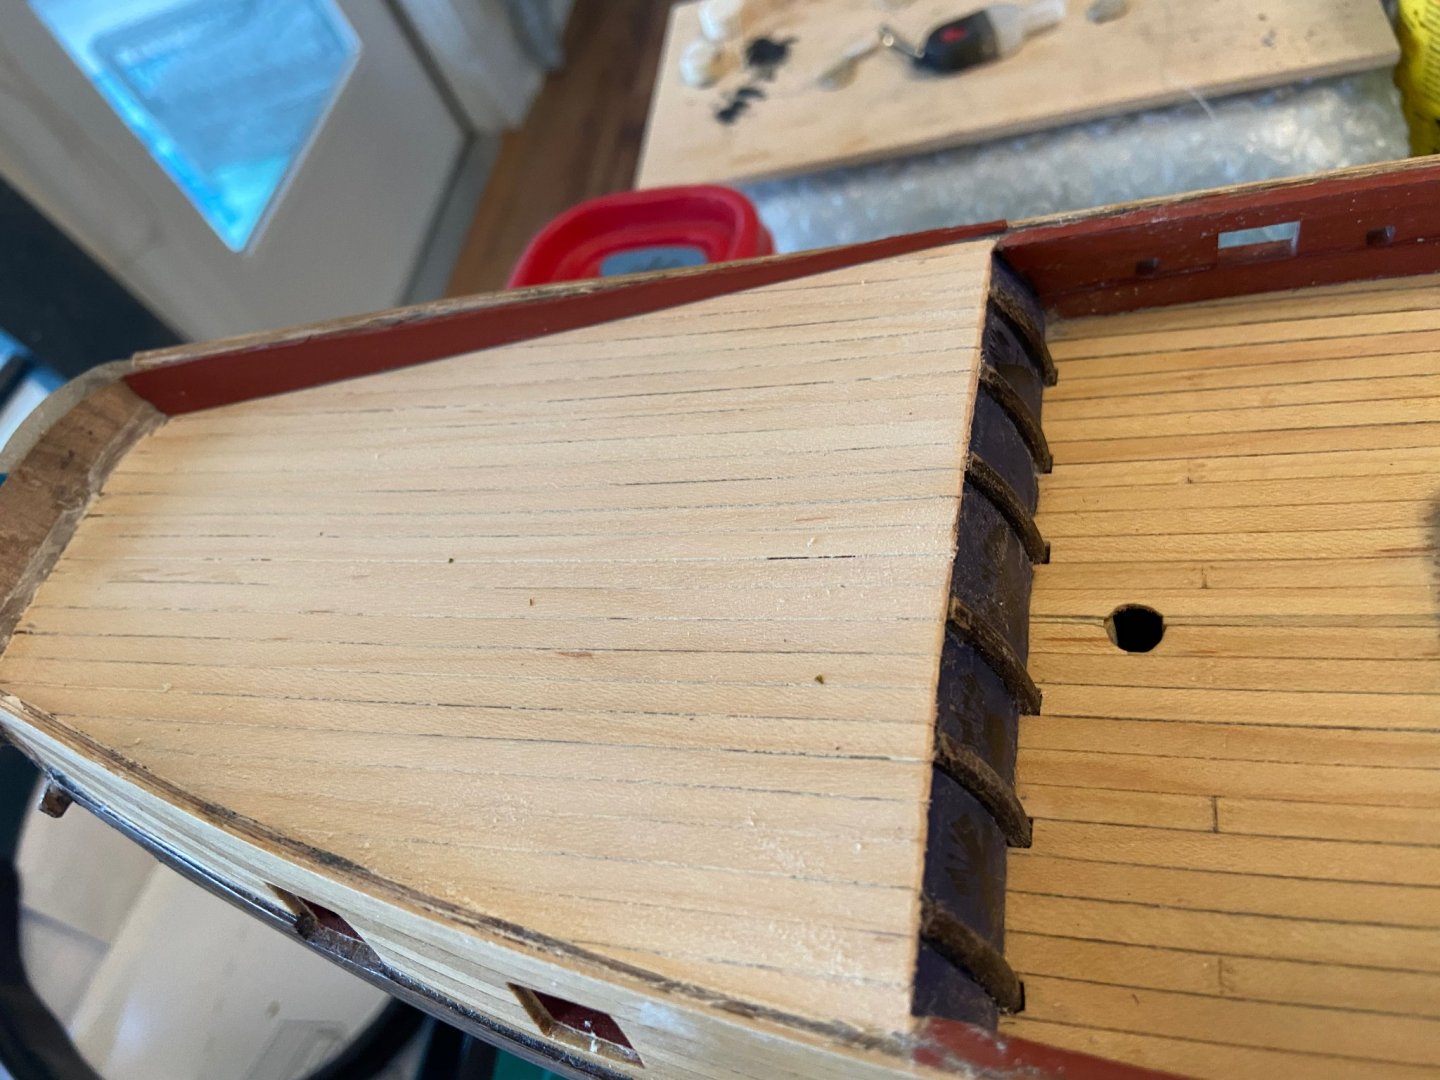
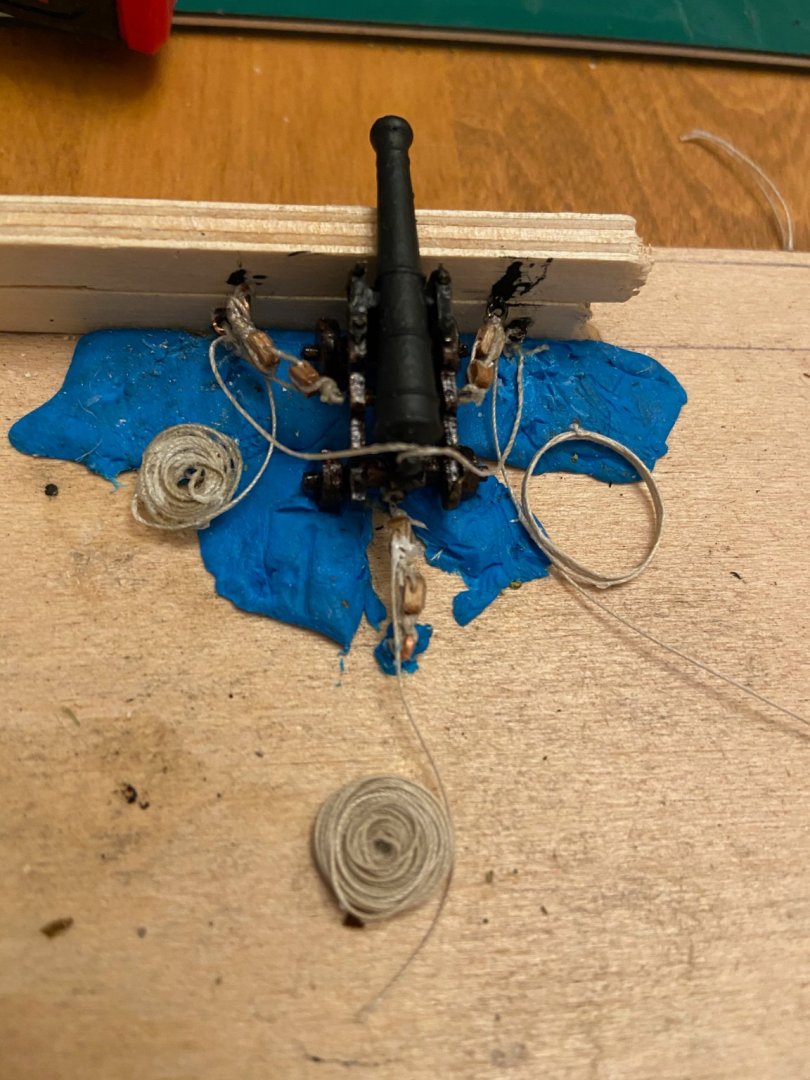
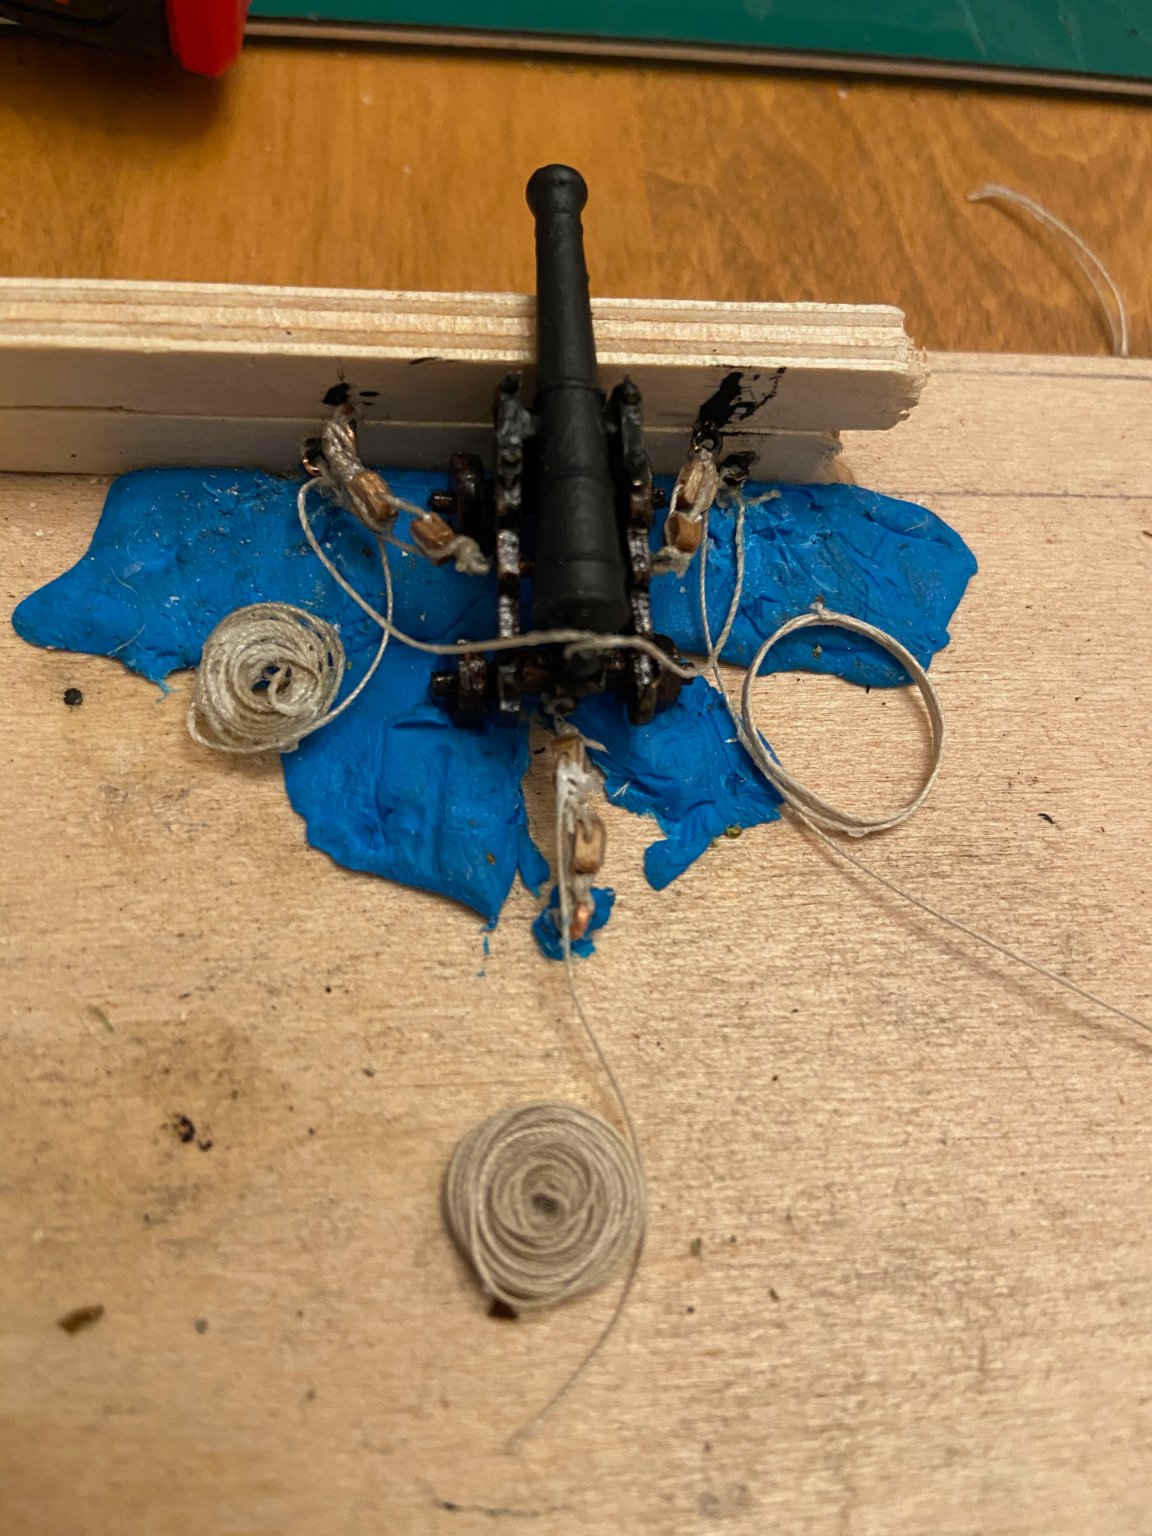
Someone needs to tell me how to put page breaks in a log..... I have been very busy at work things, and not ship build things, but I haven't been completely idle in the background. I made a quick jig and rigged a cannon to see how that works out prior to building the foredeck over the two cannons up front. I tried a couple of coiling techniques that failed miserably, and I also made one big simple coil that seemed to look acceptable. I believe I will scale down the rope coils in size a little more, but keep it as a couple of simple loops in length. I also have now glued, and re-glued the stern fascia and the stern counter in place, and have begun to plank the stern counter (pictures to follow shortly).
-
Pulling up a chair. Fascinating model, beautiful craftsmanship, and amazing build log Captain H. I'm building the Granado (Caldercraft) now, but looking at Tom's Granado over my shoulder..... Keep up the great work, I am eager to hear how this tapering issue resolves in the end. Cheers, Brian
-
Hey Bob, Just wondering how/where you elected to stow the canopies you have removed to allow the mortar to be seen? I have been wondering what "solutions" have been used? Best regards, and smooth sailing with Speedy! Brian
-
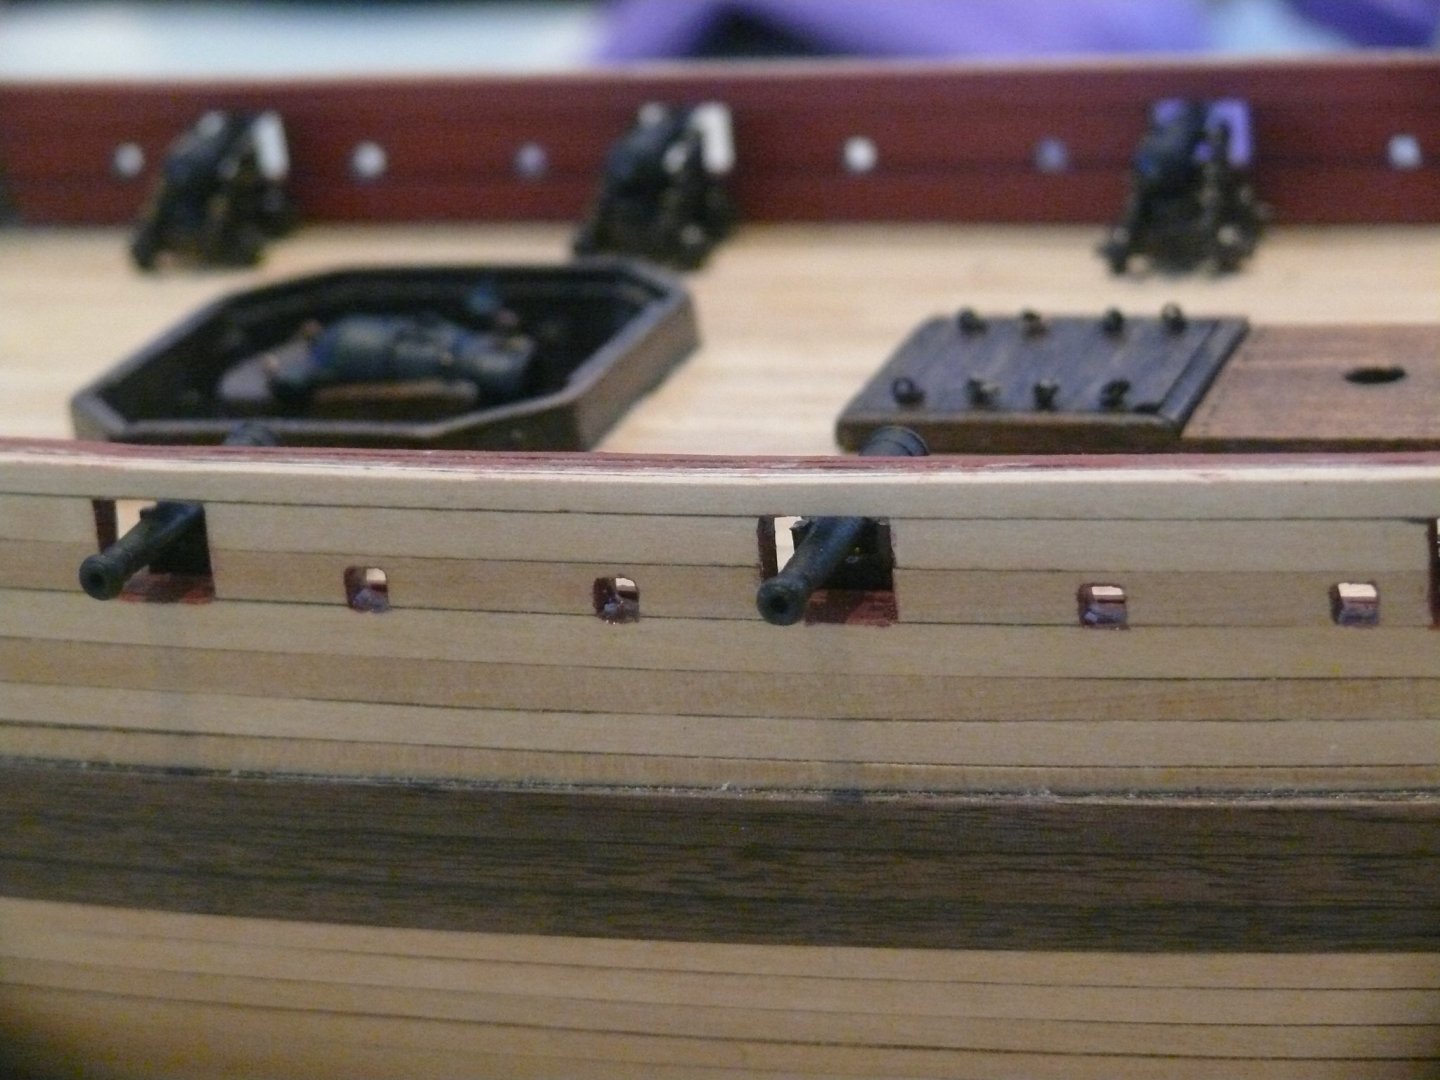
So, dead calm seas have allowed little forward progress in NC (actually just really busy at work). I have discovered my kit is missing one of the brass etched sheets (0.9mm), so I have written to the manufacturer to see what my options are (wish me luck there). I have finished all of the cannons now, to the point where I am getting ready to tie in the two in front before I cover them up with the forecastle deck. Luckily I have some good references for rigging the gun tackle, and will do as much as possible off the boat with a rig.
.thumb.jpeg.6f285e5634350803ff778e8f17e9cd11.jpeg)
.thumb.jpeg.b75318c73d482e2ceba61799802886e6.jpeg)
-
Hey Bob, thanks again for the help. Glad to hear you waited all that time to put the spanshackle down, as I was thinking it would just get destroyed if I put it in place where suggested in the instructions. Look at me growing wiser with experience! Glad to hear you poly'd over, you just do it so well it looks great. And yep, I understand the mortar comment, just wanted to hear whether you actually GLUED them down. Sounds like you just let them sit within the housing, which is tight space for the larger mortar, for sure! I may see if I can use some of that bluestick adhesive putty to hold removable components in place with a little more permanence than gravity alone, as I have found it helpful in holding quoins in cannons in place on a semi-temporary basis until I have them all tied down. That stuff was also helpful in building the gun carriages too... Best regards Bob, Brian
-
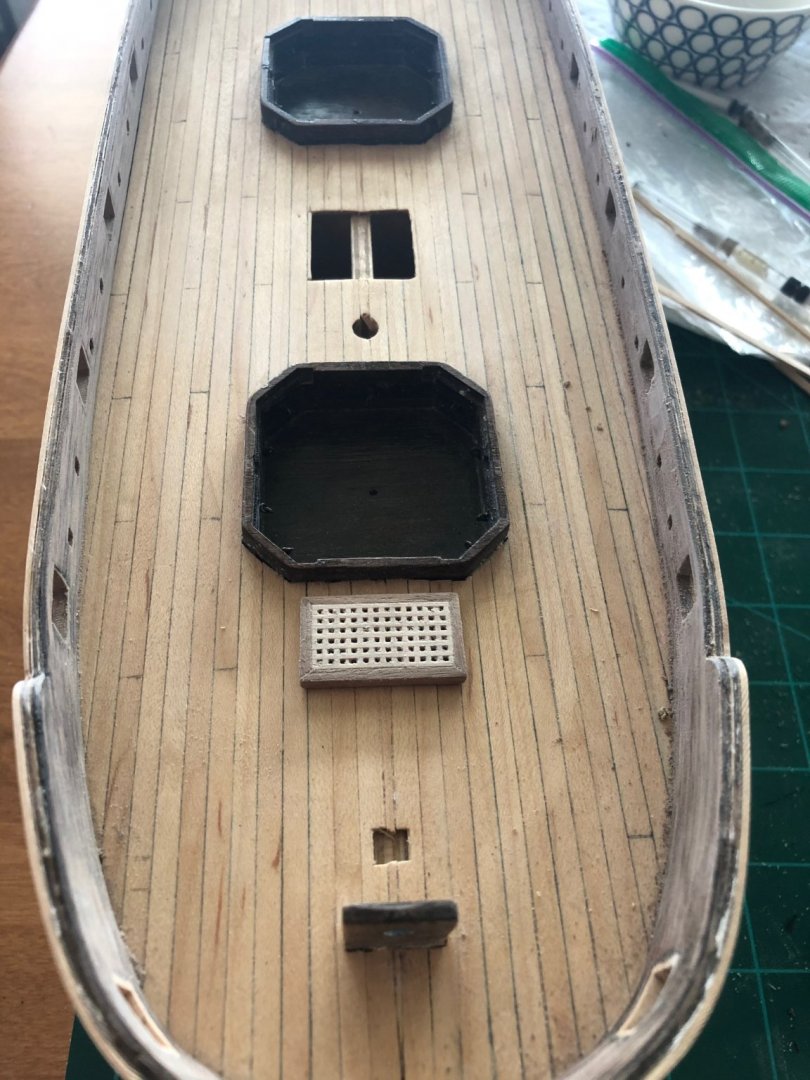
I just noticed you didn't bend your fish davit span shackle down to lie flush with the deck. I am amazed they haven't taken a beating, as I have been hesitant to put them in place after bending them as instructed.... Also, did you use any polyurethane or oil on the deck, the mortar housing, etc? Did you use poly or oil or anything on top of the red ochre bullwark, or is that not recommended in your experience/opinion? Finally, and I have said it more than once, your build is beautiful and inspirational. I have much to learn, as I have just finished the main hatch and the deck reinforcement, and am going to rig the cannons in place before adding the forecastle deck. So far, so good (literally). Oops, one last question, did you glue your mortar base and mortars into the mortar housings at fixed angles and positions, or leave them free to rotate or slide around, etc. I hope that last question makes sense...
- 421 replies
-
- 1
-
-
- caldercraft
- granado
- (and 1 more)
-
Hello from the Mitten from moltinmark
HardeeHarHar replied to Moltinmark's topic in New member Introductions
Nicely done, and welcome on-board. I think you did great work in a remarkably short time period! I move at glacial speeds comparatively speaking it appears.....=(. Keep up the good work, and I'll be eager to see your builds in the future! -
You made that look too easy, and the result is b e a u t i f u l! Thanks for the inspiration. I will be following your lead soon I hope, and likely will build two at one time, to see if I can actually research and figure out how to make one a decanter for holding a good port wine......
-
Honest comments RMC, your work is great, and thanks for your blog work too. I am seriously thinking of making a port decanter out of the secret vessel Morel by Master Korabel as something "different", 😃 it seems doable. However, post Granado thoughts are a long way off for me (just placed the spirketting on the inner bullwarks).
-
Such a great way to do it. You are awesome! I really appreciate the depth of information you are able to convey in your build log. Also, the more time I spend in the forum, the more I hear Chris Watton's name being used in positive ways. I'd love to do the special edition of The Speedy too.....after I finish the Granado (ahhhhh, one day) and make a port wine decanter out of the Morel by Master Korabel 😉
- 421 replies
-
- 1
-
-
- caldercraft
- granado
- (and 1 more)
-
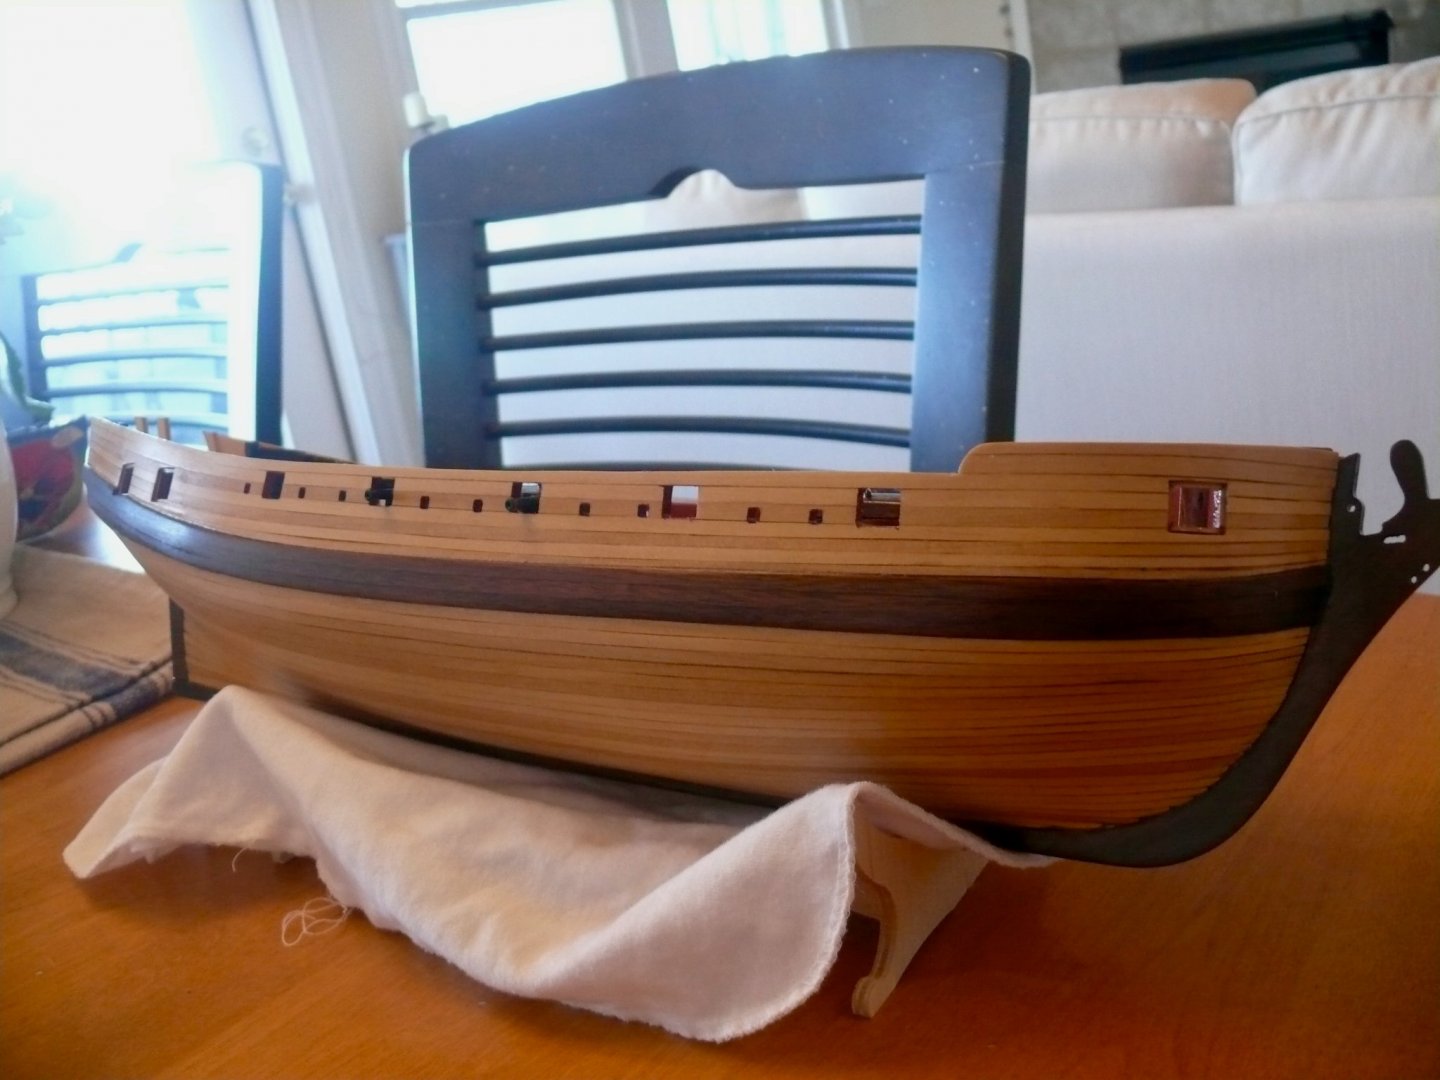
So, I managed to finish the hull with some Danish Oil without creating too much of a mess of things. The Castello Boxwood makes it look so clean. The picture is over-exposed and I haven't polished the finish at all, but it still looks much better than it did without the oil.I also attached the keel piece at the stern, masked off all the gun/sweep ports with tamiya tape, and painted the inner bulwark red ochre (without inadvertently painting the maple decking). I am now getting ready to add the spirketing and the sheer rail, finish the hatches, etc. and figure out how to tie the cannon's down in the forward gunports before building the foredeck over them. Wow. So much done, so much to go!
-
Great documentation...and good questions. I’m glad I’m not there yet I think!! 😉
-
I wonder if you could make it hold a good port, like a decanter.
-
I think this looks like fun too.
-
New Addition: An Absolute Novice
HardeeHarHar replied to Photo Bud's topic in New member Introductions
Hey Bud, North Carolina newbie calling in return to say welcome to the group...You will fit right in, and if you stay a while, I hope you too will find it a rewarding and encouraging environment. Lot's of talent out there willing to share information, opinions and advice. Share your work and experience if you can by doing a build log and we can follow along from afar. Cheers (and get out your vote), Brian -
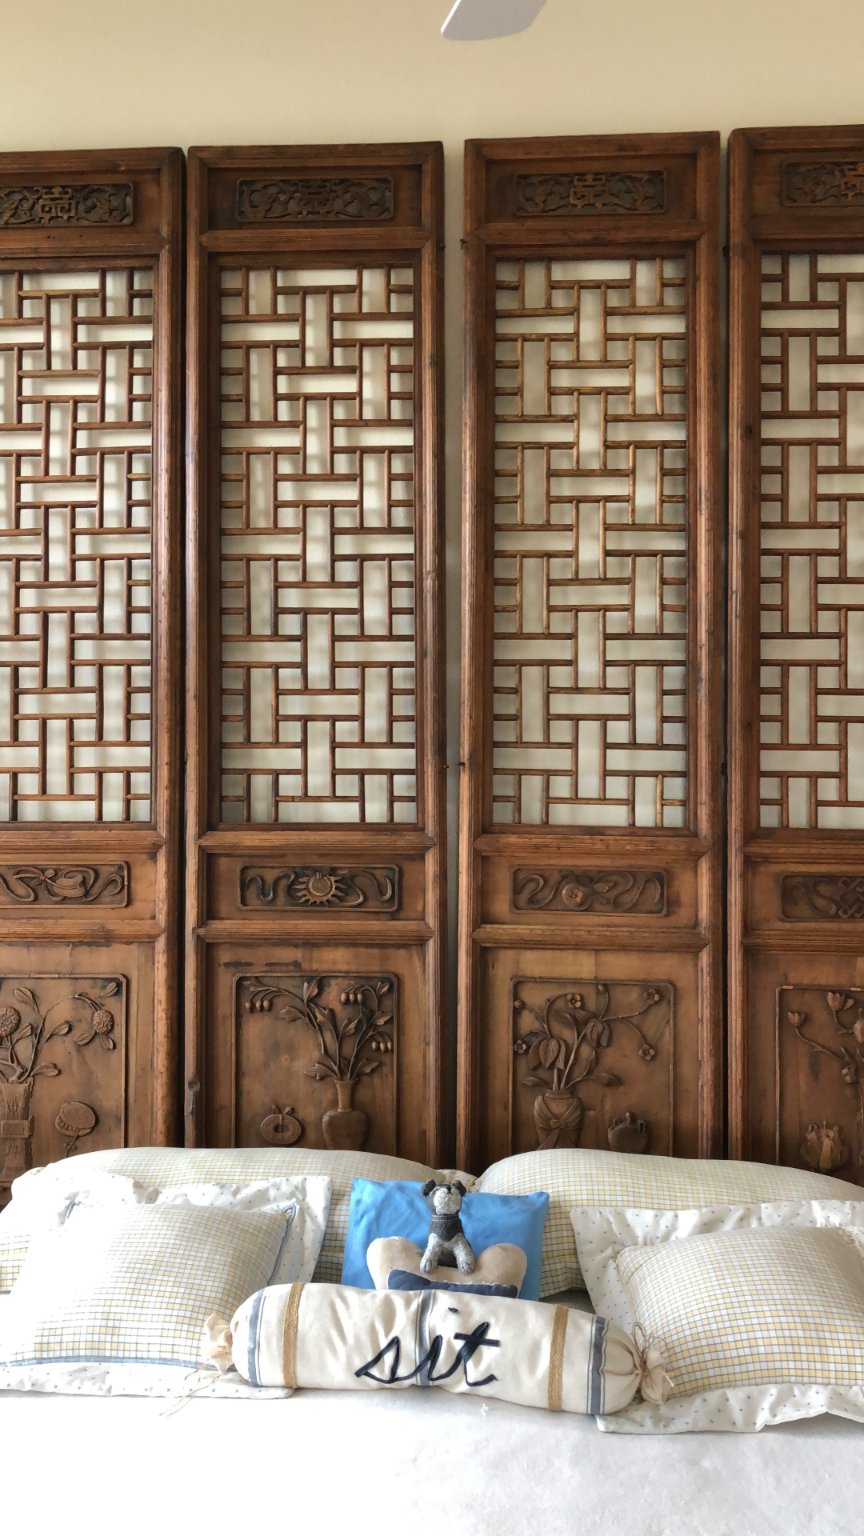
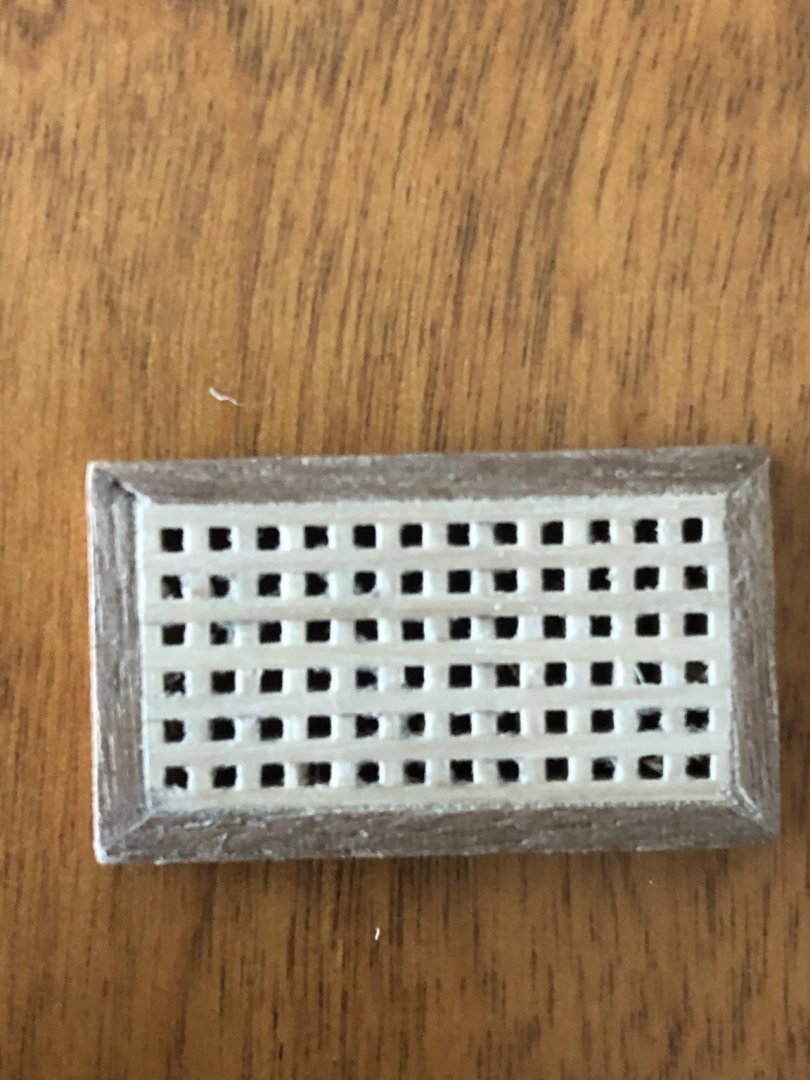
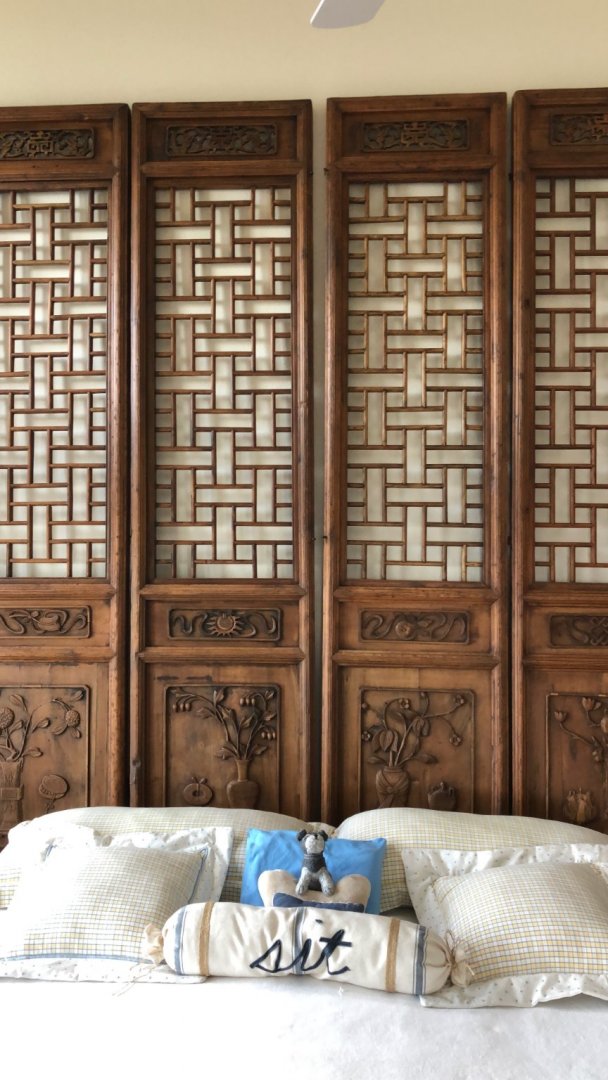
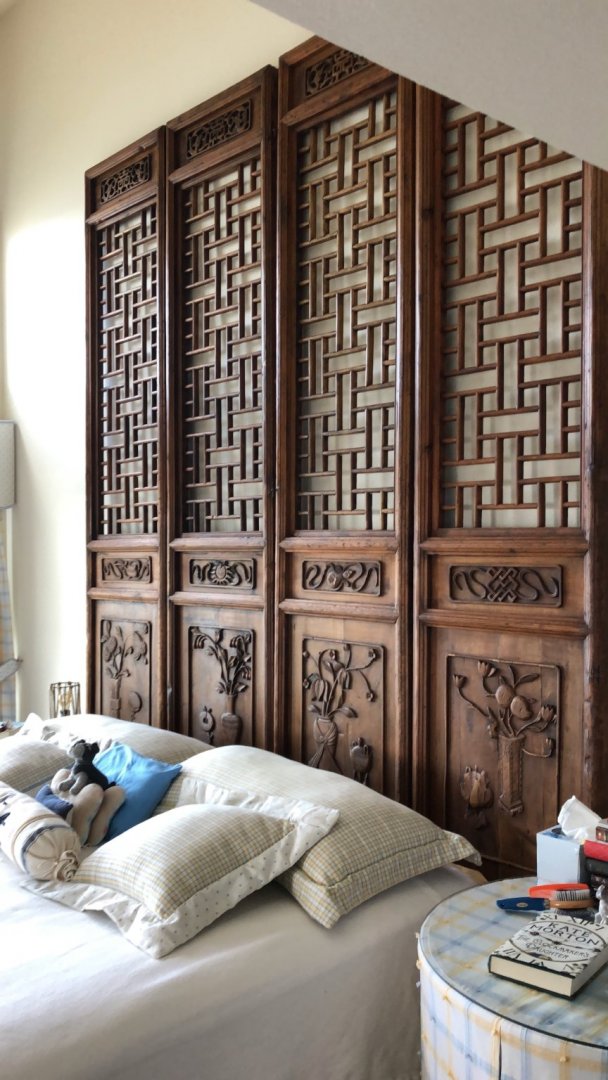
I'm going to keep posting even the slightest progress, because it is at least progress. I have to say I have been getting tremendous advice from Tomasz and others, and the work of everyone is documented so well in some cases it is clearly a work of art. I can't wait to hit the boxwood and Maple plank/decking with oil, but I have been filling gaps and straightening ports and lights. I keep sanding the frames on the inner side of the bulwarks, and removing some of the previously applied stain to prepare for the red orchre paint onslaught as soon as the Tamiya tape gets here. While going out of my mind, I made a grating cover with walnut coamings for the deck. I also thought I would share a picture of these cool doors I scored in Durham, NC from James Kennedy's Gallery (which has unfortunately closed). He had some amazing stuff. If I am remembering correctly, they are 2 x 14'....19th century?
-
Hang in there CC! Just wondering (not wanting to continue the painful memory) if the stitches with the provided kit, or your purchased material, broke more or less. I have no idea why that seems so important when the more important point is that you are doing a great job, and have done well considering having only two hands (and two feet, just saying....). 😃 Good luck soon to be paddler.....
-
I'm in all the way too! I just happen to be in the process of building Caldercraft's Granado kit with Boxwood, and would just love to have this be my next build if not outside of my capability. Totally stoked!!! Great work, and please keep up the fascinating updates!!!! Where do we send money 😉 Cheers!
- 67 replies
-
- 1
-
-
- granado
- cross-section
- (and 1 more)


.jpeg.1fbe4311b13a1851ec1512d1f9918aef.jpeg)
.jpeg.f0b5153a0180668c641baf453099fb19.jpeg)