
HardeeHarHar
-
Posts
615 -
Joined
-
Last visited
Content Type
Profiles
Forums
Gallery
Events
Everything posted by HardeeHarHar
-
 Wow Ron, all your work is eye candy. *Fantastic* job on the build and rigging, and the flags, sails, and figures are awesome!!! I love that you have a whole story for each of the figures/characters. No wonder you like diorama displays!
- 542 replies
-
- 1
-

-
- Sphinx
- Vanguard Models
- (and 3 more)
-
Agreed, that is something I will have to try and become proficient at. I was looking at scrapers, and have seen some amazing work done with a single edge razor that has been configured to perform specific contouring, etc. The keg shape of the secret vessel presents some unique challenges, but I am sure that someone who knows what they are doing could make short work of the task by scraping. Thanks Captain Shaun!
-
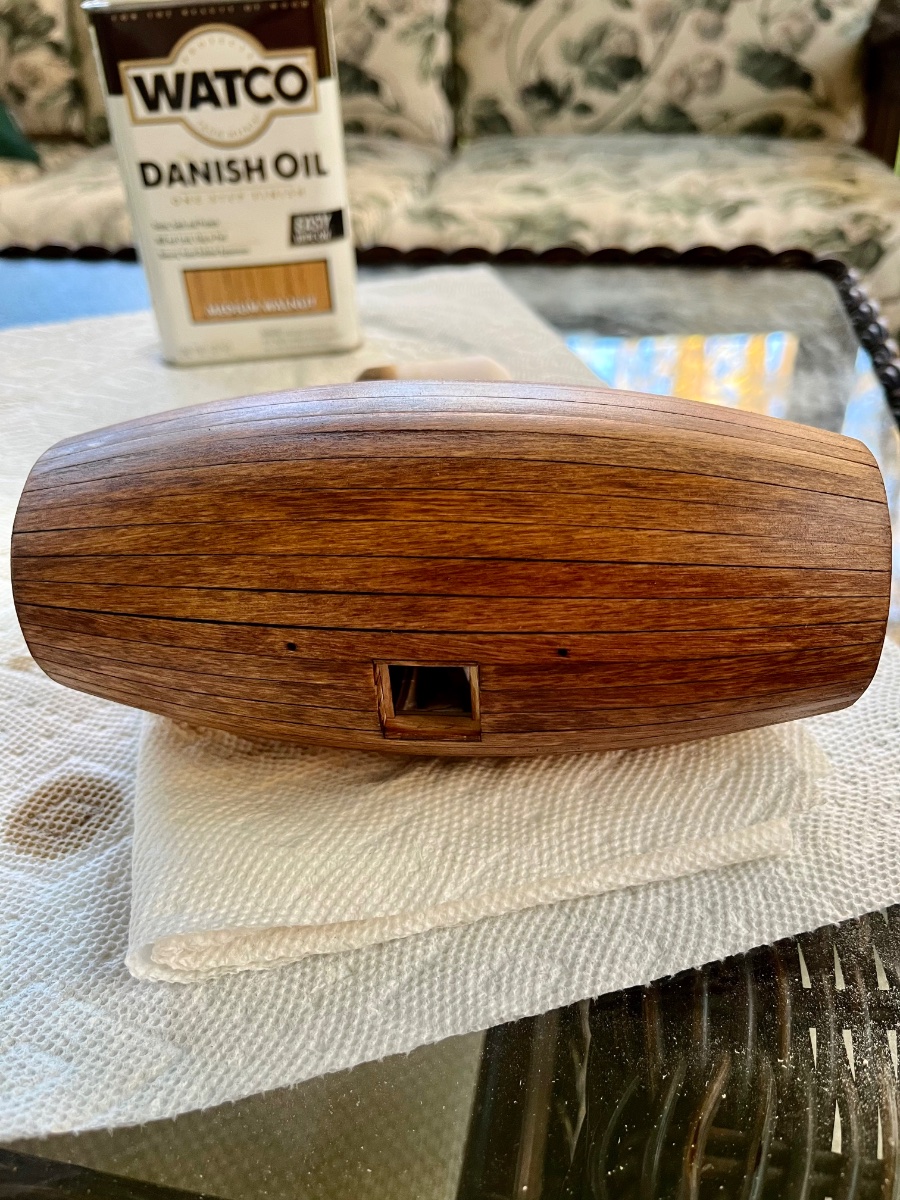
Heh heh heh. @hollowneck you have keen eyes! That is a table on our screened in porch in Durham. The construction has been going on inside on the breakfast nook table, but I took the sanding and staining outside. My wife/the Admiral is ridiculously tolerant and kind, and today even said she liked the Danish oil treatment on The Secret Vessel. I’m currently working on setting up an “office”/“model building” room in the house in Durham. Going to get an old drafting table and set up something to vent sawdust and fumes etc. if you have suggestions, I’d love to hear them!
- 68 replies
-
- 2
-

-
-
- Morel
- Master Korabel
- (and 1 more)
-
I’ve only tried filler in a tube once or twice and I made a mess of it, as the excess was in a place that was hard to sand flat…
-
Here she is at the present

-
Agreed!!x2!!! Thanks for the link and the information Jim, I appreciate it. I am enjoying the little Secret Vessel kit so far.
-
I was looking at that! I think it would be a cool kit as a companion piece to the Secret Vessel.
-
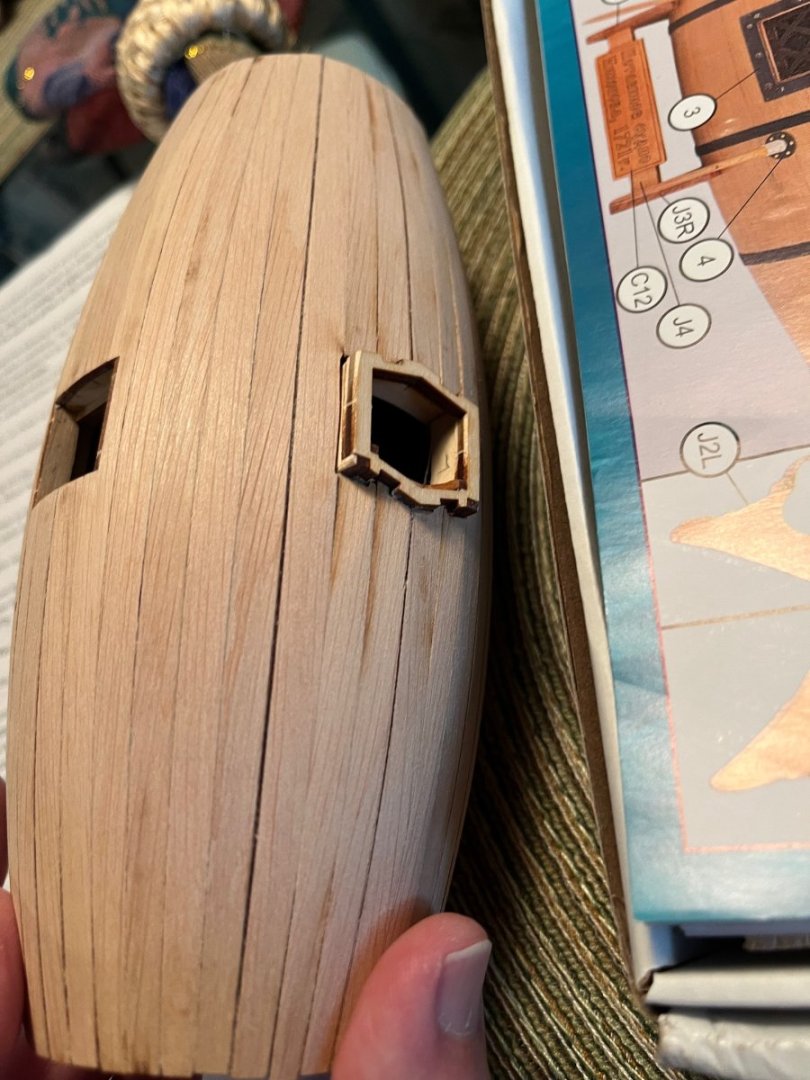
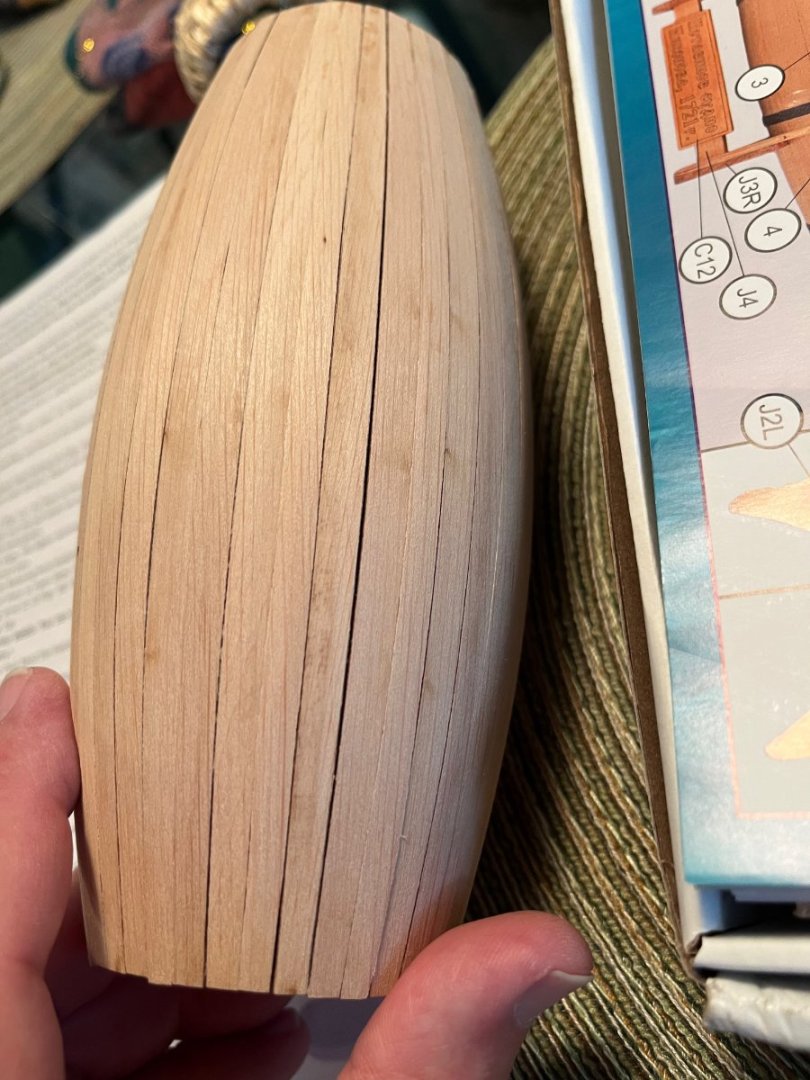
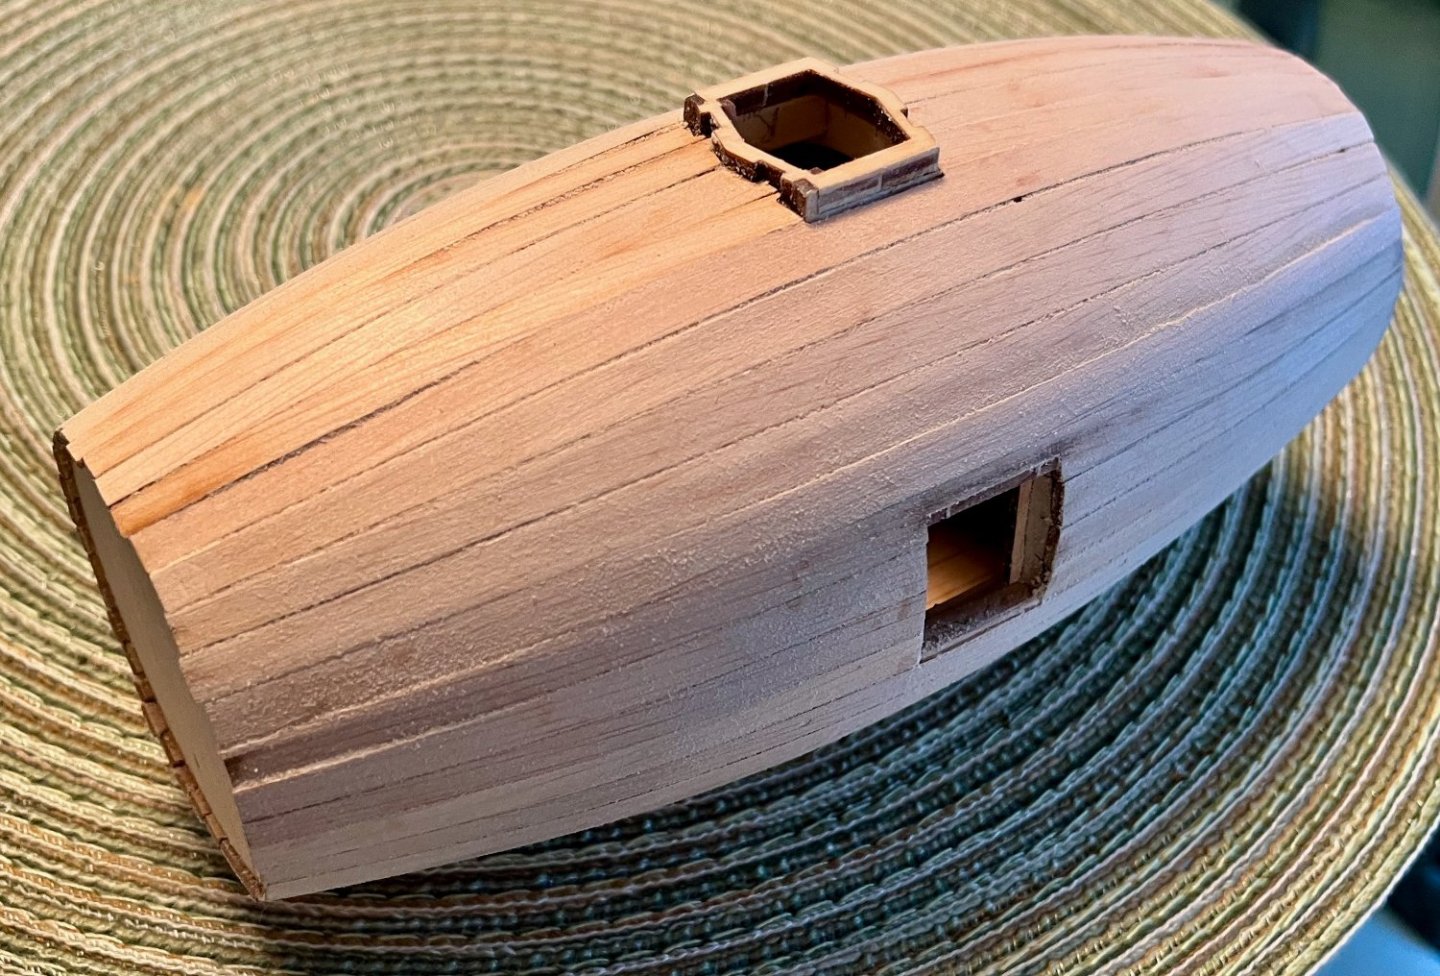
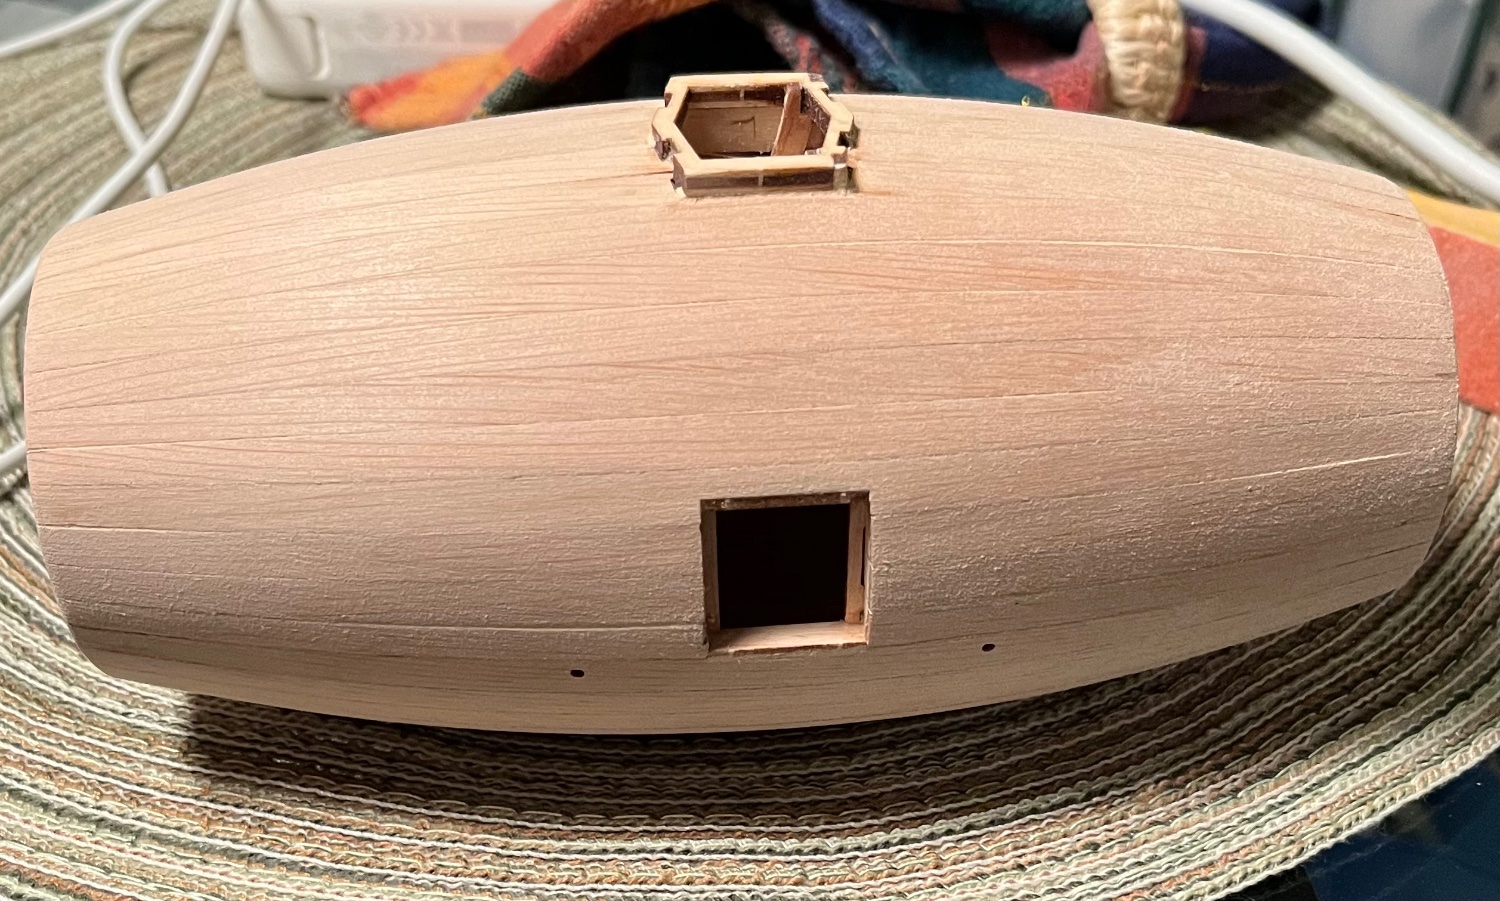
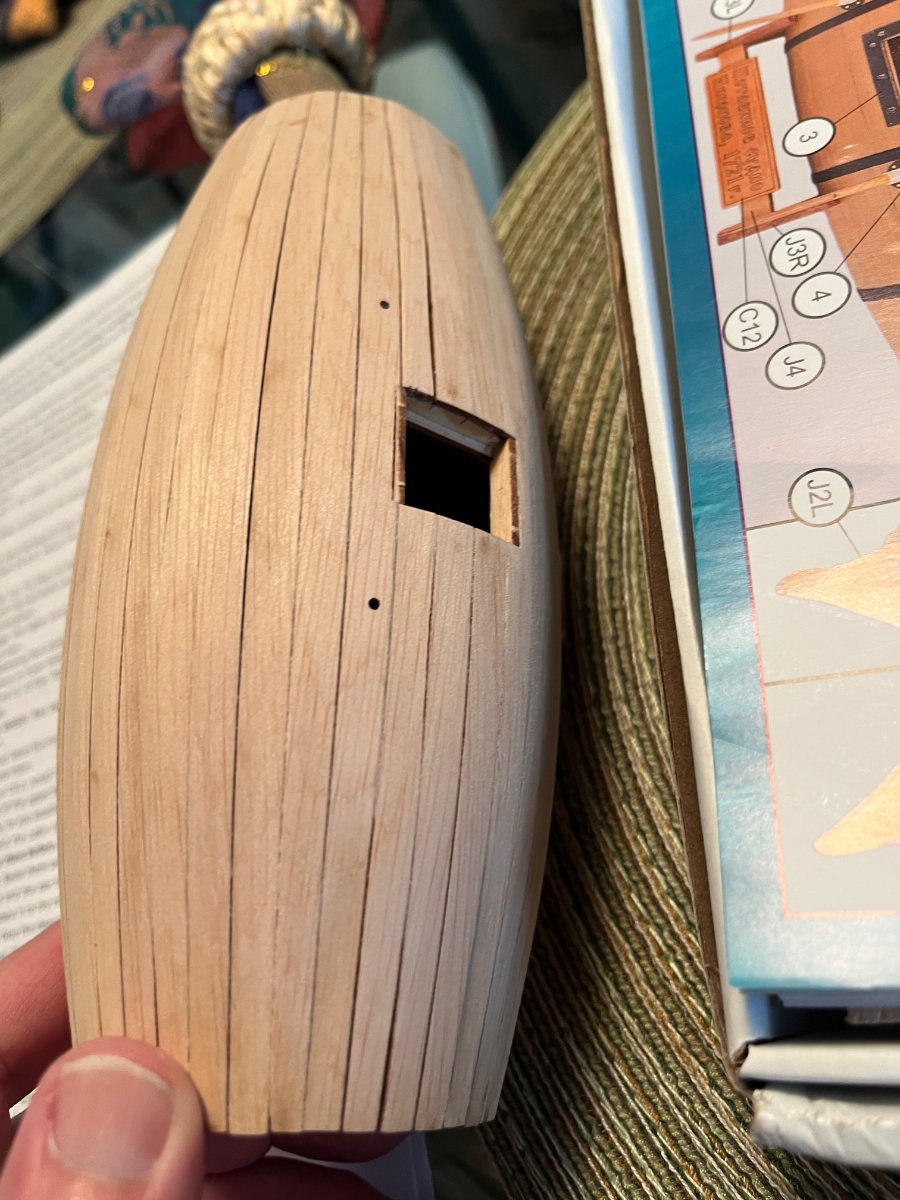
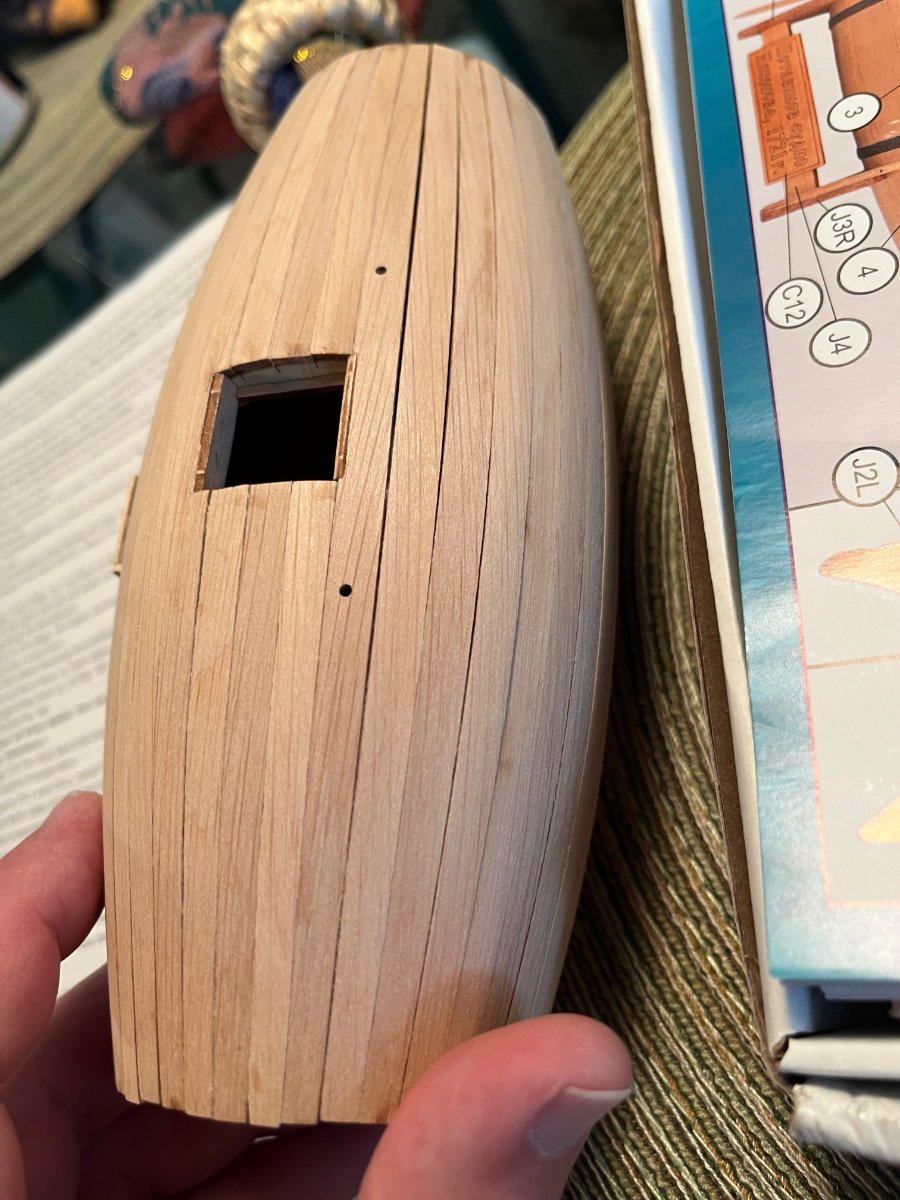
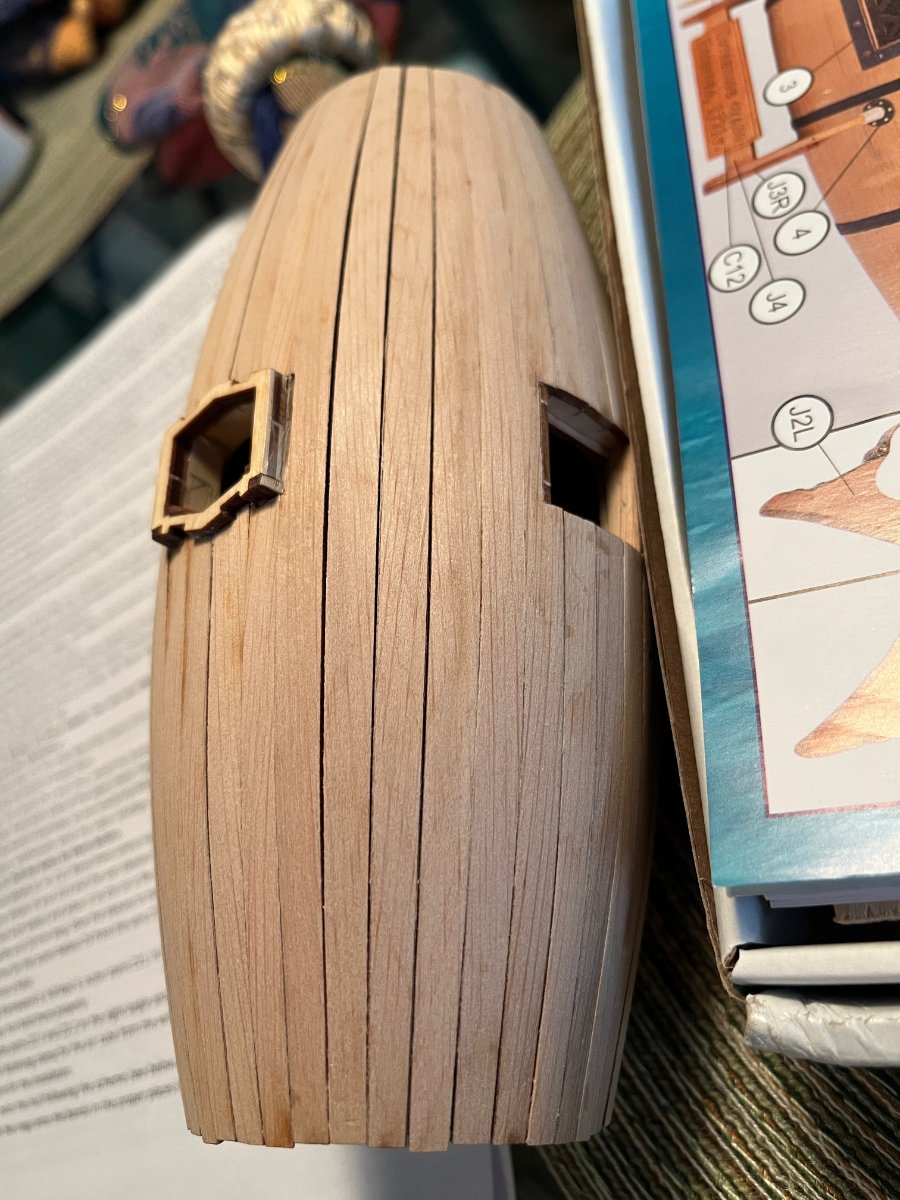
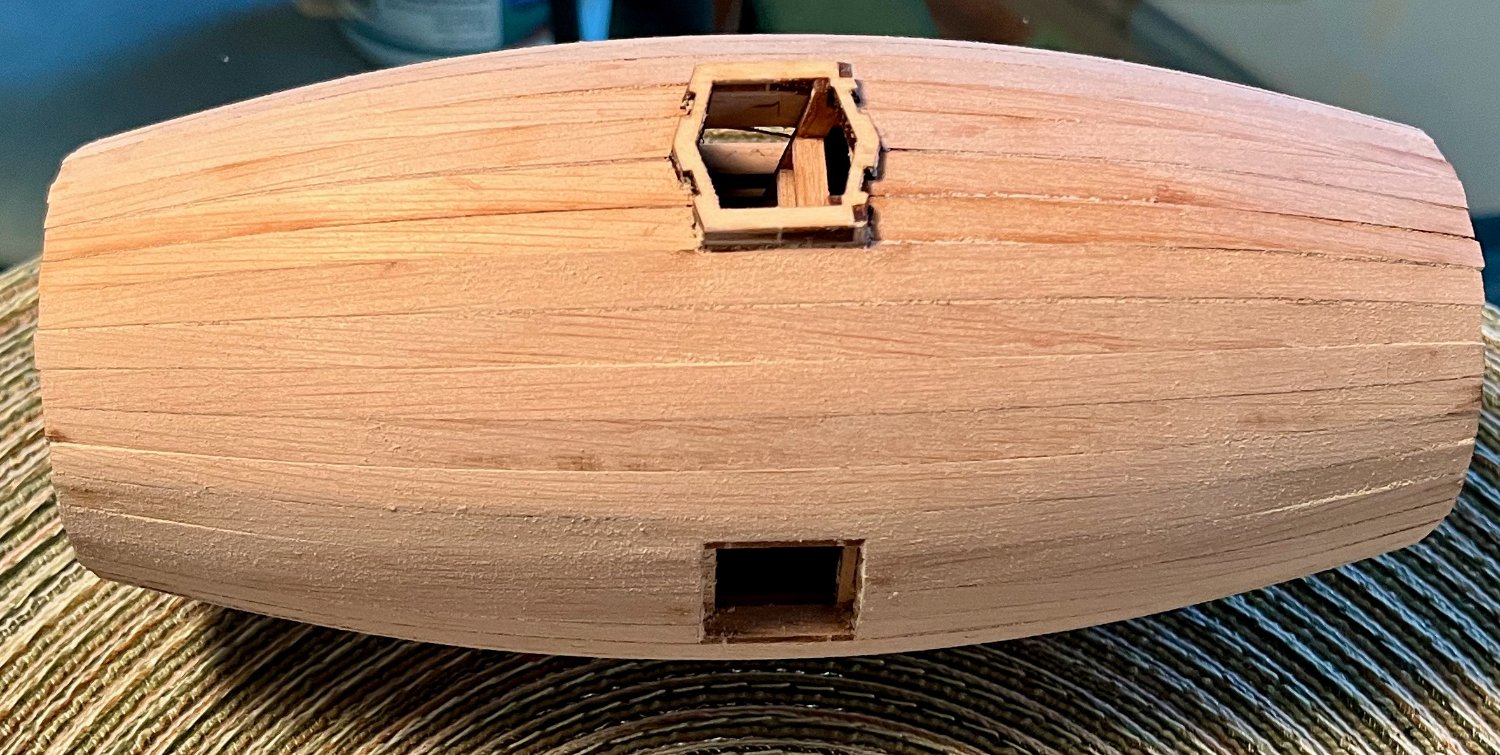
All planking has been done on the main keg section of the Secret Vessel. In the photos below, I have cleaned all the saw dust out of the seams to reveal all the gaps in the planking that need to be filled. I was not too upset with the final appearance, even with the gaposis. Yesterday, I took a 1 mL syringe with a fine needle and filled it with dilute PVA. Then I "injected" the dilute PVA into the gaps, wiped off any excess sloppage, and sanded it down while filling the gaps with the saw dust that was being created. Repeatedly. I have a little bit more touch up to do, but I think it is working pretty well. I'll post more photos when I do a little more touch up work. I bought some danish oil (medium, what ever that means), and some stain, and will be trying these out on some scraps. Hope everyone is having a good weekend, and that all your teams are winning. Go Blue.


- 68 replies
-
- 8
-
-
- Morel
- Master Korabel
- (and 1 more)
-
Now that sounds pretty authoritative my good man. Thanks for sharing that inform. I will be reading that a few times before I feel comfortable that I can employ the knowledge. THANK YOU JAAGER!
-
Thanks Jim, I’ll check out the Turtle and Sht Lee, sounds interesting! Happy Thanksgiving!!!
-
@Knocklouder, I like your attitude and your advice. Same goes for the rest of the motley crew on the forum. One thing I overlooked in my previous posts: for all those in the US, Happy Thanksgiving!! I give thanks for all the people on the forum that I can get to know better and learn from, among many other things.
-
I'm thinking stainable wood filler, with more sawdust on top of that, and a prayer. The planking came out nice enough that I'd like to get a nice even stain, without glue making it uneven (if that is a possibility). Here are some pics before I sanded it down a bit. I need to sand it more, but I want to fill the gaps before I do that.

-
Ok, so I just finished planking the Secret Vessel, which is a wooden "submarine" in the general shape of a keg. I have some small gaps. I was wondering if anyone just made a dilute PVA solution and painted the whole kit and kabooodle, and before the glue dried, went around and sanded the whole thing allowing the sawdust to penetrate into the wet cracks and dry there? Also, will the glue prevent a stain from penetrating evenly using this technique? Just curious. Thanks for any suggestions or comments on this approach!
-
Happy Birthday Chris, you’re a youngster!!! I’m counting on you having more than 20 more years of ship building left in you!!
-
Thank you for the wonderful words of encouragement! It means a lot coming from the pros!
-
Looking good Vane, glad to see you are back in the building mode!
- 101 replies
-
- 3
-
-
- caldercraft
- granado
- (and 1 more)
-
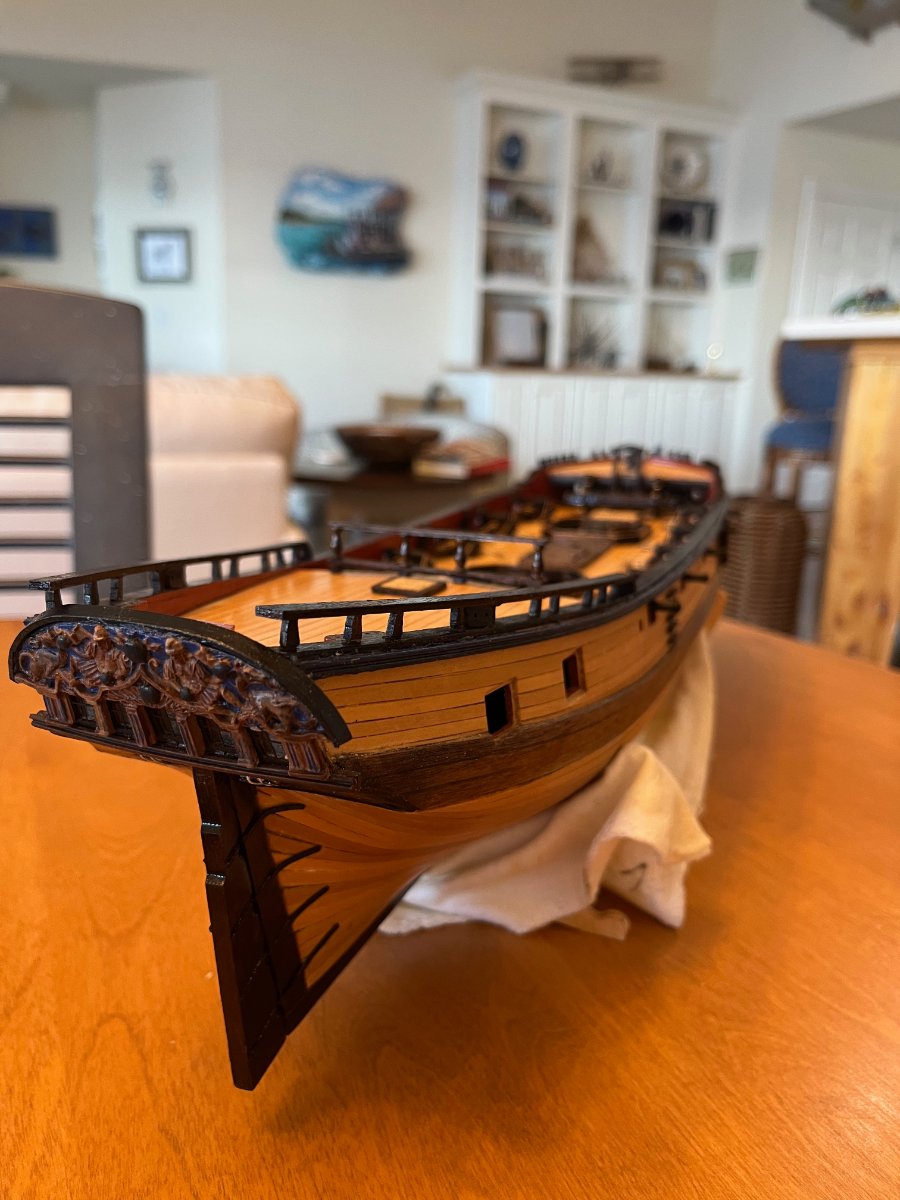
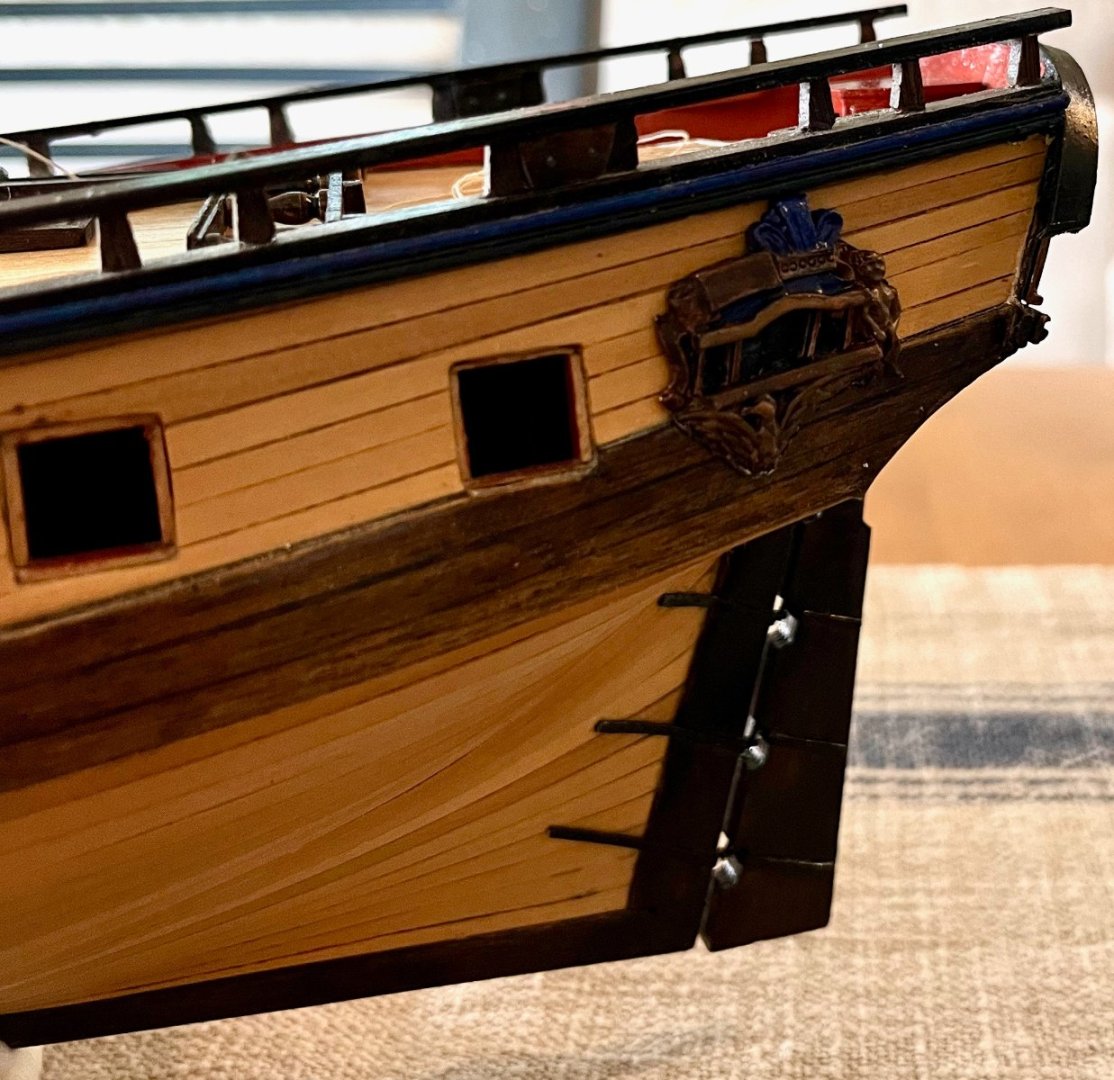
Quick update from the coast of NC: The quarter badges have been painted and installed. I had to file them down quite a lot, and they are having to sit somewhat low due to the limited space between the wale and the sheer rail. Nevertheless, it almost looks like it was intended to be like this. If you look closely, the little man appears to be sitting on the wale, and the bird is entirely on the wale instead of half on and half off, which is more pleasing to my eye. So, here is a case of something not being so bad after all. As you can see, I am sticking with the color scheme used by @Timmo on his Granado. Being one step ahead of myself again, now that they are installed, I just realized I still need to give them a quick coat of Dull-Cote (as recommended by the multi-talented @hollowneck), with the greatest of care not to be sloppy....which isn't easy when you are all thumbs with a paintbrush. I should note that the last cabin light is a little wonky in its alignment on the starboard side for some unknown reason. Alas! The other side looks somewhat better (sigh). Good thing you can't easily see them both at the same time, because it would look pretty darn obvious. I also framed (added the coaming) and painted the galley flue, and the black paint I used has worn off in such a fashion as to look fairly convincing in my naive opinion. I also made the fore and aft jeer bits and stained them. Making progress, and am getting closer to being ready to go and glue all the deck accoutrements in place with CA. I still have a few more ladders and some other stuff to make though.
.thumb.jpeg.f5b68c37bed69ec68d5b40fcbbd8f30d.jpeg)
-
Hey Melissa, I am late jumping on board, and am just now catching up. Your build looks great. I am glad that you splurged for the mini-lathe from Proxxon, as I am about to do the same. Please let me know what you think as you start to use it and learn all the tricks of the trade. I also wanted to reply about simulating bold heads. I just ordered rivets from Model Motorcars in a variety of sizes in order to use them for just this purpose. I will cut the heads off the rivets and use them on my build of the Secret Vessel. They also have bolts in a variety of sizes too. https://www.modelmotorcars.com/. Best regards and keep up the good work! Brian
- 84 replies
-
- 1
-
-
- Statenjacht
- Kolderstok
- (and 1 more)
-
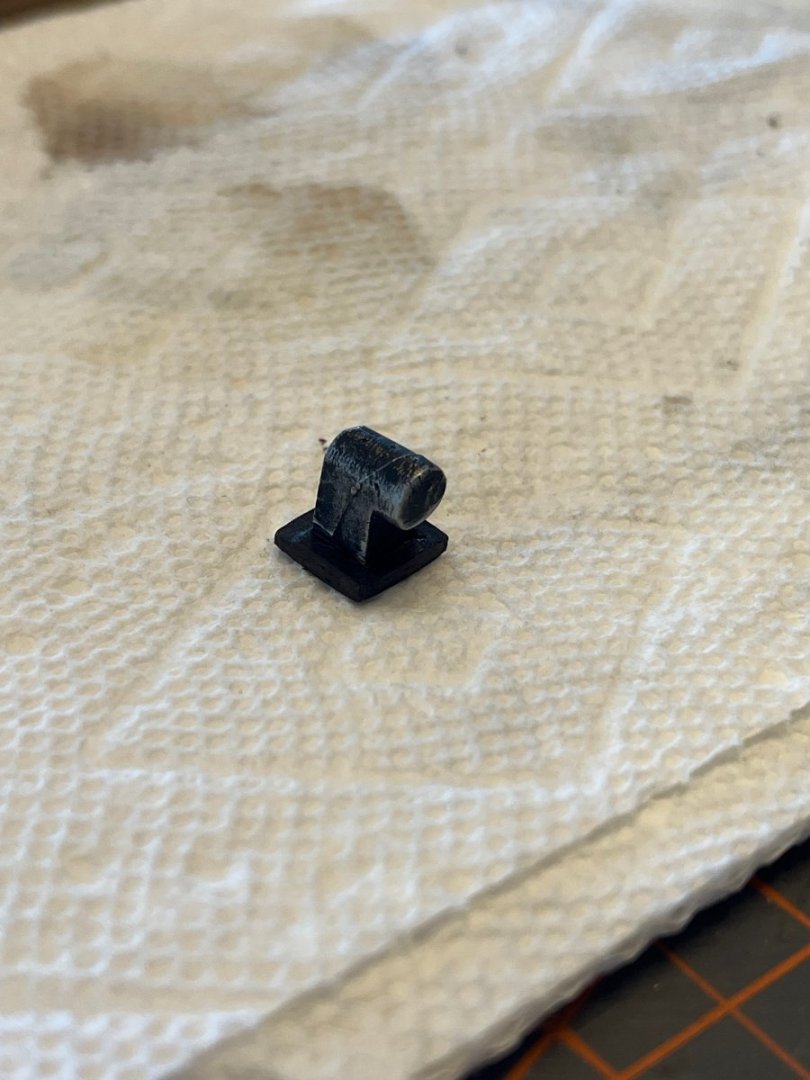
Peanut6/Kev - I appreciate your kind comment about the color scheme, and your sage commentary about what to watch out for in the future. I hadn't considered tweezer sabotage, but that would help explain it! Once it flies off into the abandon In my shipyard, the Admiral can and will find the smallest part lying out of place. Her observation abilities are without equal, and when combined with the noses of two schnauzers, no part of a model stands a chance. I LOOKED EVERYWHERE for that stair step. Several times. On my hands and knees, with the magnifying helmet on, etc. Phone light engaged. Swept the area with my hands. NO LUCK. But within two days, a dog transported it across the room and ceremoniously dropped it where only my wife would notice it. Most people would have just picked it up and said "what's this piece of junk on the floor", but my wife inspected it with enough care to note that it was no ordinary piece of junk. Coincidence? I think not (now that you mention it)!
-
Hahahaha Ron! The wife is essential equipment when you are an absent-minded scientist. I am very happy that people are pleased with the color scheme so far. I also appreciate your kind words, I definitely hold your work in the highest regards. One of the things that drew me into ship building was after I finished my first build, it still looked like a ship and wasn't that hard on the eyes. I will credit @Timmo for the color scheme inspiration, and I still wish that I had his talent with a paintbrush. However, it appears to me that even I can't screw up his good idea that much. The color scheme continues to be an issue on my mind at present, because I am starting to think I might stick with mostly very dark walnut/black on natural boxwood for the front end of the boat (i.e., the lower and upper checks, etc.), instead of going with the blue as per the instructions. More on that latter, but if people have opinions, NOW IS THE TIME. As for the Secret Vessel, I do have a build log, but it doesn't seem to be drawing a lot of attention. Perhaps it is due to the fact that it is a SECRET VESSEL, but I also think that there have been a couple of build logs for it recently....so it just isn't grabbing the attention that a nice kit deserves. It is a nice kit with fairly good instructions and excellent graphics, and I bought it before Russia did the unthinkable, but I have to admit that if the Ukraine snuck into Durham, NC and blew up my build, I would probably be happy about it. I am glad that the Ukraine is getting some new naval drones, and I hope they can make use of them effectively against the missile launchers that Russia has moved into the Black Sea. I was in Russia not that long ago, to visit my niece who WAS living there, and it was wonderful. Now, I don't want to go back until they exit the Ukraine and pay reparations. Best regards to all who have stopped by, and stay safe and healthy! BT
-
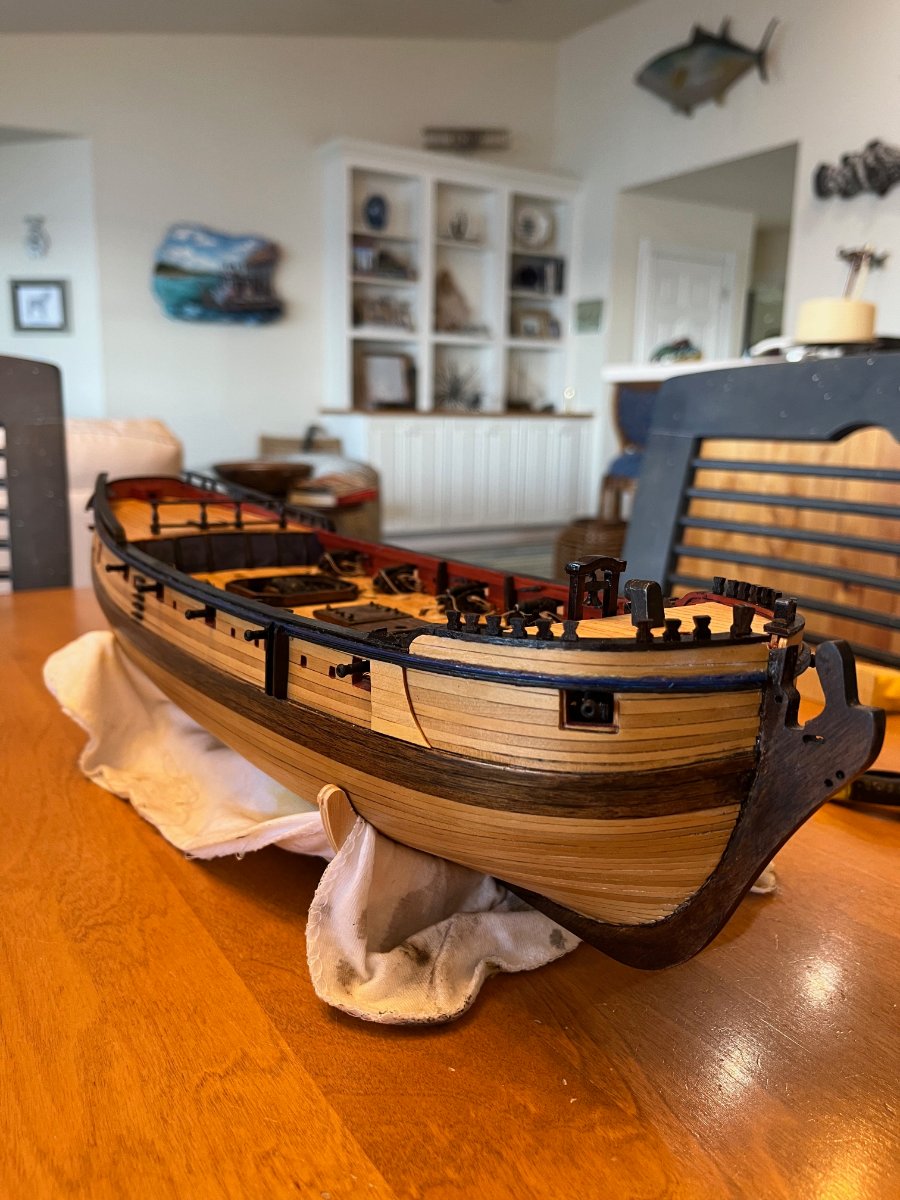
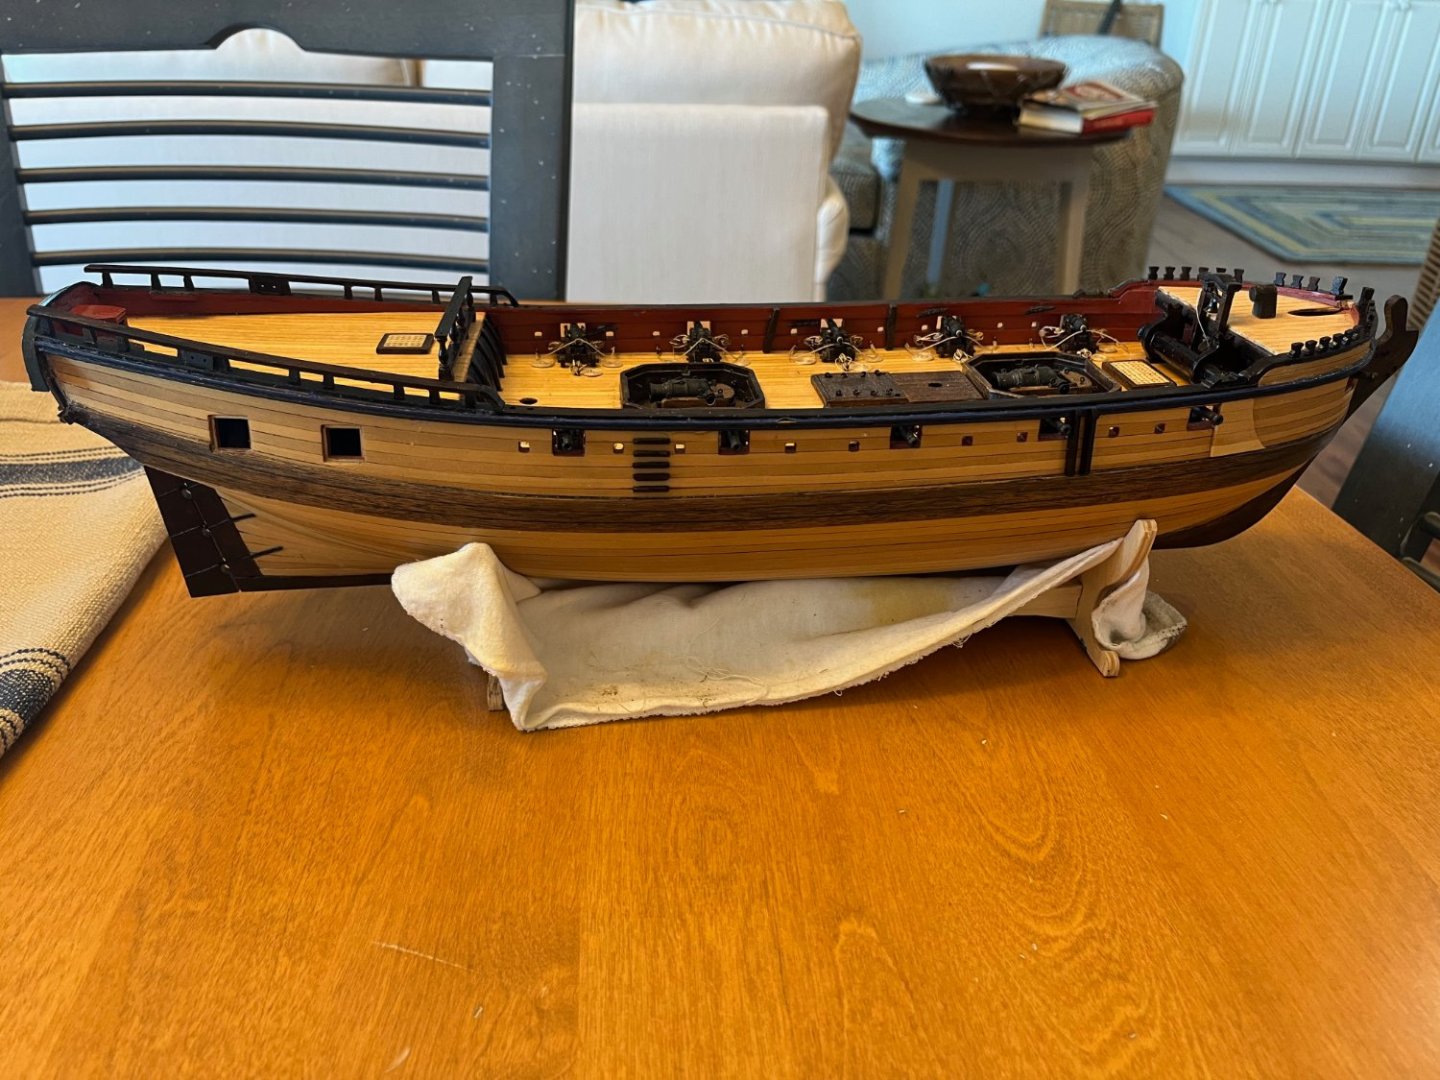
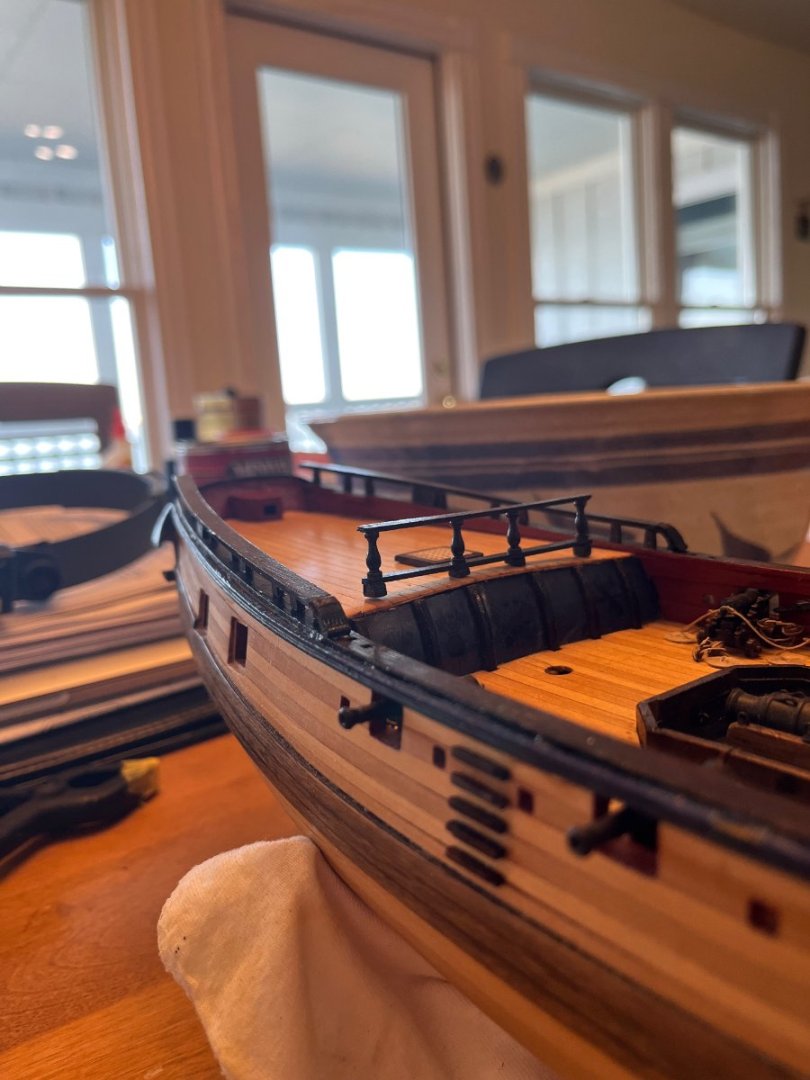
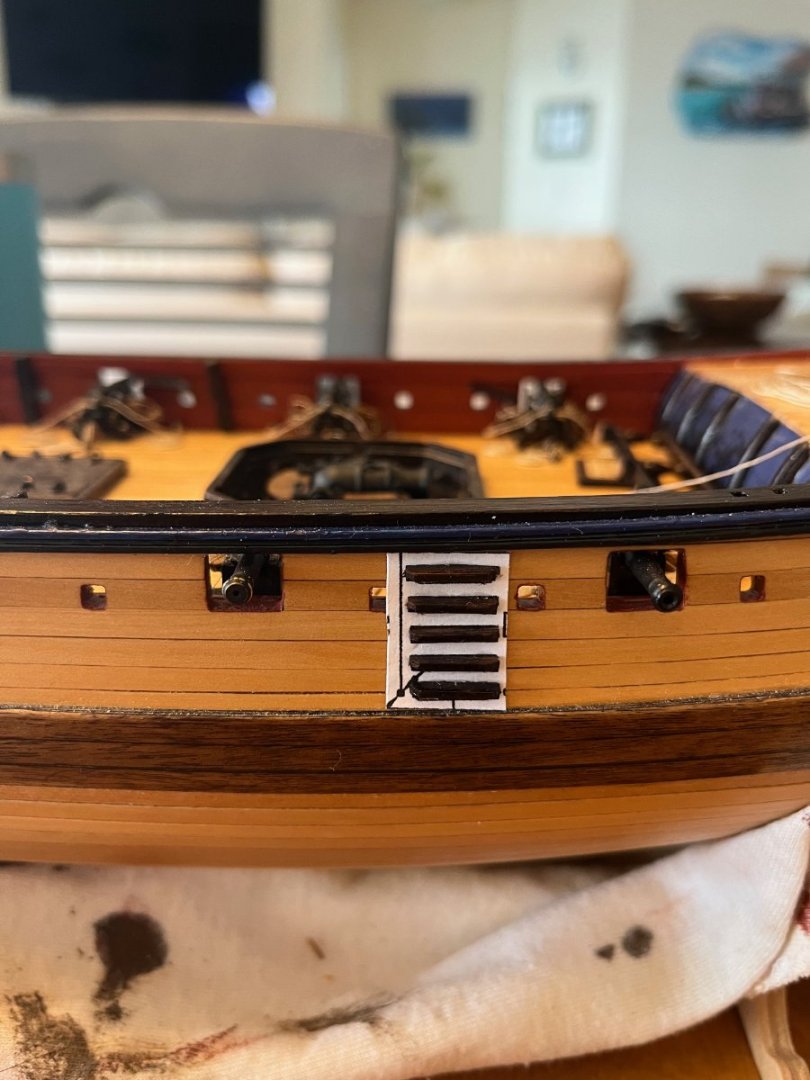
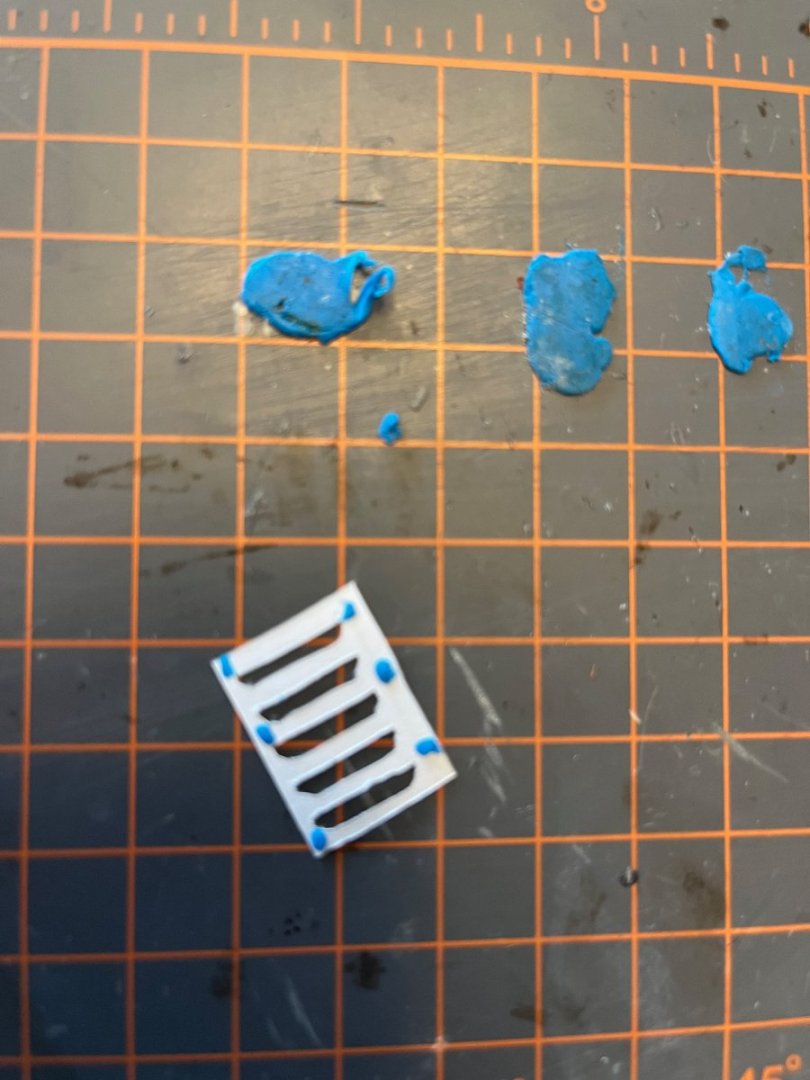
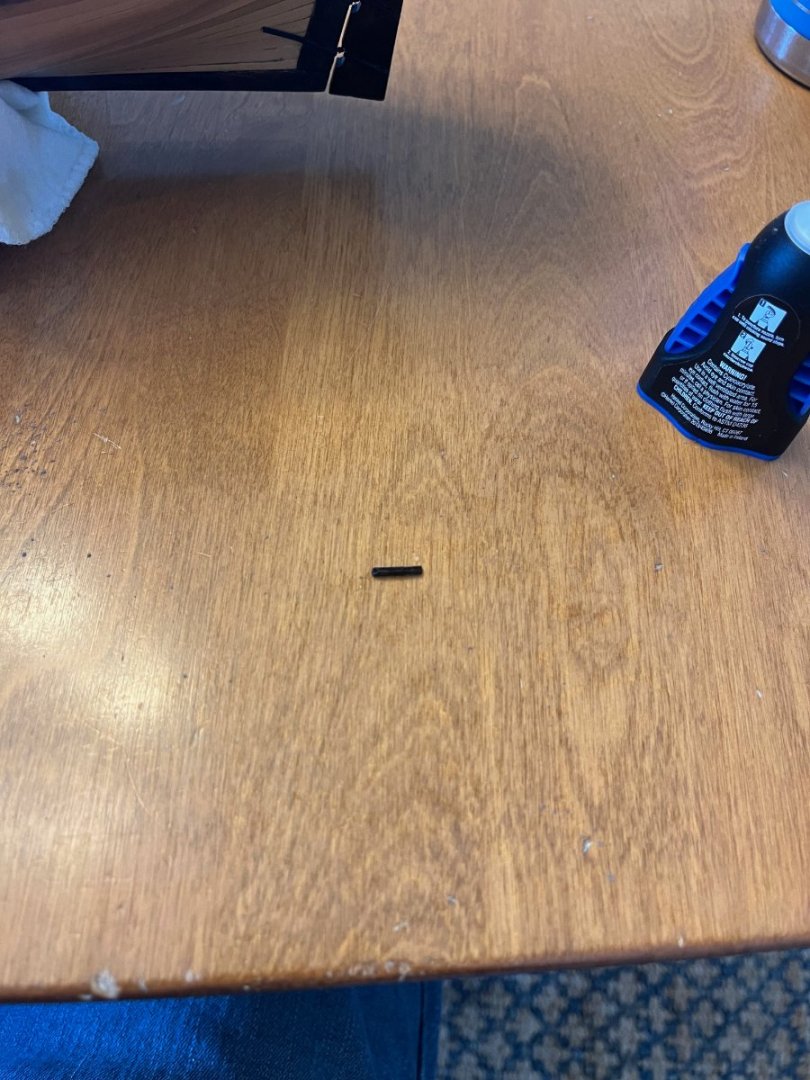
Soooooo, IT HAPPENED. It was only just a matter of time.....and we all knew it was. The Admiral came walking over to me at the "work/dining" table and dropped the missing stair step on the "table/workbench" and said "how did this get on the floor all the way over there" and pointed across the room (see evidentiary image below). I did the best stooopid look I could muster (which comes easy), thereby implying I had no idea what "this" was or how it appeared "over there". But we all know that doesn't work in this woman's navy. The only explanation I can figure out is that FOR SURE a dog got it stuck in their beard, and then walked it on over to a place on the bare hardwood floor where it would stick out like a sore thumb to the Admiral, and dumped it there ON PURPOSE. My wife even ended the discussion with "you have been working so hard on that boat, it sure is going to be a shame when a dog gets a part and gets sick, and my fist comes smashing down on it." My wife has a relatively small fist, but you should see the size of her rage when evoked. The Granado would be unable to defend itself....and all the super glue in the world would be useless. However, she survived for another day. More importantly, I have made some further progress, and haven't thrown parts around the room, so there is hope. I finished the other set of stairs, and the quarterdeck rough tree rail, a considerable accomplishment in my mind. I took some pictures of my silly paper template approach, and of the work so far (note that the quarterdeck barricade, windlass and bell are just dry fitted as I will install them later when the risk of dingage has decreased further). I hope you like the pictures, and thanks for stopping by, I am going to go do something good to appease the Admiral if at all possible....


.jpeg.89f85647b691c4bcaedee2baf1275ad0.jpeg)