
HardeeHarHar
-
Posts
615 -
Joined
-
Last visited
Content Type
Profiles
Forums
Gallery
Events
Everything posted by HardeeHarHar
-
 @Ab Hoving Seasons greetings my good man, and to all the other forum members as well! I am pleased to share the final product, all framed and ready to hang on the wall at our coastal retreat. This was a large print, and I wanted to make it look like it should be hanging in the Rijksmuseum (I know, good luck with that =), but truly, I did want a relatively bold frame to make it look as good as possible and like an antique. Most importantly, the Admiral (and I) are very pleased with the end result, and I am thinking I would like to get a few more files to print out and frame if Ab and his son are still willing to share the fruits of their hard labor. Ab, I truly hope you like the frame and the print! Thanks so very much, you made our holidays so much better having this ready to be displayed proudly amongst our other art work!!!! Happy Holidays, and thank you again!
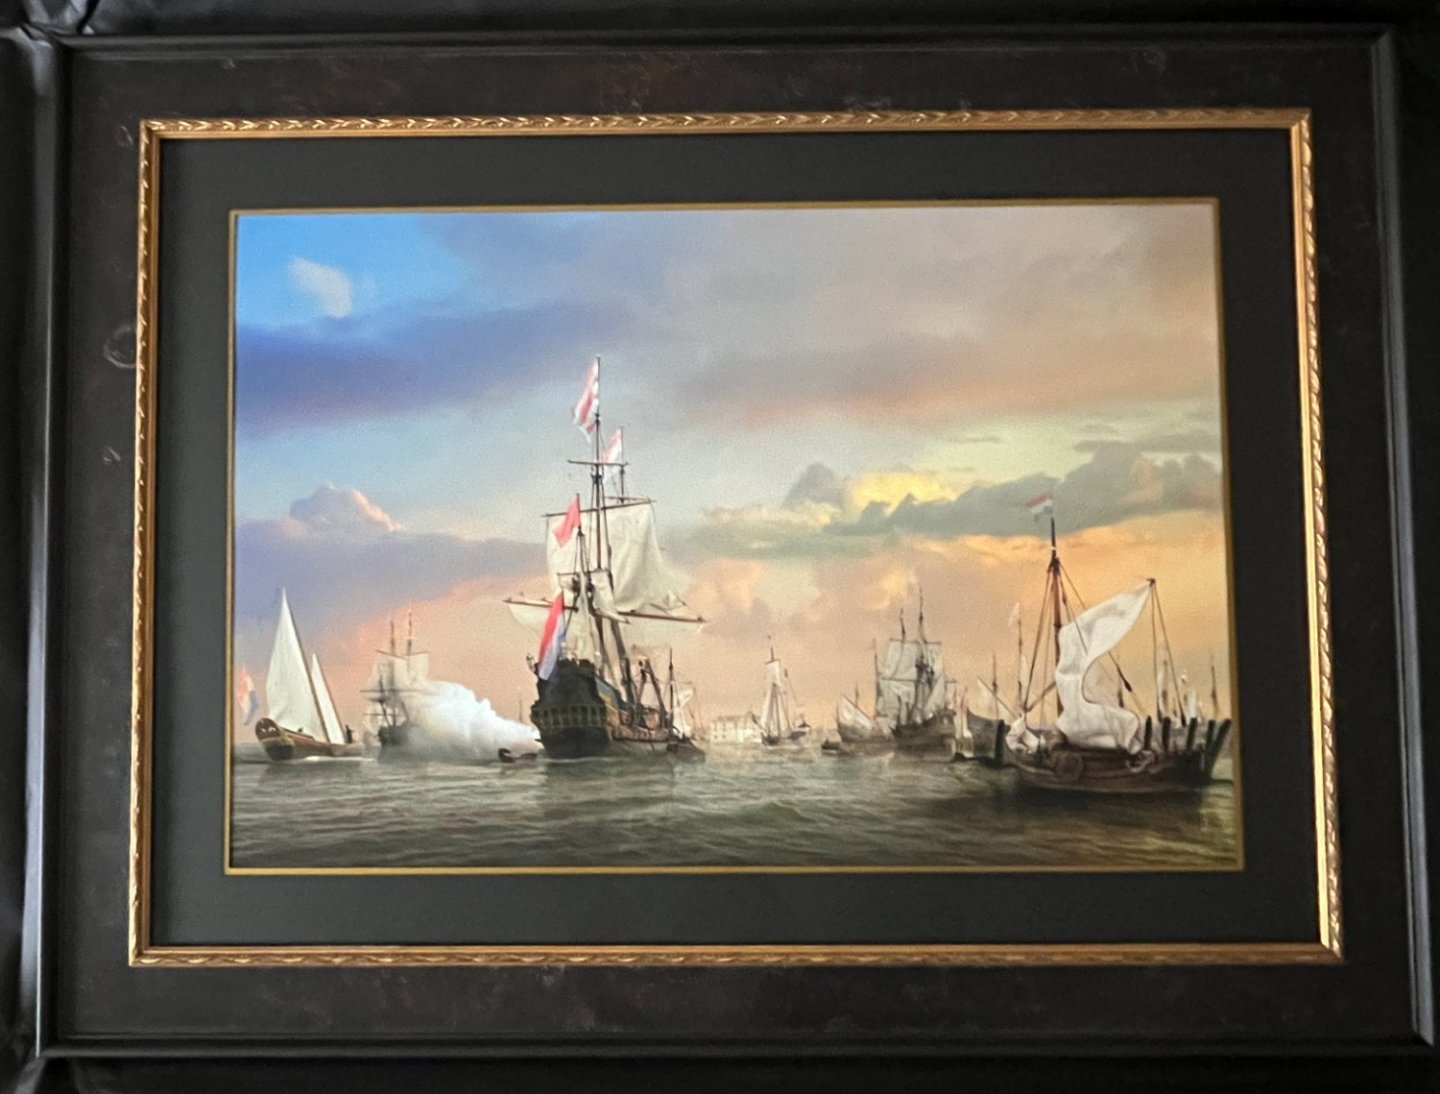
-
No apologies needed amigo, you know what works for you. I’m glad you know yourself and what you really want to do. I’m on your side, and understand your decision.
-
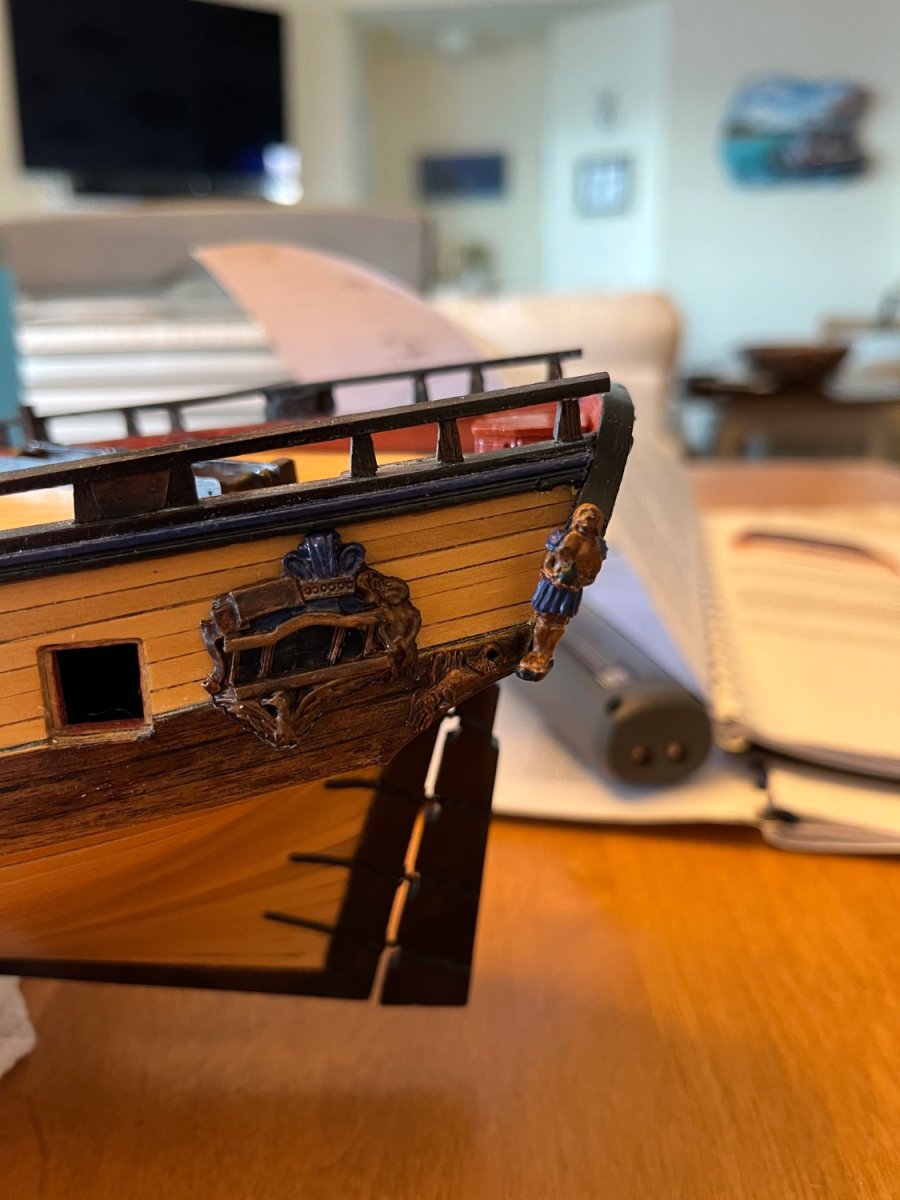
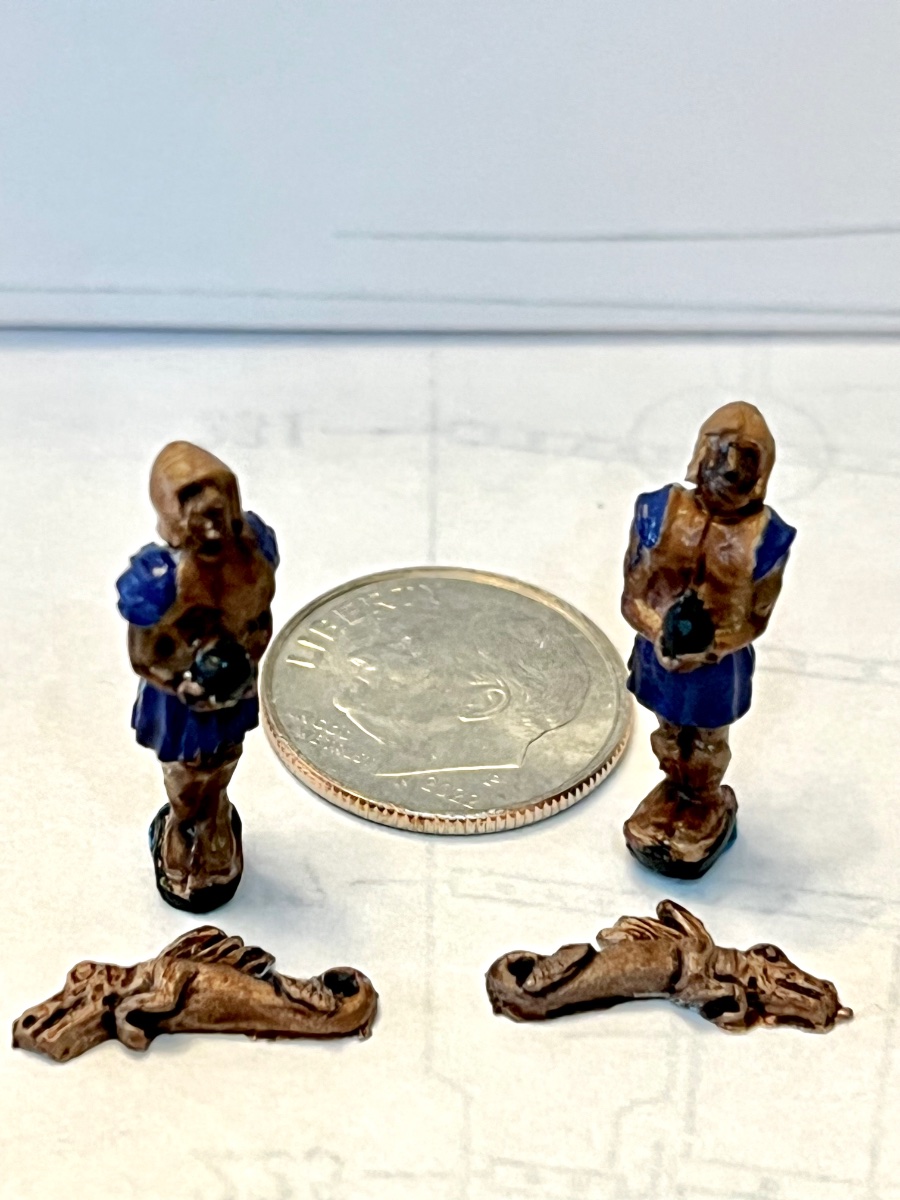
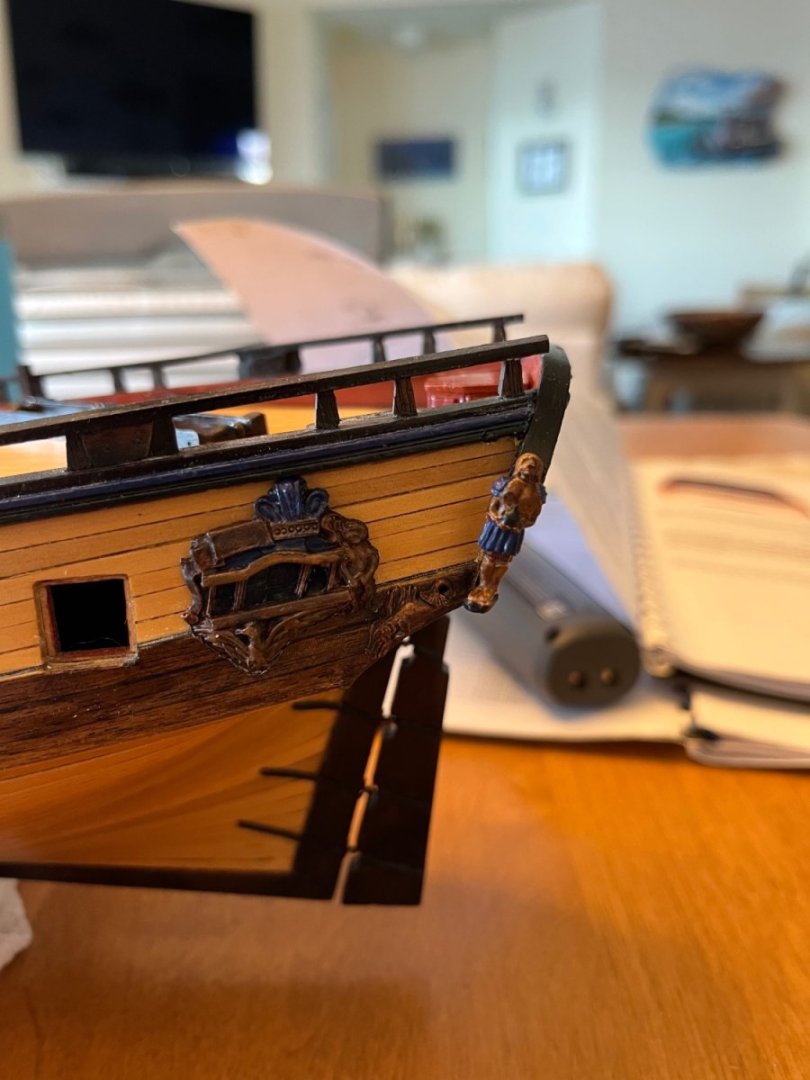
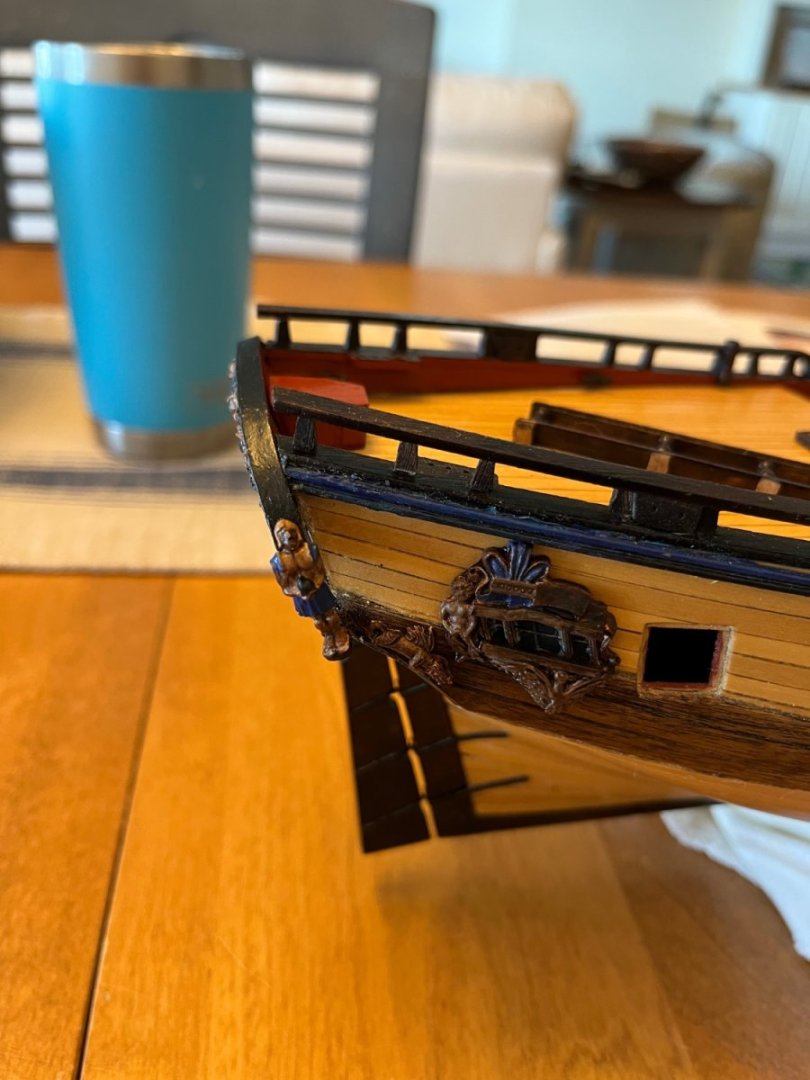
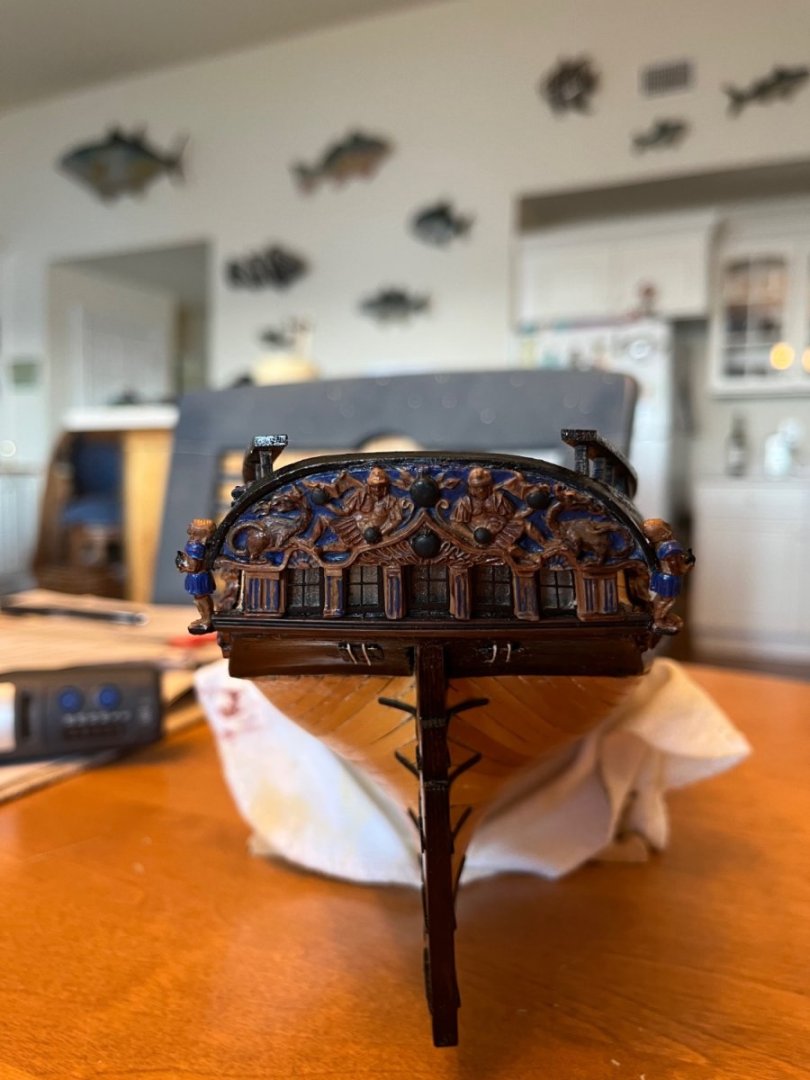
A lot of the steps in building a ship make me overly anxious, and I need to stop letting that happen so much. It slows progress, and isn’t healthy. For example, gluing these stern decorations was fairly nerve wracking for me for some reason. I wasn’t sure if I should pin and glue them, or just rely on PVA or CA. I didn’t want to ask opinions, as I ask a lot of questions already. I opted for CA, which makes it a one time operation, unless you like to clean up the mess you make of things. I think I got lucky on this one, and things turned out pretty good. All in all, I believe I don’t have to undo anything, and that it looks fair enough! All that angst wasn’t needed I guess!!! I’ll have to get my real camera out sometime soon and take some better photos…
-
Yes they are, but armed and dangerous!
-
Back on island time, with a paint brush in my hand. Just about ready to finish attaching the stern details!

-
Wow! That sounded tedious, thank you for your build log and perseverance!
-
It is true, you ROCK Ron. What a beautiful build, and to offer up such historical information along the way further demonstrates what a true master craftsman you have become . Your Camilla is spectacular, and then you add the water....inspirational work my good man!
- 542 replies
-
- 5
-

-
- Sphinx
- Vanguard Models
- (and 3 more)
-
It appears to be hard to locate specific issues of Model Shipwright or find the table of contents, and Robert Lichtley doesn't have much of a web presence. It would be nice of CafModel to do a build log or sponsor someone to do a good build log of the split hull (hint hint), because the instructions for this seem to be quite lacking (at least for someone of my skill level = newbie/intermediate at best). I will have to take a look at my part I kit when time permits to see how much information is provided that someone like me can understand. I can definitely saw something in half though 😉
-
Well, I upgraded the Granado to Boxwood planking on the hull, and have purchased and begun to employ Syren Ship Model rope, blocks, and deadeyes, etc. for the rigging. I have also been encouraged to purchase boxwood for the masts, spars, etc as well, instead of using the birch wood that came with the kit. So, one aspect of wow would be quality materials, the other aspects are appearance overall, historical impact/story. I liked the Granado because it was a little different, being a bomb vessel and all, and was just difficult enough to make me sweat non-stop. I really like your suggestion to work on the split hull in the background. Maybe someday soon someone will elect to do it before me, and start a BUILD LOG!!! One can hope!
-
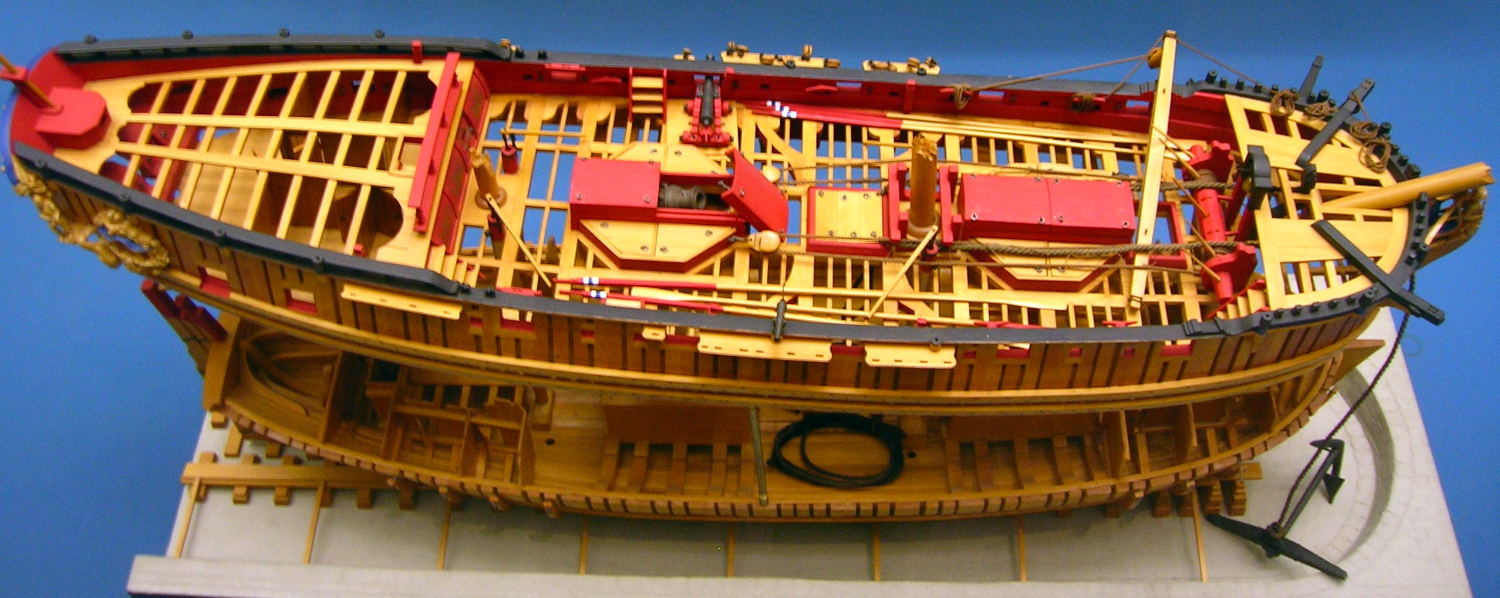
My wife just this morning asked me what was on deck....as in what was going to be the next kit to be built at the Roanoke Island Ship Building Company (despite the fact that I am no where near completion of the Caldercraft Granado at this point in time). I replied that I had already purchased and received part 1 of the CAFModel Granado kit that I was hoping to build in the split hull, exploded, 3 part version (see below image taken from Wikipedia) as a companion piece to the Caldercraft Granado (like a needle stuck in an album groove). However, there has been no build log for the segmented build, and even the non-exploded kit looks extremely difficult and labor extensive to just make "another Granado". I'd love to get people's opinions on how hard it would be to do the segmented build... and know whether there is a build log available from the manufacturer @cafmodel The instructions provided by Cafmodel for building the split hull are not adequate for a builder of my limited skill level, in my humble opinion. In the absence of clear instructions or a super helpful build log for the split hull version, I am afraid I bought part 1 of a 3 part kit that will never be started. Notwithstanding the foregoing, my wife then asked: "well you are just about finished with the Master Korabel Secret Vessel at the Durham Dry Dock, so what is next on the agenda there?". And there was an awkward silence. I don't know! I would like to continue building sailing ships, and was considering the HMS Beagle, Bounty or the Endurance, but OcCre's kits don't appear to have great instructions or the wow factor I am looking for (please correct me if I am wrong here), and then looked at Vanguard's kits and considered the Sphinx as a next step up in skill level progression. Of course the new project from Syren Ship Models has got my attention as well....but they may be a ways off in the future.... So, I am begging everyone to offer up their opinion on what kits I should be considering, so I can tell my wife and send her a link ;-). Wouldn't attempting a split hull build of the Granado be a death wish? It sure appears that way now, as there are only 2 build logs of the non-split hull so far.

-
Hey ir3 - Thanks for taking your build onto the forum. You know I am going to be following along with you and Jeff and any others who opt to build this kit and make their work public. You are already doing a great job, and I hope you get your unlabeled parts identified. That will be lesson number 1 for me: LABEL ALL PARTS BEFORE REMOVING. I have miles to go on my Caldercraft Granado, but when complete, I am thinking I will bite the proverbial cannonball and do the split hull version of the CAF model. It will be an endeavor that is way above my talent level, and it should keep me busy for the rest of my life and then some.... I wonder if Tom has a build log of the split hull version?
-
I have this kit on the shelf (at least I have part 1 and 2), as I am currently finishing the Caldercraft Granado. I was thinking it would be cool to do the CAF Model blown up in the three sections as a companion piece. Due to the perceived level of difficulty, I am hoping that everyone who does this model will start a build log so others (like me) can learn from the experience of others. So @ir3, I humbly encourage you to share your work with a build log 😃 Best regards, BT
-
Thanks @ccoyle, I have rivets in lots of small sizes I purchased from the web. I was thinking you just cut the rivet head off and glue it down. No drilling needed. Is that correct?
- 68 replies
-
- 3
-
-
- Morel
- Master Korabel
- (and 1 more)
-
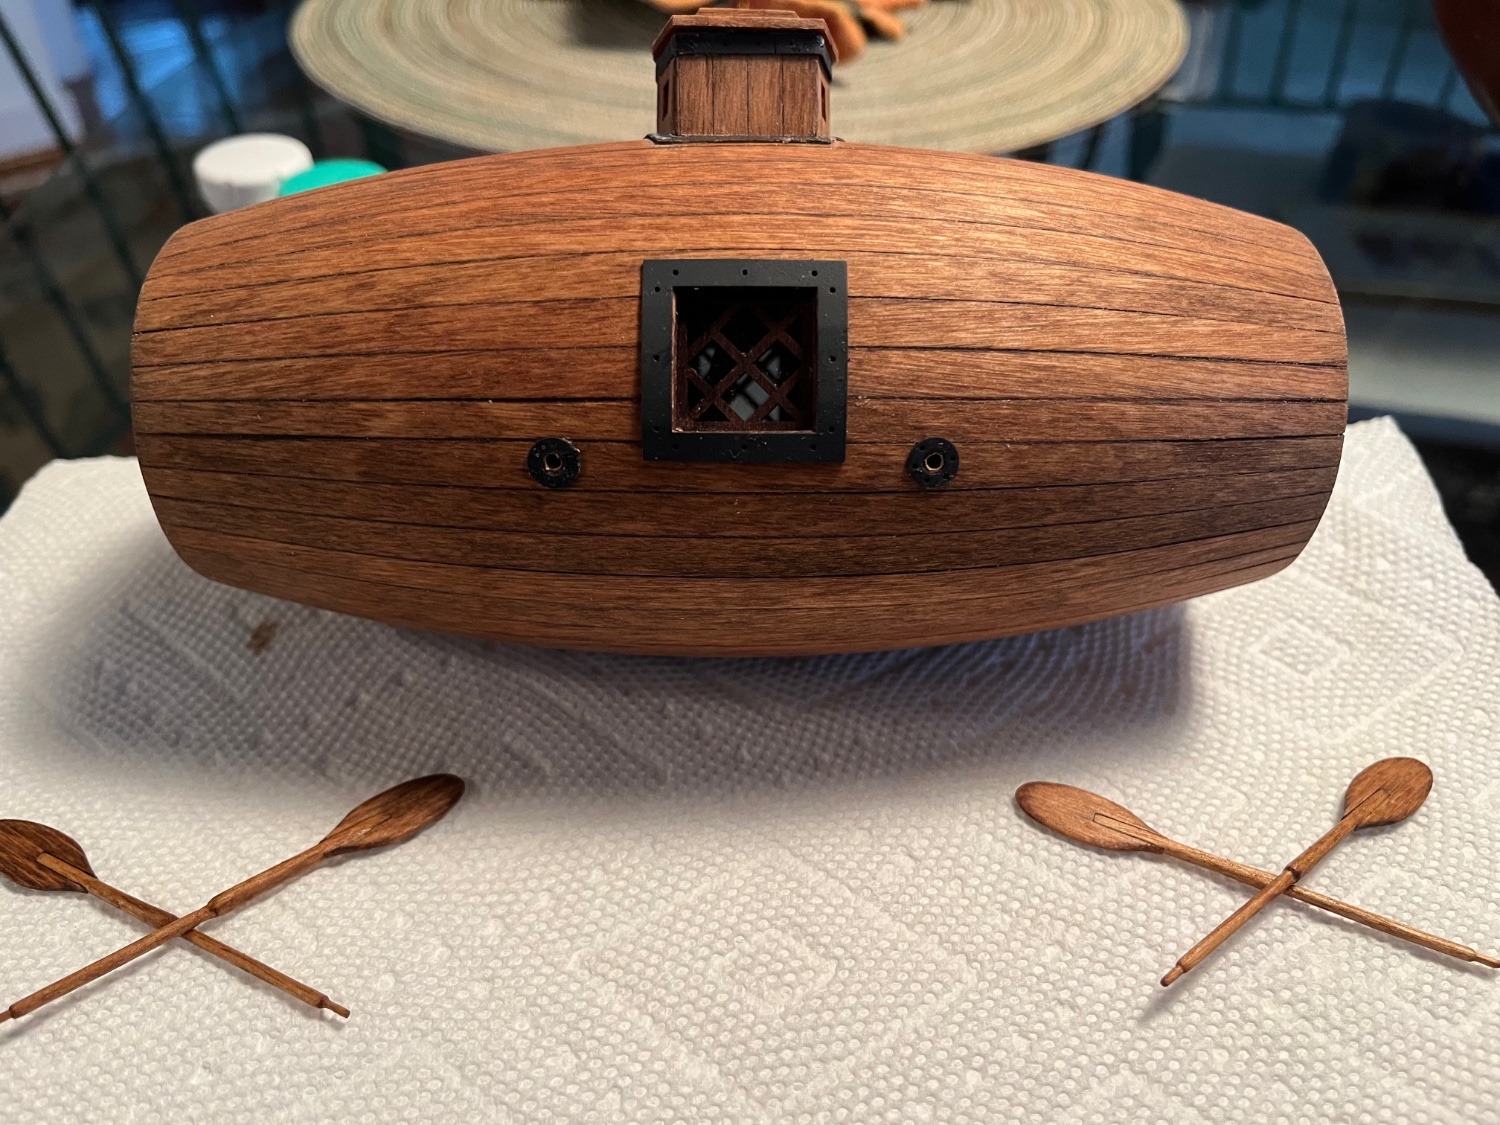
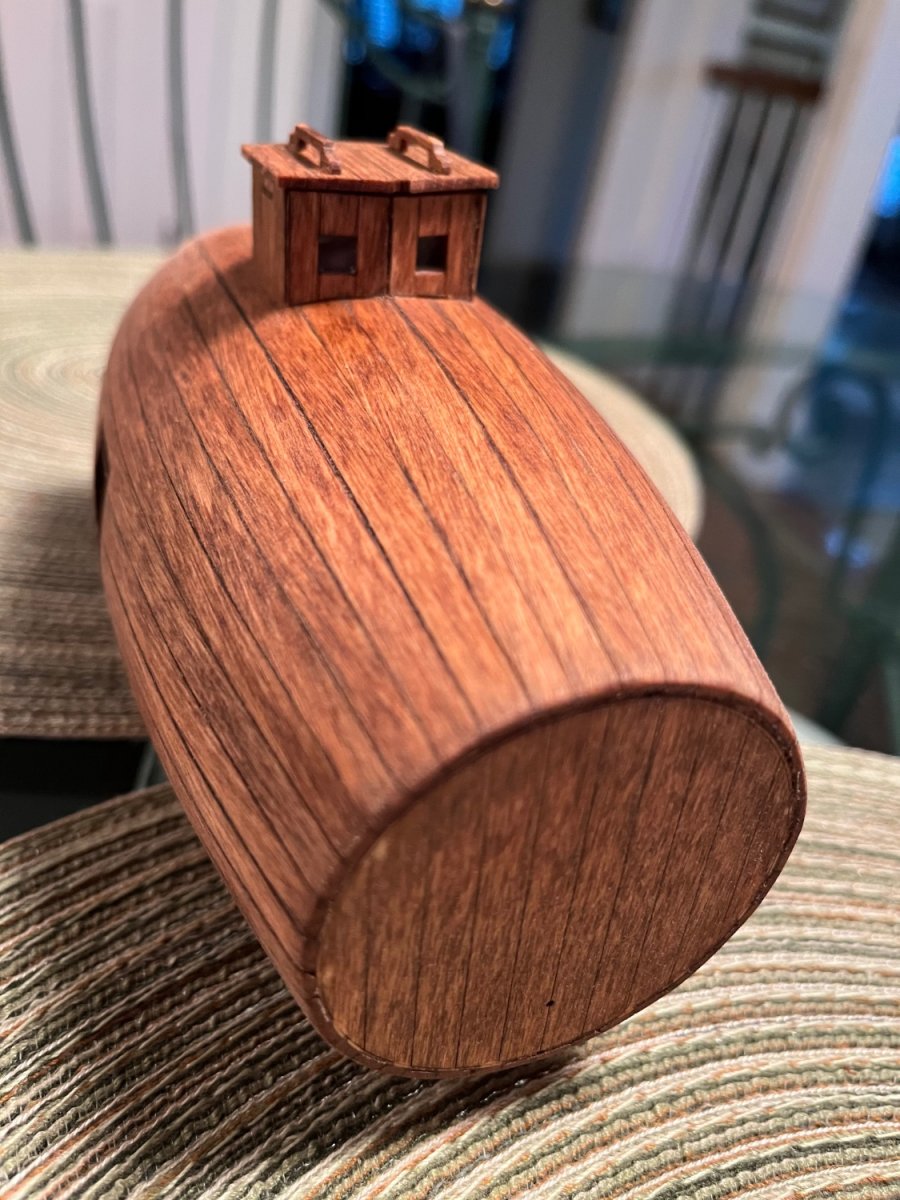
Just paddling along. Wondering how to do the rivets next…


- 68 replies
-
- 6
-
-
- Morel
- Master Korabel
- (and 1 more)
-
I can only reiterate what all the others have already said. You have amazing skills and execute them flawlessly. It is such a wonderful thing to be able to electronically observe your master craftsmanship. Thanks so much for sharing. Stay safe and be well.
-
Agreed! Thanks Jim!!!
-
Hey Vane! How on earth did you get two figureheads? Were they just in the box?!? I think you made the right call to make your own rail instead of using the brass provided in the kit. In my case, getting the brass to shape to the hull and adhere with CA was a huge challenge.
-
Lol, well its a good thing to learn a new word every now and again. The next challenge is for you to use it in a sentence! 😃
-
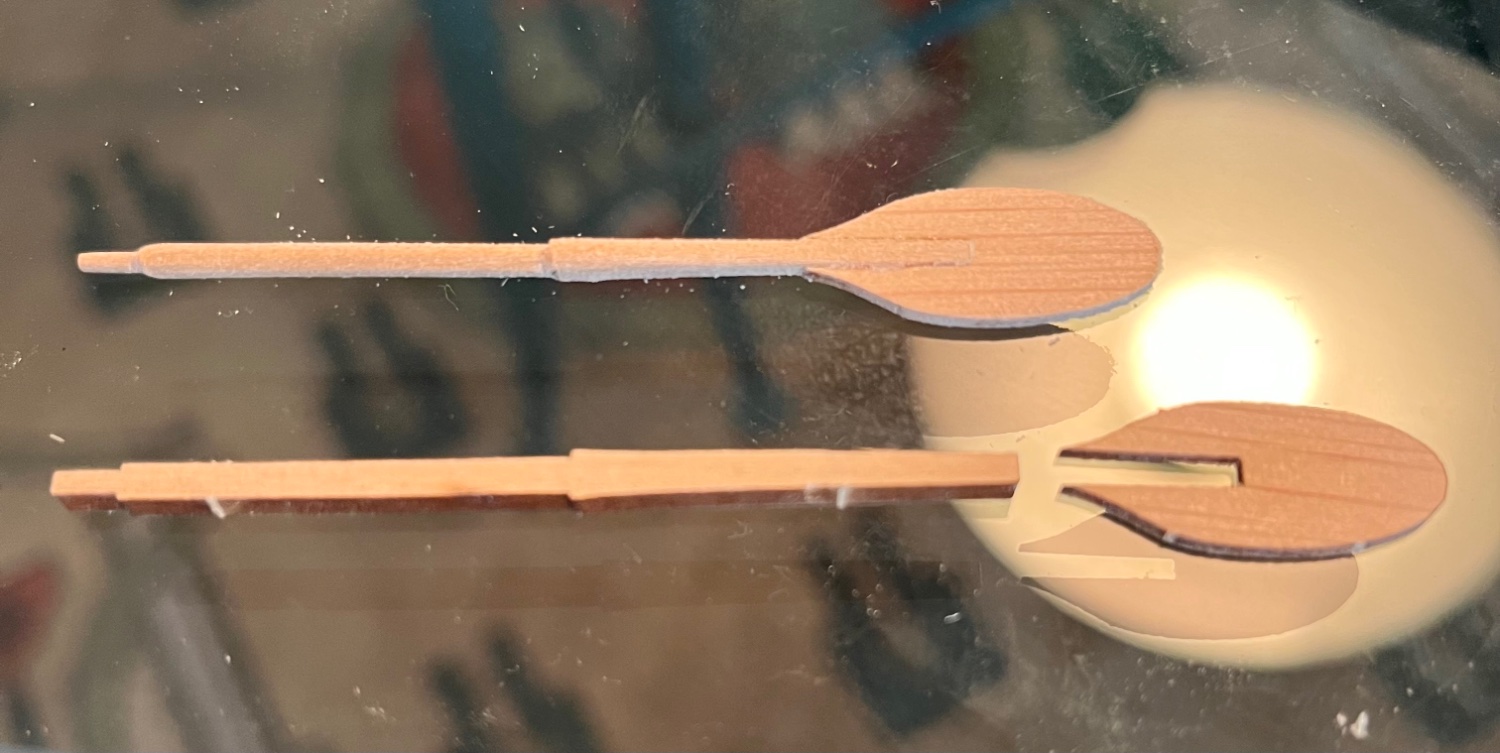
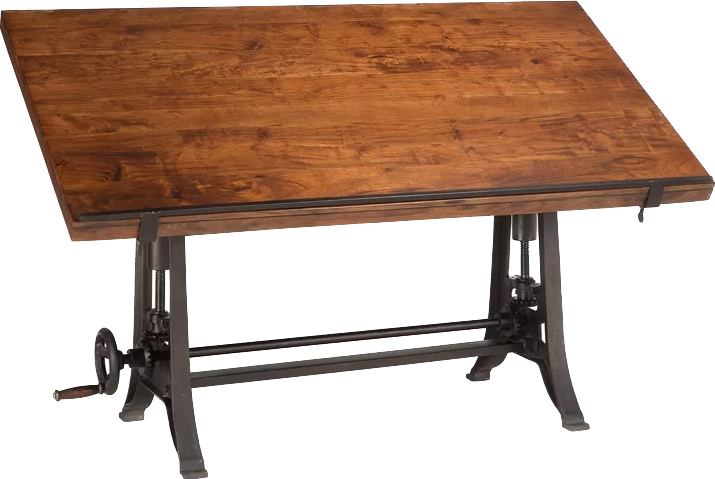
@Peanut6 - I never said I did any of those things well, but I keep practicing!!! I used to do leather craft when I was young, and I got very good at that. I won’t be doing much leather work, but I do hope to put the drafting table to good use in the future!!! It can even serve as a music stand too! Believe you me, I do A LOT of windows Kev. Way too many. The salt water on the coast makes it a must if you want to see thru your windows. I’d say I am not too bad at windows. 😜. p.s. Turning oars with a file is painful, time to order that lathe…
- 68 replies
-
- 4
-

-
-
- Morel
- Master Korabel
- (and 1 more)
-
Having fun, doing good work, and building things you can be proud of….a perfect trifecta!
-
Yessir, it weighs over 200 pounds. I hope it works as I am hoping. At the very least, it serves to remind me of all the architects that comprise my ancestry. It raises and lowers so I can work sitting or standing. I may have to put it to good use while writing a book, if a 2nd Edition Book is approved by Elsevier. That is gonna be a real commitment of time and effort. When not writing, I am hoping I can use it for guitar playing/ship building (and an occasional attempt at painting). I have talented painters in my family who are inspirational, but I don't seem to have inherited those particular genes....not that I let that stop me =]
- 68 replies
-
- 4
-
-
- Morel
- Master Korabel
- (and 1 more)
-
Thanks Kev! You’re too kind!! The drafting table will be used as an office desk and a construction space/painting easel. It’s big!
- 68 replies
-
- 5
-
-
- Morel
- Master Korabel
- (and 1 more)