Bill97
-
Posts
2,730 -
Joined
-
Last visited
Content Type
Profiles
Forums
Gallery
Events
Everything posted by Bill97
-
Good morning Ian. I wondered about that and even glanced at Plan 8 for guidance. Now that I look much more closely I see the bottom pair clinches are in line with the front edge of the mast and the top pair in line with the back edge. A little adjustment and will b ready to go with stays over the top. I may try serving the center of the swifter line when making it for he mainmast. If it is flexible enough to make that knot you free up I will see how it compares.
-
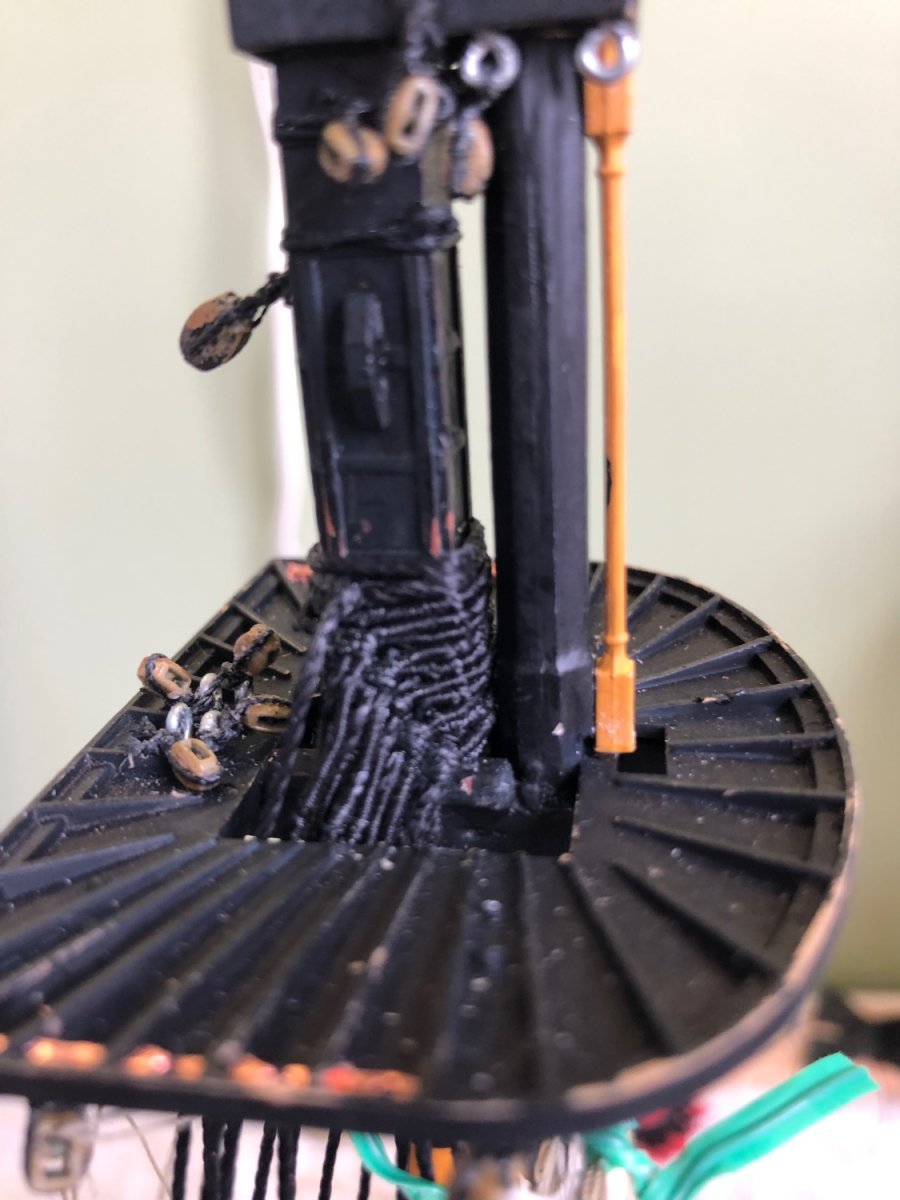
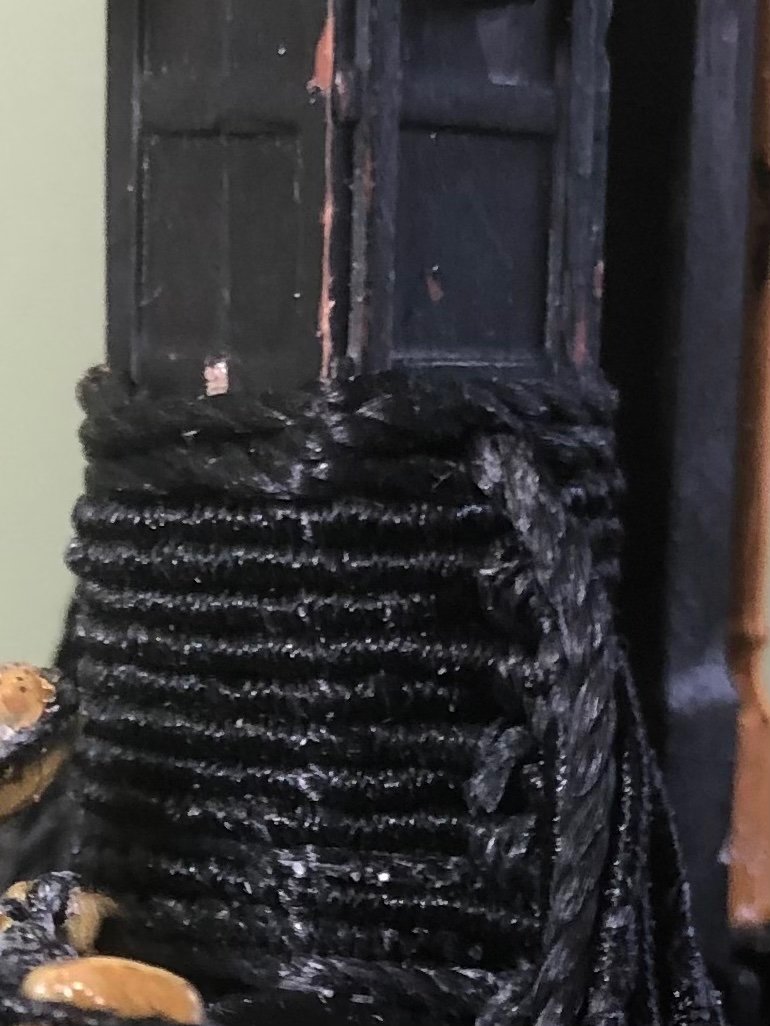
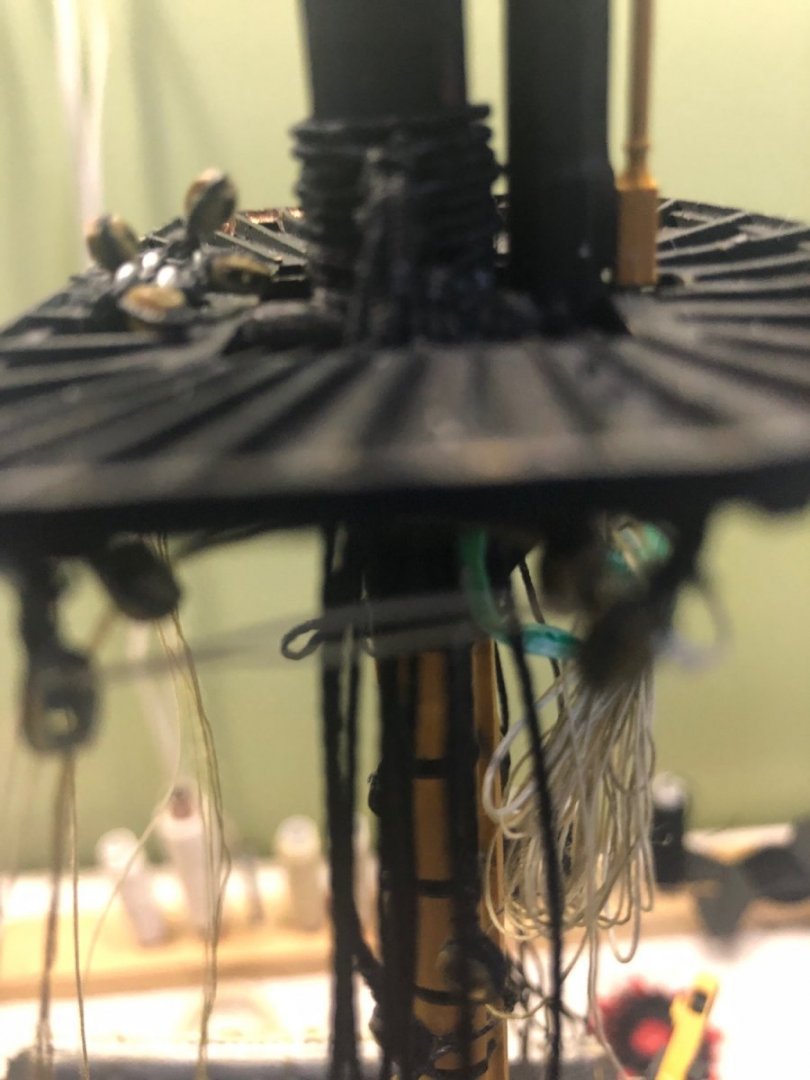
I continue to look at the swifters on the foremast. When you examine the way the thread looks stacked on top all the other shrouds it does not look as clean with the threads crossing over each other as a result of the method it is tied. I did not serve the center of this shroud line thinking it needed to be more flexible to accomplish the knot. You guys think I should remove it, serve it, and put it back on the mast, or would you live with it as is?
-
Foremast lower shrouds served and seized around the mast, including the swifters using the knot you drew Ian. Not sure yet if I am satisfied with how the top shroud looks stacked on the others. Will keep looking at it. Now starting to stack lower shrouds on mainmast.
-
I am serving the center of the shroud pair even though no one except me will know or see it. I have all of the shrouds except the last singles attached and numbered for later.
-
Guys I did in fact see that in R.C. Anderson’s book and thought about doing it that way, but thought you would call me out for taking a short cut. 😀 Ian the weather here in Kentucky took a unusual turn to the good for a few days so the wife and I took a trip to one of our beautiful lakes for 4 days. Back pulling a shift in the ship yard now!


-
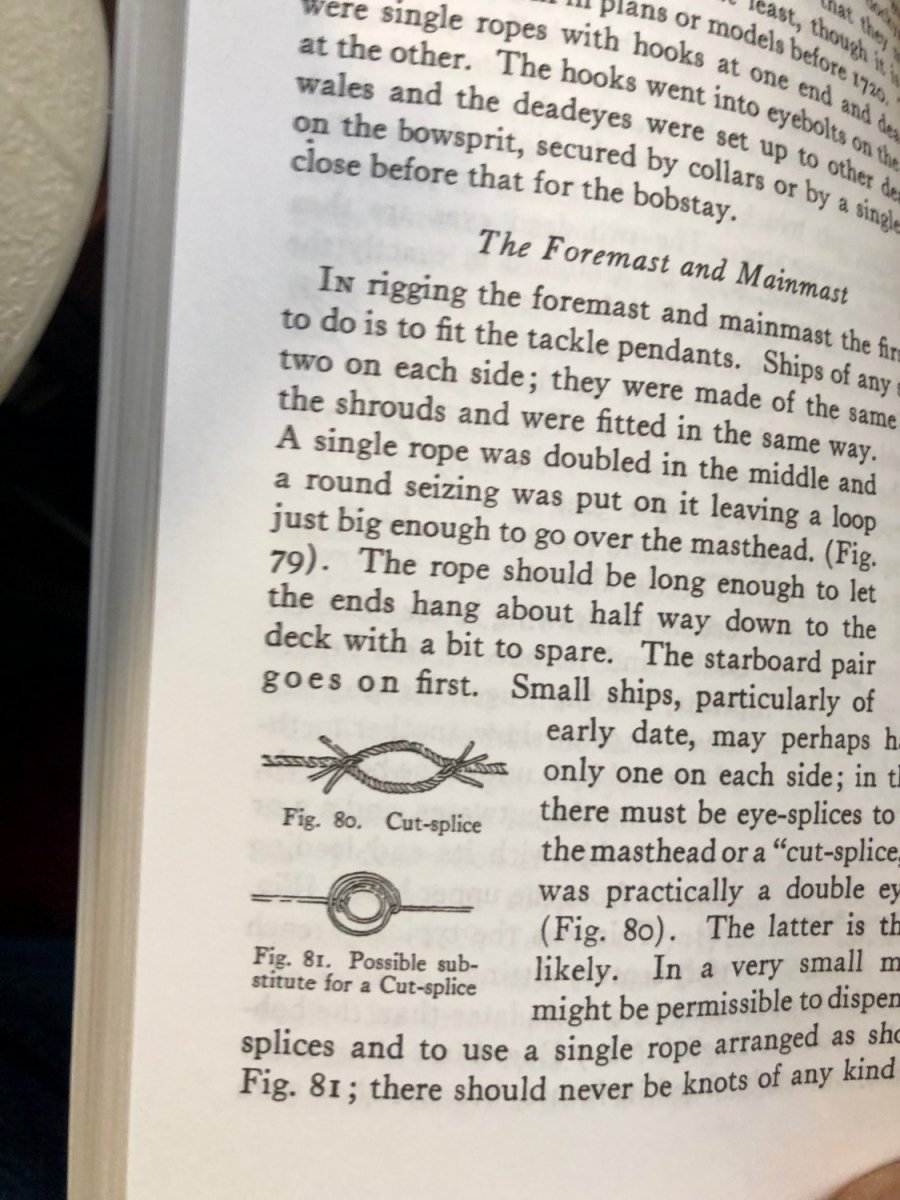
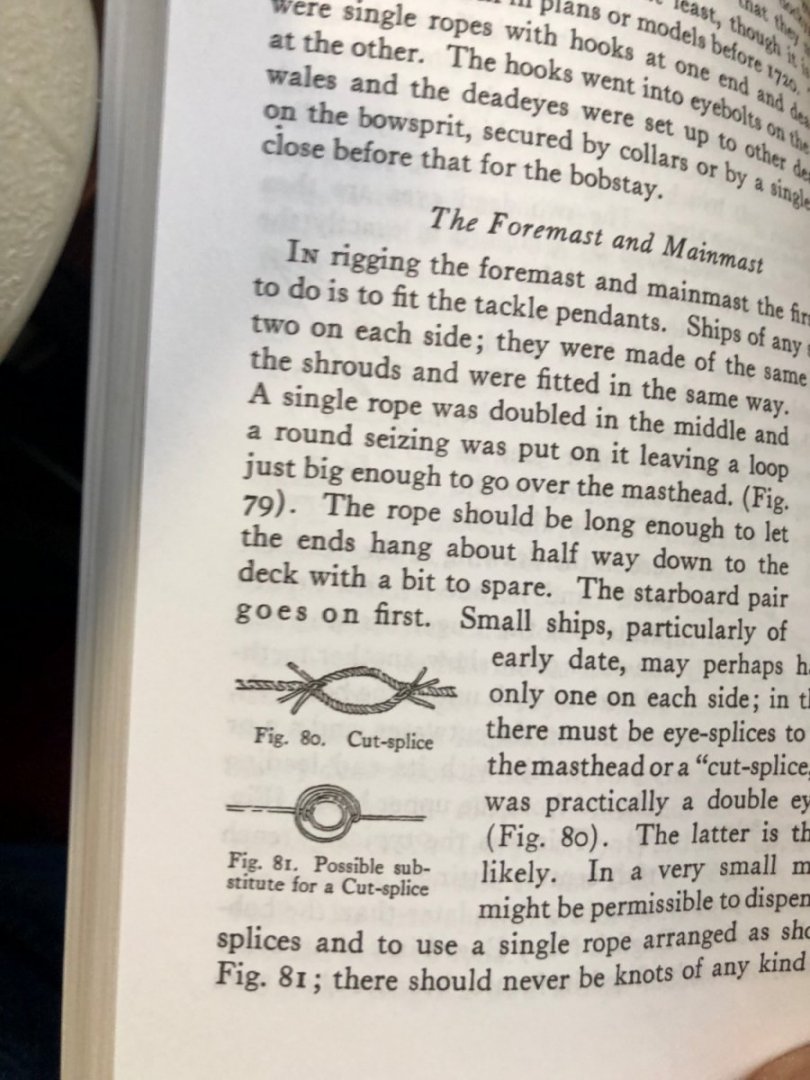
I am about to get to the last lower shroud on the foremast. It will be a single on each side. In Longridge’s book it calls for this being done with a cut or eye splice. Will need to research how to do this with my .85 thread.
-
Kevin that is so cool that you are able to visit the CS. When I built mine I read up so much on the restored old ship in its museum form. Did you walk under the bottom? I think that would be very interesting. The only actual ship i have visited is the USS Constitution in Boston. Which by the way I understand had its first female commander assigned recently. All my builds so far are of ships I could visit if I traveled to them (which I would love to do), even the Wasa. The Soleli Royal unfortunately no longer exist. So when I start it there are no actual online photos. The Revell CS rigging instructions are far better than the Heller Victory. I don’t know if it is simplified compared to the actual ship or not. It still looks pretty good. Love your paint job. The discussion you were having about ink is what I was curious about.
- 444 replies
-
- 1
-

-
- Cutty Sark
- Revell
- (and 2 more)
-
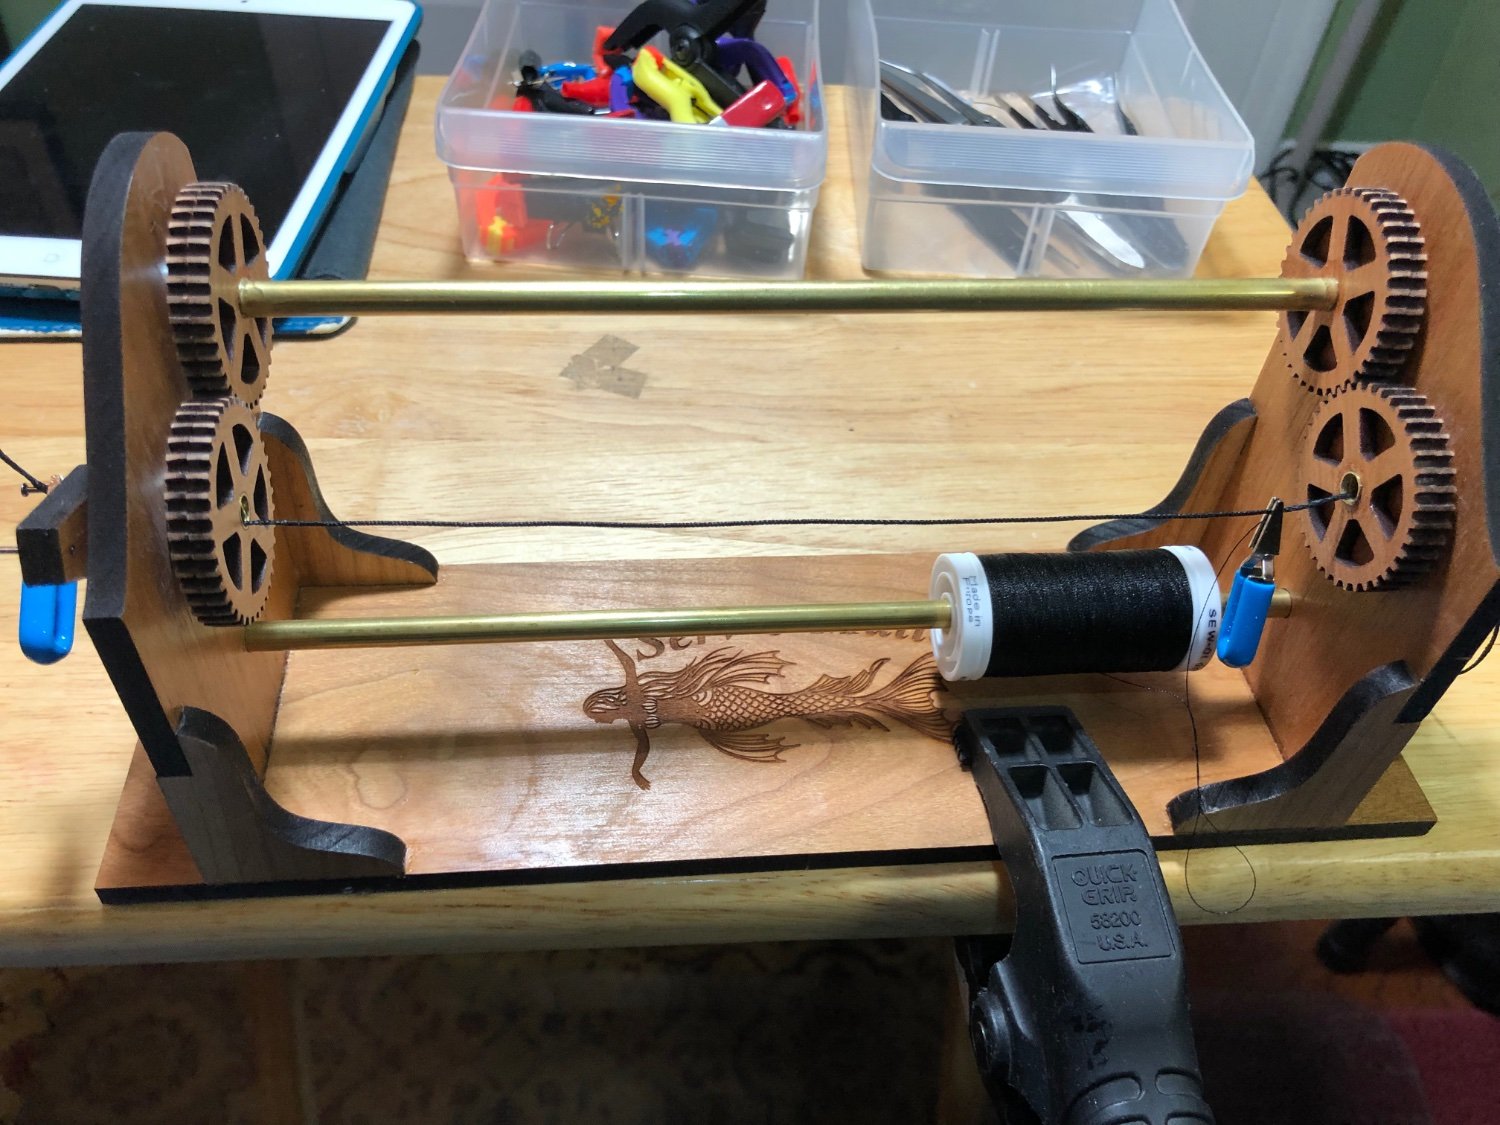
Starting to stack up served lower shrouds on the foremast. Loving my Serv-O-Matic. Can’t imagine how long it would take to do these manually. Will touch up the black paint on the mast when all are installed.


-
Kevin I have not been over here to your build for a few days. Amazing what you are doing here! Absolutely beautiful deck work. This ink idea/process simply proves there is no limit or end to the ideas modelers can come up with in their builds. I have no idea what you guys are talking about but must investigate for future builds. After looking at your CS build I look at my CS, which at the time I did it I was pretty proud of, and now think “you are a sad sad looking model”. Great work my friend.
- 444 replies
-
- 2
-
-
- Cutty Sark
- Revell
- (and 2 more)
-
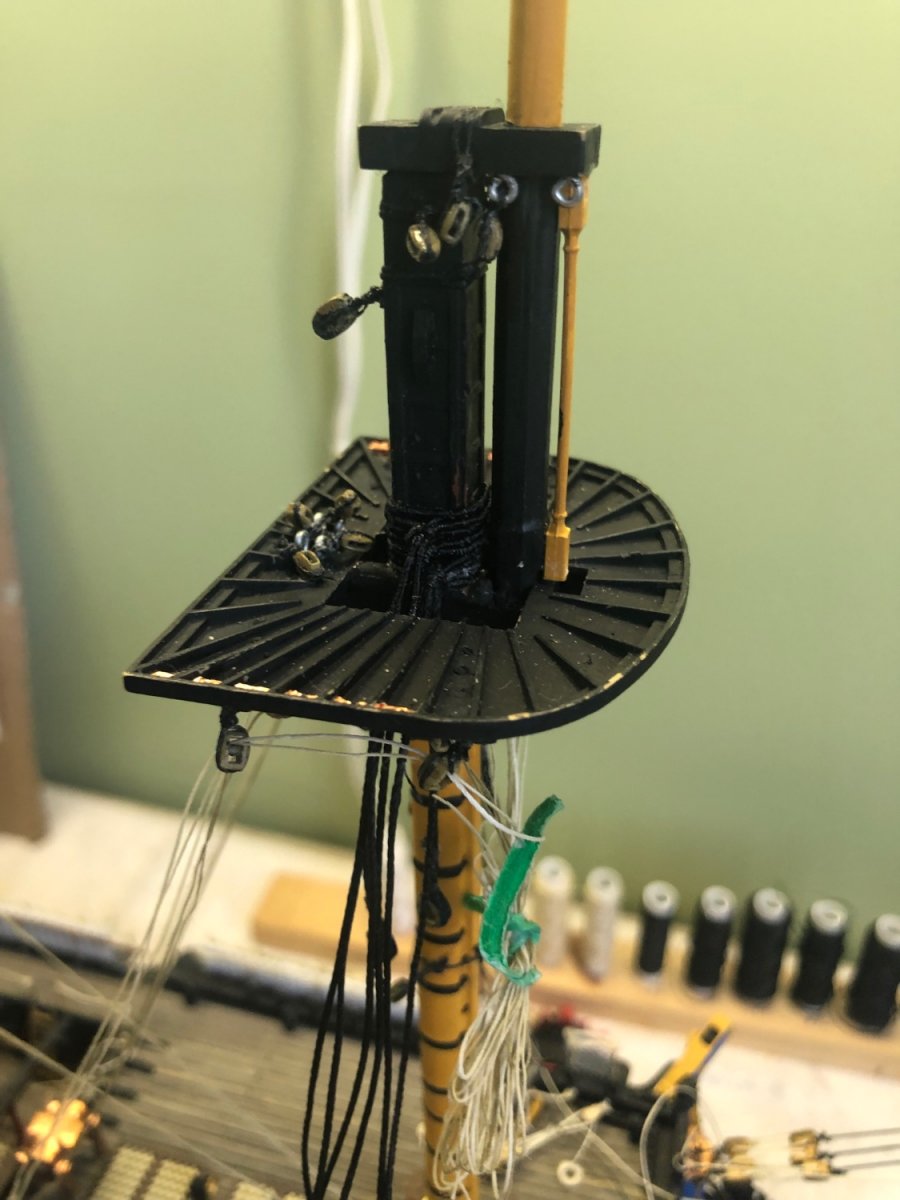
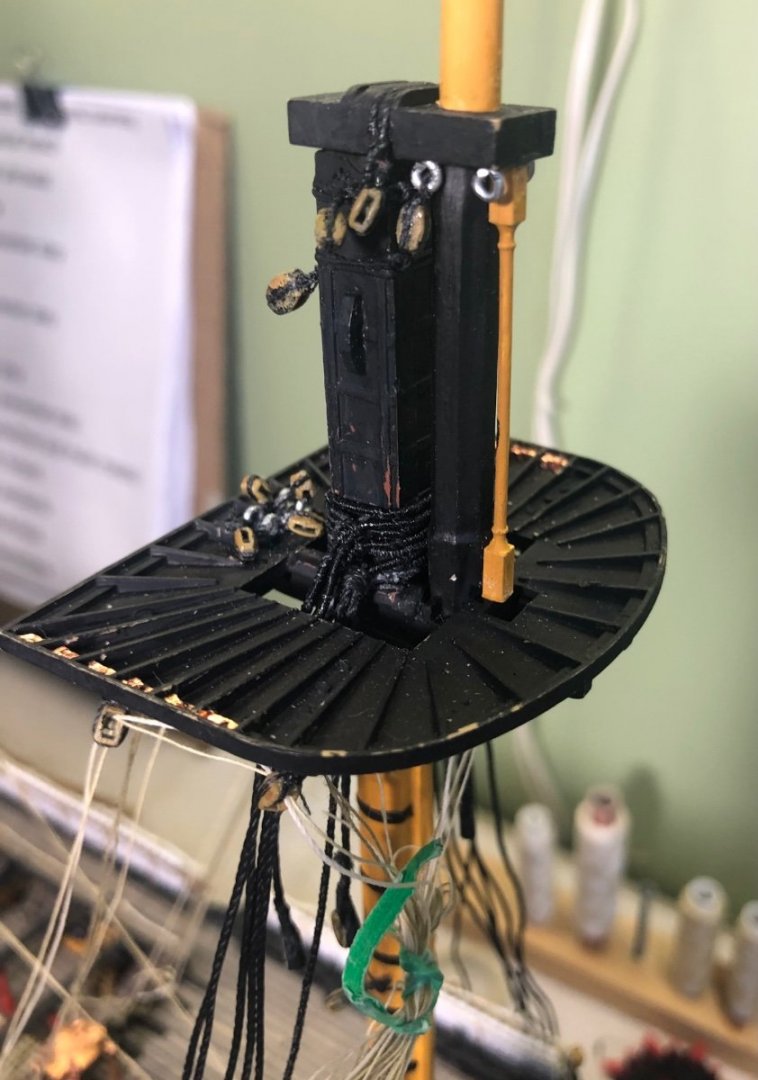
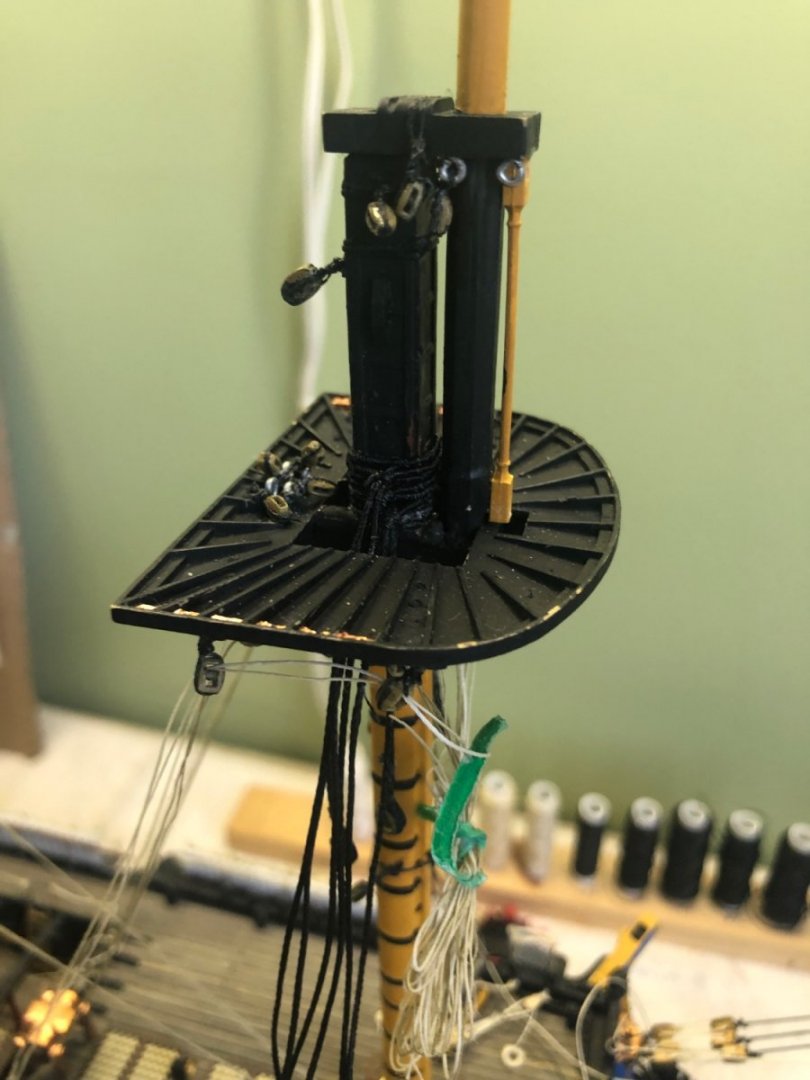
Oh OK that explains it. I did not know the support for the mast top was also referred to as a cross tree. Still learning every day.
-
Thanks Ian. That does in fact make so much more since now. Just need to cut off 3 unneeded blocks on each side. For my curiosity why on page 253 in the paragraph The Main Top does Longridge refer to the fore cross tree? That is really confusing since the cross trees are further up the masts and I don’t think have anything to do with these lines.
-
Ok great Ian. I was misunderstanding the text, and your earlier instructions. When Longridge used the plural “blocks” in “pass from forward to aft through the blocks” he was not meaning both of the blocks. Your way of saying it above in #901 is much clearer. I did the same with the leach lines sing two blocks. Is that also not correct?
-
Thanks Ian. I will go back into the “shipyard” tomorrow and compare my lines to your instructions. So the leach lines go through the blocks opposite direction of the way the buntlines do? Started playing with my serv-o-matic today. Served the first two lower shroud pairs for the foremast. Longridge states that the front shroud of the first pair on each side is served all the way down to the deadeye. He also states that 18’ of the center of each shroud is served. My scale conversion chart puts 18’ at 1/100 scale to be 2 1/16”. So for all the remaining shrouds I will only serve 2 1/16” in the center to wrap around the mast. For the first shroud pair for each side I served the entire shroud long enough to go from the upper deadeye up and around the mast and down 1” on the aft side (1/2 of 2 1/16”). Ian that is a lot of skating! Great job. By the way I was truly surprised at the Olympic hockey results!

-
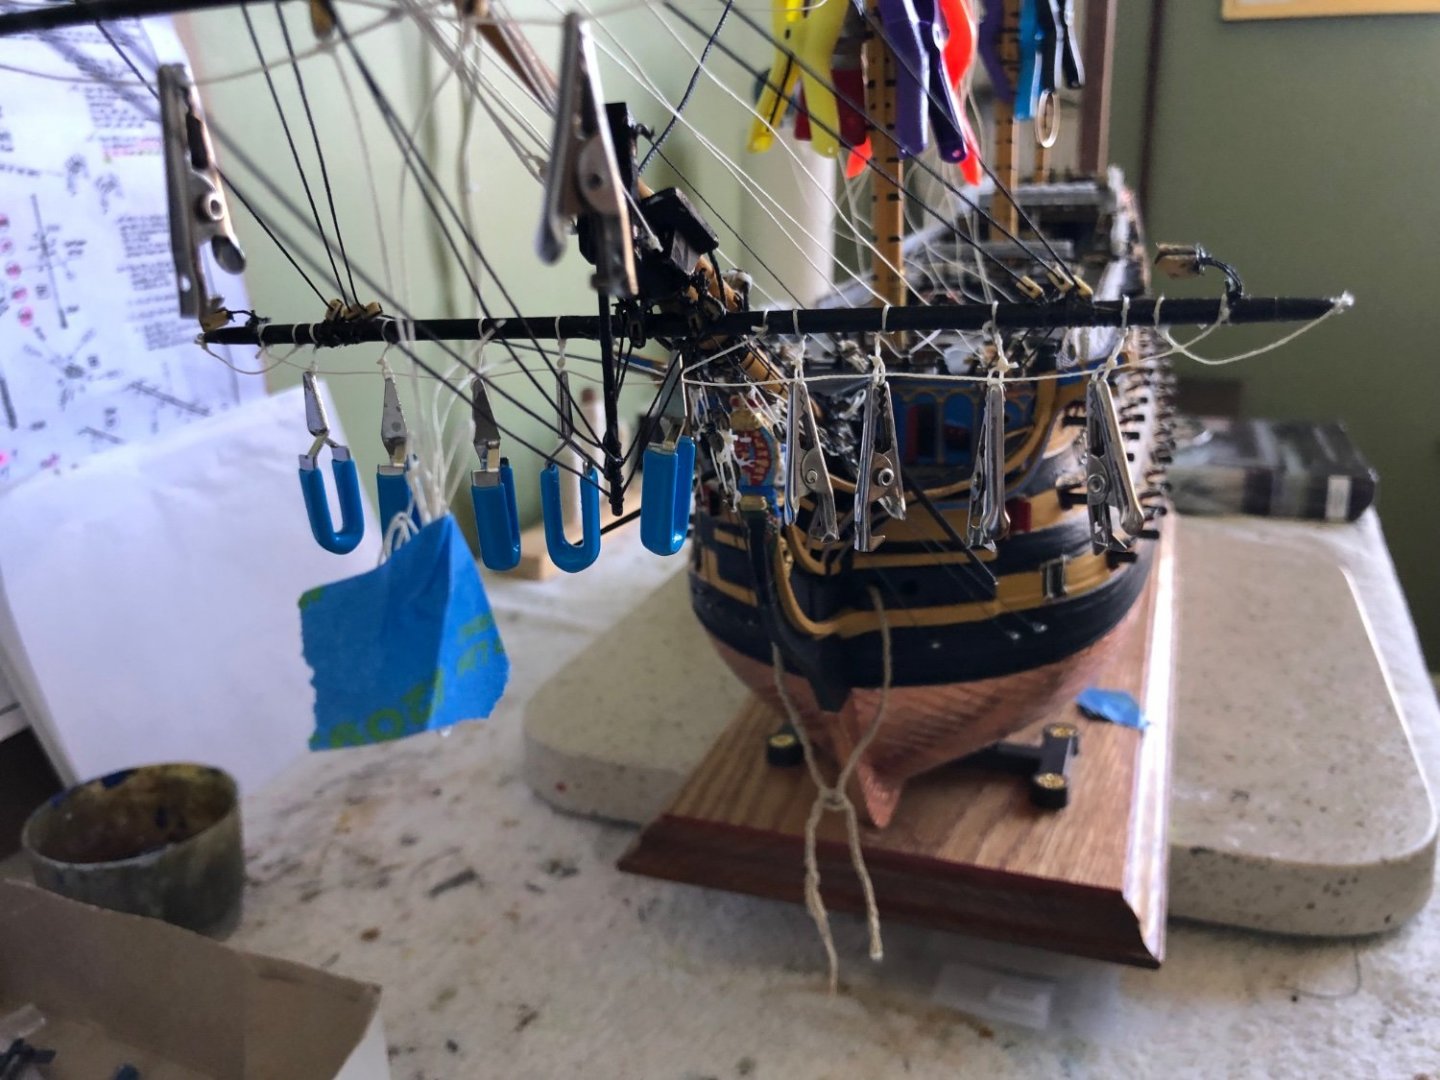
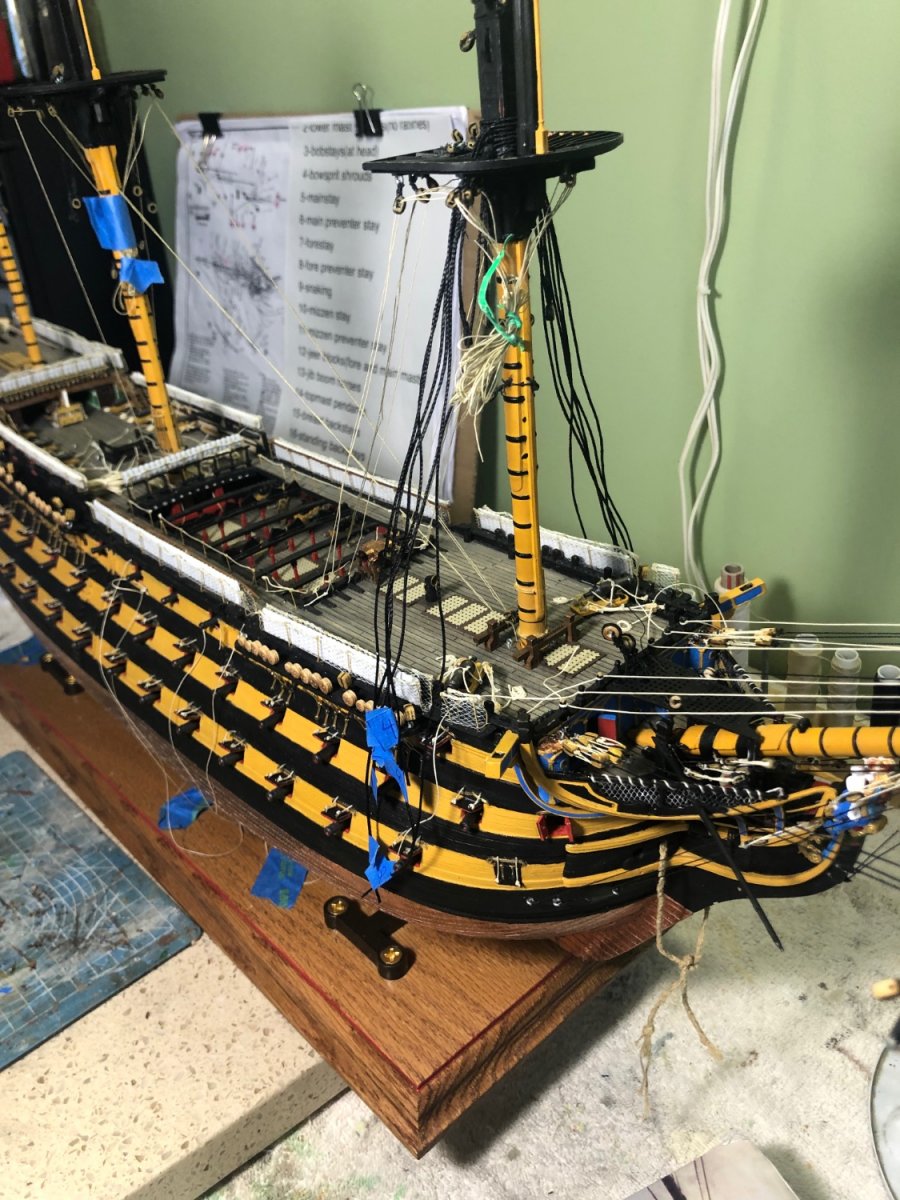
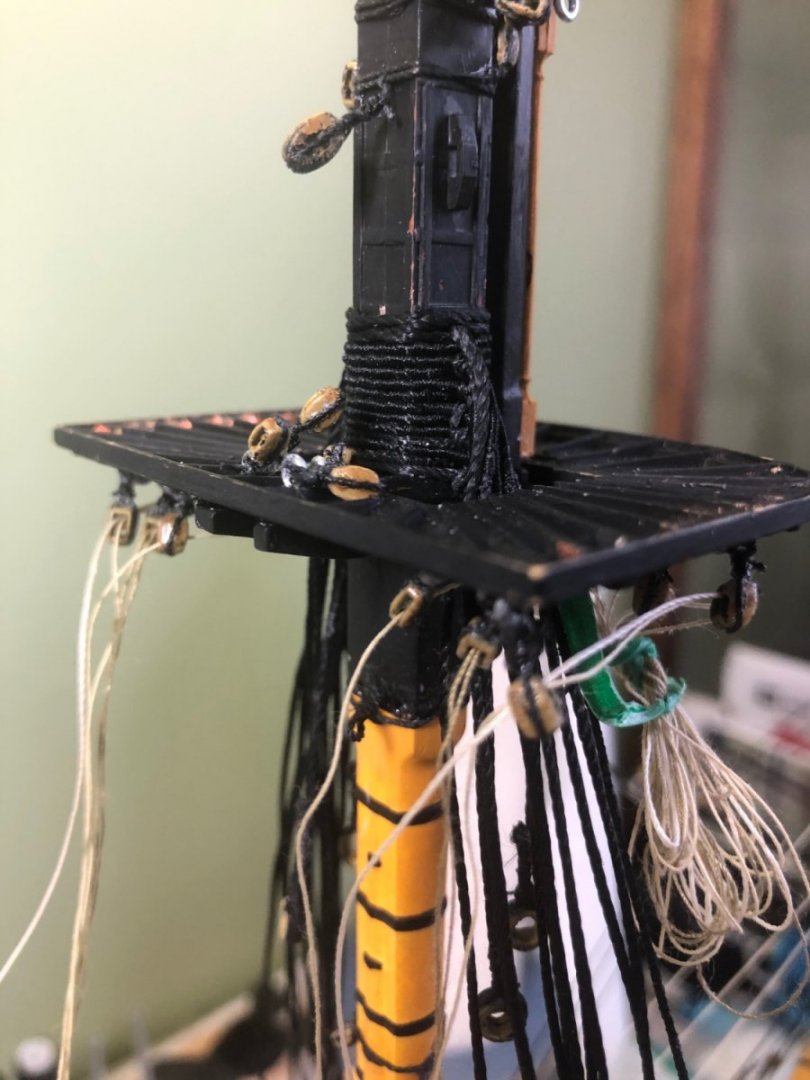
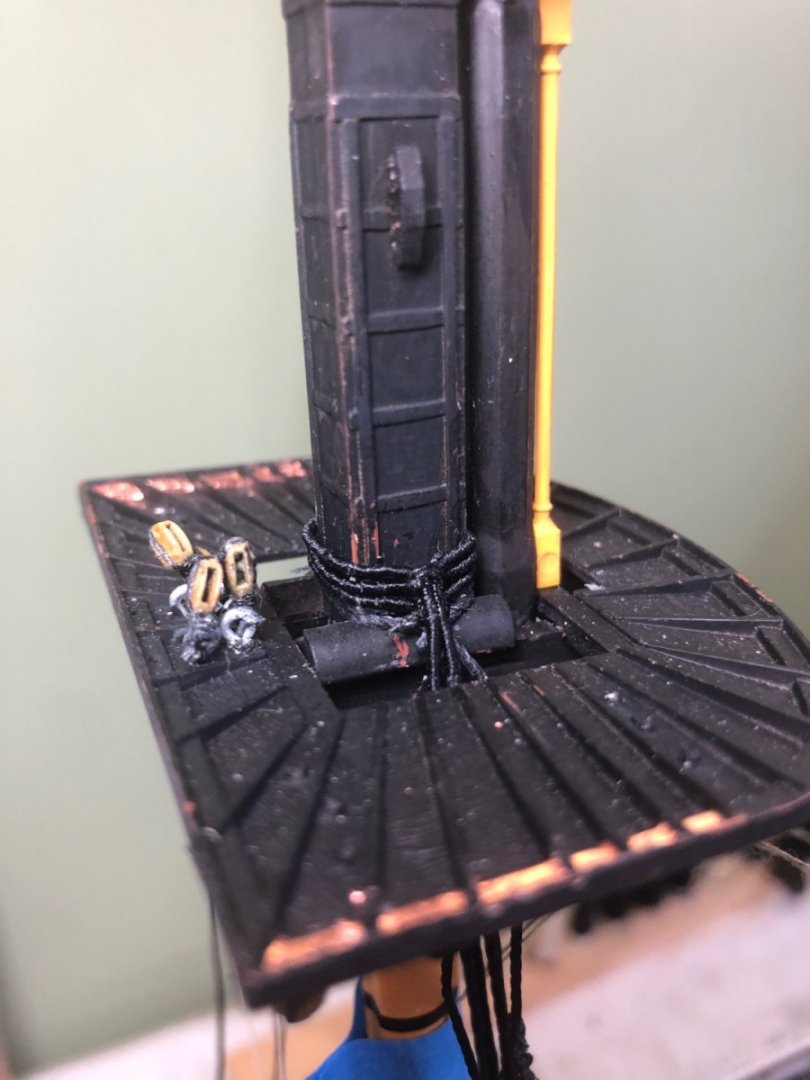
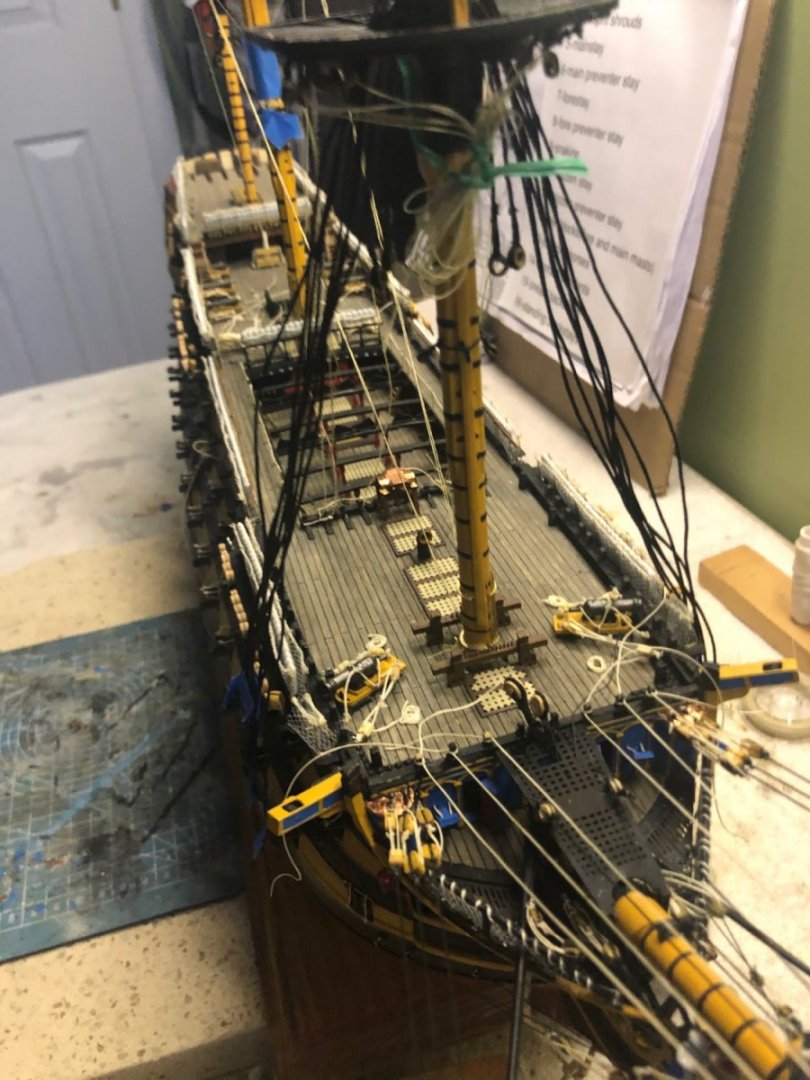
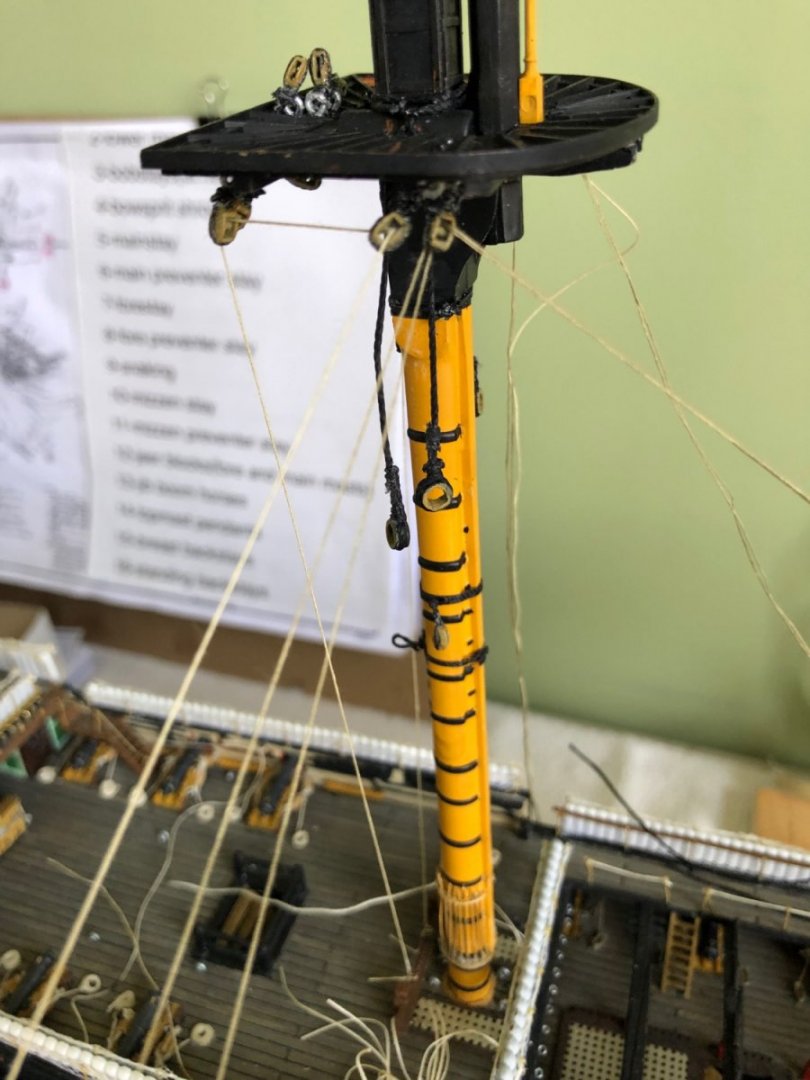
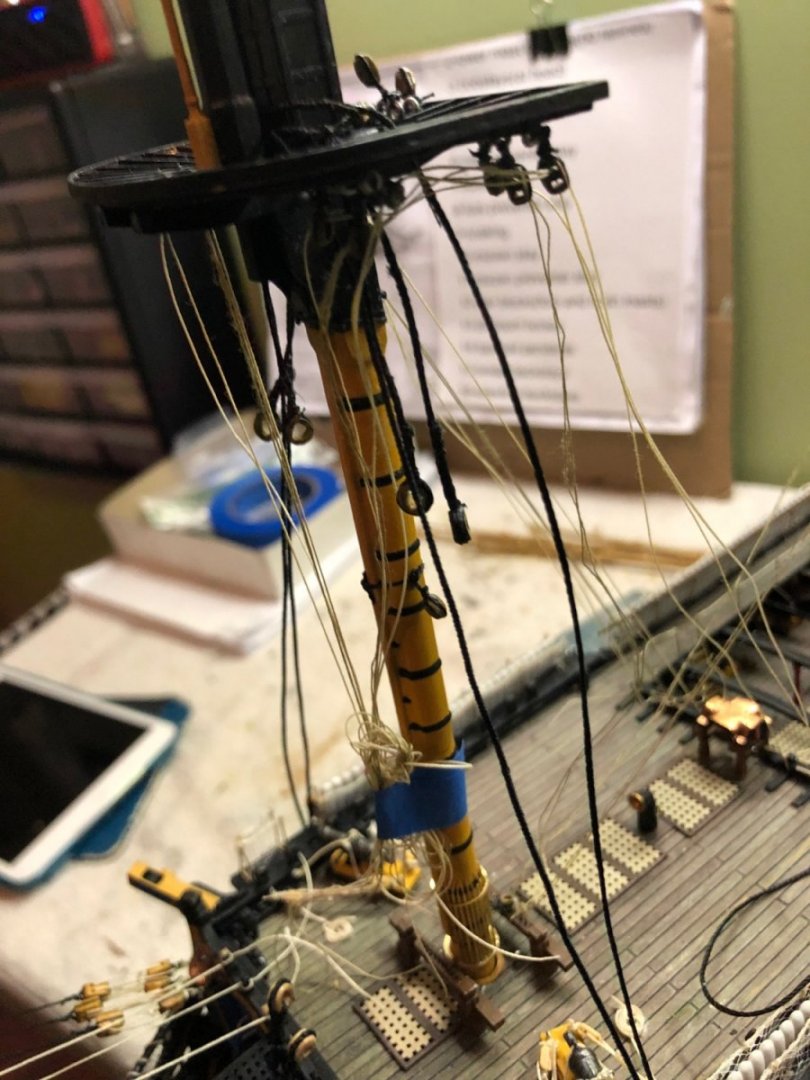
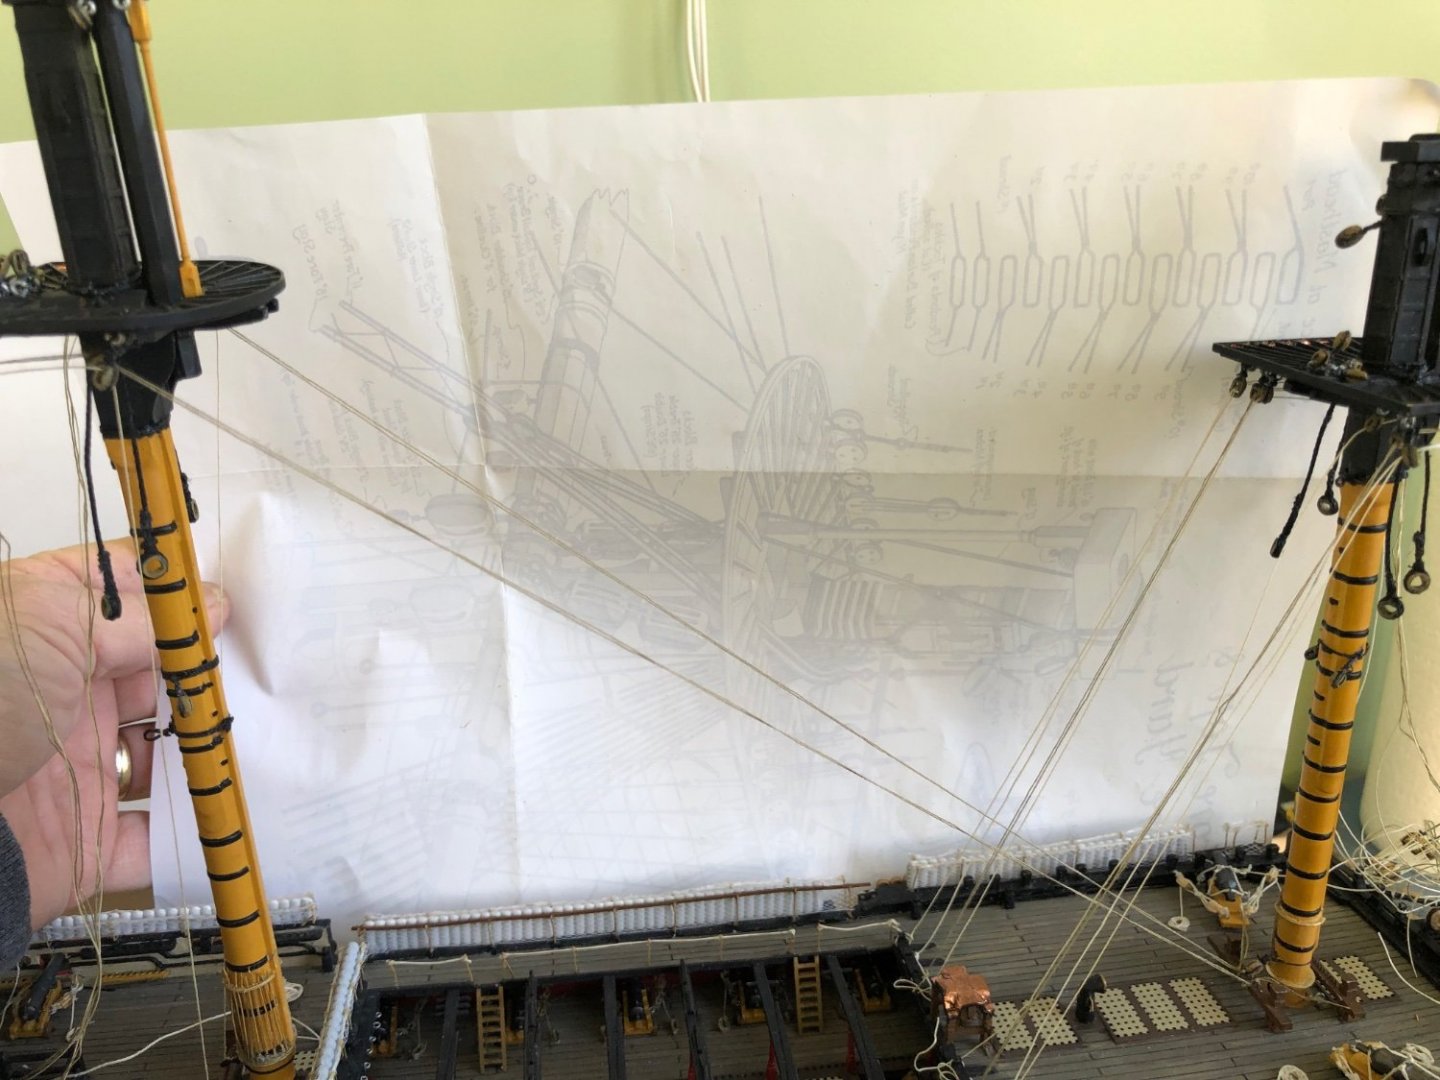
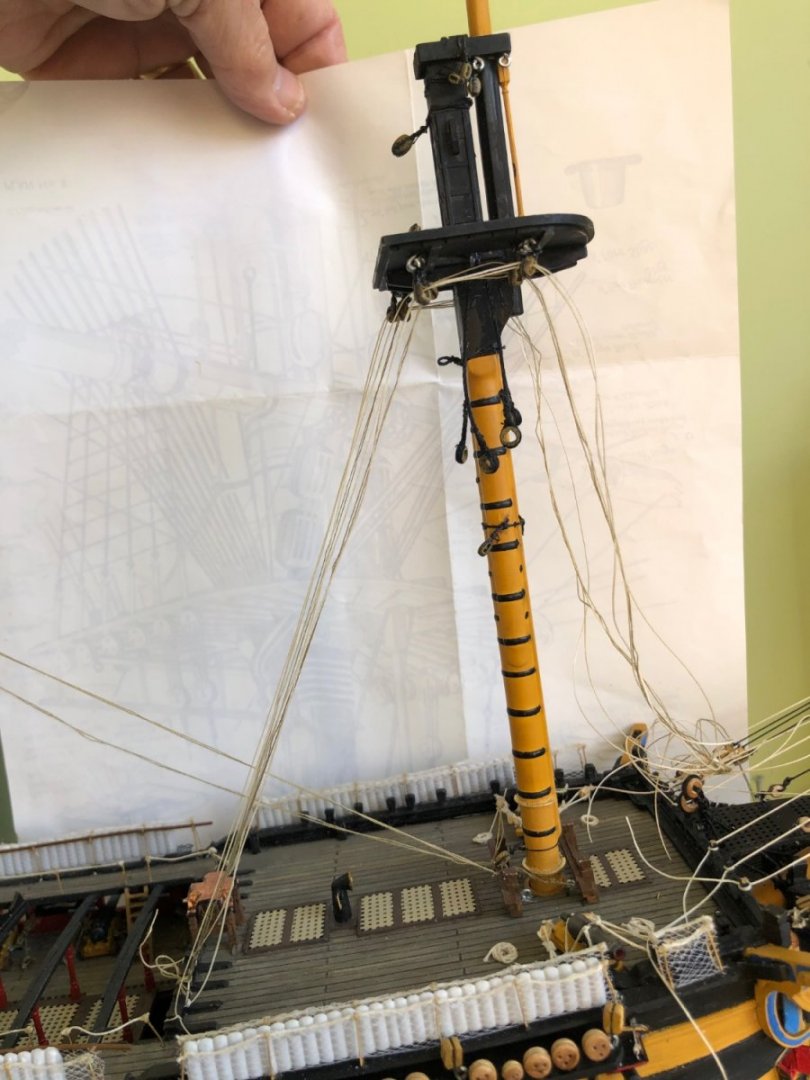
Ok Ian my friend I need a 👍or 👎🏻on a few rigging lines you recommended I do before the shrouds get in the way. Reading Longridge’s book, looking at the bit chart and reading a couple of your comments way back, I understand the main course bunt lines angle forward of the mainmast to bits behind the foremast as in my photo. This is my first where they go forward instead of straight down to a bit at base of the corresponding mast. Do the main course leech lines pass from forward to aft through the blocks under the main top like the bunt lines, or do they pass through the blocks aft to forward? Either way it is obvious they will pass through the shrouds.

-
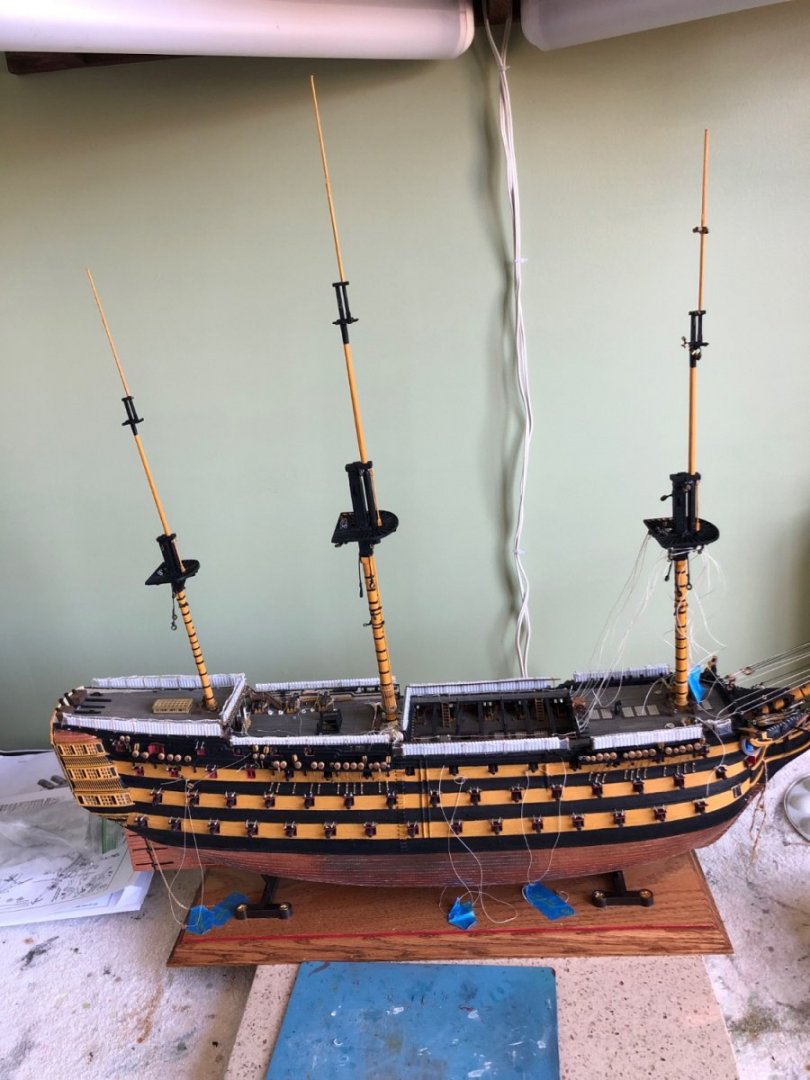
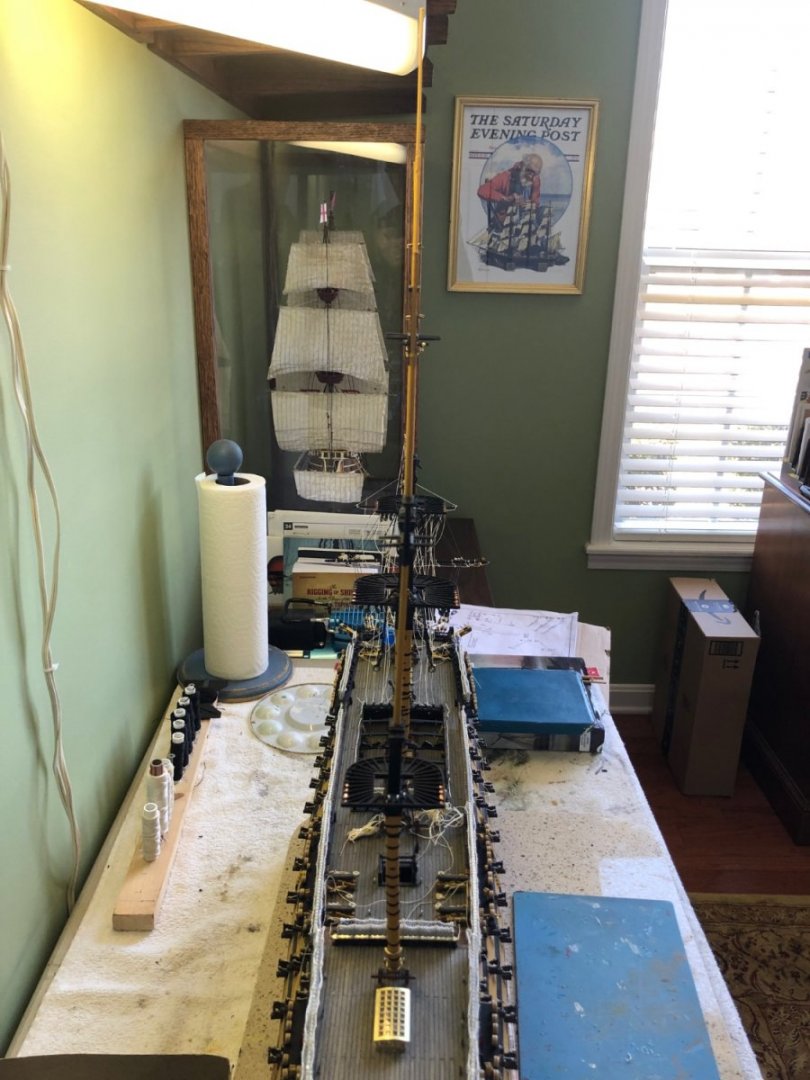
All 3 completed mast are up and aligned behind each other. I think I am getting close to days and weeks making shrouds! This baby is tall!
-
Same with me Ian.
-
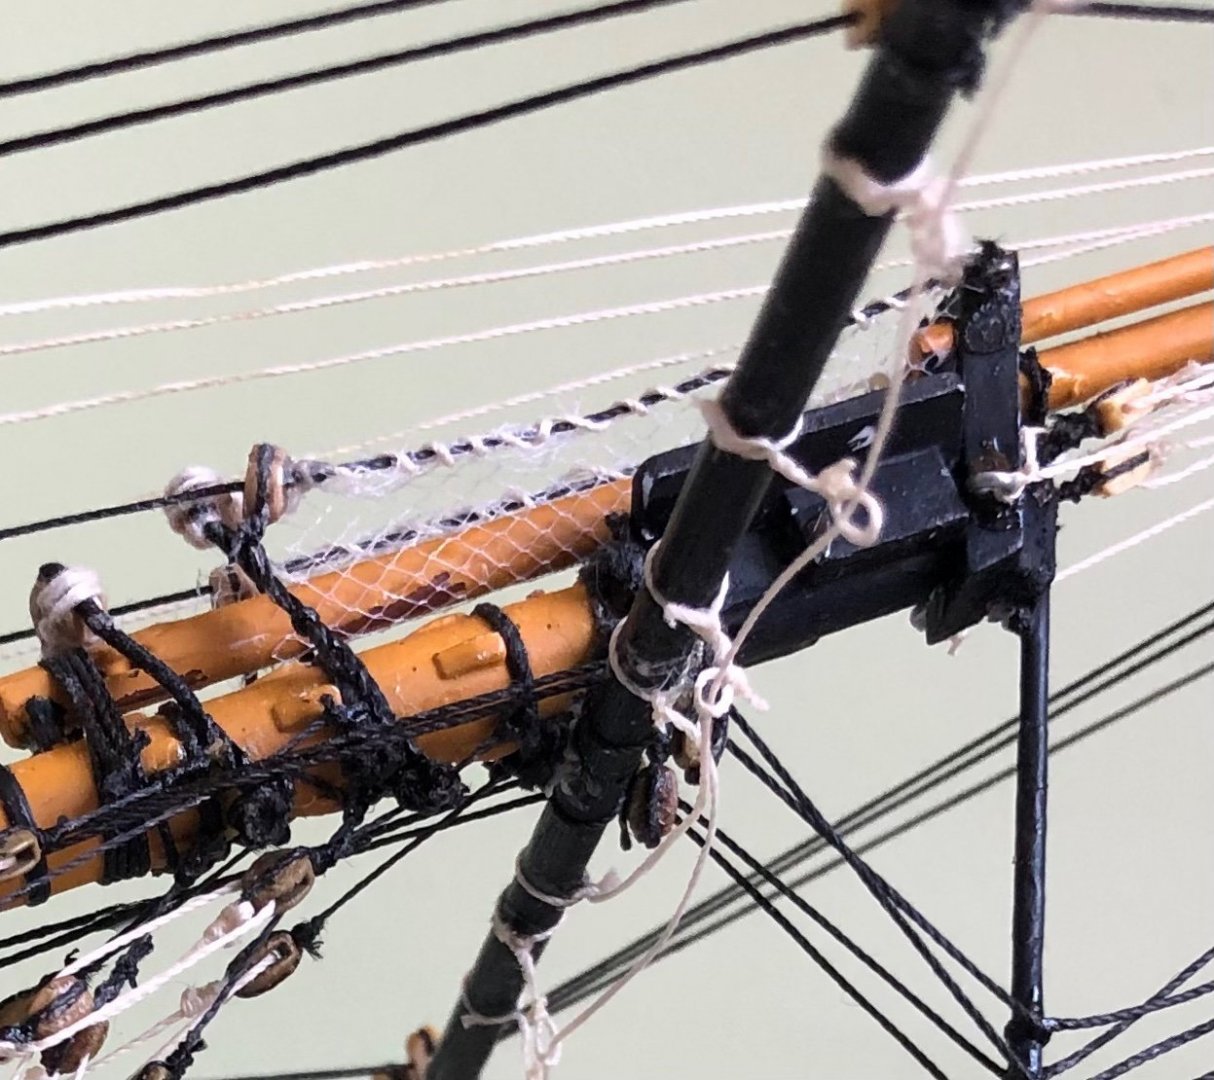
Kevin here in the states our fabric shops have a product called tulle. I am sure you guys have it there as well. It is sometimes used for veils and other decorative things.
-
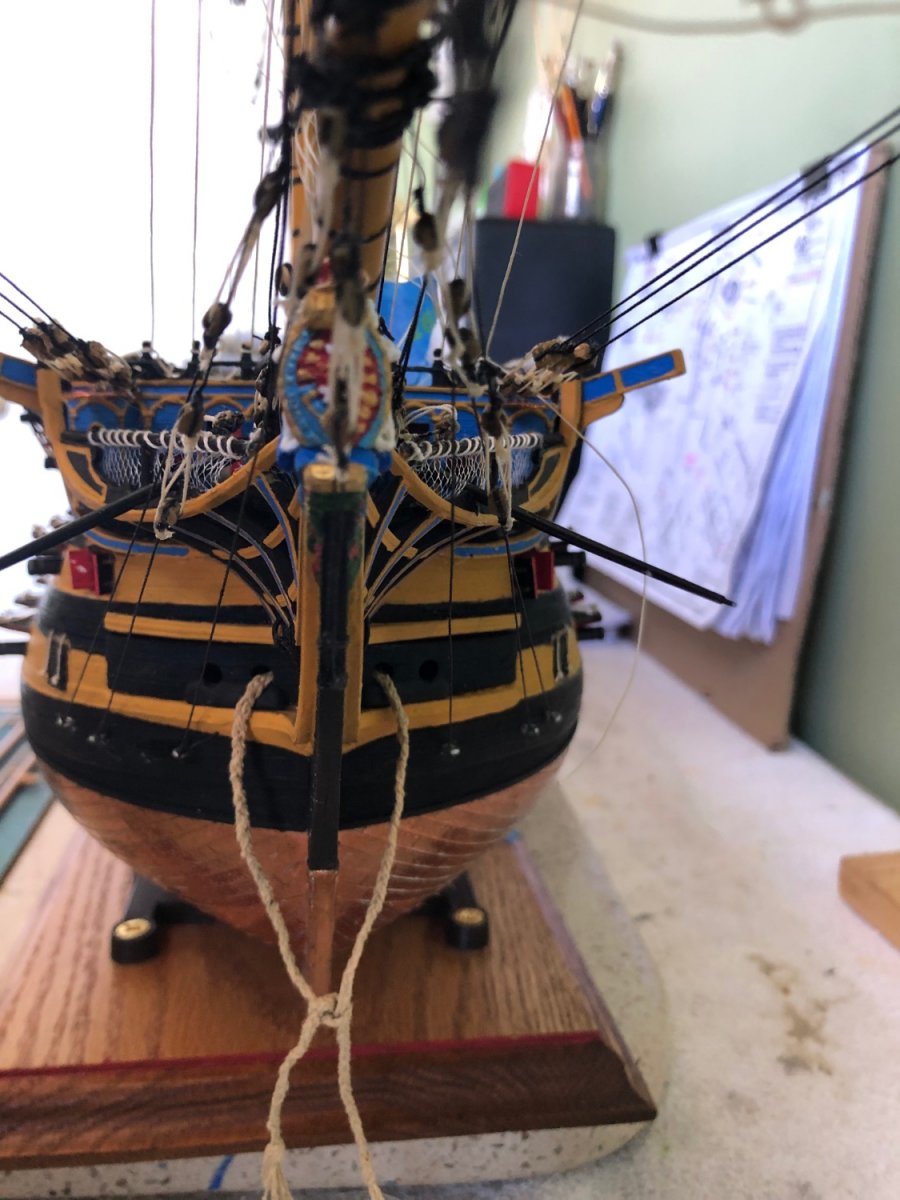
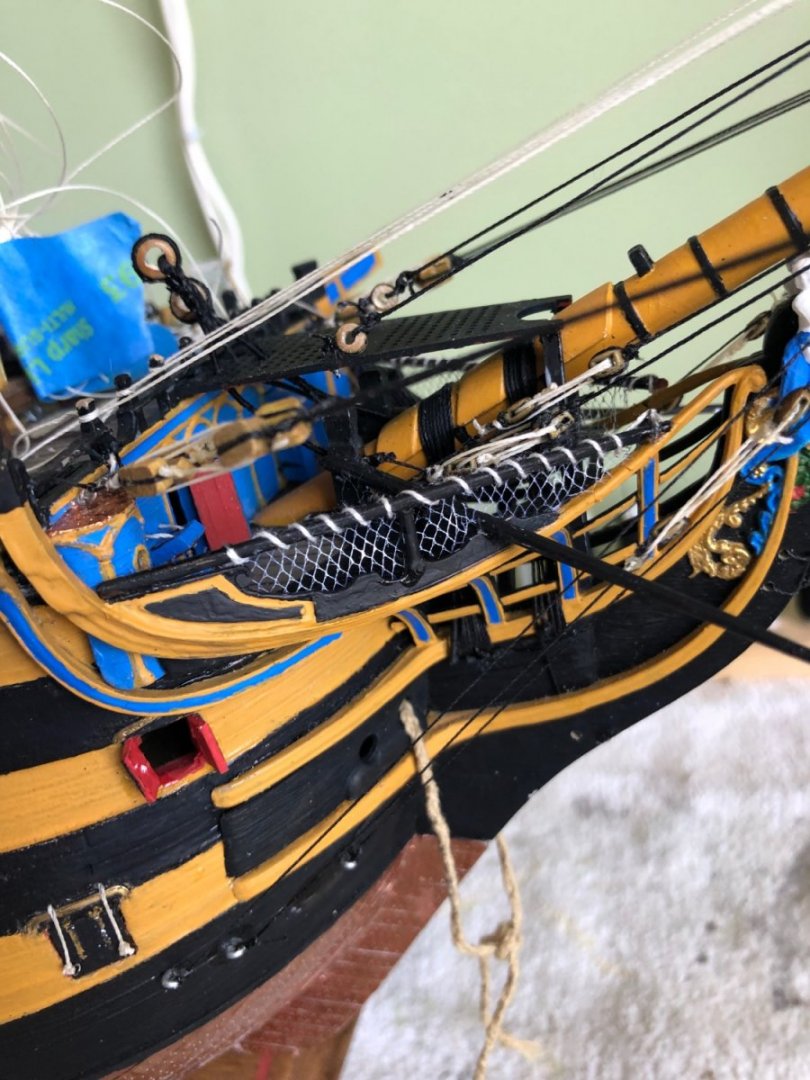
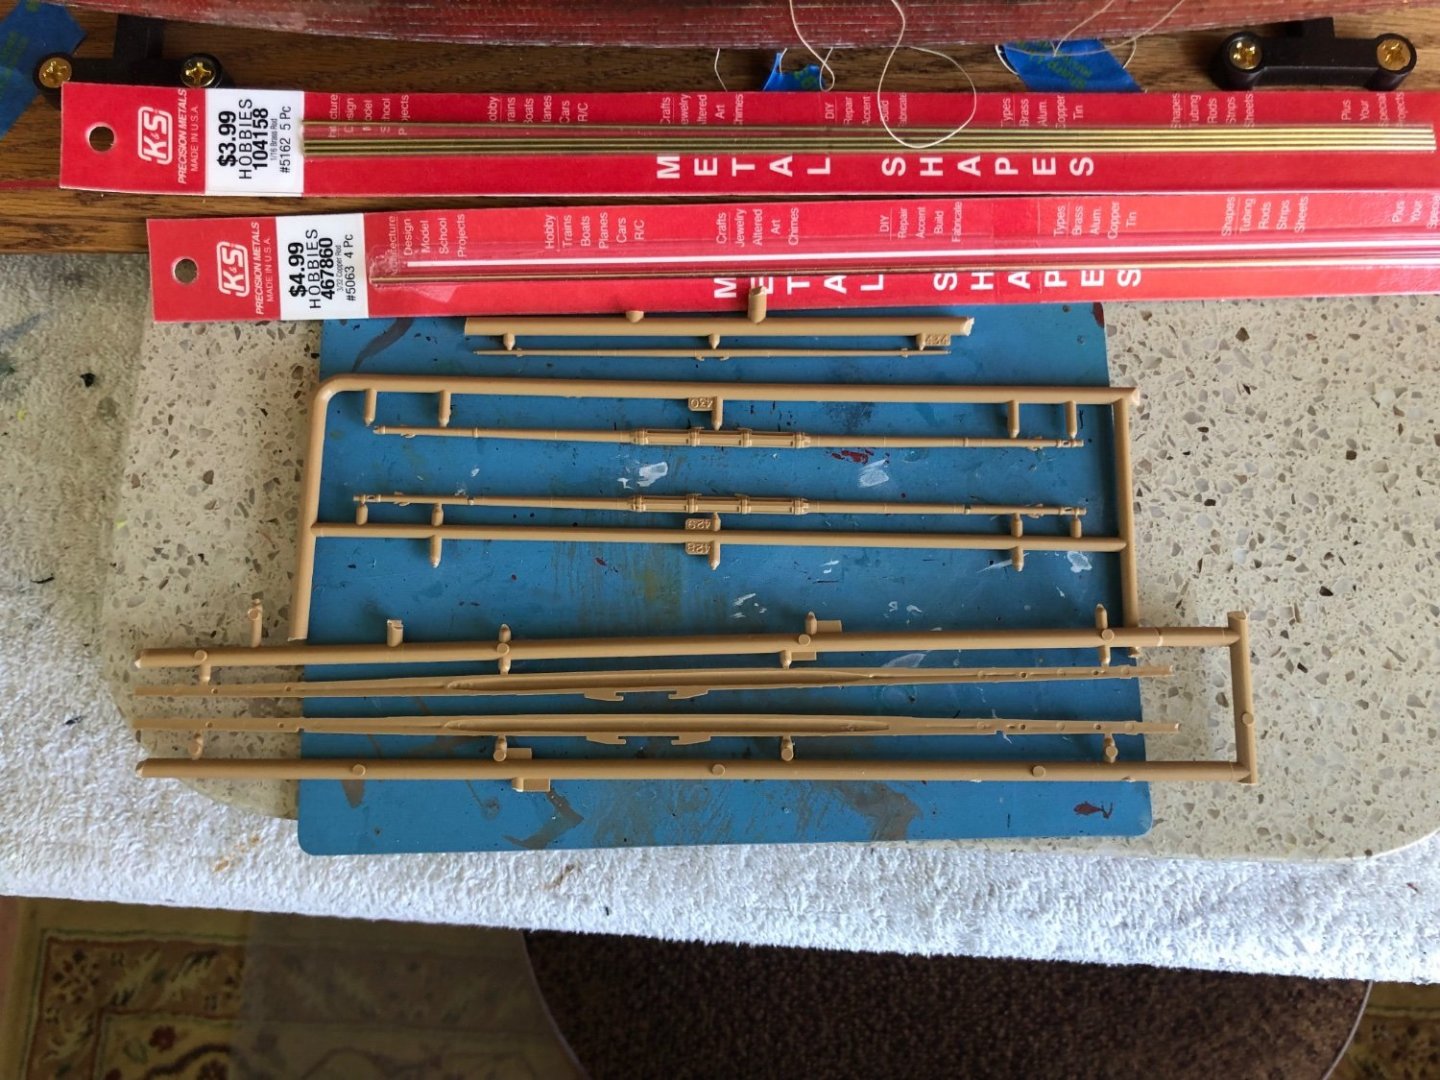
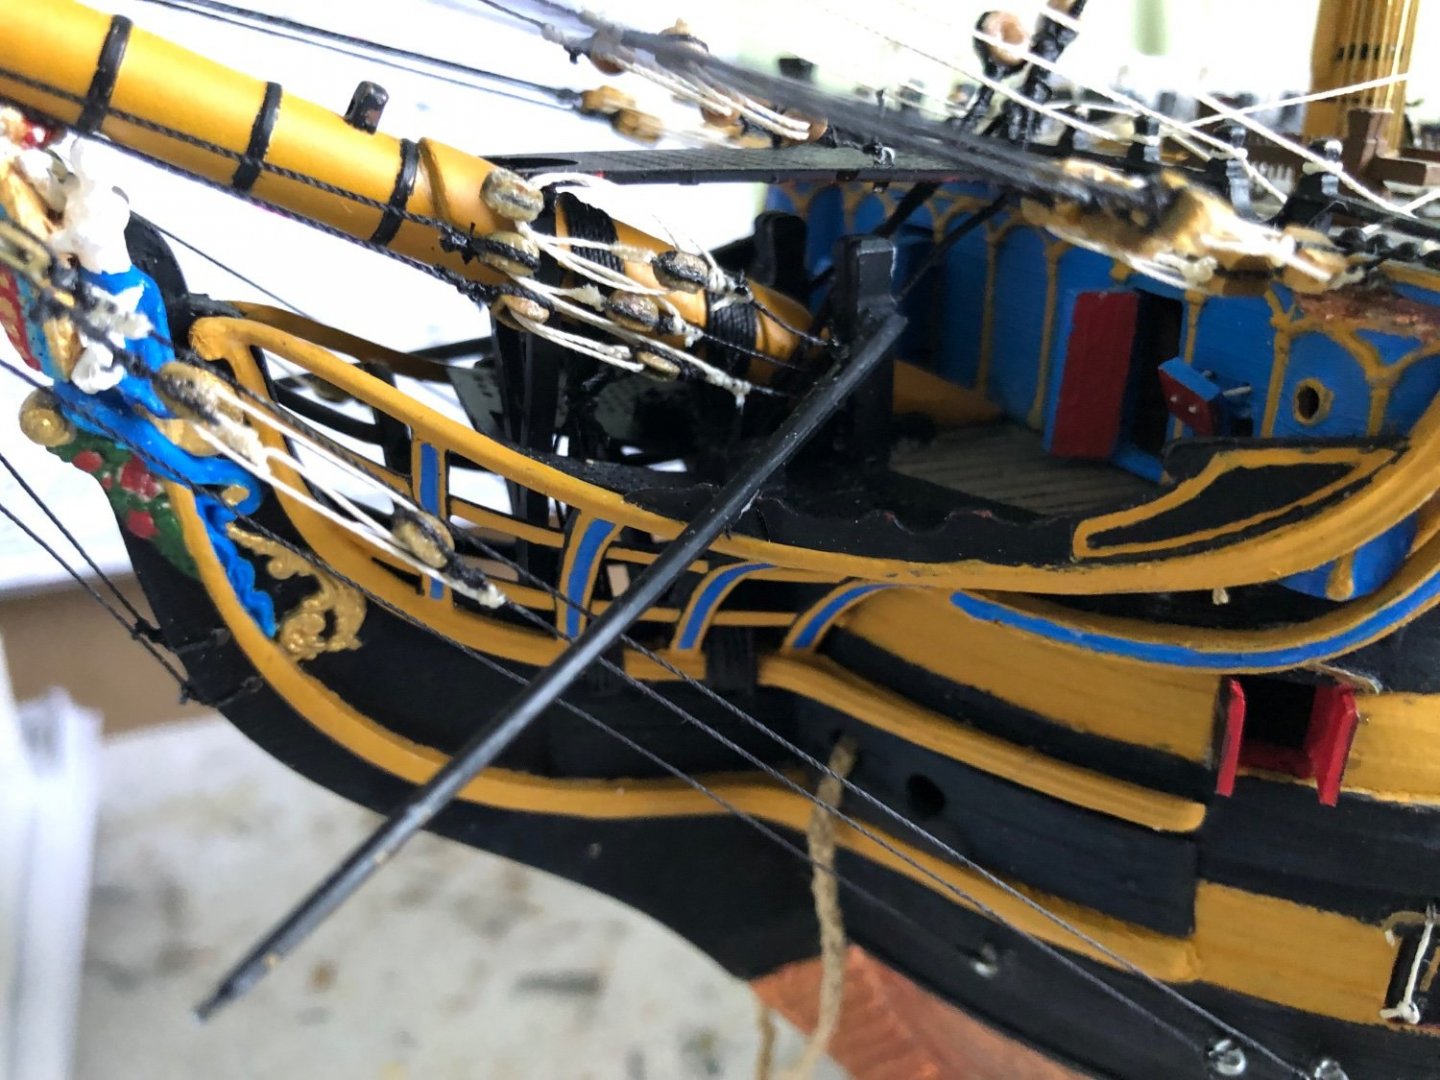
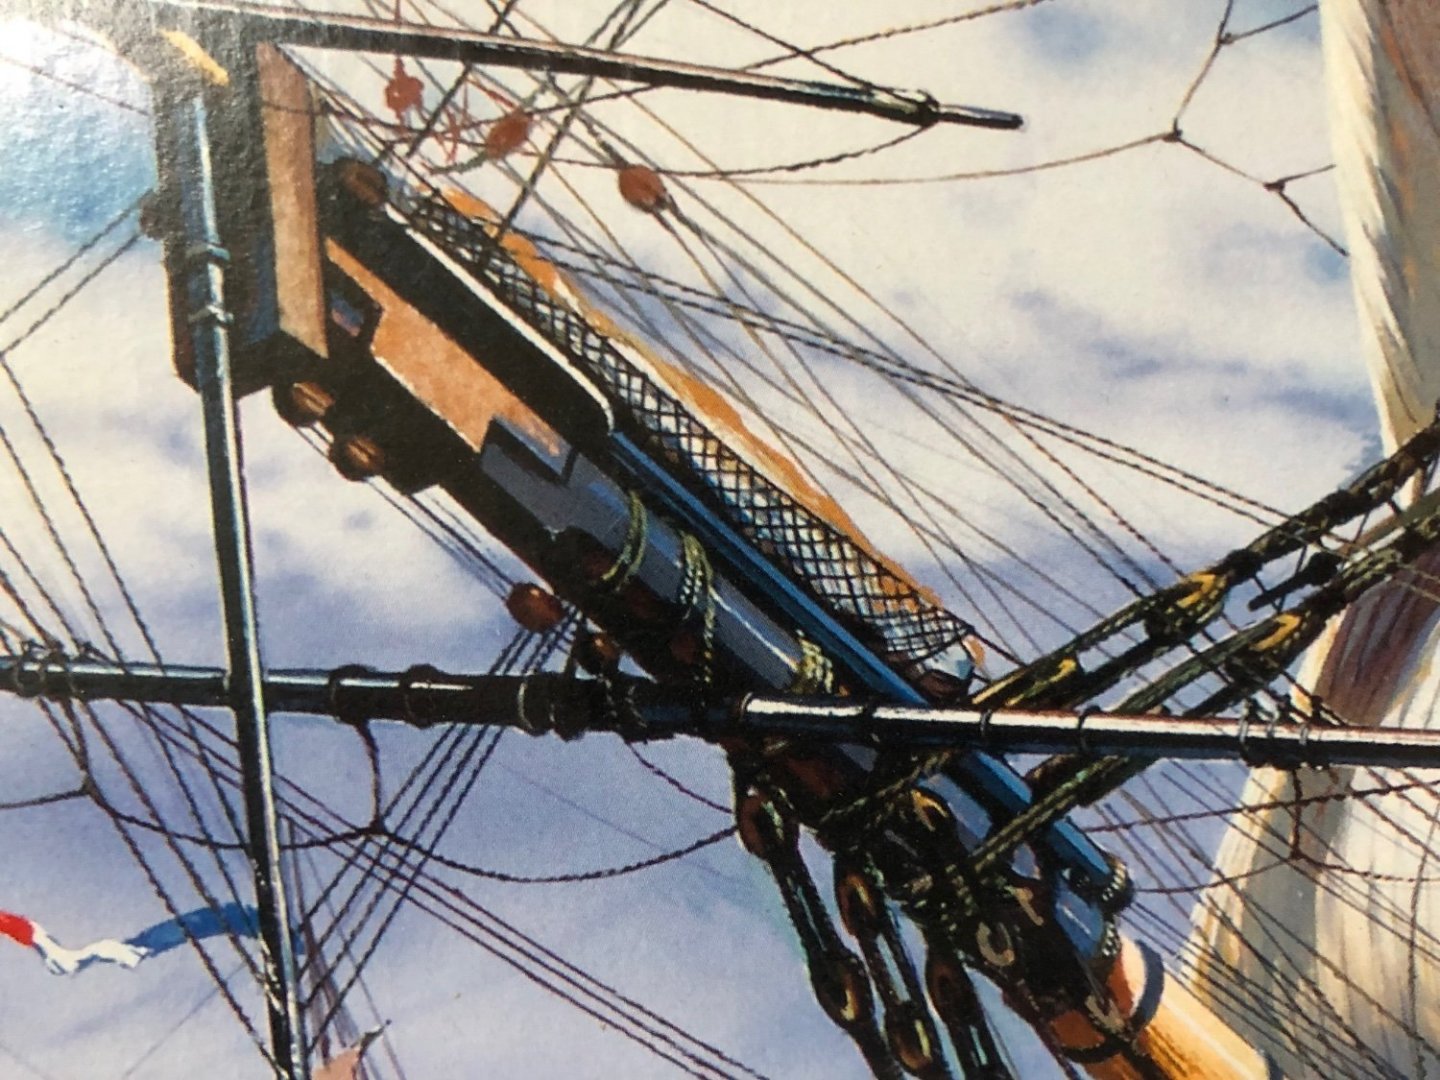
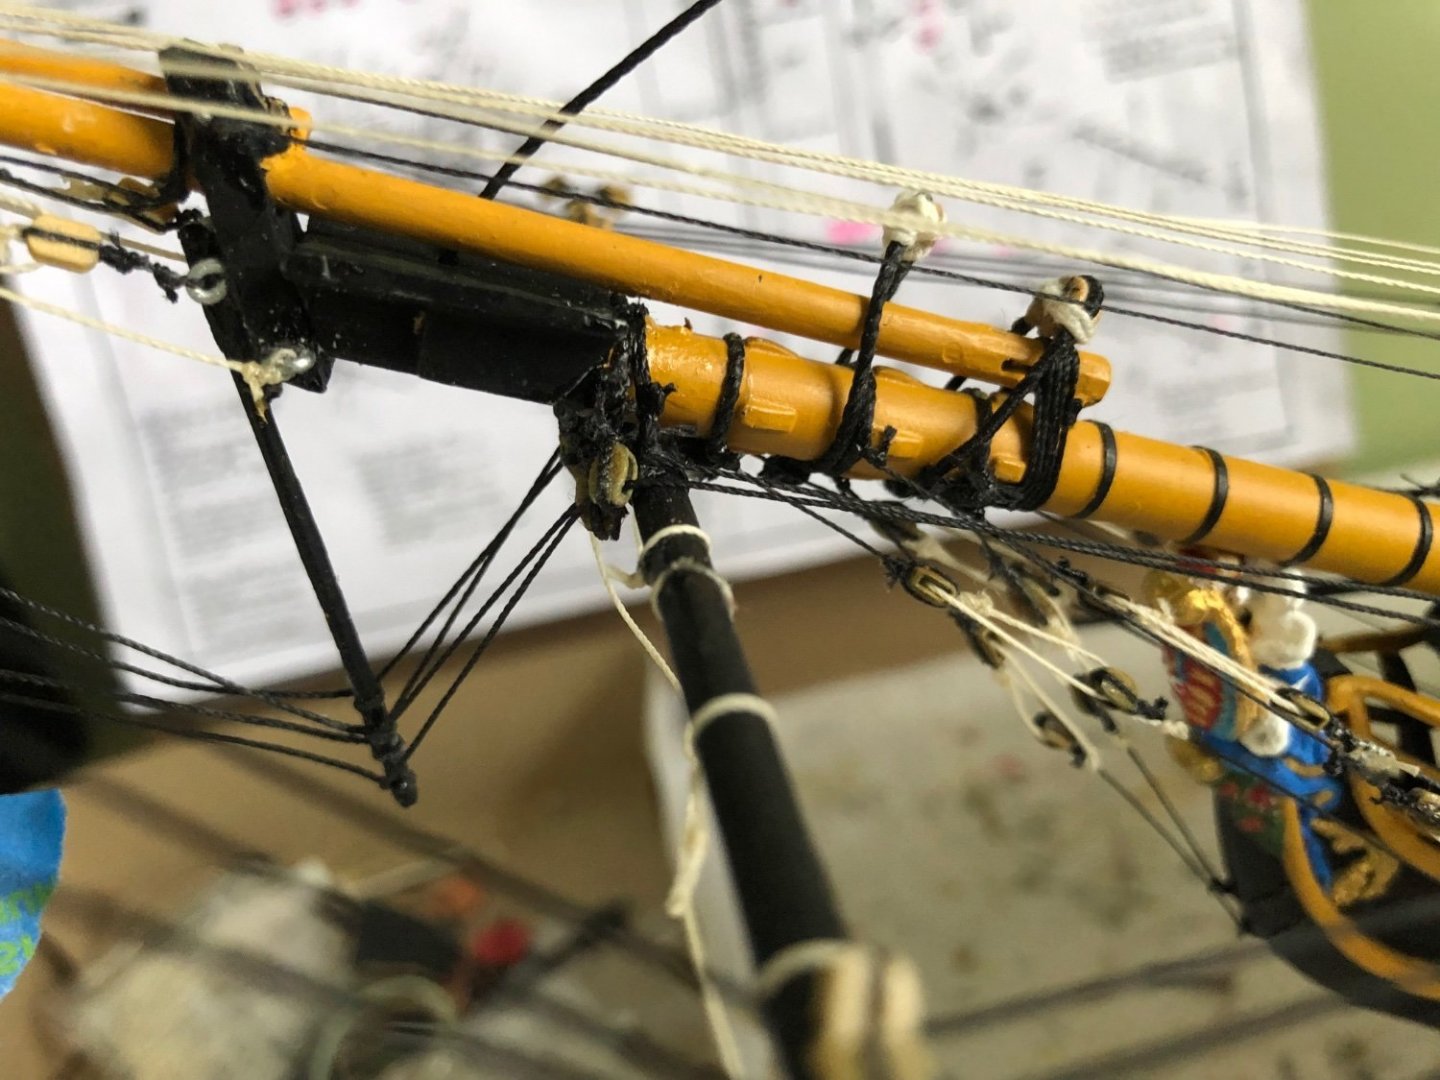
I little progress report of weekend activities. Added the safety netting at bow and the bowsprit. Unfortunately Daniel I got your comment to late 😕. I added a plastic center support. Also decided to finish building the masts before starting the standing rigging. Not sure if that is recommended or not, but that is what I did. Finished the fore mast. I reinforced the lower two sections with brass rods but left the top gallent as is since it is a solid piece and intricately shaped.


-
Disregard the above question about the protective netting. I finally found reference to it and instructions in Longridge. I am getting better at understanding this fine book.
-
Ok my friends a little help again. I am kind of moving back and forth between rigging steps and a few remaining ship structure steps. Based on pictures I have seen I know there is safety netting at the bow along the curve and out the bowsprit by the cap. If you could shed some light on the proper way for this to be done I would appreciate it. I am reading through Longridge’s book to see if I can find reference.
-
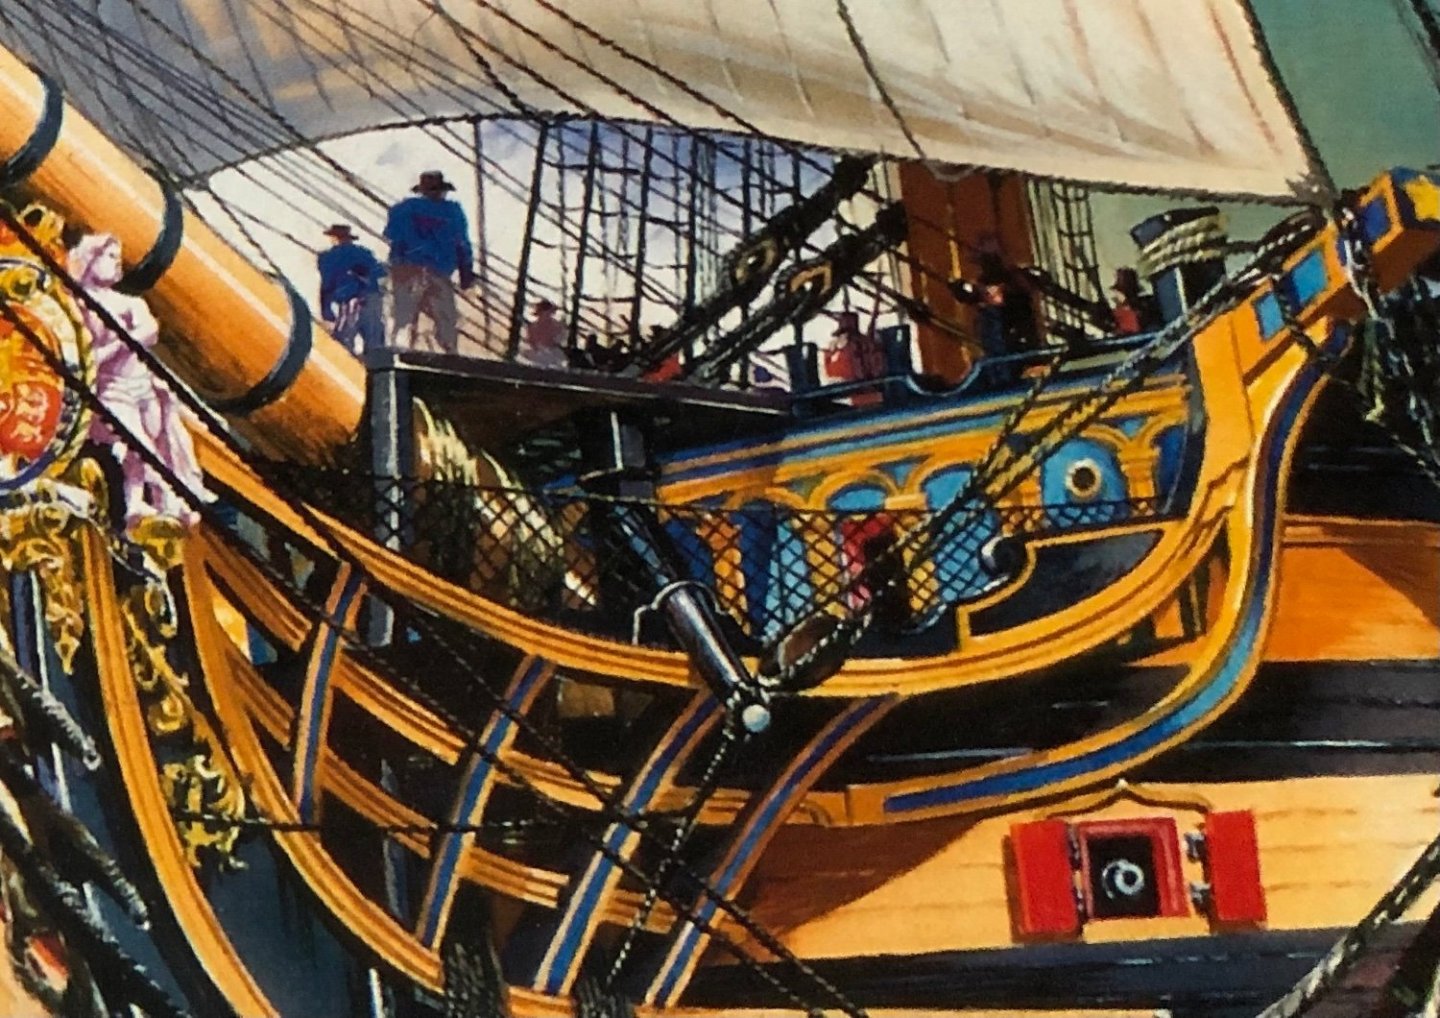
So glad and relieved to know there are hidden bodies on other’s models. I know there are several on my current HMS Victory which I will never reveal 😊.
- 2,699 replies
-
- 5
-

-
-
- heller
- soleil royal
- (and 9 more)
-
You know I have discovered a very interesting emotion (for lack of a better word) I experience now with my building. If I make a mistake, do something wrong, or am not completely satisfied with something, in the past I may have said the heck with it. I will just leave it like that, who will know. Now, I am often thinking as I am working on a task “what will Marc, Kevin, or Ian say when they see this on my blog? As a result I actually try harder to do things right. I actually want to thank you guys for giving me guidance and incentive to try harder.
- 2,699 replies
-
- 6
-
-
- heller
- soleil royal
- (and 9 more)
-
Thanks Kevin. I am learning as I go along. I appreciate your compliment and expectations. If it is half as good when completed as you think it will be I will be happy.
-
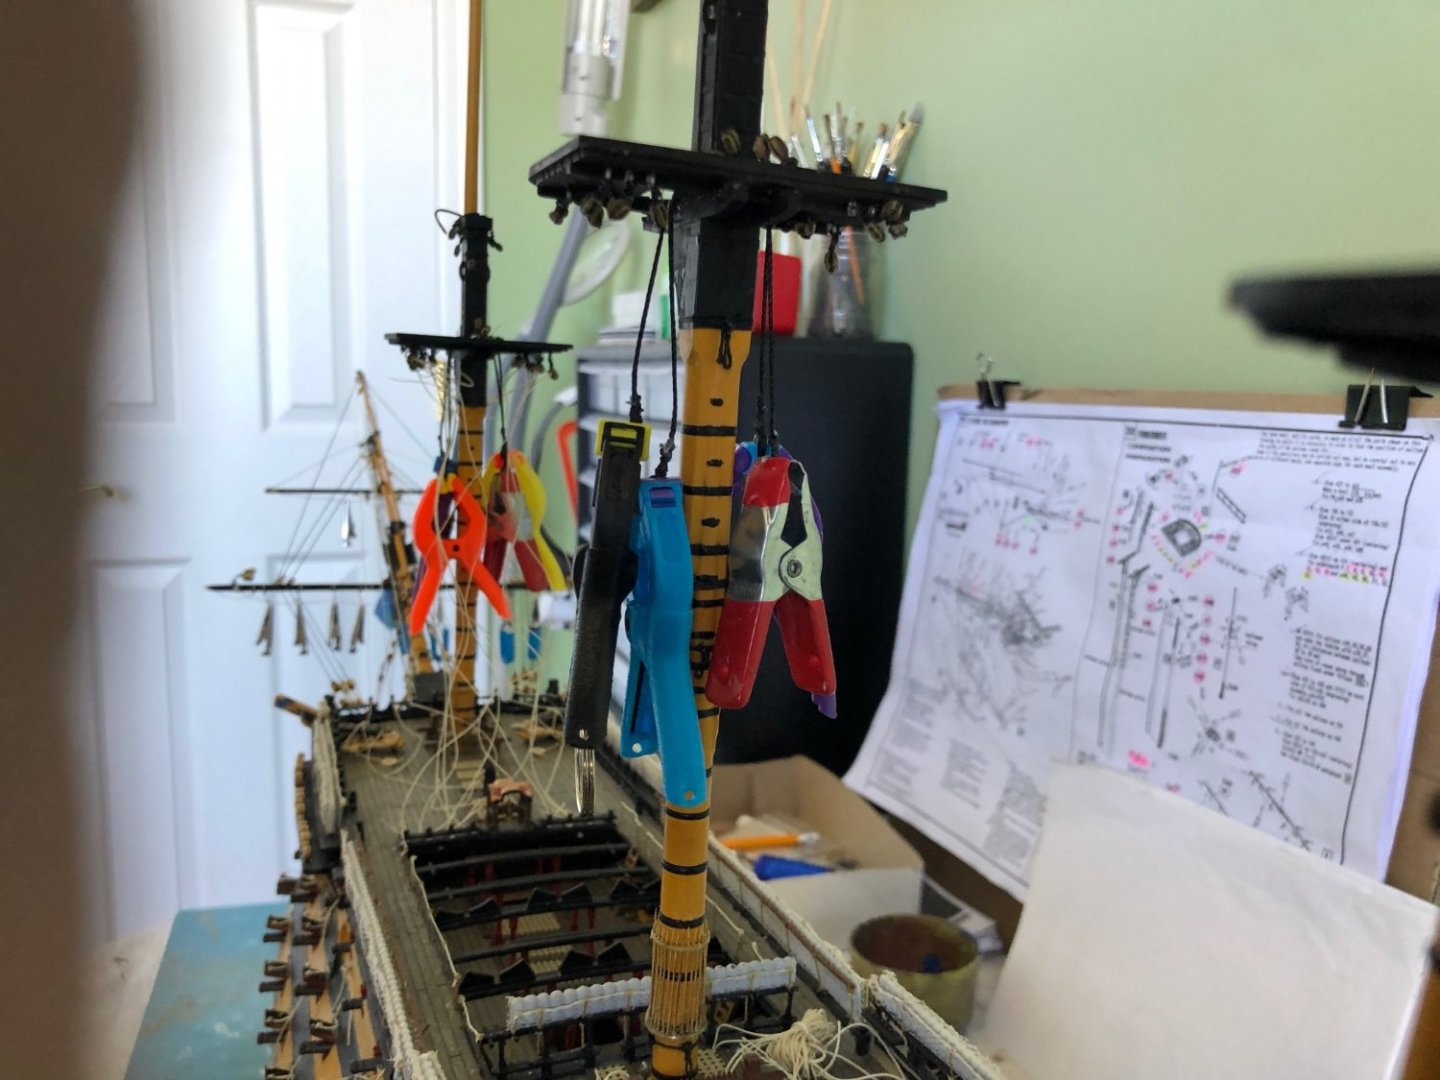
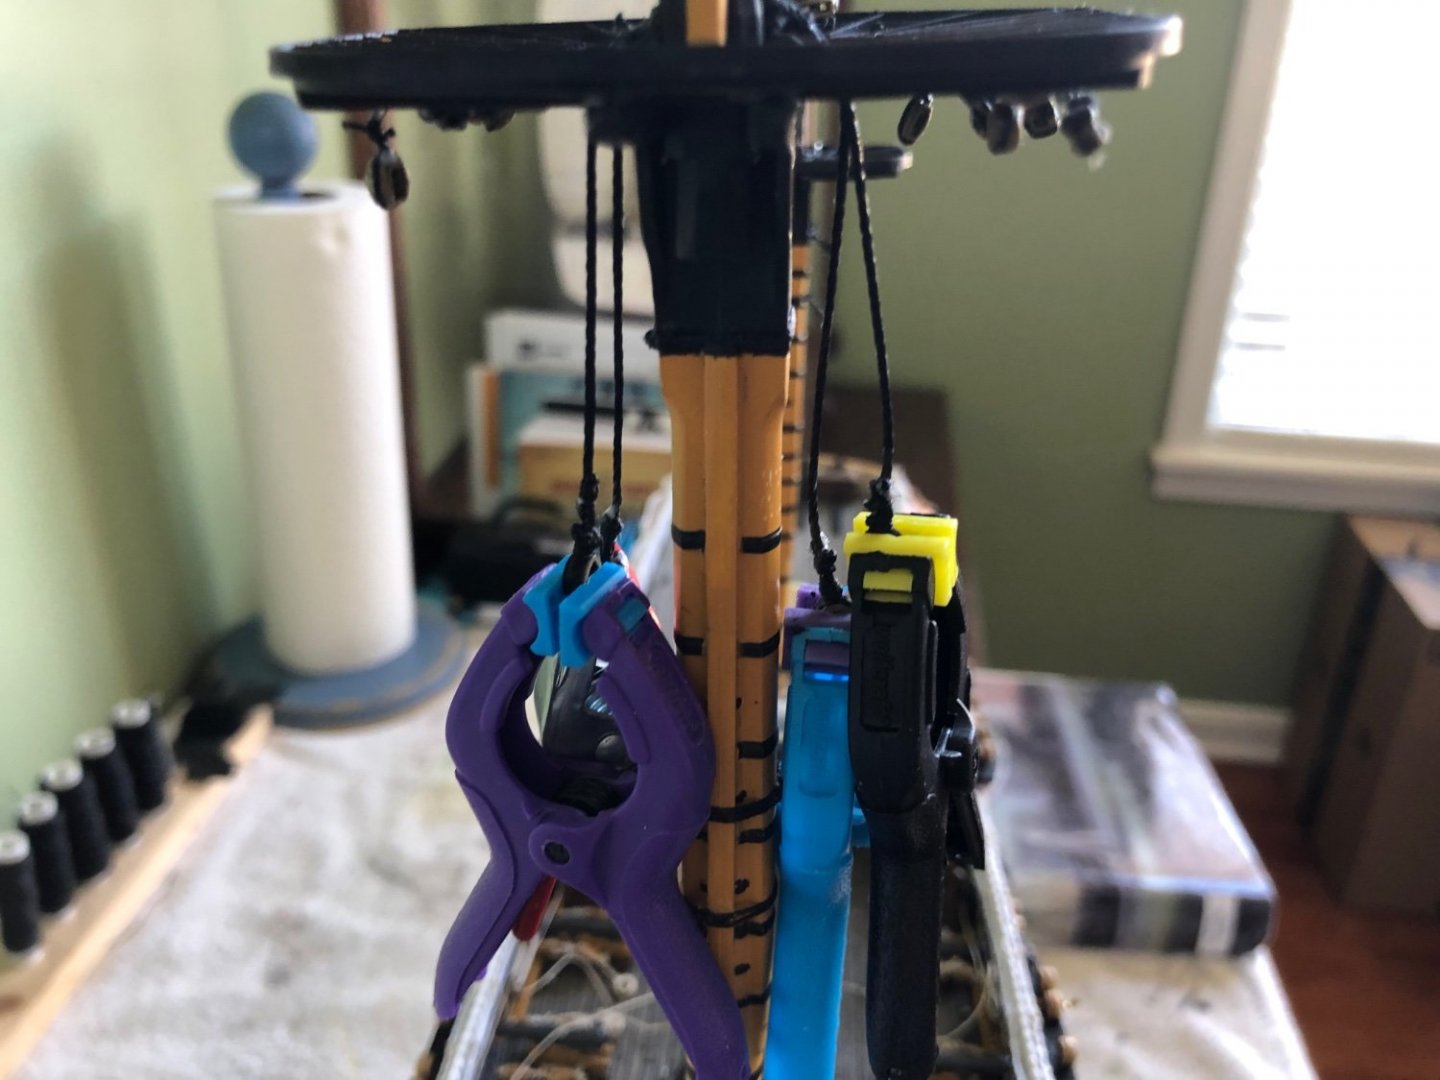
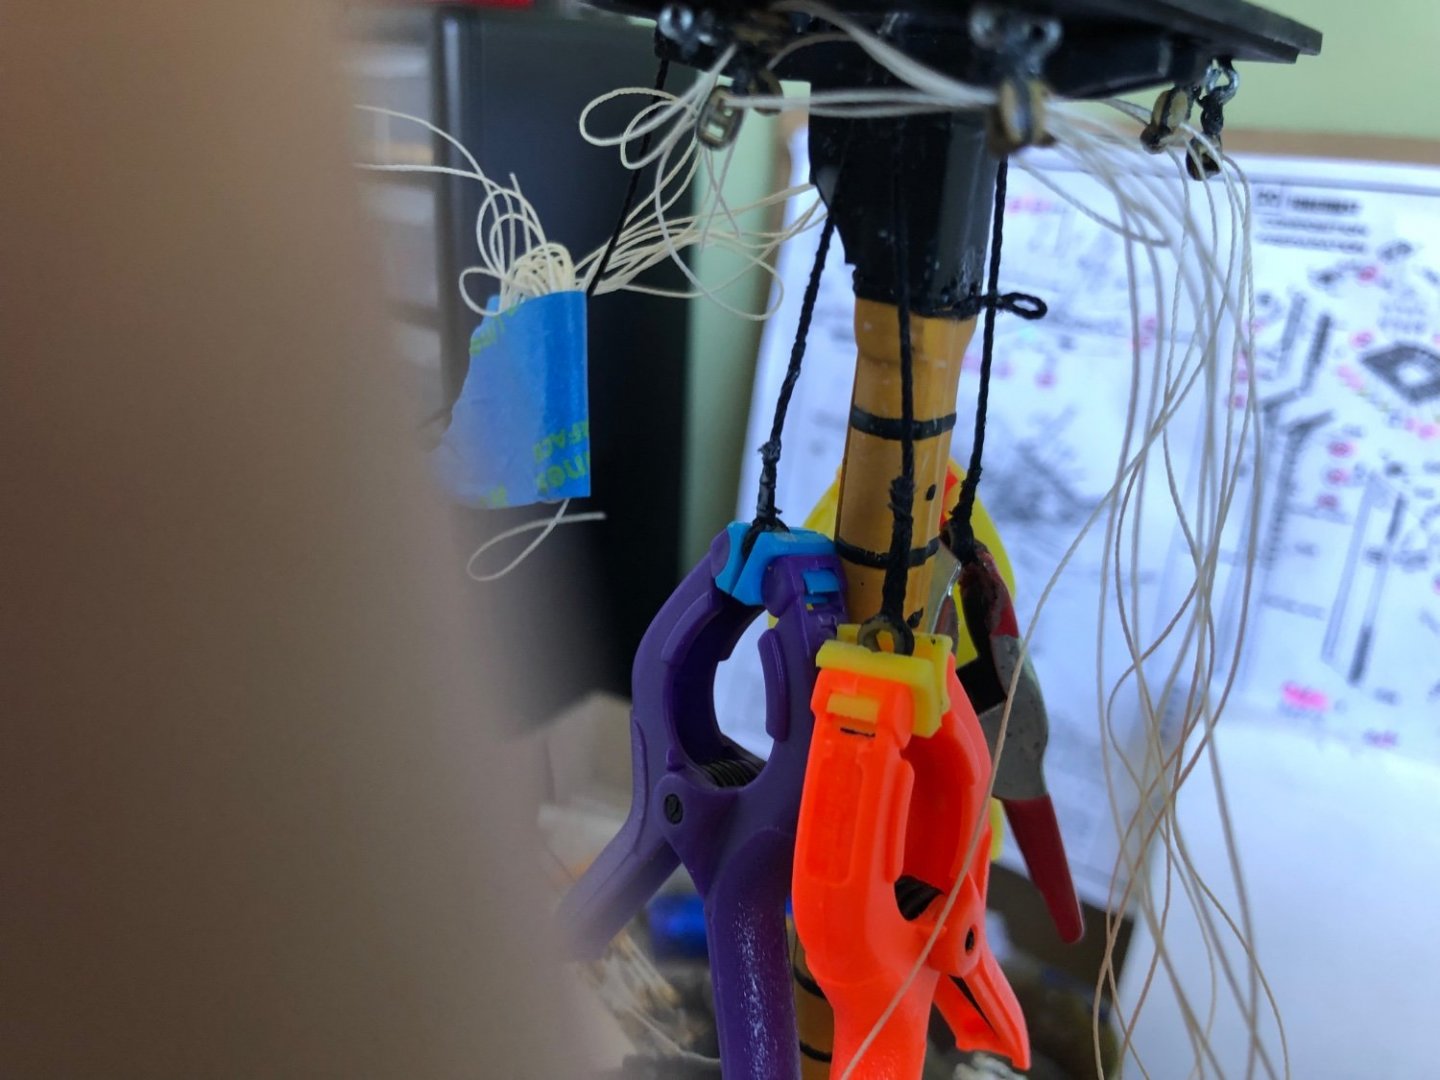
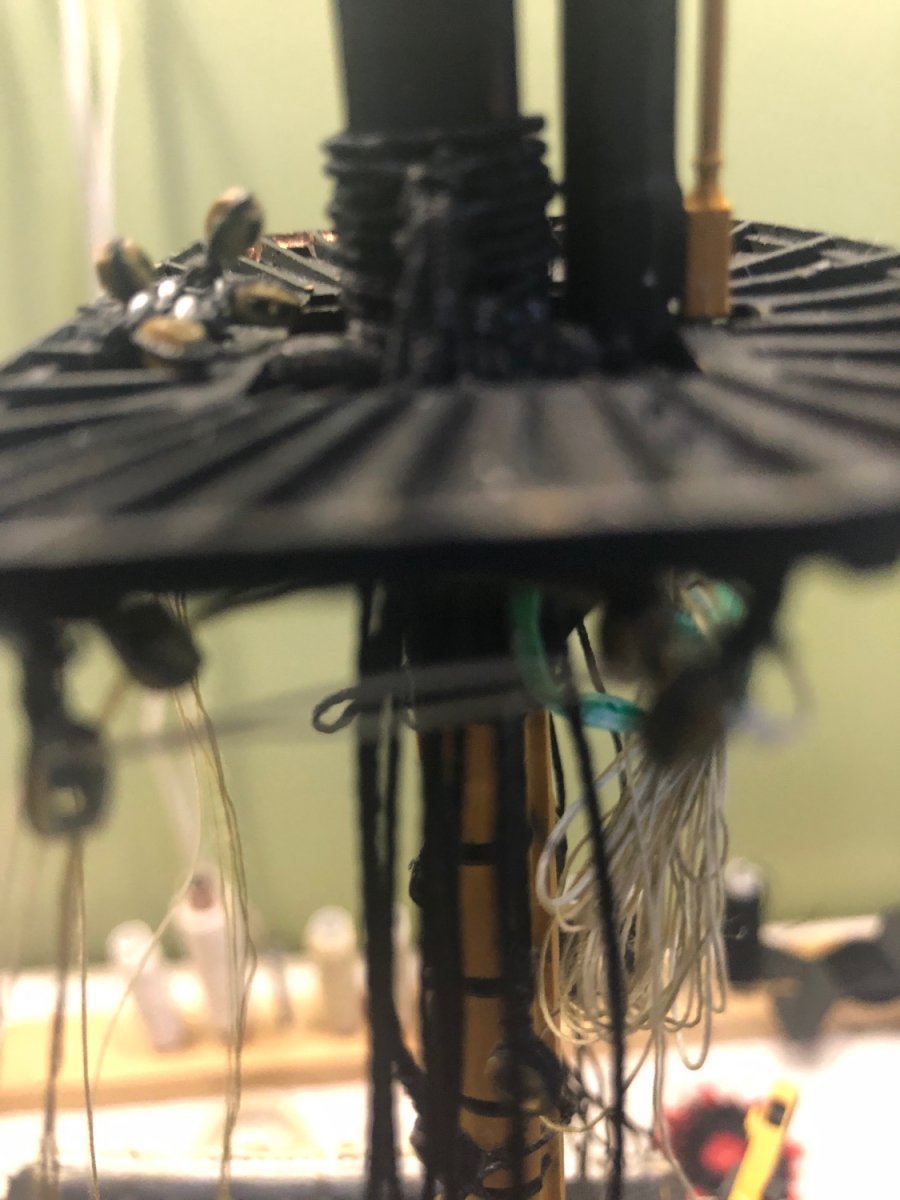
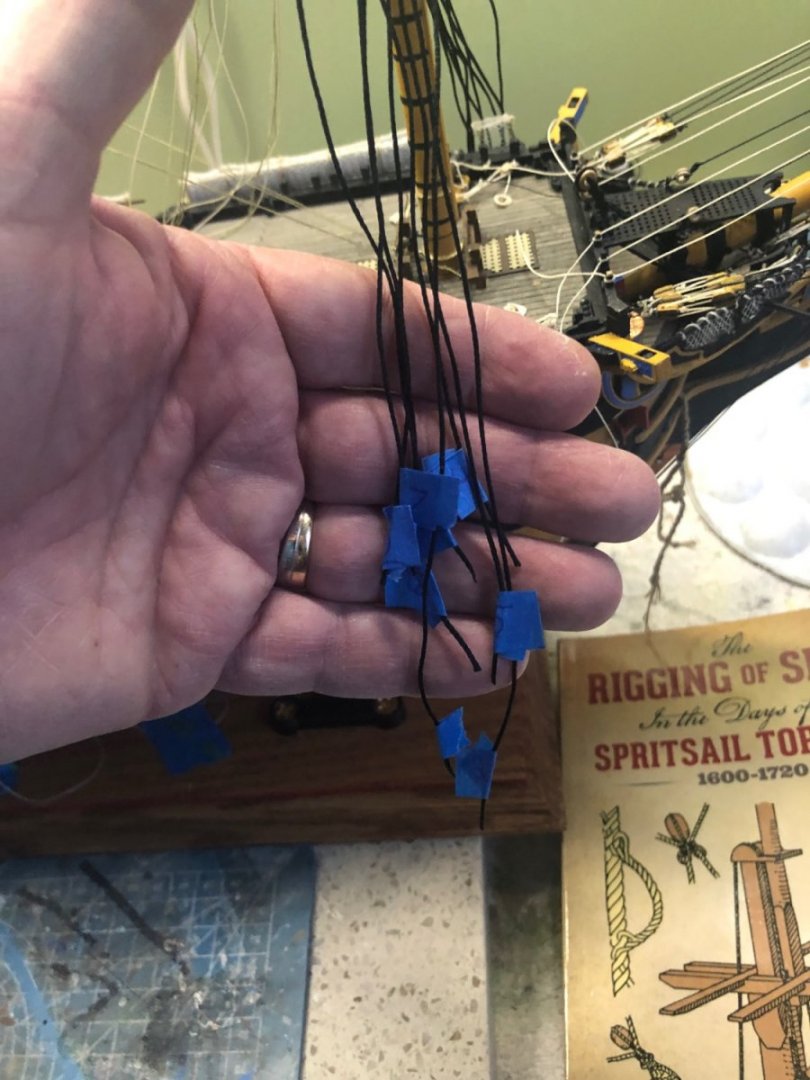
Trying out an idea I saw here on MSW somewhere. That is putting a bit of diluted white glue on weighted threads that make the foot ropes. This should help them hang more naturally once the glue dries. We will see. Also trying it on the burton pendants.