

MadDogMcQ
-
Posts
96 -
Joined
-
Last visited
Content Type
Profiles
Forums
Gallery
Events
Posts posted by MadDogMcQ
-
-
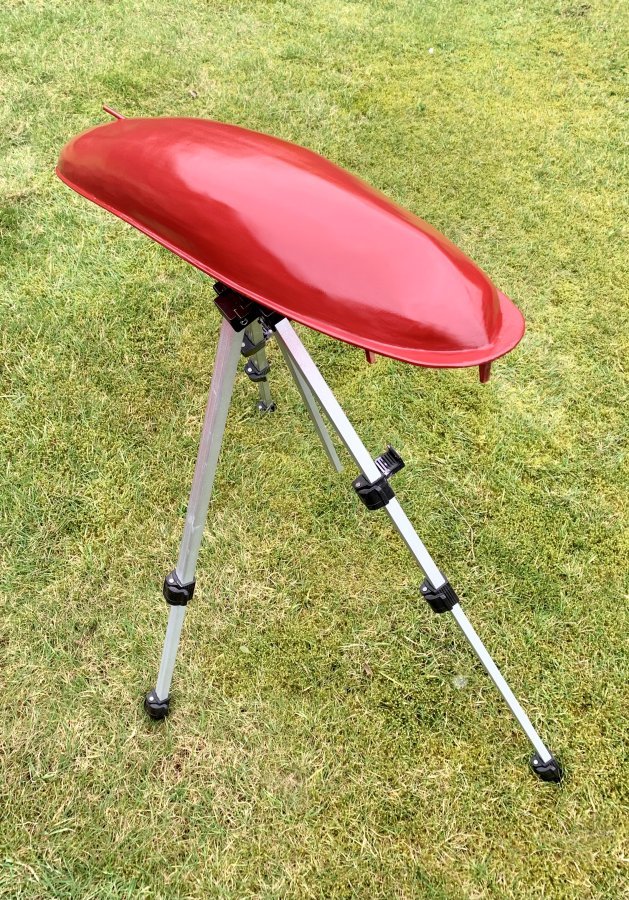
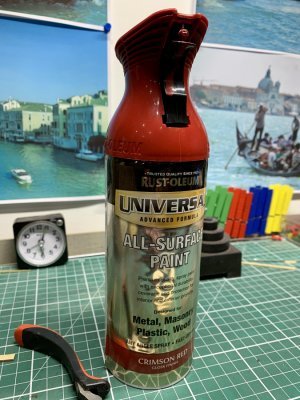
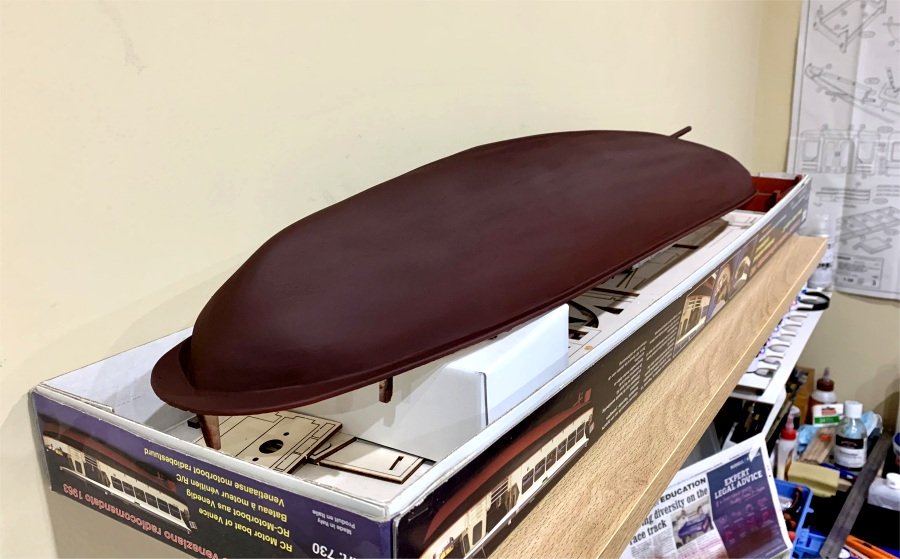
Spent more time applying coats of paint, sanding in between. When this one dries, I'll sand and paint ONE more time and then it is what it is. I can find imperfections all day long, but hey-ho. James H advised me to look at PlastiKote paint but I couldn't find anyone locally who stocks it so I went for one from Rust-oleum which was incredibly expensive!! £15 per can from B&Q (I had to buy two) 😲

- Canute, Edwardkenway, James H and 4 others
-
 7
7
-
Good idea James - I might try that. Boy your work is just stunning!!
- mtaylor, popeye the sailor and Canute
-
3
-
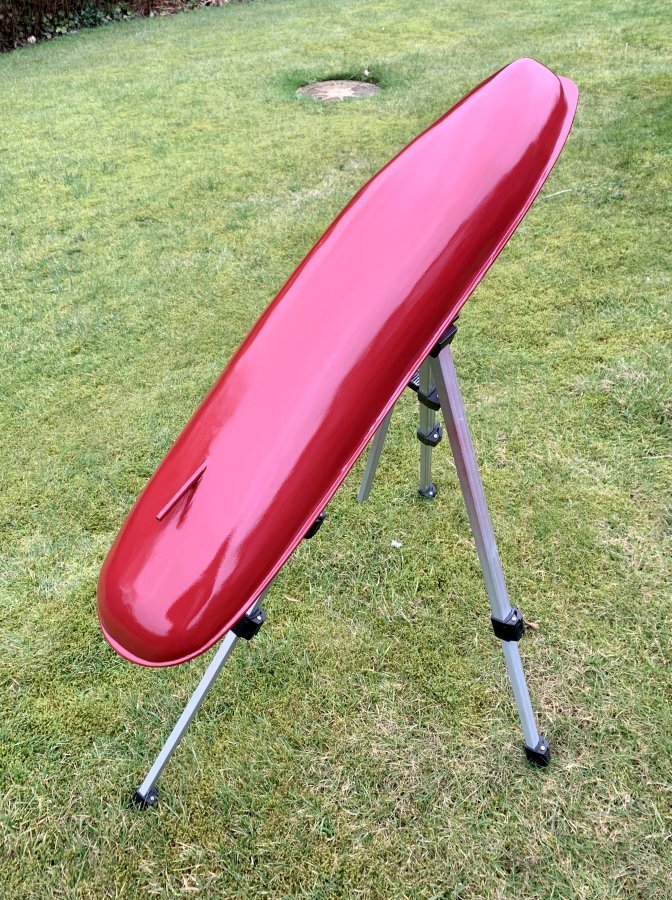
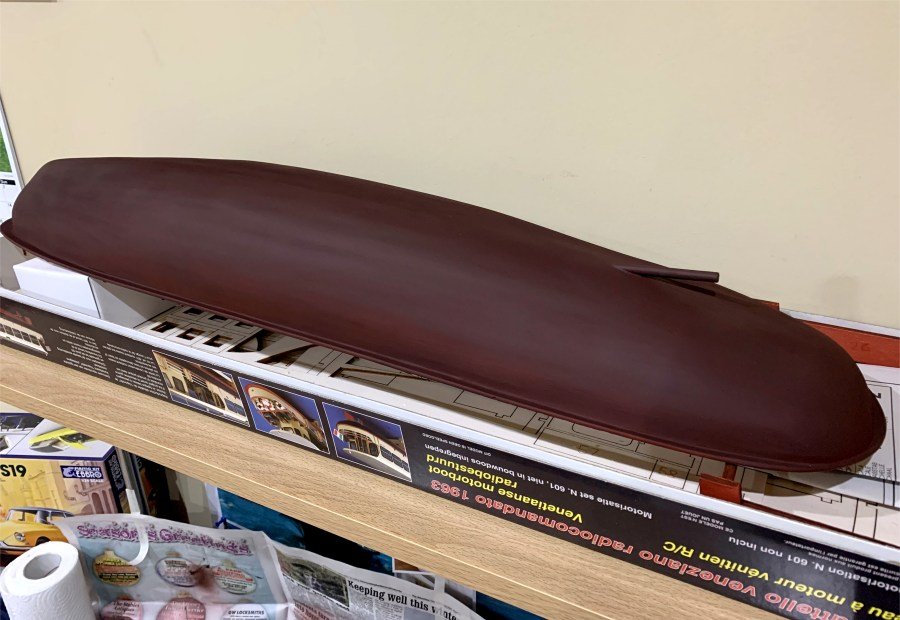
Well, I sanded, filled, sanded, filled and sanded some more until I got the hull pretty smooth but nowhere near as smooth as my ST ROCH hull for some reason. It's reached a point where I feel hesitant to sand much more for fear of going through the hull. I can (by tapping) detect thinner areas of the hull, so I'm stopping here.
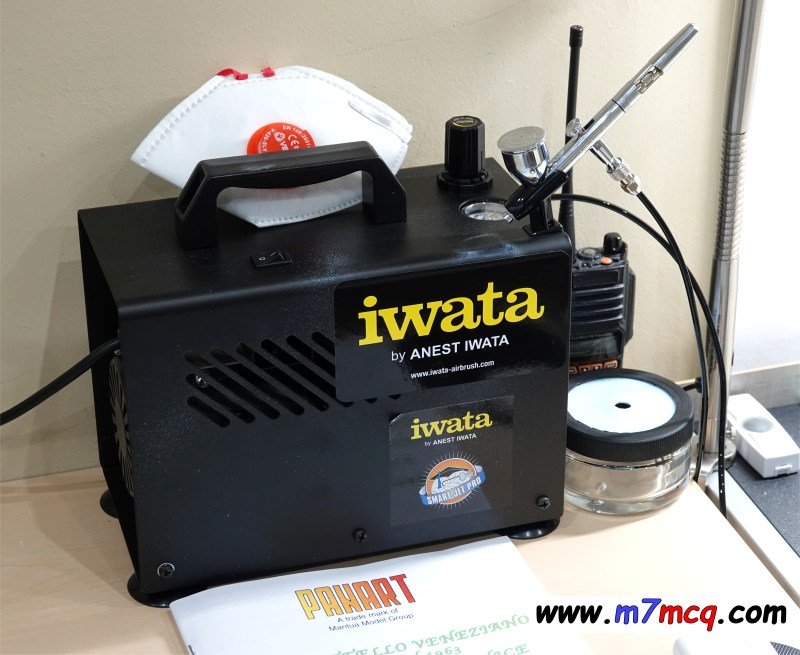
I applied some coats of undercoat and very lightly sanded those before applying a base coat of colour (Hull Red). Rather stupidly I used my Iwata Airbrush which only has a fine needle in it, so it was like painting the Titanic with a 1" brush!! The subsequent coats will be painted with my Aztec airbrush which has a range of nozzles including some which are more appropriate for the size of this project.
I haven't decided on a final colour for the lower hull, but it will obviously need to be a brighter red, with a black band at the top.
Stay safe, Tom.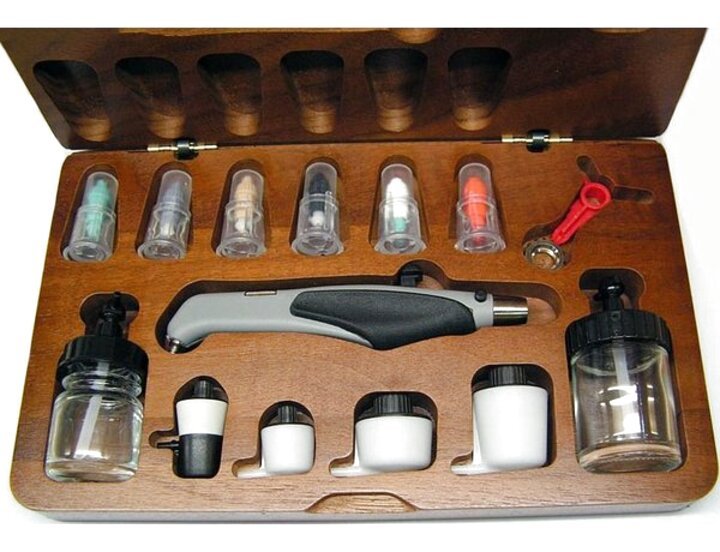
-
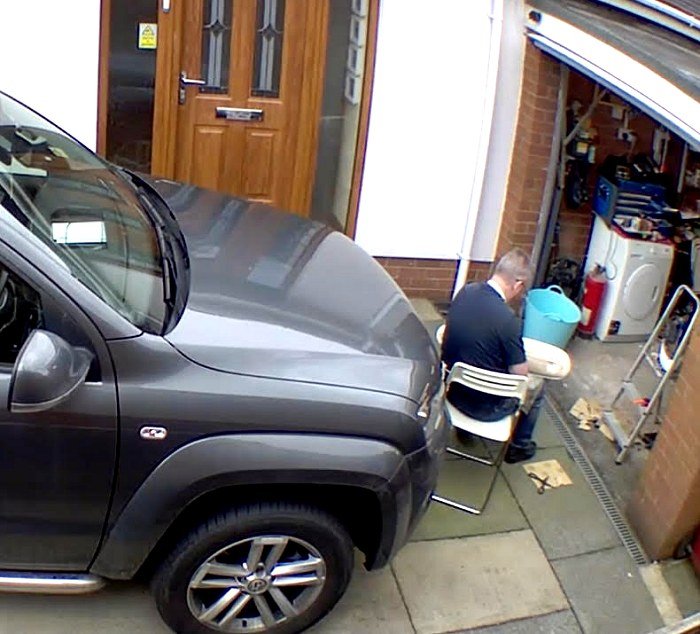
Please excuse my absence - there are two reasons - the first one is I HATE PLANKING and the second one is I have been spending a lot of time with my other hobbies - Amateur Radio, Photography, FlightSims and Painting (not to mention being busy at work).
So - the planking - oh dear, I don't think I will ever build a ship where my planking will be visible 😂 I'm just useless at it! Mind you, I do believe I've learned a little from my mistakes on this build. Anyway, the hull is planked and I spent today sat outside filling and sanding, filling and sanding. Because it will be a painted hull, I know from experience that every blemish will show through, so I'm being as careful as I can. I didn't take any photos of my planking progress because I have nothing to offer any builders.
Before applying the first coat of paint to the hull, I intend to apply some Stopper. I did this on the St Roch and it worked out well.
Hope you're all keeping well.
Regards, Tom.
- Edwardkenway, James H, mtaylor and 5 others
-
8
-
21 hours ago, Landlubber Mike said:
Hey Tom, ....3M masks with two pink cartridges....
I think you must be talking about the 3M 2097 type but I cannot find any available in the UK 😞
-
Hey everyone, just a quick note to say that I've not fell off the edge of the world - I've just had some quite serious and draining personal stuff going on, which has meant that I've had not time for much modelling. I hope to make some progress this weekend, but without the advantage of using Superglue because it really does cause massive irritation to my sinuses 😝
Hope you're all keeping well.
Tom.
- mtaylor, Canute, Landlubber Mike and 2 others
-
5
-
With all the positive comments and encouragement that I received, I was thinking that it might be worth doing another one of these at some point in the future and use the knowledge of the model to do something much more detailed (and not make as many cock-ups, LOL). I've now got a lot more in terms of resource-materials and have seen other people's builds.
Can't wait to see Landlubber Mike start his - I just KNOW it's going to be amazing!
-
Sorry I've not come back soon Mike - been busy with other hobbies.
You've done an absolutely fabulous job of those two and at first, I thought I preferred the red cowl model, but then as I kept scrolling, I switched to the blue.
And then I looked at them both again and couldn't decide - they're just both fantastic. Well done!
-
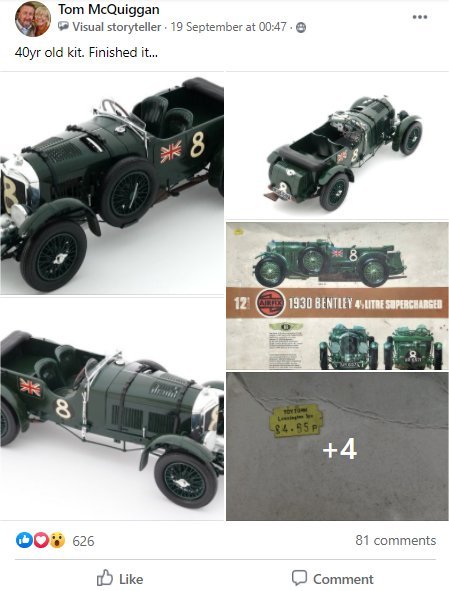
I posted pix of this model on Facebook and got over 500 likes in one day!!! It's now over 600. Beggars belief!!
- Kevin, Ryland Craze, yvesvidal and 7 others
-
10
-
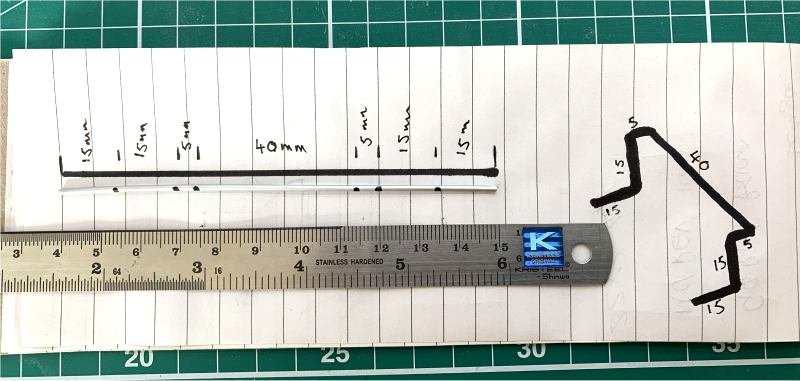
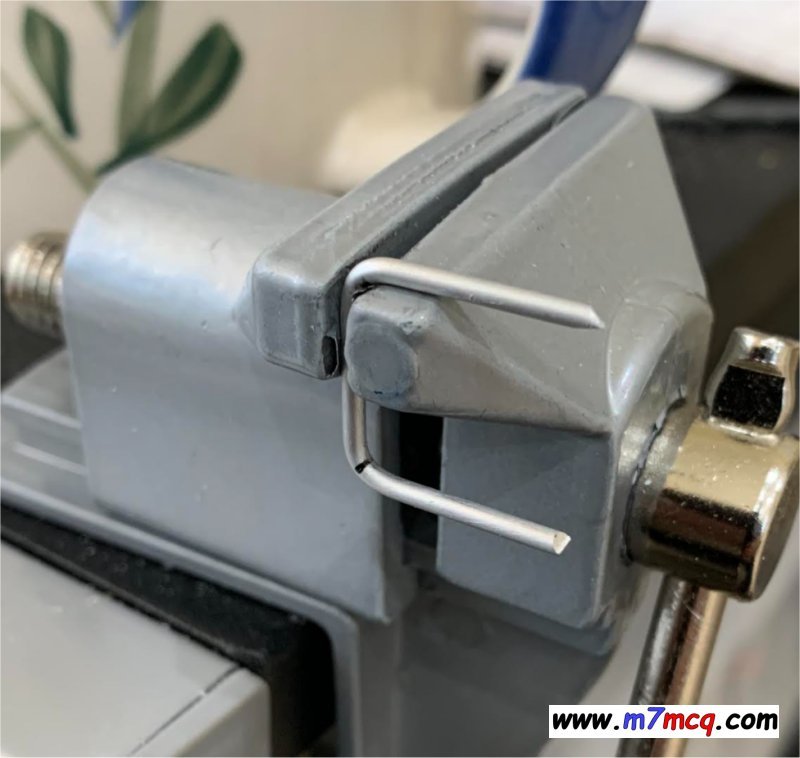
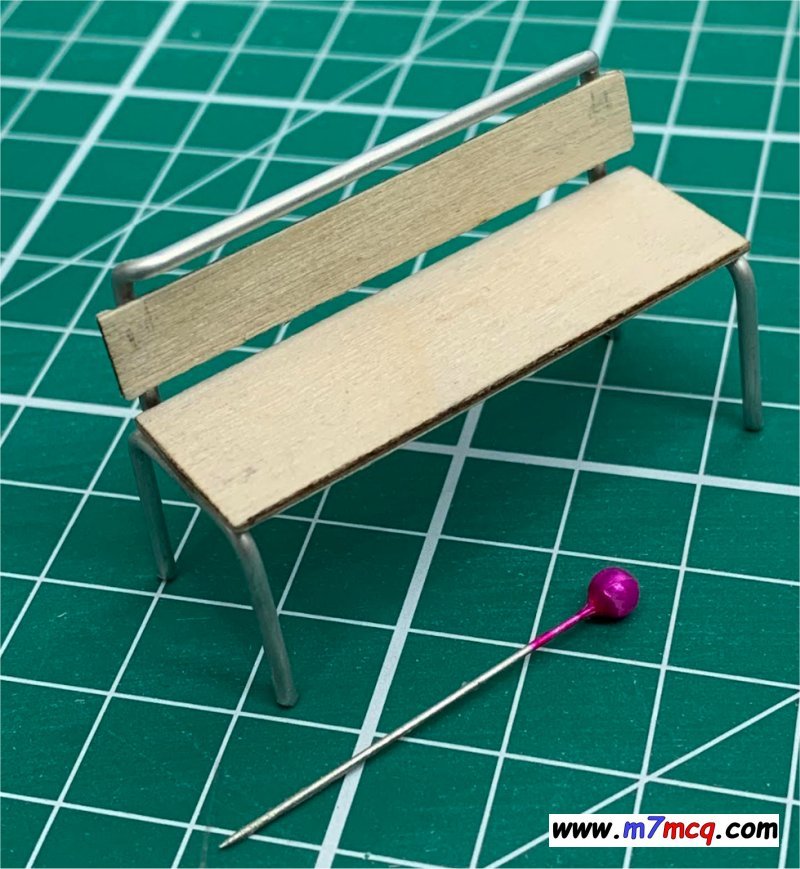
I started forming these bench-frames using a small vice and that's where I ended up making a mistake with the angles. Let me give you a bit of advice - forget the vice - just use a pair of long-nose pliers. It's massively quicker and easier!
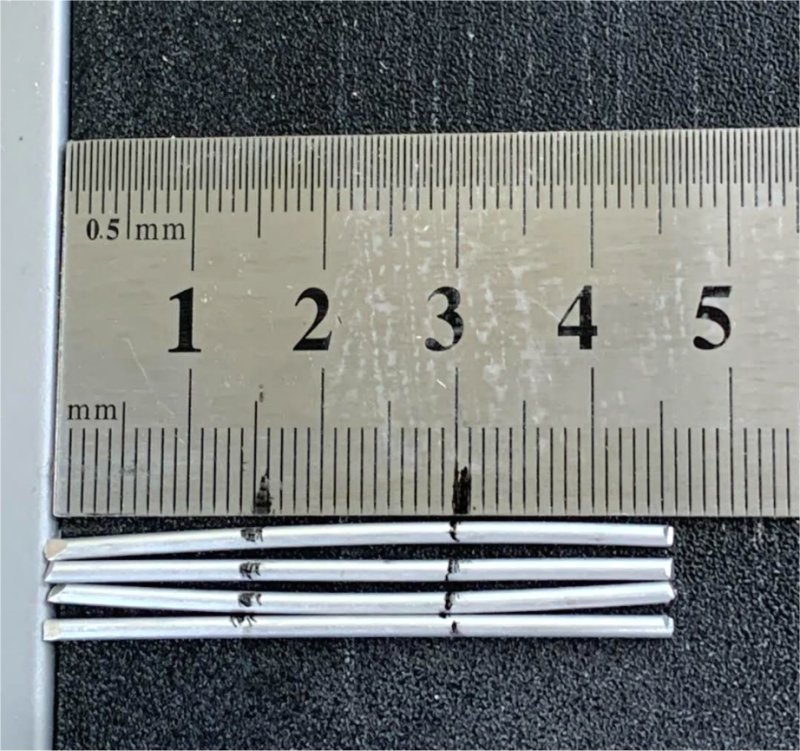
MAKE ONE PERFECT BENCH FRAME and then use it as your guide for the other 21 frames. Cut the aluminium rod pieces (110mm long) and then using your "perfect" frame as a template, form the others with the pliers. It's quick and easy!
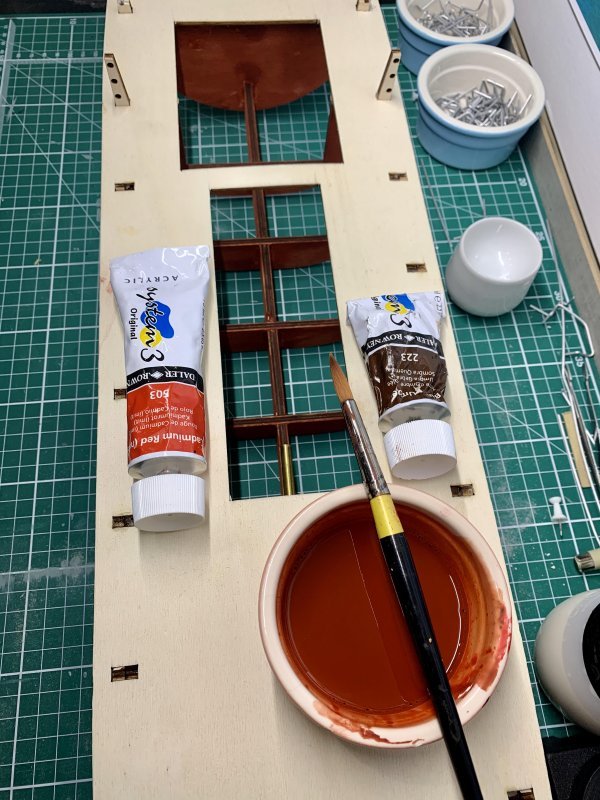
I then painted the wooden seat part in Light Blue and later coated them in Tamiya Flat Clear. I'll see how they look when they dry and may add more coats. After that, I decided to cover the inside of the hull with "Hull Red" just so it doesn't have an unfinished appearance when you remove the cabin for accessing the RC parts. Having already painted the seats, I knew that my tiny Tamiya paint pots wouldn't go very far at all when it came to painting the bulkheads so I made up my own Hull Red (roughly) with some acrylic paint tubes. I used Cadmuim Red and Burnt Umber. When the planking is done, it'll be relatively easy to finish off the inner painting.
-
Boy, that is just soooooooooo good. Amazing work!
- Canute, Old Collingwood, Egilman and 7 others
-
10
-
PLANKING & STUFF
Day-4
Today I spent a little time on the Vaporetto inbetween other things. I thought I'd get some planking done, but only managed 2 planks per side 😂
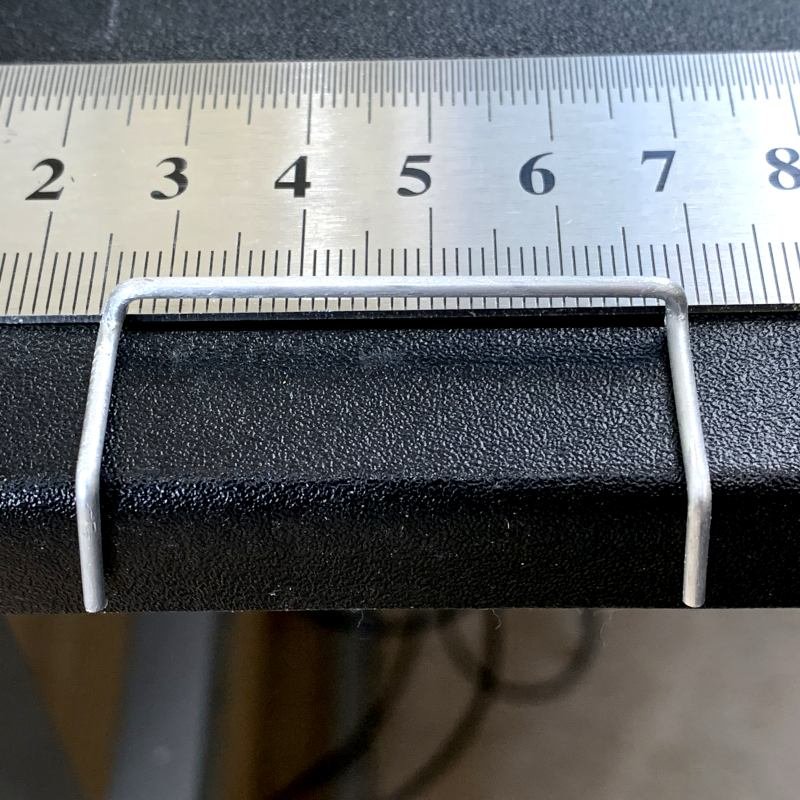
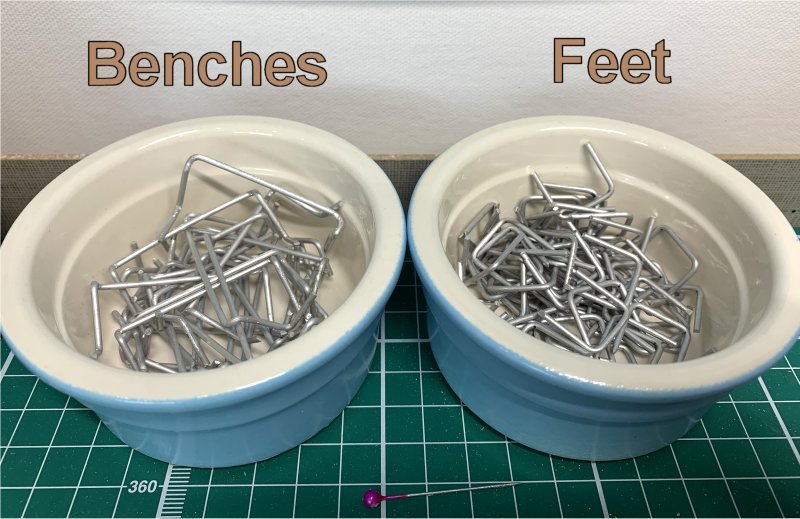
I then decided to do something easier and started to cut 74 pieces of aluminium rod to make up the seats.
I thought it was going to be repetitive but simple, but it turns out it was me that's simple 😂 because during the mock-up of the first bench seat, I put a fold forward instead of backwards, lol. Good job I didn't make a big batch of them 🙄
I wish this thing had the sort of instructions that James H does!
-
Fantastic work Mike - and valuable tips too. 👍🙏
-
Coming along nicely Sjors 👍👍
- popeye the sailor, mtaylor and Sjors
-
3
-
-
Really got into the spirit now Yves 😄 .....
Can't do any work tonight - I've reacted badly to the SuperGlue that I used on something else last night. Feel full of a cold. I remember this happening when I was building the St Roch. Oh well, there's always tomorrow 🙂
- mtaylor, Canute, popeye the sailor and 1 other
-
4
-
25 minutes ago, Rik Thistle said:
Tom, Good radio etc blog. 73s Richard
Hi Richard,
I take it you're an Amateur Radio operator too then? We'll have to set up a sched 👍
- popeye the sailor, mtaylor, Canute and 1 other
-
4
-
James H : How did the bare bones go together? No probs?
No problems Jim. I did however, manage to break the tip of a bulkhead just by allowing the boat to roll over on the desk! Now the deck is in place, it all feels much stronger. This morning I removed the baked beans 😂 and applied a bead of glue to all the joints - almost like a weld - to give some extra rigidity (although I know most people would say I didn't need to).
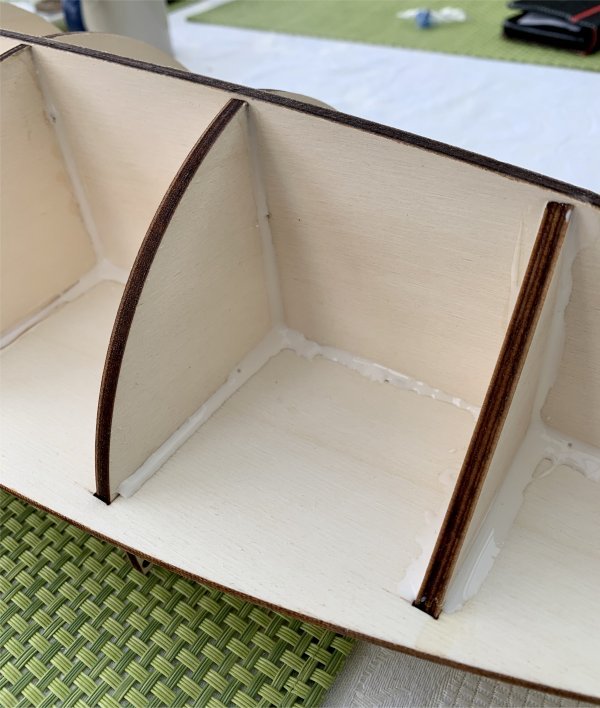
Last night while laying the deck, I struggled to apply glue properly using the applicator on the Titebond bottle, so this morning I stole one of the wife's hair-dying bottles which turned out to be a fabulous applicator! Thank you Garnier 🤣
LIGHTFLIGHT : And you have figured out the vestigial instructions👍, well done.
Thanks Andrew, you chose a great word there to describe those instructions, LOL.
- mtaylor, Canute, popeye the sailor and 2 others
-
5
-
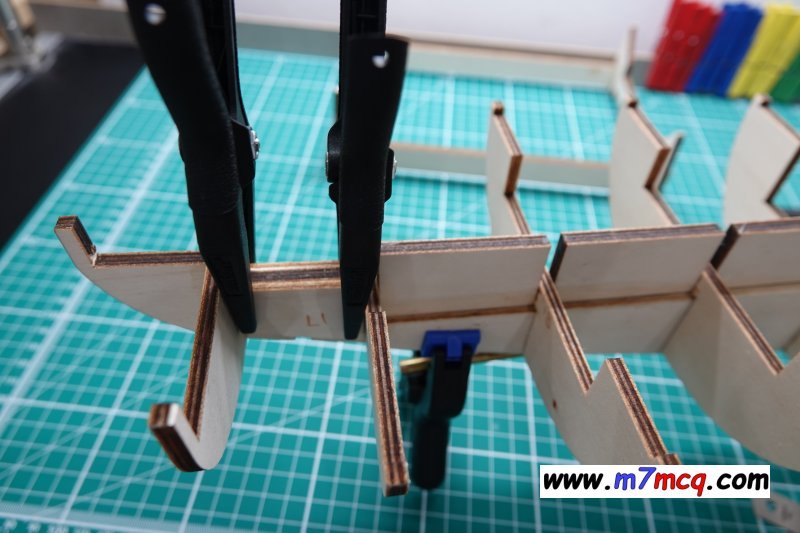
THE KEEL
Day-3
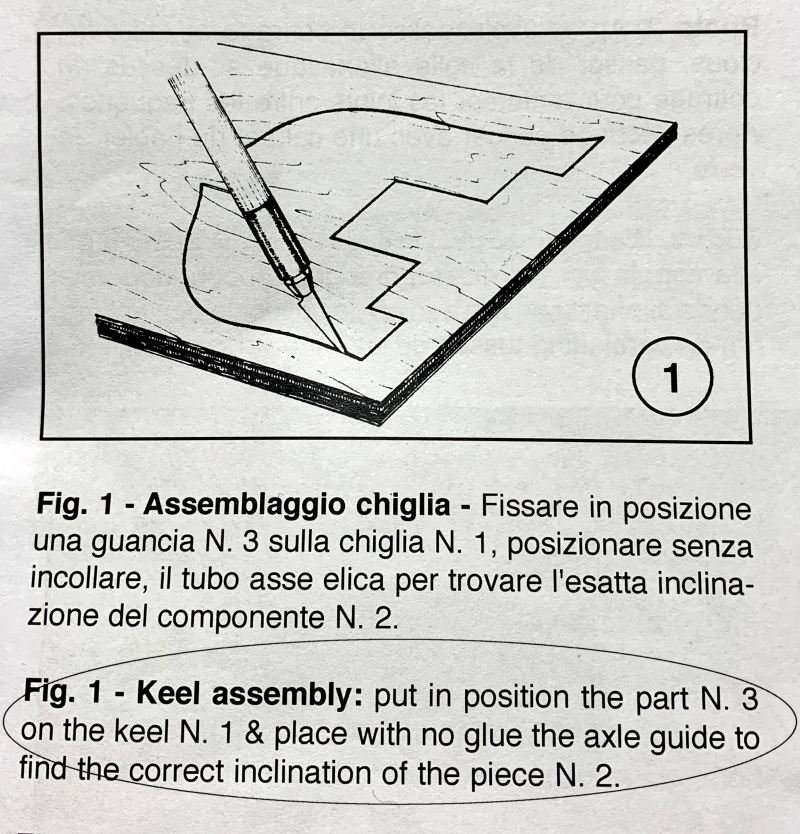
Tonight I unclamped the dry-test-fit and glued on the Part-3's to the main keel and then inserted the small keel part inbetween. After carefully checking alignment (with the propshaft tube in-situ), I clamped them to let the glue dry.
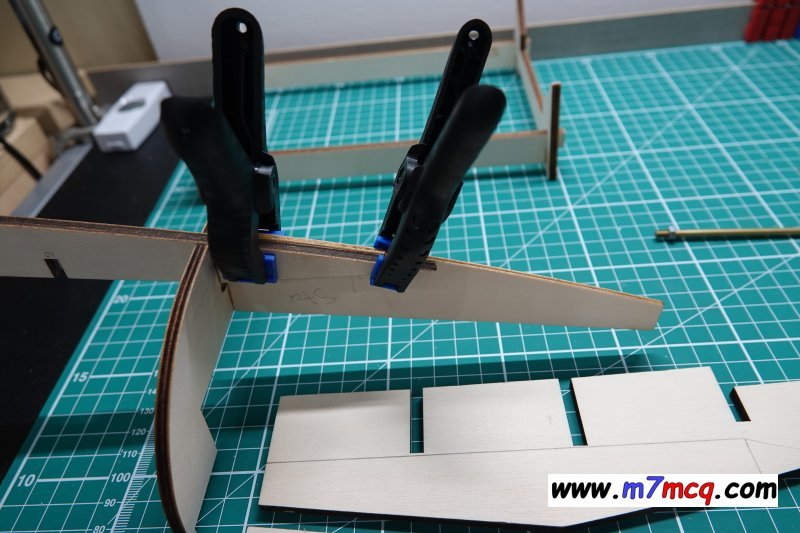
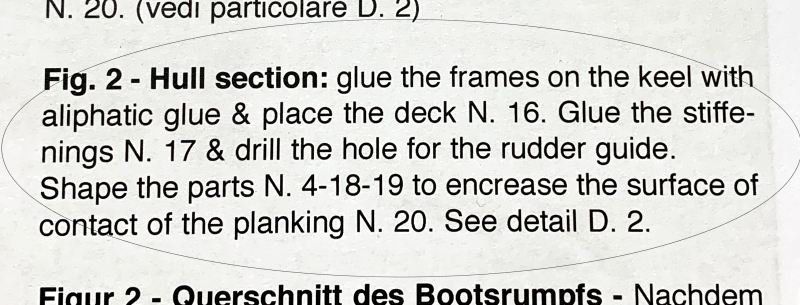
Next it's time to fit Parts-17 which (I believe) reinforce the section where the rudder shaft goes...
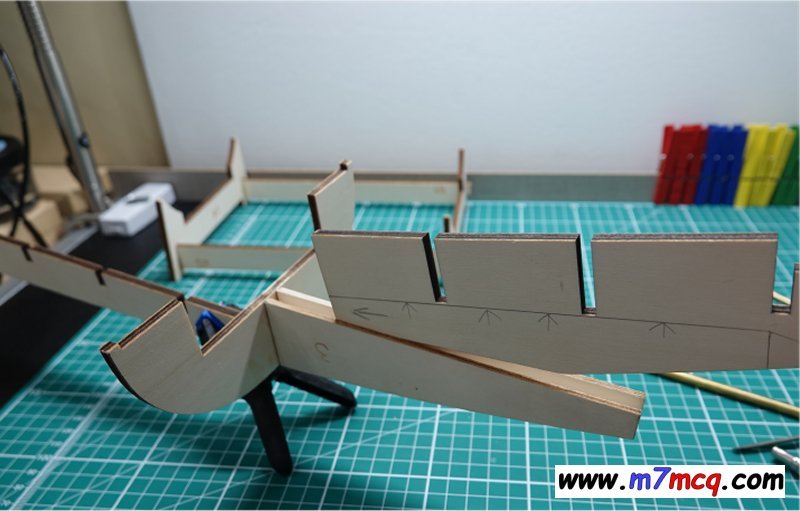
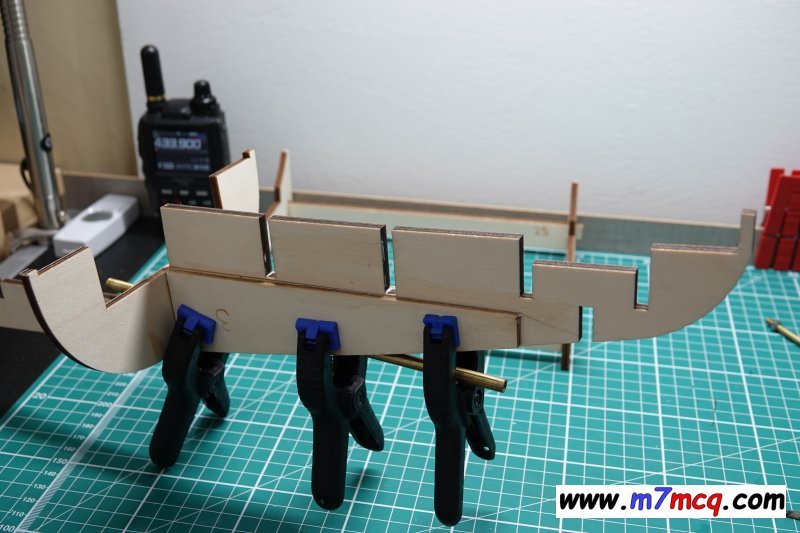
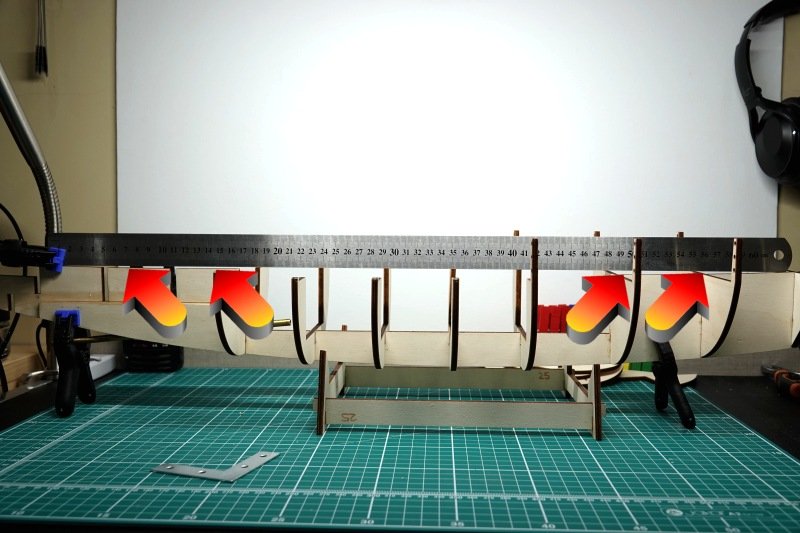
After that, I placed a straight-edge across the top of the hull and noticed that there were some gaps 😲 but after referring to the big drawing, I could see that there should be some curvature front to back (sorry, stern to bow).
Finally, I placed the deck onto the hull and after gluing all the mating points 🤬 I placed a load of rubber bands around it and weighted it down with some cans (I'd ran out of caviar so I borrowed some beans from a neighbour) 😂
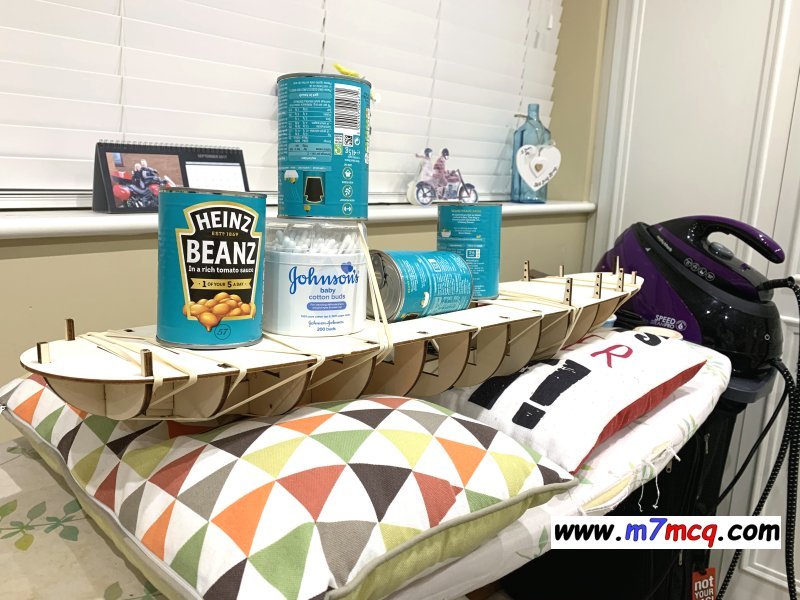
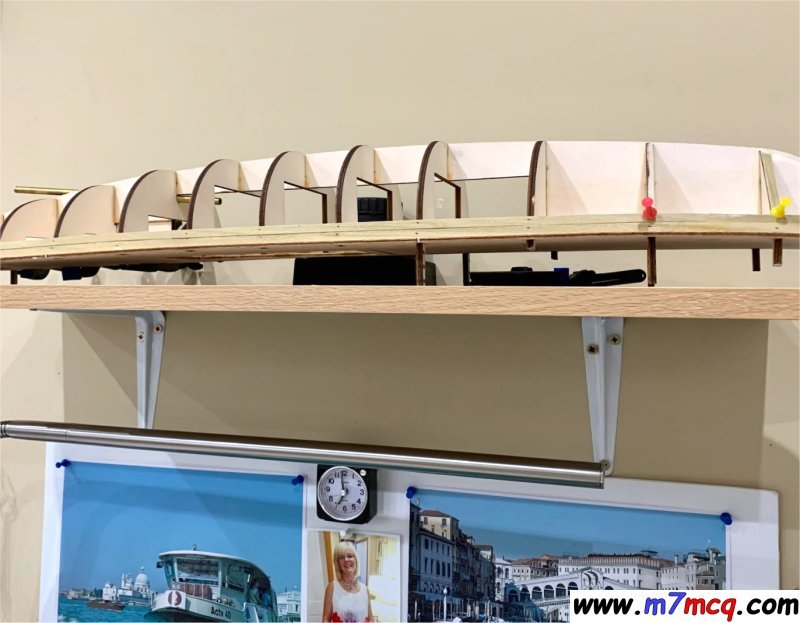
Oh - and I put a shelf up too 🤣
-
Hi all,
I've just started a Panart Vaporetto and have noticed in other folk's builds that the seats inside the boat look incredibly grainy once they're painted and I would like to avoid the same finish. Is there some sort of "stopper" I could use to flatten or infill that grain prior to painting?
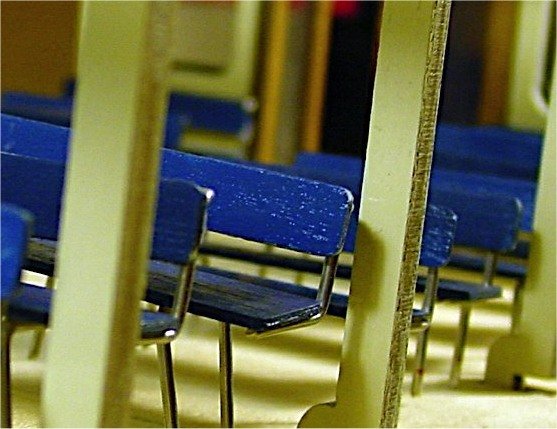
I'm not trying to go over the top (I was going to say overboard but maybe that's a censored word around here 😂), but considering that these bench-seats will be so easy to work on, I thought it might be worth paying them more attention.
-
Enjoying watching your build, Sjors! Great job so far 🙂
- Sjors, mtaylor and popeye the sailor
-
3
-
On 9/13/2020 at 9:06 PM, chris watton said:
..... I think Jim's managed to get this far in just 5 weeks!
Yes, but Jim uses spells and potions! There's simply no other explanation for his speed and staggeringly skillful abilities! AWESOME model and AWESOME builder.

- chris watton, Gord-Canada, DelF and 1 other
-
4
-
-
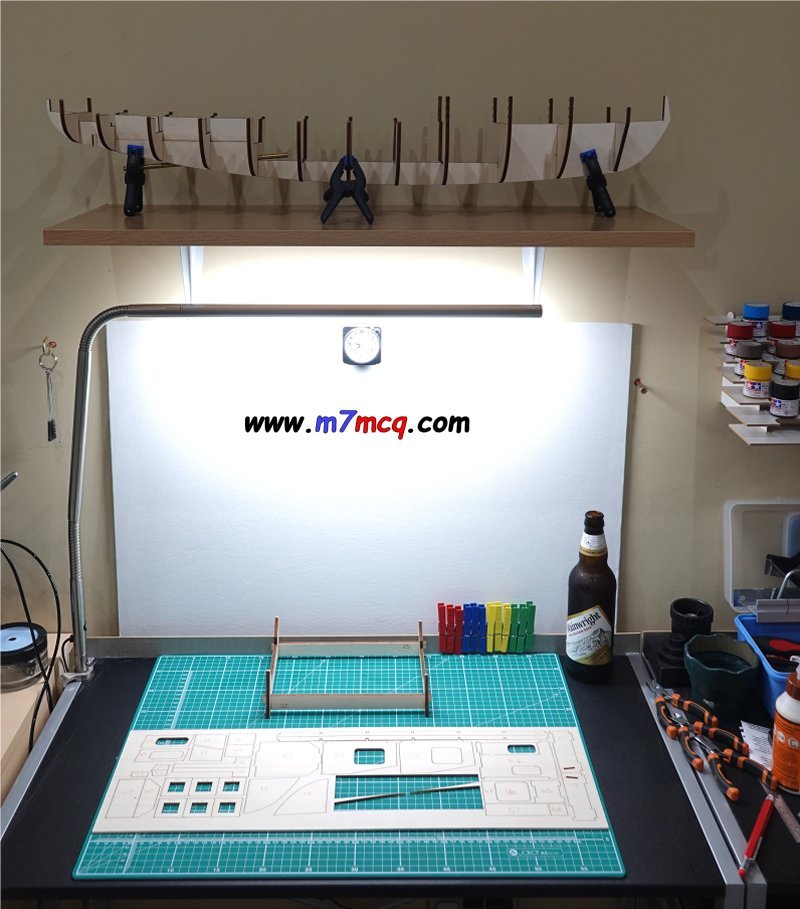
THE KEEL
Day-2
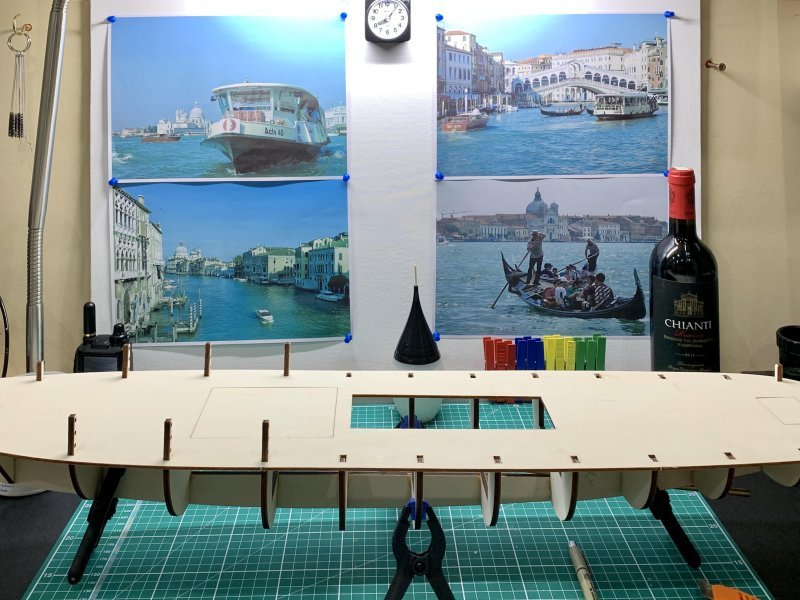
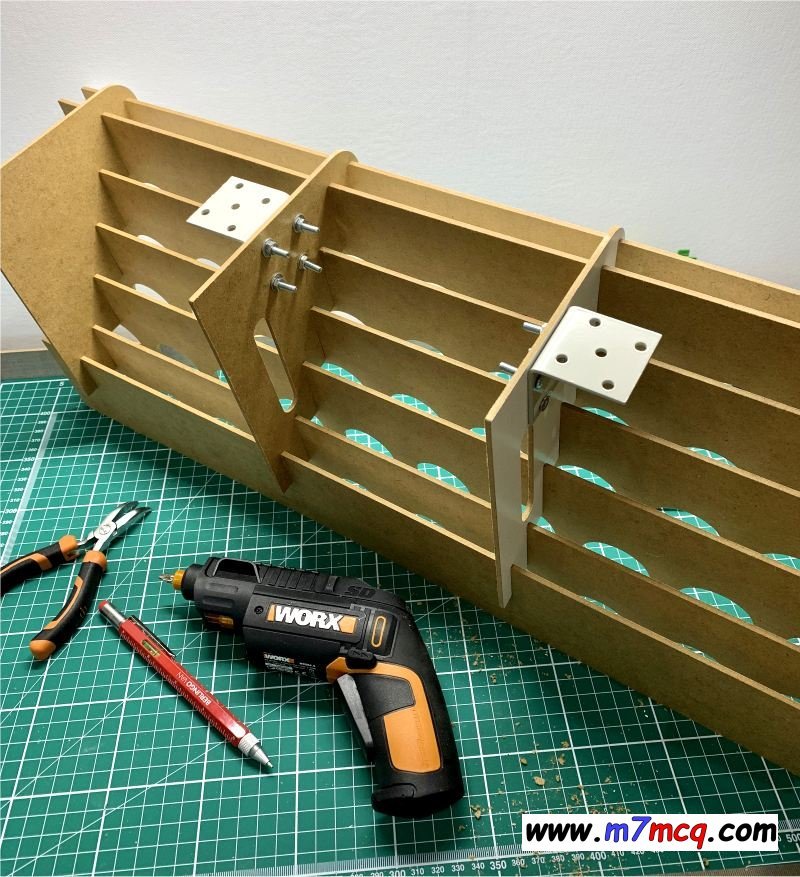
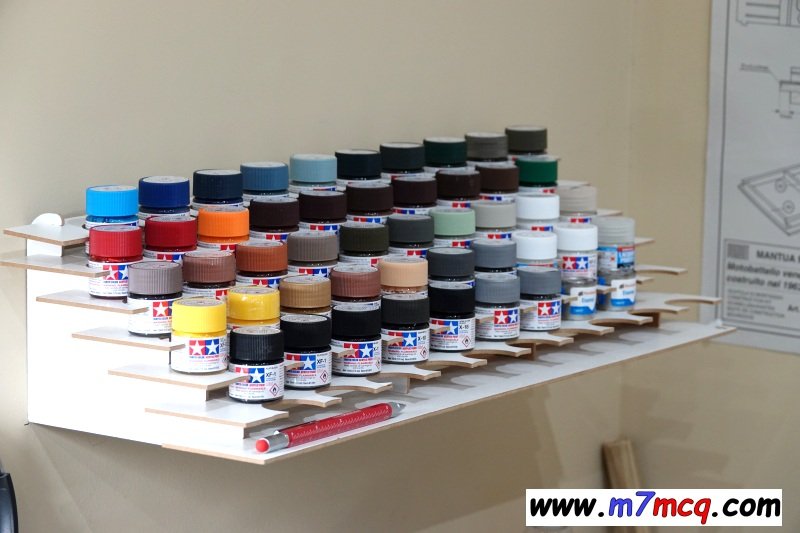
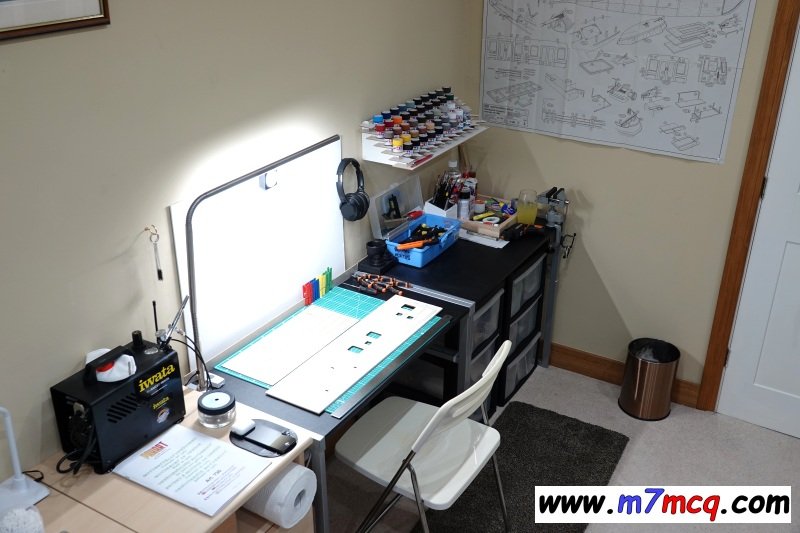
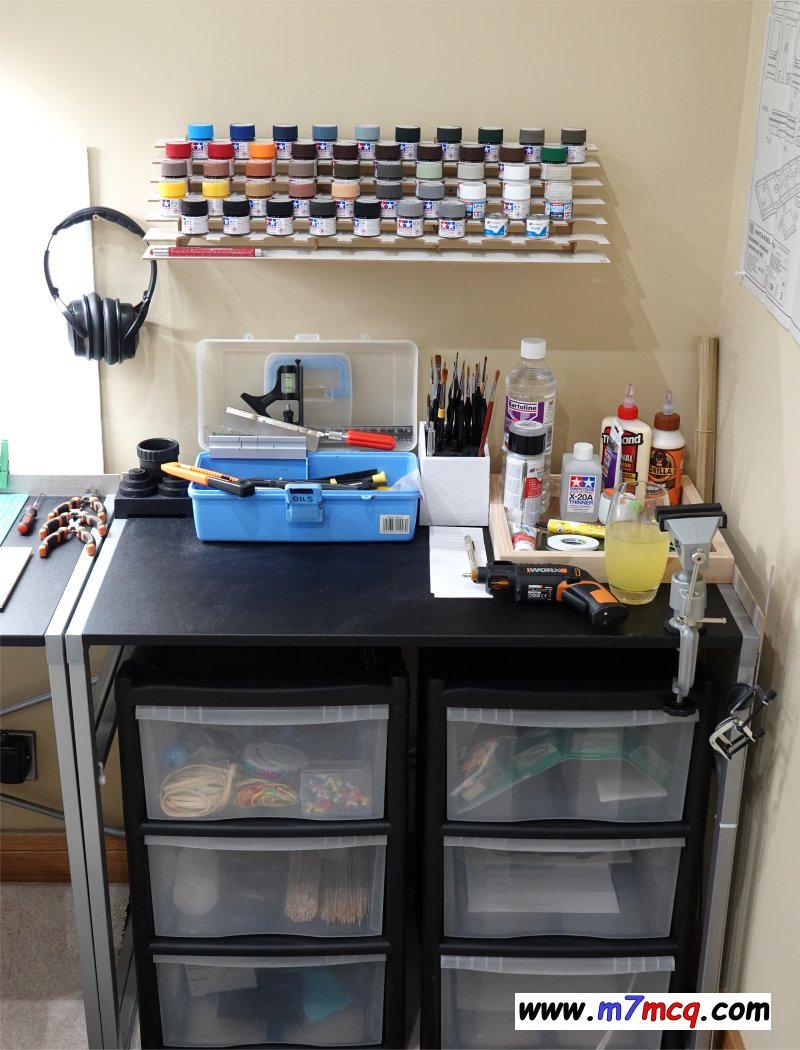
Well, before I could do anything tonight, I had to tidy up the spare room and make my workspace a bit more organised, so I started by putting my paint-organiser on the wall. Then I sorted the tables out and put some drawers underneath them. Found a space for the airbrush/compressor, installed the LED Light and hung "Drawing-1" on the wall.
With that done, it was time to read the Vaporetto instructions and it was at this point that I realised that they're pretty dire 😄. Buried in the multi-lingual text, there's a single, short paragraph that attempts to describe how the two keel parts align. I didn't really understand it, but I dry-fitted the parts using spring-clamps until I figured I'd got it right. At least I think I got it right!
Unlike that Airfix Bentley model I just finished 🤪, the instructions are far from step-by-step and I guess they expect you to read a tiny paragraph of broken English, refer to the big drawing and just 'figure it out'! I was wondering why the made the keel in two parts but then realised that it is, of course, because the prop-shaft has to go through the keel, so they split it in two and sandwich it with two reinforcing parts (Items '3').
Referring to the manual for some reassurance that I was doing the right thing, produced little reassurance 😂 since the next step shows the keel built and part-planked! I'll just have to go ahead and build it as I think is correct. I'm sure it'll be fine.


Phoenix by Kevin - Panart - 1/84 - Ex Amerigo Vespucci - restarted June 2020
in - Kit build logs for subjects built from 1901 - Present Day
Posted
Nice progress. You guys make everything look so simple 🙂