

bobandlucy
-
Posts
495 -
Joined
-
Last visited
Content Type
Profiles
Forums
Gallery
Events
Posts posted by bobandlucy
-
-
-
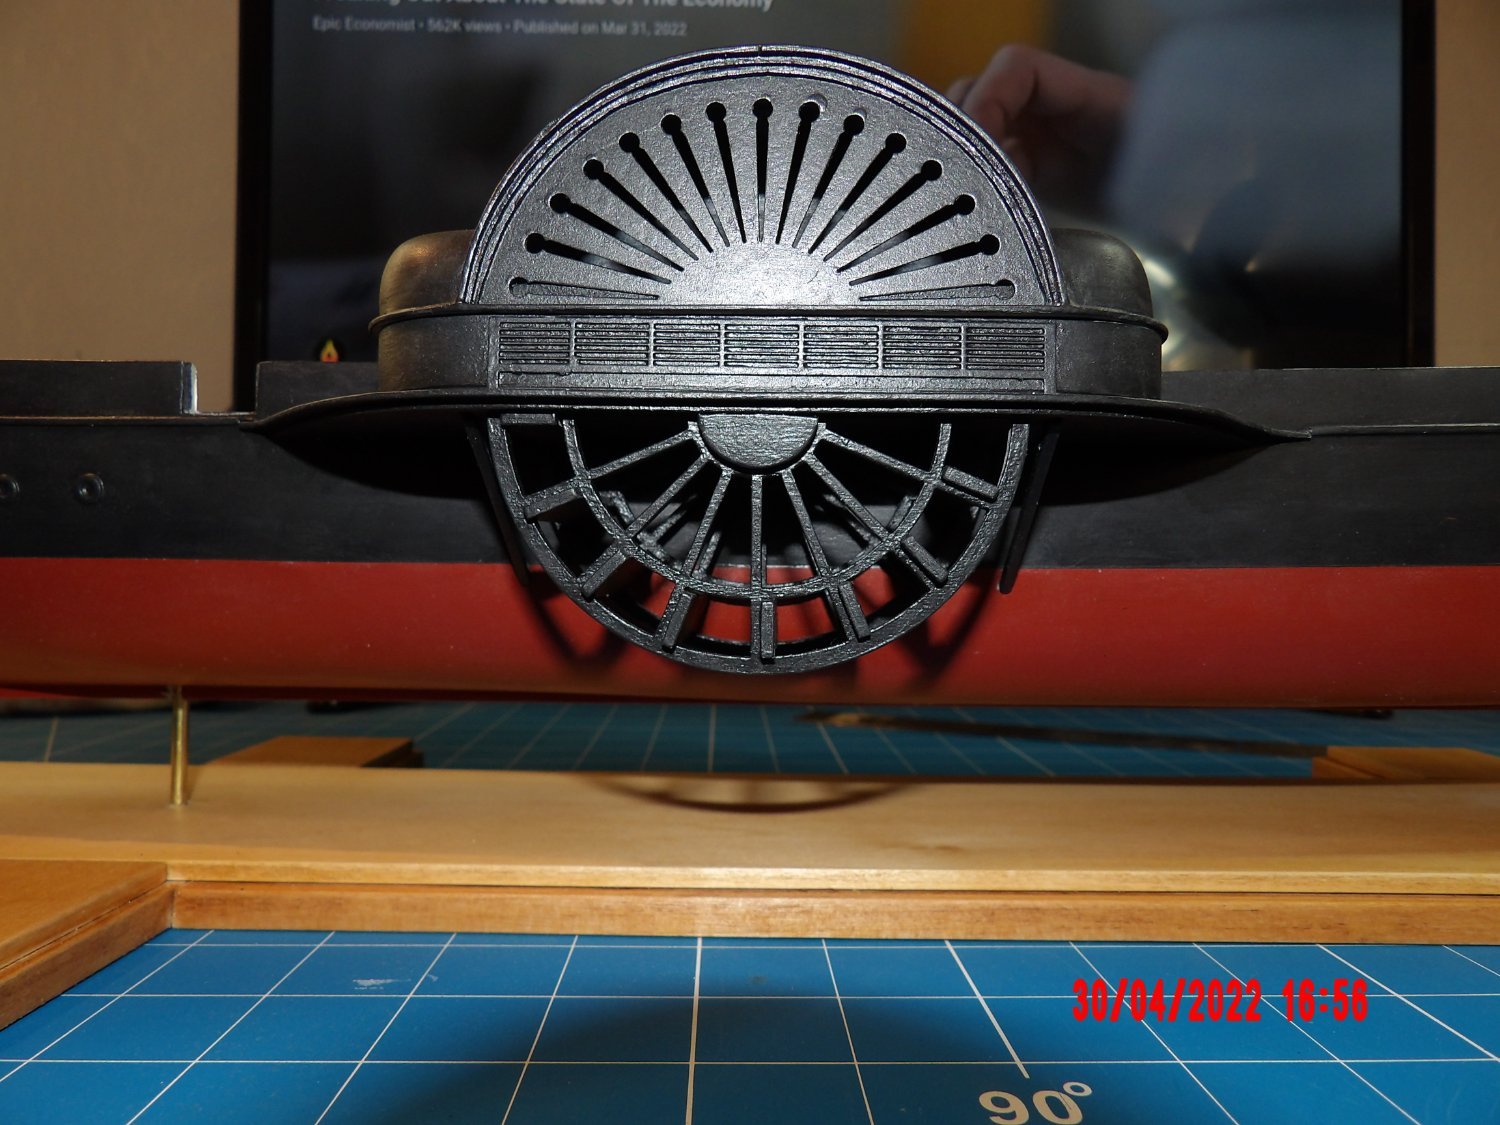
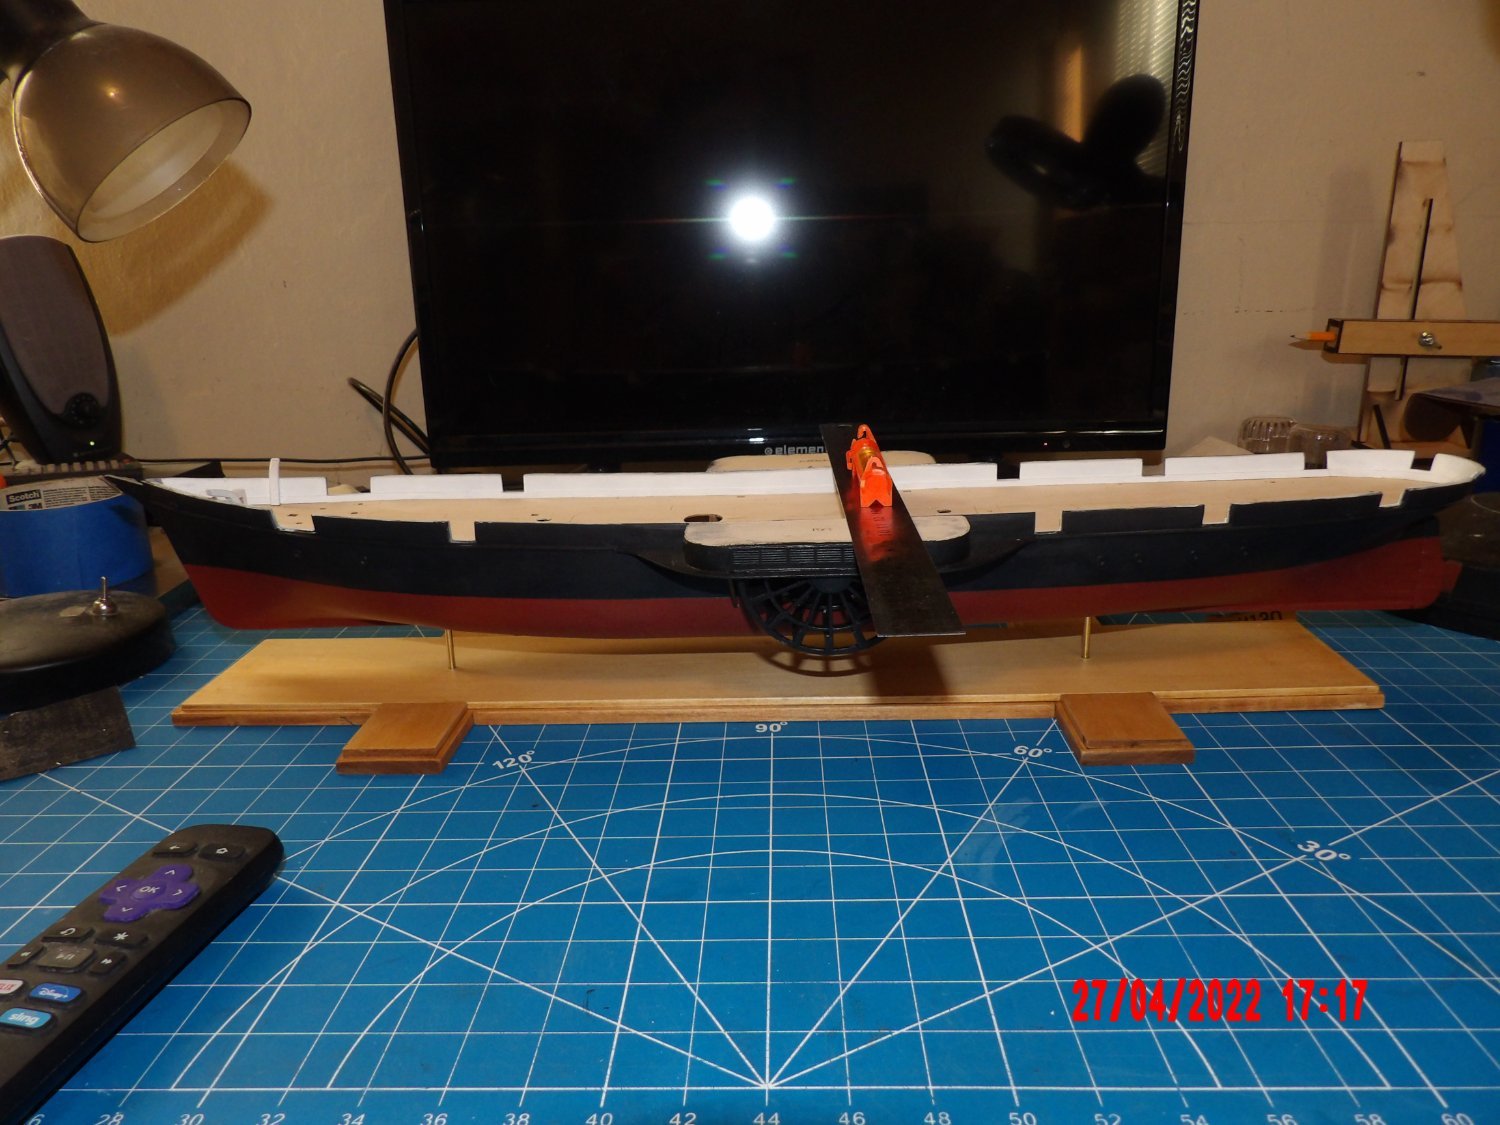
Added the upper wheelhouses and I am again struck by the elegance of design in this ship. If you follow the line of the center wheel housing downwards you'll see that it aligns with the support arms for the lower wheel assembly to create a beautiful line. For a warship, at least to me, this is unexpected. I'm so glad that this ship was selected as the fourth in this instructional series.

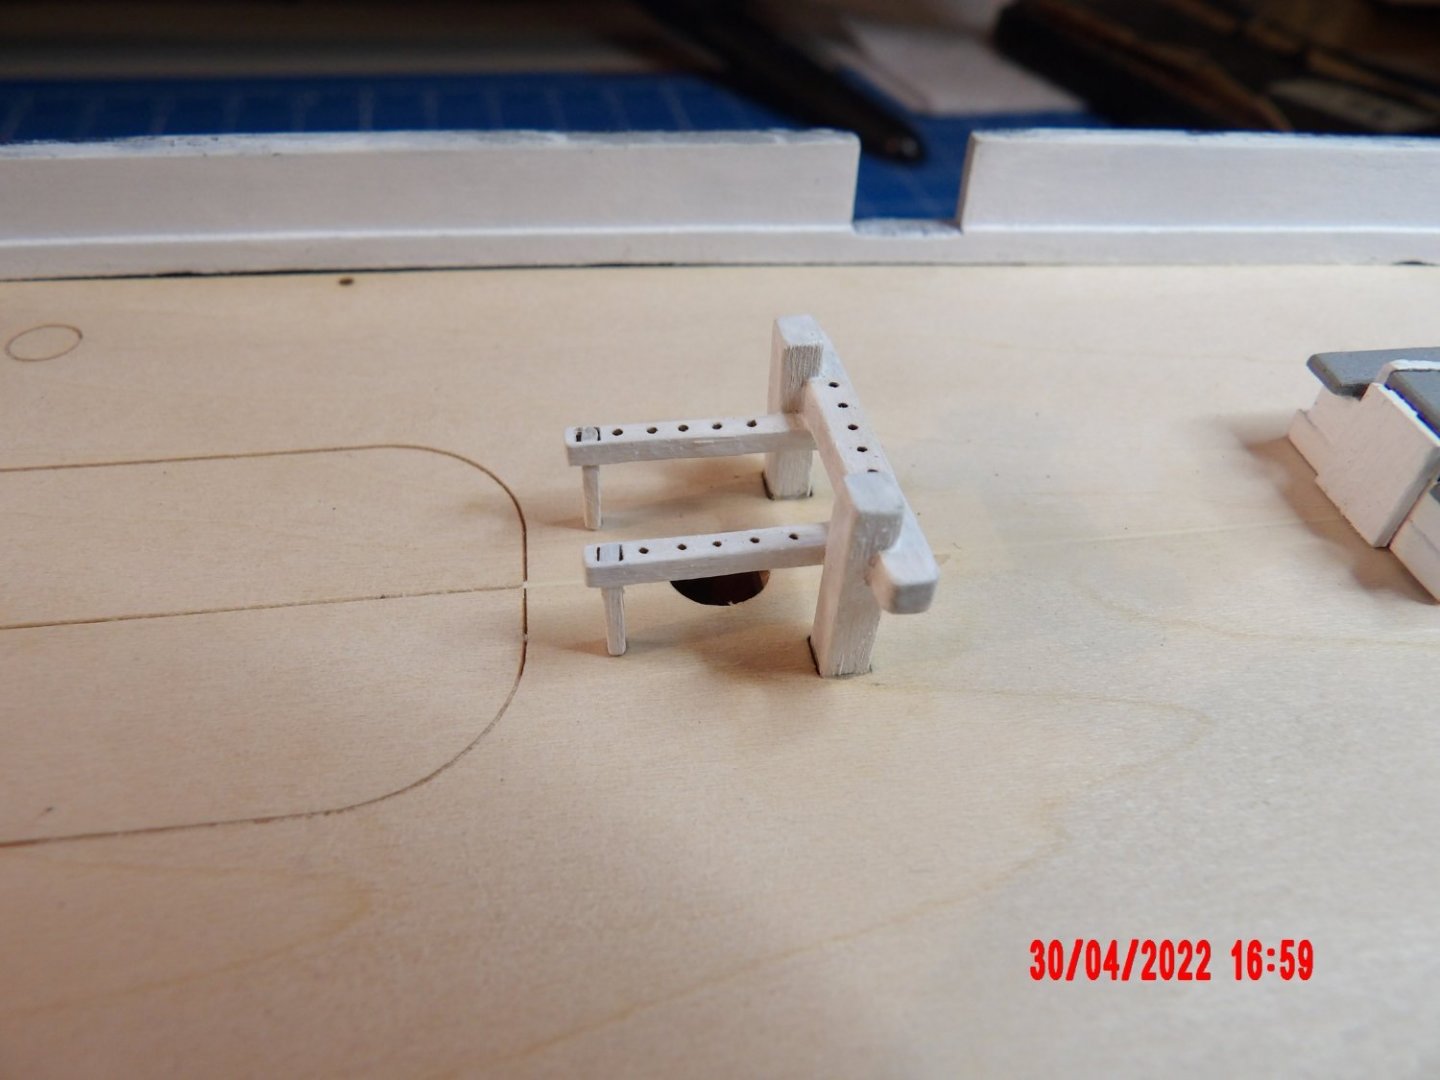
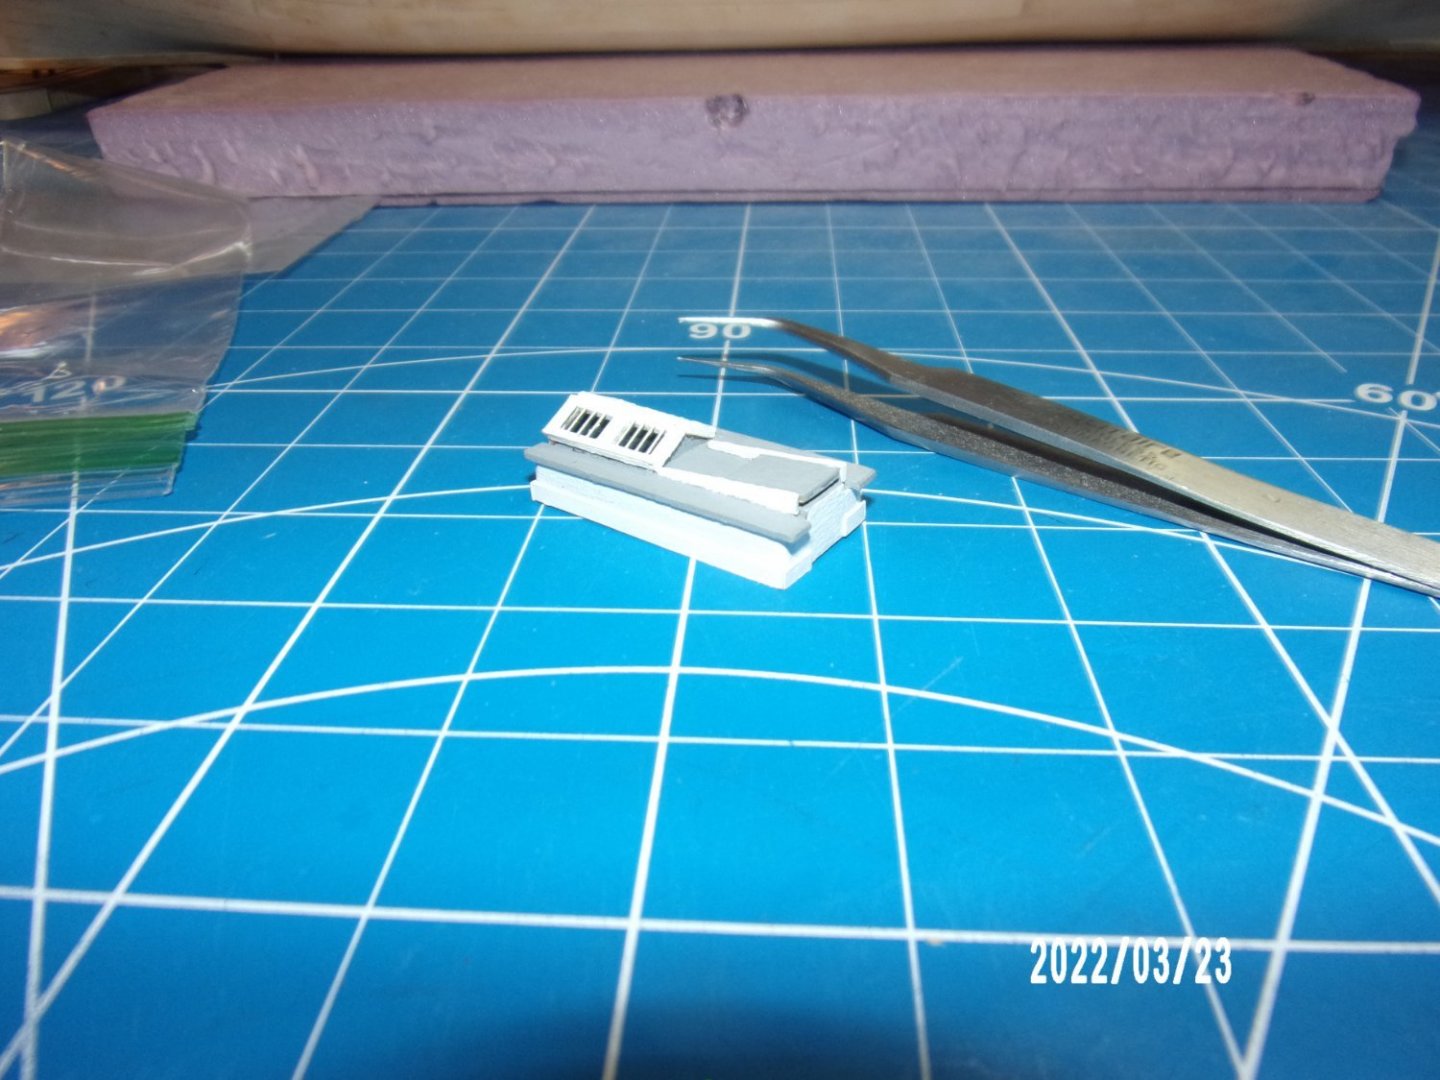
This little structure at the location of the forward mast is very delicate! So pleased with the result.
- thibaultron, Cathead, GGibson and 6 others
-
 9
9
-
The interior furnishings look excellent!
-
-
I have two of those Bessy clamps and will get more. I use them very often- because of their shape they can be used in areas other clamps won't reach.
Bob
-
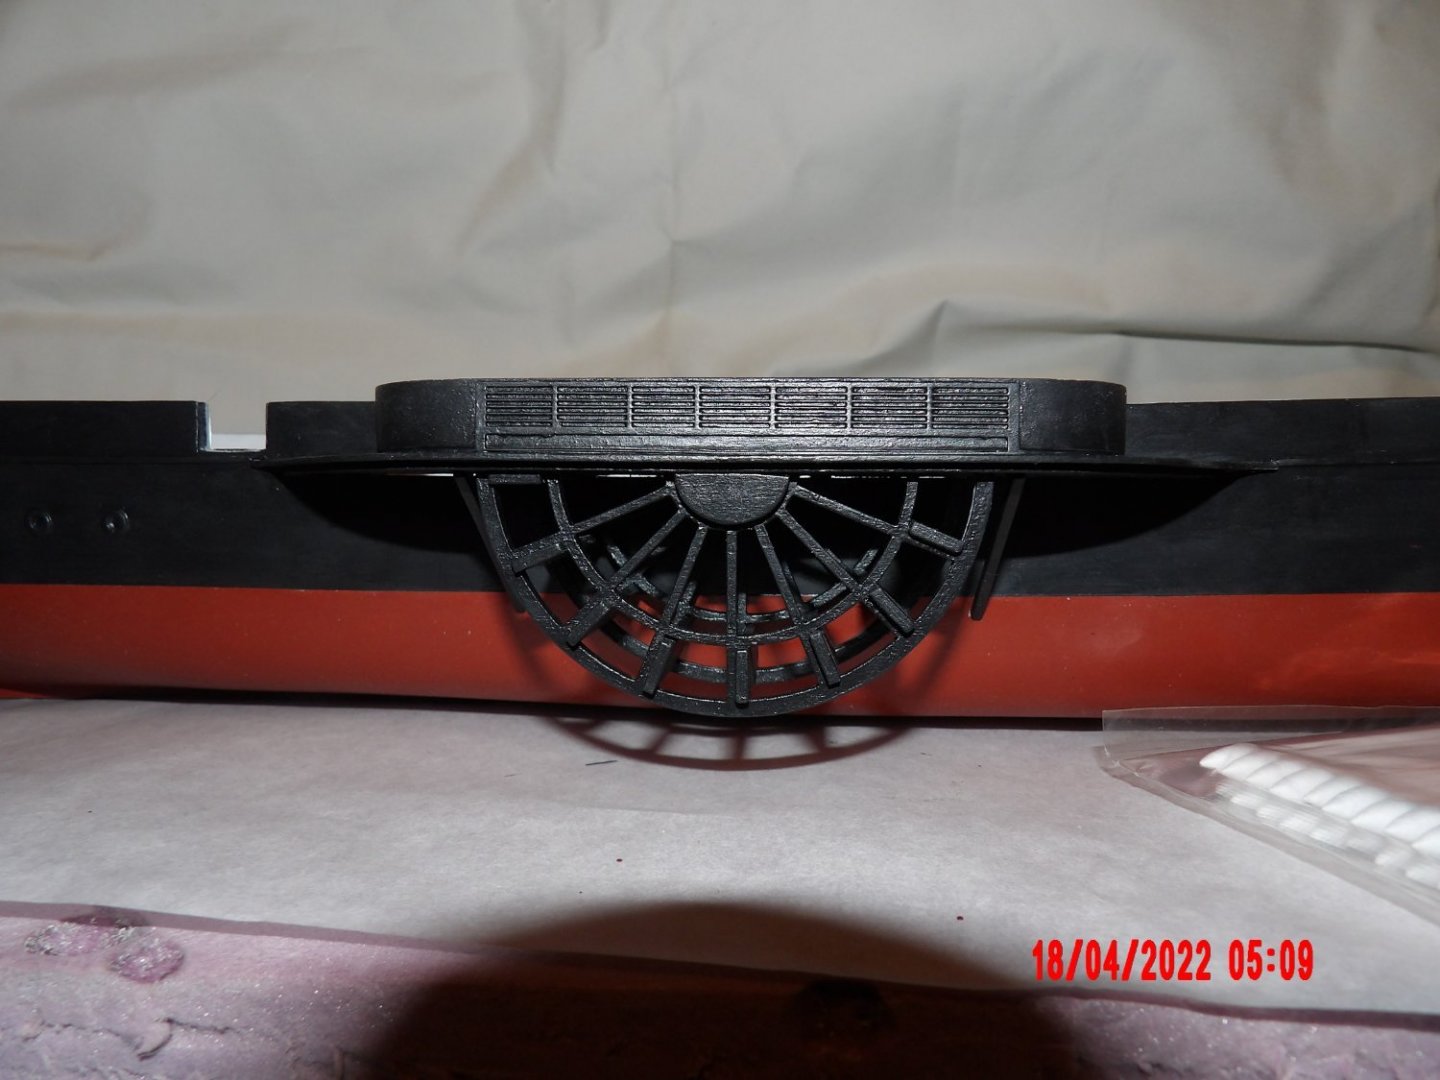
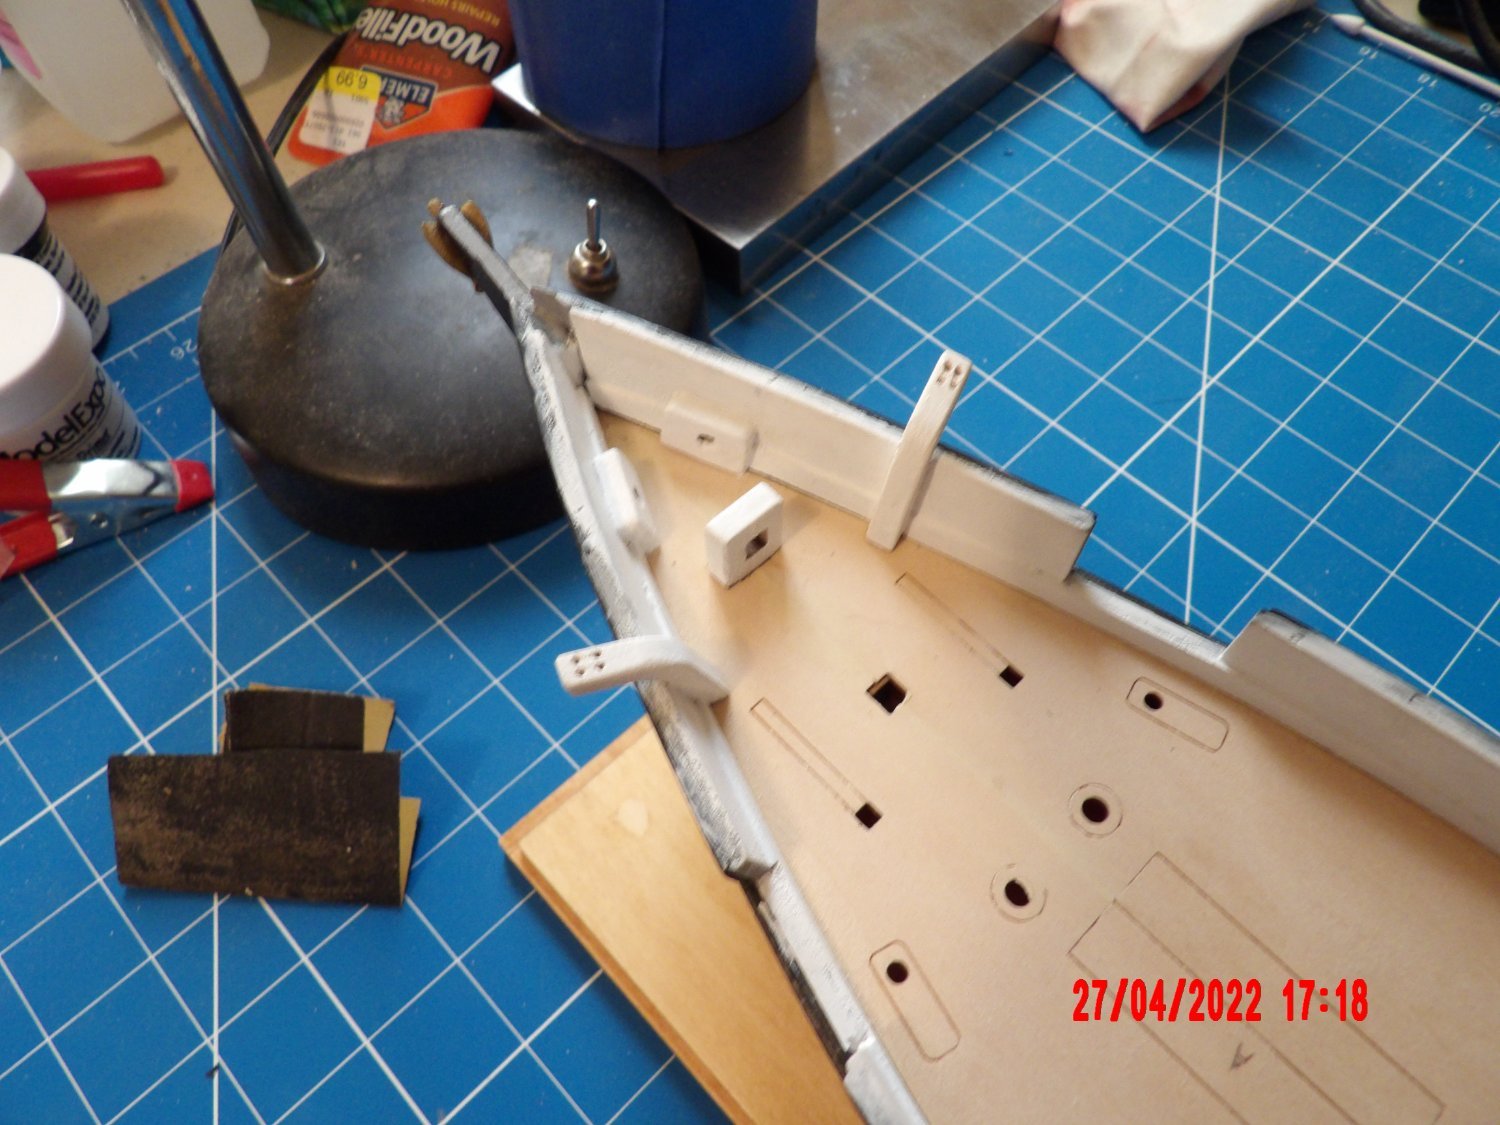
Some more progress, fun stuff! More work to be done on the windlass mechanism. One of the spurlings (cast pipe directing the anchor chains to below deck) is missing. Only one is indicated on the parts list, and only one was supplied- yet another request has been made to ME for the part.
You can see that the skylight on the companion is not centered well, but this will not really be apparent when viewed from the side. I'm not going to sweat over it.

- thibaultron, gjdale, Roger Pellett and 6 others
-
9
-
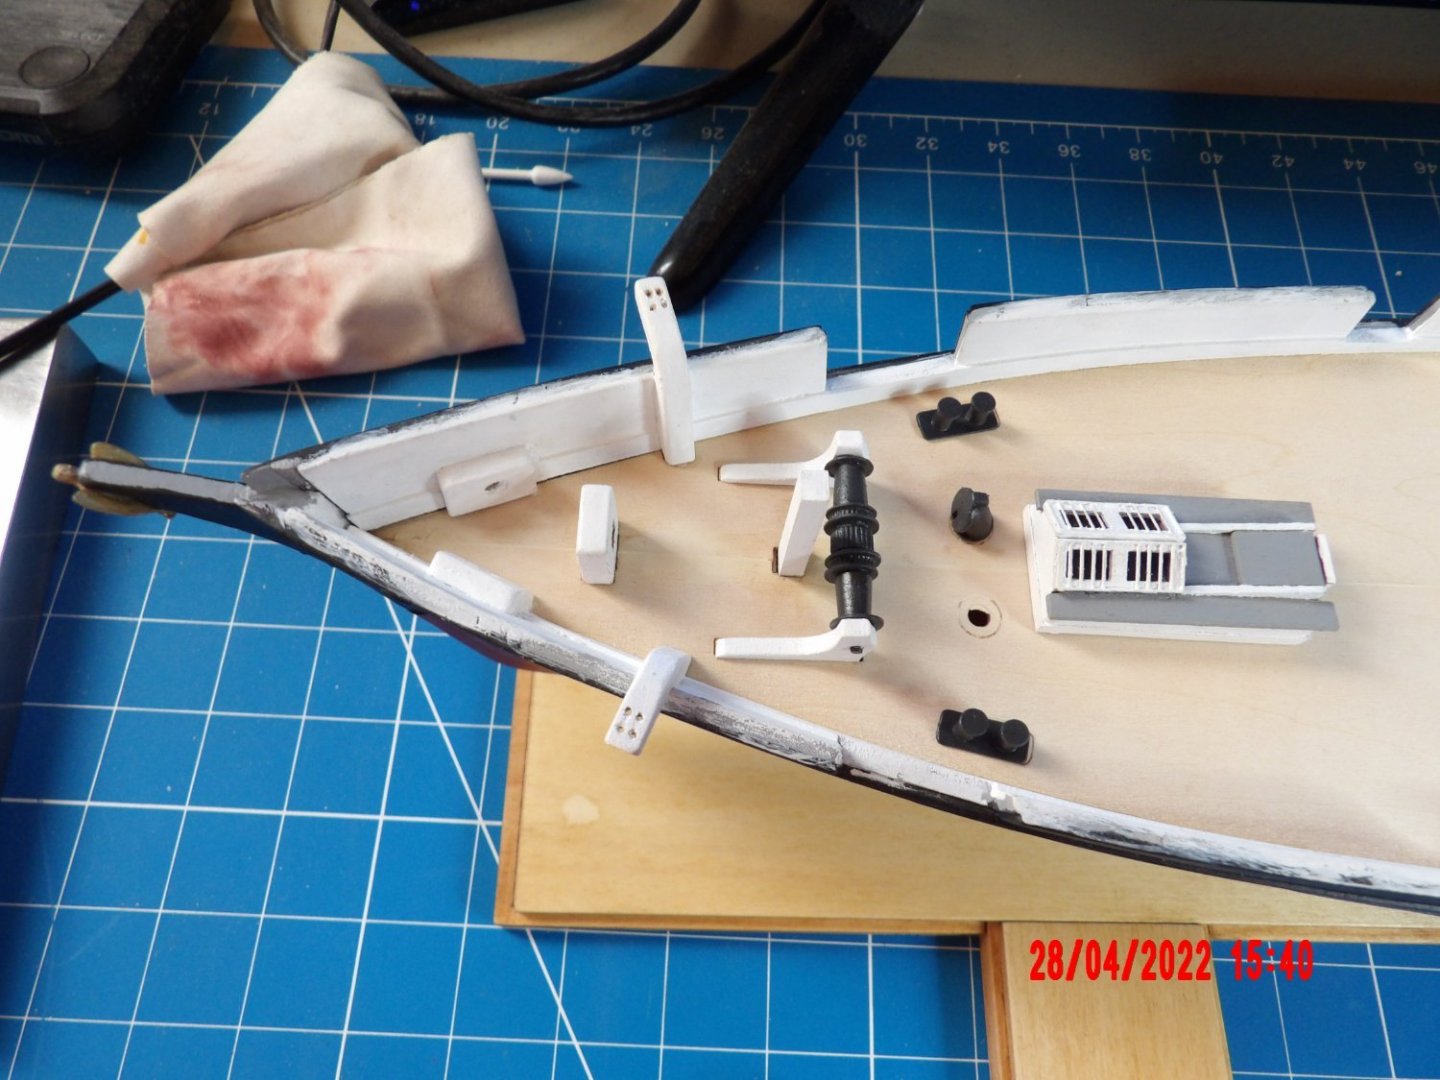
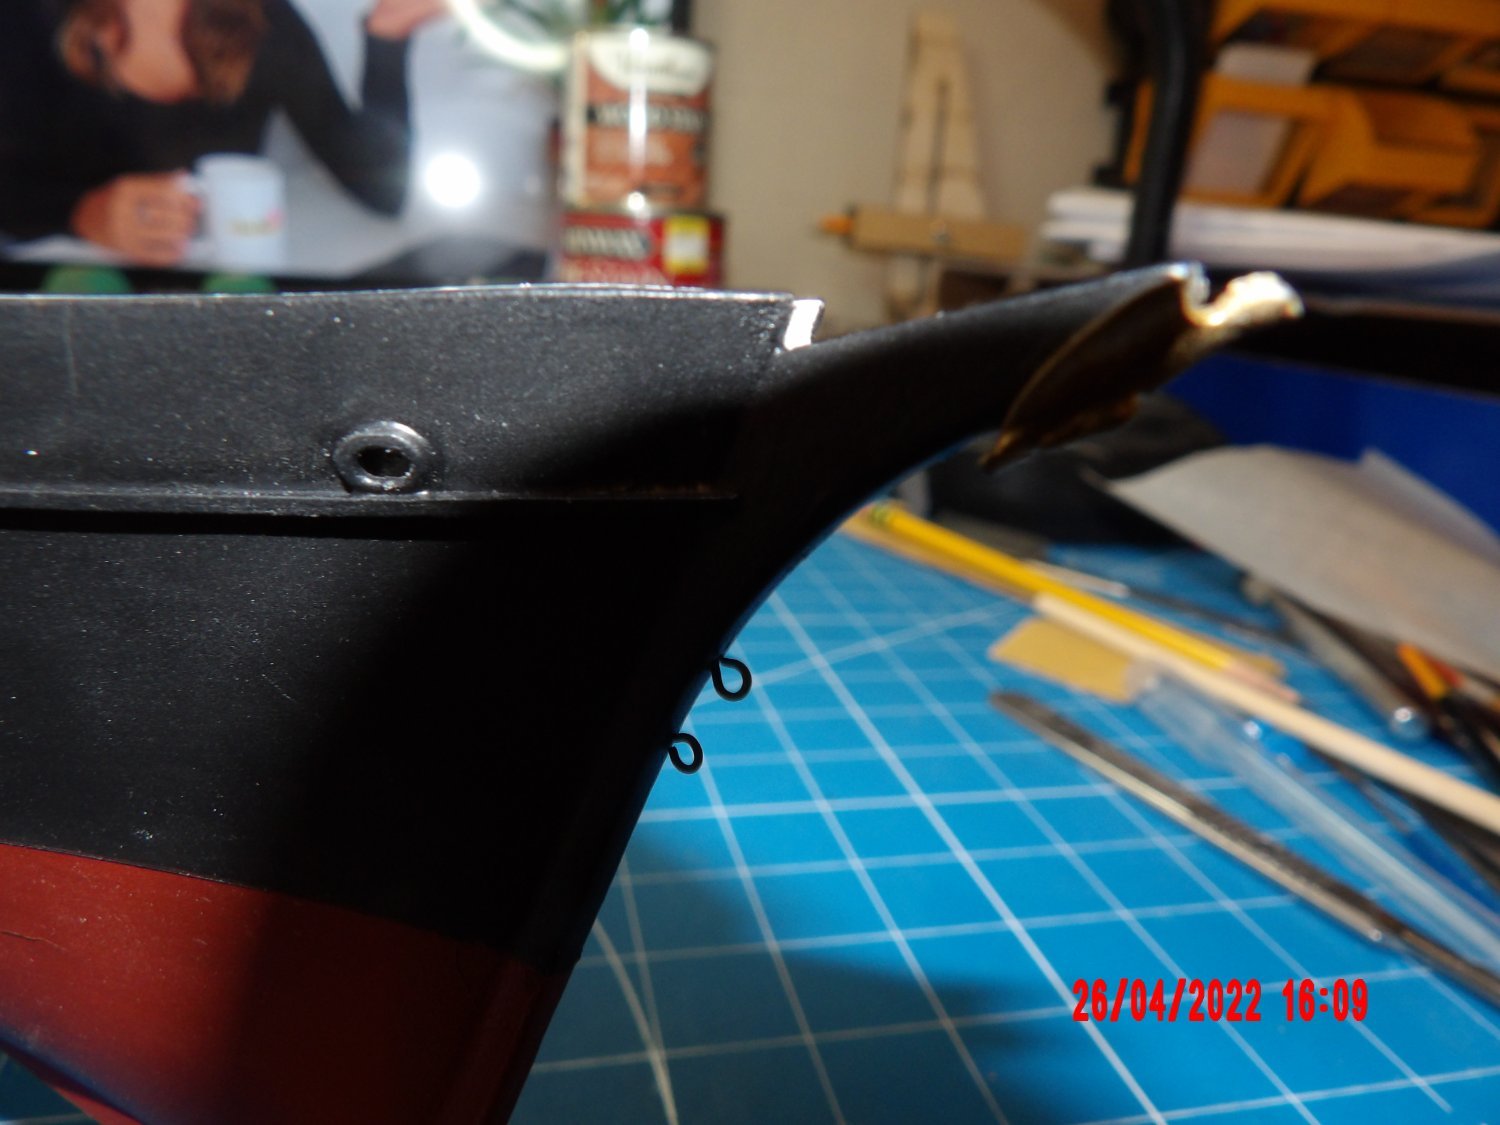
Placed the bow eagle ornament, and added two eyebolts (my first chemical blackening).

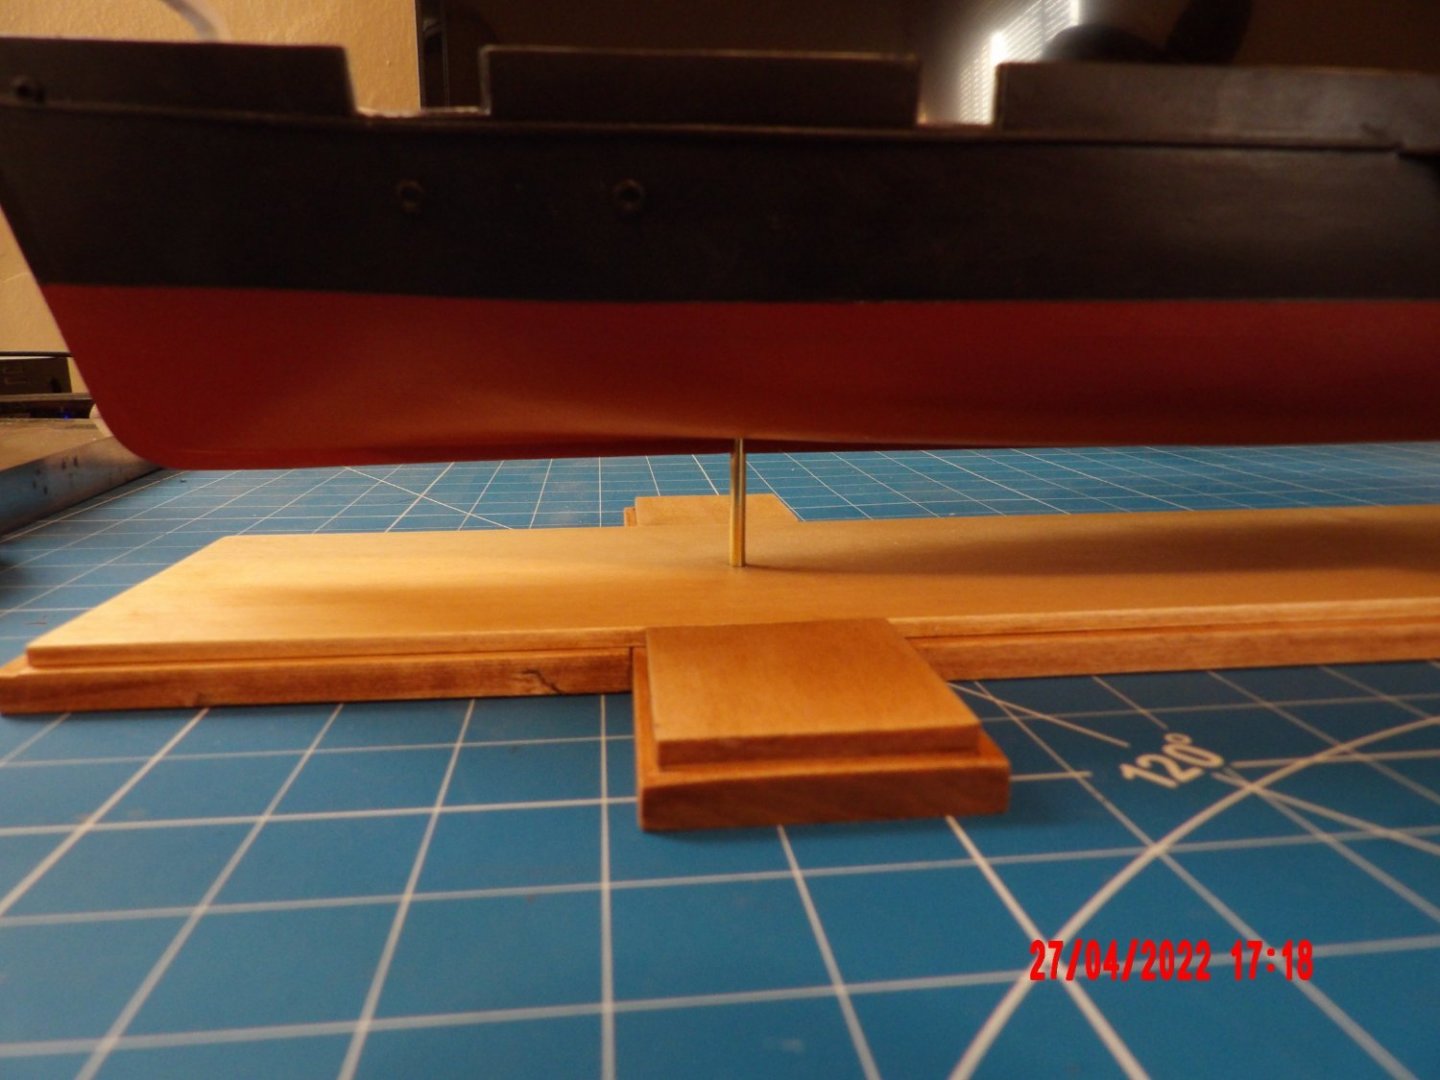
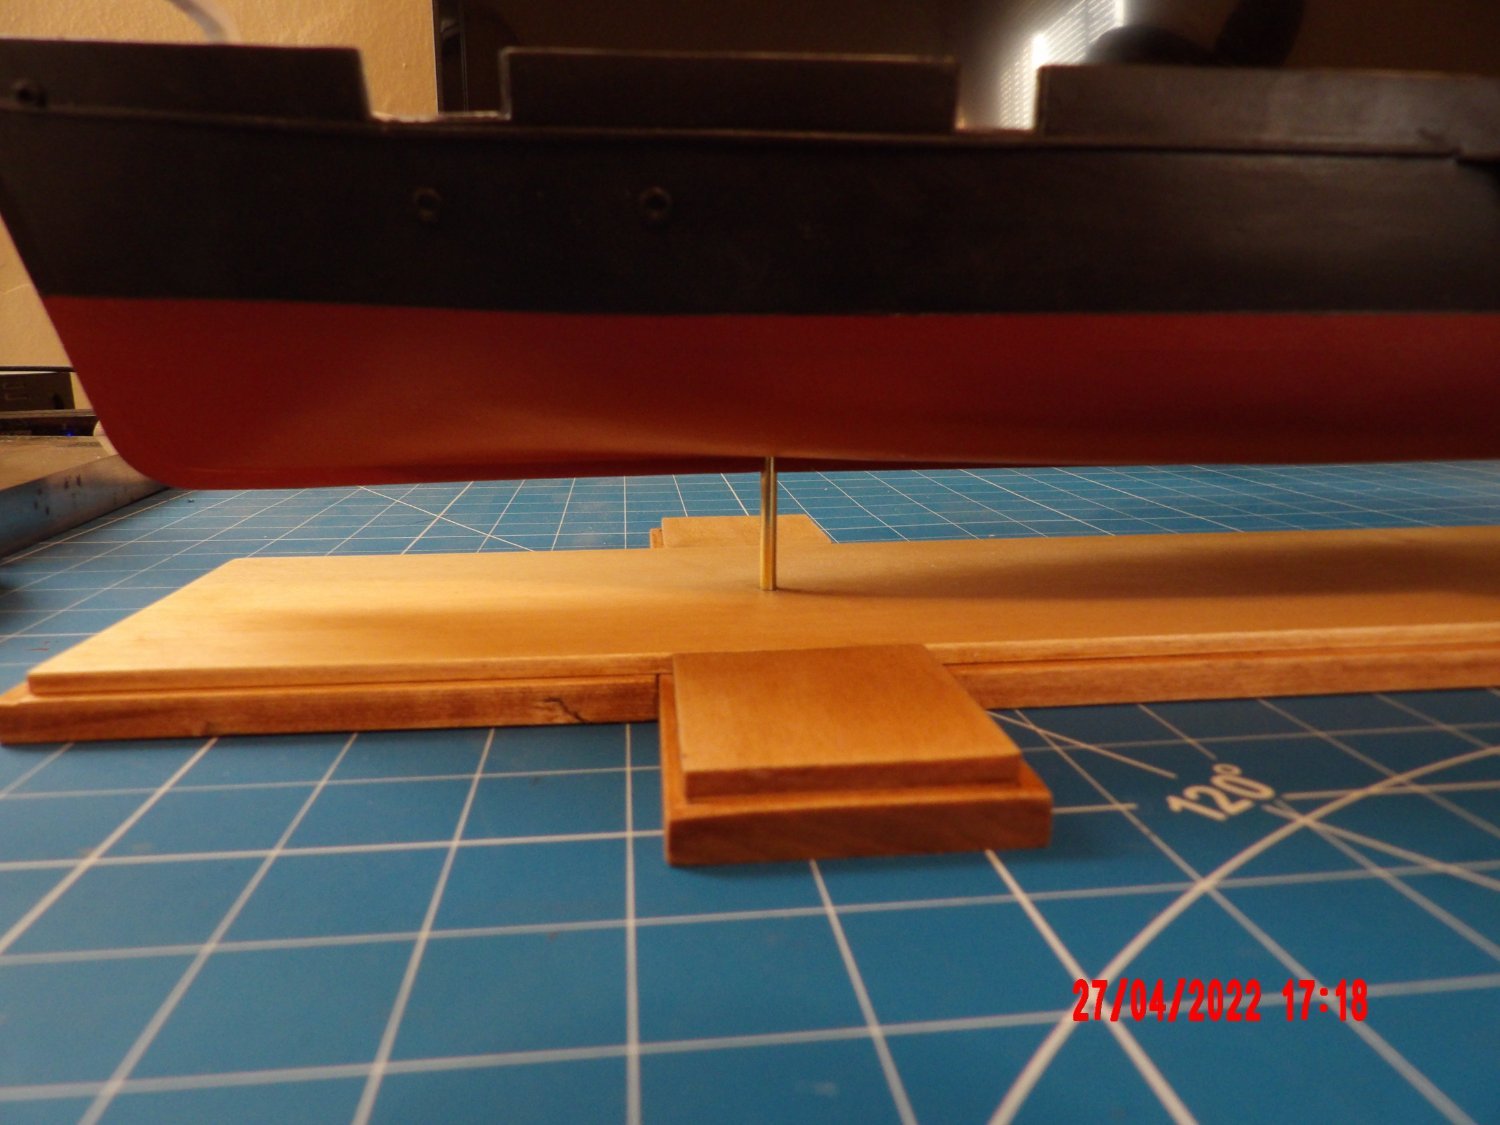
Mounted the ship on it's stand. Nerve-wracking but turned out OK, Replaced the kit's vertical wood support dowel with hard brass rod. Started to place some of the deck furnishings at the bow.

- Seventynet, reklein, Cathead and 7 others
-
10
-
-
What fun! I'd like to do RC working model one day. . .
-
-
Yes, Gregg, I have gone nuts. . .
- thibaultron, gjdale and druxey
-
2
-
 1
1
-
-
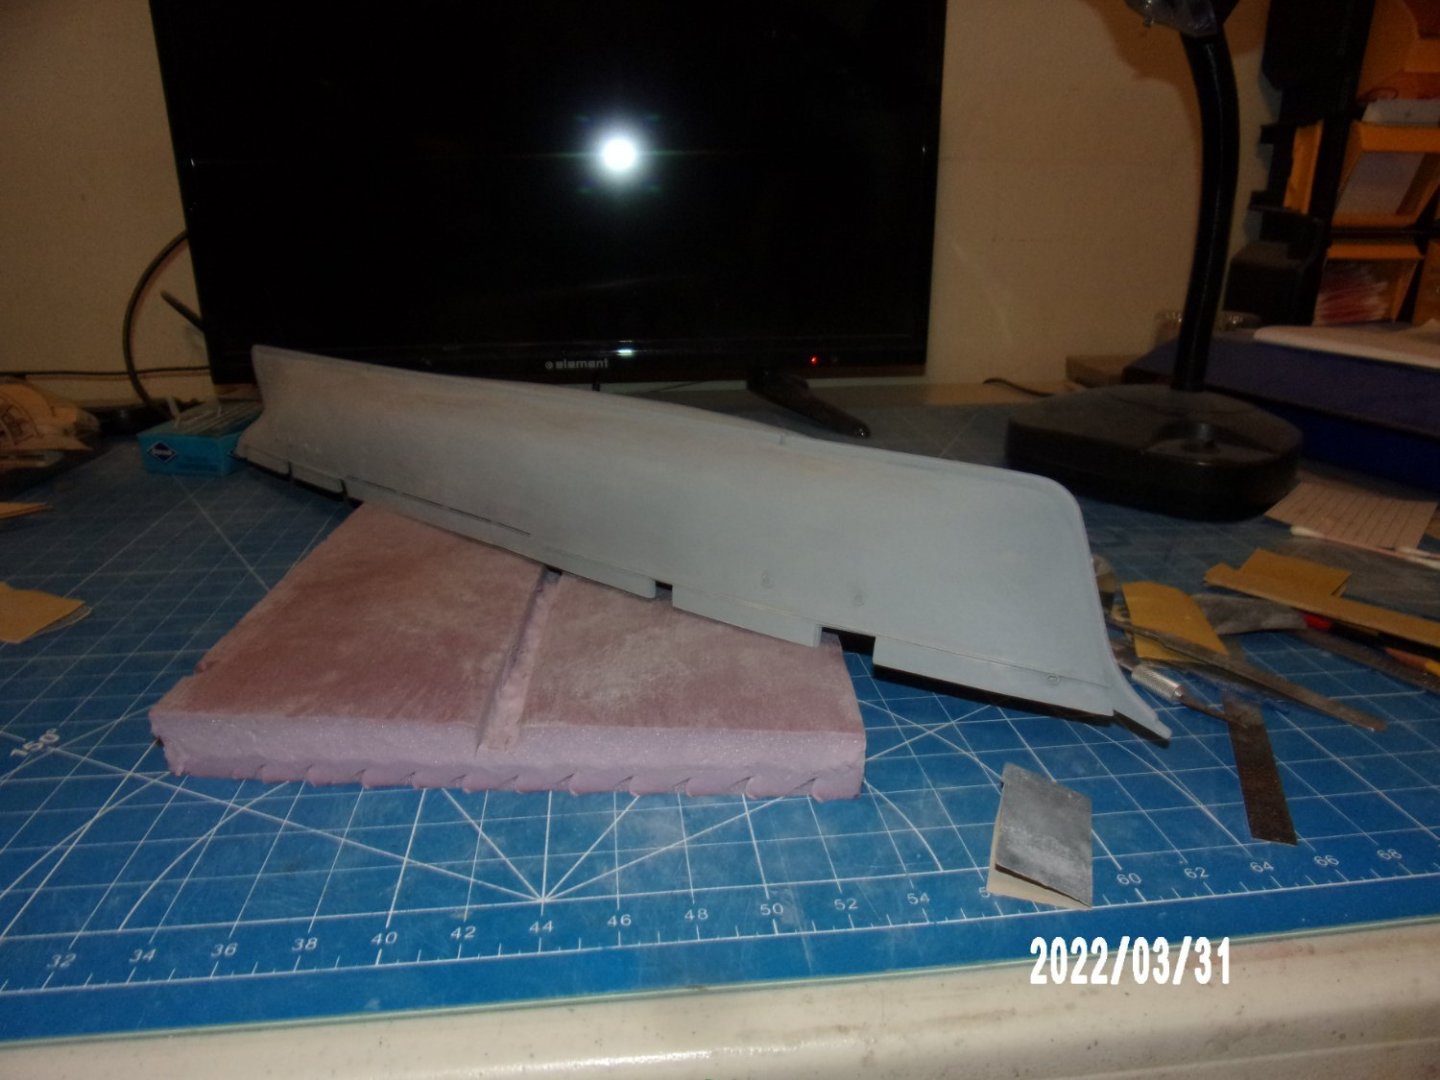
Added the second lower wheel assembly and the deck. There will be some re-work of the spirketting and infill of the deck at the stern, due to my earlier over-extending the stern knuckle. Then I think that issue will be behind me. I'm pretty satisfied so far.

-
Thank you guys. Distance is forgiving. . .
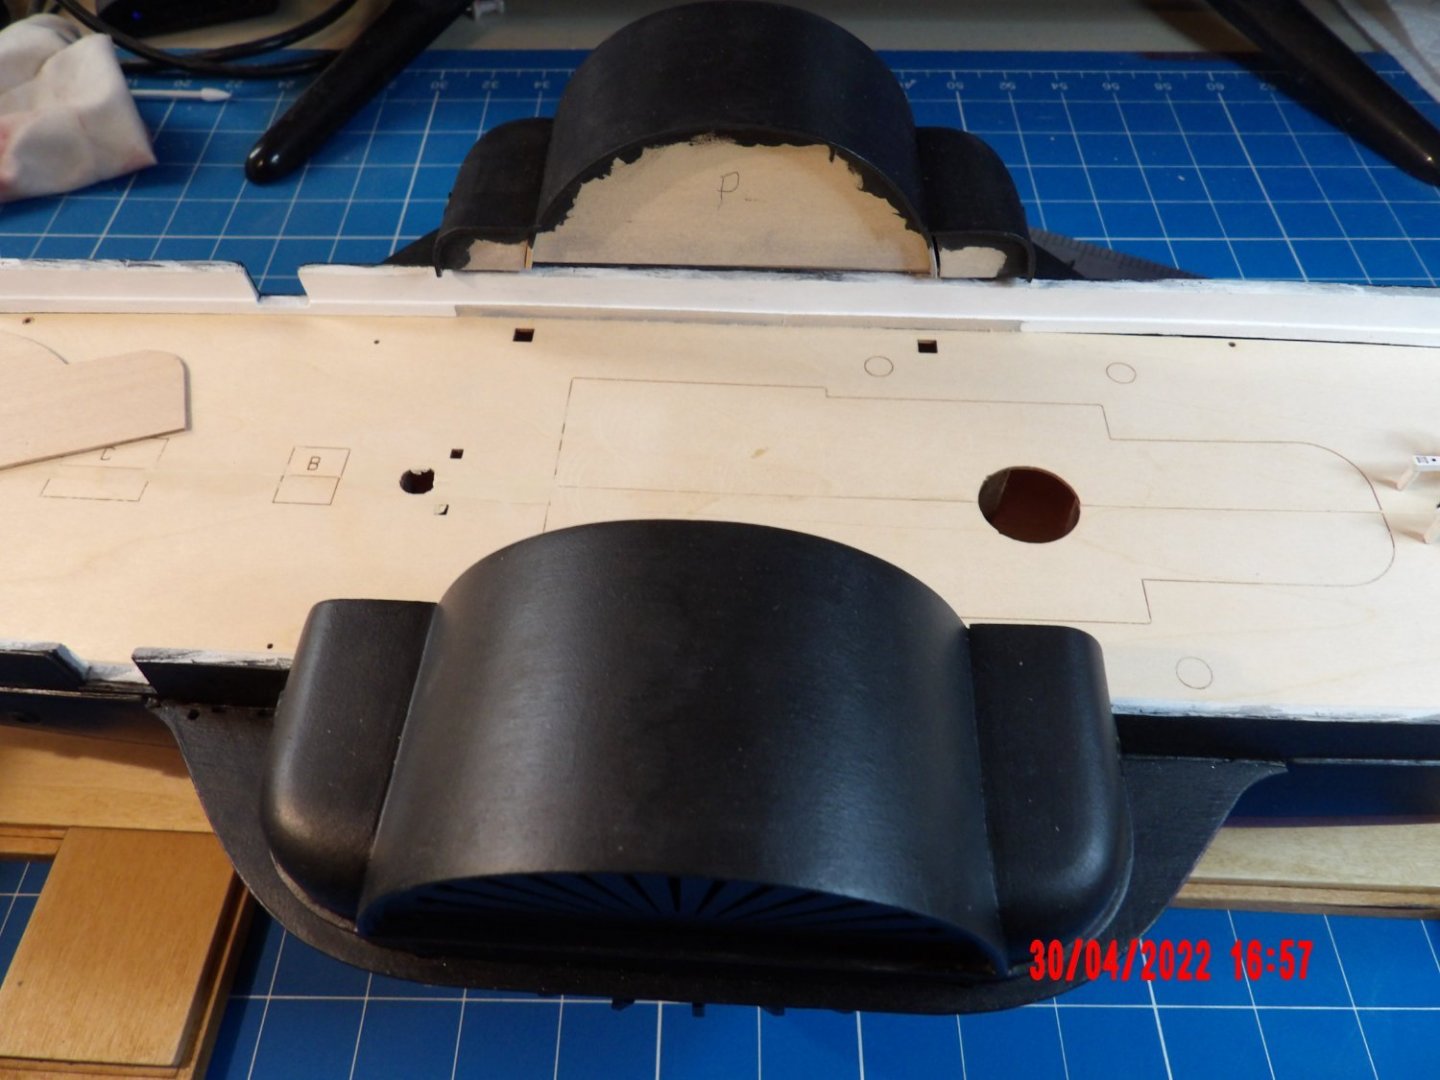
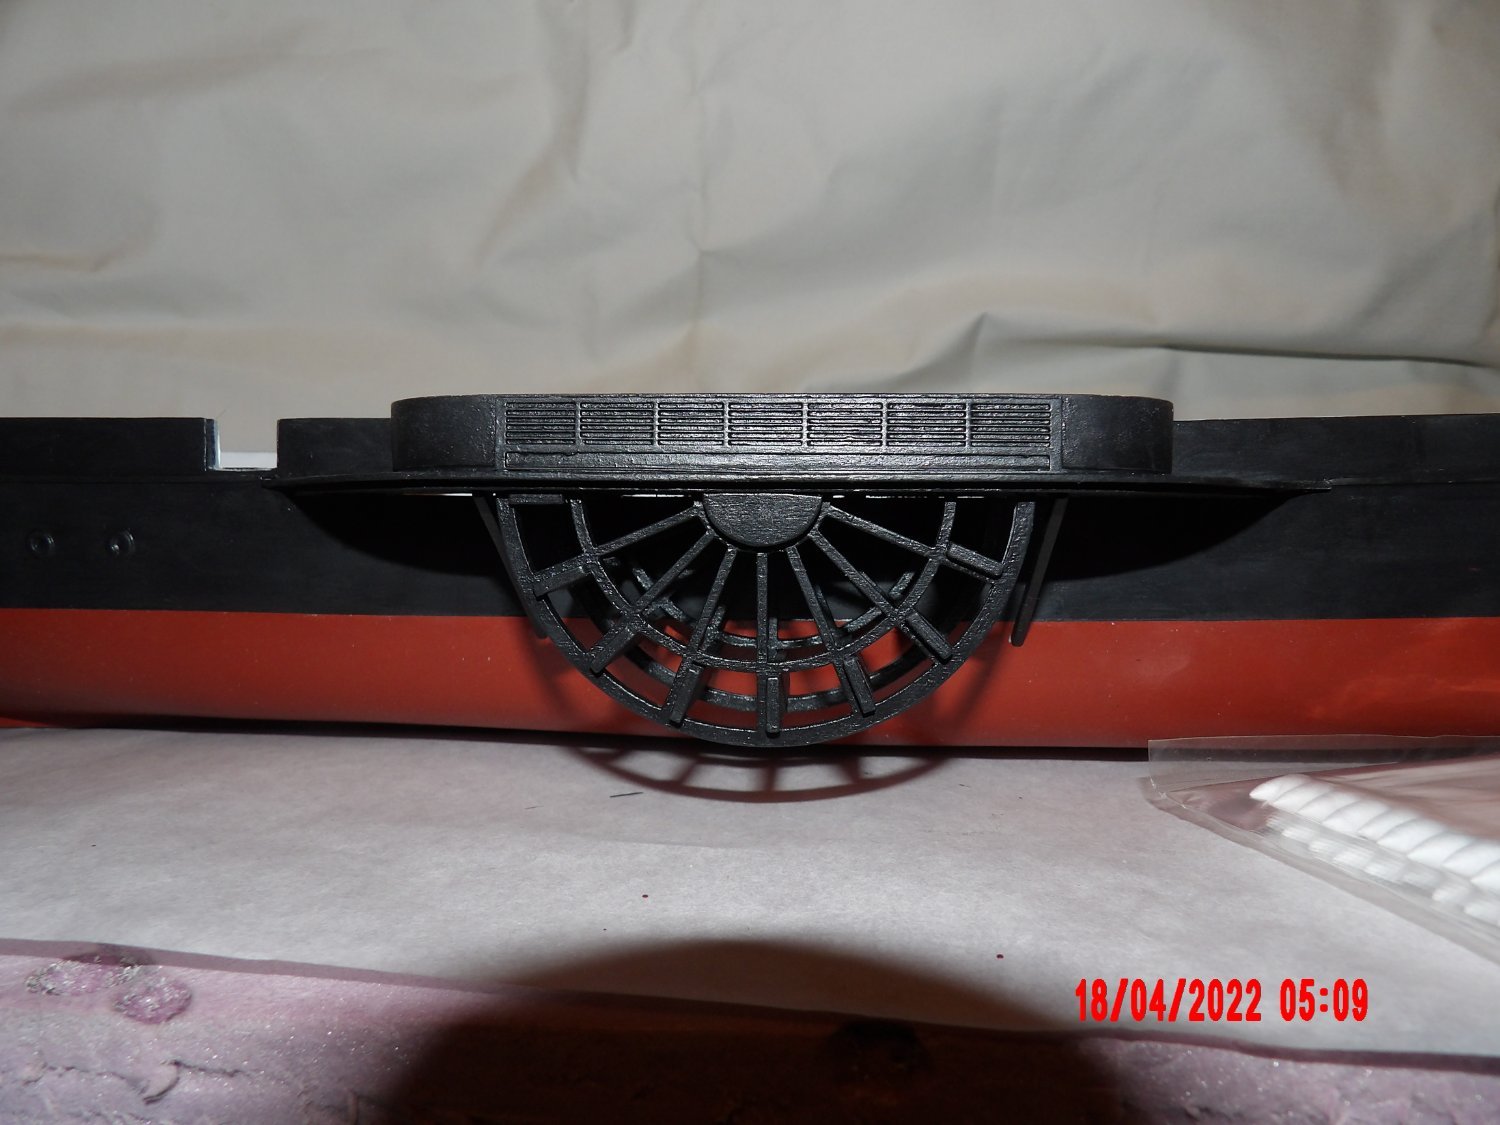
Hand-painted one of the lower wheel assemblies and added to the hull. This would have been much easier to spray paint, but I have read that the Model Expo paint is not suitable for airbrushing. I do have some Badger airbrushing paint on order, but that will take a while to get to me- and I want to keep moving forward. I think it came out pretty good. A gap is visible underneath the sponson deck. I don't want to try and fill this right now, as this gap will probably be closed or obscured by the addition of the deck. I will probably paint the edge of the deck black and see how that looks. If it needs more work, at least the deck will provide a backing for filler.
- thibaultron, tlee01, gjdale and 9 others
-
12
-
-
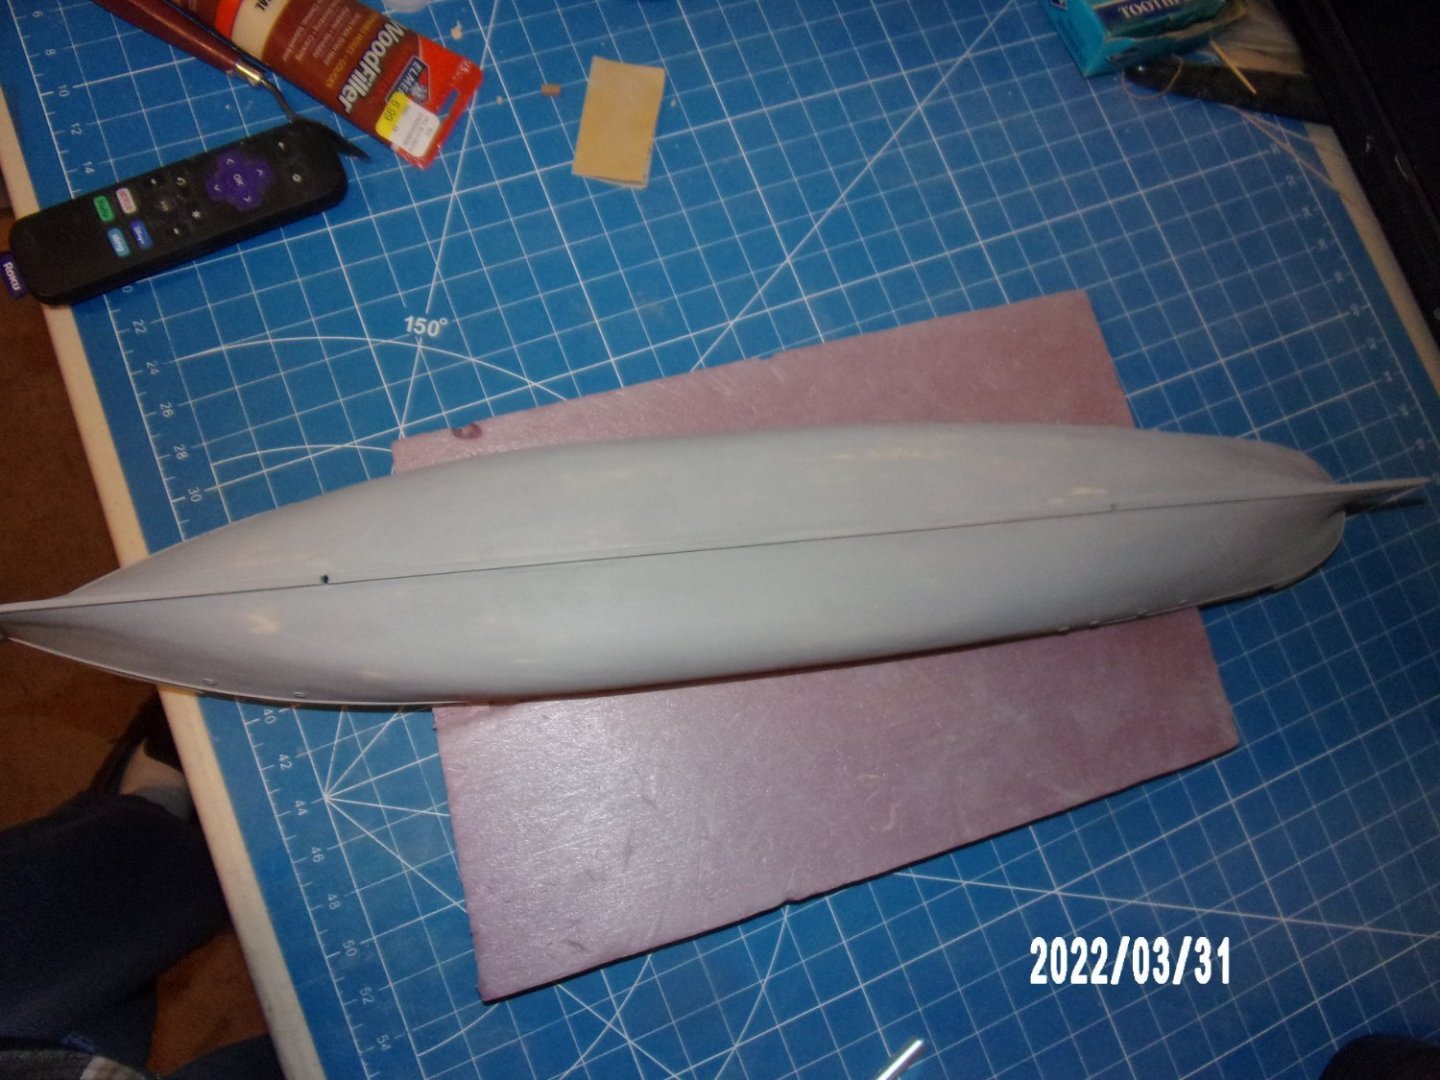
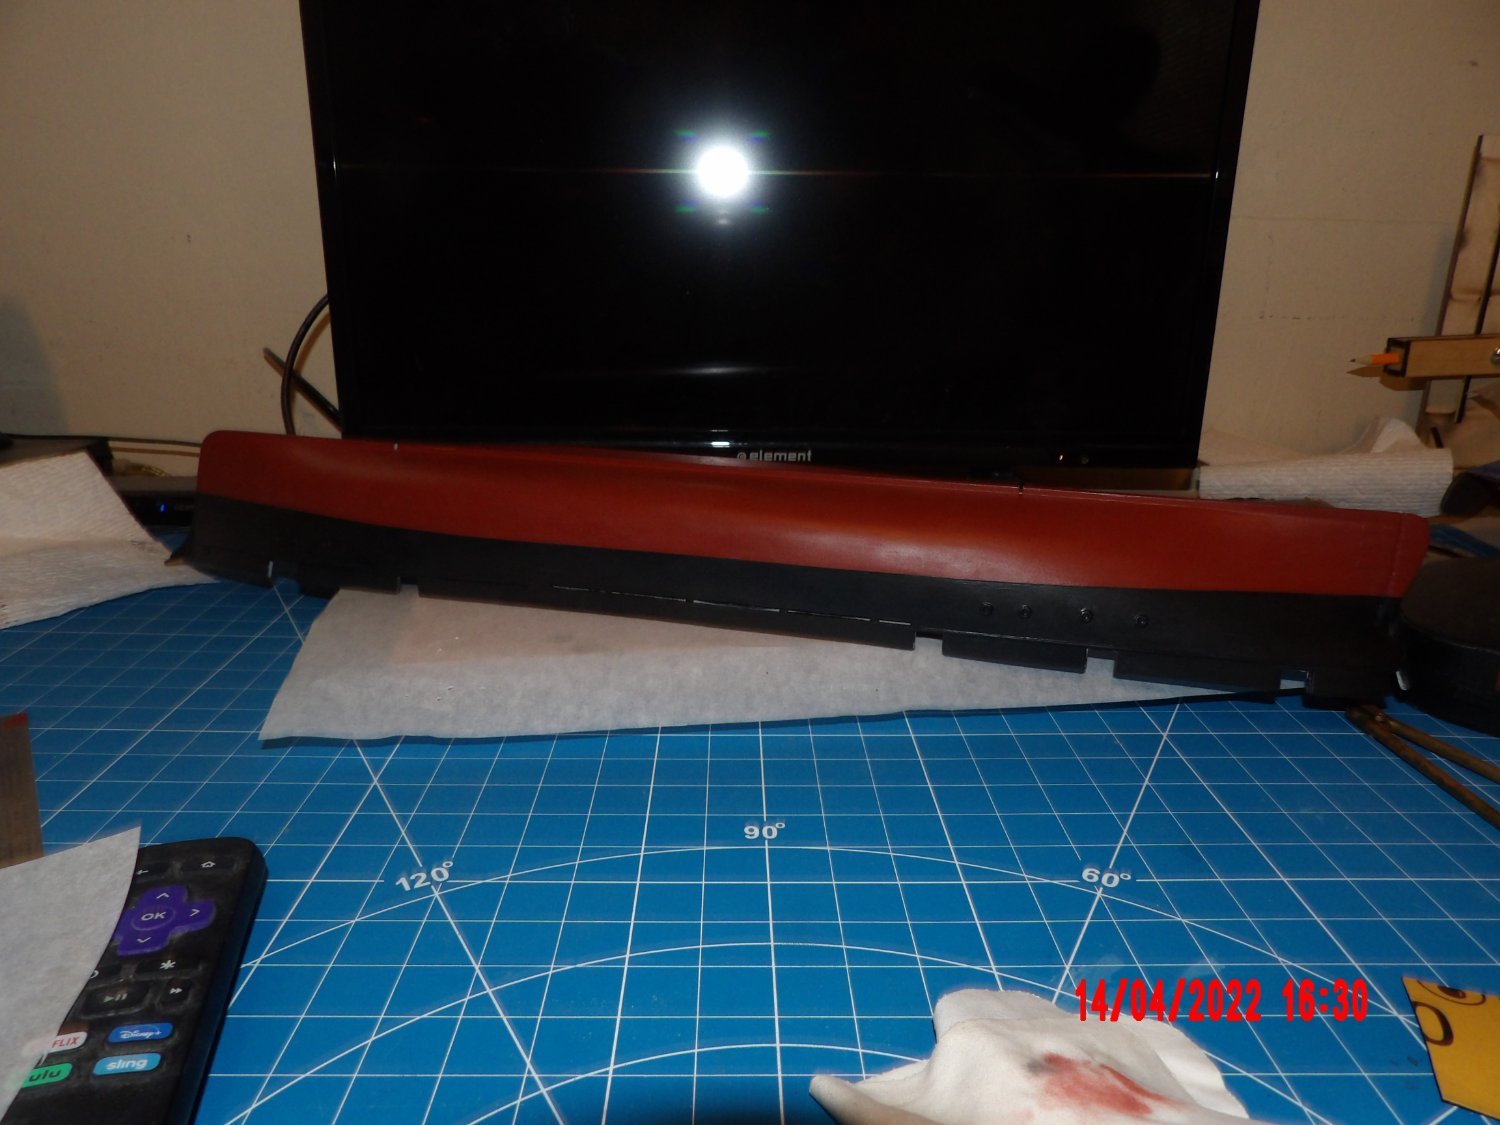
I raised the waterline at bow and stern as indicated in the manual. Painted the hull by hand, as the boat is too big to fit into my paint booth. Wish I hadn't! I was worried about thinning the ME gloppy paint for the airbrush. . . Anyway, I think it is passable, but is not as smooth as it should have been considering that the hull was looking pretty sweet after priming with rattle can. I did thin the paint some with water. Oh, well- I've given up on perfection, and really, I've seen and done worse. . . This model, for me is going to be all about the rigging!


- Rudolf, GrandpaPhil, druxey and 5 others
-
8
-
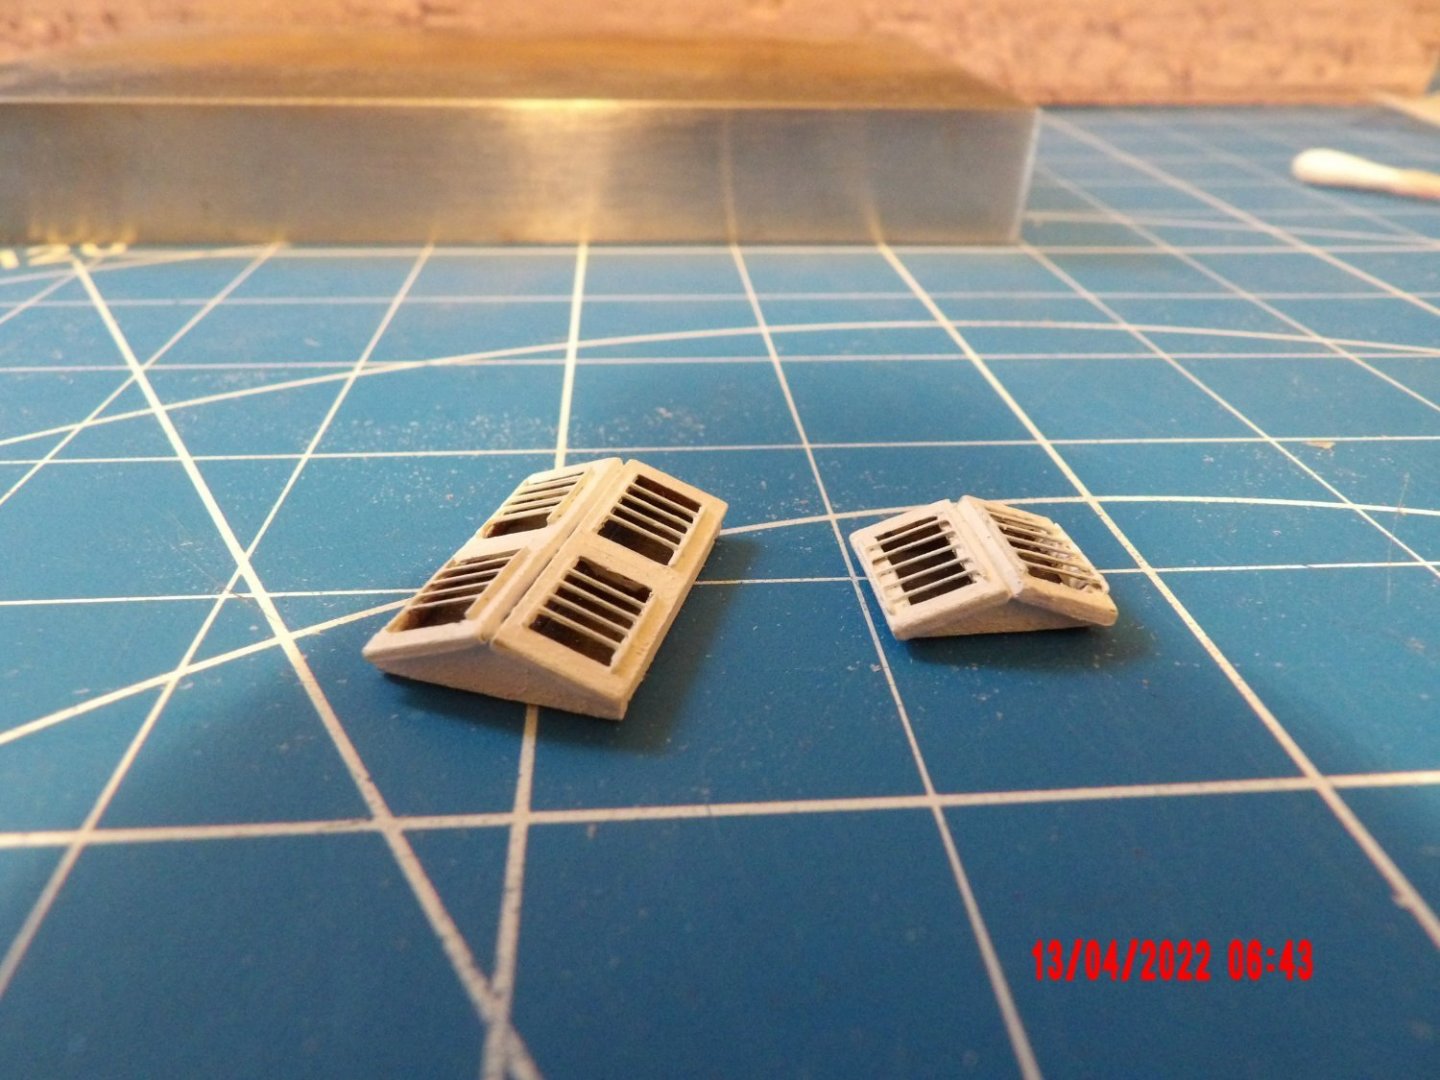
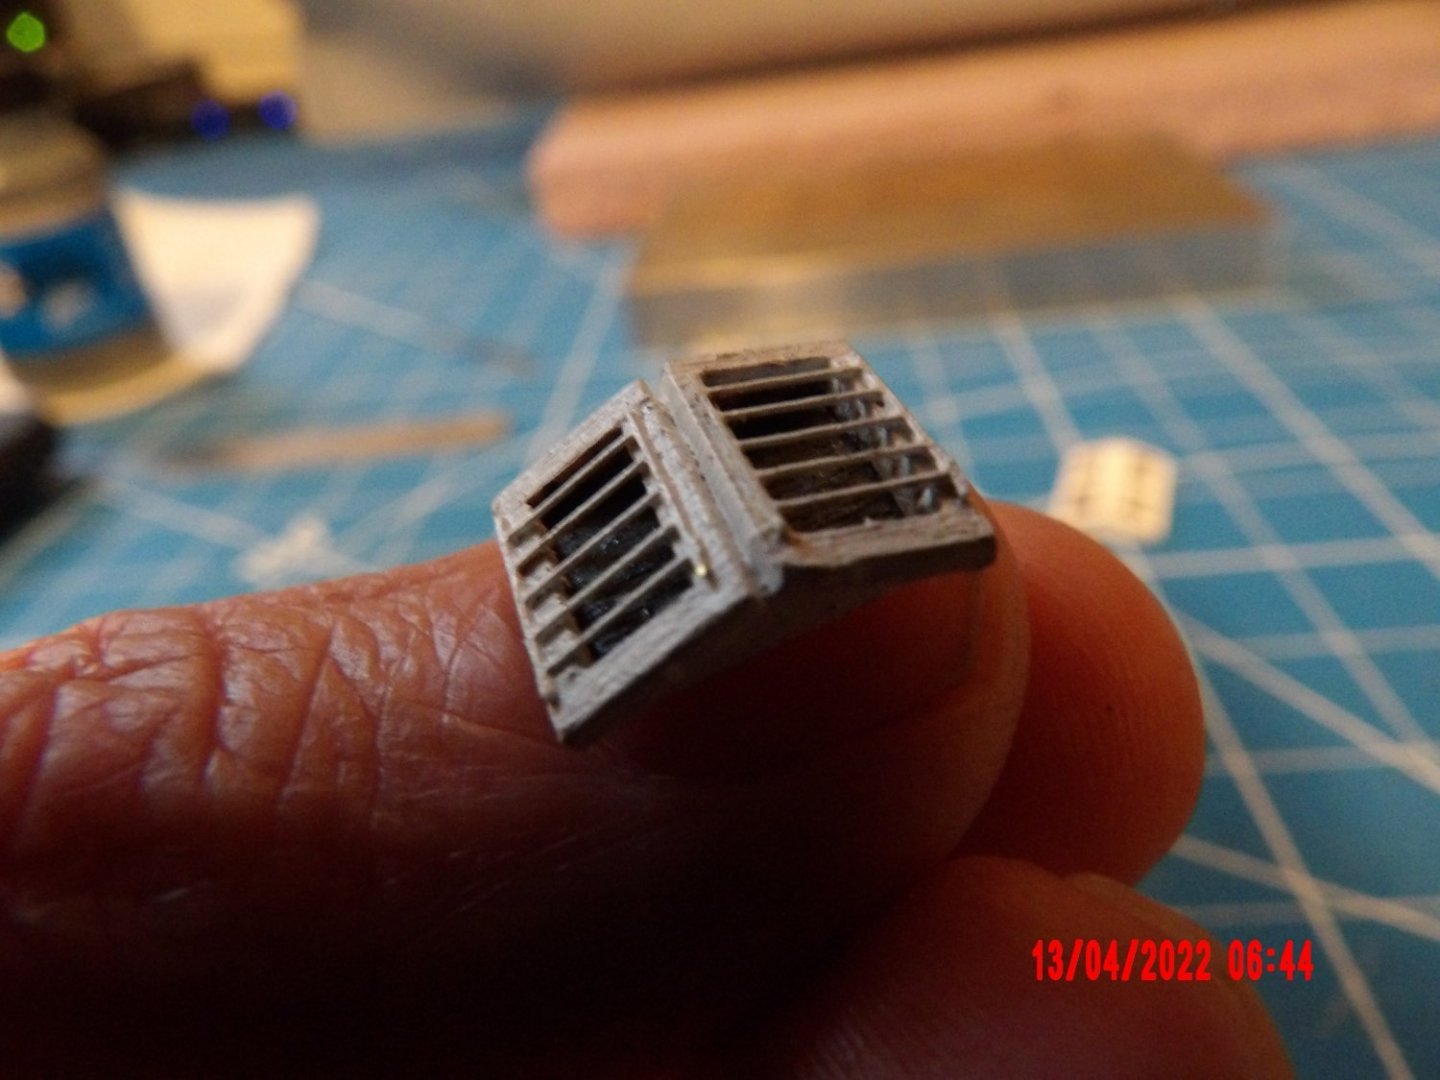
Made the two skylights for the pilothouse/cabins. The PE bar grilles for the double panels did not fit, so cut then in half and centered them in the openings. The small one was trickier than one would think! Naturally, I now see in the photos some needed paint touch-up. . .
-
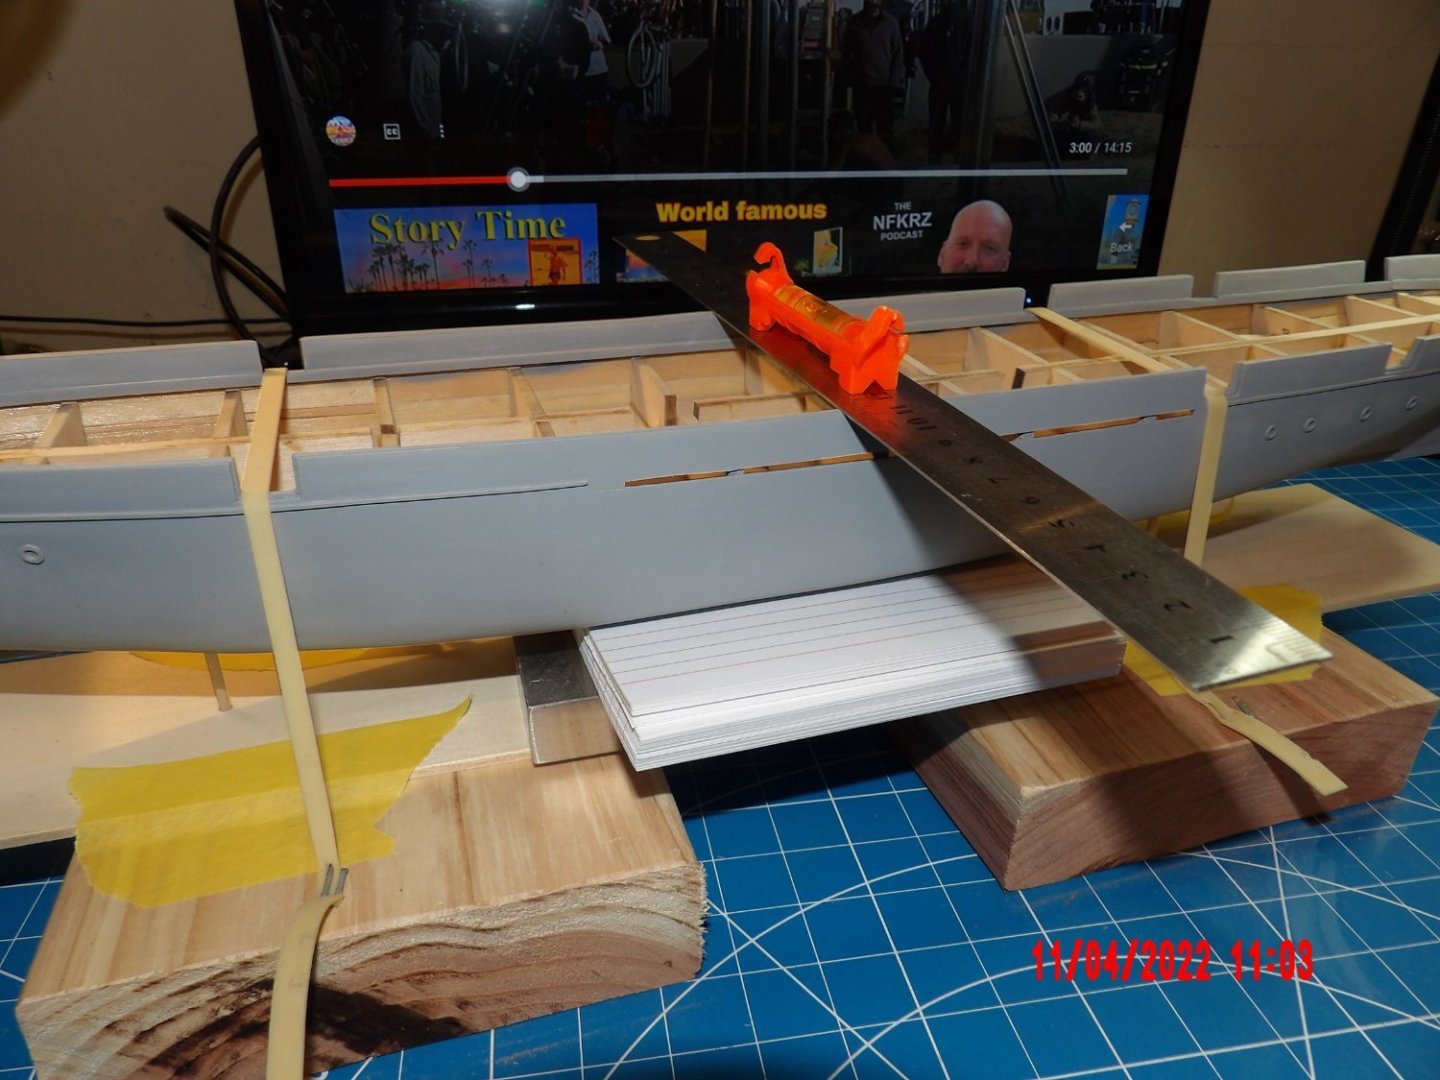
Drawing the waterline. I used the Model Expo waterline marker:
- druxey, Bob Fraser, GrandpaPhil and 3 others
-
6
-
-
I too had to adjust the size of the support brackets for the stable area barriers. I don't think the "crossing" configuration shown in one of the pictures is the intended final position, and subsequent pictures do not show it that way. The supports would have to be much deeper to accommodate the planks in that position, and walking space would be eliminated.
Looks good so far!
Bob
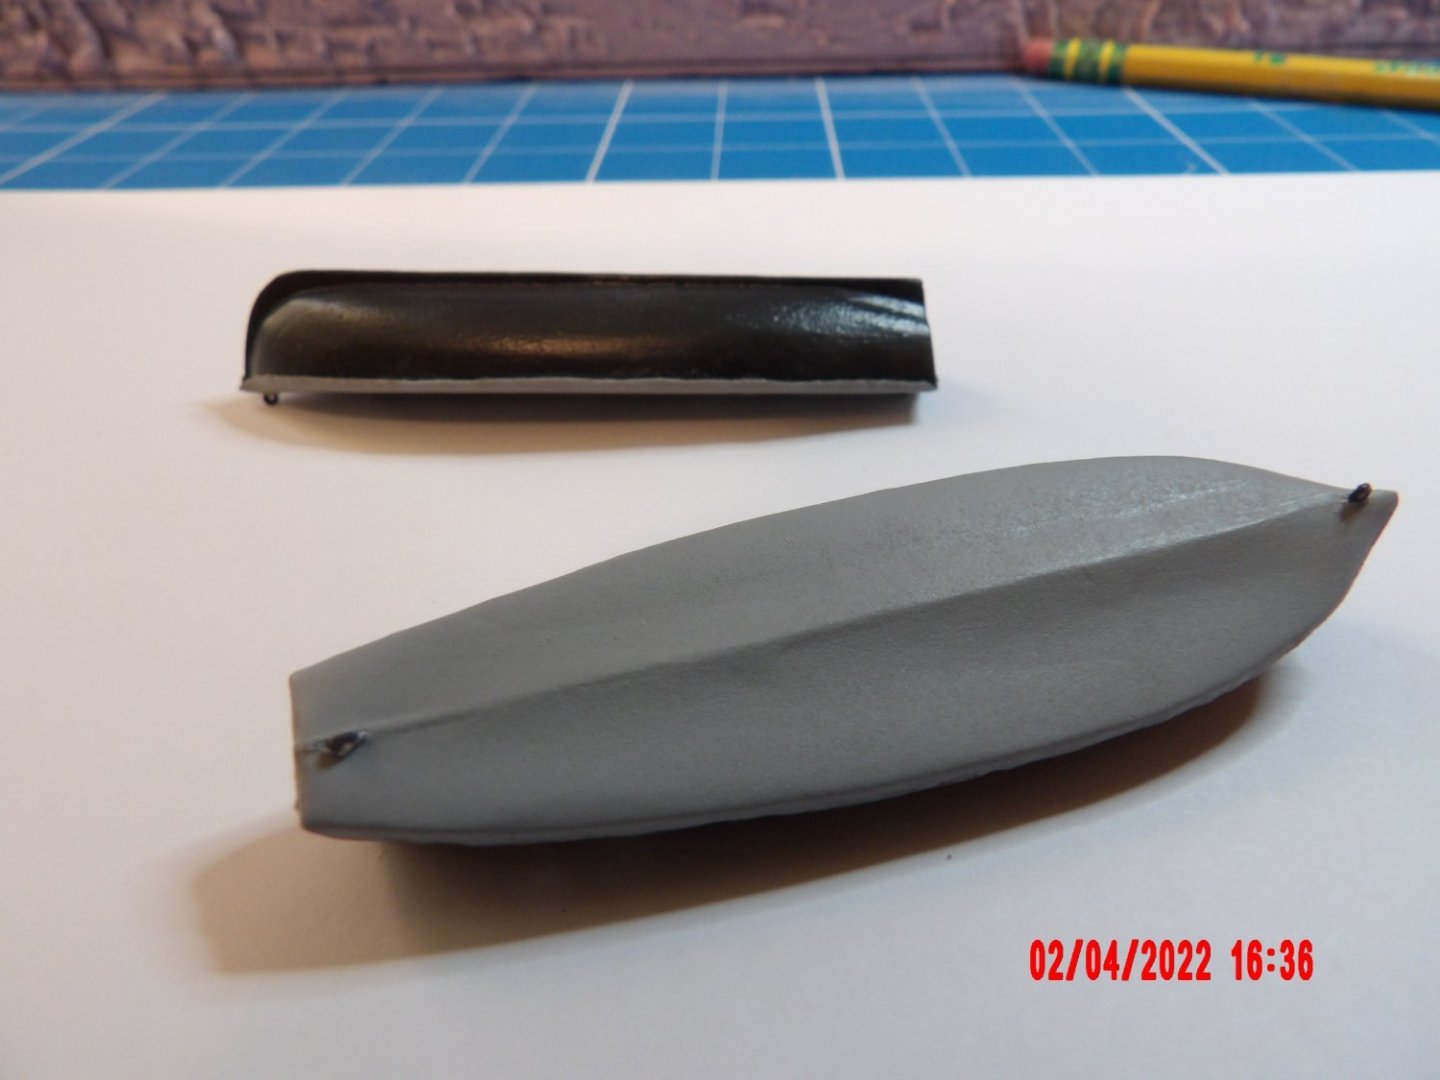
-
Ships' boats painted and the paper covers made and installed. Kind of jumping around as I'm still waiting for needed parts, including paint for the hull.
- druxey, gjdale, thibaultron and 4 others
-
7
-
Thanks, David. That makes sense. I did not sand the first coat- I guess after the second coat the general fuzziness of the bare, sanded basswood was highlighted and not made by the primer itself.
Update: actually I do not remember if I sanded the first coat or not. . . I'm sleepless right now and maybe should stay out of the hobby room. The instruction manual does say to do as David says above, and anyway I should know this by now. I'll know what's up when I do the final coat of primer.
-
Received the Tamiya gray primer, did first priming and filling. Applied second coat and sanded lightly with 400 grit paper. You can see I sanded through the primer in a few areas, but I believe that was caused by irregularities that needed sanding out. I thought the sanding was necessary because the primer leaves a definite "tooth" on the surface. The directions for the spray do not mention sanding between coats or at final coat, so I'm not sure if I'm doing the right thing. Maybe the roughness is meant for paint adhesion? Also, I'm not sure if I should be re-priming the entire hull or just the areas getting filler. . . but I'm doing the entire hull as uniform thickness may be important.
Regardless, this primer is way better than what I had been using. Very small cans, it took most of a can for each coat. Expensive, but seems worth the cost.The lines showing between planks are almost completely gone now, the hull is very smooth. I see a couple of problem areas left and will do one more round, and then call it good.

- GrandpaPhil, gjdale, thibaultron and 5 others
-
8
-
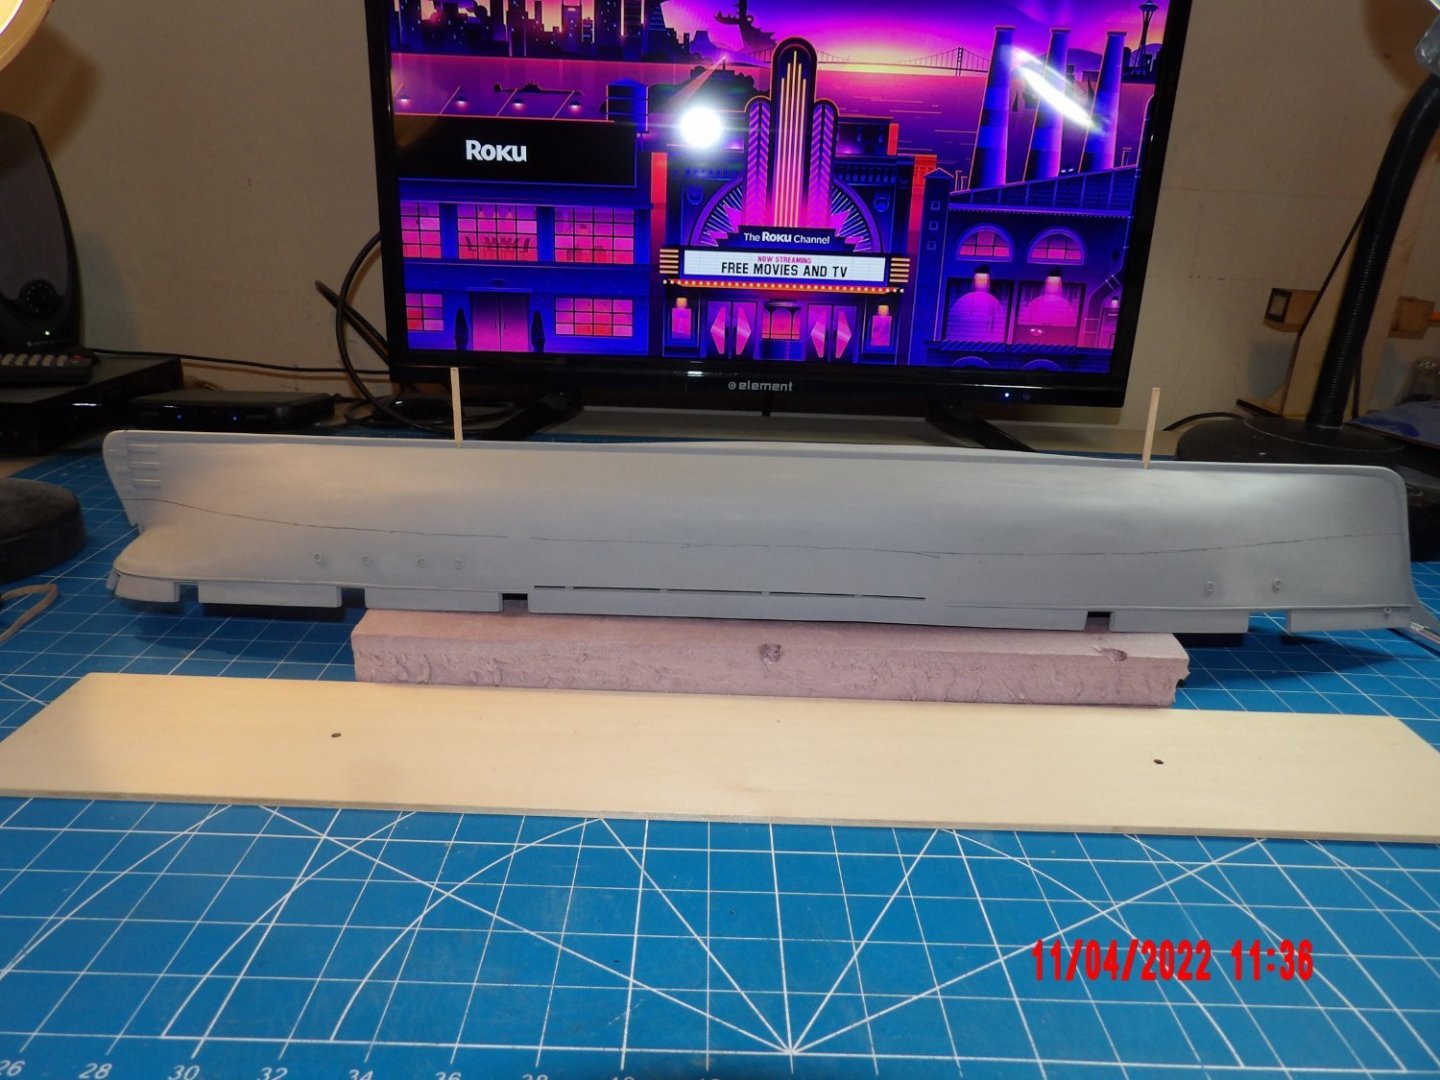
Got the rub rail installed and am ready to prime the hull. I'm considering using the airbrush vs. canned primer. Canned would certainly be easier, but if I go that route I will order the same primer as the designer used, as I was not happy with the last session using the stuff I have. I tend to get somewhat paralyzed by such decisions. . .
Built the first companion as another delaying tactic, simple but difficult, if you know what I mean:
I had missed the door; it is not mentioned in the instructions and is not shown here. I can't find a picture in the manual showing this item, but I have painted the piece white and will add before storing this item away to add to the deck in the future.
- gjdale, druxey, GrandpaPhil and 2 others
-
5


Thistle 1894 by LJP – FINISHED - 1:64 scale – a Wisconsin sternwheeler by Lawrence Paplham
in - Build logs for subjects built 1851 - 1900
Posted
Such beautiful work!