-
Posts
1,811 -
Joined
-
Last visited
Content Type
Profiles
Forums
Gallery
Events
Posts posted by DocBlake
-
-
-
Nice job on your Swift! Your nibbling strake turned out beautifully, and considering that the plans don't spell out how they are done, your work is innovative. I used the Lauck Street practicum as a base for my build, and it explained how to handle installing the plywood bulwarks. As to the sprit, the kit is wrong in that the sprit would never be secured to the underside of the fore bit. I lengthen it a bit and secure the heel to the deck with a metal bracket. Historically more correct, and it changed the shear to a more pleasing line! You are doing well...keep it up!
-
- Canute, GuntherMT, CharlieZardoz and 5 others
-
 8
8
-
-
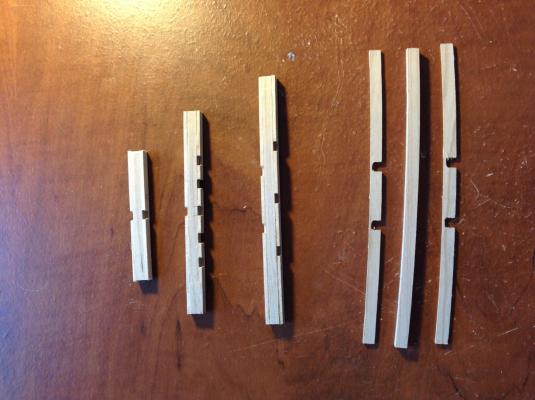
I've started gluing up the main deck beams. There are 12 in all, and each is comprised of three parts: a thicker center part, and two thinner parts, with notches in them that glue to the forward and aft surfaces of the center part. When glued up, the notches form the half-mortises for the carlings and ledges. All in all, a pretty cool system. The photo shows finished beams on the left, and the three components of a beam before glue up on the right.
- mtaylor, CharlieZardoz, GuntherMT and 2 others
-
 5
5
-
-
Nice work! I think the cabin roof turned out great.
- zoly99sask and grayarea
-
 2
2
-
- Cap'n Rat Fink, dgbot, Canute and 4 others
-
 7
7
-
-
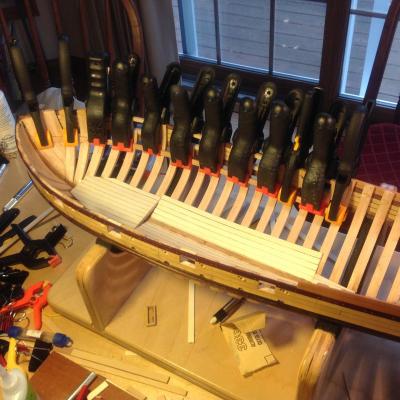
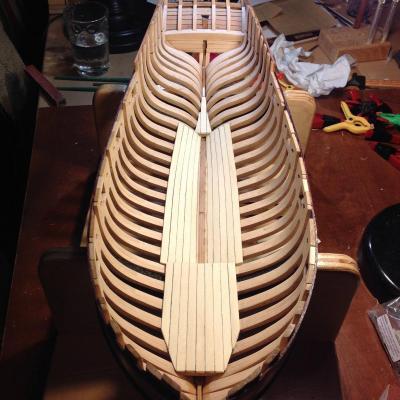
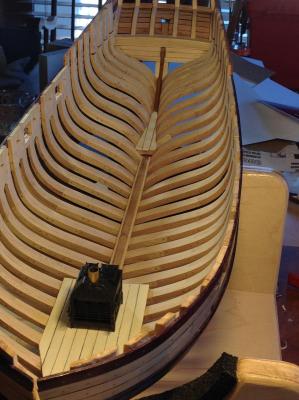
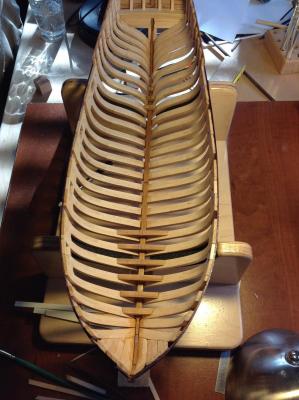
The lower deck planks are in place. I set the stove in it's approximate position on the lower deck. The space between the fore and aft lower decks is the hold. It's separated from the two decks by bulkheads, and another bulkhead divides the hold into a hold/light room and the magazine. The planking in the hold is applied directly to the frames. There are no beams.
-
Congratulations on the award, Brian. Well deserved.
- zoly99sask, Dimitris71, GLakie and 2 others
-
 5
5
-
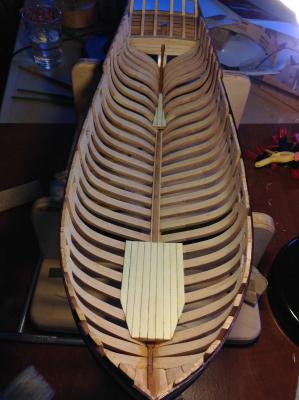
The deck beams for the lower decks installed. The forward lower deck is where the stove sits. The aft lower deck is really just a catwalk that leads from the hold. The hold is subdivided into a hold proper with a light room, and a magazine where I'll add the gunpowder kegs and build the well and shot locker.
- dgbot, Cap'n Rat Fink, mtaylor and 3 others
-
 6
6
-
Maury: Yep. Every time George needed an alias he chose "Vandelay". When he lied about his employment he claimed to work for "Vandelay Industries".
- flying_dutchman2, Canute and mtaylor
-
 3
3
-
LOL, Don!
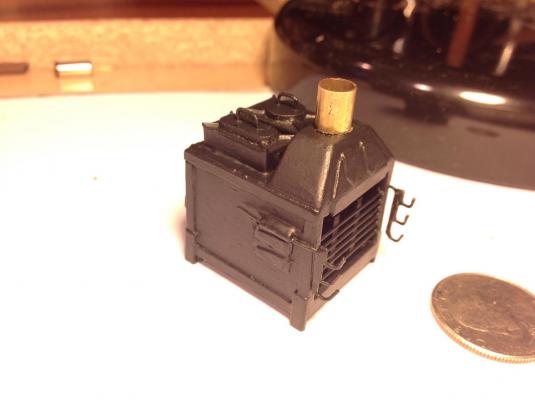
I was really disappointed in how the stove looked before painting ; wood, paper, bits of metal and contrasting colors looked like a 5 year old's project. But I kept telling myself that the paint will change everything. It brought it together and camouflaged all my errors! Thanks.
-
Hi Don. I've been consumed by the AVS, but the Snake is sitting near my work area and I may start in again . I took a break because of frustration over the stern of the ship, but I agree, she's a pretty ship and the model deserves to be finished. Hopefully soon. Thanks for the kind words, by the way!
-
Sorry, Ken I forgot to respond. I'm a woodworker, so I have a full compliment of tools in my shop. Most of them are not applicable to model work because of scale issues. Those I use for modeling include a Byrnes miniature table saw, a Dremel tool drill press and router attachment (both cheap and helpful) and a regular old scroll saw. Of all these, the Byrnes saw (or equivalent) is probably most important. I small benchtop sander is helpful, also.
-
-
-
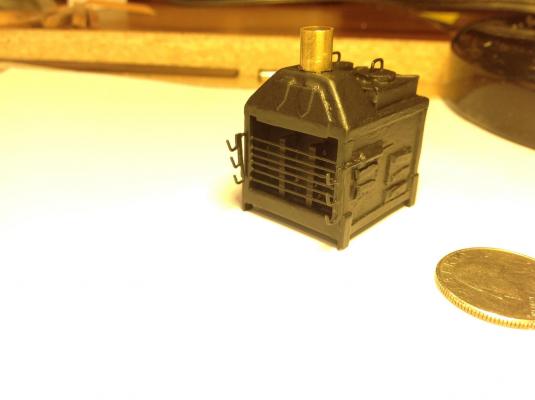
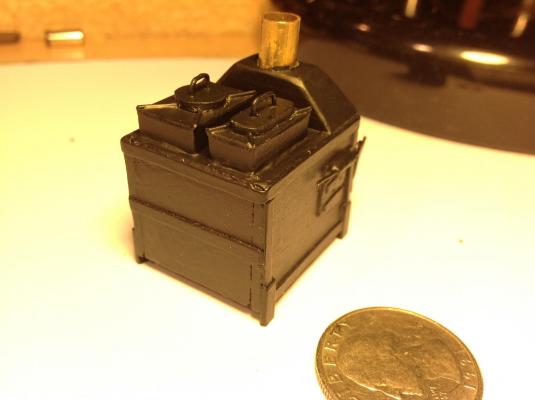
Here's the finished stove. I still have to finish the grease tray. The stove was to have a guard rail surrounding the top cooking surface, but I felt I had to draw the line somewhere. The hinges and firebox door/oven doors are far from perfect...even in this scale every little error shows. Still, I do like working in the larger scales in general because of the detail it allows one to add.
-
Beautiful job so far, Ken. A very inspiring build.
-
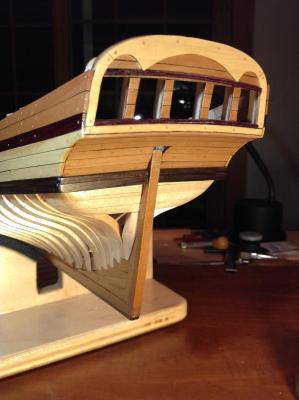
I finished up the third coat of poly on the exterior. Before I did that, I added some trim made of purple heart above and below the great cabin lights. It carries the color scheme of the topsides around to the stern of the ship.
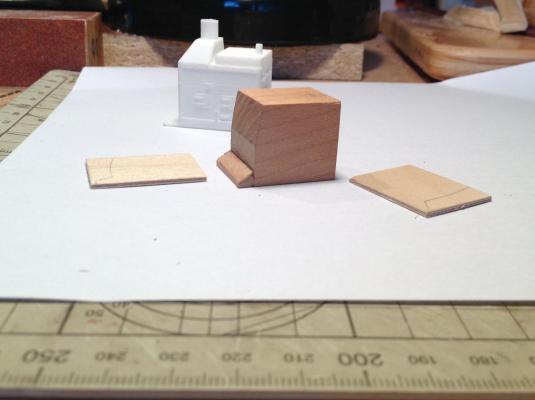
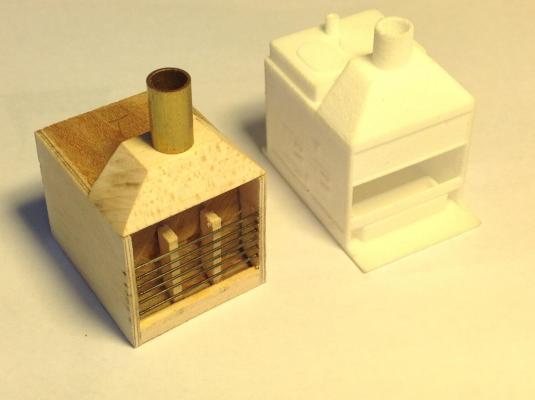
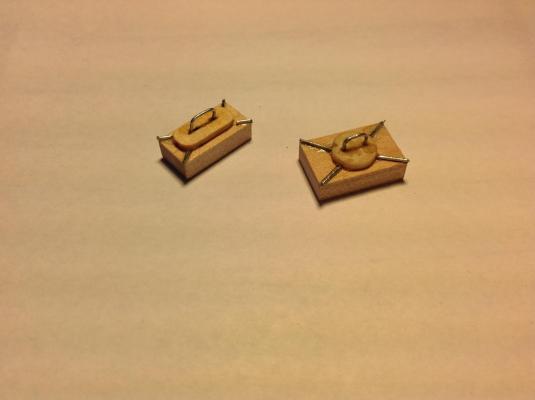
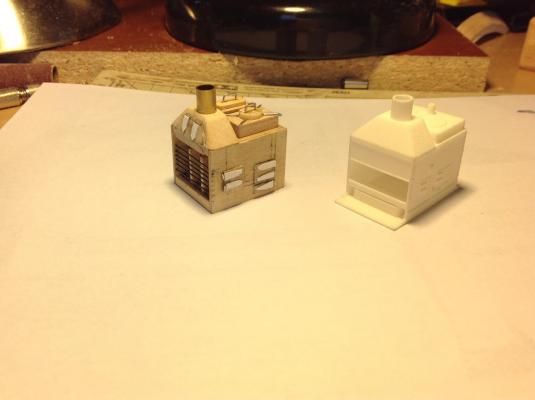
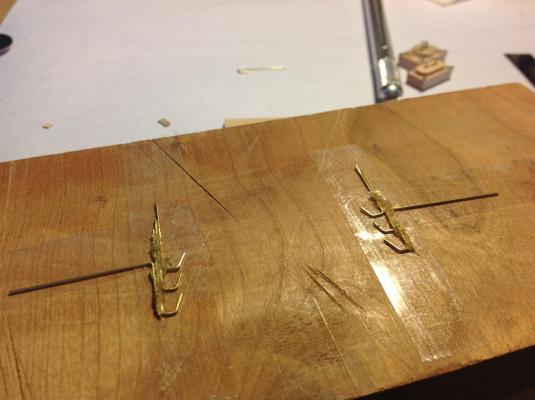
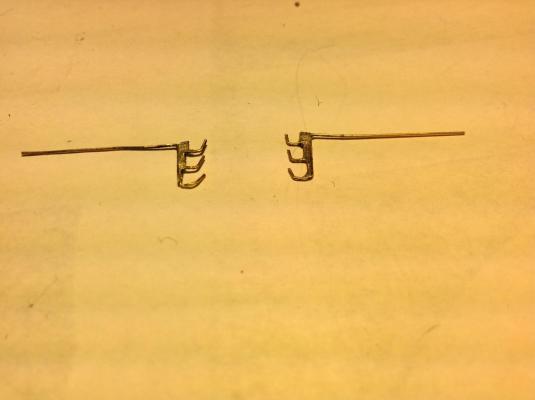
I cut out and cleaned up the lower deck beams, I'm planning to change a few things down there, so I started scratch building the ship's stove. The kit provides a very nice 3-D printed stove, but I wanted my own. It's kind of a modified Brodie stove without the chain-driven rotisserie. The first step was to build a "core" out of 2 pieces of wood. I then added the sides out of 1/32" plywood. The grid irons are brass rod passing through holes drilled with a #75 drill. The boiler tops and lids are made of wood, the handles and the diagonal reinforcing rods are steel wire. The oven doors, firebox door and ash tray door are all 1/64" plywood...the hinges are cardstock. I made the spit racks out of brass rod, soldered them together and trimmed them to shape. I need to add the legs, build a grease pan and add some trim to the stove before priming and painting.
-
-
-
Very nice work, Don. I love the below deck detailing!
- Canute and Dimitris71
-
 2
2


Armed Virginia Sloop Patrick Henry by DocBlake - FINISHED - Lauck Street Shipyard - Scale = 1/32 - POF Admiralty Style
in - Kit build logs for subjects built from 1751 - 1800
Posted
Back from vacation with the family.
I started framing the main deck forward. I also built some wooden crates for the hold as cargo. I'm painting the metal bands on the powder kegs copper colored right now. They will go in the magazine. These little details won't be easily seen once the deck s framed in and partially planked, but they are fun to build, and I know they are there!