Dan Vadas
-
Posts
3,261 -
Joined
-
Last visited
Content Type
Profiles
Forums
Gallery
Events
Everything posted by Dan Vadas
-
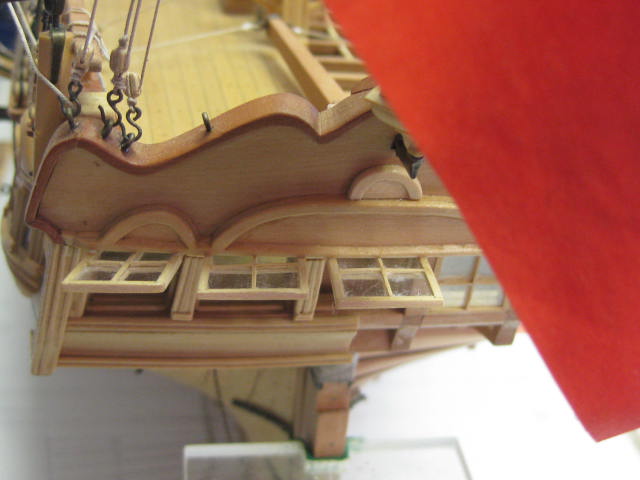
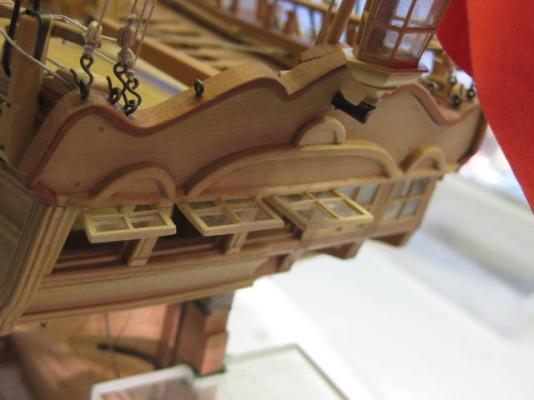
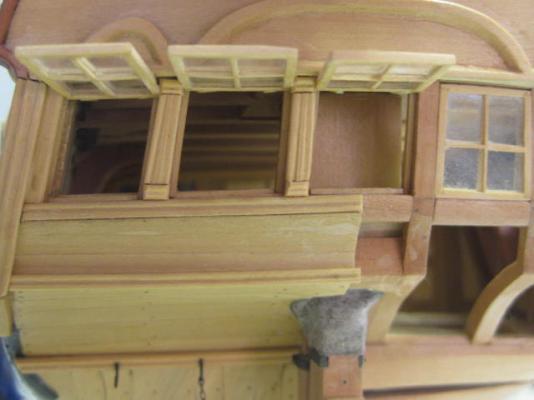
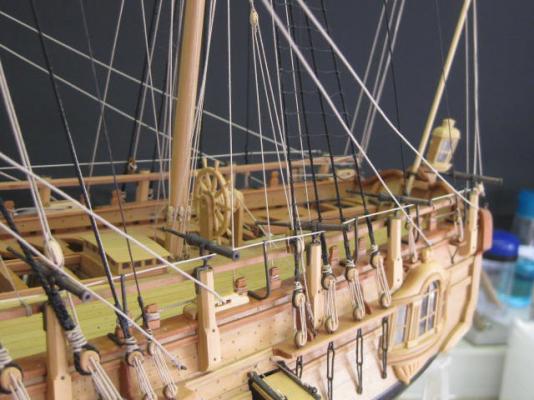
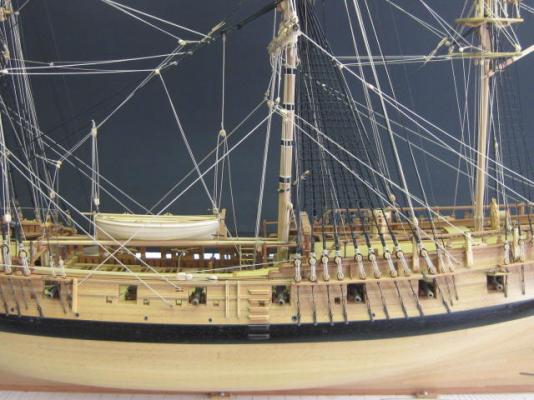
Stern Lights Fitted Not far from the finish line now . I've fitted the three open Stern Lights that I made a few years ago : The only things left to do now are the Capstan Bars, and all the coils for the belaying. Danny

-
Nice . That would be deep enough, even though they will be hidden by the Footwaling later on. However, I'd make them 0.050" (1.2mm) diameter if you have enough thickness in the keel. Danny
- 222 replies
-
- 2
-

-
- 18th century longboat
- model shipways
- (and 2 more)
-
Thanks once again for the kind words Carl, Greg, Neal, Cabrapente, Maury, Dave and Christian . Don't forget Remco's and Toni's logs of Kingfisher and Atalanta. They are even more detailed than mine has been, and they both still have a long way to go . Or you could follow my next build when I start it very shortly . Danny
-
Thanks for the congratulations guys, but whoa back - you are a bit premature. There's still a bit more to do . Danny
-
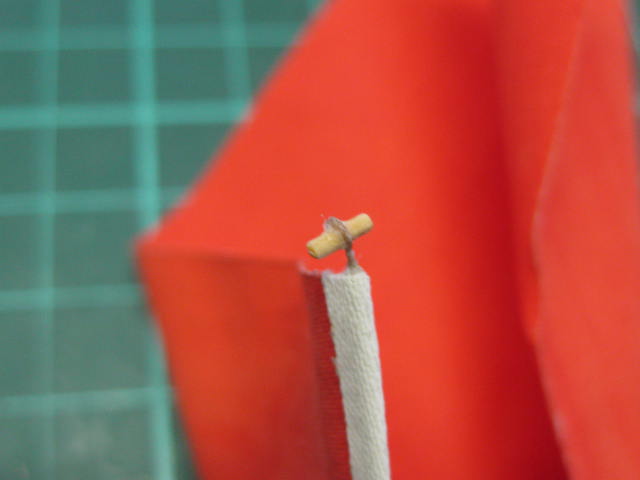
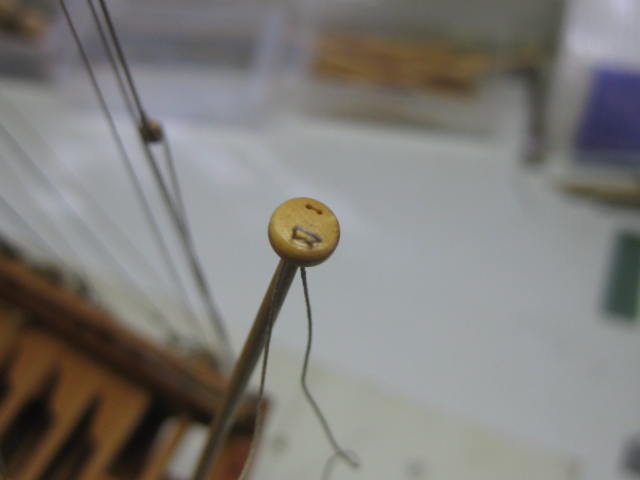
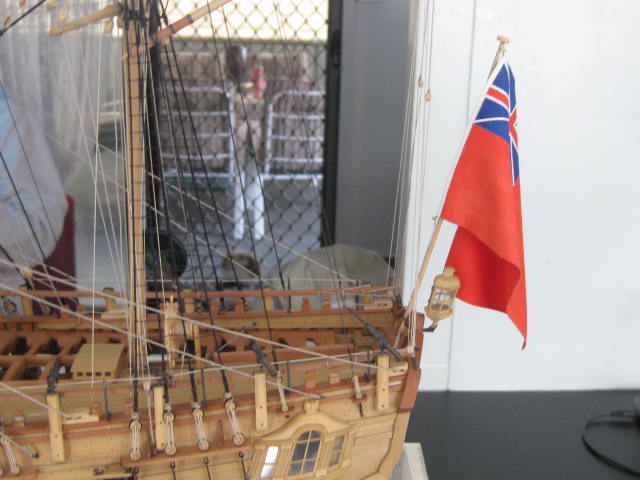
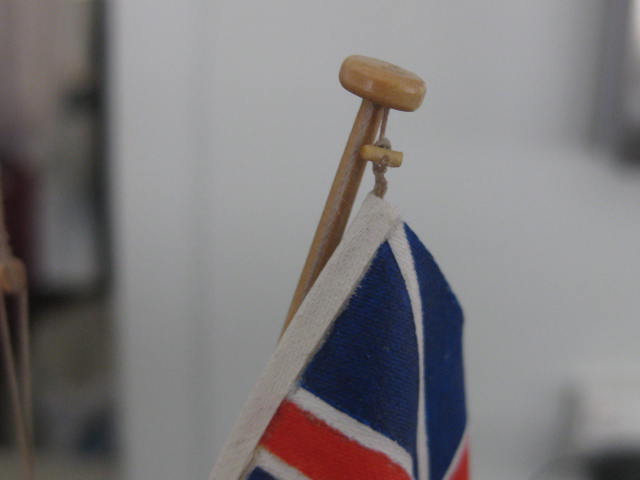
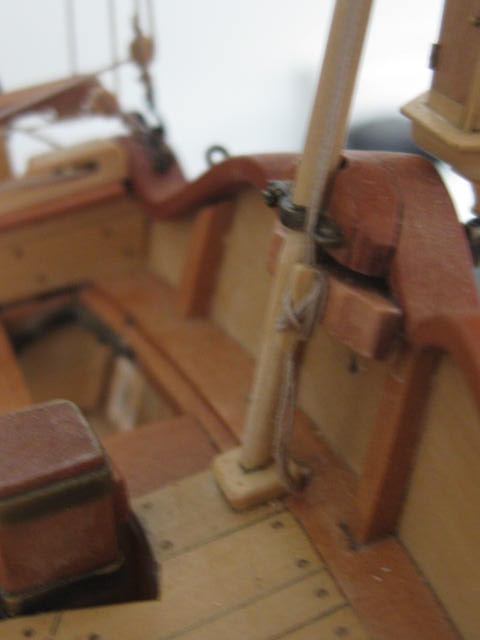
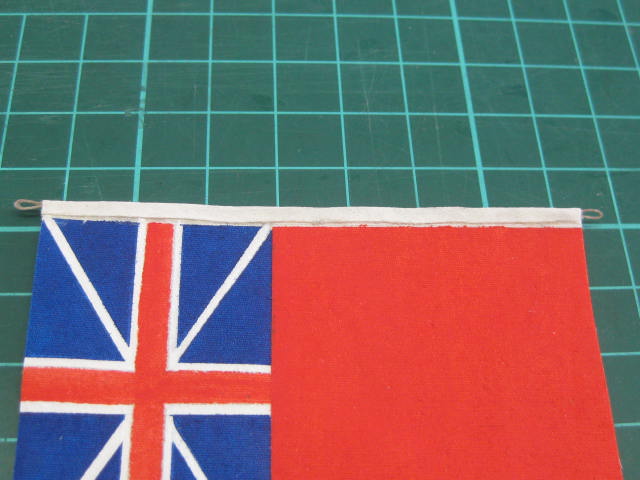
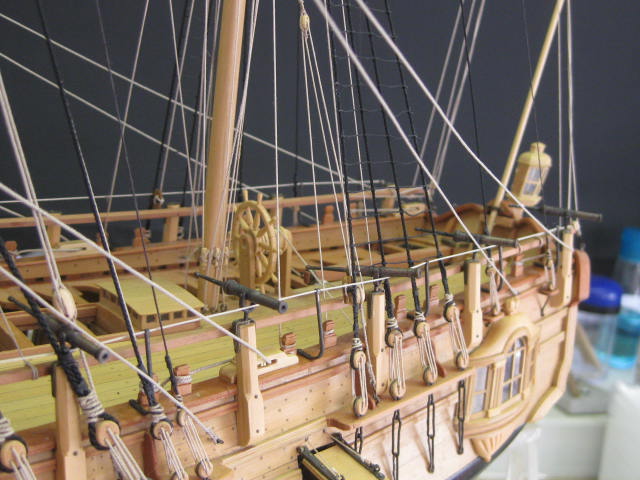
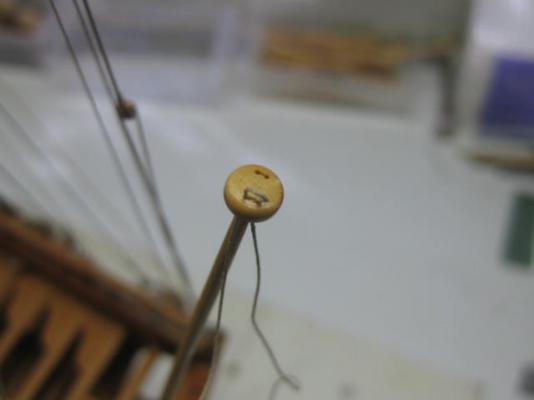
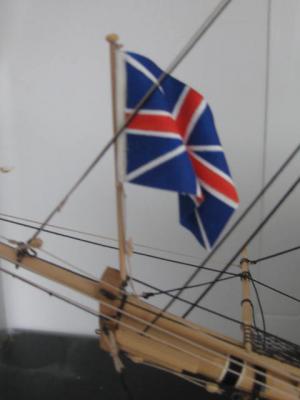
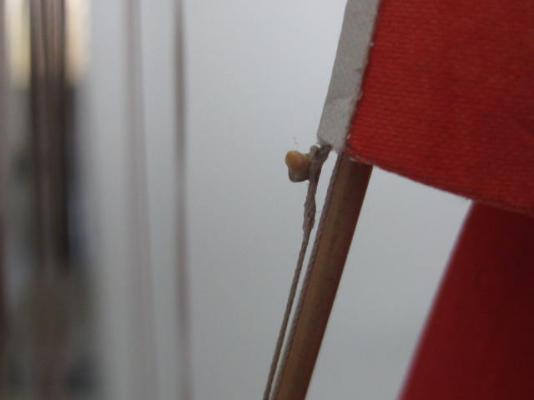
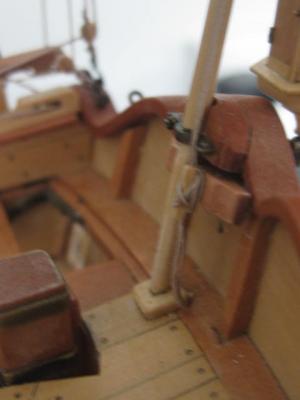
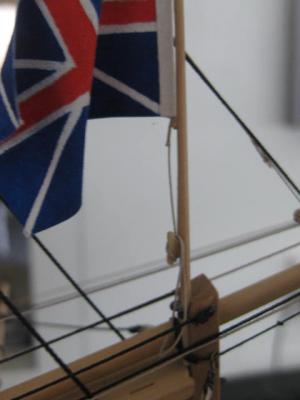
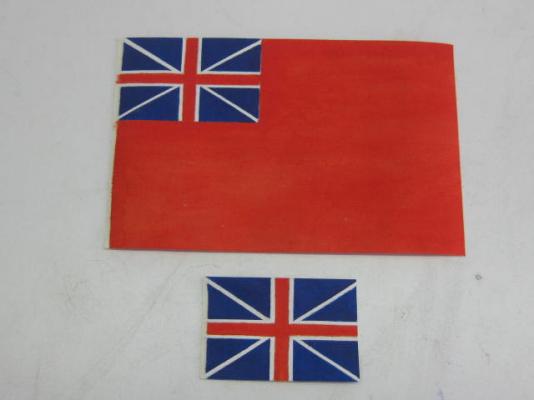
David - Thank you for answering George's question. I've finished fitting the flags. I'm not sure whether my method of hoisting them is suitable for the period, but they work quite well this way. I made two toggles for each flag. One is fitted to the bottom corner of the flag, the other to the halyard at the top end. When no flag is flown the toggle and eye in the halyard are joined together : The halyard goes through the sheave in the truck : The toggle in the halyard passes through the eye in the top of the flag : The other end of the halyard has an eye through which the toggle in the bottom corner of the flag passes : The halyards for both flags belay to small cleats : Some views of both flags. I briefly soaked them both in water, shaped them and let them dry overnight before fitting them : Danny


-
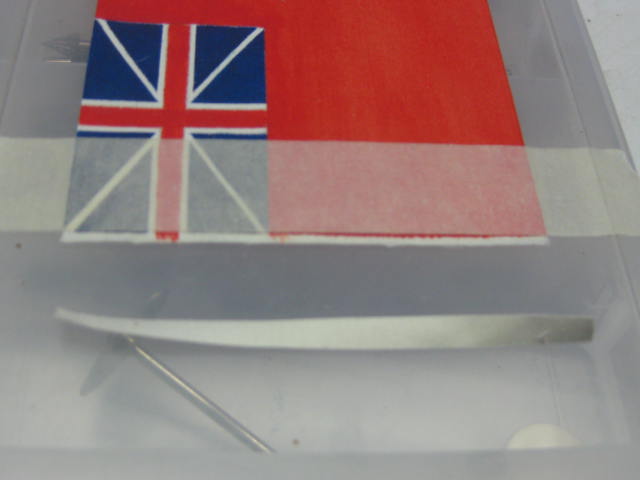
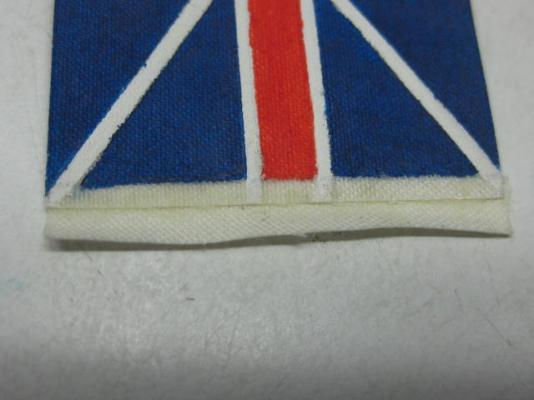
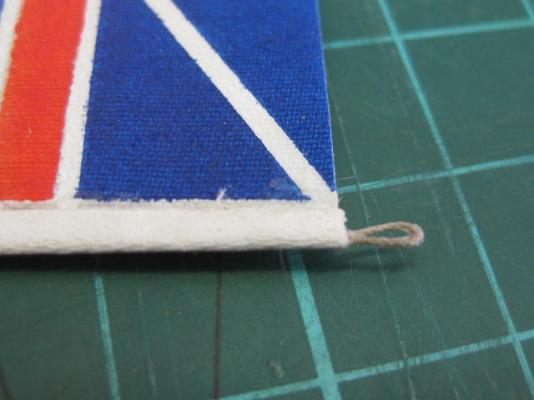
Thank you Greg and John. I started Scratchbuilding not long after I started the AL kit of HMS Supply and found that the entire kit was not only wrong but contained a lot of garbage parts. That was about 7 years ago. After that I used the hull bulkheads of a Modeller's Shipyard kit of the Norfolk Sloop which I'd bought for my grandson to build (he didn't start it) and Scratchbuilt the rest, including milling my own timber from a chunk of Norfolk Island Pine for all the planking, masts etc. Sure, lots of guys build models as good as or better than mine using just hand tools. It takes a bit longer though, especially when making multiples of the same part which can be "mass produced" on a Mill in next to no time. Others use a drill or Dremel tool to turn parts if they don't have a lathe. Personally, I find it more accurate using the machines. I couldn't do some of the things I do without them. An update on the Flags. I painted some Egyptian Cotton white on one side and let it dry. Then I cut a 5mm wide strip from it to make the Hoist Cloth. I glued half the width to the flag using Industrial Strength Contact Cement. Next I glued a loop into each end of some 0.20mm line and PVA glued it to the middle of the hoist cloth and let it dry. Finally, I Contact Cemented the 2nd half of the cloth over itself. All that remains is to soak the flags and shape them. This is why I used the Contact - the PVA would have softened and let go : Danny

-
Can't fool you Robin . I knew that . I've spent two days painting these flags, and I'm NOT about to redo them. I'm going with Druxey's last comment. Besides, once they are twisted and semi-furled not a lot will be visible. Thanks for your concern. Danny
-
Grant, I echo everyone else's comments - so sad. I've been down that road a few times myself. Love the pics of Sam and the cat. We have the same combination - a Maltese/Jack Russel named Ziggy and his 7 month old best mate named Pud who you may remember tried to learn more about my Vulture from the inside . Danny
- 456 replies
-
- 5
-
-
- finished
- bomb ketch
- (and 2 more)
-
Told you so . Beautiful job Erik. Danny
- 222 replies
-
- 2
-
-
- 18th century longboat
- model shipways
- (and 2 more)
-
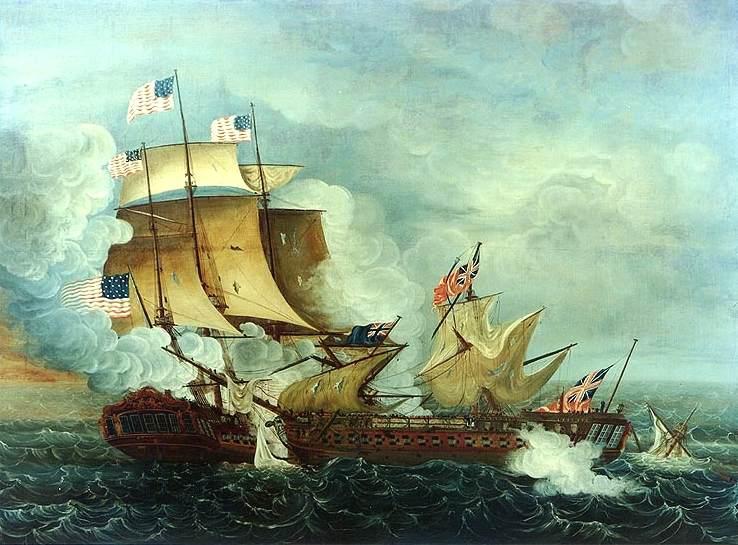
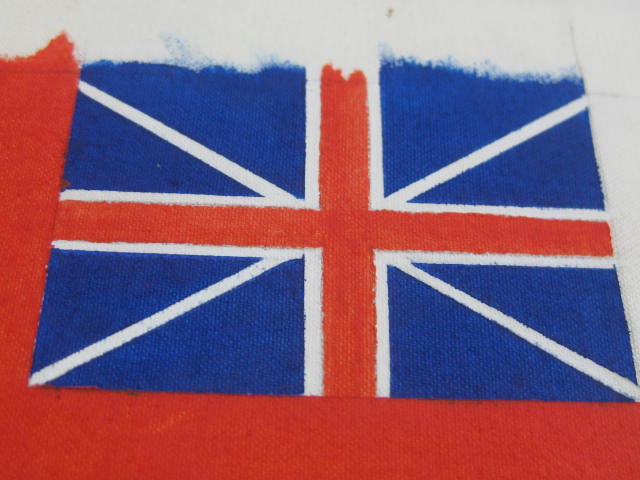
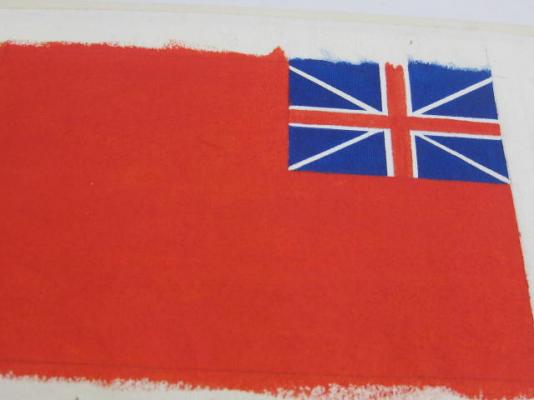
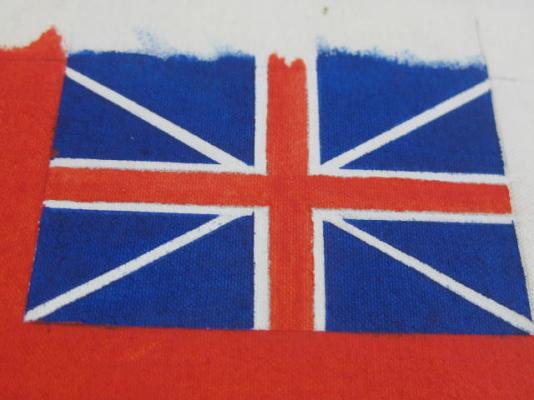
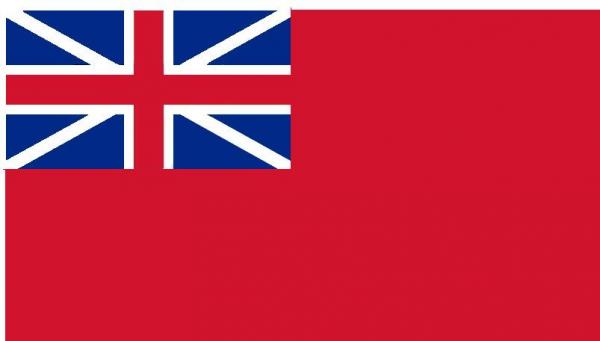
Thank you John, Mark, Robin, Greg, Dave, Druxey and Geoff. Mark - only a press with the iron. I didn't get any "bleeding" on my untreated test piece, or for that matter on the "real thing". It was more a matter of the paint creeping under the tape between individual pieces of weave in the cloth. This only happened in a couple of places where I may have thinned the paint a bit too much and/or didn't press the tape down firmly enough. Robin and Greg - I went with the comments in TFFM regarding the St Andrew's Cross being usually shown as too THICK on a lot of modern models. I may have made mine a FRACTION narrow, but what's been done is done. Here's a pic of the action between USS Constitution and HMS Guerriere, painted by Thomas Birch, that shows the St Andrew's Cross as narrow as mine : Danny

-
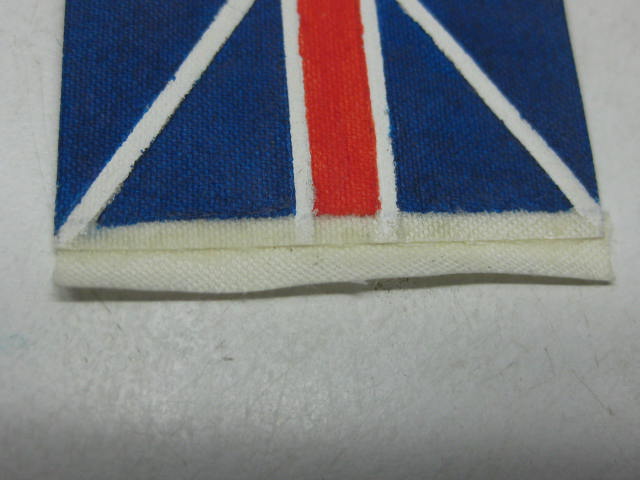
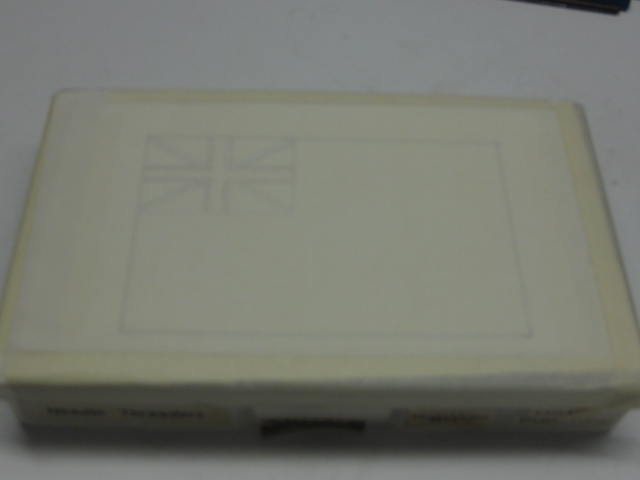
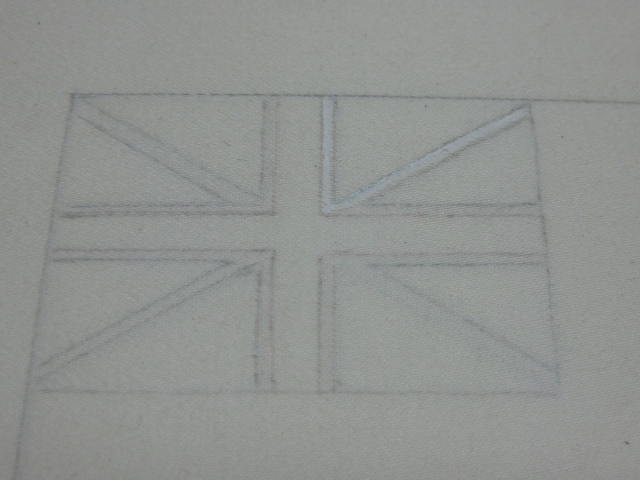
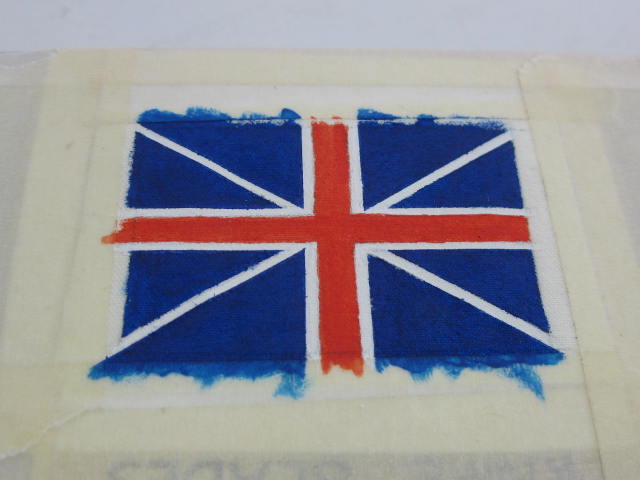
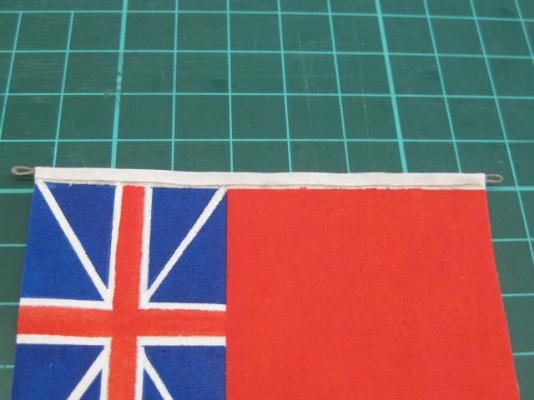
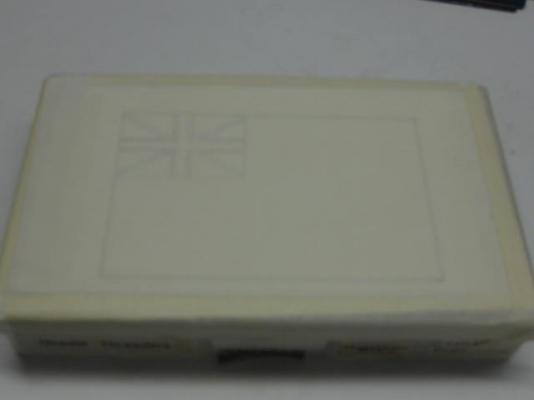
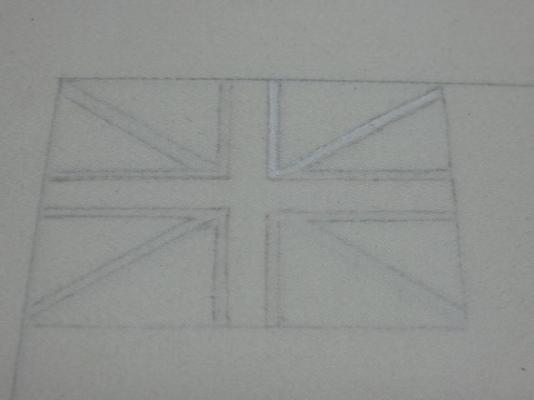
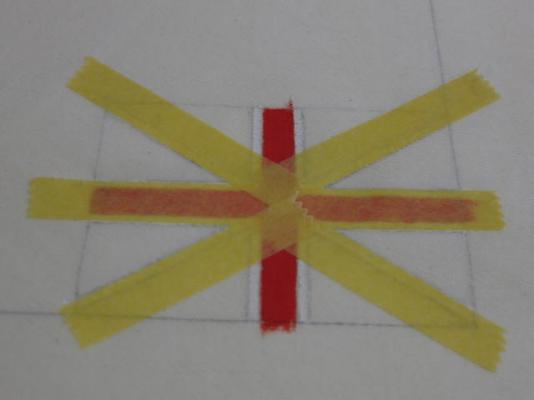
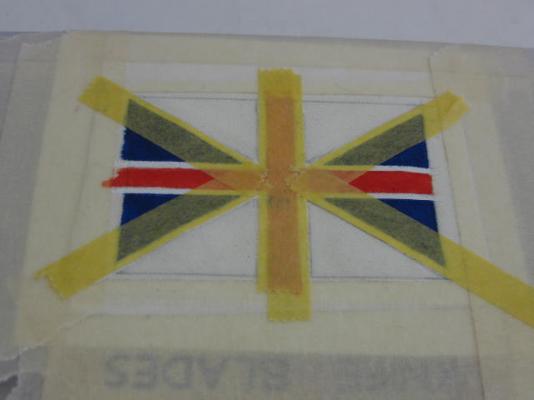
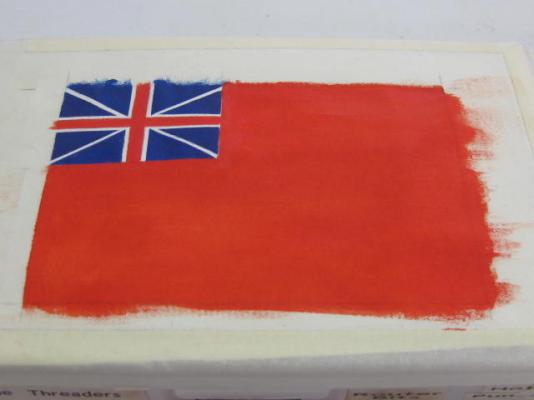
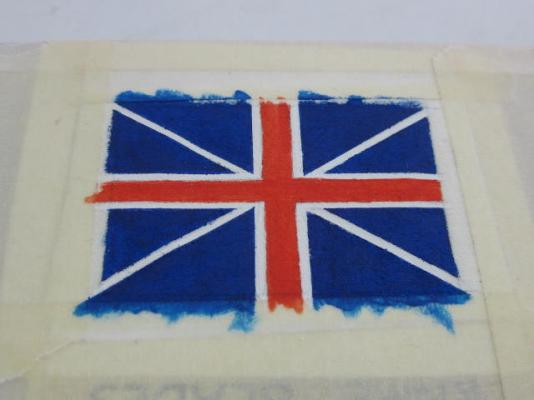
Thanks for the comments Robin, George, Spyglass, John, Pat, Mark and Greg . John, I was thinking ahead (well sort of) - when I fitted the quarterdeck rail I wasn't sure if I'd fit the hammock cranes as my silver soldering skills at the time were only in their infancy. By the time I'd got around to the shrouds I'd forgotten all about the cranes . Flags I have made my own flags before - on my last two models I used Silkspan with reasonably good results. Unfortunately it seems like I've left the silkspan at my daughter's place, so I thought I'd have a go at using the Egyptian Cotton which I fortunately DID bring with me, and used Artist's Acrylic paints. I figured all I had to lose was a couple of day's work. If they were a failure I would buy some from Modelflags.com who from all accounts supply some pretty good ones. I started by drawing the Jack using AutoCAD. I then printed it out twice, drew up the borders for the Ensign and used the 2nd Jack in it's top corner. I taped both of these to the tops of a couple of flat containers so I could turn them in whichever direction I wanted when doing the hand painting. Then I taped the two pieces of (oversize) cotton over them. Last thing for this step was to go over the outline of each section with a pencil as they were only just visible : I painted the White areas first, being careful to stay inside the lines as much as possible - from previous experience I'd found that it was better not to have to paint over the white, even with dark blue, as it lightened considerably and needed at least three coats to cover sufficiently : After laboriously painting the red cross without using any masking I had the idea of using Tamiya Masking Tape for the blue areas. I tried it out on a 3rd piece I was painting for any experiments I might have needed - it worked very well, considering I was painting on a medium that it wasn't really designed for. There was a small amount of "bleeding" in some areas that needed a bit of touch-up, but it was much easier than trying to free-hand the lot . Then I removed both flags, turned them over, and repeated the process for the other side : I cut the borders with a new Xacto blade and steel rule. The painted edges cut cleanly, but the small border I left for the Hoist Cloth tore out a bit as the weave of the cloth wasn't quite exactly square to the flag. A tip to avoid this is either paint the band white or use dilute PVA on it : Danny
-
Mark - I drew my own using Autocad and Paint. Then I printed it and used it as a template under Egyptian Cotton - I could just see through enough to get the outline of each color. I'm in the process of painting them using Acrylics. I'll post the results in my build log. Danny
-
Thanks for the replies guys. I'm halfway through hand-painting the flags at the moment, I'll decide whether to go with them or not when I finish them. At least I know I have somewhere to fall back on if I'm not happy with them (so far, so good ). Danny
-
Oops - me either . Great job Kats. I'm with John - that mess you showed us in the beginning would have been way beyond repair for just about anyone on here, including me. Your persistence really paid off . Danny
- 237 replies
-
- 2
-
-
- cutty sark
- revell
- (and 2 more)
-
Hi all, Has anyone had any experience with this supplier of flags? Modelflags.com I'm in the process of making the Jack and Ensign for my HMS Vulture, and would like to know if they make realistic flags in case my attempts are failures. If there is another supplier who makes excellent quality flags I'd appreciate some information. Danny
-
Rough???? Excellent work Erik, it'll sand up beautifully . Danny
- 222 replies
-
- 4
-
-
- 18th century longboat
- model shipways
- (and 2 more)
-
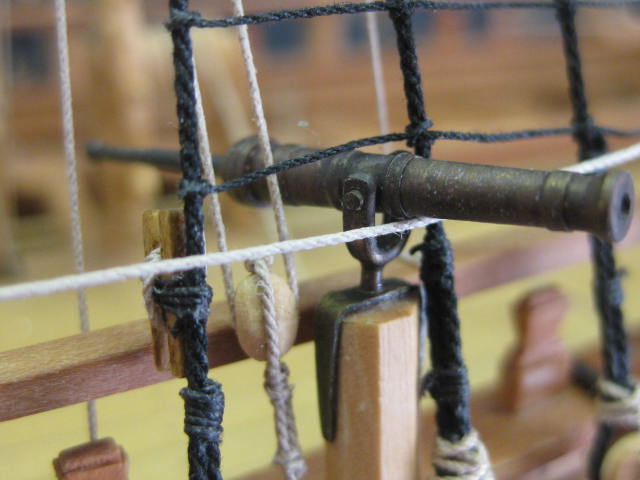
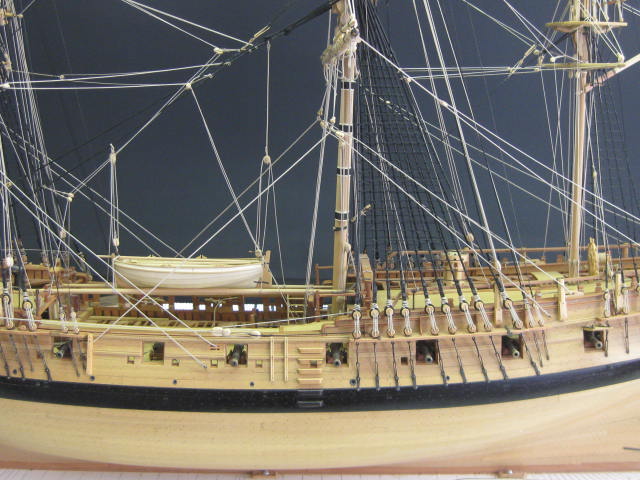
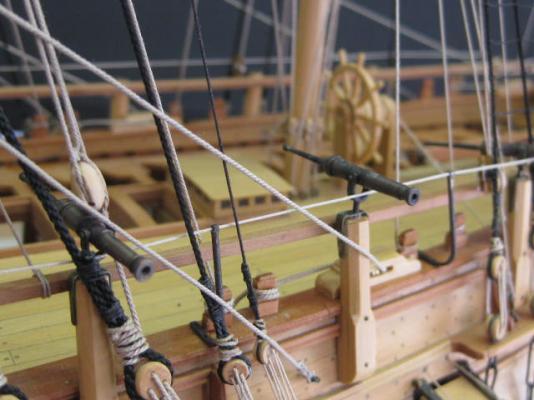
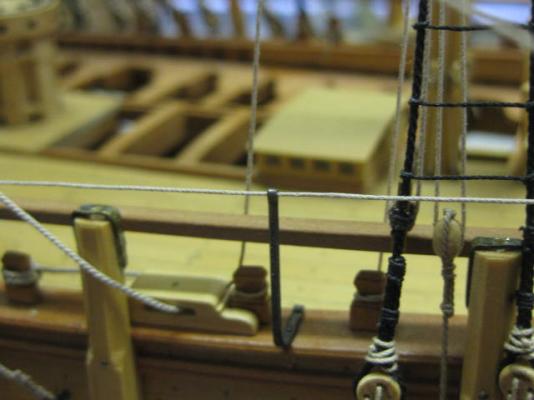
Thanks Druxey, I sure did. I managed to drill the holes with a Pin Vise without "re-arranging" any rigging . Fitting Swivel Guns I've also fitted the Swivel Guns that I'd made earlier. They are only going on the port side. All the guns can be moved in any direction. Once again, I had to redrill the holes in the posts from 0.8mm to 1mm to accept the mounting legs : Danny

-
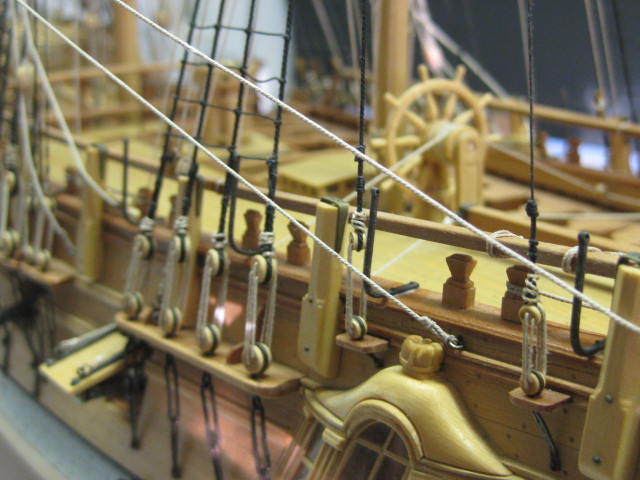
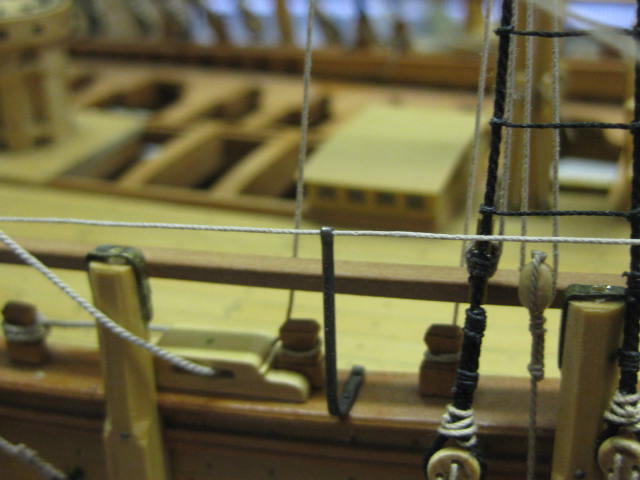
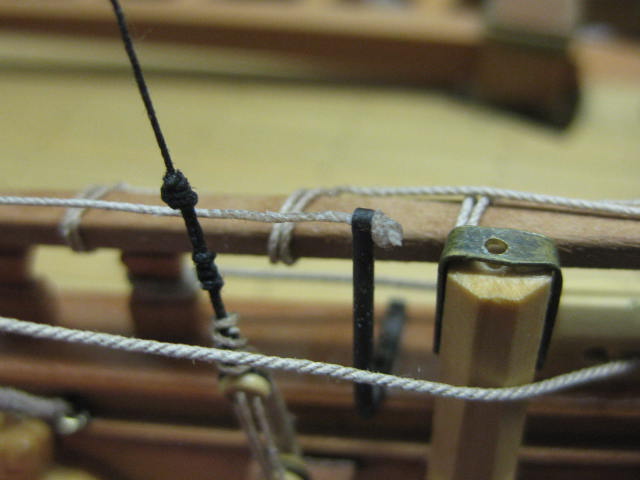
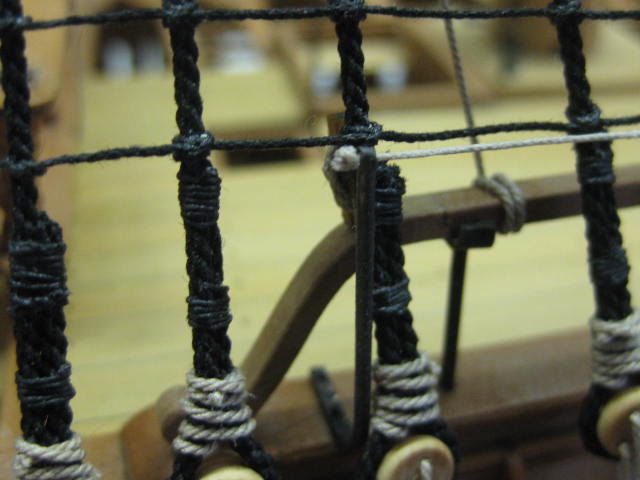
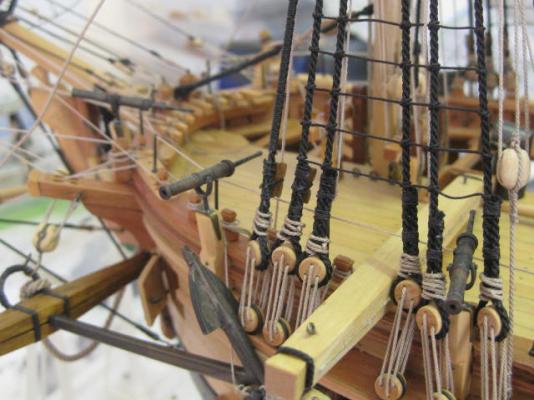
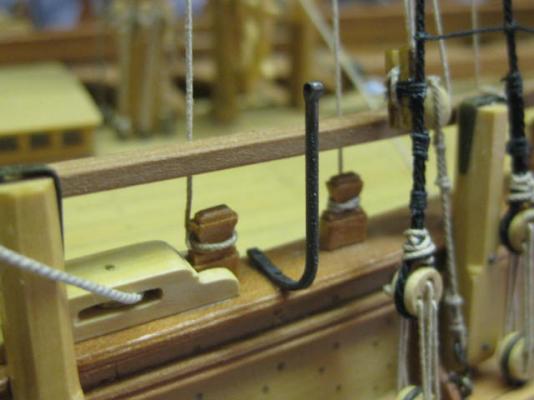
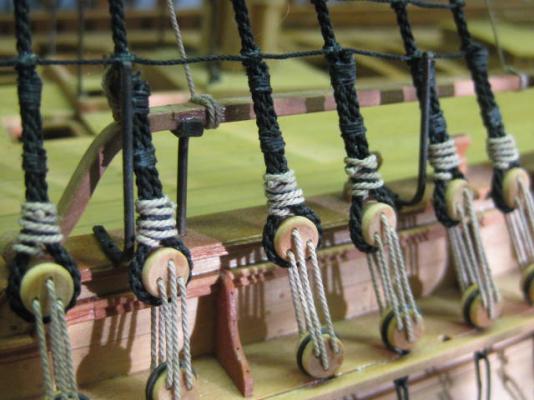
Thanks for the kind comments Robin, George, Mark, David, Albert, Carl, Ronnie and Marc. As always they are much appreciated . Fitting Hammock Cranes I managed to drill the holes for the hammock crane mounting "bolts" without going completely insane, but it was a near thing . It would have been MUCH easier if I'd done this a lot earlier in the build. The couple hiding amongst the shrouds were fun (not). I've fitted the passing ropes too. I chose to use a simple knot at each end : Danny


-
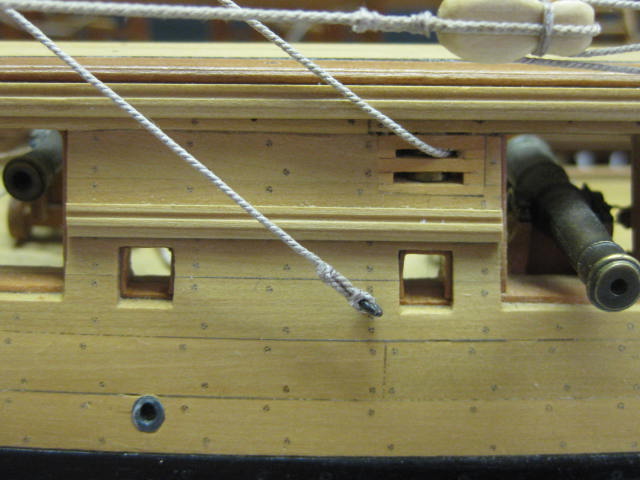
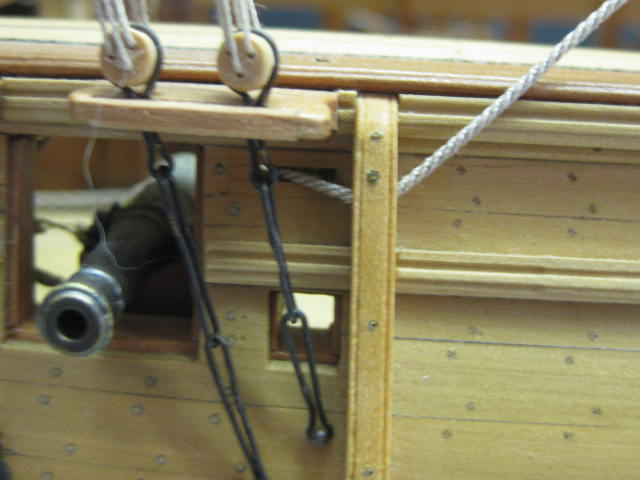
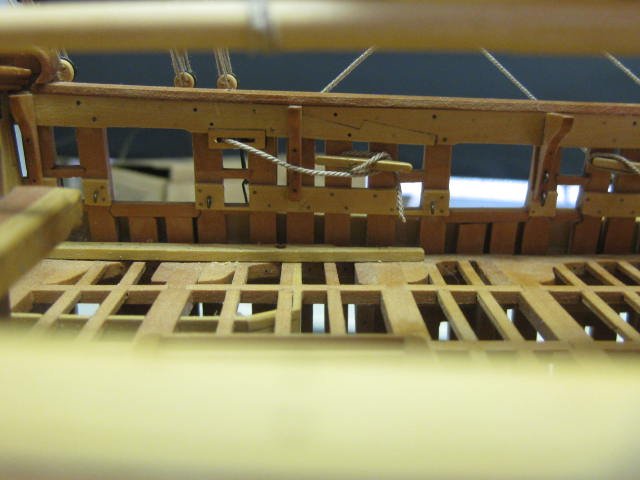
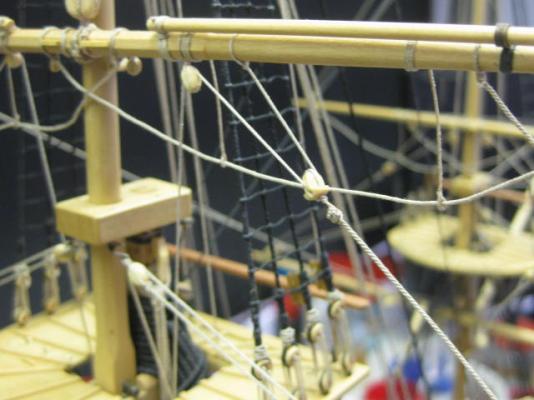
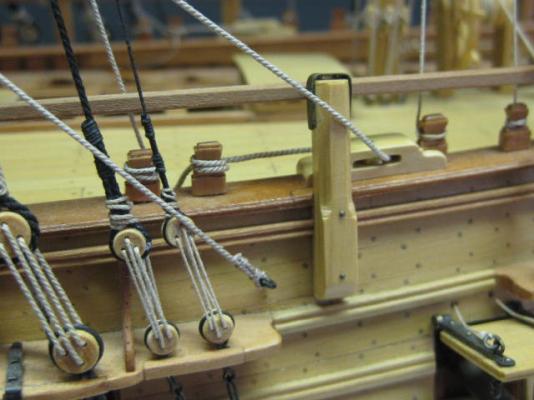
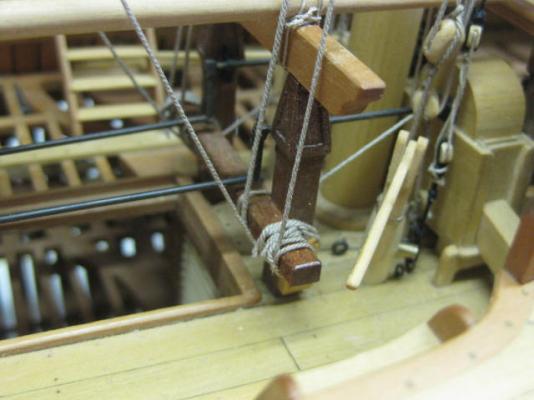
....... continued. The standing end of the Fore Course Sheet is seized to an eyebolt below the aft fixed block, through the sheet block, through the fixed block, and belays to the aft cleat in the bulwark : The standing end of the Main Course Sheet is seized to an eyebolt below the fixed block on the quarterdeck planksheer, through the sheet block, through the fixed block, and belays to a timberhead forward of the block : The sheets for the topsails start with a crown knot through the strop in the clue block, through the sheet block on the outboard end of the lower yard, inboard to the sheet block near the centre of the yard, and belays to the fore topsail sheet bitts (fore), main topsail sheet bitts (main) and to an eyebolt at the foot of the mizzen mast (mizzen) : The Spritsail clues and sheets are rigged in similar fashion, both belaying to cleats in the bow : I won't be adding any more rigging such as Buntlines, Leechlines, or any of the Staysail rigging as no sails are going on this model. Danny


-
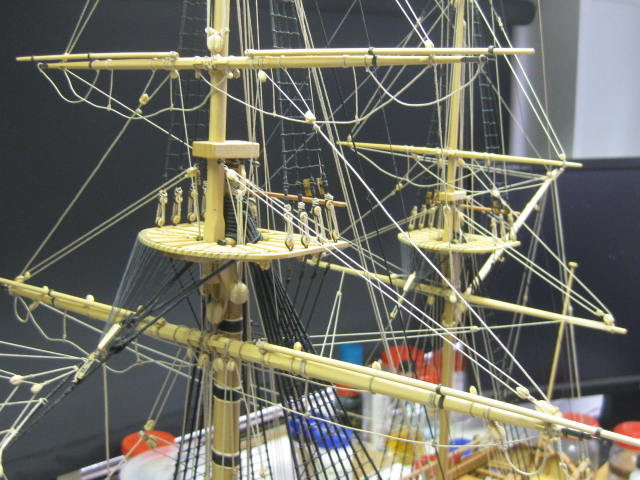
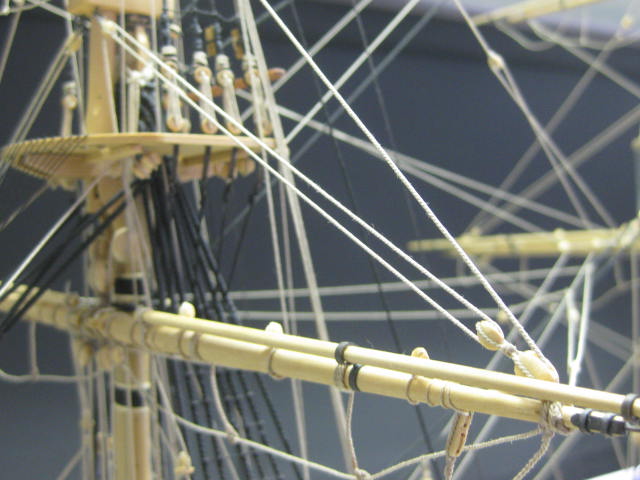
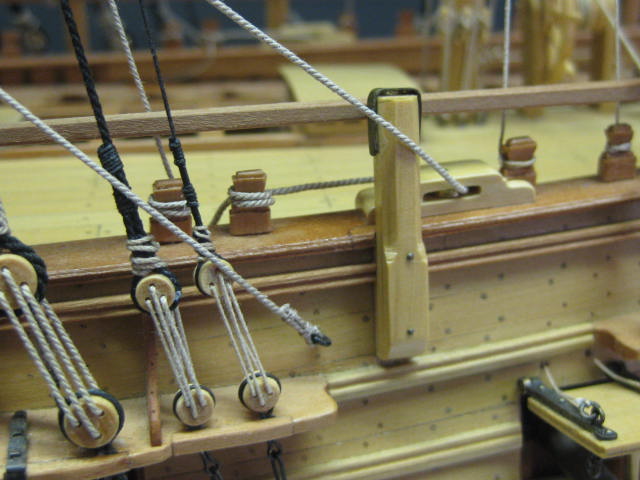
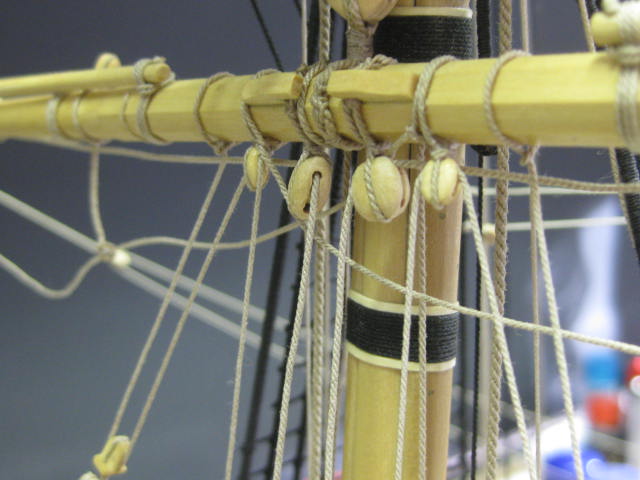
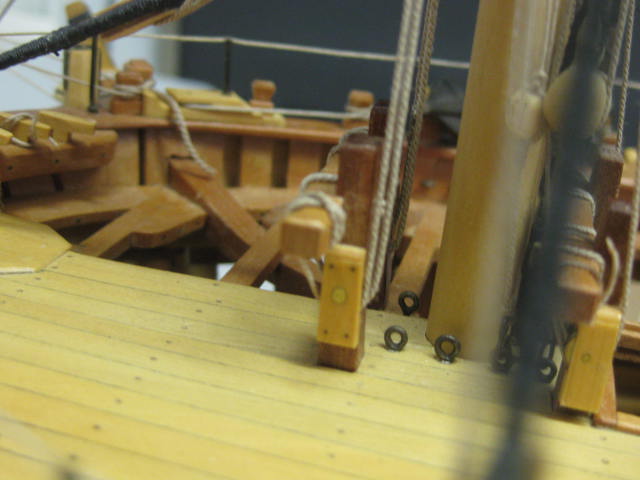
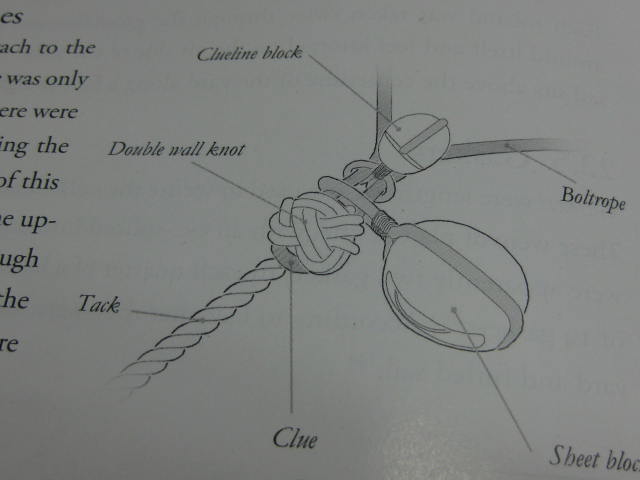
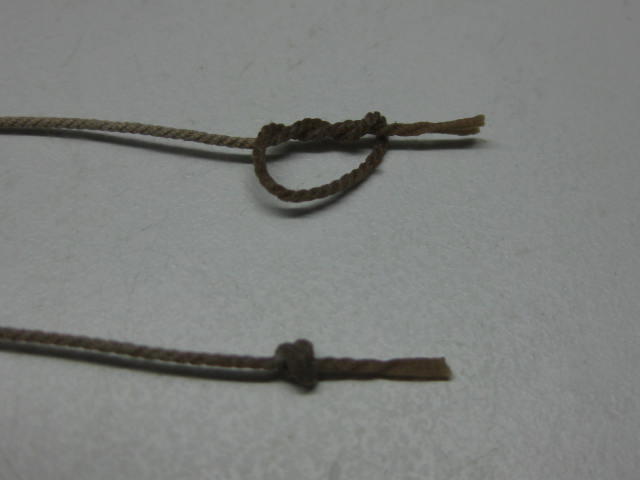
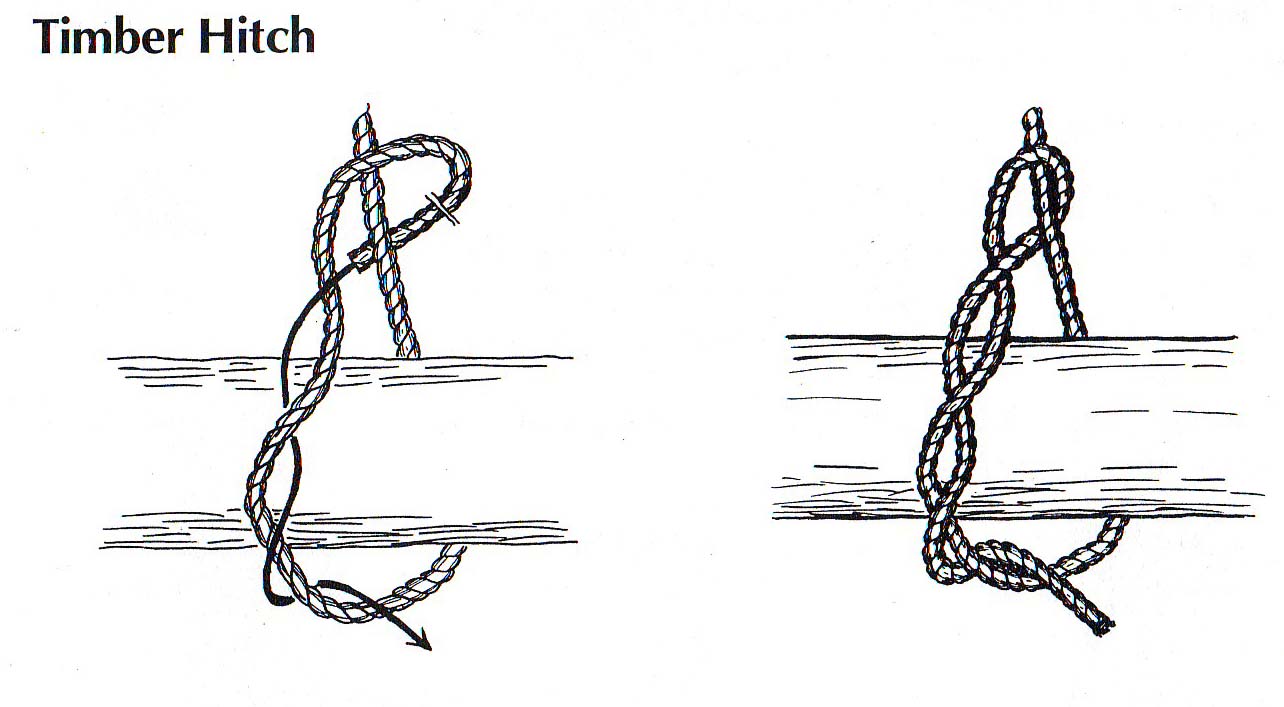
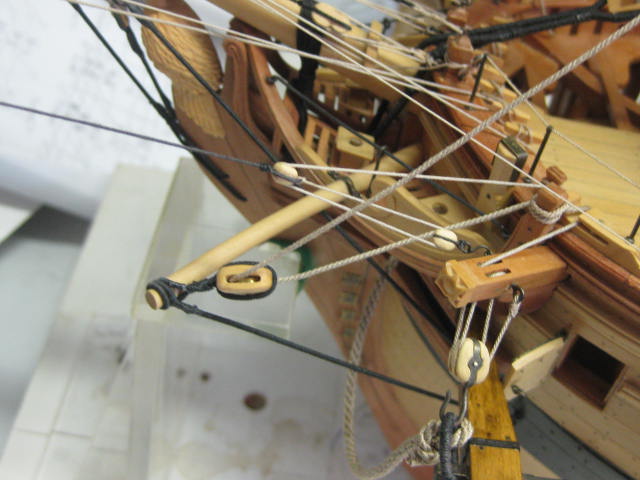
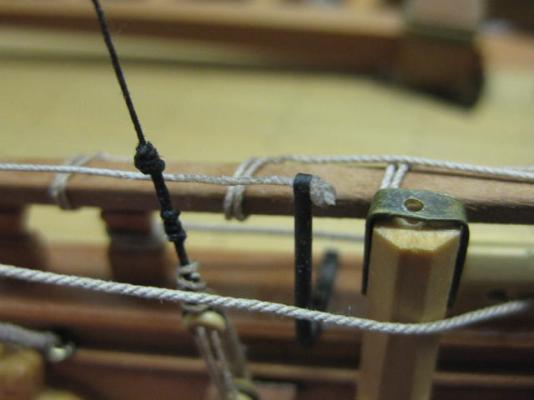
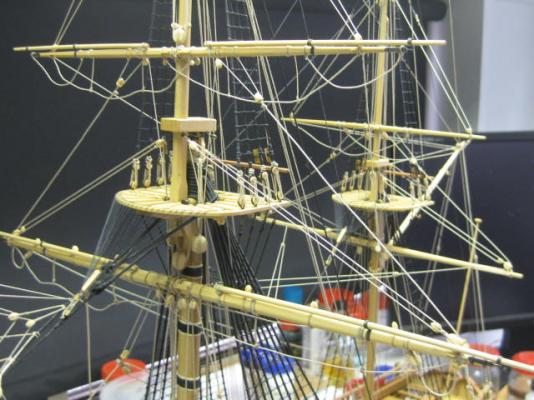
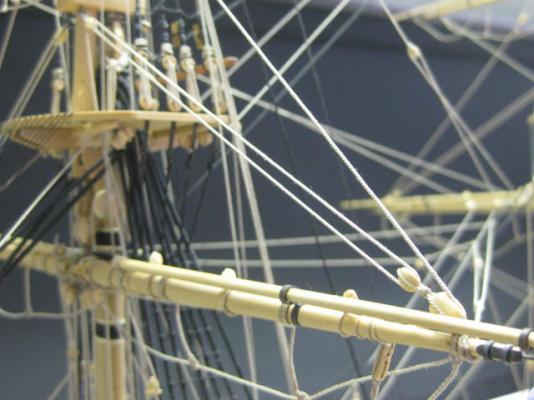
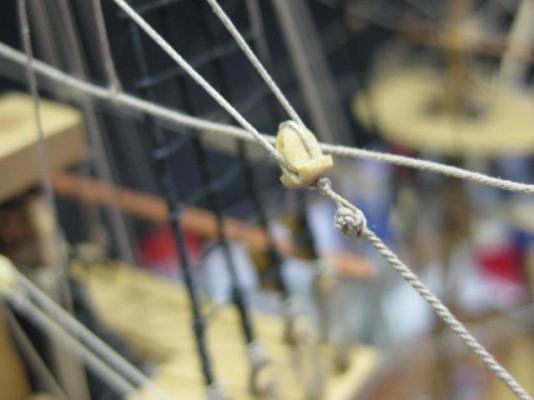
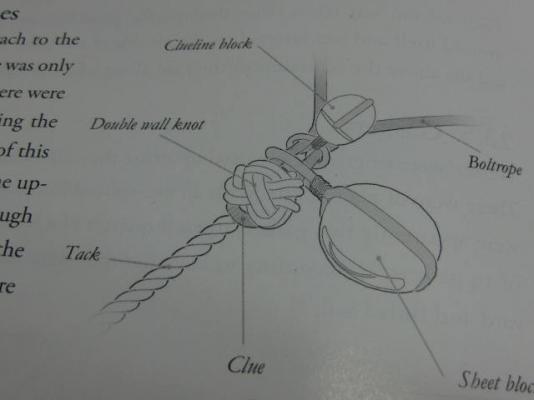
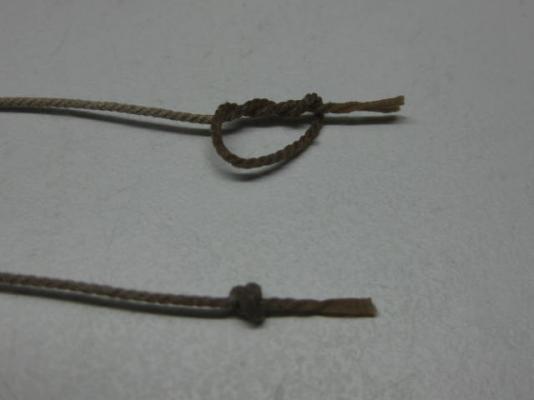
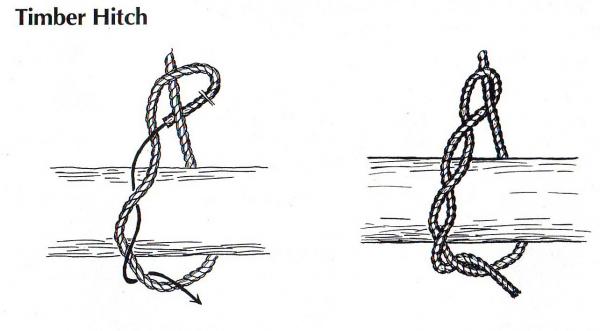
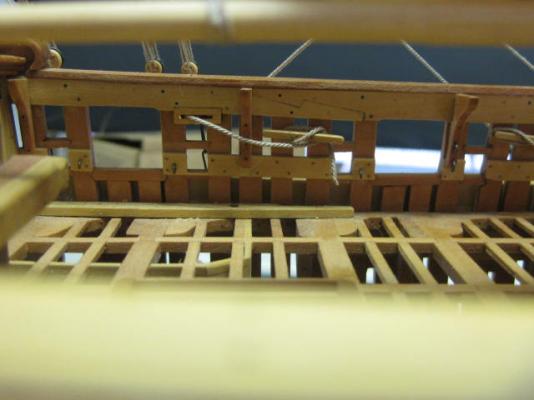
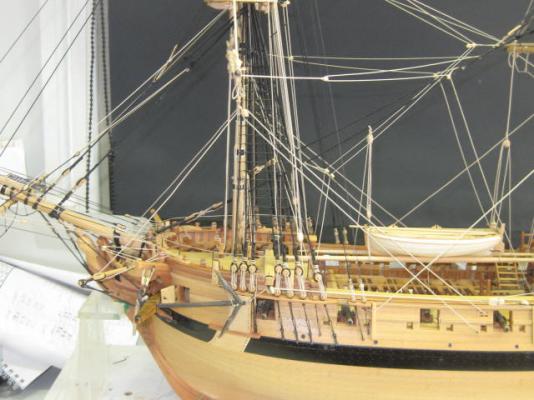
Clues, Tacks and Sheets I have finished all the rigging apart from the Ensign and Jack Halyards. Yay . The final lines to do were the Clues, Tacks and Sheets. Being loose-footed the lower fore and main yards have Tacks, there is none on the crossjack as it doesn't carry a sail. The topsails only have clues and sheets, and the topgallants have neither. These lines all control the foot of each sail. They are hauled downward when the sails are in use. Here are a couple of pics of the overall view : The tacks on the lower yards all use a Crown Knot which goes through the strop in the sheet block. I tied a simplified version which looks similar from a distance : Here's a pic from TFFM on the configuration. I've done mine a little differently as there are no sails : The clue starts with a Timber Hitch around the yard. Here's a pic of this knot : It then goes through the clue block. To see how I made these specialised blocks click HERE. Next it passes through the clue block on the yard and belays to the Main Topsail Sheet Bitts (main course) or the Fore Topsail Sheet Bitts (fore course). Both go through the sheaves in the bitts before belaying to the bitt rails : The topsail clues are similar except they belay to the Fore Jeer Bitts (fore), the Quarterdeck Rail (main) and two of the cleats at the foot of the Mizzen Mast (mizzen). The Tacks for the fore course start with a crown knot which goes through the fore sheet block strop, through the large tack block on the boomkin and belays to a timberhead in the bow. The main course tacks go through the Chesstree sheaves, through the fixed blocks and belay to the forward cleats inside the bulwark : Continued in next post .......


-
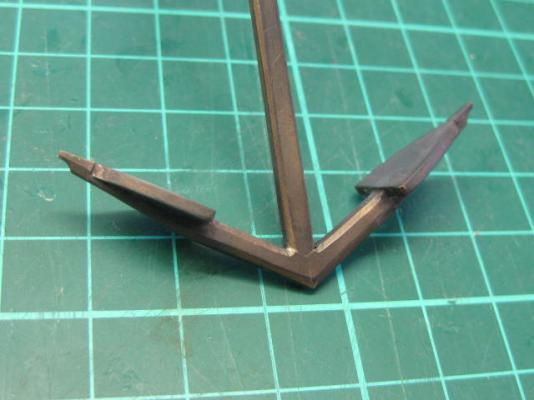
Hi John, I think you are soaking it for far too long in the Jax Pewter Black. I have recently had the need to use some of it when I ran out of Birchwood Casey Brass Black, and I only soaked my anchors for about 2 minutes with very good results. I don't do anything flash like using Distilled water to dilute it, only plain tap water (where I live it's not real pure either) at a ratio of 50/50. Cleaning after silver soldering is done by first soaking in white vinegar for an hour or two, then sanding as much of the part as possible with a fine grade foam-back paper followed by another soak in vinegar for a couple of hours (or overnight in this case as they were large pieces). A final rinse under the tap and then it's into the blackener. I polish off any residue with some kitchen paper. BTW - I don't aim for a Full Black color, rather more like a bronze. Here's a pic of my anchor to show the result. The actual color is a little blacker than in the pic, my fluro lighting isn't great for bringing out the true color : Another BTW - I prefer the Birchwood Casey Brass Black over the Jax Pewter Black. The Jax also blackens my Stainless Steel tweezers which is a nuisance . Hope this helps. Danny
-
Dammit Grant, where have you been hiding? I just found this build log . I've just had a quick look through the entire thing and I'm VERY impressed - Scratch Building is fun isn't it ? You've got my juices running again. I wasn't going to do another Full Frame model, but after looking through this log I've decided on another project after the two I've already committed to - a Cross Section of Vulture's midsection. This would make a nice accompaniment to her in the Port Macquarie Maritime Museum . Danny
- 456 replies
-
- 8
-
-
- finished
- bomb ketch
- (and 2 more)
-
Thanks for the comments George, John, Druxey, Greg, Tom, Robin and Nils. Druxey and Robin - That makes a whole lot of sense now - I don't know why I didn't think of that. A pity that the point wasn't mentioned in either TFFM or Lavery, or not that I could find anyway, or I'd have made it that way. The pic in Lavery is a little clearer now that you've mentioned it, but unfortunately the inner end of the davit fades into the distance and isn't visible for it's full length. I'm in two minds about whether to change it now or not, apart from making a new davit and a 2nd spanshackle ring there's not a lot else to do. John - The build logs of people like EdT, Remco, Doris, Jim Lad and others helped to take me to where I am now - I'm sure you'll get there as well if you keep up your good work . Not much Tom - I should finish the last of the rigging in the next couple of days, then I have some more detail work fitting the already-made swivel guns, hammock cranes and waist railings, plus a couple of other things like the flags. Then it's on to building the base . Danny
-
Excellent work Erik. It looks like your calculations were spot-on from the start - the two remaining planks seem to have the exact gap needed to fill them . Danny
- 222 replies
-
- 6
-
-
- 18th century longboat
- model shipways
- (and 2 more)