Stevinne
-
Posts
328 -
Joined
-
Last visited
Content Type
Profiles
Forums
Gallery
Events
Everything posted by Stevinne
-
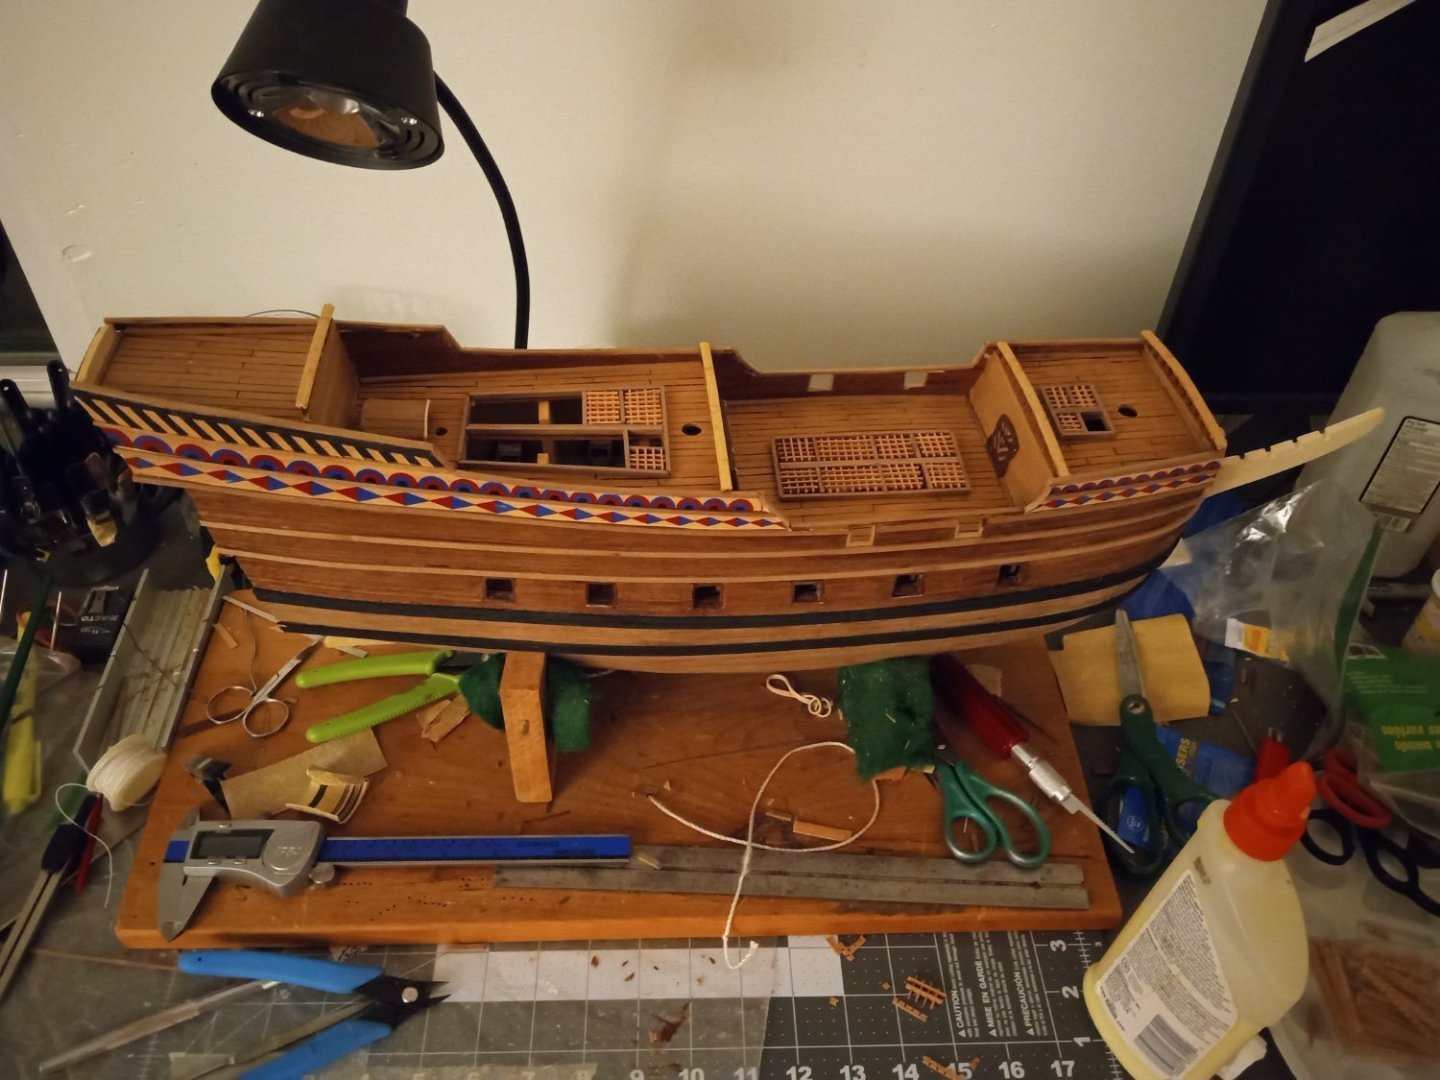
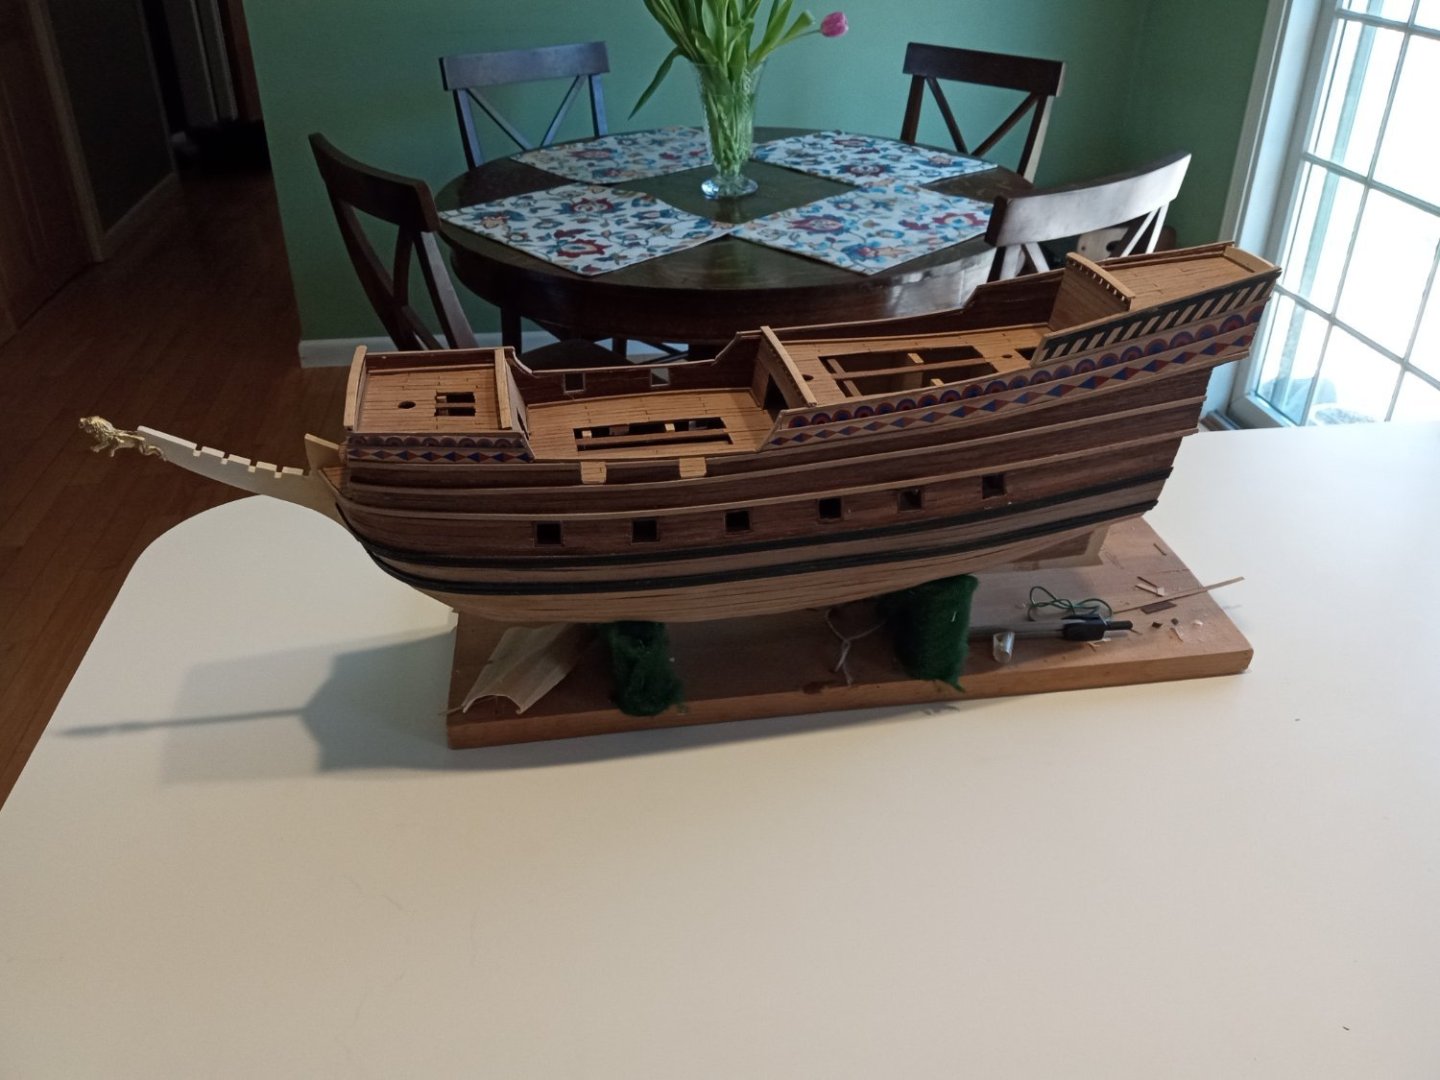
 The railings are on, and I'm not displeased with how they turned out. I also put together the stand, which gave me a chance to give her a place to rest while I cleaned up the workspace. I also painted some wood to make the black stripes that will adorn the beakhead. I feel like I'm making progress.
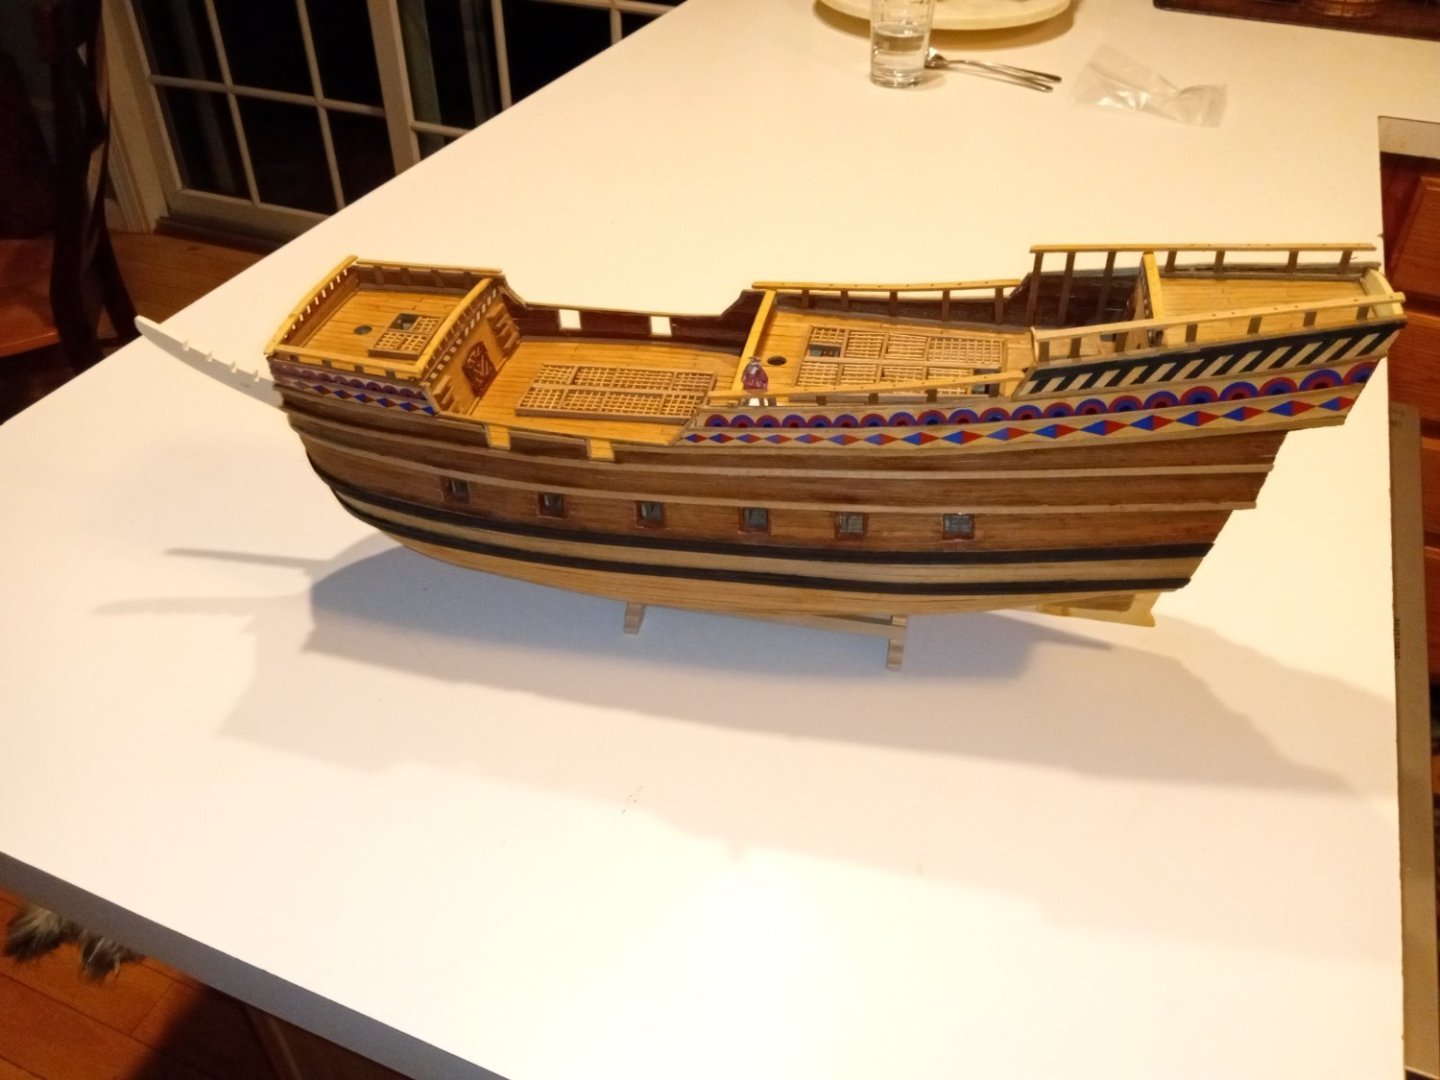
-
Been adding railings. I'm happy with the height of the focsle railings. I spent a lot of time trying to figure out what to do about the poop railings - whether I should end them at the end of the poop deck or extend them to the end of the outer planking. I decided to do the later, after viewing Ondras' amazing build log. He really has set the bar for me. Though I'm having trouble clearing it, he does supply inspiration and things to think about. After installing the poop railing, I still feel it's about 1mm too high. I based the height on my little figure of Sir Francis Drake, who has been supervising construction. While the rail seems to fit Sir Francis just right, it looks a little too high for me. Also, the photo points out a gap to the support posts I hadn't noticed.
.thumb.jpg.424936a9e13c2b0bdb9014c04e130250.jpg)
.thumb.jpg.b46acbf59a7469a19bb3a7d46606ea80.jpg)
-
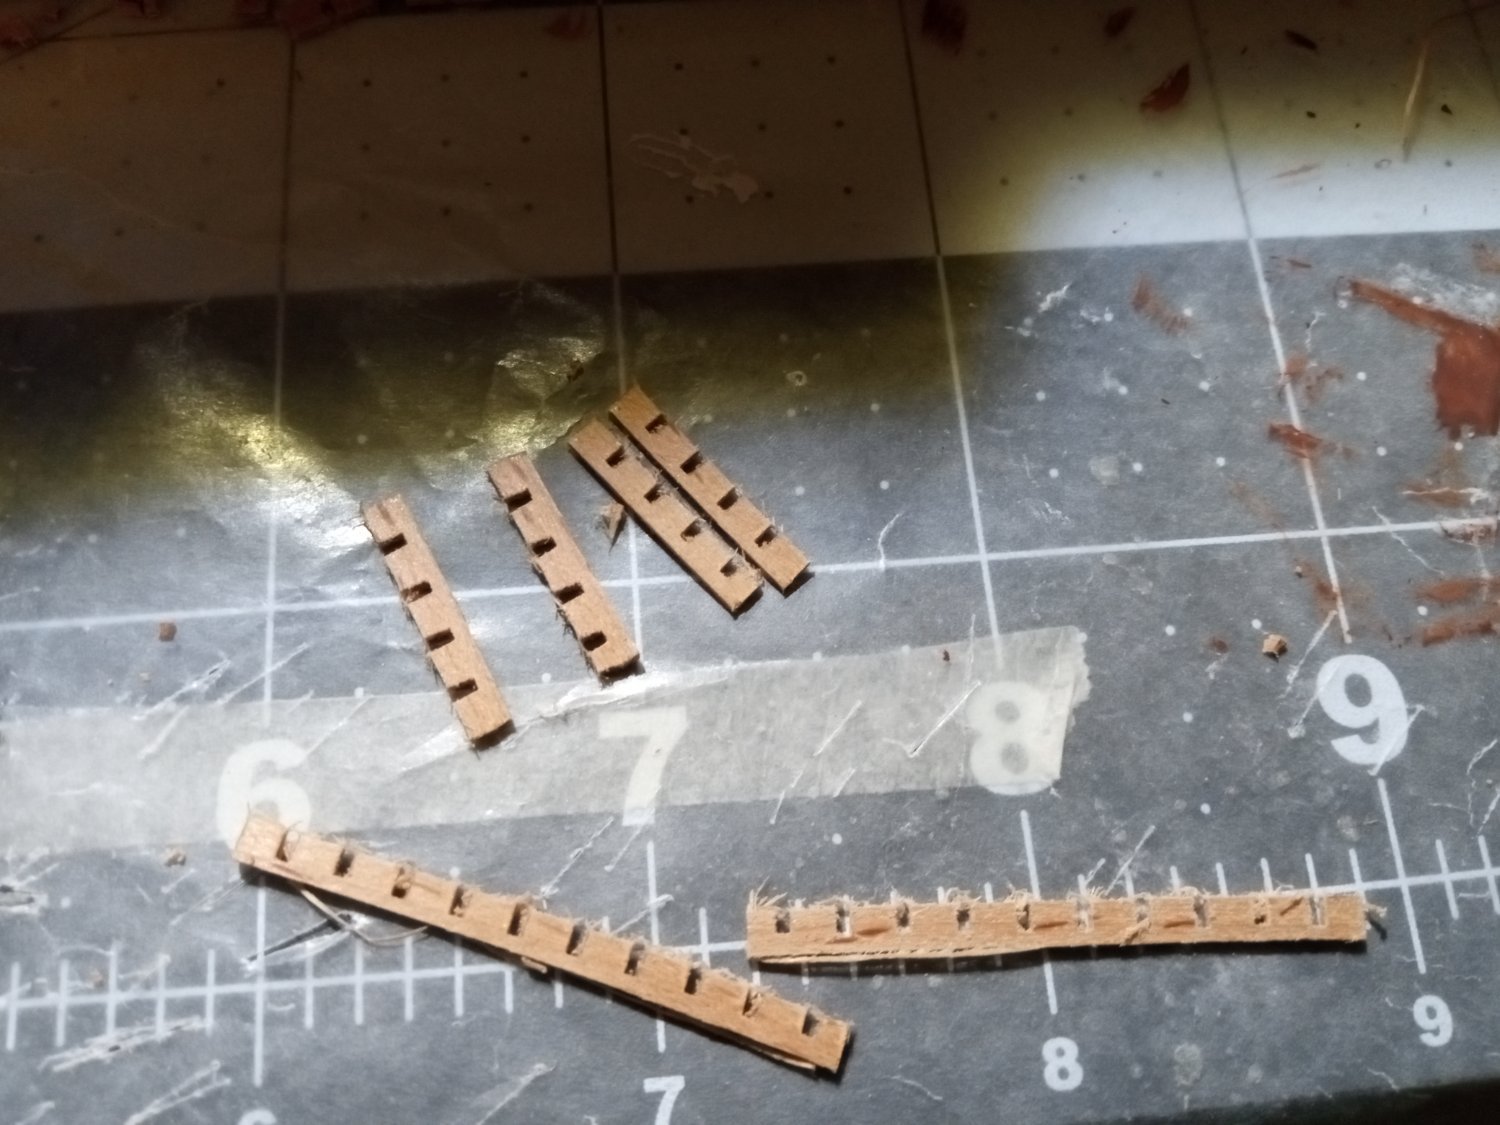
Some progress with gratings. One thing I hadn't thought about is how much of the frames show through the openings. The break in the grating on the forward starboard side of the quarter deck will host a bitt, but if you look closely, the frame takes up much of the space and will be visible. I don't think I can remove the cross piece, as it supports the deck I probably can trim the white frame sections a little further back, but might settle for staining them a darker, less noticeable color. Also, I removed the molding at the front of the poop cabin as I realized that the opening I left for the door, while it fit perfectly, would have had the door jamming up against the pilot house in real life. I'm going to move the door a few millimeters over to starboard and redo the molding.
-
Moving on to the gratings. On the plus side, the kit provides a lot of grating material. On the minus side, it's probably the worst grating material I've encountered, with lots of the pieces bent or broken and others really badly cut with lots of whiskers and half-done cutouts making it difficult. I'm happy Mamoli is under different management since I purchased this kit, because while I really like the subject, the materials on this one definitely have a bottom-of-the-barrel vibe about them.

-
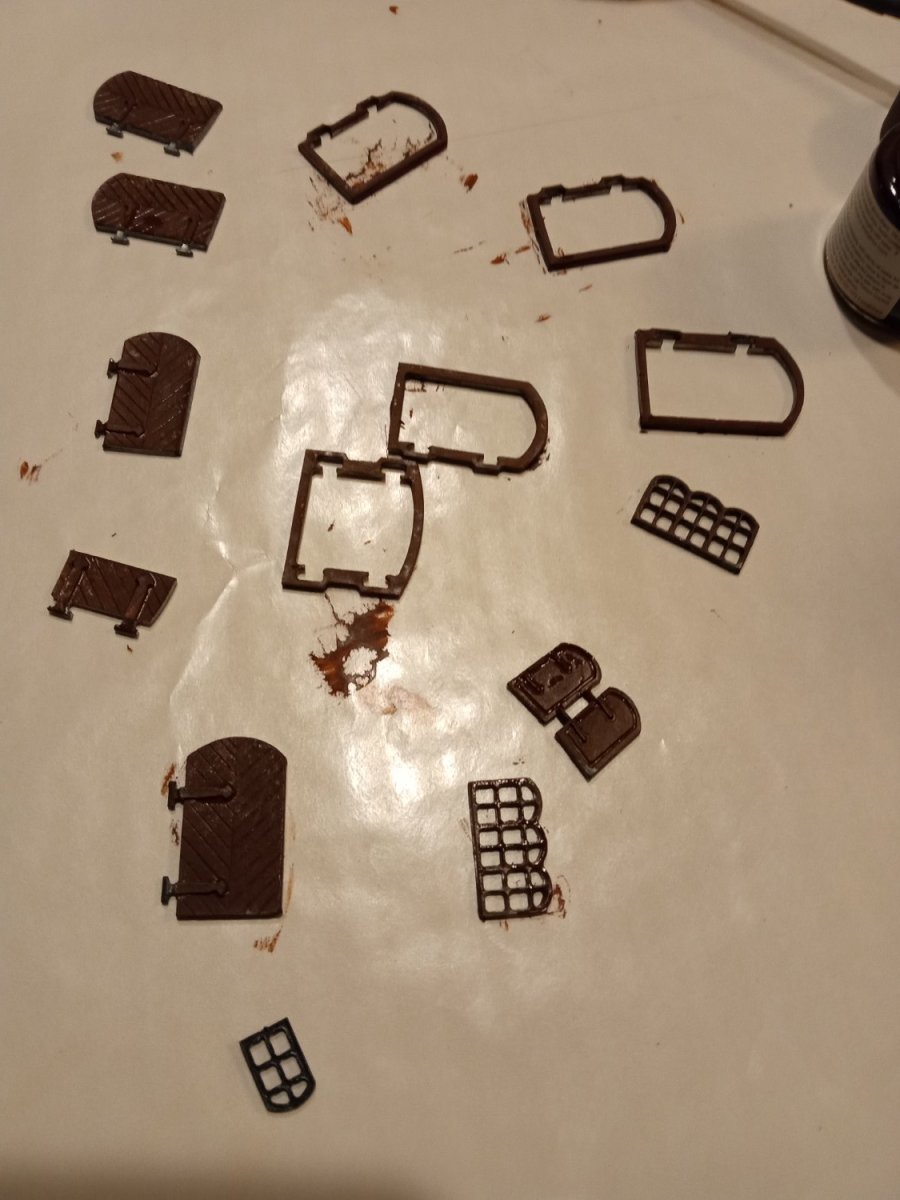
Started painting the doors and windows and noticed something odd. While most everything is cast white metal, the small window frame at the bottom is black plastic. I'm not sure what is the reason for the change. My guess, with the paucity of spare wood that came with this kit, is that Mamoli was cutting corners where ever they could at the time I purchased it. I also decided to paint the gilded pieces, which aren't shown here. Good thing I did. As I started painting, I noticed that on many of the pieces the gilding was unevenly applied with the white metal showing through in spots. I'm debating whether or not to paint the doors tan/black to match the decorations on the ship or just leave the brown. I'll probably try one, see how it looks and then make a decision. My plan is to highlight the scroll work on the now brown gilded pieces in white or red to add a little color.

-
I need to order some drill bits and realized I have no idea what sizes work best with ship models for eyebolts and belaying pins and the like. My old bits came from a starter set of tools I'd gotten at Model Expo years back. If anyone has advice on what size range I should be looking at, I'd appreciate it.
-
Making progress. I've completed the decorative strips, cap rails and railings over the cabins. I've ordered some very thin strips of walnut from Model Expo and am considering adding some trim around the edges of the decorative strips to maybe cover up that black line. I've experimented on the leftover bits of cardboard to see if I could sand or use colored marker to cover the black line, but I haven't been happy with the results. I'm currently sanding the stem piece to the figurehead to slide on. I'm happy I thought to test fit the figurehead before I got too involved in installing the beakhead, since the opening on the figurehead is considerably narrower than the stempiece. I've been sanding intermittently all morning and am finally beginning to see some progress. I do plan on painting the lion before he takes his place.

-
Depending on what glue you used, once you are comfortable around ship models, you can either try to correct the mistakes with some sanding and applying a thin second layer of planking or simply loosen the glue, remove the wood that is causing the problem and start over. I have never done that, but I have seen people on this site and on other sites who have revisited projects, removed bad work and made things turn out well.
-
I'm not sure what kind of reading you did before you got started, but I think Frank Mastini's "Ship Modeling Simplified" is invaluable for a beginner. It does a very good job of simply explaining the various steps in building a ship, everything from planking to rigging. It looks like you can pick up a used copy on Amazon for about $9, including shipping. https://www.amazon.com/Ship-Modeling-Simplified-Techniques-Construction/dp/0071558675/ref=sr_1_1?crid=QZS69USMSME7&keywords=Ship+model+simplified&qid=1679171208&sprefix=ship+model+simplified%2Caps%2C95&sr=8-1 Right now Model Expo is having a half-price sale on their Model Shipways kits. The Lobster Smack looks like a great deal for $37 and is one of their shipwright series, which, as Jaeger said, are really designed to introduce people to the hobby. https://modelexpo-online.com/muscongus-bay-lobster-smack.html
-
Sign up for the Model Expo email alerts. They have sales just about every week and you can usually find good deals on simple, inexpensive kits among the deals. I'd second the Swift, which sounds like a good deal. Their Virginia 1819 also looks like a good starter kit. It looks like you can get it on their site for about $95 if you use their coupon. https://artesanialatina.net/en/ships-initiation/62413-virginia-american-schooner-wooden-model-ship-kit-8421426221350.html
-
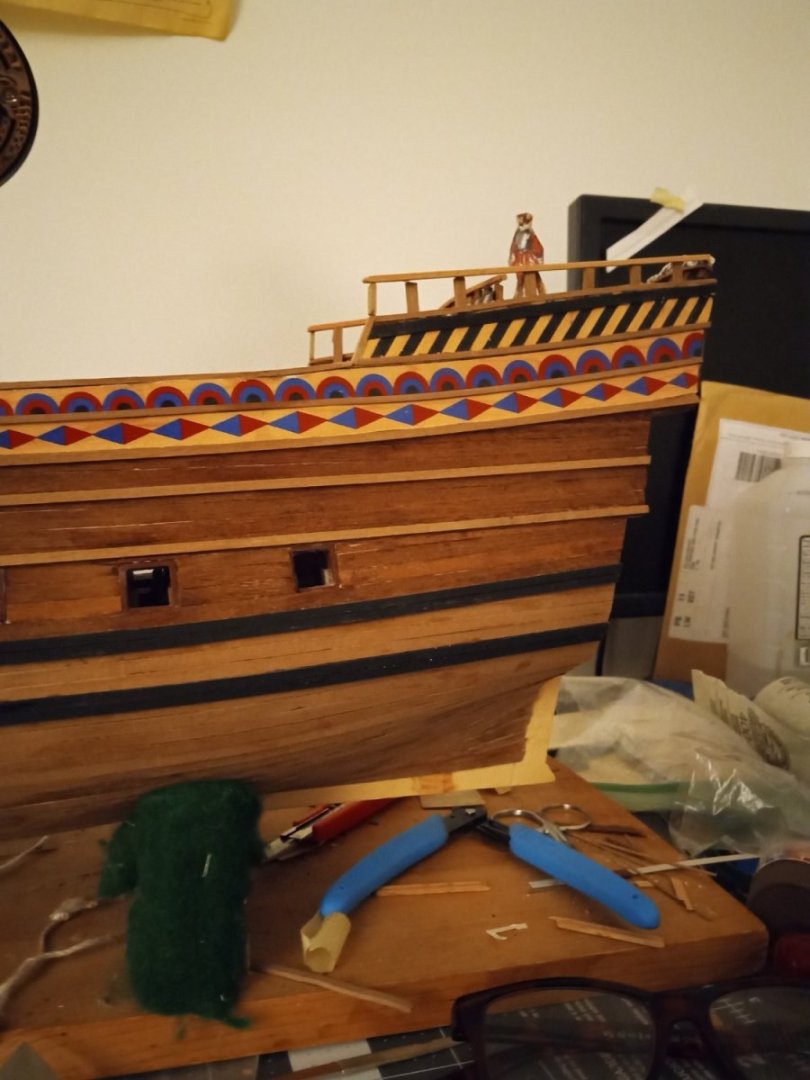
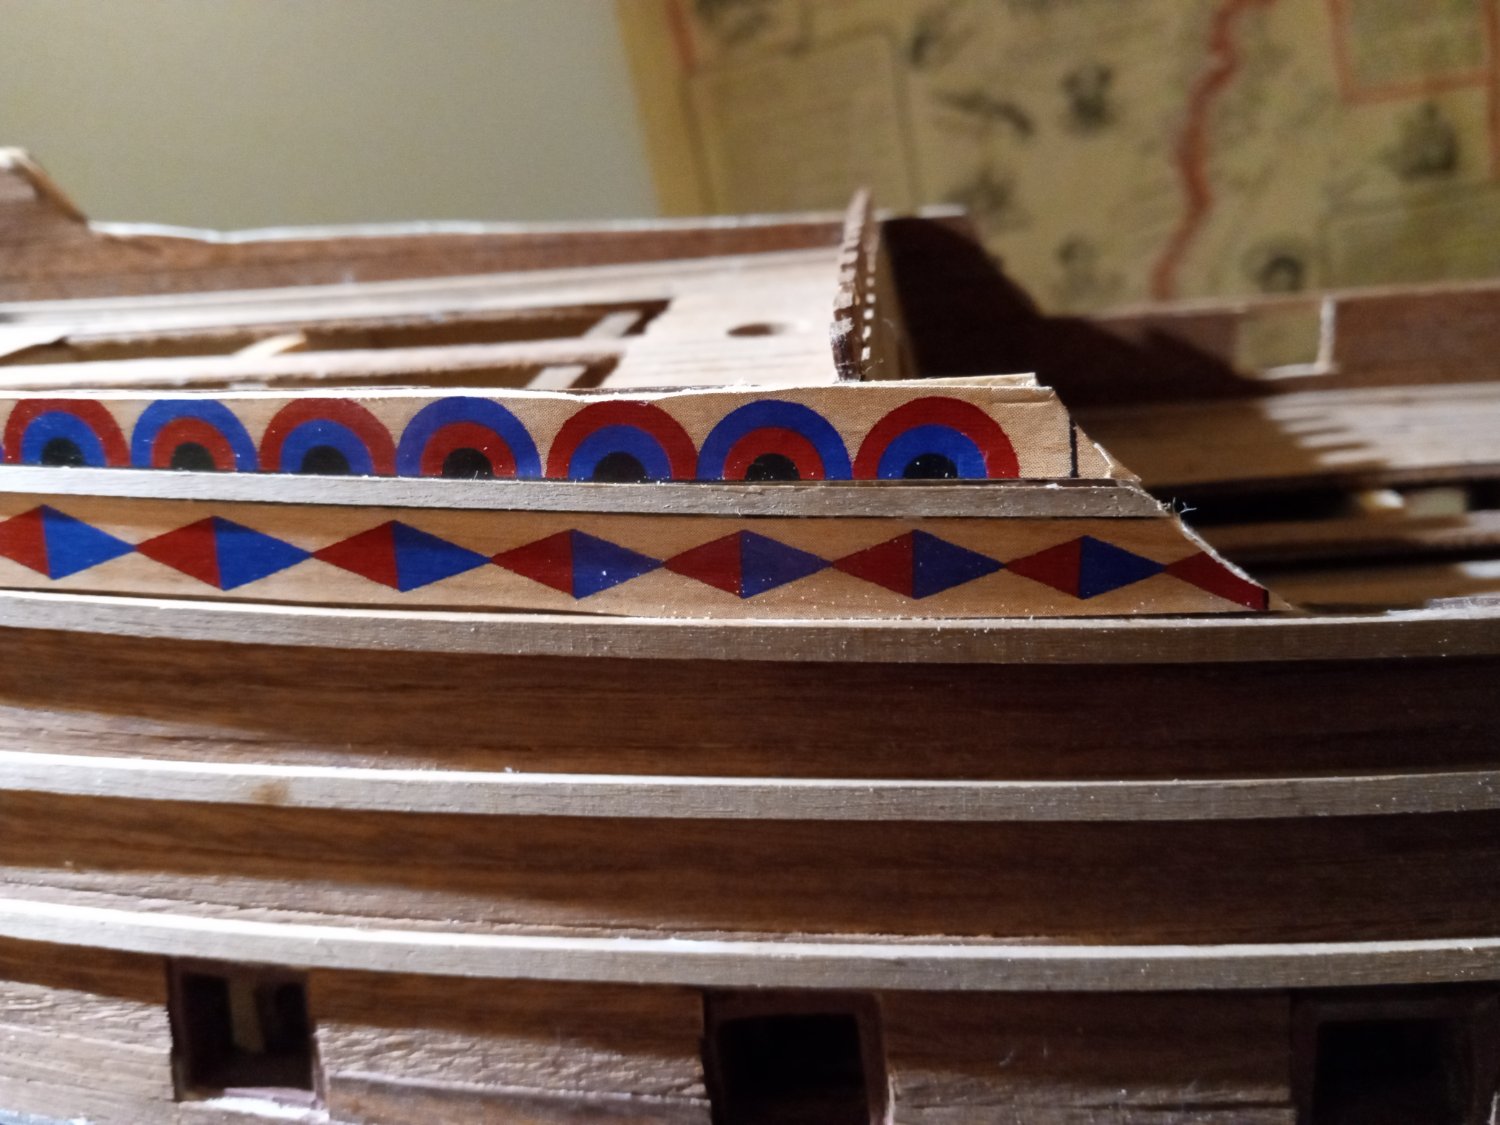
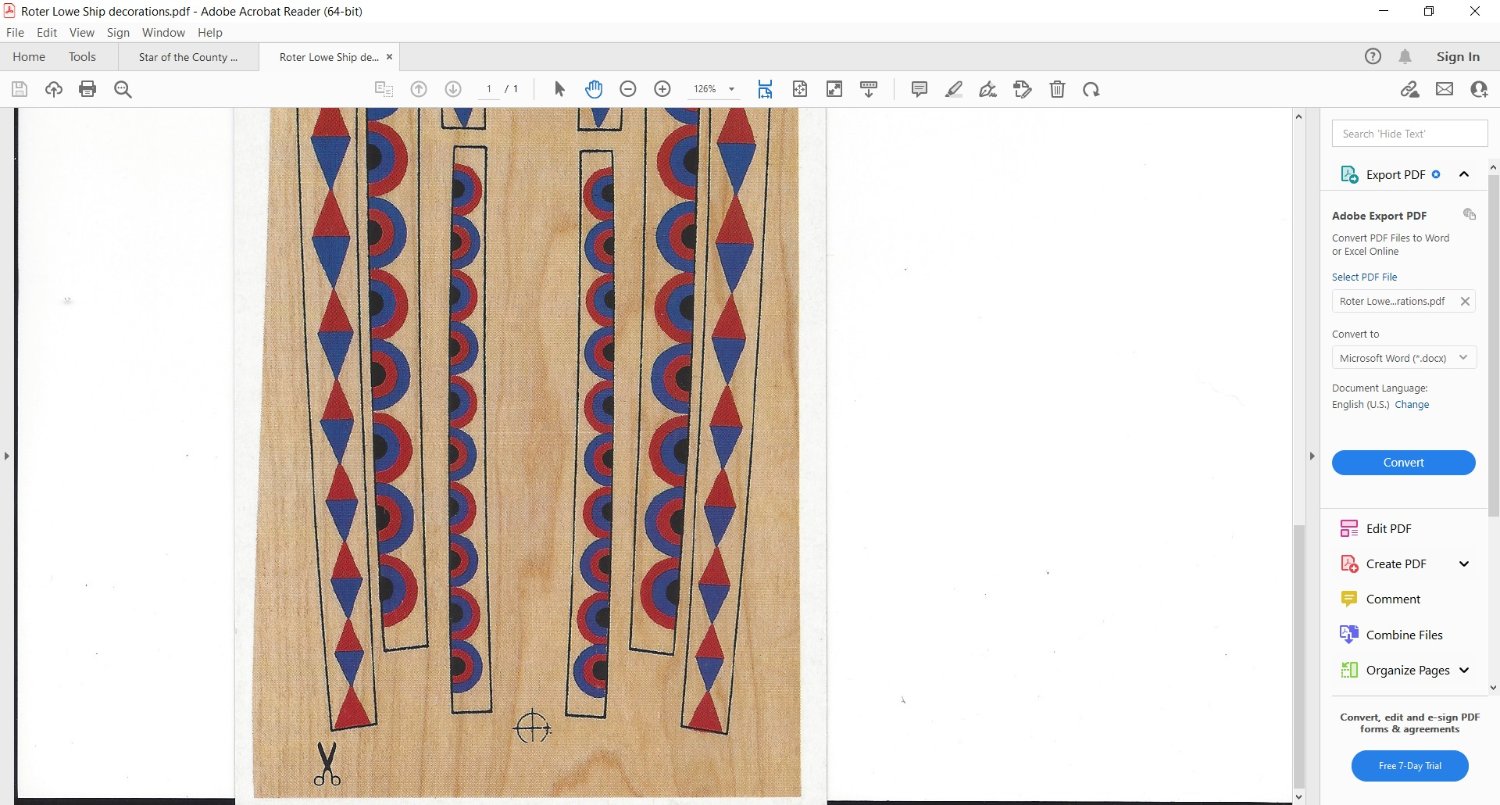
Sometimes, I ask myself "Now why did they do that?" I'm working on the starboard decorations. The Mamoli printed cardboard is entirely covered in faux wood grain printing. But, for some reason, Mamoli also outlined the decorations with a thin black line to show you where to cut. That really doesn't leave any wiggle room for fitting things, as this photo shows. Apparently, the curve from the sterncastle to the waist is a little too long. It wouldn't have been a problem if Mamoli hadn't seen fit to provide a helpful black line to show where things should end.


-
Added some decorations to the hull. I was concerned about getting the decorative strips to line up, but it actually was easier (at least on this side) than I had anticipated. The vertical stripes at the very rear are actually strips of 4mm wood, which allows some wiggle room about the the card positioning. Thanks to Aon for advice on what glue to use. I still need to add caprails and to remove the strips across the gunports in the waist, as well as some decorations for focsle.
.thumb.jpg.7ca29255f8afb3d0f16f4e1a82f397d9.jpg)
-
I'm getting ready to add the decorative strips to the fore and stern castles on my Roter Lowe build. The decorations are printed on thick card stock and I was wondering what glue to use to attach it to the wood. My first inclination is to use the same super glue/wood glue combo I have tended to use on the planking, but wanted to check and make sure I'm not making a mistake. Any advice appreciated.
-
Securing Ropes Wrapped Around Masts
Stevinne replied to acaron41120's topic in Masting, rigging and sails
I use a technique I learned wrapping the windings on my fly rod - I make a loop of thin monofilament that I put up against the wood as I wrap the windings. When I get to the top of the wrap, I put the thread in the loop and pull the loop down until the end of the thread is hanging out the bottom of the winding, gently pull it tight and then cut off the bit that's showing -
Very nice. Just found this build log. I really like the black and unpainted etch scheme. One thing that got me back into ship modeling was going to a museum and seeing a model of an early destroyer where they left the brass work unpainted. I thought it looked very sharp. A similar vibe here.
-
I came to this build log late, but will now definitely stick around. She's beautiful. Those ships' boats are small models all themselves.
-
Good evening from New Jersey USA!
Stevinne replied to Funkingonuts's topic in New member Introductions
Welcome -
This might help. I'm assuming the painting is aboard HMS Victory on the night before Trafalgar. Wikipedia says Victory had a beam of 51ft, so likely sort of close to that.
-
I have an old stand-up coffee urn I found in a thrift shop that I use to heat the water and keep it warm for sufficient time to make it pliable. It's not large enough for the whole plank, but I rarely have to bend both ends. For bending, I will use the method recommended by Paul Jarman, though I will also use a heated plank bender when attaching the plank to the model.
-
Beautiful work so far. I find this build very interesting.
- 200 replies
-
- 5
-

-
- Transport No. 103
- Hasegawa
- (and 4 more)
-
Welcome from another Barnegat Bay-area modeler. I look forward to the build log.
-
How many ships rattle?
Stevinne replied to harlequin's topic in Building, Framing, Planking and plating a ships hull and deck
A a butter-fingered musician who has spent decades retrieving lost picks, I feel a compulsion to turn things over and shake anytime they fall into a hole in a wood structure. -
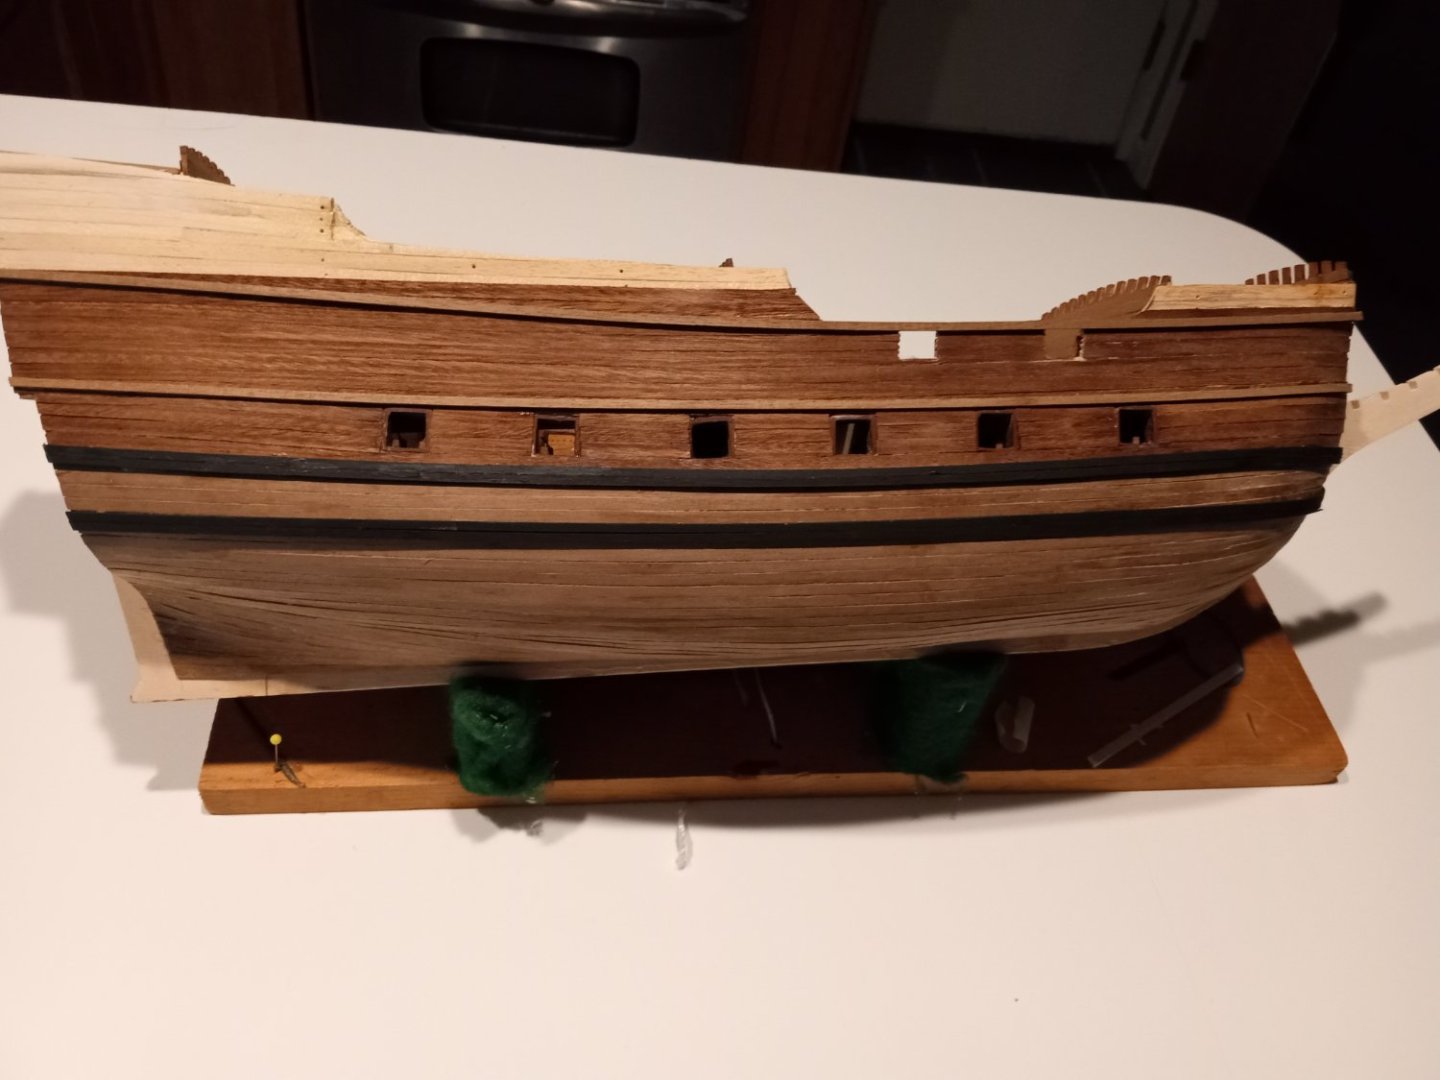
Been adding wales and cutting the upper gunports. I haven't decided yet if I'm going to paint below the waterline white. I want to see what she looks like once I add the decorative strips and she's a bit more colorful. I also have to do more sanding on the gunport edges and cut the sections of wale that runs across the top. But I want to keep them in place for the time being to provide support to bulwark as I work.
-
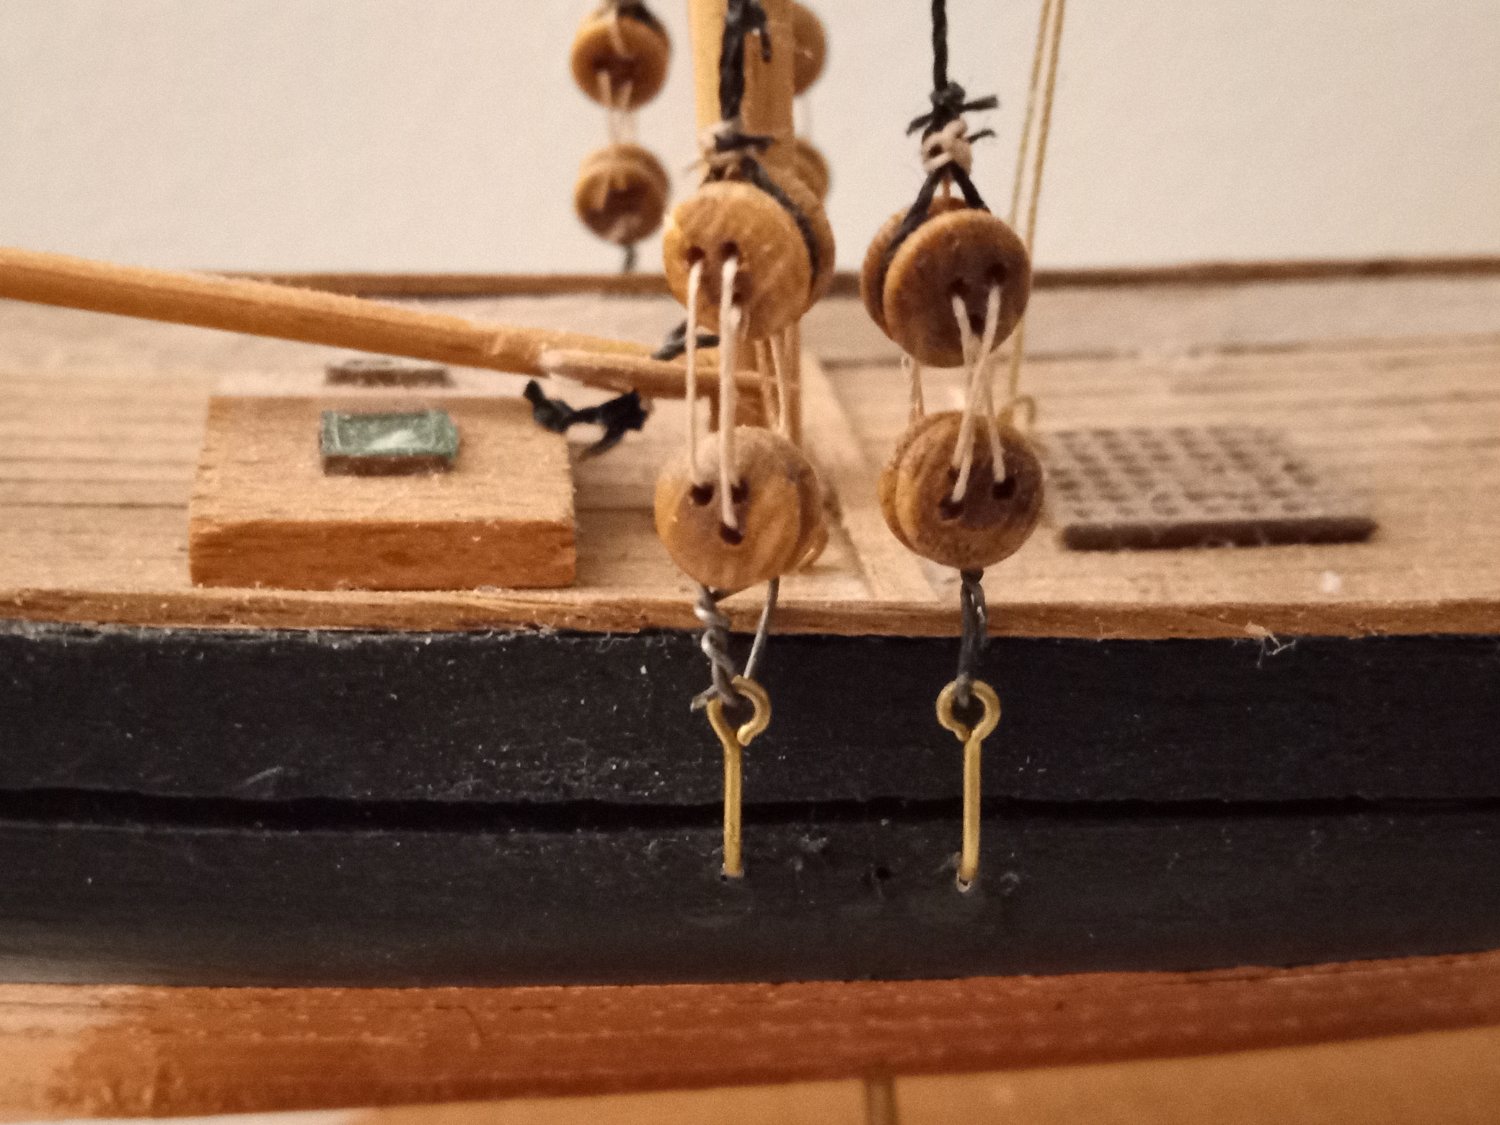
If I remember correctly, I wrapped black wire around the deadeye, gave it a couple of twists and then hooked it through the brass pin, which I then bent into an L shape and inserted the end into a hole I drilled in the hull. As Mastini recommends, I used a u-shaped piece of wire to set the spacing between the upper and lower deadeye and a needle-threader to get the line through the teeny-tiny holes. On a side note, a really close-up picture sure reveals a lot of things I really would rather ignore.


.jpg.5bde27afe3c65c4c7162604483f95e85.jpg)
.jpg.9326b8f90e4e1d14aebdf8505e9e8503.jpg)


.jpg.a26cc7d217f7962b46c7034beb910b86.jpg)