


Paul Le Wol
-
Posts
480 -
Joined
-
Last visited
Content Type
Profiles
Forums
Gallery
Events
Posts posted by Paul Le Wol
-
-
Hi Dave, welcome to MSW. Congratulations on completing this fine Nina. I hope to see your next project in a build log soon. Ooops, I’m editing this because I guess you are not quite finished.
-
Harvey, congratulations on finishing your Okahumkee! She is perfect in every way.👍
- mtaylor, Canute and Harvey Golden
-
 3
3
-
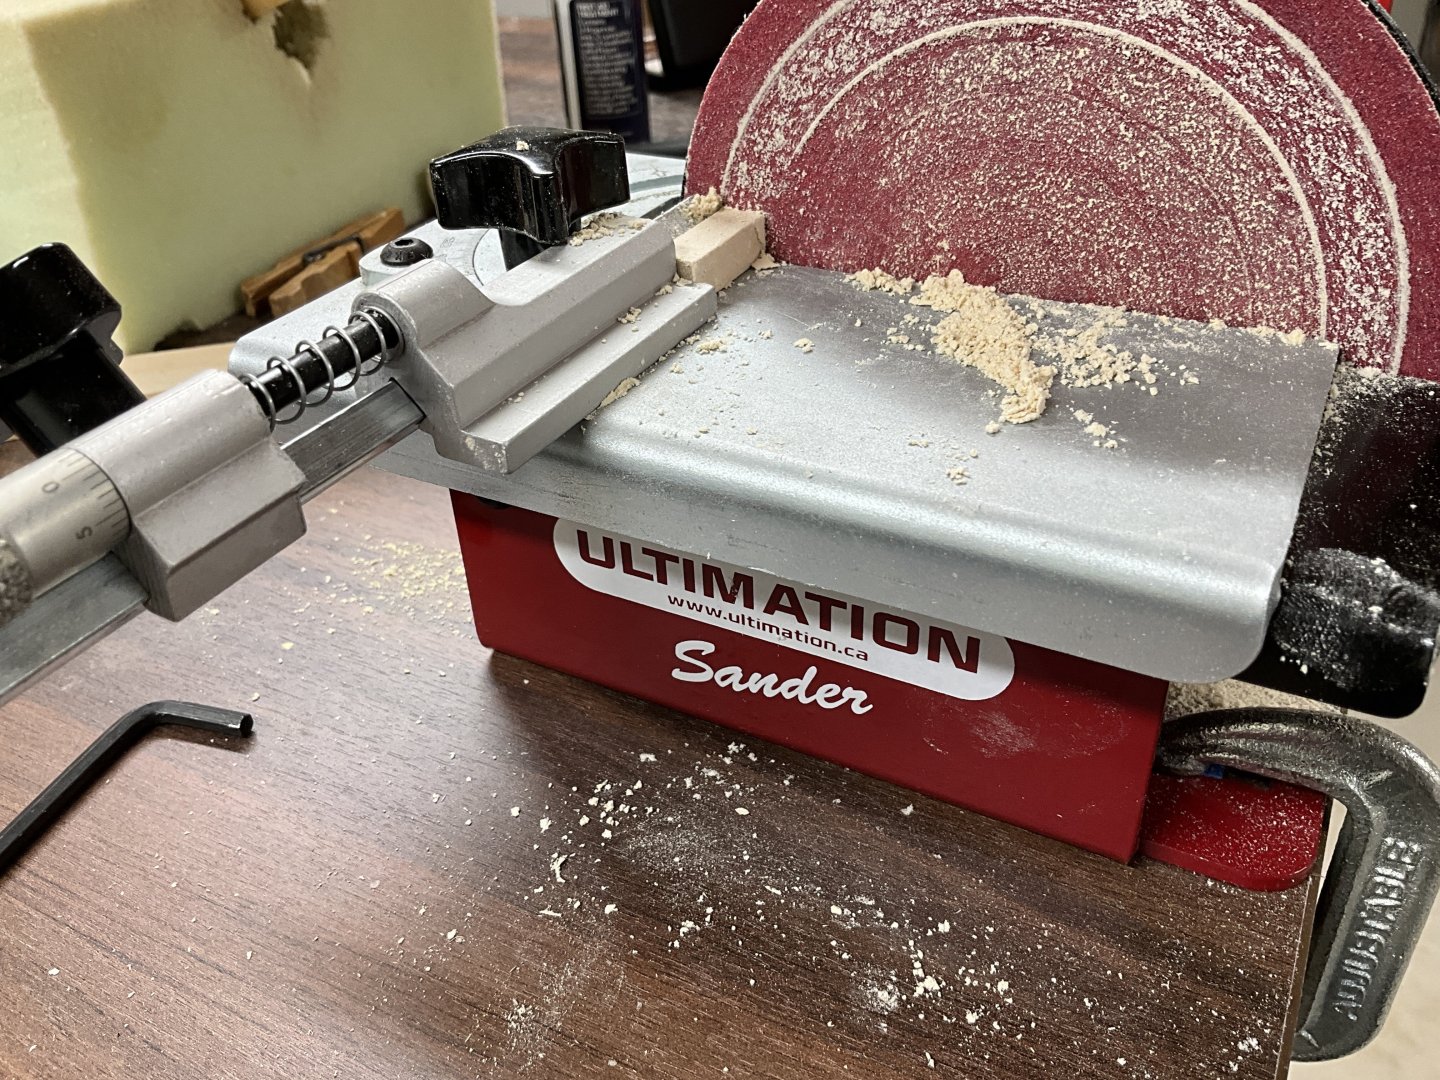
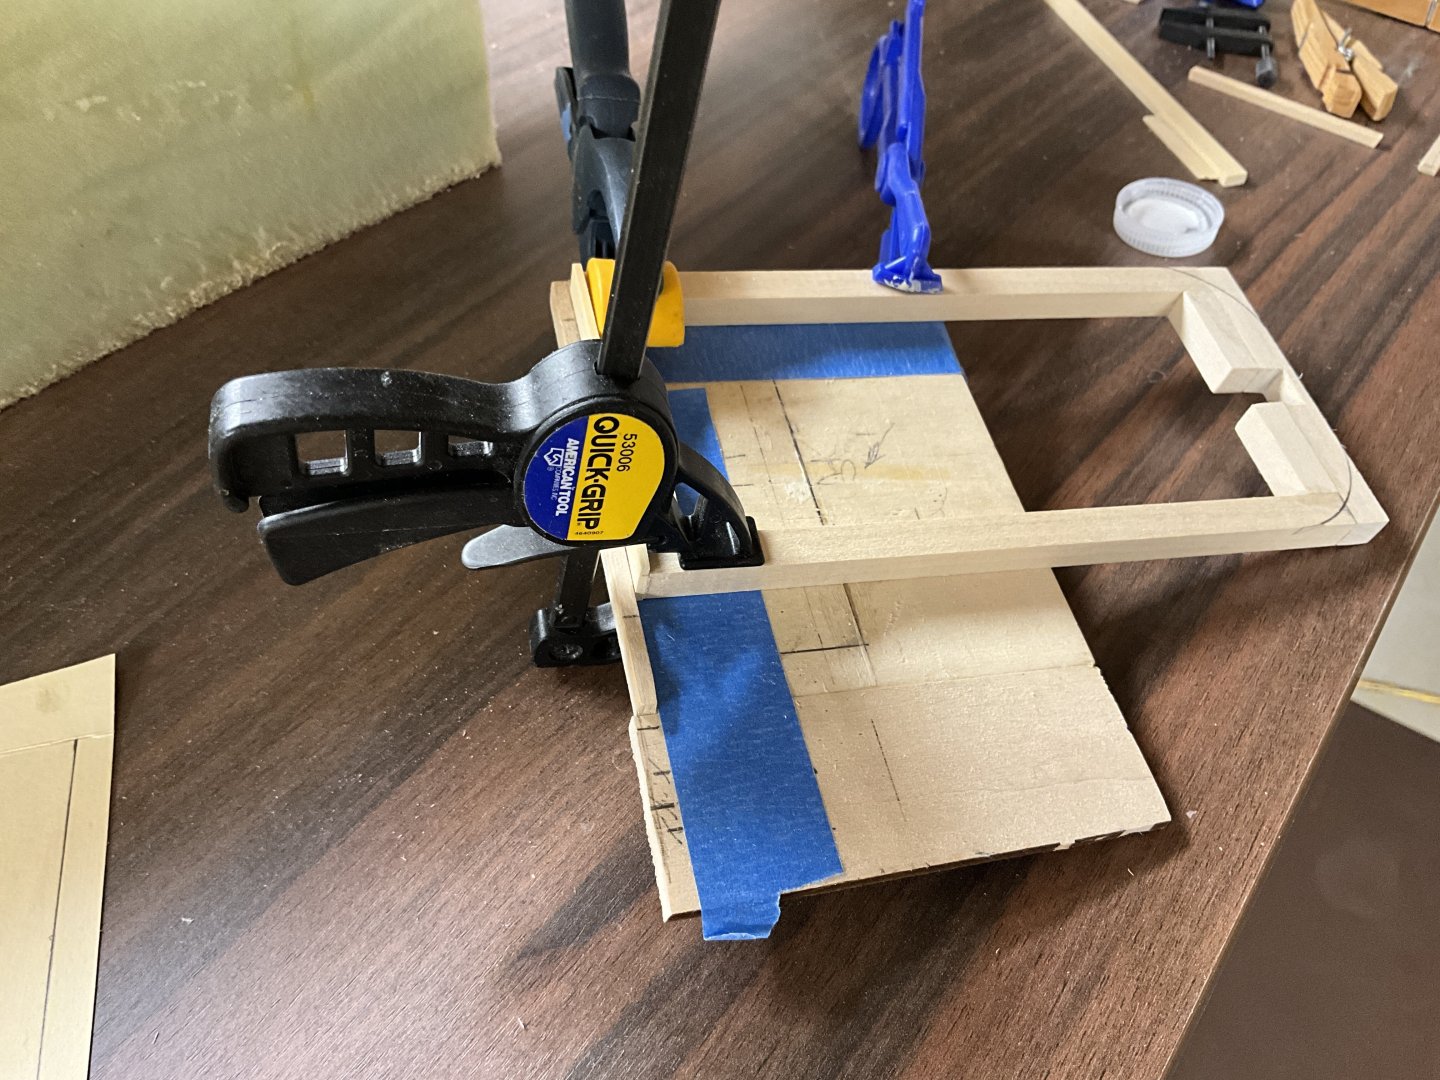
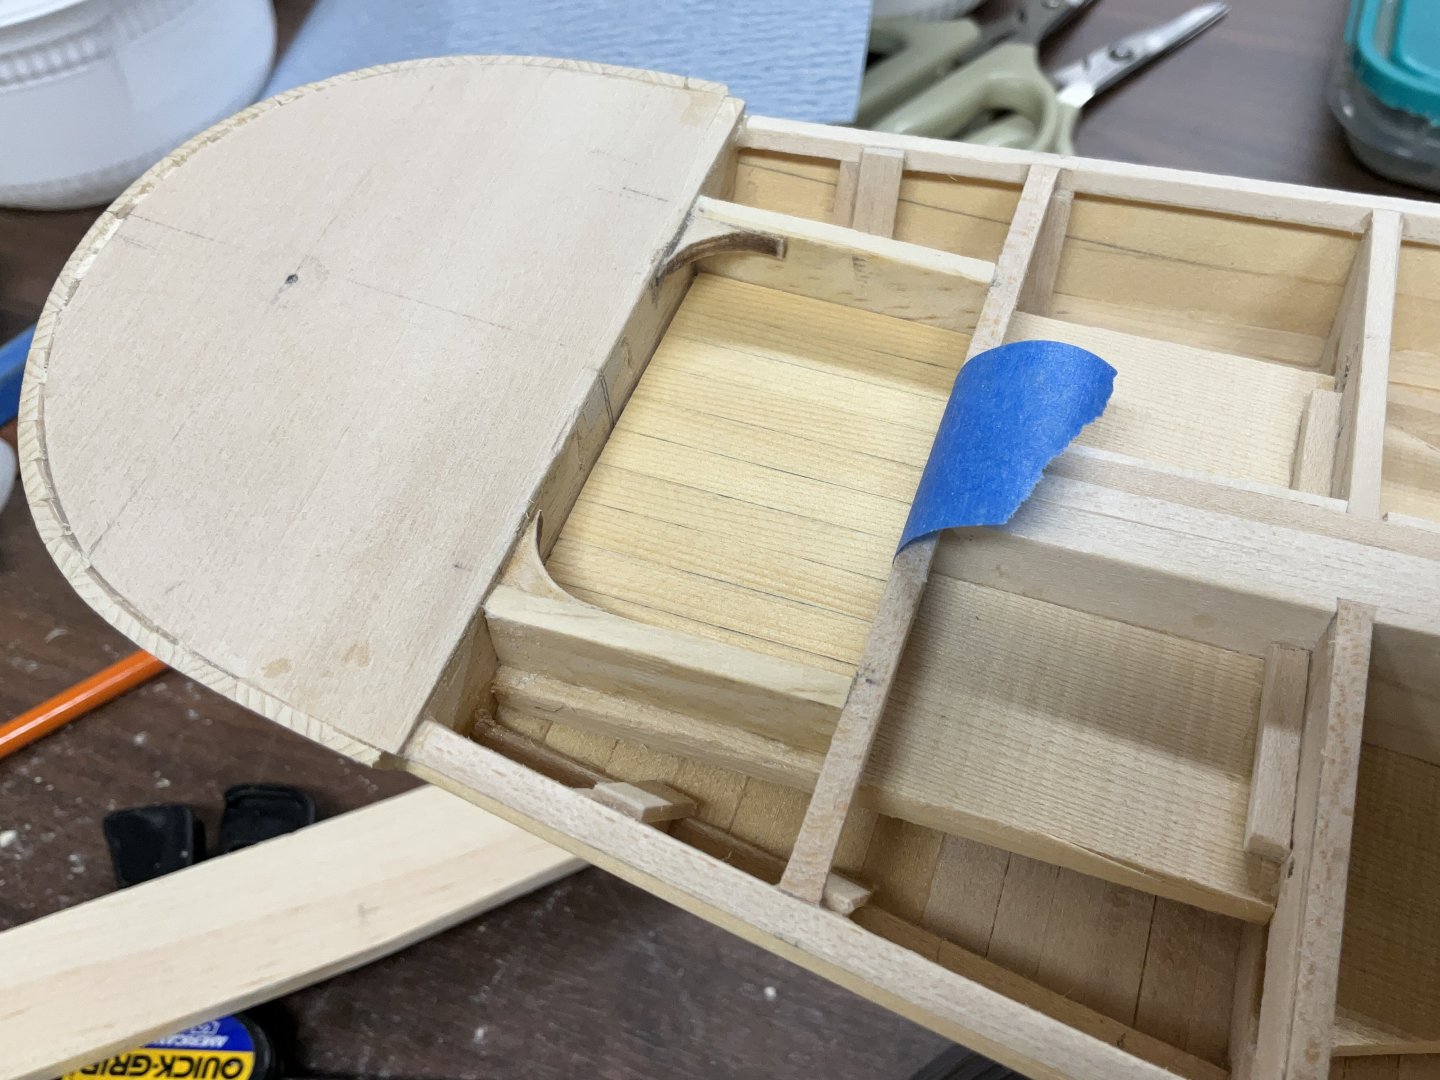
Hi Everyone, thank you very much for your Likes and Comments. The hull planking is finished. While the glue was drying I laid out the main hatch. Actually had a chance to use the repeater attachment on the sander. It worked very nicely. The perimeter pieces are made from 5/16” x 5/16” basswood that was left over from a Model Shipways kit. The sides of the center board slot are made from 2 pieces of 1/16” x 1/4” AYC glued together and mounted so that they will sit 1/16” off the deck to allow for the crown.
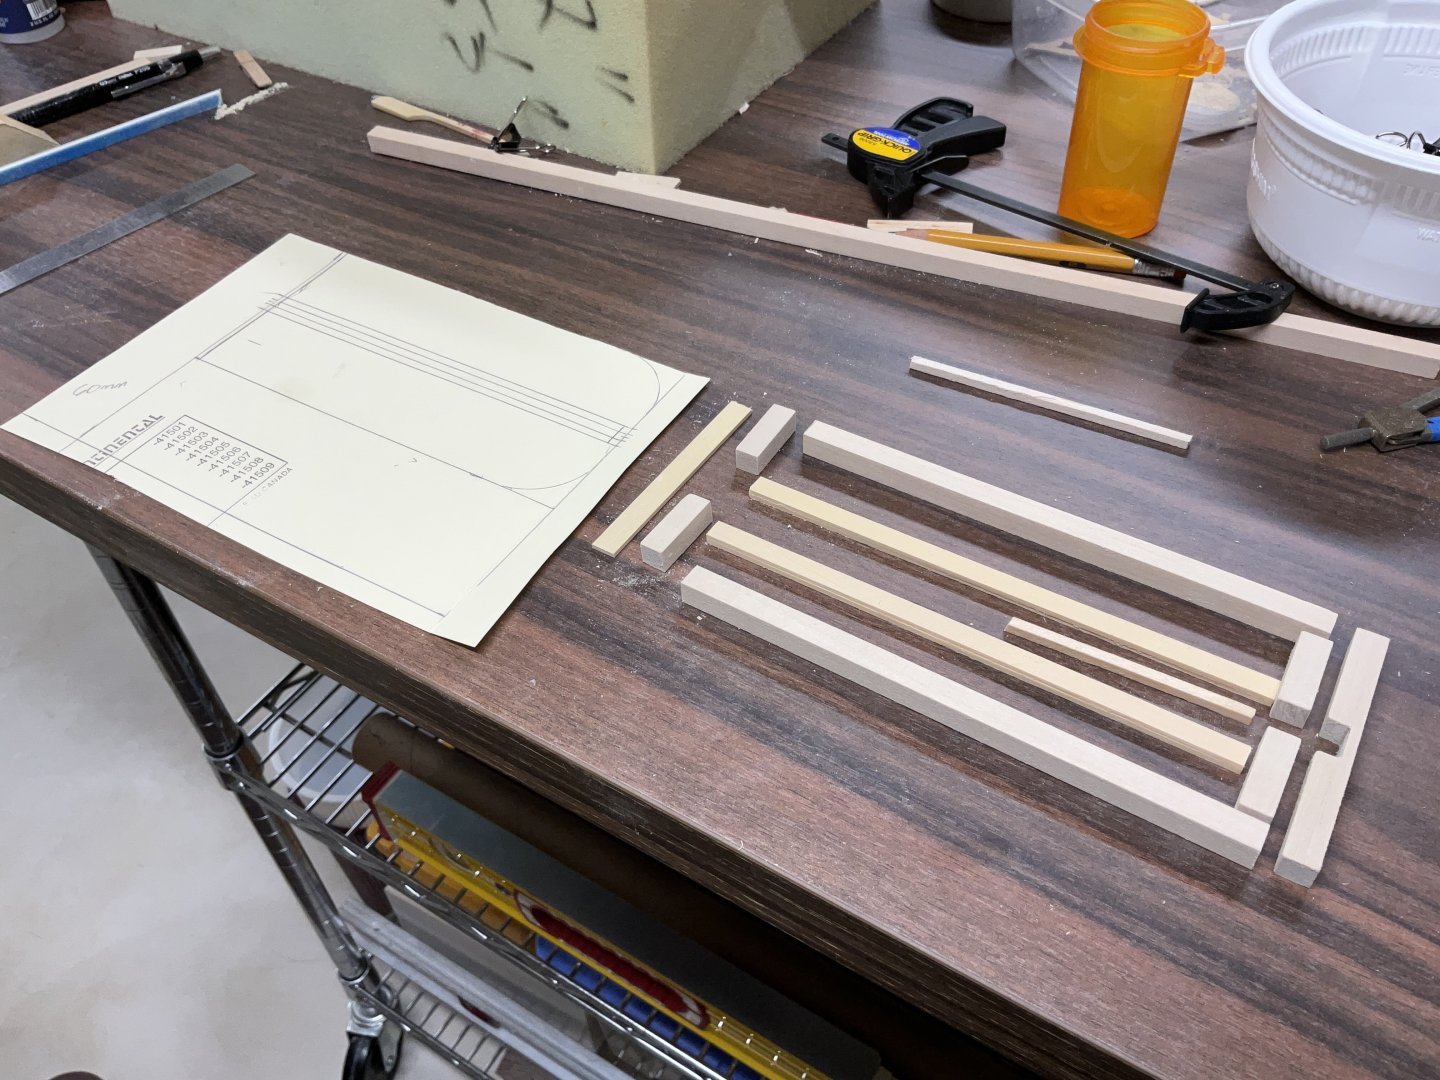
All of those pieces were assembled. Going to wait for the sub deck to be laid before tweaking it. Lots of angles and curves going on.
I gave the hull planking a good scrub with 150 grit sandpaper. Probably go over it again with 220 grit paper.
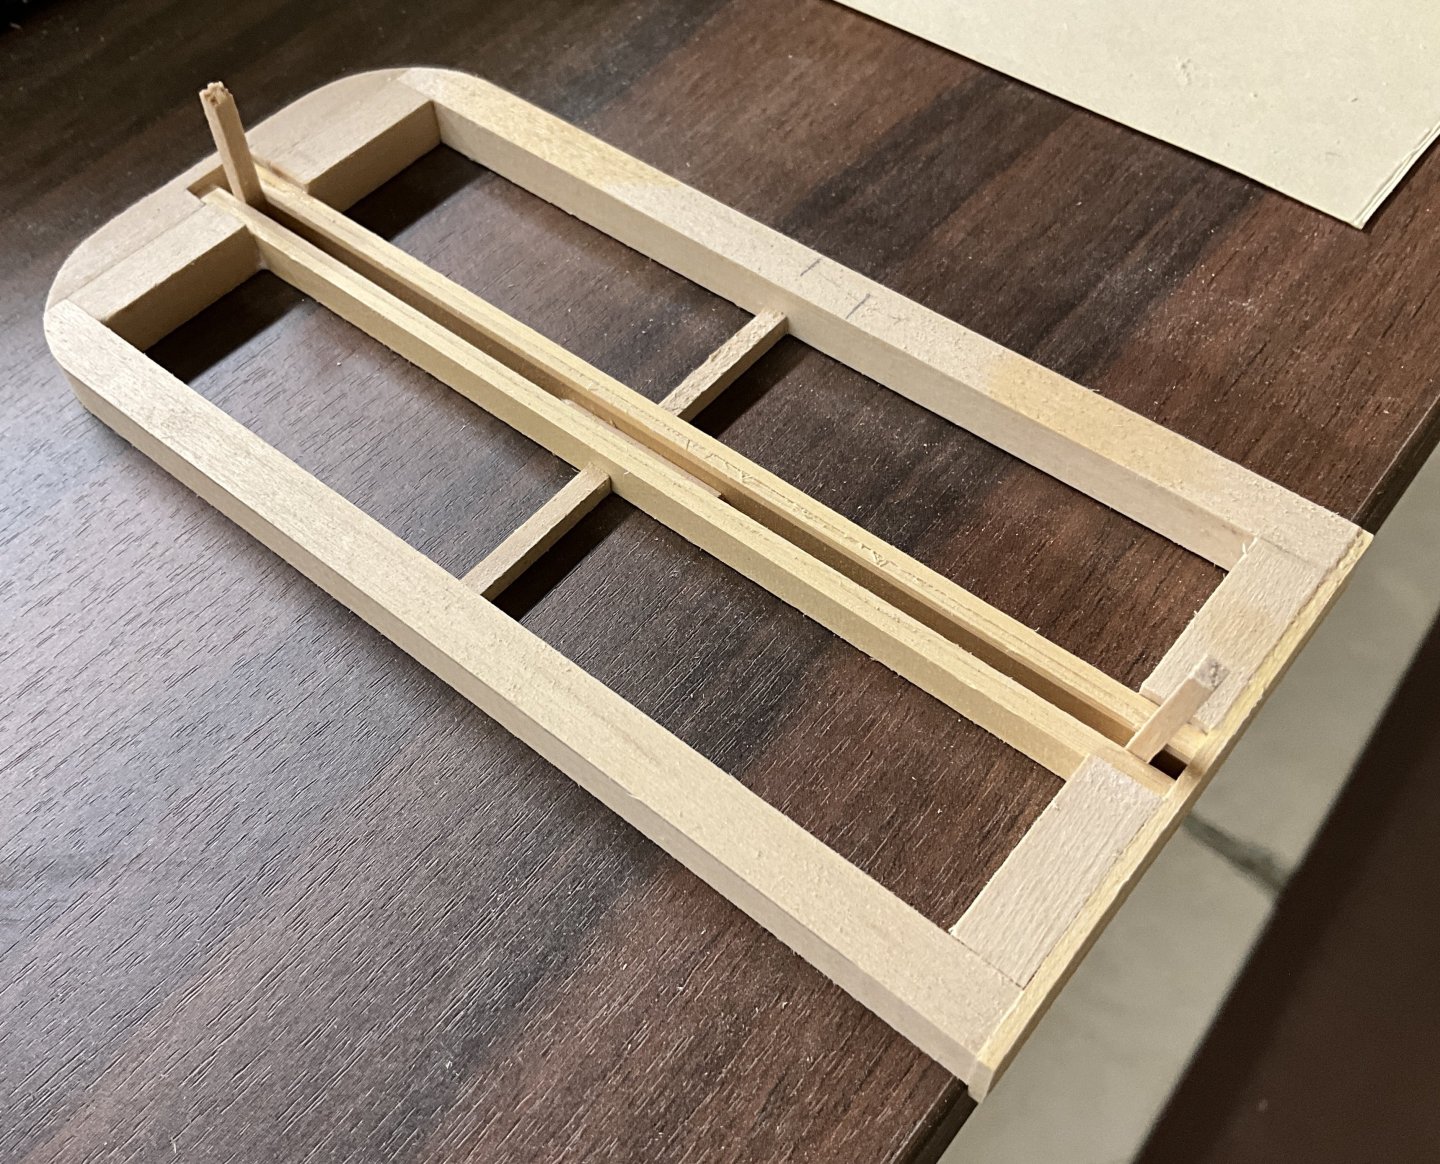
This is her waiting for the sub deck which will be cut from 1/32” basswood sheets, and the main hatch getting a test fit.
Hope to see you next time.
-
-
Hi Gary, thank you for your comment, I appreciate them very much. I have been looking at pictures of decking and came across this one of the oyster sloop Nellie.
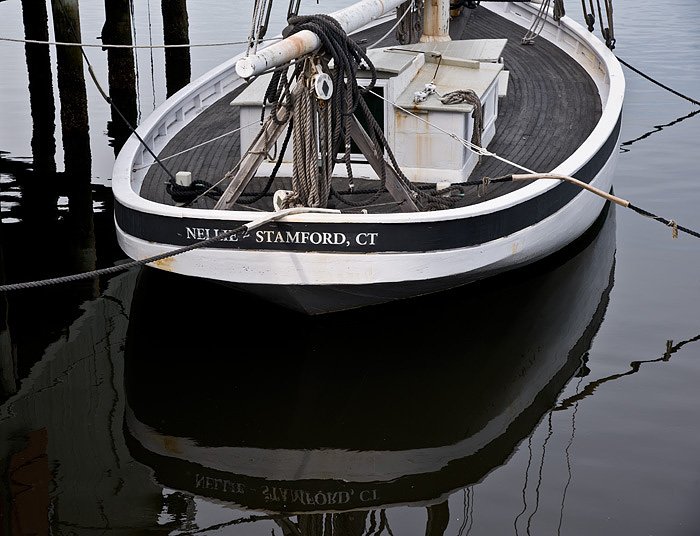
There is a picture of a North Carolina sharpie in the book “Migrations of an American Boat Type “ that has a deck that is planked in the same manner. So I think there may be some changes in the color and width of the decking on the way. 😀
- Canute, GrandpaPhil, davec and 4 others
-
7
-
Hi Micha, I’ll appreciate and enjoy seeing your second Roar Ege build log.
- Keith Black and Scottish Guy
-
2
-
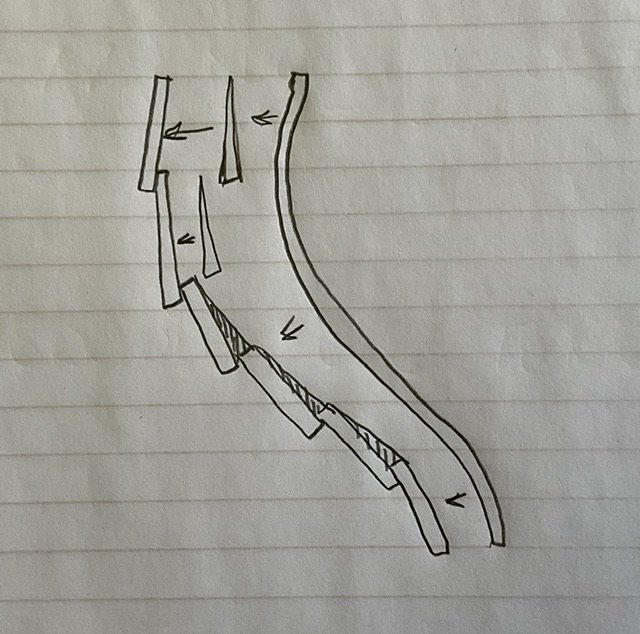
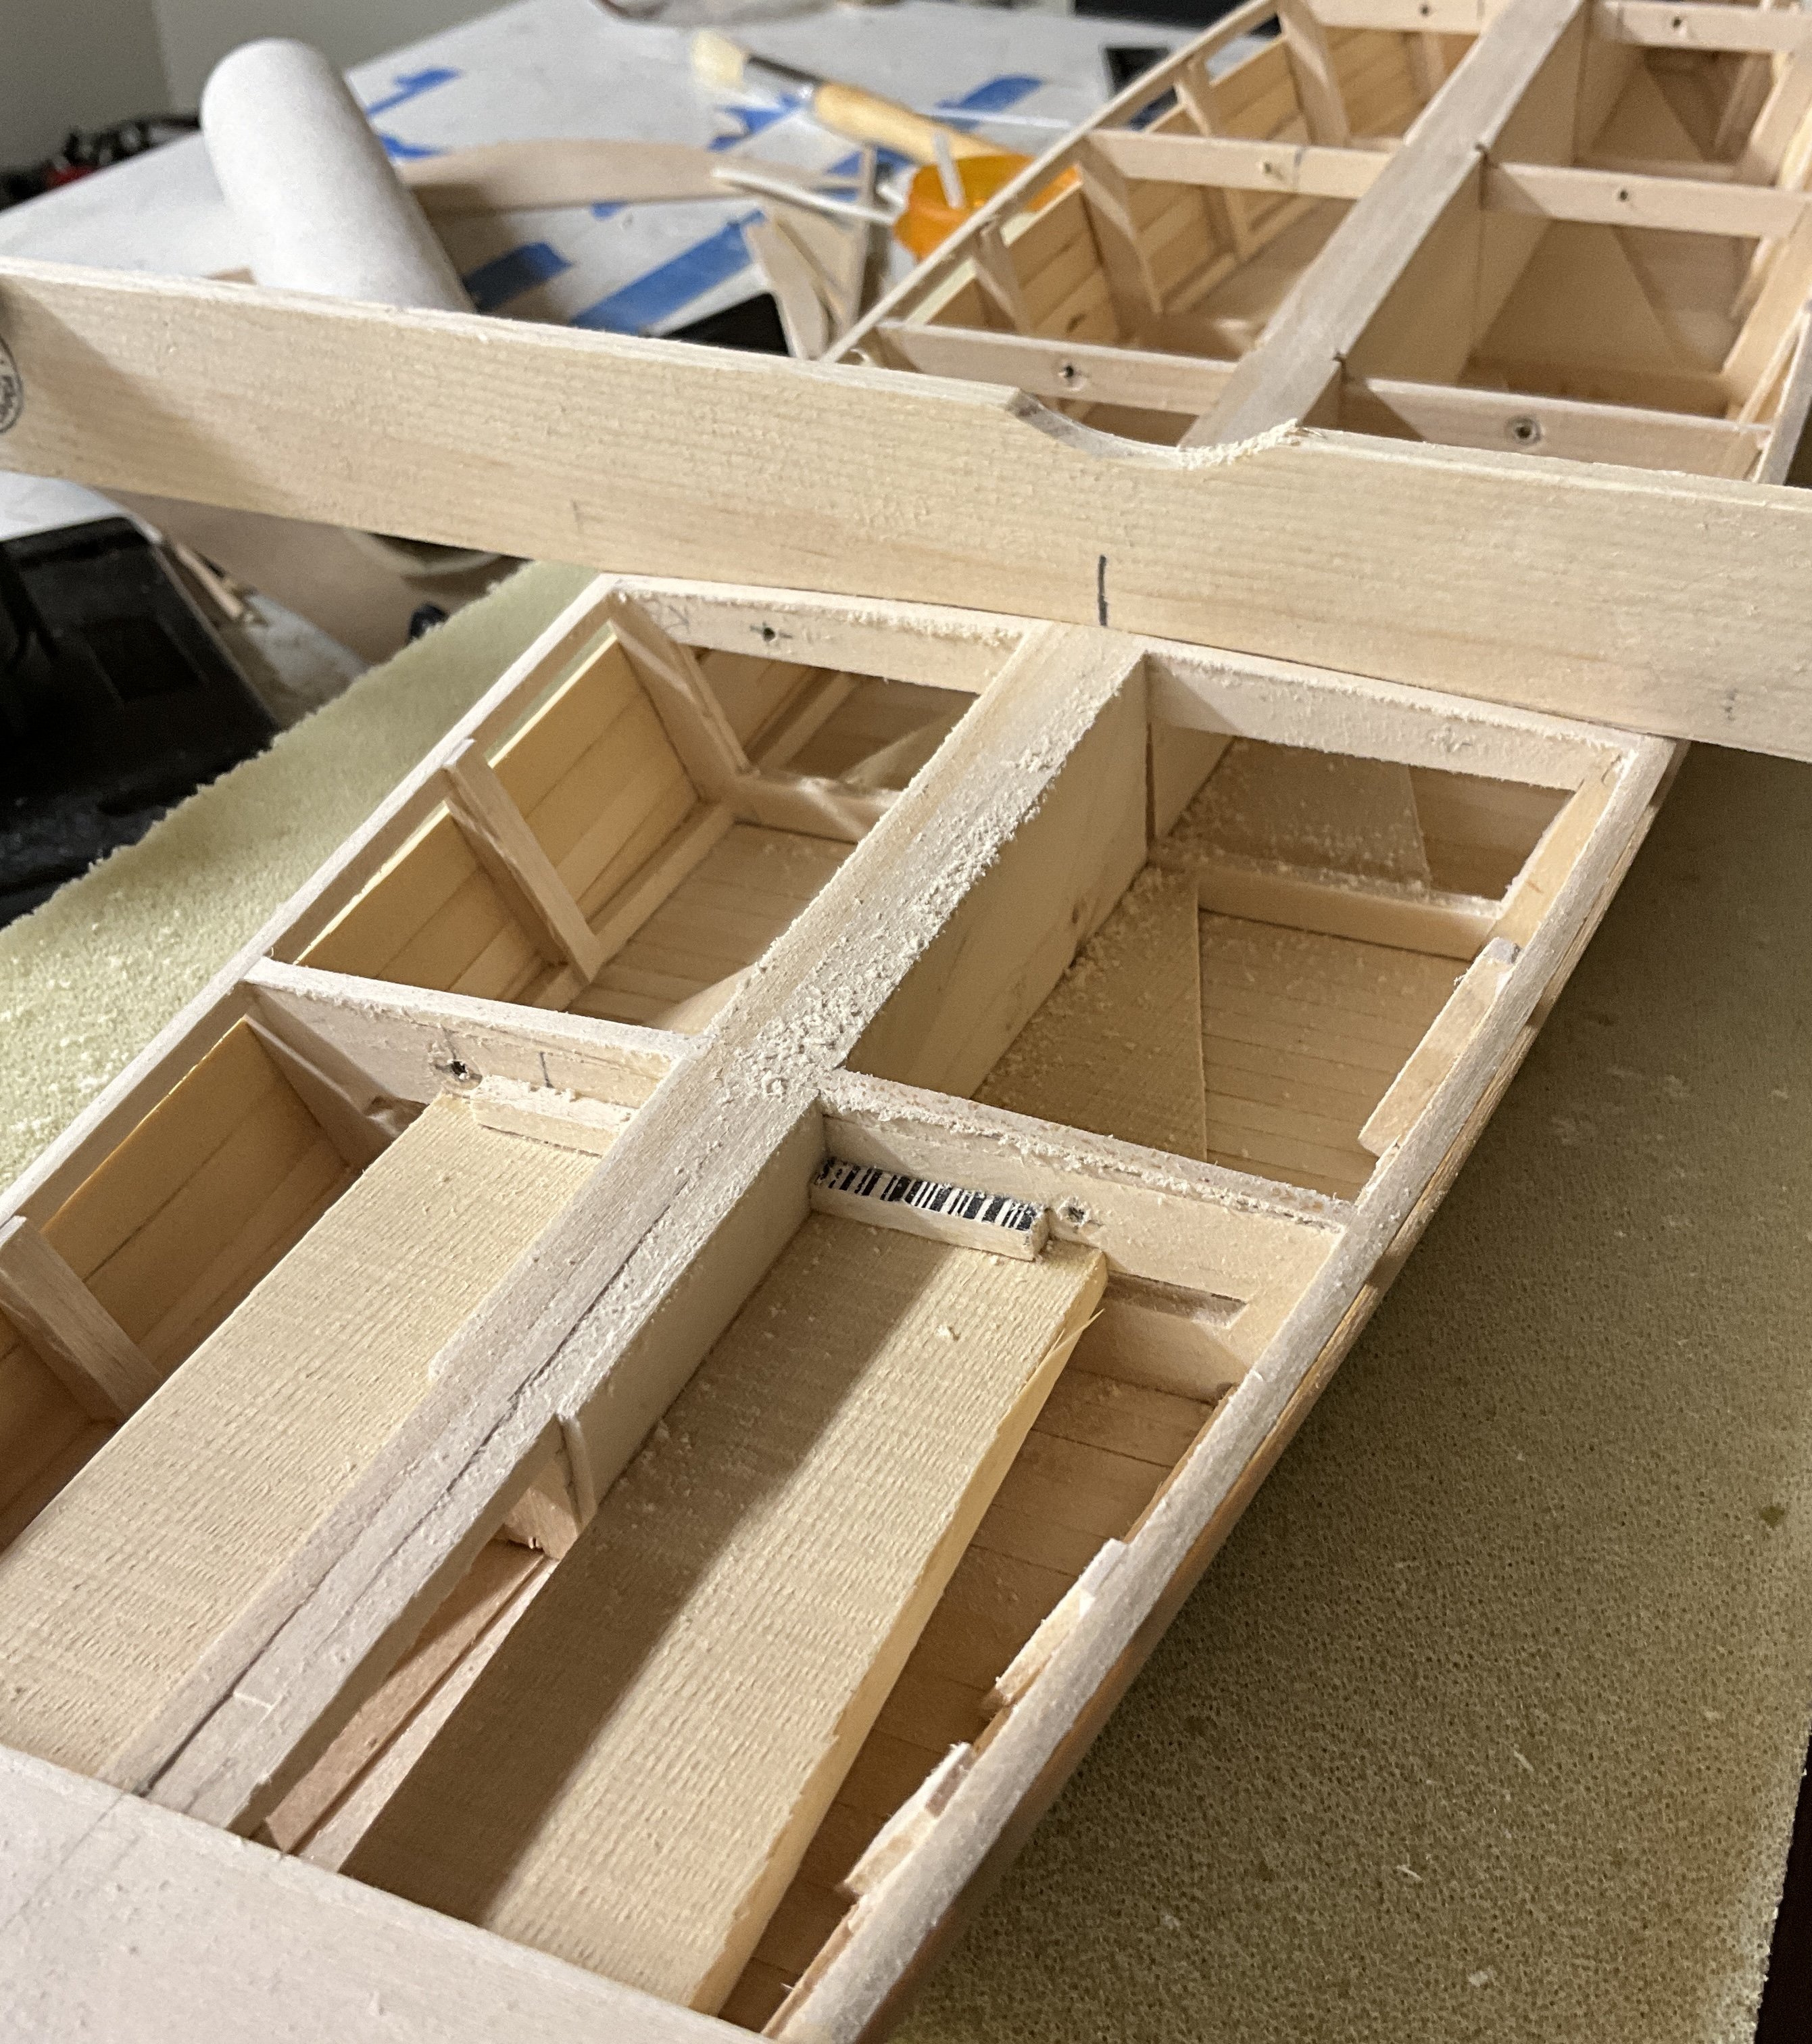
Hi Everyone, thank you for the Comments, Likes, and for dropping by. The deck beams have been completed and then the king plank was removed where it crosses the cockpit.
The cockpit was framed using material from a carrier sheet that had the correct radius for the aft two corners.
For a change of pace I made the cockpit floor and then gave it a dry fit.
Support was added for the deck furnishings and the holes for the masts were opened up
The inner stem was cut flush with the deck beams.

This week the hull planking will be worked on. Hope to see you next time. -
Jacques, that came out so nice. I think that you have just written the book on thatching!👍
- Glen McGuire, mtaylor, JacquesCousteau and 1 other
-
3
-
 1
1
-
Gary, thank you for explaining your technique. Definitely going to give it a try. The results you’ve achieved are amazing.
- Jack12477, mtaylor, Keith Black and 4 others
-
7
-
Jacques, very nice find on all of these details!
- JacquesCousteau, Glen McGuire, mtaylor and 1 other
-
3
-
1
-
Gary, beautifully amazing work. When you stain the wood with the chalk/ alcohol do you apply it to the raw wood and have you had any problems with blotching?
- FriedClams, Glen McGuire and Keith Black
-
2
-
1
-
Hi Micha,if you are good with the overall shape of the hull, perhaps you could make your own ribs by building up 1/8 x 1/16” strips of basswood. If you can make some wedges to fill the gaps you could then build up the ribs with as many layers of wood as you need to make it look the way you want it to. If that makes sense. Lots of work 😀
- Scottish Guy, Glen McGuire, Keith Black and 1 other
-
3
-
1
-
Hi Jay, I ordered the Cheerful wood package from Joe at Modeler’s Sawmill. I found that the package was more than enough to complete Cheerful, although even if you add more to your order it will always come in handy for another project. Good luck with your build.
-
Gary,thank you very much. I was at the hobby store the other day to pick up some basswood sheets and it has been on backorder for quite some time. Don’t know if that is the case in other areas but I’ve started looking at stir sticks in a different light. Some of them I’ve gotten lately have been very nice quality. They could be good framing material in the future.😀
- FriedClams, JacquesCousteau, Canute and 1 other
-
4
-
-
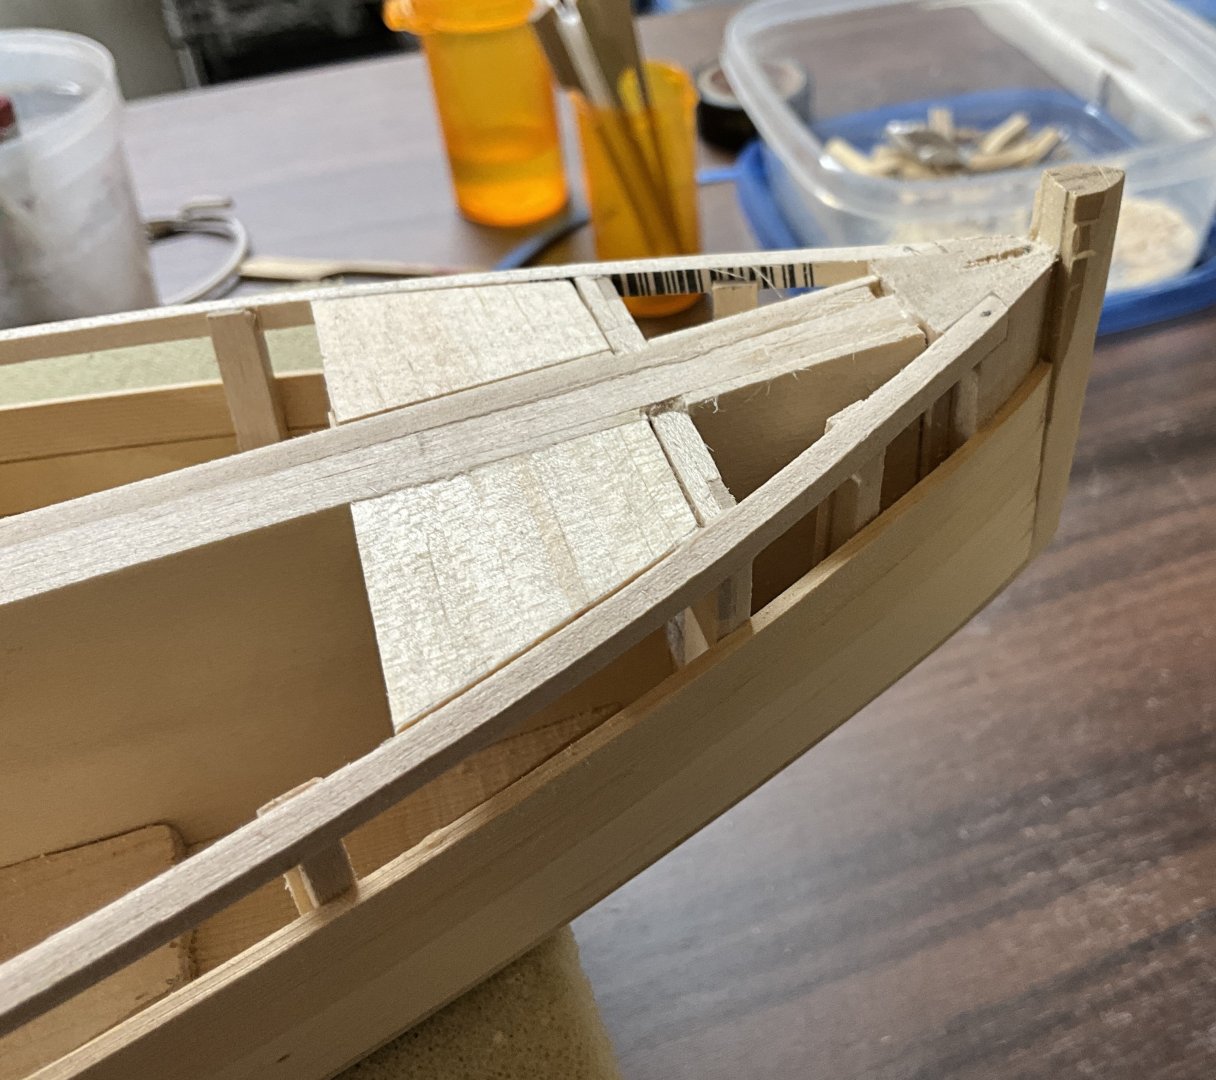
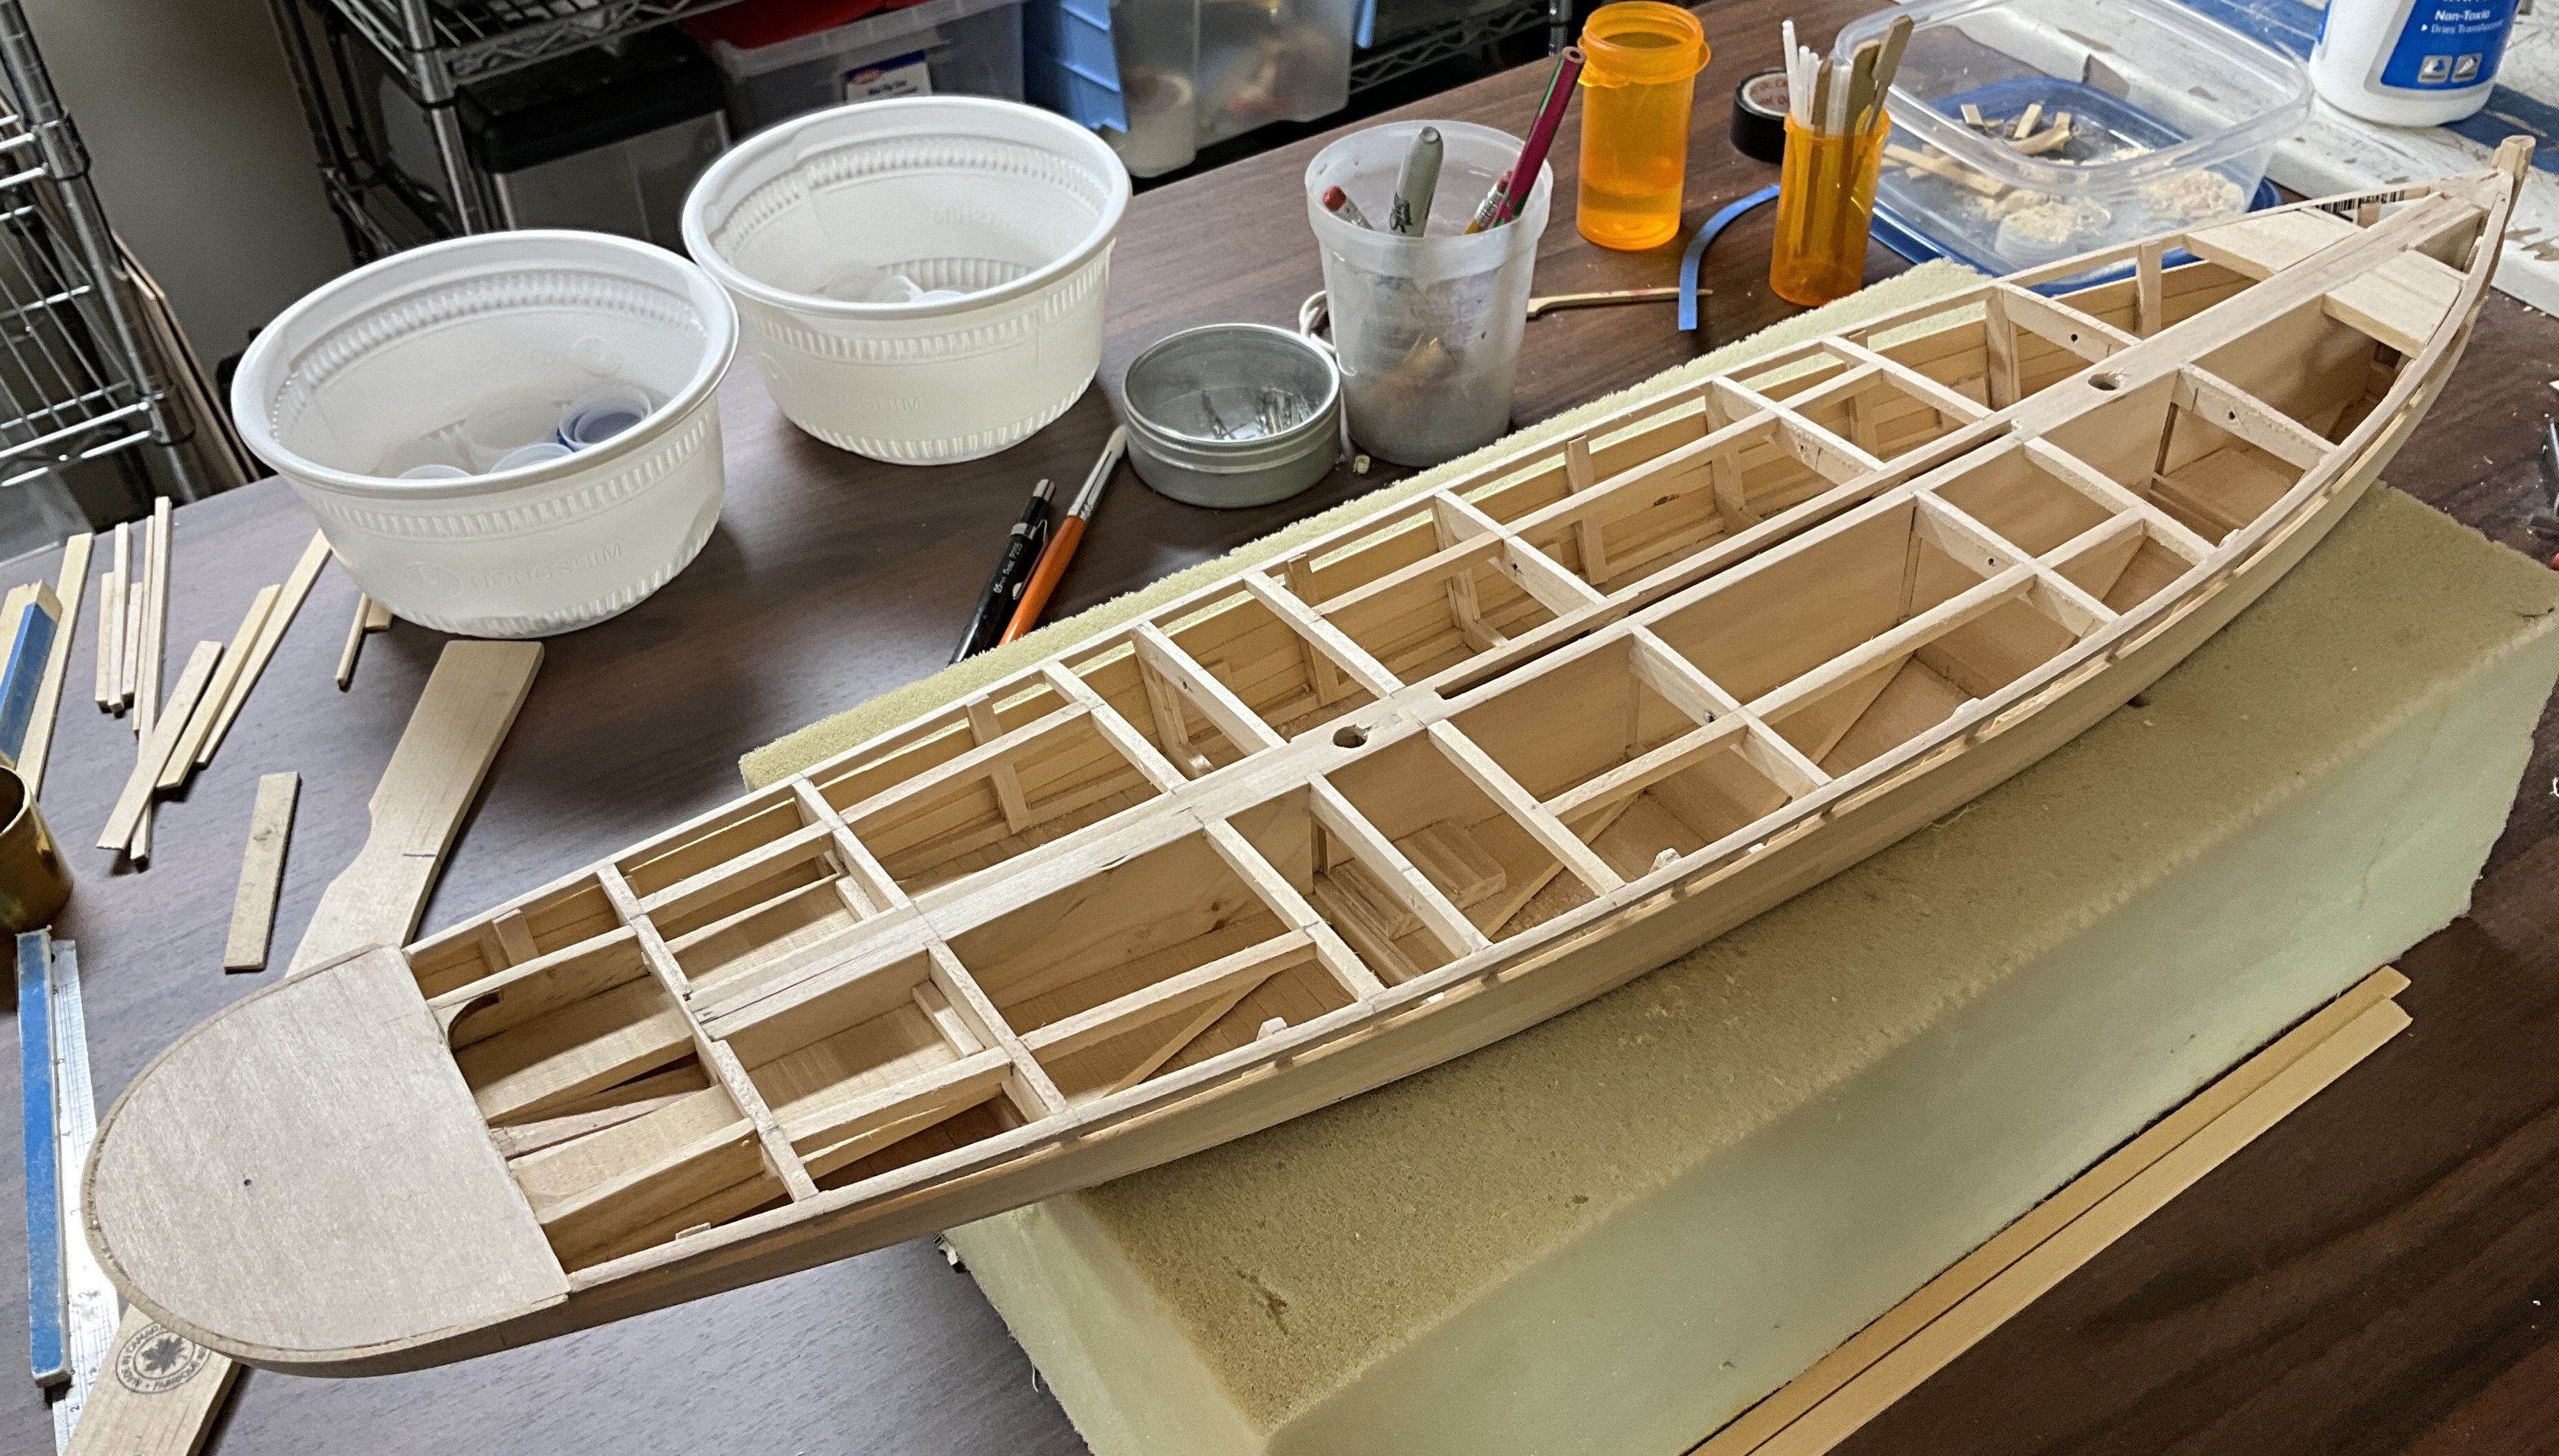
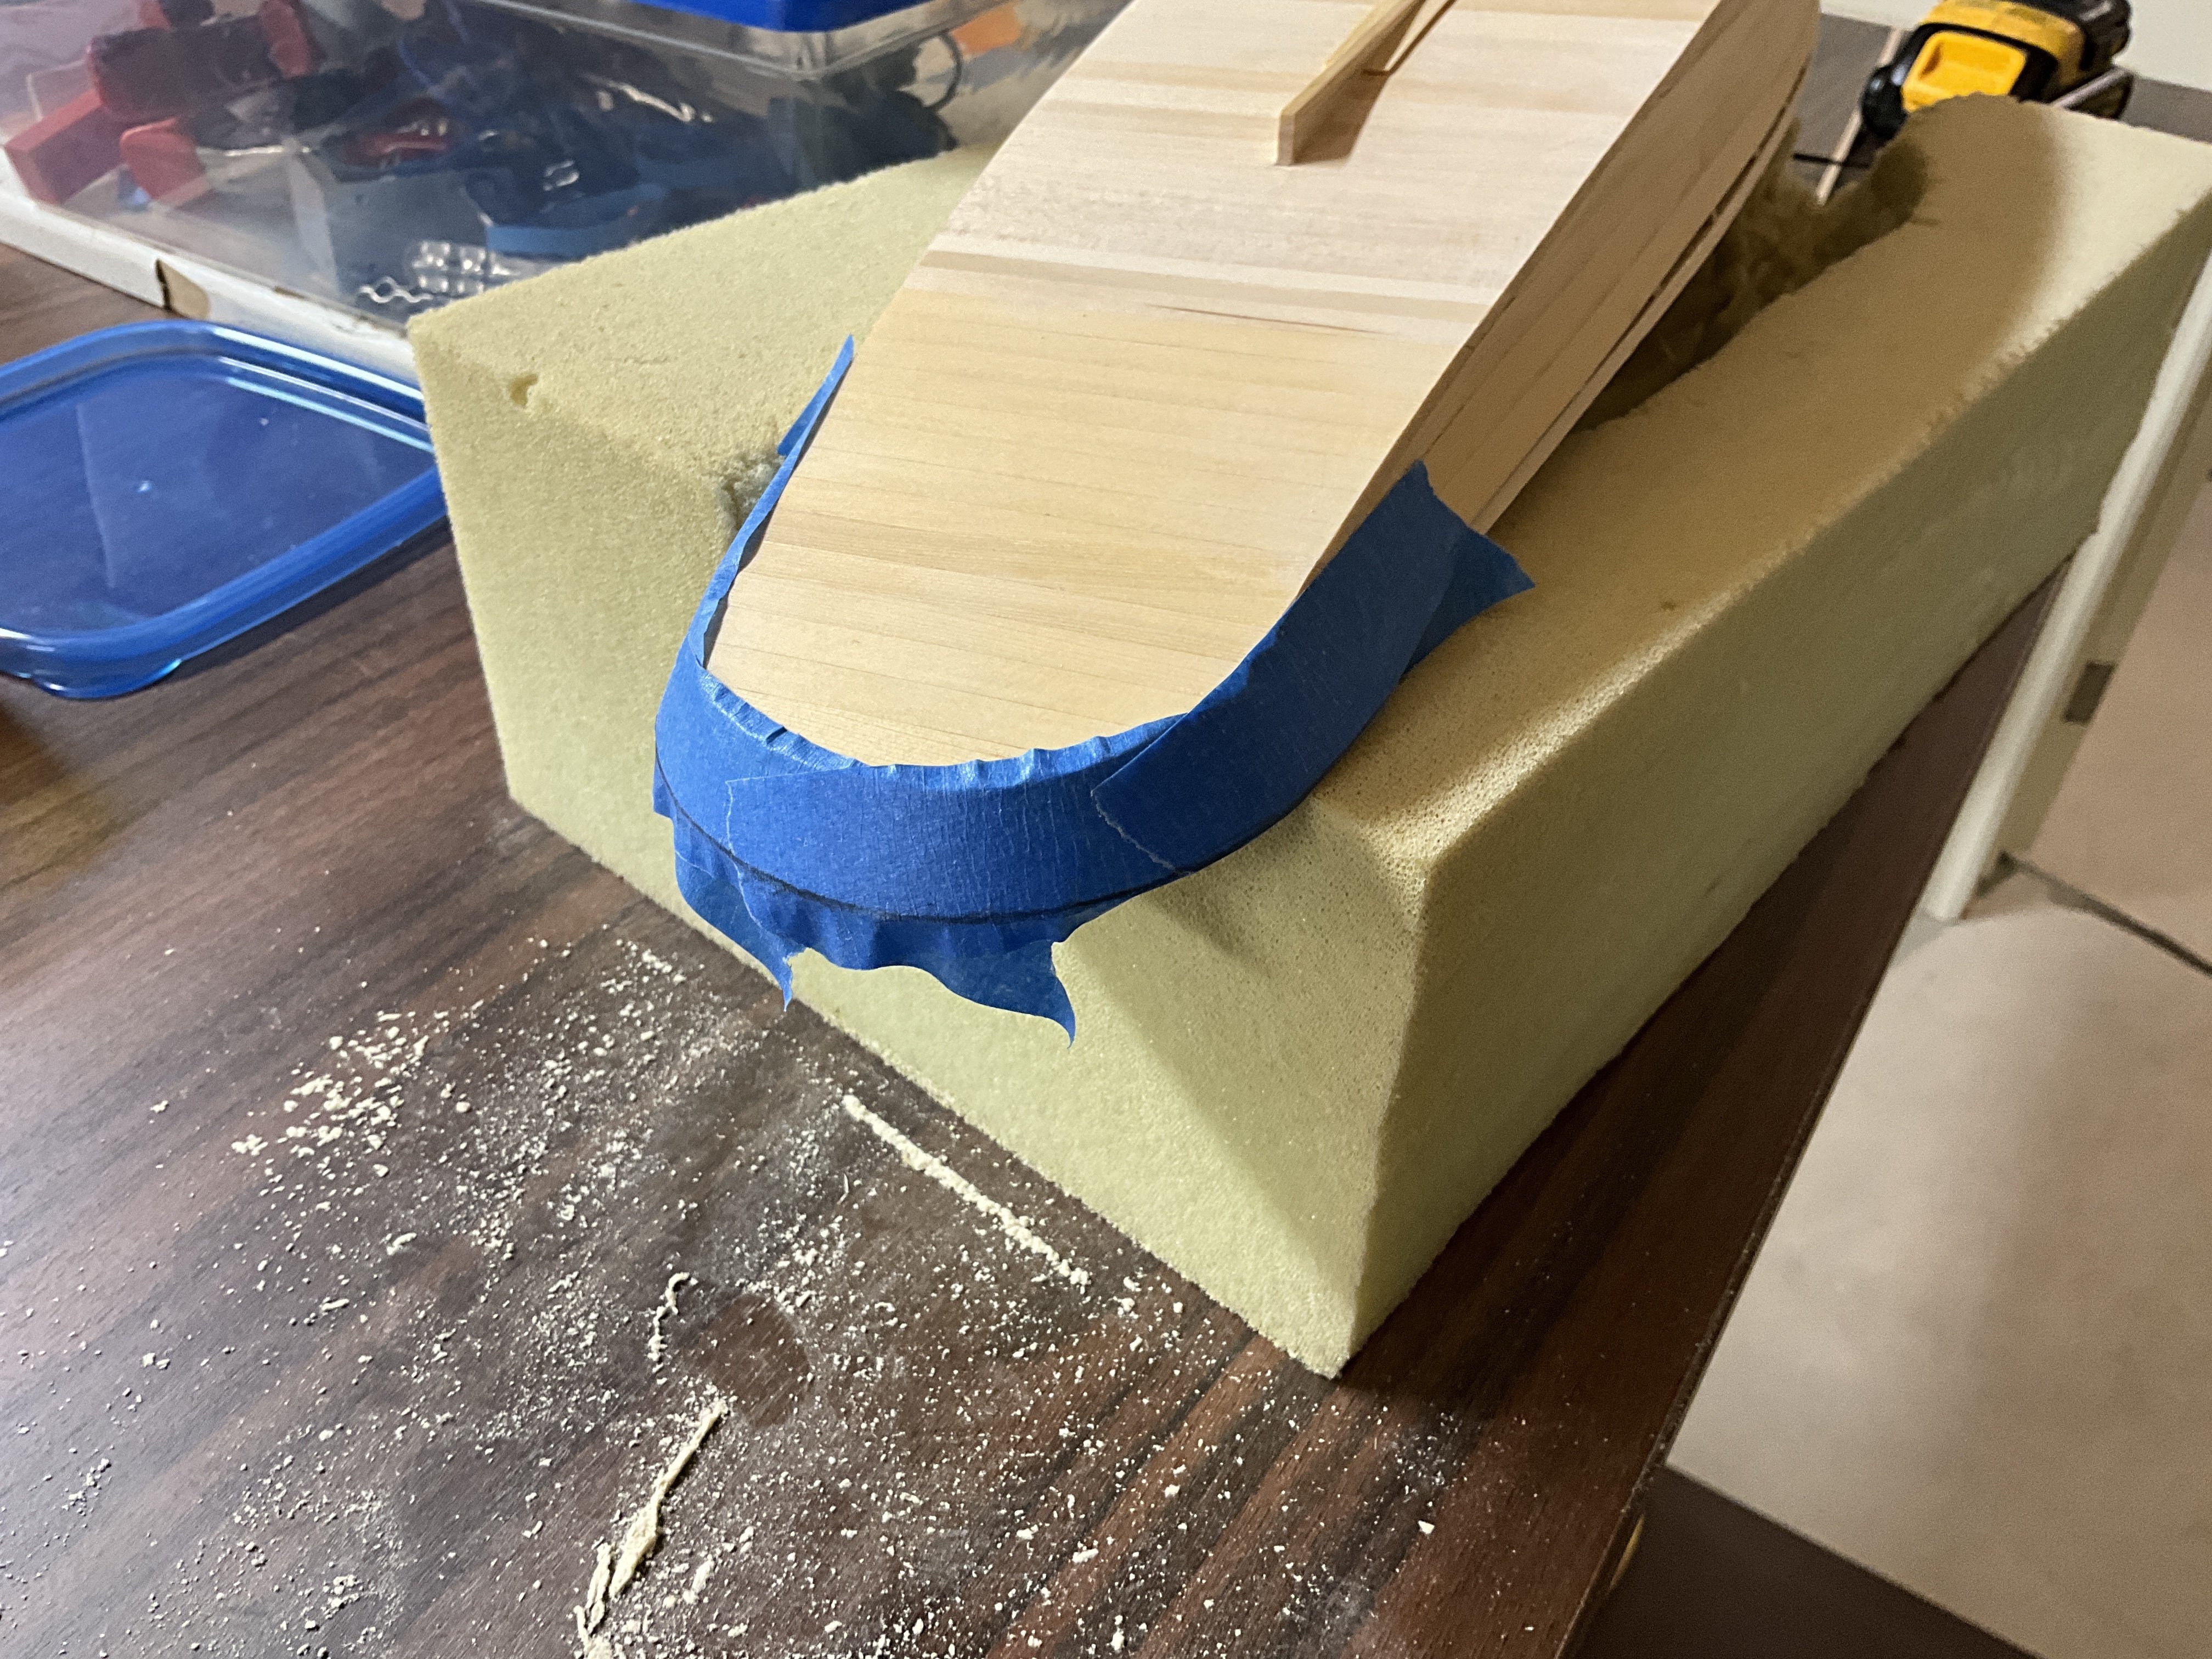
Hi Everyone, I have a bit of progress to show. The stern’s staves have been sanded
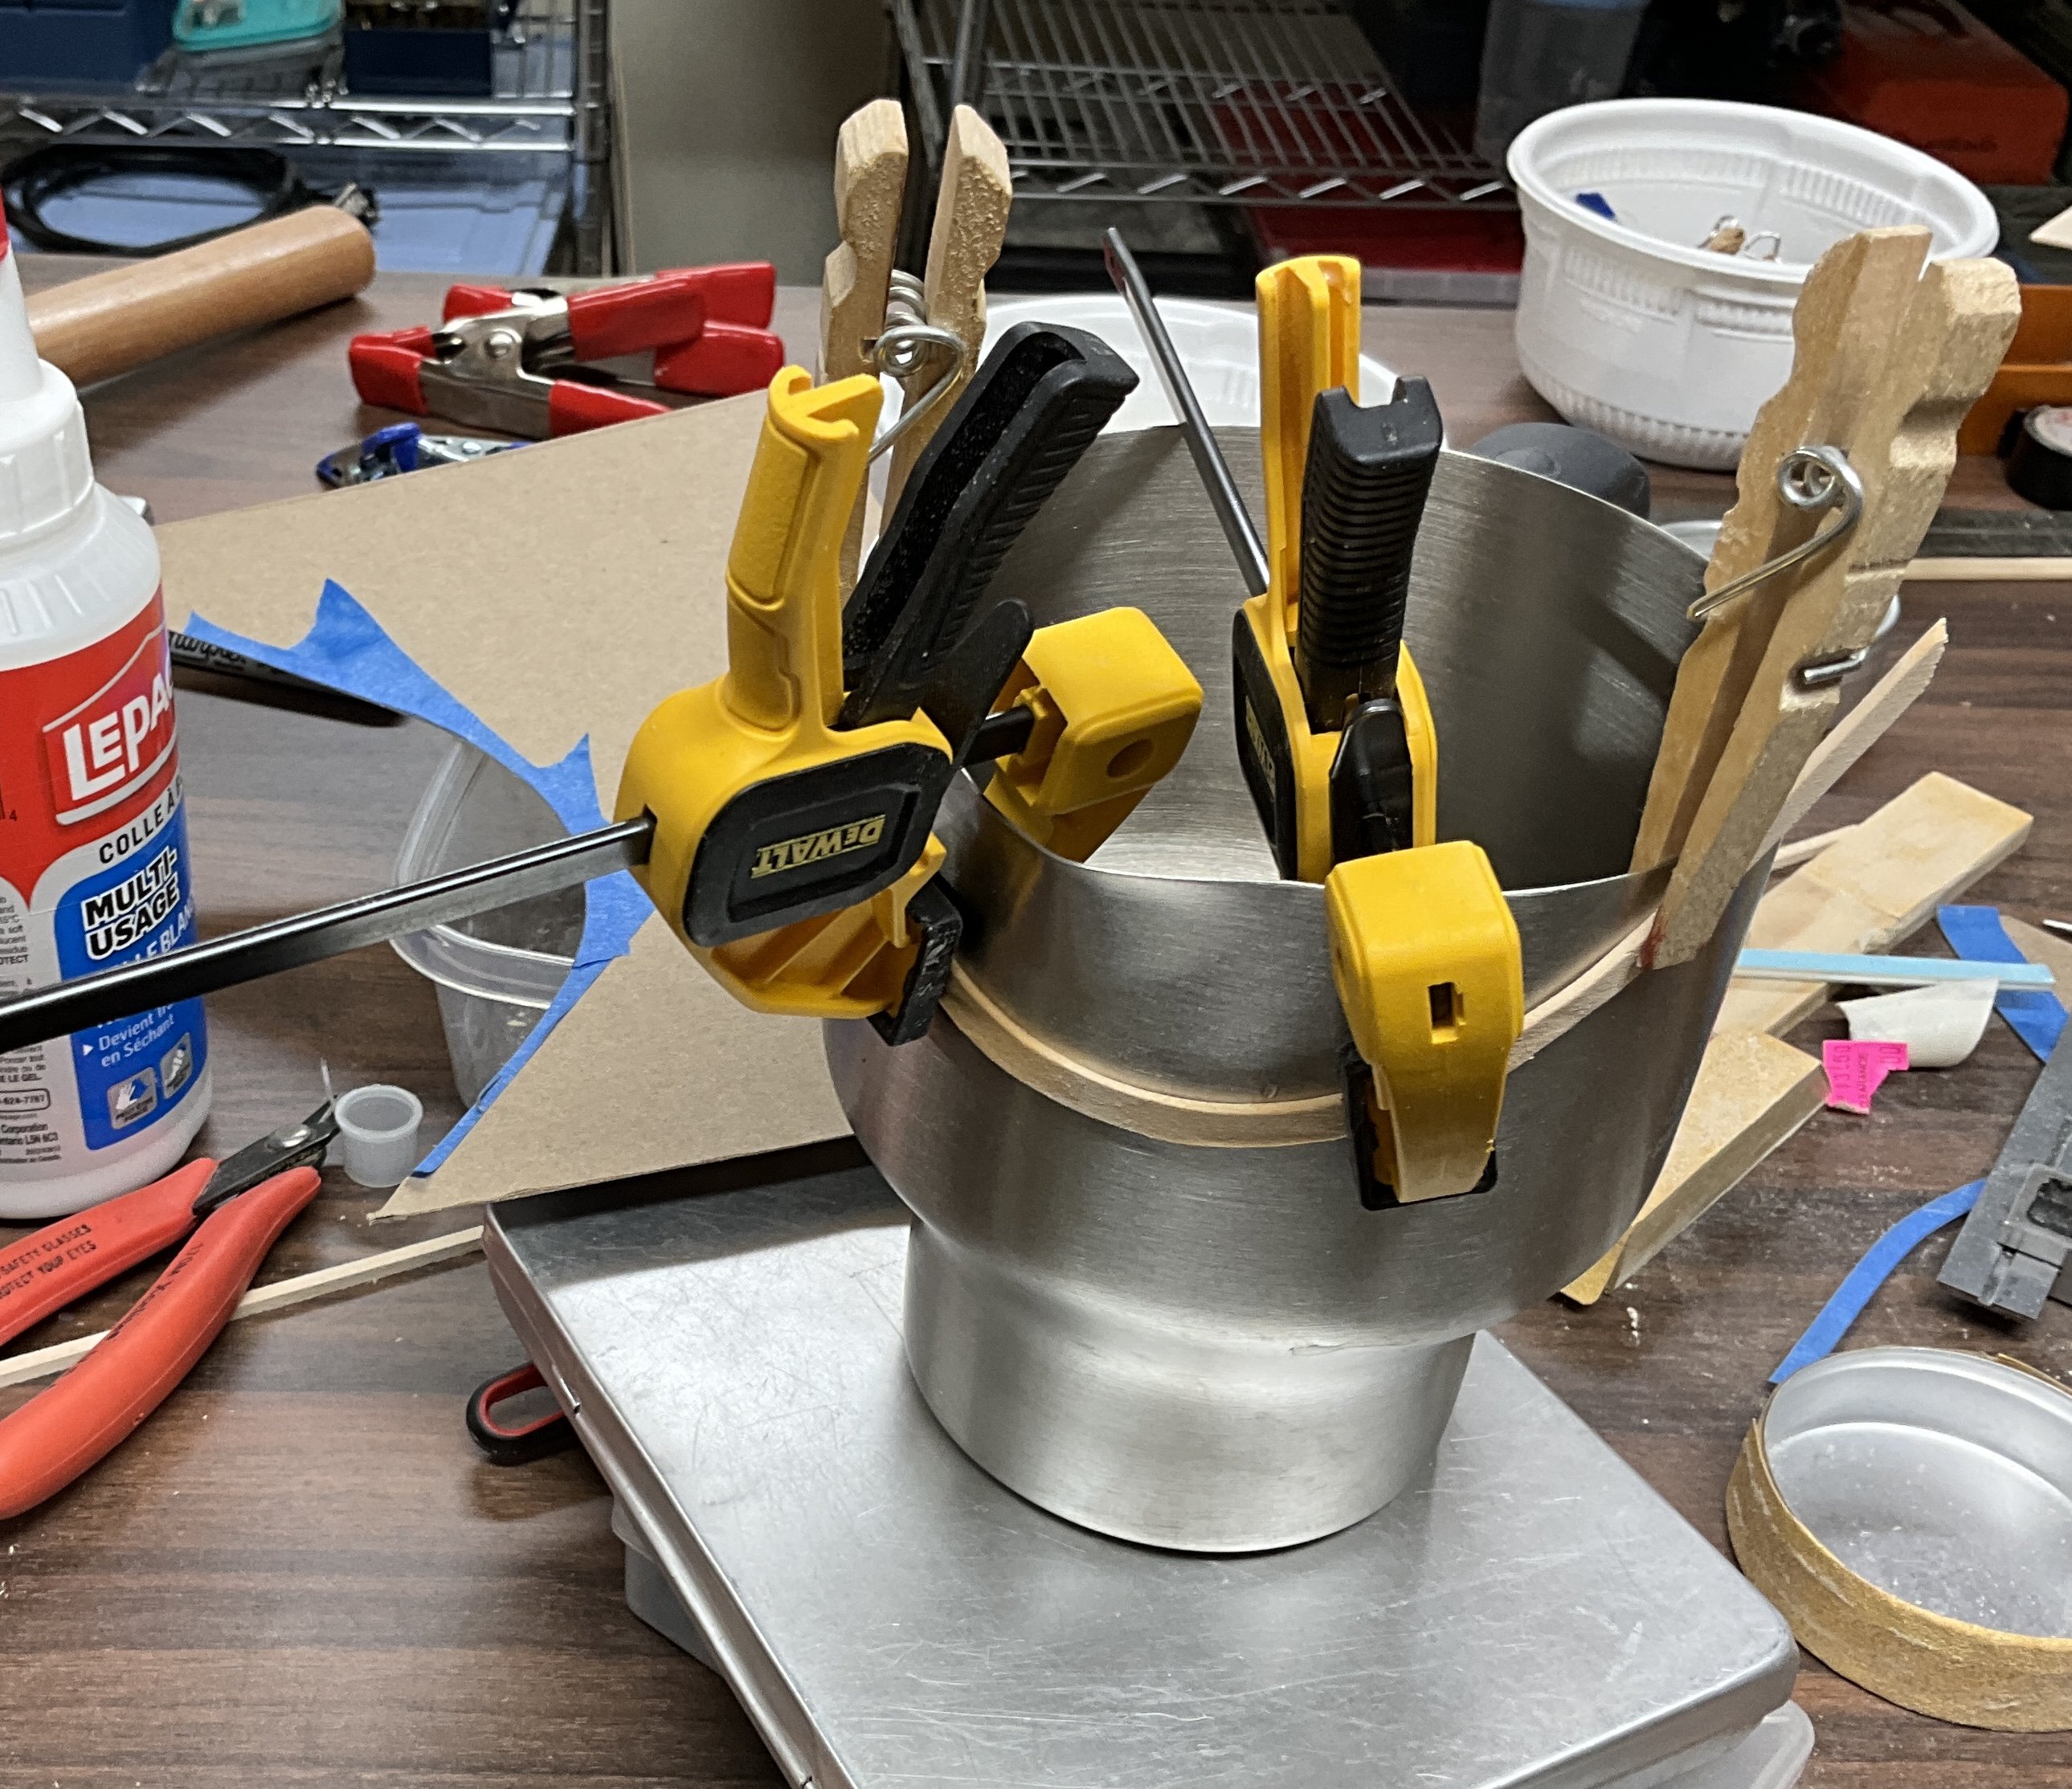
A pattern was then made to create the section of the false wale that runs around the stern. That section was cut out of a 1/16” basswood sheet.

The basswood section was soaked in a pot of water for a few minutes and then clamped to a pot with the appropriate diameter.

Before that can be attached the crown in the deck had to be addressed. I used a construction article from the “usvmyg.org” website to make a deck beam pattern. I ended up with the pattern cut/sanded into a paint stirring stick. Tapered pieces of 1/8 x 1/8” basswood were glued to the top of the frames and finish sanded to shape using the deck beam pattern.


Once they are finished the hull planking will be started. Hope to see you soon.
- Canute, GrandpaPhil, Dave boatswain and 3 others
-
6
-
Chris, congratulations on completing your Grand Banks Dory. Excellent! And thank you for the tips when building the bucket. Much appreciated.
-
Dave, congratulations on finishing your DH9. I bet it looks fantastic in its display!
- davec, Ryland Craze, Canute and 4 others
-
7
-
Glen, congratulations on completing your Ghost Ship Jenny. Such a wonderful subject and presentation!
- hollowneck, Keith Black, Ian_Grant and 4 others
-
6
-
1
-
-
Bob! Congratulations on finishing your beautiful Mayflower. Excellent!
- Glen McGuire, Gabek, Scottish Guy and 2 others
-
5
-
Hey Micha, looking good. If you haven’t already, now that you have a few planks attached on each side maybe you could flip it over and check to see how the notched frames sit against them. Perhaps even attach them. These plywood planks seem to have a mind of their own.😀
- Glen McGuire, Keith Black, Cathead and 1 other
-
3
-
1
-
Hi Micha, the only experience that I have with this type of Billing construction is with their Nordland Boat. It wasn’t built in two halves but rather the molds were one piece and mounted upside down on a build board. Since you have glued the two halves of your molds together, maybe you could consider converting your build to an upside down one. By the looks of it you will have to remove everything from the build board to attach the planking. You might have to add some plywood to the molds to extend them so that the stem and the stern clear the base. The molds are just etched to guide you where the planks will sit and will be removed later so should not be glued to anything. I wired my keel ( ? ) to the molds to keep it secure. The link to my Nordland is below. It may give you some ideas although it is a totally different type of boat.
- Keith Black and Scottish Guy
-
2
-
Jerry, happy to see you working on the Pinky again. Looking forward to your posts.


North Carolina Oyster Sharpie by Paul Le Wol - 1/24 - from plans drawn by Thomas Pratt
in - Build logs for subjects built 1851 - 1900
Posted
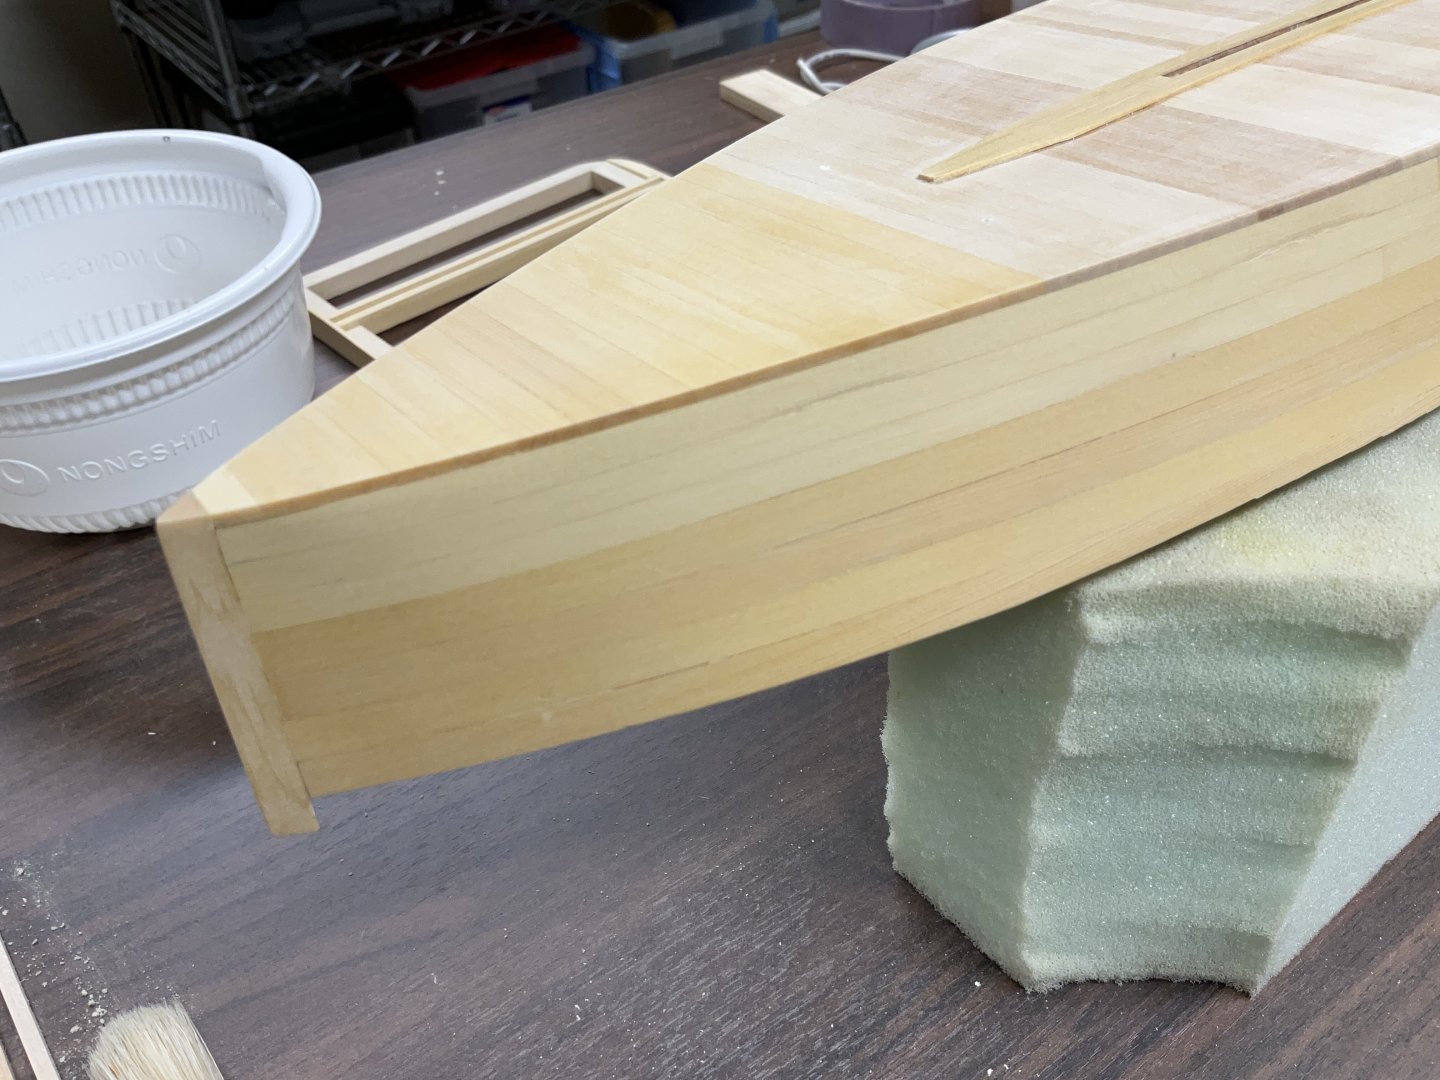
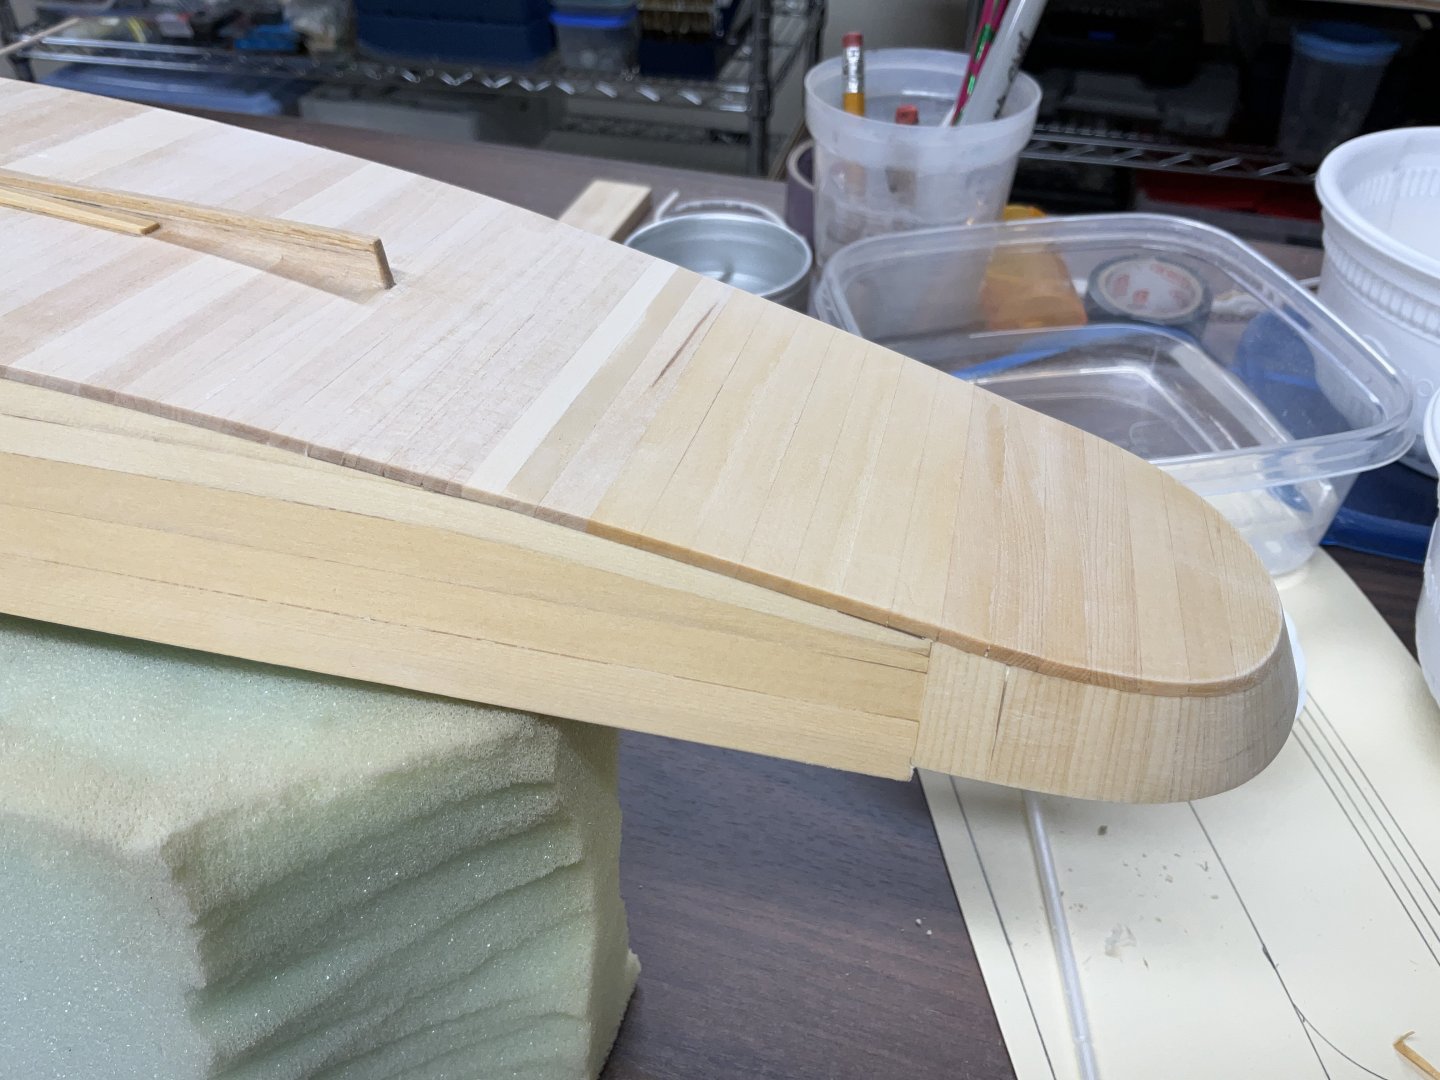
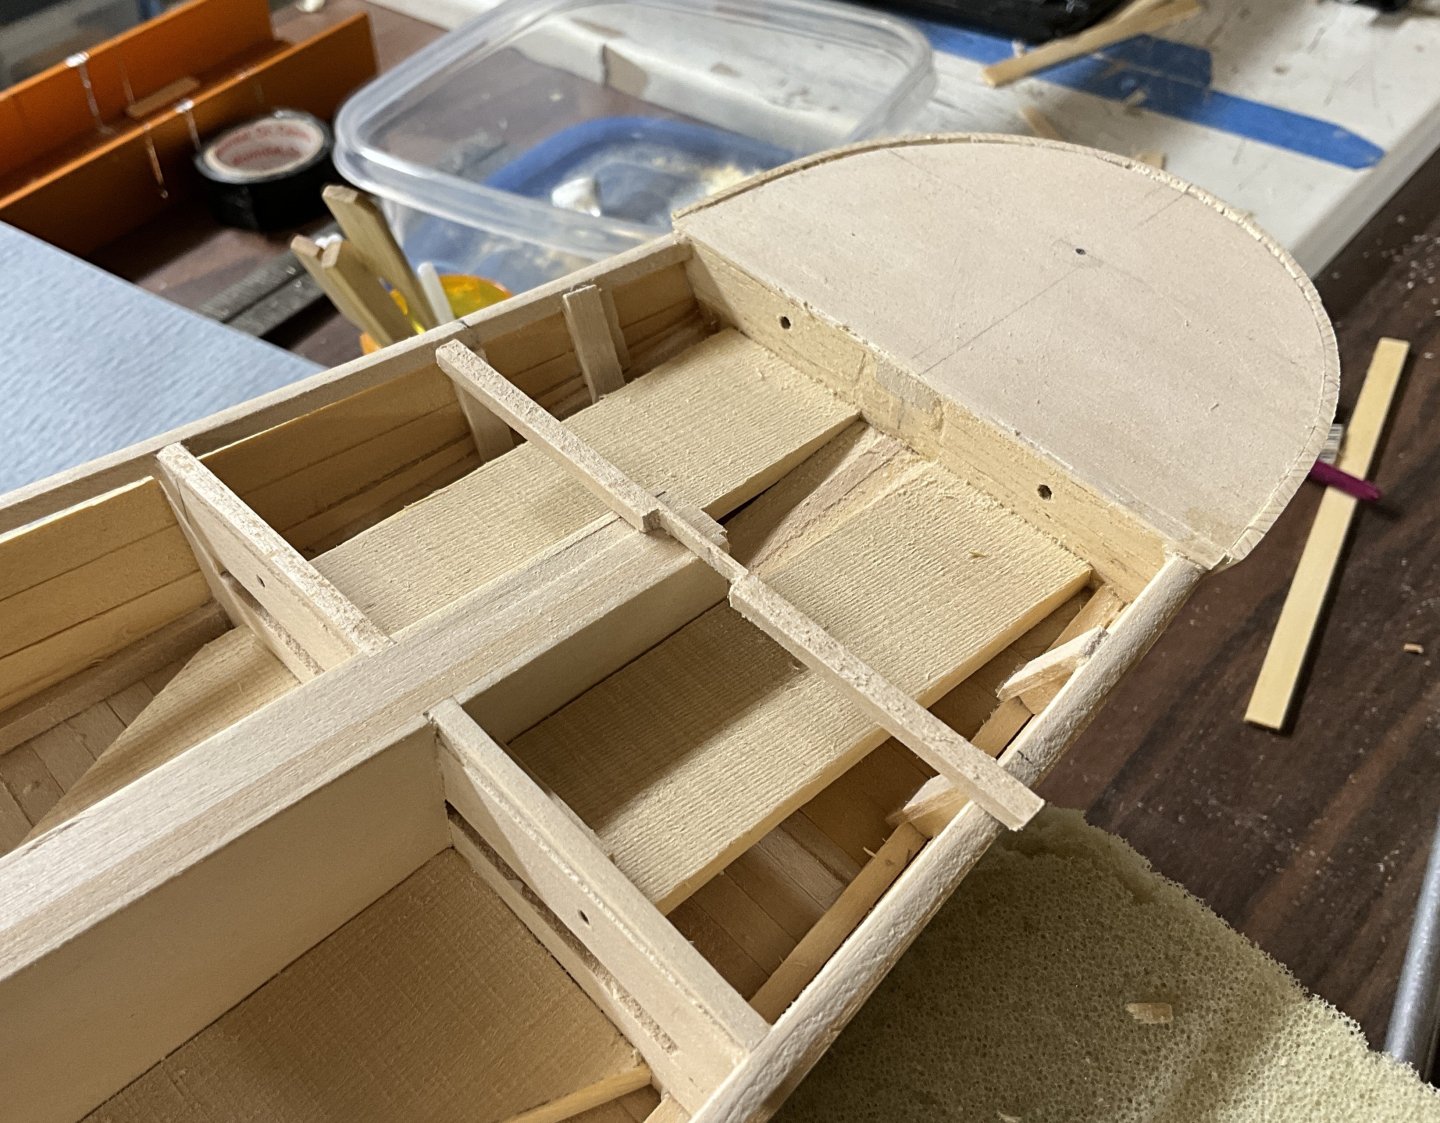
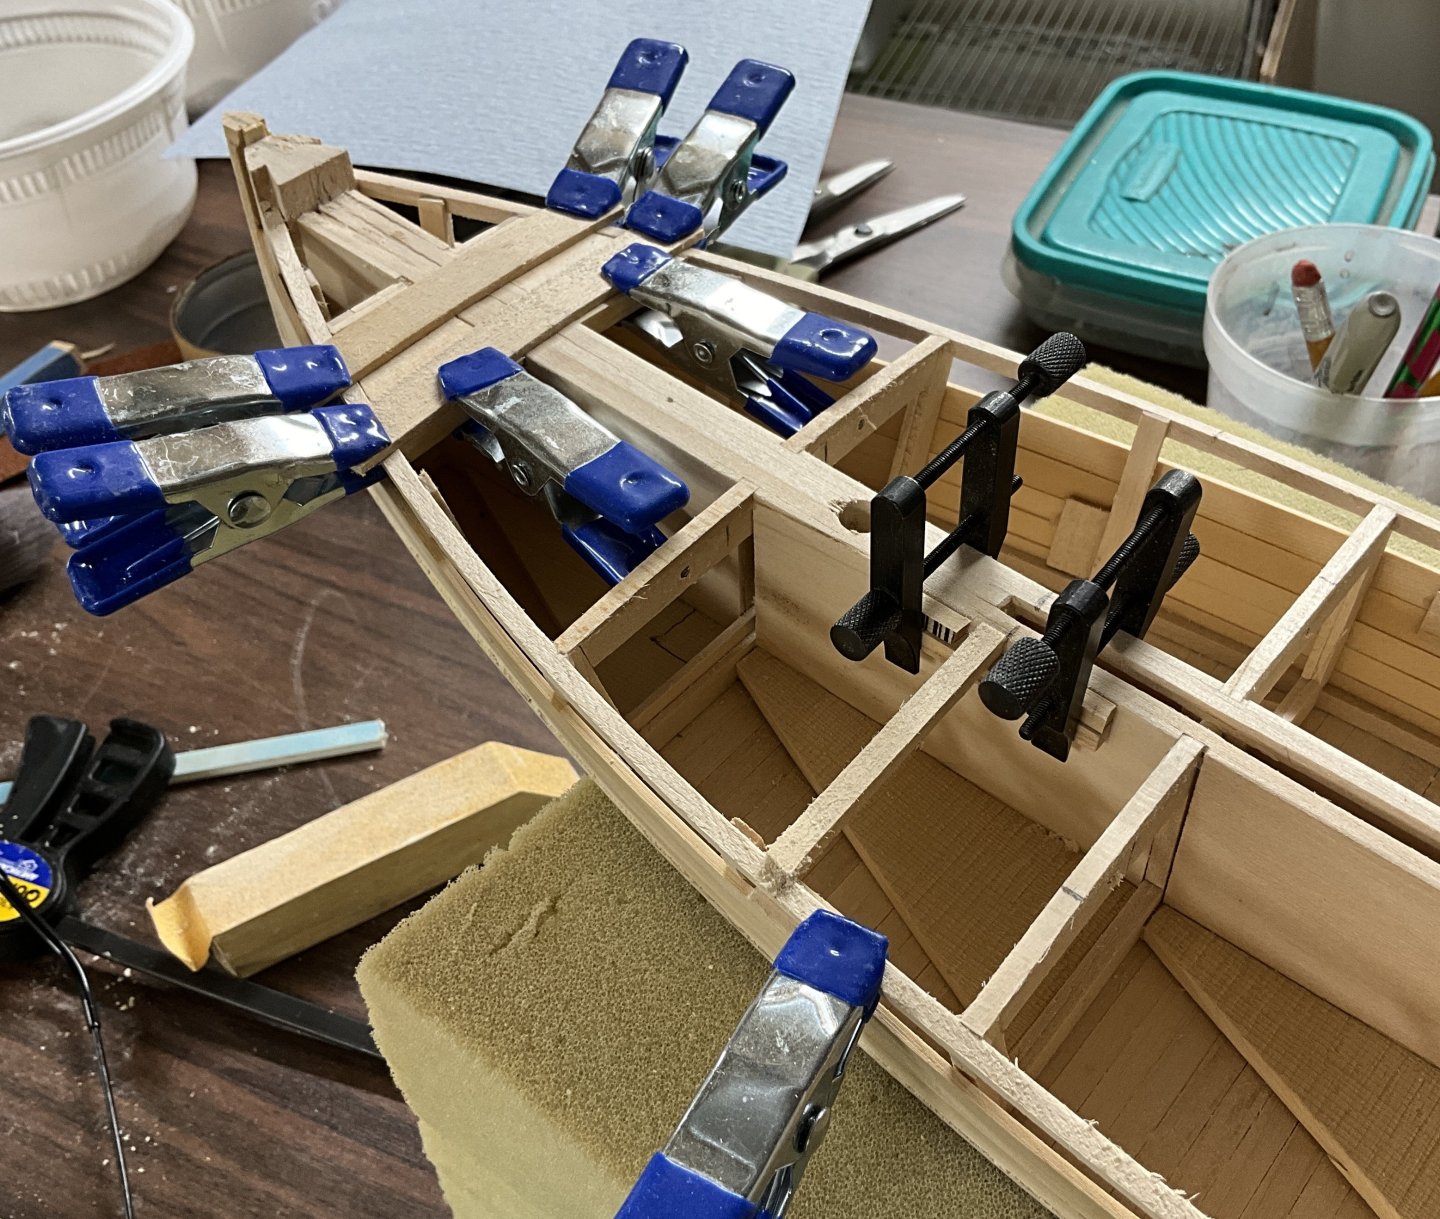
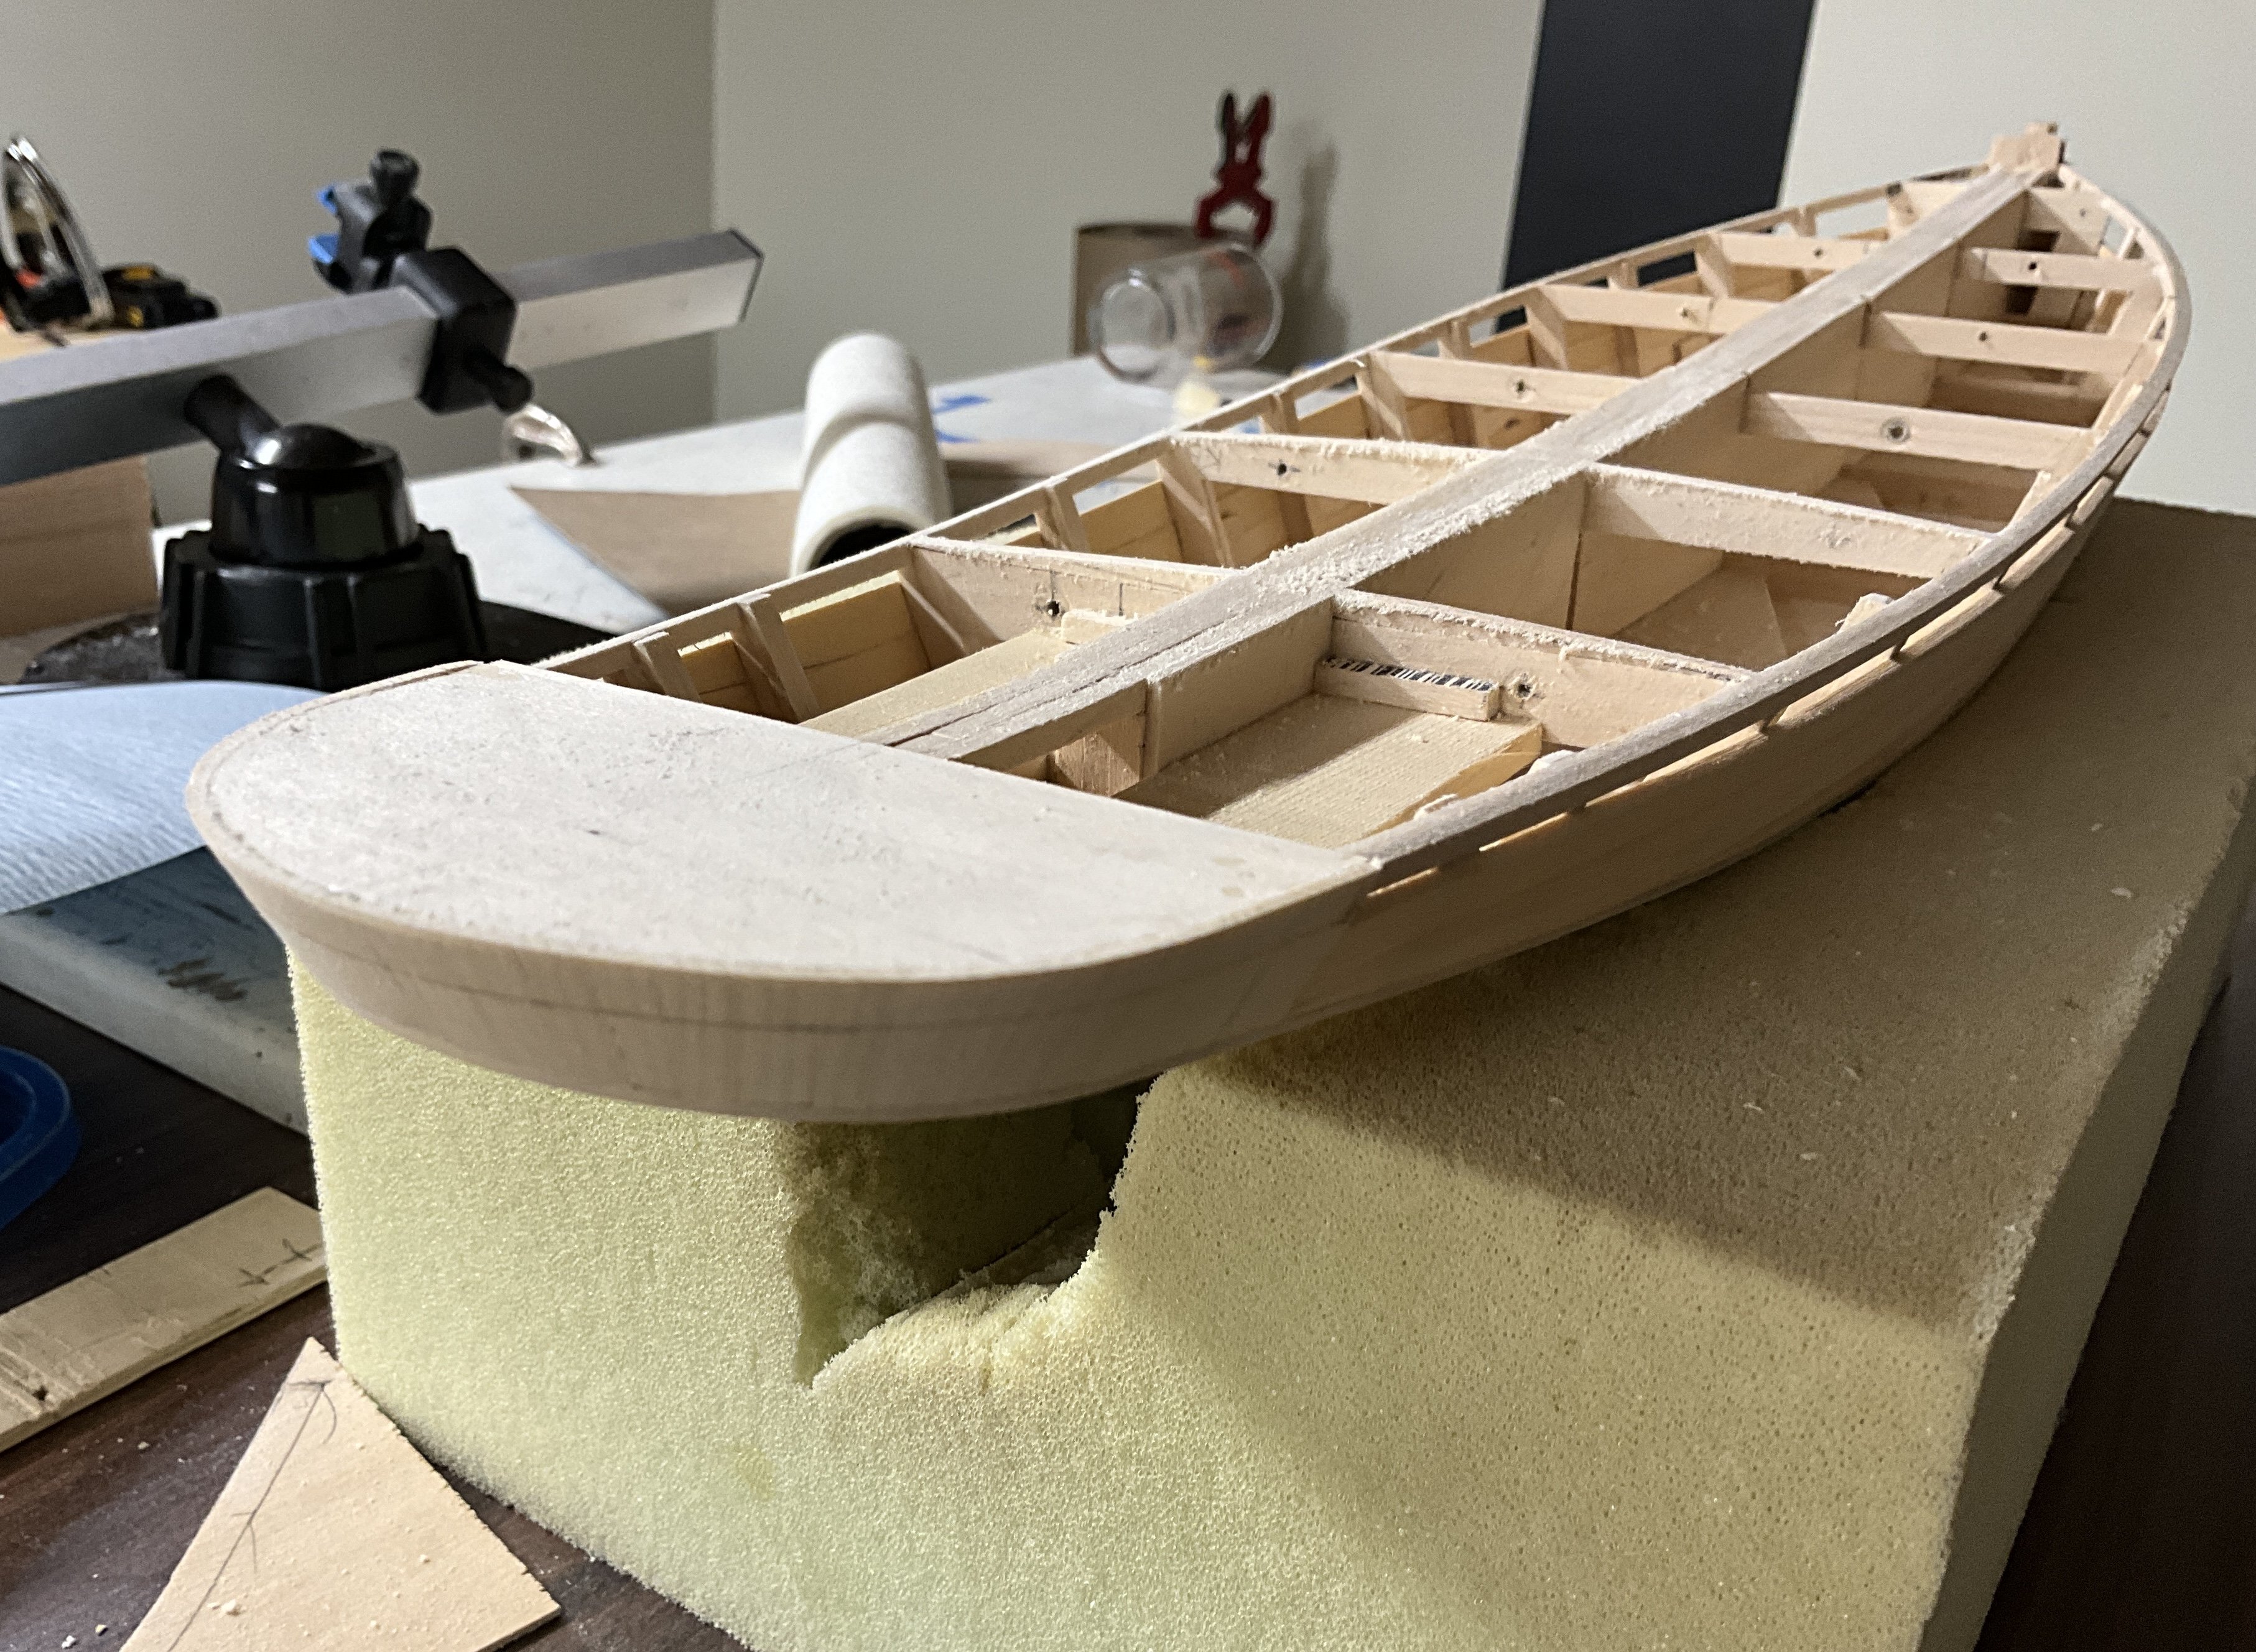
Hi Everyone, thank you very much for dropping by and Liking. Quite a while ago I cut and shaped the part of the false wale that wraps around the stern. I posted this picture previously but figured I’d post it again as a reminder. Attached it about an inch at a time using pins, PVA and CA. It Is made out of 1/16” basswood sheet but will be sanded down to 1/32” to match the false wales that continue up the hull to the stem.
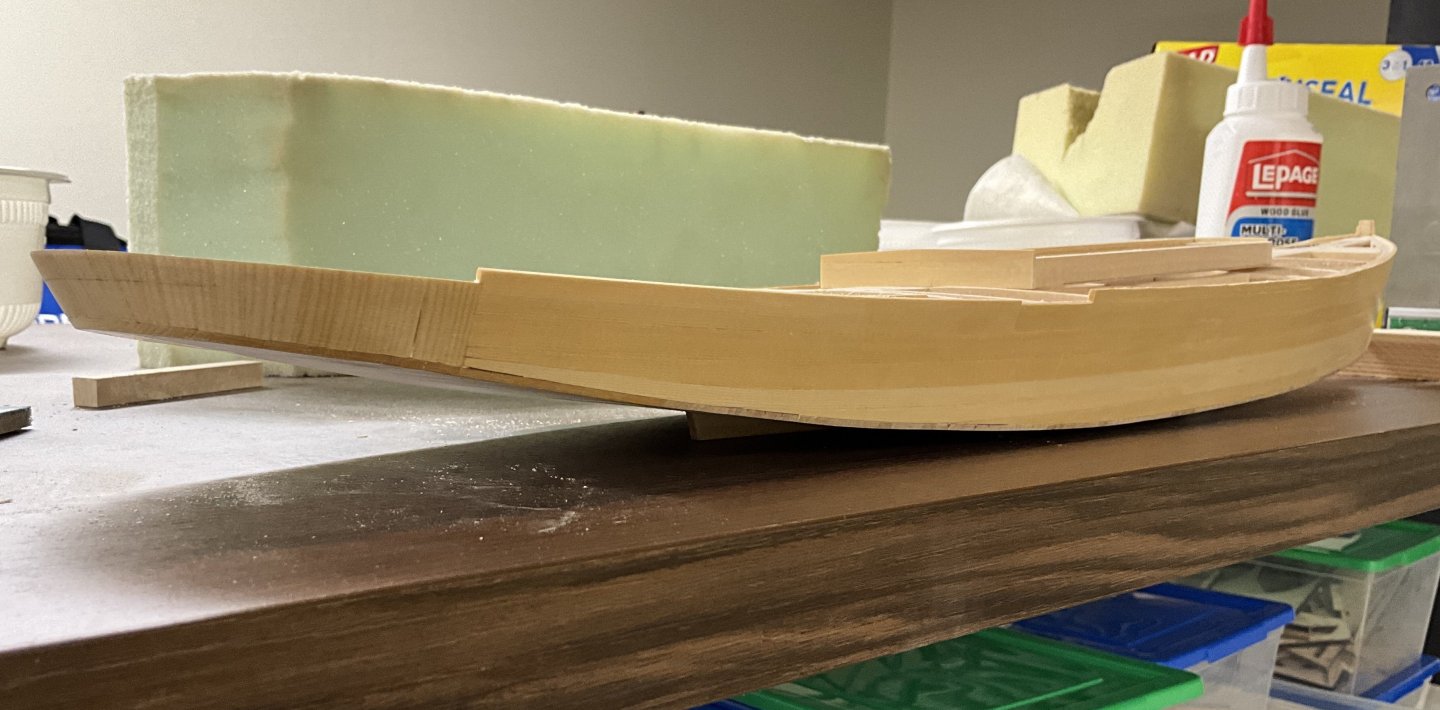
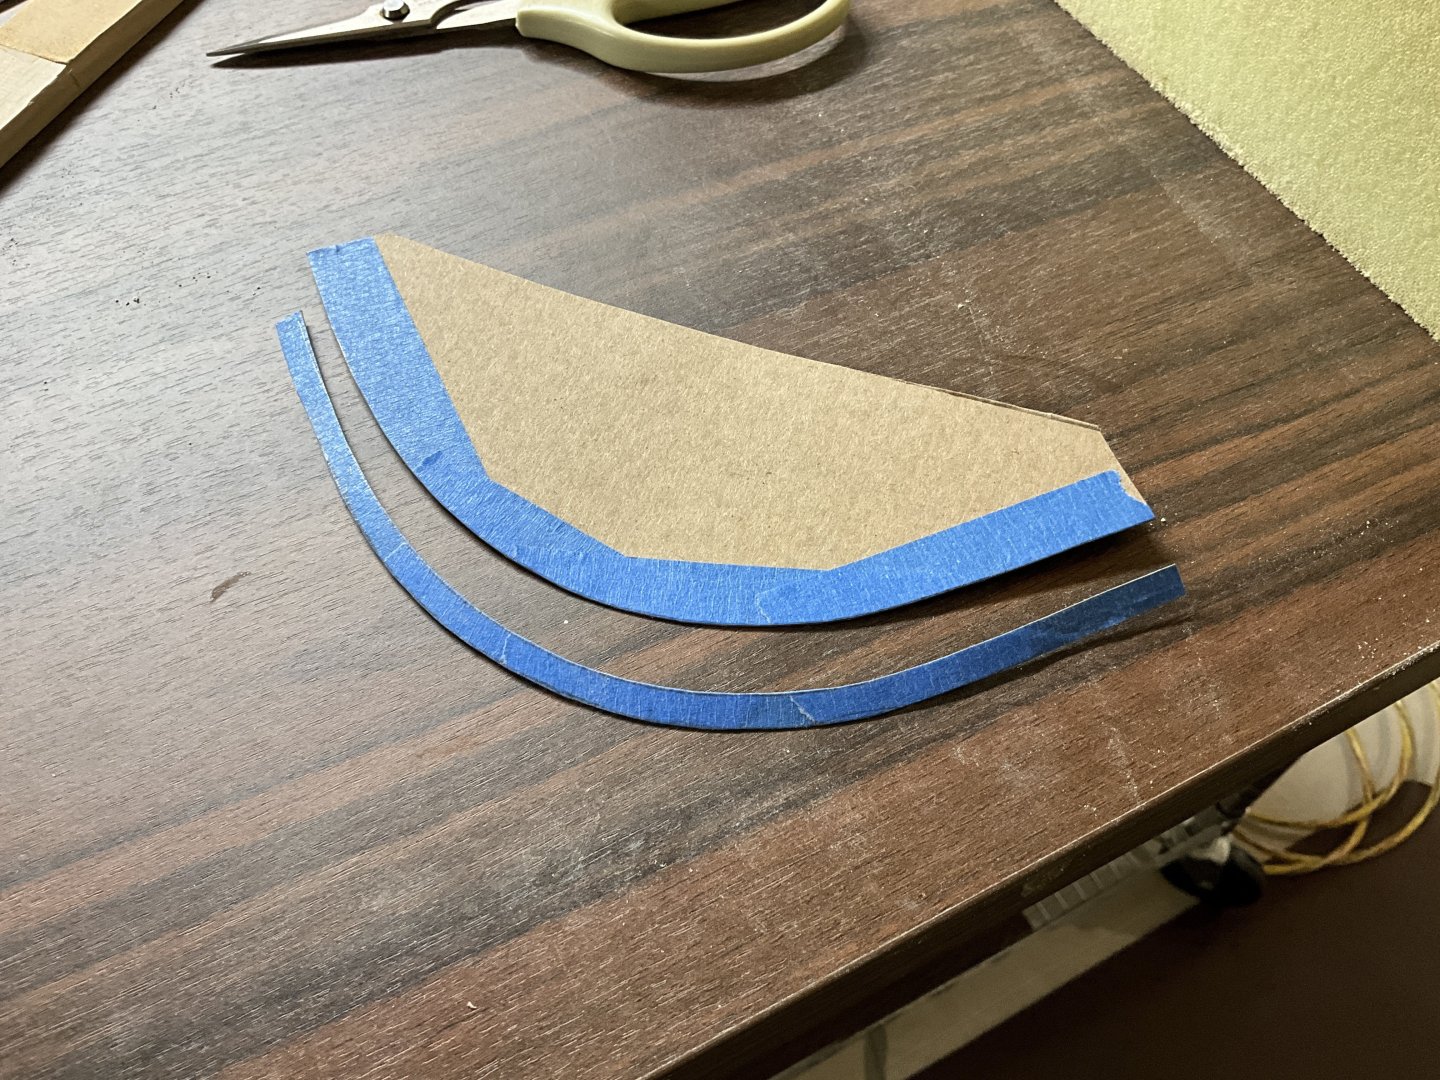
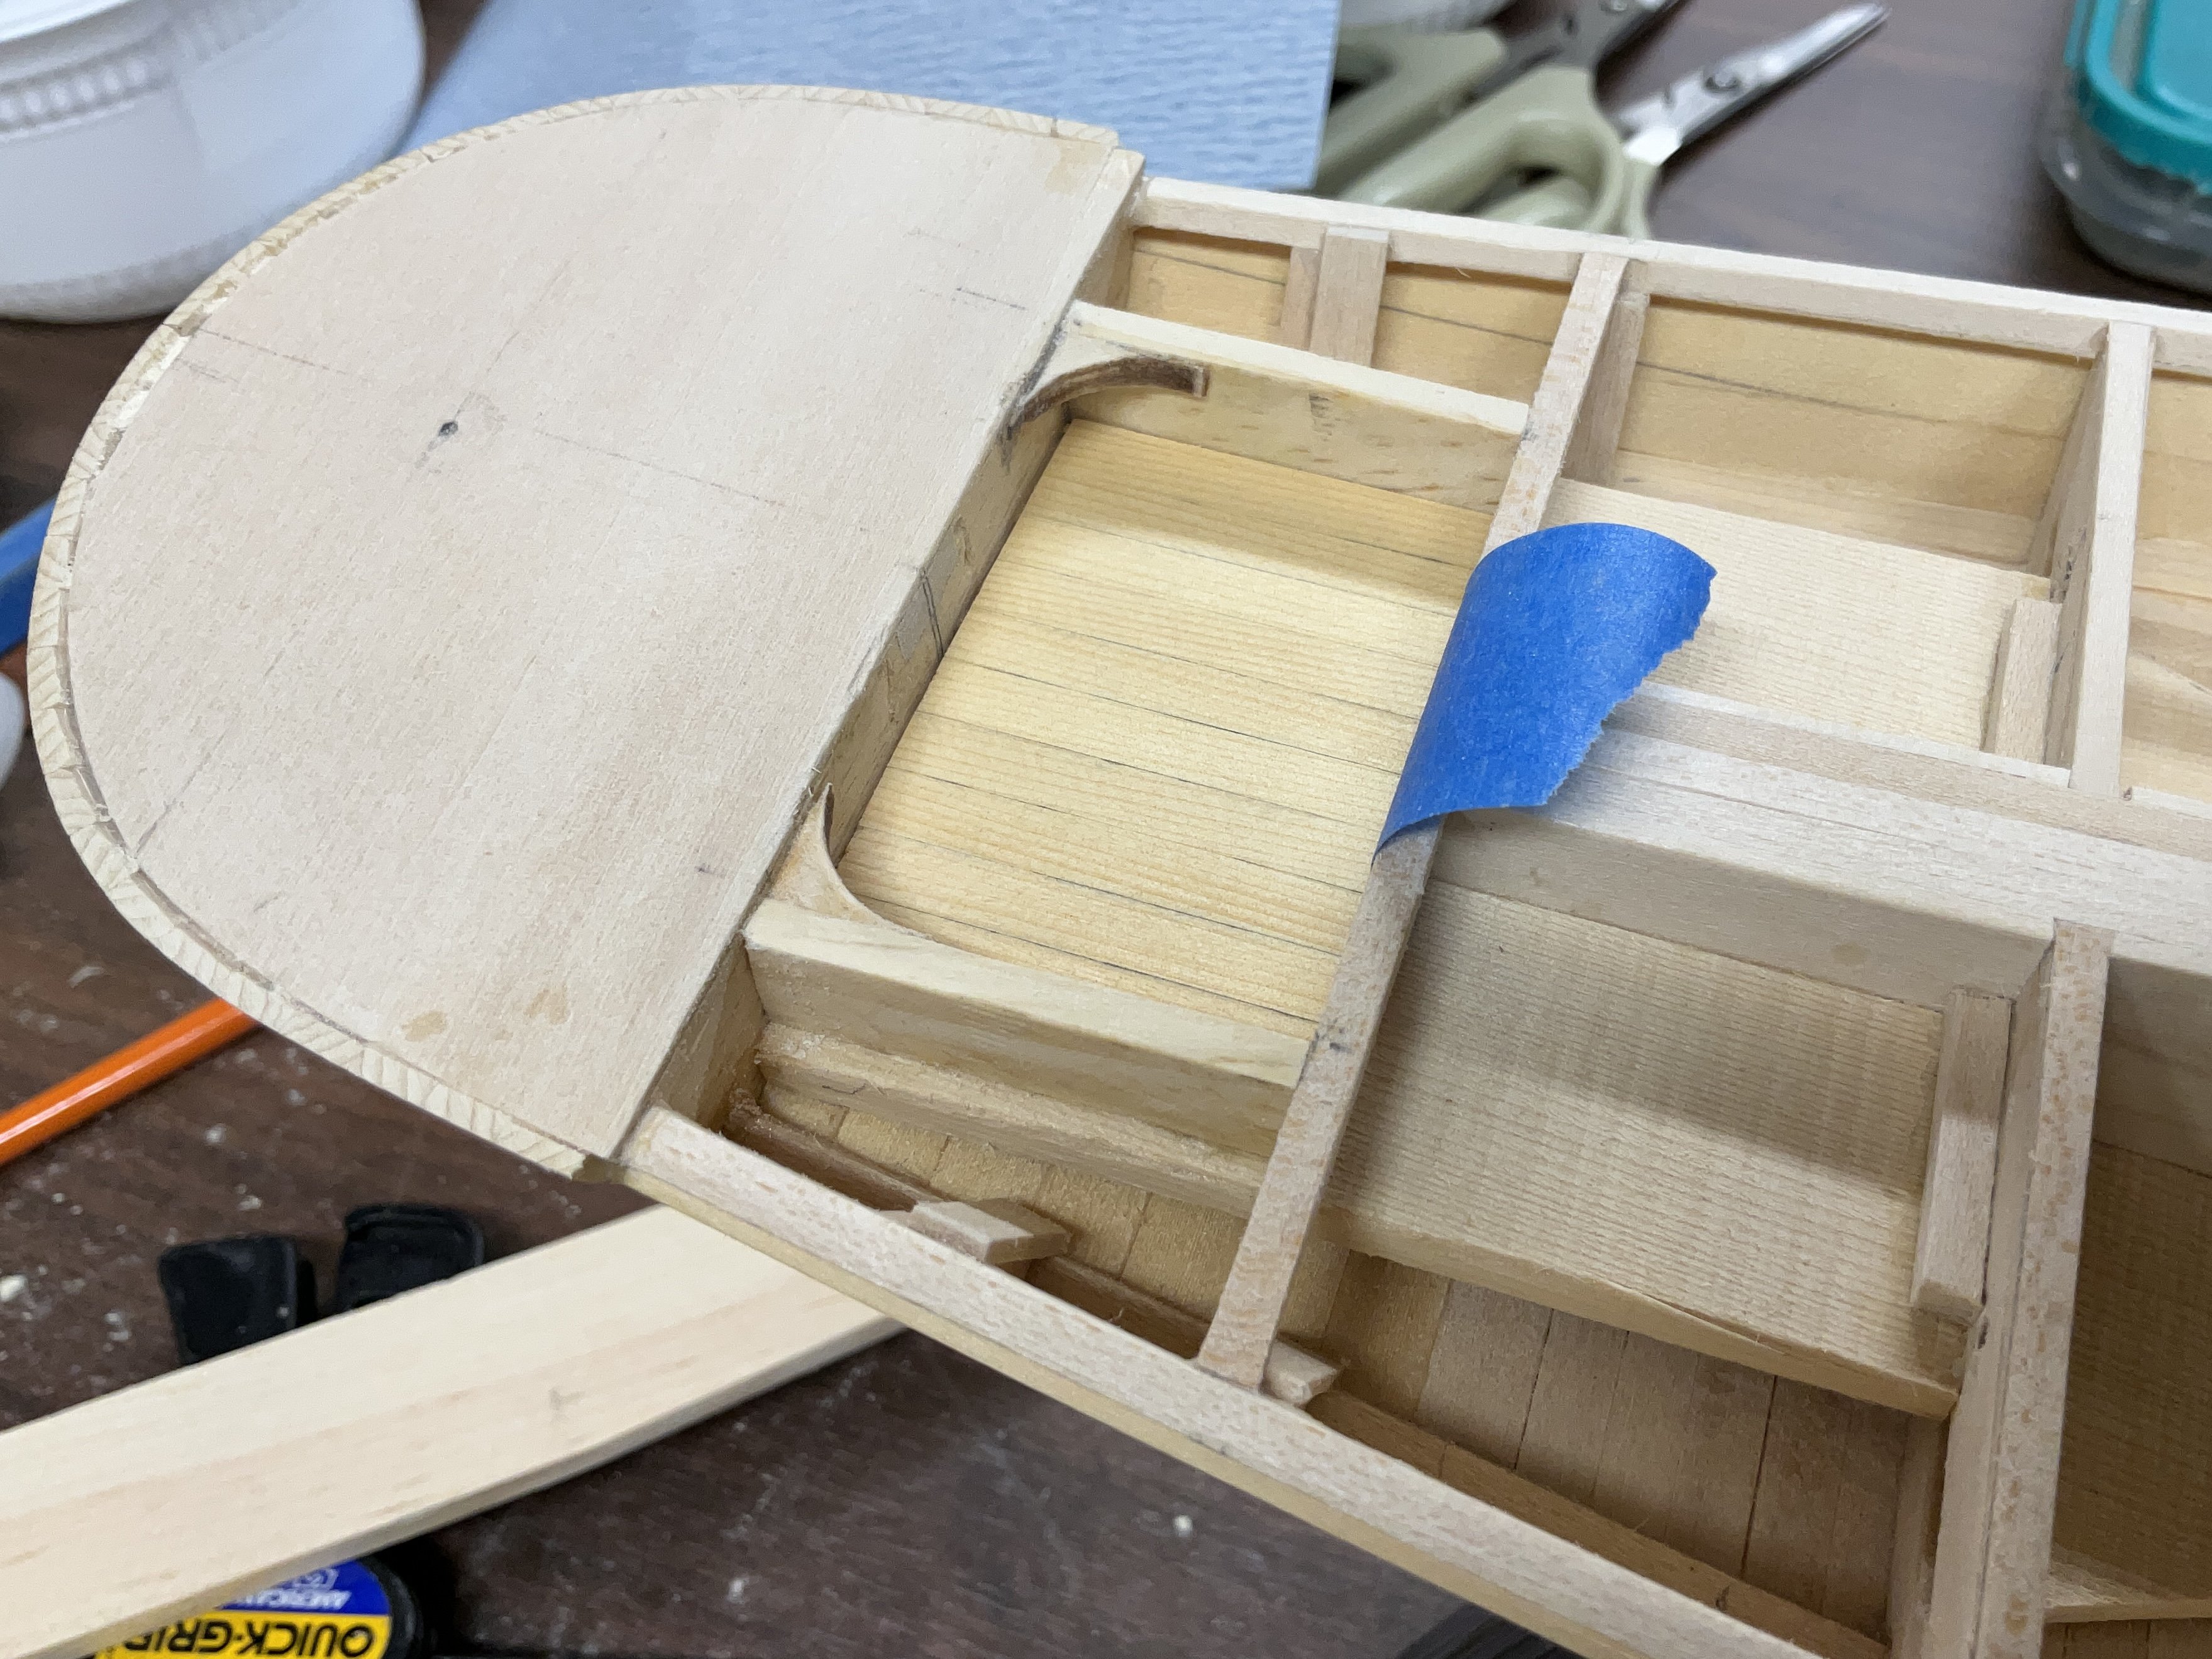
A template for the sub deck was made using a file folder and used to mark a sheet of 1/32” basswood sheet. Once the sub deck was attached the sheer was sanded down to it.
A 7/32 x 1/32” strip of AYC was used for the rest of the false wale and sanded back down to the sub deck leaving it about 3/16” wide.
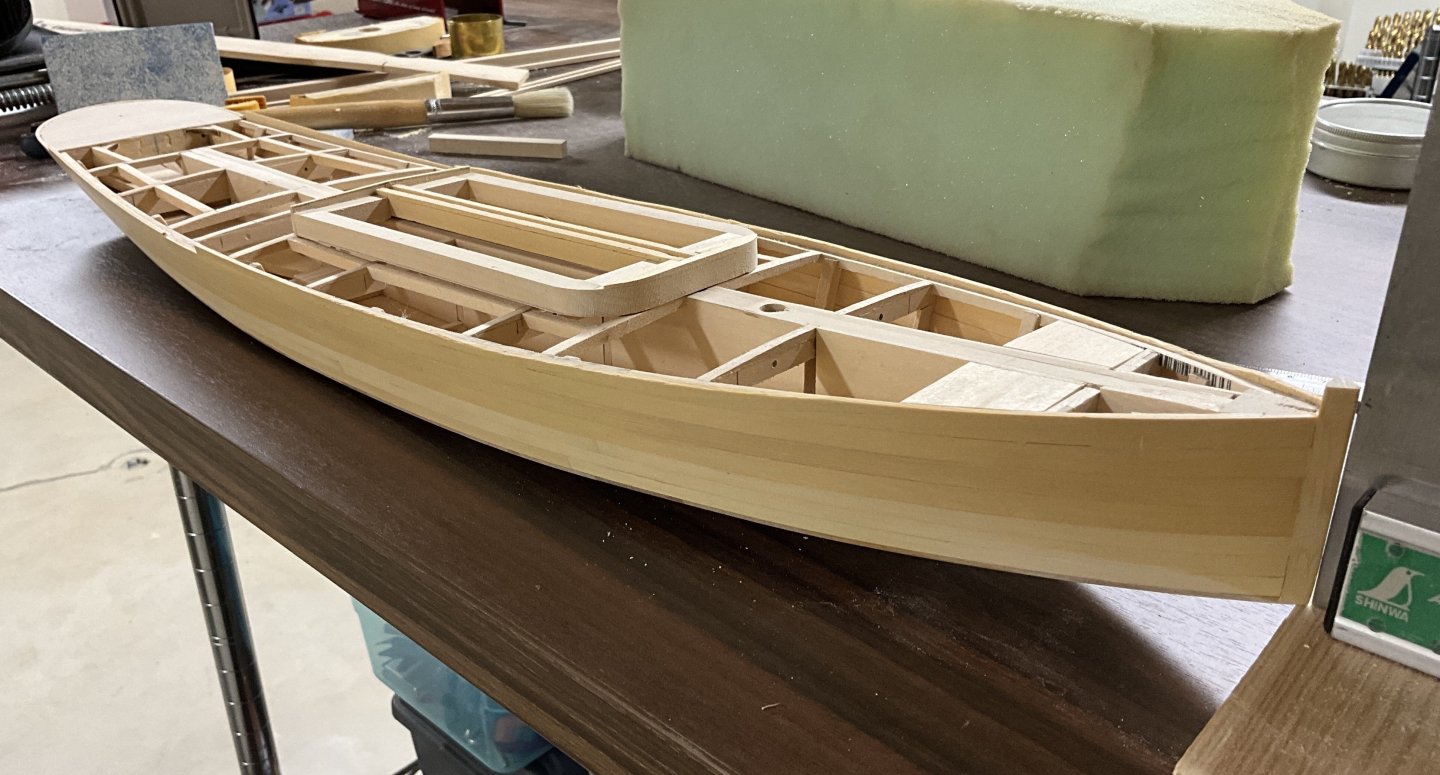
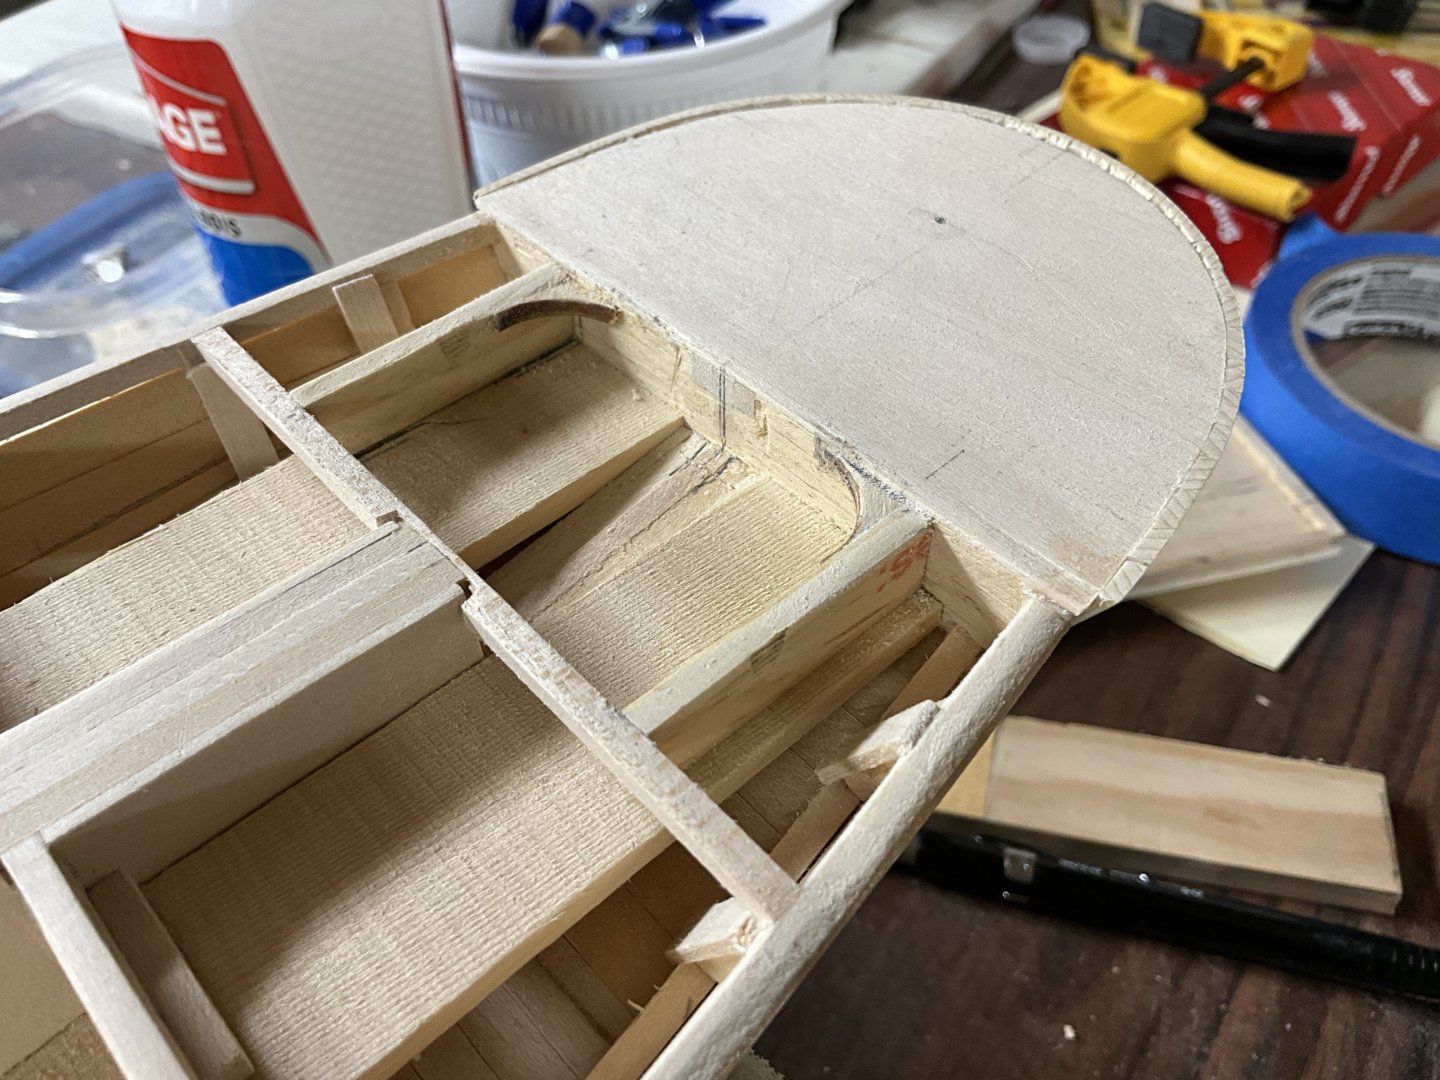
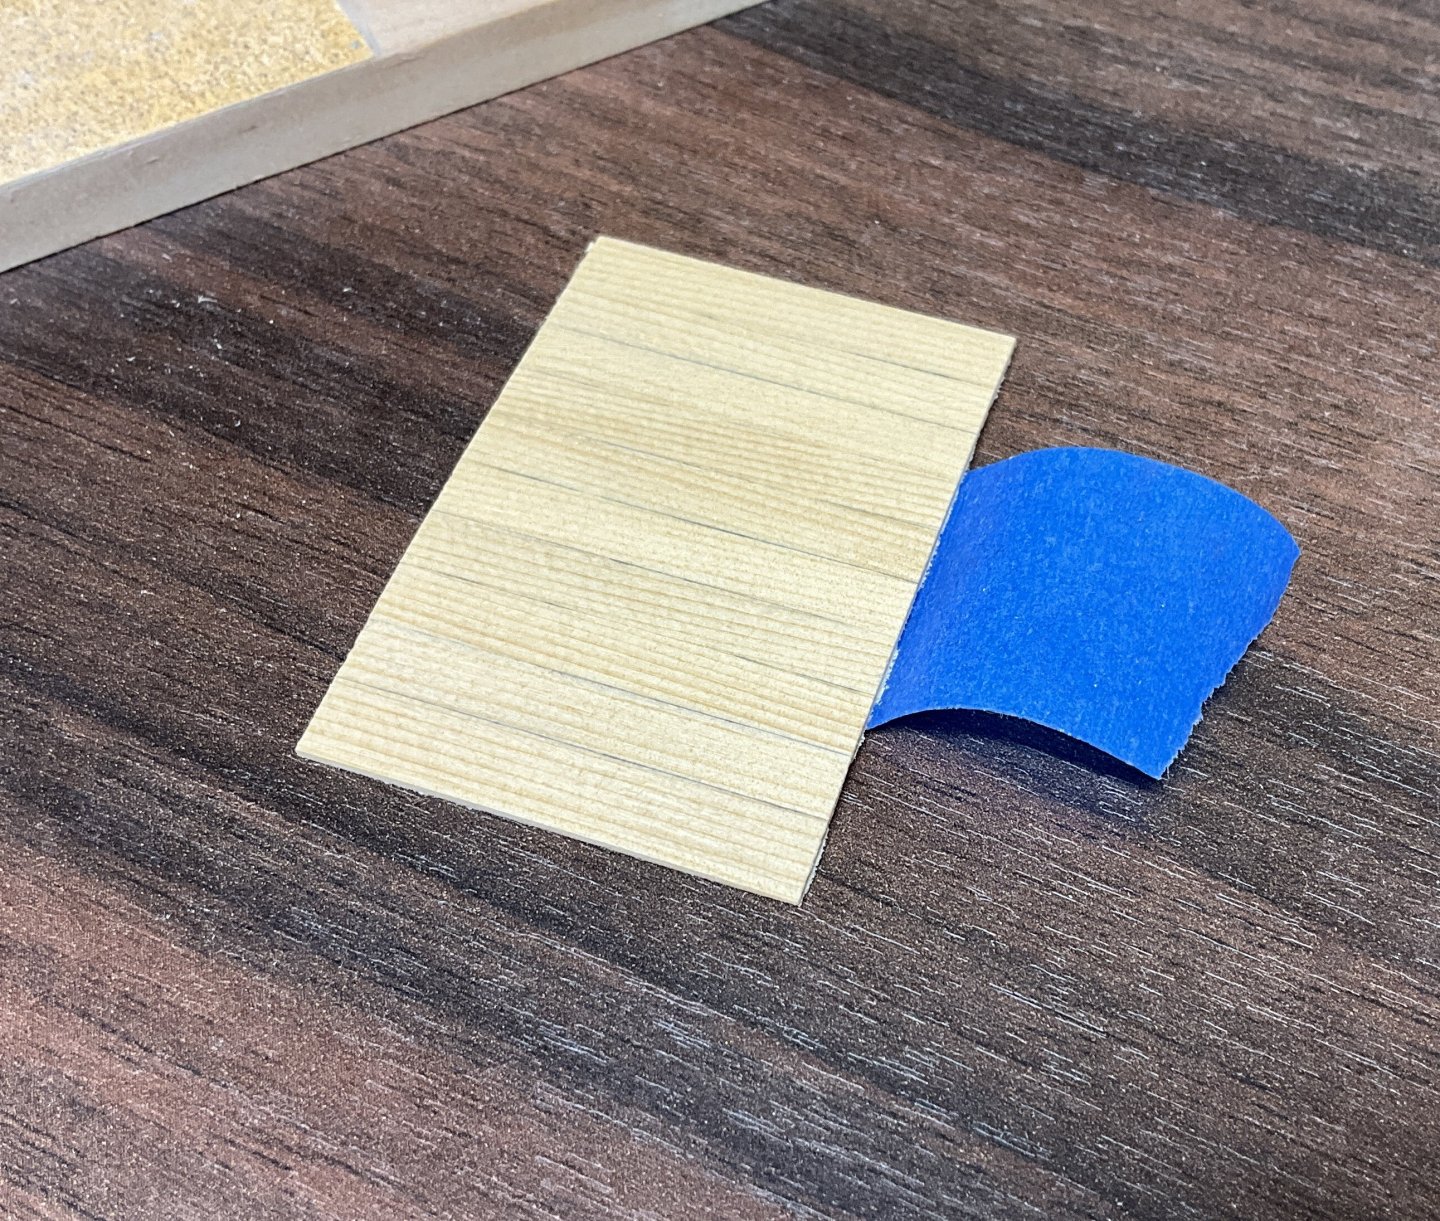
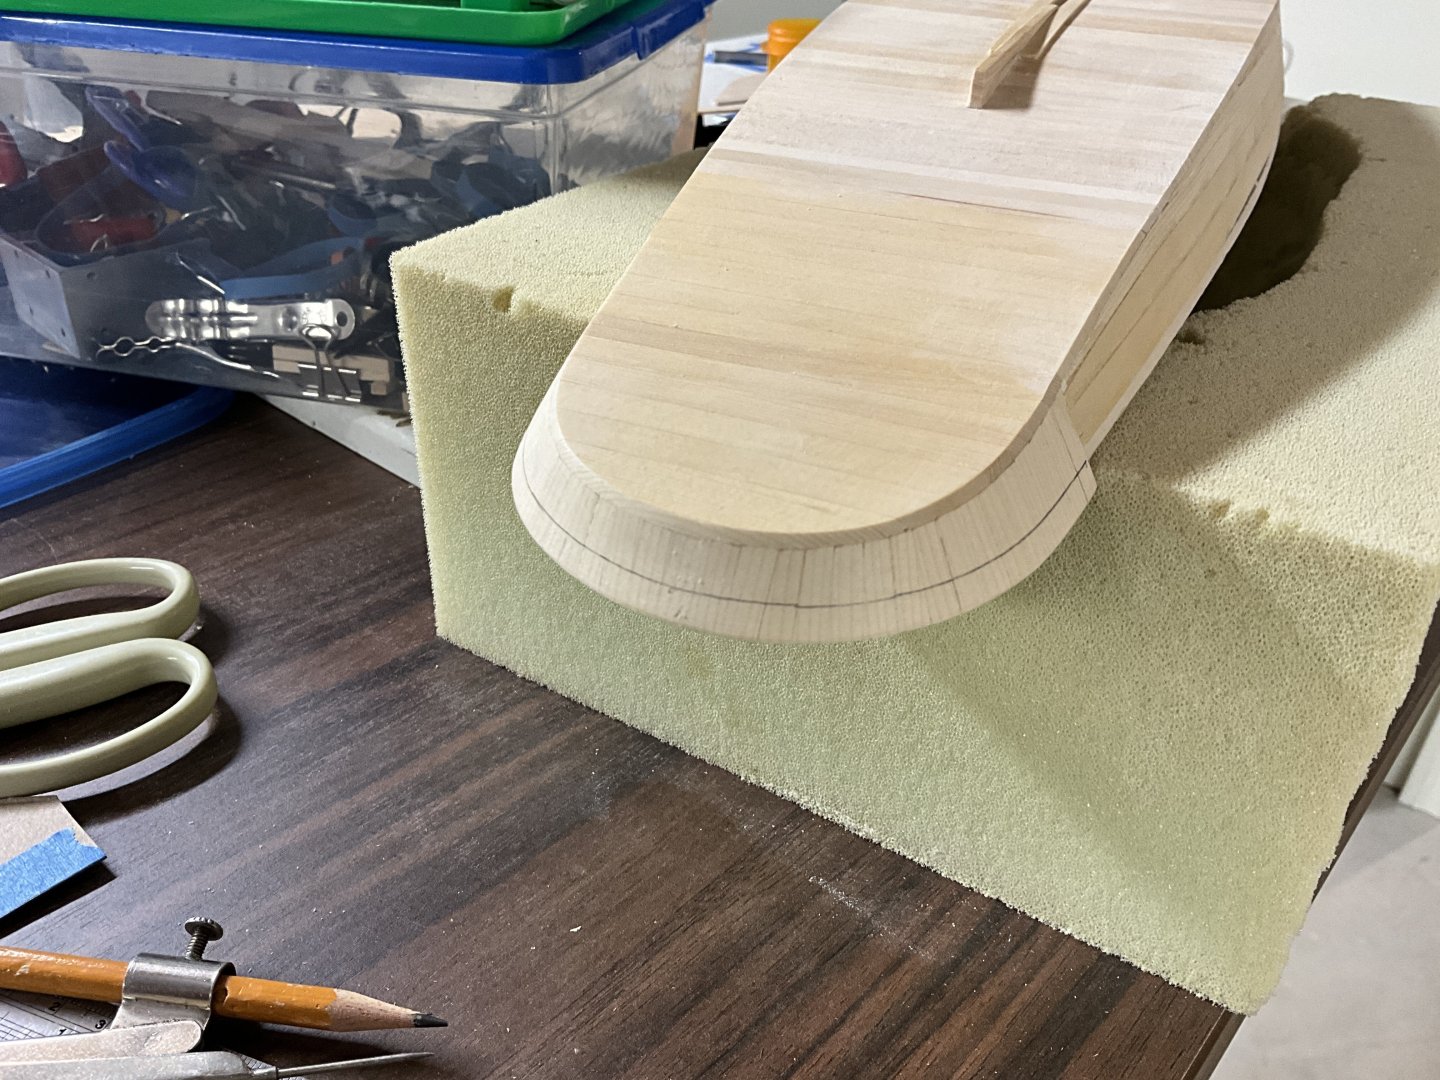
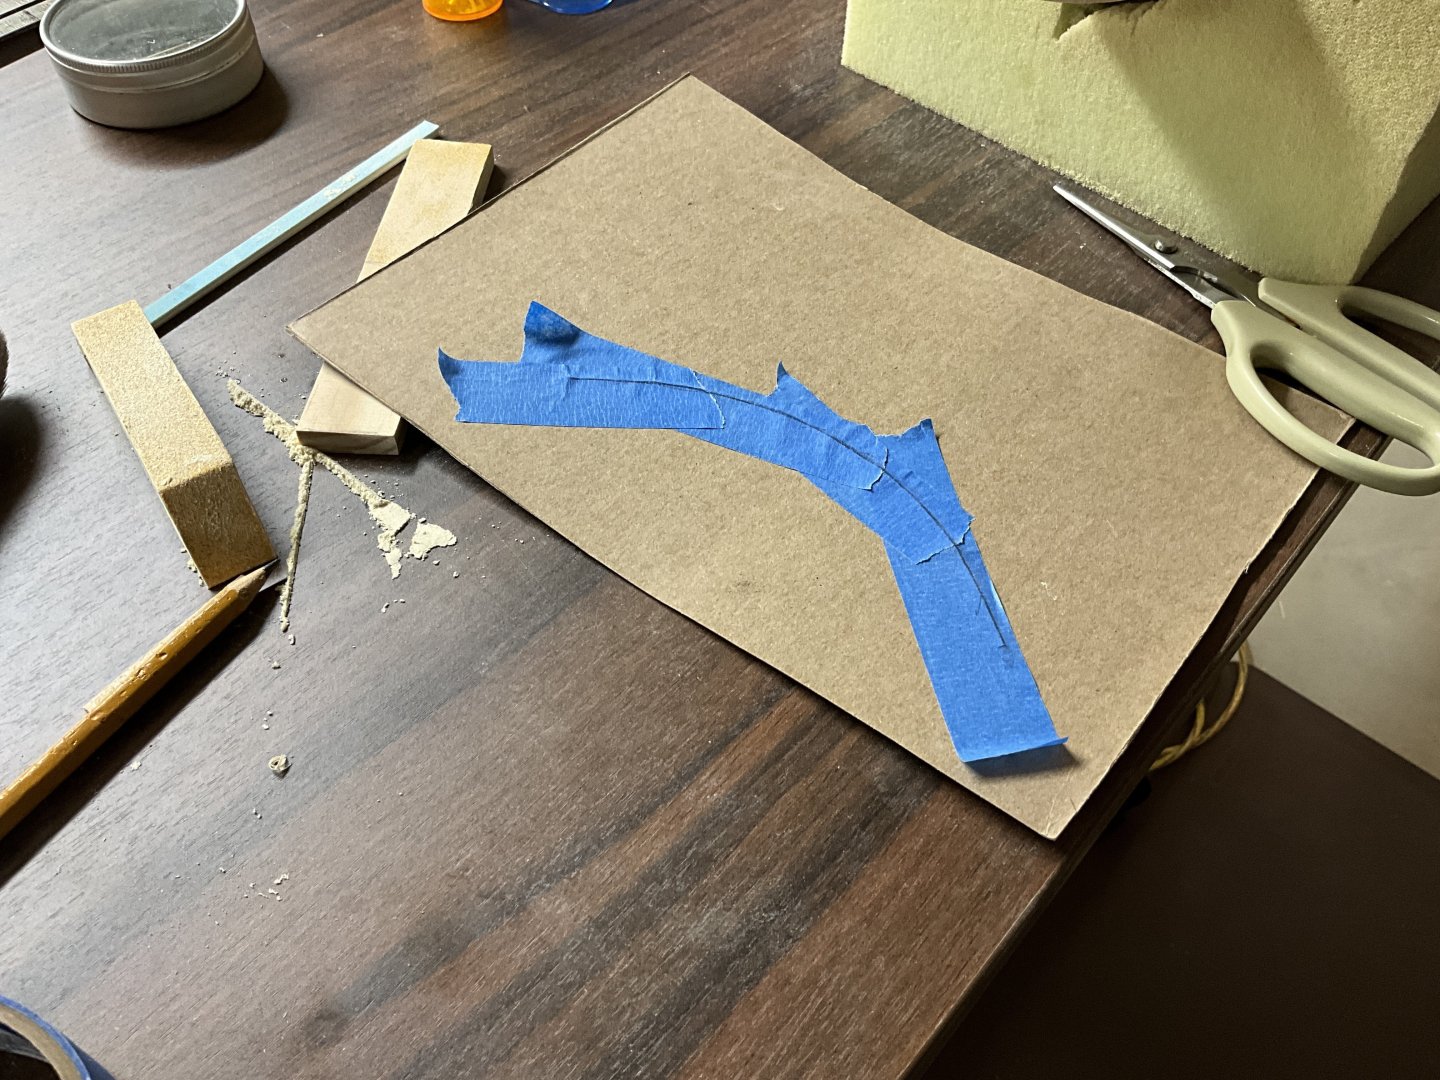
During the times the glue was drying I made a mould to shape the curved cockpit walls. Shaped one piece of 1/32” basswood sheet that was soaked in water for a few minutes. The grain is running vertically so it wasn’t difficult to shape. Let that dry for a couple of days and then glued another piece on top of the first piece.
Gave it a test fit to see how high it needed to be. Made some more parts for the main hatch. The center board crane was built up out of 5/16” x 1/16” AYC. Then more test fitting.
That’s about it for now. Hope to see you soon.