Rustyj
-
Posts
2,535 -
Joined
-
Last visited
Content Type
Profiles
Forums
Gallery
Events
Everything posted by Rustyj
-
 Hi Matt, I think because the scroll work has been placed on the outboard side the only thing you can do is either fill it or replace a portion of the clamp. For me I'd redo the clamp. I'm not sure where I'd make the cut though. It should be somewhere accessible where you can get to it in case you need a little filler and sand to hide the joint. If you think you can get a nice tight joint at the first beam then that's where I'd do it. If you have to use a little wood filler only you will know if you don't tell us. Trust me there's some on my Winnie!
 -
Fantastic design and execution! I can't wait to she her at the NE Conference.
-
Thank you JJ, Jim and Steve. Thank you Chuck for designing such a fine model. You'll be here before you know it and your Winnie is right up there with the best of them. I always look forward to seeing your fine work. Also thank you all for stopping by and for the likes!
- 642 replies
-
- 4
-

-
- winchelsea
- Syren Ship Model Company
- (and 1 more)
-
The wow keeps coming. Very nice matt!
-
Wow. That is one fine planking job!
-
Very nice Matt!
-
That decking is really nice! Well done.
- 389 replies
-
- 2
-
-
- winchelsea
- Syren Ship Model Company
- (and 1 more)
-
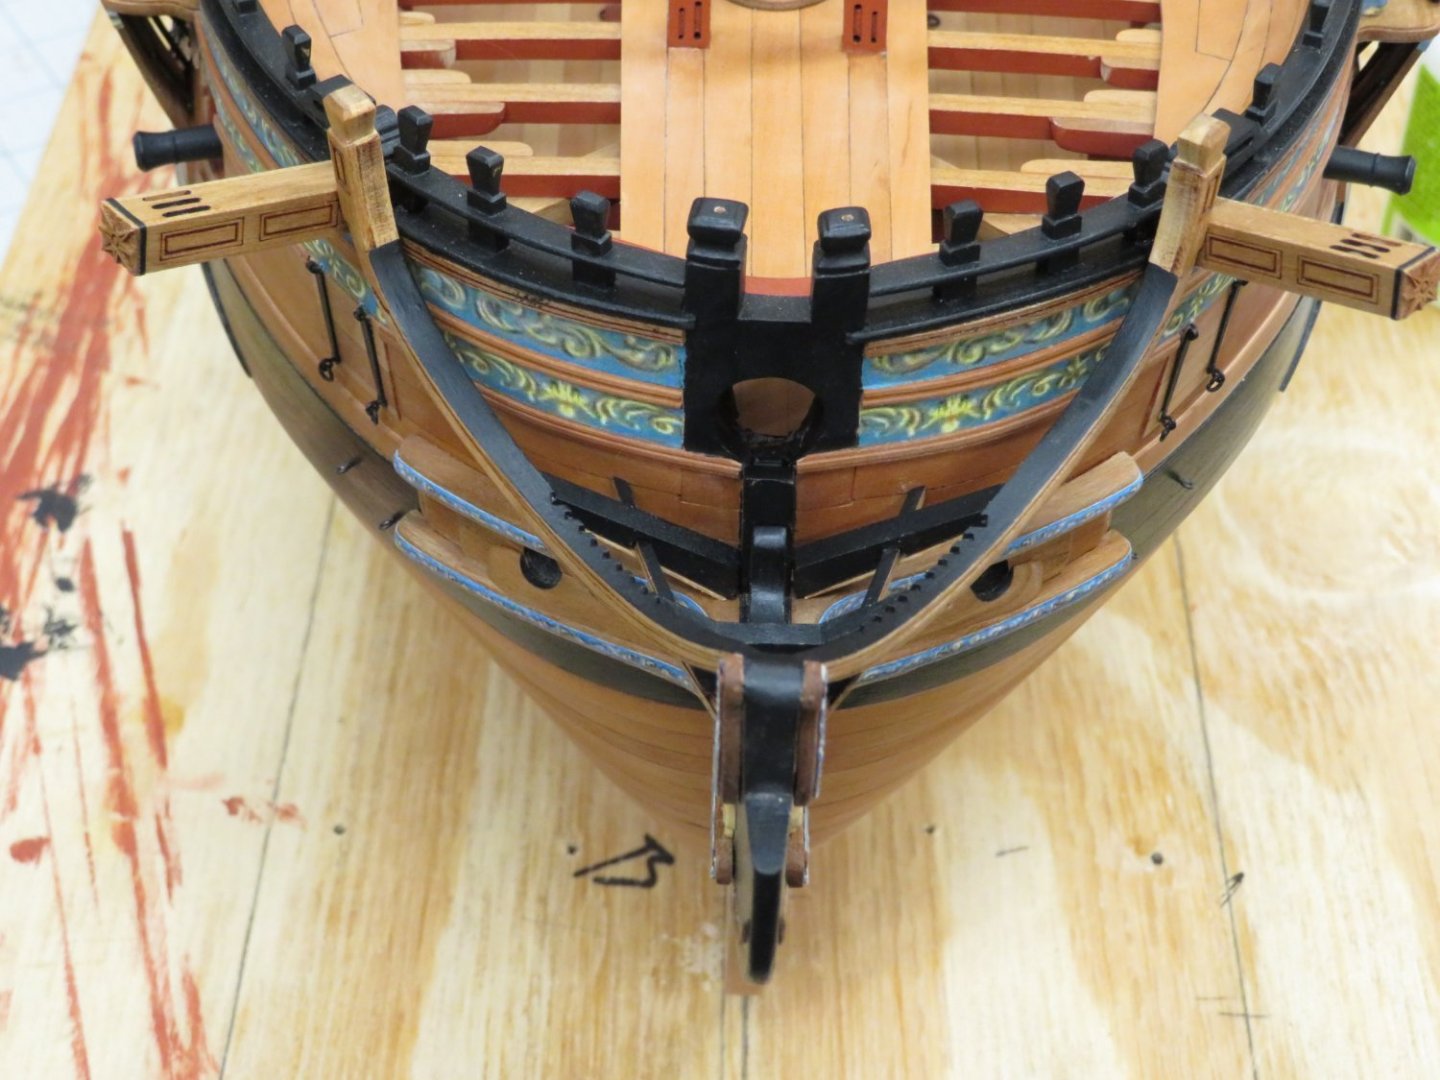
I've made more progress on the head timbers and cover boards. Chuck kindly supplied two sets of timbers. My first attempt worked but they weren't as good as I would have liked so I did them again with the second set. After many many hours of adjusting and tweaking I'm happy with the results. Not perfect but the best head timbers I have ever done. Next I will be doing the cathead support knees and head gratings.

- 642 replies
-
- 15
-
-

-
- winchelsea
- Syren Ship Model Company
- (and 1 more)
-
On my my my. That is soooo small and soooo tempting. I'd really have to give it a go if it becomes available. The swear jar would get a hefty donation too!
-
Wonderful workmanship JJ. Looking forward to you finishing her up. You are also heading fast to the finish!
-
Hi Mike. Chucks version of Speedwell Is high on the list. Thank you B.E. I get so much inspiration from you, Chuck and so many other fine modelers here I can't name them all. Thank to you all. Thanks for the likes to!
- 642 replies
-
- 5
-
-
- winchelsea
- Syren Ship Model Company
- (and 1 more)
-
Thanks James. It's always kinda sad when something you spent years doing comes to an end. But then on the other hand it opens up the shop to new adventures. That's always something to look forward to.
- 642 replies
-
- 4
-
-
- winchelsea
- Syren Ship Model Company
- (and 1 more)
-
Thanks Mike and Glenn. Yes a lot of patience needed. Especially with the head timbers. Just minor sanding, test fit, oh that looks good,set the second one in place, sand and adjust, now the first one needs adjusting again! And repeat repeat repeat! No shortcuts no big tips just a lot of patience. By the way did I say I'm not very patient.😅
- 642 replies
-
- 6
-
-
- winchelsea
- Syren Ship Model Company
- (and 1 more)
-
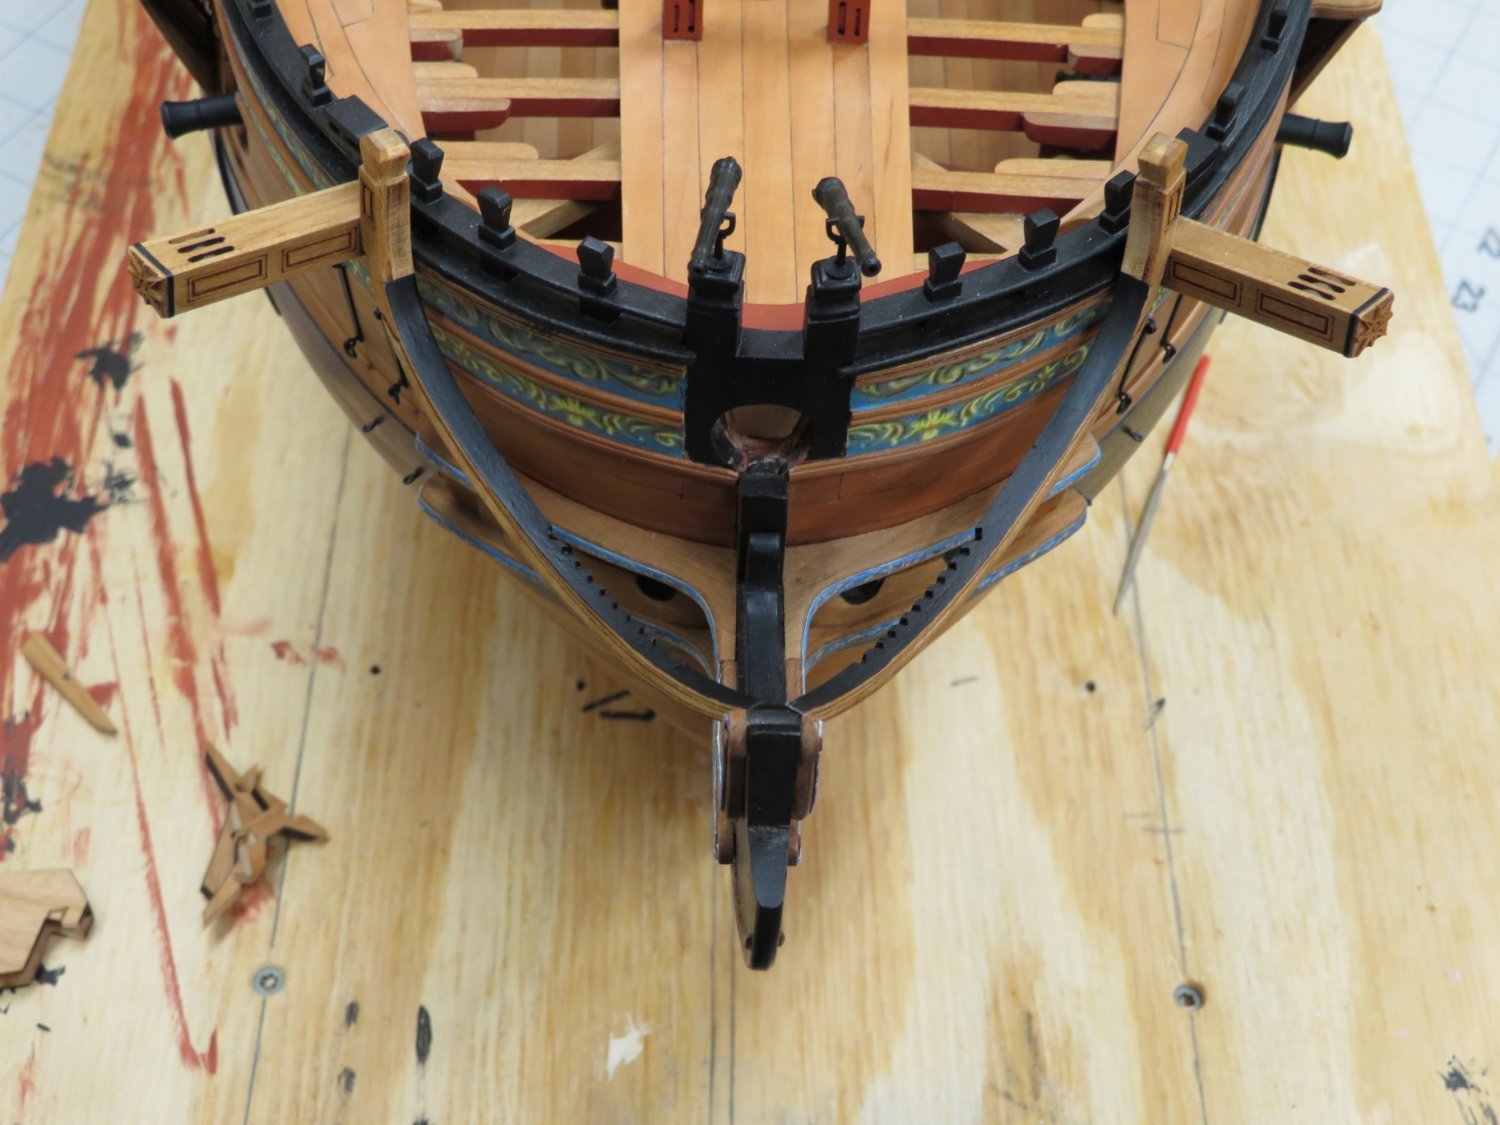
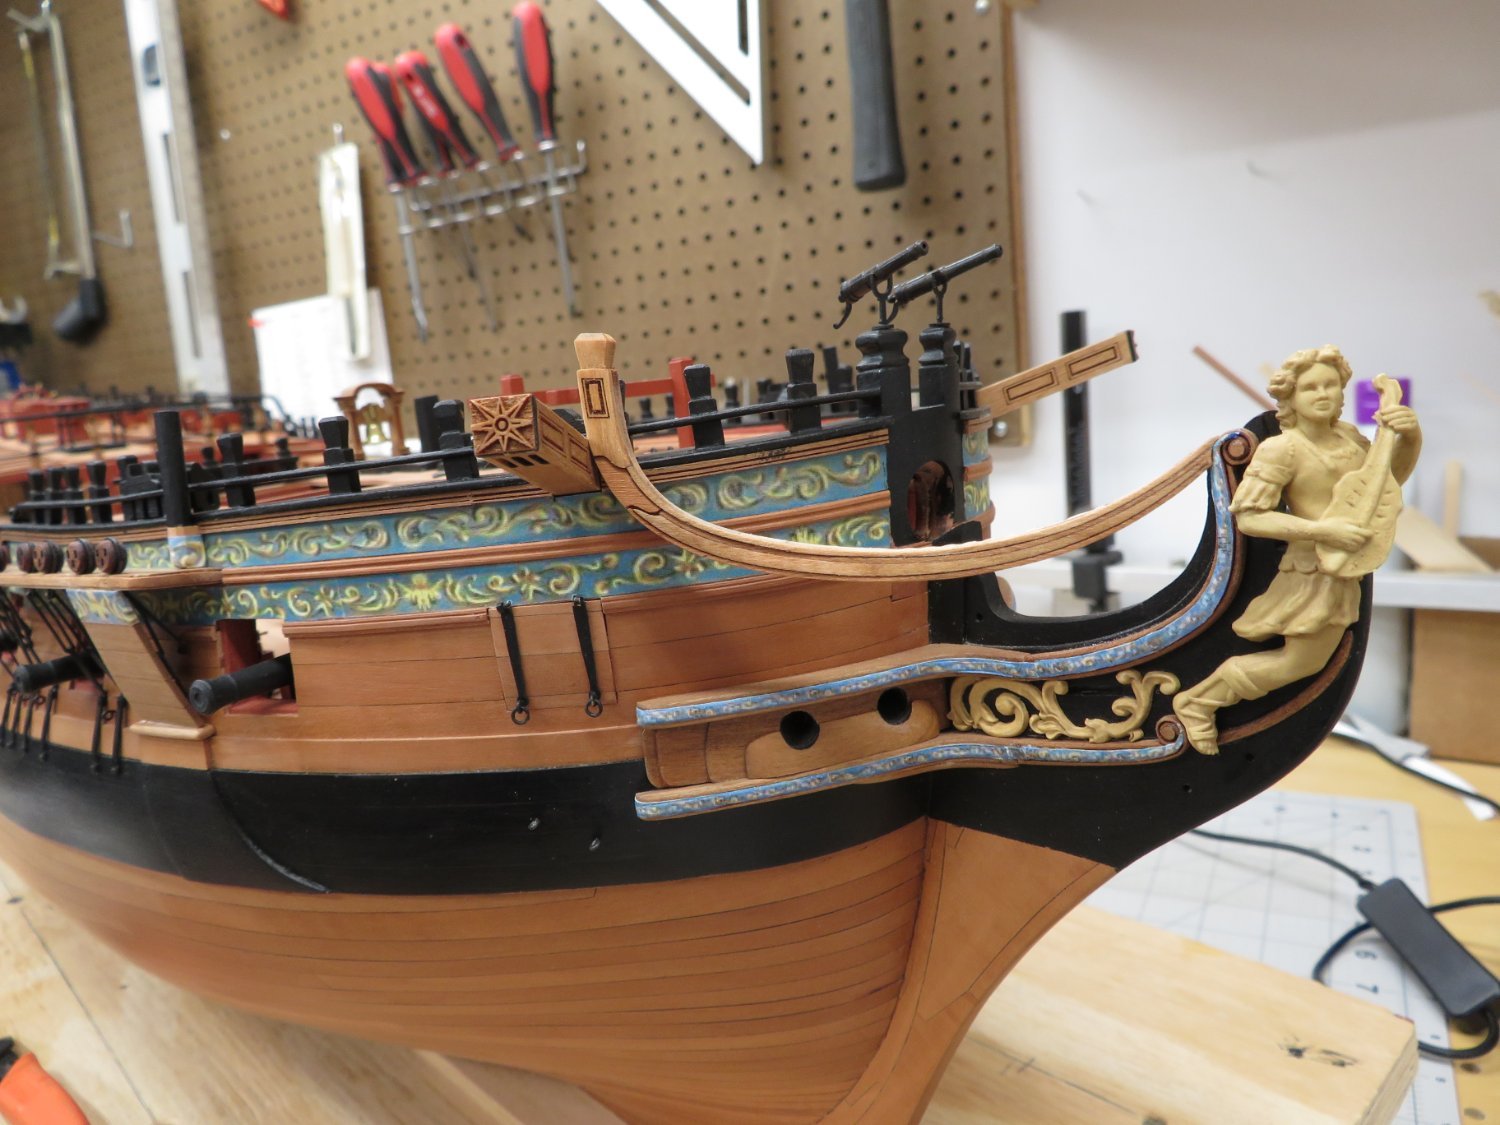
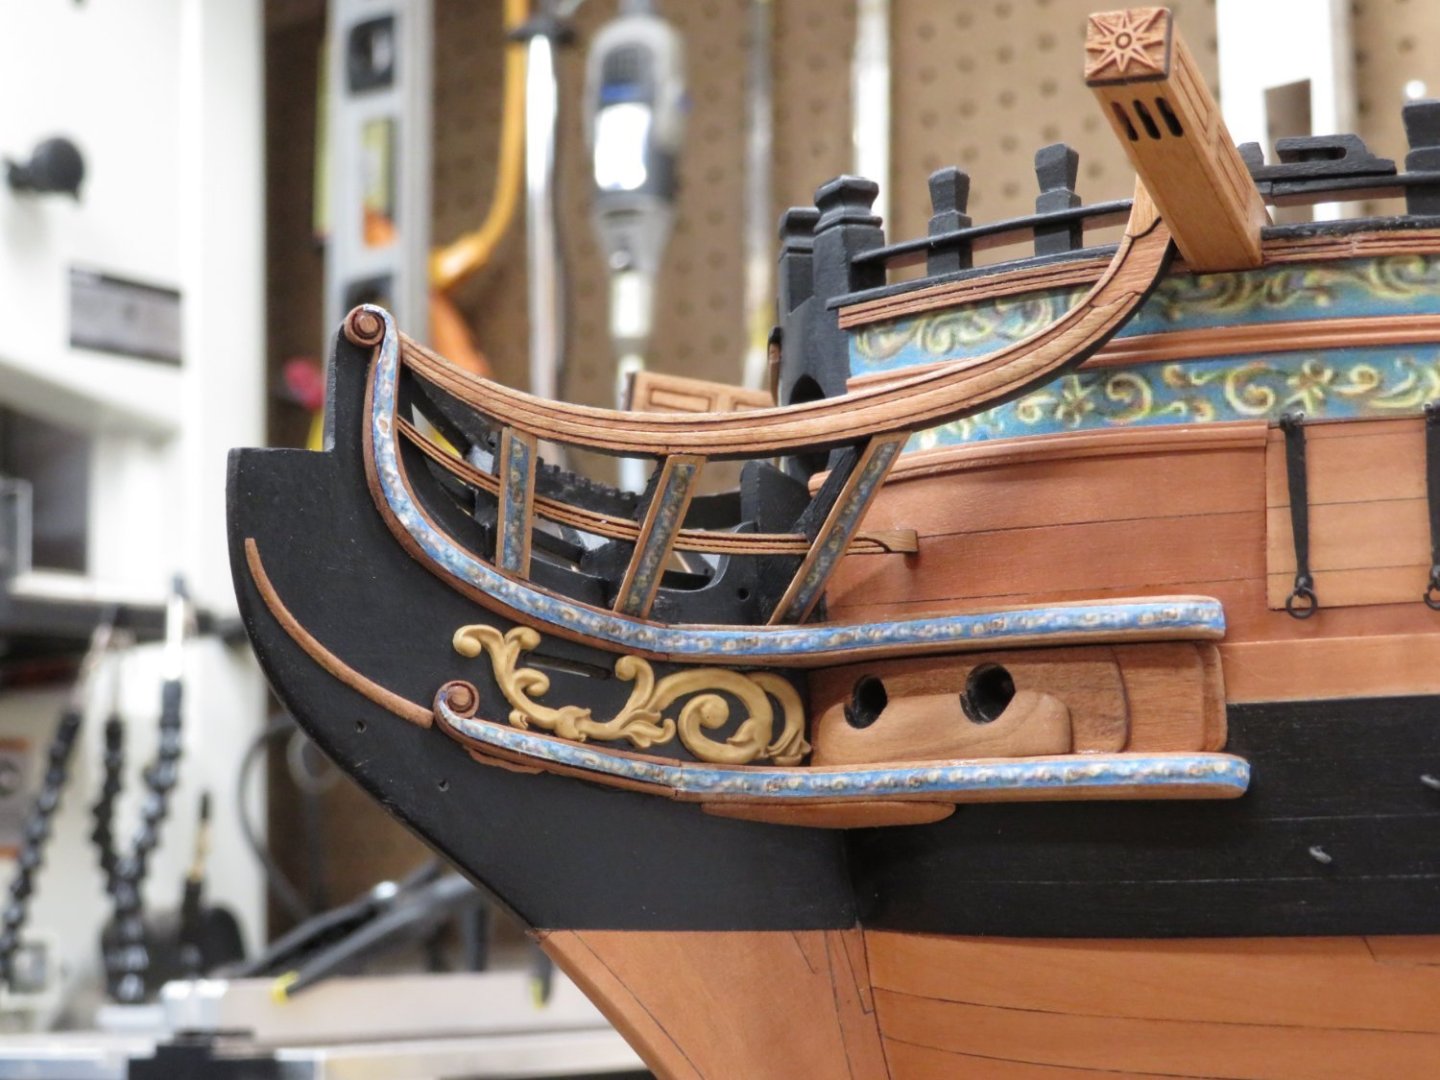
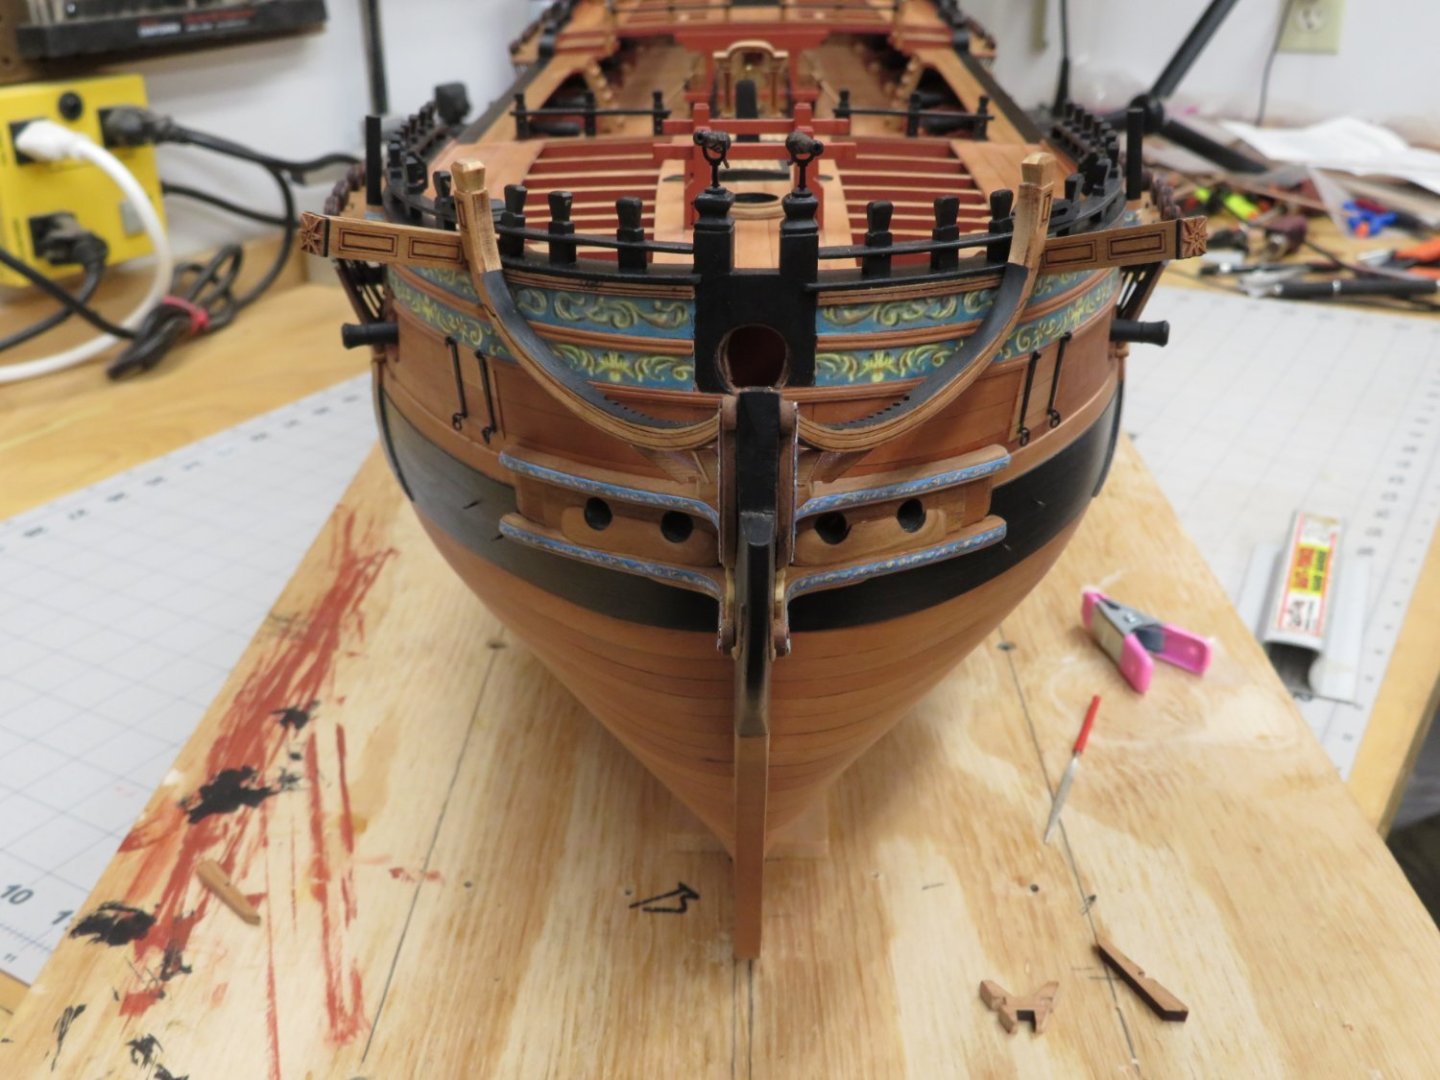
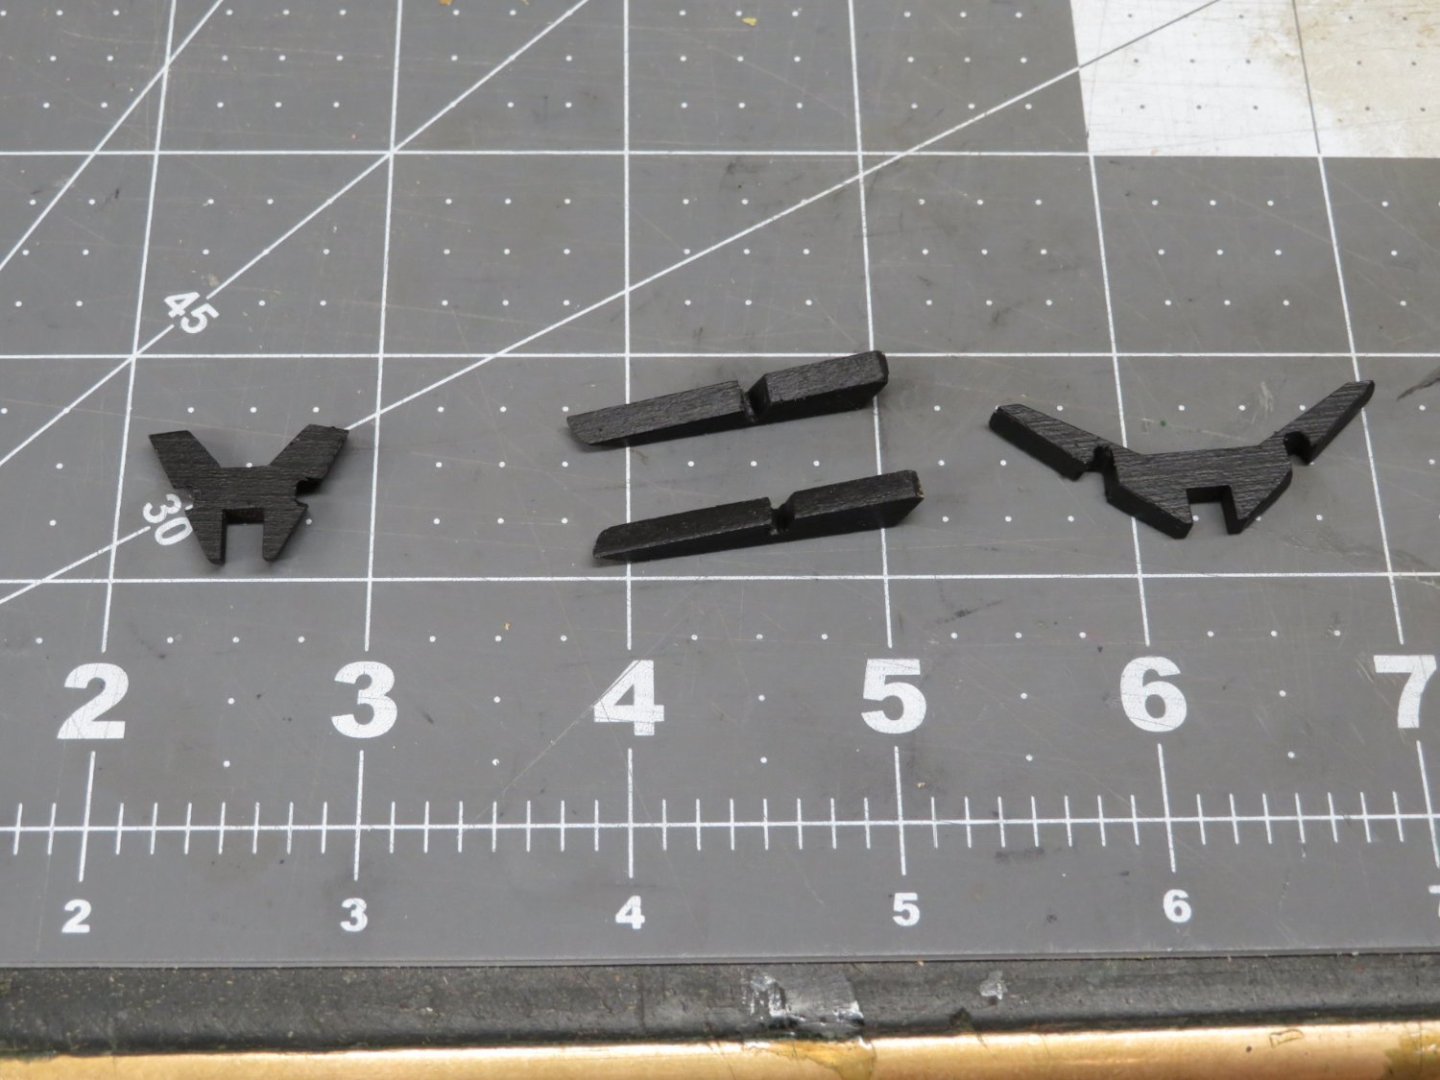
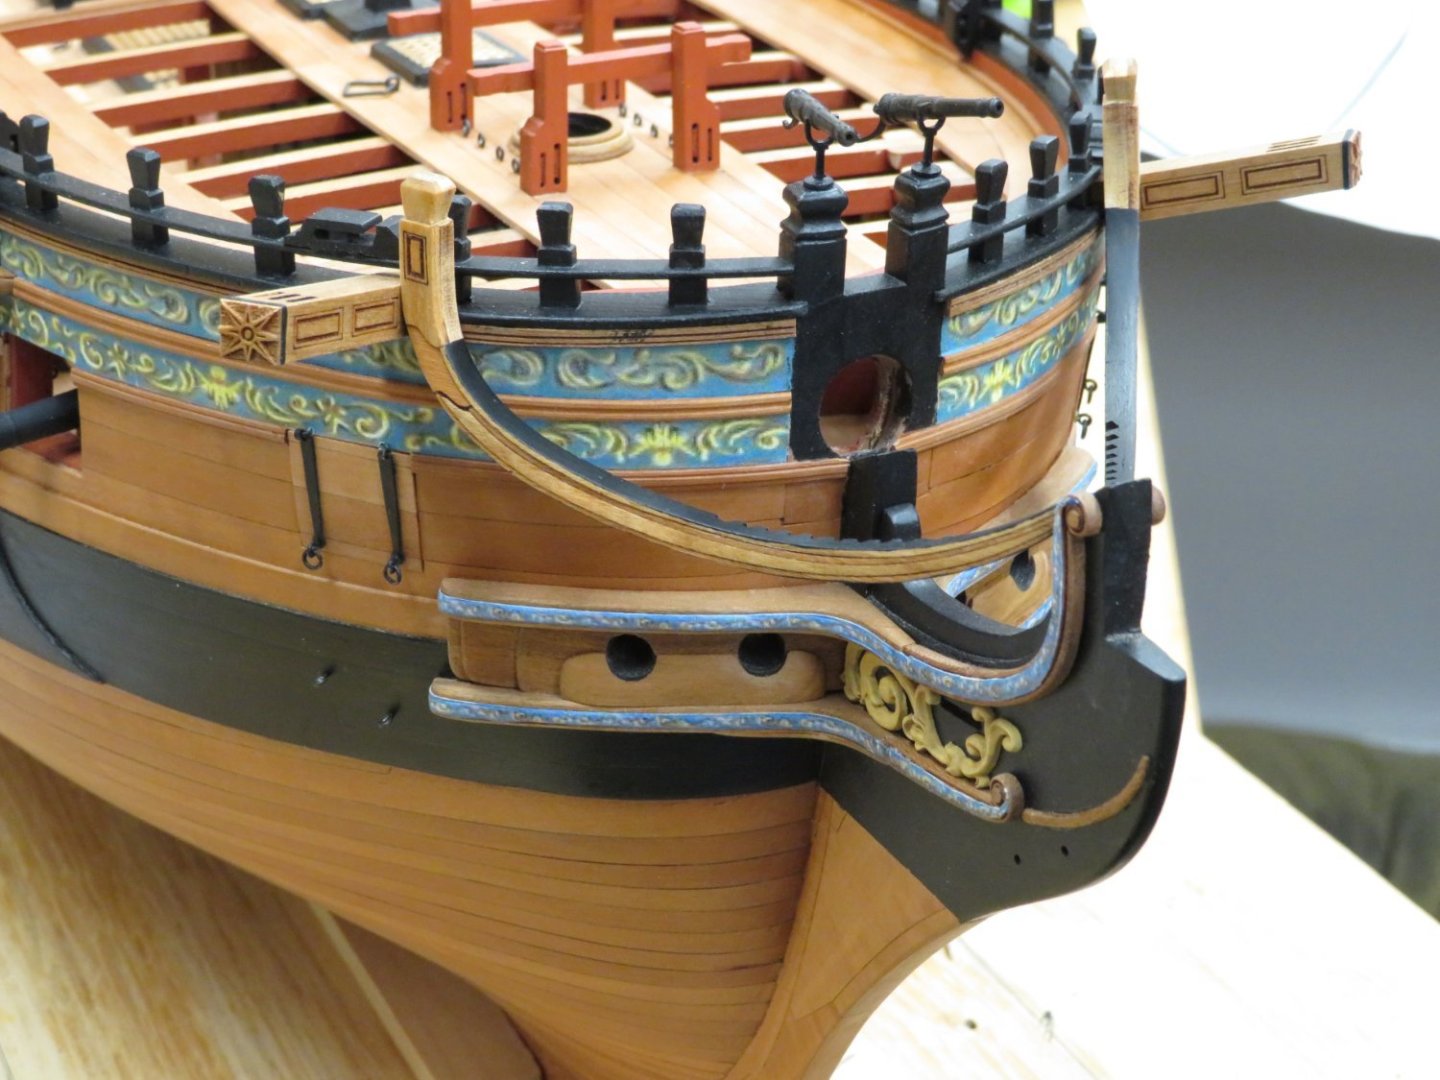
I've finished the prep work on the main rails and they are just set in place until I get all the adjustments done on the head timbers. The head timbers have been preliminarily shaped and painted. Now the multiple adjustments need to be made prior to being added to the bow.


- 642 replies
-
- 14
-
-
- winchelsea
- Syren Ship Model Company
- (and 1 more)
-
Very nice Mike. Thank you for the description and pictures. They will be a great help.
-
That stove looks perfect!
-
That is a stunning stern Glenn. I just sat and admired your wonderful workmanship!
- 840 replies
-
- 4
-
-
- winchelsea
- Syren Ship Model Company
- (and 1 more)
-
Looks really nice B.E. that's quite a bend but you've got a nice run.
- 648 replies
-
- 5
-
-

-
- Indefatigable
- Vanguard Models
- (and 1 more)
-
Hi Glenn, Like everything Chucks makes, take your time and the results speak for themselves. Nope not even close. I've been constantly looking at yours and Mikes logs to assist me. Questions are sure to follow. This will be a challenging chapter but a whole lot of fun. Thanks for all the likes too!
- 642 replies
-
- 5
-
-
- winchelsea
- Syren Ship Model Company
- (and 1 more)
-
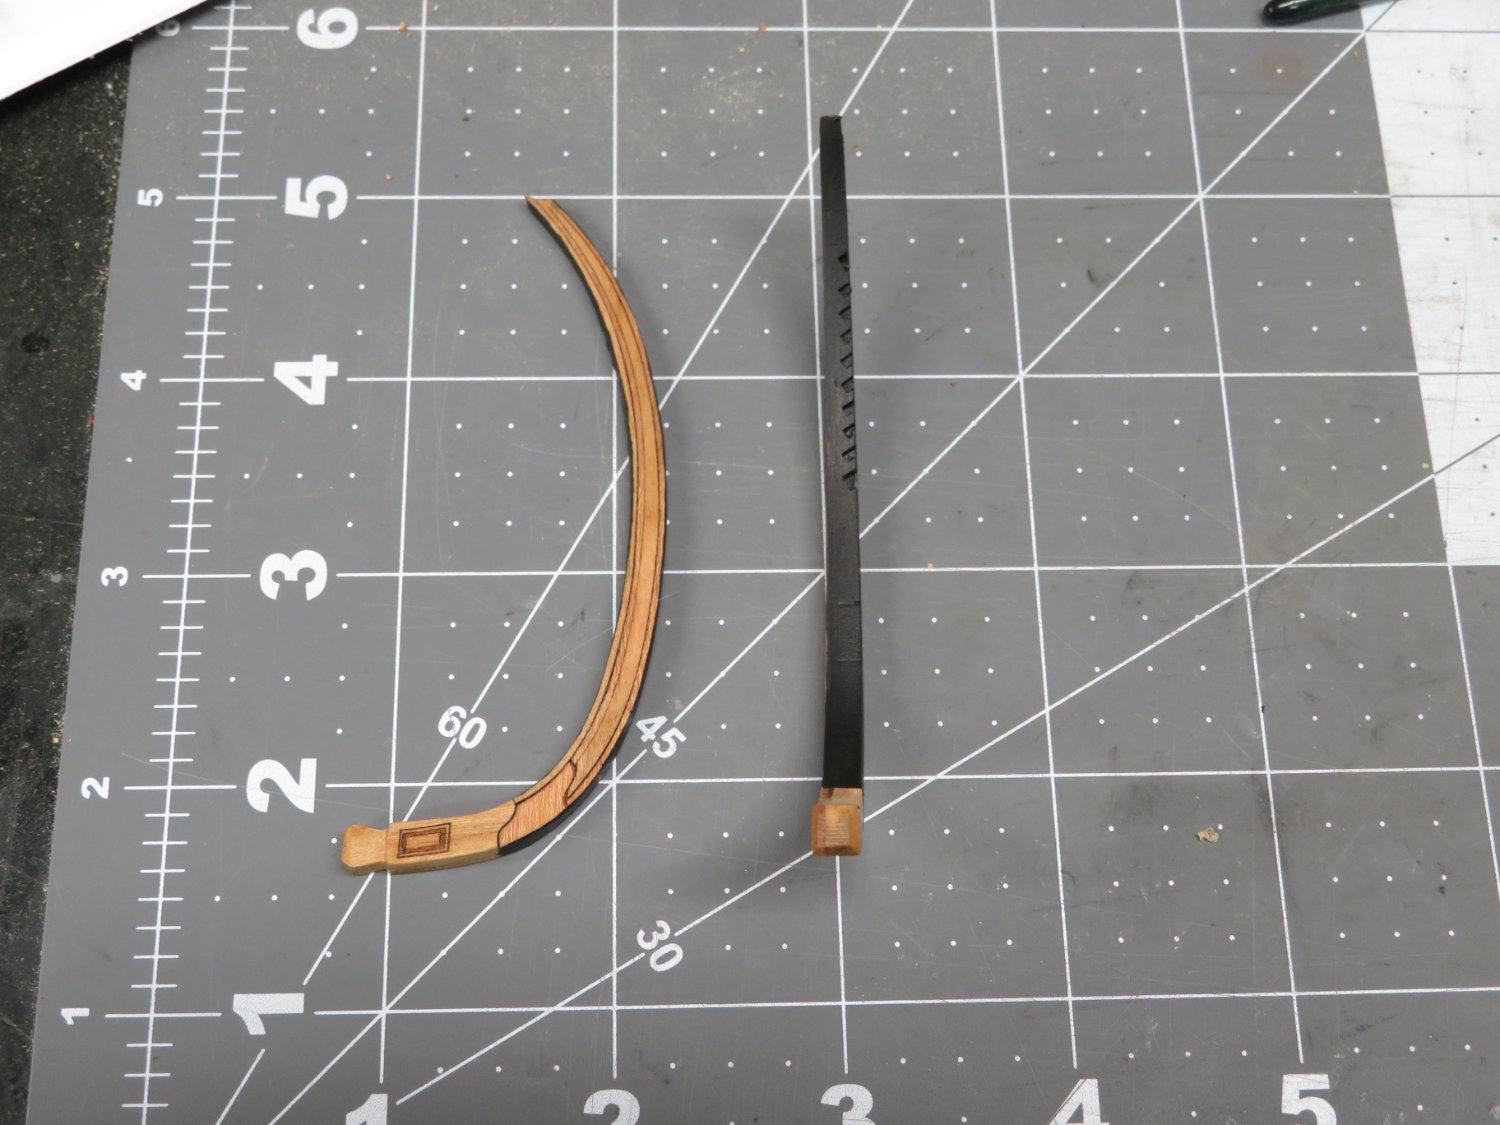
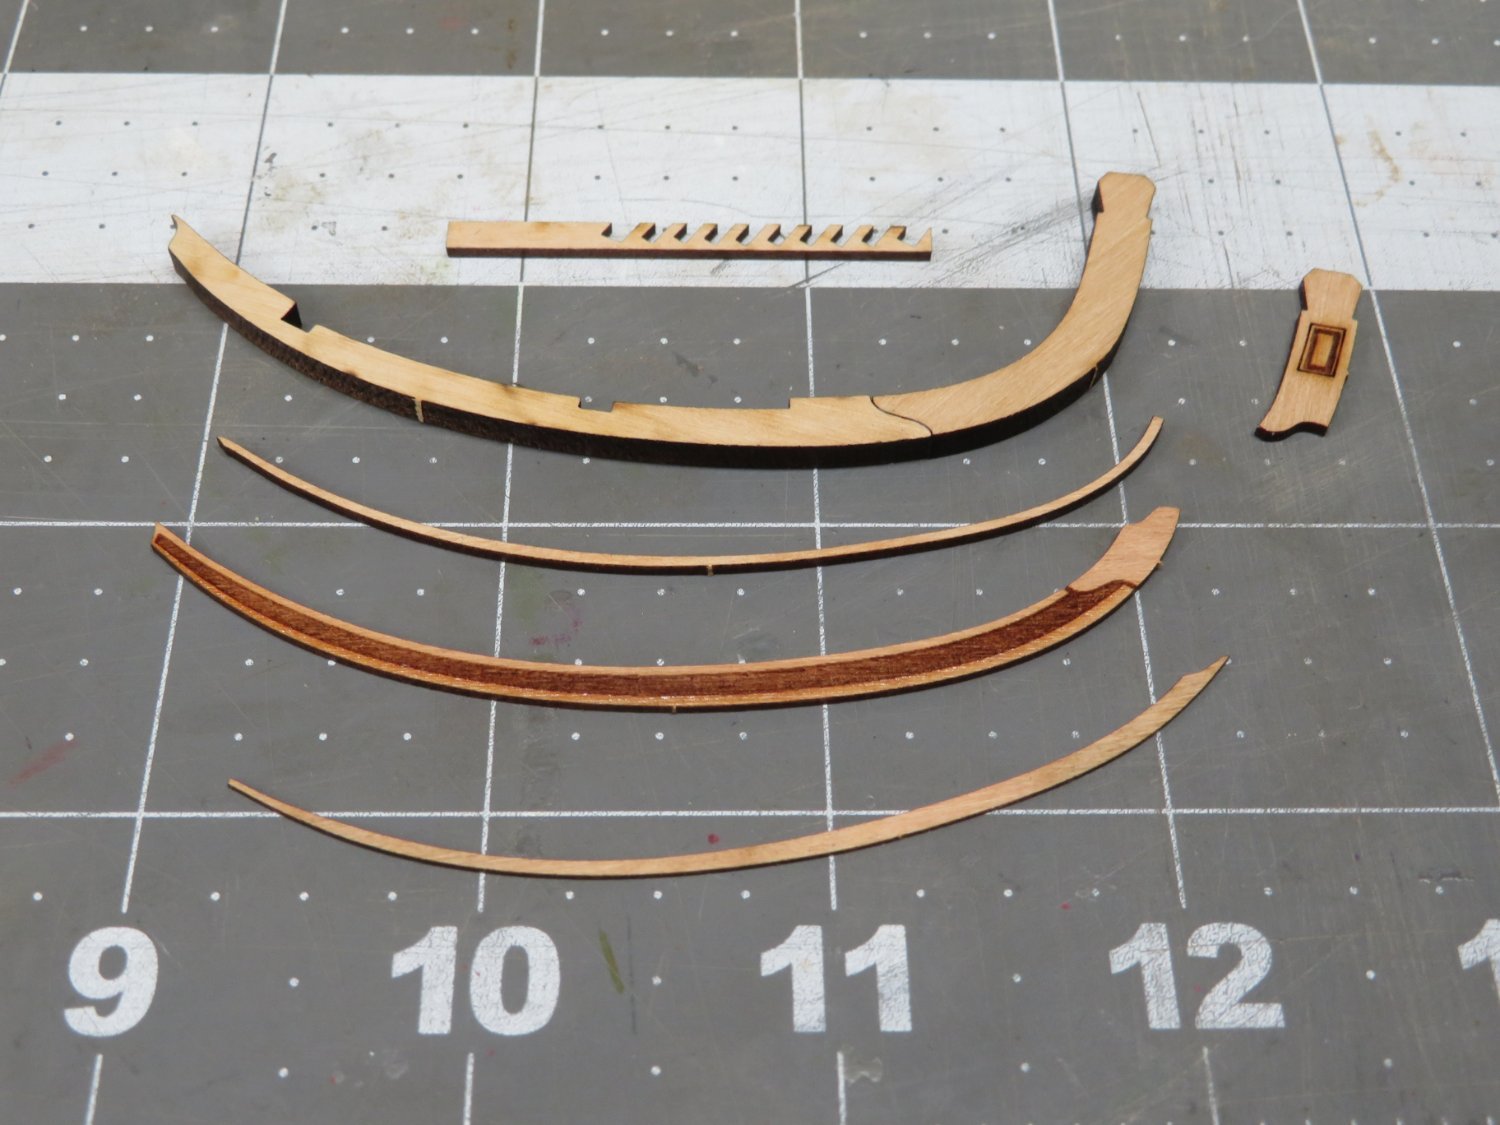
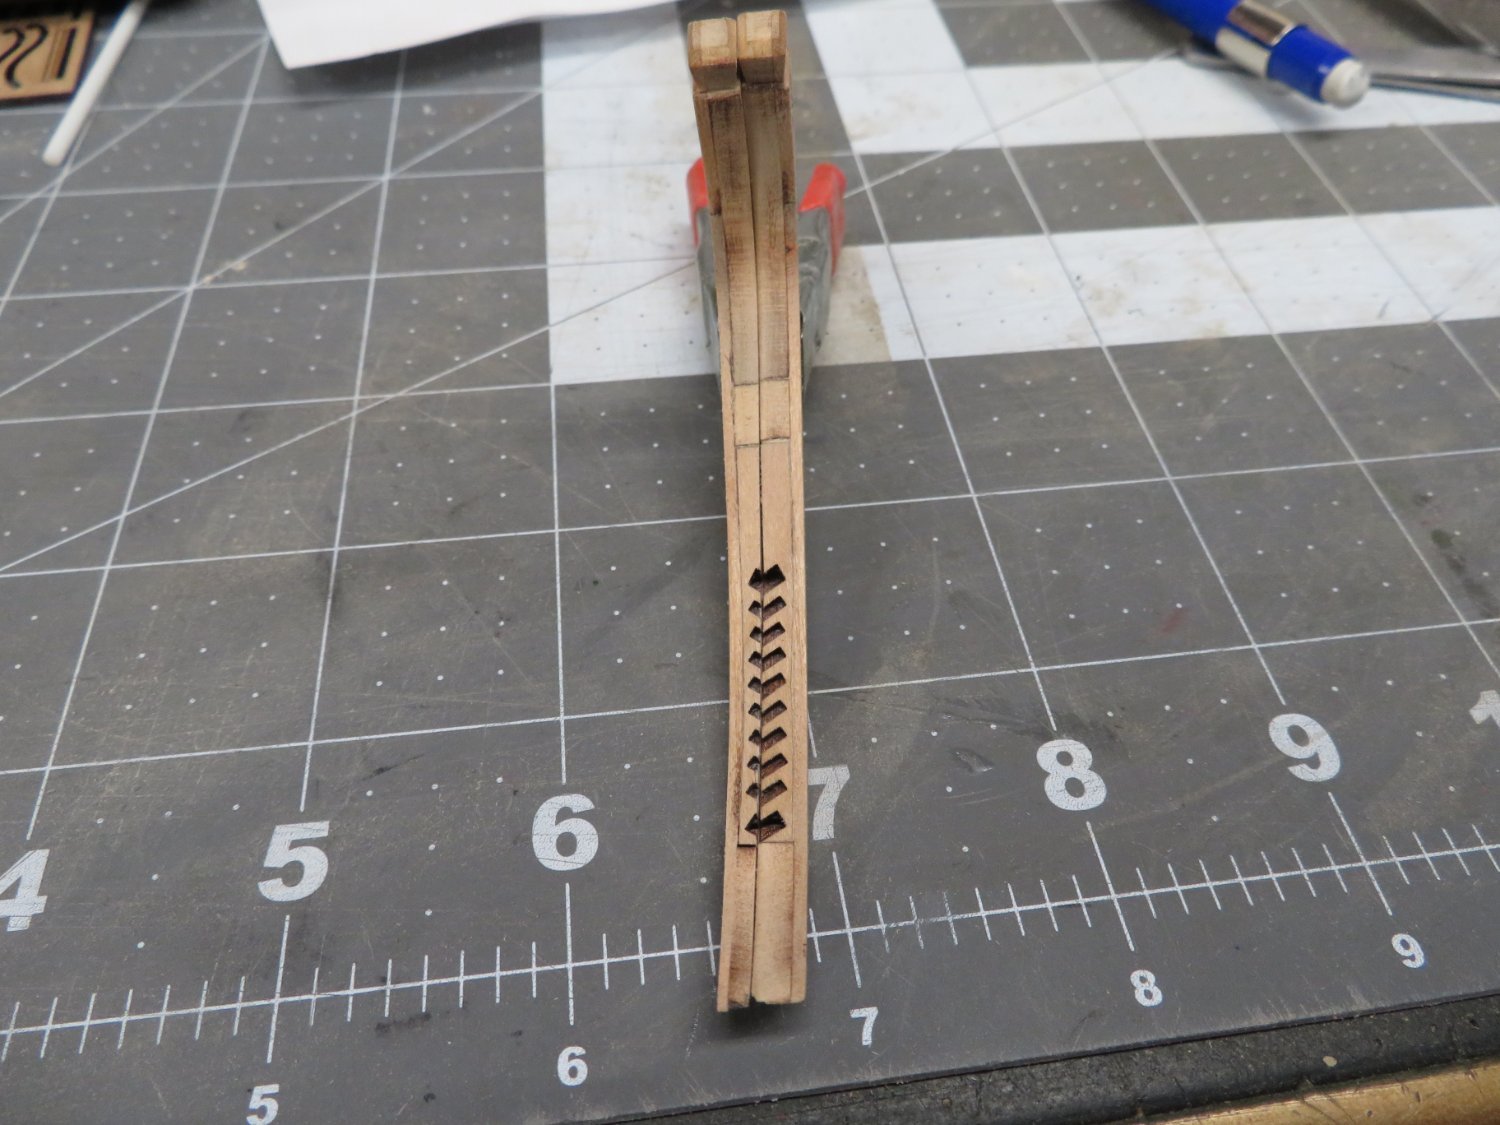
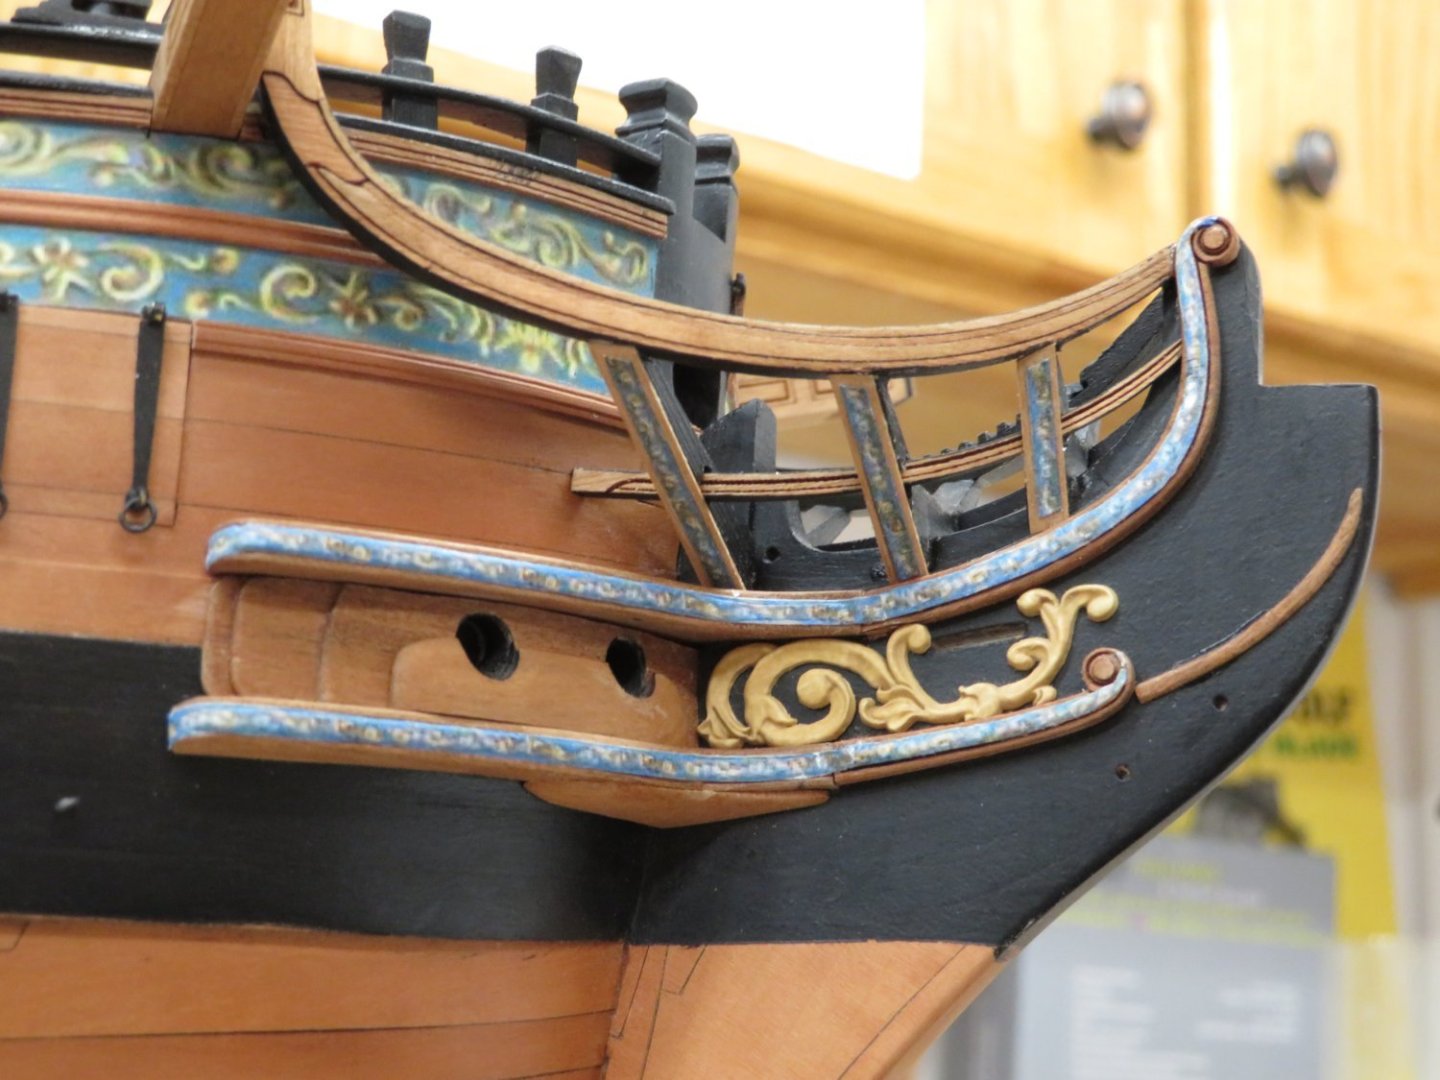
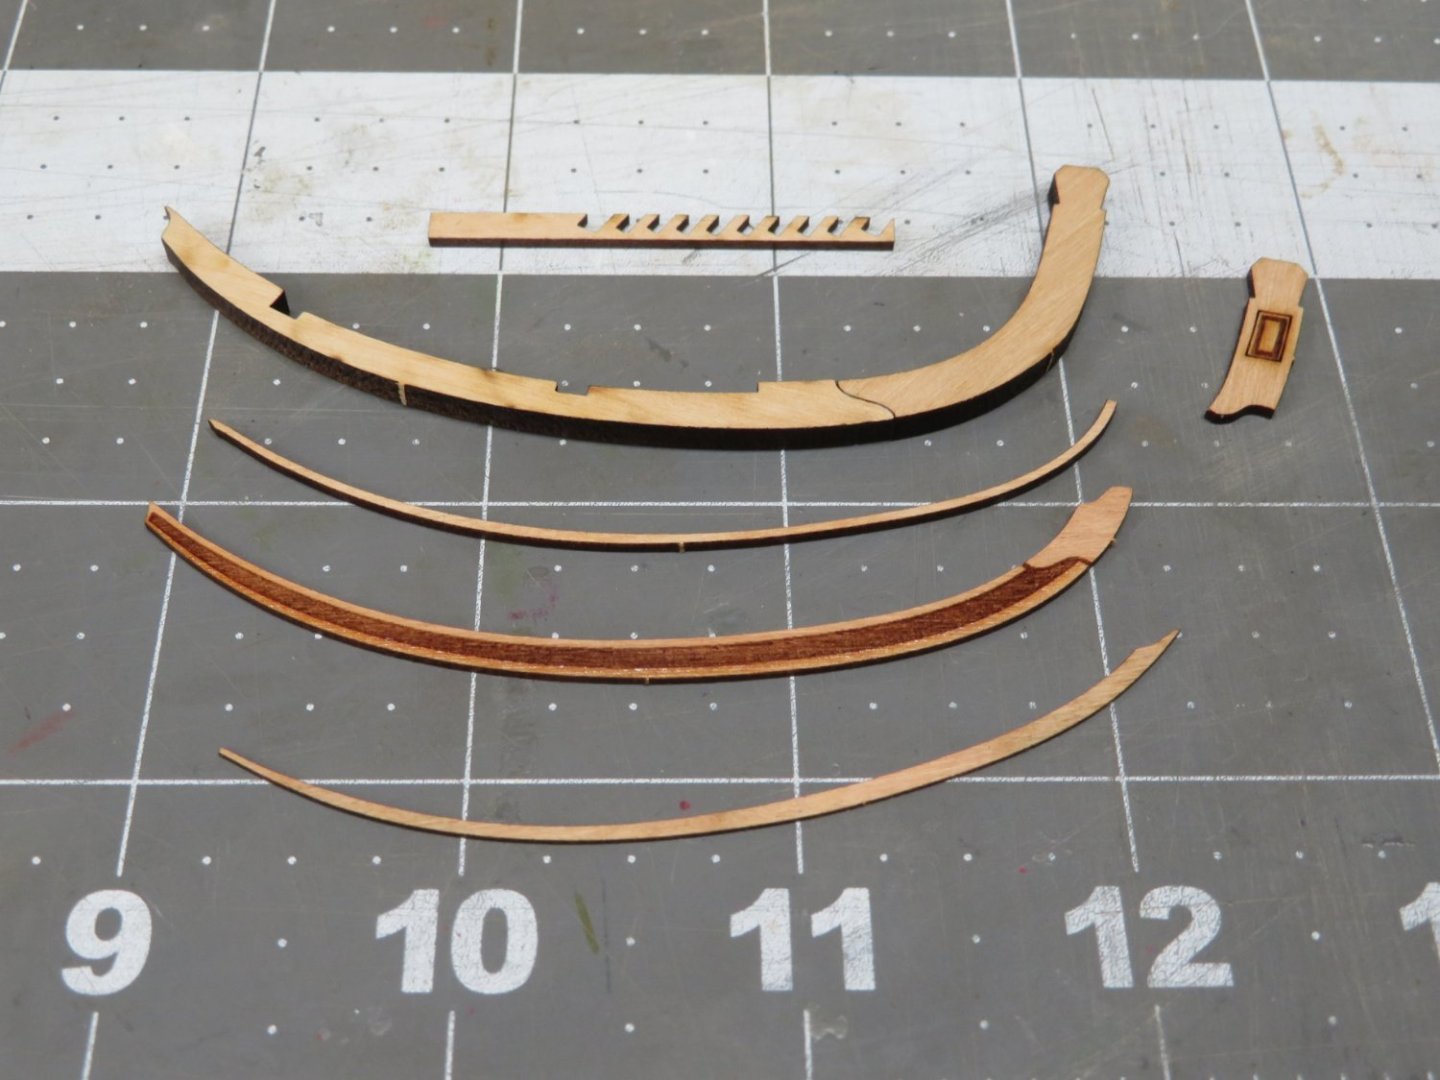
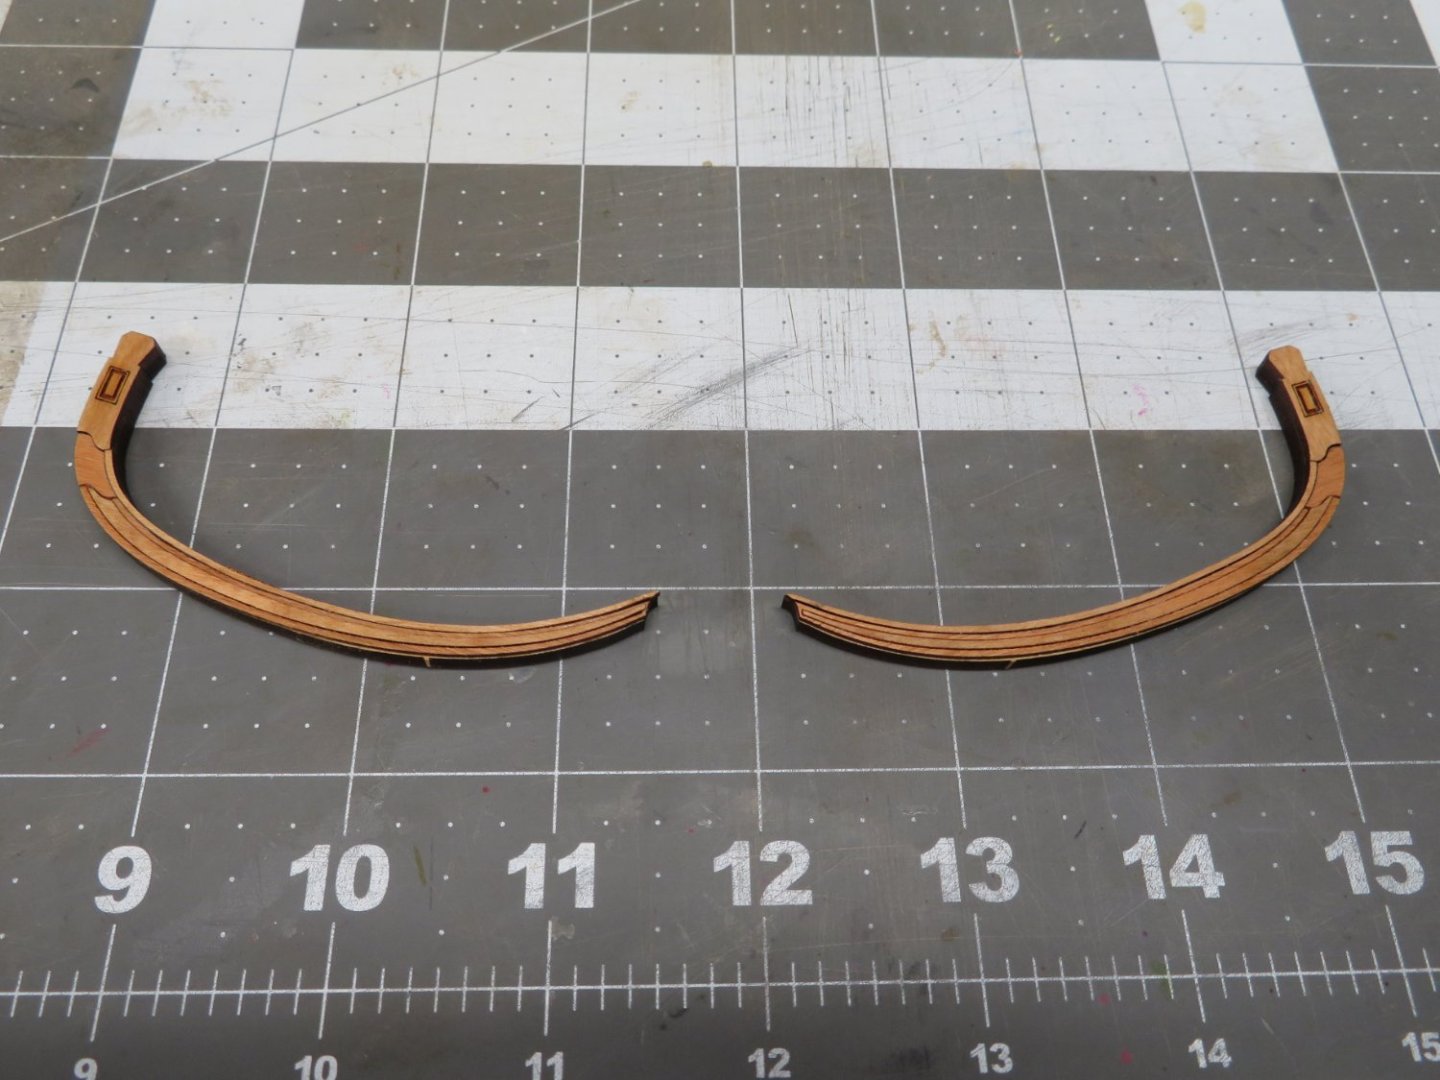
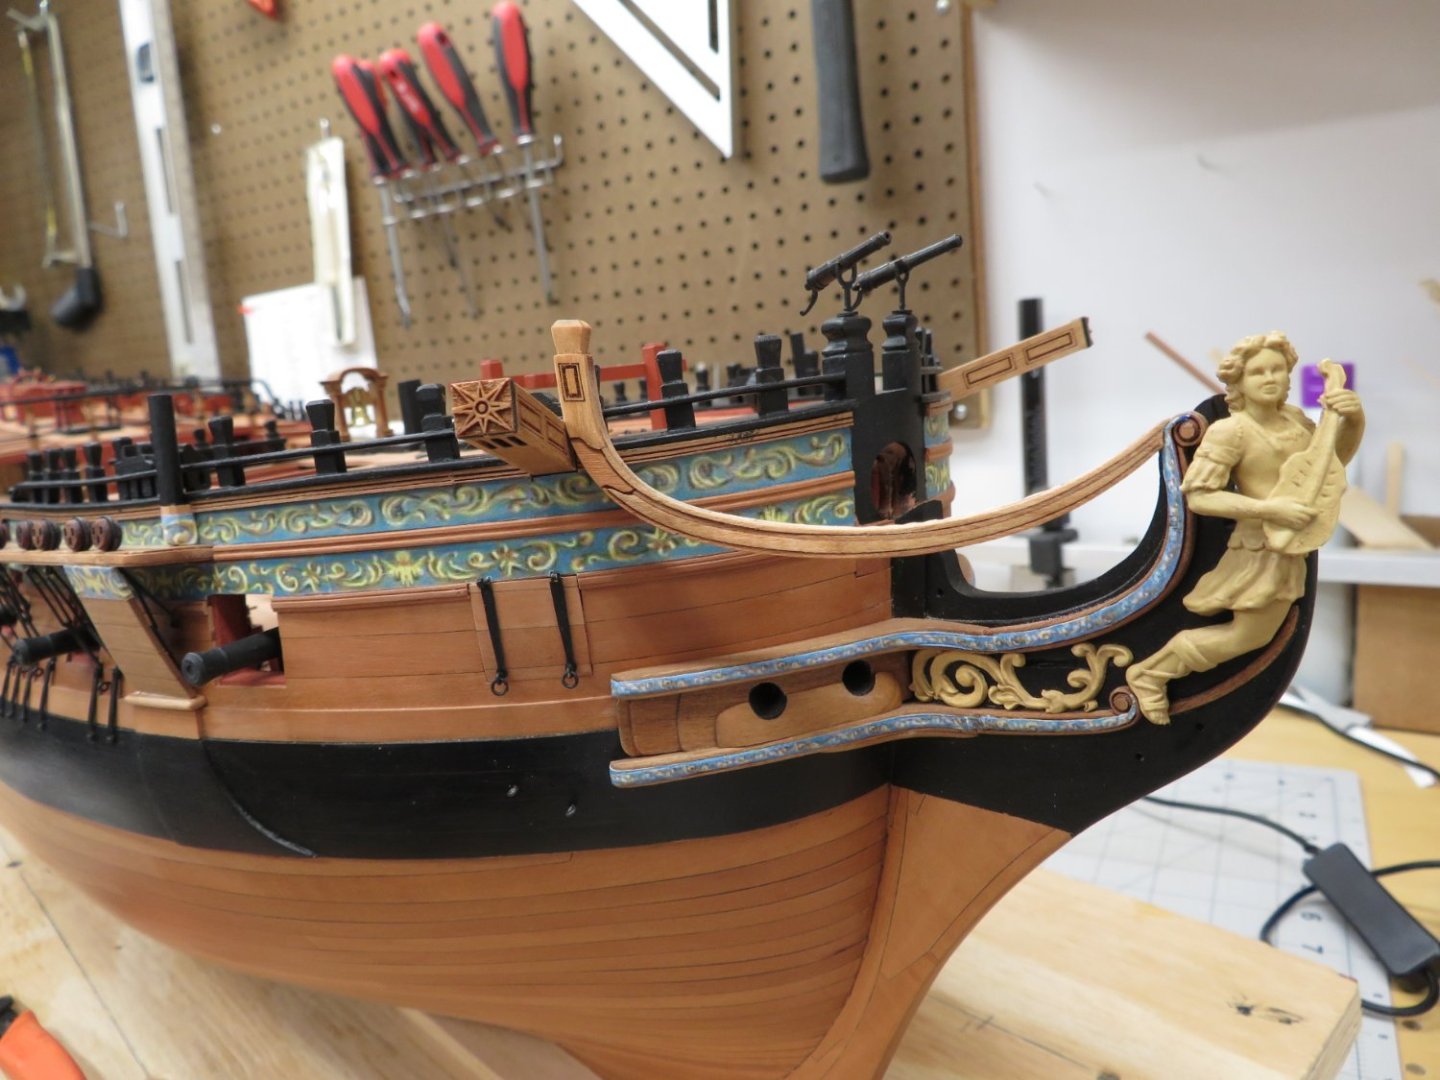
I've started on the main rails. As you can see there are multiple pieces and layers. The cuts were perfect and they went together very well. Once assembled the inboard side needed to be sanded from 5/32" at the timberhead to 5/64" at the forward end. The one on the left has been sanded to size and the one on the right has not been sanded yet. Here the headrail has been placed just to see how it looks.

- 642 replies
-
- 12
-
-
-
- winchelsea
- Syren Ship Model Company
- (and 1 more)
-
Beautiful looking rudder Glenn. It also highlights the great planking job. I thought I was the only one who counted up all of the pieces, holes drilled etc. Also, a word of caution as you move the hull around while working it's really easy to bang the rudder and knock it off. Not that I know from experience. Nope not me. 😉
- 840 replies
-
- 6
-

-
-
- winchelsea
- Syren Ship Model Company
- (and 1 more)
-
Yes Chuck one more! It's kind of a happy sad moment! Thank you Matt. They really help complete the decks look. Thanks JJ, You'll be here before you know it! Thanks to Chuck always supplying extras I've repaired the damaged deadeyes and placed the eye bolts. It's on to chapter 12 and the head rails!
- 642 replies
-
- 2
-
-
- winchelsea
- Syren Ship Model Company
- (and 1 more)
-
Wow I never expected that to be one piece. Very creative!
-
Dust or not, she is looking fantastic.