


Massimodels
-
Posts
20 -
Joined
-
Last visited
Content Type
Profiles
Forums
Gallery
Events
Posts posted by Massimodels
-
-
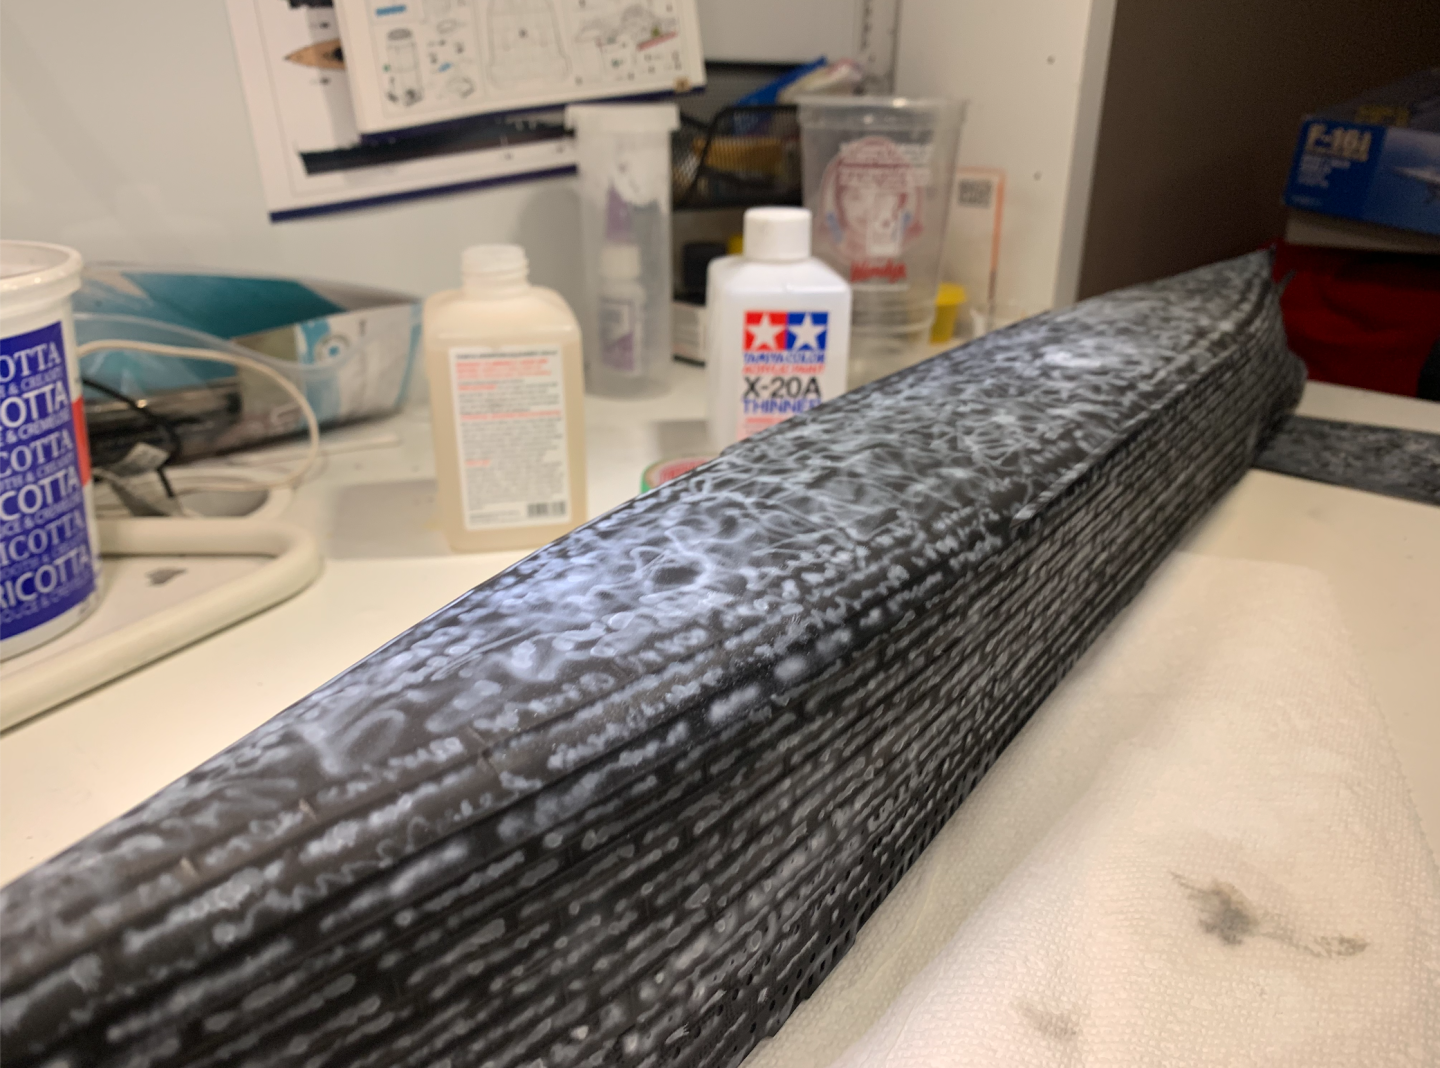
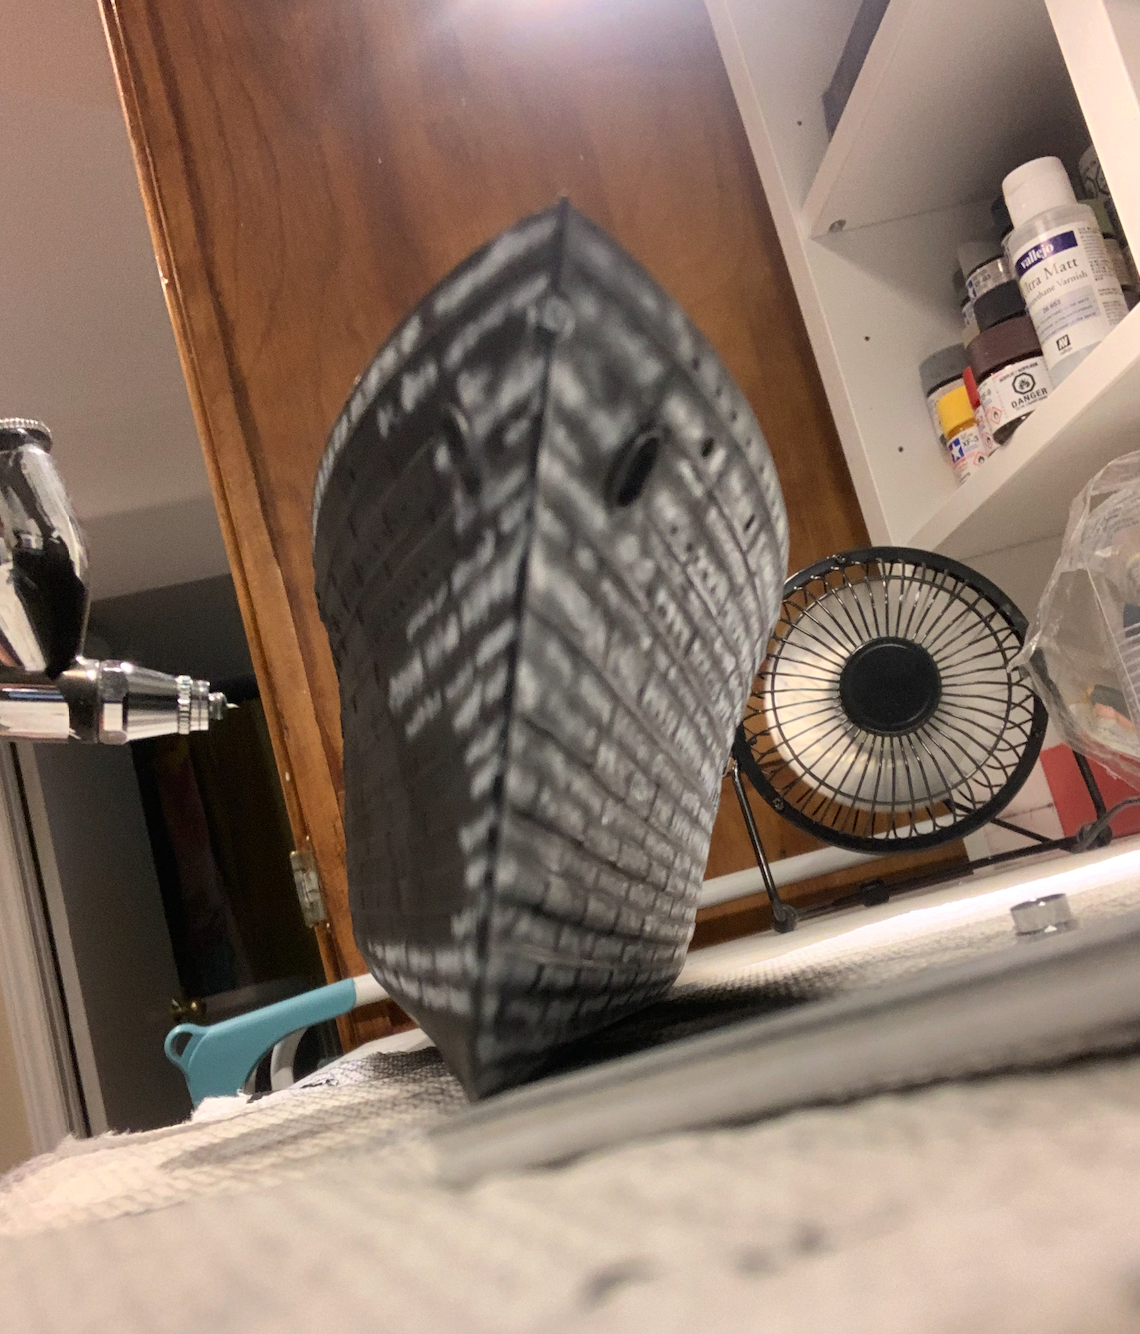
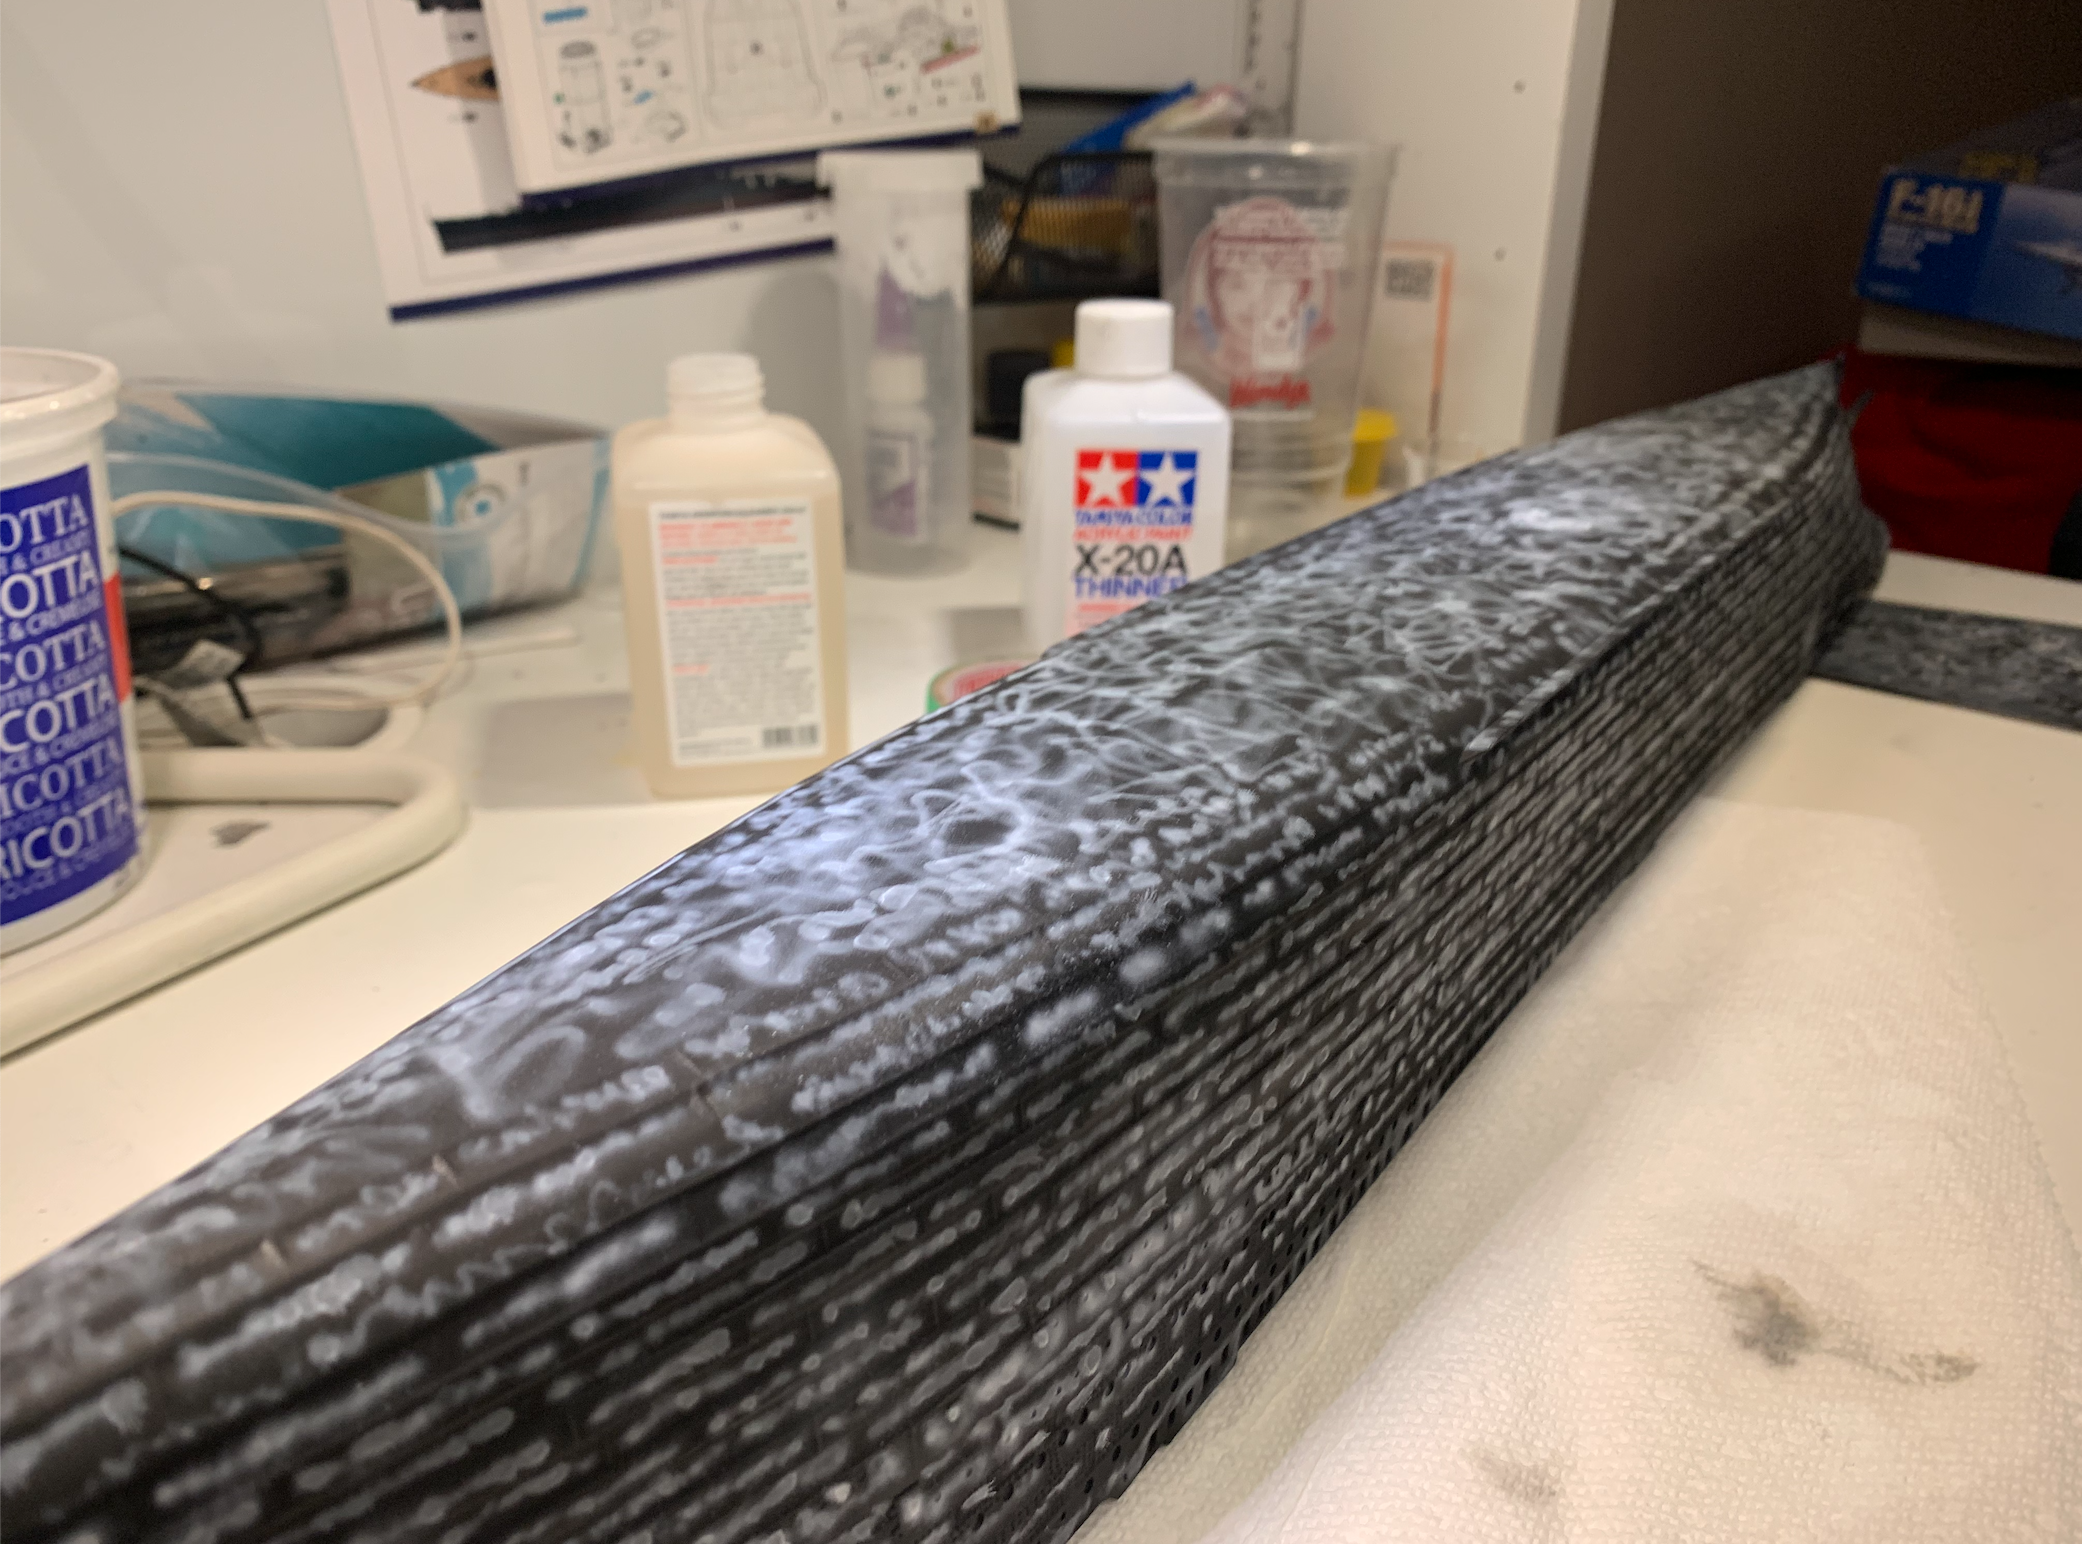
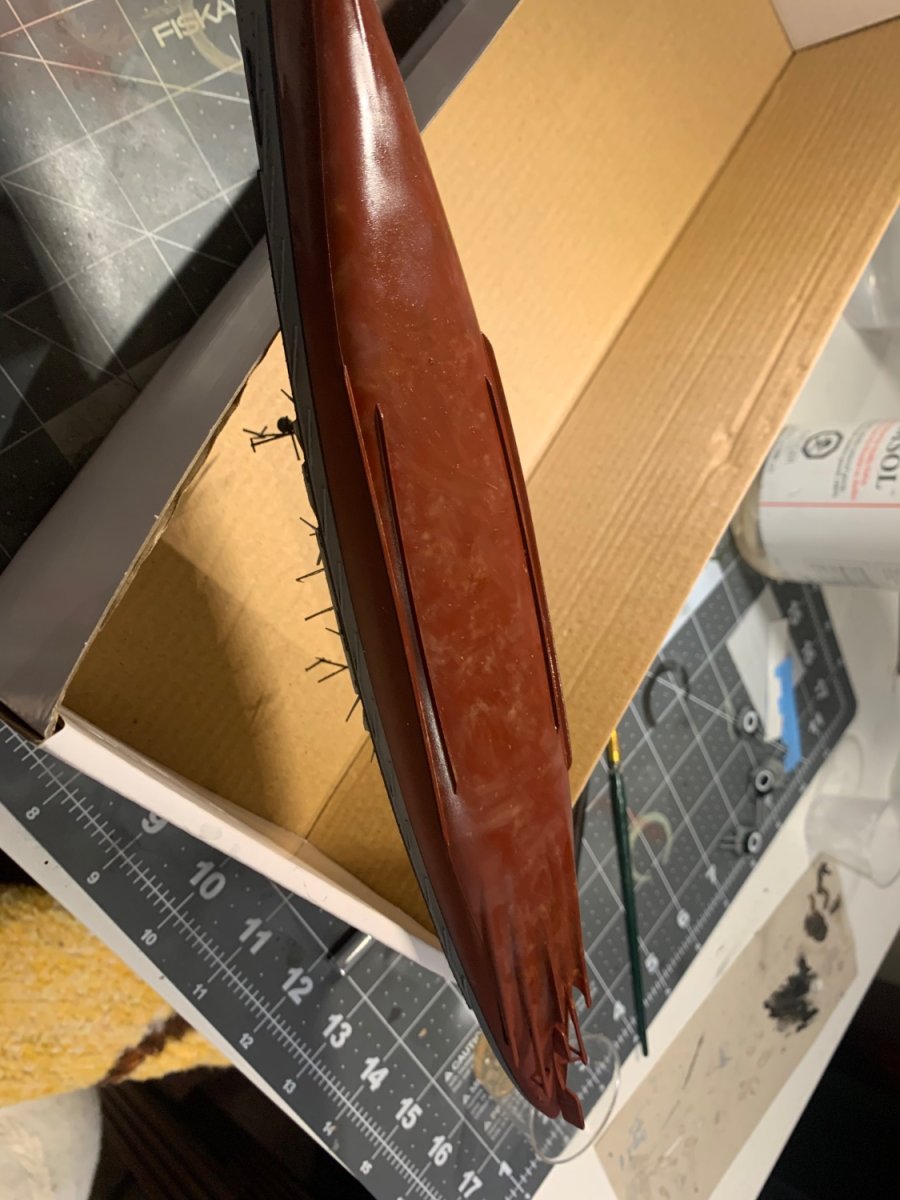
To start, I painted the hull black, and painstakingly did some aircraft-type pre-shading on the individual hull plates with white. These helped to get a good baseline of colour differentiation, adding shadows, and the additional layers of paint made the hull extra matte (just what I like).

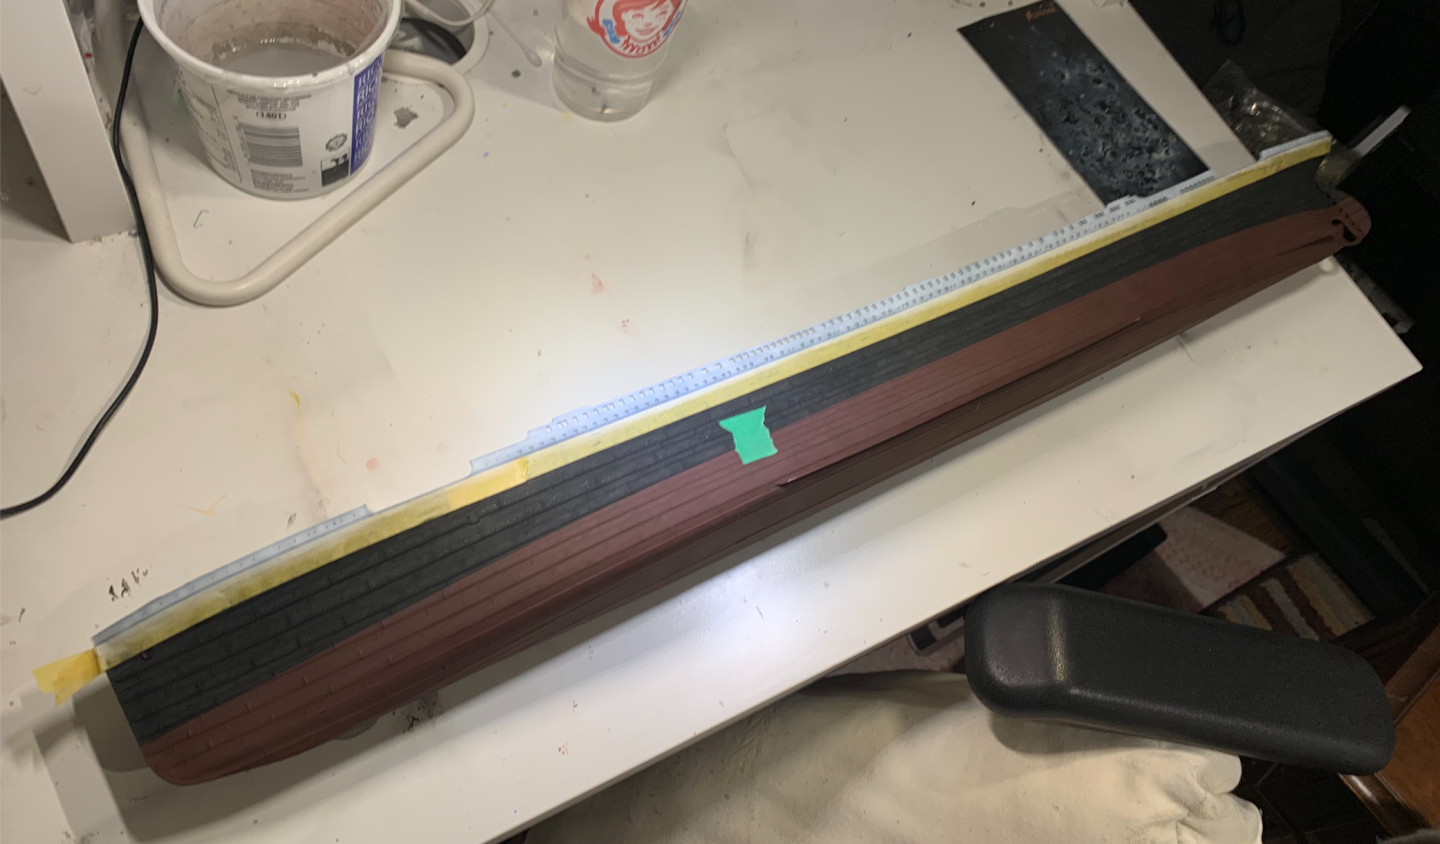
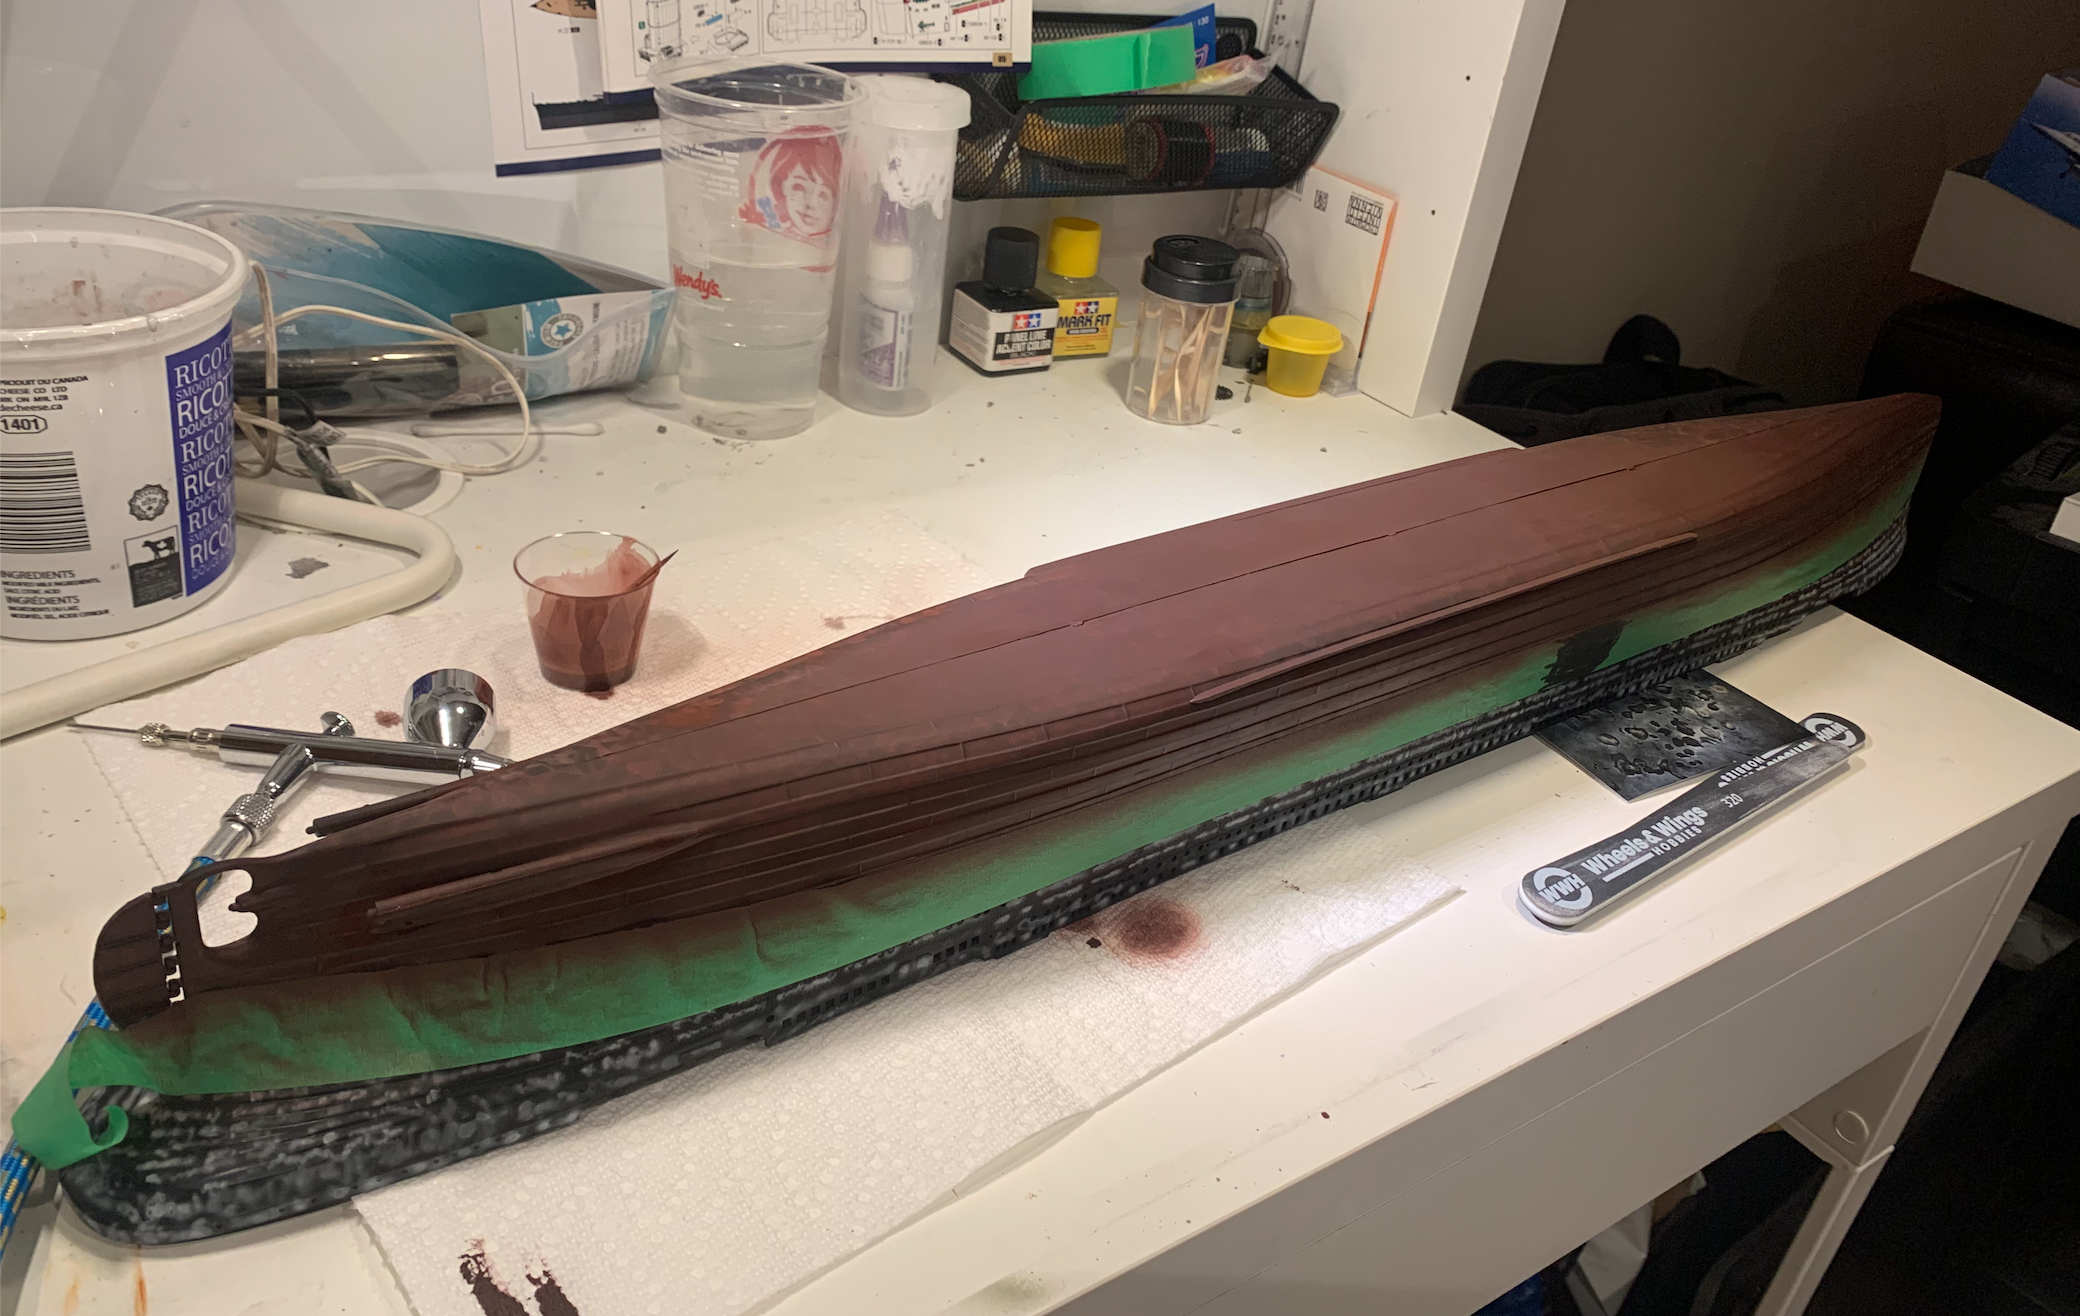
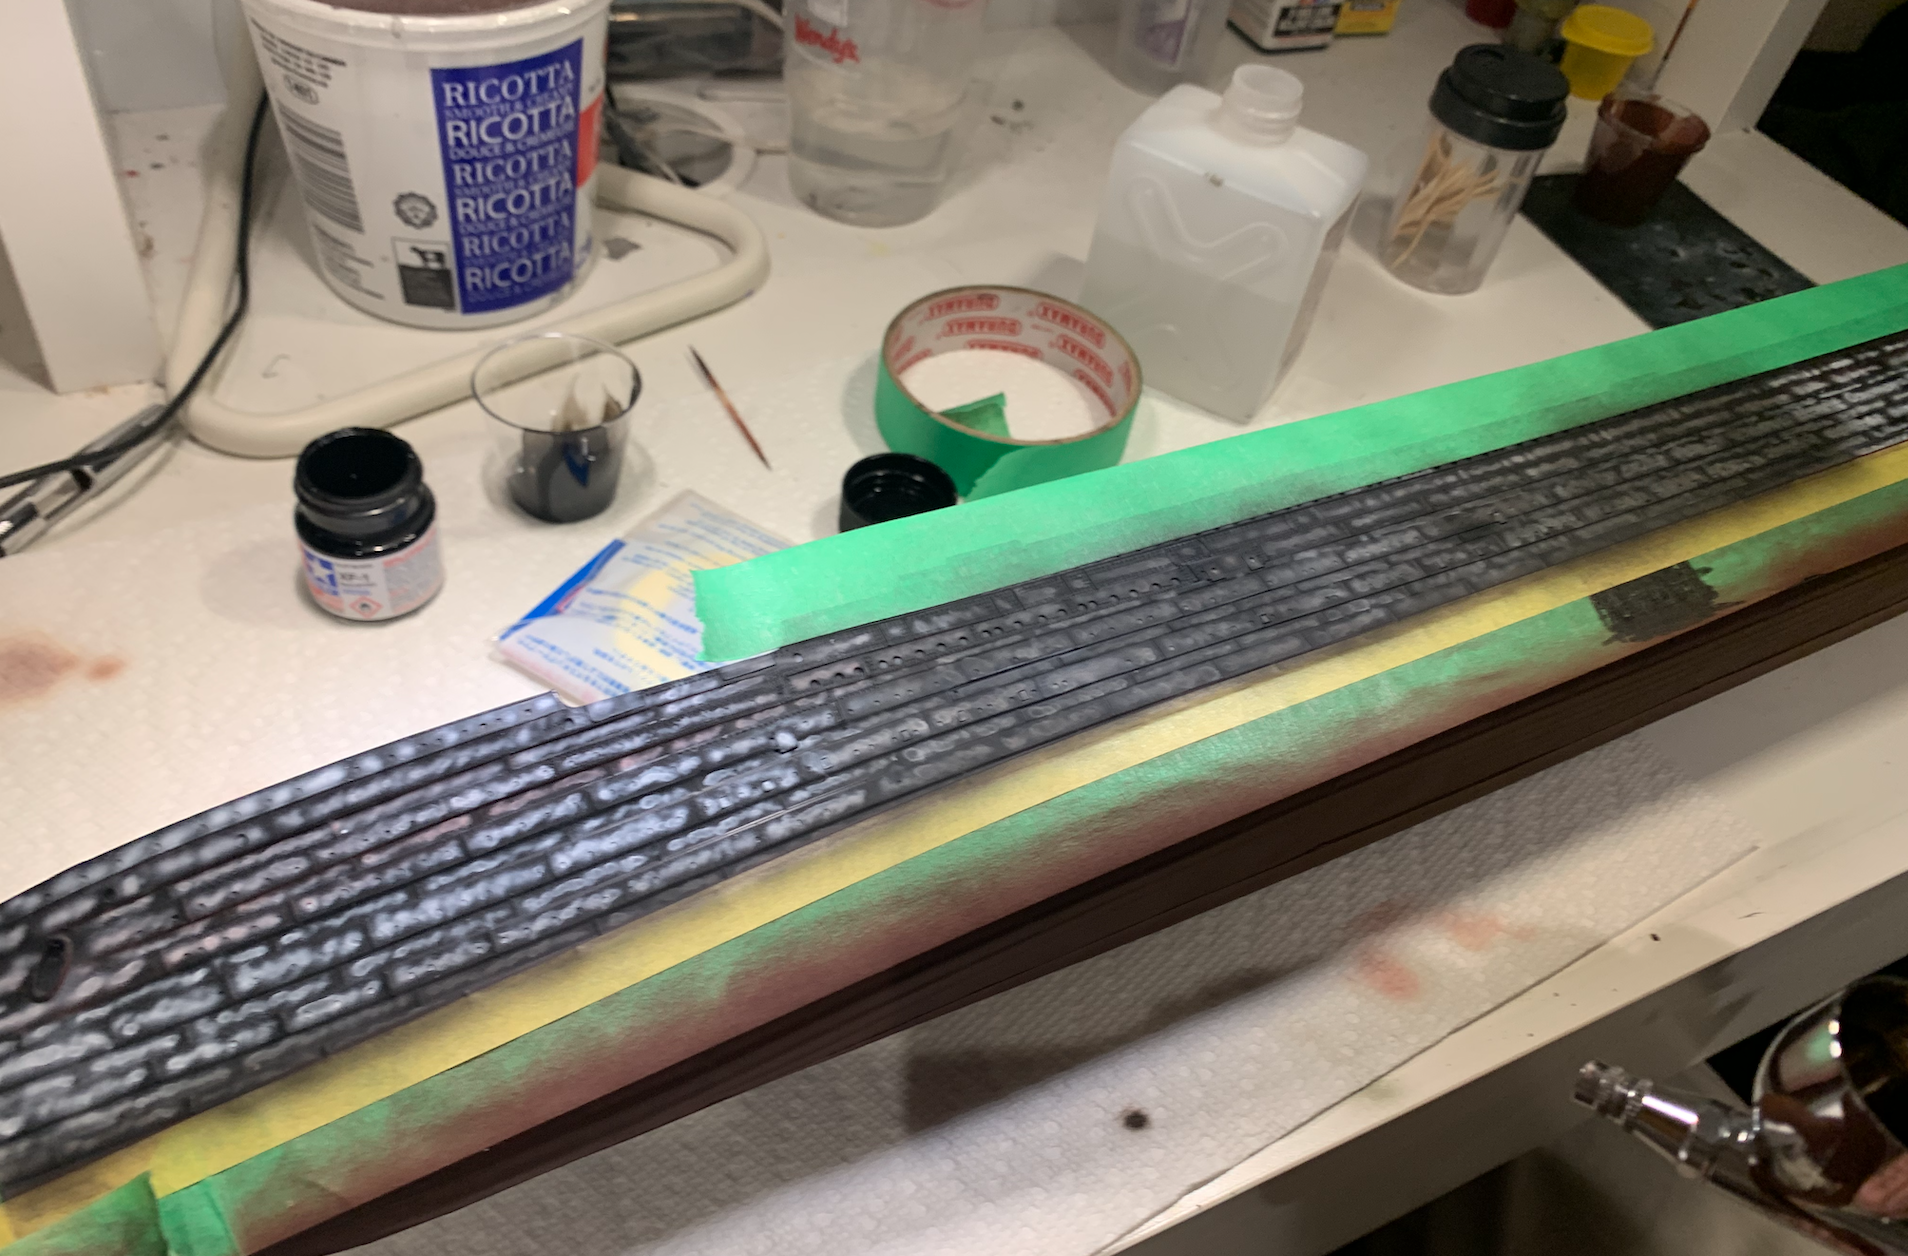
The hull colour was consequently put on with light layers of Tamiya XF-9 hull colour – it seems to fit the bill nicely given distance and general lighting conditions:


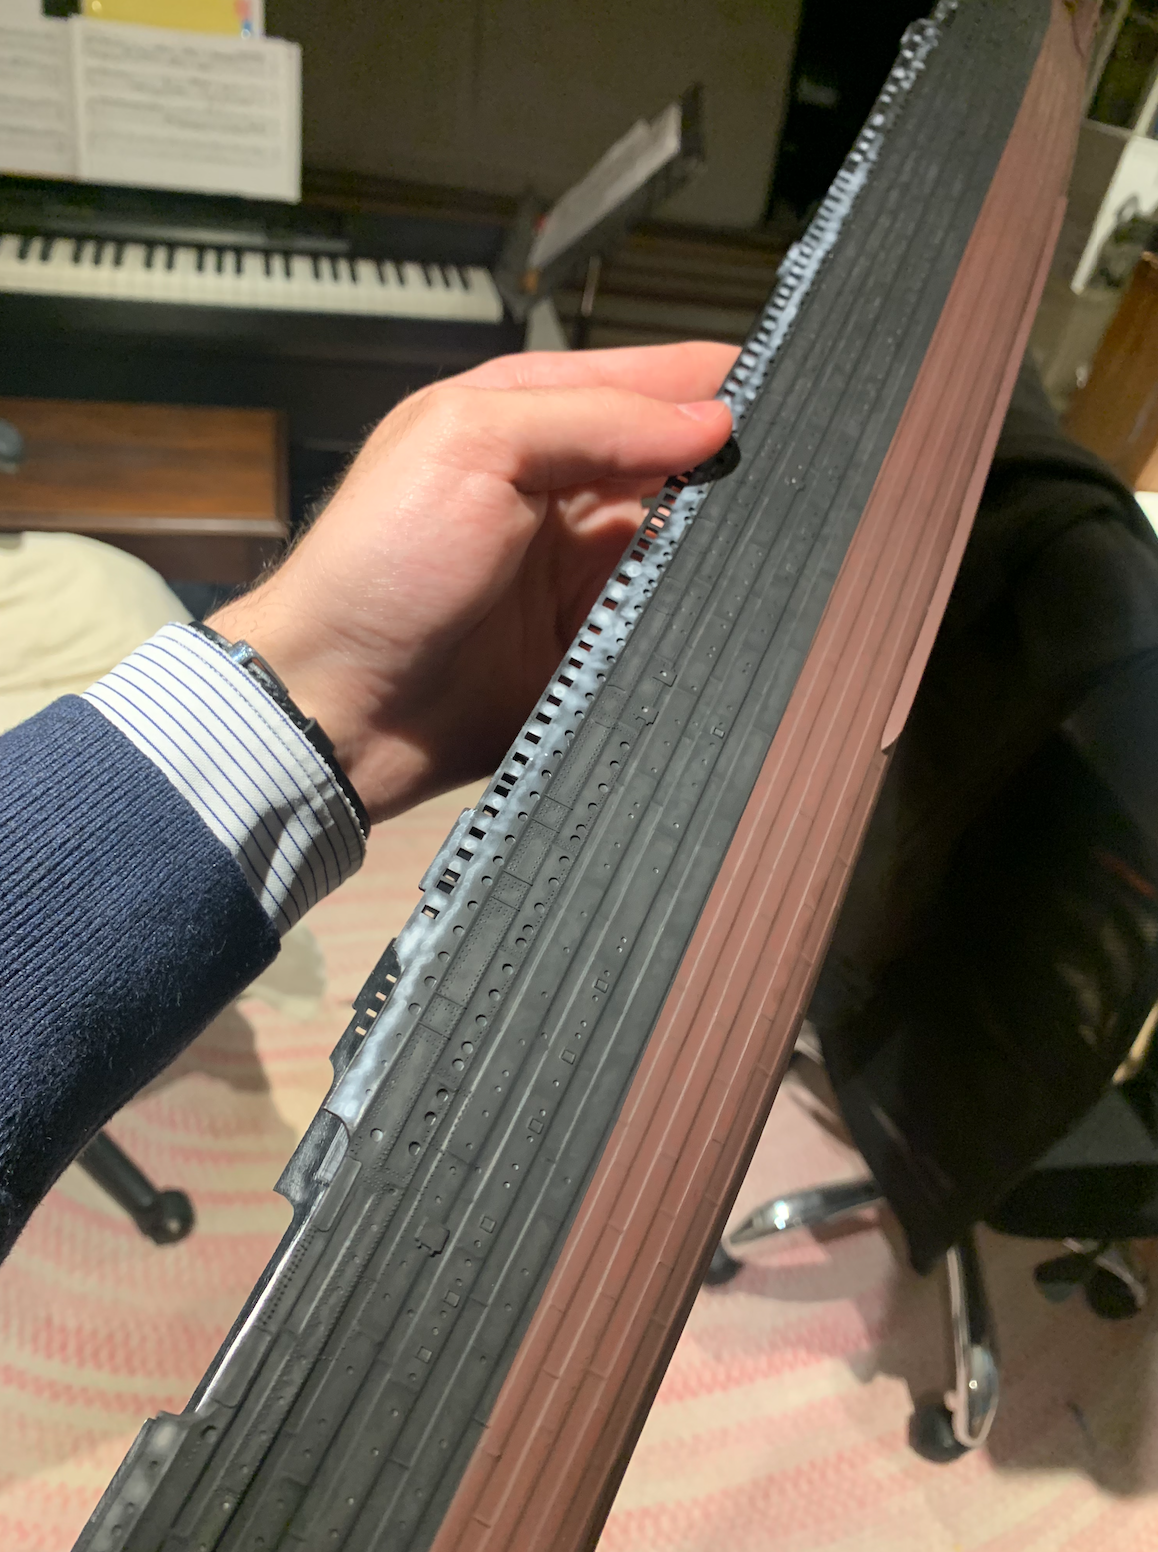
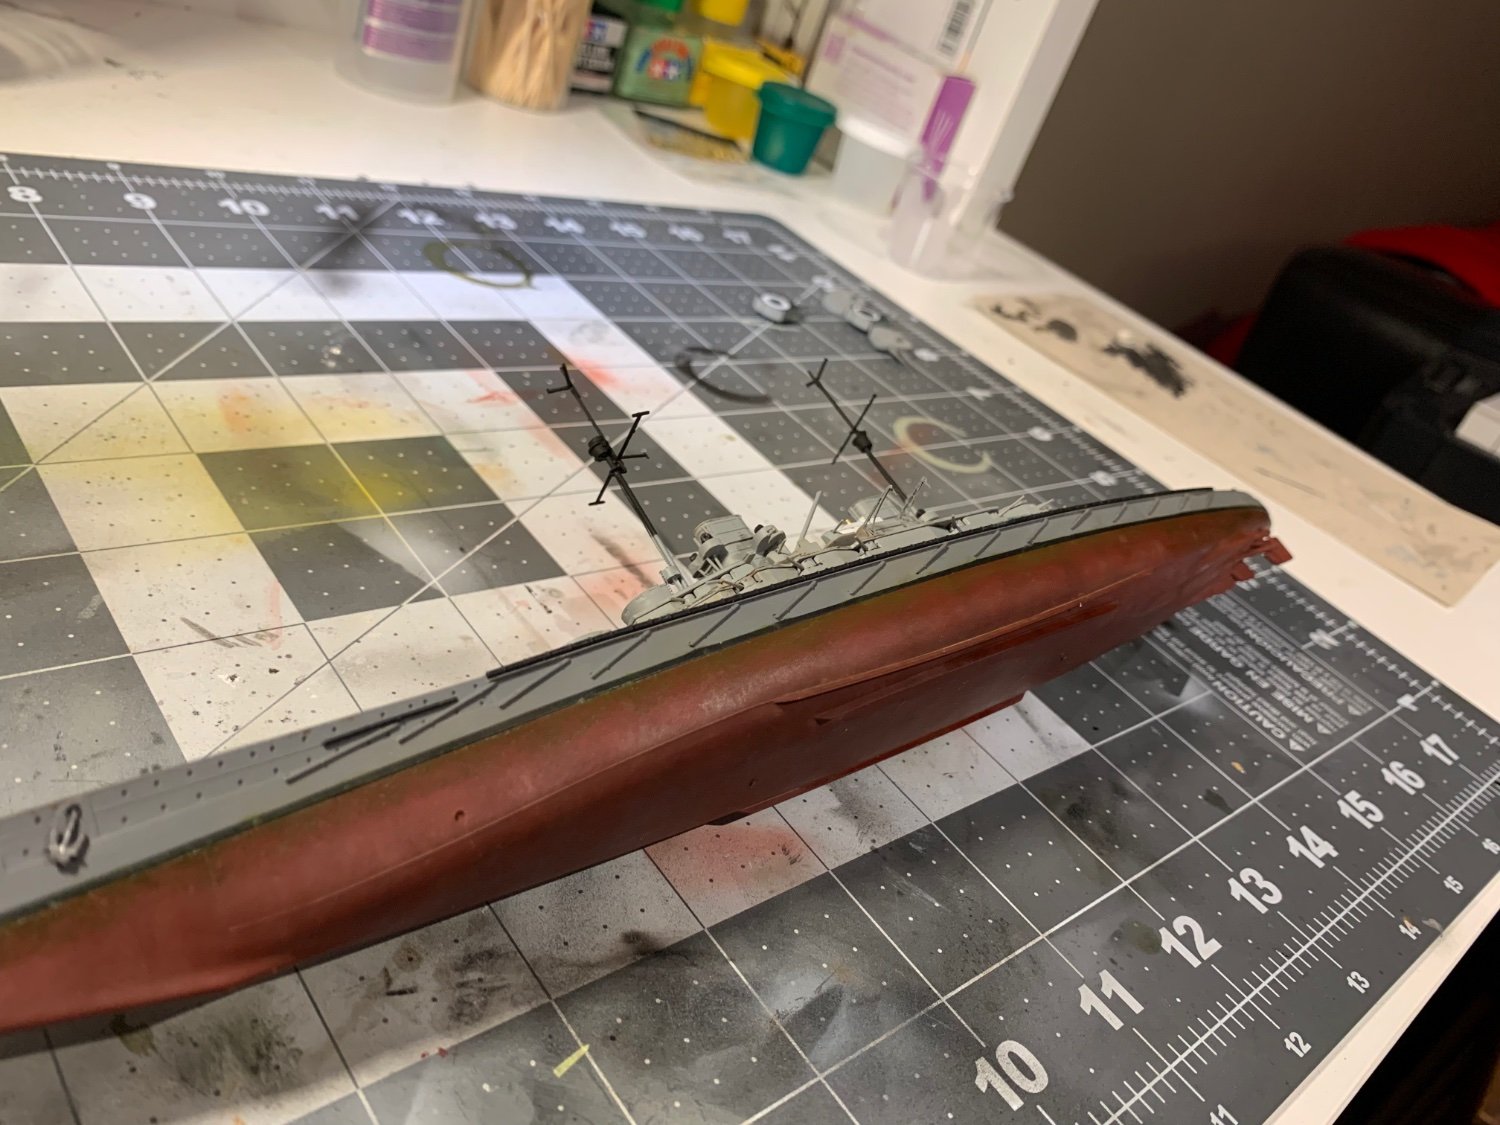
Then added XF-1 black in a similar fashion, making sure to keep lots of the white showing through, and then adding the white strip which was a bit interesting with the white pre-shading (not recommended but didn't want to experiment when white is also so easily weathered with washes and oils):


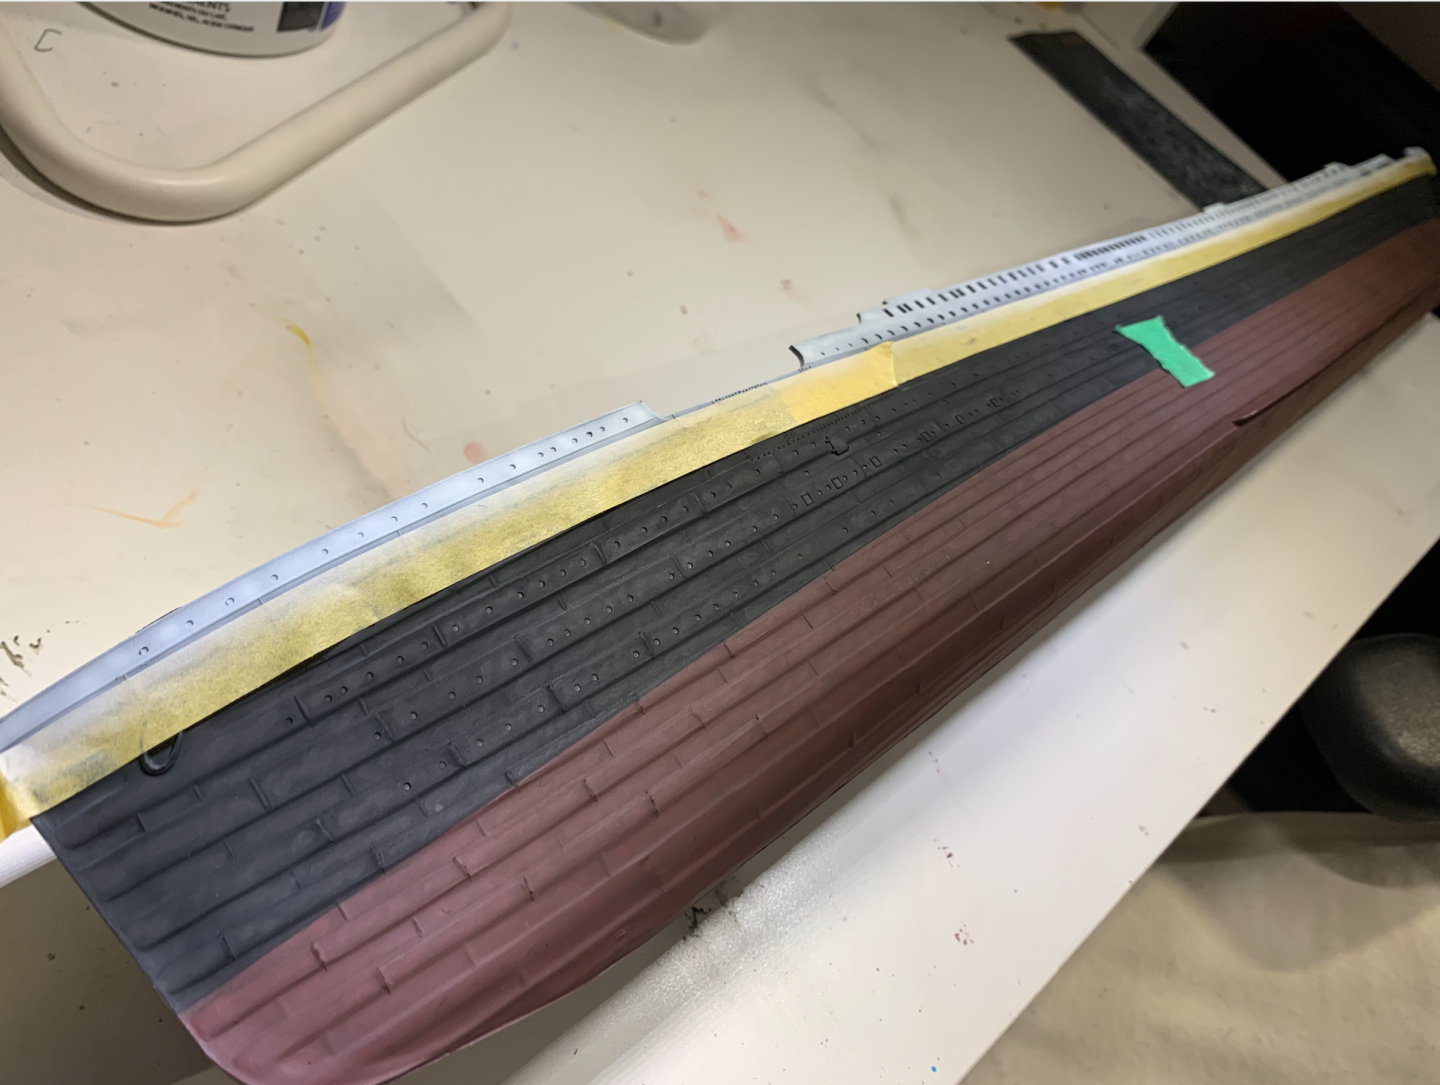
This last photo looks promising for a base colour coat – and I hope the ideas I spoke of earlier make more sense with this. If anyone has sympathies towards these ideas please be sure to share, I could use all the tips I can get.
- Knocklouder, Canute, wemattson and 1 other
-
 4
4
-
Hello all,
After the semester over I thought of taking on another project – one which I had always wanted to complete, especially as a child. The Academy/Minicraft Titanic. Although not a comparison to the far more extensive Trumpeter at 1:200, I've had two of these kits in my stockpile for a while, that I picked up for a fraction of MSRP, so I thought it would prove wise to start here, and tackle something like that in the future. I have both an early 1997 version and the Deluxe Edition from 2017, I'll probably only use the older one for moral support, as not to worry as much about the perfectionism of the build, but probably will never build it considering the improvements to the kit since that version.
To complement (replace) the given photo-etch, I will be using some sets from Tom's Modelworks – which have not arrived yet. I consider their complete set of photo etch to be overkill for me, and will be opting for the essentials (detail sets and railings), and swapping the PE lifeboat davits for the 3D printed resin davit and lifeboat sets – they are more accurate and far easier to assemble.
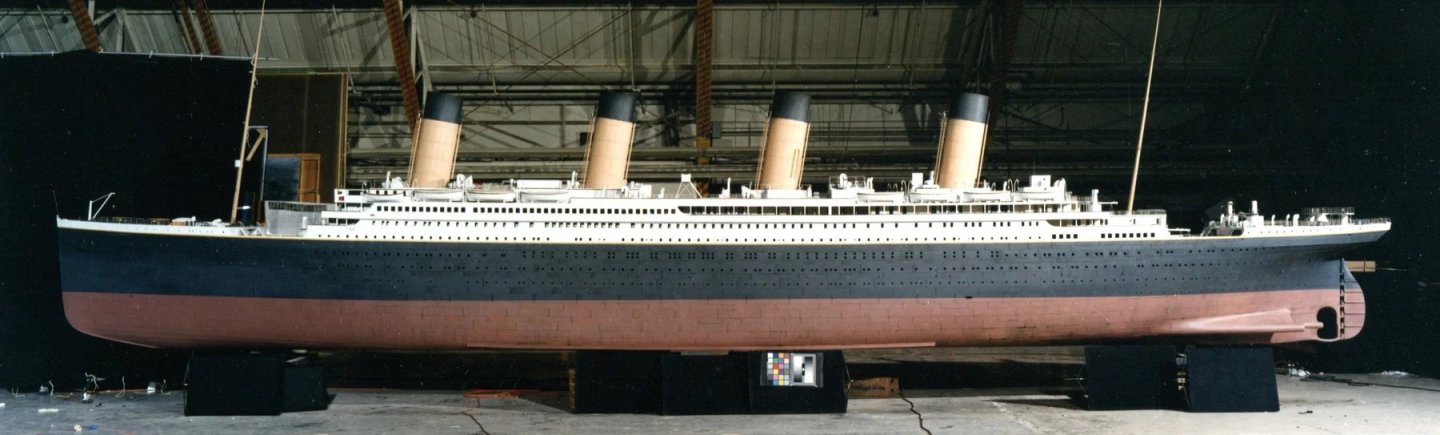
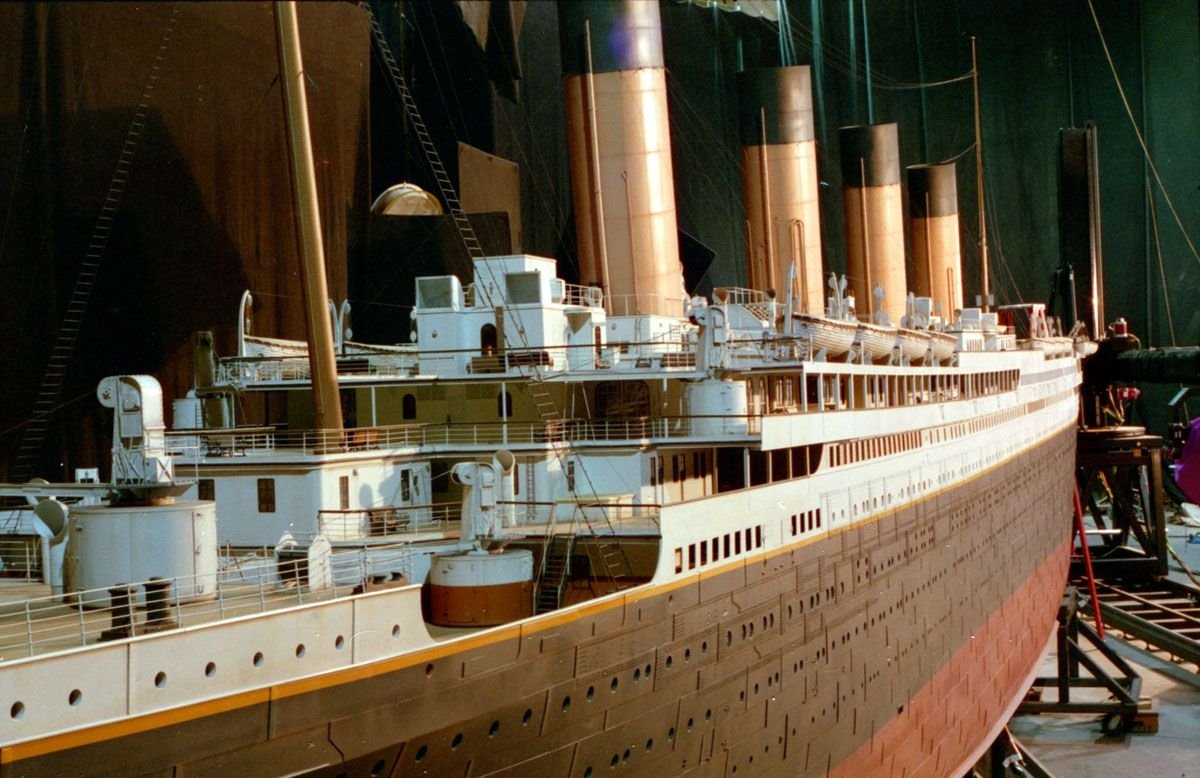
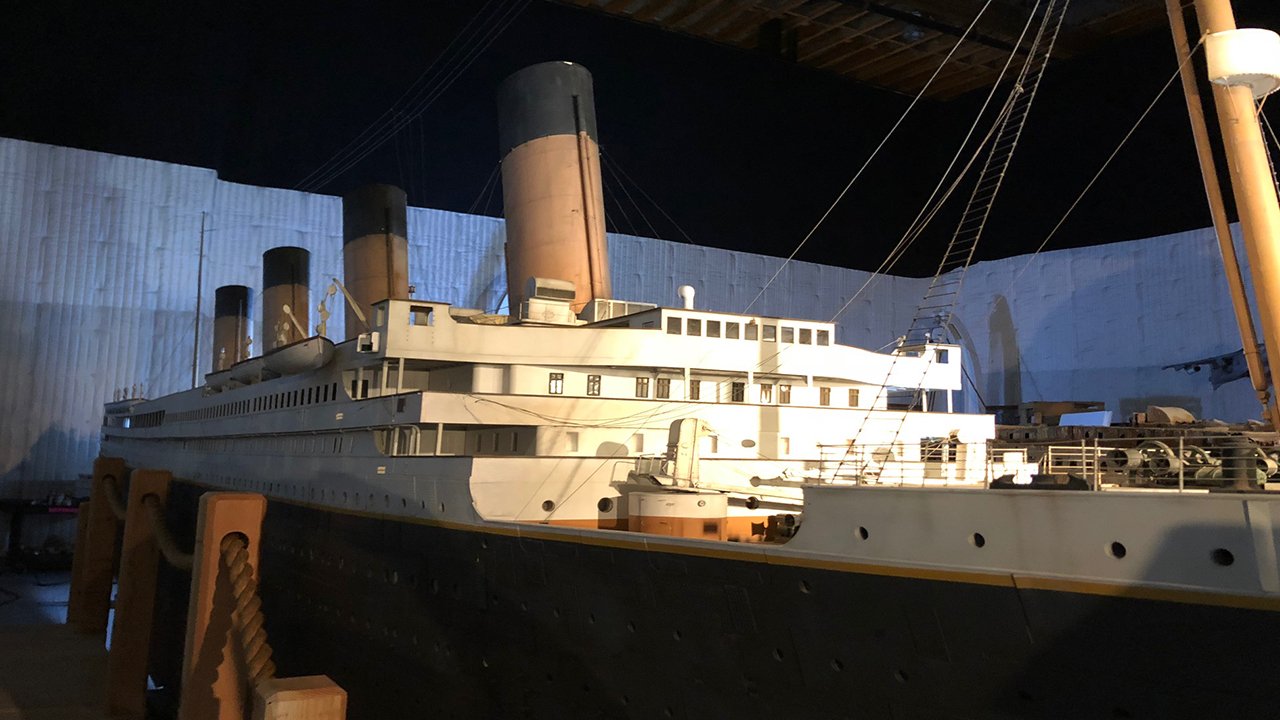
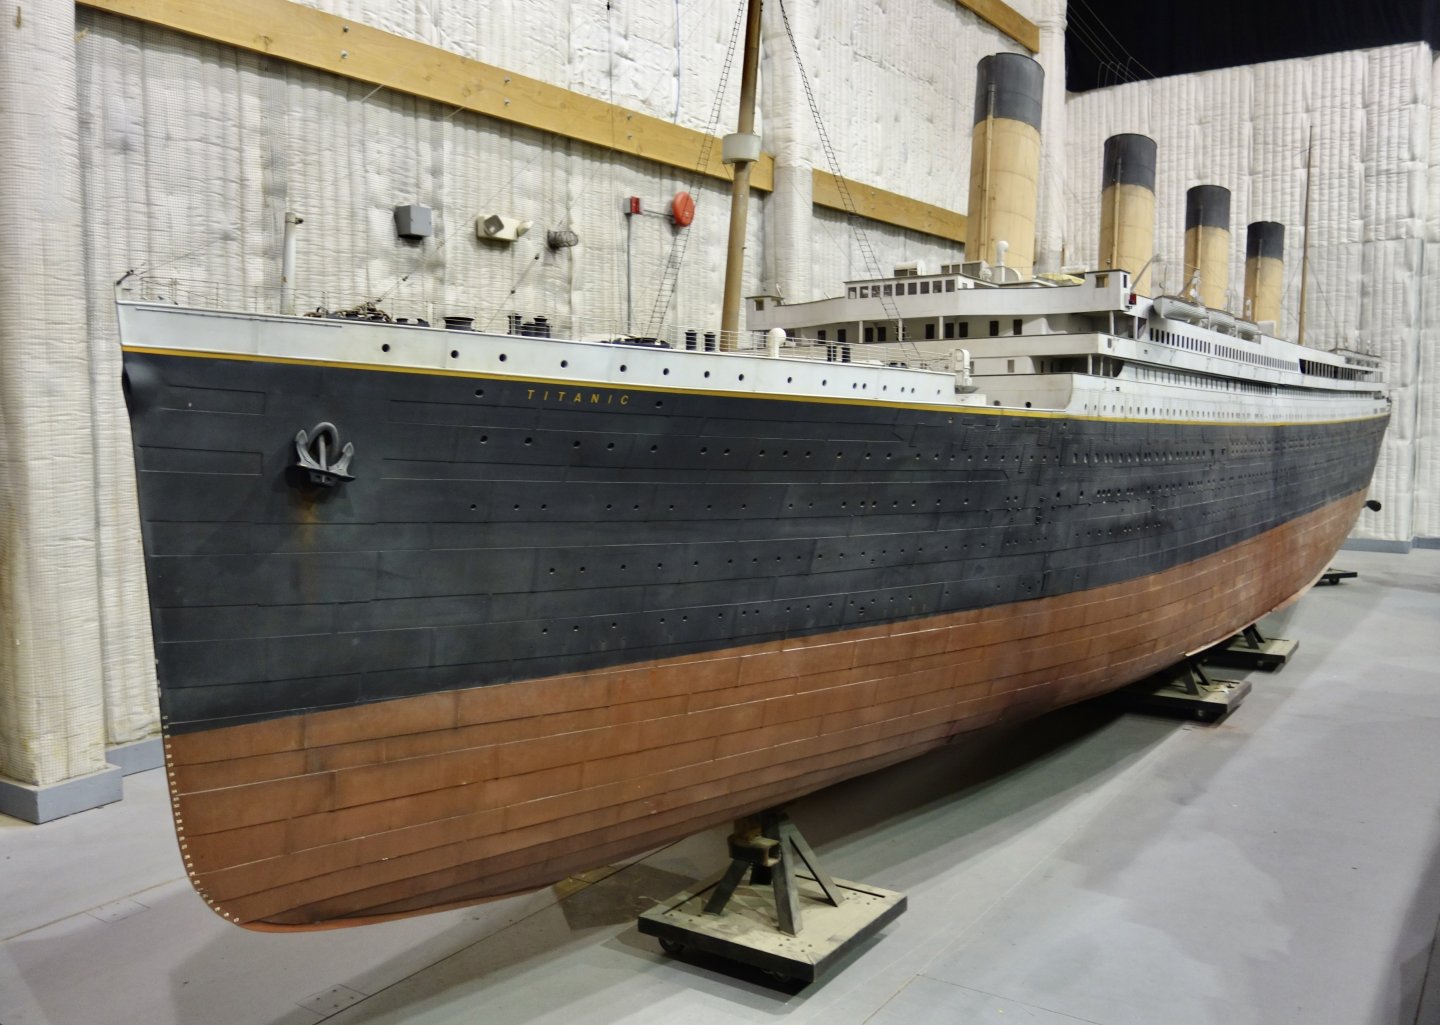
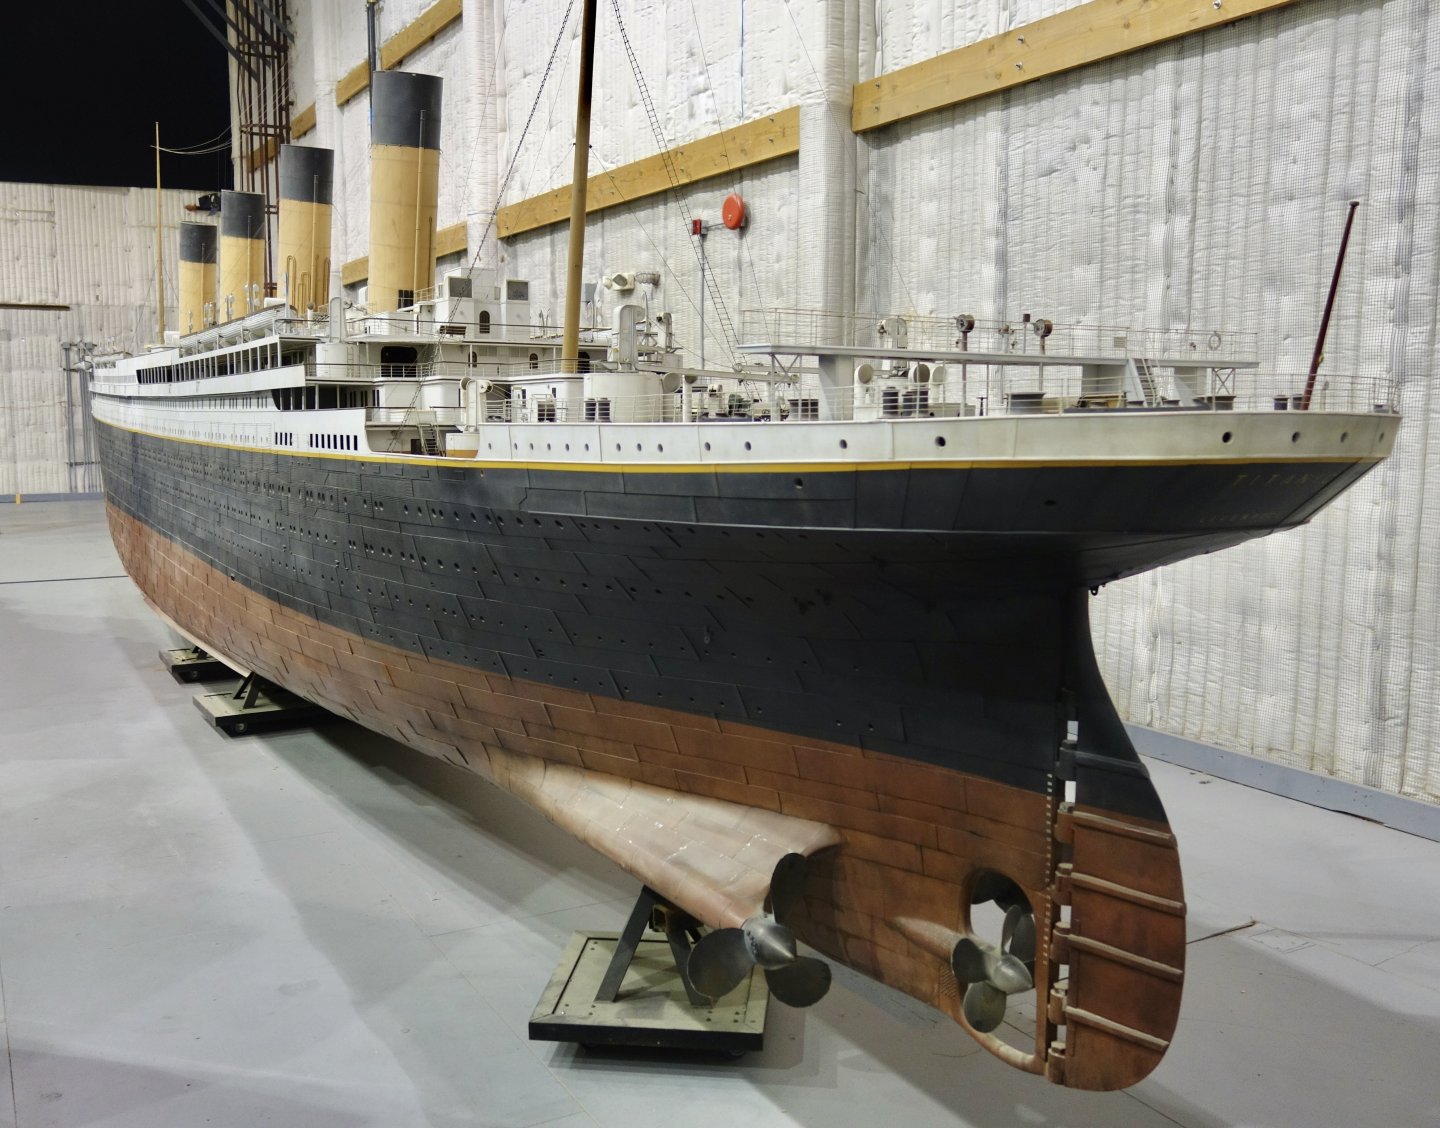
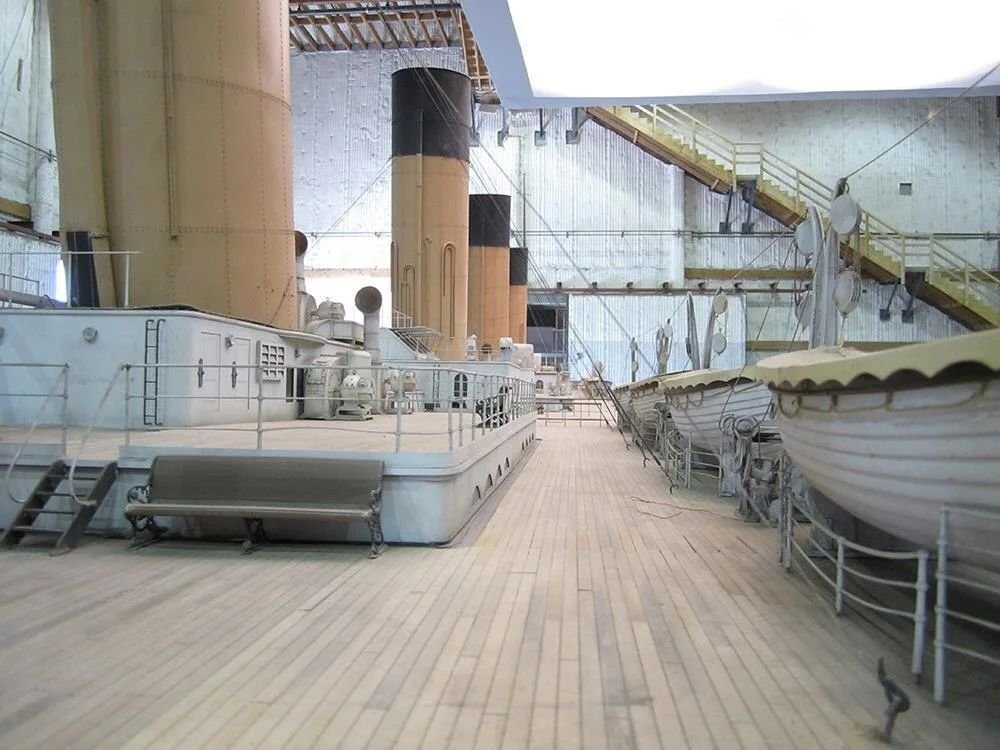
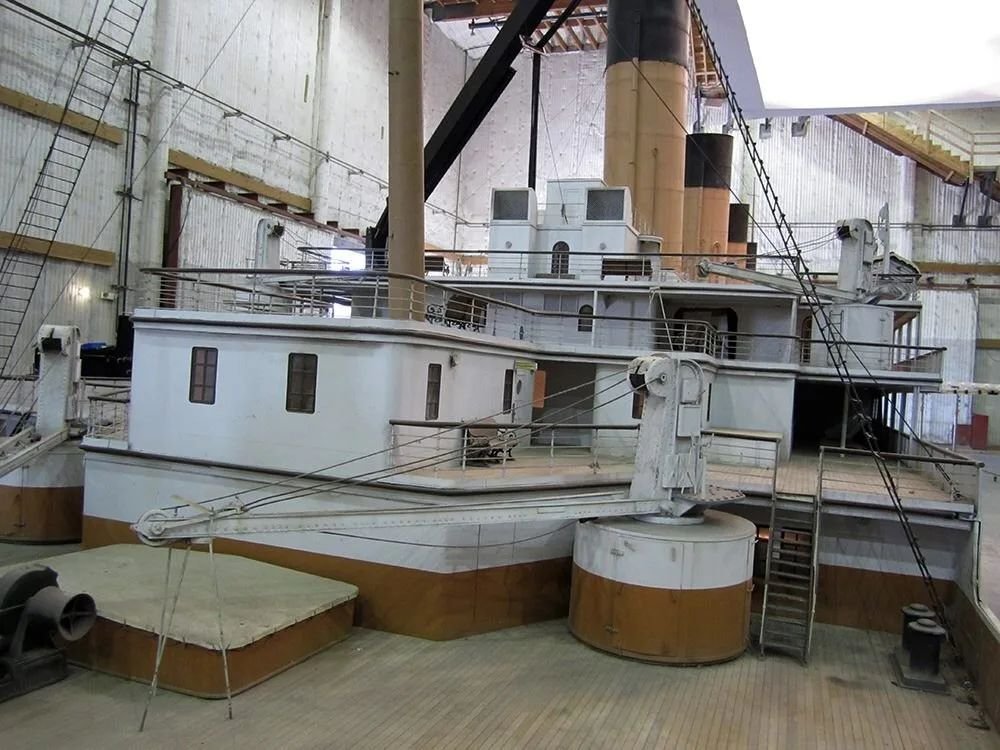
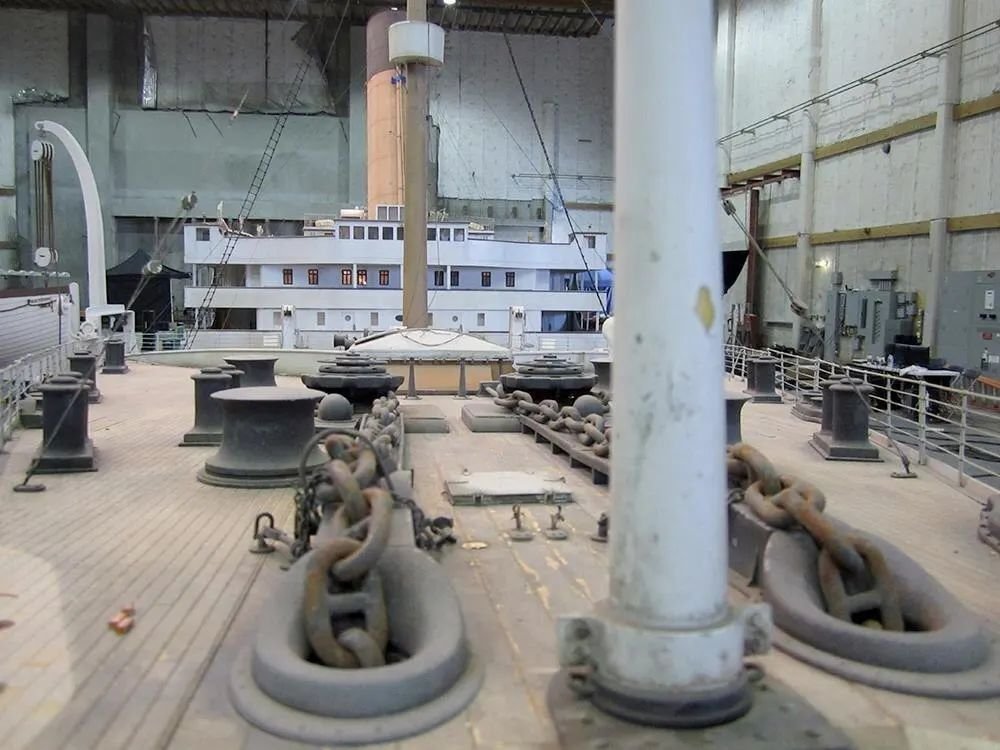
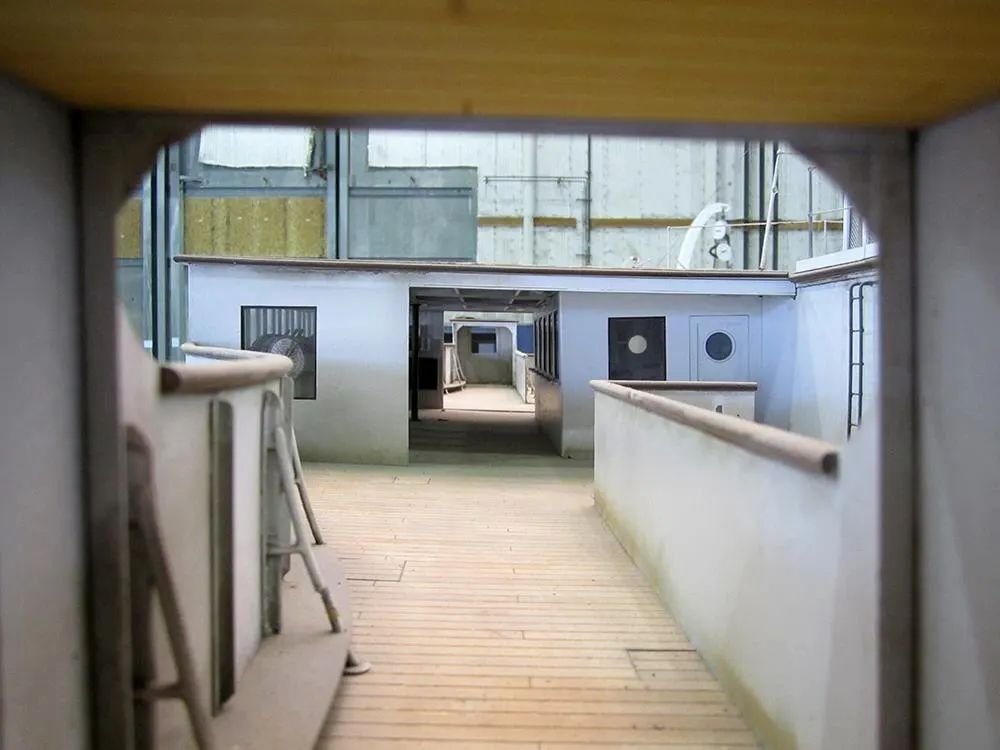
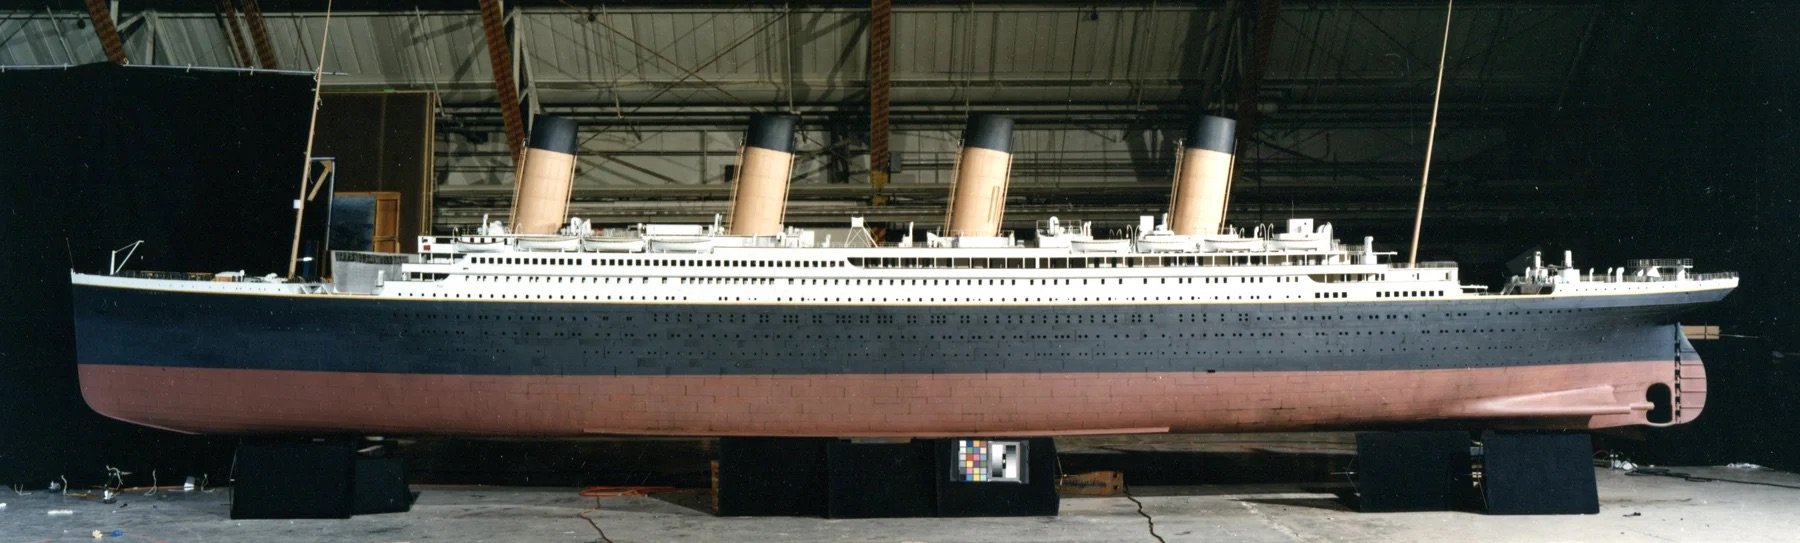
My main intention with this build is to hone more artistic skills with respect to true realism. I have strong feelings about the ideas of "pristine" or "weathered" builds, as they seem to neglect the idea of scale modelling itself. I have experience with plastic aircraft at 1:48, and whether or not one has a preference for a "cleaner" or "dirtier" build, some common techniques are still employed regardless. Pre/post-shading or panel line and surface washes are almost always used, and to me do not fit into a strict category of "weathering", but are simply required to attain realism at a given scale. Additionally, colour theory also comes into play at difference distances with different lighting – glossy black is really not so dark or glossy at normal viewing distances, neither is it uniform in colour. Now the same must be said about any form, most notably (and prevalently lacking) in ships, especially plastic ones at larger scales. I therefore draw inspiration from James Cameron's 1:20 model from the 1997 movie, which served during the golden period of movie models – truly some art was made. As seen, this model is definitely "weathered" but is also the most appropriate impression of Titanic, given the scale. The first photo gives a good impression of the colours, while the others give good close-up detail. I only hope to scratch the surface with my attempt, but I will definitely use it, and my 1:48 techniques, as heavy inspiration for my building choices.
There are plenty of in box reviews of this model, I don't think anyone would benefit from my photos of the parts.
All the useful Cameron model photos I could find:
As well as a great video:
Overall, I perceive this build to be a learning experience, but also a fulfillment of aspirations.
More updates to follow...
-
9 hours ago, mikegr said:
rivets on funnel
Yes I’ve done some research and it seems like this is fair; albeit less so on the turrets, as they seem closer to accurate, but the funnels definitely. But still in my opinion the best and most efficient kit of this scale.- mtaylor, Old Collingwood, mikegr and 1 other
-
4
-
On 6/18/2023 at 5:18 AM, mikegr said:
"I love kit"
I actually took a look at @CDW's Hood by I Love Kit. It seems that the plastic detail in most cases is inferior, so the Flyhawk may be the better choice. Also, what did you mean by the overscale effect of Flyhawk's models?
- mtaylor, Old Collingwood and Canute
-
3
-
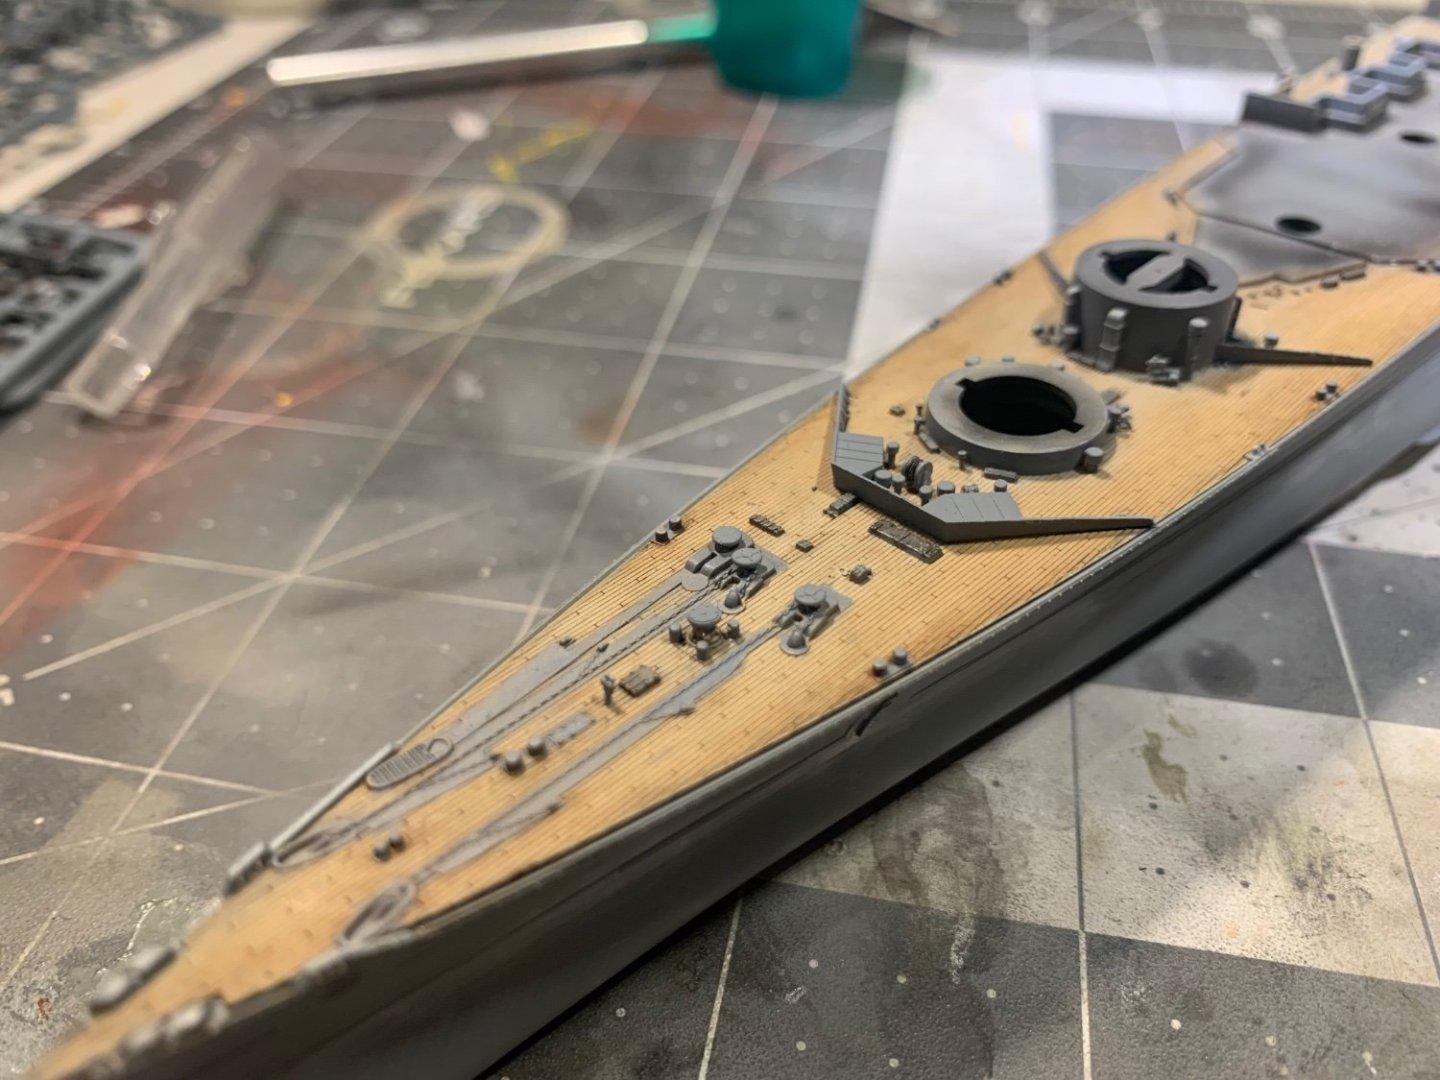
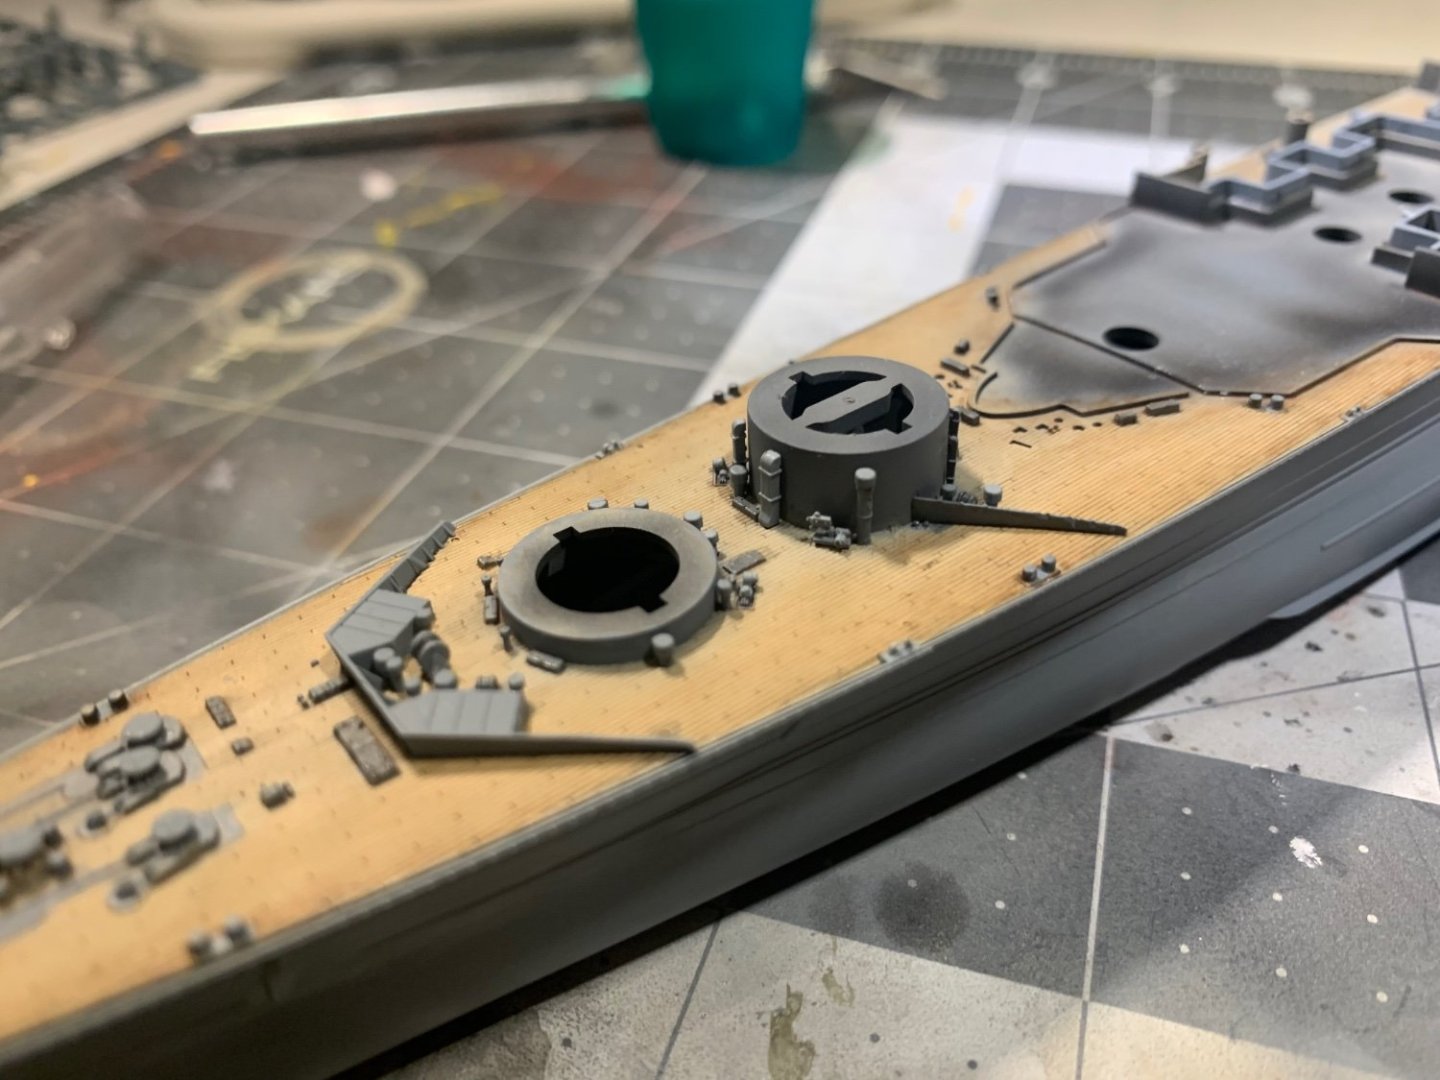
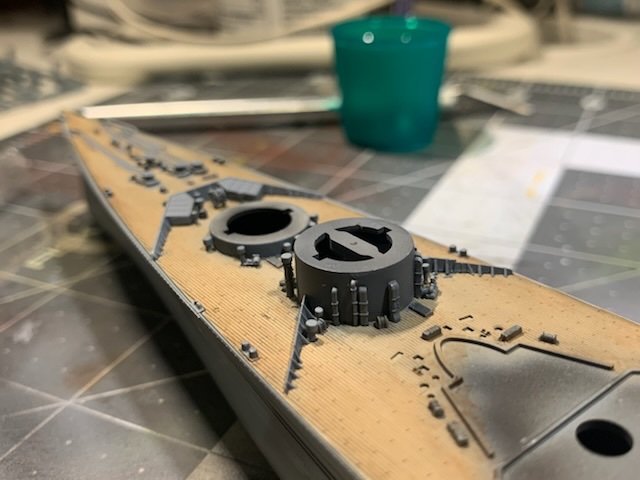
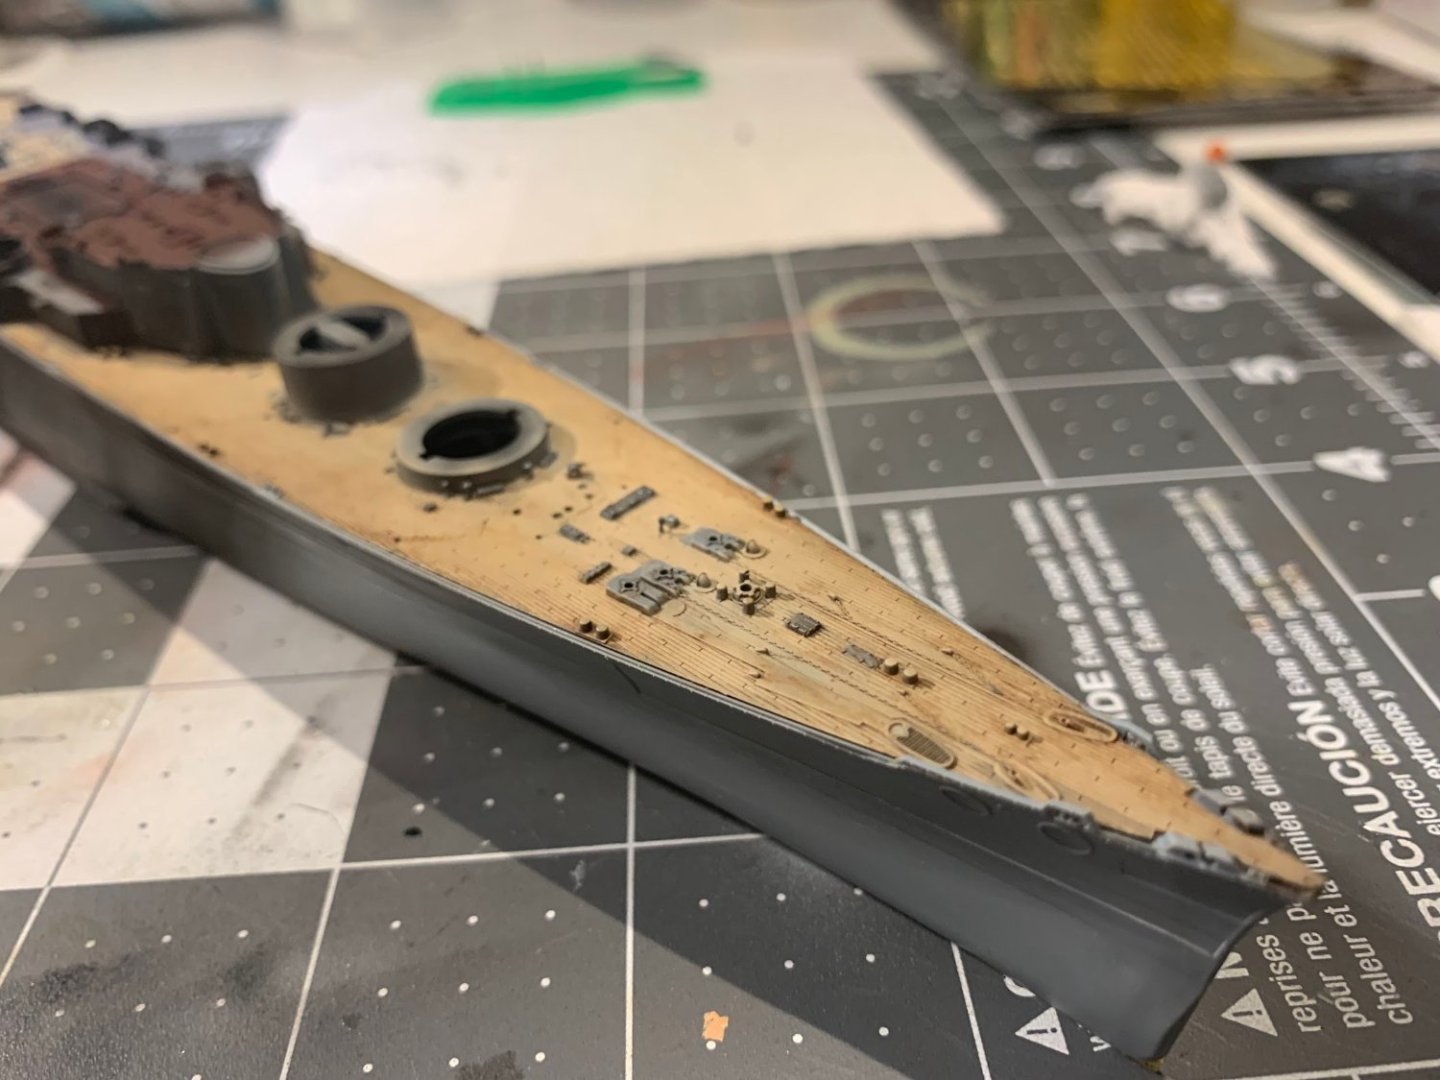
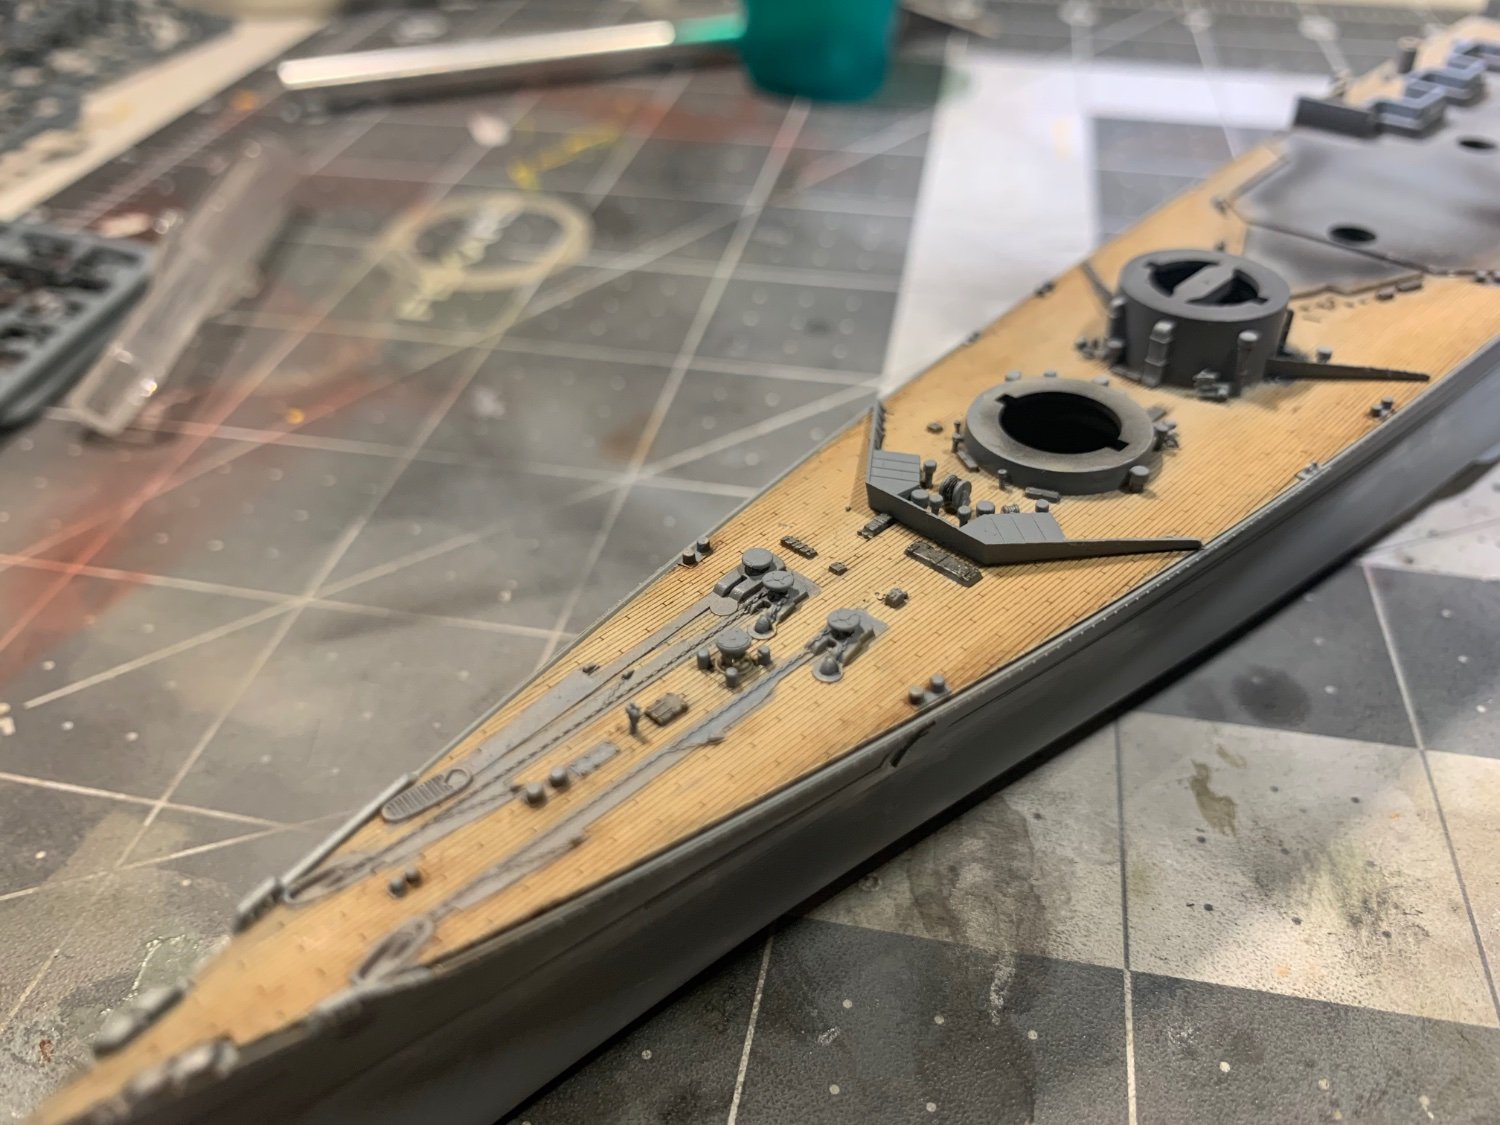
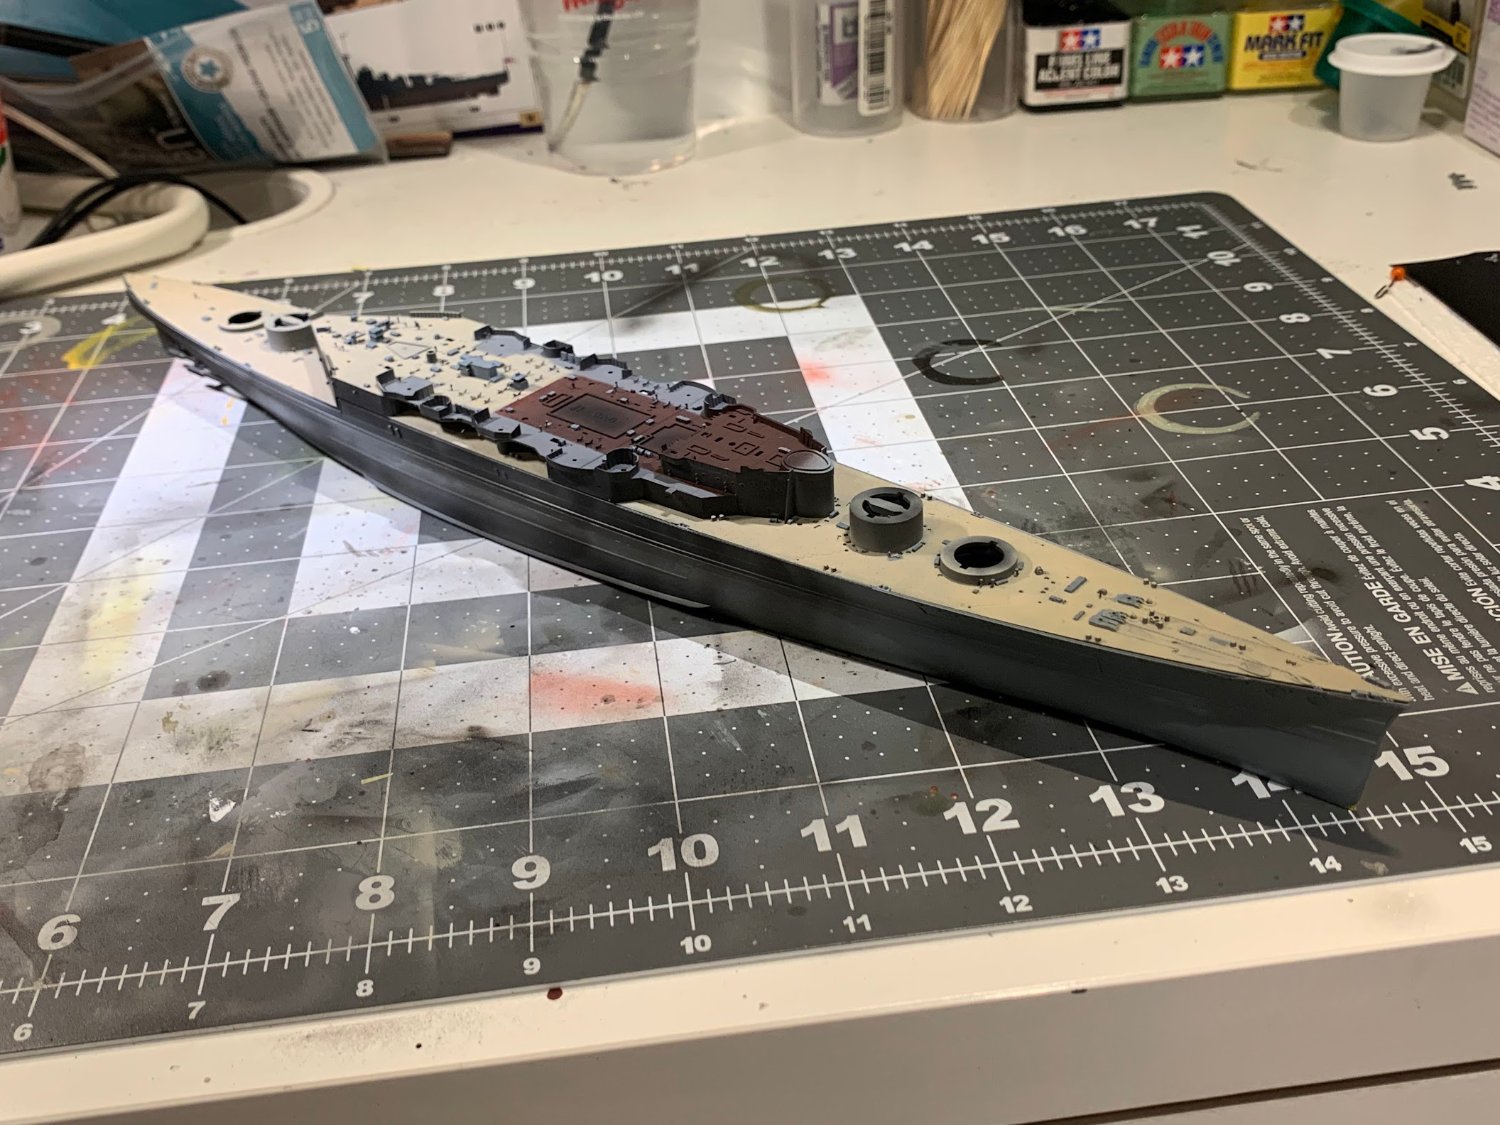
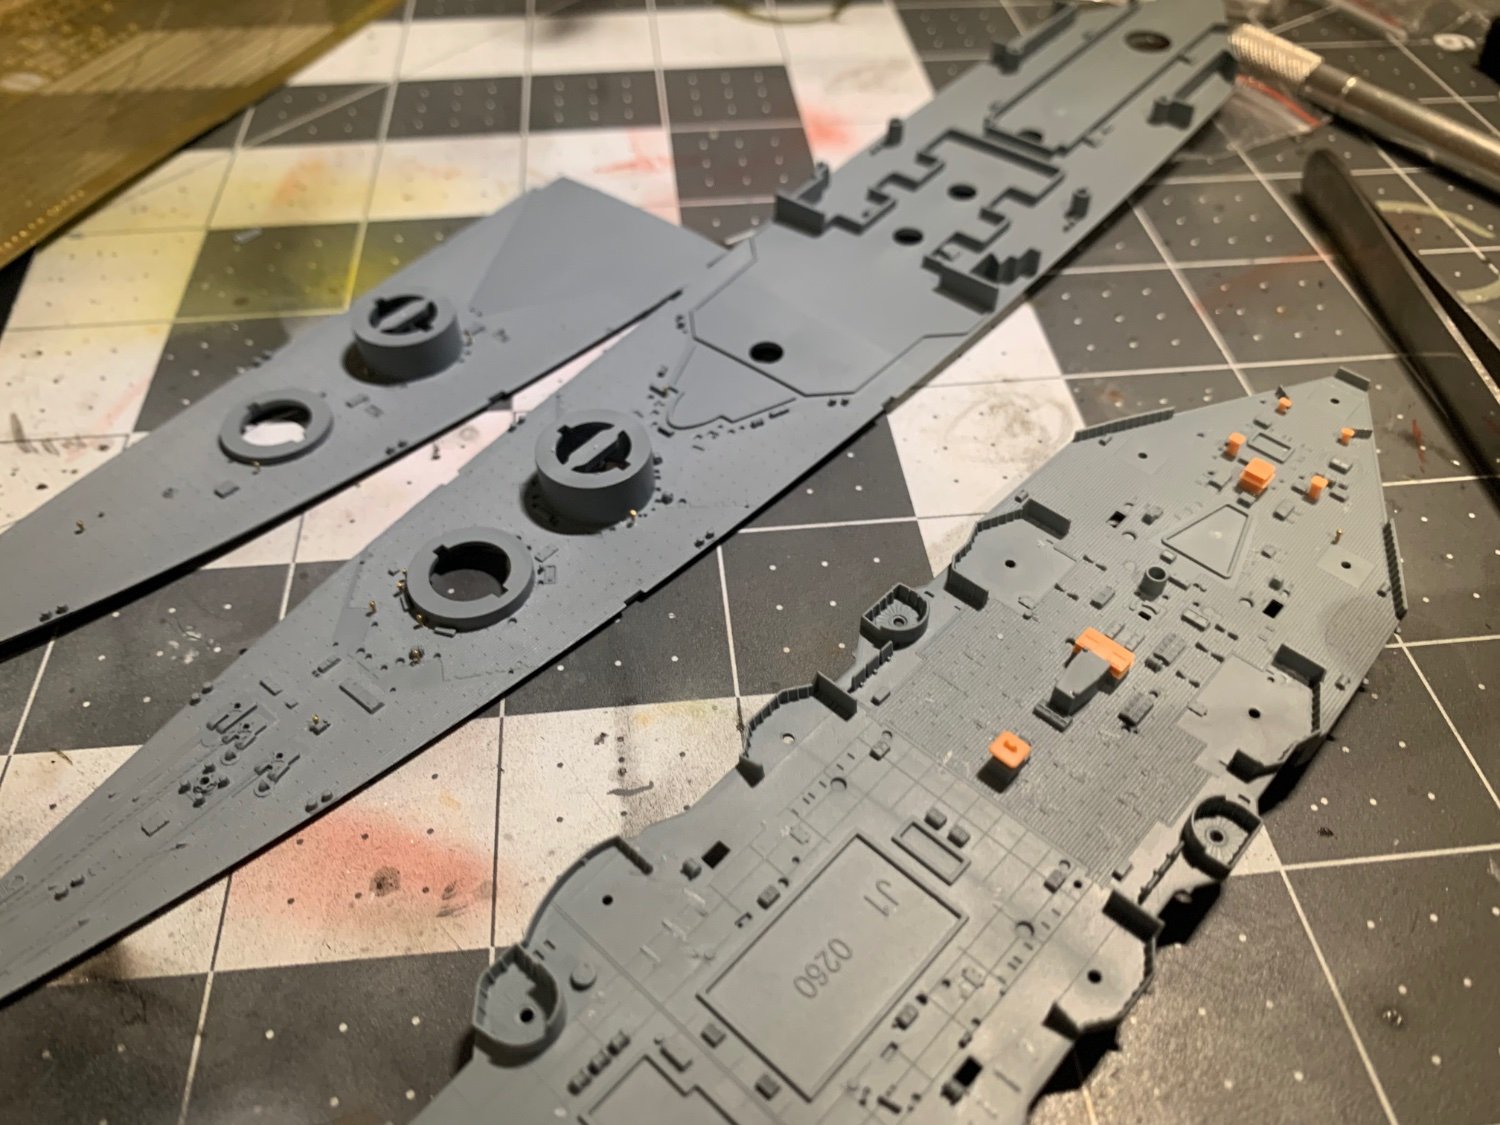
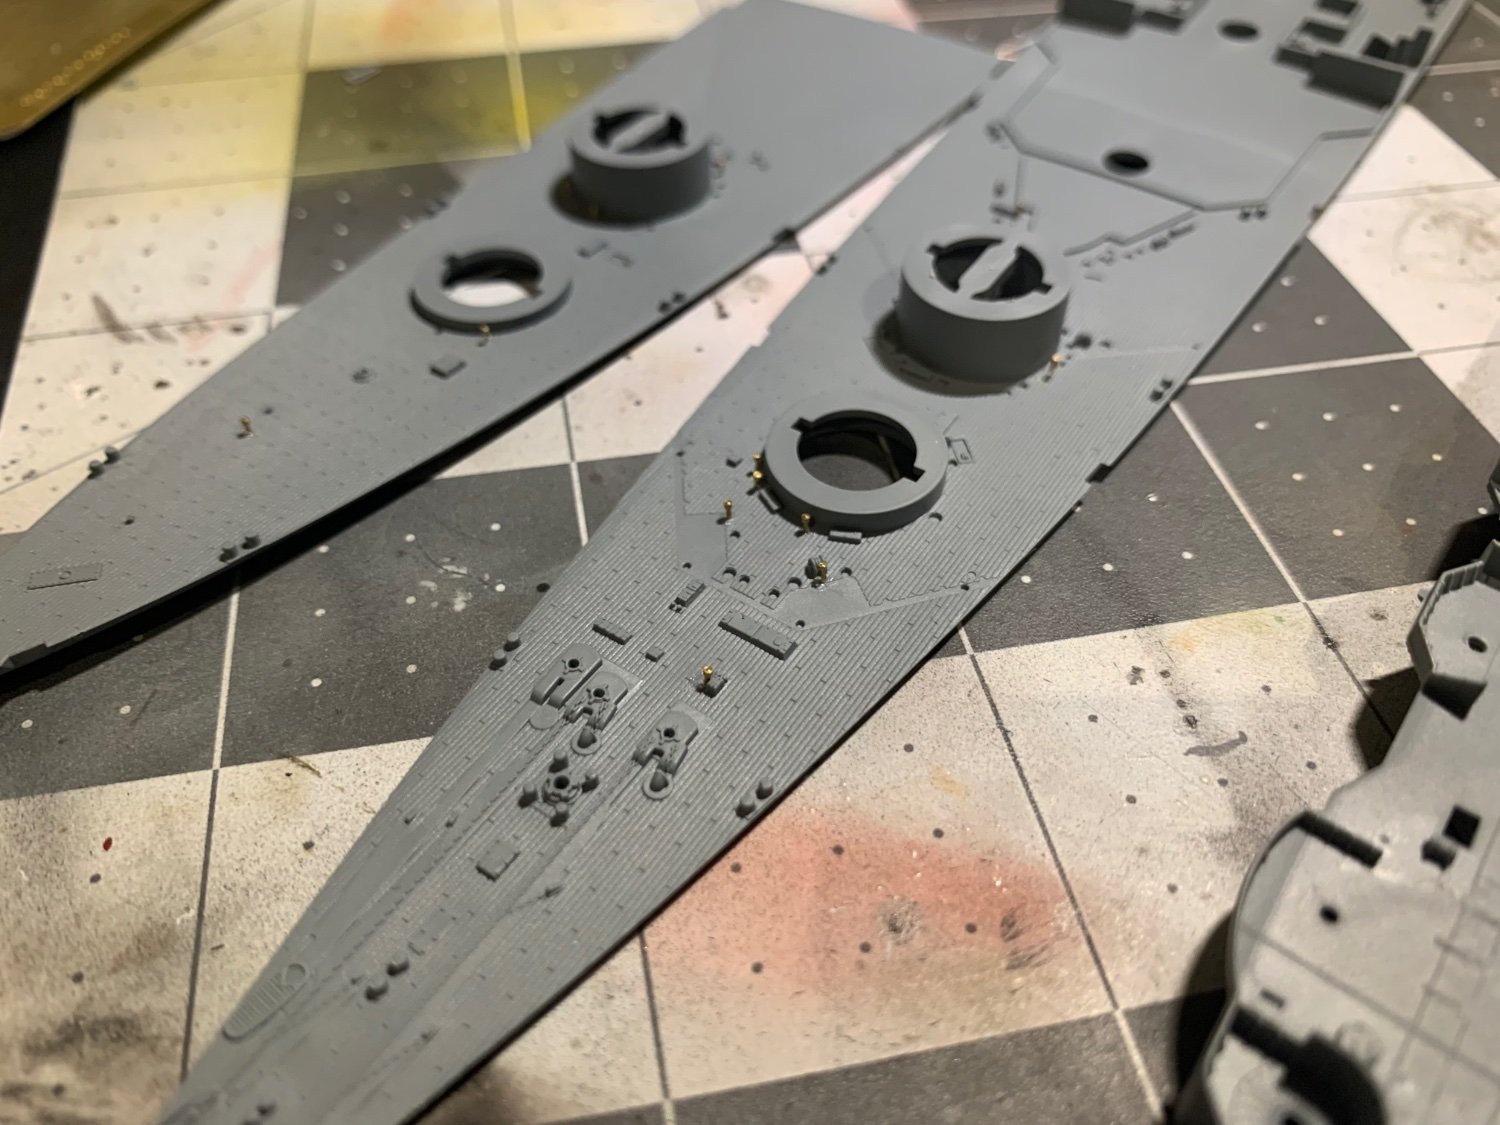
Slow progress with more deck detail – should pick it up.
- yvesvidal, mikegr, Old Collingwood and 5 others
-
8
-
2 hours ago, mikegr said:
I love kit
Both are good kits, but chose this one simply because it was available to buy. I did however see that kit at a model show for $90 or so, but didn’t pick it up because I had this one already.
- Canute, Old Collingwood, mtaylor and 1 other
-
4
-
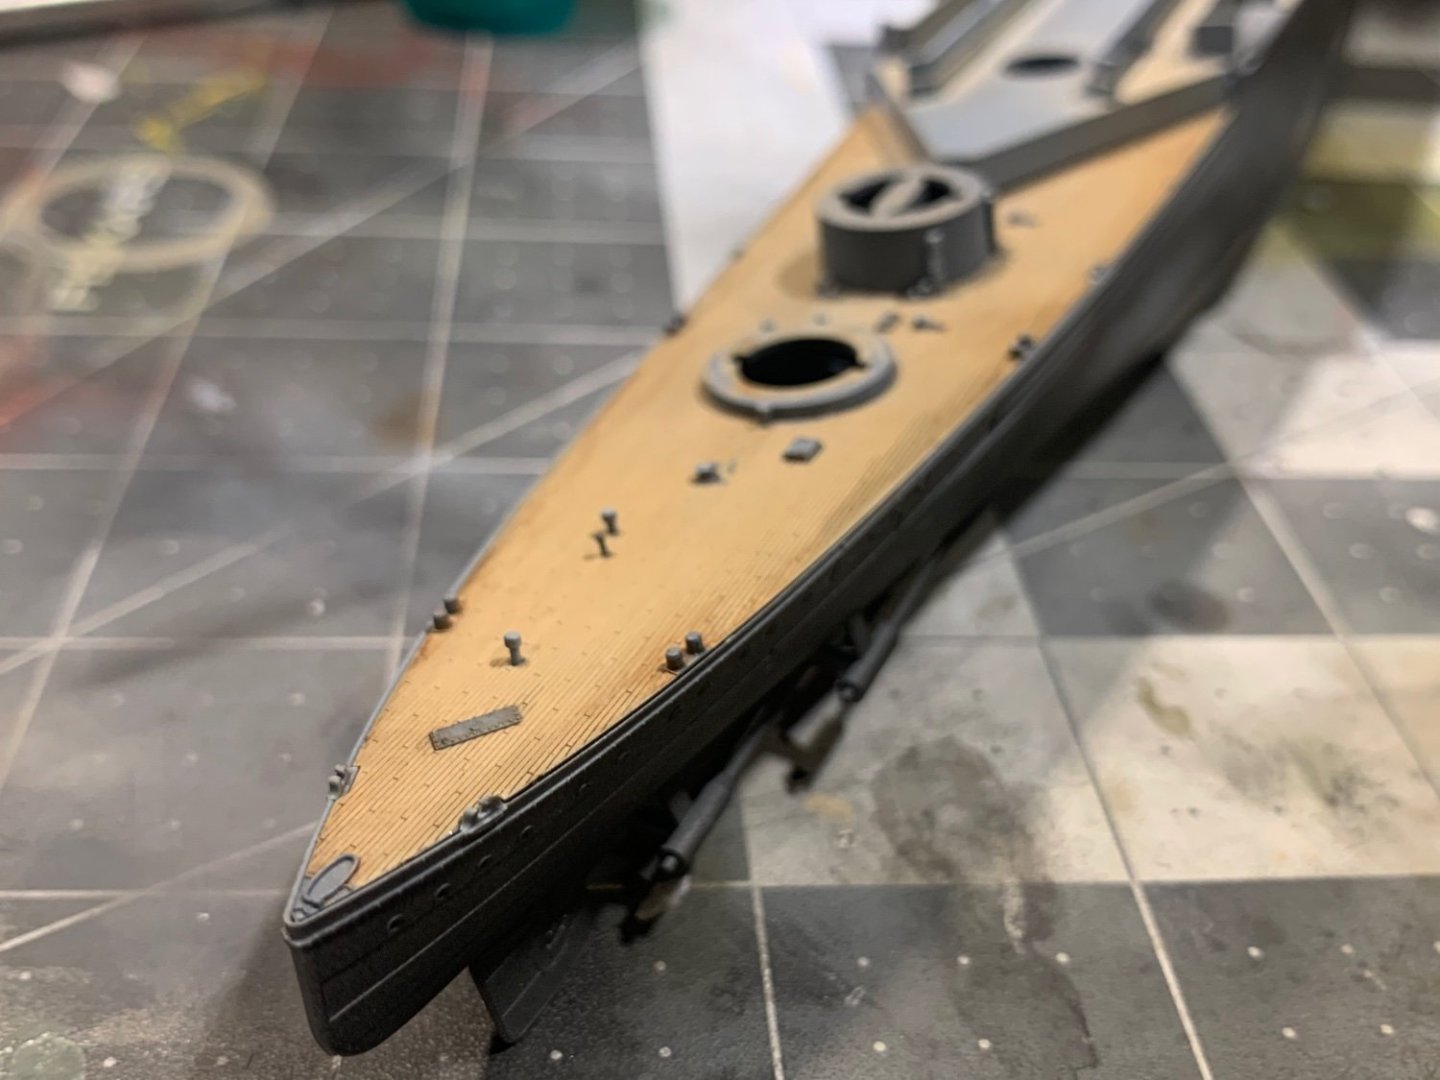
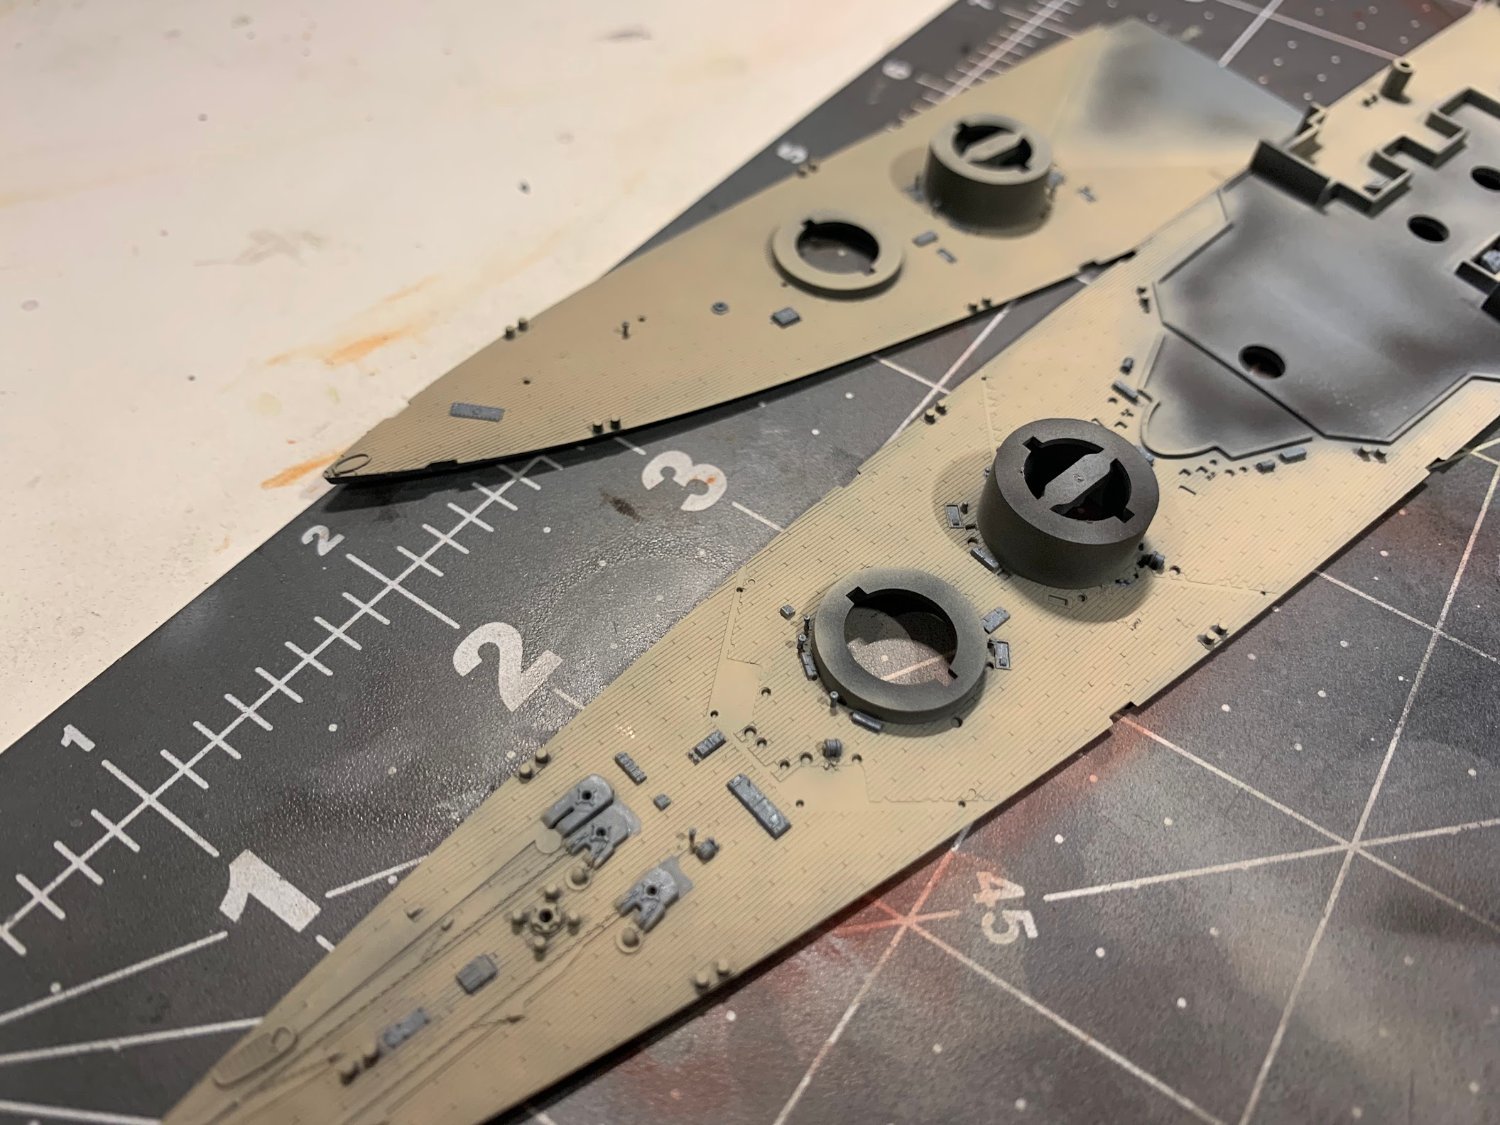
Before littering the deck with all the detail, I thought it best to do the oil wash on the deck first. Simply used some burnt umber with some spirit, and laid it on in straight strokes (bow-stern) with special attention to heavily used areas and to darken the edges. It's such a simple thing, but comes out so nicely. I firmly believe no one needs wood deck stickers! This is the best way to do it.


I think this is going to be a good build.
-
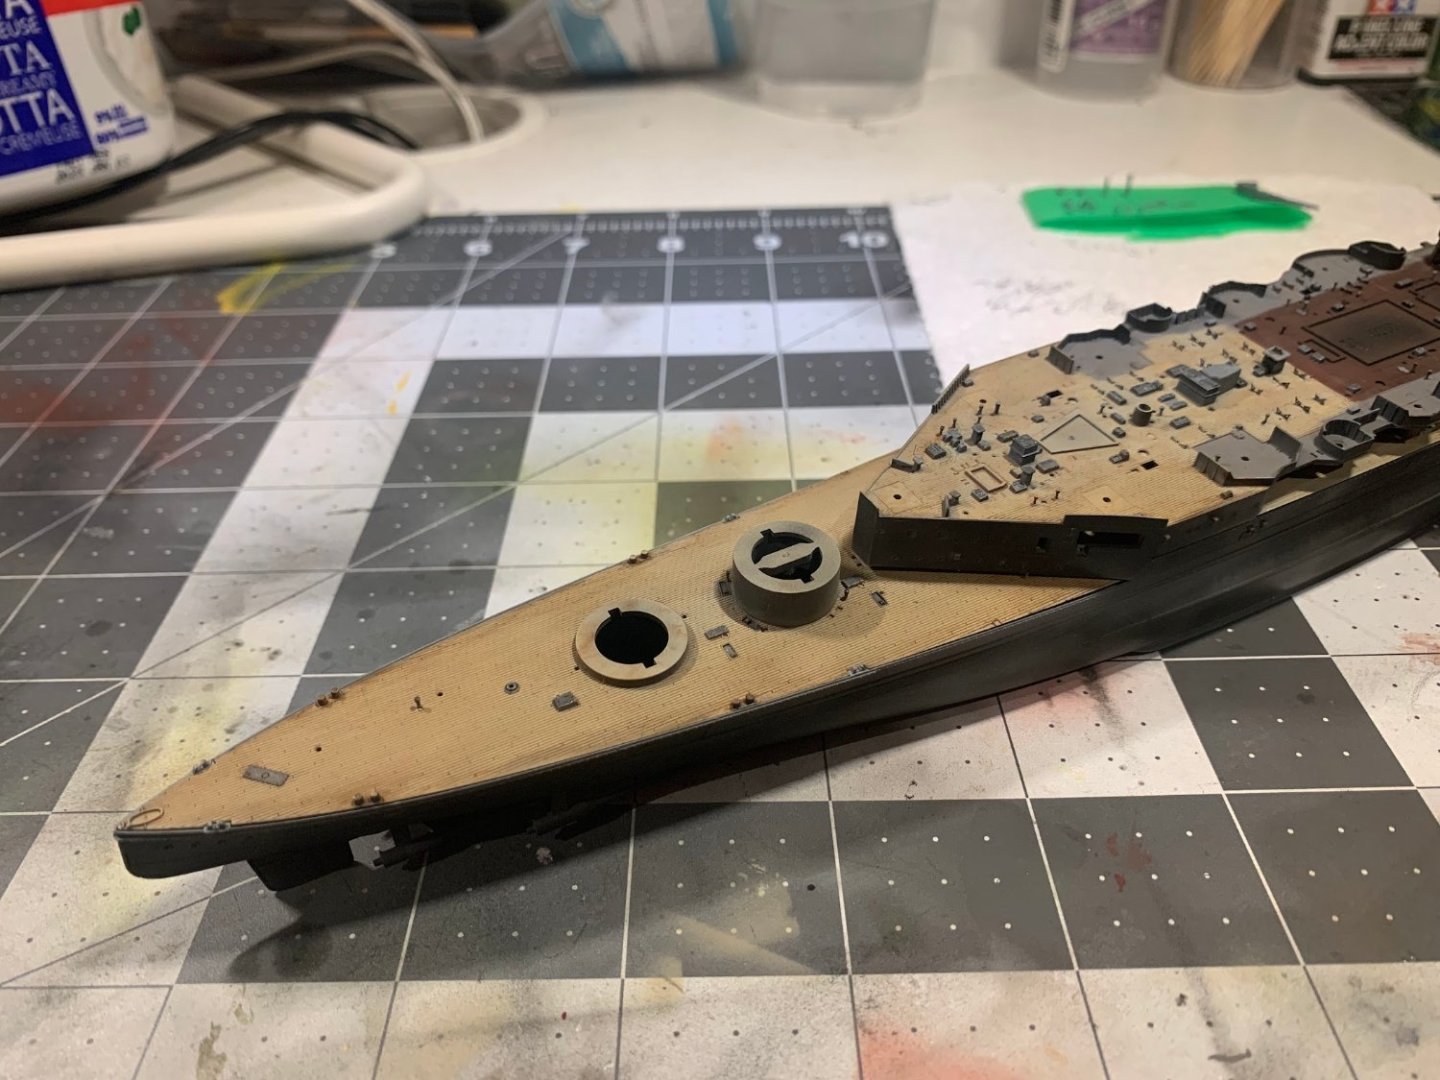
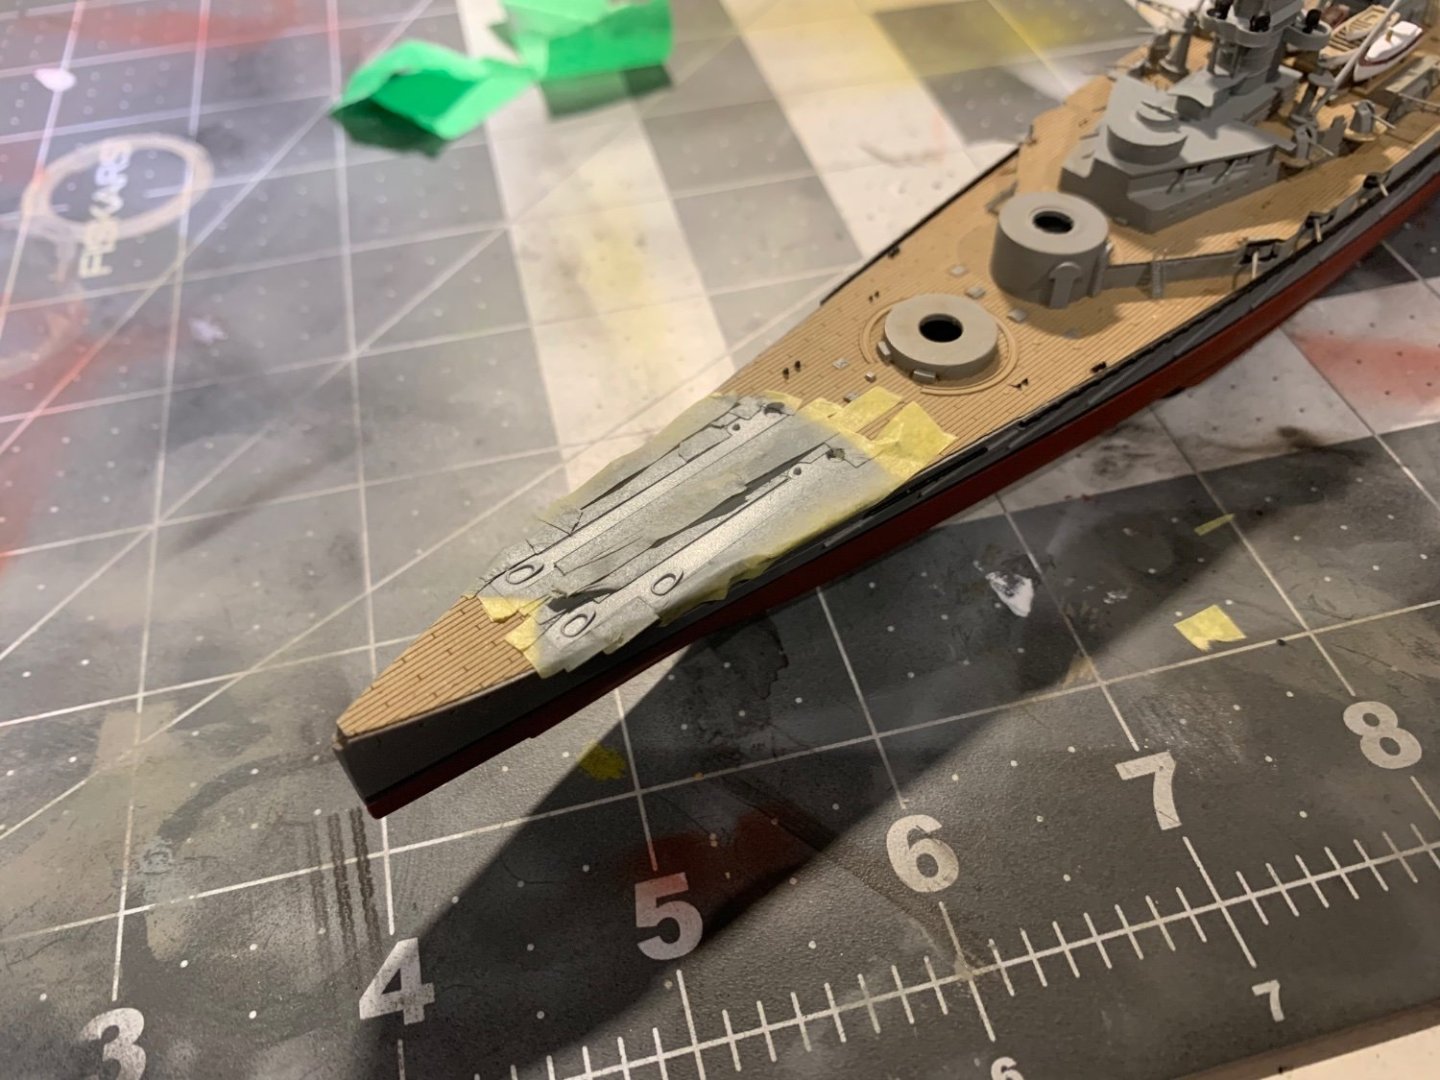
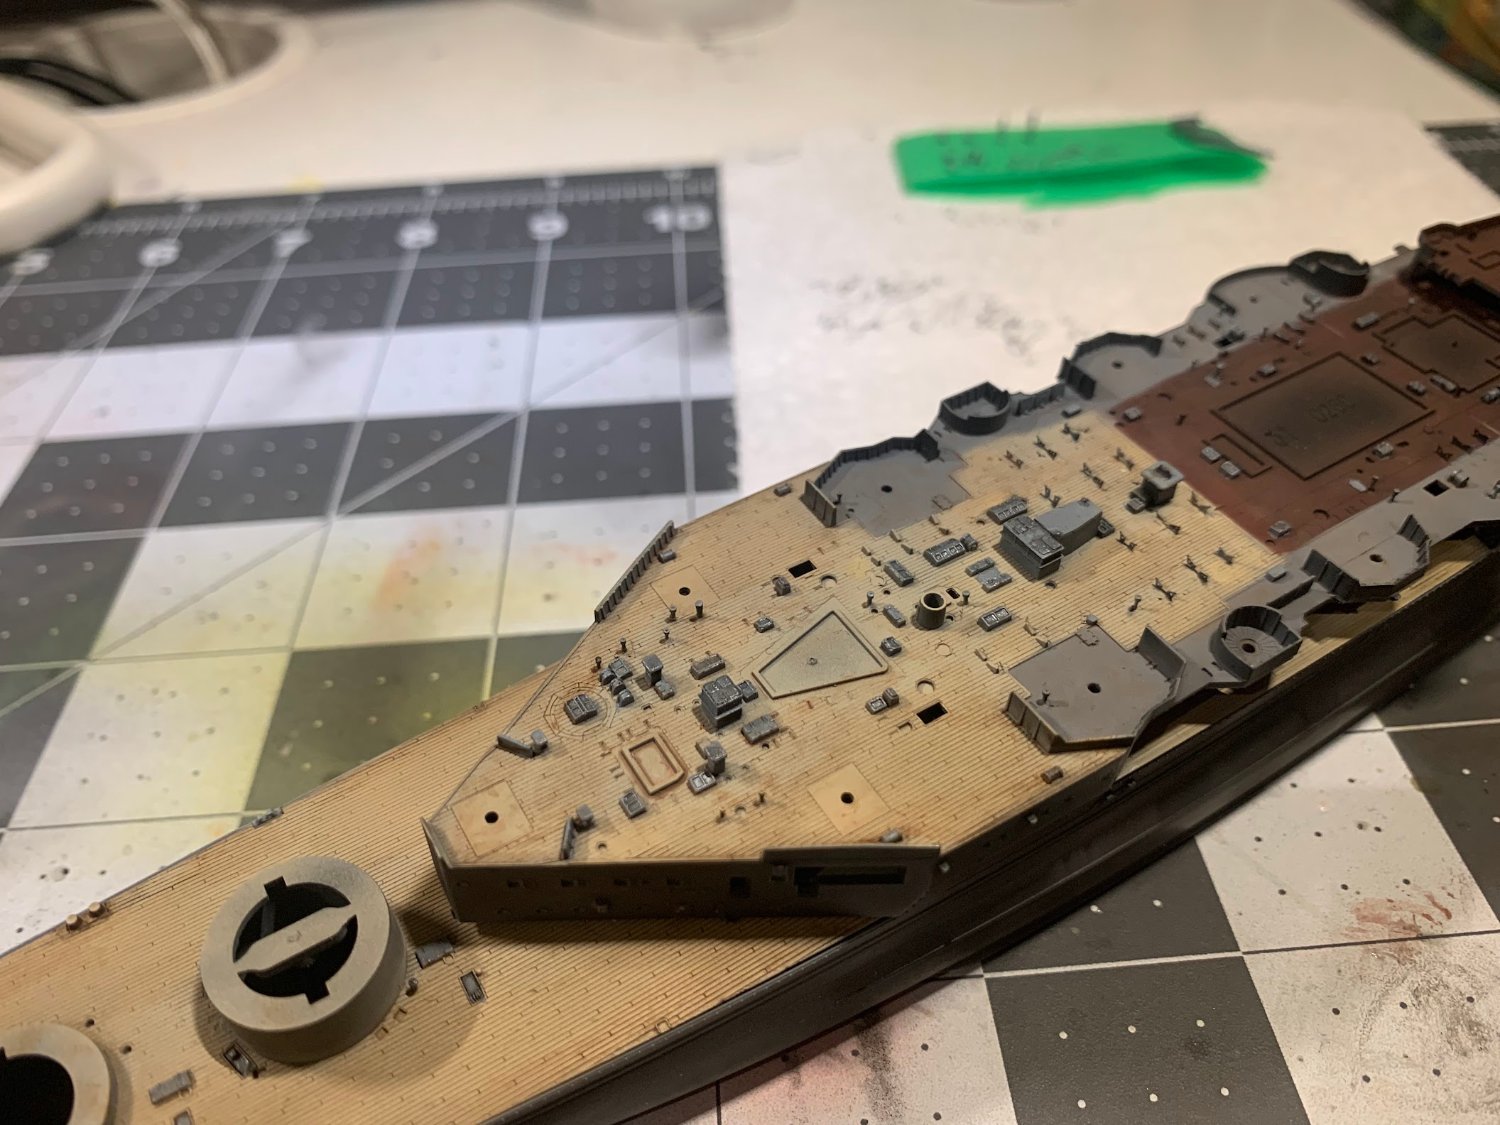
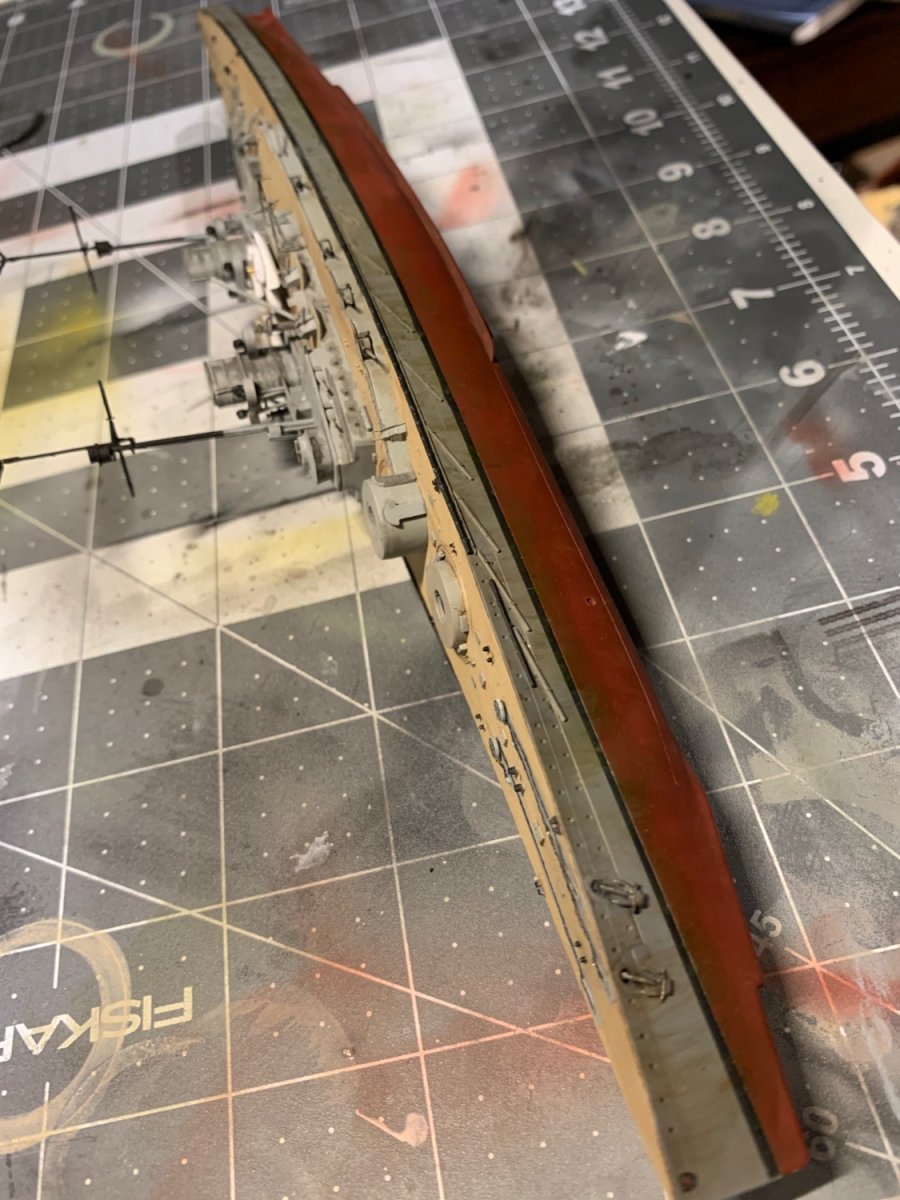
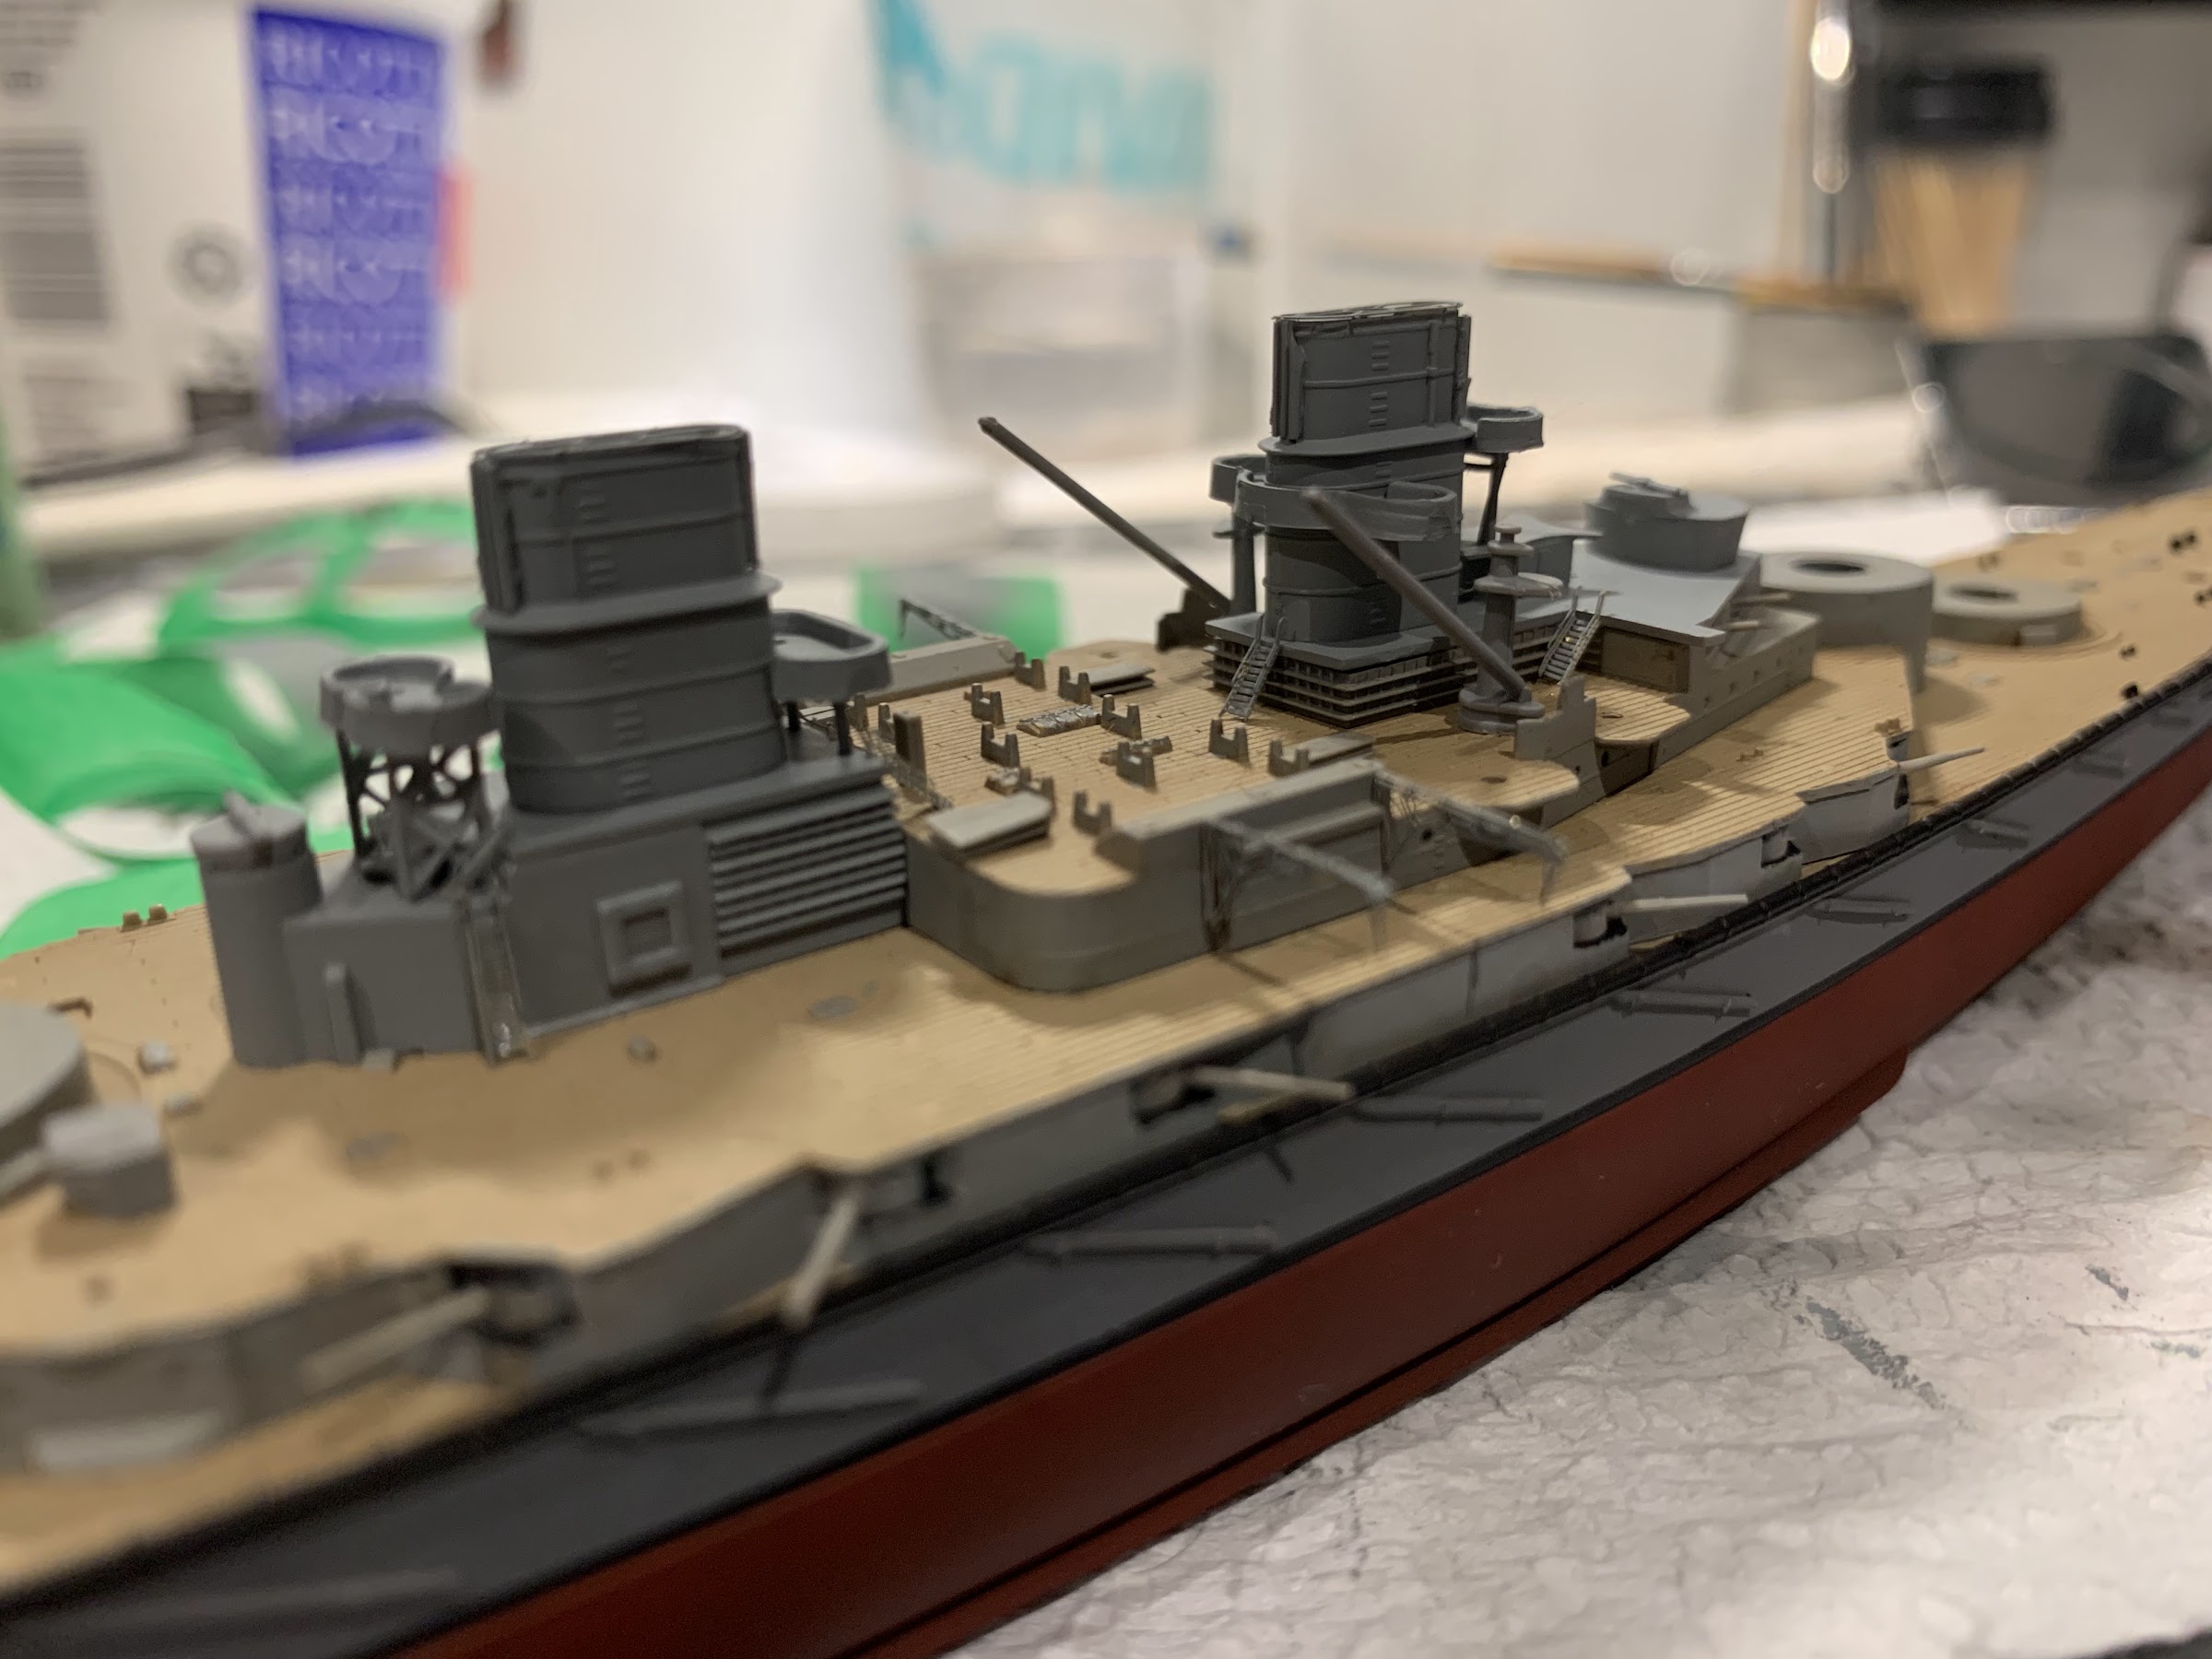
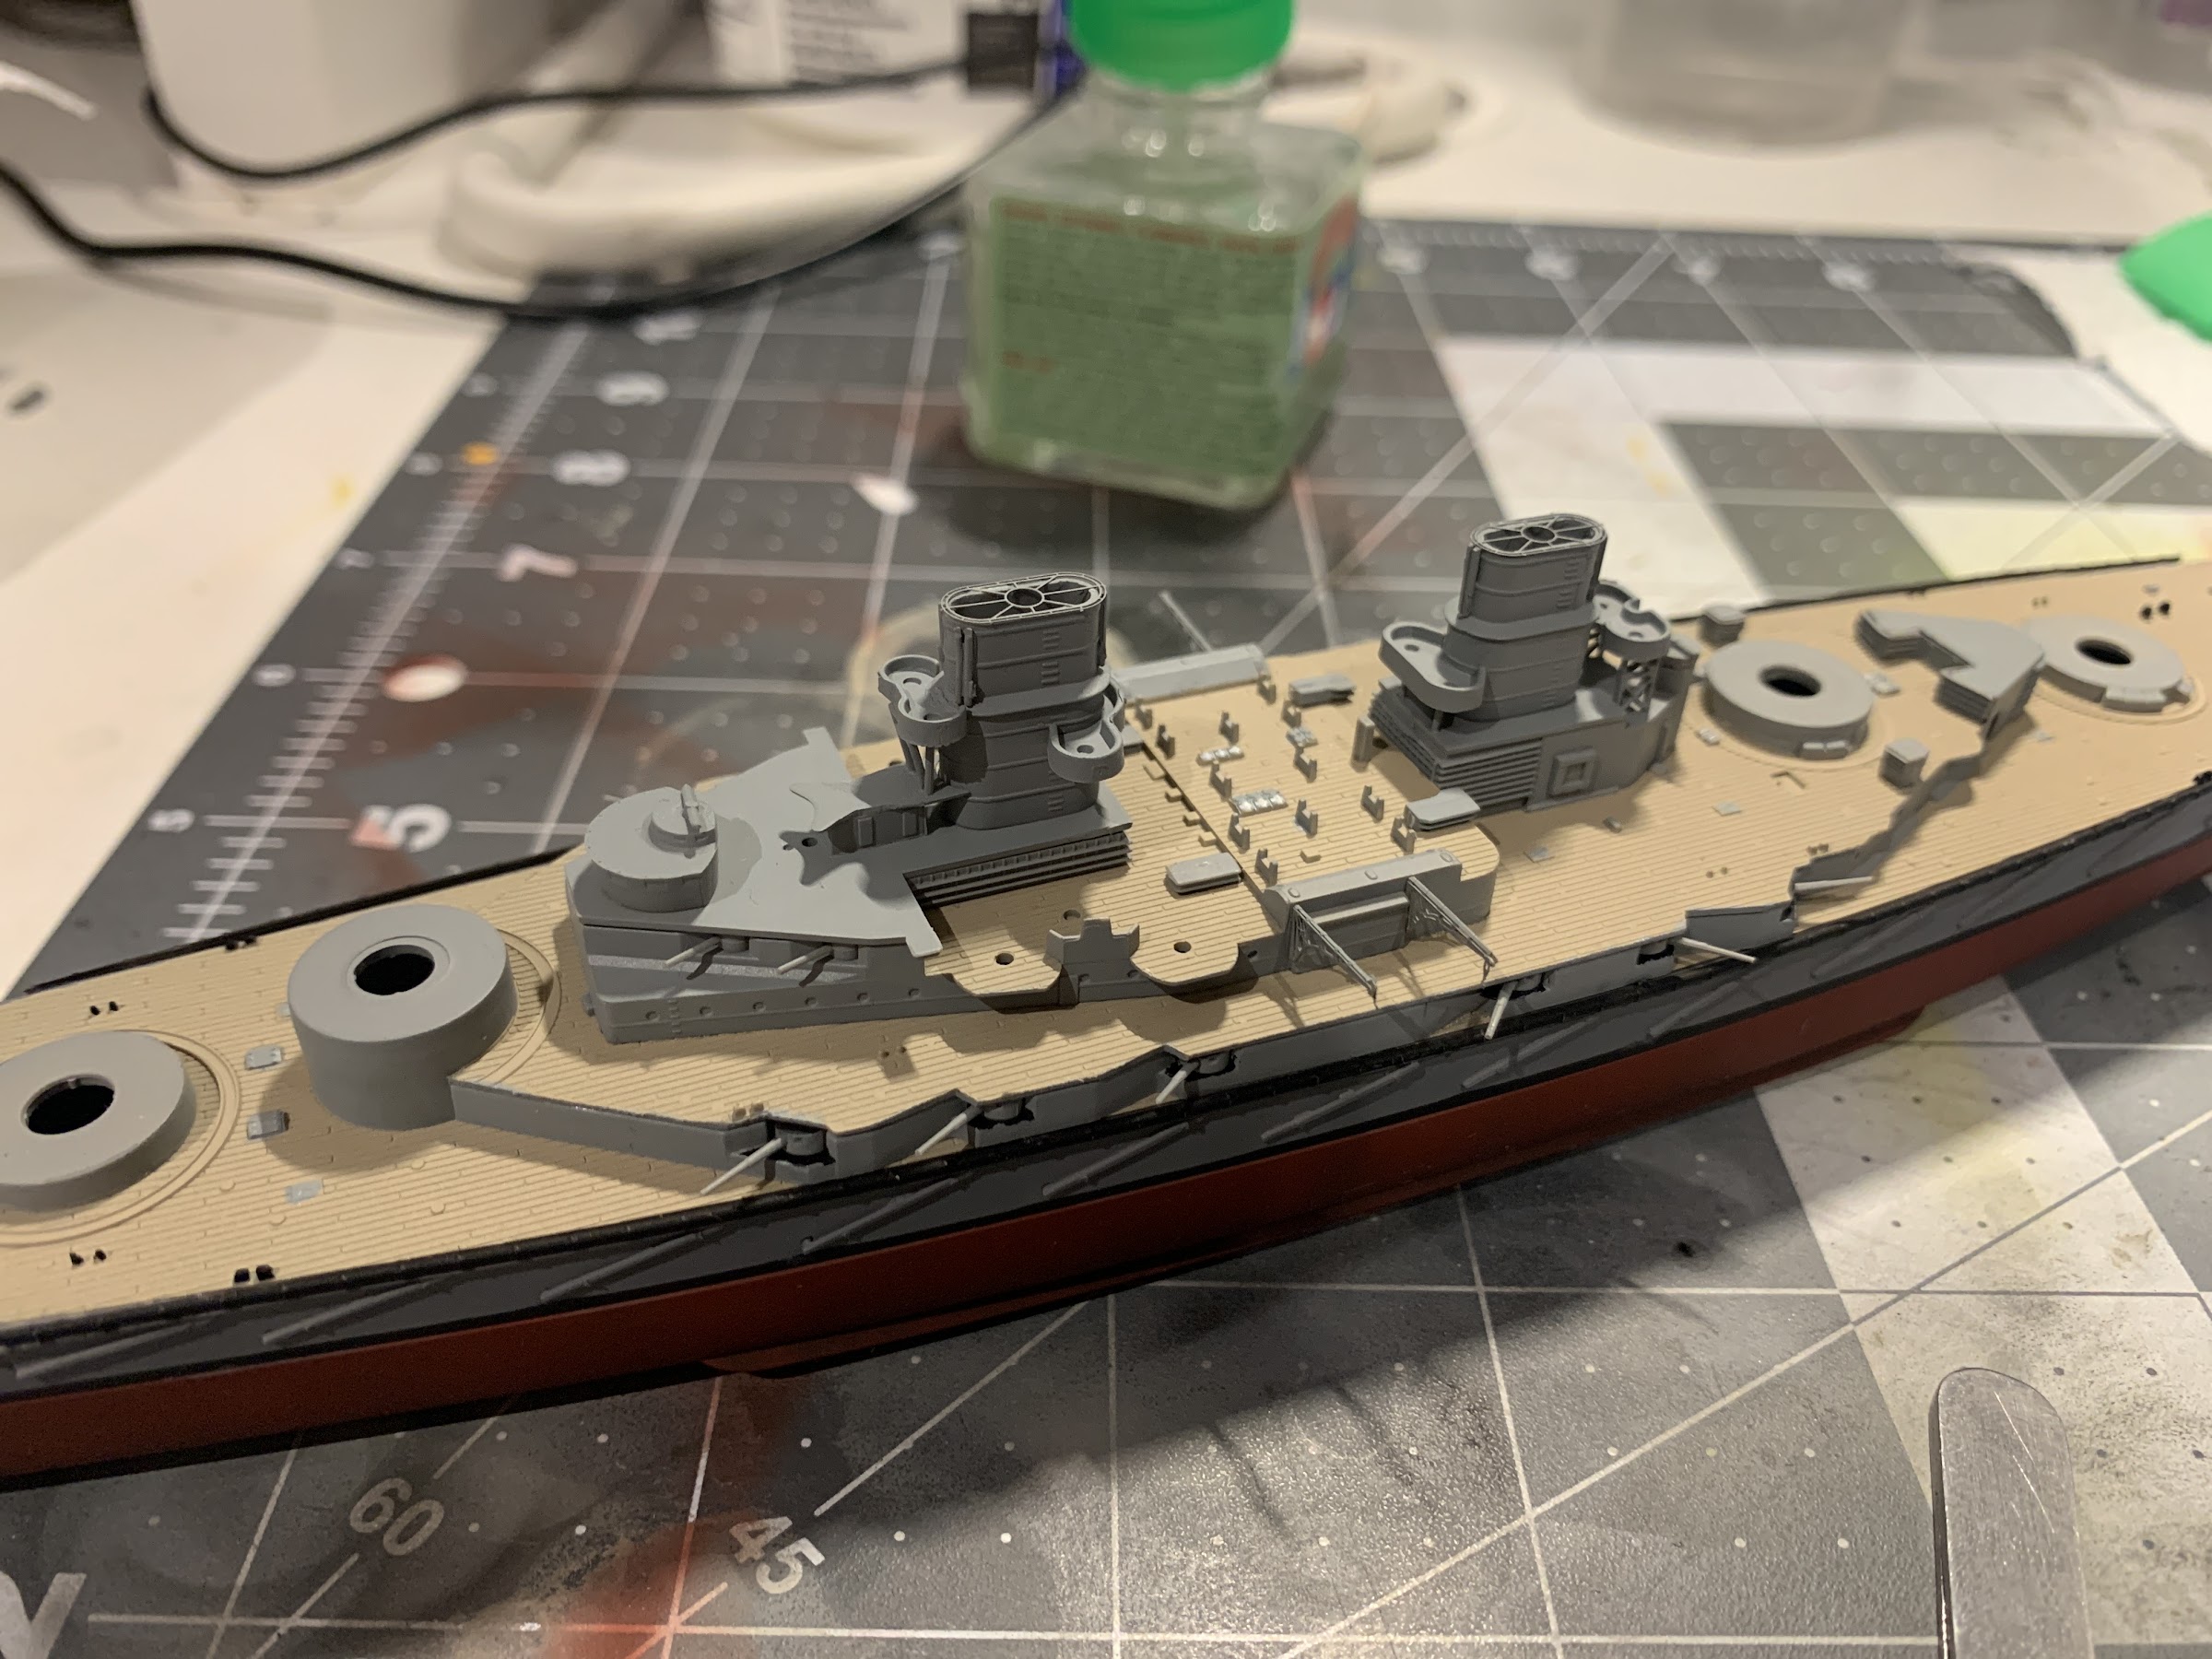
Painted the decks with my go-to XF-57, considered using XF-20, but thought it too washed out, perhaps on the next ship for some variation. Painted the burgundy with XF-9 hull red and grey deck with XF-75. Then painted the little detail bits with my Tamiya (extra thin) paintbrush in XF-66 (the superstructure colour).


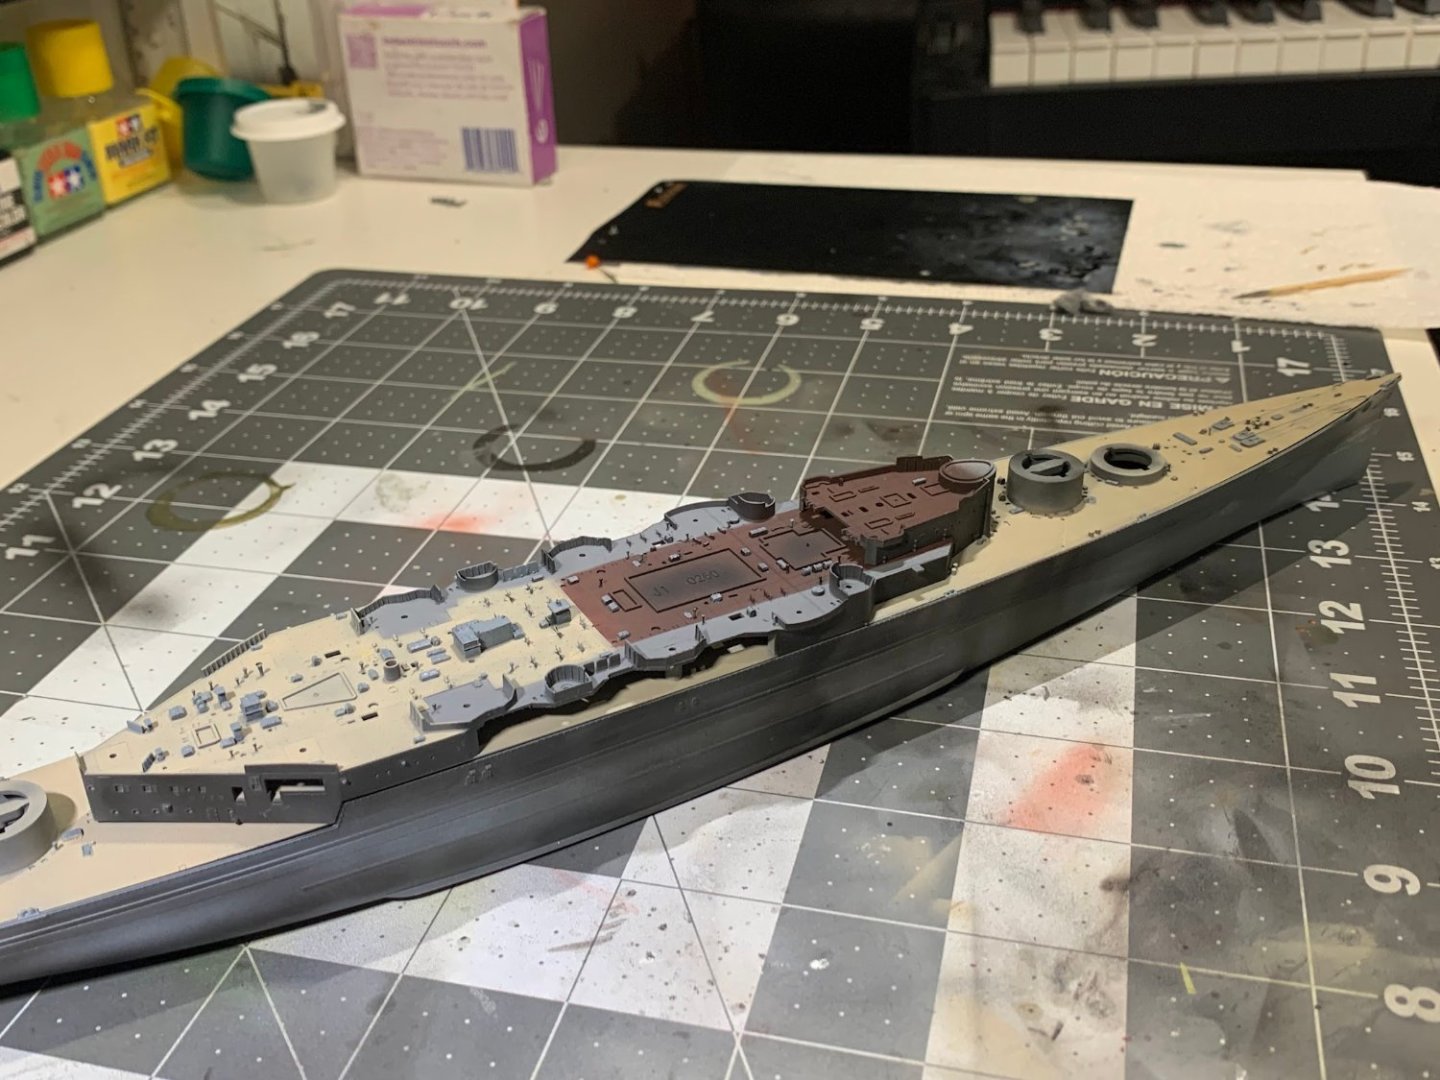
Next is adding more deck detail and painting the hull. Not sure when the best time to attach the hull and decks are, but will find out soon.
- ccoyle, Old Collingwood, yvesvidal and 3 others
-
6
-
8 hours ago, Morgan said:
mushroom vents that Hood had, later British ships had square vents.
Oh yes that’s probably reasonable. First seeing the detail the deck part has default is intense, but after seeing the PE, truly insane, but very cool.- Old Collingwood, mtaylor and Canute
-
3
-
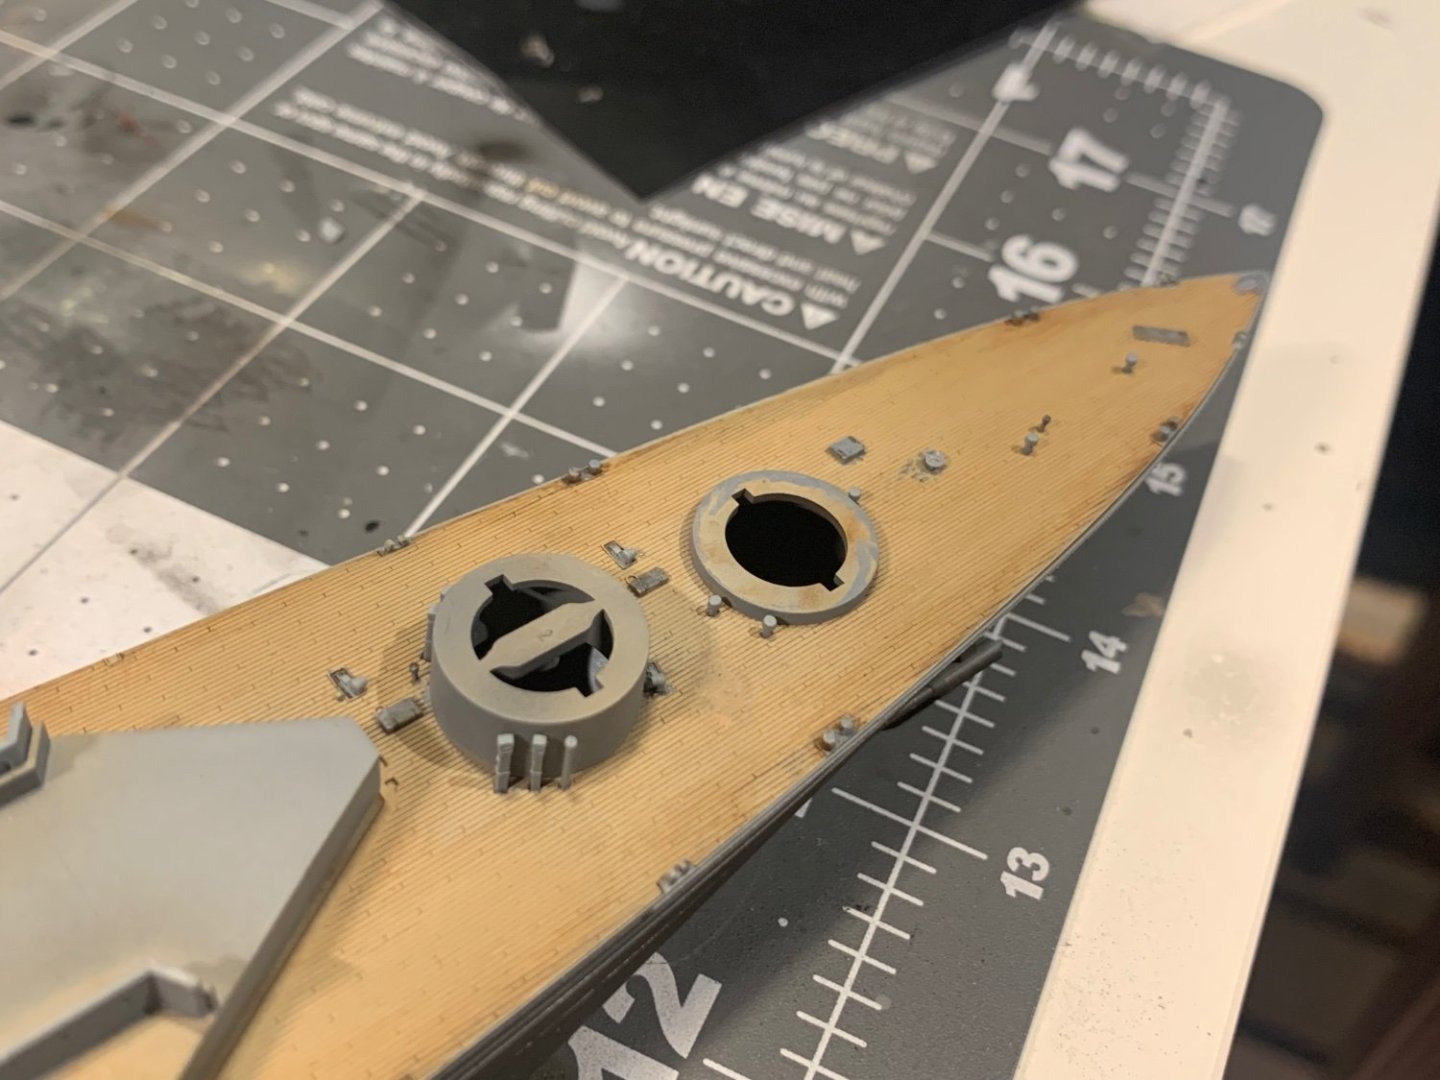
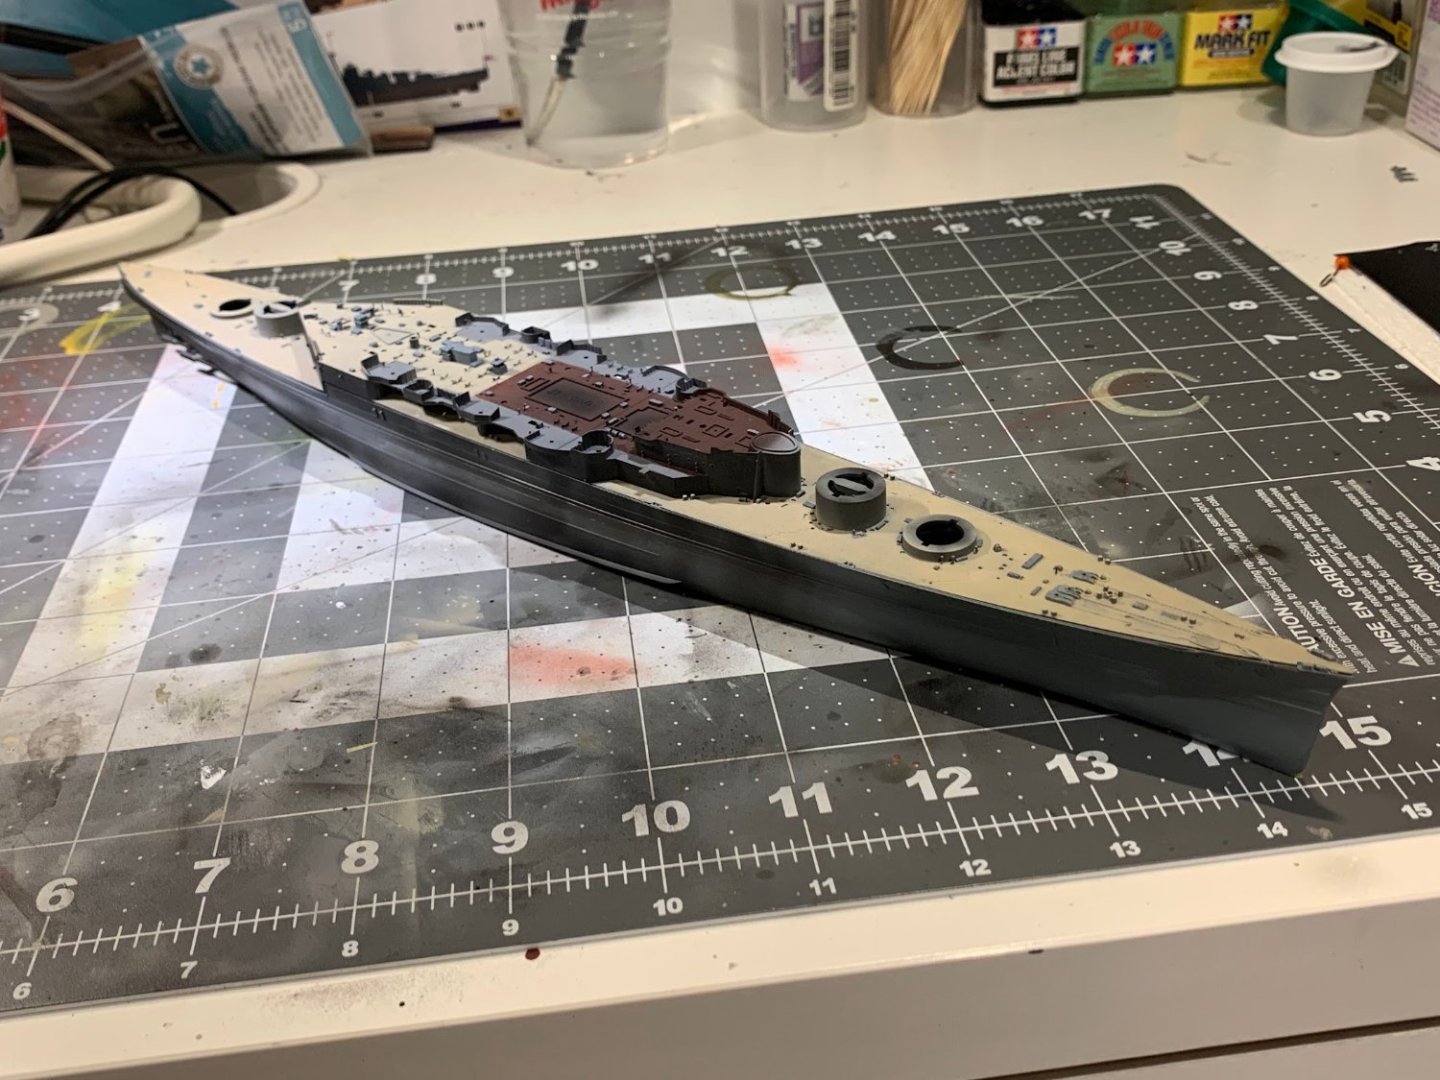
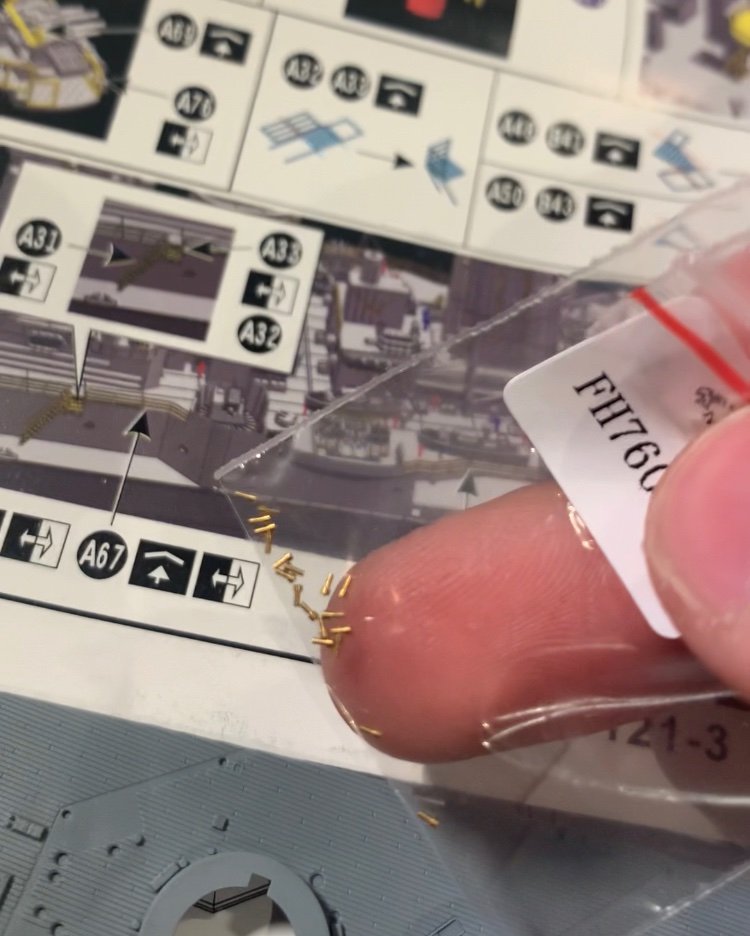
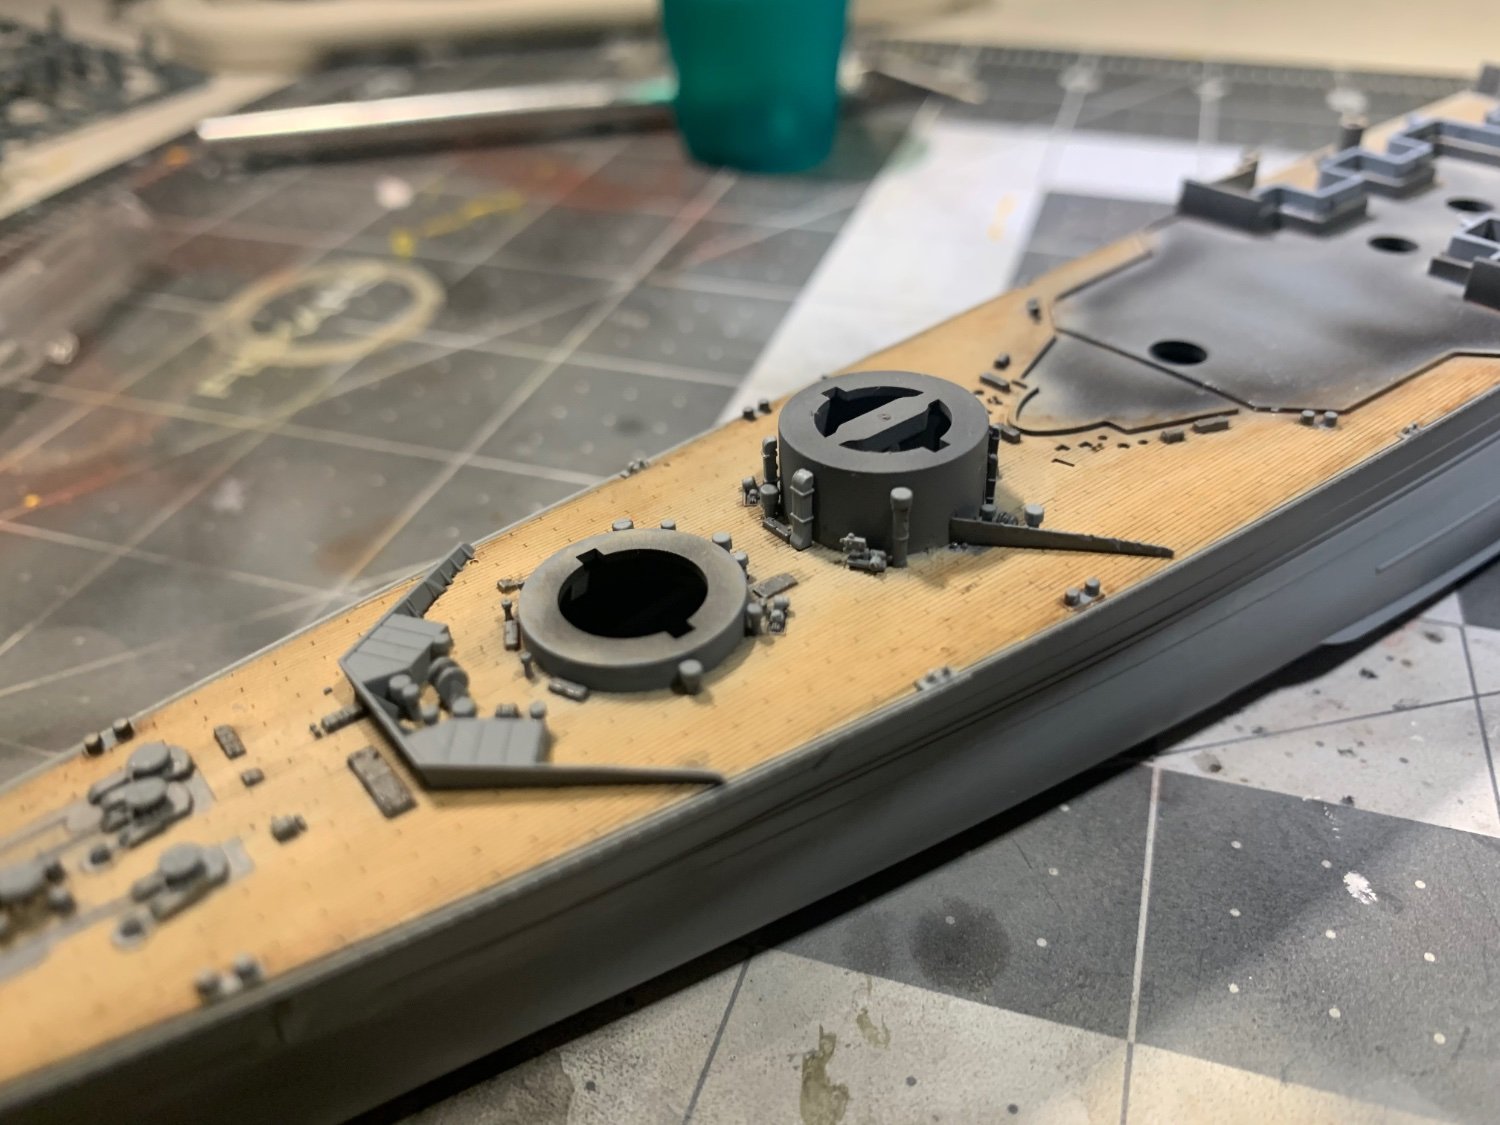
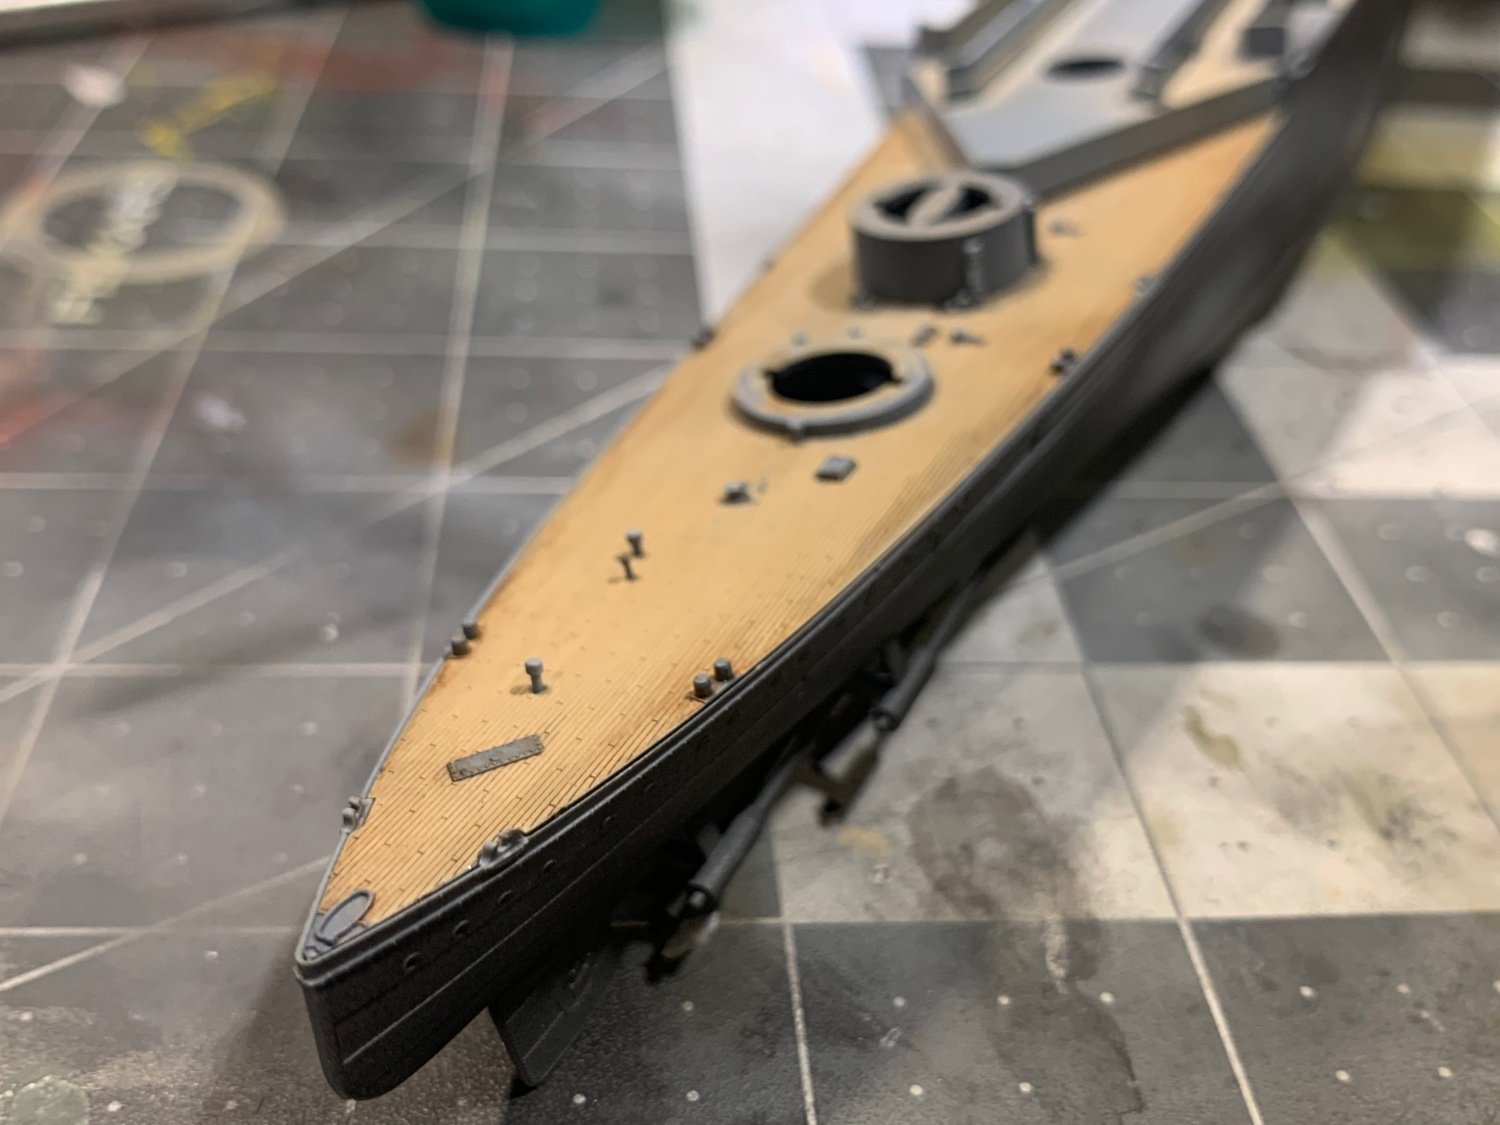
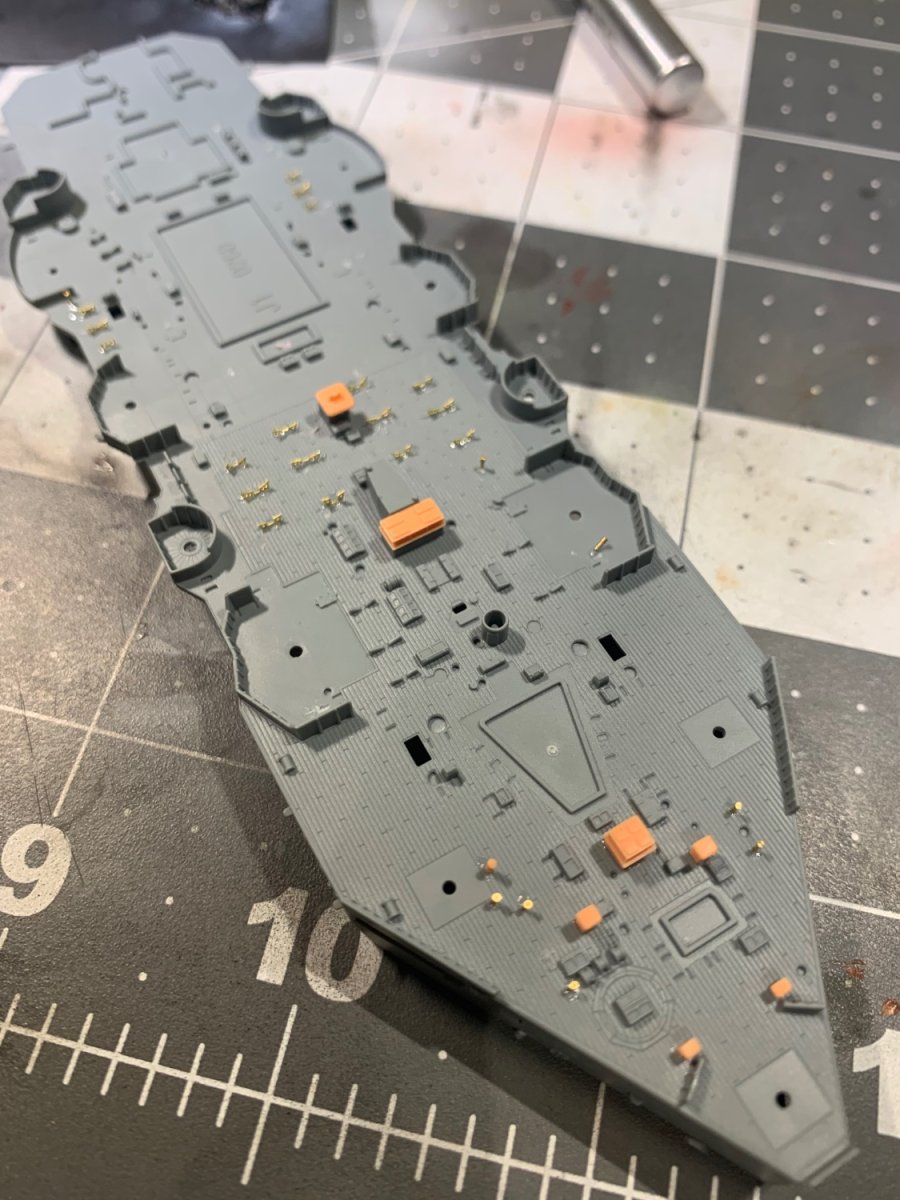
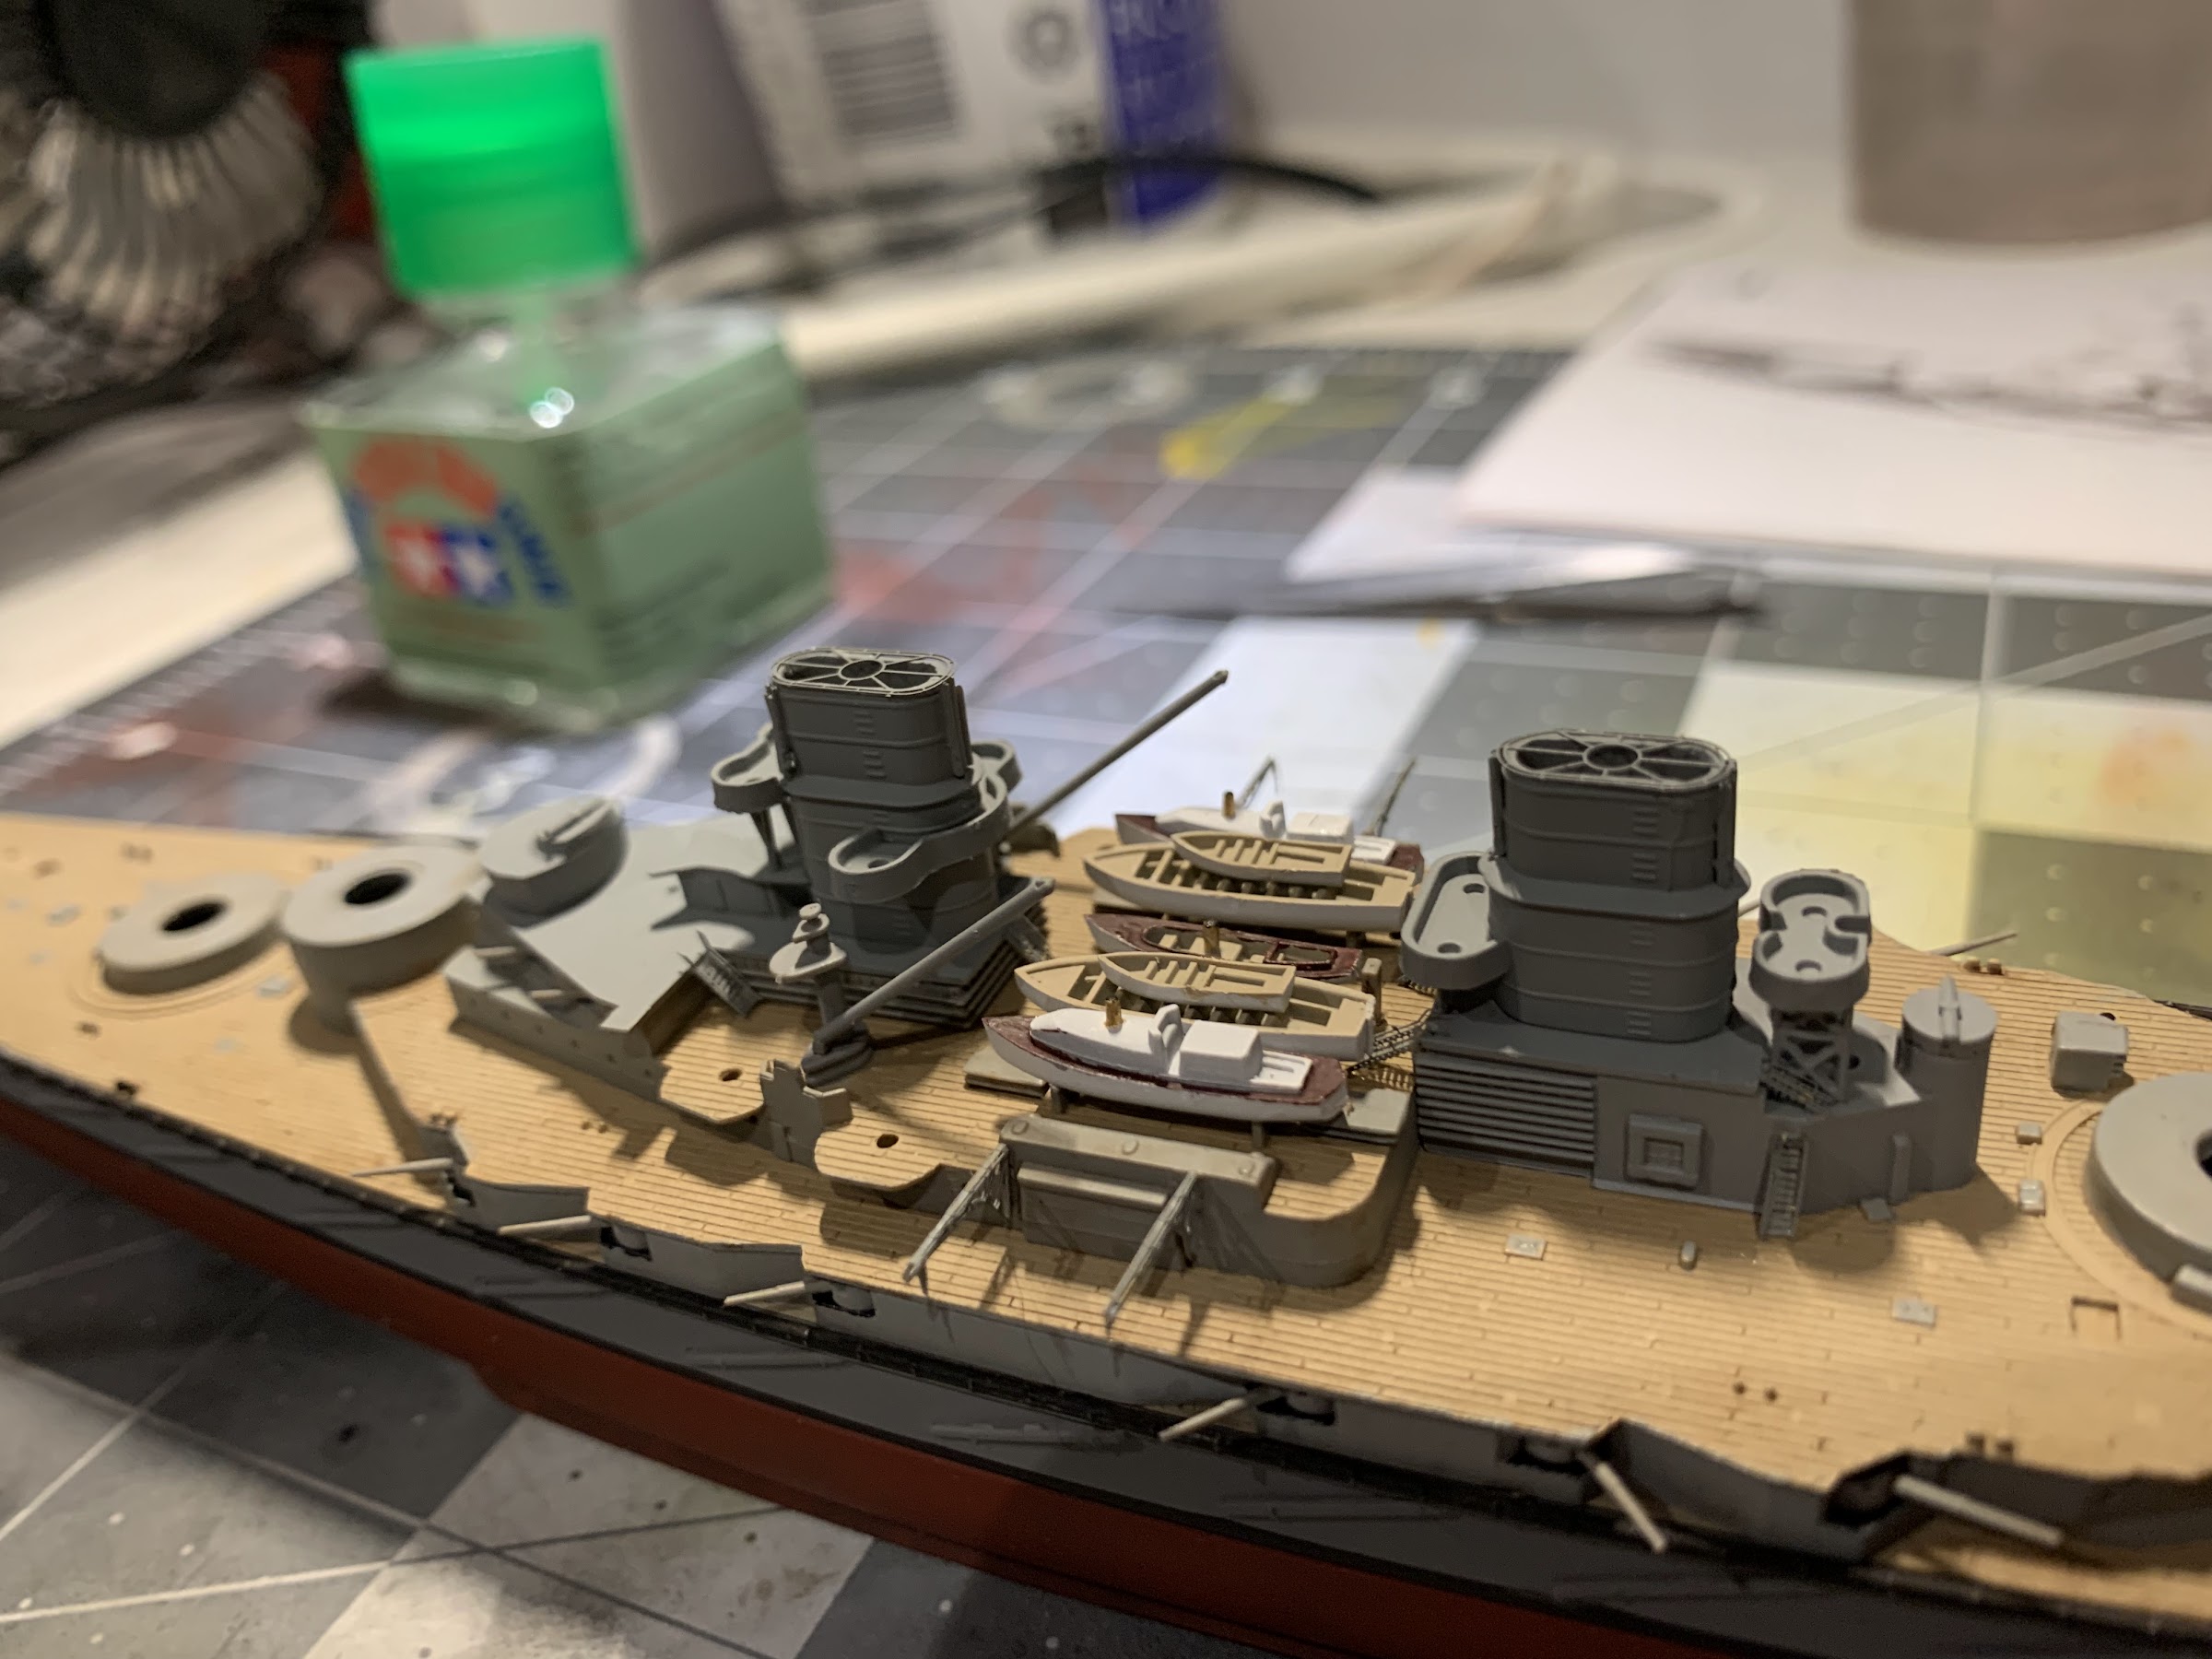
Progress on deck detail, lifeboat holds and these little pokey bits went on okay. Does anyone know what these pieces are meant to be? Very curious.

- Old Collingwood, Morgan, mtaylor and 1 other
-
4
-
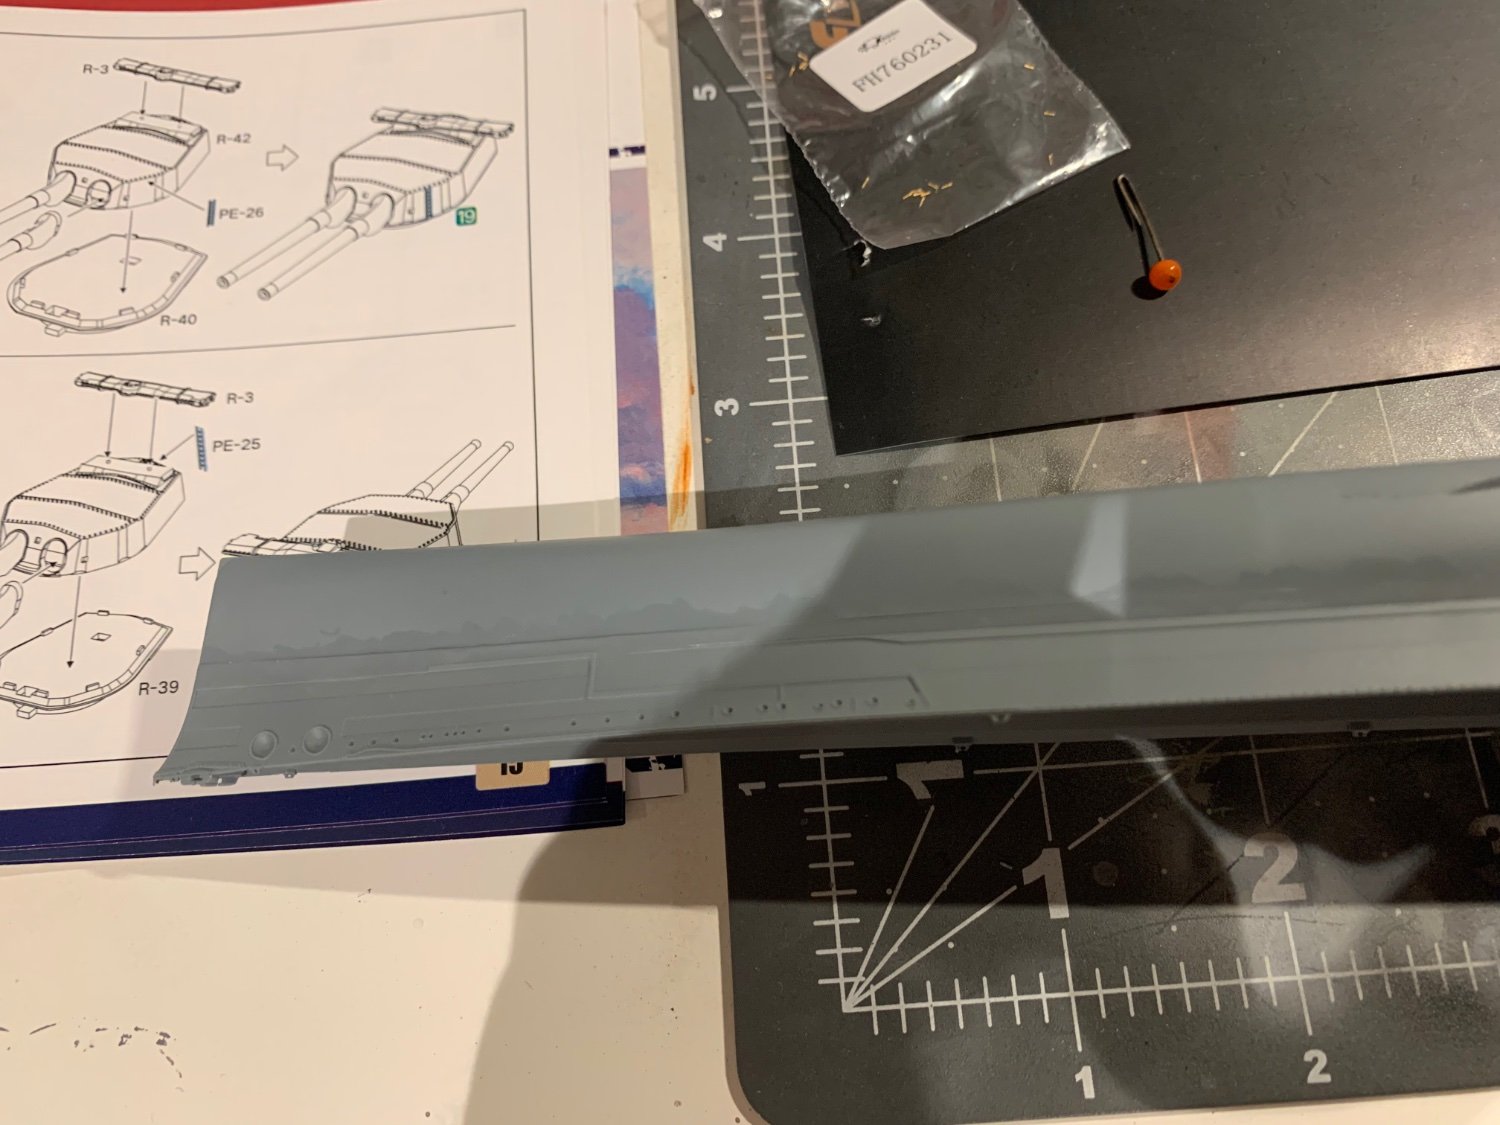
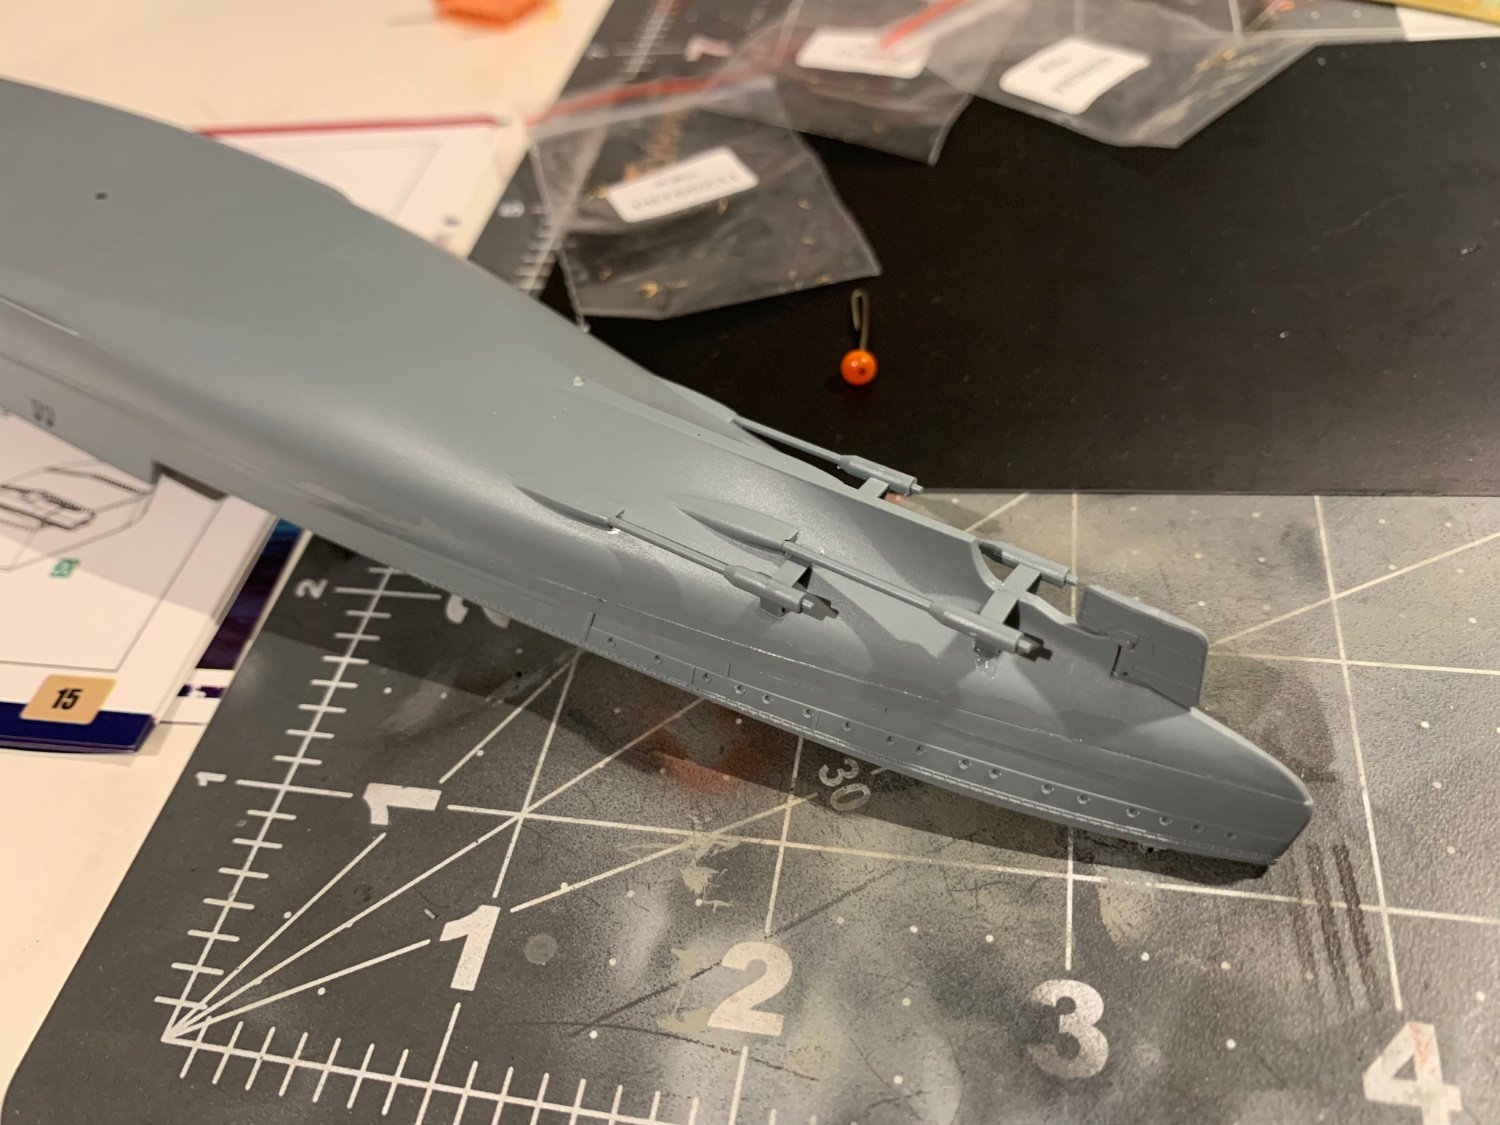
Hello all, after completing the Derfflinger I decided that wasn’t torture enough; this begins the build log of the Flyhawk 1:700 HMS Hood with the deluxe detail set.
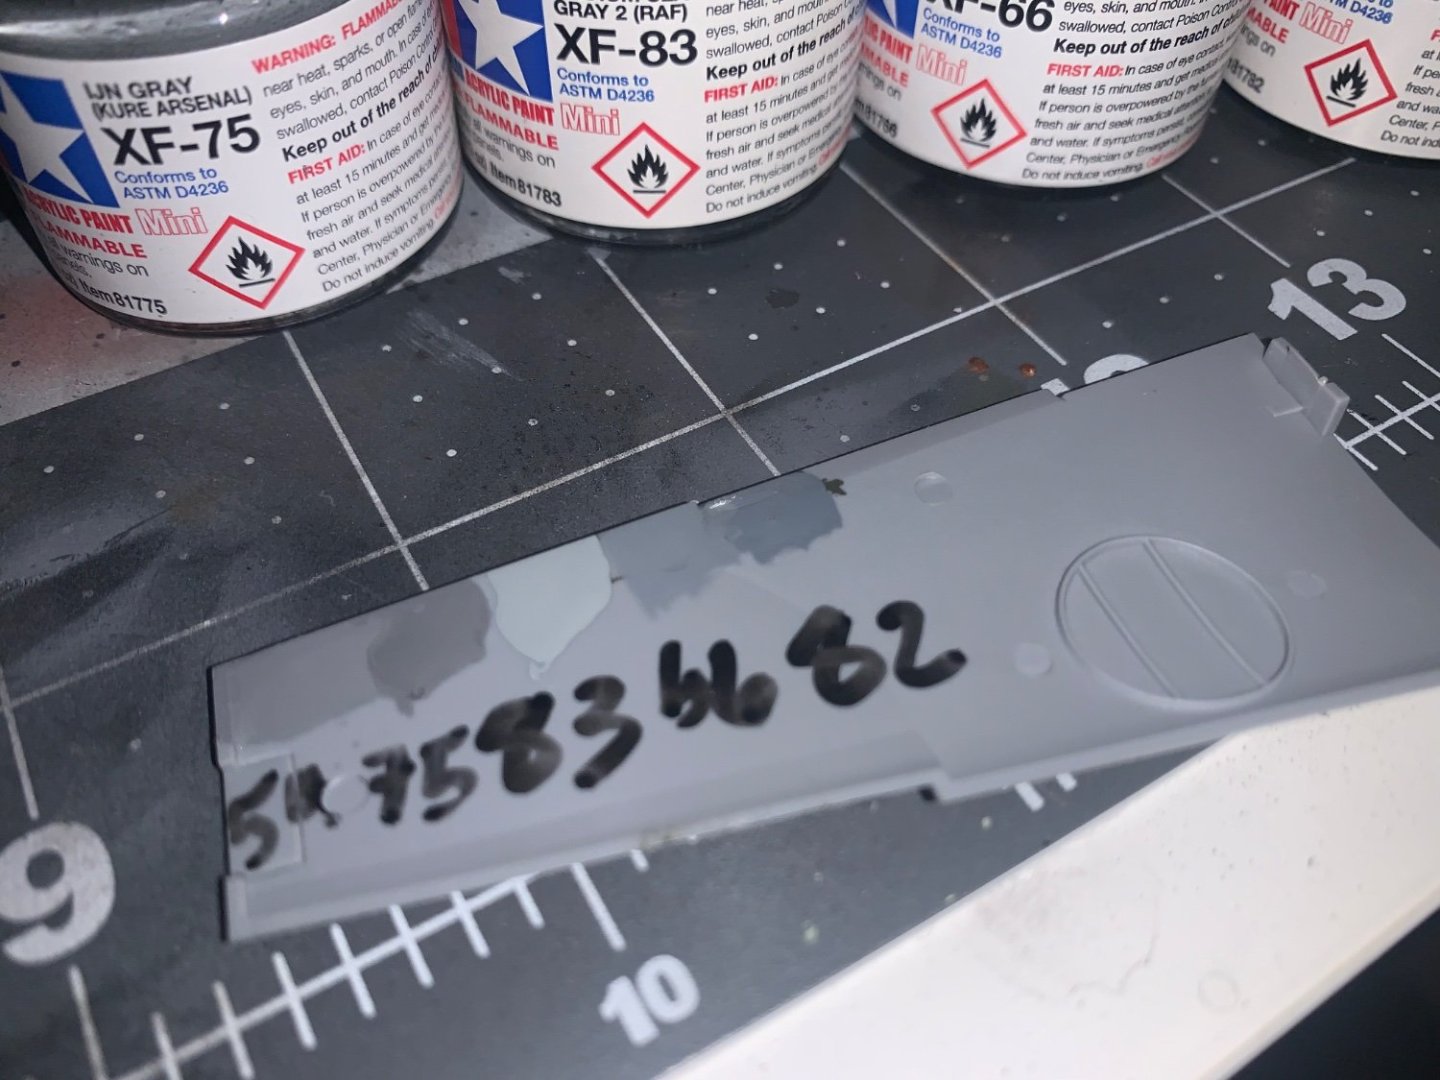
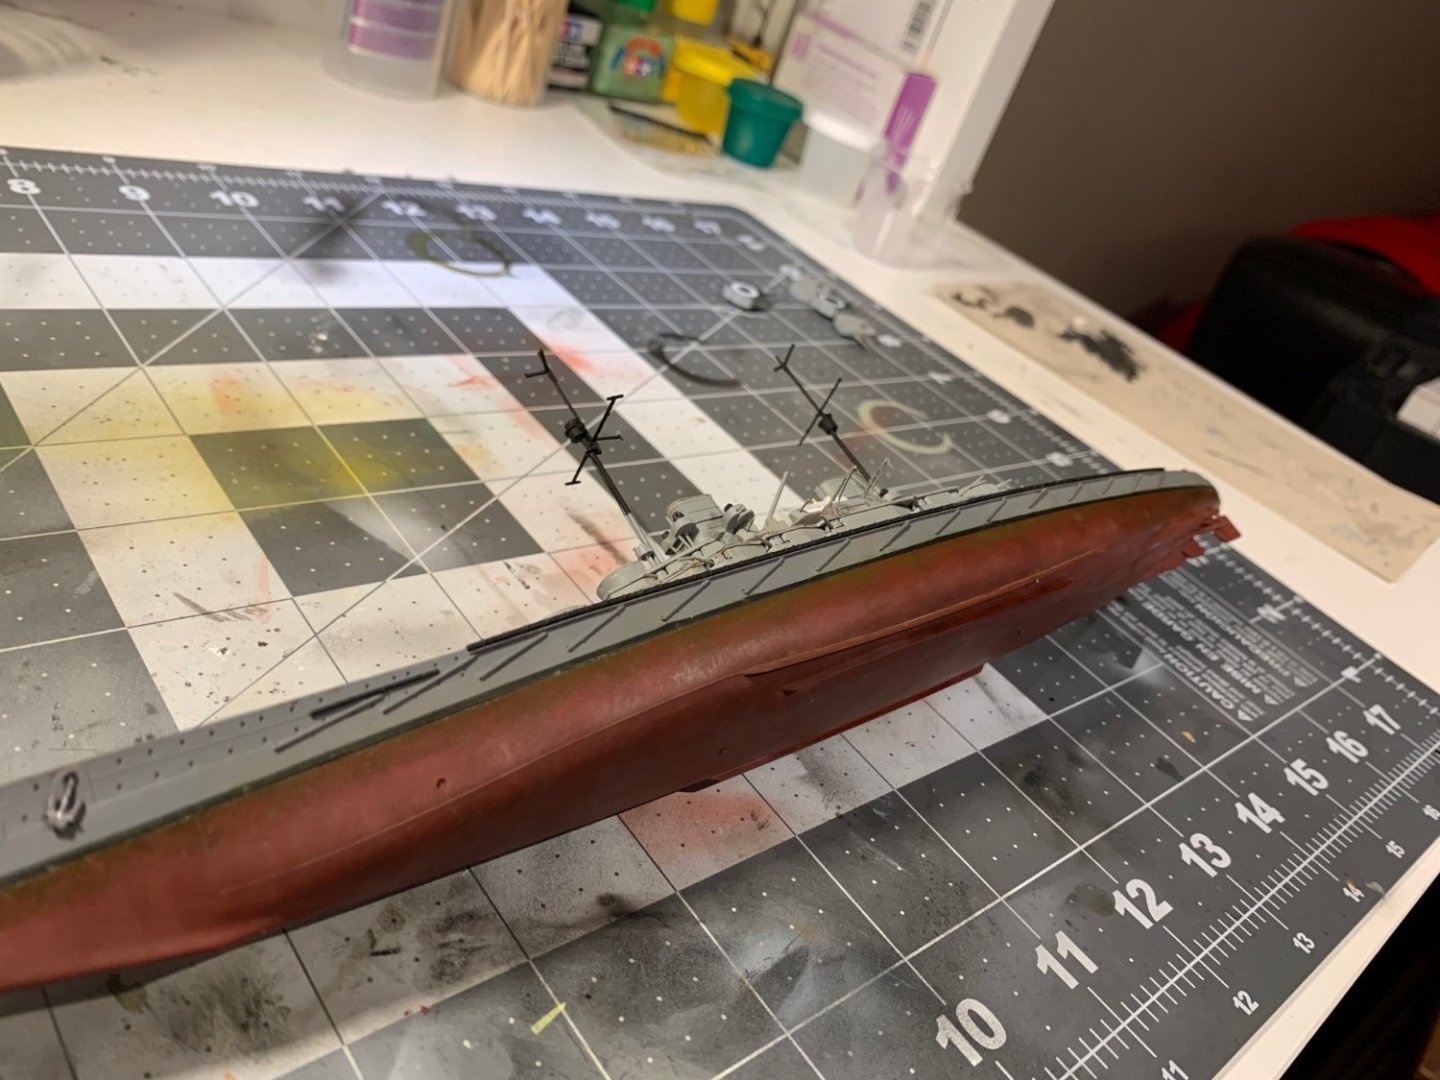
First and foremost, I intend to adhere to the “recent“ findings that she was indeed finished with a grey anti-fouling paint job below the waterline, with this we can assume she most likely had a similar colour in 1941. For this, I will use XF 82, and 66 for the superstructure/upper hull.
I have begun by attaching the hull, which seemed to go on quite nicely, I will have to do some priming to see if things need to be filled.


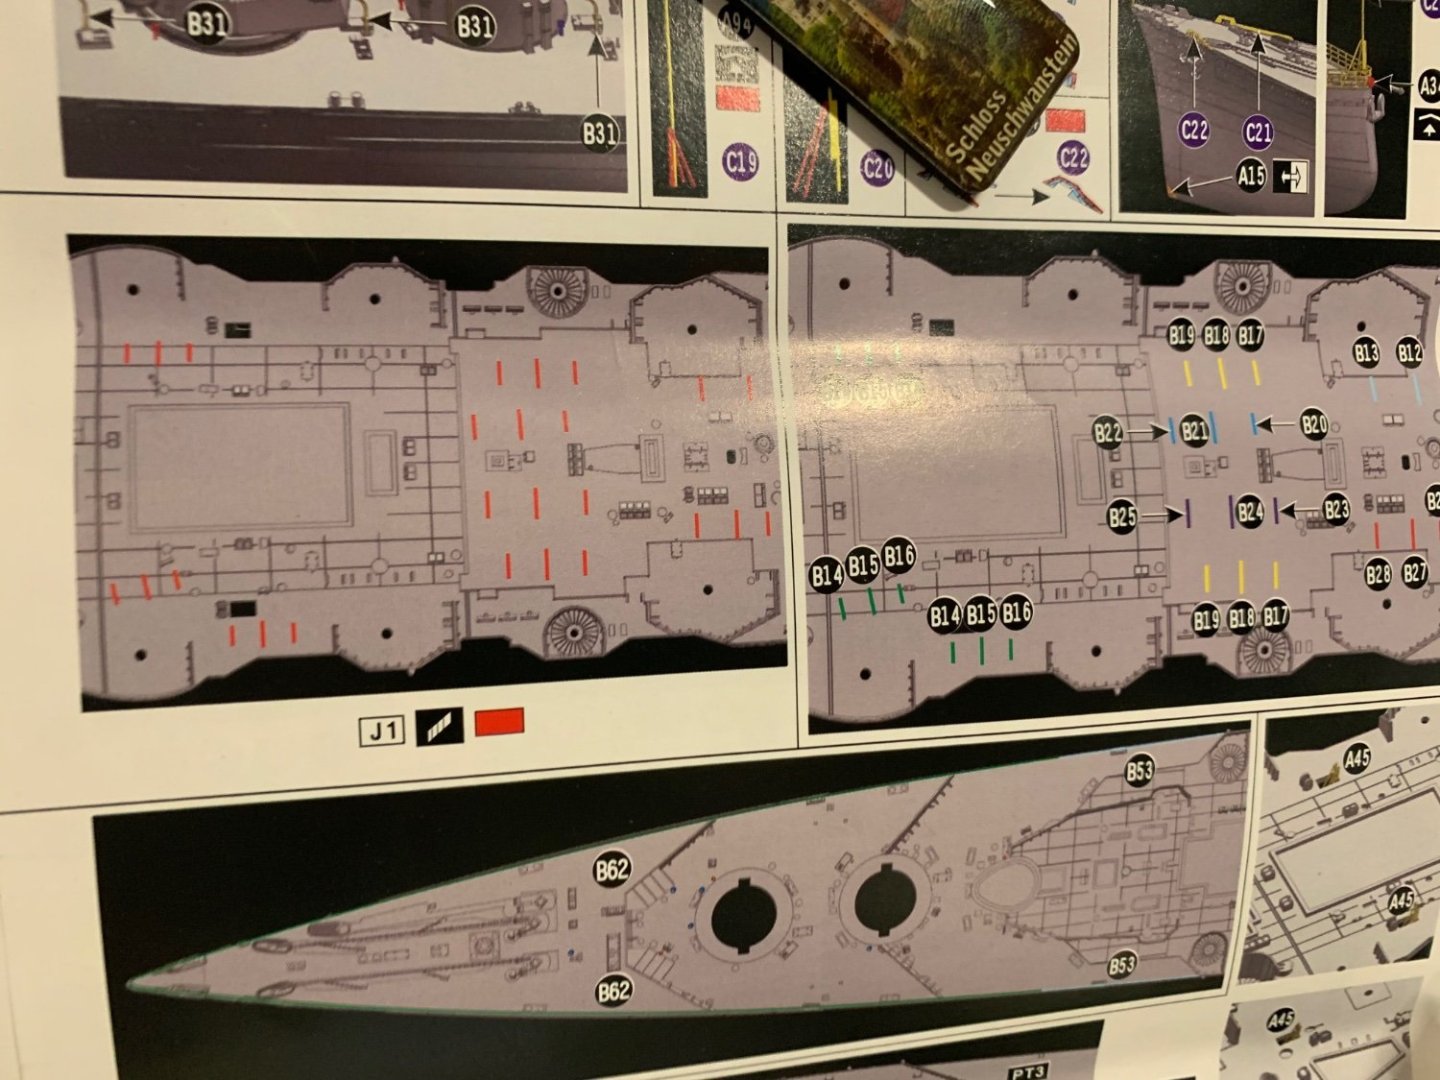
Next, starting with the deck detail (feeling like I’m in over my head here), slicing off small deck detail only to attach smaller photo etch parts! This will truly be a test of patience and I do look forward to it.


Does anyone think I can finish this by September? I hope I do, but now truly understanding the kit’s complexity - will be a grind.
- Old Collingwood, hof00, RGL and 2 others
-
5
-
13 hours ago, mtaylor said:
I have a rough time doing rigging at 1:64, I shudder to think what it'would be like trying to do it 1/700. The model looks great, IMO.
I’ll probably do it for my next ship, but the line I was using was too thin and the spool it was on was wound badly, kept ripping the thread apart trying to get it off. Will get a different kind and try again next time. I’m glad you like it. -
Alrighty. To my displeasure, the preliminary rigging was quite awful and decided to call it quits on this one after I had finished everything else. This is as far as I’m willing to go.
I have learned a lot from this kit, and hope to apply this knowledge soon.
This is the finished product.
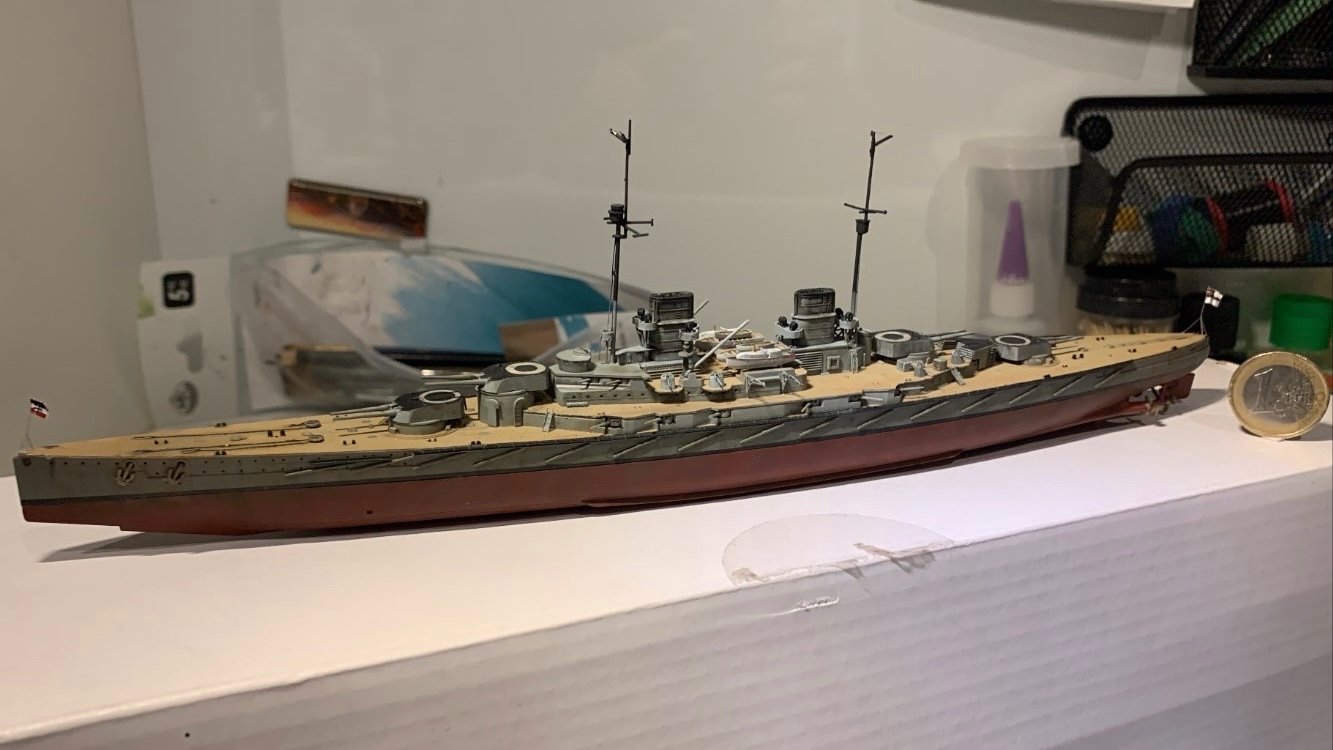

Any feedback is much appreciated, and I hope to retain some people for my next project (whatever I decide that will be).
-
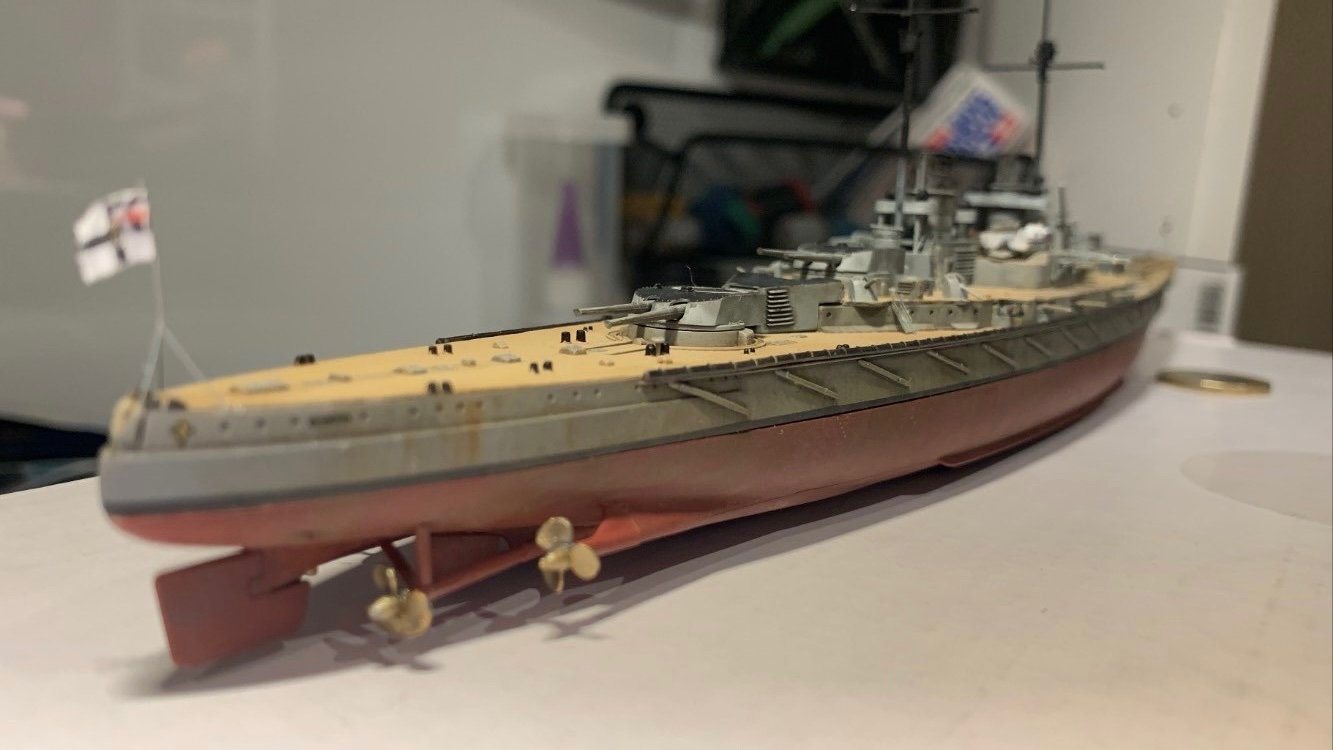
Below are some pictures of weathering at different stages of completion (still not complete). Used oils but made the mistake of working down-up letting the bottoms mix (and practically disappear) into the tops. Next time the opposite is definitely preferred but a little too lazy to do it all over again, I think it looks okay anyways.


Next is finishing this off and then rigging? Not too sure what I’ll do for that but I’ll figure something out. It’s almost done, and the Prinz has almost arrived. Should start that when this is done; I think based on my progress with this “trial model” I’m more confident about it than when I started.
- Canute, GrandpaPhil, mtaylor and 1 other
-
4
-
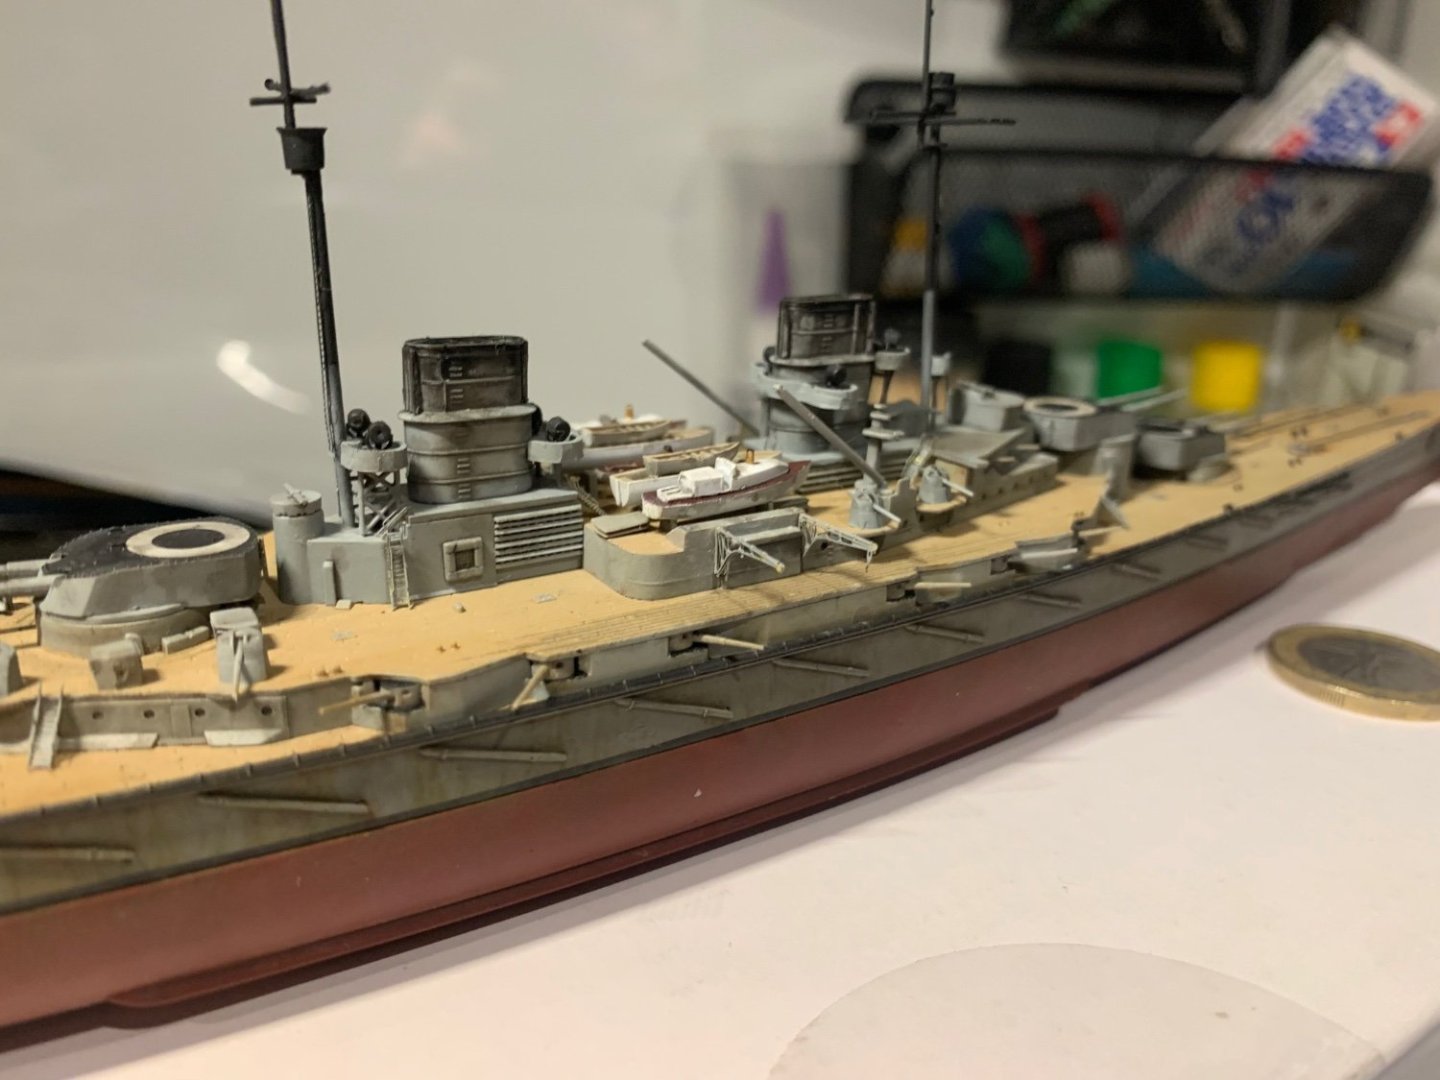
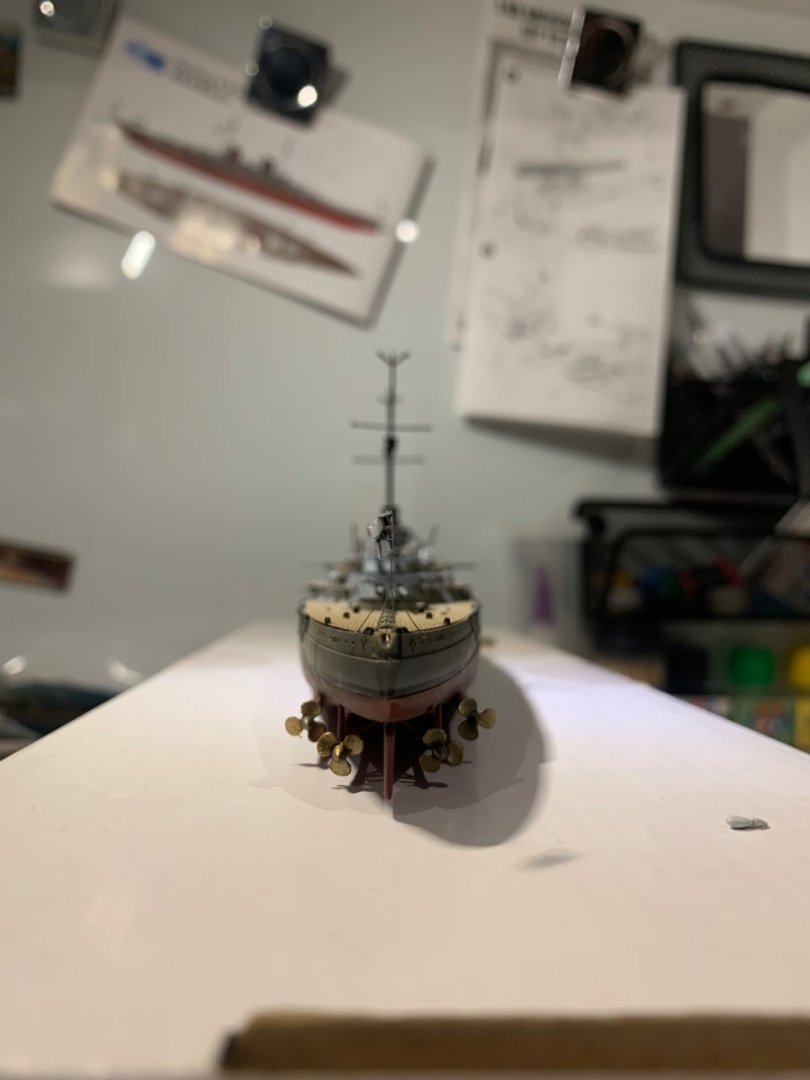
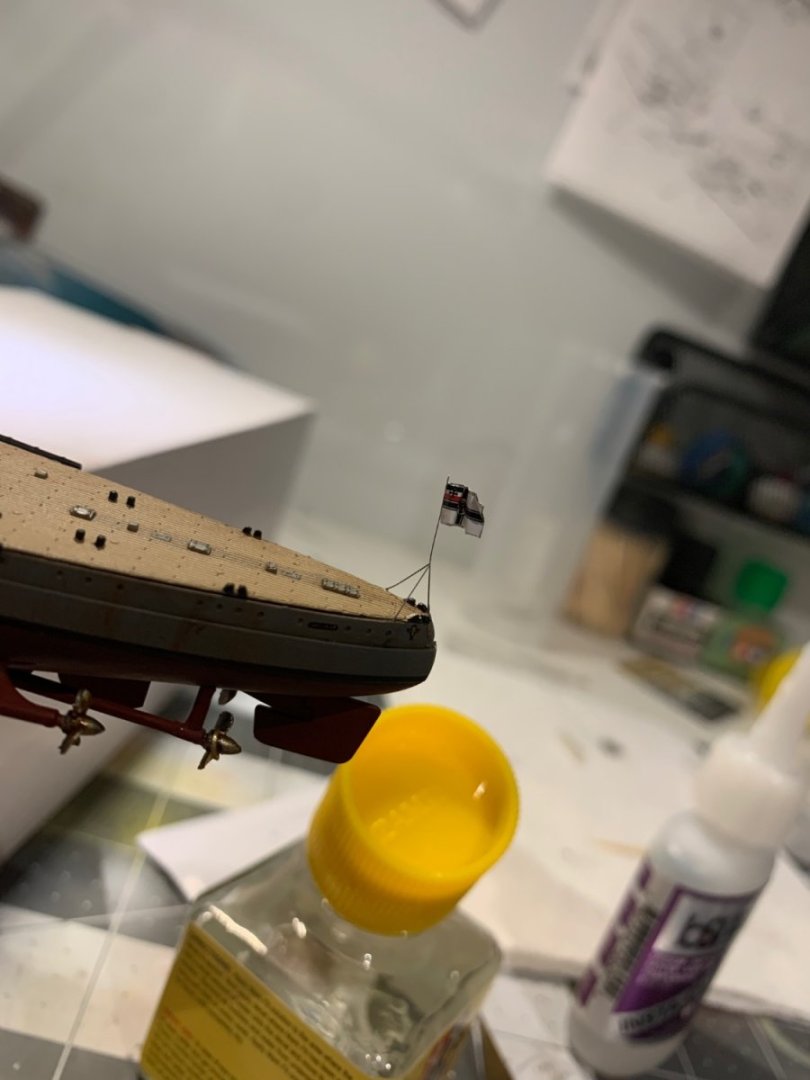
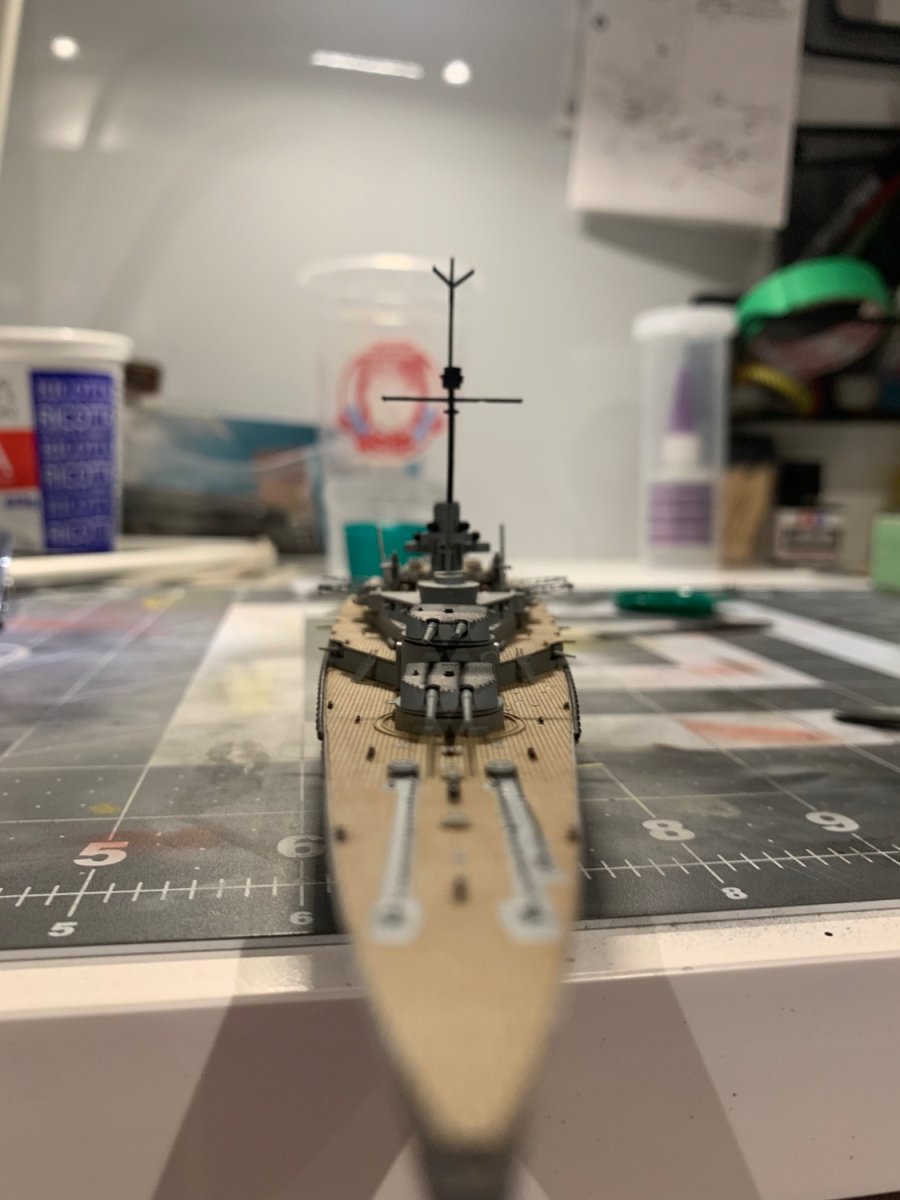
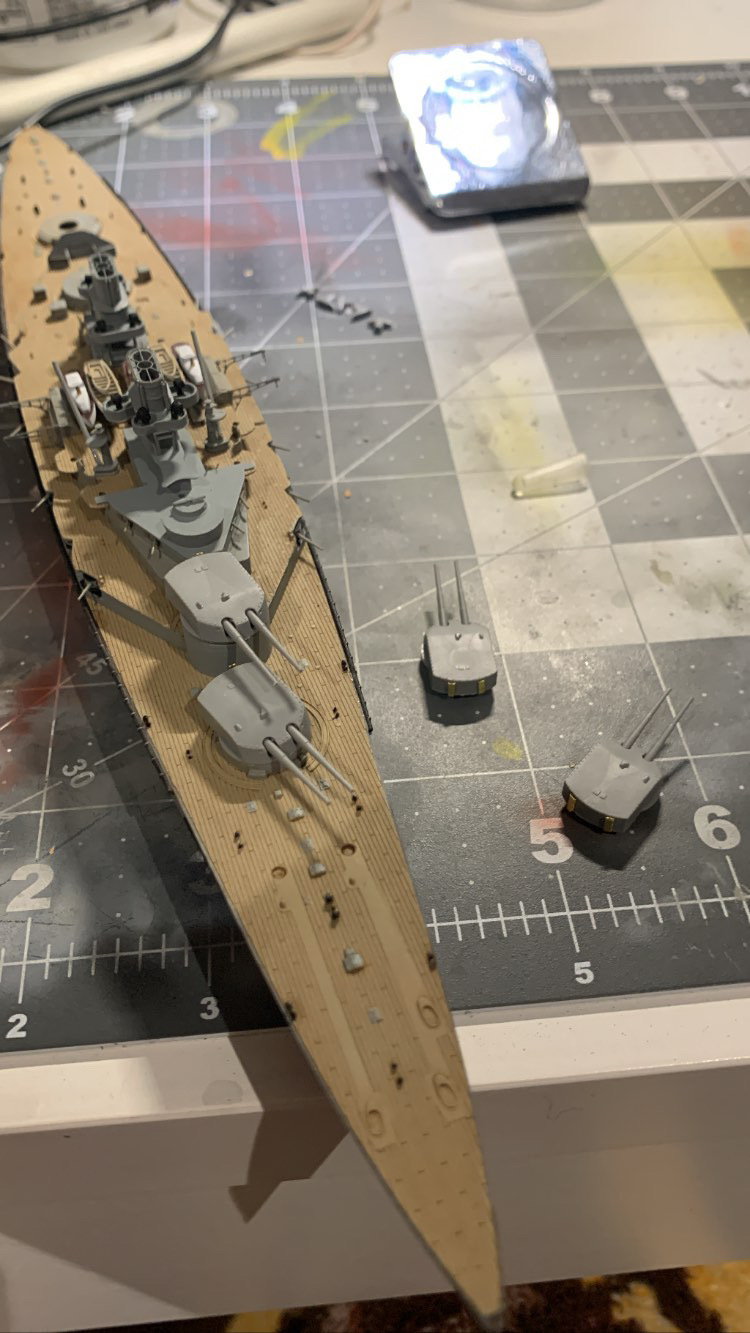
Have kept at it through to today, with lots of progress. Forgot to paint the top of the main turrets black, so I did that. Finished the anchor chain area and attached the masts. Coming together nicely.

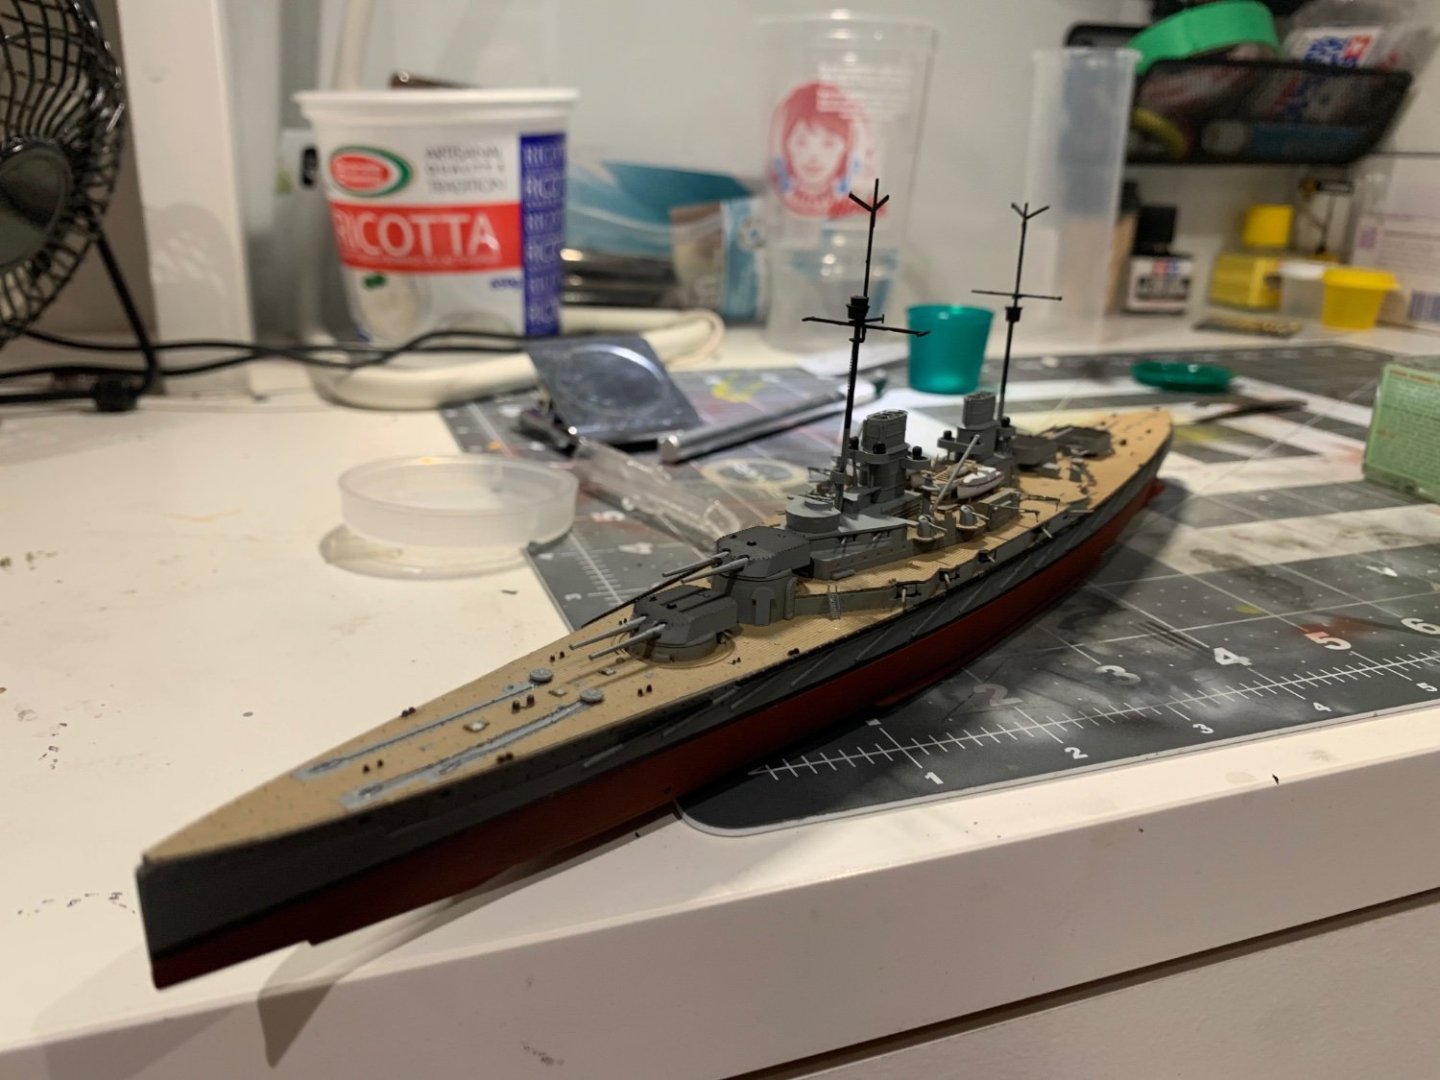
Will attach anchors and propellers next, put decals on, and then give it a matte coat to prepare for weathering.
- chris watton, GrandpaPhil, mtaylor and 3 others
-
6
-
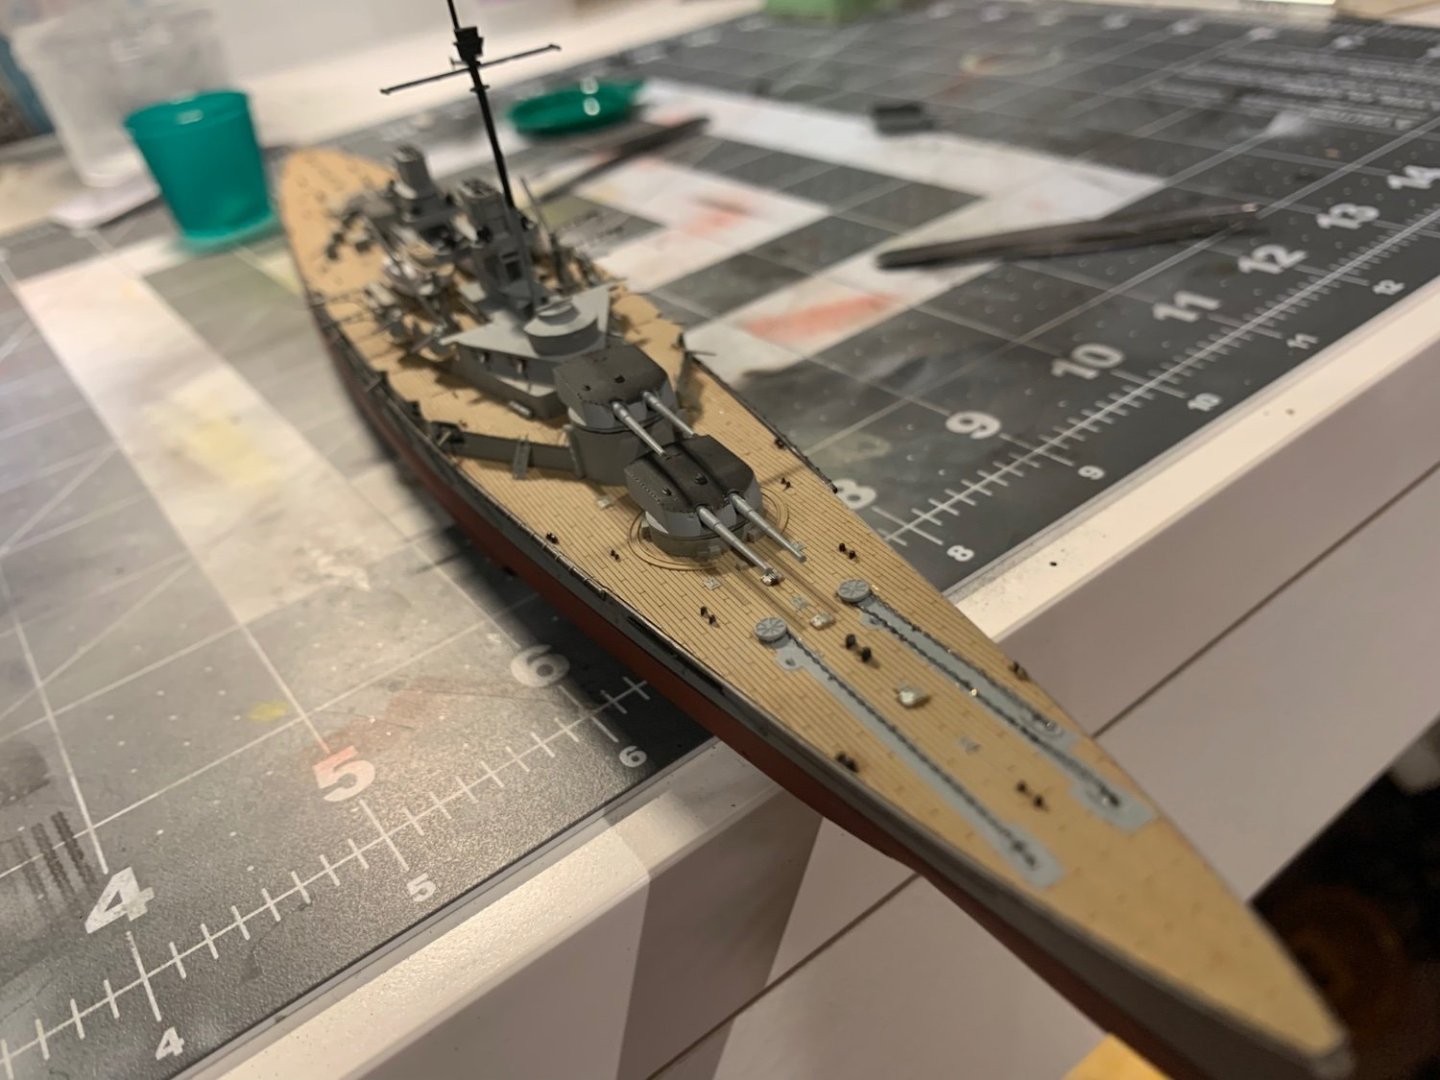
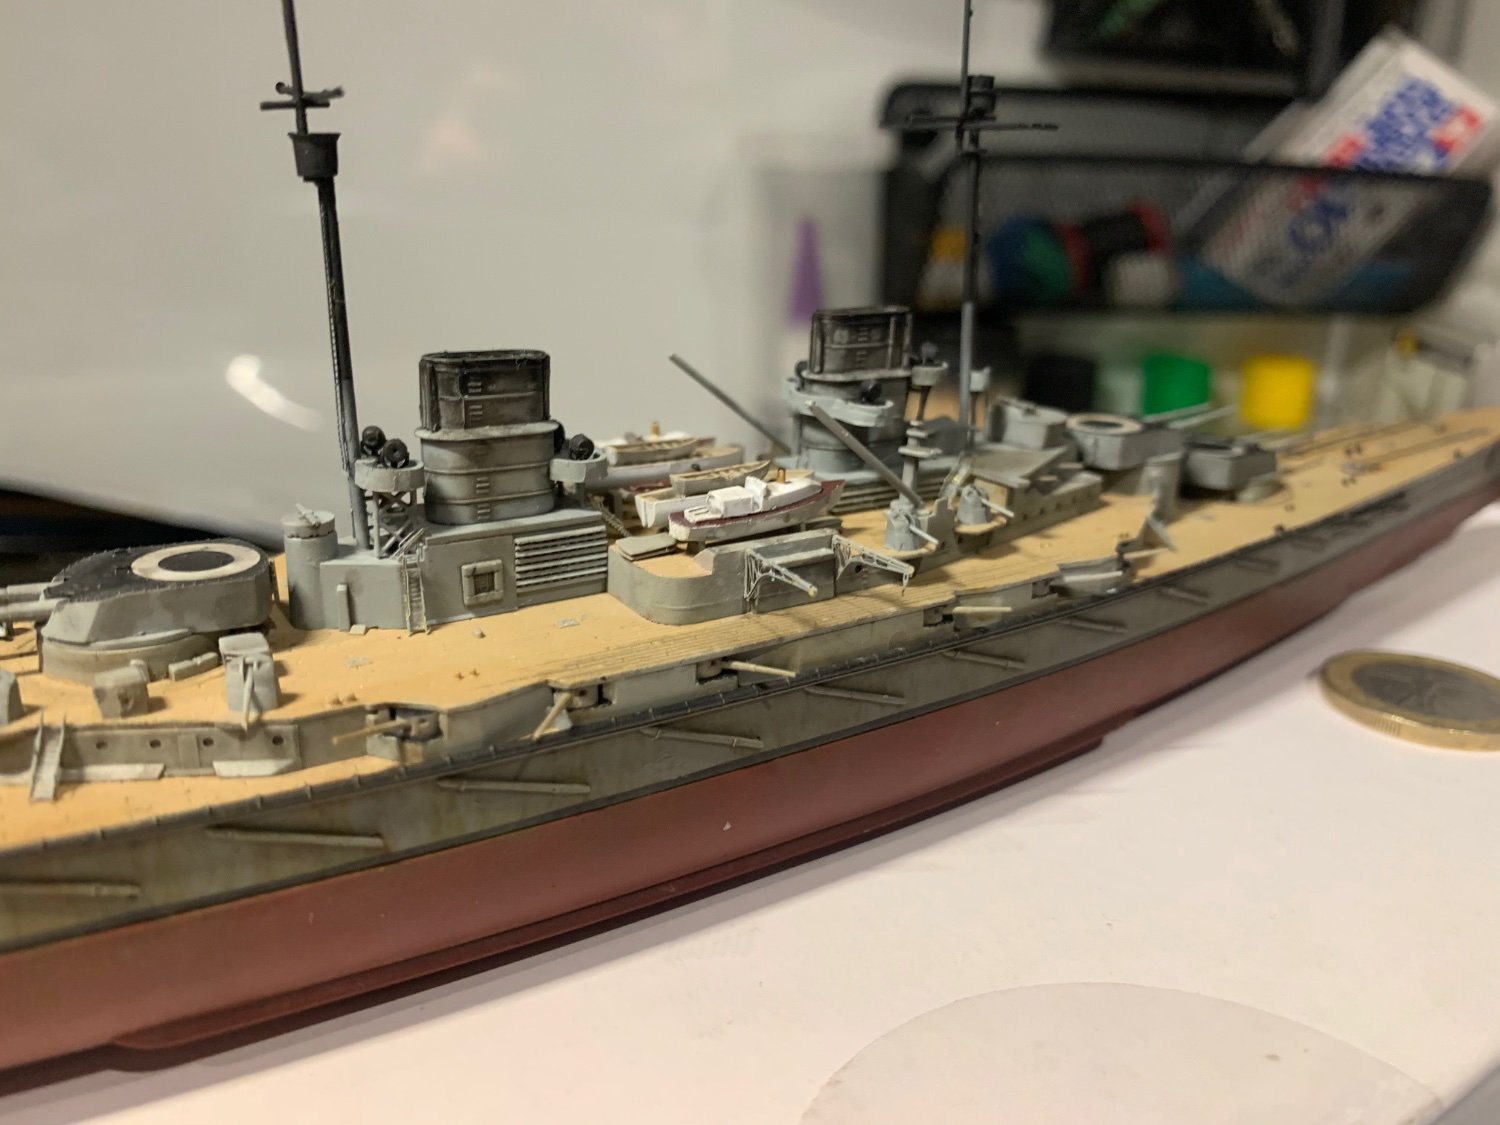
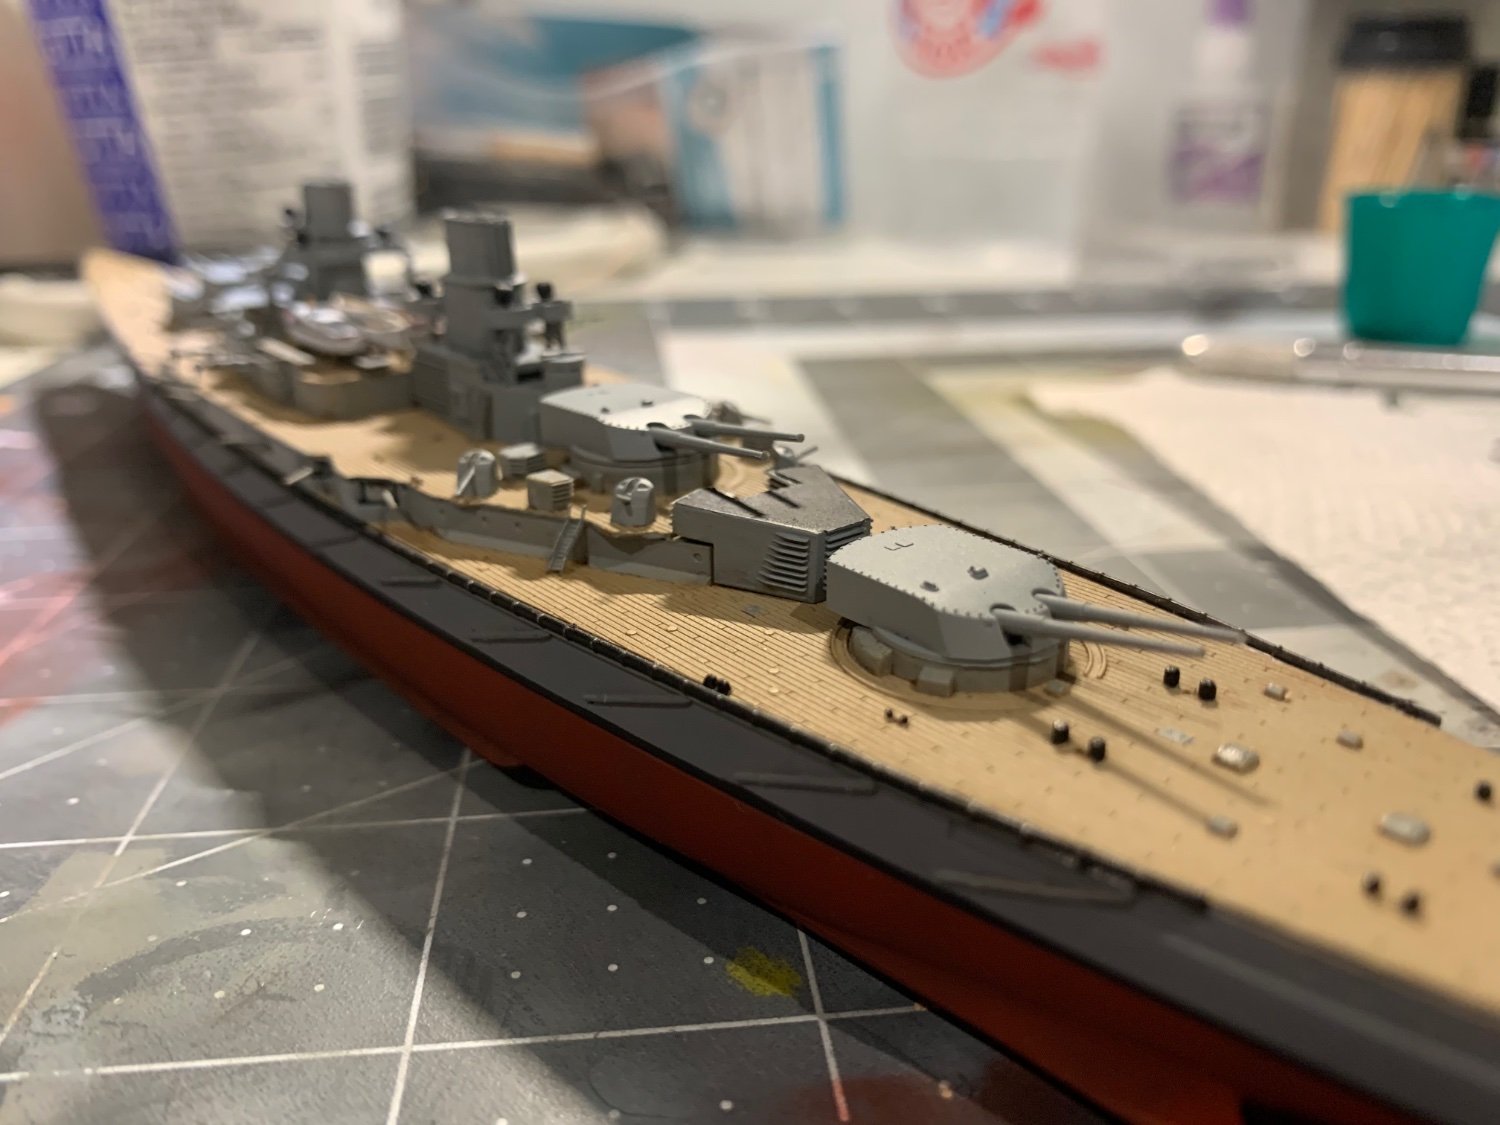
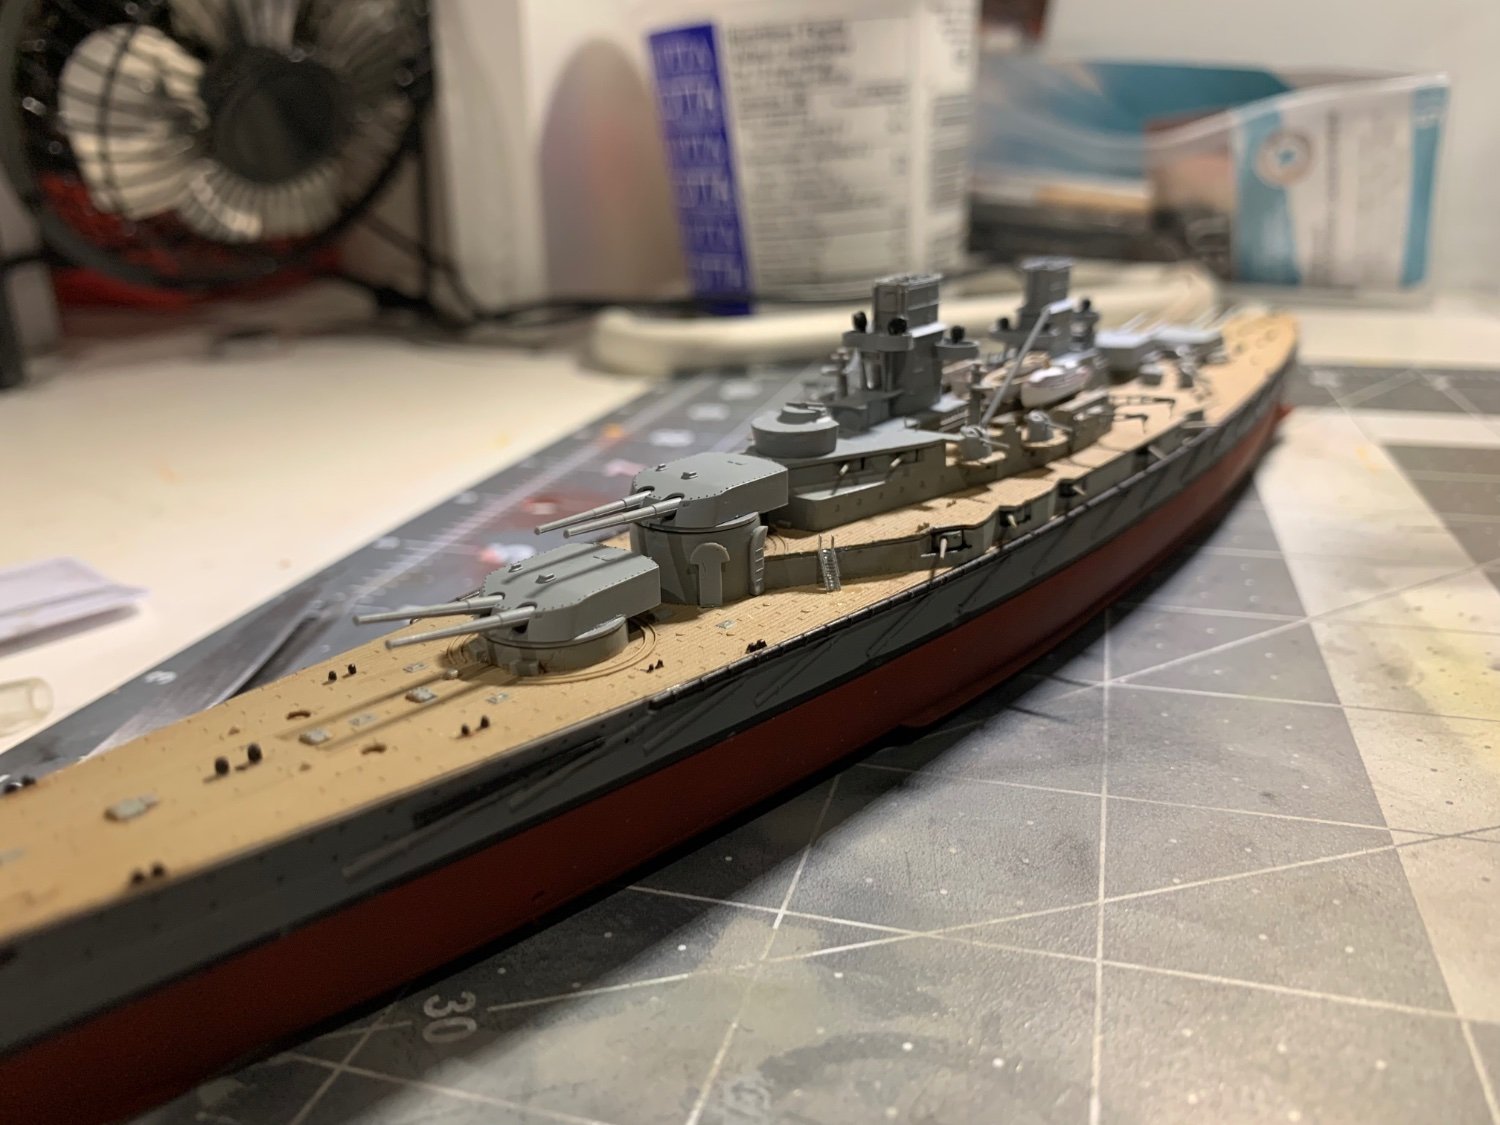
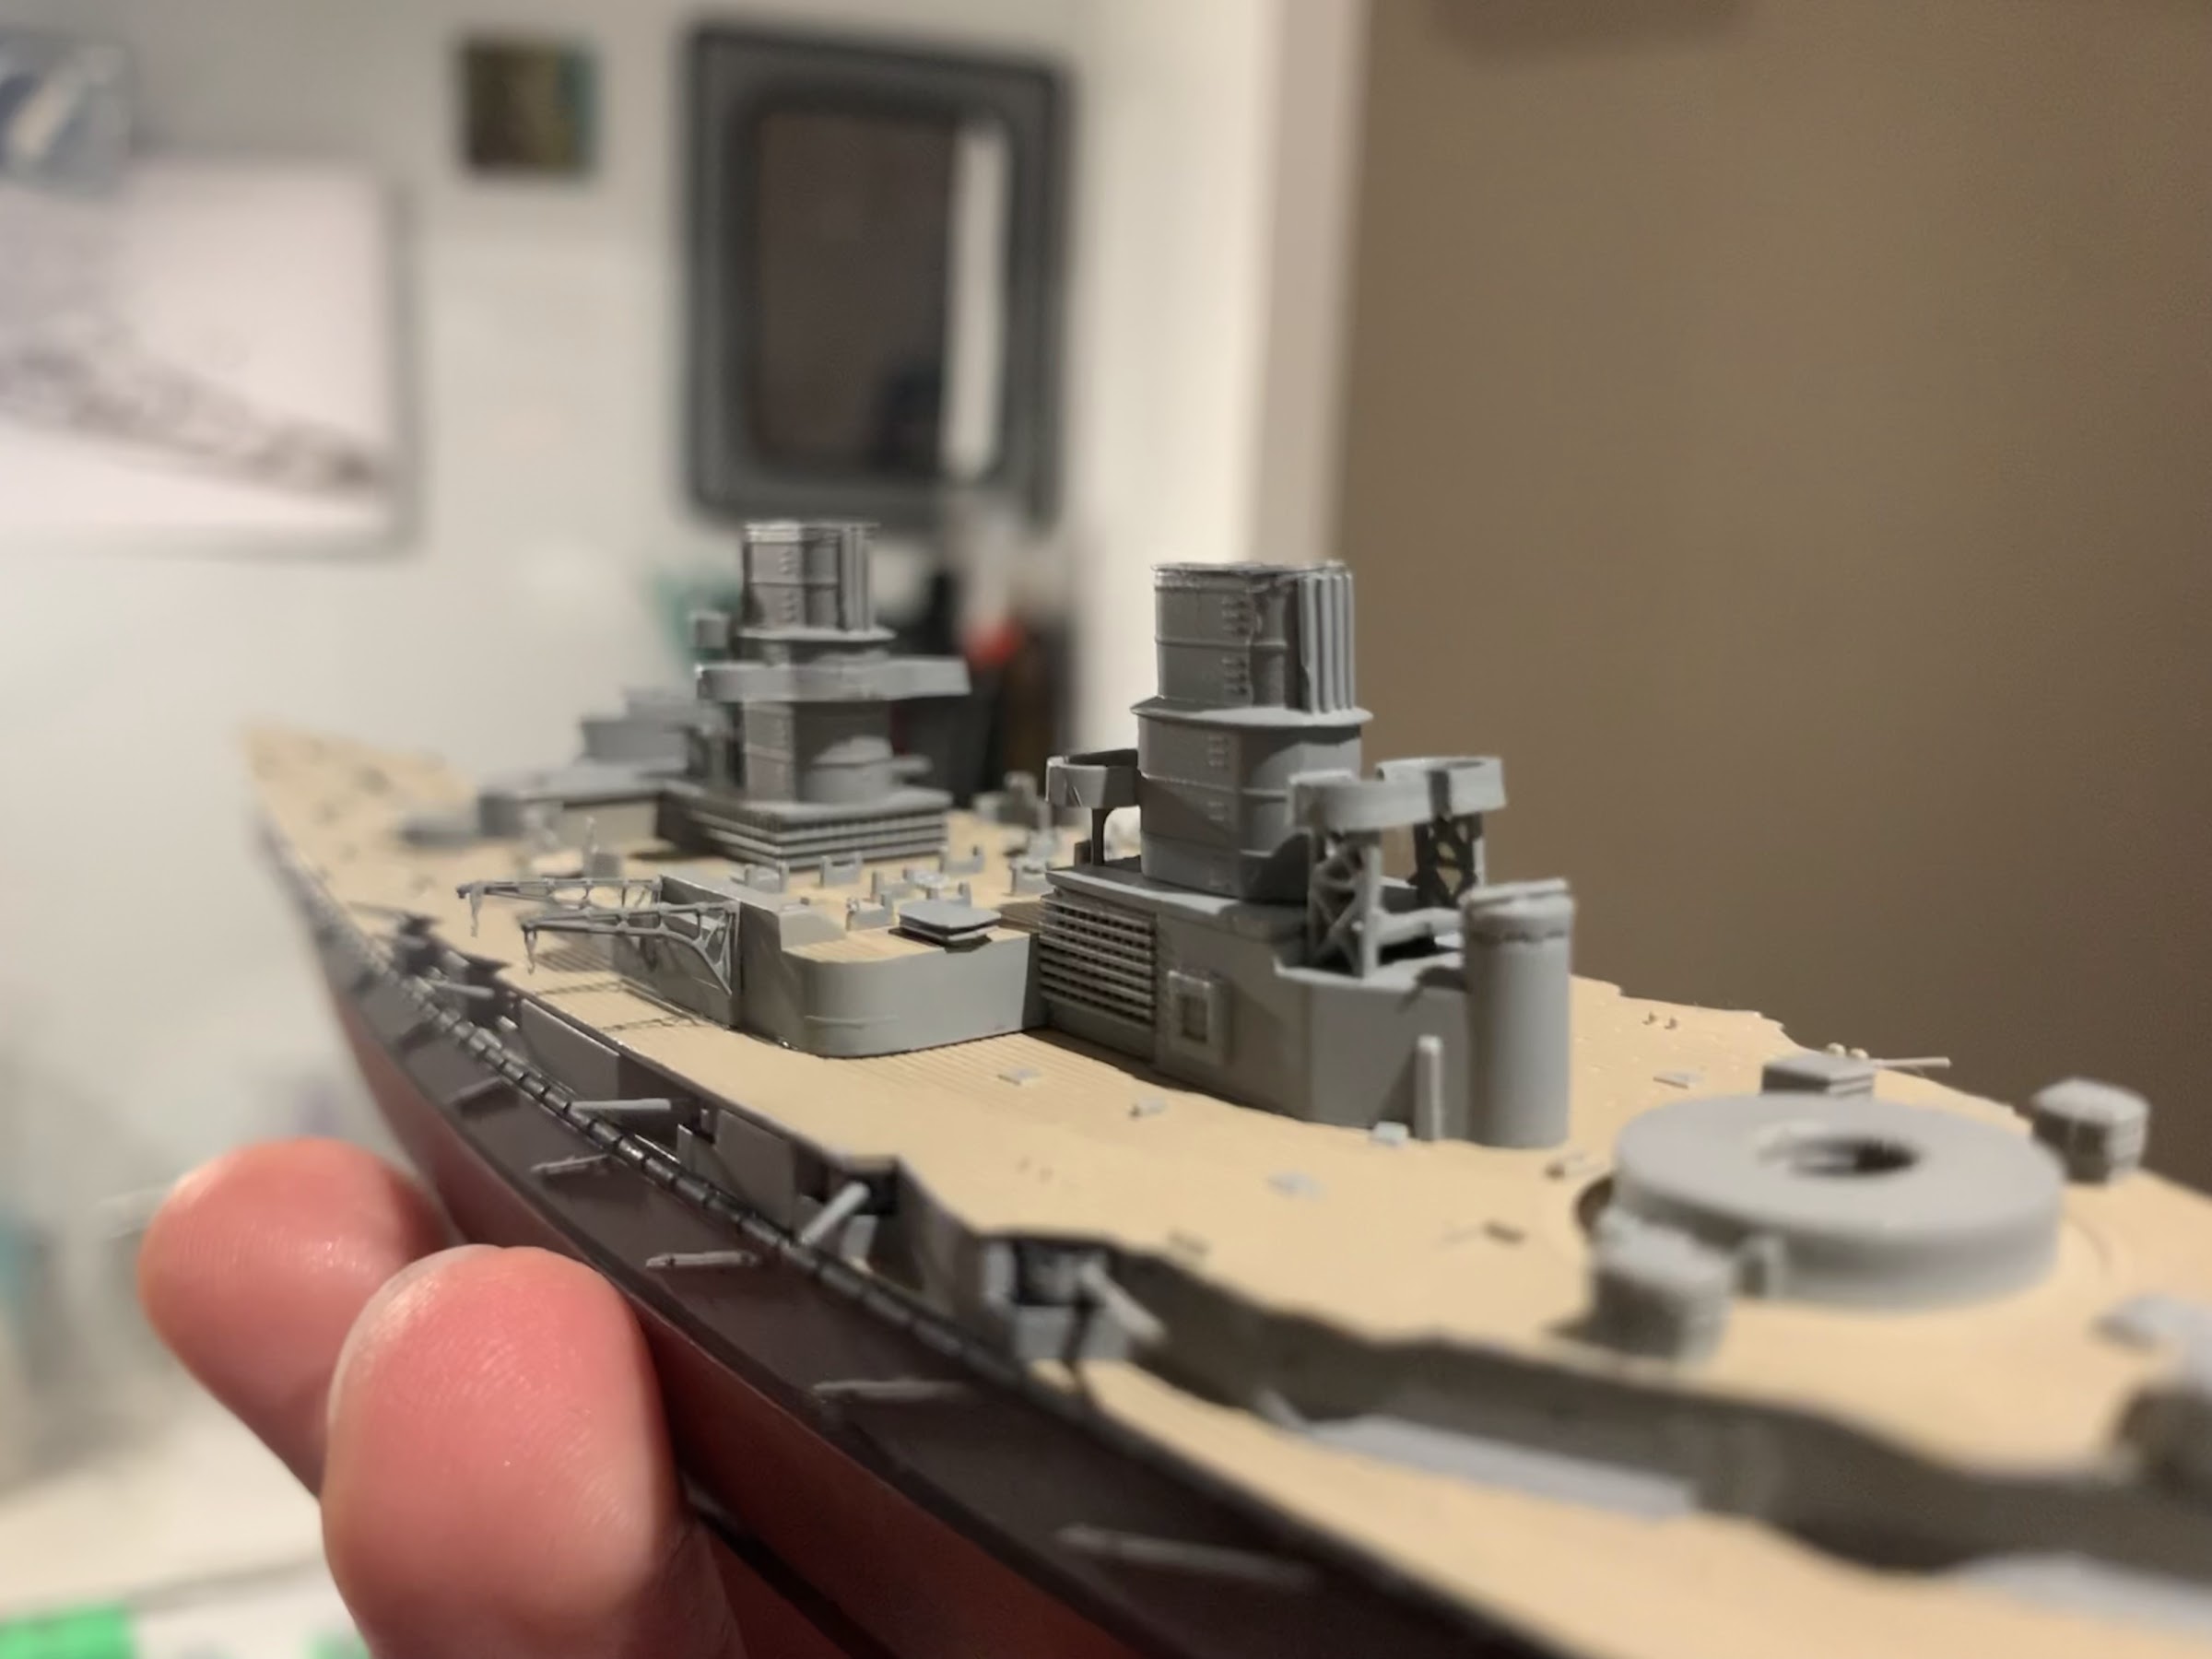
Exams are done and work has resumed.
Worked on painting and placing all the bits and bobs along with the masts and main turrets. Also assembled the secondary turrets.
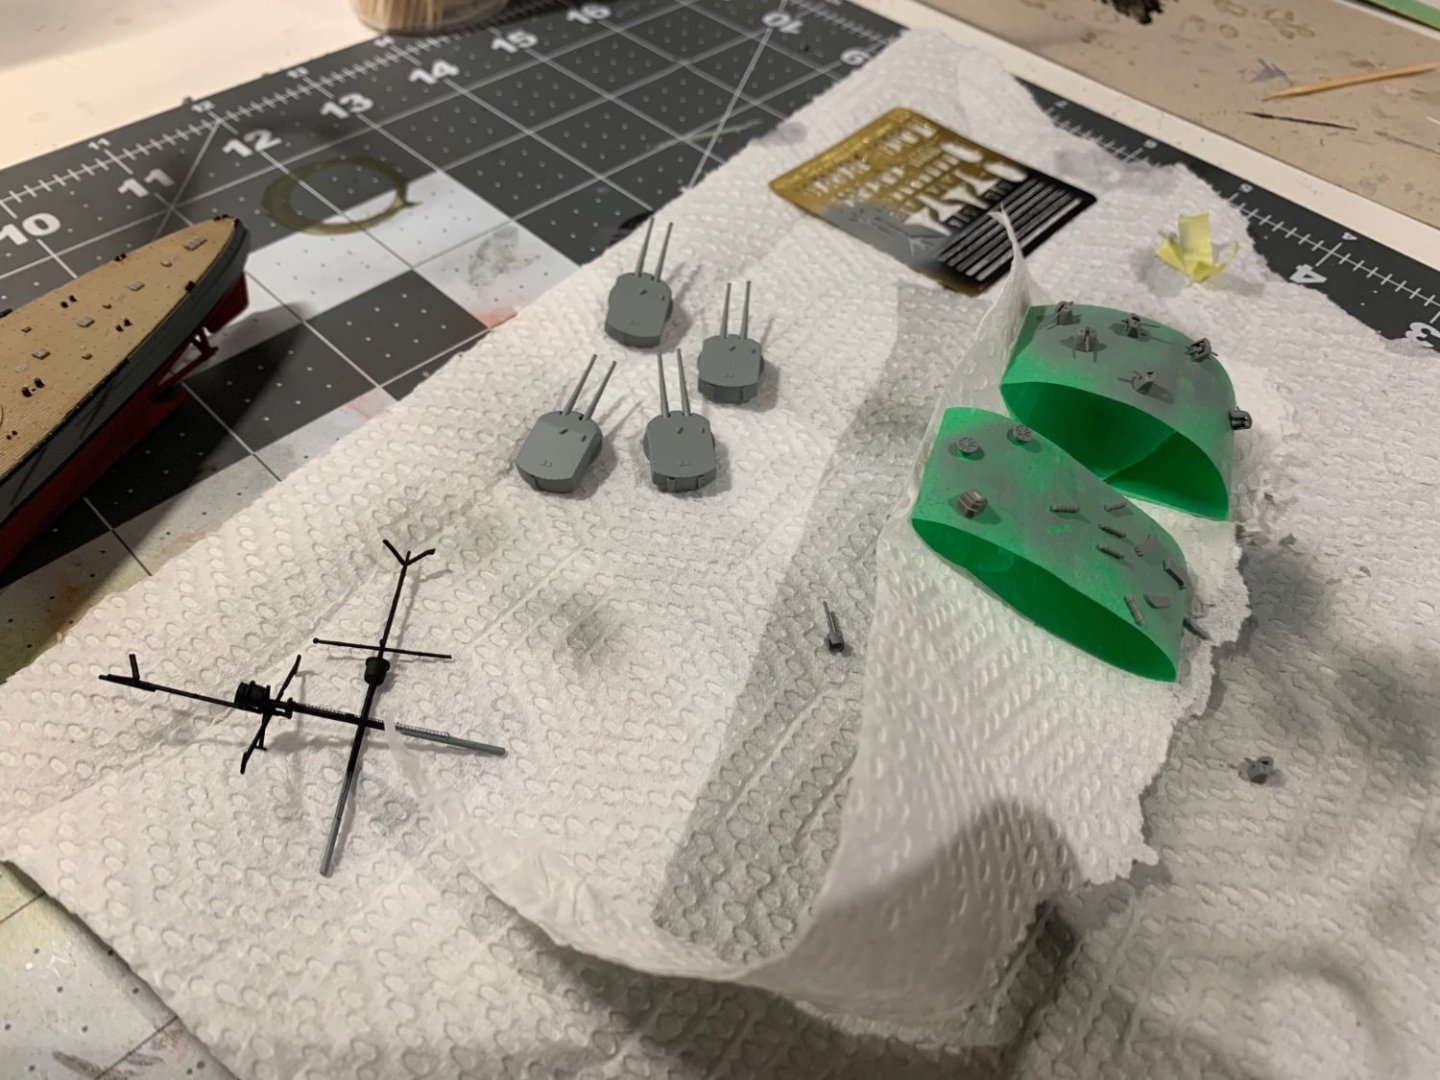


There are more bits to go, but after attaching the masts and other small things, the building is close to done. The kit is not that extensive.
-
2 hours ago, Gabek said:
Model Shipwright of Niagara
Thanks for the suggestion. I have also considered joining IPMS Toronto as it’s closer, but don’t think I have the time. How does it compare?- mtaylor and Keith Black
-
2
-
Hi there, greetings from Toronto.
I am currently a university student with little time for modelling during the school year, but get to it when I can.
I got into scale modelling pretty young out of an obsession for all things Titanic (a story I don't think is quite so unique). Initially interested in ship models, I also got into aviation from video games and also enjoy 1/48 aircraft. However, I discovered how perfect 1/700 is for ships, especially with the detail Flyhawk can produce while not taking up an entire shelf like with 1/350 or table with 1/200. Therefore, I thought I'd get into this range of models, and coming onto the forum would be a good way to help that along.
I am currently working on a 1/700 Derfflinger, with a Prinz Eugen or Hood in the near future. Ambitious I know, but I do have experience.
Very happy to be joining the community, hope to chat more with people who share this great hobby.
-
Greetings! This will be my first post on this forum, but not my first post. I've been uploading updates on Britmodeller, but decided to port over to this forum because I think it's more focused as to the types of builds I'm trending towards these days. I may need some questions or guidance, and I think this forum would help with that. Also @Spooky spoon has asked me to come onto the forum, so thanks, I'm here now.
Below are some nice reference images as well as some of the milestone pictures from the other forum posts along with a link if anyone is interested.
I will be sure to be posting more updates on this thread from now on.
Enjoy.
https://www.britmodeller.com/forums/index.php?/topic/235119259-1700-sms-derfflinger-snowman-models


- mtaylor, GrandpaPhil, yvesvidal and 2 others
-
5


RMS Titanic by Massimodels – Minicraft – 1:350 – PLASTIC – Tom's Modelworks
in - Kit build logs for subjects built from 1901 - Present Day
Posted
Thanks Roger, glad you think so.
General rules of thumb:
- The effect is a bit unorthodox since it will be black upon white upon more black, but it still works if you use your eyes keenly
- I applied white on the black primed hull, spraying a mottling/stippling effect, which in reality is just random ways to fill the space without completely painting it over
- For the effect to really work, focus the white on the middle of the raised details, so that the outer edges are still dark (that’s what makes the light/shadow effect).
Below is a picture of my BF110 of which this strategy is applied on a far larger subject scale:
In this case I would be more subtle than the plane, but I hope you’ve gained the understanding
- The fan is a result of nothing but a lack of money to buy some more ventilation systems
Please ask if you have any more questions, hope this helps, and good luck!