-
Posts
615 -
Joined
-
Last visited
Content Type
Profiles
Forums
Gallery
Events
Posts posted by bcochran
-
-
12 minutes ago, Kevin-the-lubber said:
Bob, take a look at Bill's Victory log. It might be easier to work backwards from the end, rigging is discussed virtually step by step and I'm sure much of this will transfer to the Cutty. It's also a great build.
.
Thanks Kevin I will do that.
-
15 hours ago, shipman said:
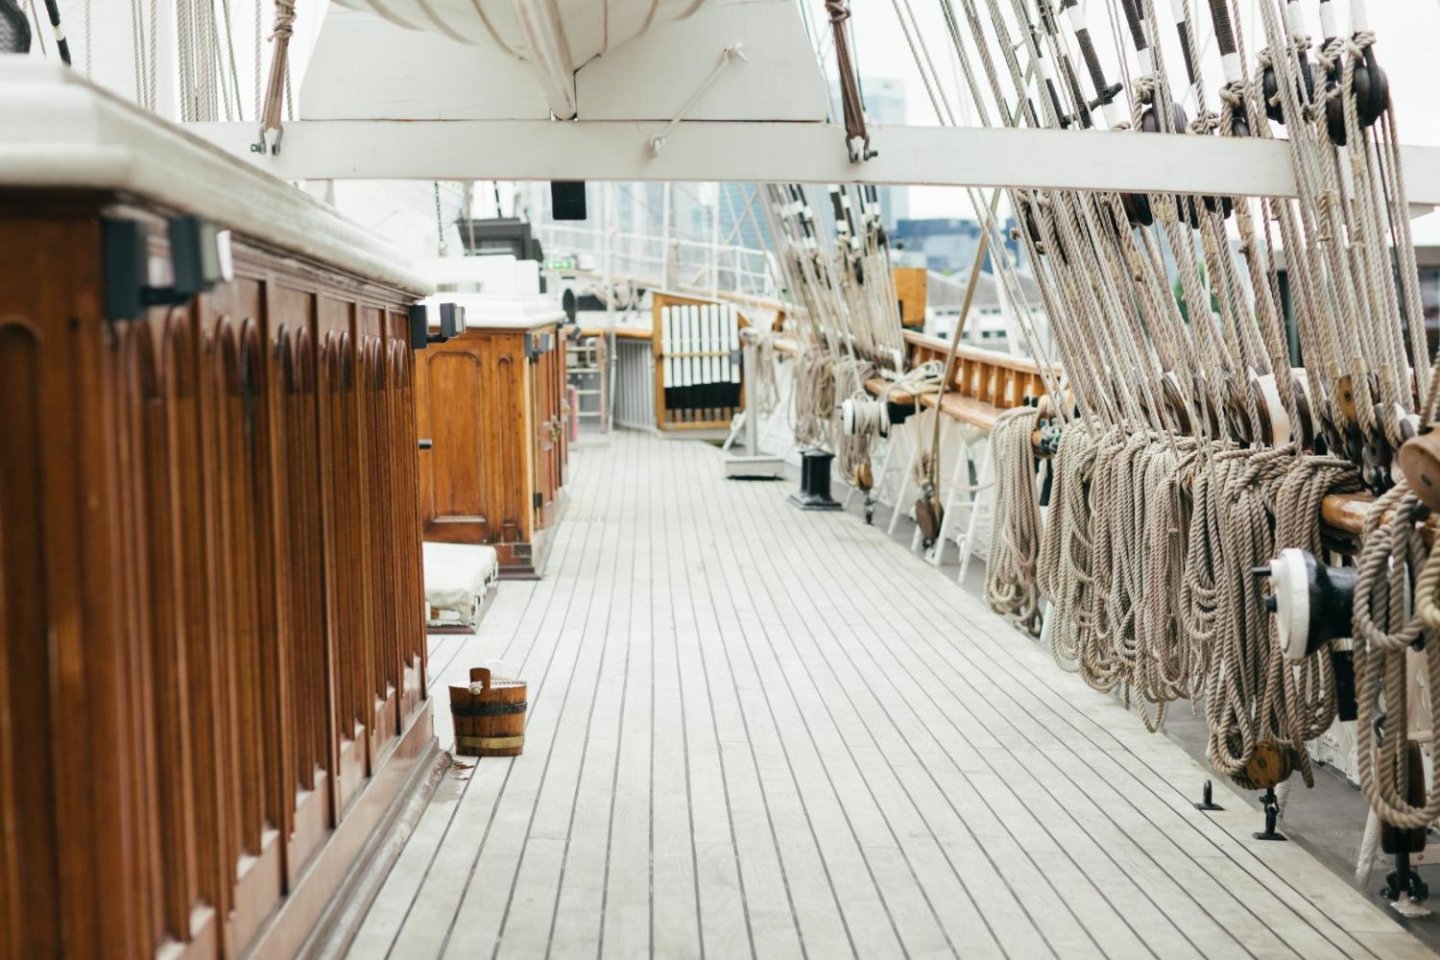
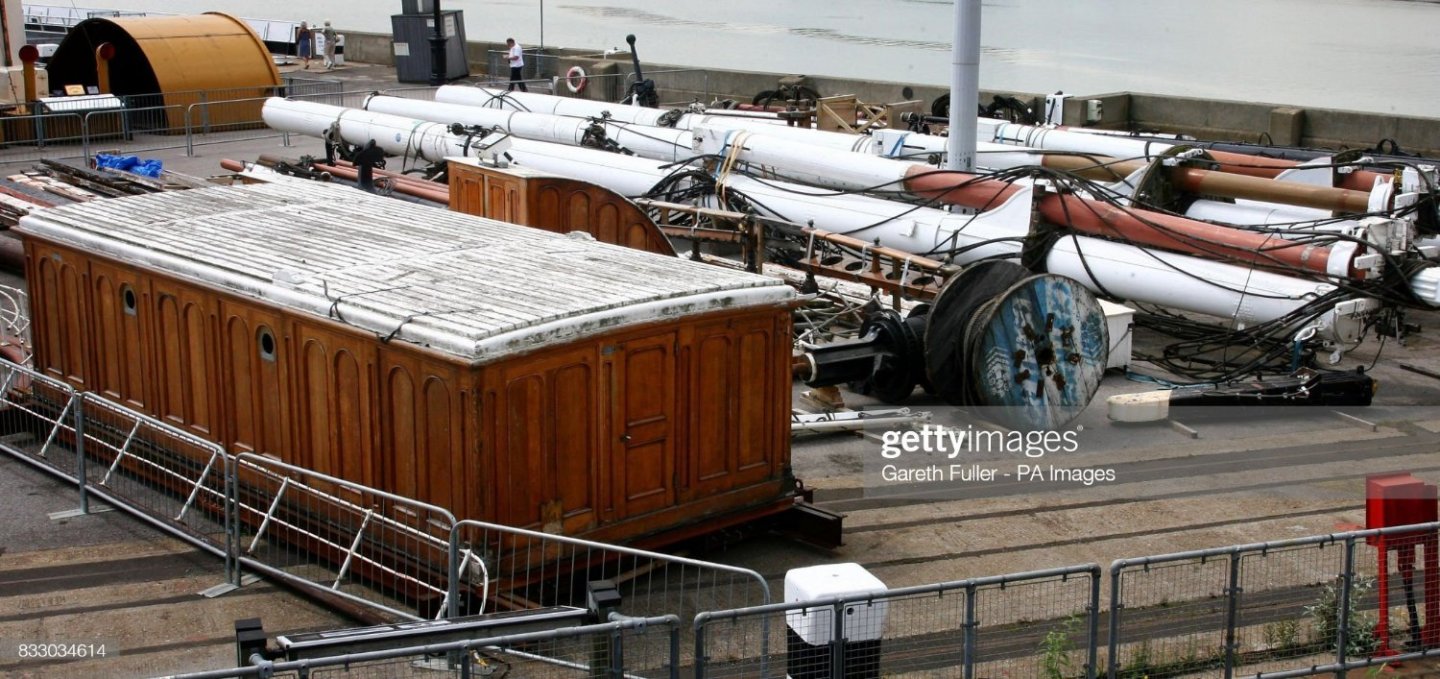
There are photos of the complete deck houses when in storage at Chatham dockyard. Clearly they were directly lifted off the deck. I imagine they were originally built as one assembly, lowered directly onto the deck, which would indicate there were no margin planks.
I am not sure what is meant by margin planks. Revell had something like raised platforms that the deck houses sat on. I sanded them off before gluing the wood deck on. It looks to me that at the base of the walls there are quarter round moldings currently.
-
20 hours ago, Kevin-the-lubber said:
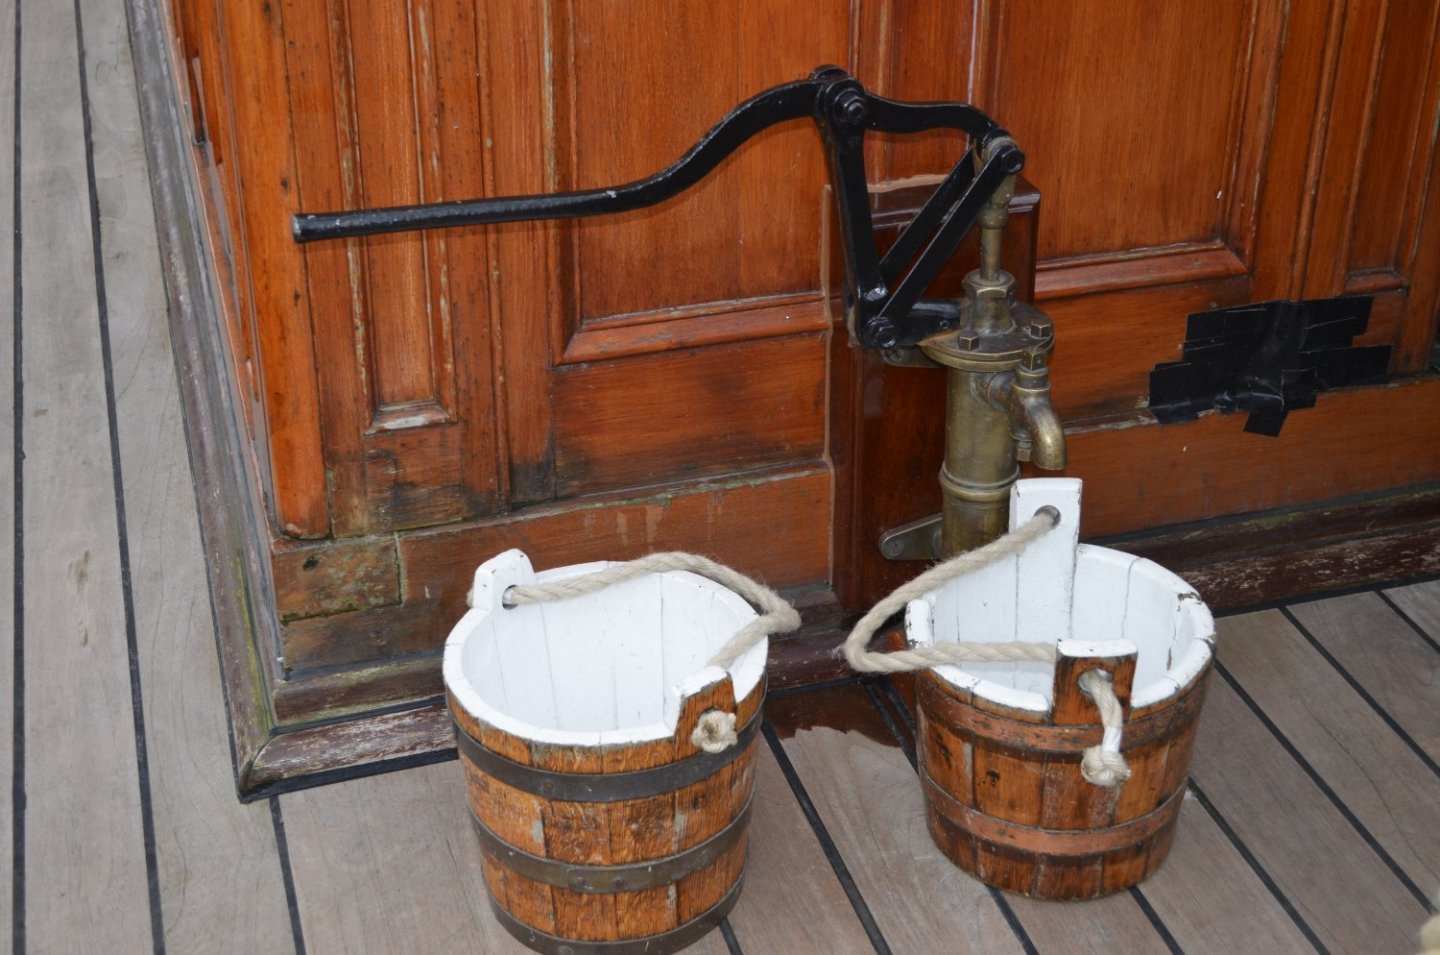
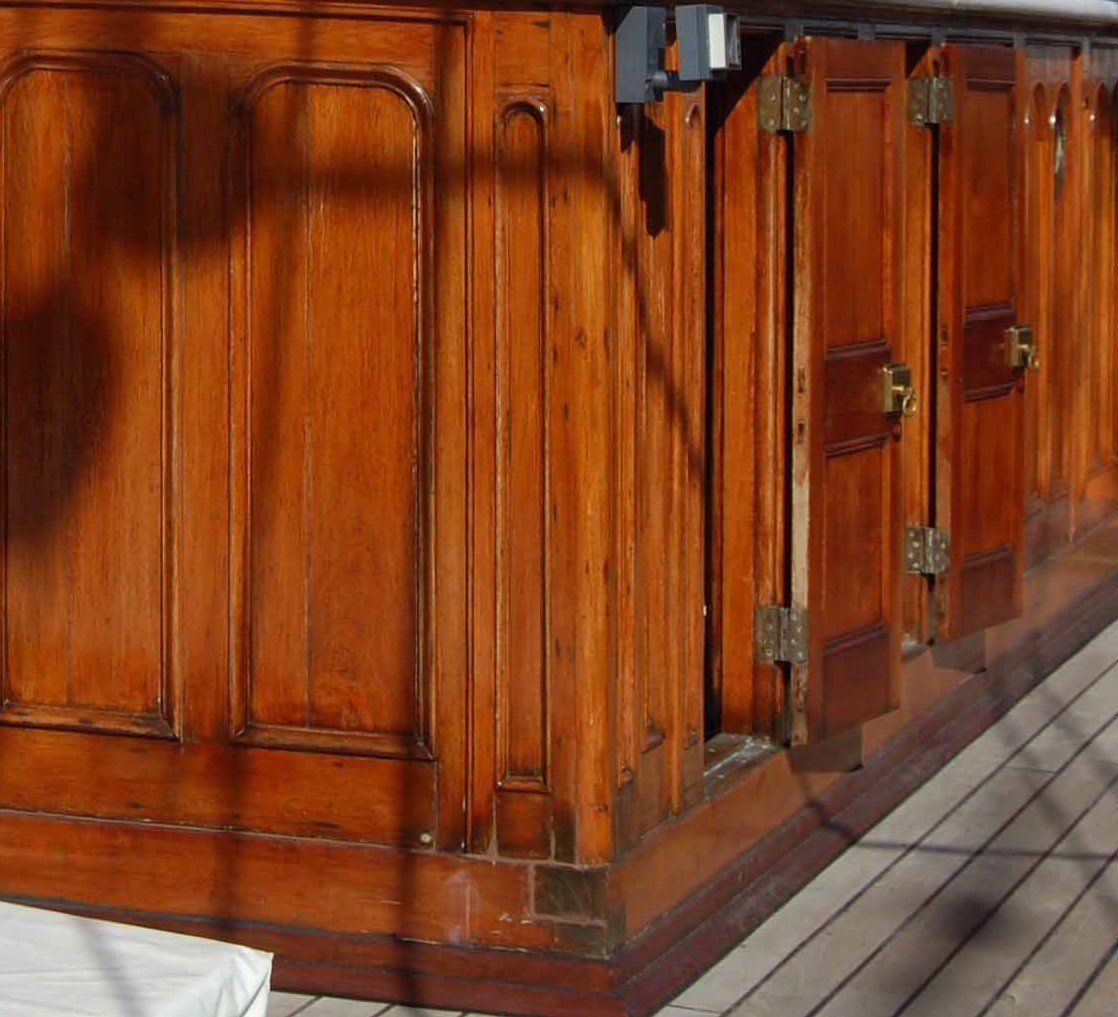
This may be useful. On mine, I included margin planks in the deck and flat skirting on the dechhouses. This photo has reminded me that the ship only had one deckhouse originally, so wouldn't have had margin planking, and from my february visit photos, that was true of both houses. The quarterdeck cabin has something very similar but more quadrant-shaped. Nice little pump here too, on the aft deckhouse at the main mast end: this looked like it was added later. I decided not to model in the duct tape, I sense that too may not be part of the original ship. (Lazy tykes, you'd think someone would have sorted that out on a showpiece!)
There were two pumps on the ship, one for fresh water and one for salt water. The other was on the port head. I forget which was which.
-
16 hours ago, rwiederrich said:
I hope you left yourself enough room to belay on those pins.
Rob
I think I did. The method I have in a rigging book shows using a needle with the tip of the thread end cut off to push the line under the lower part of the pin, then to bring it up and over the top of the pin. I have room enough to do that.
But you've helped to increase my apprehension about rigging. I have yet to build up any confidence in my ability to finish the rigging. At this point, I have no knowledge of the order to follow in rigging. For instance, if I work on masts off the ship, I don't understand the amount of or what work that is needed. I will have to figure that out by trial and error, I guess.
We have a lot of information on how to build the structure of the model, but little information on how the rigging was done. We have pictures of completed rigged ships but no progress discussions on what was done, like we do in building the structure.
My guess is that people get to where I am and quit their builds. Or they go off and rig their ships, then show us pictures of the finished product. I have not seen any build logs where people have spent pages and pages on their rigging work.
So I think I need to get out my rigging references and read up. While reading about rigging the bowsprit, I found that Underhill jumps all over the place from page 10 to page 31 and beyond, with bits of needed information about the bowsprit and jib boom interspersed with other parts of the ship.
Hackney is more orderly as Shipman has pointed out a while ago. So is Revell, but Revell is not complete. Then there is Longridge who has a whole book about rigging Cutty Sark.
Radimir at HisModel has Campbells plans available, broken down by types of rigging and what blocks to use where. He has gone the furthest in helping beginners, I think.
So for me, I expect rigging will be a lot of reading, starts and stops and do-overs all the while gaining experience and understanding. If I get into it, I plan to show here every step I've taken.
-
11 minutes ago, rwiederrich said:
I love polystyrene formed strips...they come in every imaginable form/shape.....love-em.
Great job.......
Rob
I think I found some quarter round that is the right size on Ebay. I bought it and await delivery.
As I get into rigging later on, I want to ask you if you had a plan when you did your running rigging. I mean, like did you do all halyards then all lifts in any kind of order?
-
On 6/7/2022 at 1:03 PM, Kevin-the-lubber said:
Minor catastrophe earlier this evening - fiddling around with the quarterdeck assembly to see if I could gently remove a couple of bits for improvement when the entire thing jumped out of my hands and landed upside down on the floor. A few bits broke off and I'm not sure whether it's worth the effort of salvaging or make it again. This all arises because I really don't like how similar in colour the decks are to the coppered hull and furniture was exploring whether I could remove the furniture in order to repaint them a lighter colour. That'll teach me. I think I'll mull on this for a few days and just carry on making those gorgeous boats while I think on it.
Kevin, I can relate. I almost completely ruined my model back in May. I recovered luckily. I have many goofs and do-overs that no one knows about. When I get distraught over it, I walk away until the urge to continue returns.
I hope you can recover to your satisfaction.
-
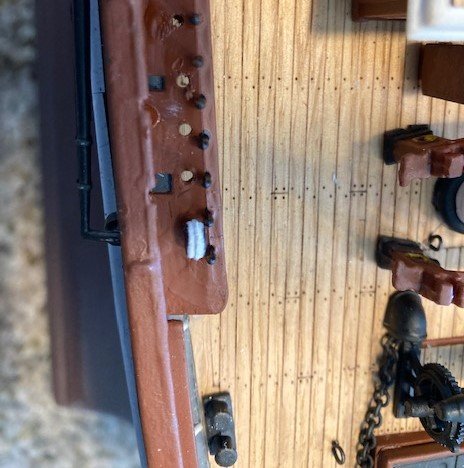
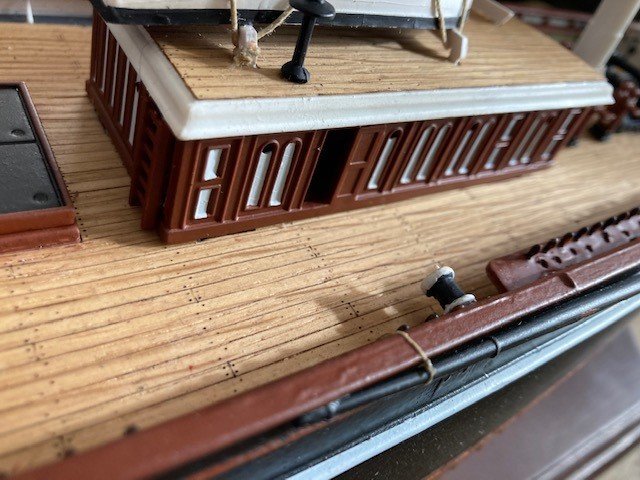
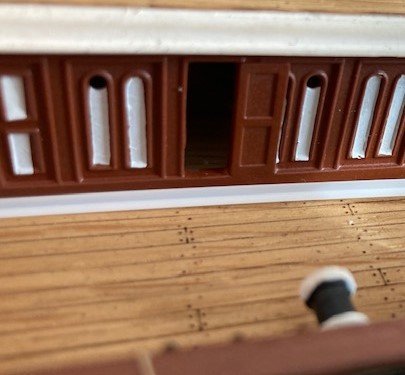
I noticed in pictures of the Cutty Sark deck houses, there is a wood edging along the base of the walls. On my ship, with the HisModel decking and the Revell deck houses, there seems to be something missing along the bottom where the two meet.
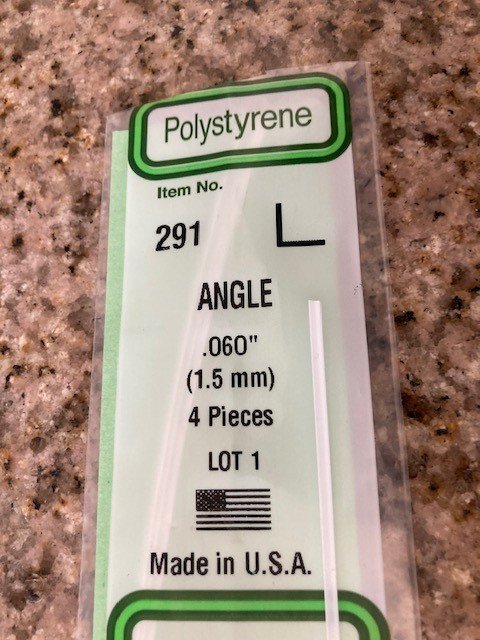
I plan on using plastic angle to replicate that edging. I really need quarter round, but I could not find any small enough, I will keep looking first. I will cut it to shape, paint it and glue it on with canopy glue.
-
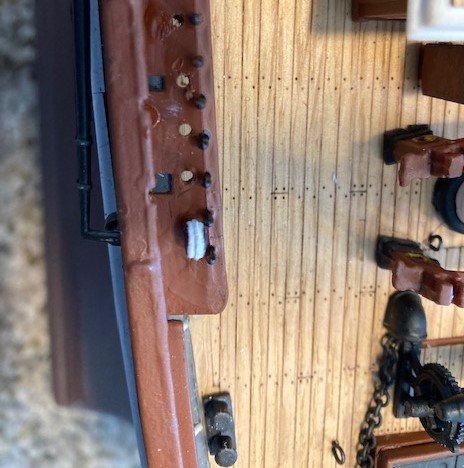
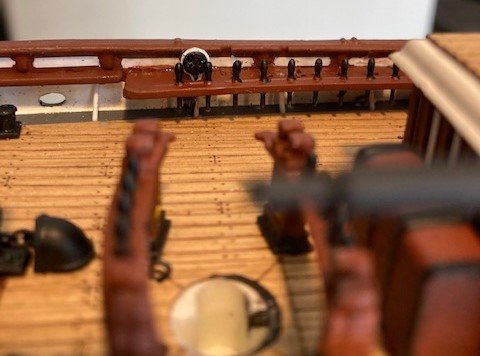
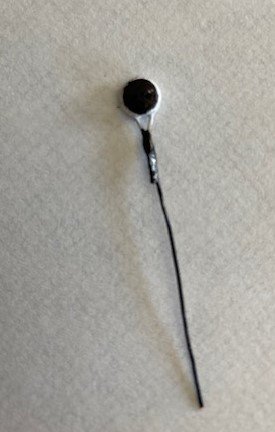
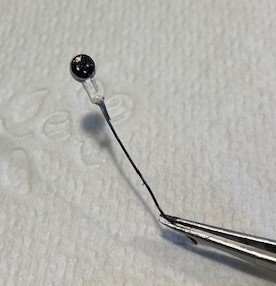
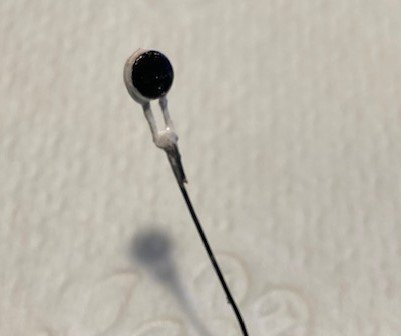
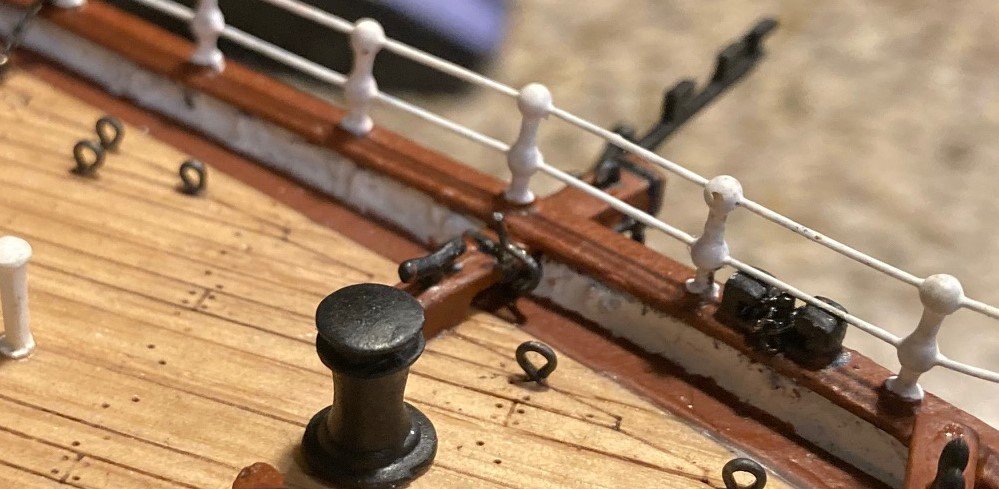
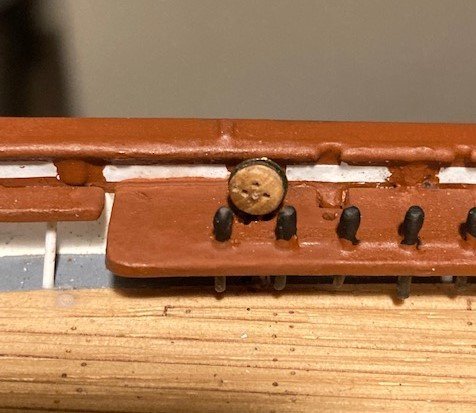
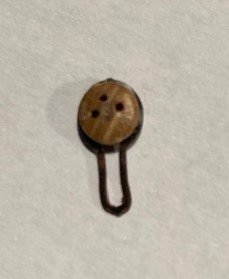
So I finally settled on my way of attaching the lower deadeyes. I am using HisModel deadeyes and strops. I attached a piece of black colored annealed steel wire to the strop with superglue. I squeezed the strop and wire with pliers to fit in the enlarged hole in the pin rail. I painted the sides of the deadeye and part of the strop white, the rest was colored with a black sharpie pen, which does not plug the holes. The wire will be superglued into a hole in the waterway, thus putting no strain on the pin rail.
I made room to reeve the lanyards, which will be black.
I think it resembles the real thing at 1/96 scale. I realize the pin rail is too big, and my deadeye is too far from the bulwark and too big, and the belaying pins are too big and out of place and the number of shrouds may be different from the real ship and my chain plate won't slant with the shroud. Revell is my ship plan mostly. If I tried to do something about all that, I would never finish. Chalk it up to artistic license. I need to invent ways of doing things that are not complicated and look realistic, so that I keep up my steady progress. I don't want this build to drag on and on. I am anxious to work on other ships.
I plan on doing something similar to the deadeyes on the tops, but the attached wire will be the futtock shroud attached to the mast.
I won't glue the wire to the waterway until the deadeye is rove. I will get the correct distance between the upper and lower deadeye the usual way with a wire template. Then strop the upper deadeye and seize the shroud. Then reeve the lanyards, raising the lower deadeye if need be, adjust the lower deadeye and lanyard and glue the wire to the waterway.
Easy as pie, I hope.
-
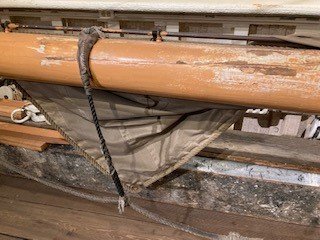
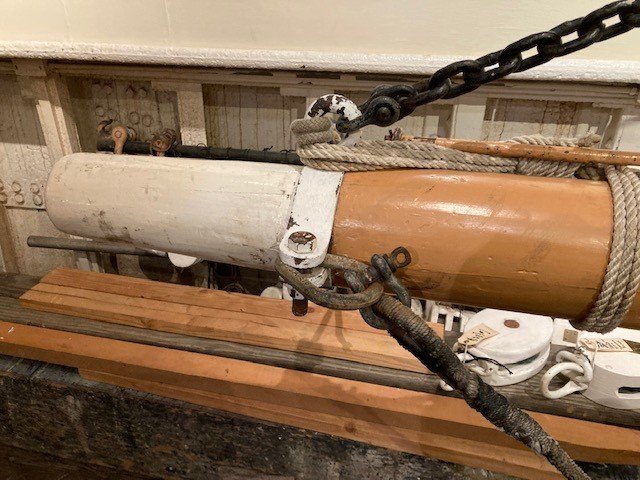
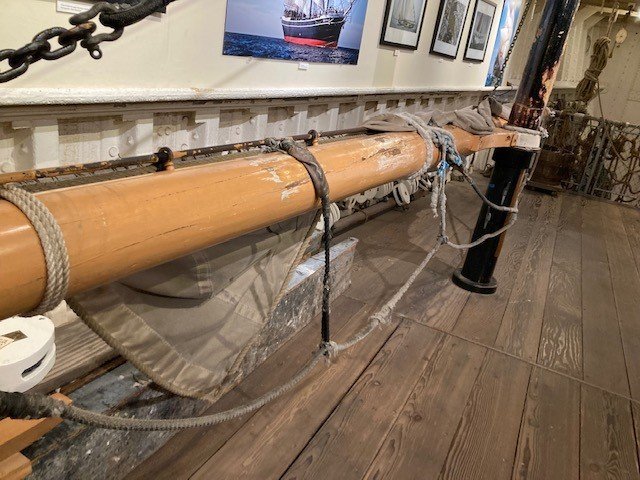
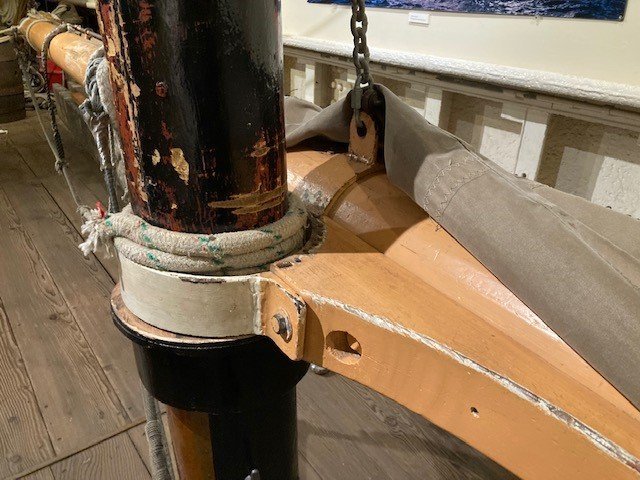
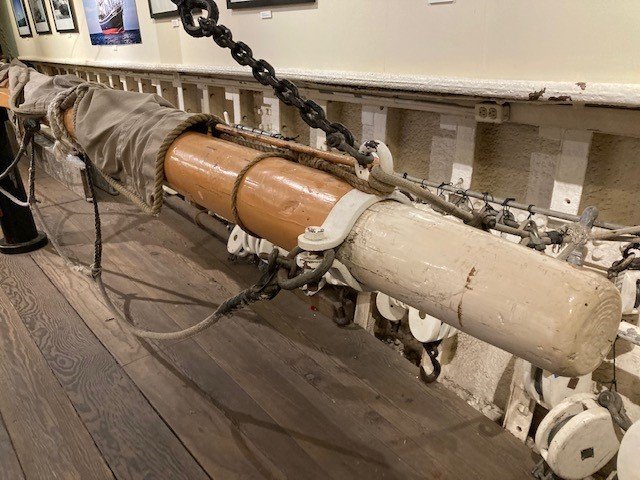
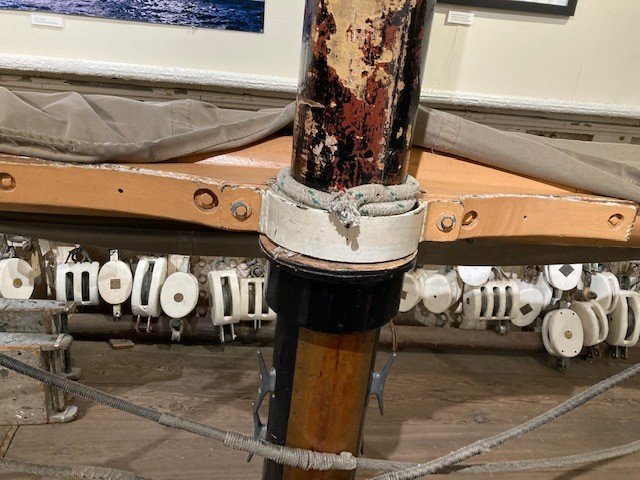
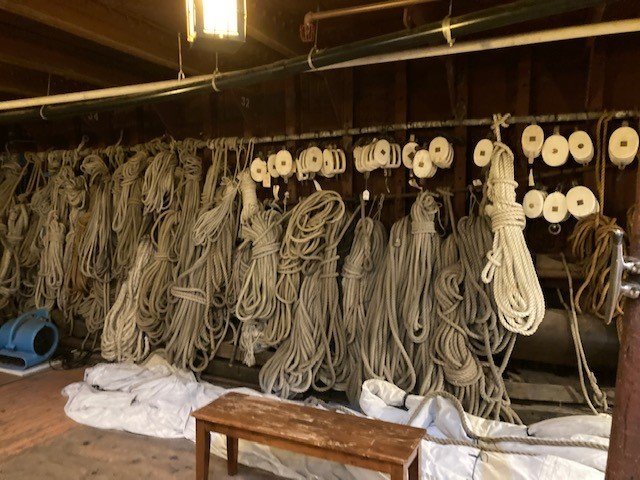
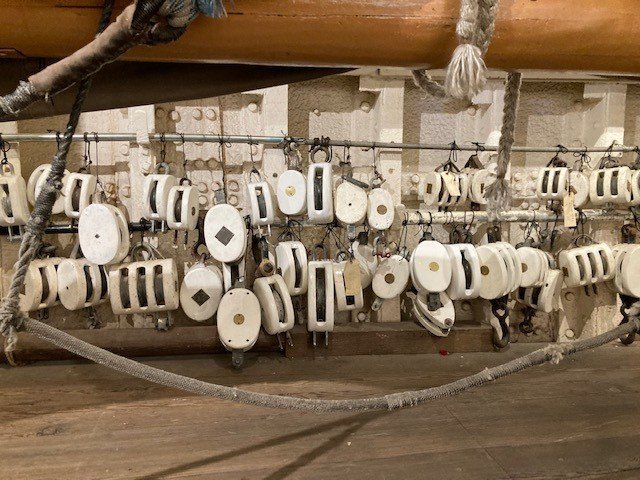
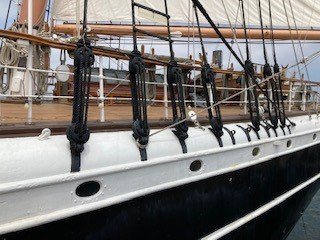
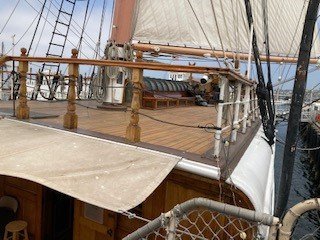
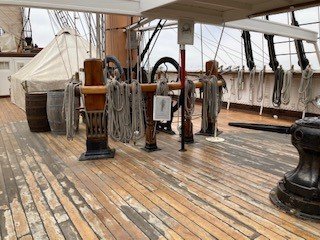
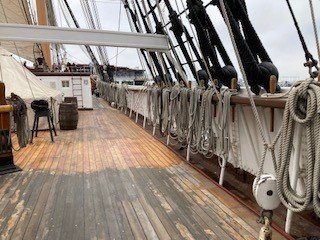
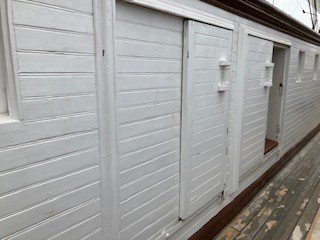
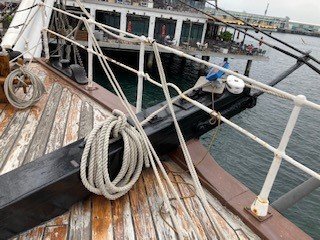
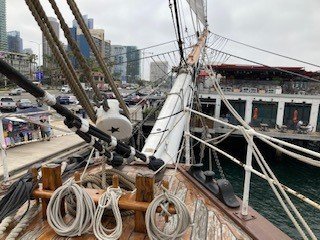
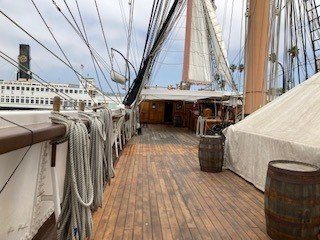
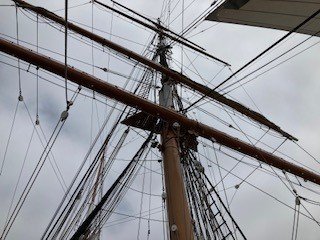
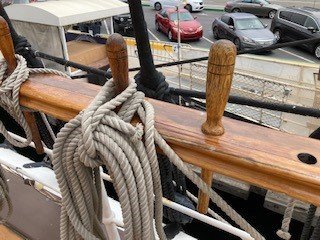
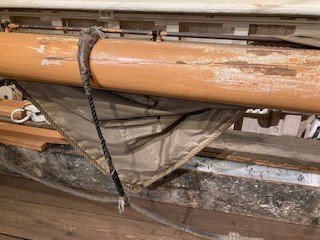
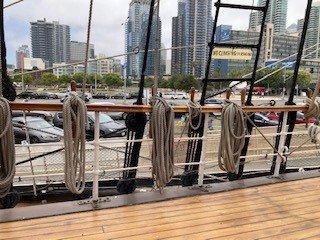
Here are some more Star of India detail shots, mostly of a wooden spar. I noticed that the jack stays were not at top dead center, but more at the 11 o'clock position, and no rings of any kind on this spar accept at the ends for cable connections. Rings may be added to attach more lines, I suppose.
Note the designs on the sides of the white painted blocks. My guess is that the designs tell where or how the block should be used.
-
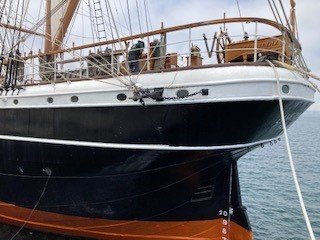
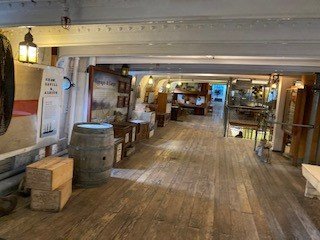
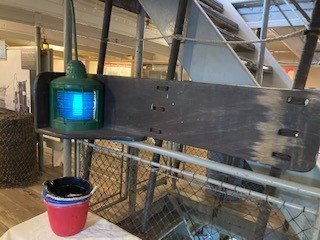
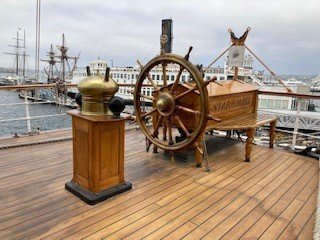
Here are some detail pictures I took of the Star of India yesterday. Now, don't use the pictures of the deck as reference of what color to make a deck. The original deck was teak when the ship was built in 1863. It leaked so bad that it was completely removed by the museum and a new deck not of teak was added. It in no way was built as the original, which was around 6 inches thick. The deck in the picture is made of several layers of wood and sheets of waterproof material. What looks like caulking space between the planks are groves they made in the wood and painted black. The brownish color in some places was a varnish sealer they painted on because the wood deck was not standing up to the weather. The worn places are where that coating has worn away.
- robdurant and GrandpaPhil
-
 2
2
-
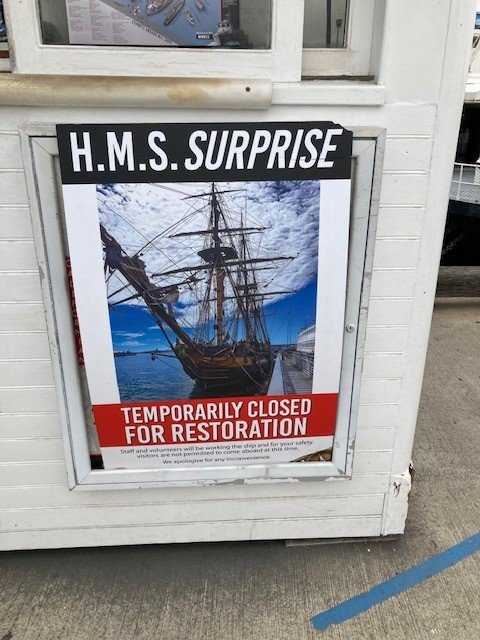
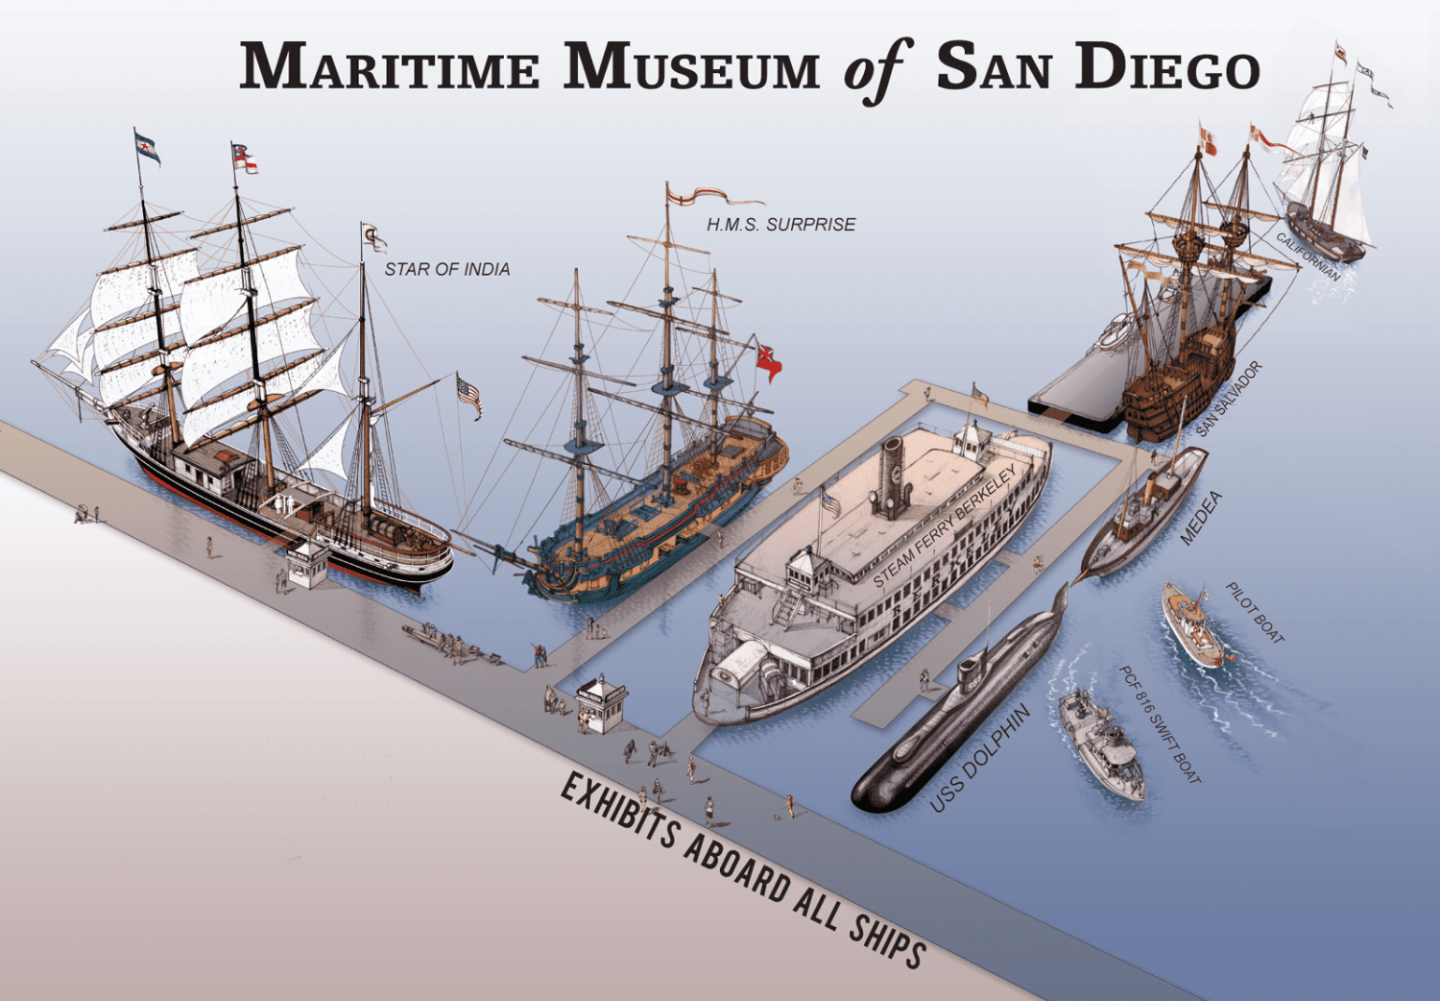
I am sorry to say to Snug Harbor Johnny that I did not see the Rose (Surprise) today. The Coast Guard condemned the ship due to rotting of the hull, especially the rudder.
This morning, she was being towed to the Navy Yard to dry dock and be repaired. While doing this, she ran aground. So now there may be even more damage.
I got this information from men who work on up keeping and repairing the ships at the museum.
- Snug Harbor Johnny and ccoyle
-
 1
1
-
 1
1
-
I am getting to the point where I can't put off thinking about the lower shroud deadeyes. I think I have settled on my method. I will use the HisModel deadeyes and strops. I painted the sides white and colored the deadeye with a sharpie pen. I superglued the deadeye in the right position and superglued a piece of black annealed steel wire to the strop. The wire will be superglued into a hole drilled in the waterway as I first intended. The only problem is to make openings in the pin rails for everything to fit through.
This is the 3.5 mm deadeye. I will do the same for the 2.5 mm ones. They need to sit a bit above the pin rail for looks and access to the lanyards. I will practice with the lanyards on this test deadeye before gluing. I think I can reeve them ok after they are fixed in place.
I'm learning new things with building this ship model as apposed to building an auto or plane. The time it takes to build a ship is longer, the skill sets needed must be developed if not already a part of my being. As I go, I must invent the wheel so to speak or learn from someone else if I am to build this ship into the one I have in my mind. The decision to be made is to find a way to build an area so that pleases me, then go on to the next hurtle and tackle it until it pleases, or just take Revell's base instructions and build at that level, or give up. So far I have gone beyond Revell's instructions, and I am not at the give up stage. I am lucky to have the people on this web forum and the reference material available.
I have put over two months into this model. I've had many goofs and do-overs that teach patience. There will be a few more months to go, but I hope to complete it, get it into a protective display case and leave it to someone when it comes time to go meet Davie Jones.
One thing I learned from building other kinds of models is to take a close-up picture, and you can see areas to improve that you didn't notice without the picture. The minute I see an area that needs repainting or something, I stop and correct it on the spot. If I put it off, I will forget where it was.
-
16 minutes ago, rwiederrich said:
Good job, very clean.
I was out yesterday and I found a CS kit at a local steam tractor museum for sale(believe it or not), and it is still in its original plastic wrap. I’m gonna use it for parts.
Rob
Do you know what issue it is? What year it was produced?
-
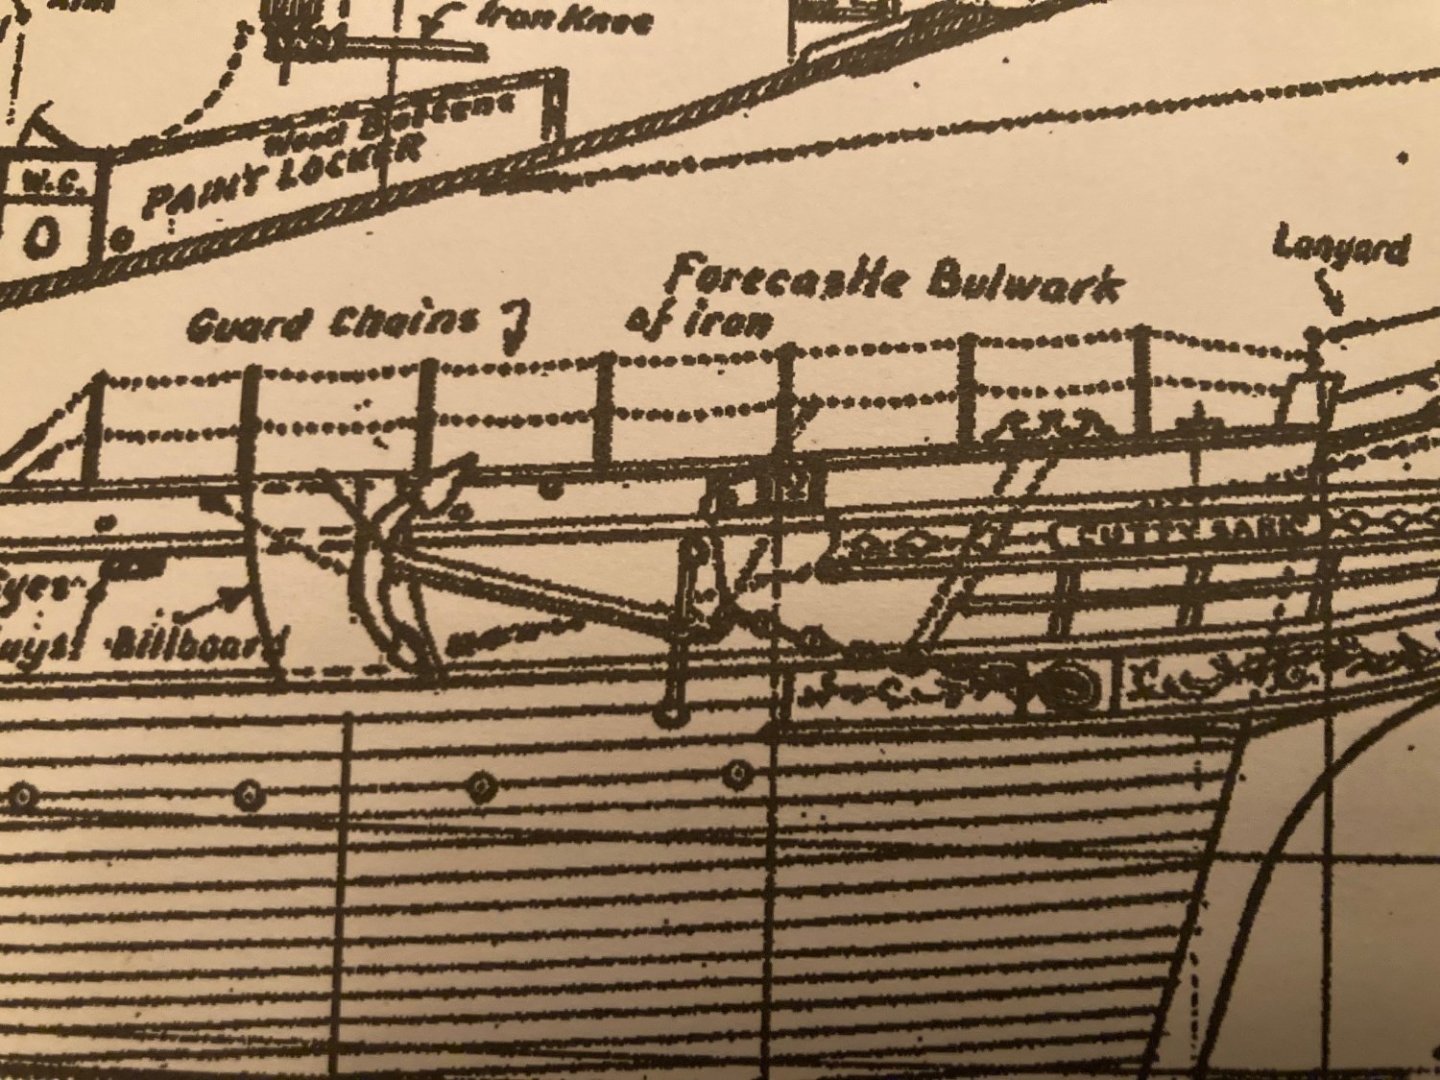
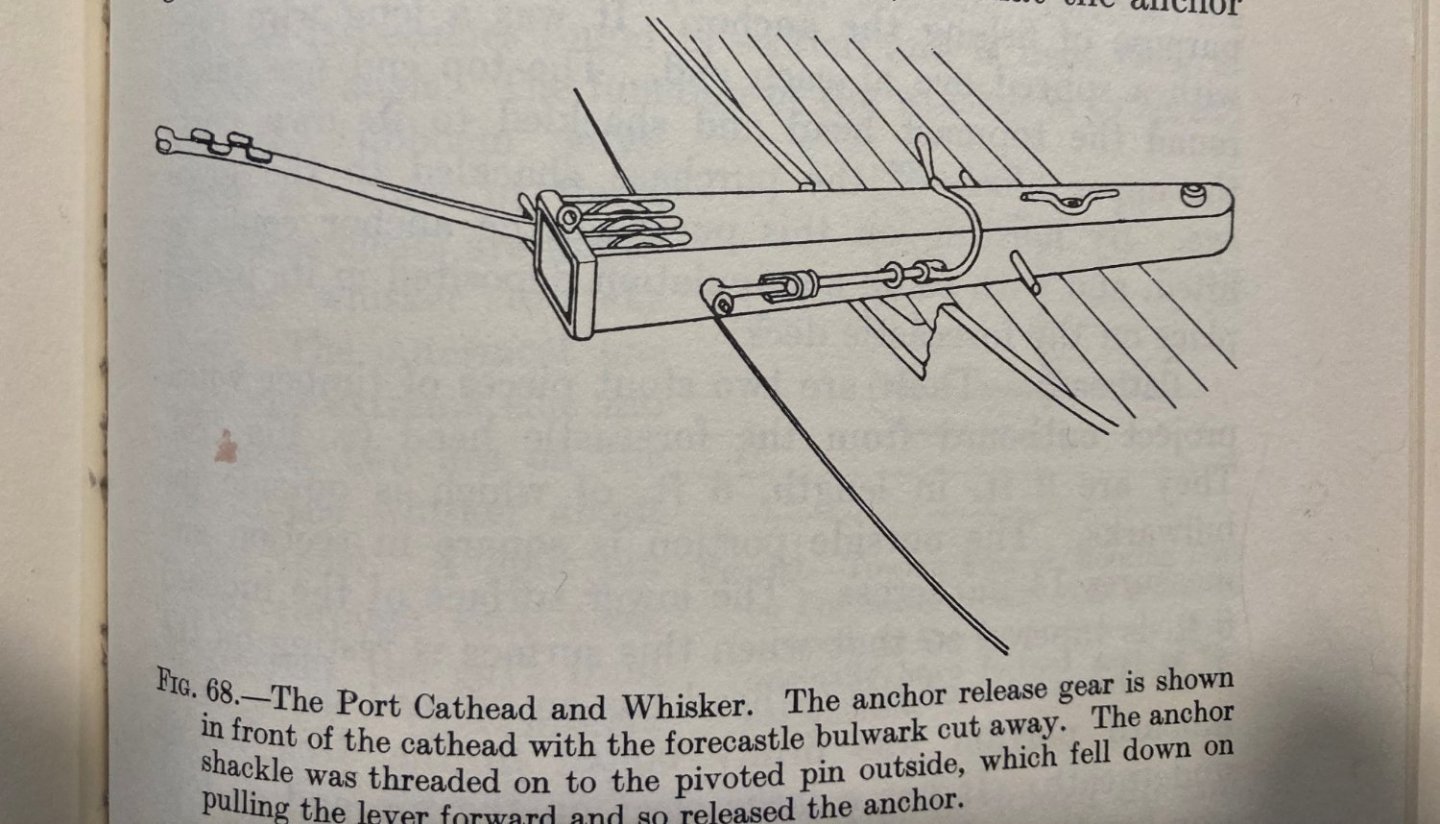
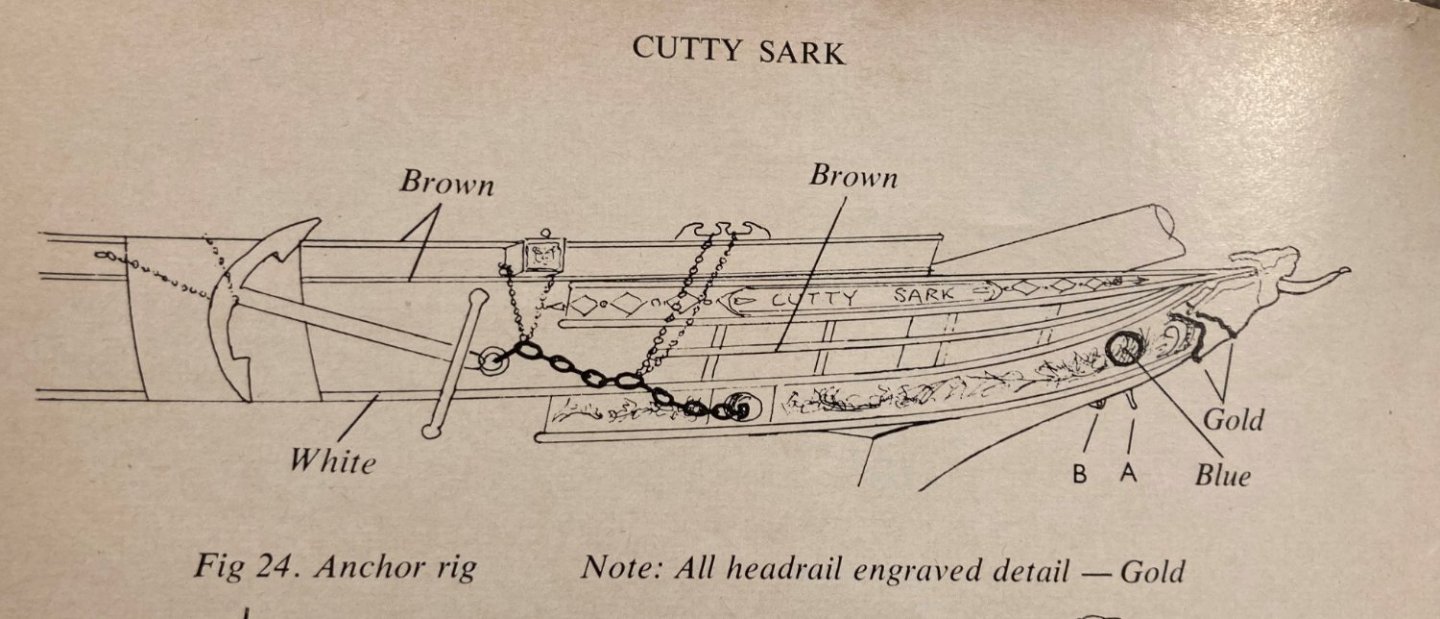
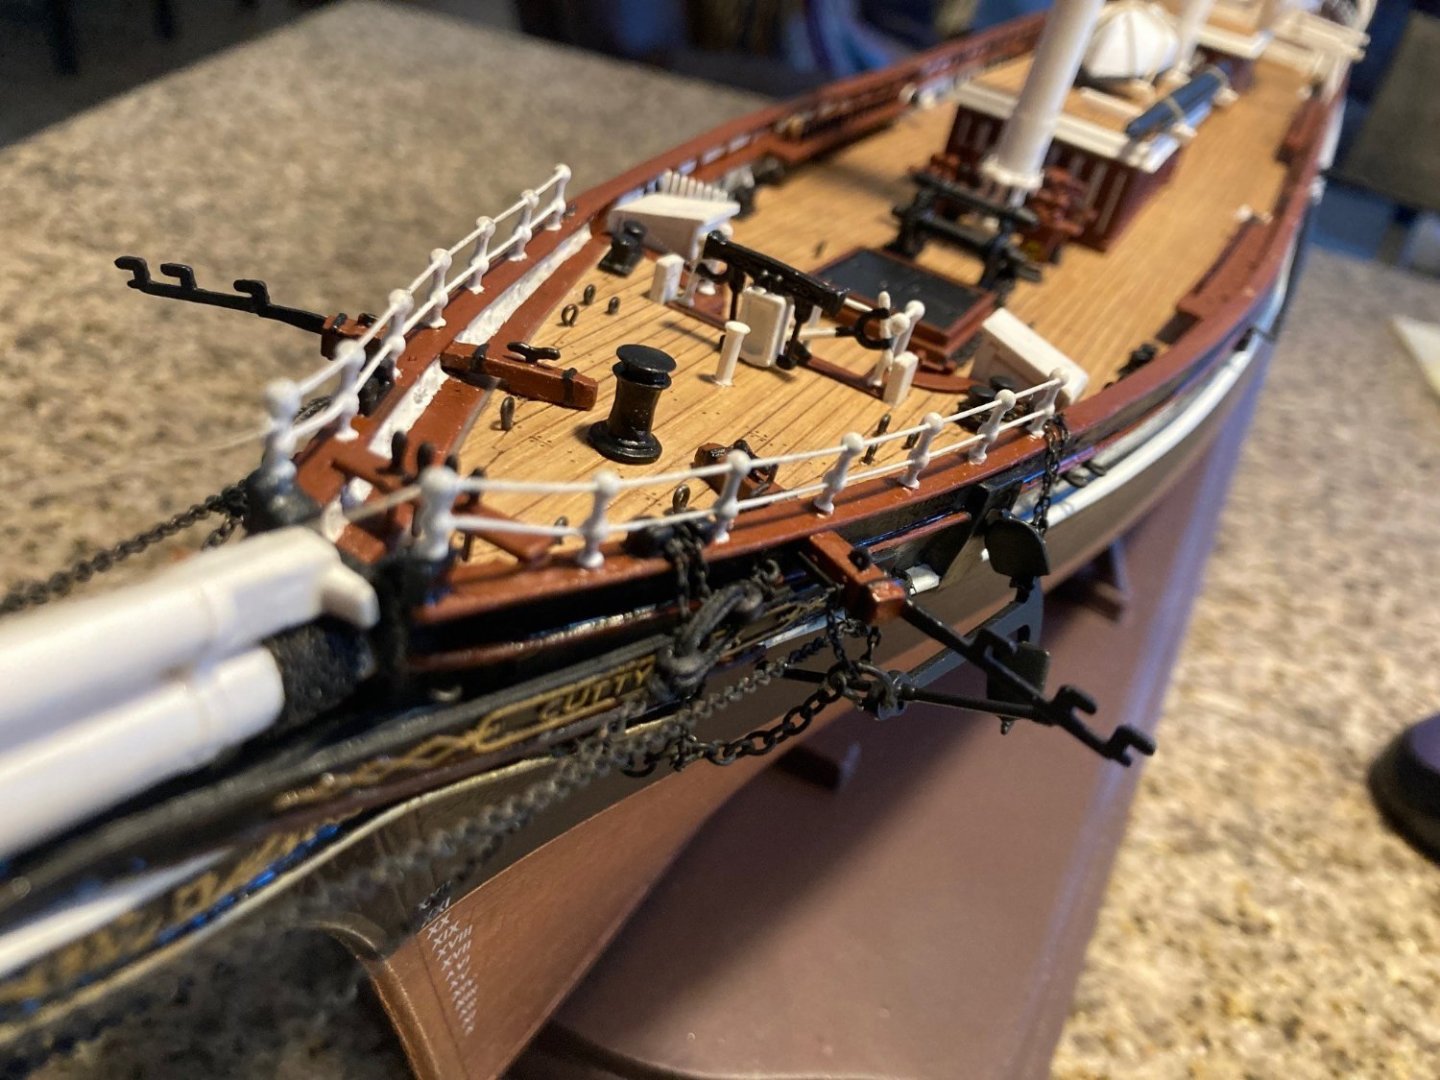
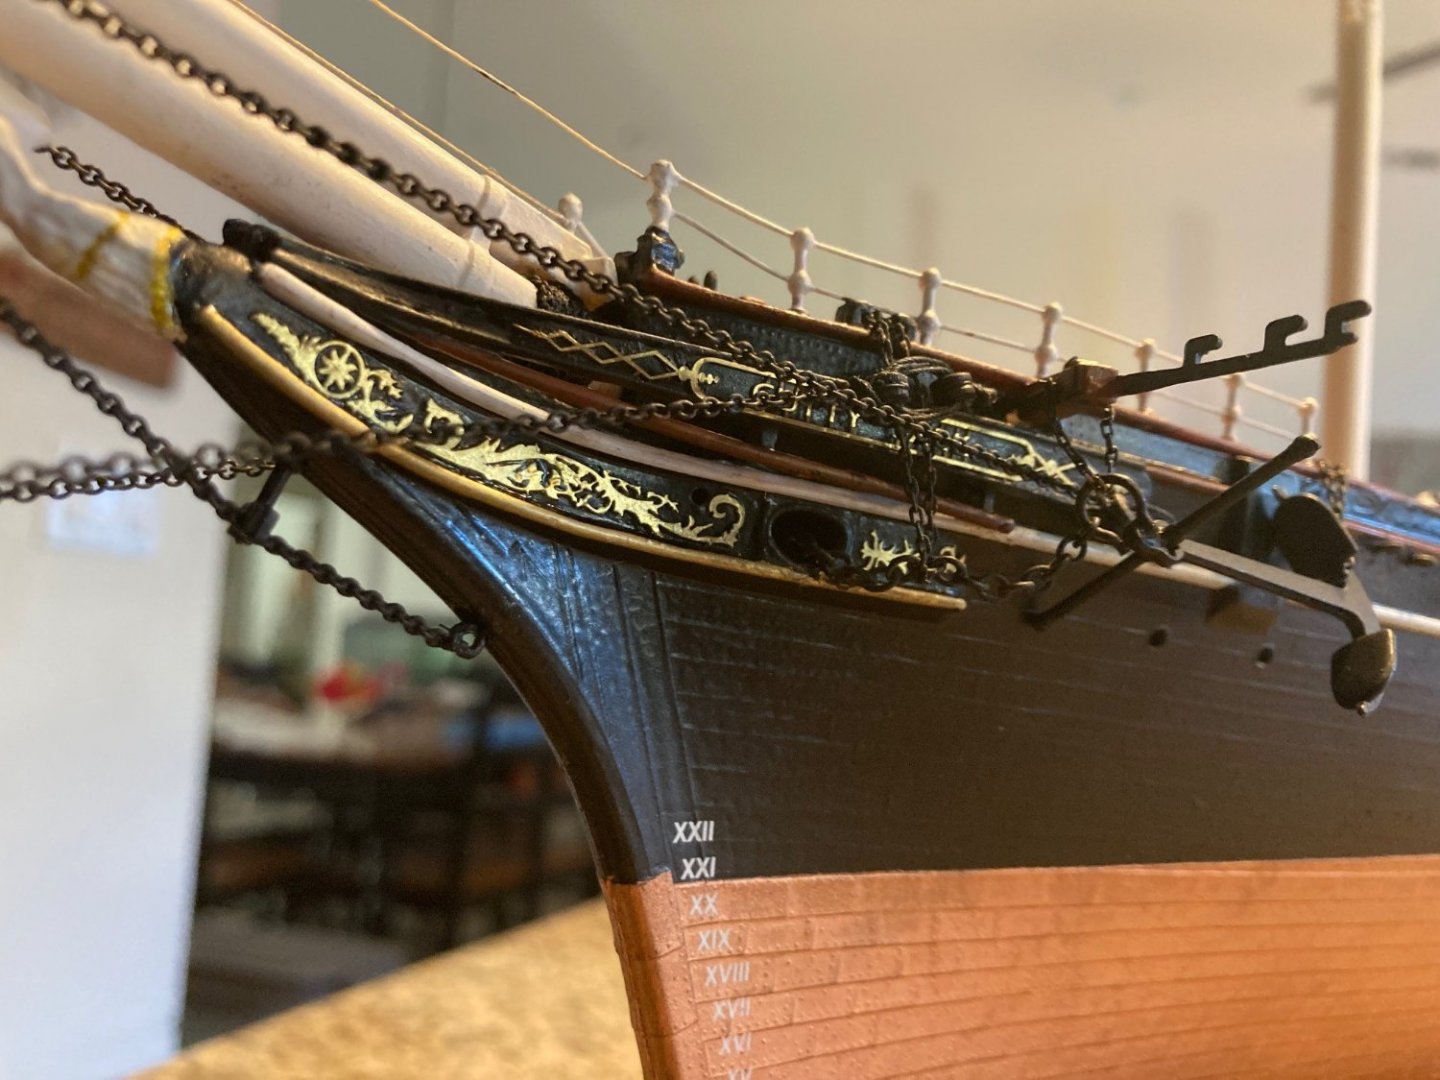
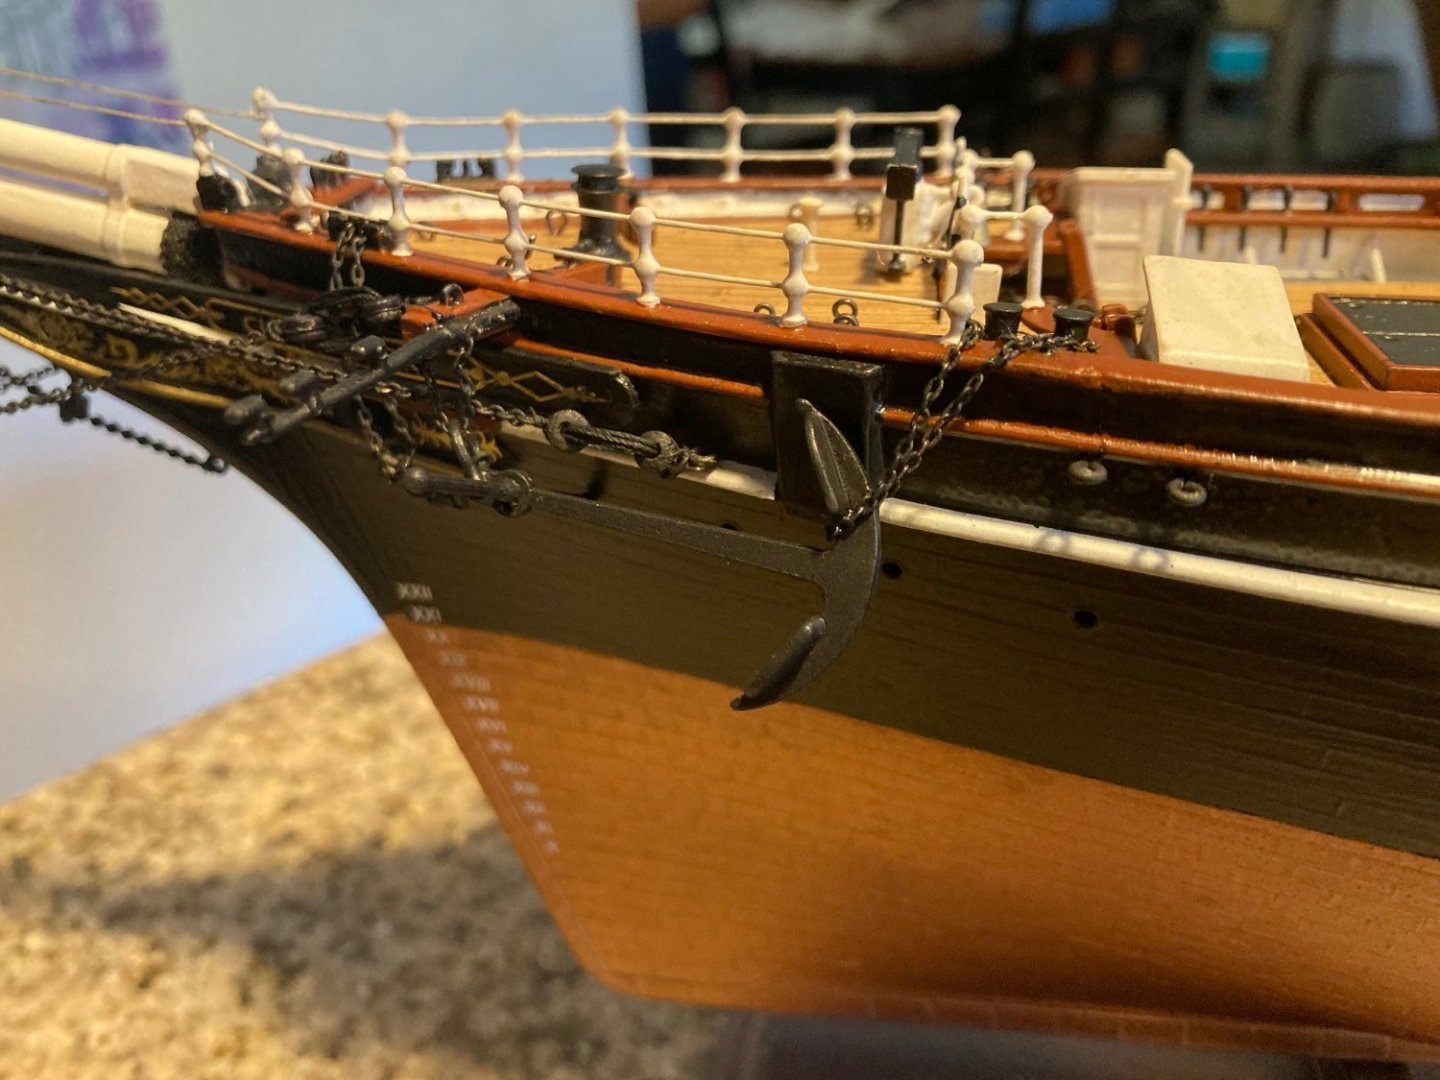
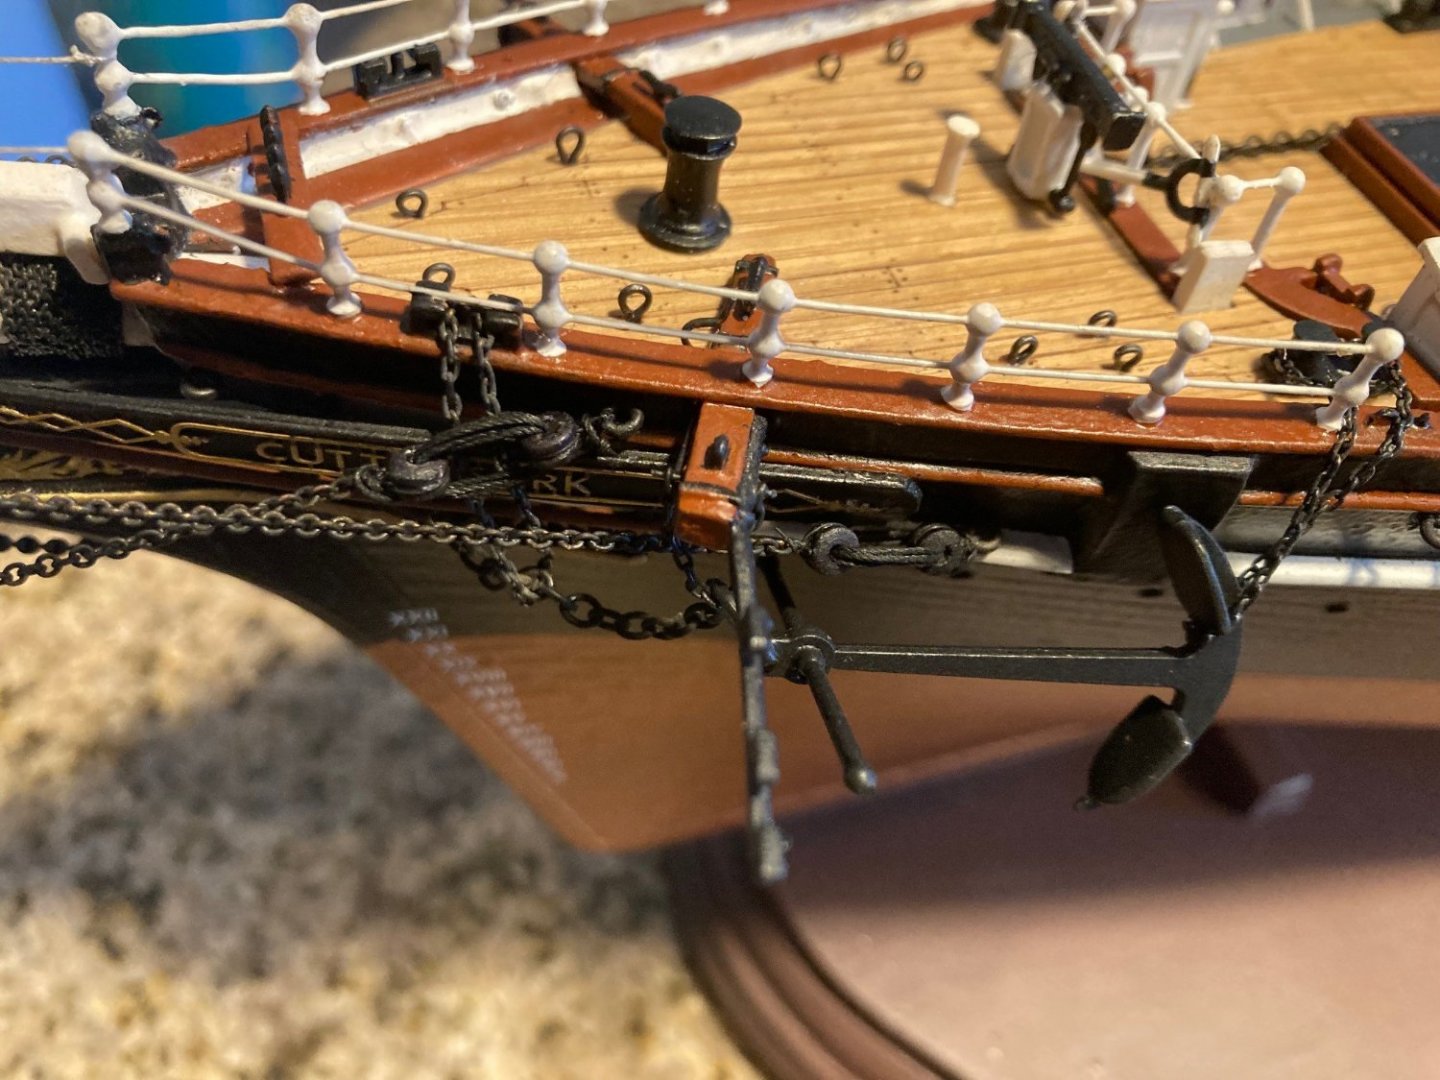
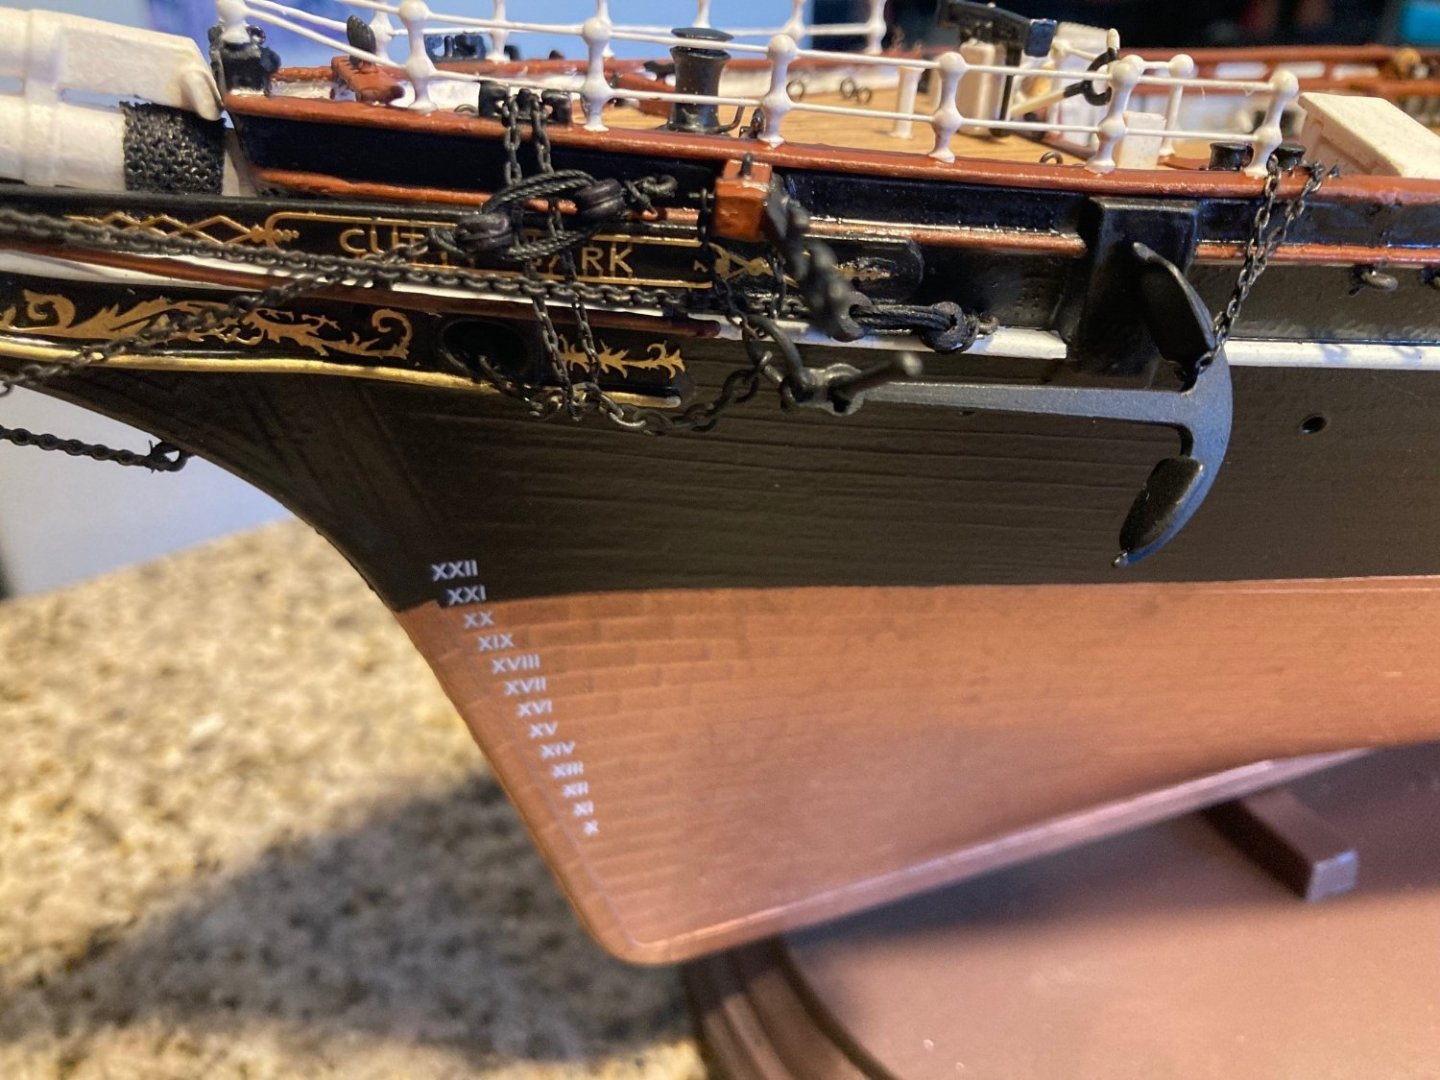
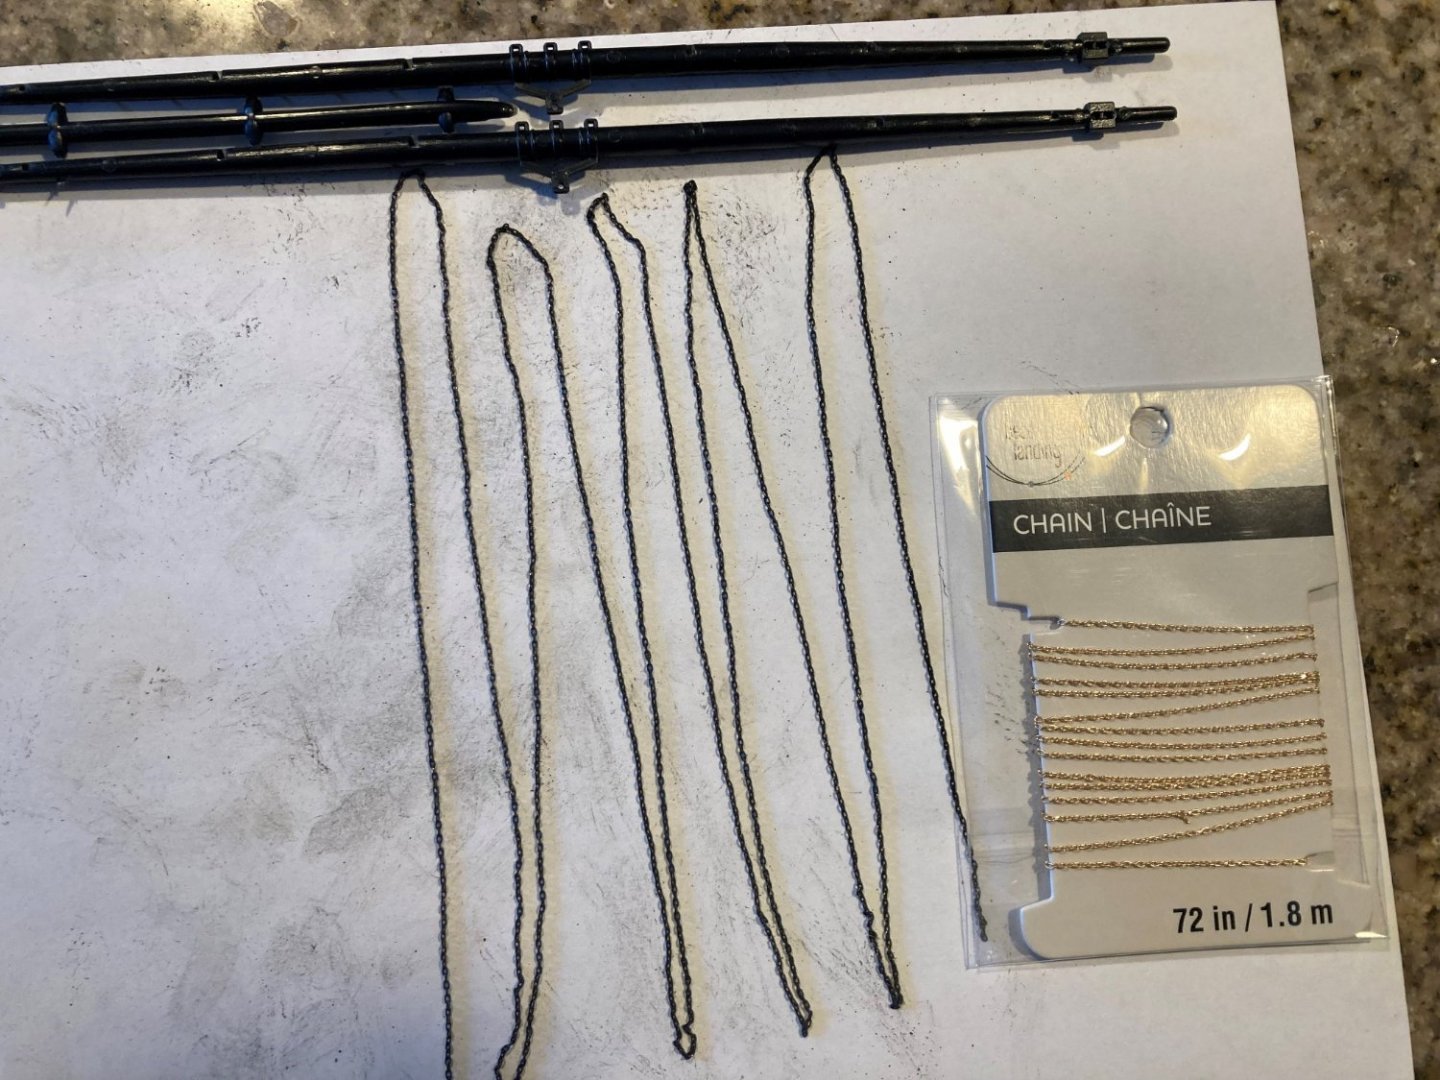
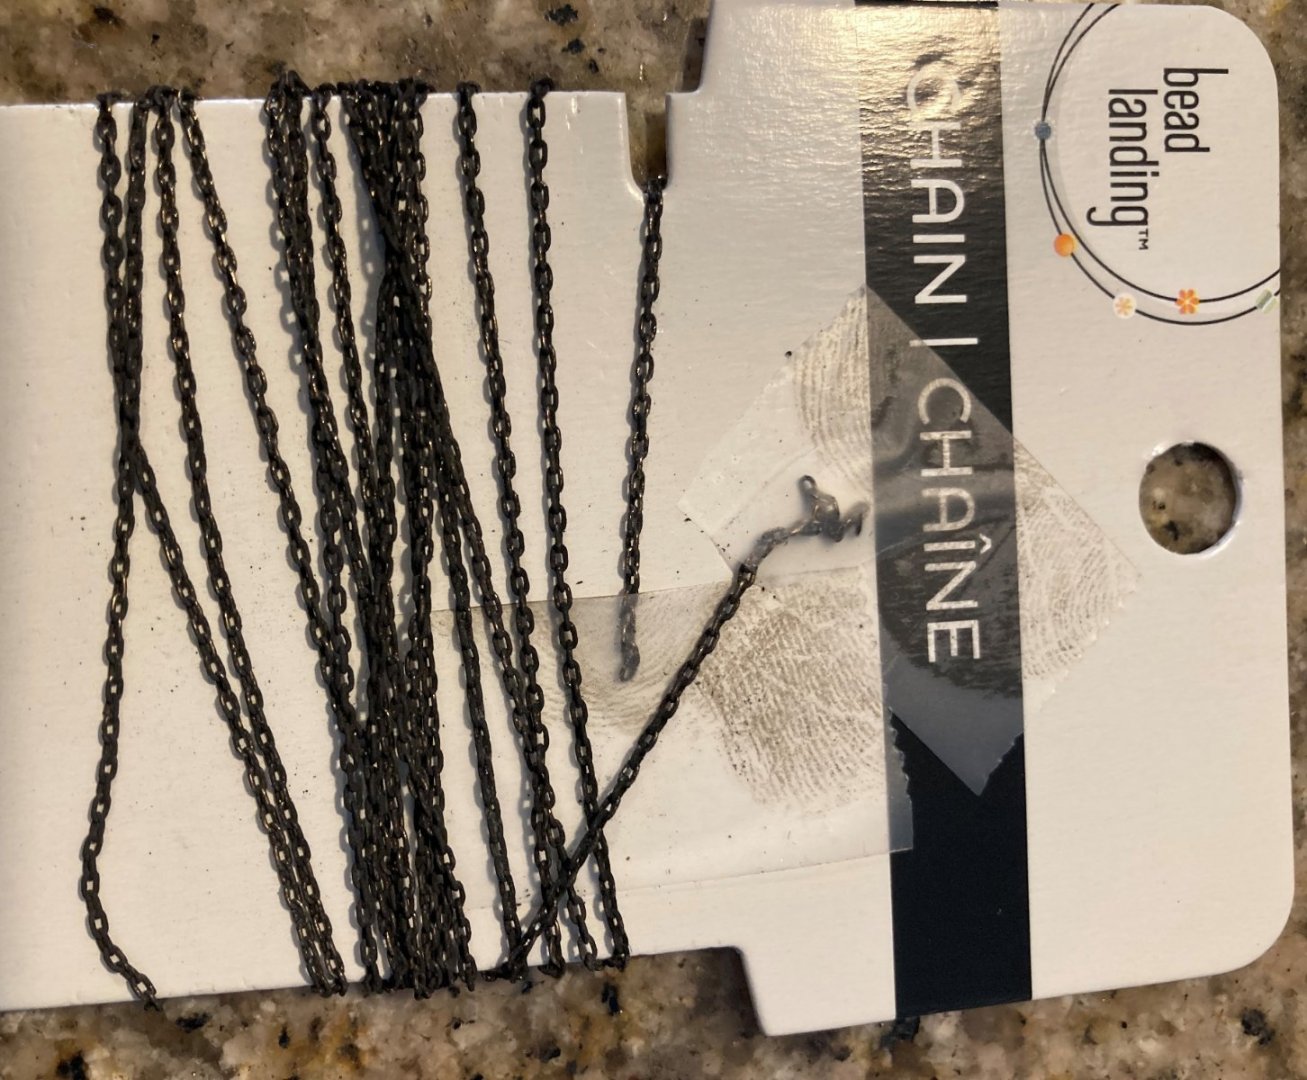
I rigged the port anchor per Campbell, Longridge and Hackney, making a simulated anchor release gear. There are four sizes of chain here. Longridge's fig 68 drawing looks to me like the starboard cathead not port. The whisker boom is toward aft.
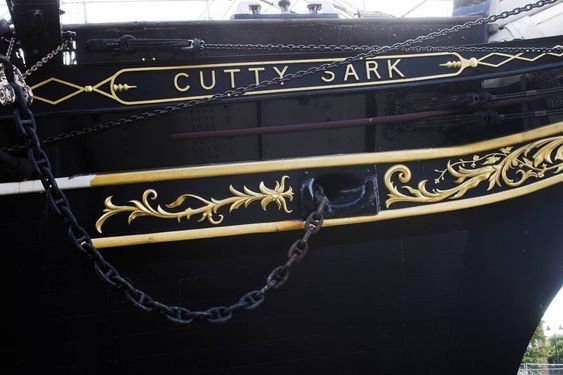
Another Revell discrepancy that Kevin might want to remedy with 3d printing, Revell's trail board is too big per the actual ship and Campbell. But then the photo etch won't fit if you make it smaller. Oh, the woes of perfectionism.
-
1 hour ago, Kevin-the-lubber said:
That's a pretty good idea. Even though my pin-in-the-bottom worked on the test piece, I still feel a bit nervous that the base of the 'strop' might break. It would all be so much easier if the eye was at the top 🙂. Also, painting the strop parts is challenging, as they say. So I'm still thinking I'll at least see whether I can form wire strops from the 0.6mm or 0.8mm brass wire I have, and solder or glue them closed at the base of the deadeye.
The idea I have in my mind is to use single strand copper wire with a white coating. I haven't found any at all. I am going to an electronics store to see if I can find it.
-
-
6 hours ago, LeoM said:
Looks superb, Bob!
Thank you, Leo. The encouragement really does help keep me going.
-
-
-
I changed the lanyards to black for the chain rigging on the bow. I think it looks better than tan thread, since it is not as visually outstanding and is more accurate representing tarred rope.
Yes, they look bulky. Chalk it up to being a model with inaccuracies. Looking at other builds, mine are similar, this being my first shot at rigging. I need to do the shorter one over, so the lanyards are the same length I think.
- shipman, ccoyle and GrandpaPhil
-
 3
3
-
-
3 hours ago, rwiederrich said:
Great job Bob...but remember...any lanyards used on bulleyes or deadeyes were considered part of the standing rigging...even though they, at times were used to tighten the system. These lanyards were coated in dark to black preserving tar material. They would not be left untreated. So, light lines are not typical of these systems. This is a common mistake most folks make because they think the lanyards are running rigging. they are not..
Rob
I played with the idea of using black for lanyards. I may go back and redo mine. One reason is so that they don't stand out visually as much.
-
3 hours ago, popeye the sailor said:
hello Bob.......fine looking ship your building
 nice to see that there are a few 1:96 fans out there...I have long enjoyed this series of ship models. when I built my second Cutty model, I ran into the same problem with the decals.......they were old and micro cracked. I ordered another set from Revell, along with a request for another set of sails.....got only a couple of the sail sheets {they were done in beige, rather than the white vacu-plastic}, but I got another decal sheet. sad to find that they were just as old as the ones I had!
  I tried to source out for a set from places that did custom decals, but all I got was excuses and the run around. after a bit more searching, I stumbled onto the Testor's "decal it" program. you can make your own decals using your printer. getting into it though, I found that that there were limitations to what the program can do, and that it wasn't possible. even trying to do them in "paint shop" was a bust.......mainly showing the limits of an ink jet printer....the inability to print white, and metallic. it does work well for other applications though, so I found that it wasn't a total waste of money.
one thing I gleaned from your log though, are the complaints concerning the inaccuracies with the kit. folks should keep in mind that back in the day {the kit was produced back in the mid 50's}, that they were considered cutting edge for ship models.........highly detailed with the information available at the time. Revell over the years has gone though a lot of changes.......last I checked, it acquired the name Hobico, and the only inkling of the name Revell is Revell Germany. I've yet to see any updated retooling of this kit, with so many older kits popping out of the wood work on E Bay {and other site like 'em}. I've heard that R.G. is reproducing and expanding the 1:96 line....the Connie kit being the only one that was still being produced through the years. I have never used metal on these kits...nor have I ever put brass rods in the masts...haven't felt the need to. the one thing that urked me, was the segmented decks and trying to hide the joints. one thing I tried, which I need to get back to, was I made wooden decks for my second U.S.S. United States. it was a tedious task, but the results came out really good. I did have to do a second set though, because I took too long getting back to the model and the decks warped. I took precautions with this set and hopefully, it won't happen when I get back to it

I have another Constitution kit....it will be my second as well. there should be a log for my second Cutty in the archives.......along with the one for the United States. some of the inaccuracies are actually design modifications for ease of assembly.......the dead eye racks are the most obvious. if they were to be located on the pin rails {the way they should be}, it would be almost impossible to tie off the rigging to the belaying pins. so they moved them onto the cap rails to make it easier. as with any model........there are ways to enhance them to add realism...you've done well with the rabbit holes you've gone down

Thank you, Popeye. I have built planes, cars, trains and some boats in plastic, so assembly and painting are not new to me. I've had in mind how I wanted my Cutty Sark to look for a long time. So I put my plastic model skills to work on this ship. I have never completed a ship model as far as rigging. The other models I build take a much shorter time to complete. With this build, I keep telling myself that I have no deadline other than the day I meet Davie Jones.
-
5 hours ago, rwiederrich said:
Bob.....Make your own...its simple, repeatable and easy and you have to spend hardly any money.
You can make them any size you need.
I'll put together a pictorial tutorial, how and the materials you need. If you like?
Rob
I made eyebolts. I didn't realize that he was talking about actual dimensions that you can scale down to what ever size your model is.



.jpg.02d96f315d71e39f24561e18312e988d.jpg)

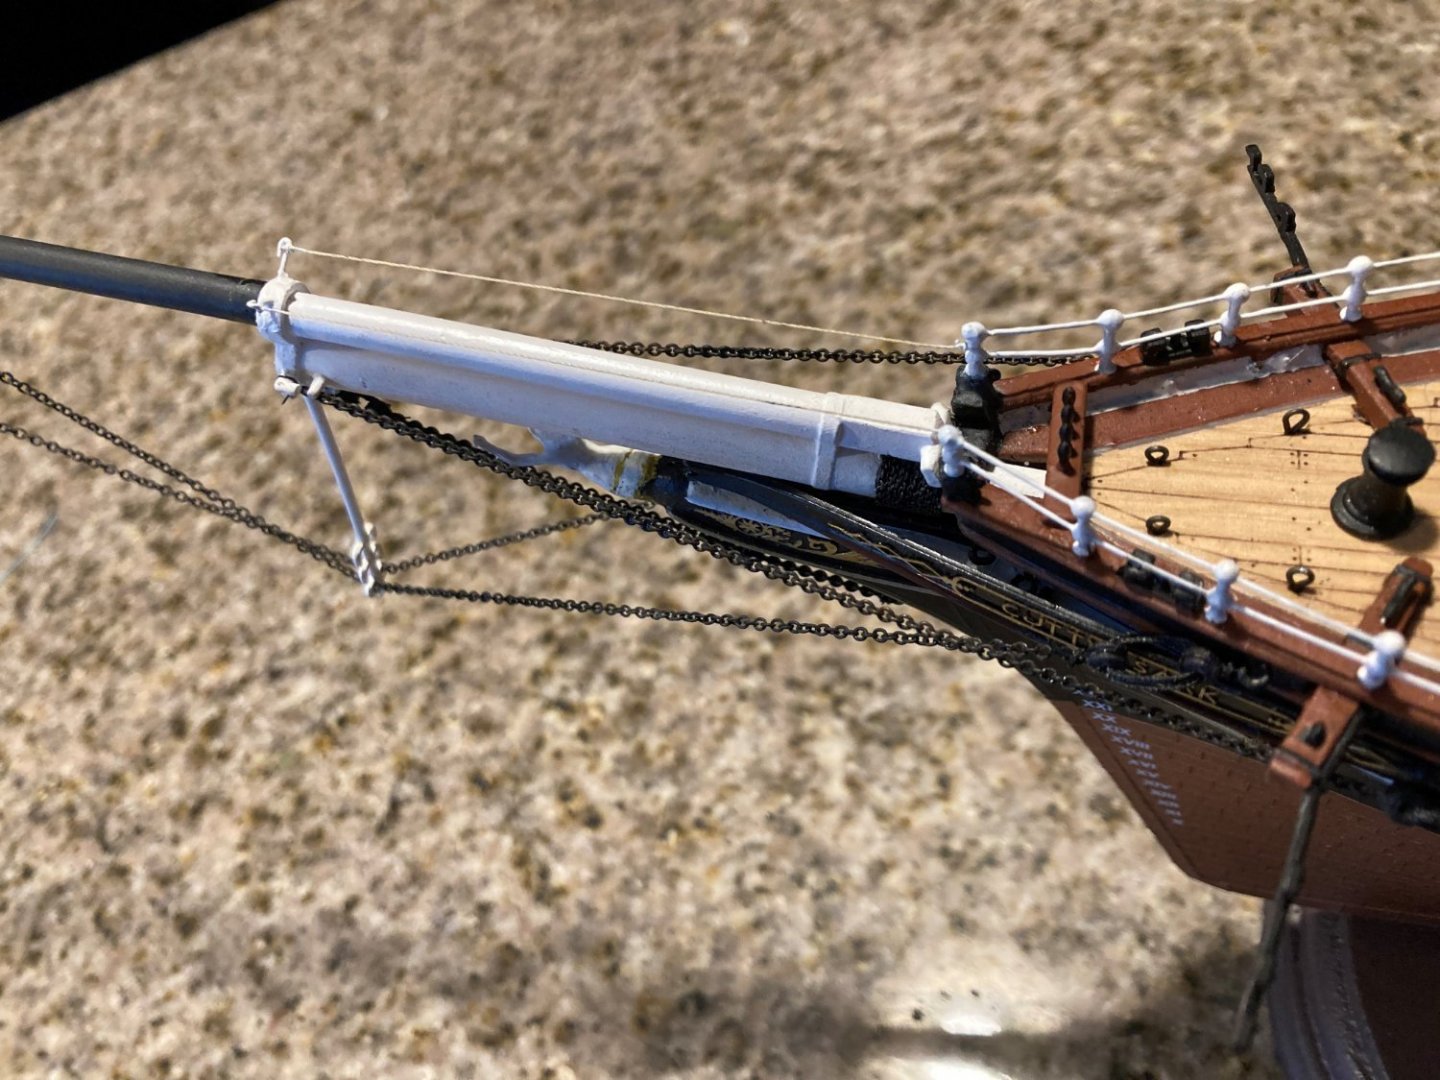
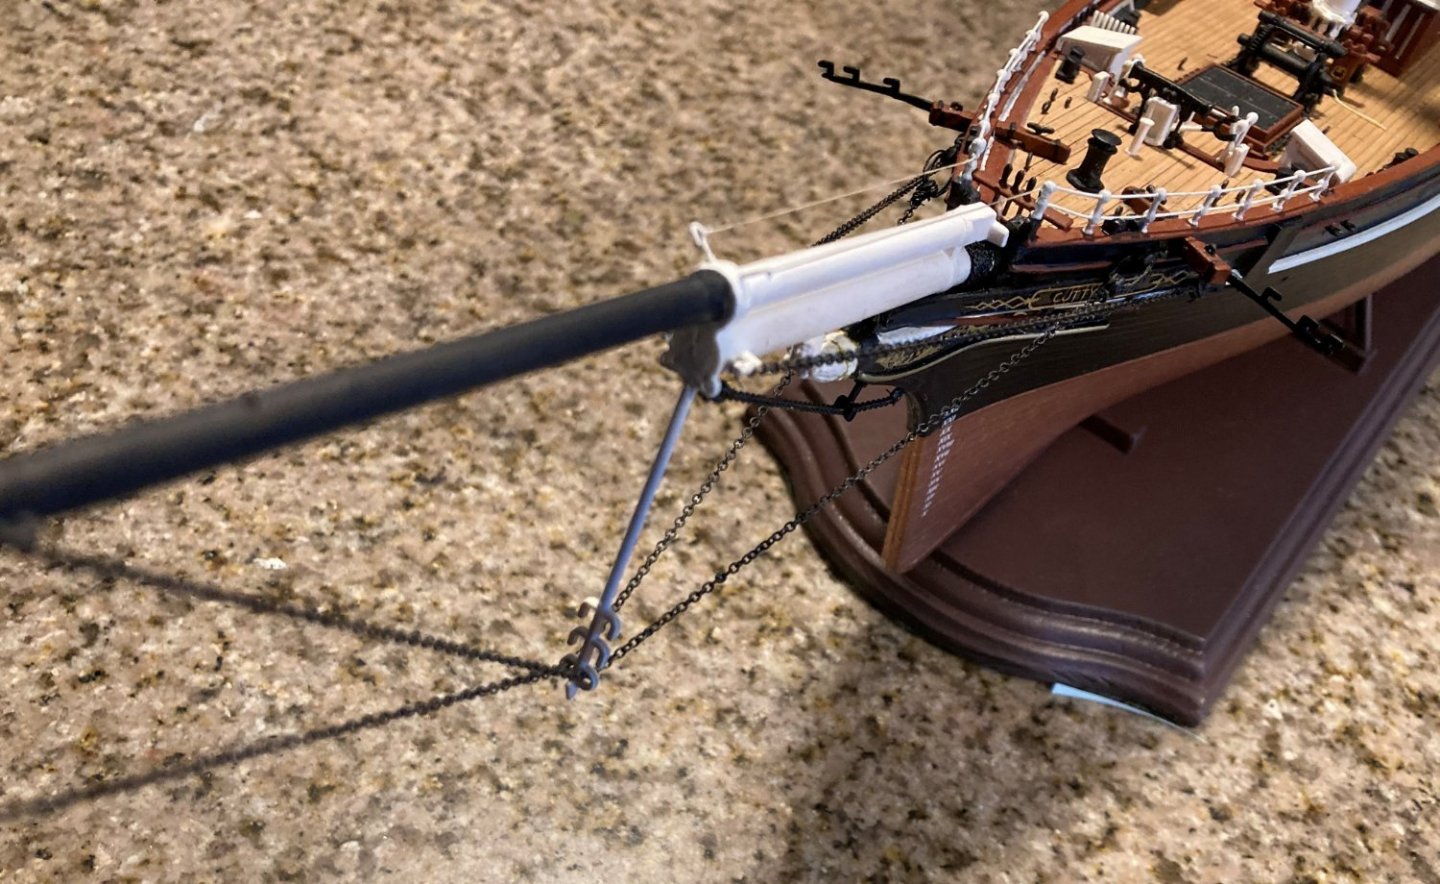
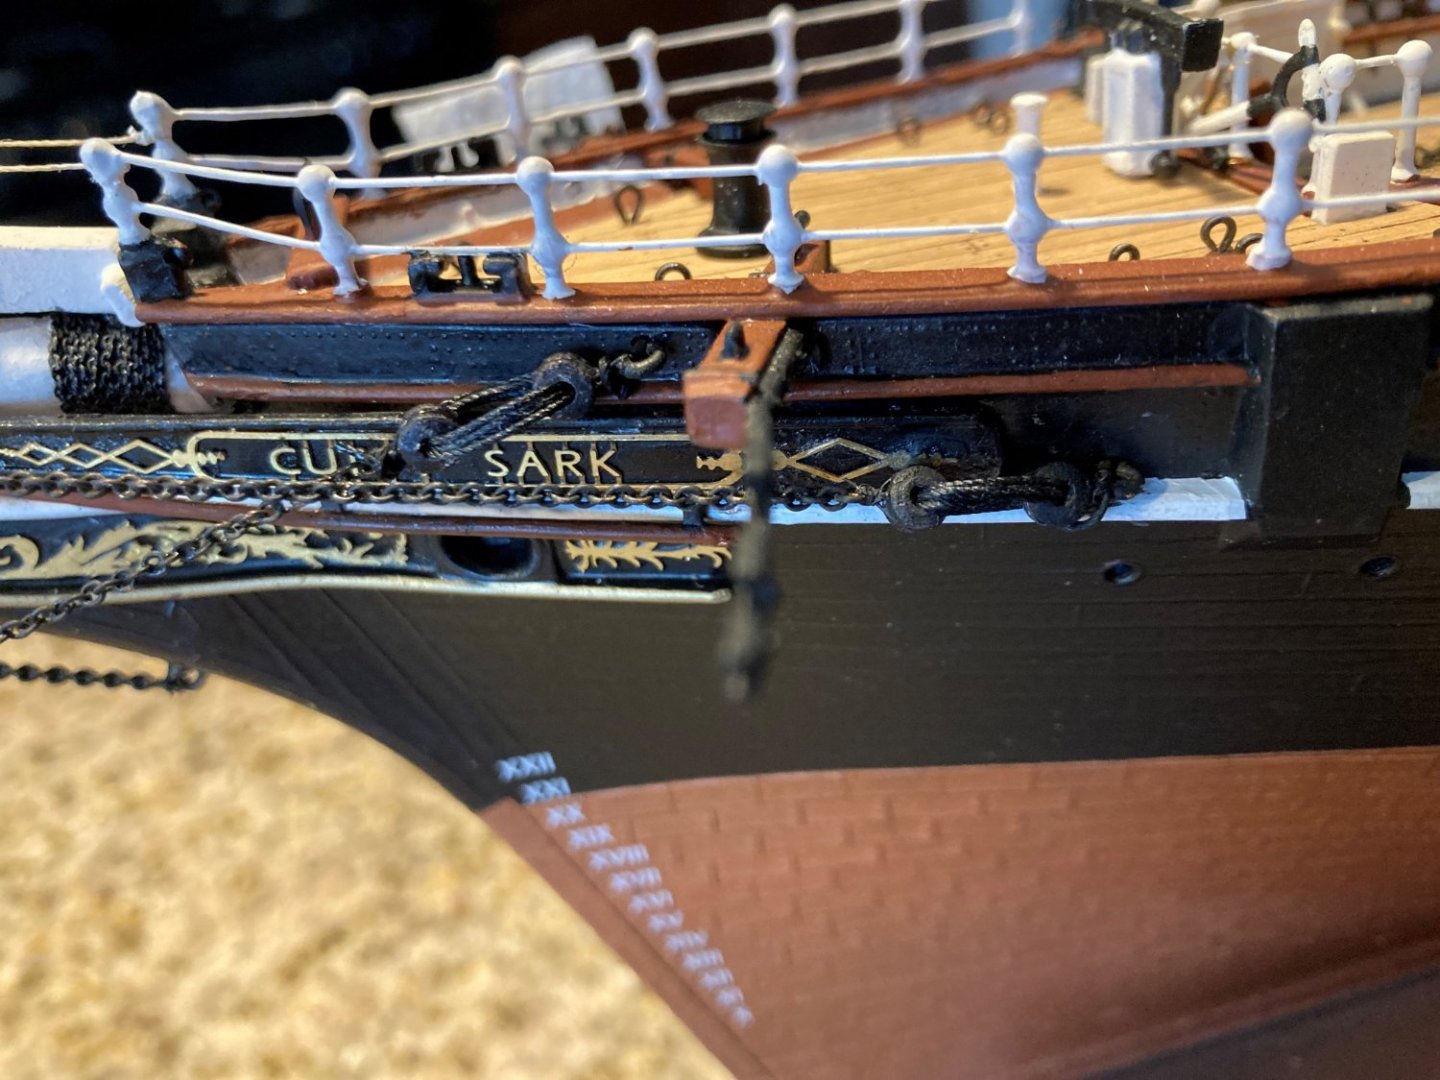
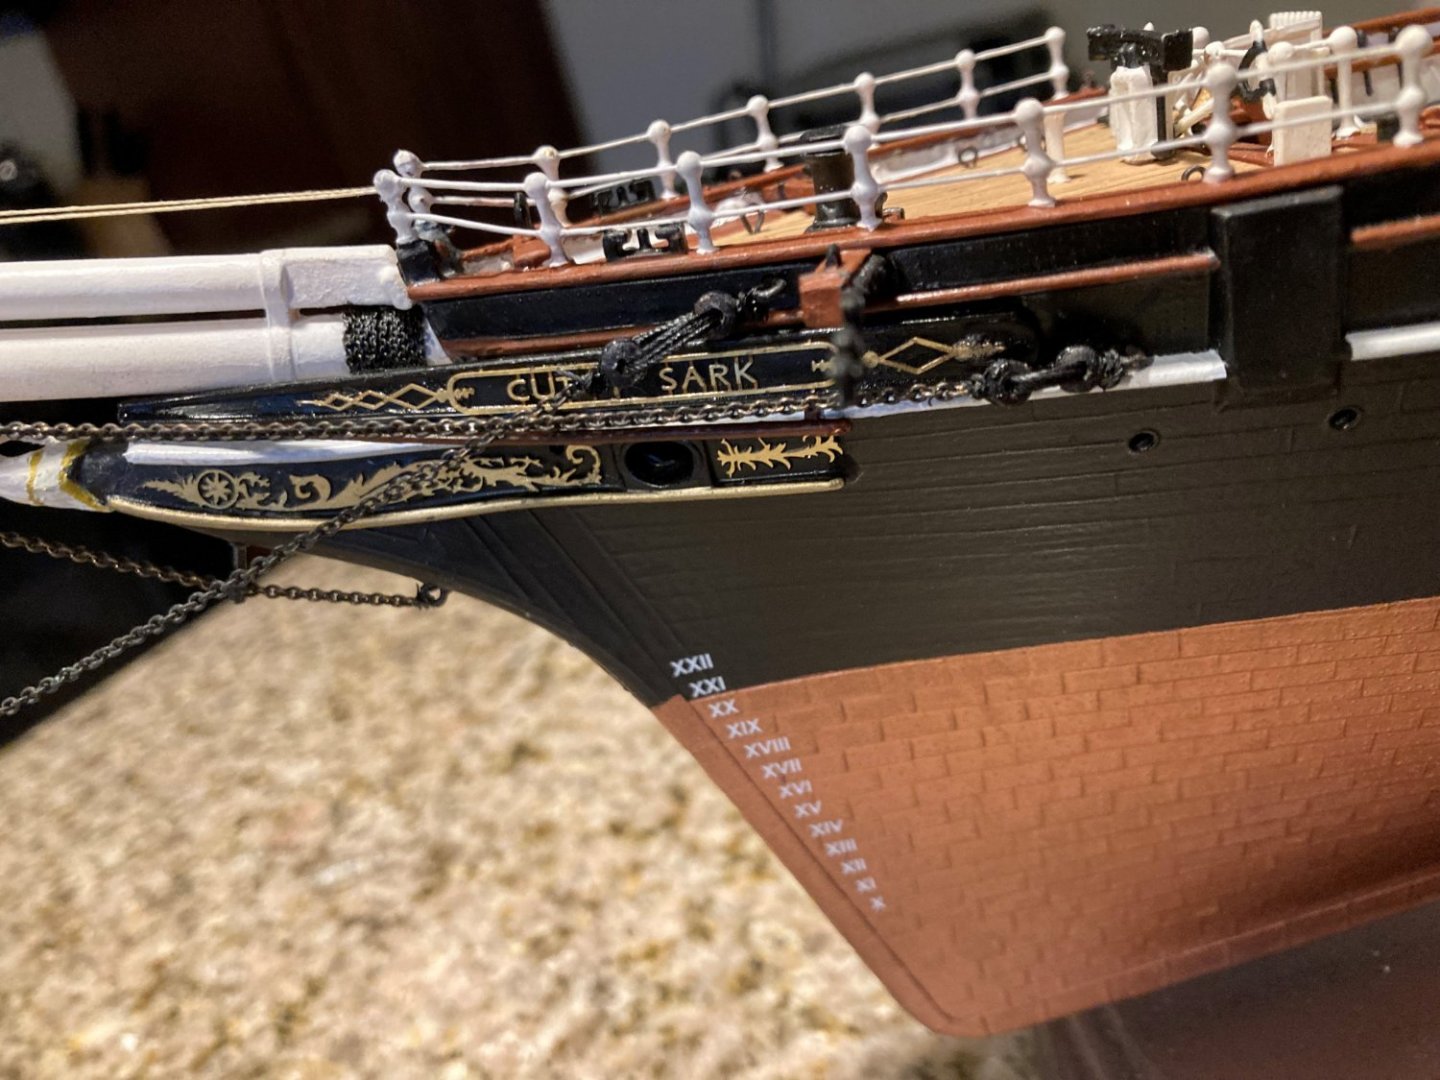

Cutty Sark by bcochran - Revell - 1/96 - PLASTIC
in - Kit build logs for subjects built from 1851 - 1900
Posted · Edited by bcochran
I have seen his Victory build, but didn't see all of it. I would like to complete the Victory I have in my stash. I love the YouTube video of HMS Victory firing rolling broadside.
I hope to visit her and Cutty Sark before I die.