


bcochran
-
Posts
598 -
Joined
-
Last visited
Content Type
Profiles
Forums
Gallery
Events
Posts posted by bcochran
-
-
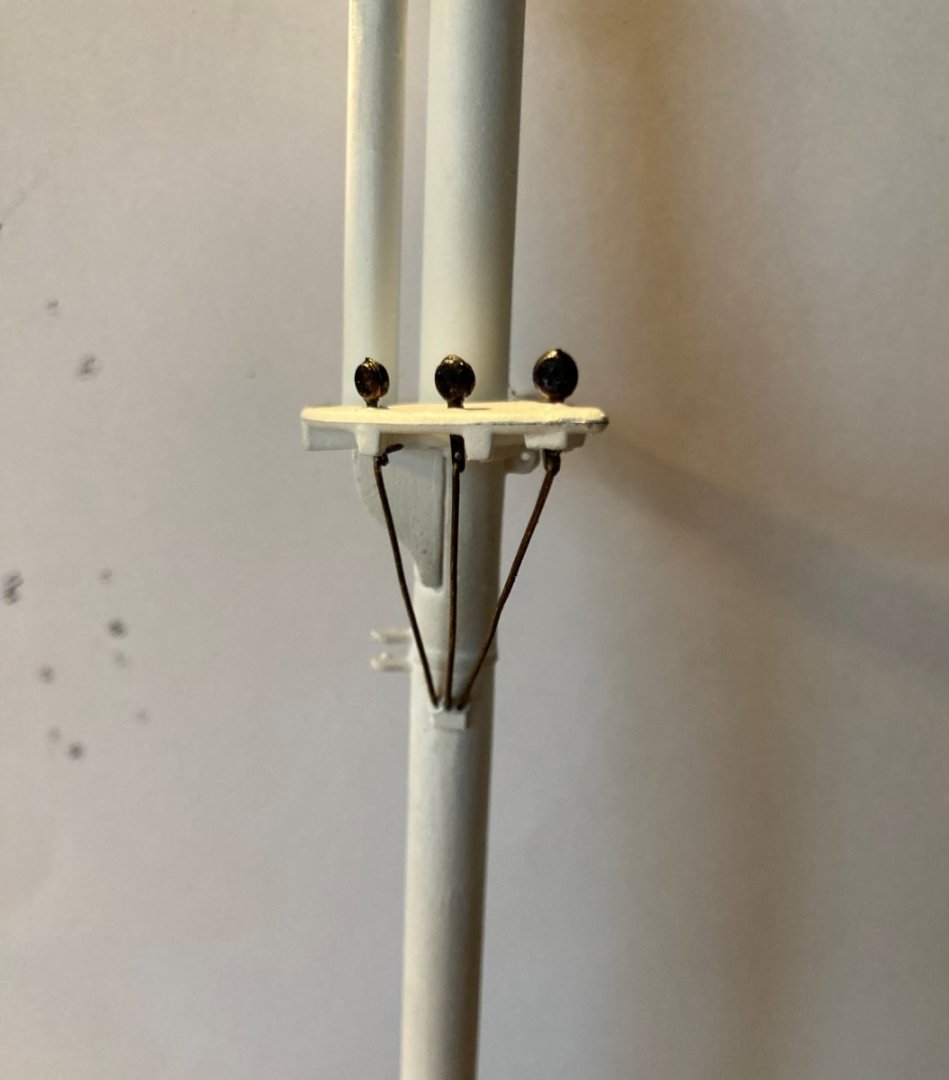
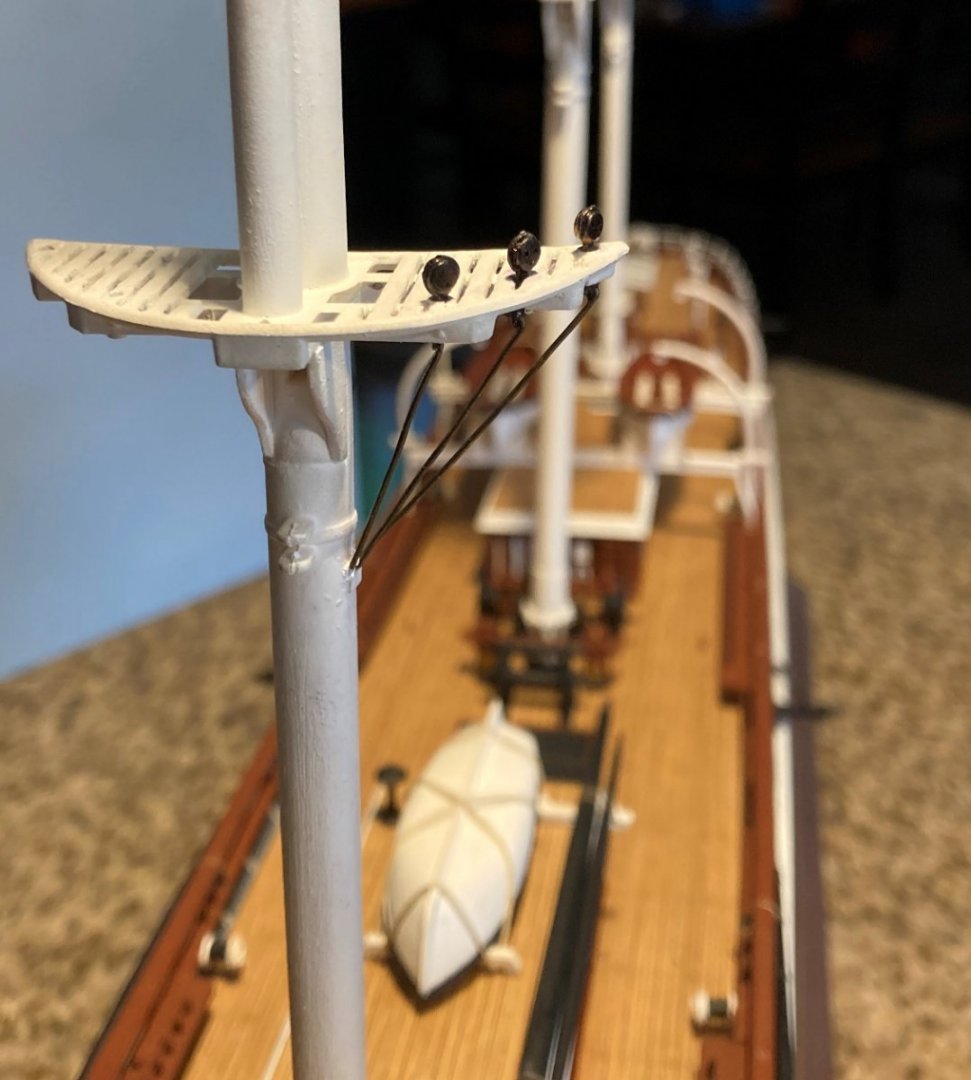
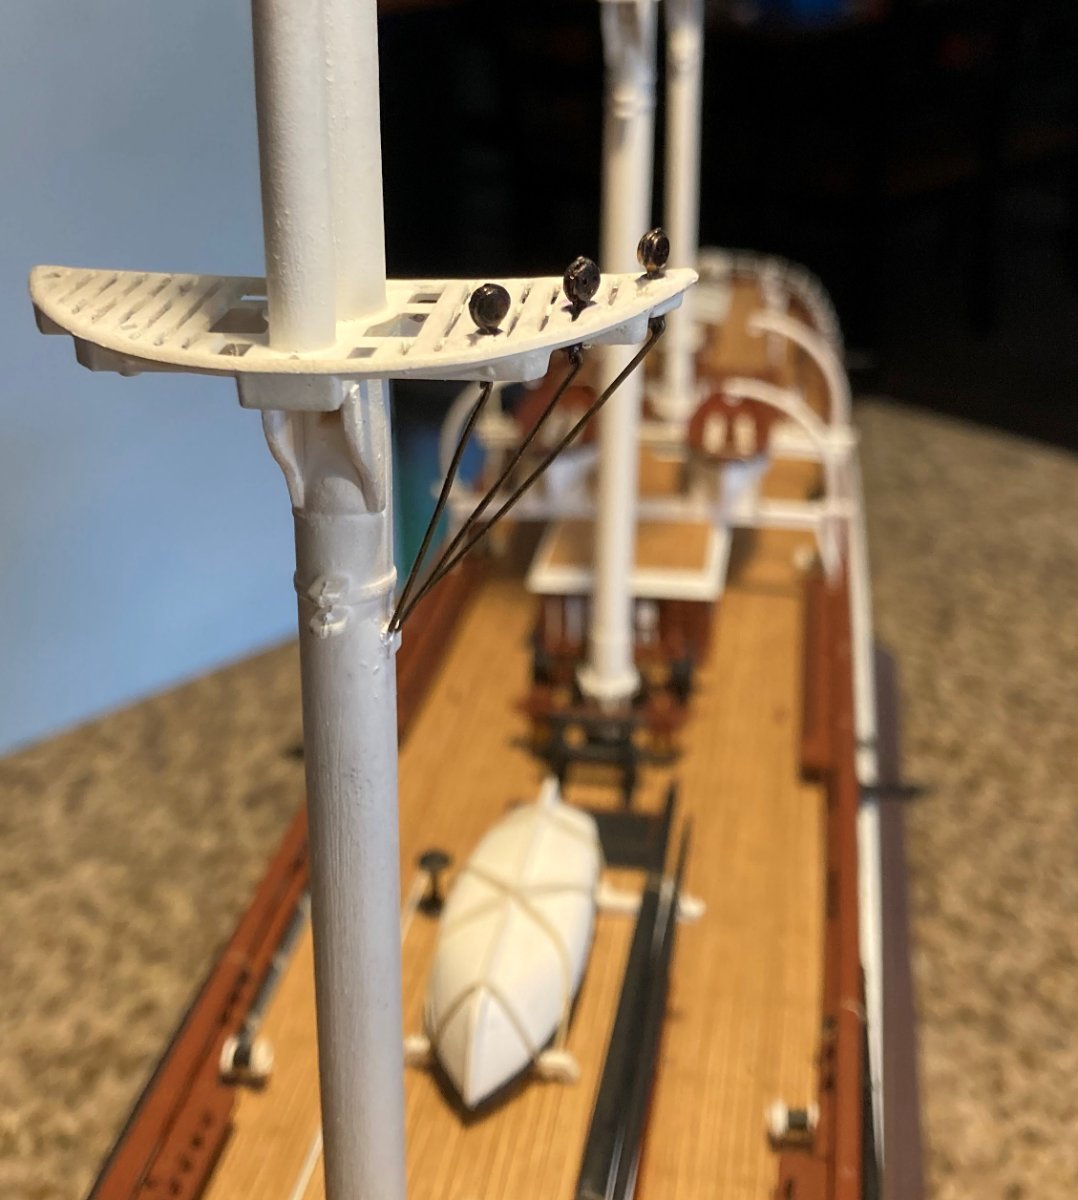
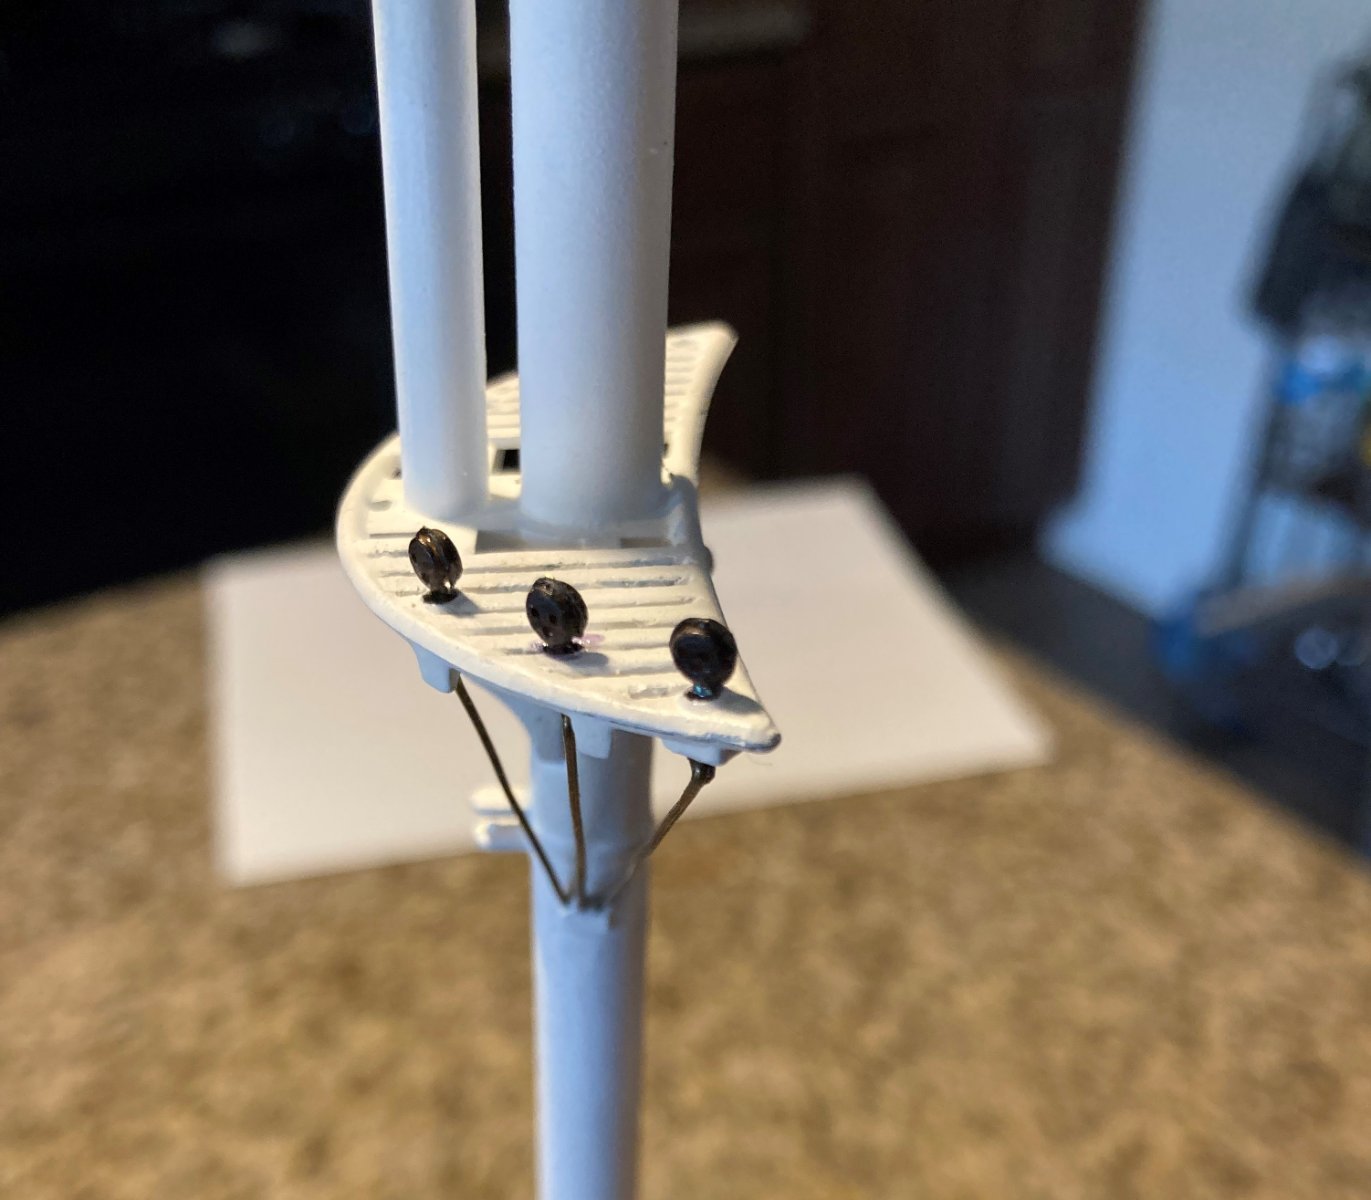
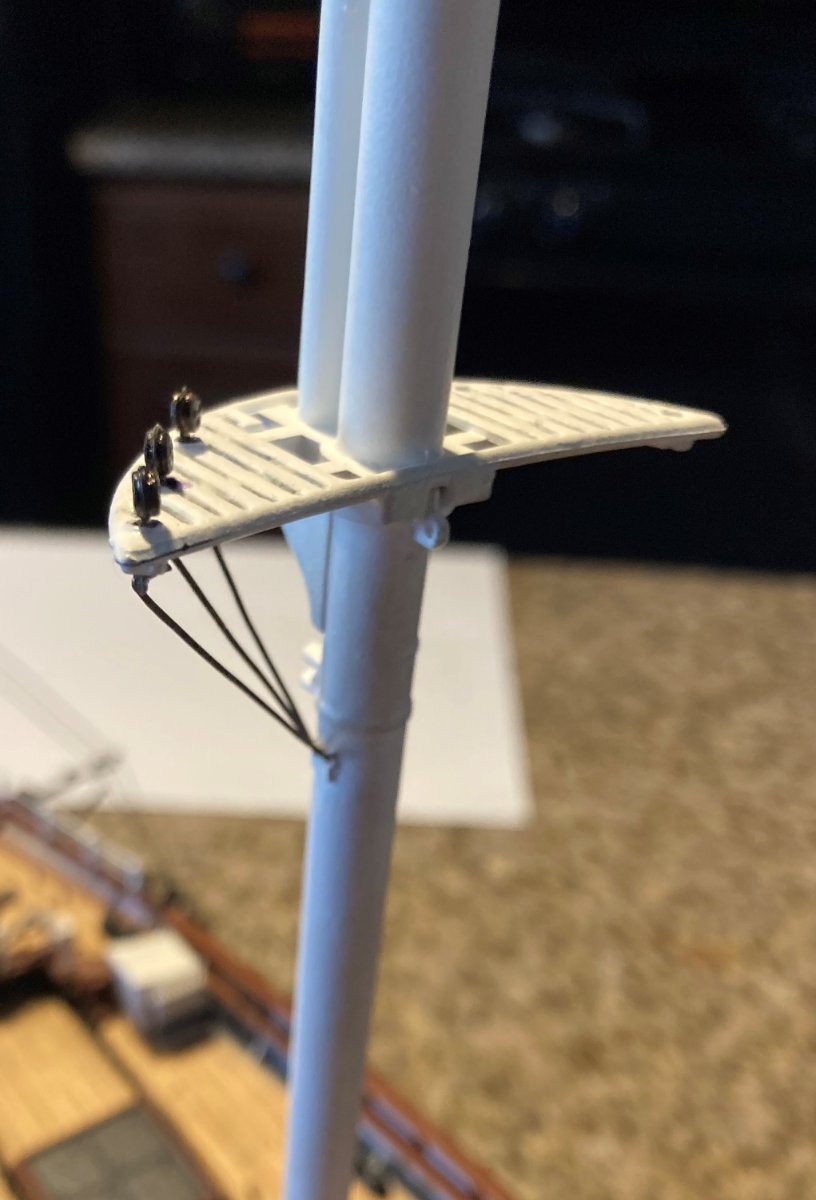
My first attempt at futtock shrouds. Not perfect, but useable. As Shipman says, eventually you won't notice them. When the lower shrouds are there, you'll hardly see them. Per Longridge the deadeyes should be closer to the edge of the top, but two holes were already there, so I used them. I have to remove the slight bends in the wires. They are soft metal.
The masts are not stepped yet. I may go as far as attaching the yards before I glue the masts to the deck. My plan is to detail the masts and yards, then attach the yards to the masts, step the masts then complete the standing rigging.
It is kind of pleasant not working around the fragile parts of the ship for a while.


-
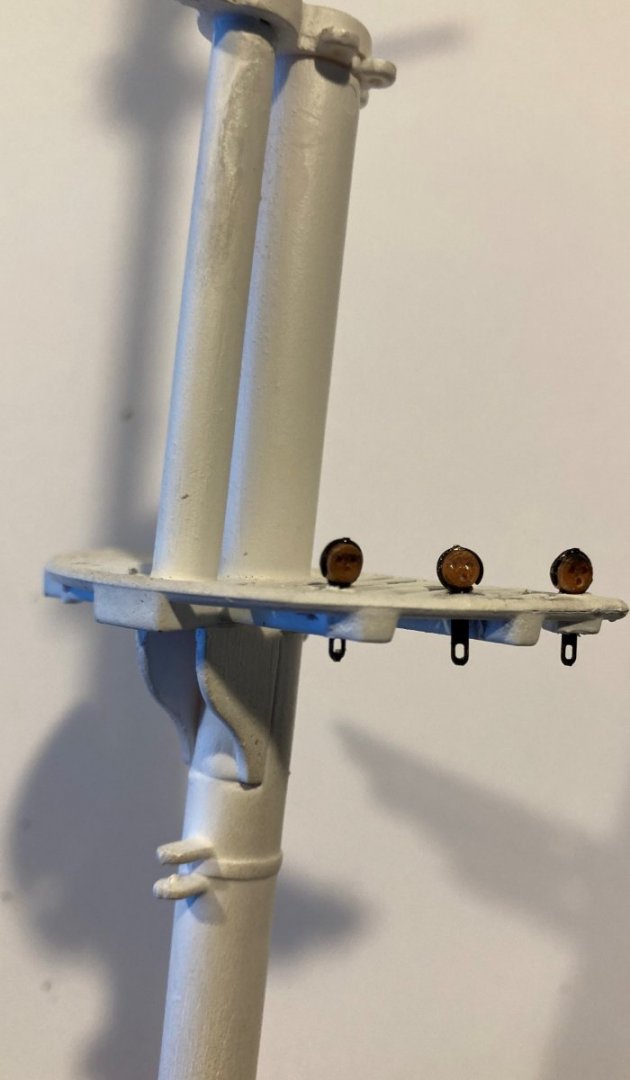
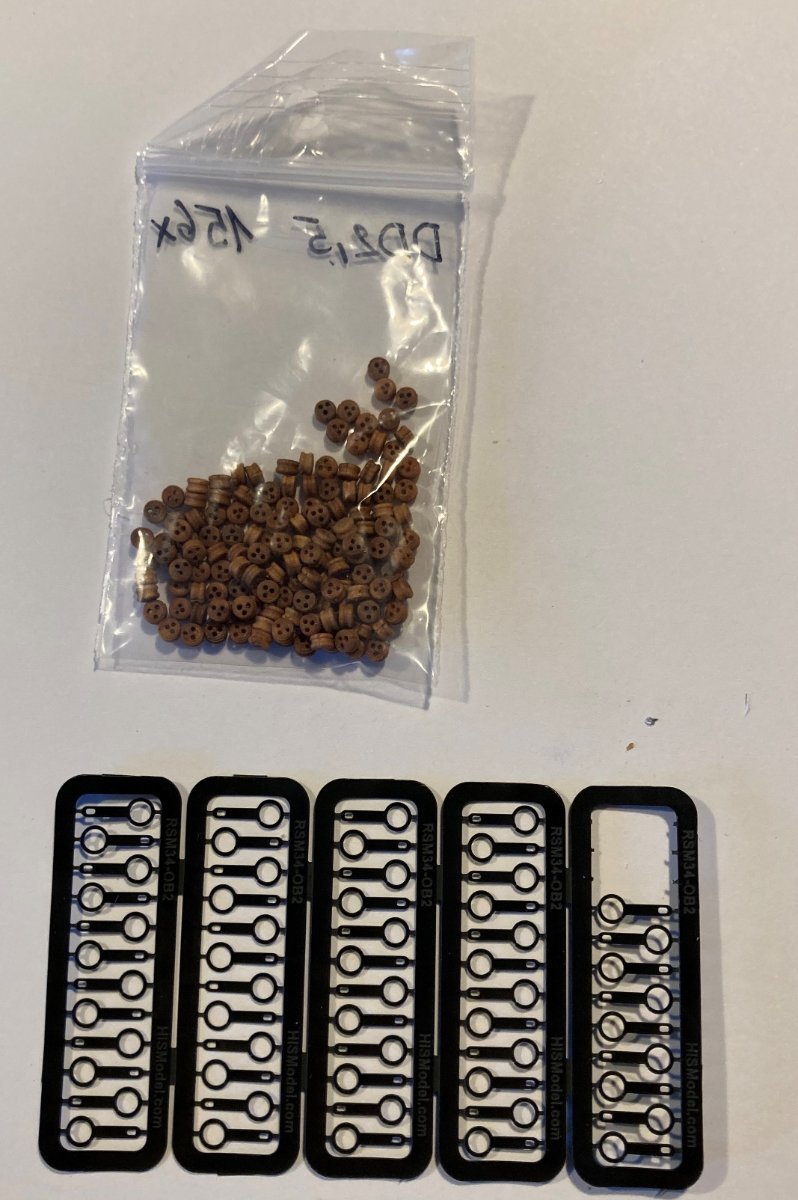
I got these strops and 2.5 mm deadeyes from HisModel. I will blacken them with a sharpie pen. There will be black wire futtock shrouds going from the bottom of the strop to holes drilled into the mast. These will also be used on the pin rails on deck for the back stays. Wire from the strop will be glued to a hole in the water way.

-
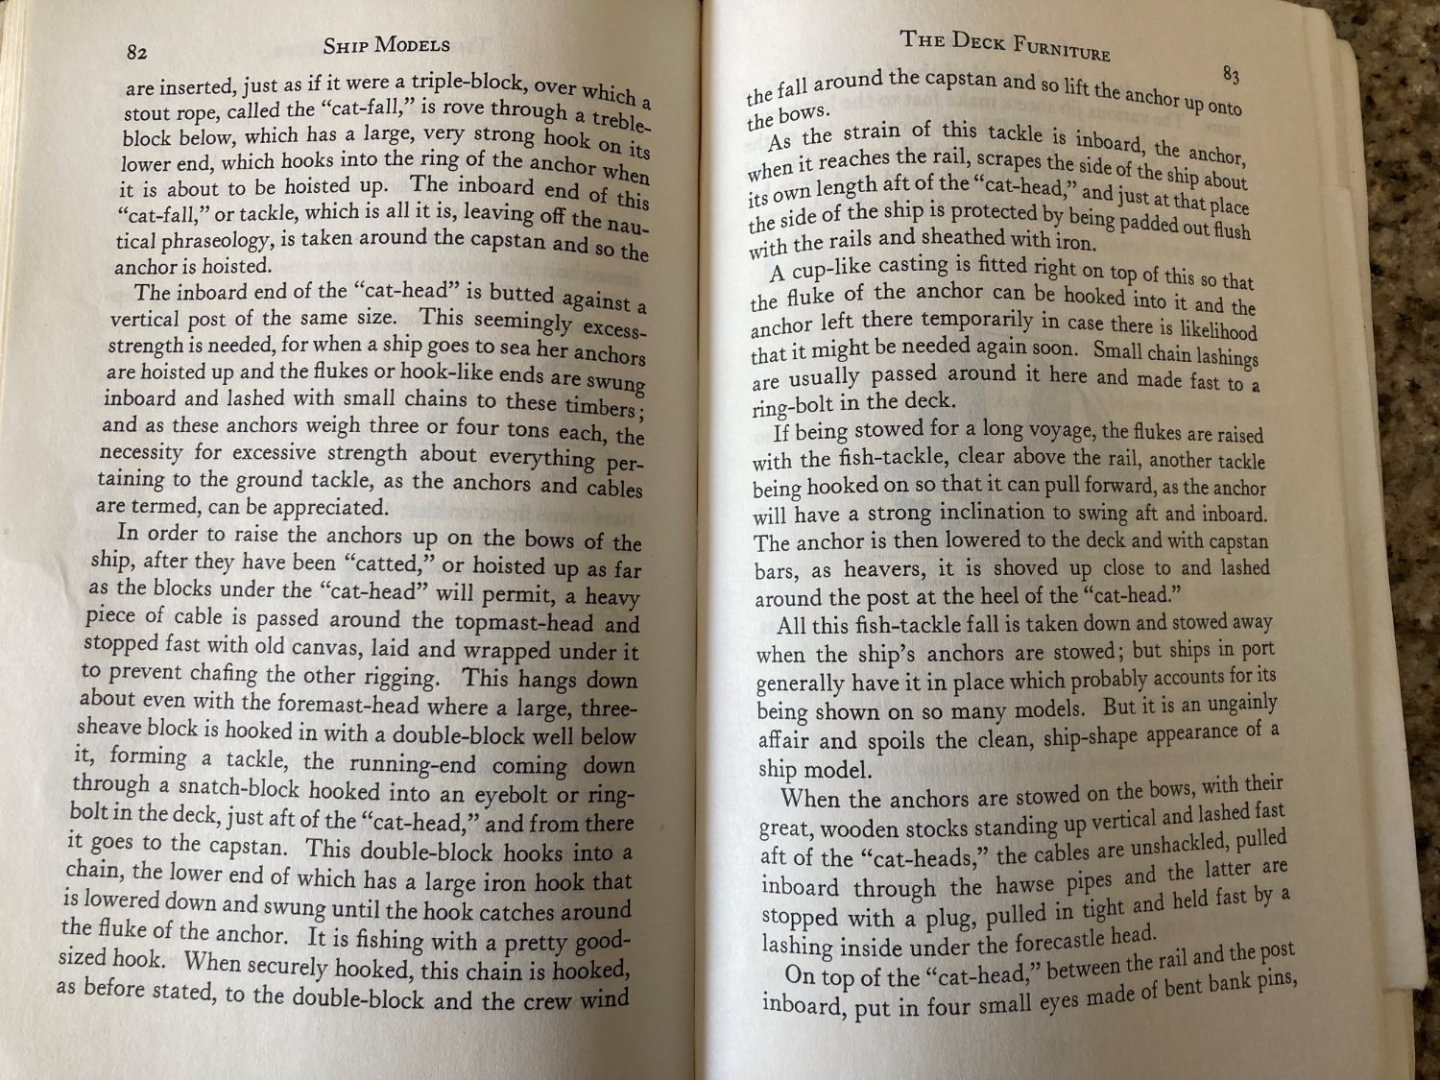
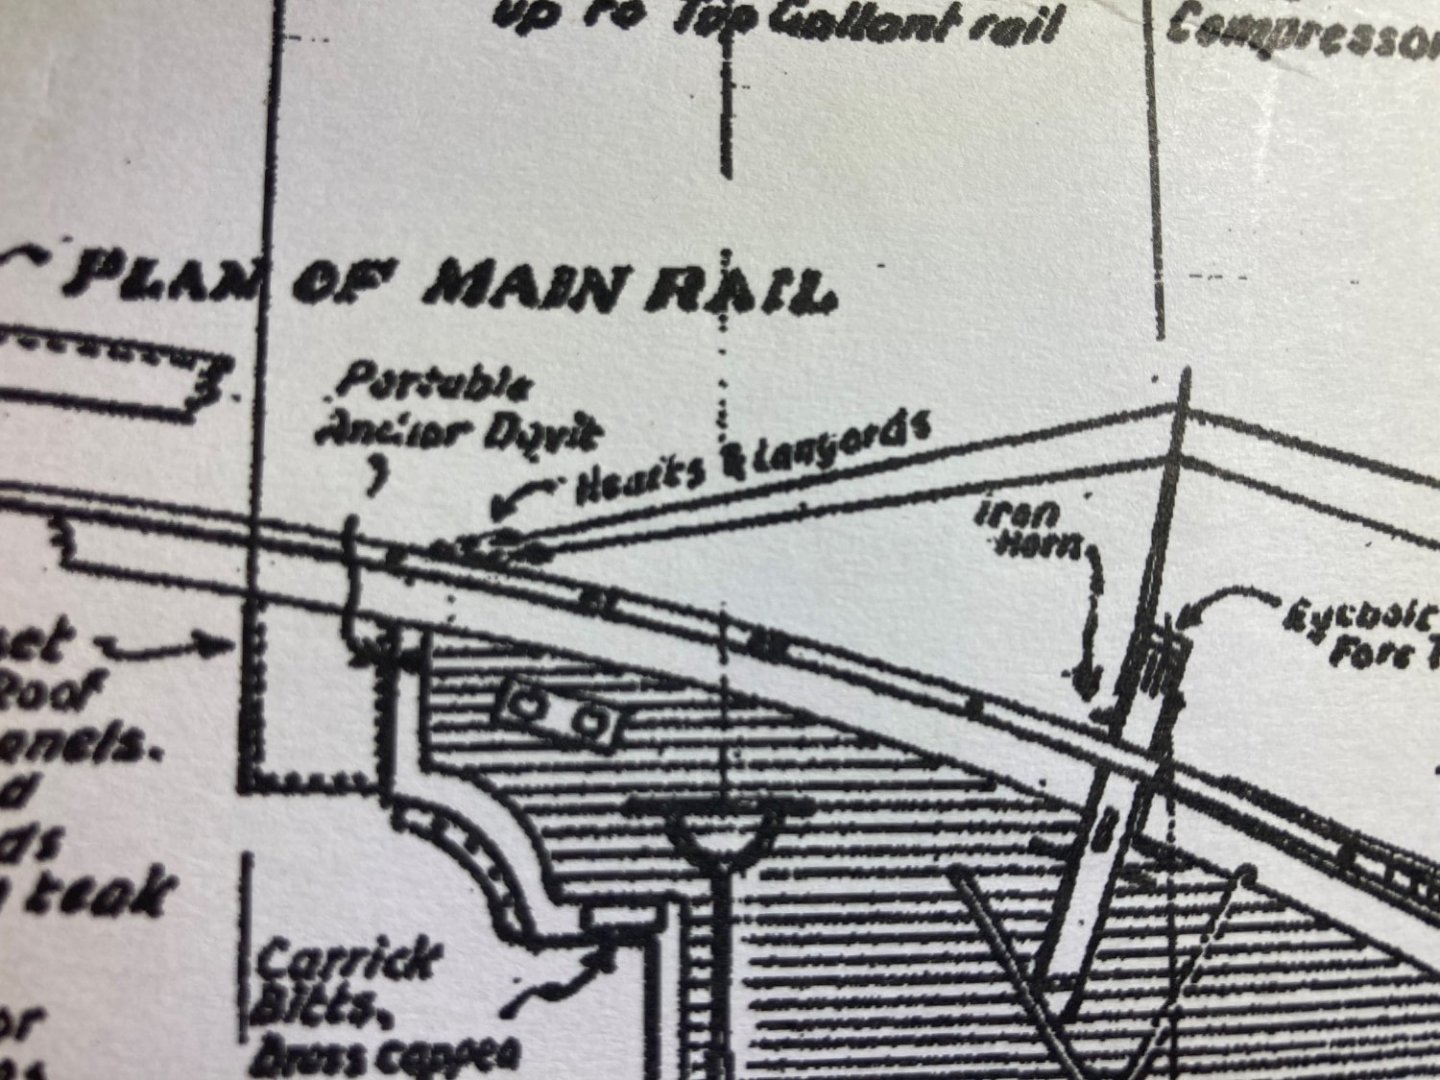
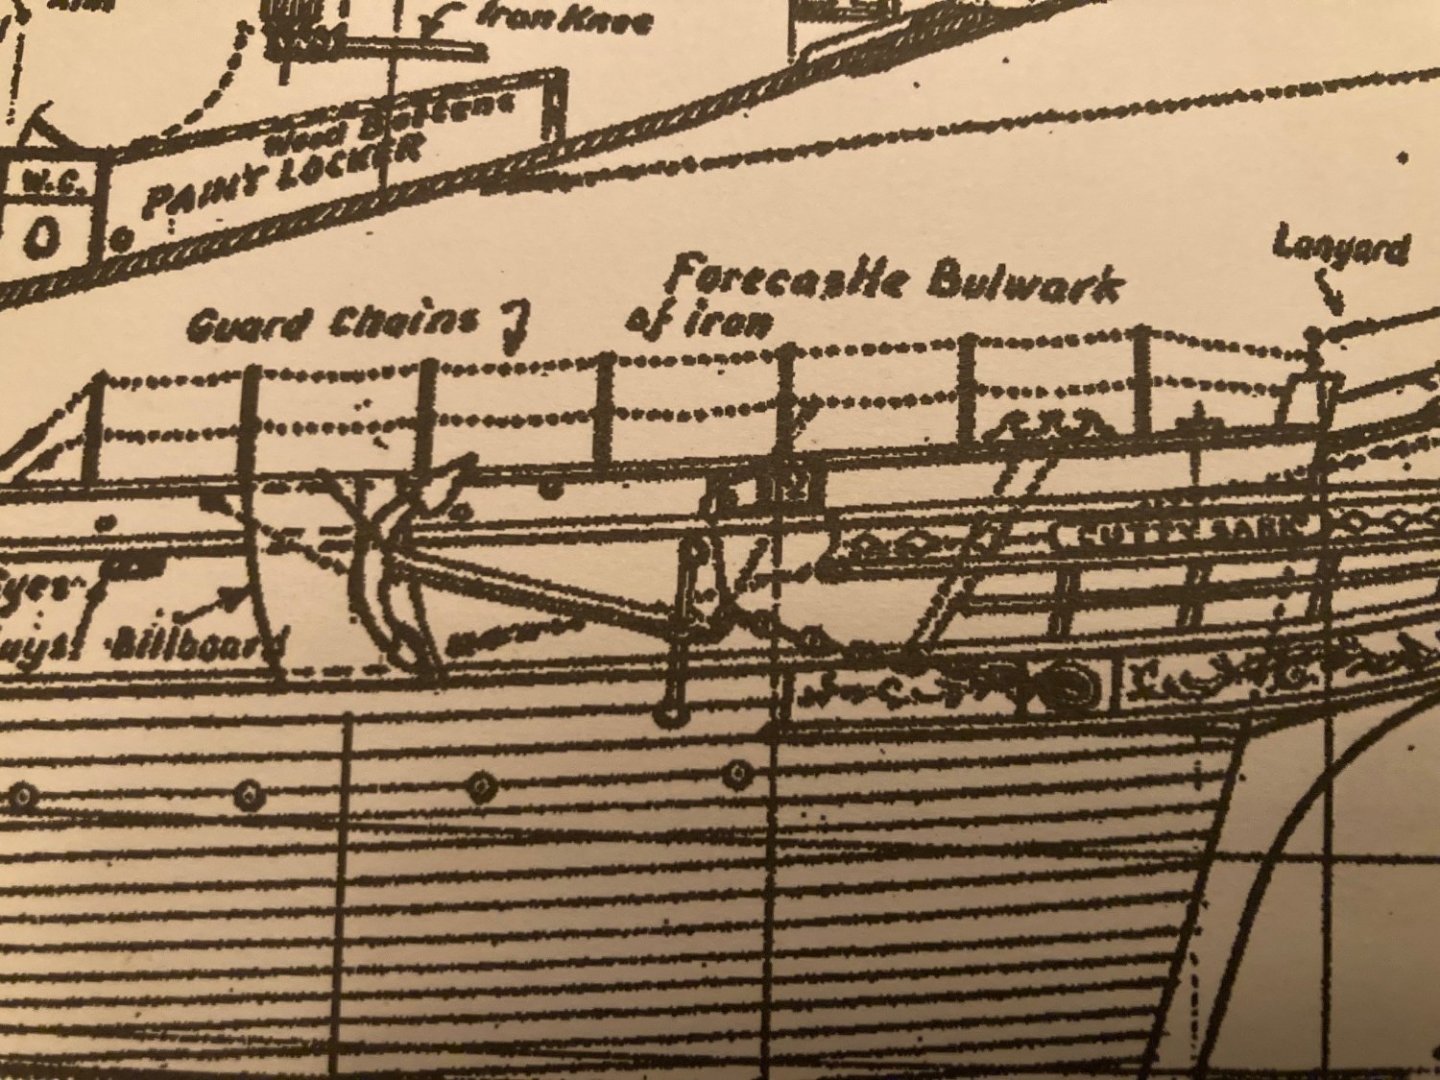
Here is a good explanation of how an anchor was brought on deck using a fish-tackle. Cutty Sark may not have had a fish tackle since per Campbell it had a portable anchor davit.
This explanation is from a book "Ship Models How to Build Them", by Charles G. Davis about building a model of the Sea Witch, built in New York in 1846. Cutty Sark was built more than 20 years later in 1869.
-
Here is something odd I found. I am reading about the standing rigging.
Hackney says, "the first rope over the fore topmast head is the fish tackle". Then he goes on to describe how to install it.
I did not know what a fish tackle is.
I looked it up in Ubderhill's book. He calls it the fish-tackle-burton or fish-tackle-pendant or fore-topmast-burton. He says, the fish tackle burton is used in all ships not provided with anchor cranes or davits. The purpose of the burton is to carry the fish-tackle used for getting the anchors over the bows for stowing on deck or putting them over when approching land.
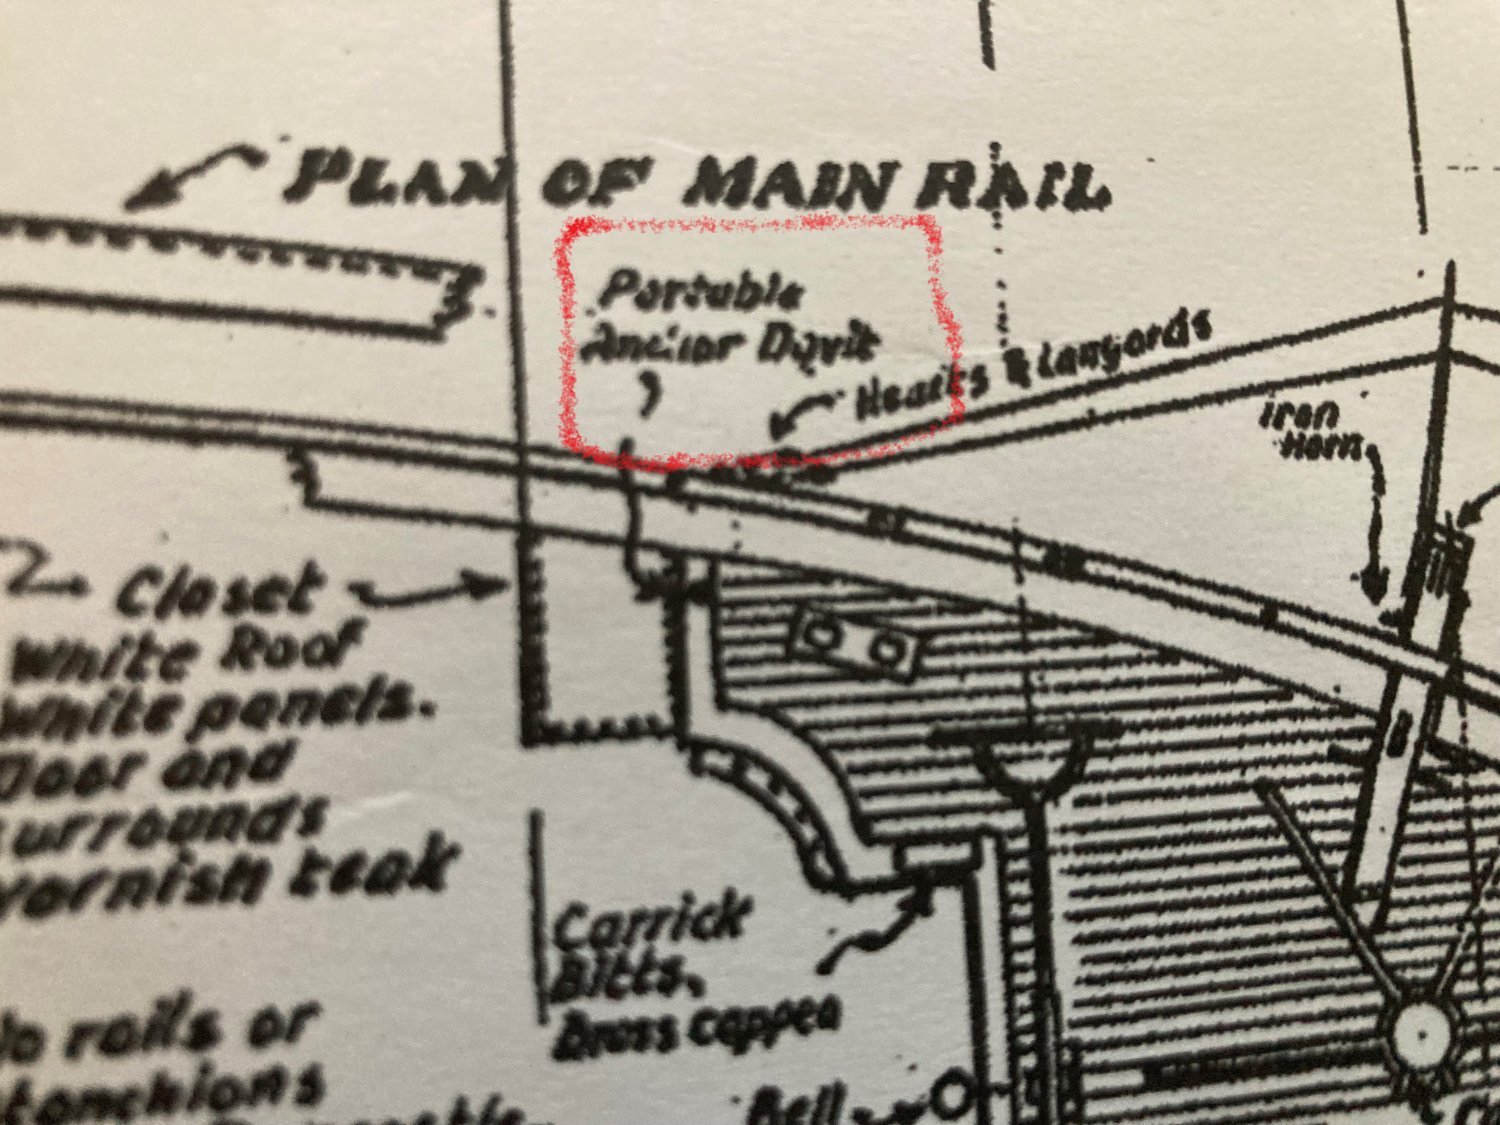
Campbell's plans show a "portable anchor davit."
Underhill says in two pages before the above quote, "No mention has been made of tackle or burton-pendants on the lower mast, for they were obsolete before the period covered by this book."
So my verdict is Hackney is wrong! Cutty Sark had a portable anchor davit, and fish-tackle were obsolete by 1869. Again it is up to you to decide. But it takes researching a bunch of references to get there! Not only is building the model a bit of a struggle, so is understanding the rigging. The reference books I have are pretty complete as far as information goes, but I must take a bit from here and a bit from there to understand it all.

-
I am using Amati thread I got from HisModel. Thanks for the kind words. One of my favorite movies is "A League of Their Own". It is about the women's professional baseball league here in the U.S. during WWII. The lead woman wants to quit playing because she says it's too hard. The coach says, "It's supposed to be hard, if it wasn't hard, everybody would be doing it."
-
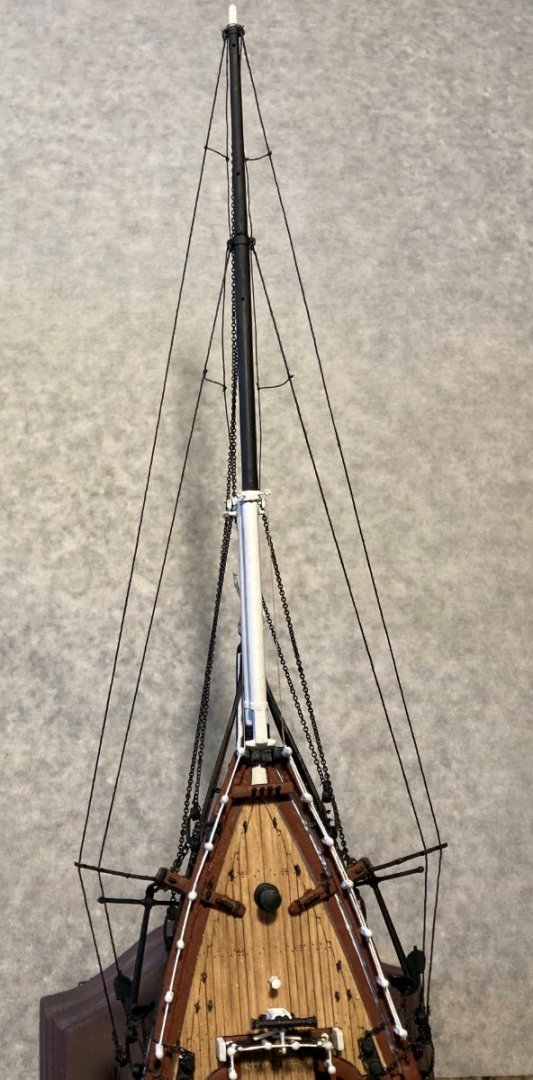
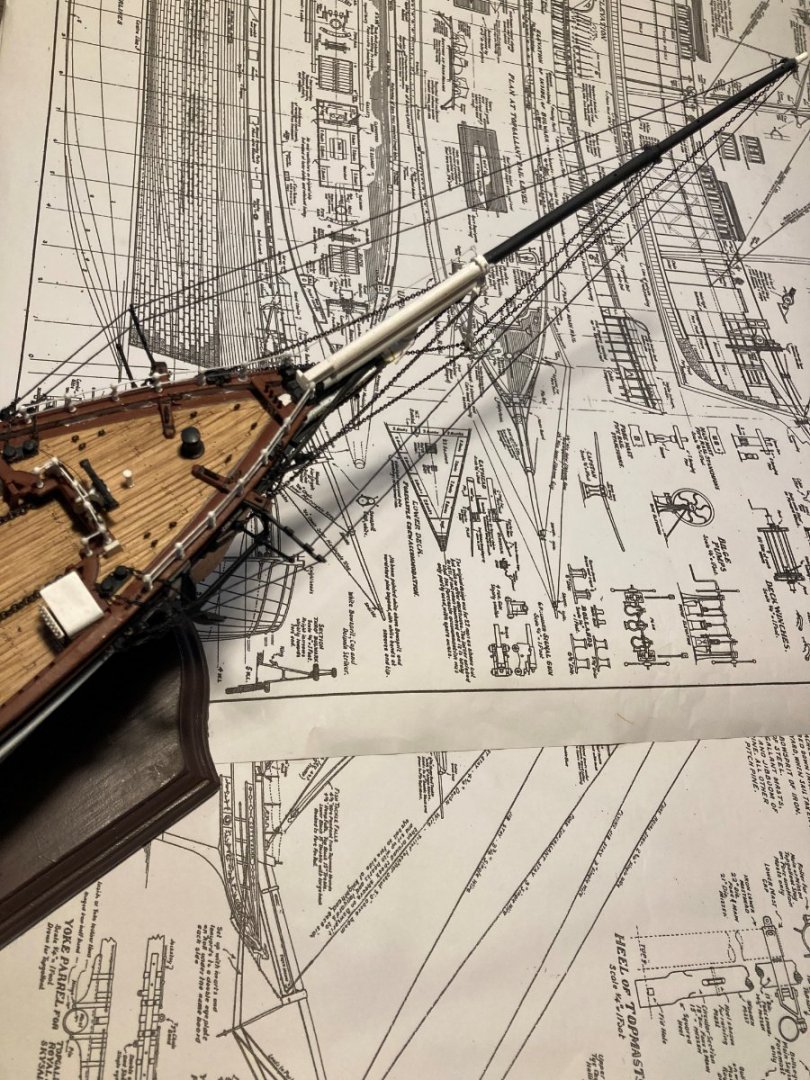
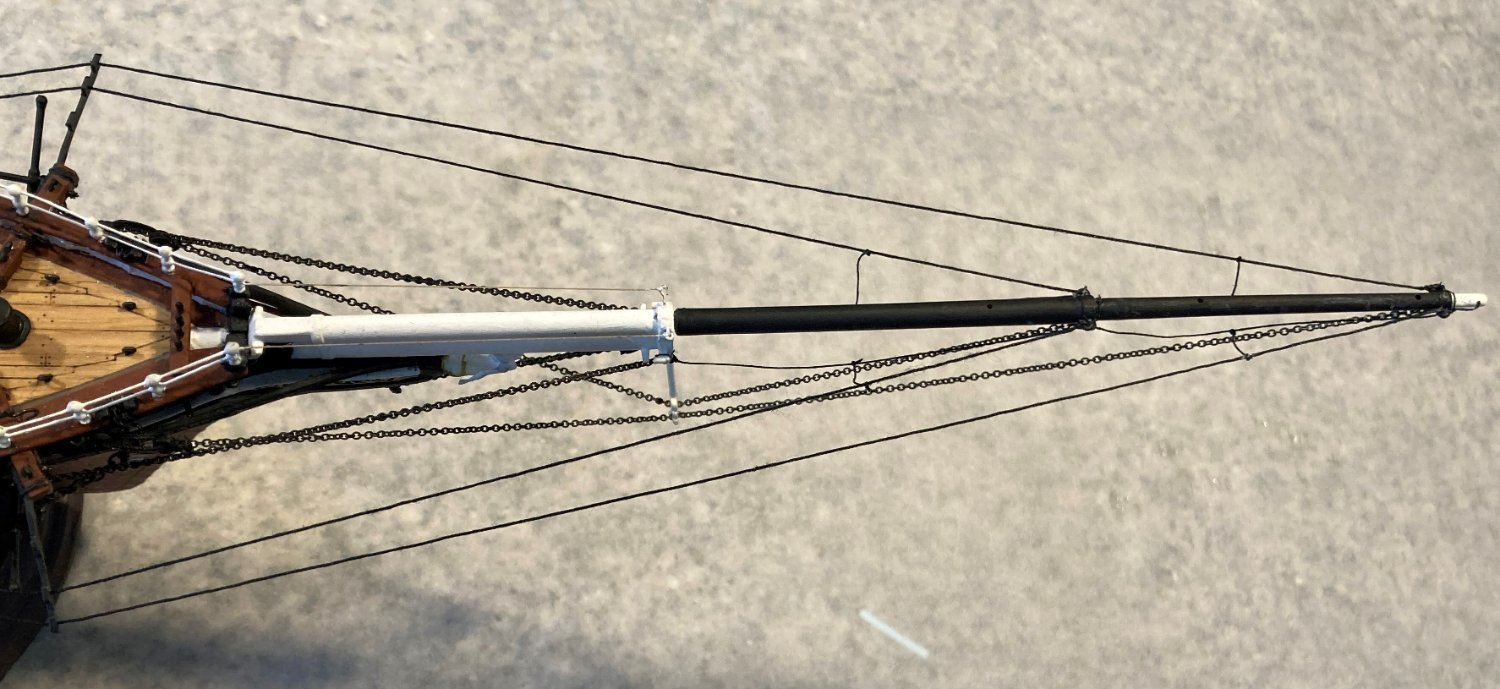
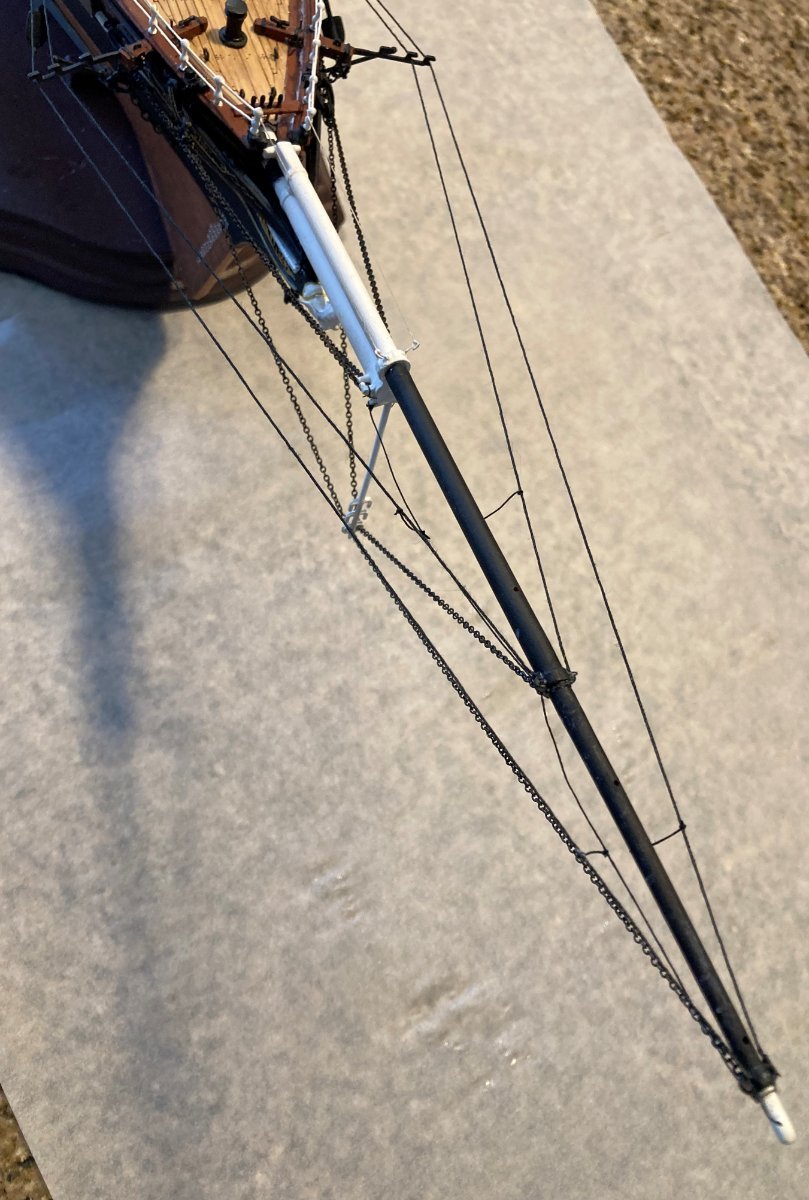
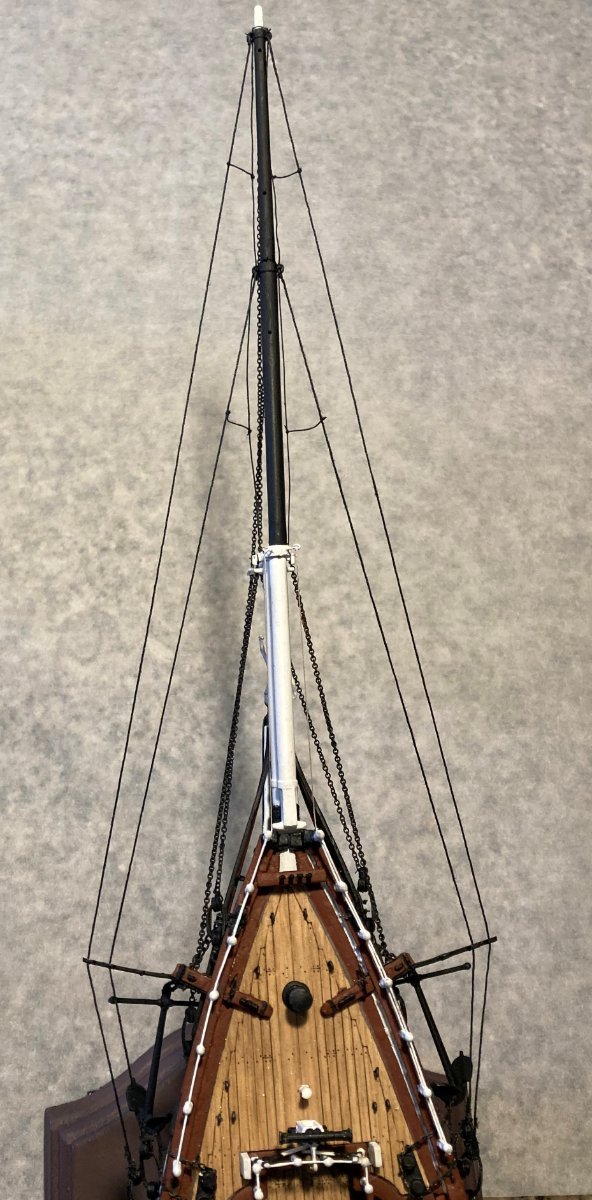
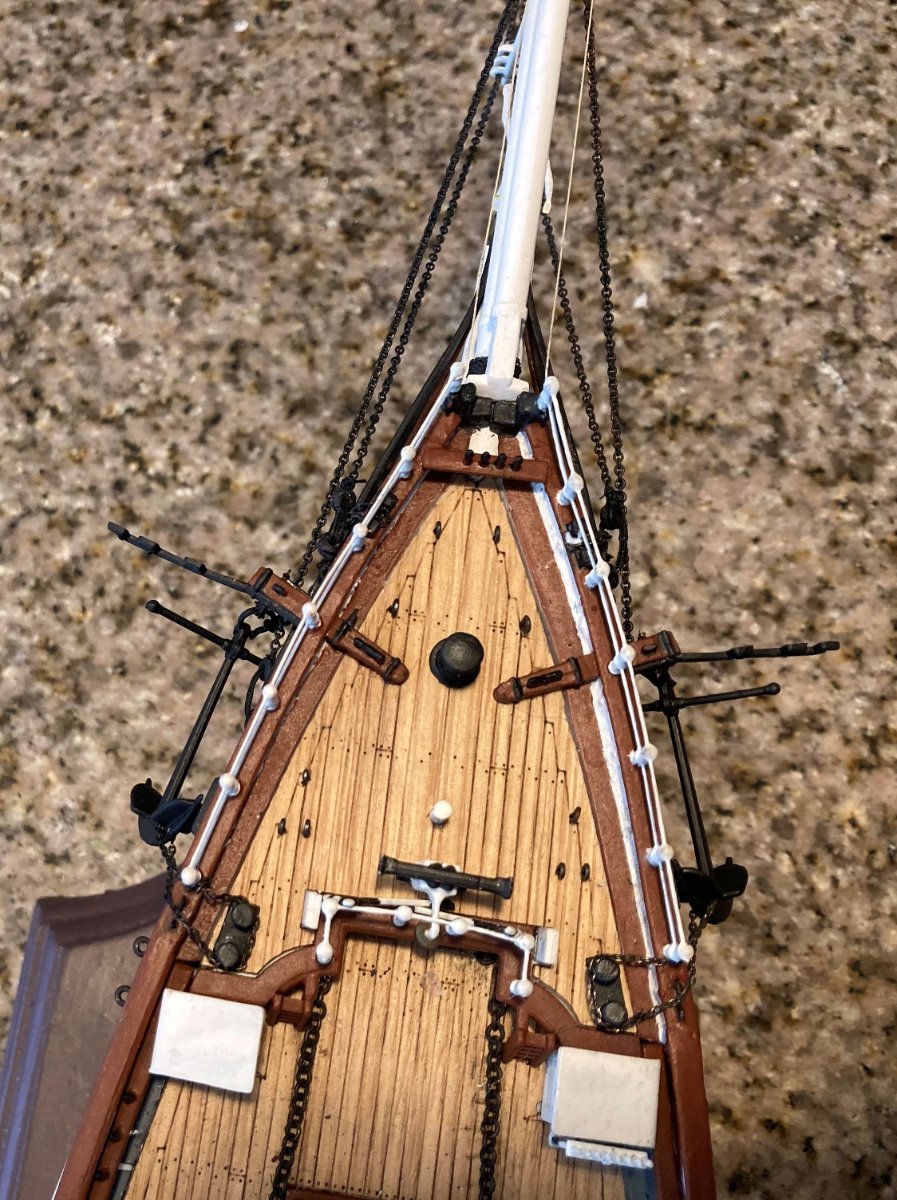
Bowsprit and jib boom are rigged. Now I can get on to the rest of the standing rigging, deadeyes, shrouds, masts and stays.


- GrandpaPhil, EricWilliamMarshall, LeoM and 1 other
-
 3
3
-
 1
1
-
On 6/14/2022 at 6:41 PM, Bill97 said:
Kevin I finally took the opportunity to drop by your build to see how this jobs are going since last time I visited. My mishap with my foremast was not nearly as disheartening as I am sure your’s was. Great attitude and recovery. A while back I started a topic here on MSW about how often during a build do you have that “Oh No!” moment, and what was the worst. Mine have always been mast and bowsprit breaks. That is why I reinforce them where I can. Thought I might make it safely through my Victory with out breaking one but I was wrong.
Hi Bill,
It looks like all of us have those "oh no" moments. For me, I go between wanting to push on with my Cutty Sark build or go onto something else and come back to it. At this point, I am intimidated by the rigging. When I look at a completed model, I wonder what were all the thought processes that went on in the builder's mind.
-
I got back to work and put the jib boom guys on. I think that rigging will take me a long time to build up some expertise. I don't particularly like the way these look but I am going to live with them. My clumsy hands aren't made for working around the plastic pieces sticking out. So the old phrase "leave well enough alone" is important here.
-
3 hours ago, Ian_Grant said:
Hi Bruce - when ship plans and drawings list a size for rope or wire, the custom is to give the circumference not the diameter. A 3-1/2" DIA steel wire would be like an iron tree!
Does Campbell actually say "diameter"? I'm guessing not. If so, your "3-1/2" guys are about 1.114"DIA or about 1/4mm at 1/96.
The 5" main stay works out to about 1.6"DIA which would be about 1/2mm at 1/96. These large stays are doubled for added strength.
These threads seem small if you're accustomed to building earlier wood ships with hemp ropes.......steel wire delivers so much more tensile strength in a given diameter.
Keep up the great work! Do you have Underhill's clipper rigging book?
By the way, I agree with Rob about using the Revell kit blocks. They look fine when rigged and no stropping required! A little paint is even better.
Campbell says 3 1/2 inch wire not dia. That was my mistake. Yes I have Undehill's book. 3.5 / 3.14285 = 1.11 I get it now.
-
Here is a question for rigging experts. I want to add the jib boom guys. Campbell and Hackney say they are 3 1/2 inch dia. wire rope on the real ship. My rope guide says that 3 1/2 inch dia. rope in 1/96 is .98 mm. thread. I have Amati rope of 25,50,75,100. I assume that the Amati numbers are mm measurements of .25,.50, .75 and 1mm.
If so the closest I have to .98mm is 1mm thread. The main stay according to Campbell is 5 inch wire. That is off my guide which only goes to 4 inch wire and that equals to 1.12 mm in 1/96.
With the thread I have, 3 1/2 and up would be 1 mm thread. That would not look right. I picked the 50 thread for the jib boom guys because it looks right to me.
I am confused as to what thread to use
-
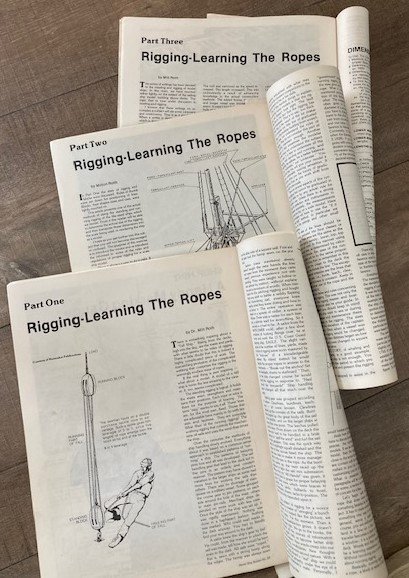
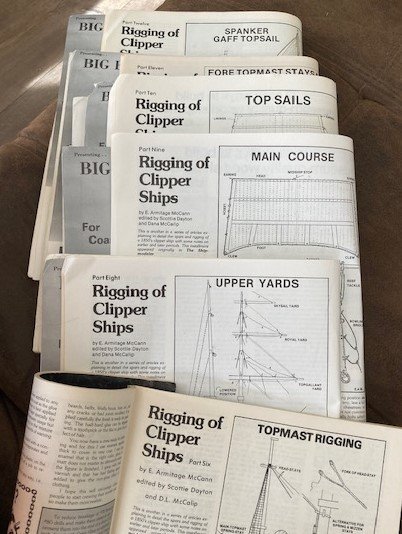
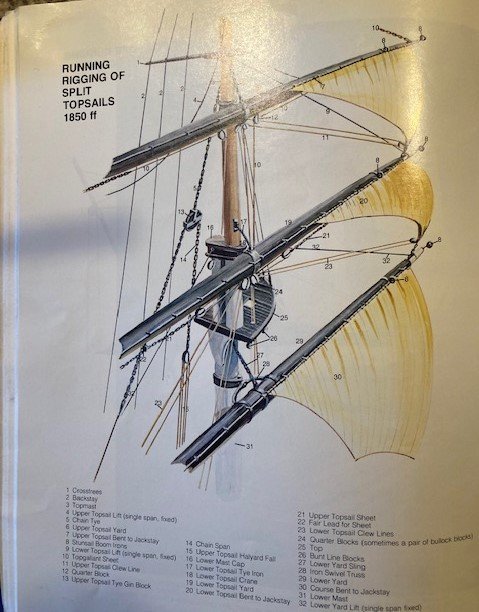
Here are more books and magazines that I have in my "library." For many years I have wanted to complete a sailing ship. I have never gotten as far as I have with this ship, thus I haven't read much on rigging.
I plan to have a pretty good understanding of what is needed before I get deep into the rigging. I am at one of my pauses. While working on the jib boom guys, I broke off the port cat head tip. I also broke off the starboard one a week ago along with the jib boom and martingale three times. Each time I have recovered. I am kind of anxious to get away from that part of the ship for a while.
I want to redo some anchor rigging and the jib boom guys, but I am sitting it out for now. I am going to read about rigging until the muse comes back.

- Cirdan and GrandpaPhil
-
2
-
So I am beginning to get into rigging. I find reference books that describe what rigging goes where, though I haven't reached the point where I have a visual in my mind. I am a visual person, meaning when I understand what I need to do, I can visualize it in my mind first.
Radimir at HisModel has taken Campbell's rigging plan and broken it down into types of running rigging, and he has color coded what blocks are needed where. That's the kind of visual I need. I need to spend a lot more time reading and studying Cutty Sark's rigging and clipper ship rigging, in particular so that I have that information available in my mind and can form a visual.
I bought all the blocks I need from Radimir, but I know nothing about how to strop them. I haven't found any information on stropping blocks for this ship. In books, they show how an actual block was stropped, but that is little help for model ships. Rigging this ship will be quite a learning experience for me. I have mixed feelings about it. I always have to take two steps forward and one back with these kinds of things. I used to tell people that in model building, you have to trash a lot of kits before you succeed in building something worth keeping.
-
2 hours ago, Kevin-the-lubber said:
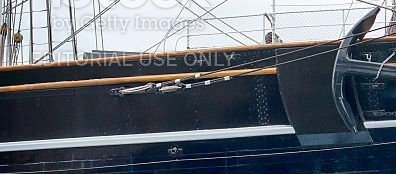
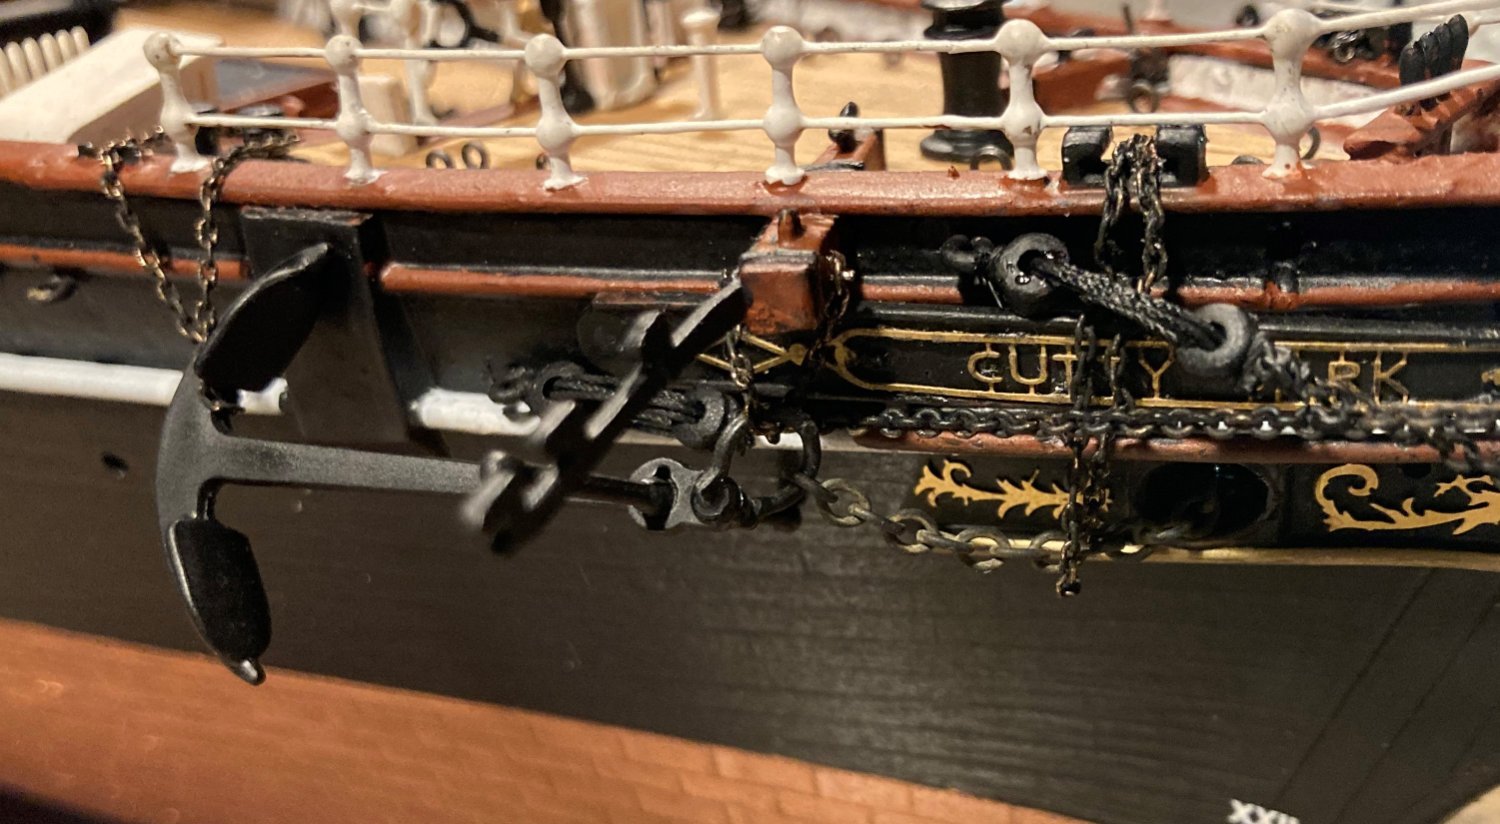
Going back to that chain for the anchor, Bruma did a short thread a while back that has an excellent real life photo, search for ‘Cutty sark anchor” or something like that. To my great surprise the chain does go over the rail. I’d have thought this would see it saw through the woodwork in no time at all as, no matter how tight it’s rigged there’s bound to be some movement while out at sea. At the very least I was expecting to see it run through a fairlead in the bulwark and one on the rail.
The jib boom guys look excellent to me. I have no idea if they are rigged correctly but it looks convincing!
I took the jib boom guys off to redo. They did not look right to me. I have no experience doing this kind of rigging. I am never satisfied with my first attempts.
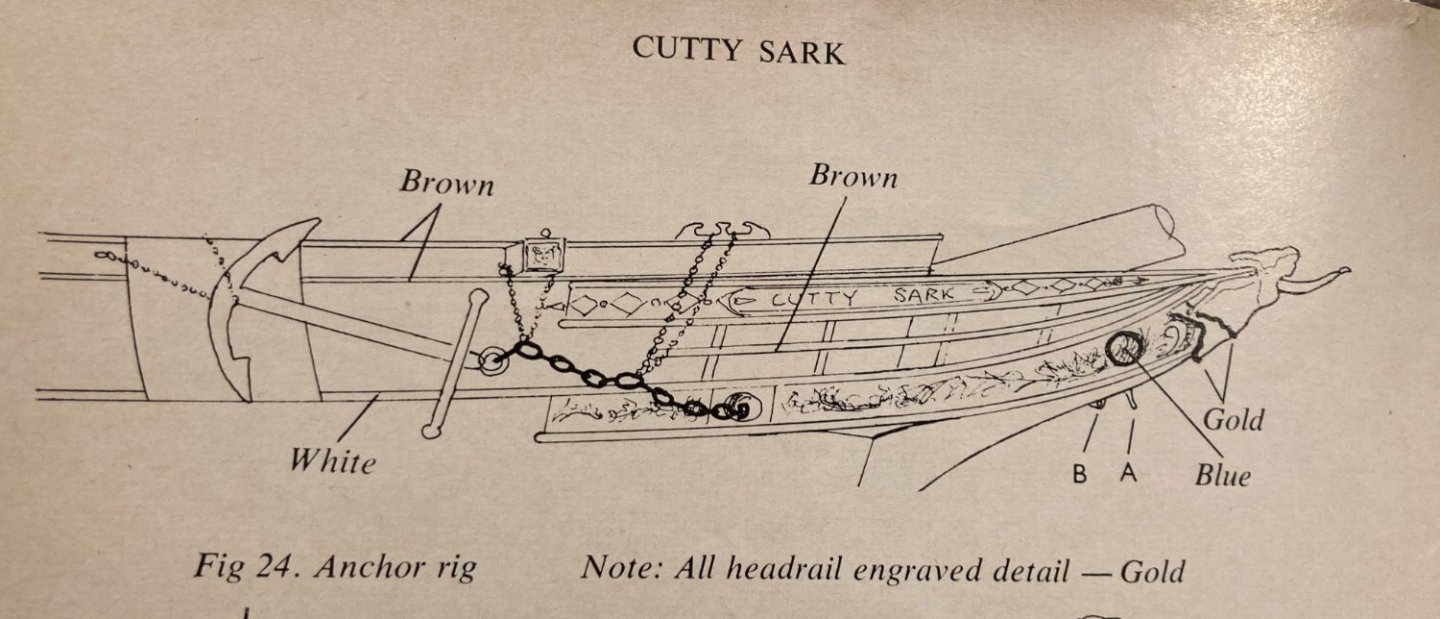
Bruma attached the chain to the outside of the bulwark, as Campbell shows. I think I will do that also.
I have to keep reminding myself that I have no deadline to finish and to take my time. I am beginning to think that being finished should not be the goal, but rather being satisfied with my work at the place where I am is a good goal.
-
Well, the port jib boom guys are on. I don't think I will win the award for excellence in rigging.


- Cirdan, GrandpaPhil and ccoyle
-
3
-
What kind of glue do you use
-
I have my first question for the rigging experts out there.
I want to attach the jib boom guy to the bullseye that will have lanyards attaching it to the bulls eye tied to the hull. On the real ship, the guy wraps around the bullseye and is seized in three places. I don't think I can replicate that.
How would you go about attaching the guy to the bullseye? I've tried seizing the guy to the bullseye like the seizing on a noose as is shown in a YouTube video. I could not do it. If that is the way to go, I guess I need to practice for about a month. I feel rigging is going to take me a long time until I can learn to handle the different types of seizing etc. It looks like the seizing on shrouds, so how do you do that?
I am afraid I am stopped until I learn this. I don't want to just tie everything like Revell says to do because it doesn't look right with big knots everywhere. The chain was easy because I just tied it to the bullseye, but rope or wire guys are not so easy.
-
Working on the jib-boom guys today.

- GrandpaPhil and Ian_Grant
-
2
-
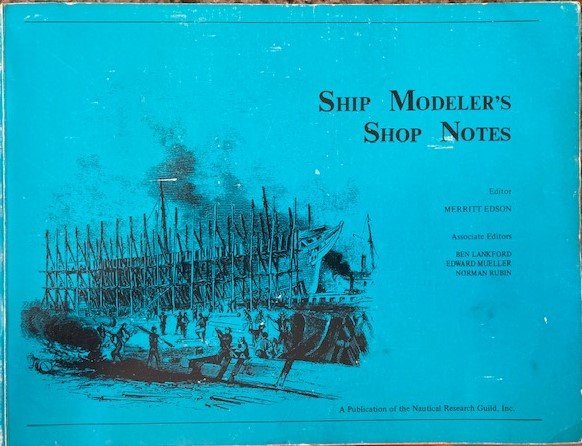
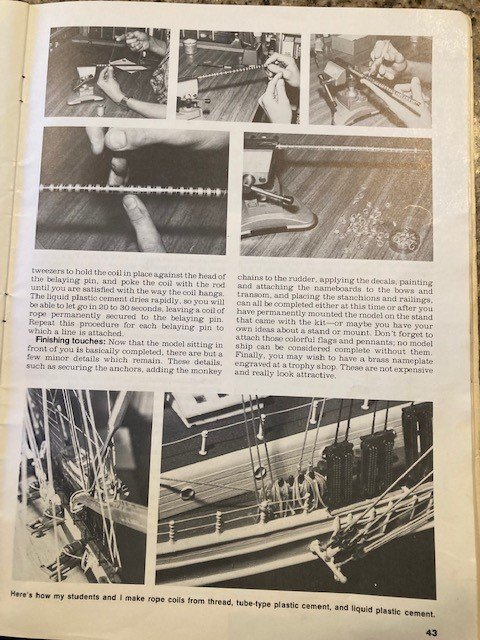
Here are two thin books I've had in my "library" for many years. Both have valuable information and tips that I am using, or I am going to use.


- shipman, Cirdan, Snug Harbor Johnny and 1 other
-
4
-
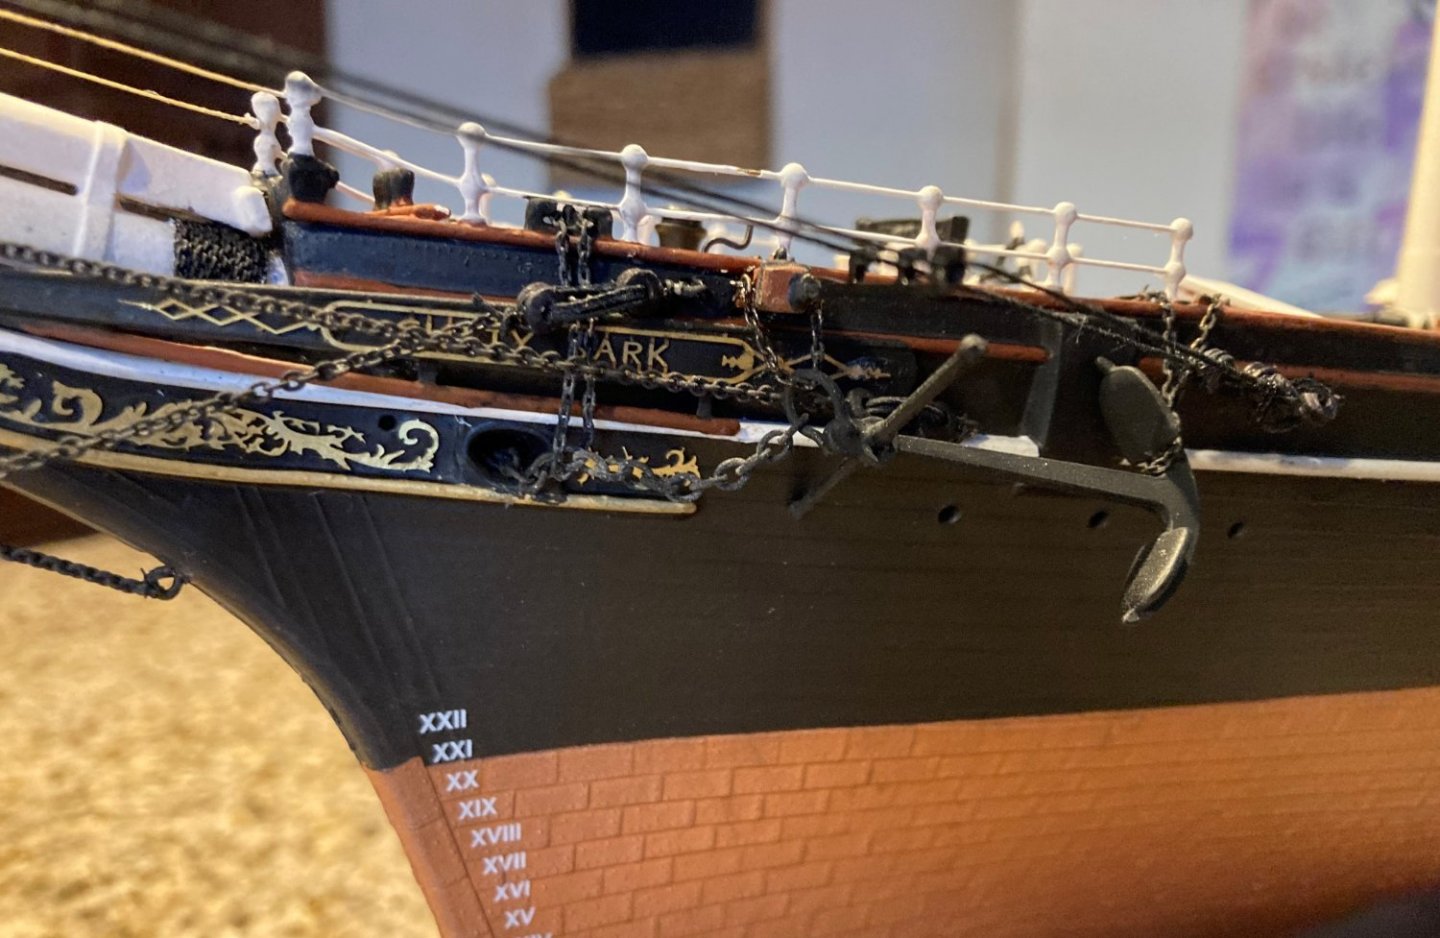
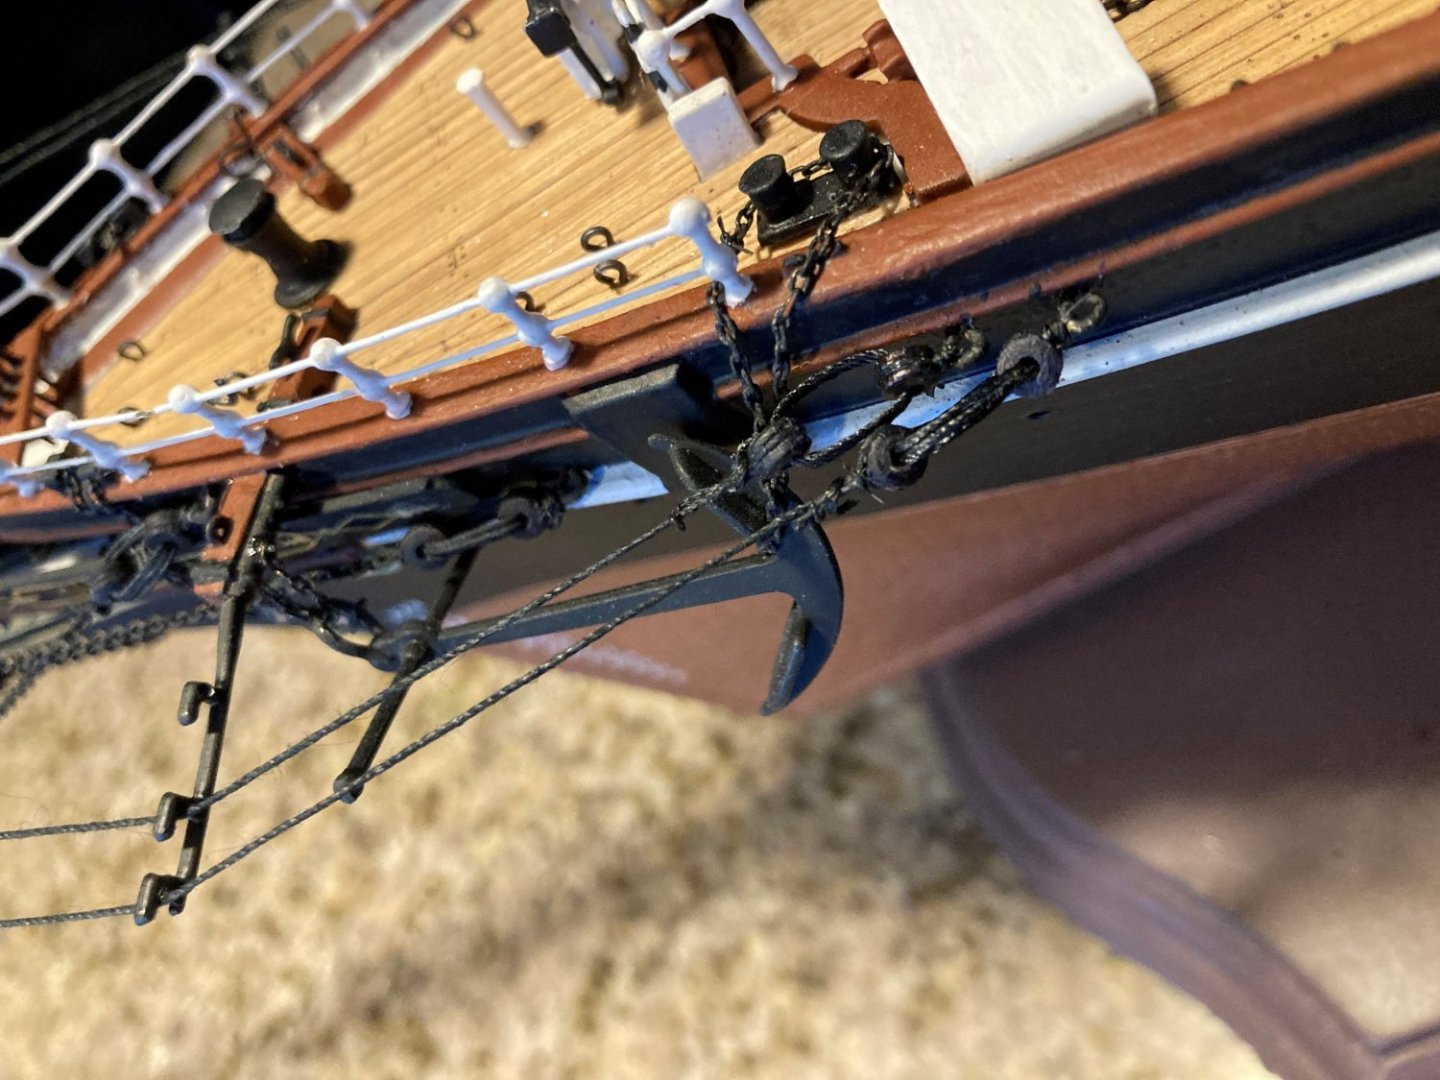
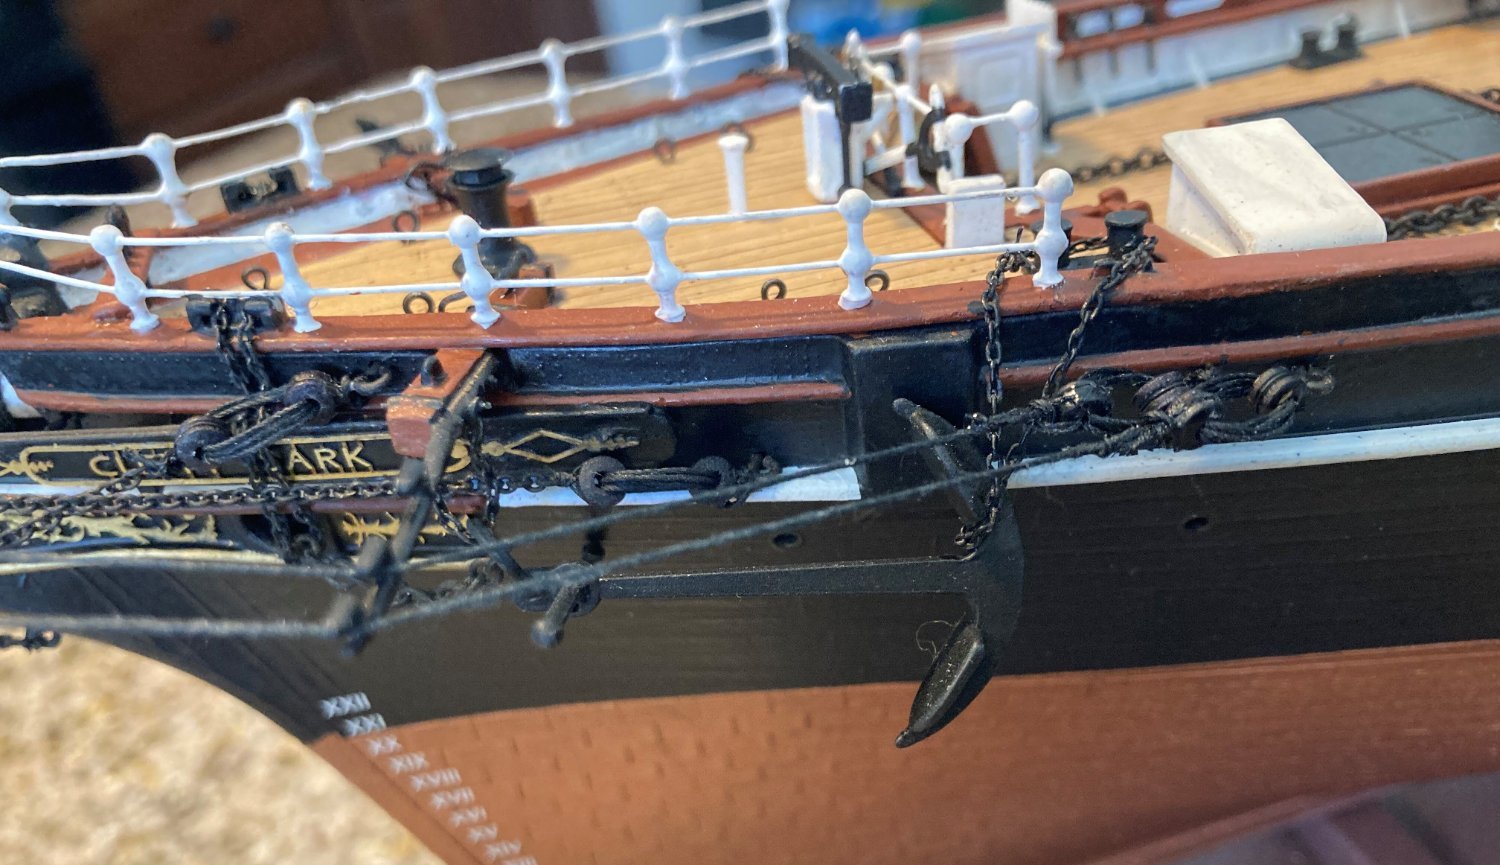
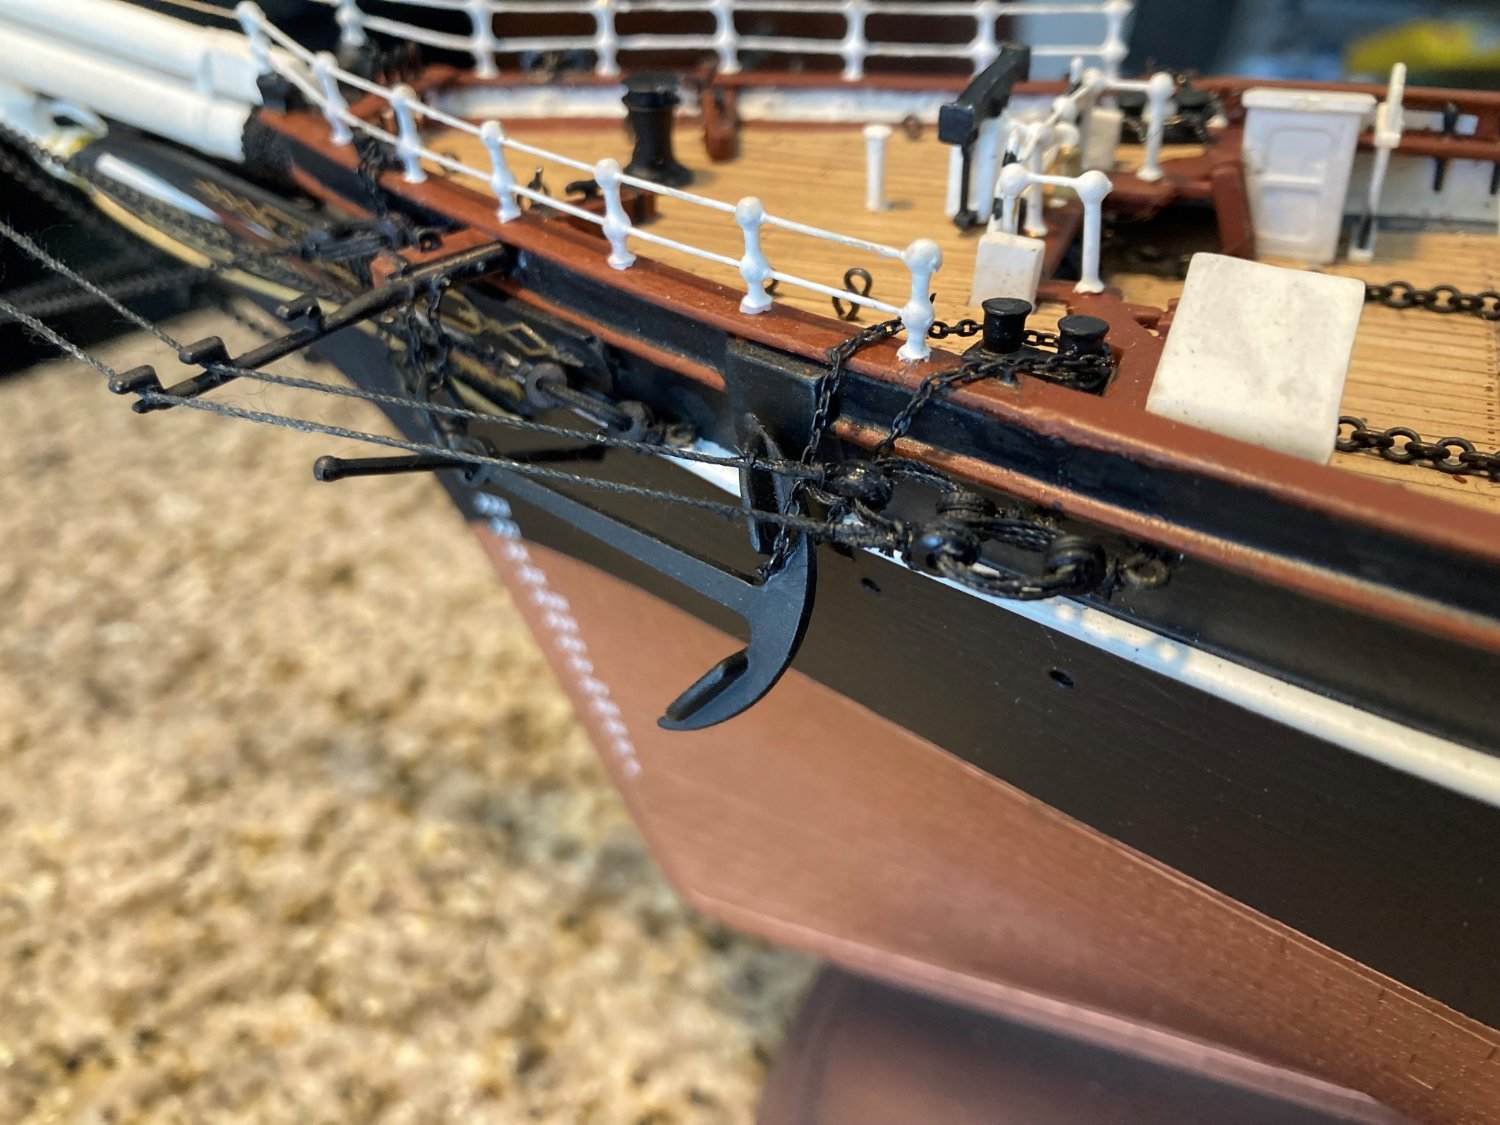
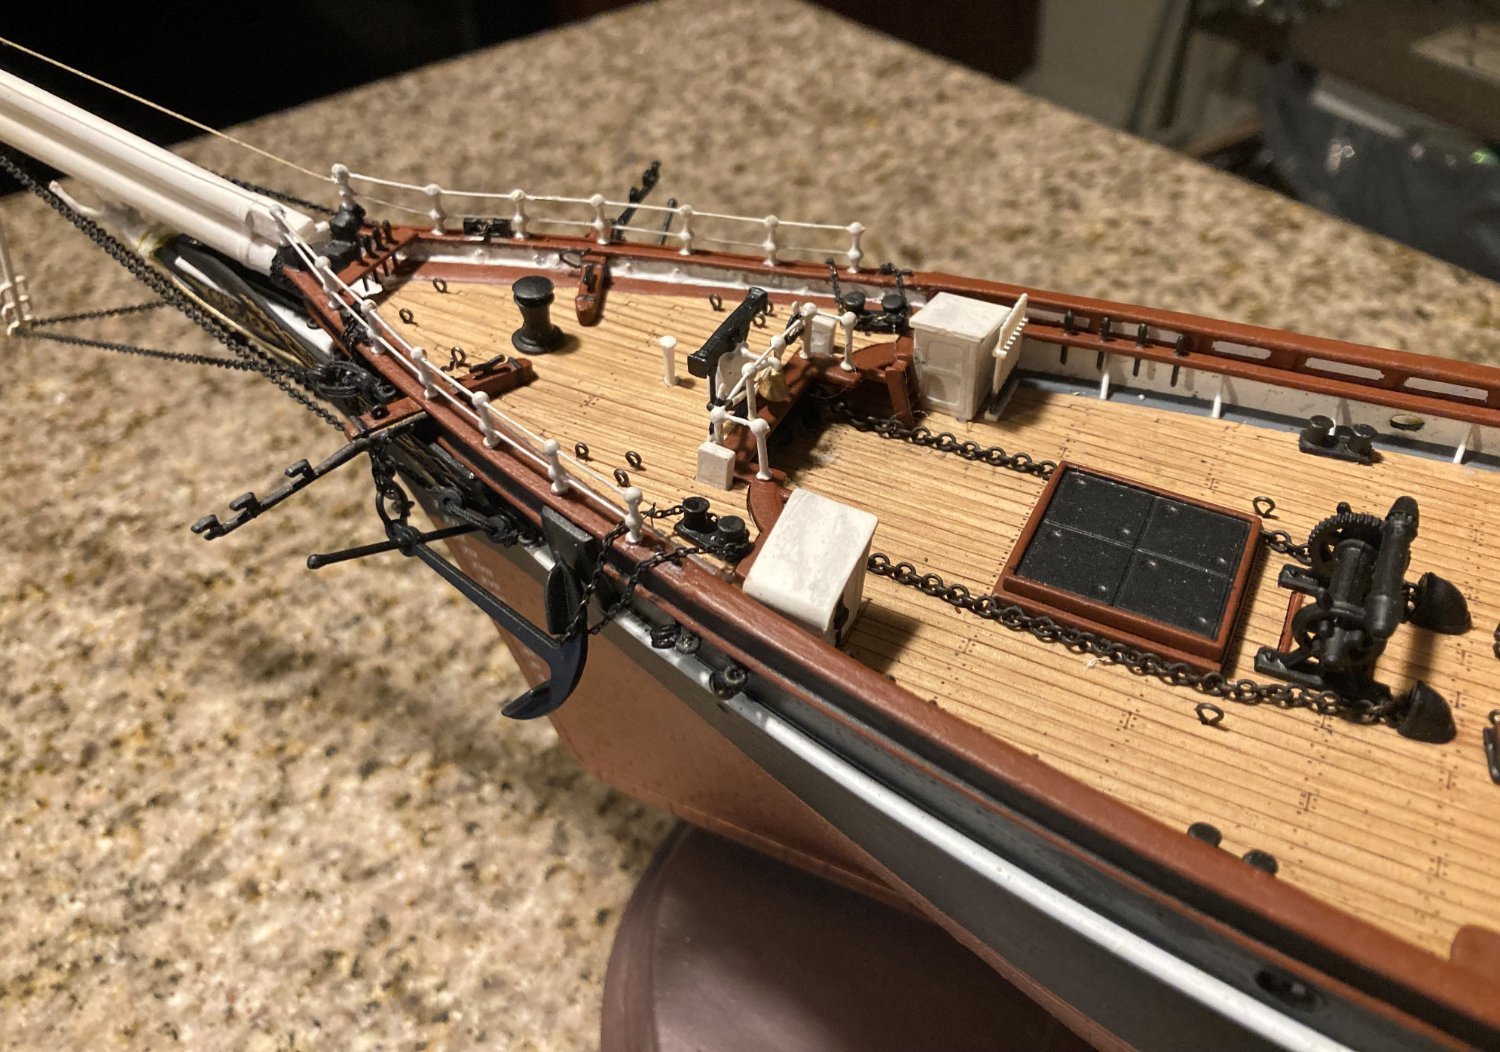
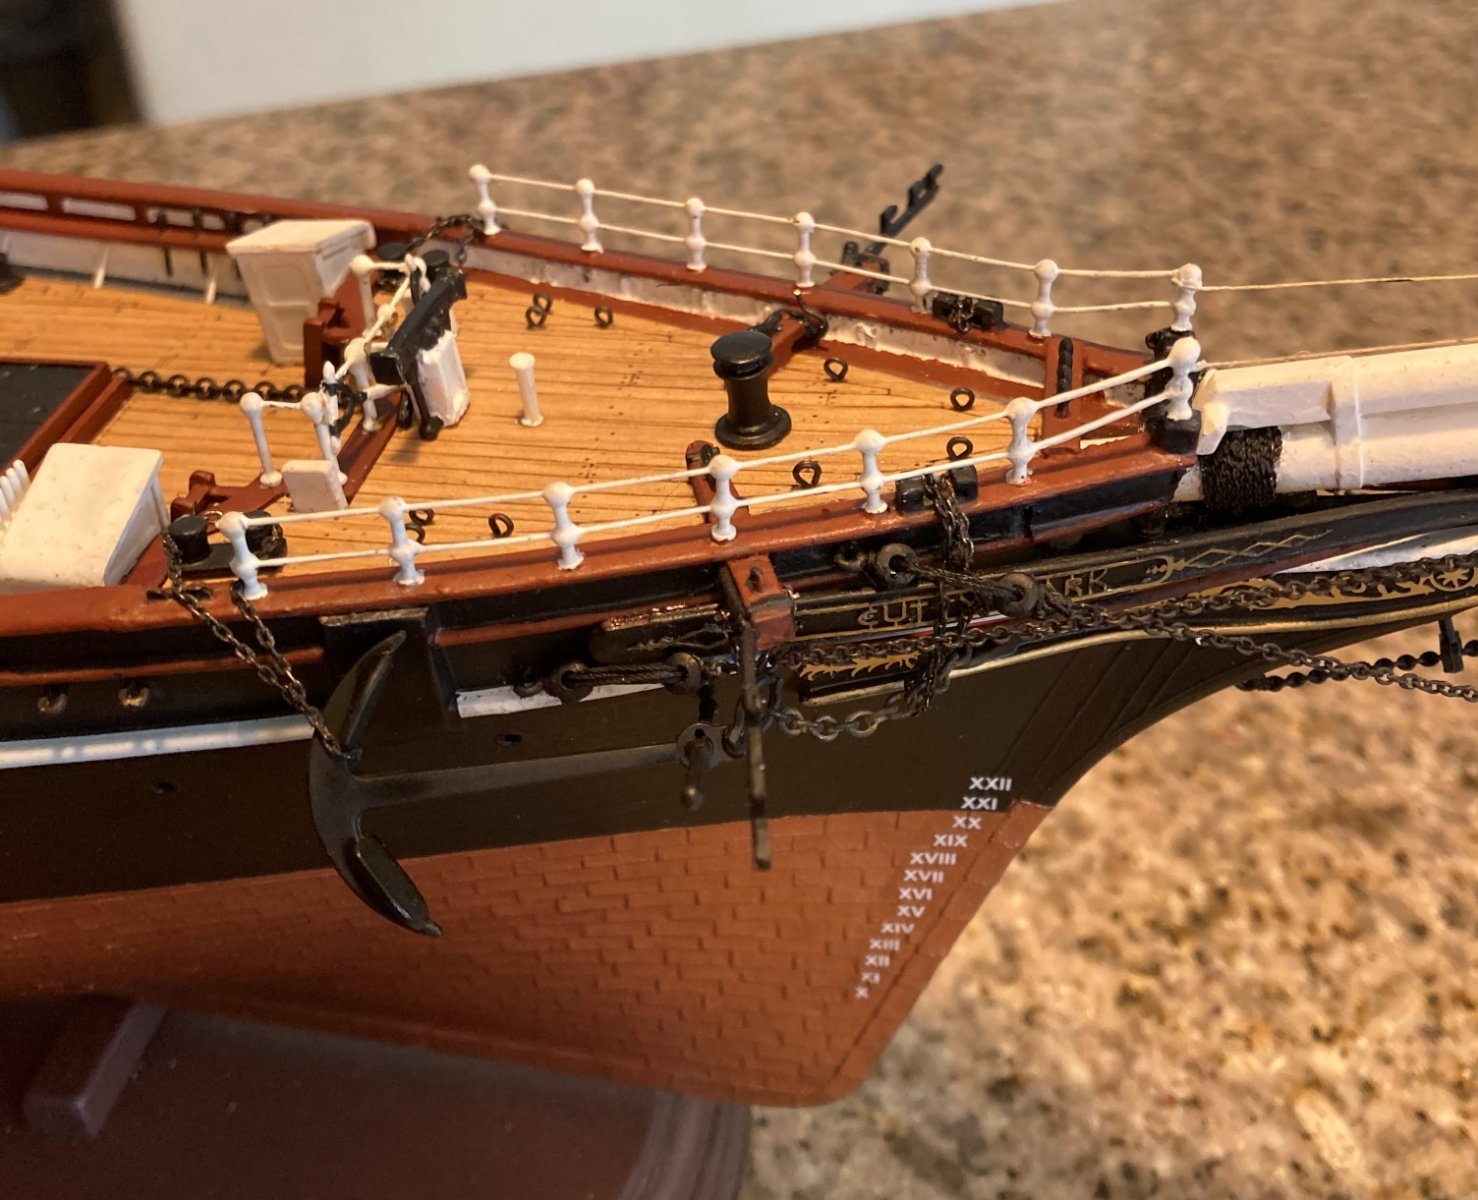
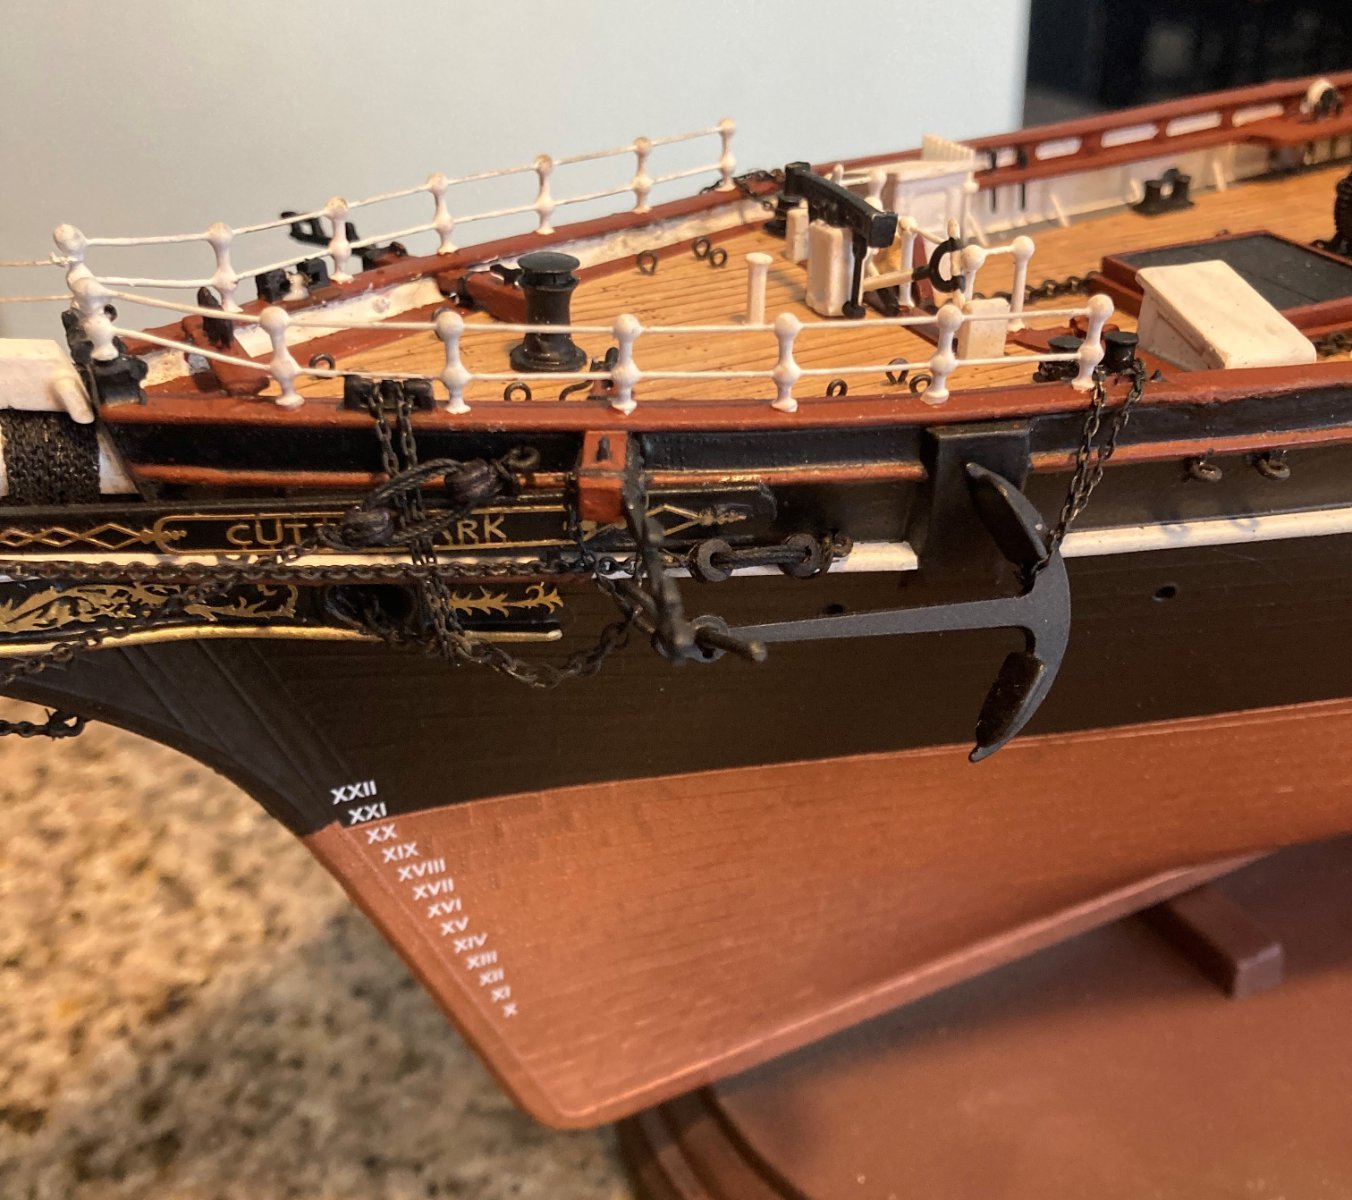
Here is a compromise between Revell and Campbell. The chain used the fairlead, but does not touch the stanchion.

-
2 hours ago, Ian_Grant said:
Just wondering how accurate that is - I'm not a CS expert - but there would be a lot of force on that railing stanchion from the chain holding the fluke end! Or are those stanchions iron too?
Actually, it is not just like Campbell. It looks like one end of the chain should be attached to the outside of the bulwark. Though, Revell has a small fairlead where my chain is. Campbell would have me ignore it. I'll change it so that the chain does not touch the stanchion, thanks for the suggestion.
I welcome any and all suggestions and critiques. They are signs people are paying attention and the wealth of ship knowledge you all have is a reservoir of ideas I like to incorporate in to my ship.
-
-
On 5/24/2022 at 1:50 PM, ECK said:
Okay, first step is to get Captain Cochrane ready for duty
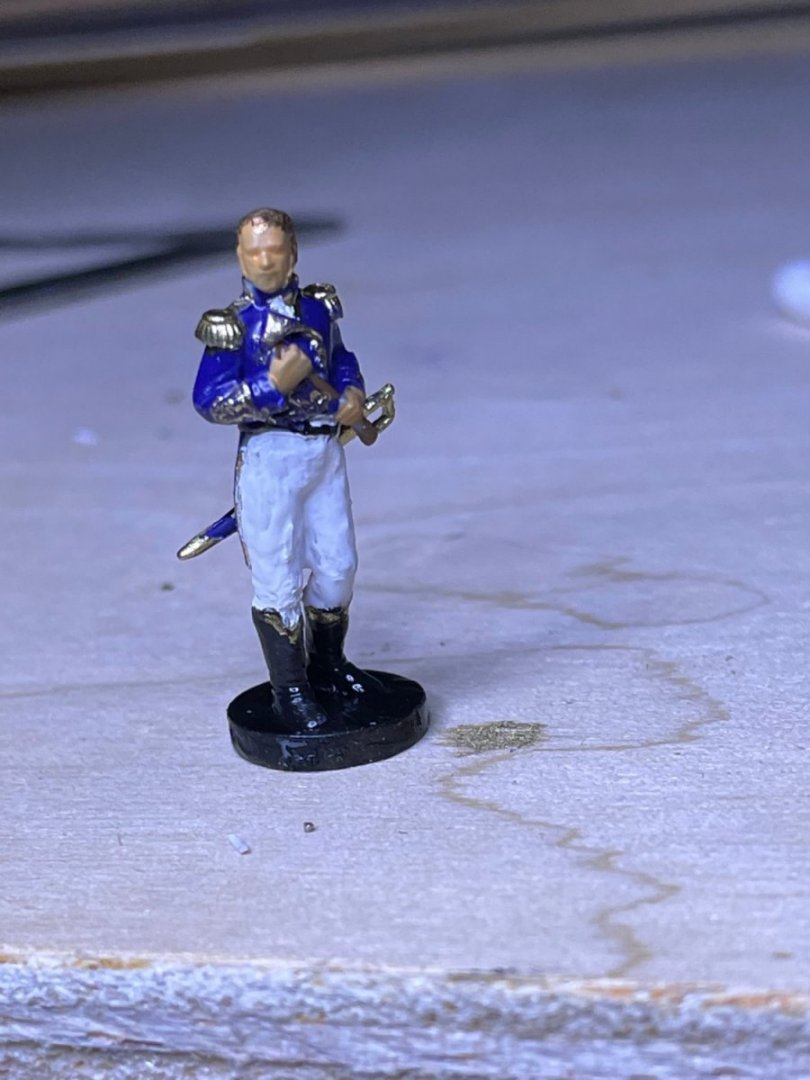
He decided to visit Nelson on HMS Agamemnon

Model is really small and makes you appreciate the 1:64 scale
I believe he was one of my ancestors, if that is Thomas Cochrane. They dropped the "e" on the end of our name when they came to America.
-
Oh wow! That happened while I was at the museum on Tuesday. The day before, I could have seen her in her place at the museum, though you could not board her.
I asked a worker how long would she be gone, and that's when he told me she went aground and was probably even more damaged. He said she was being towed. At that time, he wasn't sure what happened.
-
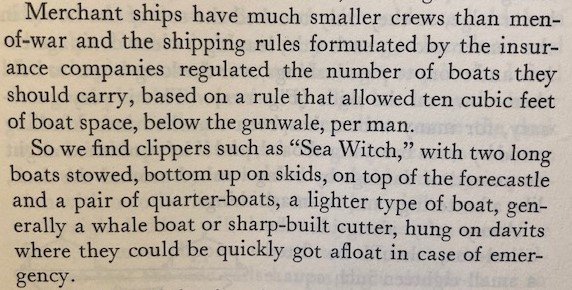
Here is something about ship's boats.
I want to build Lindberg's Sea Witch at some point, so I was reading Charles W Davis's book, which is about building a model of the Sea Witch.
The Sea Witch was built in 1946 in New York.
Davis says that the number of ships boats on merchantmen was determined by the insurance companies.


Cutty Sark by bcochran - Revell - 1/96 - PLASTIC
in - Kit build logs for subjects built from 1851 - 1900
Posted
Thanks guys, I value your opinion.