SaltyScot
-
Posts
867 -
Joined
-
Last visited
Content Type
Profiles
Forums
Gallery
Events
Everything posted by SaltyScot
-
 You're making a good job of this buddy. Keep it up!
 -
You have made good progress, Phil. I commend you on being able to get all those tiny pieces looking the same!
- 288 replies
-
- 4
-

-

-
- Card
- Pre-Dreadnought
- (and 3 more)
-
Great to hear from you, Trevor! Yes, I will be following Phil's sound advice (I have already laid those two extra booms aside that I cut this morning). It is now my belief that one could take various tomes to hand and find conflicting ideas about any nautical subject in most of them. History is just like that.
-
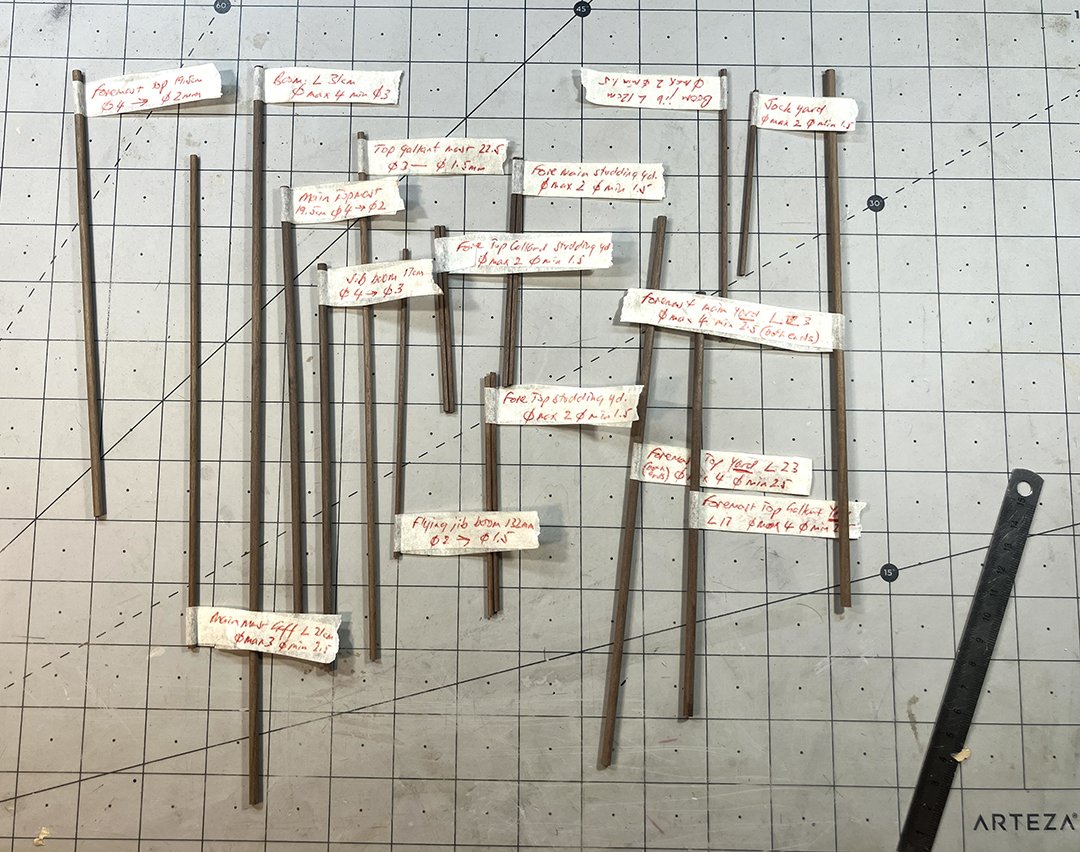
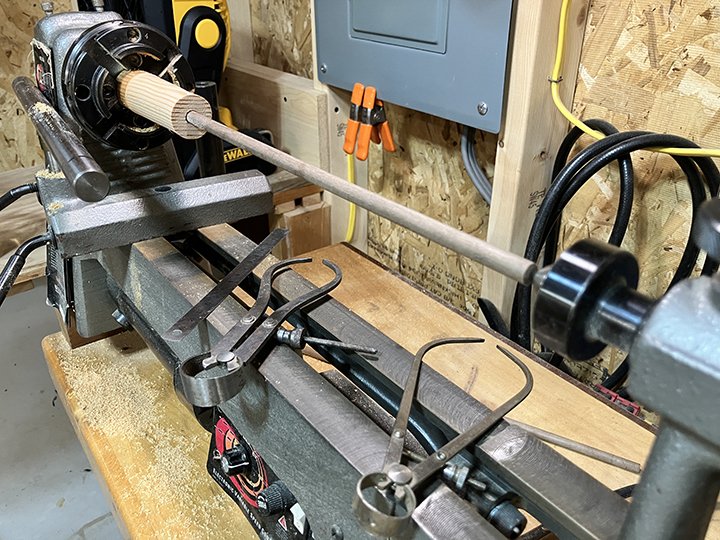
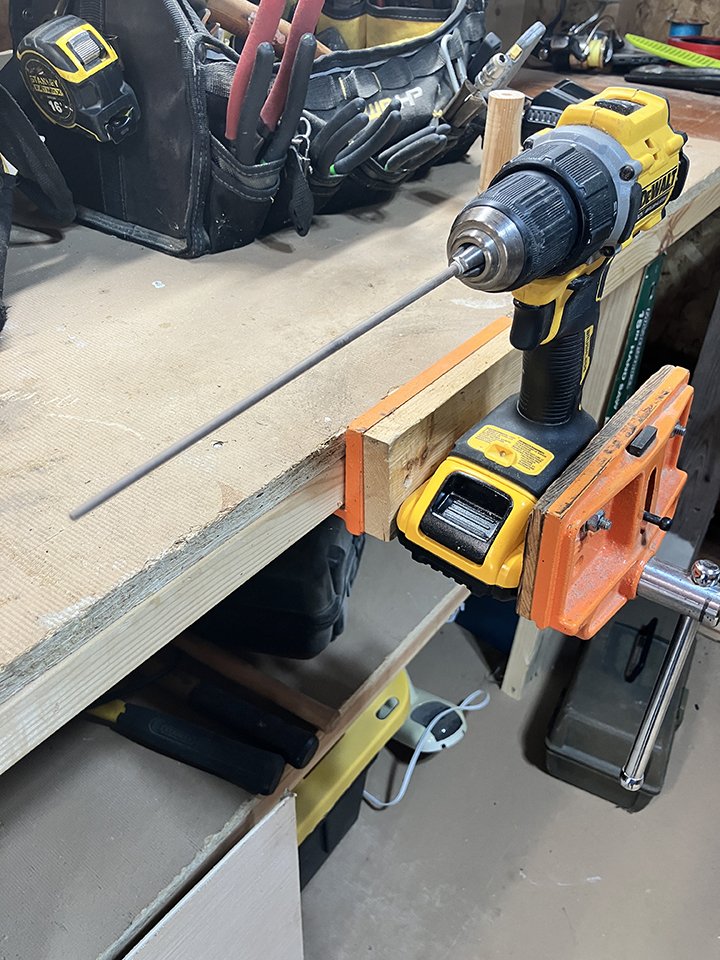
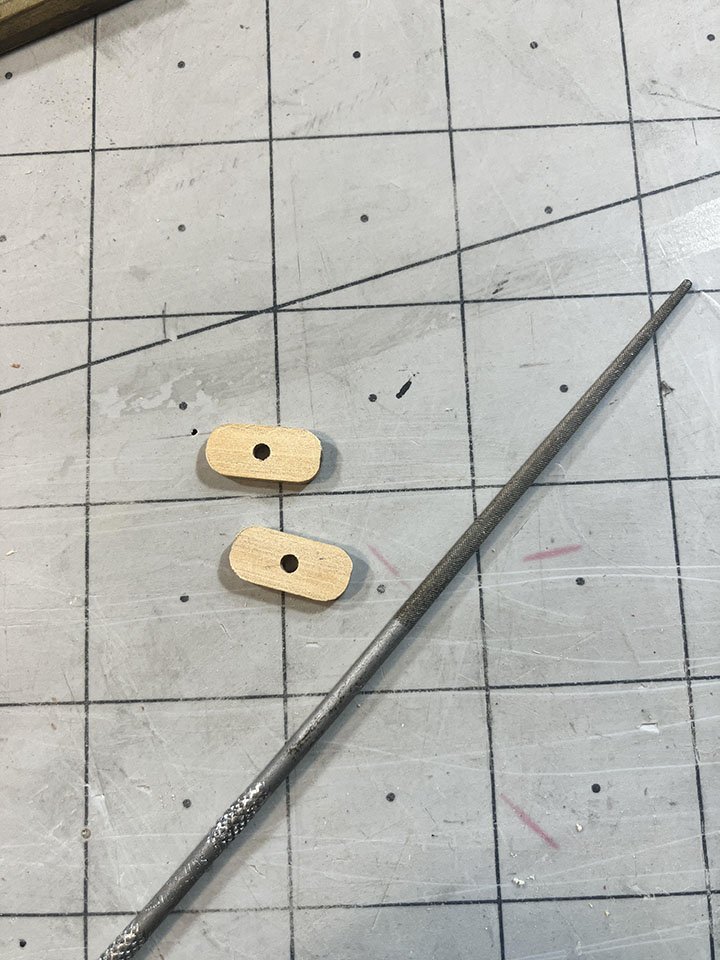
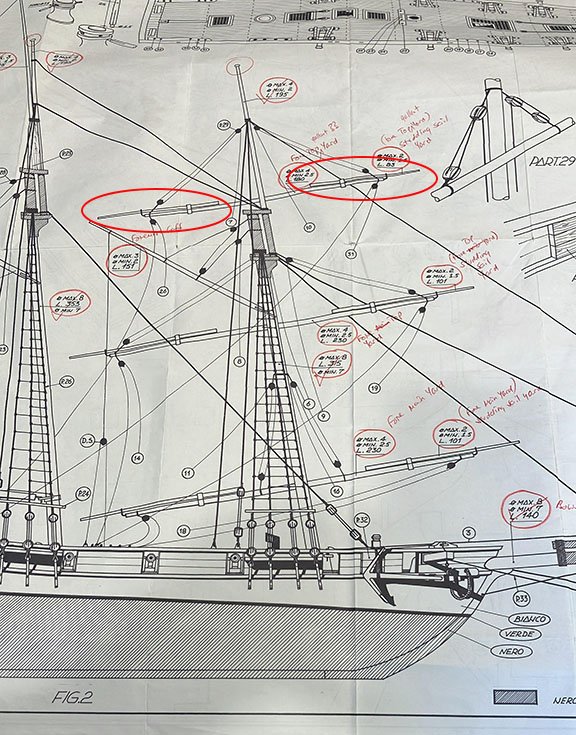
Today was mast and spar day. While it was still comparatively cool this morning (82F 🤨), I decided to sand down the masts and bowsprit on my lathe. I also wanted to sand down the yards and boom while I was over in the wood shop. After measuring, cutting and labeling the yards, I took them over to be worked on: The more astute amongst you will notice that some of the labels are not correctly named. I have since resolved that issue after talking to @Dr PR and clarifying the correct terminology for a few of the pieces (thank you again, Phil!). The masts and bowsprit were sanded down on my lathe: And checked with a set of calipers adjusted to the corresponding width: For the smaller yards I used a slightly different method that worked just as well as long as I did not let the wood "run free". I had to keep the sandpaper in contact with it so that it didn't flex: Once the temperature got just too unbearable and reached the forecasted 93F I shut down the shop (which has no a/c .... yet), and came back inside to the comfort of my shipyard to get on with other small tasks. Among other things I made the hawse hole covers that will be fitted to the hull tomorrow: A WORD OF WARNING TO THOSE FOLLOWING THIS AND BUILDING THE SAME KIT: The plans on the second sheet show the rigging for this model. @Dr PR was kind enough to point out a flaw in these plans when I shared them with him regarding a separate issue. Below is an image of the plans with the parts in question outlined with a red ellipse. Underneath the image is what Phil said about them: The drawing you posted has a peculiarity - probably a mistake. It shows studding sail booms at the ends of the upper yard. But these booms were fitted only on the yards at the bottom of the studding sail. Since there is not a fourth yard above the topgallant yard (the royal yard) there would not have been a studding sail above the topgallant yard. Therefore there would not be a studding sail boom on the topgallant yard. The foot of a studding sail was attached to the studding sail boom. The head of the studding sail was attached to the studding sail yard. This yard was raised with the studding sail halliard through a block on the end of the yard (yard arm) above. There was no studding sail boom on the highest yard. For your model there should be studding sail booms on only the lower two yards. I am truly grateful for his insight and willingness to help out us newbies

-
To be honest with you, Steve, I am taking a break from the hull structure for a while. I still have the deck to plank and other minor fittings to finish. Doing the booms and spars was a nice respite
-
Fine work indeed buddy. It was worth the time and effort.
-
That is some fine work. It makes me truly want to scrap those 3D printed gun carriages I made and remake them out of "real" wood. It just looks so much better!!
-
The detail on this rigging (particularly the bowsprit) is a great help, Steve. I am working on getting the masts and spars sanded down today!
-
Actually, I have two of them Steve. A friend of ours wanted a felled black walnut tree out of her yard and asked around if anyone wanted some. I have two bowl blanks like this and some more off-cut pieces. So yes, plenty of raw material. I just love the smell of black walnut sawdust when you are working the wood!
-
Right? You can't shape it at all. it just falls apart. A lot of the fittings are the same and will be scratch built as well. Fun times!
-
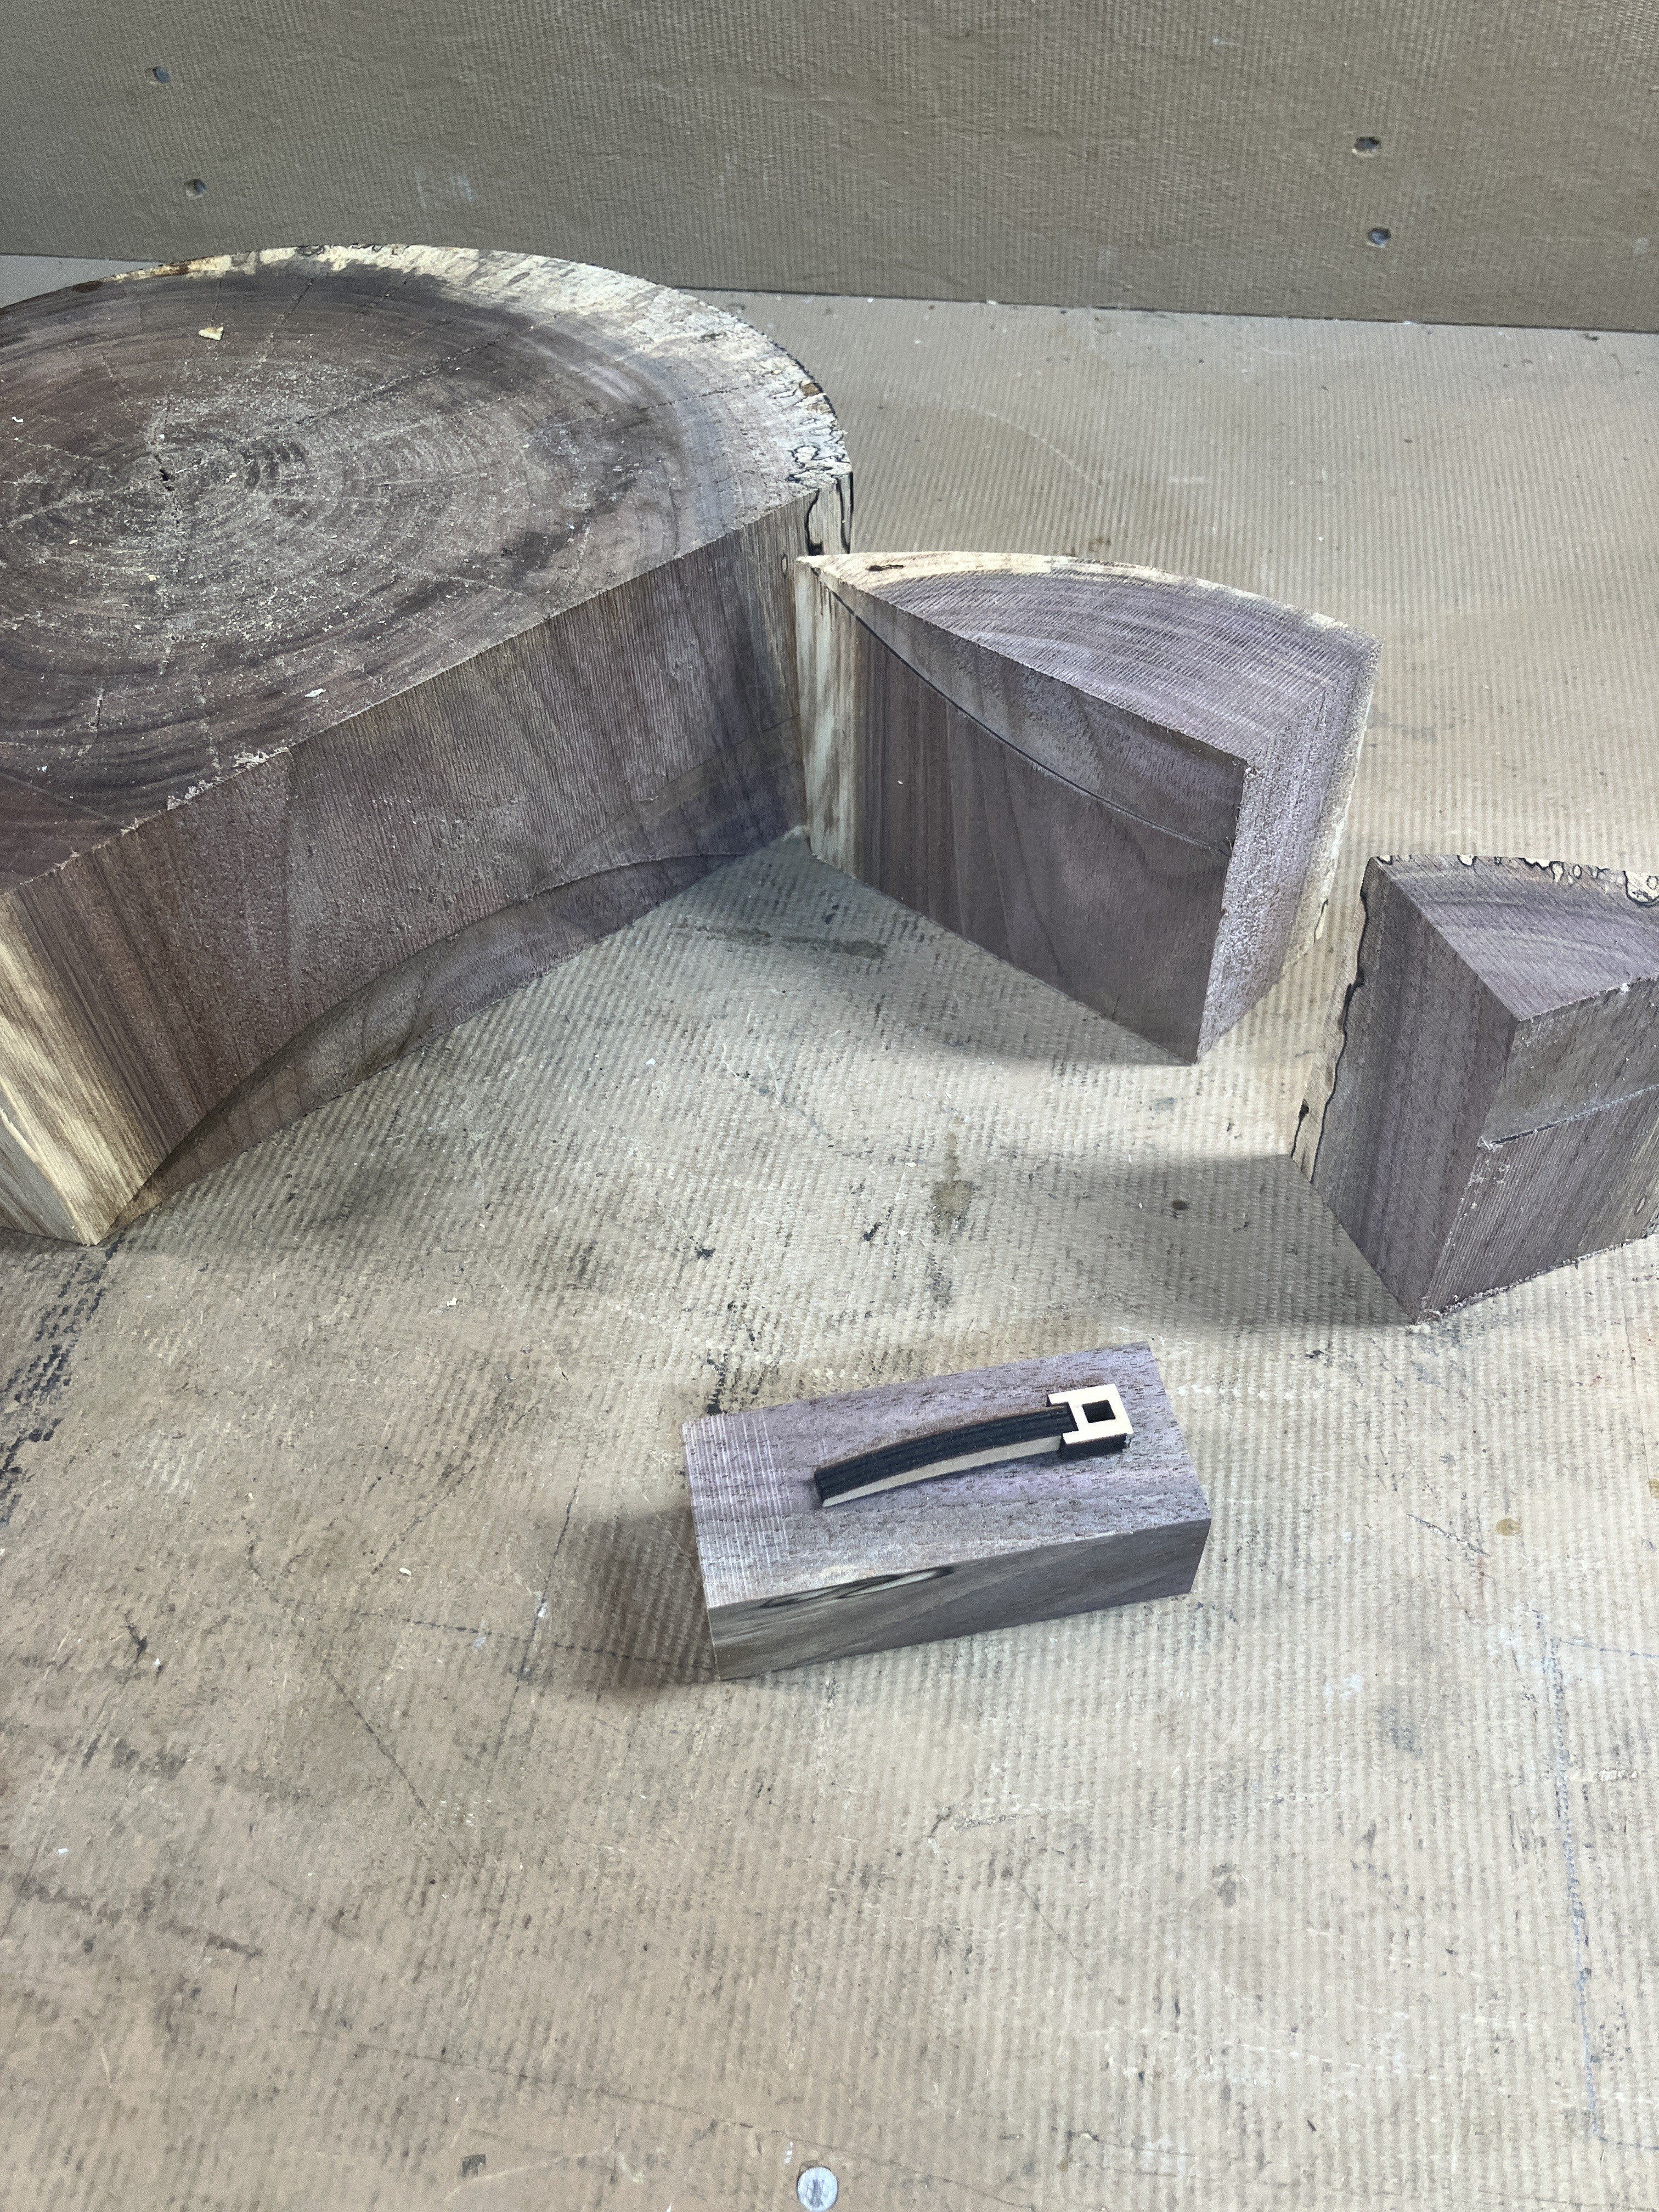
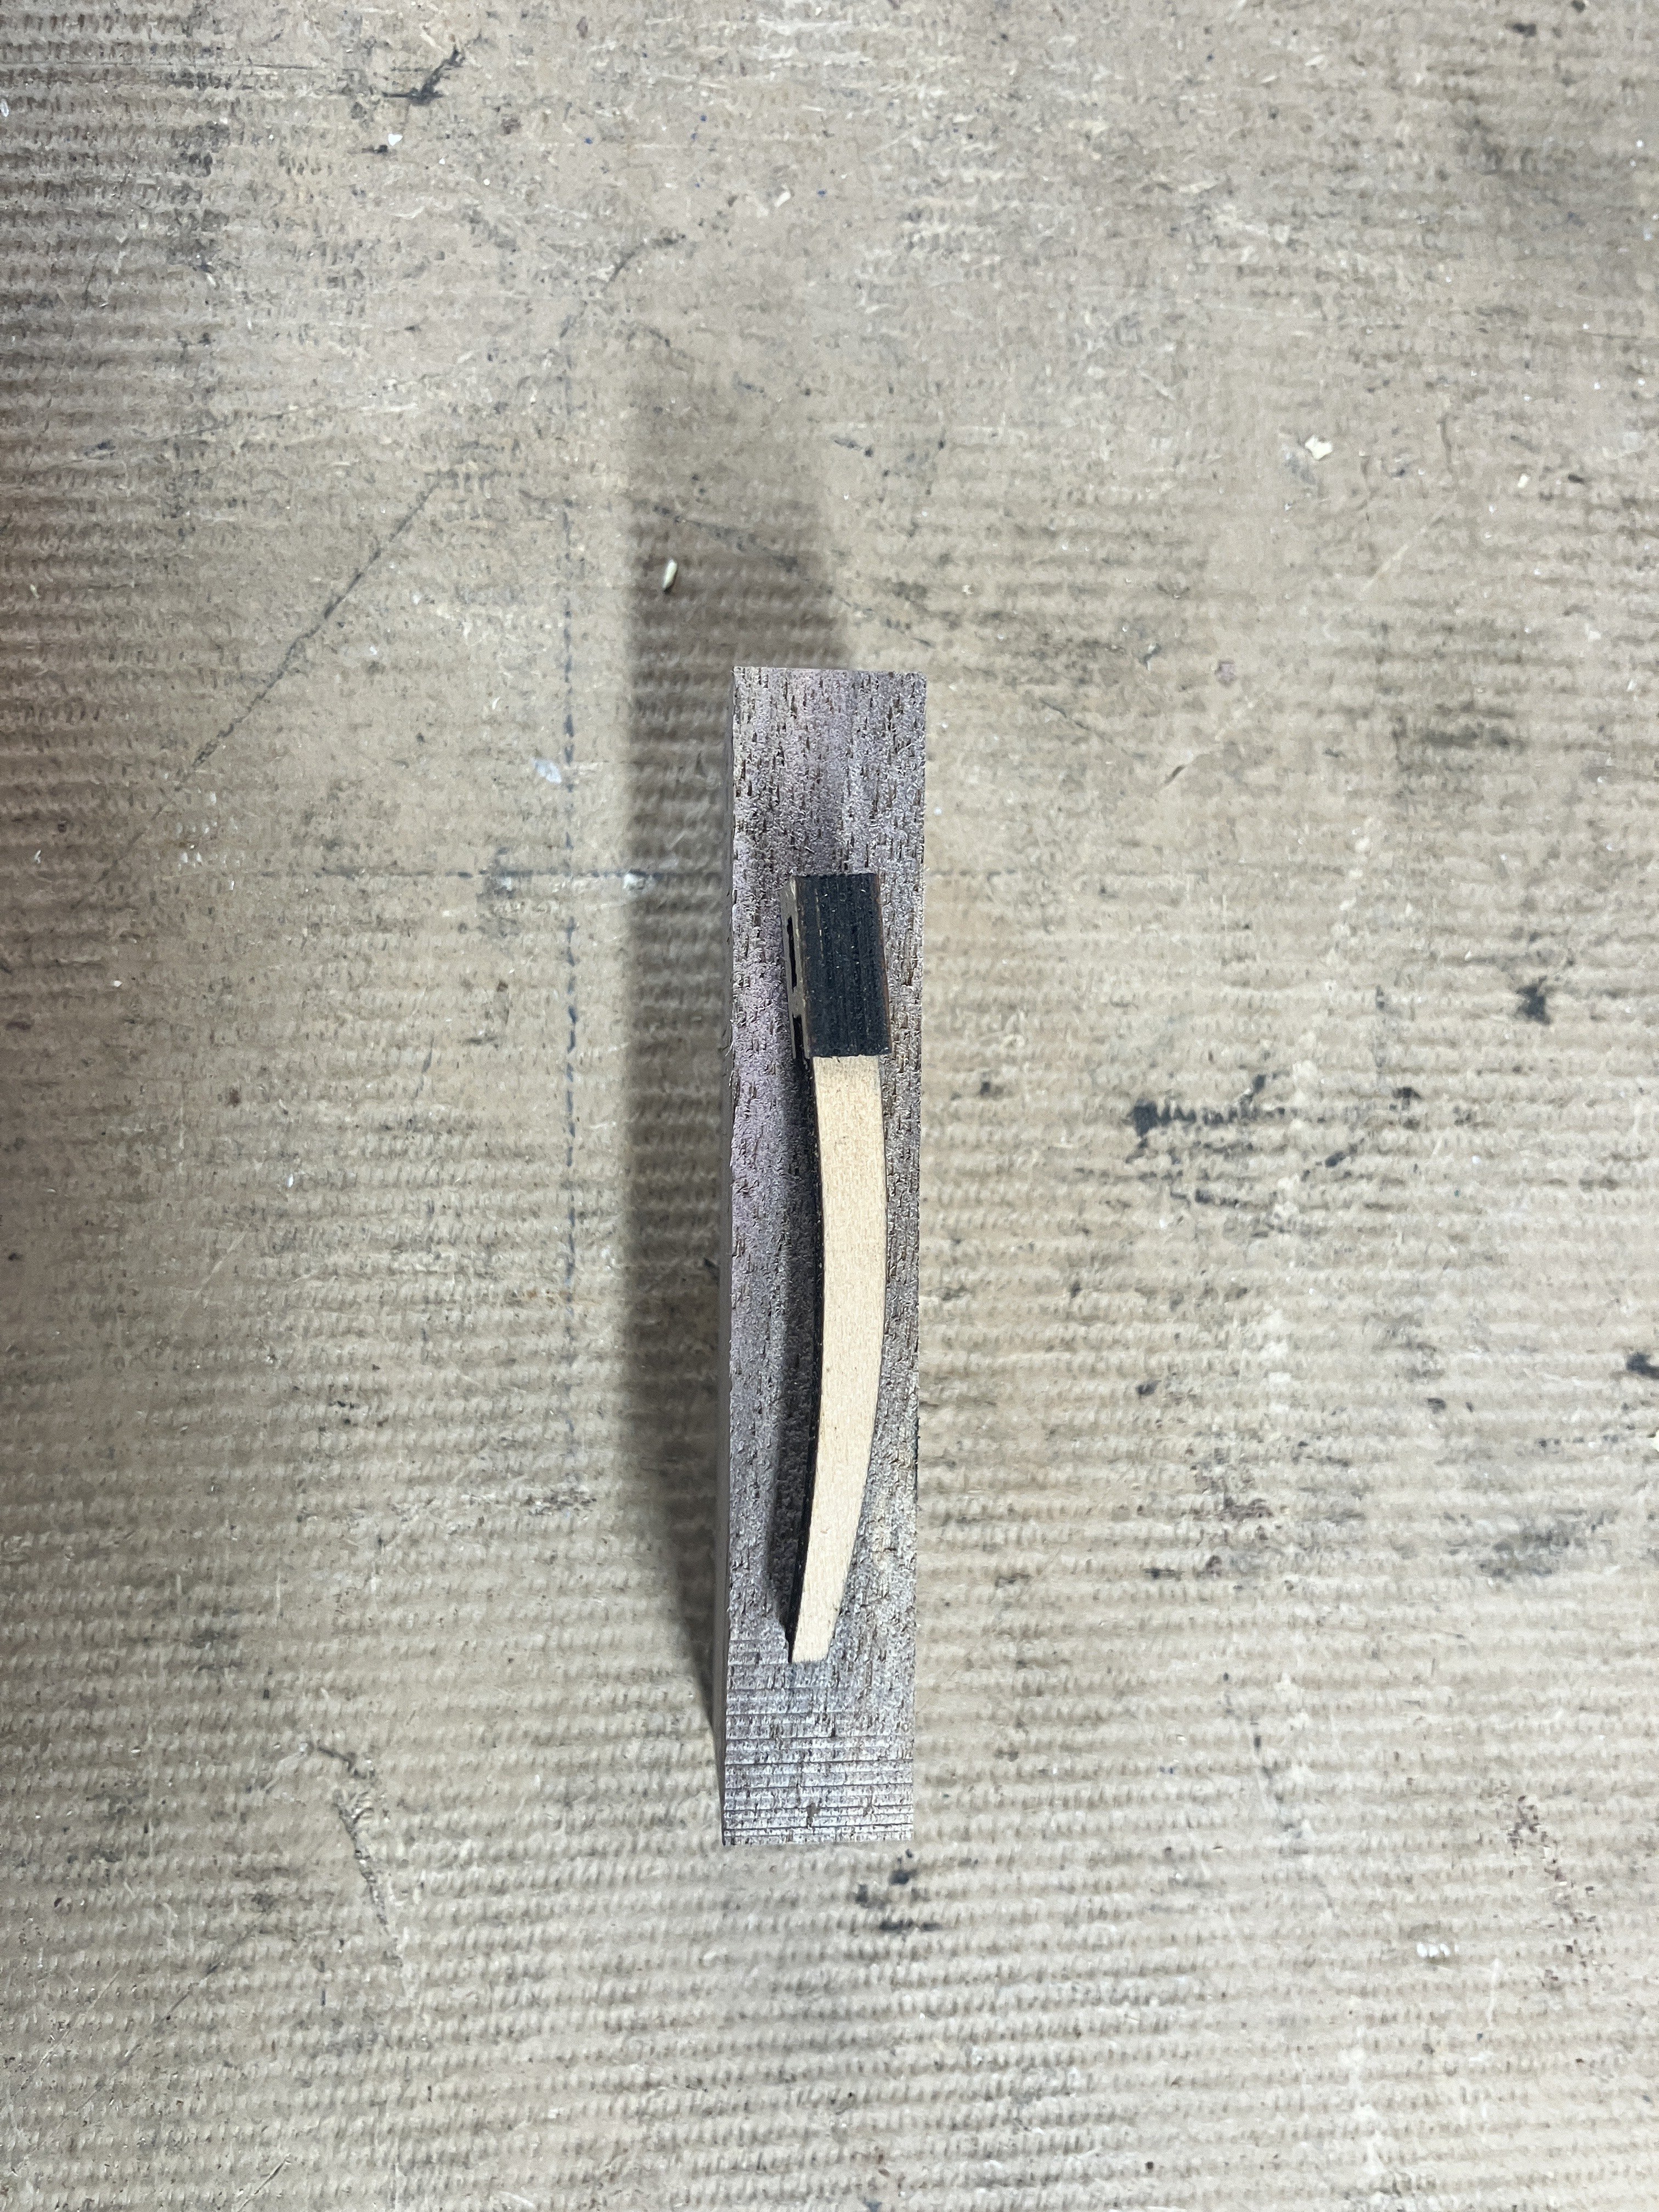
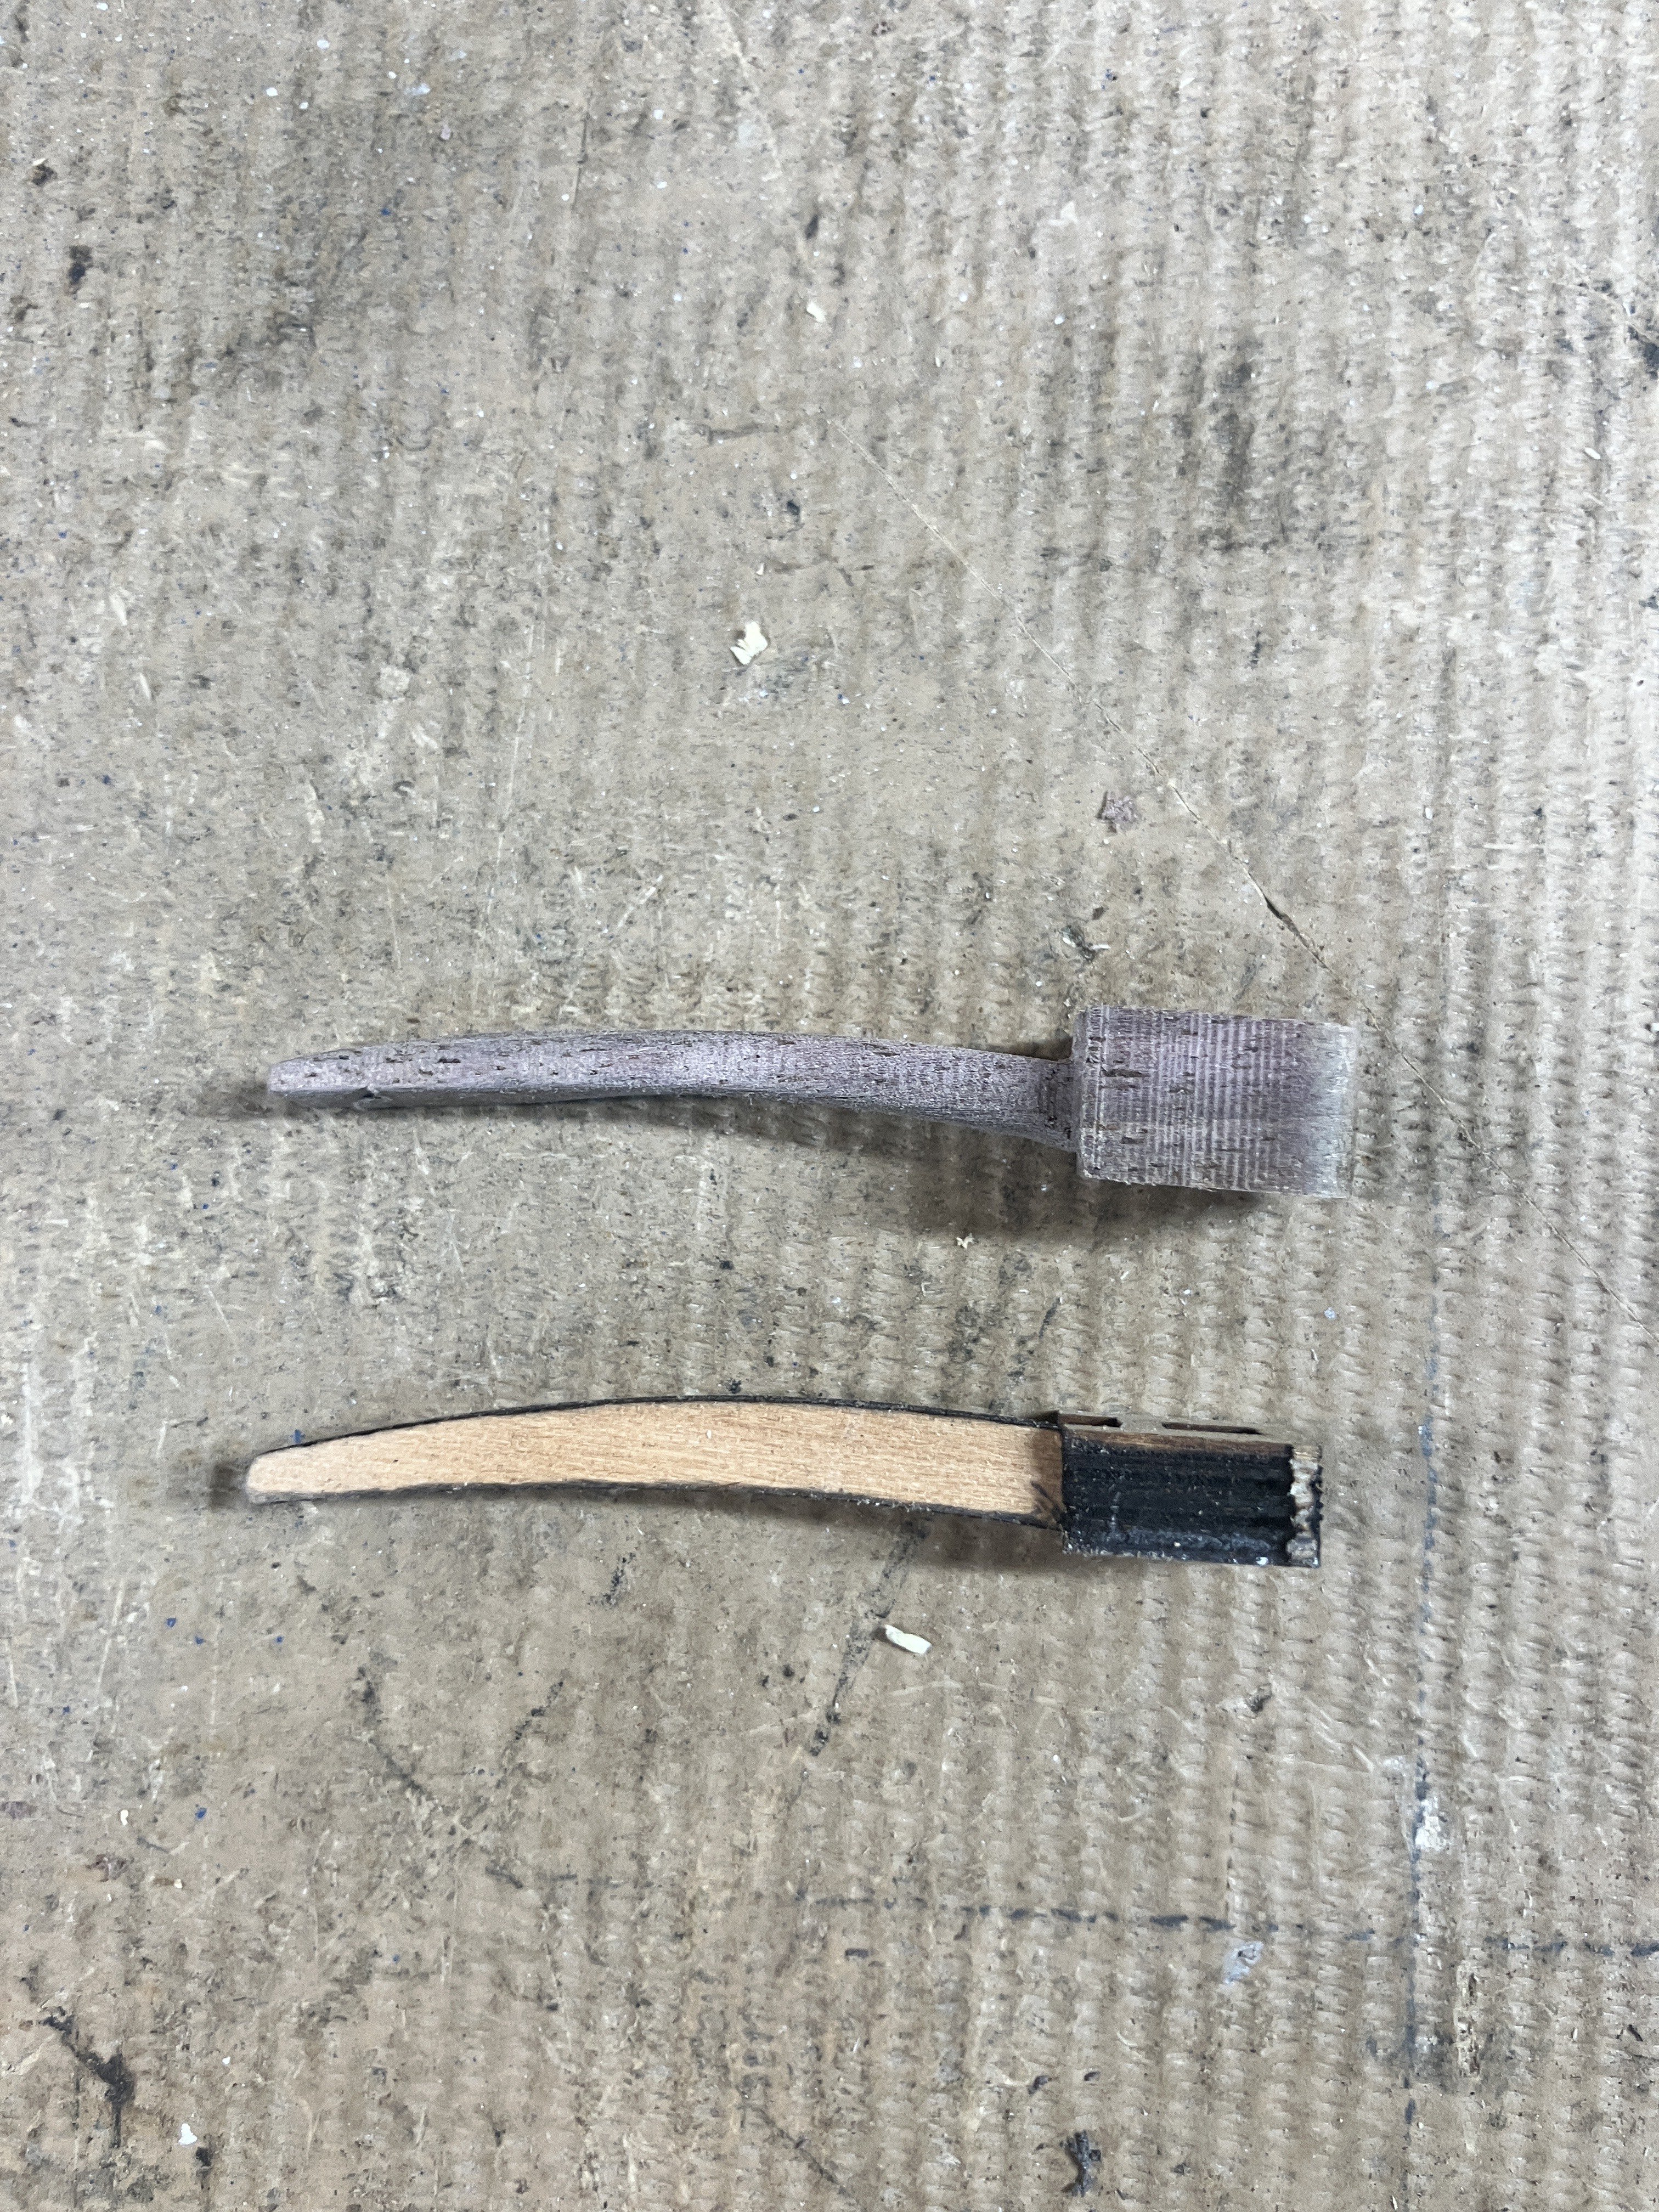
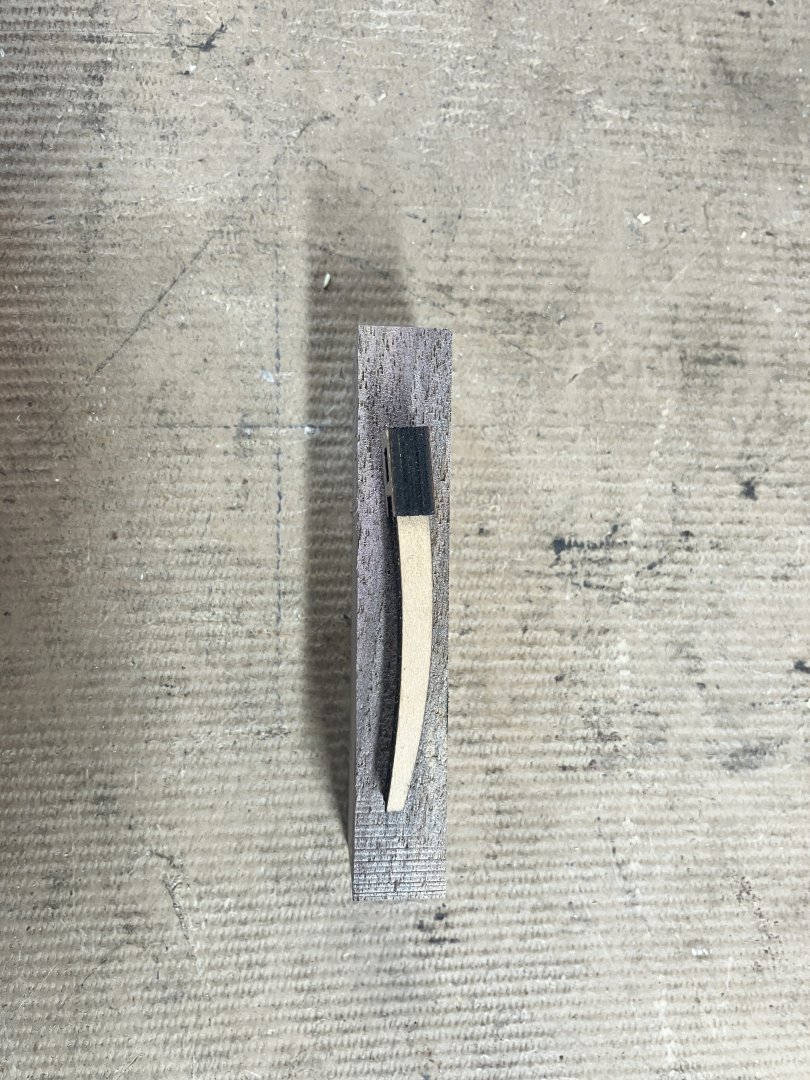
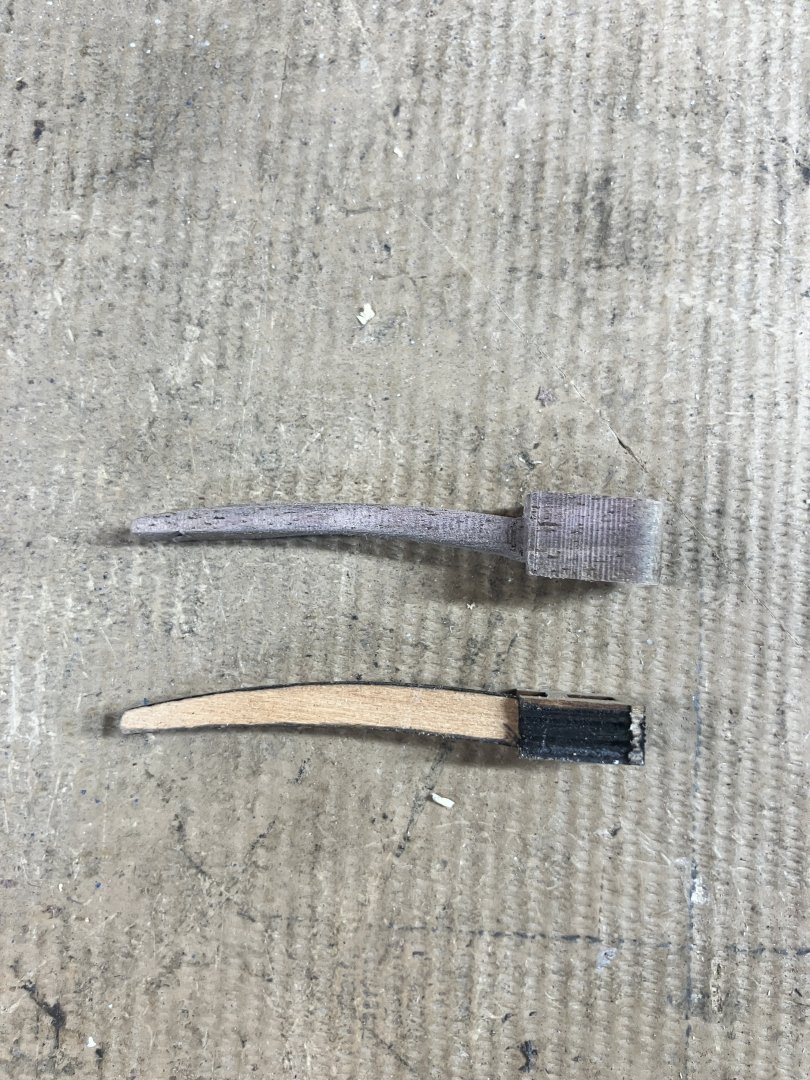
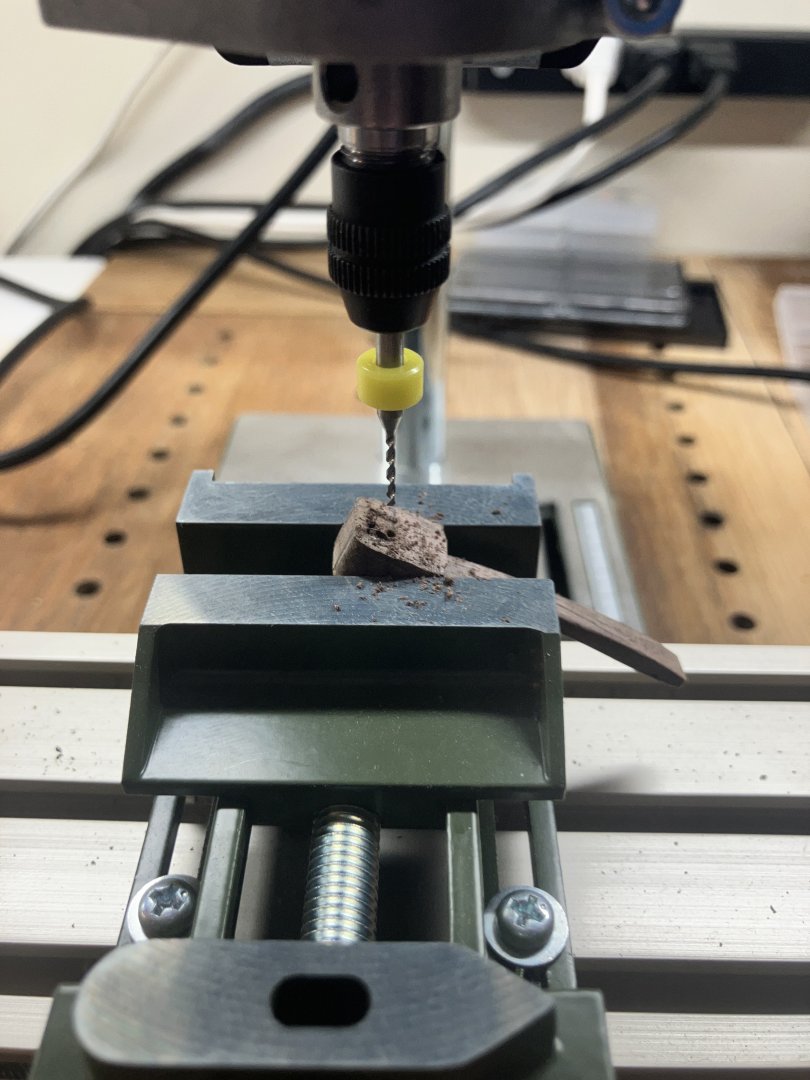
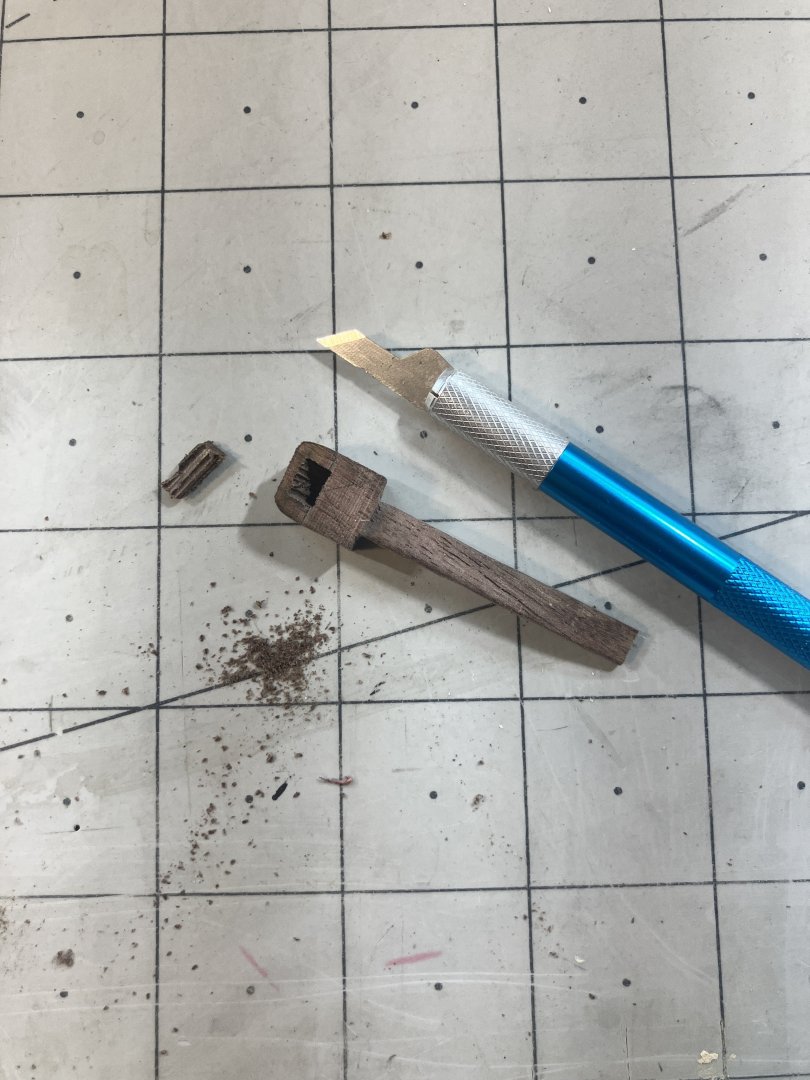
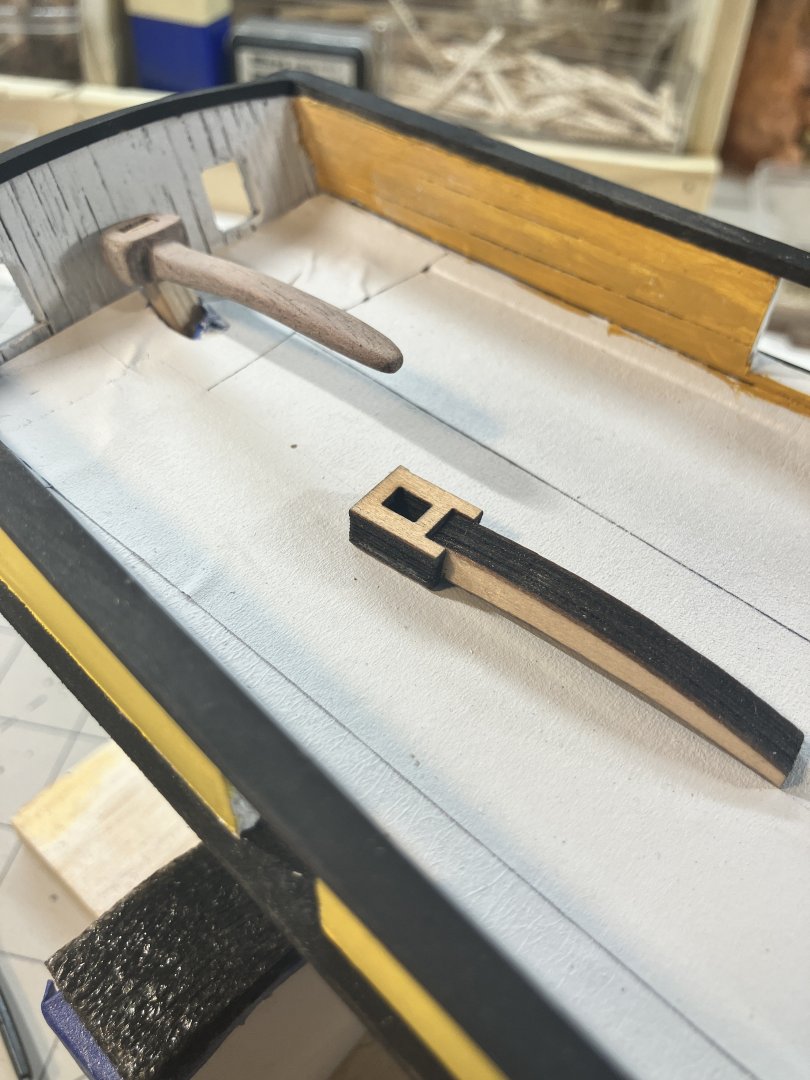
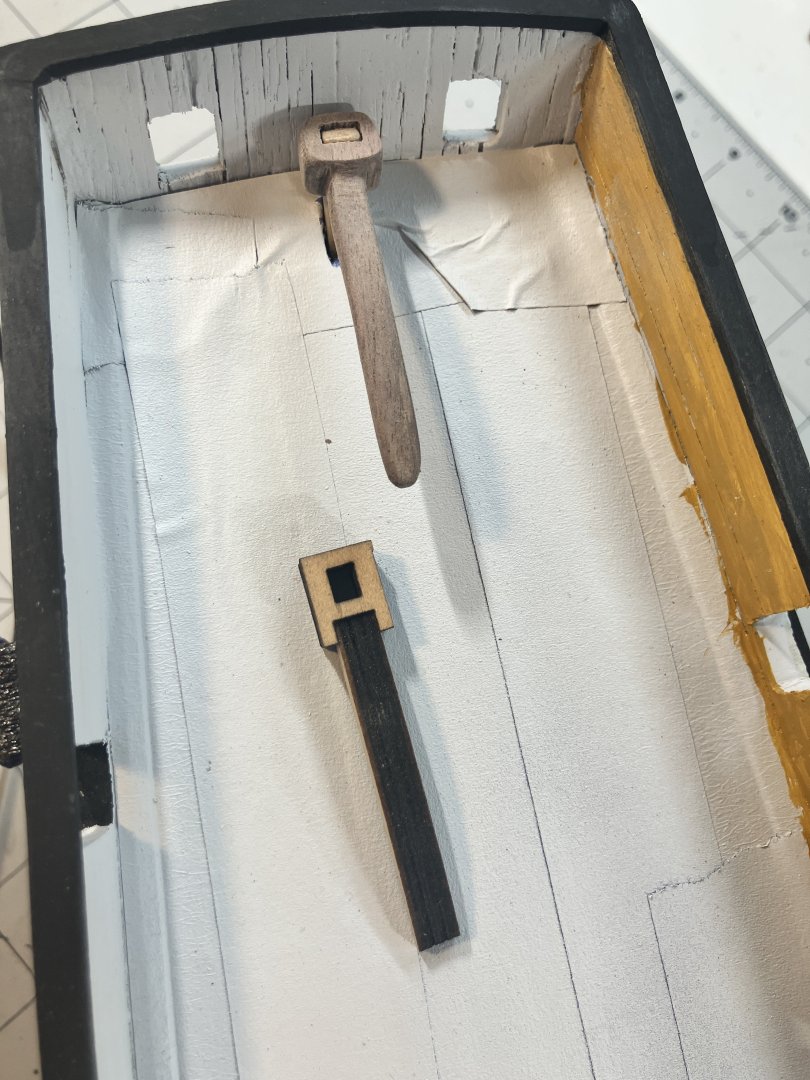
Tiller time. I wanted to make the tiller out of walnut. I had a piece of black walnut bowl stock I had turned down in the workshop that was no longer needed so I cut a piece off: The piece was cut down to size and shaped using the kit supplied plywood piece as a template: I then took it to my drill and drilled out the slanted hole for the rudder head: The remaining wood was removed with the Exacto knife and the tiller shaped to fit:

-
I haven't looked in in a while, Phil but WOW is she looking good. Very nice job there, sir.
- 288 replies
-
- 5
-
-
-
- Card
- Pre-Dreadnought
- (and 3 more)
-
Your attention to detail is mind blowing, Phil. Even though this isn't the type of model I would build particularly (because I have ZERO knowledge of them), I am interested in how you tackle certain aspects of the build. It's fun to follow along for sure.
- 482 replies
-
- 2
-
-
- minesweeper
- Cape
- (and 1 more)
-
As am I
-
Nice and precise, Steve. I like the work on those footropes, the knots are all well tied and neatly spaced. She is coming along very nicely!
-
You should be proud of this, Gary. She is a fine looking vessel!
-
I agree, those CAD drawings are very good, Phil. In case I missed it, are these models going to be 3D or resin printed?
- 482 replies
-
- 1
-
-
- minesweeper
- Cape
- (and 1 more)
-
Fingers crossed that this is nothing serious, John. Enjoy your break, you have certainly deserved it!
-
And you did a fine job of it sir... like you have been doing it all yer life matey 🤣🤣
-
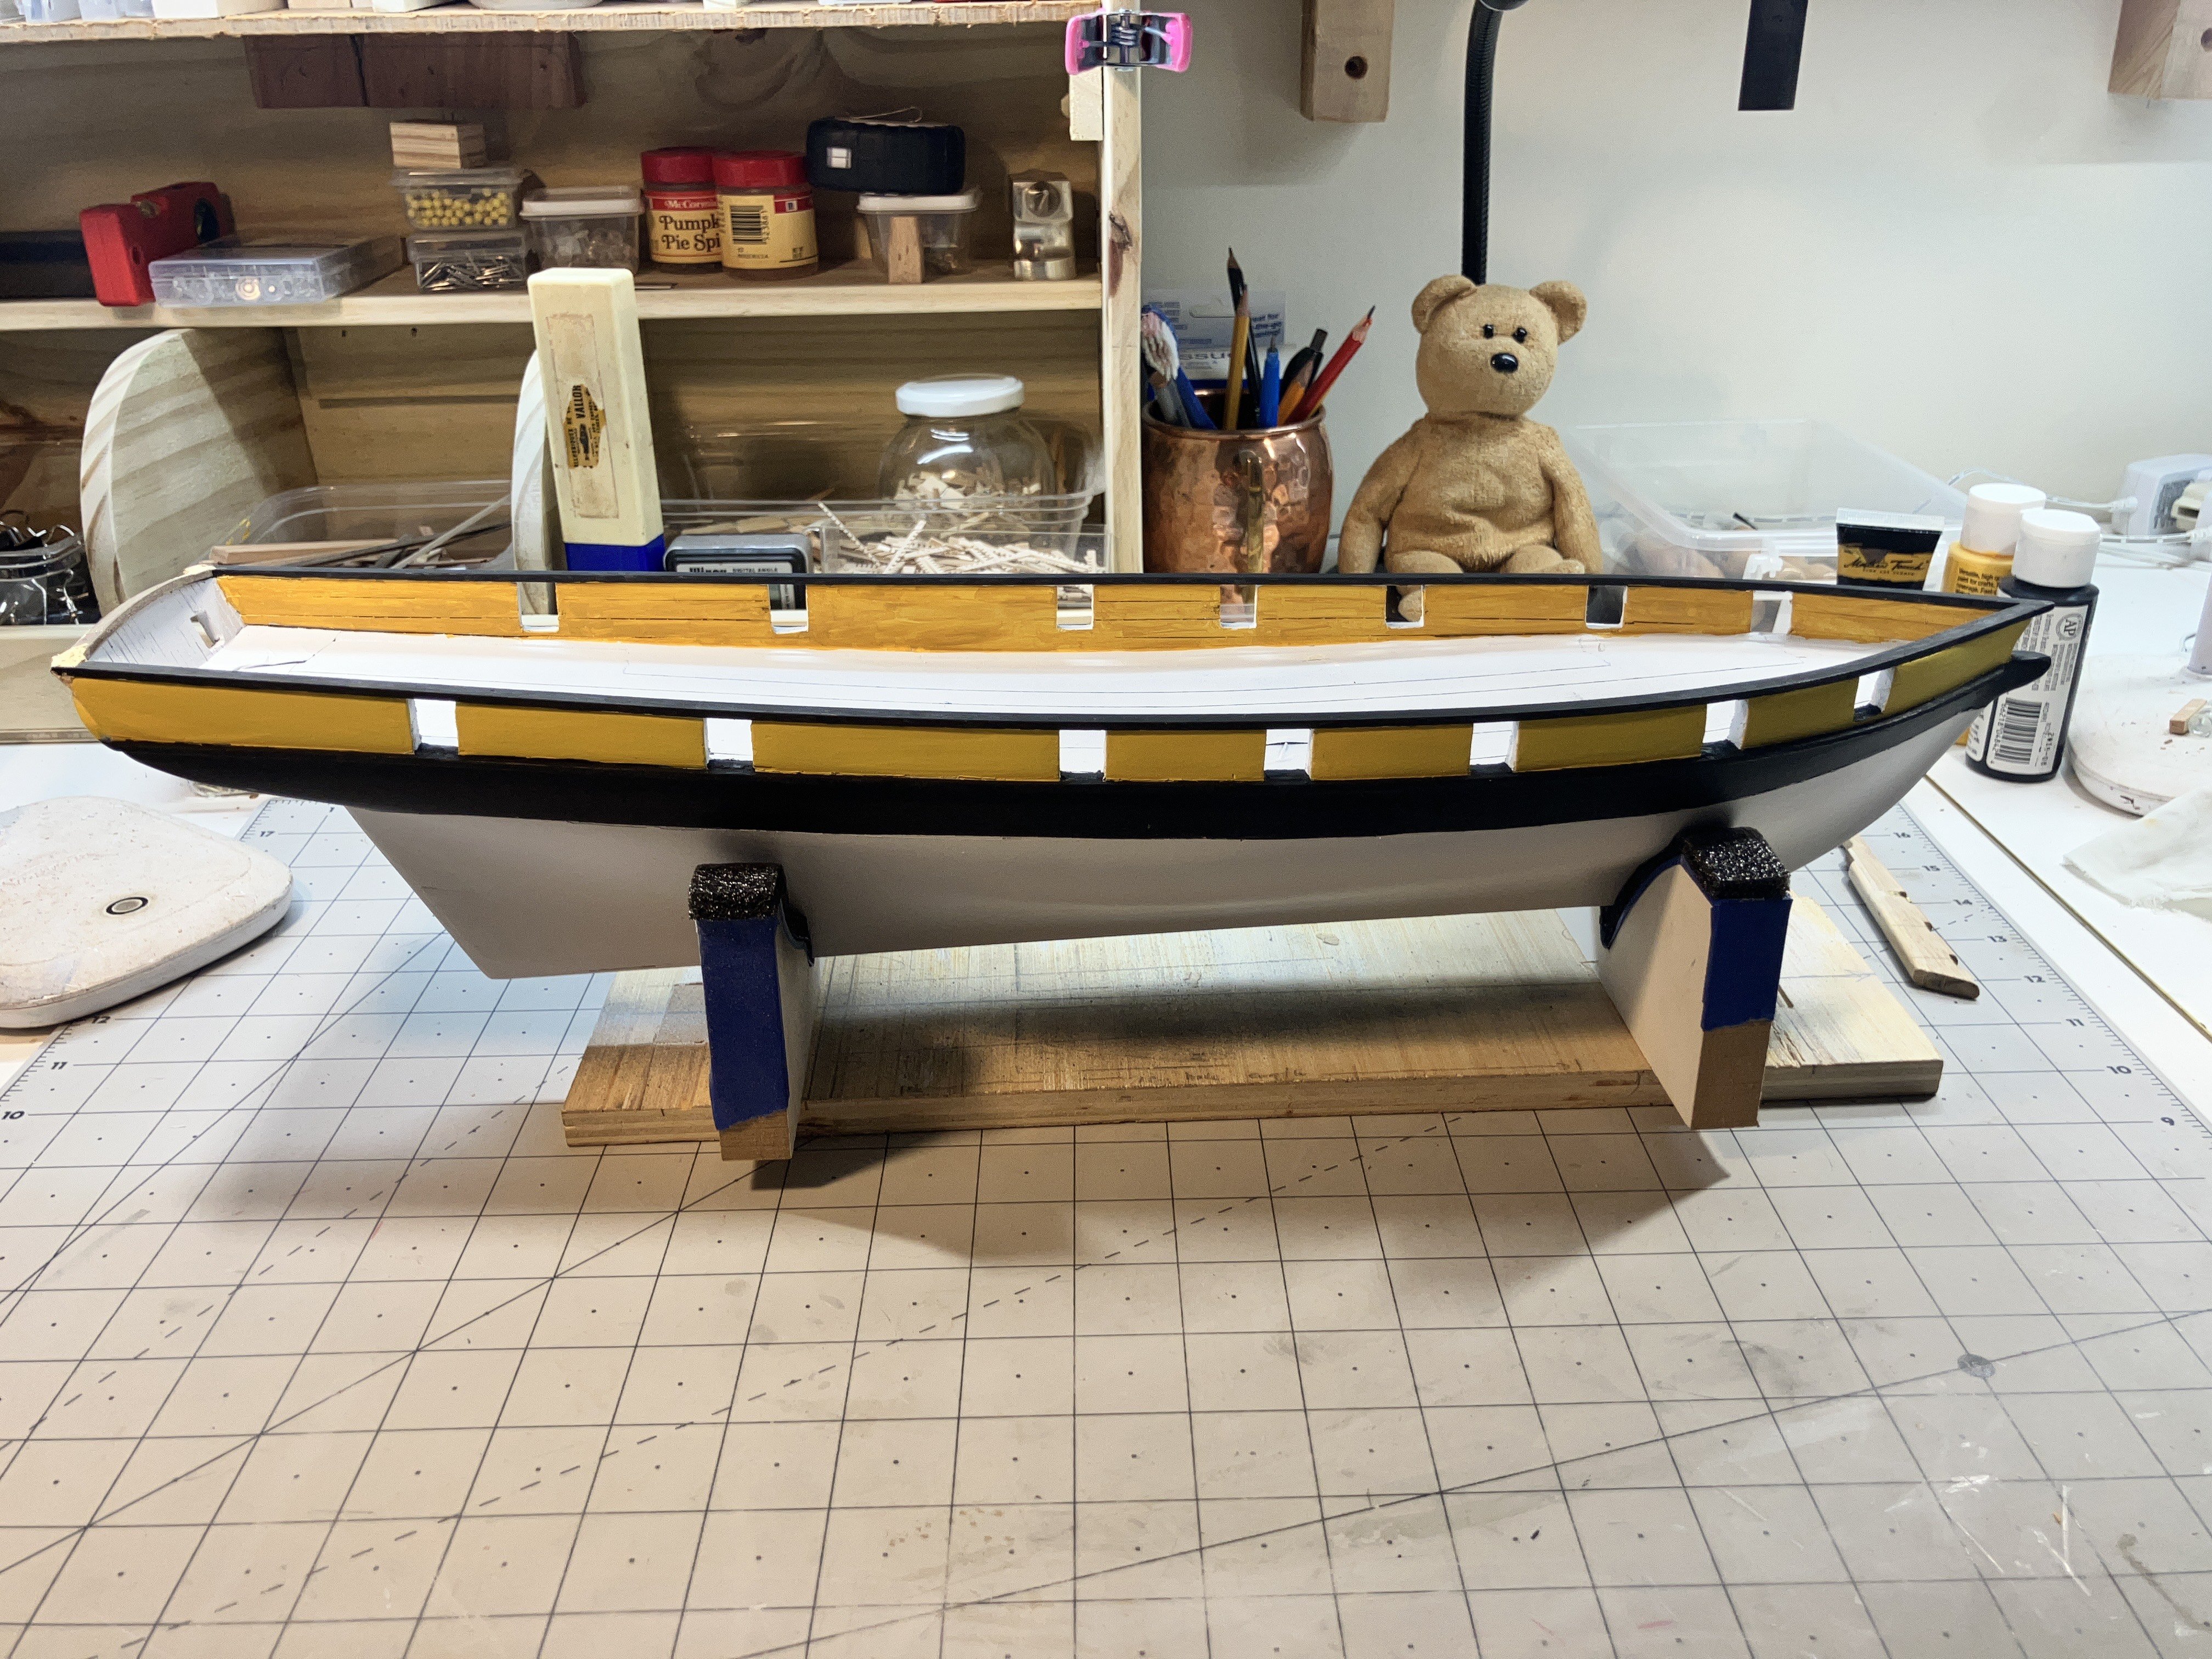
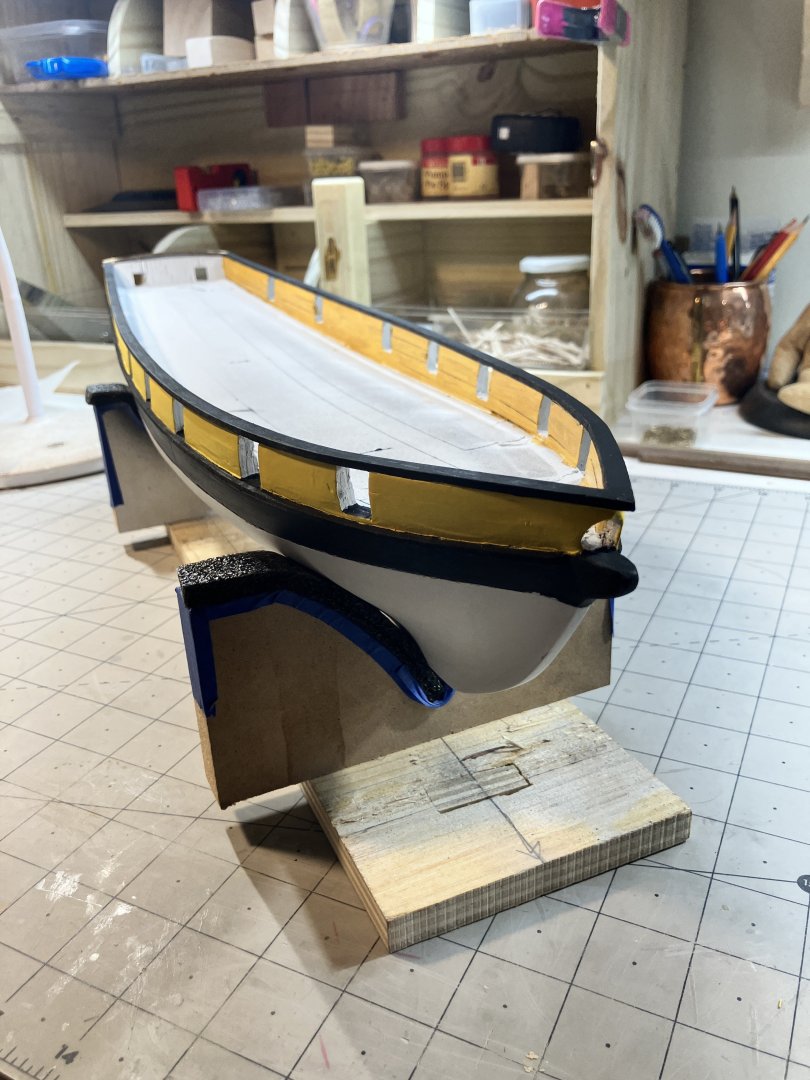
A small update. Because I have been hopping in and out of the shipyard in between my other activities this summer, I have made little progress and didn't really take the time to catalog that with a bunch of images. I was really only working on the hull and paintwork so there wasn't a lot to tell. I have given the build a lick of paint which still needs refining, added the cap and fender rails (as previously stated) and put a primer of yellow ochre on the interior bulwarks. I am still deciding if I like that color. This is how she looks at this point in time:

- 257 replies
-
- 10
-
-
Absolutely impressive work, John. A joy to behold for sure, and who gives a hoot about the background (shouldn't be looking at it anyway with this beauty in front of you!)