schooner
-
Posts
641 -
Joined
-
Last visited
Content Type
Profiles
Forums
Gallery
Events
Everything posted by schooner
-
 This log is an absolute gold mine for how to rig period masts! Although the large scale of the kit helps, it is really your clear photos and explanations that make this the go-to place for some of the most difficult and least understood parts of rigging. Thanks for taking the time and effort.
- 162 replies
-
- 1
-

-
- Model Shipways
- Constitution
- (and 2 more)
-
Bold start cutting the hull in half! I had a great time building that kit as the USS Basilone. Message me and I can offer you a book on the Sumner & Gearing classes that I no longer need - has some good photos for detailing.
- 19 replies
-
- 2
-
-
- Putnam
- BlueJacket Shipcrafters
- (and 3 more)
-
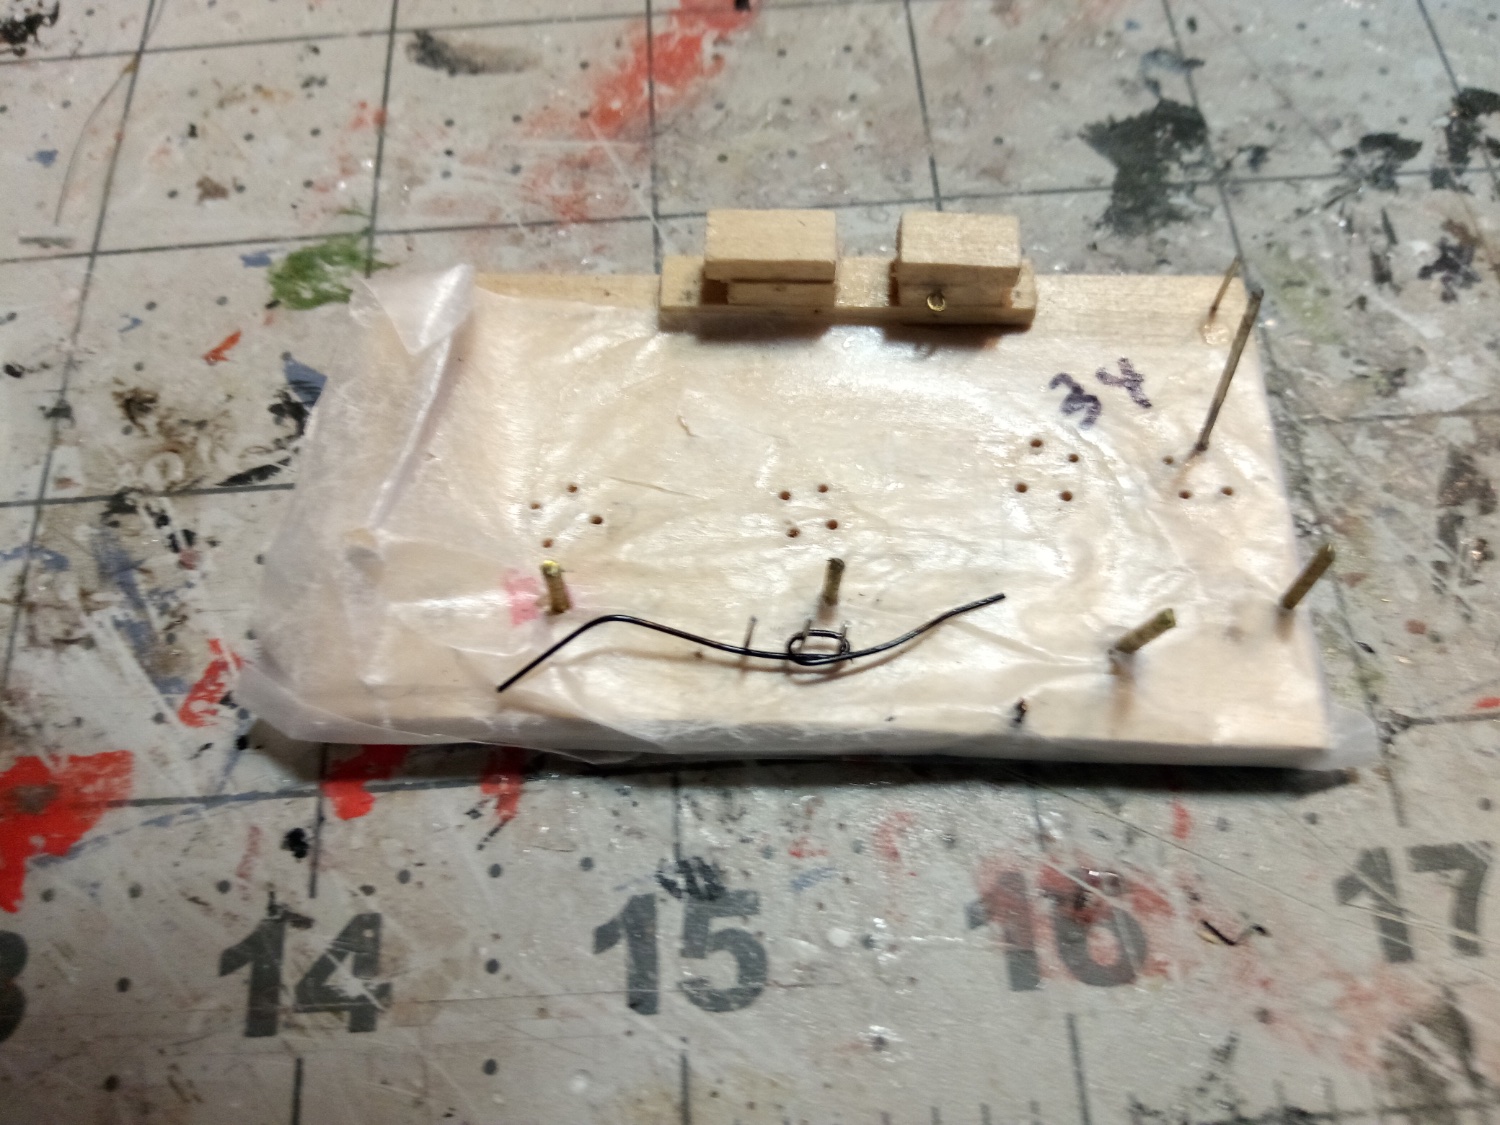
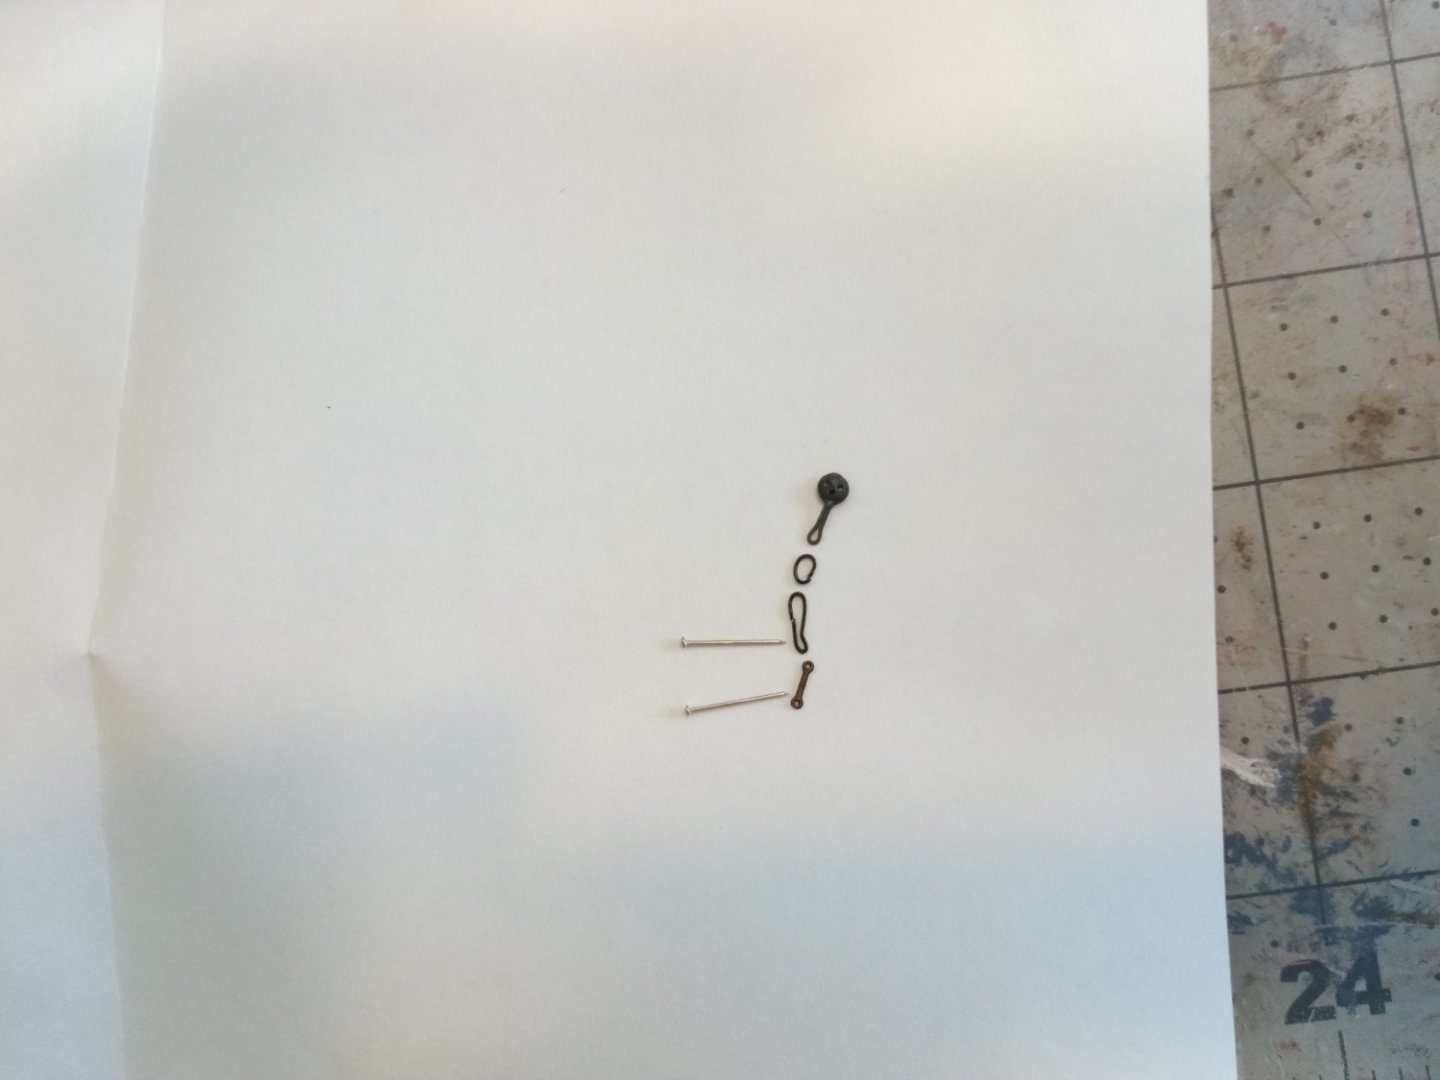
Deadeyes and Chainplates The deadeye/chainplate rigs consist of 3 or 4 parts (small deadeyes get 3). The kit provides Britannia metal deadeyes that come pre-stropped (thank goodness), the next part below them is the Mid-link, which are all the same size so it is easy to mass produce them by wrapping 24 gage wire 9 or 10 time around a dowel and then cutting them free and using pliers to bend them into more of an oval shape. The next part is the Toe Links, that took me the most time to make since for the large deadeyes they have to be custom fabricated out of wire so that the bottom of the last piece (the chainplate) can reach to or near the blackstrake which is the first strake above the wales. I was getting ready to fabricate the bottom pieces (the chainplates) I when was rooting around the bottom of the box and found the remnant of the PE fret and lo and behold there they were (the parts list does not break down the PE fret parts and when I inventoried the kit 2 years ago I had no idea what they were). Here are the 4 parts, along with 2 pins from the BlueJacket catalog (F0040) that just fit inside the chainplate holes. I cut all but the top 1/4” off each pin so I would not have to drill as deep. The orientation of the assemblies was determined by running a line from the mast top, across each deadeye and a pencil mark made on the hull just above the wales: The wire was fabricated by bending around pins and then shaping using pliers: Here’s the finished assemblies mounted on the model:


- 114 replies
-
- 9
-
-
- alfred
- solid hull
- (and 1 more)
-
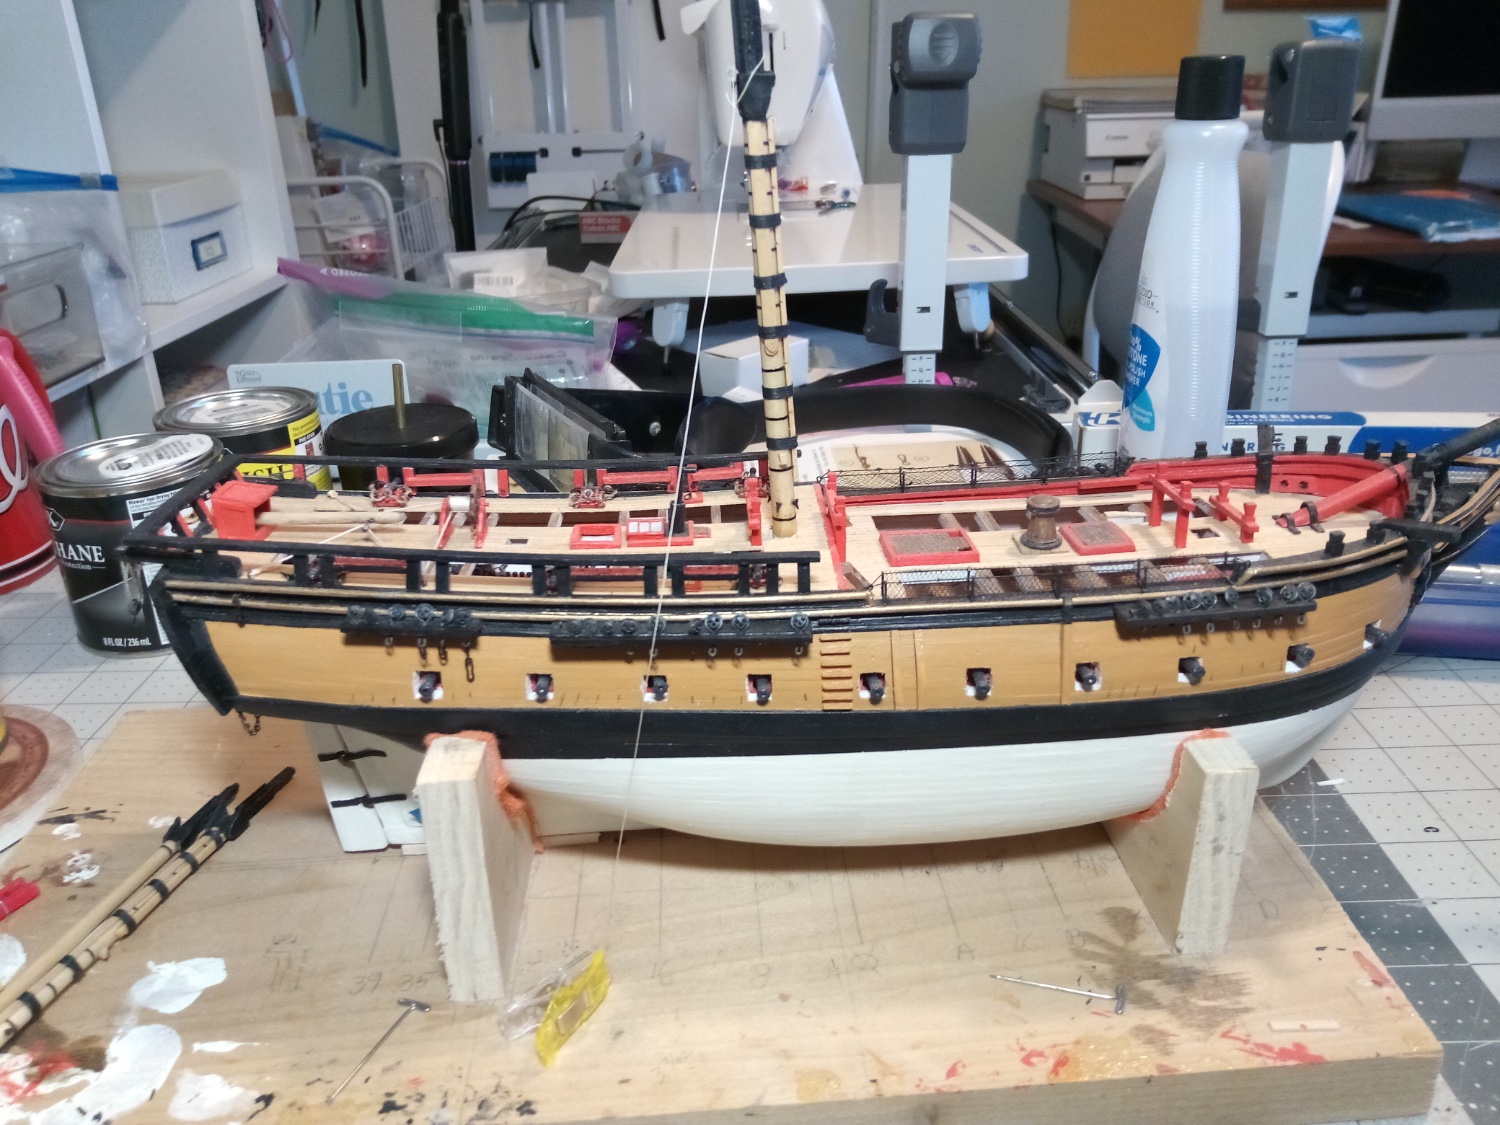
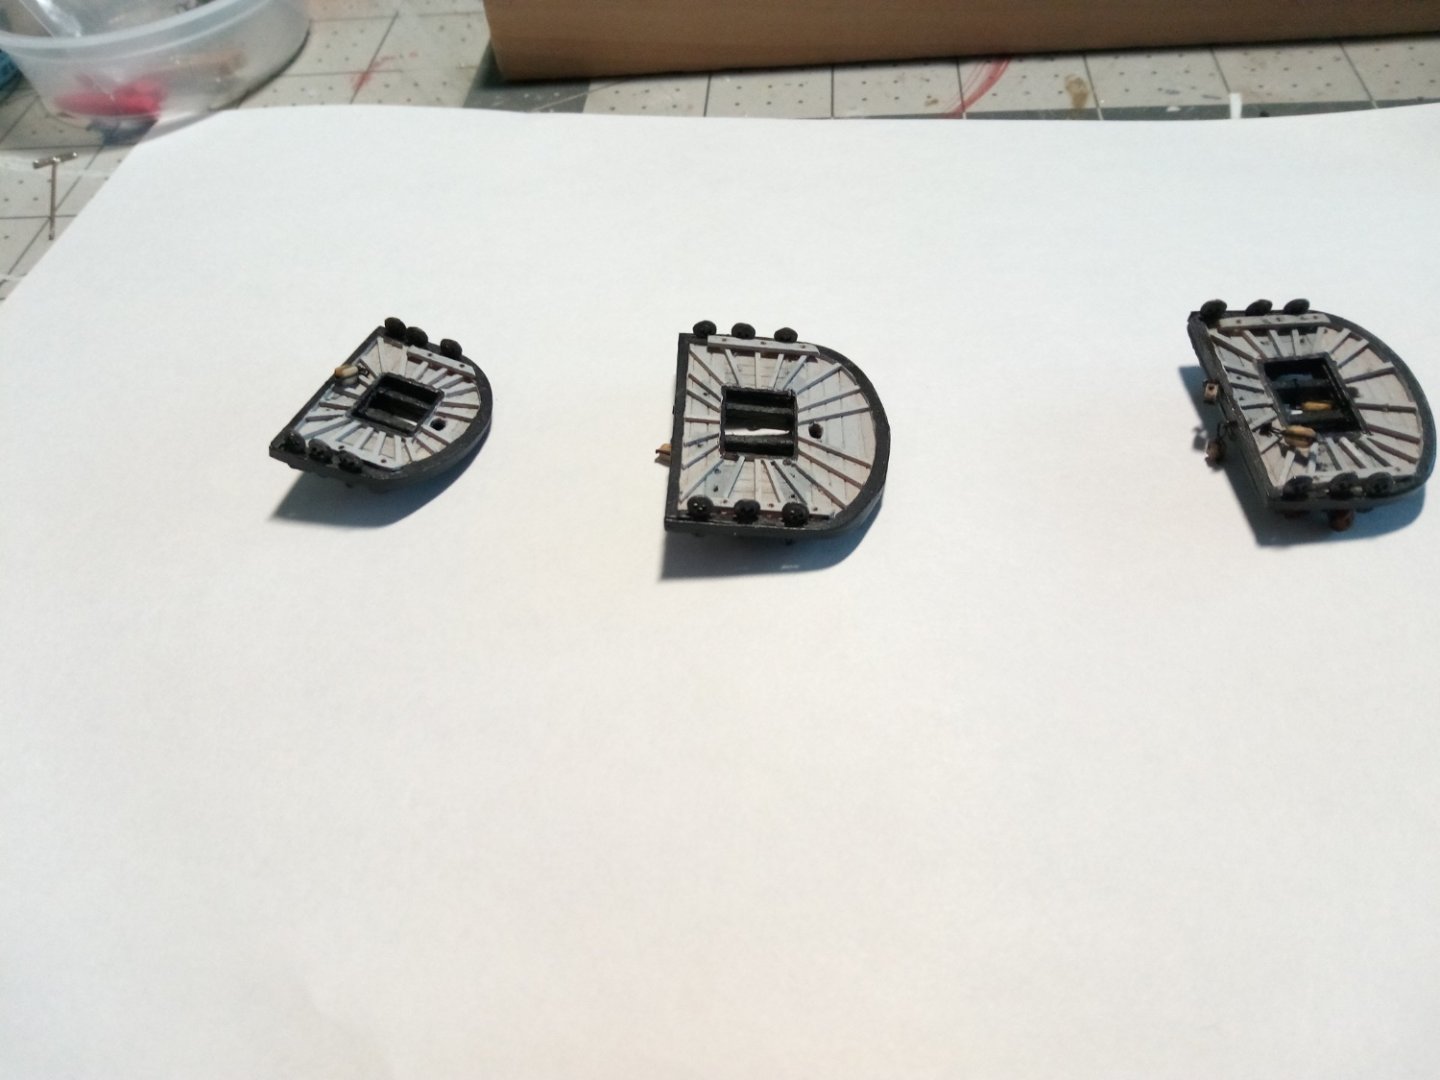
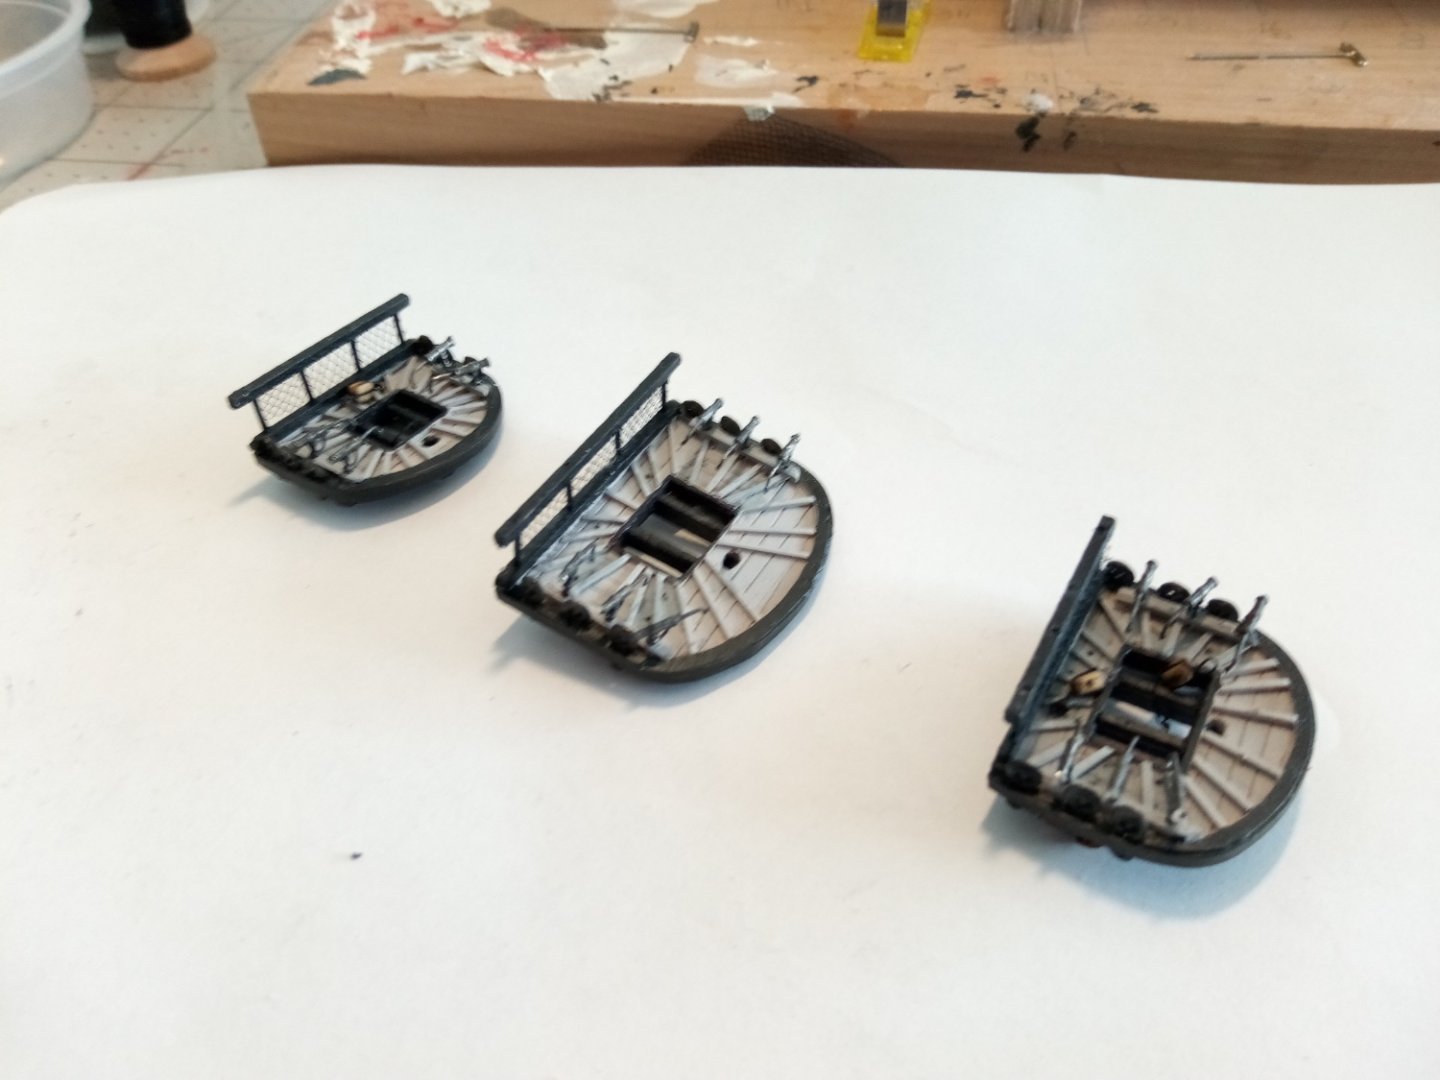
OK, I've been procrastinating long enough and need to get going on this build again. I've finished up the fighting tops. I decided to paint the top of the tops gray, as is done on the Constitution kit, I think it looks better and it makes sense from a practicality viewpoint since it makes all those trip hazards more visible than if everything was black on black: All the blocks have been added, more on the bottom than on the top. The kit provides britannia metal blocks but for small ones I find wood is easier to work with. Brittania looks better than wood since they are already properly shaped but I find it easier to strop with thread than with wire so this build will probably have a mix of wood and britannia blocks. The railings have been added. The netting is just tacked glued along the upper edge since it will have to be moved to accommodate some of the rigging like the stays: Note from later in the build: I ended up taking off the railings when I started the rigging - having them there just made things harder than they needed to be. I'll put them back on near the end of the build. Finally I ordered some swivel guns from the BlueJacket catalog. They are just dry-fitted here which is why they are a little crooked. I'll permanently mount them once all the rigging is done.


- 114 replies
-
- 12
-
-

-
- alfred
- solid hull
- (and 1 more)
-
Absolutely stunning work! I'm bookmarking this log as a reference for all future sailing ship builds. Congratulations and thanks for all the work in putting this build log together.
- 476 replies
-
- 3
-

-
-
- sphinx
- vanguard models
- (and 1 more)
-
Those extra details really bring it to life. Now you are going to have to invest in a new bookshelf worthy of displaying such a nice model!
- 100 replies
-
- 3
-
-
- pauline
- BlueJacket Shipcrafters
- (and 1 more)
-
It speaks very well of your work that it can stand-up to close up photography and still look great!
-
Your photos and explanations are better than ANY kit instructions or practicums I have seen! Thanks!
- 476 replies
-
- 4
-
-
-
- sphinx
- vanguard models
- (and 1 more)
-
Glenn, I have to chime in on the previous "nice shot" comment. Your amazing modeling skills are exceeded only by your equally fine photography work. All of you photos are crystal clear, regardless how close-up they may be and you always take the time to get the "angle" right so we can actually see what you are referring to - not all that common for photos on this site, mine being some of the worst in that regard. Thanks for putting all the effort into supplying a detailed build log, particularly of the rigging - it will be a great reference for any rigging job!
- 476 replies
-
- 3
-
-
- sphinx
- vanguard models
- (and 1 more)
-
Very nicely done! Now I finally understand what that confusing part of the rigging is for! Thanks for the explanation and pix.
-
Wow!, your builds just get better and better (as they should I guess). This has been a real treat to watch, can't wait for the next one!
-
Nice to see another Lib Ship build. Juuuuust in case, as you may already be aware there is another Dean's Robert E. Peary build log in progress here - look at page 3 of the 1901-Present Day kit builds and you will see it. Good luck
-
Nice save on the stem! That "Saturday Night Fever" frigate captain is really getting into it!
- 370 replies
-
- 1
-
-
- Model Shipways
- Confederacy
- (and 1 more)
-
I feel your pain for this part of the build. The whole cheek, head, railing ensemble has been the hardest part of my ALFRED build. I think the source of most problems is the manufacturer trying to portray a VERY 3-D assembly with 2-D plans, and then for us to understand what those plans are trying to tell us.
- 370 replies
-
- 1
-
-
- Model Shipways
- Confederacy
- (and 1 more)
-
The instruction book for my BJ kit of the ALFRED (same scale as yours I think) lists them as 3/4 inch.
-
I had not thought of that, I suspect you are right!
-
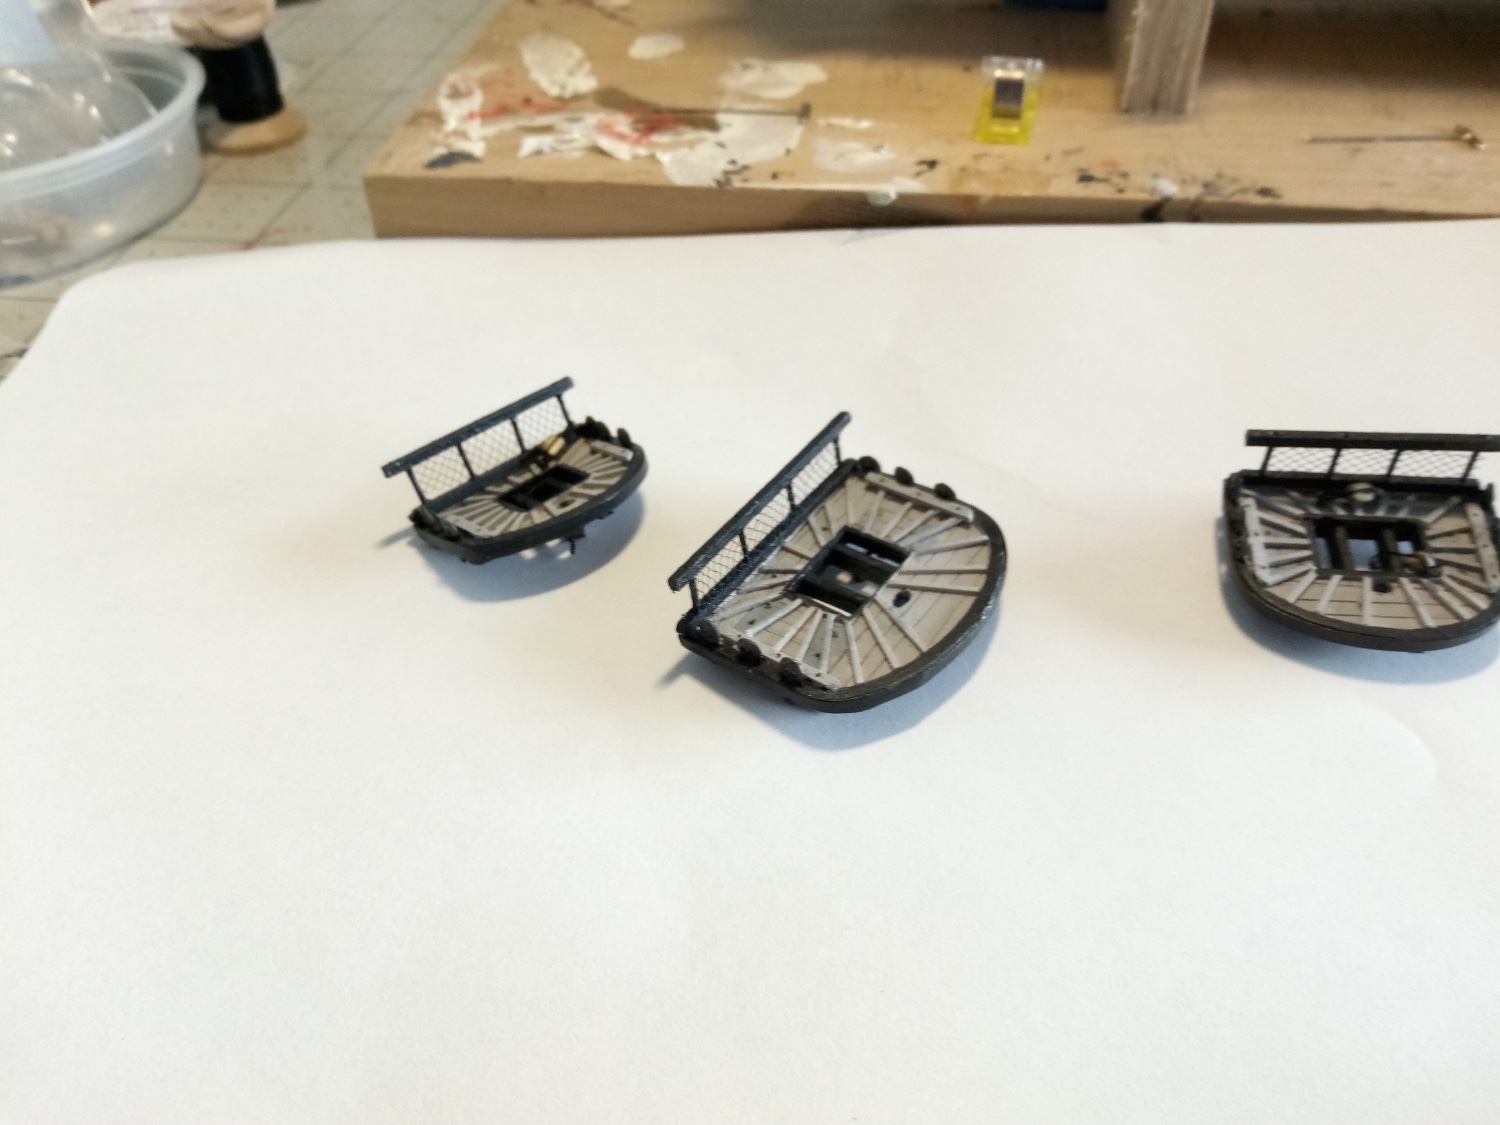
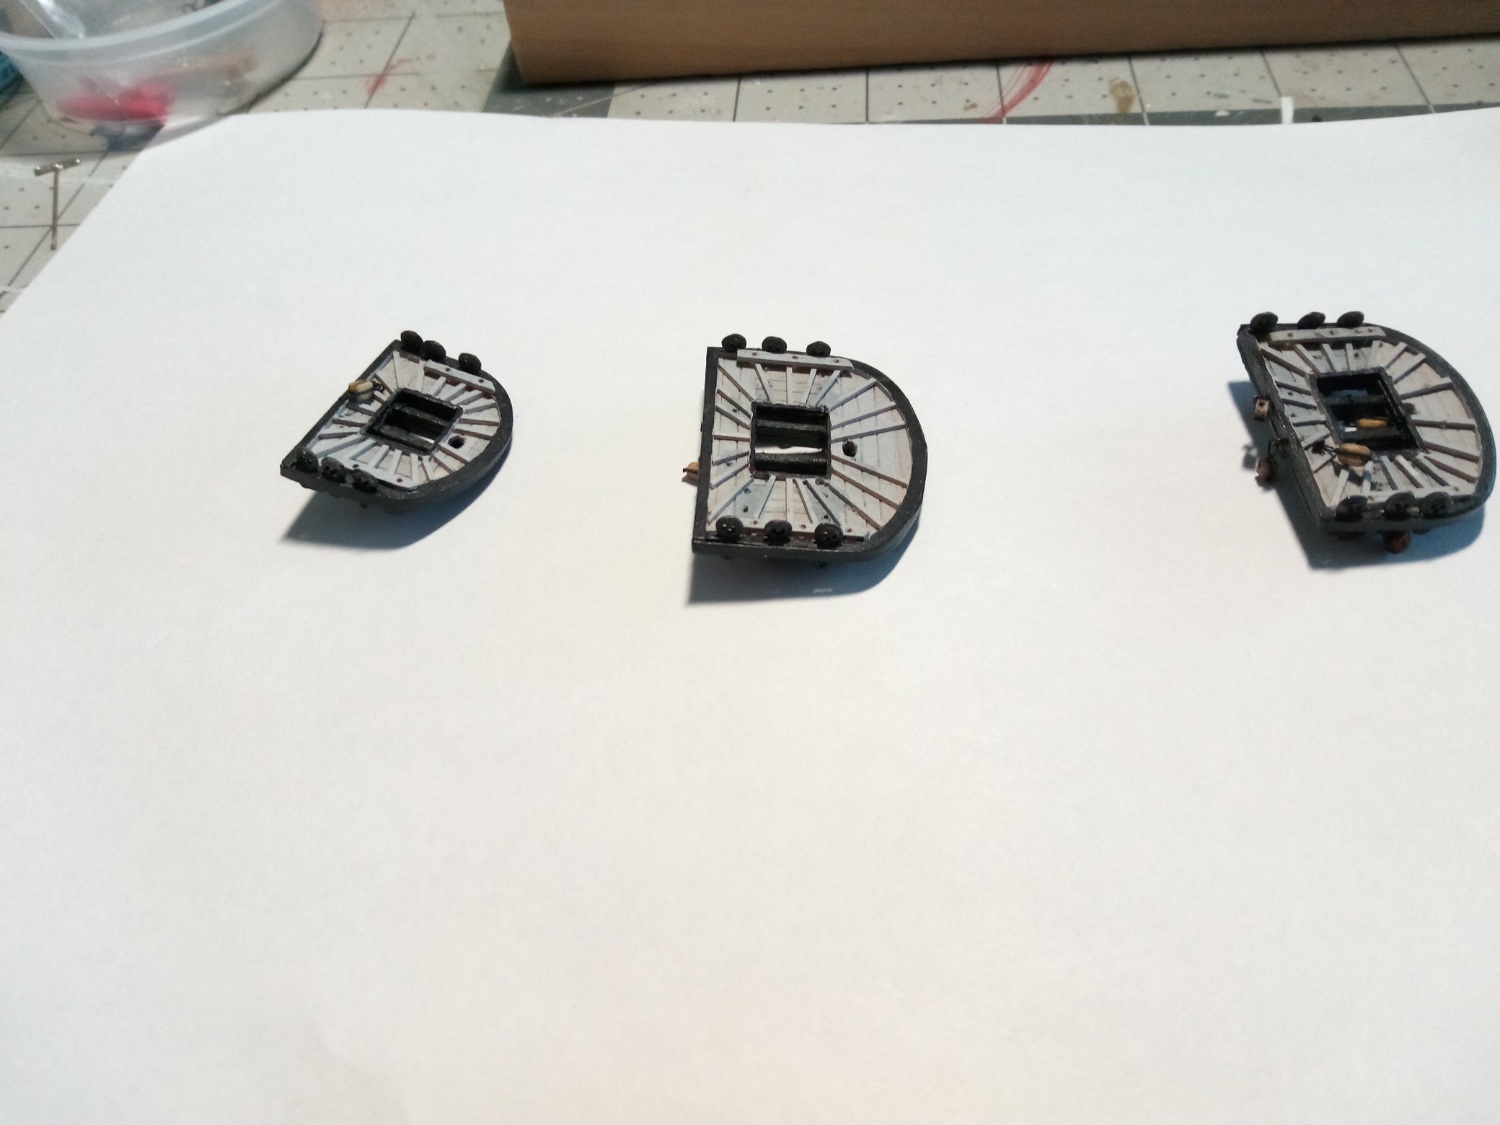
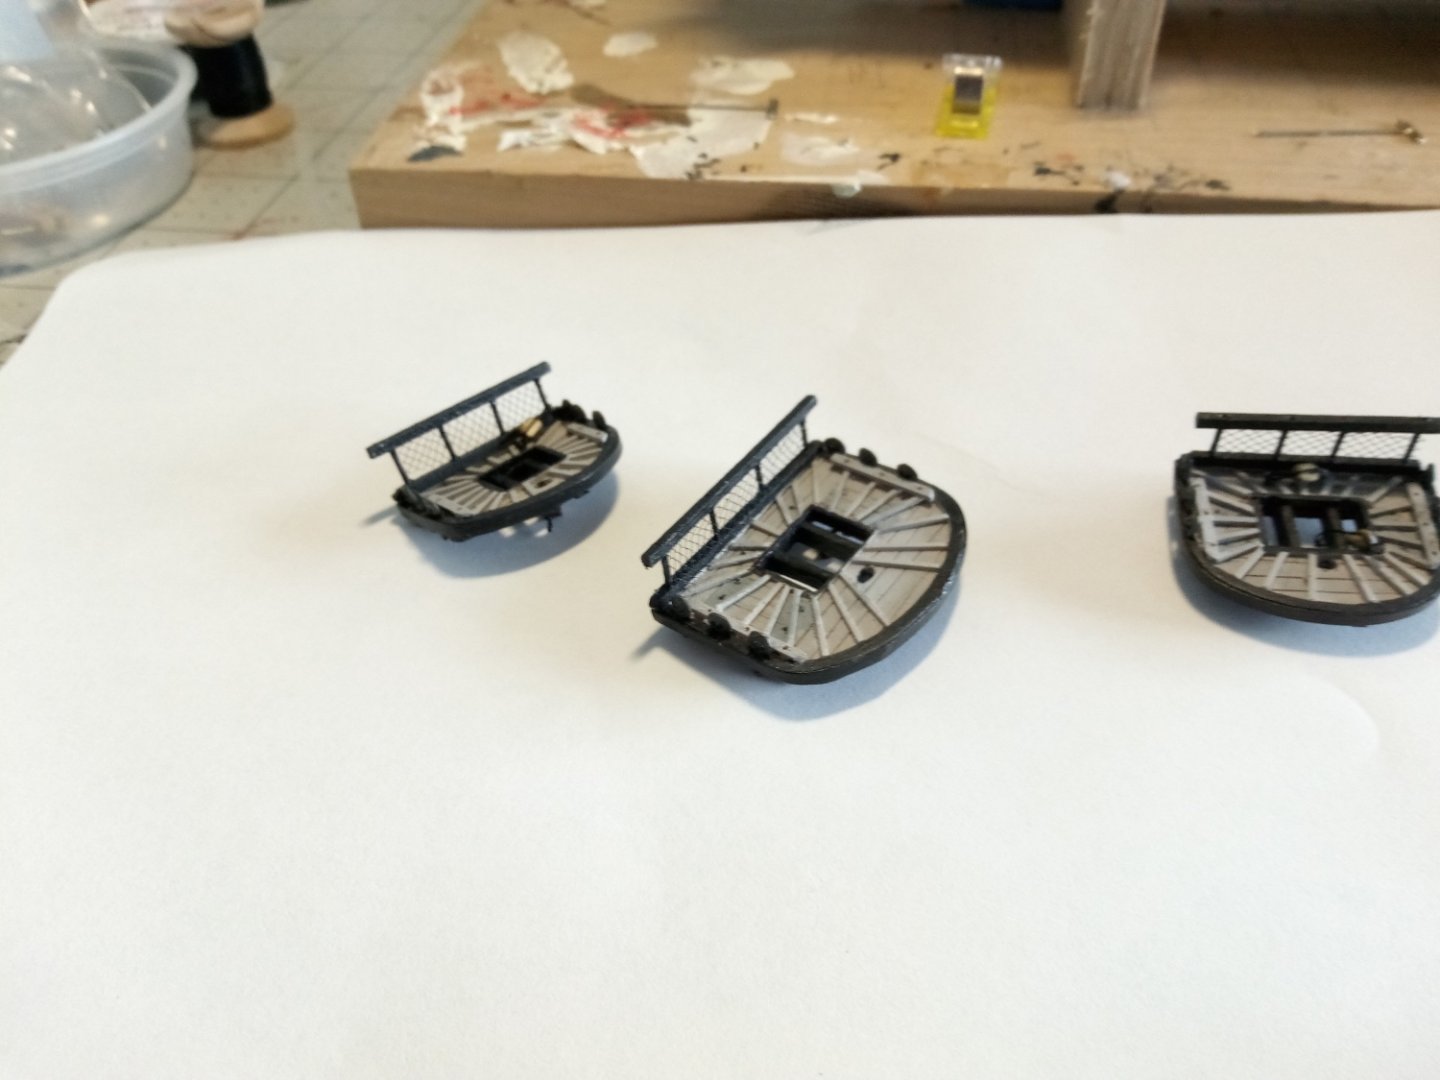
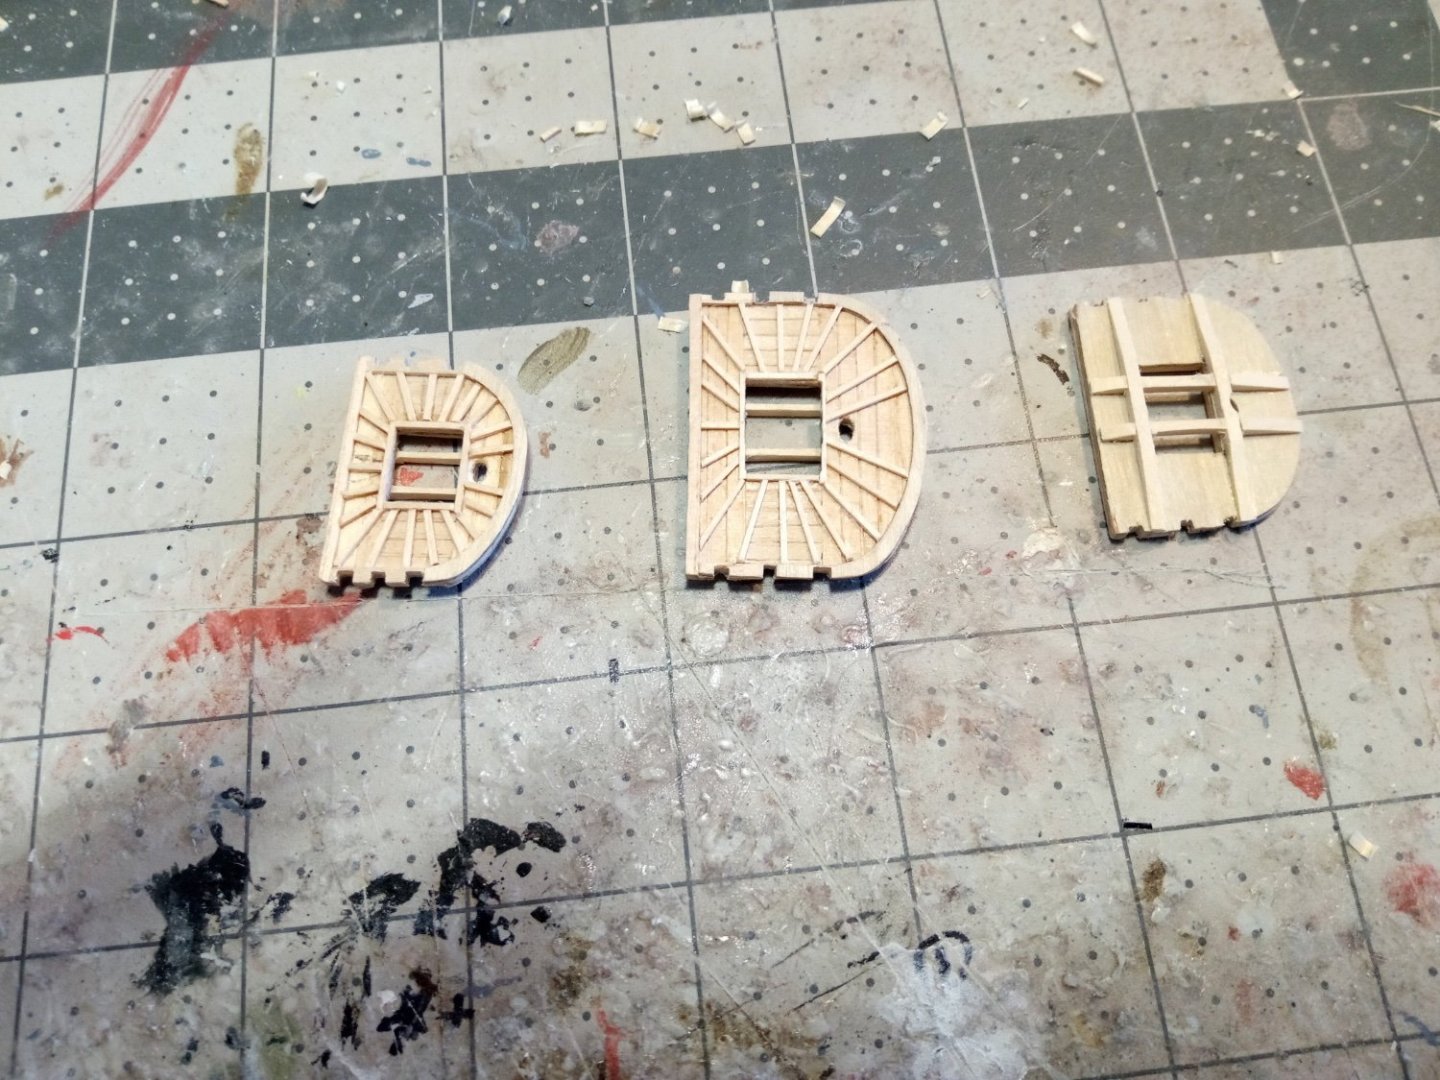
Fighting Tops (cont) I’ve spent quite a bit of time on these and more to go - I never really paid much attention to them when looking at period ship models and did not realize how many parts it takes to make them up. Anyway, the battens have been added (why they put these trip hazards/ankle-twisters on the top surface is beyond me), the slots for the deadeyes have been cut and the crosstrees added: Still to go are the holes for adding the blocks that hang under them, the mountings for the swivel guns, the band that will cover the outboard face and hold the deadeyes in place and the rear railings.
- 114 replies
-
- 13
-
-
- alfred
- solid hull
- (and 1 more)
-
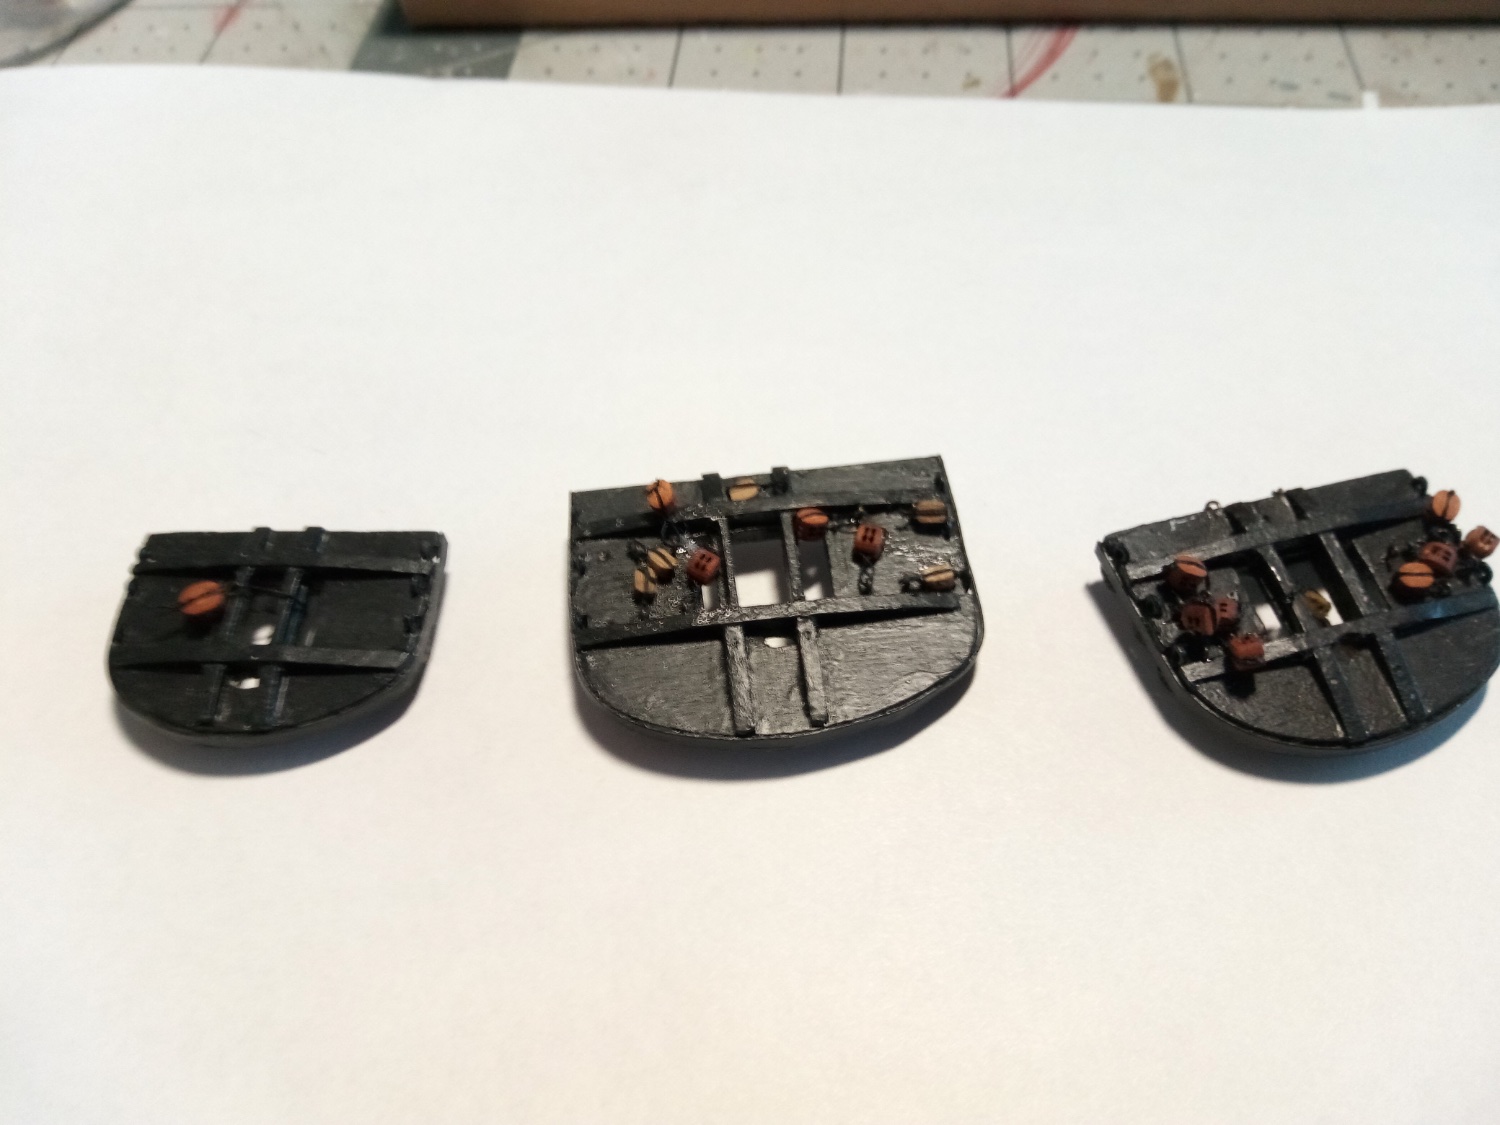
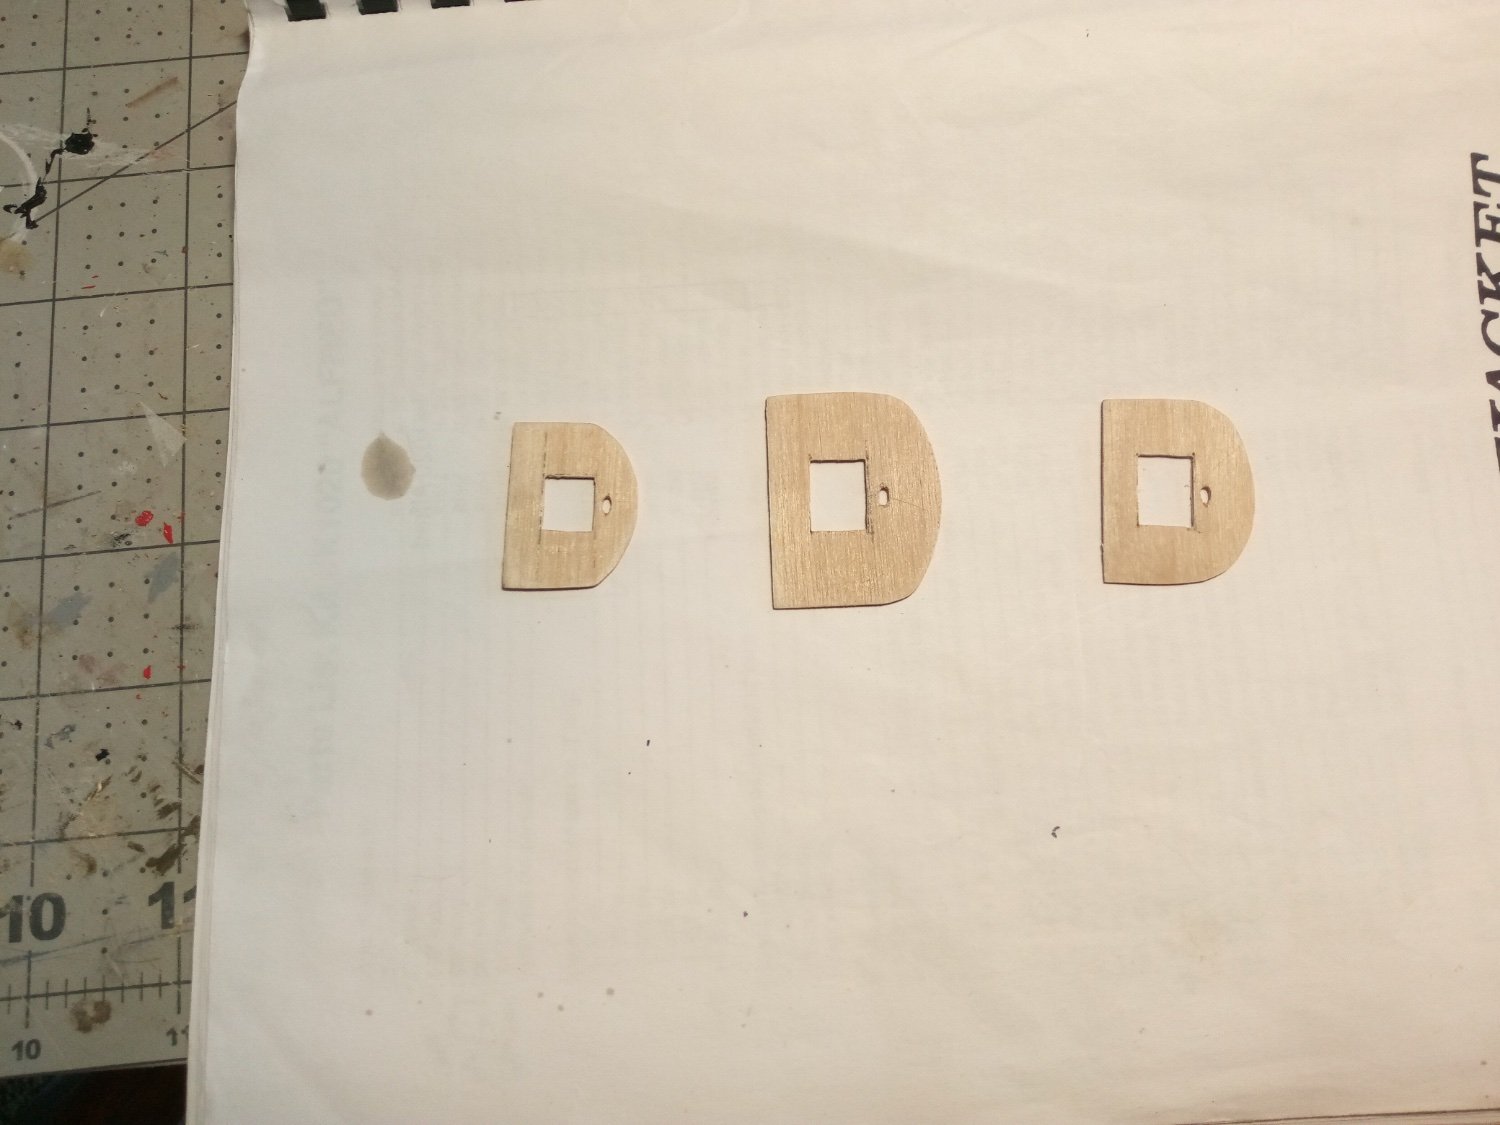
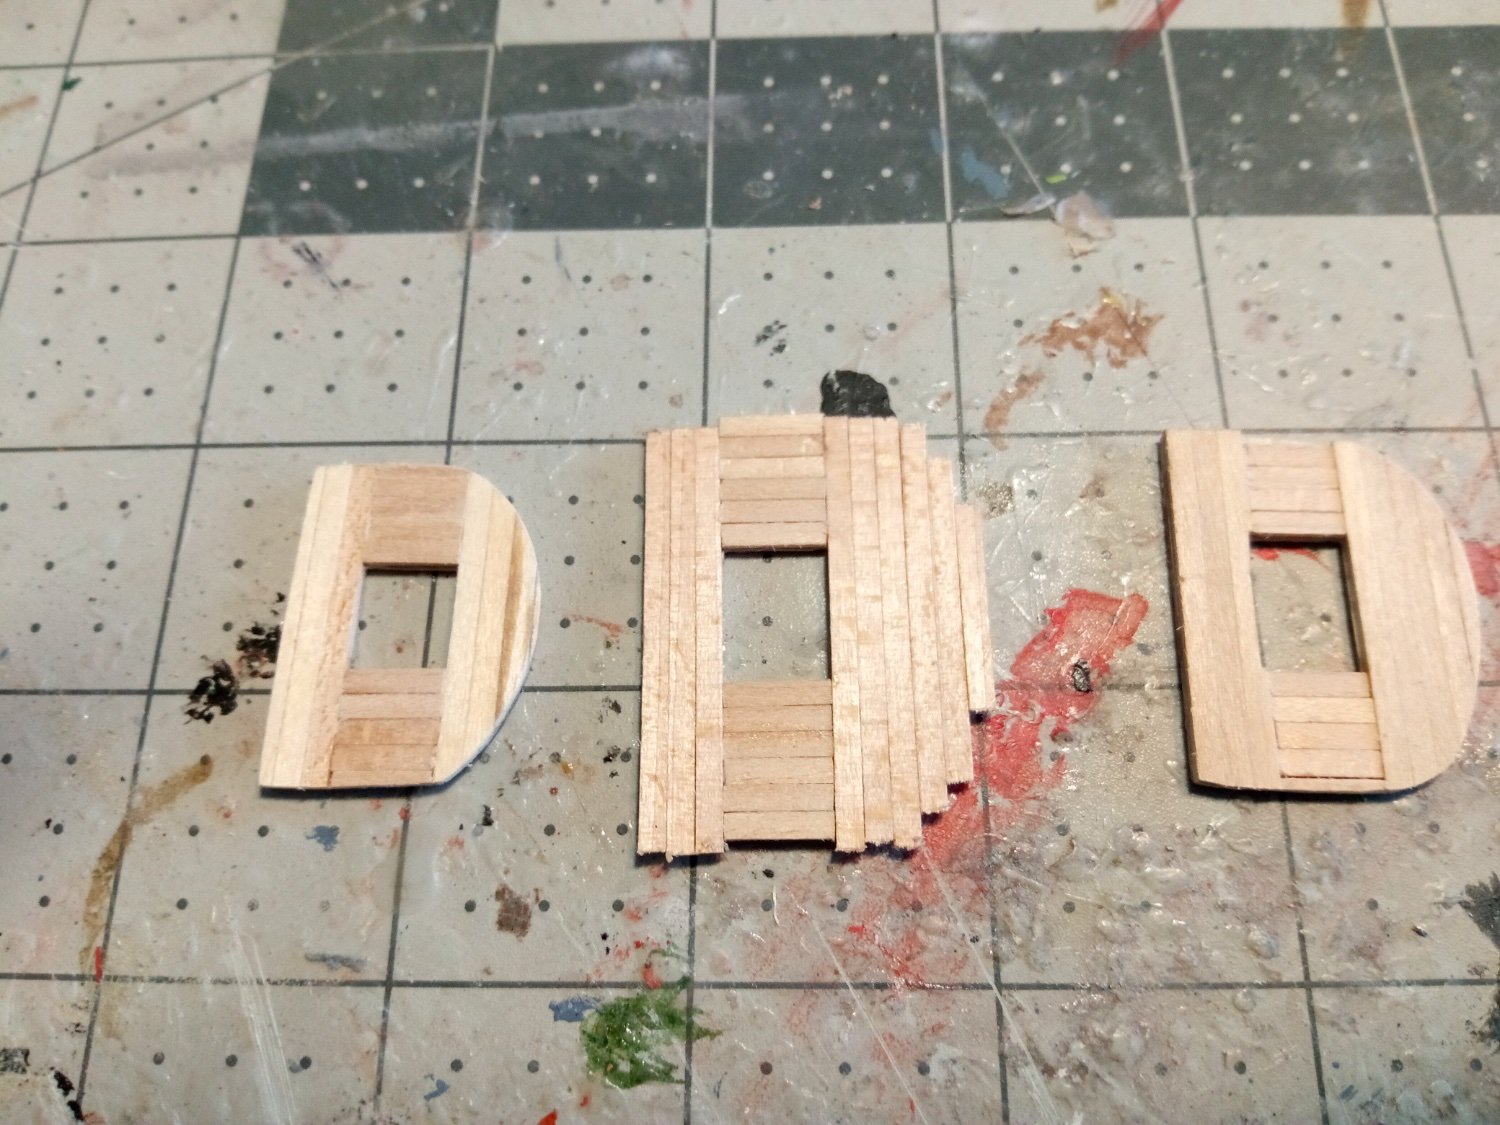
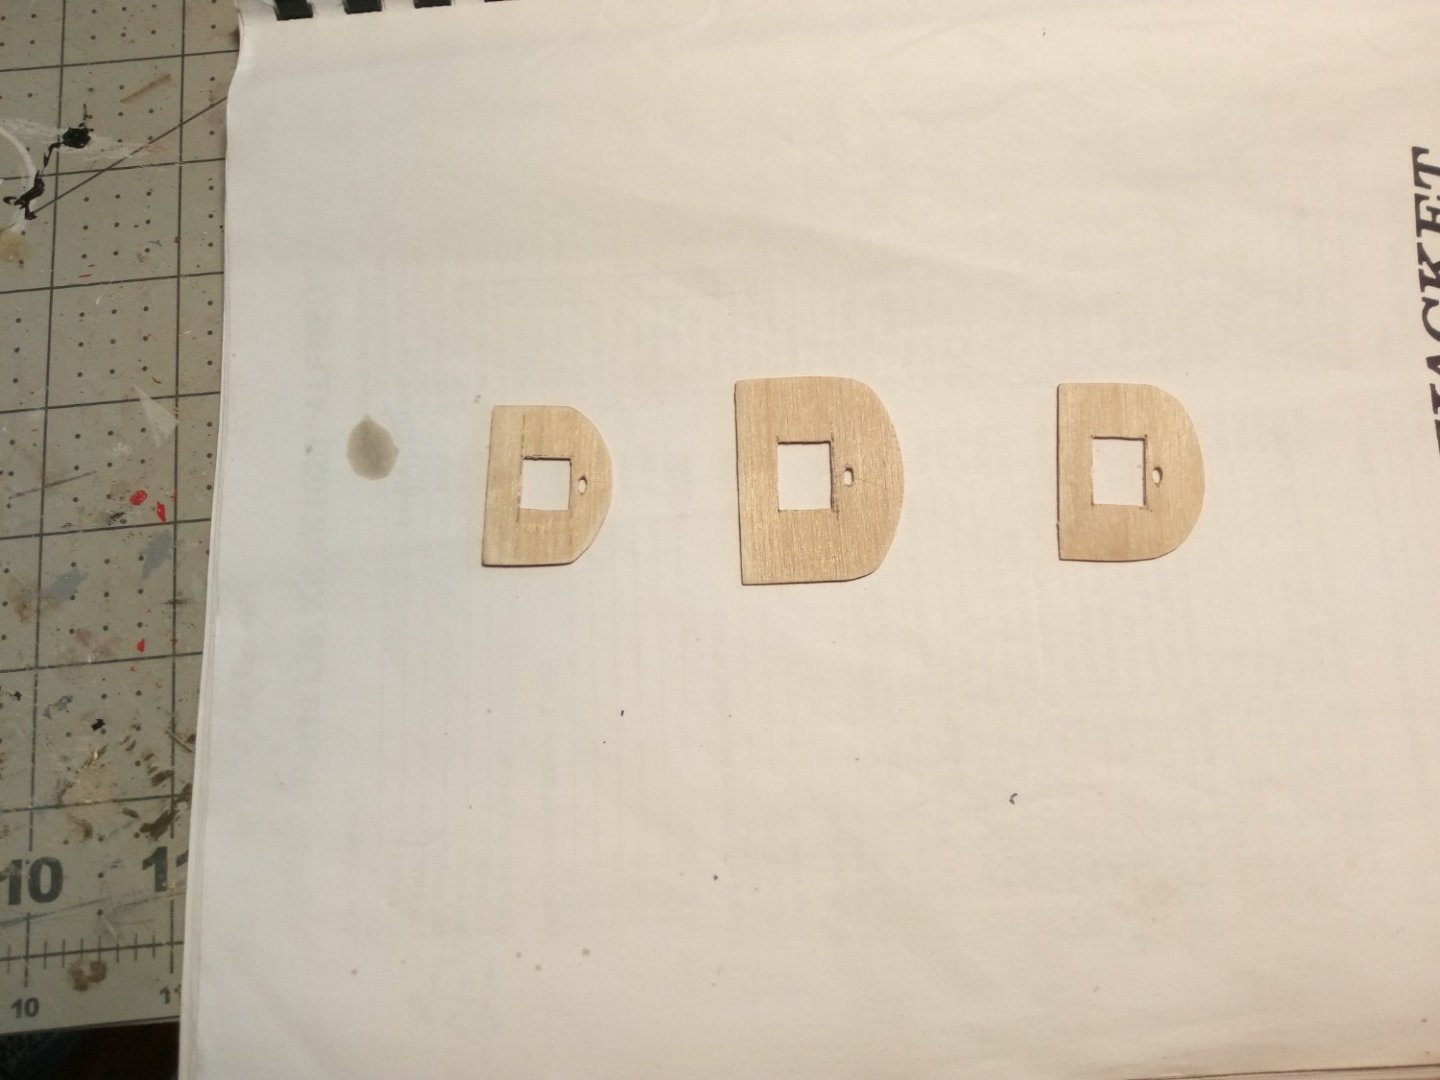
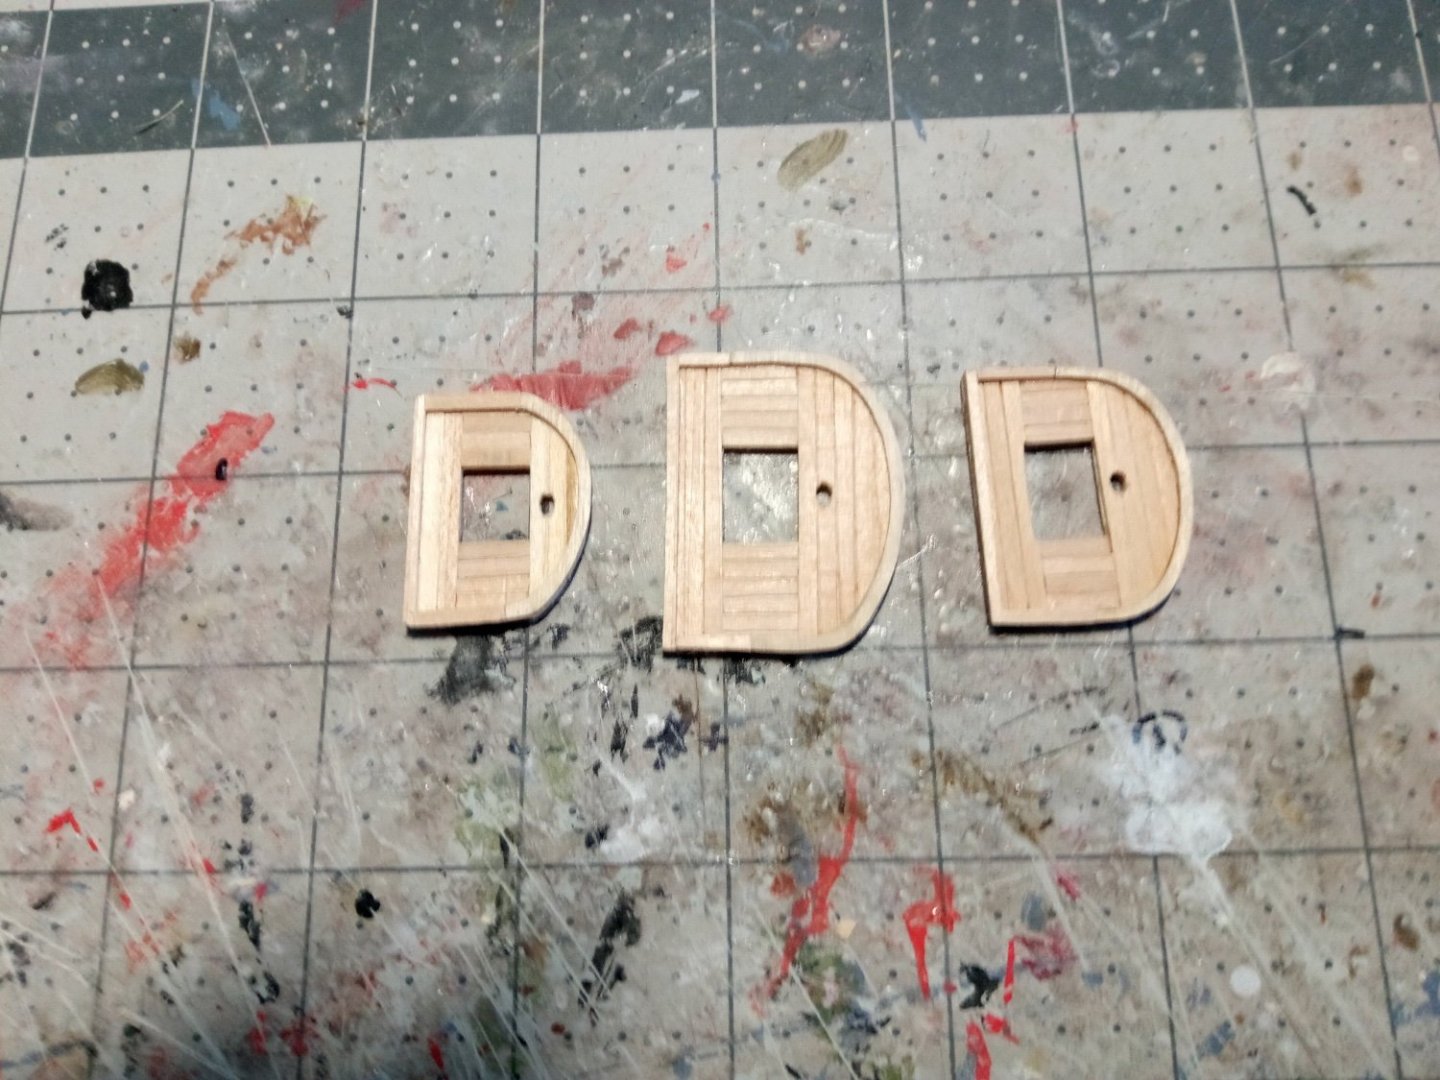
Fighting Tops The tops are all scratch. The instructions recommend making the bases from sheet brass but I find working with plywood to be easier so I traced their shapes and transferred them to 1/32” ply and cut them out: The planking is per the plans, cut a little long and then sanded back to match the base. Given the thiness of the bases I used CA to glue the planking, avoiding wood glue since it's moisture might cause swelling and warping. I used the tip of an awl to drag along the plank seams so that hopefully they will be noticeable after painting. The rims have been added. Next will be the battens and deadeyes.

- 114 replies
-
- 11
-
-
- alfred
- solid hull
- (and 1 more)
-
Nice looking model! You could pair a double block to the triple, assuming that the line starts from a becket on the double block.