captainbob
-
Posts
3,498 -
Joined
-
Last visited
Content Type
Profiles
Forums
Gallery
Events
Everything posted by captainbob
-
Coming along very nicely. Bob
-
Great job Piet. I can just imagine that the schooner in the water has just slid down the ways and another being built. Are you going to be able to show workmen at this scale?
-
Ben, I like the new interior better than the old one. From one who used to live on a boat, It seems more livable. For cutting curves, I still use a Craftsman scroll saw that I bought used some 25 years ago. Bob
-
If the winch was for the lifeboats wouldn't there be one at each boat? Bob
- 2,625 replies
-
- 6
-

-
- kaiser wilhelm der grosse
- passenger steamer
- (and 1 more)
-
Getting a PE license in a lot of hard work. Congratulations ! Bob
-
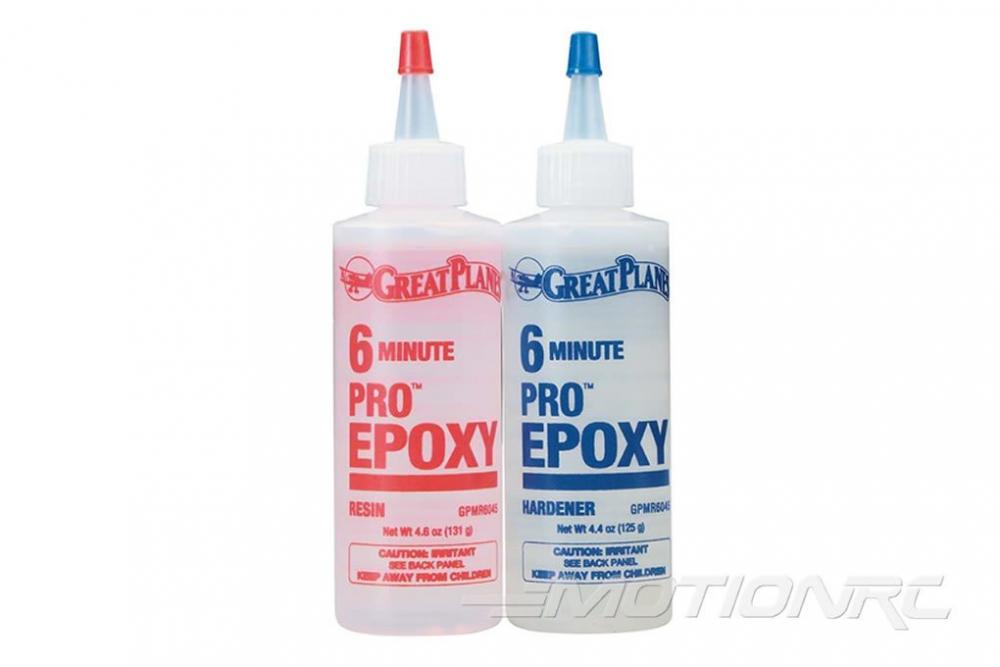
I use this type of epoxy from any of the craft stores. I put a tiny drop of each on a piece of aluminum foil and mix with a toothpick. Then I apply it to the part with the toothpick and mount the part. I leave the mixed epoxy on my bench and when it is set I know the part I attached is finished. Bob
- 17 replies
-
- 10
-
-
The prop rudder area looks great. What is the white filler you used to shape those curves? Bob
- 227 replies
-
- 3
-
-
- BlueJacket Shipcrafters
- Stephen Hopkins
- (and 2 more)
-
Patrick, I love the giant wall murals. The two ladies, the mother and baby and the flowers, Fantastic! Bob
-
She's looking better all the time. I hope someday to do as well. Bob
- 2,625 replies
-
- 6
-
-
- kaiser wilhelm der grosse
- passenger steamer
- (and 1 more)
-
She looks better all the time. Please finish her I've run out of words of praise. Bob
-
I once saw a model off the SPRAY in a bottle where he put a globe in the glass stopper. Bob
-
I agree, Steamschooner. "I's all those little details that bring it to life". Now, like you, it's time for the ships boats. Hope I do as good as you. Thanks Patrick, it was, all the "heaps of charm and character" that made me want to build this boat. Thank you all for the "likes". Bob
- 348 replies
-
- 7
-
-
- pequot
- cable ship
- (and 1 more)
-
Thanks Nils, I have the blades for the two props cut out but not soldered to the hub. The props and rudder may be the last things to go onto the ship. Bob
- 348 replies
-
- 6
-
-
- pequot
- cable ship
- (and 1 more)
-
Shrouds on Navy Ships of WW II
captainbob replied to captainbob's topic in Masting, rigging and sails
Joel, I have a hand drill that I have used for making cable many times. Thanks. Bob -
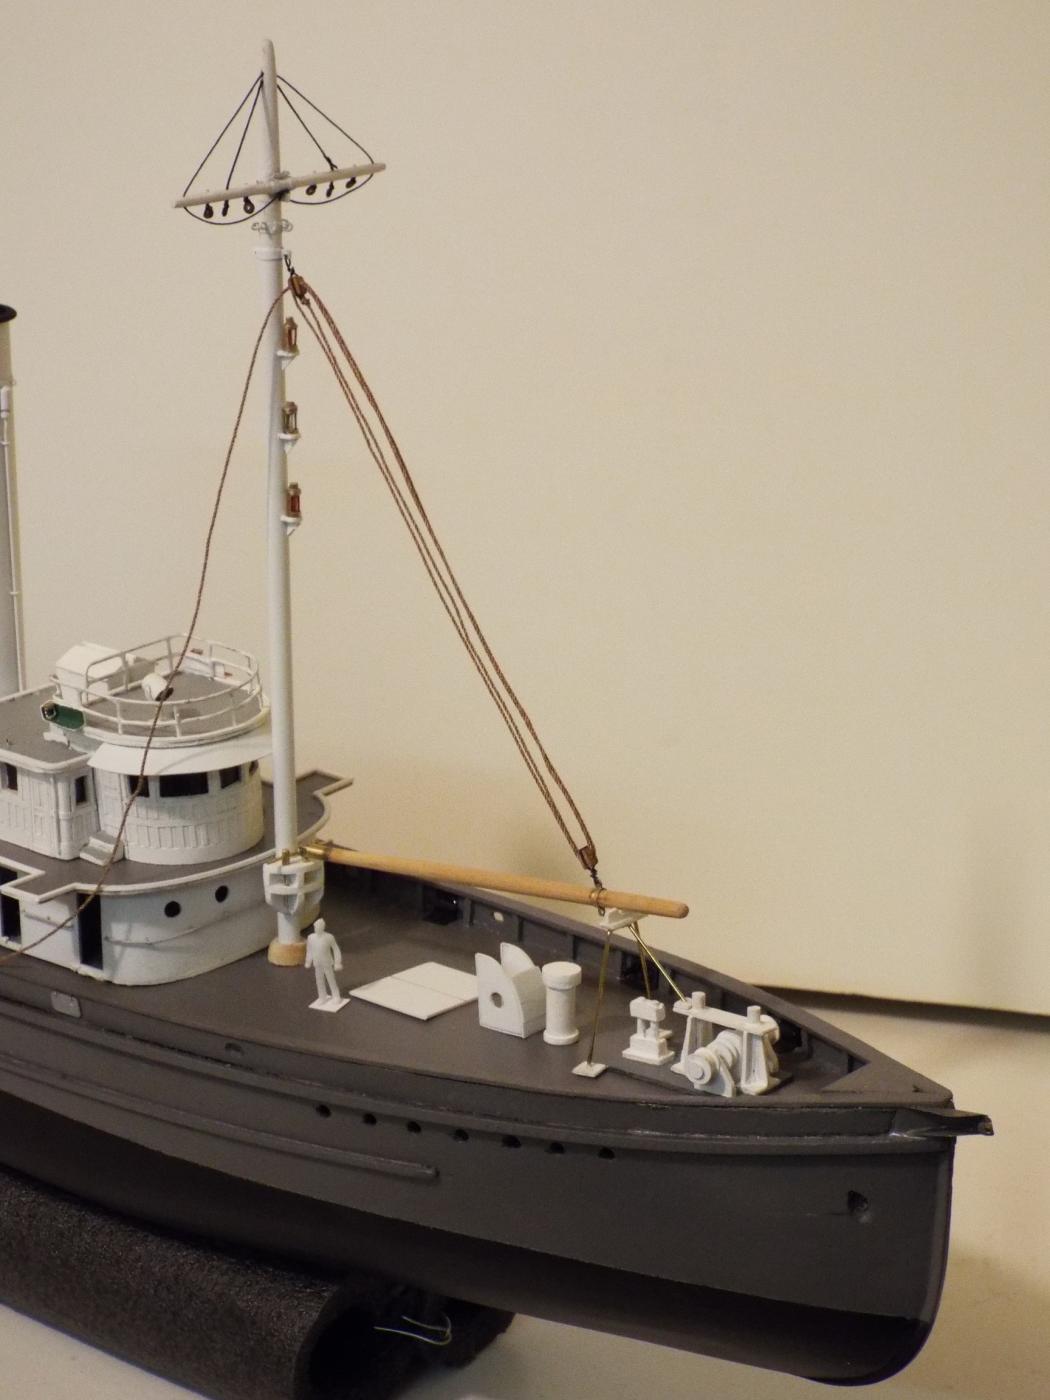
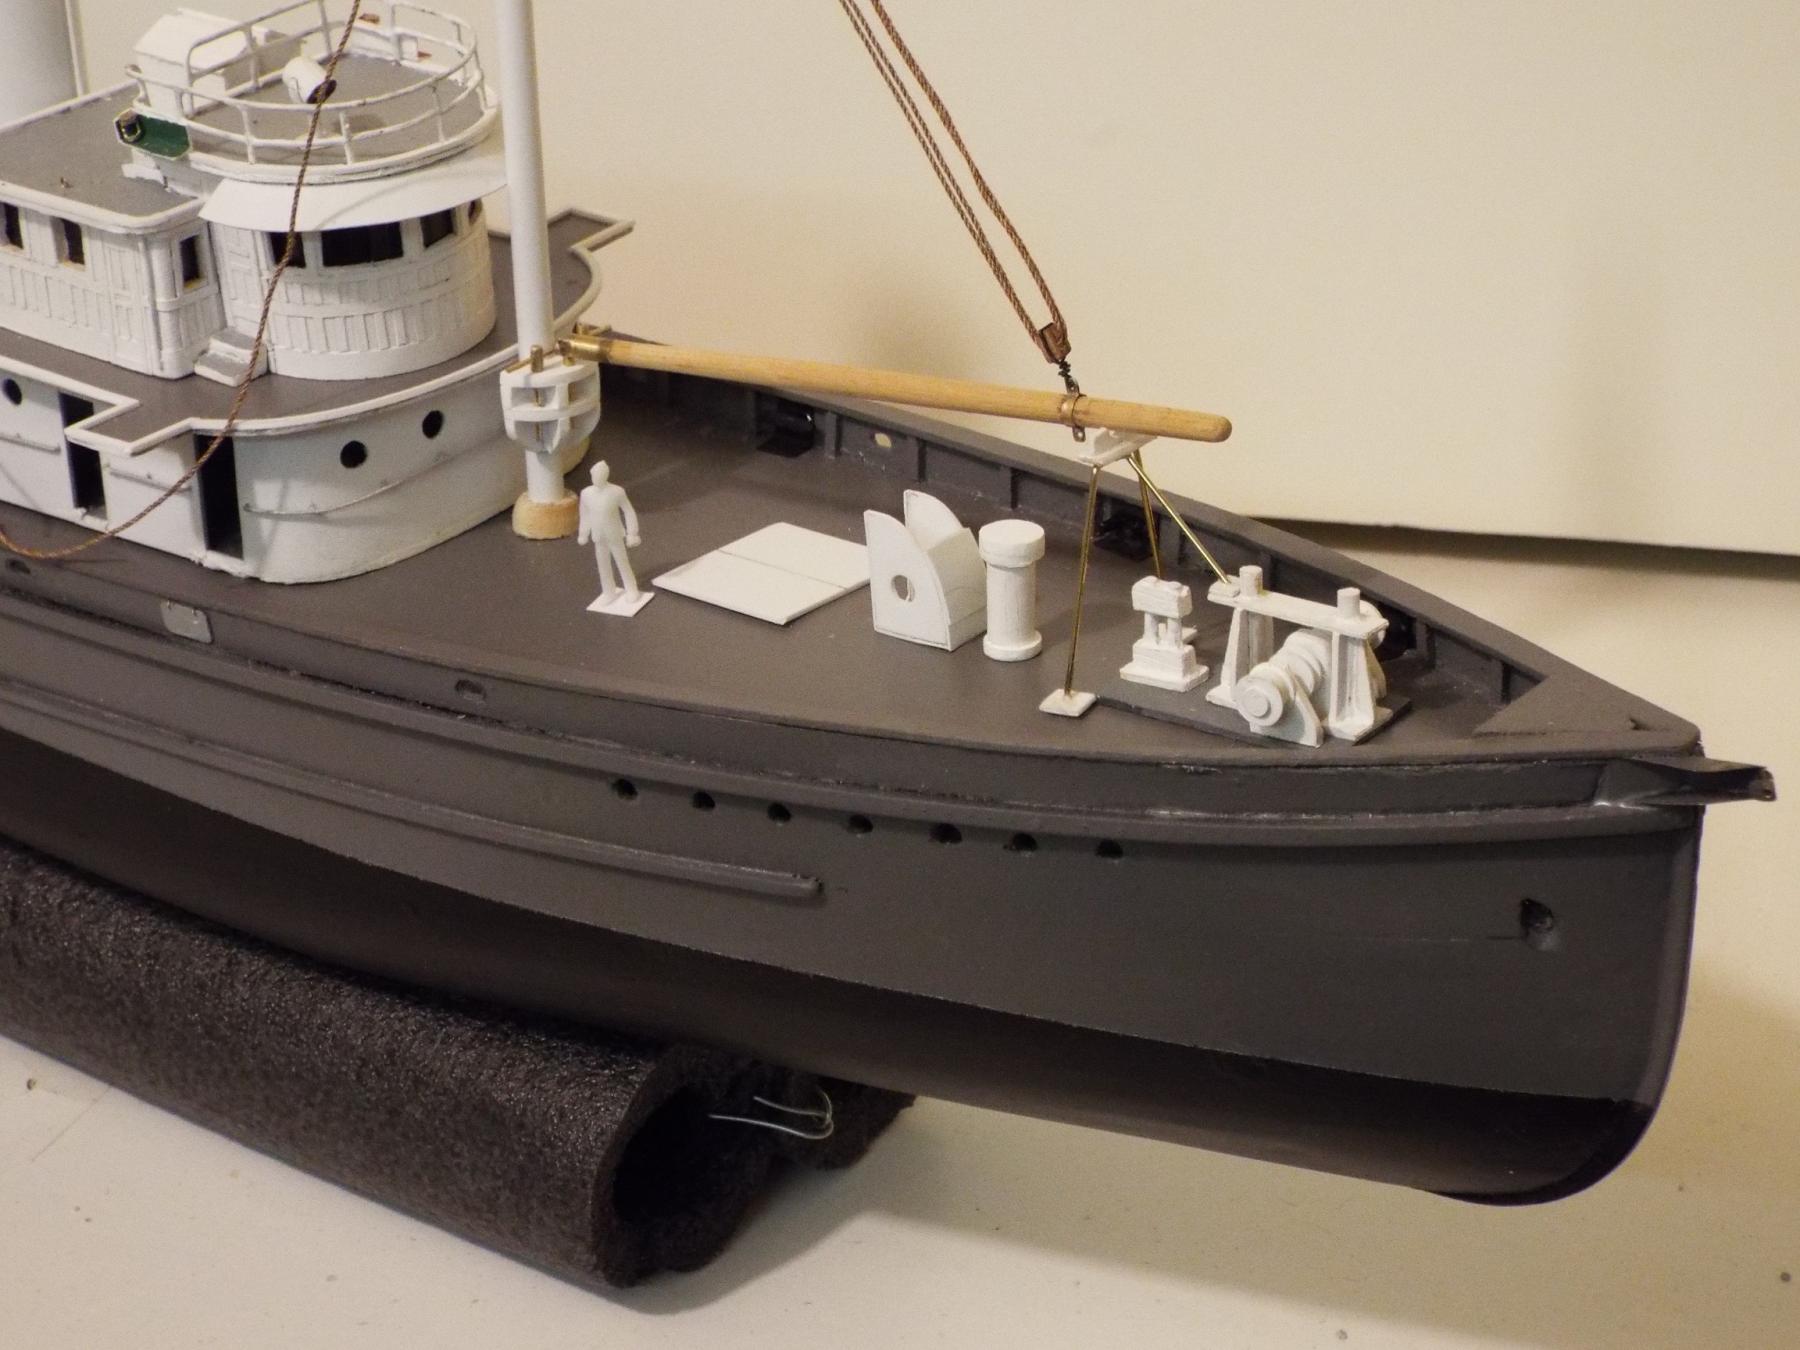
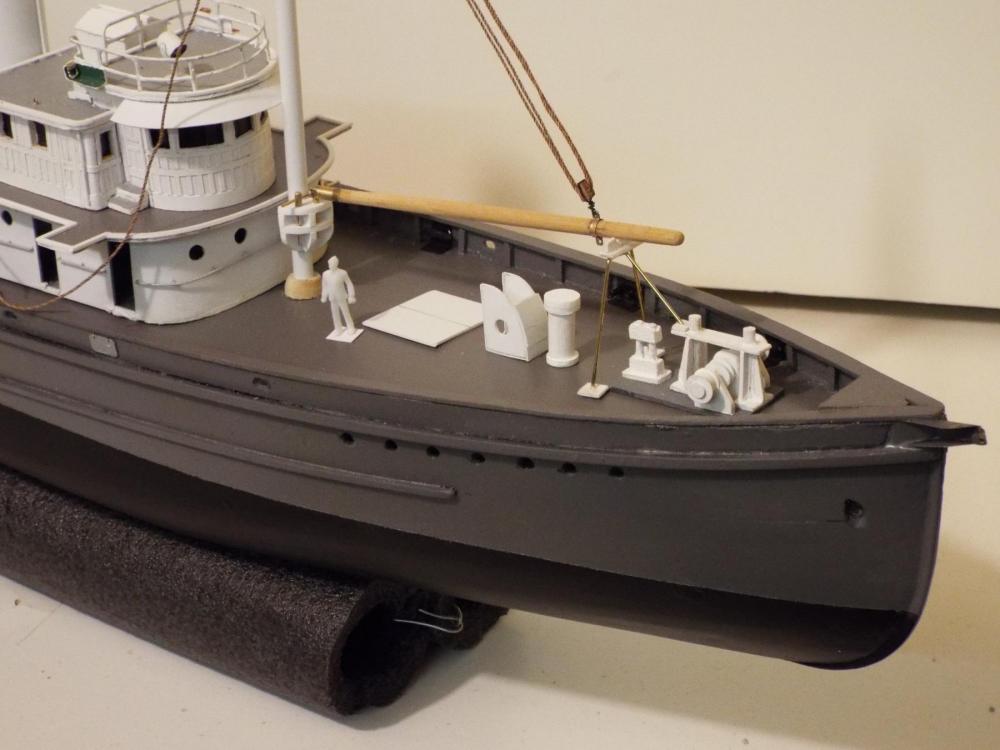
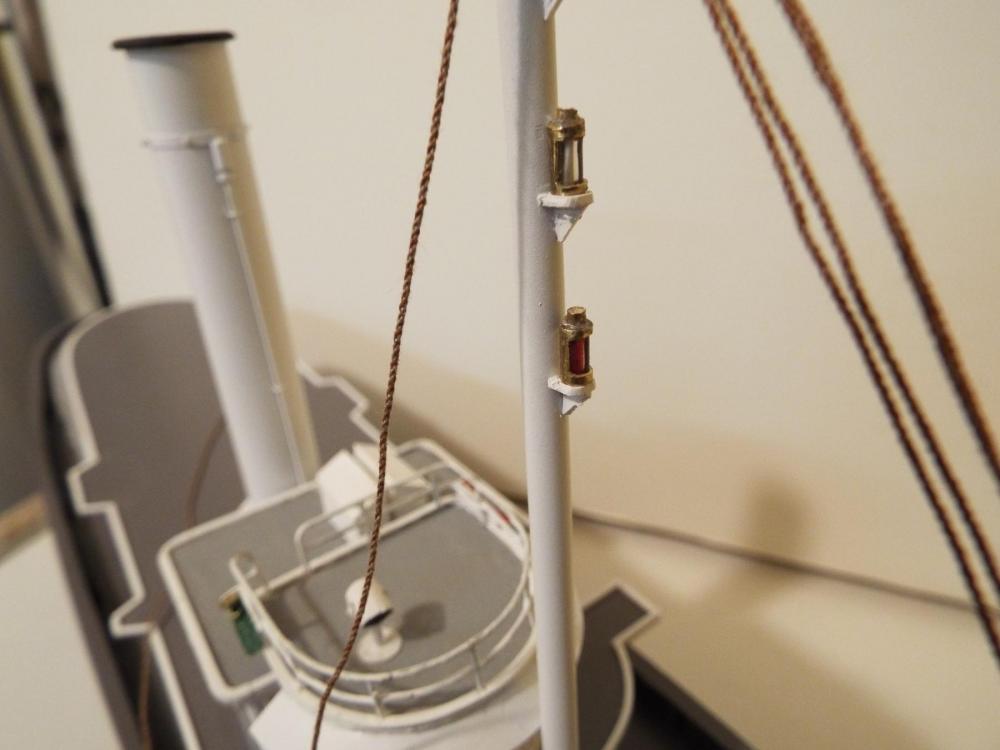
It’s time to start some rigging. The mast is a brass tube with a wooden tapered piece on top. The boom mount is plastic as are the nav. light mounts. The nav. lights are brass tubing with clear tubbing inside and a colored stick inside that to show red or white. The foredeck parts are in place so I could mount the boom crutch and measure for the boom. The Pequot website gave good plans for the ship as made but the modifications after she was transferred to the Coast Guard were never documented. So when it comes to details most of it has to come from the pictures. I just noticed, looking at the pictures, that although the drawings show portholes (lights) in the hull they do not show in any of the pictures. Now I have to go back and fill them and repaint the hull. Ah well. Bob

- 348 replies
-
- 17
-
-
- pequot
- cable ship
- (and 1 more)
-
Nice workshop, nice boat. Bob
-
I'm reminded of the sleeping platform in the concentration camps. Bob
- 649 replies
-
- 7
-
-
- dunbrody
- famine ship
- (and 2 more)
-
Shrouds on Navy Ships of WW II
captainbob replied to captainbob's topic in Masting, rigging and sails
Henry, Jud, Frankie, Thanks for the answer. In the pictures on the Pequot website there are indeed turnbuckles at the bottom of the shrouds. They look to be about six feet long or twice the height of the bulwark. The ends of the ratboards are round, about 1.5 inches in diameter. So now all I have to do is make some steel cable. Thanks again. Bob -
She's beautiful and I'm getting anxious for the christening, there can't be much more to do. Bob
-
I am building a model of the Pequot. Built in the early 1940's for the Navy she was turned over to the Coast Guard soon after her launch. What has me confused is the shrouds and ratlines. When I look closely at the pictures showing men standing in the rigging I do not see any deflection of the shrouds or ratlines and the ends of the ratlines are like the end of rods, they are not knotted. When I do a Google search, Shrouds and ratlines are only mentioned as rope no sailing ships. When I try to narrow the search to WW II steel ships, shrouds and ratlines are not mentioned in tables of terminology. So the question. Were the shrouds and ratlines made of welded steel rod rather than rope? And what were they called in the Navy? Bob
-
The helm, be it lee or weather, has to do with the underwater center of resistance and the sails center of effort. To compensate for a lee helm, where the boat is turning away from the wind, the sail is too far forward and needs to be moved aft. This can usually be corrected by loosening the forestay and tightening the backstay. To correct for a weather helm you need to move the sail forward. Bob