Mike Y
-
Posts
1,543 -
Joined
-
Last visited
Content Type
Profiles
Forums
Gallery
Events
Everything posted by Mike Y
-

Clamping down the deck to frames
Mike Y replied to Captain Al's topic in Modeling tools and Workshop Equipment
That looks like a weights from the knitting machine! Instead of clamping, it's better to bevel frames, to have a proper contact between deck and the frame. Also, the frame in the middle of your photo is significantly lower then the one on right side of the photo, if you clamp it down, deck would be bent. Is it desired? Or maybe it's just an effect on a photo? -
Mark, Floyd, thanks for a warm words! Also I have a plan to build a Longboat with boxwood, waiting for a parcel from HobbyMill to arrive. Hope to use all experience with Pinnace to build a Longboat close to perfection
- 137 replies
-
- 1
-

-
- finished
- model shipways
- (and 1 more)
-
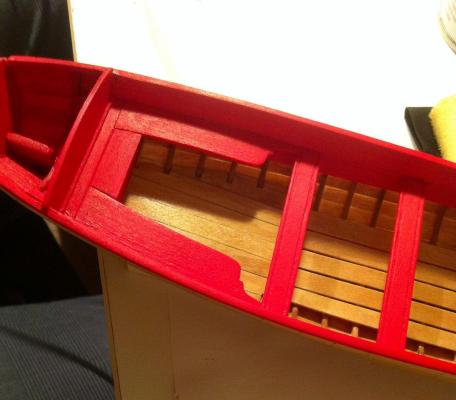
Thanks Chuck! Finished caprails, and finally painted everything. This time I mixed the paint with a bit of water, so it was more liquid. I was very very paranoid to avoid the paint stains, so covered everything that should not be painted with a masking tape: Next lesson - instead of smoothing the surface, paint highlight all imperfections and a wood grains. Since on a basswood I could not remove the hairy wood fibers even with scratching or 1200grit paper - now I see lots of them And turned out that I did a poor sanding job on internal planking, it is far from being sanded flush. Shame, truly a shame, but to fix it - will need to remove lots of paint, and it would turn the model into a messy thing. So - next time, on a next model. Better sand more then less. Tomorrow, when paint would be completely dry, will add a layer of wipe-on poly, maybe that will hide some nasty wood fibers.

- 137 replies
-
- 4
-
-
- finished
- model shipways
- (and 1 more)
-
Finished one caprail. Turned out to be unexpectedly tricky to make a proper templates, so I just glued a Big Ugly Something and then sanded it down to name it a caprail. As you can see, right caprail looks legit, left one is just a piece of wood: Remined me of a childhood, when I was locked up in a summer house for a month, and was so bored that made a solid hull ship about 25cm long, carved from a single piece of wood using one chisel and a sharp knife (that were the only tools available, apart from the garden shovel and a hammer). It is just a matter of time required to sand... Speaking of mistakes, now a bit incorrectly aligned frame is very visible, one side of the hull have a wrong shape. Unfixable on a current phase of the build. Always always align your frames perfectly! Lesson learnt. Chuck, do you recommend to cover a panted parts with a wipe-on poly? Is poly compatible with acrylic paints like Galeria that I use on your advice?
- 137 replies
-
- 7
-
-
- finished
- model shipways
- (and 1 more)
-
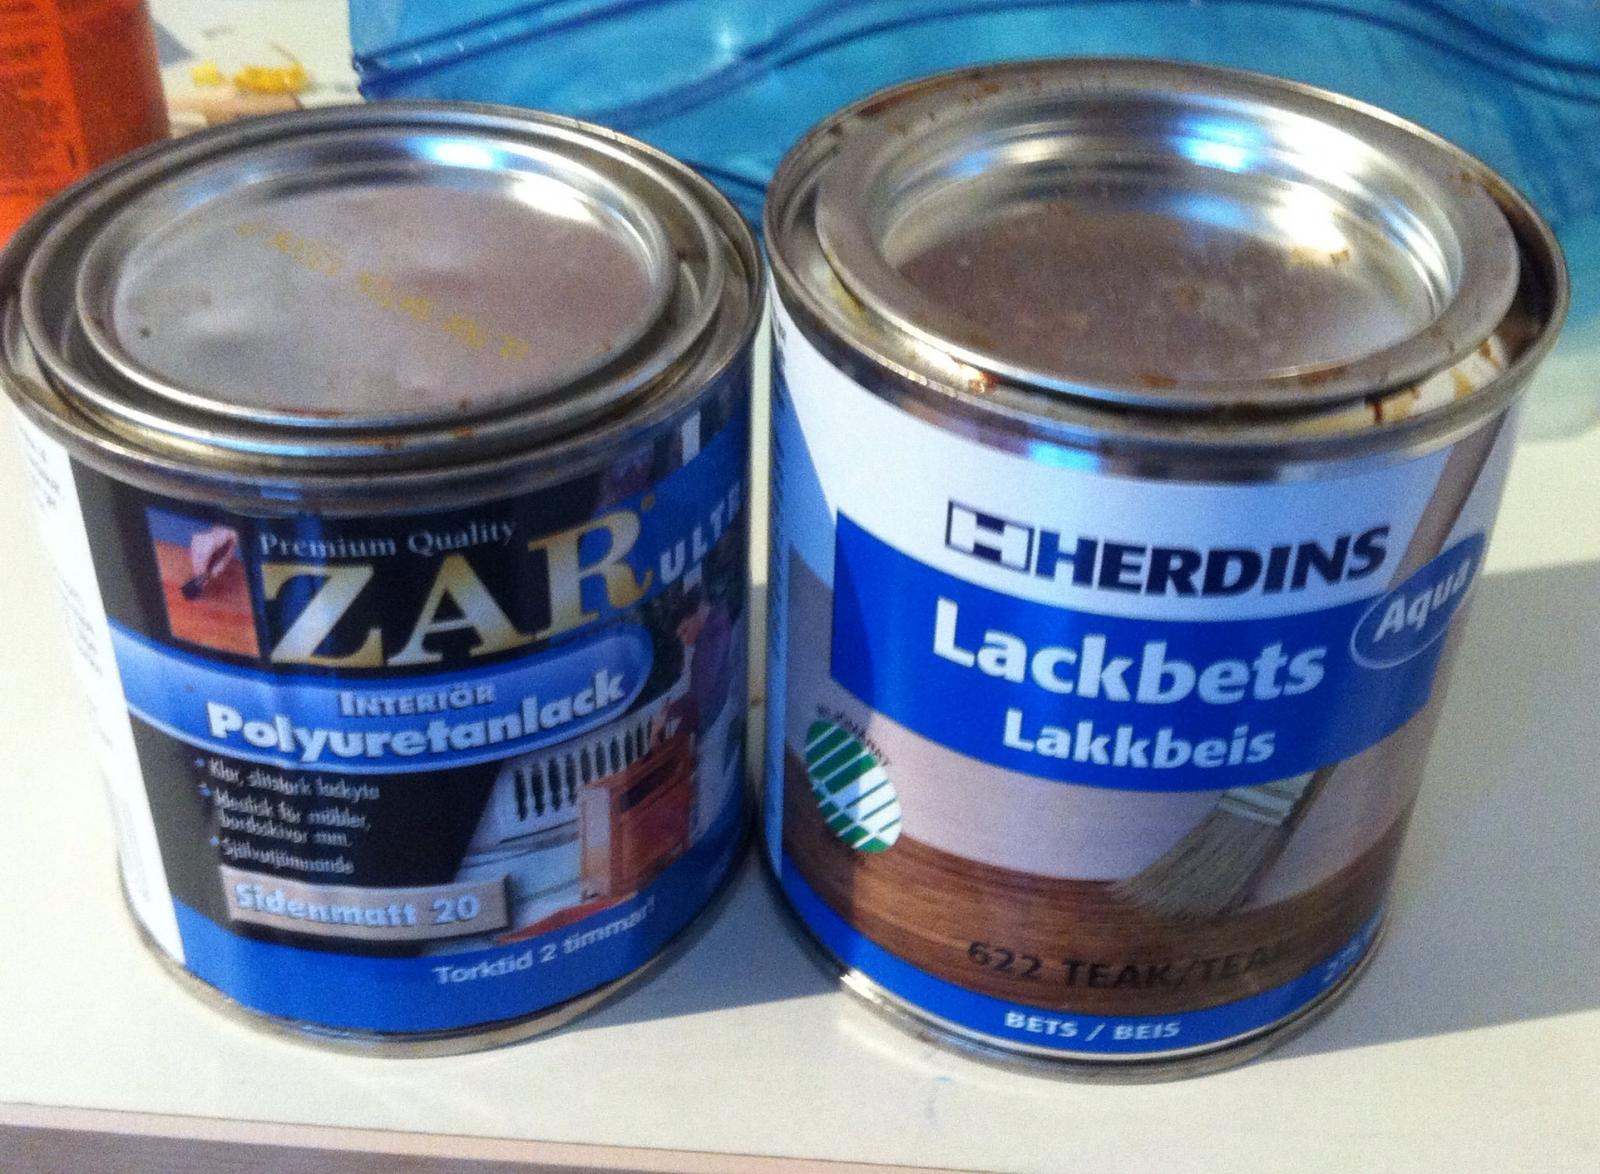
Swedish follower asked about paint and polish brands, here is what I used: Stain was mixed with water, 2 parts of stain for 3 parts of water. Poly was used as is, one coat, applied with micro fiber cloth (same as used to clean the glasses, it do not leave any fibers)

- 137 replies
-
- 1
-
-
- finished
- model shipways
- (and 1 more)
-
Wow, it is actually possible to COMPLETE THE VASA???! Congratulations!
-
Thanks Frank, that sounds interesting!
-
But thinning PVA with water will increase the glue activation time and reduce the strength of the glued joint, right?
-
Thanks for advice! But maybe I'm missing something, but how exactly you do use it? It looks like just another toothpic/needle, "some thin object". The problem is that you can't have a lot of glue on it, otherwise the glue drop would be very big and messy. Robert, my PVA dries quite quickly, so if I put it on a disk or plate - it lasts for a few minutes..
-
Trying to find a way to carefully apply a tiny bit of PVA-based carpenter glue. Tried to use a small stick, needle, toothpic, results are not that good. It's hard to control the size of a glue drop, and if you need to apply glue in lots of places - it takes quite some time if you do it drop by drop. Tried to use a syringe, but even in a special glue syringe the needle is not wide enough to let the PVA flow. What is the trick? How do you carefully apply a PVA, which is not as liquid as a CA-based glue?
-
Hi Ian, Thanks for info, yes, that boat was exactly the clinker boat!
-
That is an interesting model! Where did you found that kit? Don't see it on the Lauck St. website..
-
Thanks Michael! Hope you will enjoy that little delicate kit Are you going to build it with a stock basswood, or with a wood upgrade from HobbyMill?
-
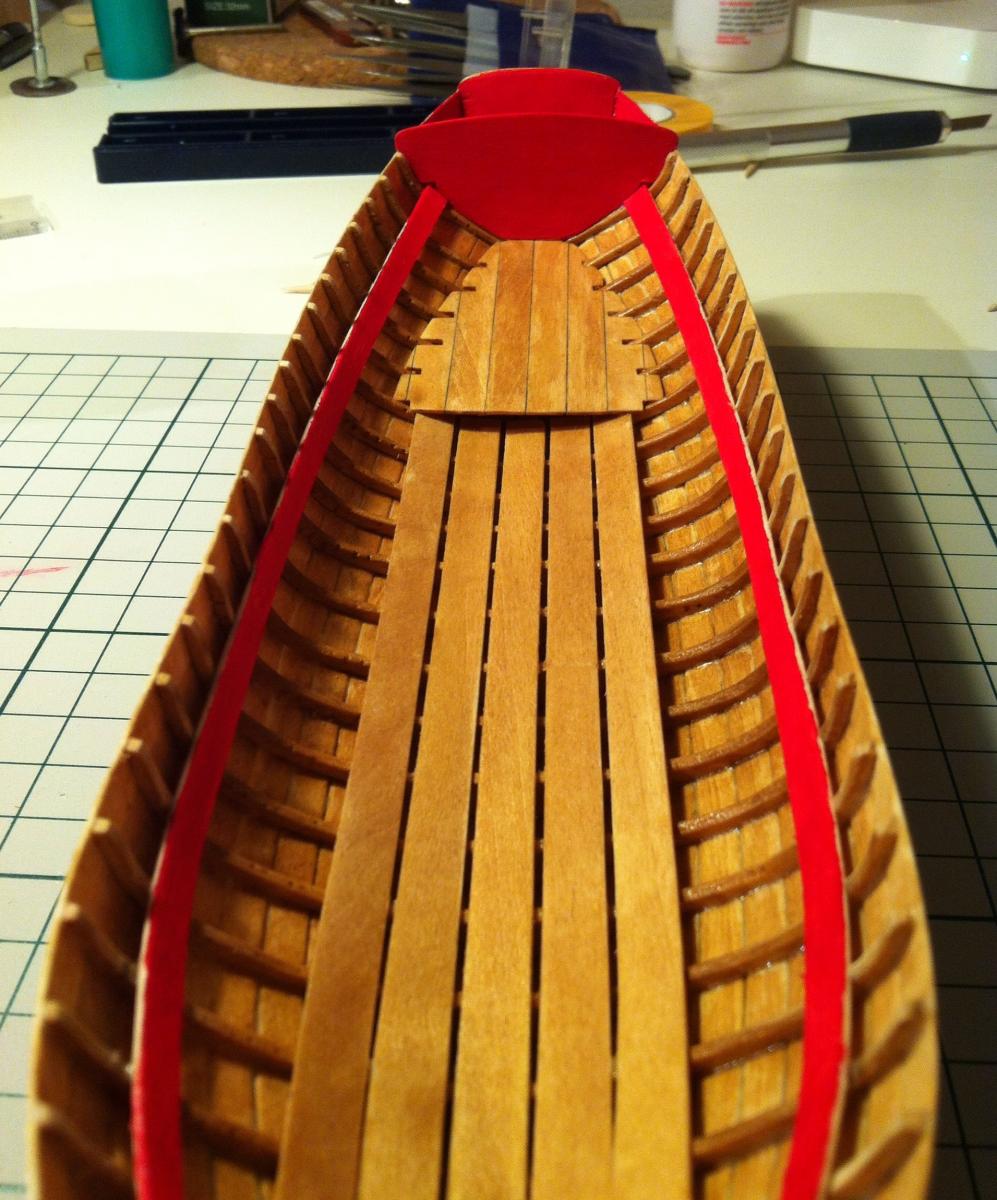
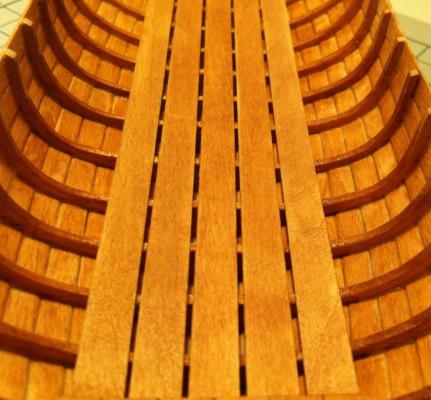
Internal planking completed: Now - the caprails! Chuck recommends to make them flush with internal planking, but let them hang on external side. But I'm thinking maybe it would look nicer make a caprail symmetrical, evenly hanging a bit from both sides? Will try and see. Luckily there is enough wood in the kit for experimenting with different shapes of caprails
- 137 replies
-
- 5
-
-
- finished
- model shipways
- (and 1 more)
-
I need advice on a rotary tool
Mike Y replied to jdiven's topic in Modeling tools and Workshop Equipment
To be honest, proxxon accessories for a rotary tool are cheaper and there is a bigger variety, then for Dremel. And they are not compatible (different shaft size). P.S.: I use Dremel, but can't say that I'm very happy with it, mostly due to a price of accessories. -
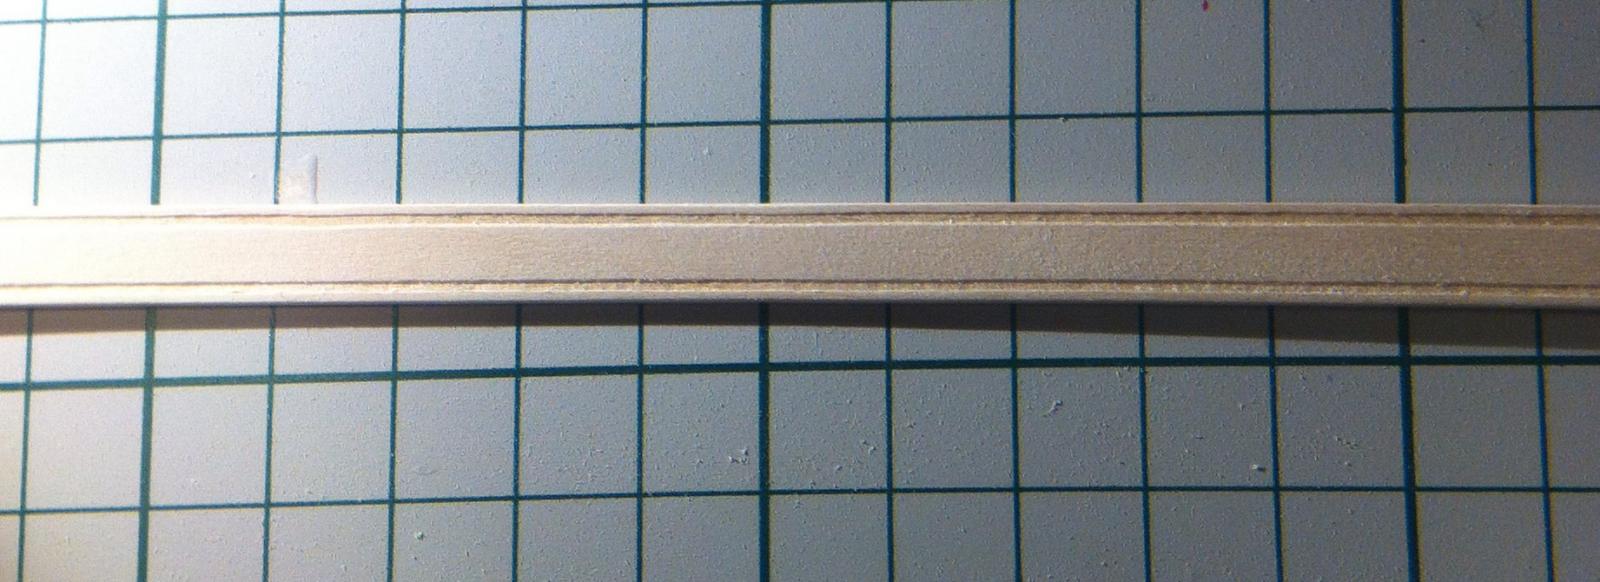
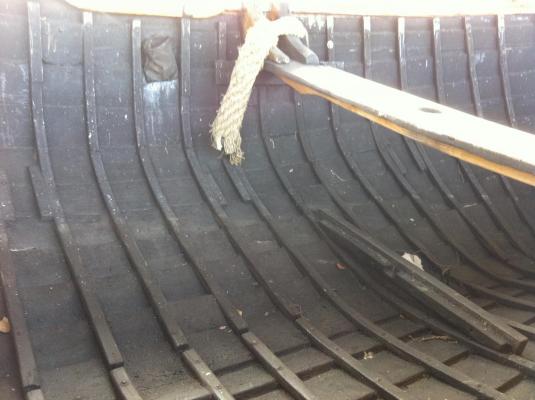
Also found an old boat (real boat) that is being restored, look how thin the frames are! I didn't know that they could be that thin. It's just some sticks!
- 137 replies
-
- 2
-
-
- finished
- model shipways
- (and 1 more)
-
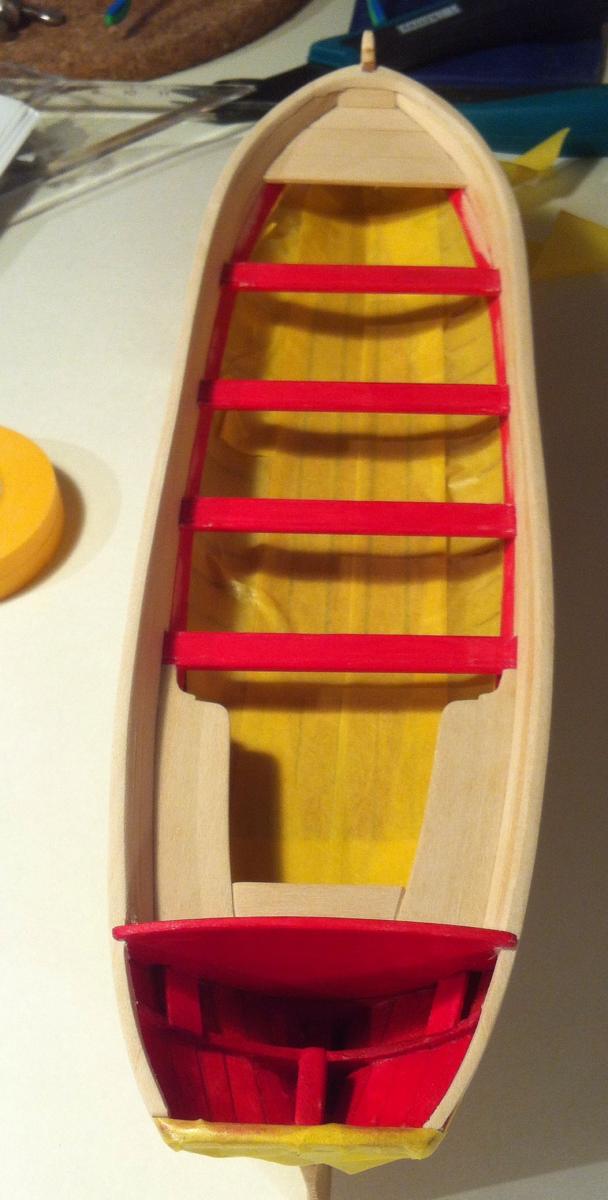
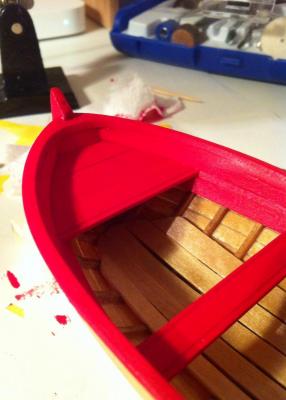
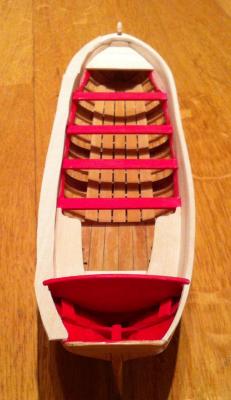
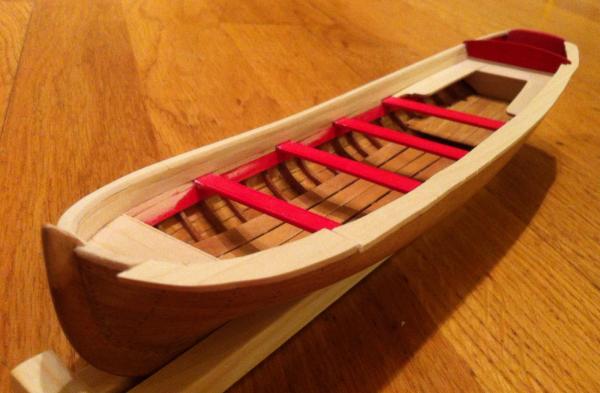
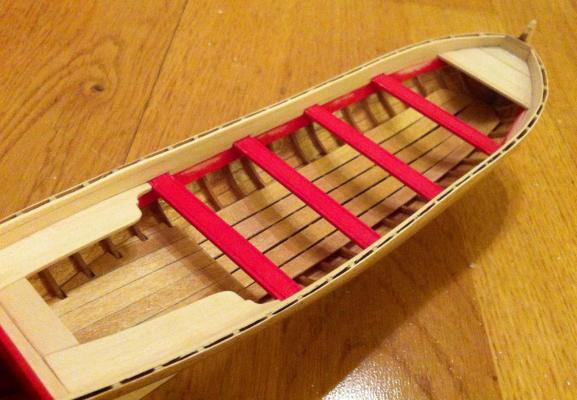
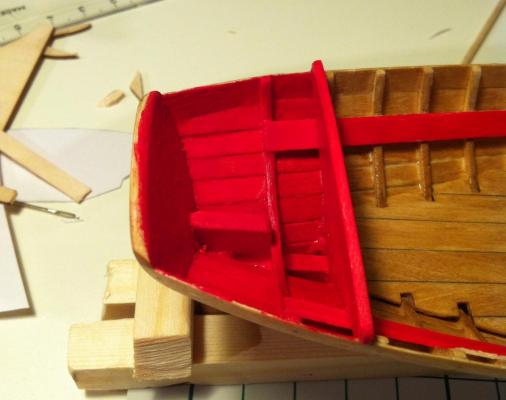
Had no time to model for a month, but now finally back to the bench! Installed the risers, it required a better fairing of the frames, and I was not risking to clamp them while glueing. Here comes the nasty part - painting. I truly hate it, my painting skill suck and the whole procedure is extremely risky. That is why I always opt to natural wood color, maybe a bit of stain But this model have a rich red color which adds a style, so there is no choice. I used Galeria Acrylic Crimson paint, same as Chuck. Results are quite ok in places where you can wipe away unnecessary paint with a cloth: But I totally failed in an area with problematic access, like transom. Well, that would be an experience... Maybe I should have mixed it with water, to make paint more liquid?

- 137 replies
-
- 8
-
-
- finished
- model shipways
- (and 1 more)
-
Danny, thanks for such a detailed log! It's an endless source of inspiration and hints for less experienced builders, like me P.S.: the color scheme is interesting, I'm thinking about POF model with similar wood combination - swiss pear frames and beams, boxwood hull and deck planking, mixed wood for fittings. Your log gives a very good overview of that color combination!
-
Sorry for jumping into that topic, but if somebody wants a latest generation kit with a proper shields - I decided to sell mine: http://modelshipworld.com/index.php?showtopic=6268 Von Kossa, sorry again, if you want, I will remove that message. Just posted it here because there is a nice group people interested in Oseberg model here
-
Ouch! Testing in production but it only means that next iteration wou,d be much better. Look on Dubz, he screams the word DECONSTRUCTION every now and then, re-making some build steps again and again, and result is incredible! That planks should bend quite normal, I used an iron to heat them, and soaked in a hot water for an hour before bending. But be careful with the direction of a wood fibers, mahogany strip will break if you bend it along the fibers... And also dry the planks before installing, they absorb skme water while soaking, and then shrink back. If you glue them while they are still soaked - nasty gaps will appear. Good luck!
-
Wow, that is a very clear planking, properly levelled, no gaps, amazing!
-
Drilled the holes with dremel. In hindsight, I should have done better job marking holes for treenails, they are no properly aligned into straight lines. But dremel is quite suitable for such drilling. I really want to use something lighter then dremel, but it would be just nice to have.
-
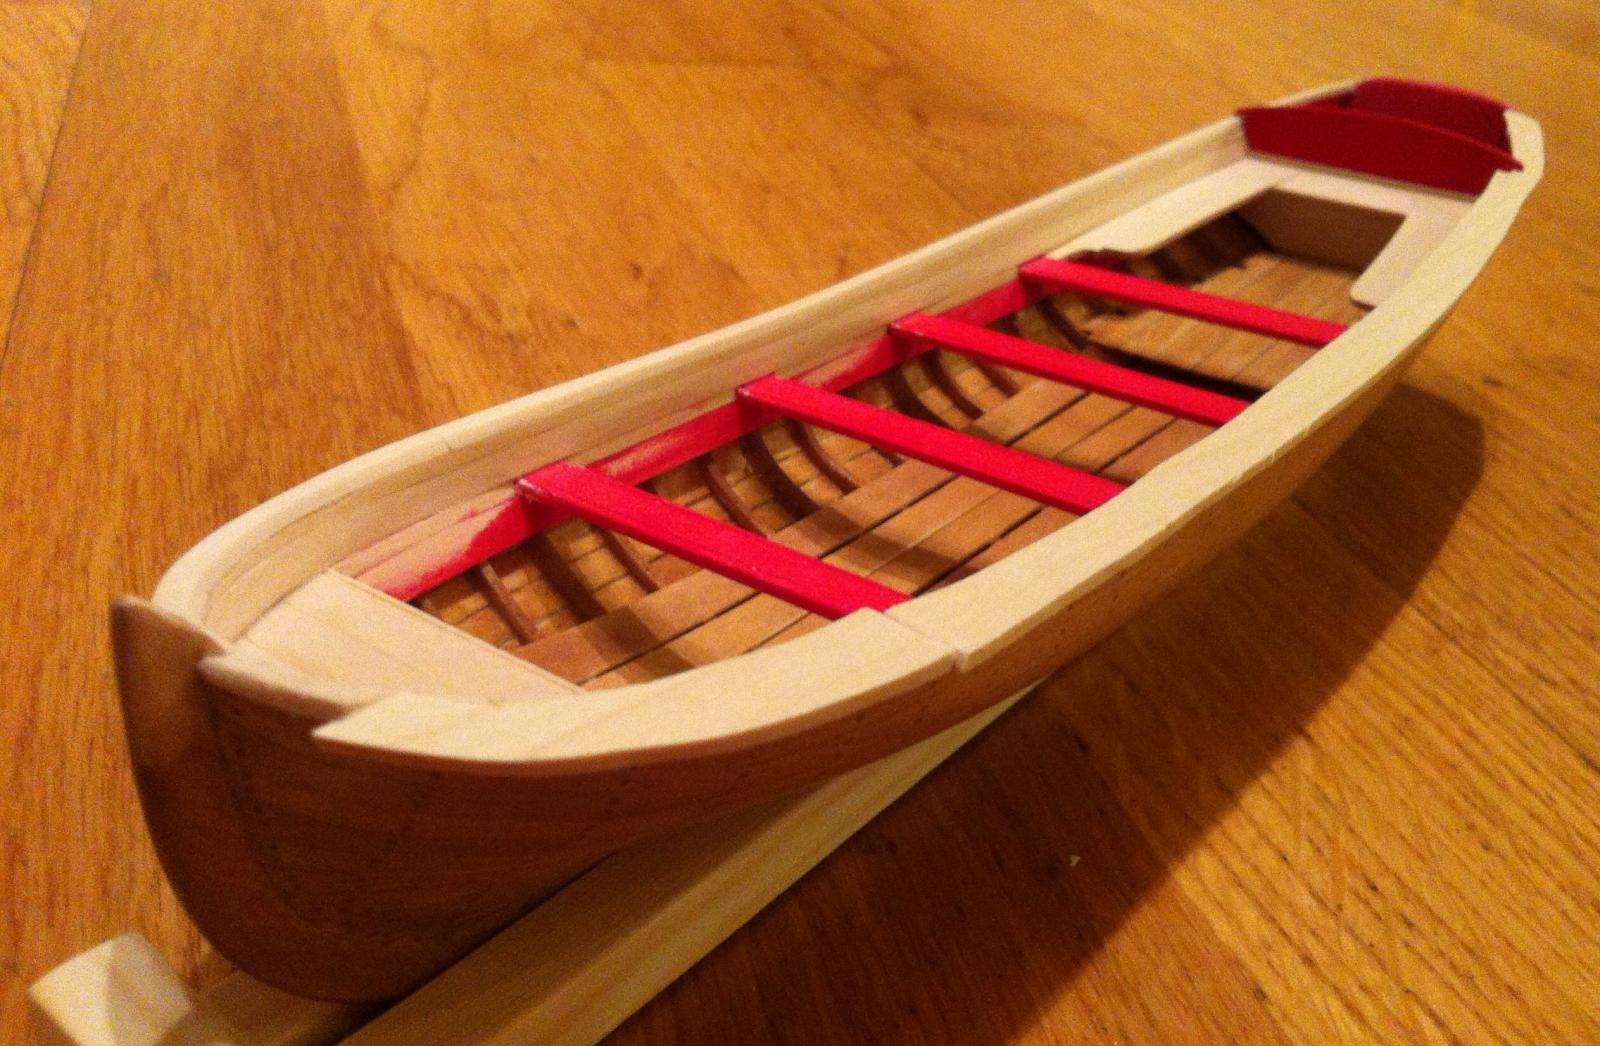
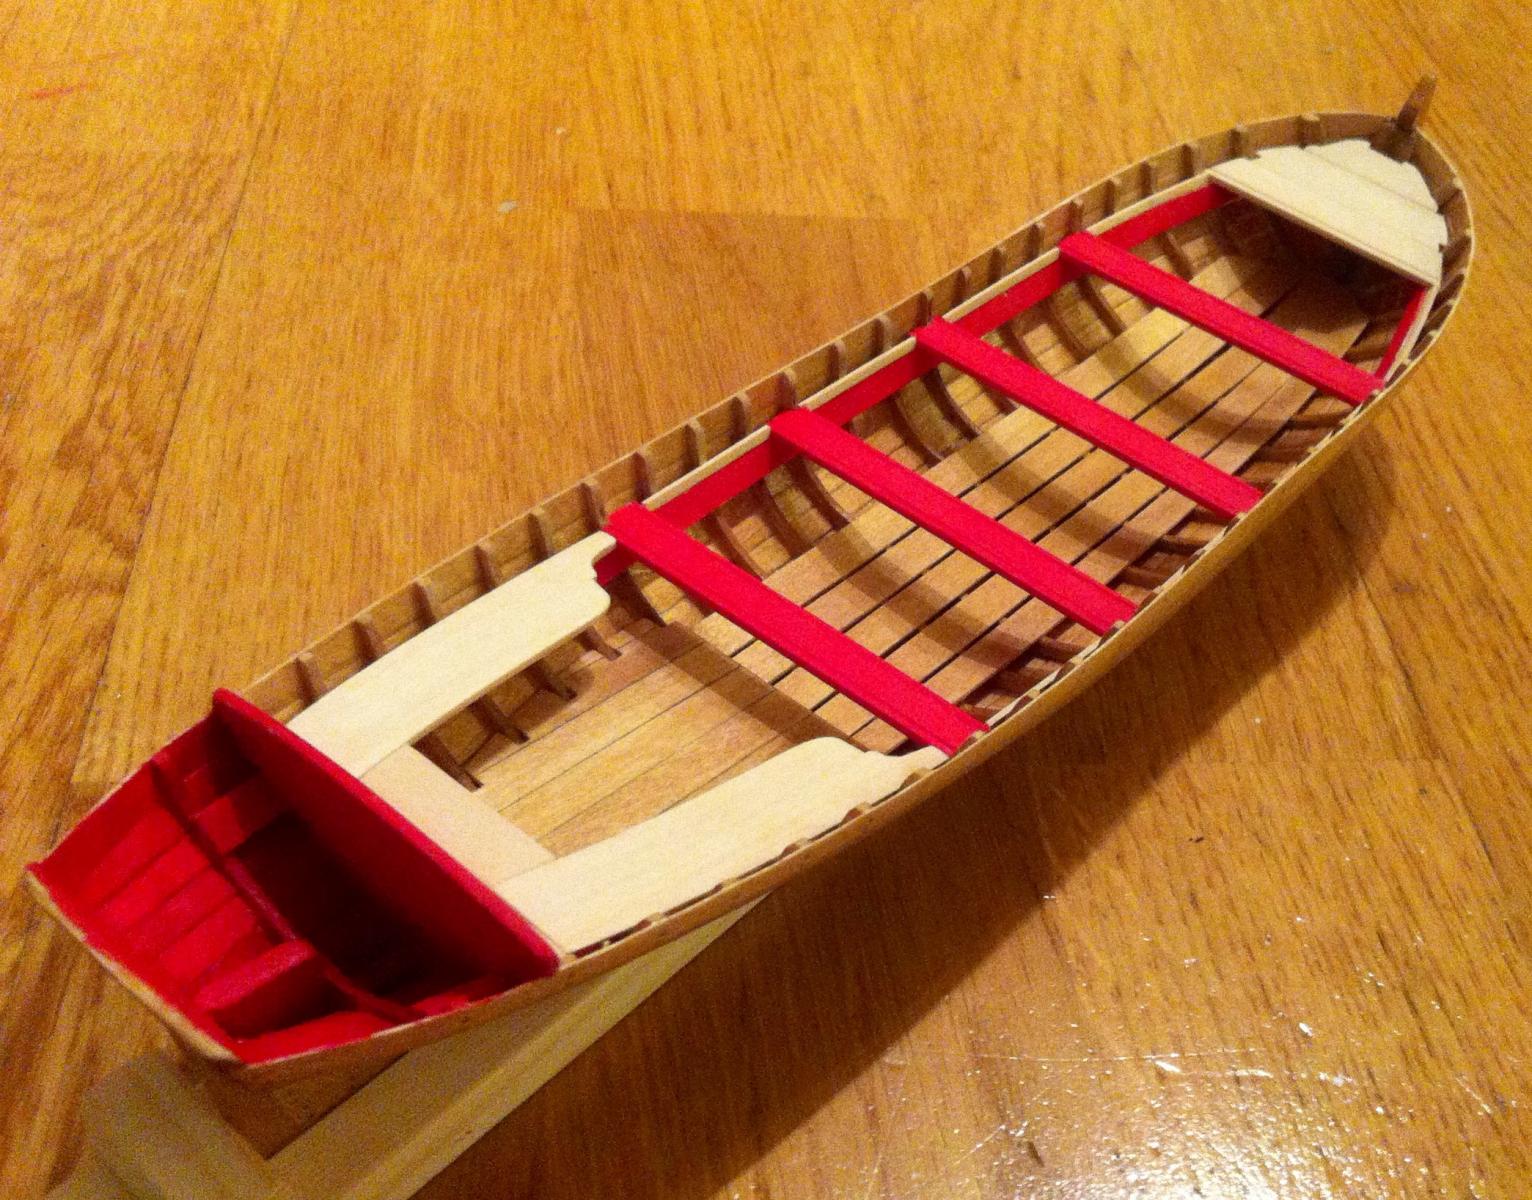
Glued floors, stained inboard and covered it with poly. Not very accurate though.
- 137 replies
-
- 6
-
-
- finished
- model shipways
- (and 1 more)
-
Wow! Chuck, thanks for all that ideas! Sounds interesting, will try it. Will probably leave frames as is, they look quite good in sqaure profile, would look worse if "flattened". But the cap rail will be as thin as possible! Curved molding for backseat would be a challenge with that ultra soft wood, but will try it