mikec
-
Posts
334 -
Joined
-
Last visited
Content Type
Profiles
Forums
Gallery
Events
Everything posted by mikec
-
 hi, I have a question - all my rigging references for ships of the Endeavour period shows an open heart for the collars for the stays that rig to the bowsprit (fore stay and preventer) and the AOTS doesn't show what kind of set up ....
 -
hi Steve, I have a question - all my rigging references for ships of the Endeavour period shows an open heart for the collars for the stays that rig to the bowsprit (fore stay and preventer) and the AOTS doesn't show what kind of set up ....
-
hi, I have a question - all my rigging references for ships of the Endeavour period shows an open heart for the collars for the stays that rig to the bowsprit (fore stay and preventer) and the AOTS doesn't show what kind of set up ....
-
hi, I have a question - all my rigging references for ships of the Endeavour period shows an open heart for the collars for the stays that rig to the bowsprit (fore stay and preventer) and the AOTS doesn't show what kind of set up ....
-
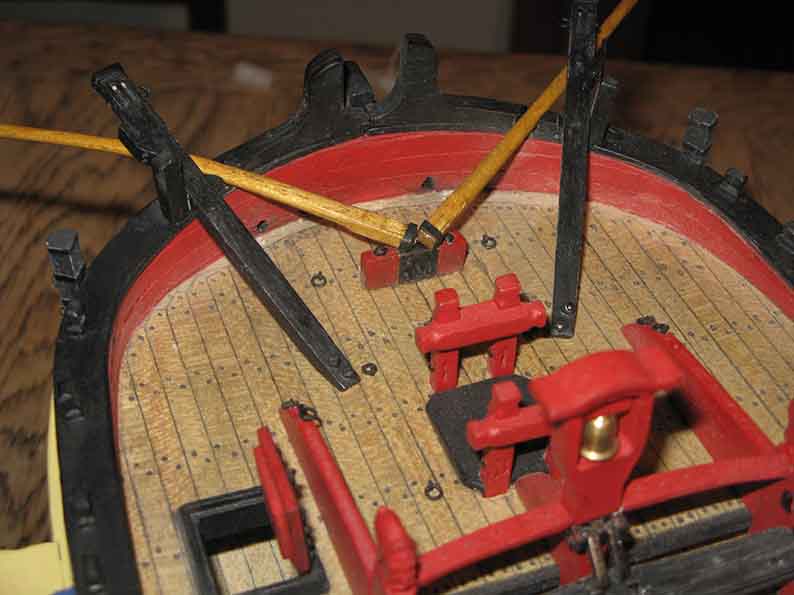
Hi Greg, do you have any details/drawings as to how the bowsprite horse and net was rigged? also what did you use for the netting?
-
HMB Endeavour by mikec - Eaglemoss
mikec replied to mikec's topic in - Kit build logs for subjects built from 1751 - 1800
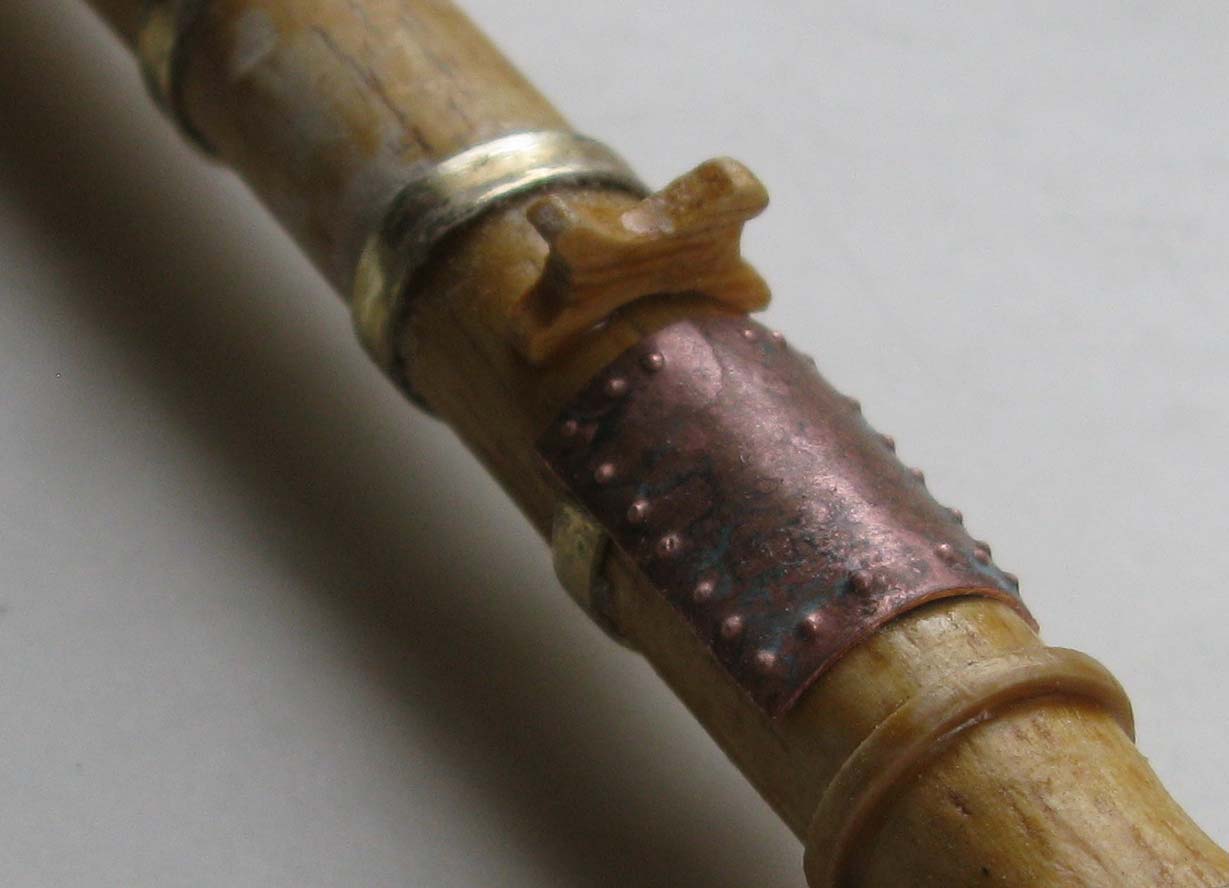
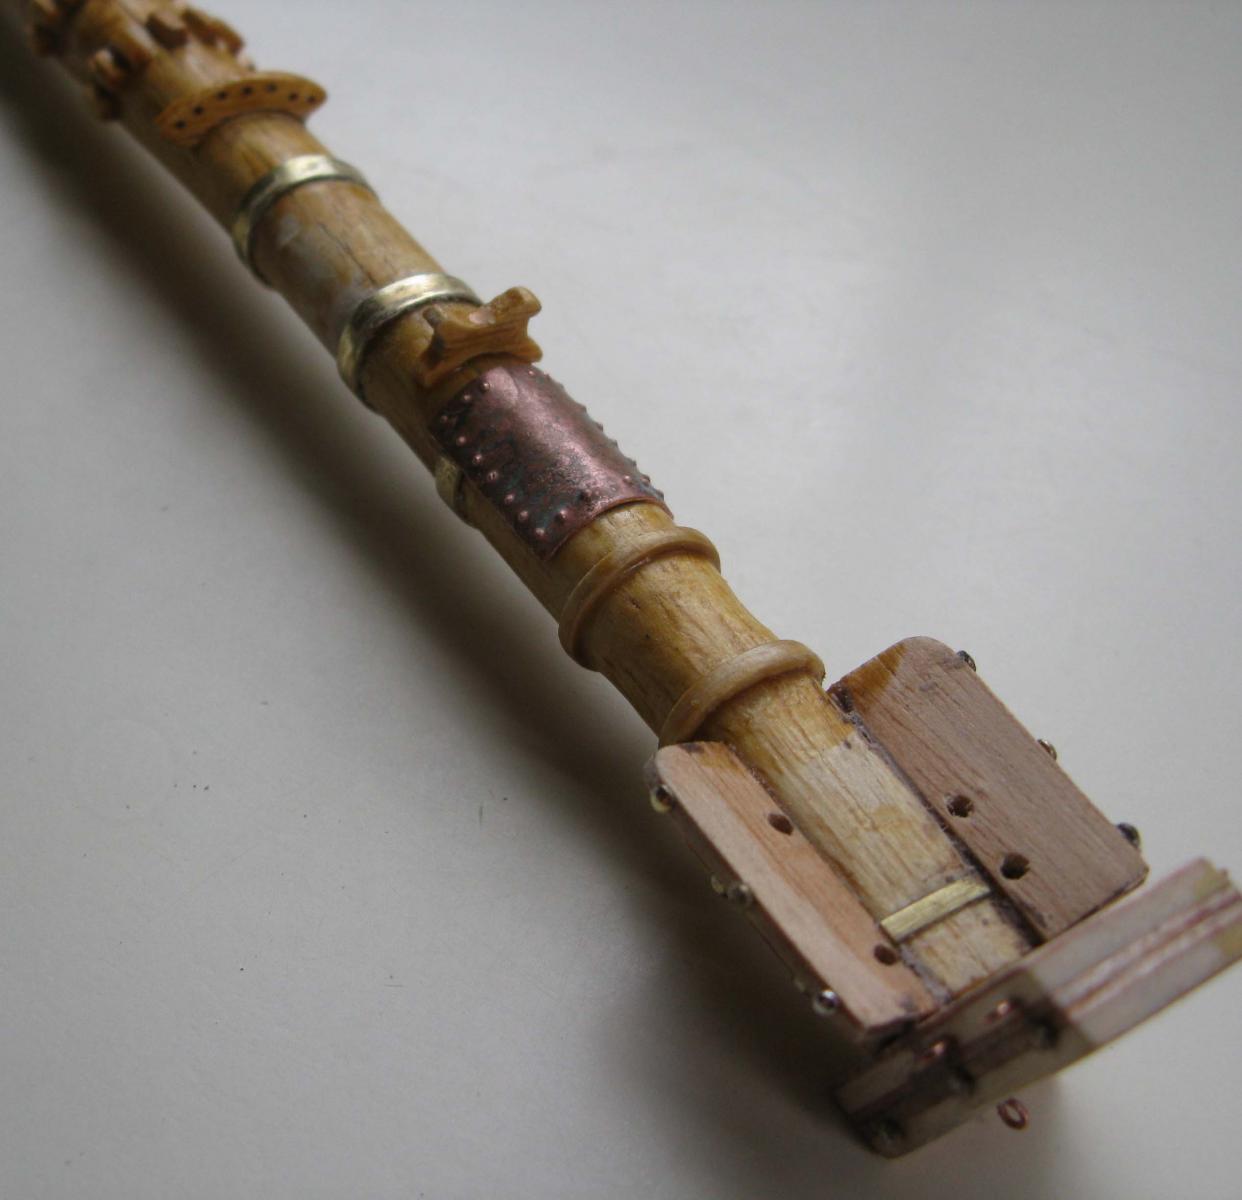
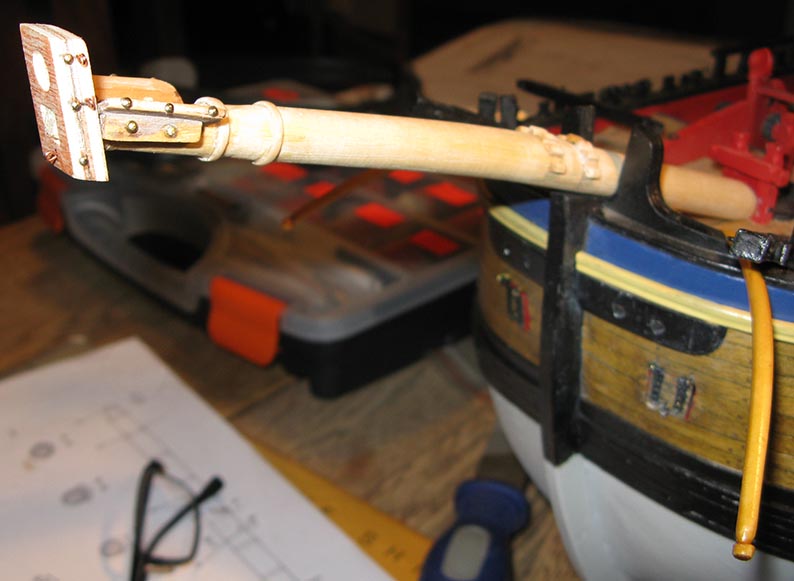
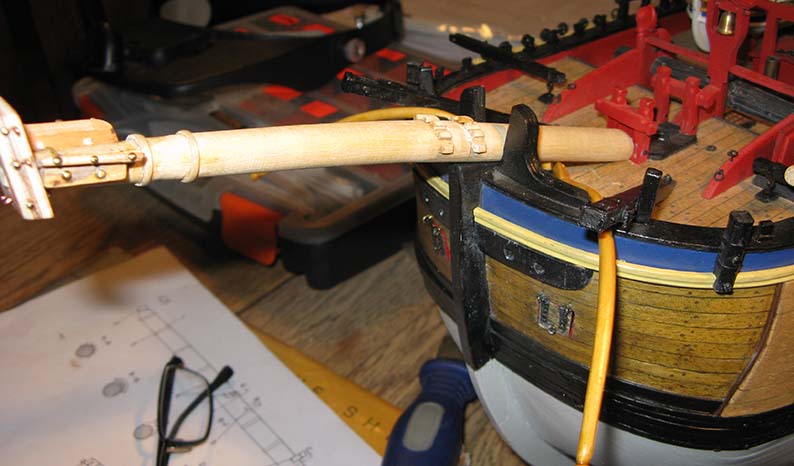
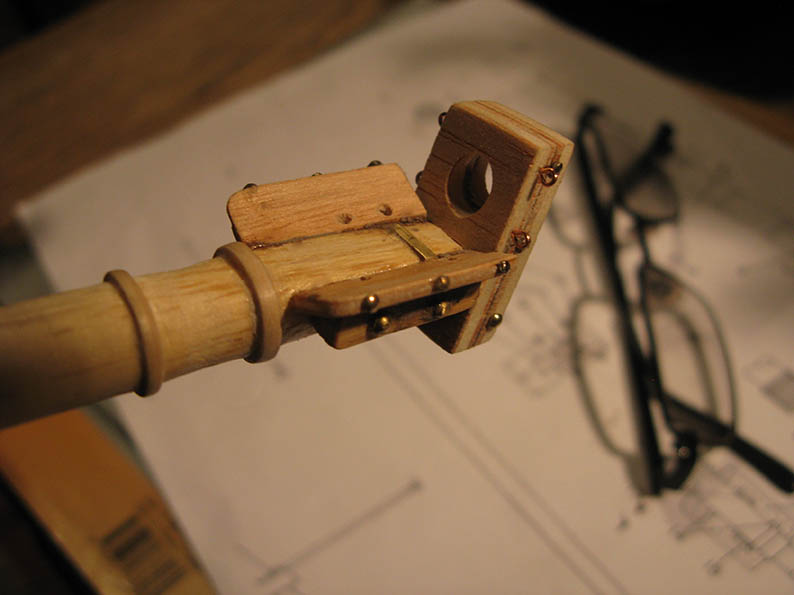
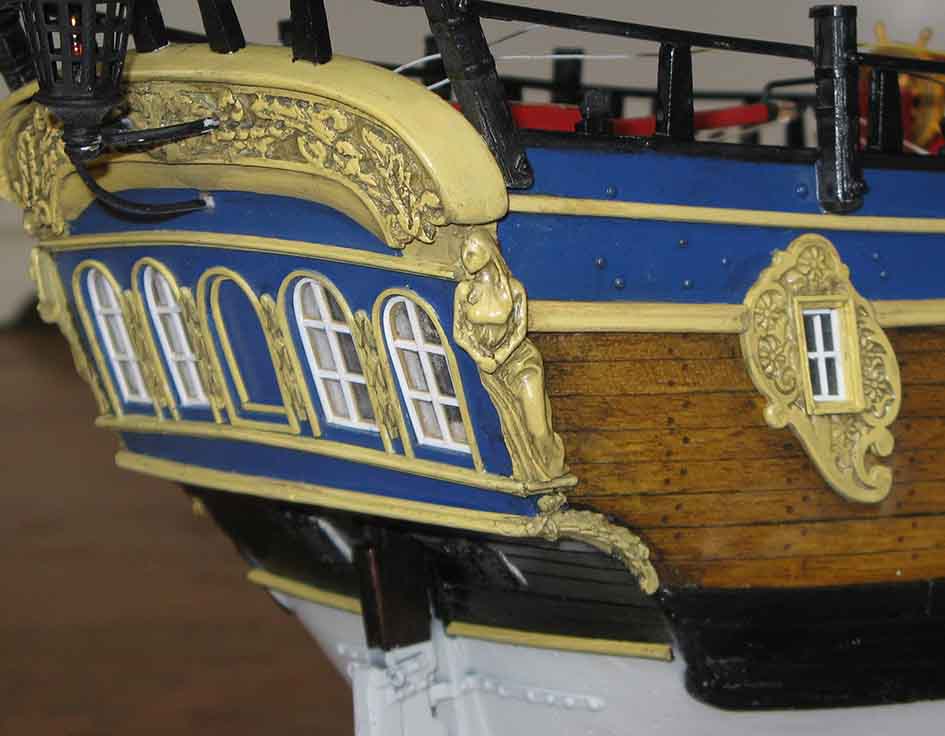
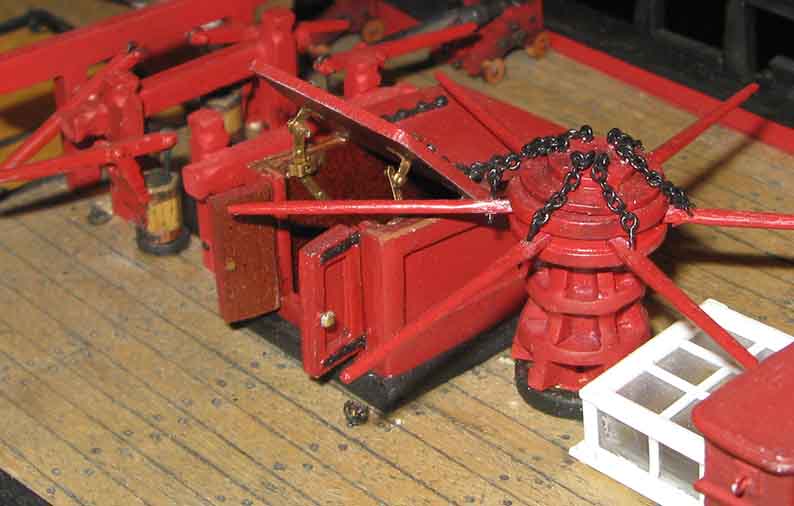
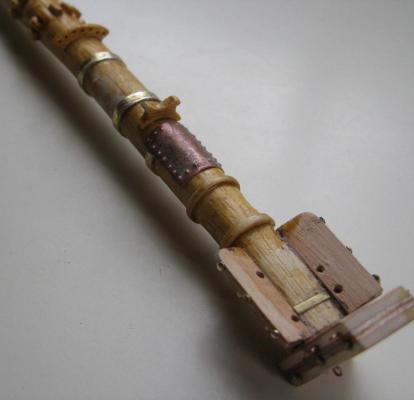
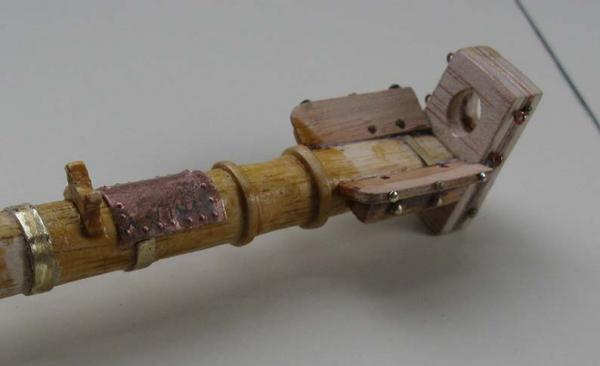
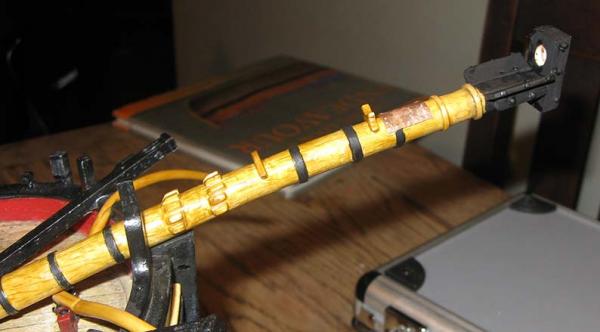
More progress on the Bowsprit. I also added the details like the Copper saddle for the slings. Varnished with satin teak (a combined stain and varnish) added the iron bands, then painted. Needs a coat of satin varnish and cleats to complete. Aging copper I aged the copper using a solution of oven cleaner, vinegar, lemon and salt. Firstly you lightly sand the copper to give the solution something to "bite" into, then spray with oven cleaner, add one teaspoon of vinegar, squeeze some lemon juice on and finally sprinkle on a liberal amount of sea salt. Then place in sealed plastic bag and leave for 5hours or more in warming cupboard. Remove from bag and allow to dry, ( I put it in warm oven for minutes) then rinse under cold water. Sometimes you need to repeat, but I have had success 1st time on most occasions. I used this technique on my Victory
-
amazing work, I agree with Sherry and Bindy.
-
HMB Endeavour by mikec - Eaglemoss
mikec replied to mikec's topic in - Kit build logs for subjects built from 1751 - 1800
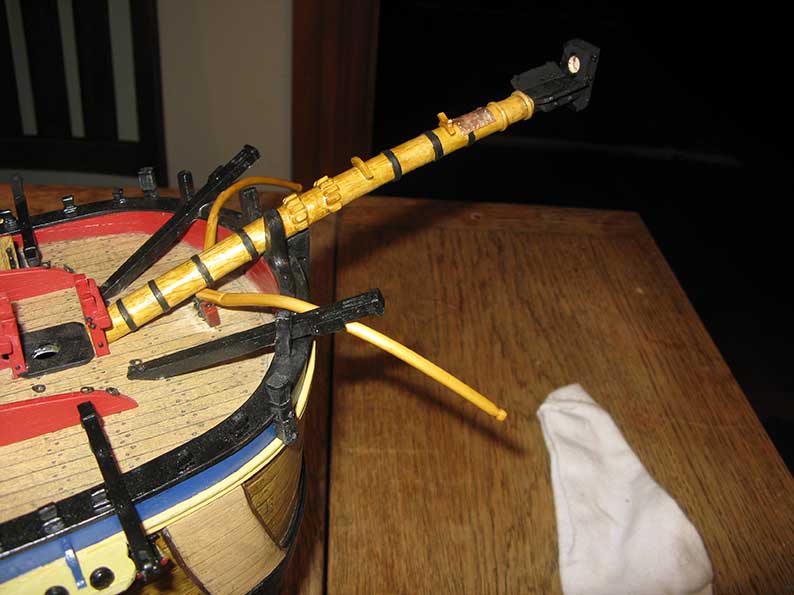
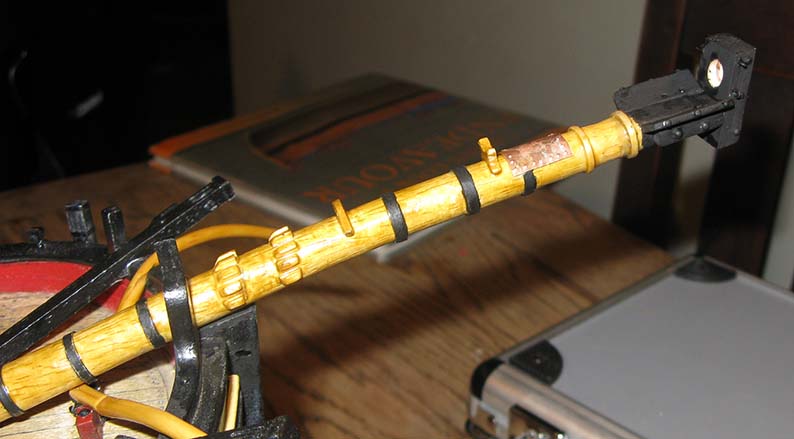
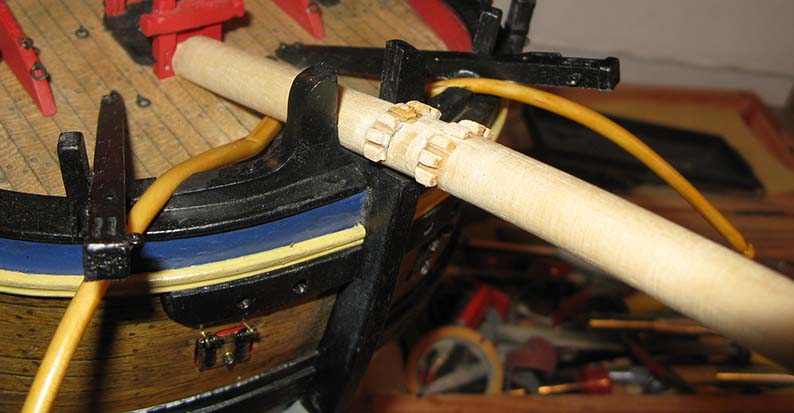
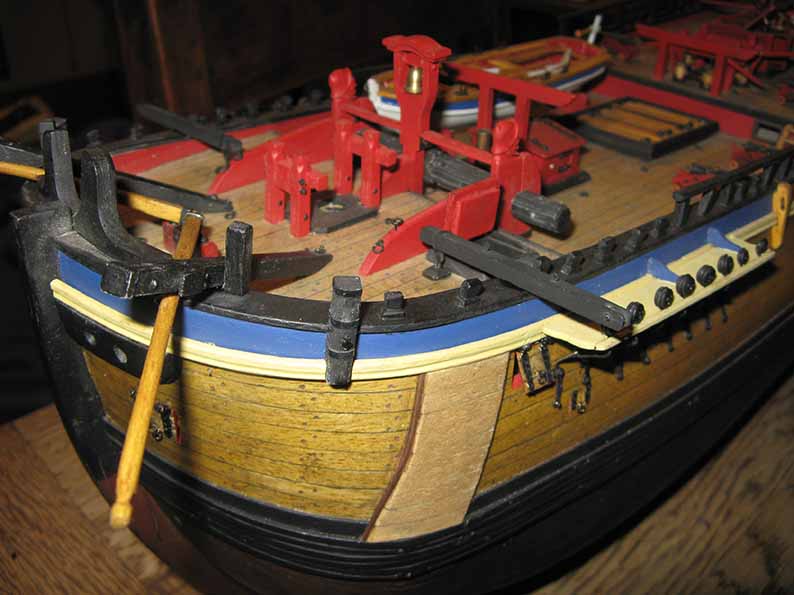
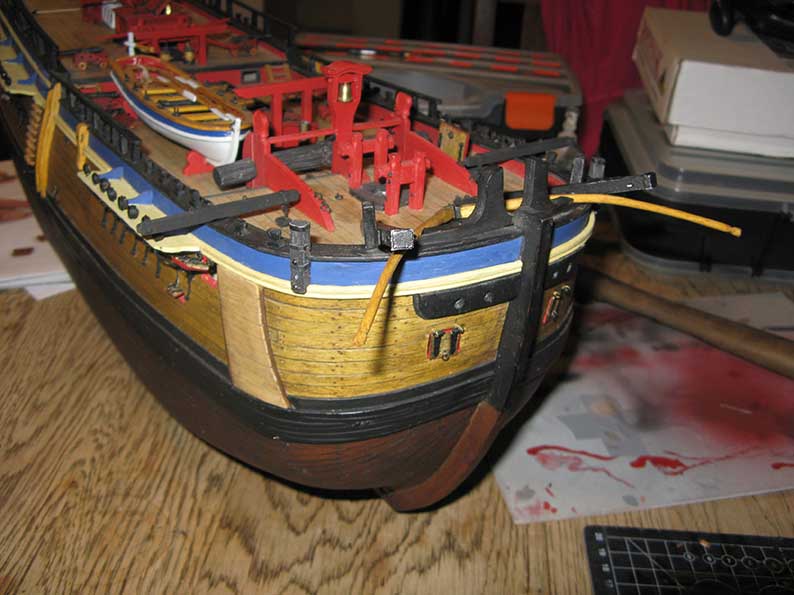
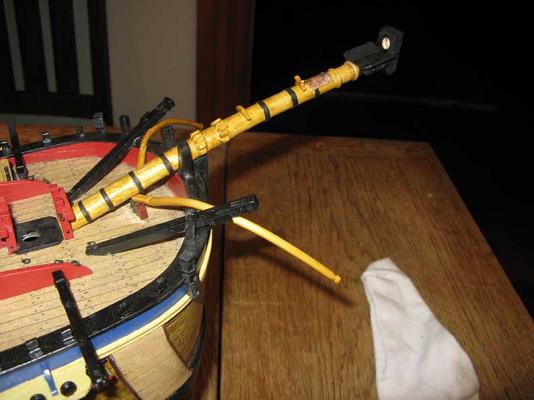
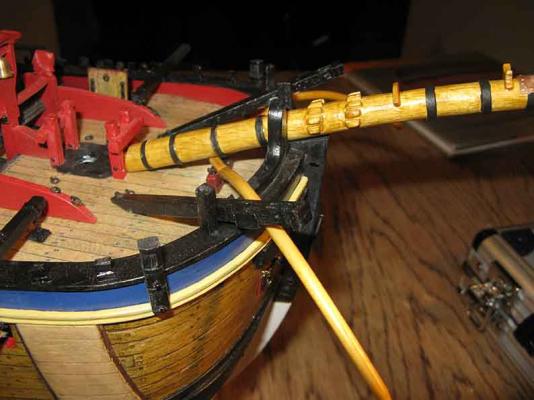
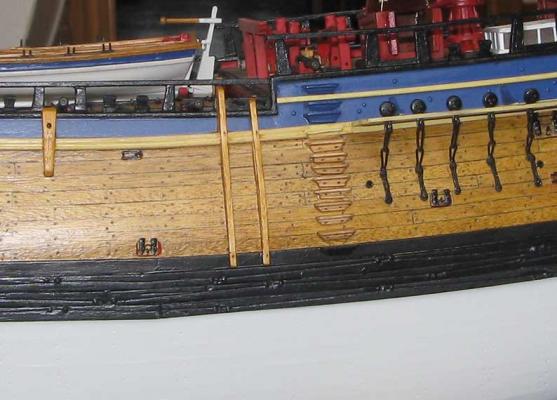
Thanks for the kind words everybody. i have started work on the bowsprite, this has been quite a challenge to get the distinctive bend that the endeavour bowsprite has. Greg, I had to remake the bumpkins, i wasnt happy with the curve, and also I had a devil of a job fitting the bowsrite at the correct angle over the bumpkins. You alluded me to that earlier. I thought I had enough clearance. Anyway I got there in the end, and I am way more happier with the look of the bumpkins.


-
Beautiful work Grant, you have inspired me to make a pinnace too, for my Victory. I will study your log carefully ...
-
Hi Pat, how did you put the bend in the bowsprit? THe eagle moss kit at 1/48 calls for 12mm dia x200m dowel which is very thick and short to bend. according to my scaling from AOTS this is too thick so I was thinking of sanding the curve in using the access diameter i.e. sanding the middle underneath and the top side for and aft to achieve the slight curve. what do you reckon?
-
hi Steve, how did you get the destinctive slight bend in the bowsprit?
-
HMB Endeavour by mikec - Eaglemoss
mikec replied to mikec's topic in - Kit build logs for subjects built from 1751 - 1800
Thanks Greg. Yes I will put the deadlights on. -
HMB Endeavour by mikec - Eaglemoss
mikec replied to mikec's topic in - Kit build logs for subjects built from 1751 - 1800
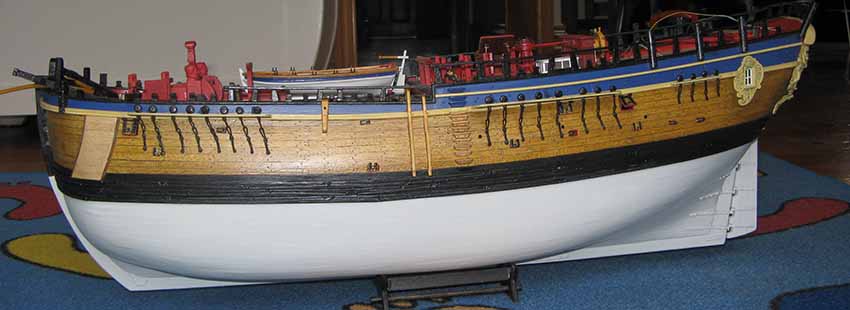
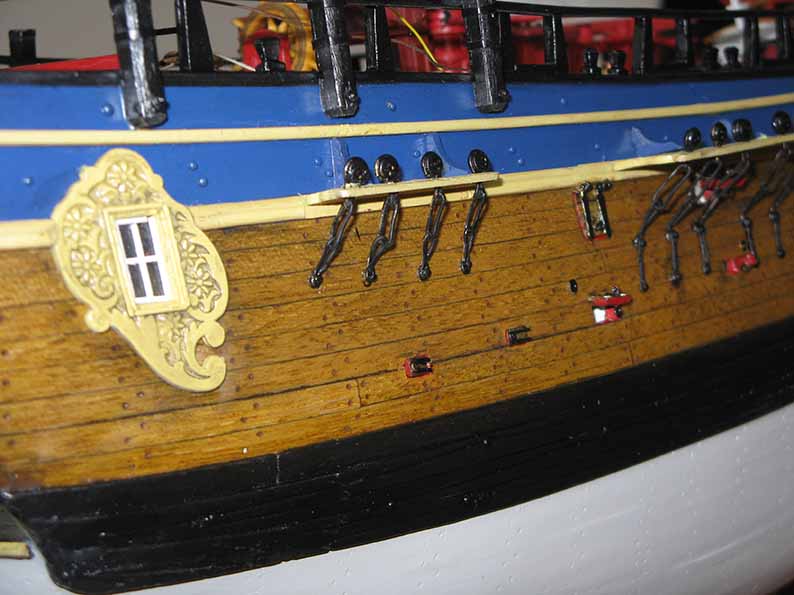
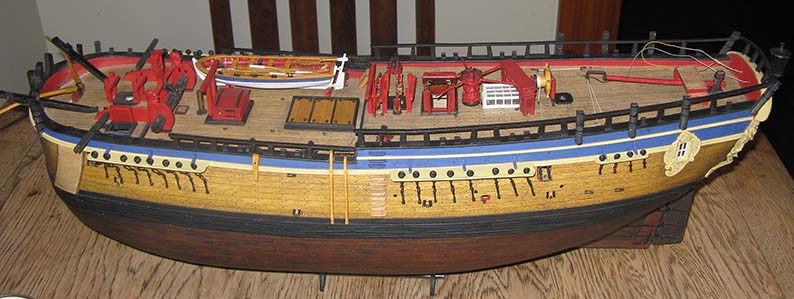
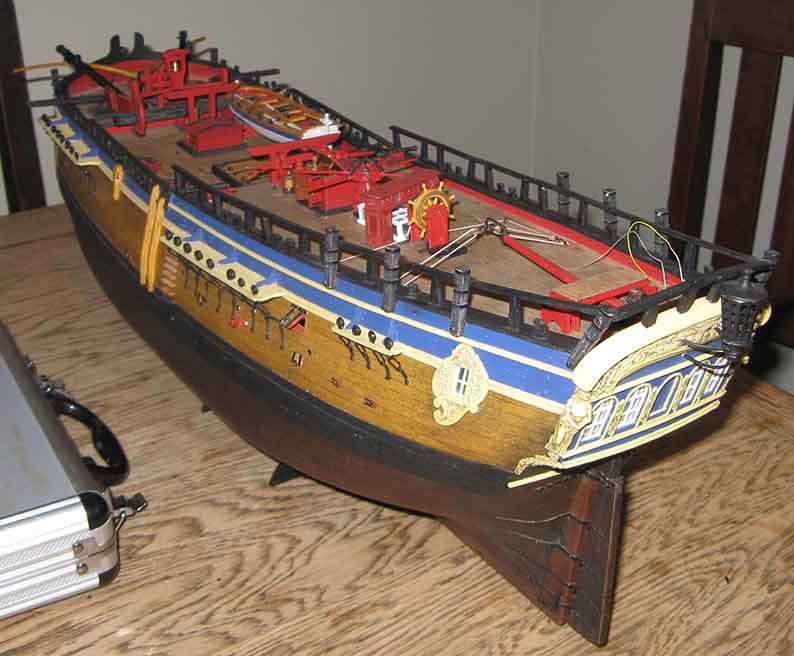
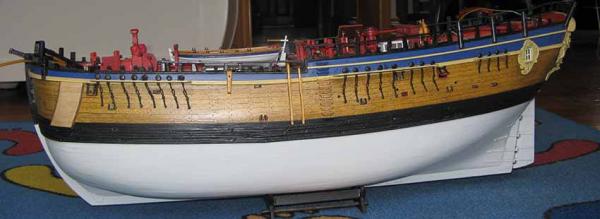
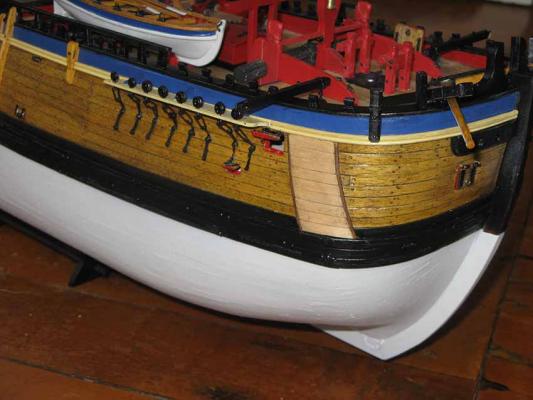
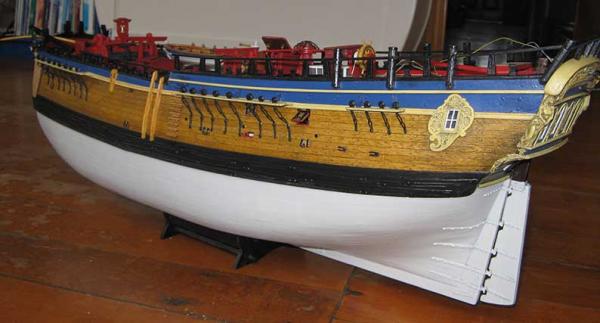
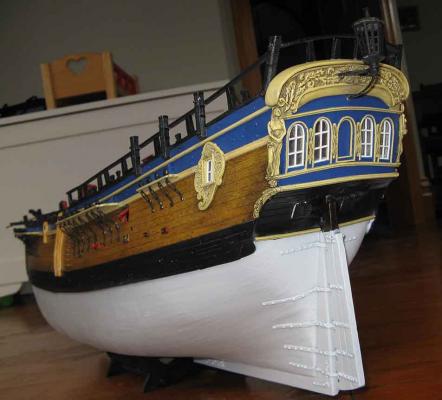
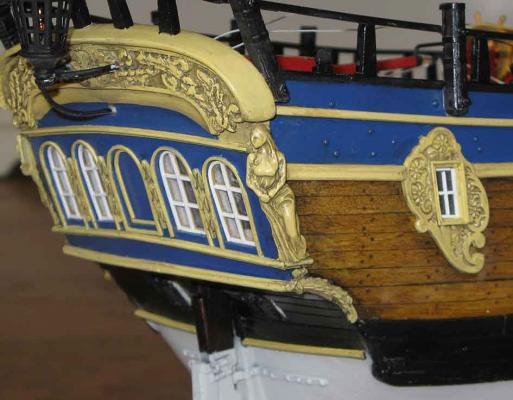
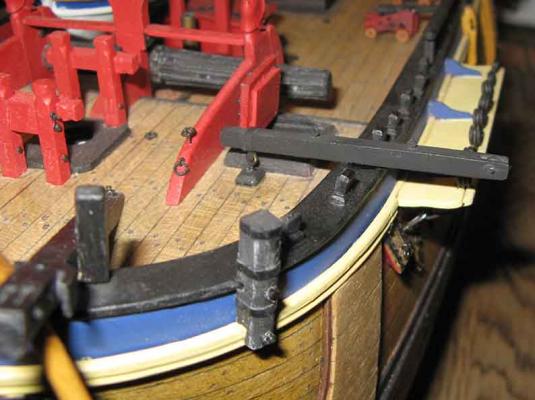
Greg, it just clears, i didnt even think to check. I have never been happy with the brown hull below the whales, it seems to make the model look dirty and although historically correct according to ATOS, It was really starting to bug me. So I decided to paint the hull white as per the freemantle replica and many other museum models. The beauty is that you can still see all of the treenails and definition of the planking rakes (I dont think you can see it in the photos) I am very happy with the model now it seems to work better with the colour scheme and now has caprptured the essence of the Endeavour ship. i am interested in your thoughts because it is a huge change...


-
Thanks, thats the one for me then. I can attack it with my files to thin it where needed. I can live with it being 1mm out.
-
Wow, that is amazing work. I am going to try and find a suitable anchor from caldercraft or similar. I havn't got the tools or equipment to do what you did. Brilliant job!
-
HMB Endeavour by mikec - Eaglemoss
mikec replied to mikec's topic in - Kit build logs for subjects built from 1751 - 1800
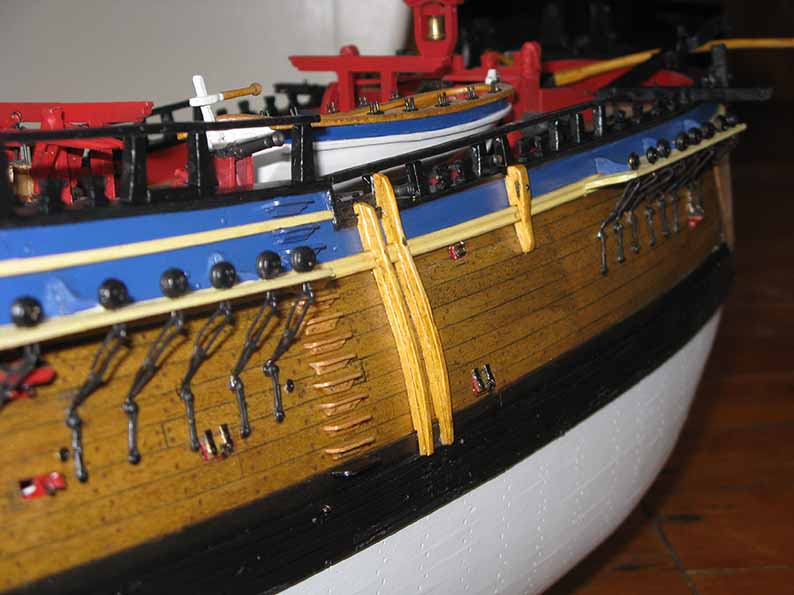
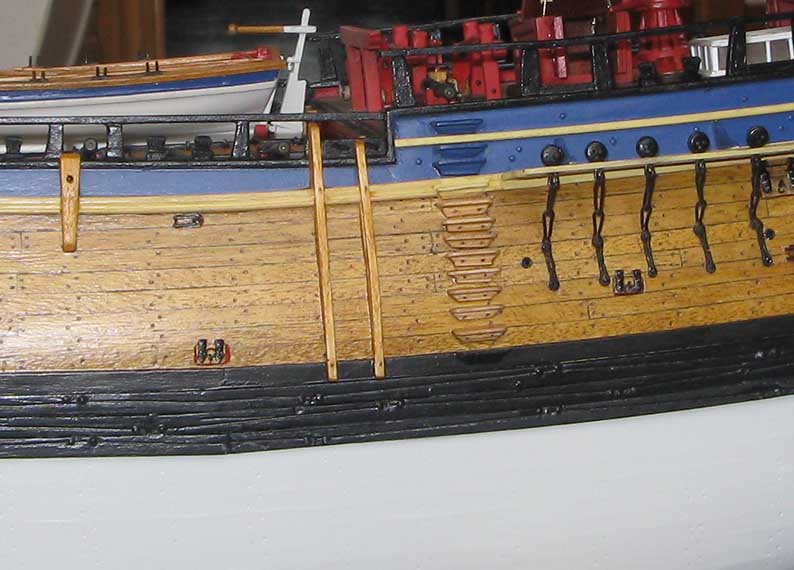
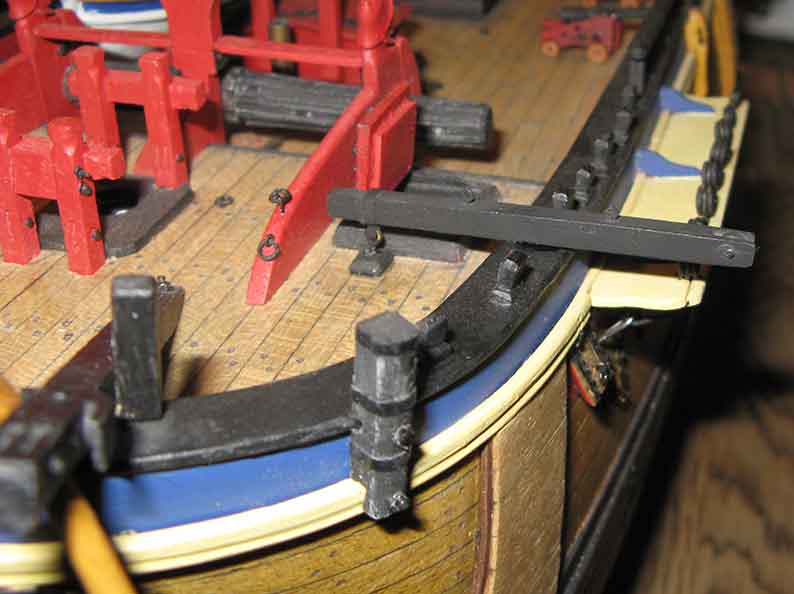
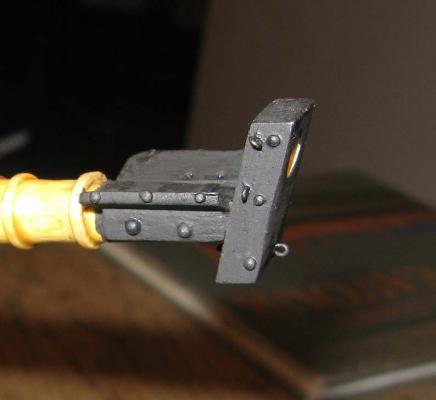
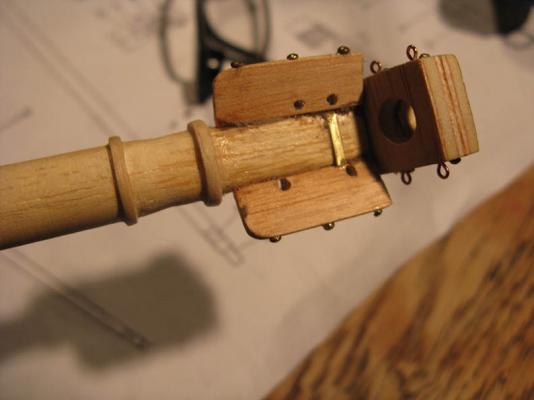
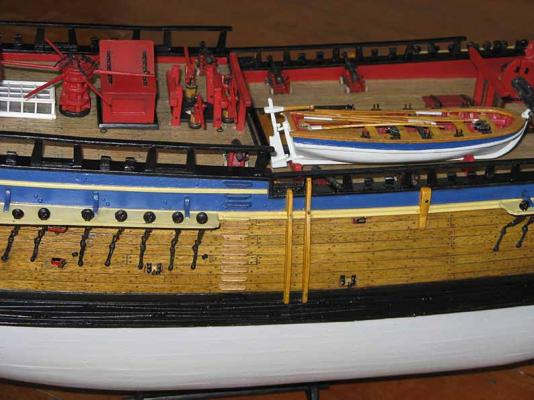
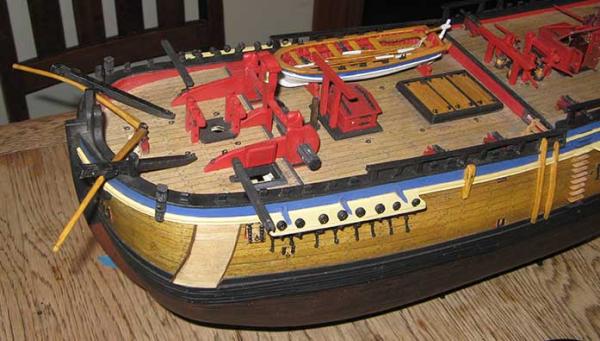
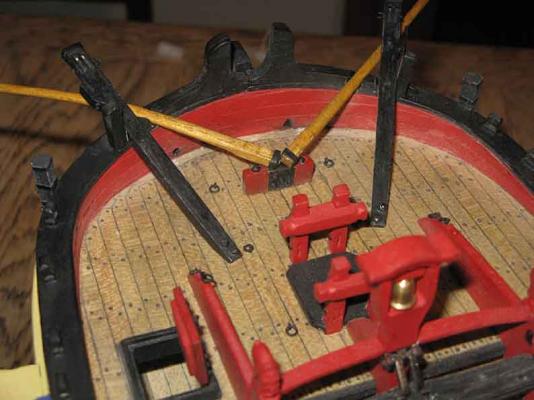
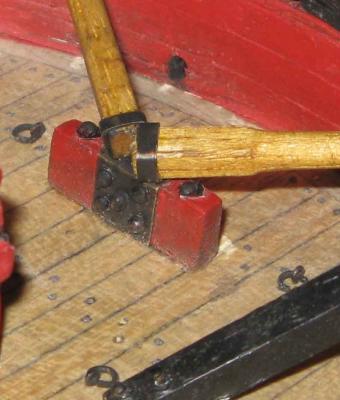
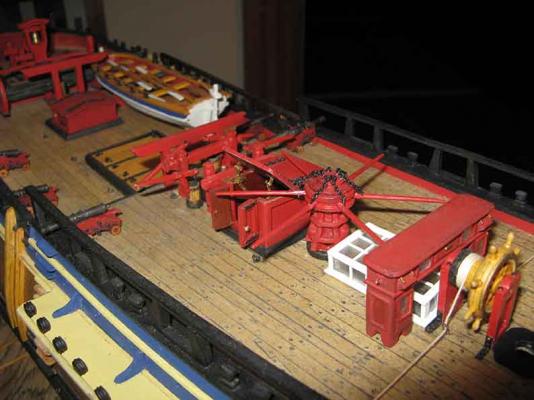
Hi Guys, i am in the Endeavour dock yard after having completed my Victory which I started in 1995. I have completed assembling the canons, I have put the companionway in the correct place now, and i made and fitted the bumpkins and fish davits. It took me a while to figure out how the bumpkins were attached but after careful study of AOTS book I managed to figure out how to make the fitting. I need to give her a good dusting as she has sat in the dock. You can see the camera has picked it up. Note also I havnt varnished the fittings yet.


-
Hi Greg, I am about to start my anchors, what size anchors did you order from caldercraft? cheers Mike
-
Hi Steve, can you please tell me what size you used for your anchor and where did you get it from? cheers Mike
-
Just had a quick catchup and look through. She is looking beautiful. I am about to restart my endeavour. Just about finished off the Victory. posting pics soon. Mike
-
I have just got back into the ship yard and have just caught up. so sorry to see the disaster. I am actually amazed that it didnt do more damage. Re the side dents I would use a very sharp scaple and carefully prise a section of planks away (once you have removed 1 the others will be easier to get to), and the re plank the section.
-
beautiful work.
-
Happy Easter Grant, I have taken a few months off - I am just catching up, and about to get back to work in ship building yard. I can see you have been very busy. Beautiful work- I think you are now closer to finishing than me. You will see some posts soon ( I hope). Thanks for the inspirational pics very very nice cheers Mike