mikec
-
Posts
334 -
Joined
-
Last visited
Content Type
Profiles
Forums
Gallery
Events
Everything posted by mikec
-

HMB Endeavour by mikec - Eaglemoss
mikec replied to mikec's topic in - Kit build logs for subjects built from 1751 - 1800
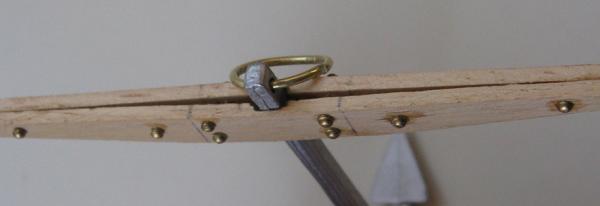
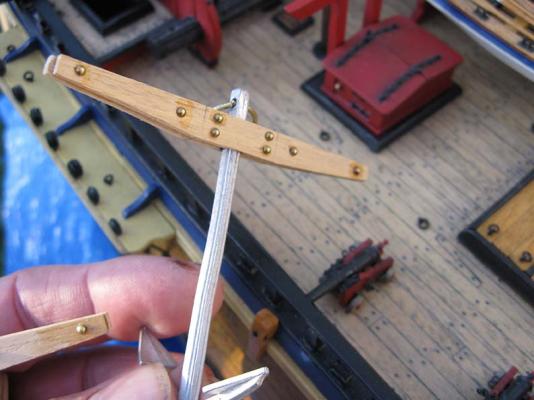
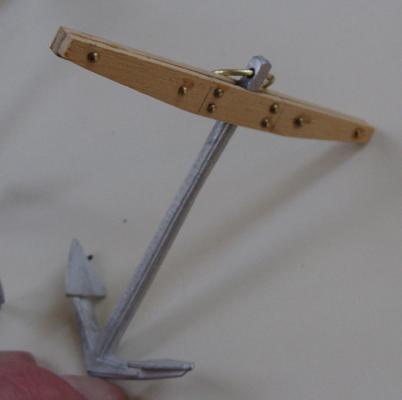
I used a Caldercraft 74mm anchor, and scratch built the stock. I will use B.E.s method of paper for the iron bands as much easier to work with...
-
HMB Endeavour by mikec - Eaglemoss
mikec replied to mikec's topic in - Kit build logs for subjects built from 1751 - 1800
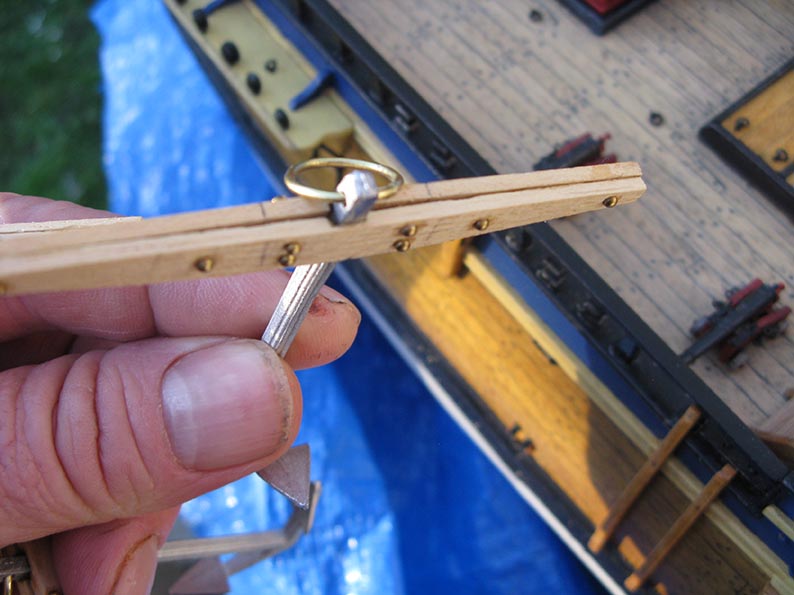
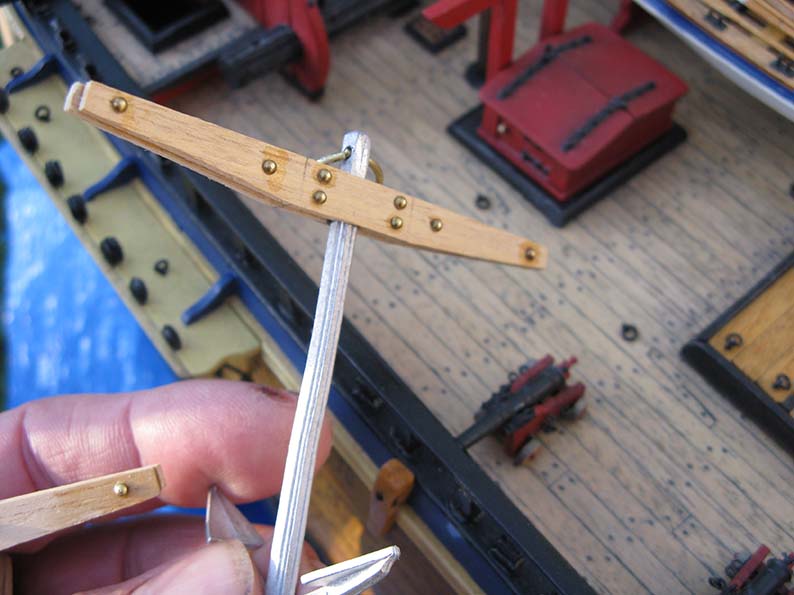
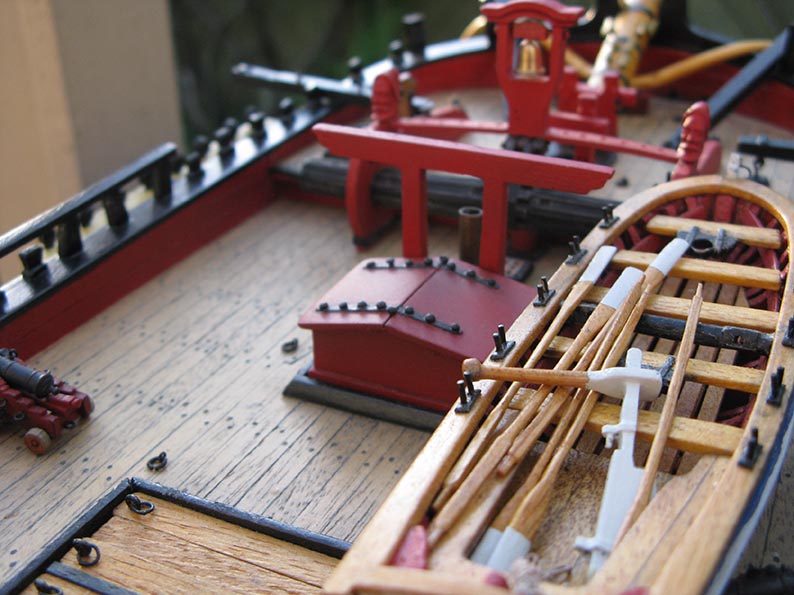
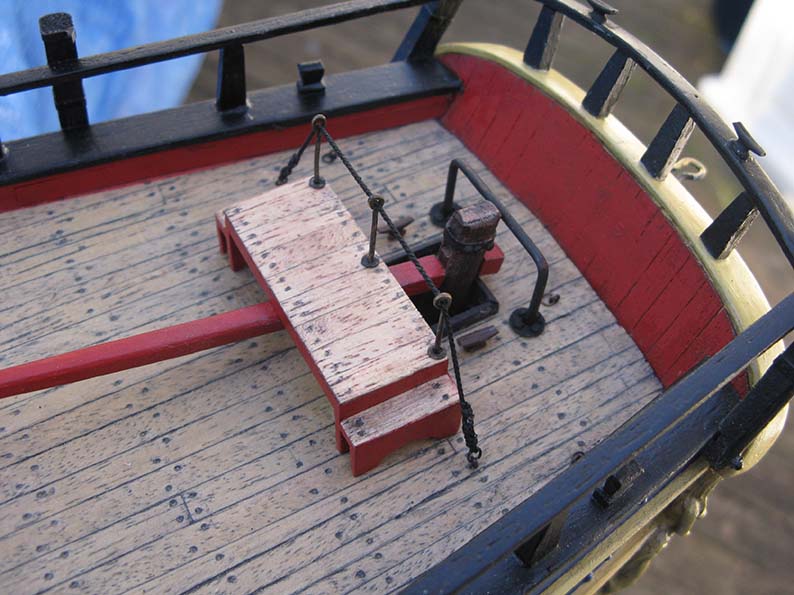
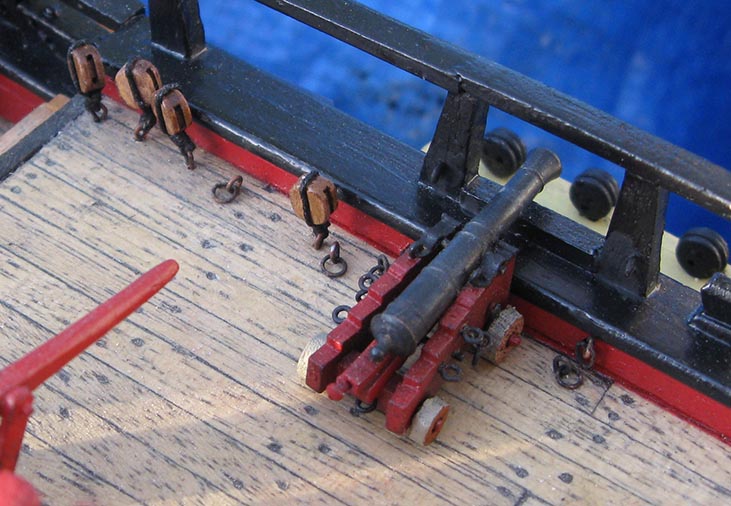
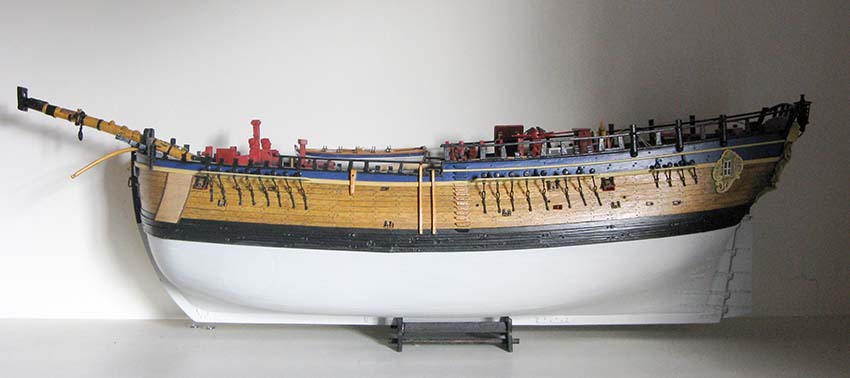
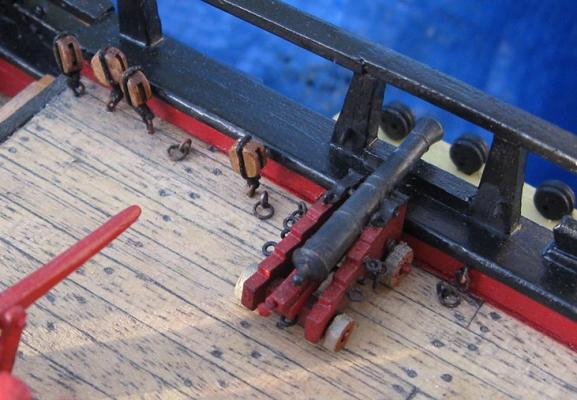
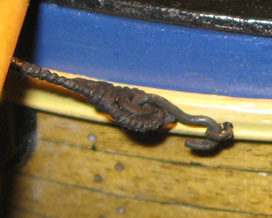
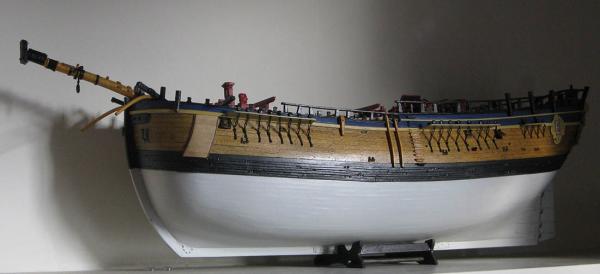
Hi, although I havn't made any post for a while I have been quite busy doing little details on the hull. Finished the rudder bridge, horse, added eyebolts and blocks to the hull and commenced work on the anchors. Also realised that i hadn't put on the chained eyebolts to the channels. These were scratch built, and were a devil of a job to attach inbetween the shroud dead eye chains. Note to self: put these on first then add the dead eye chains. The end result was pleasing though. here are some pics....

-
Superb job. The metalwork is very very good. I am working on my anchors too, i will post updates soon. it has been awhile.
-
Looks fantastic Gregg, what a comeback after the cat incident
-
The blocks look fantastic! What size are they please? I am going to build and rig my anchors shortly
-
Brilliant idea for stropping the blocks. i am going to steal that idea. 8-)
-
fantastic work Greg. Faultless.
-
I have just found your outstanding model here. A beautiful piece of modelling. I have a plastic kit of Constitution, and you have inspired me to create a waterline model. Awesome work.
-
HMB Endeavour by mikec - Eaglemoss
mikec replied to mikec's topic in - Kit build logs for subjects built from 1751 - 1800
Thanks for all your praise and help. Aliluke, re the bumkins : this was done by using a jig made of nails with a 0.5 thick piece of brass bent to shape and inserted between the wood and the nails to prevent denting the wood. The secret is to use a piece of dowel that is 3 or 4 times the length and slightly larger diameter than needed. This allows you to bend quite severely and achieve that inverted bend at the foot of the bumpkin. I soak the wood for twenty minutes in boiling water then apply to jig with the "S" bend in the middle of the wood .I preheat the oven to 180 degrees. Then turn it off. Place the jig and wood assembly to dry in the oven. When dry cut the bent section that you need and sand to shape. I use a combined satin Matt and stain varnish. Do this asap the shellac has a hrd shell that seals the shape.hope this is easy to understand. Warning:obtain permission to use oven from"she who must be obeyed" first! -
HMB Endeavour by mikec - Eaglemoss
mikec replied to mikec's topic in - Kit build logs for subjects built from 1751 - 1800
Thanks B.E. I can and will stain it in situ, an easy job. Thanks for the imput. -
HMB Endeavour by mikec - Eaglemoss
mikec replied to mikec's topic in - Kit build logs for subjects built from 1751 - 1800
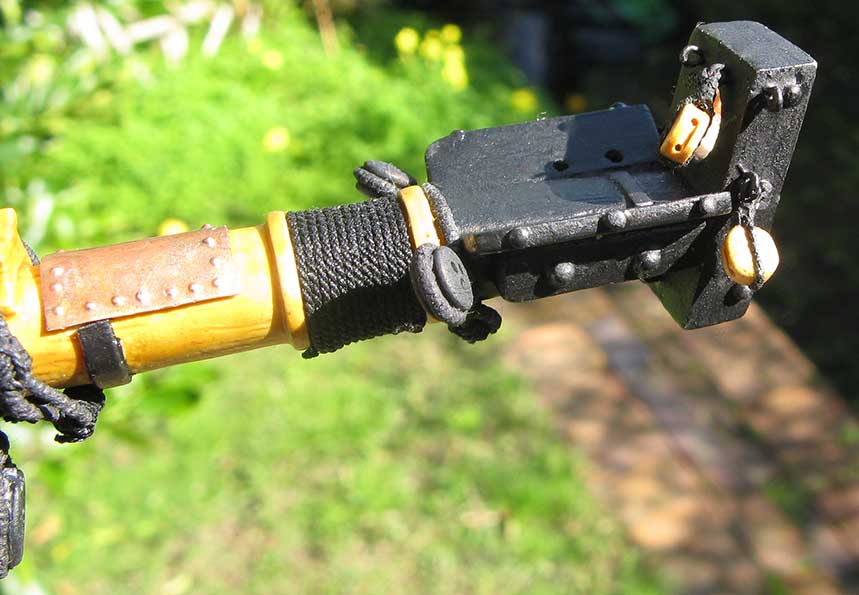
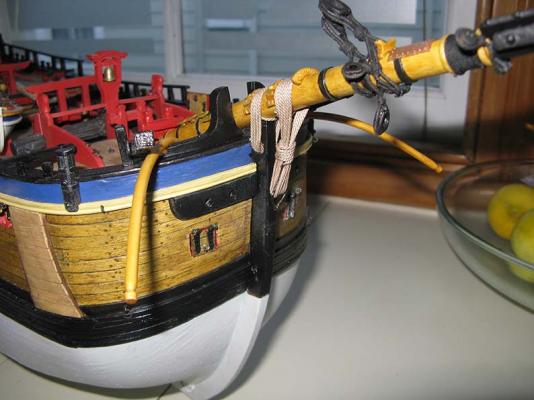
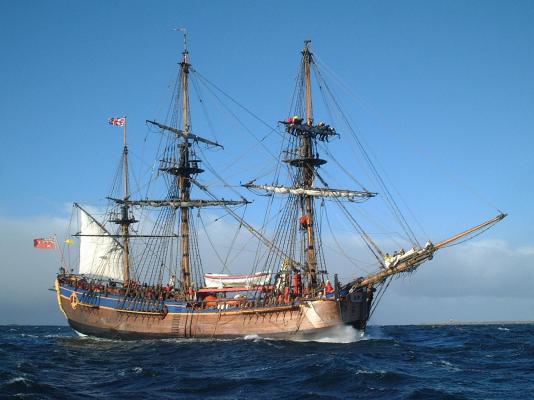
Hi B. E. thanks for the kind words. Re the gammoning- I am glad you bought this up, you are right I normally would have used dark rope for the gammoning but was thrown by the shots of the replica with lighter coloured rope (see attached) for gammoning that I was going to replicate. i am unsure wether to do this or go black. what do you think?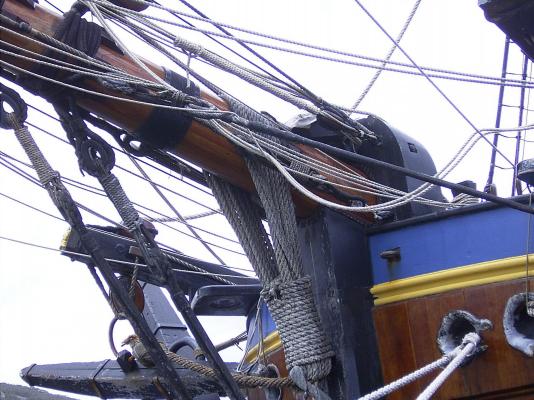
-
HMB Endeavour by mikec - Eaglemoss
mikec replied to mikec's topic in - Kit build logs for subjects built from 1751 - 1800
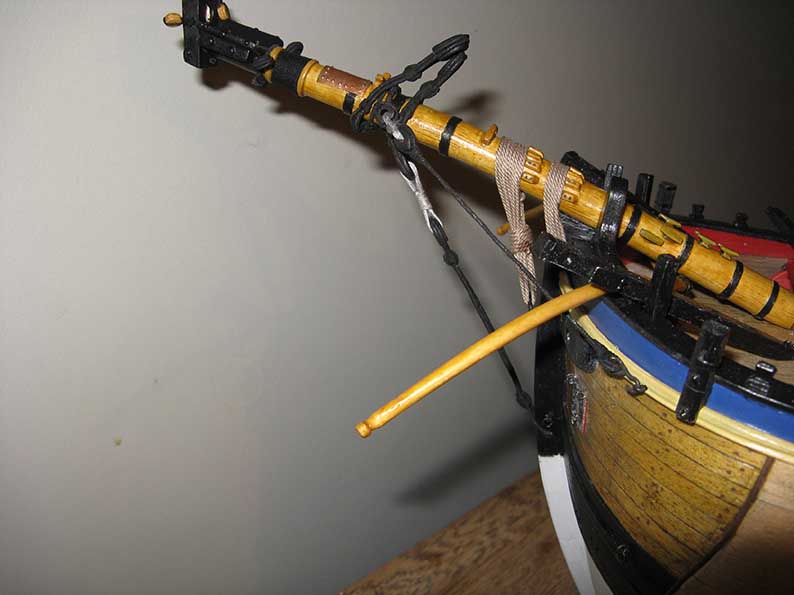
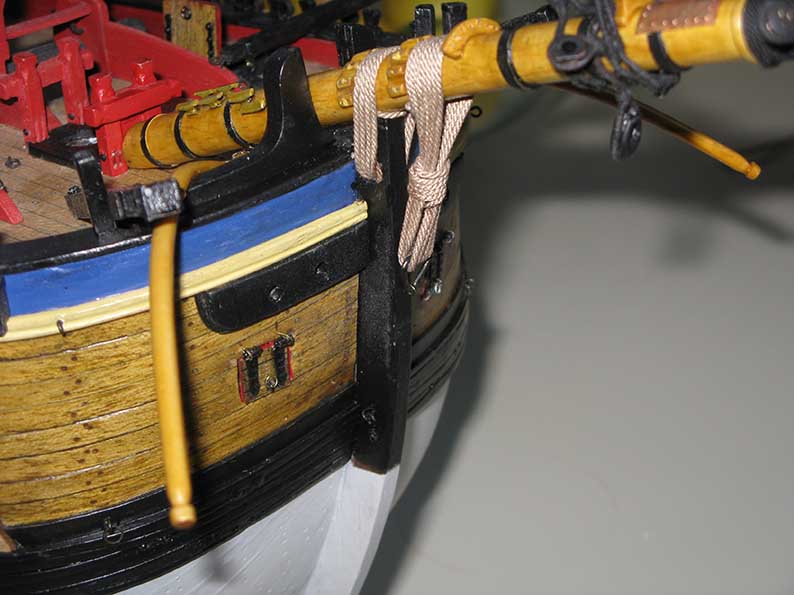
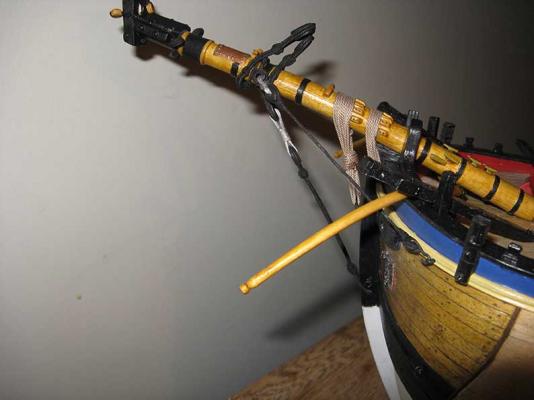
Rainy day in Auckland today so I happily finished rigging the lower part of the Bowsprit (bobstay and stays)
-
Awesome Grant, you are doing a fantastic job. a wealth of tips for everyone when building such small scale boats. cheers
-
That is very clever. thanks for the tip
-
HMB Endeavour by mikec - Eaglemoss
mikec replied to mikec's topic in - Kit build logs for subjects built from 1751 - 1800
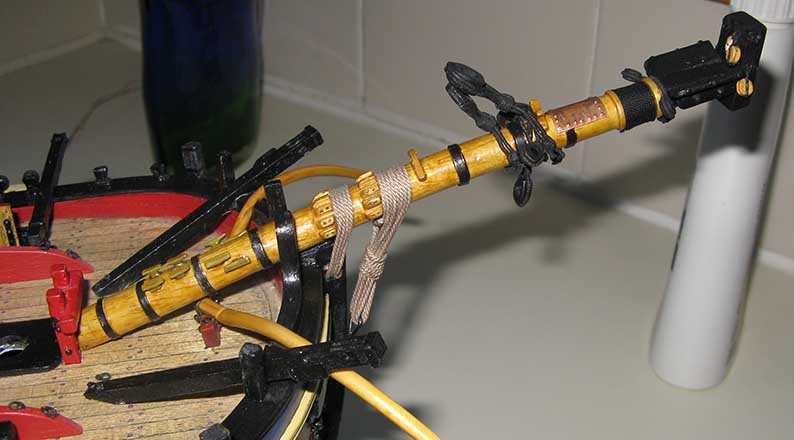
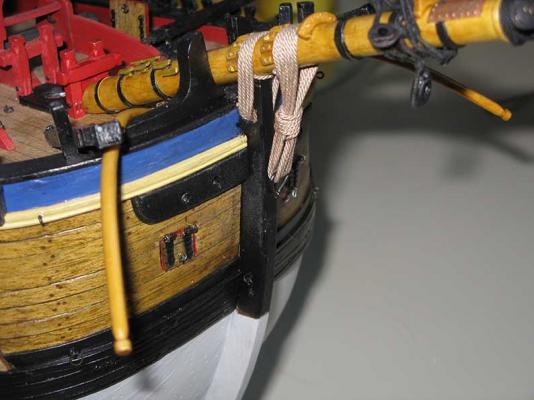
Hi everyone, I have finished rigging the lowerpart of the bowsprit and have stepped and added gammoning. fitted like a glove. i am very happy...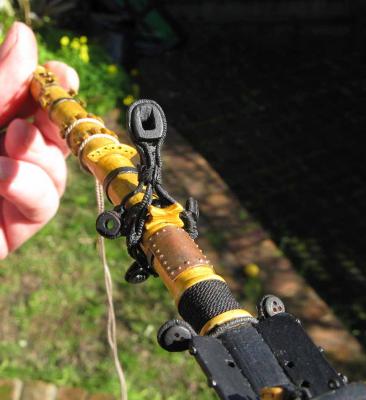


-
HMB Endeavour by mikec - Eaglemoss
mikec replied to mikec's topic in - Kit build logs for subjects built from 1751 - 1800
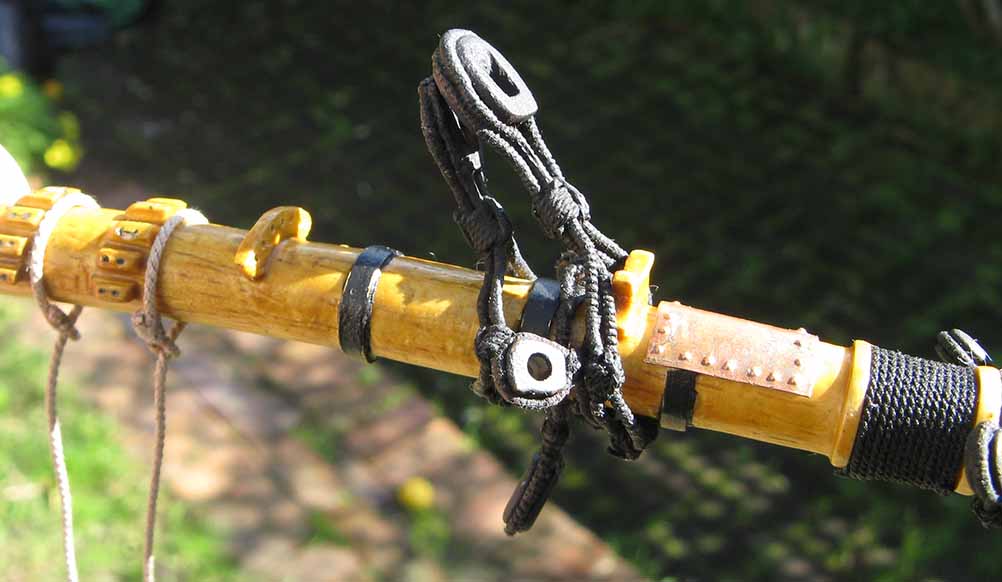
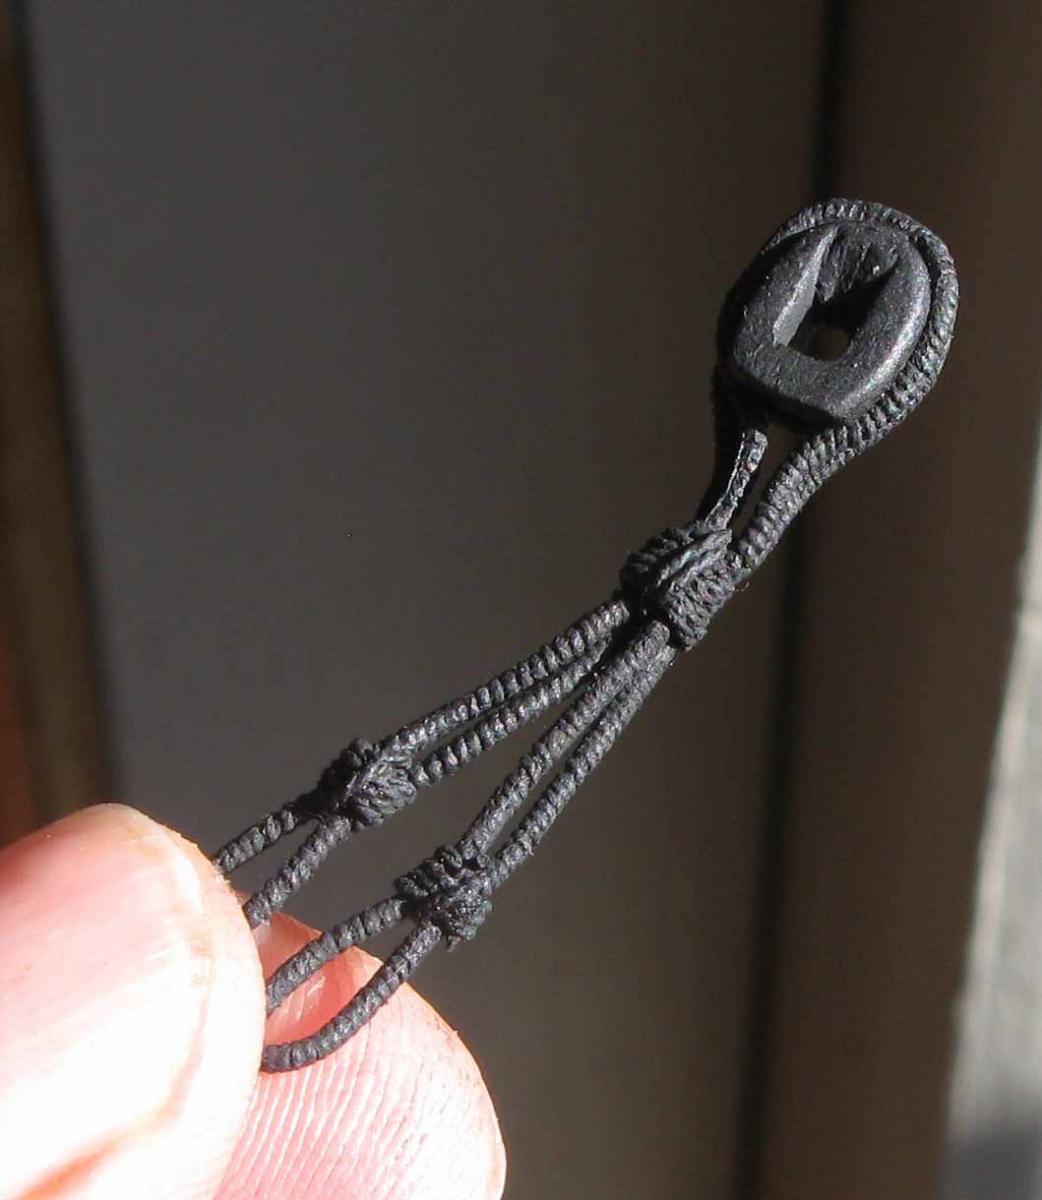
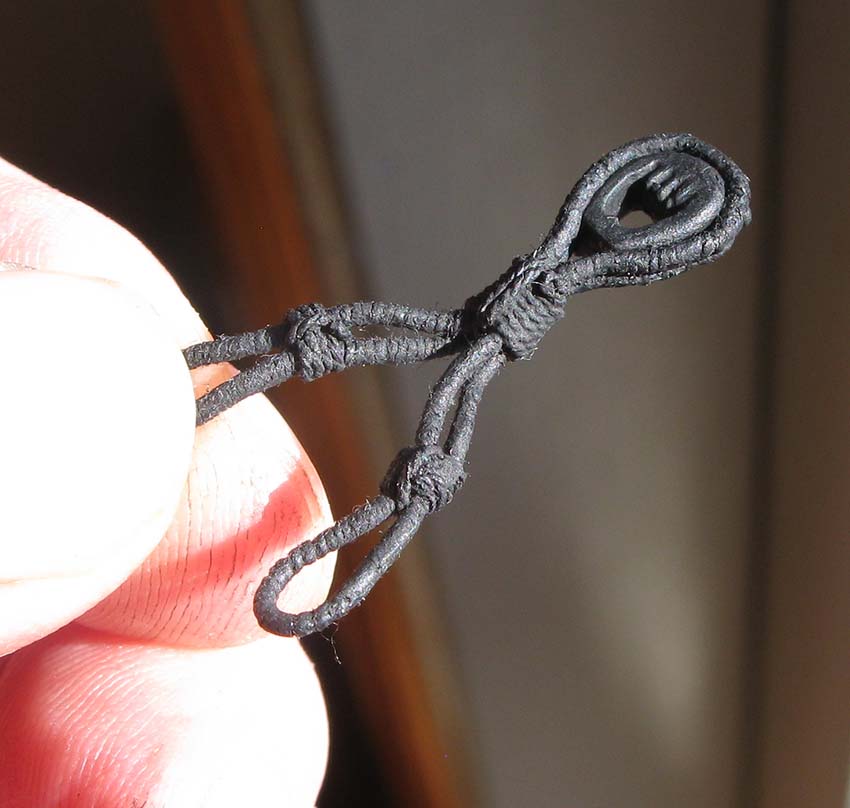
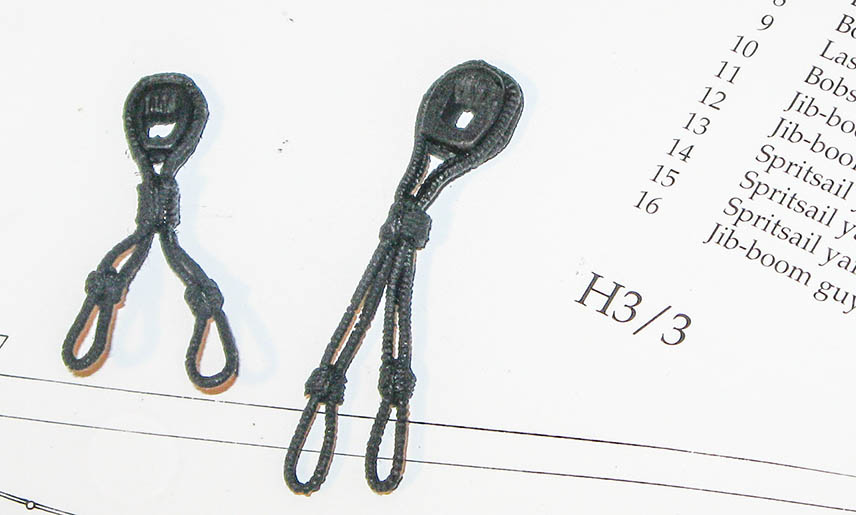
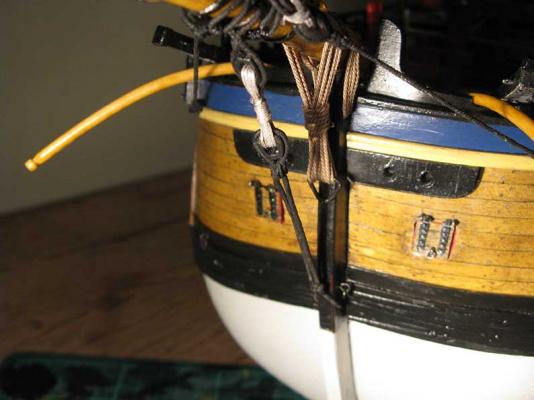
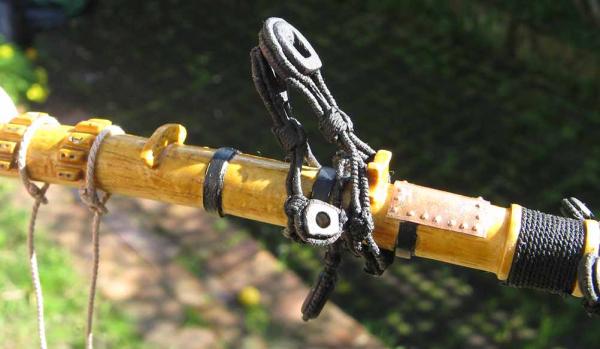
here are better pics of my hand served collars


-
HMB Endeavour by mikec - Eaglemoss
mikec replied to mikec's topic in - Kit build logs for subjects built from 1751 - 1800
Thanks B.E. I am using a stain colour "Kowhai" (named after our native NZ tree that has a yellow flower). The stain has a nice subtle yellow tinge (not sure if this is available overseas). For the masts and spars I am using a wattle product: "all in one"stain and varnish "teak" the picks posted a pretty close to how she appears . -
HMB Endeavour by mikec - Eaglemoss
mikec replied to mikec's topic in - Kit build logs for subjects built from 1751 - 1800
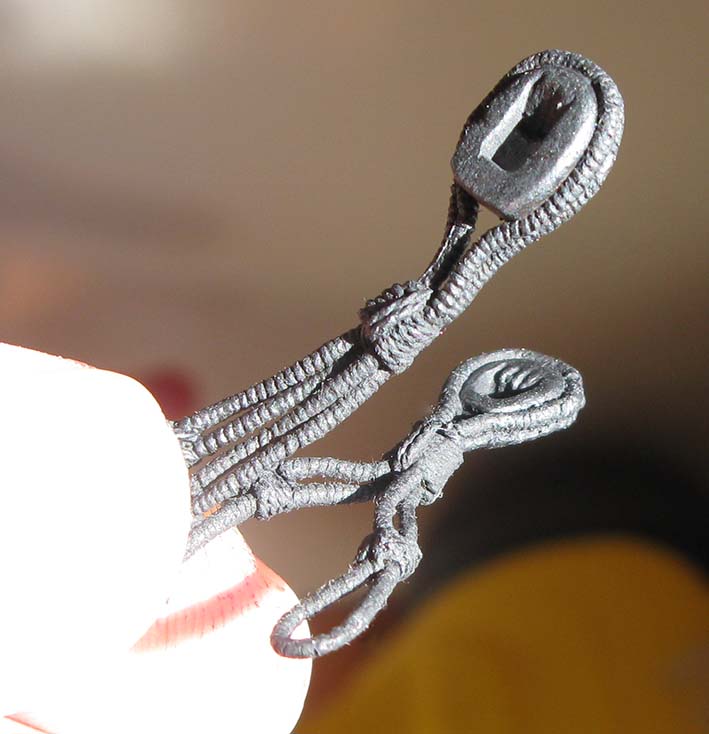
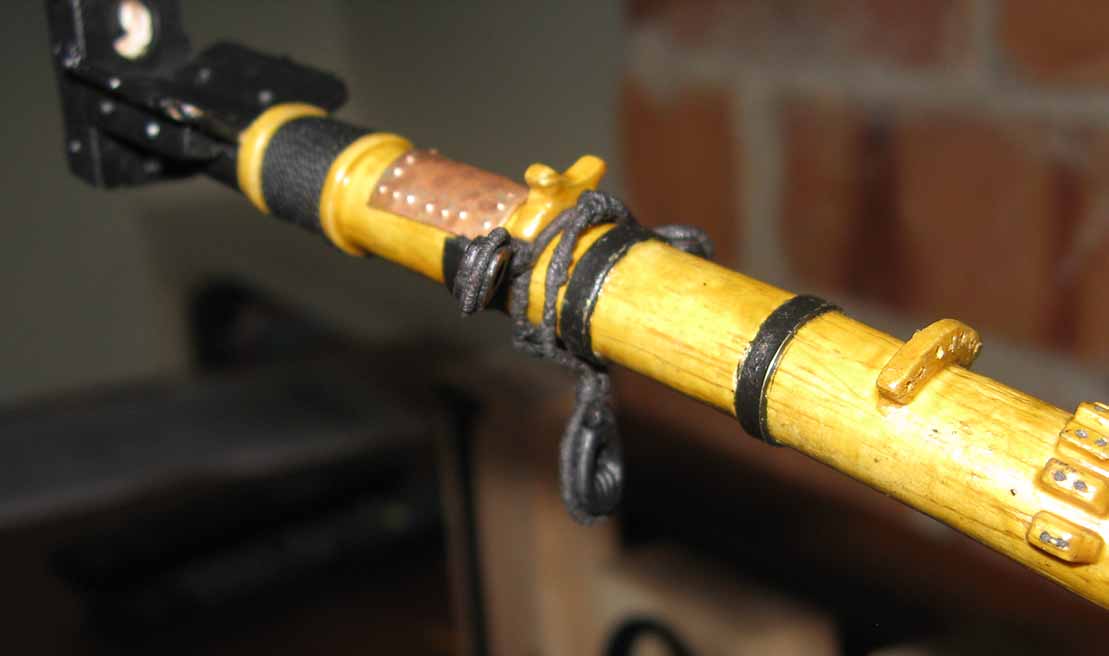
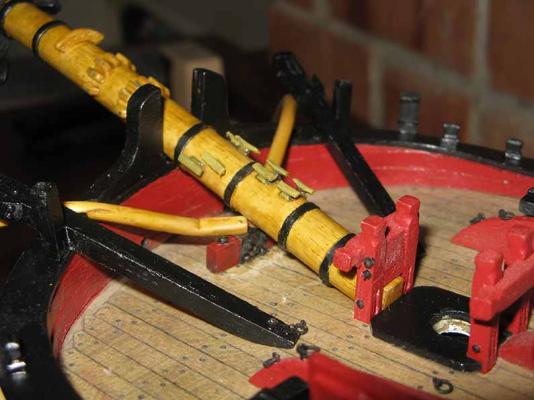
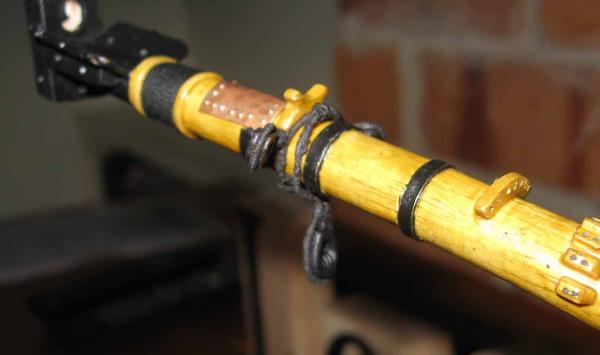
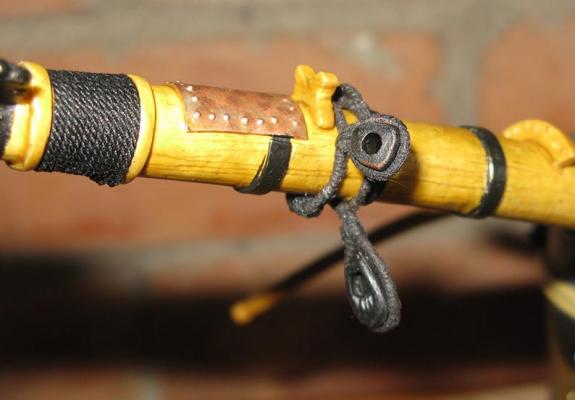
working on rigging for bow sprit. served stropps and made hearts using Chucks 3 piece sandwhich method as used on deadeyes. Here is poor photo, will post better pics tomorrow
-
That is really nice work on those blocks. How are you serving the strops and what diameter thread are you using for the strop and serving thread? I am starting this phase of work on my bowsprit. So far I have adapted Chucks rope walk by adding hooks to the central gears and attaching the thread to those hooks. I then feed the thread to create the serve by hand whilst turning the gears, 1st the left side and then as the thread tightens, I turn the right side. This works okay :-/ but takes 30 minutes to produce a 30 cm length of thread...
-
Beautiful work Patrick
-
Hi Rowan, just discovered your log. A very nice and neat build. I will follow with interest. regards Mike
-
you would never know it had been damaged. amazing work Greg.
-
Hi thanks for helping me, sorry, I am a bit confused open as per n or closed as per 0 ?
-
HMB Endeavour by mikec - Eaglemoss
mikec replied to mikec's topic in - Kit build logs for subjects built from 1751 - 1800
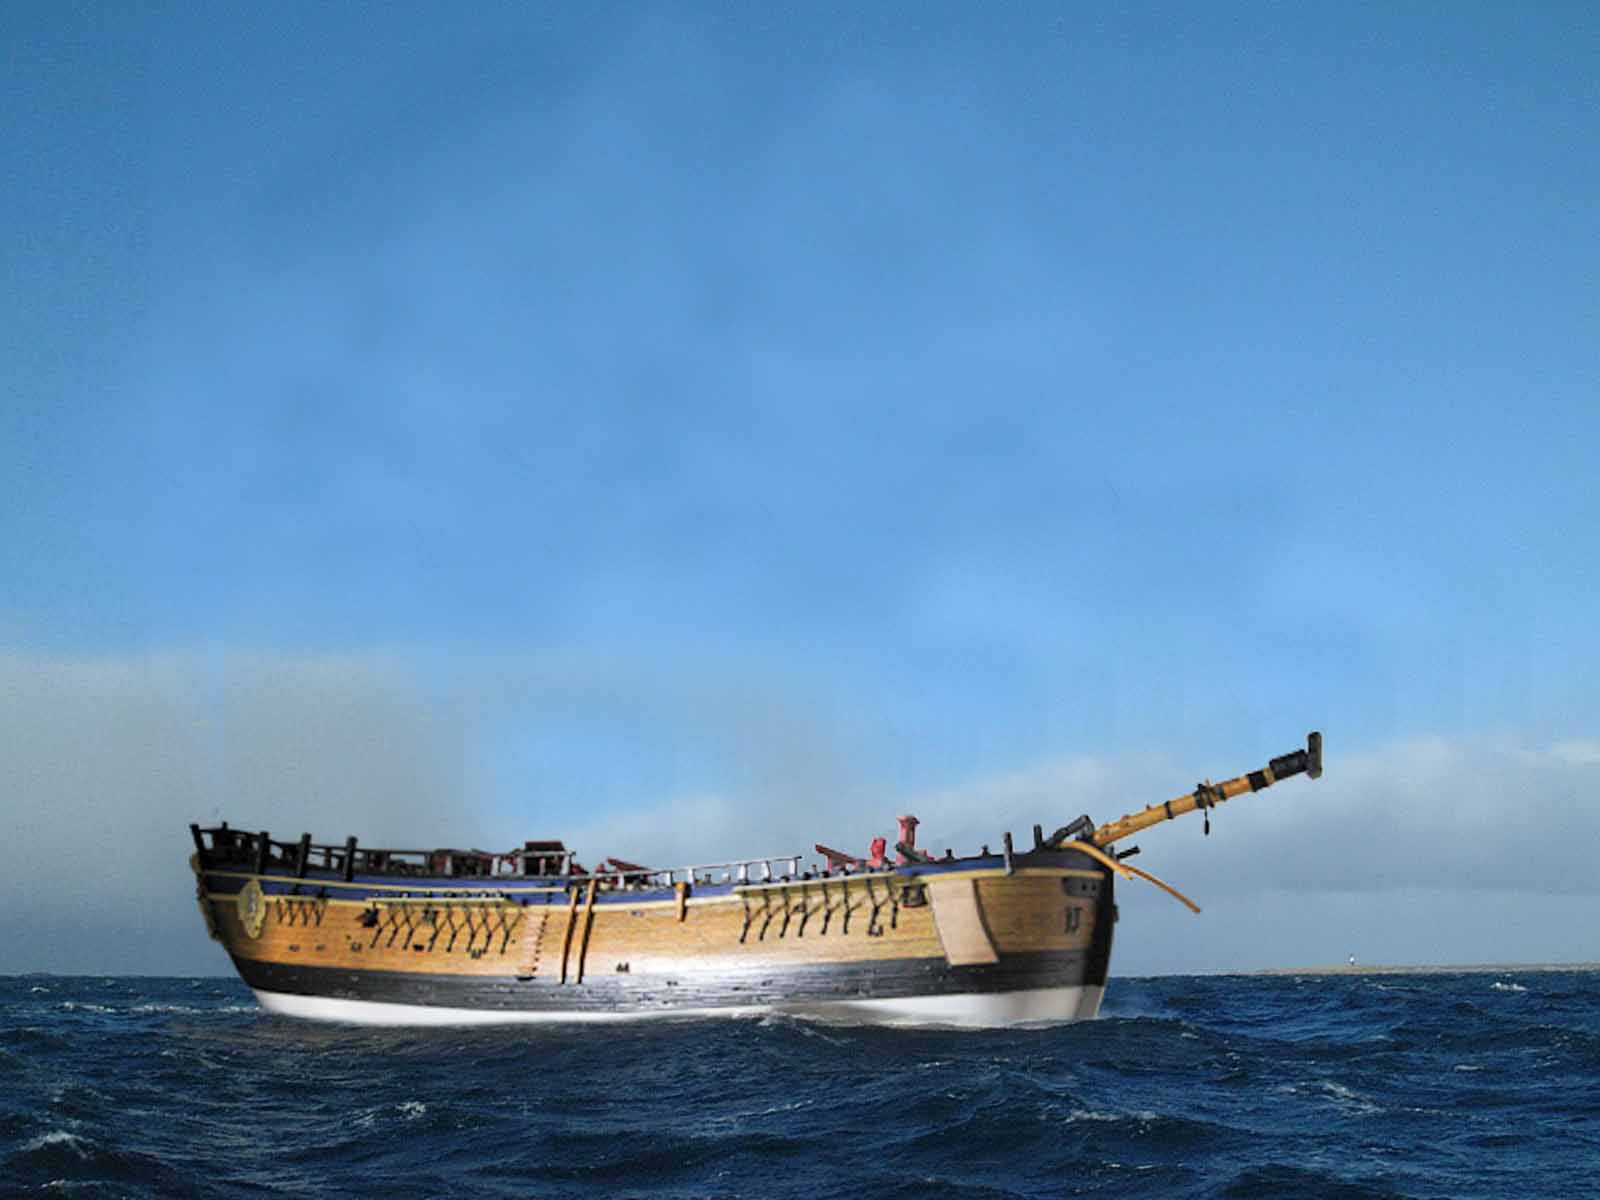
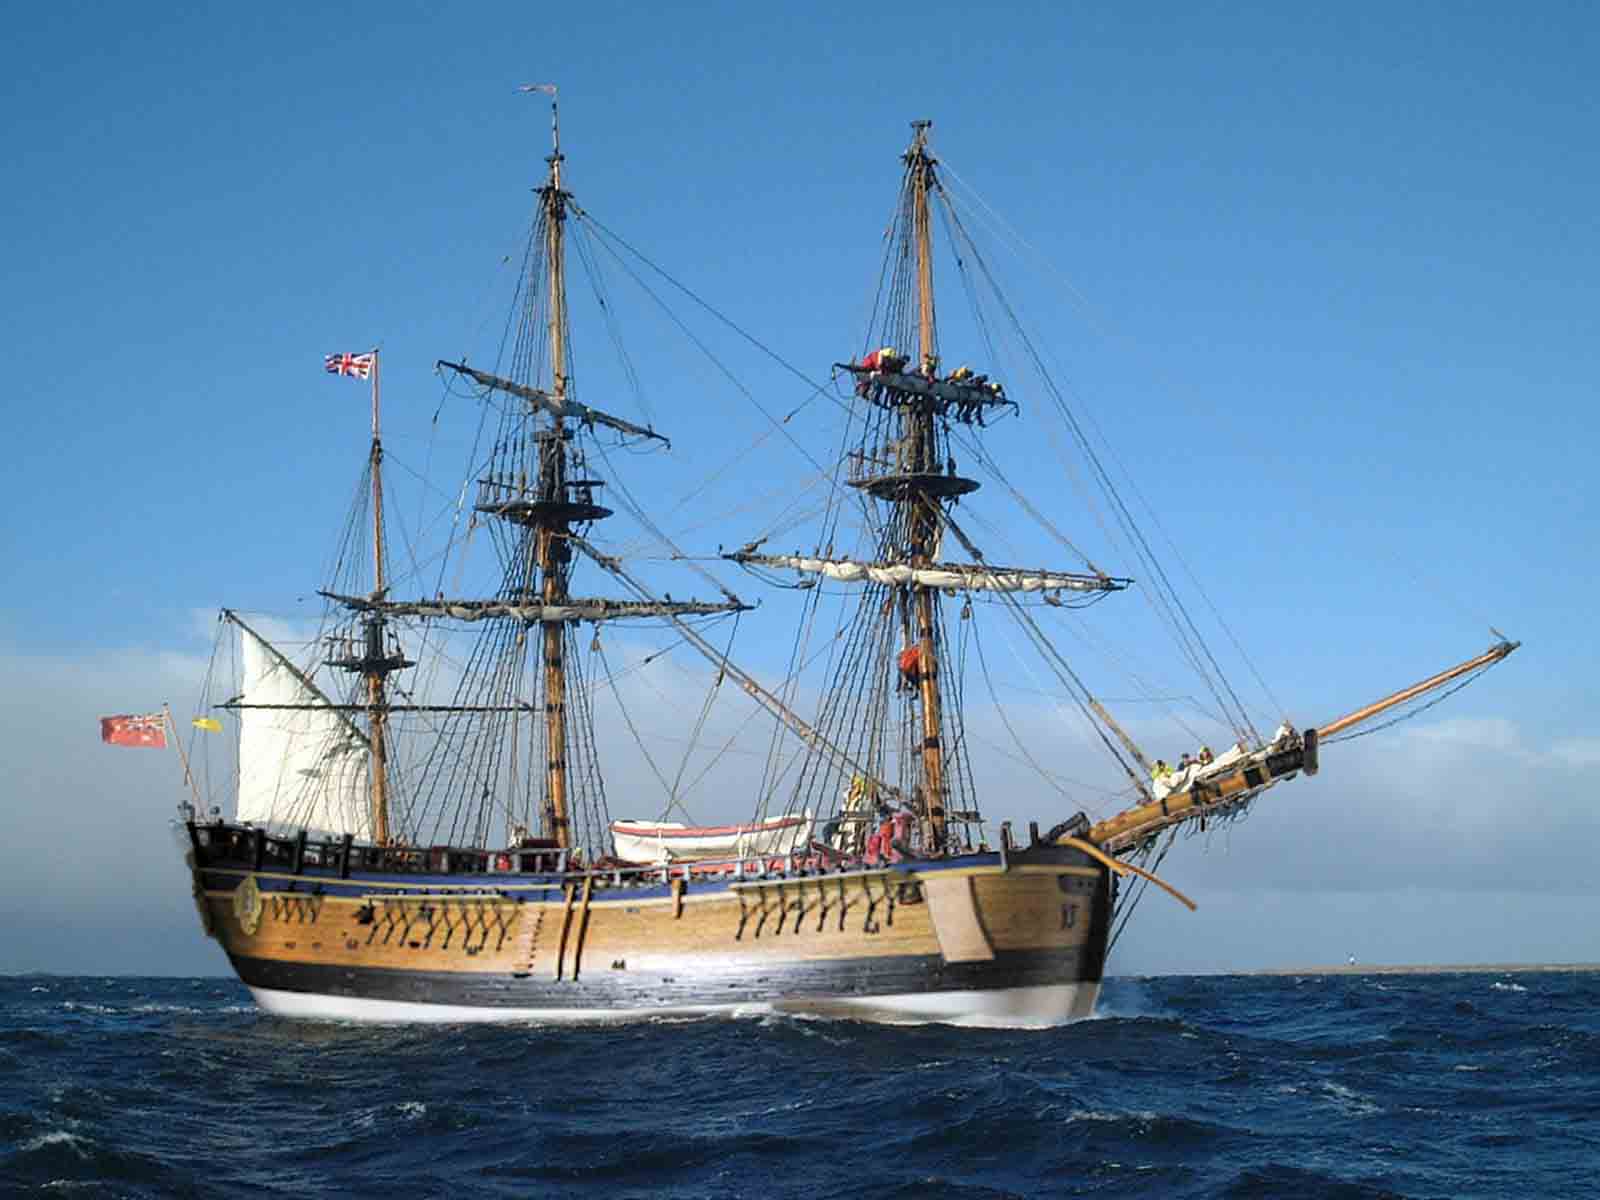
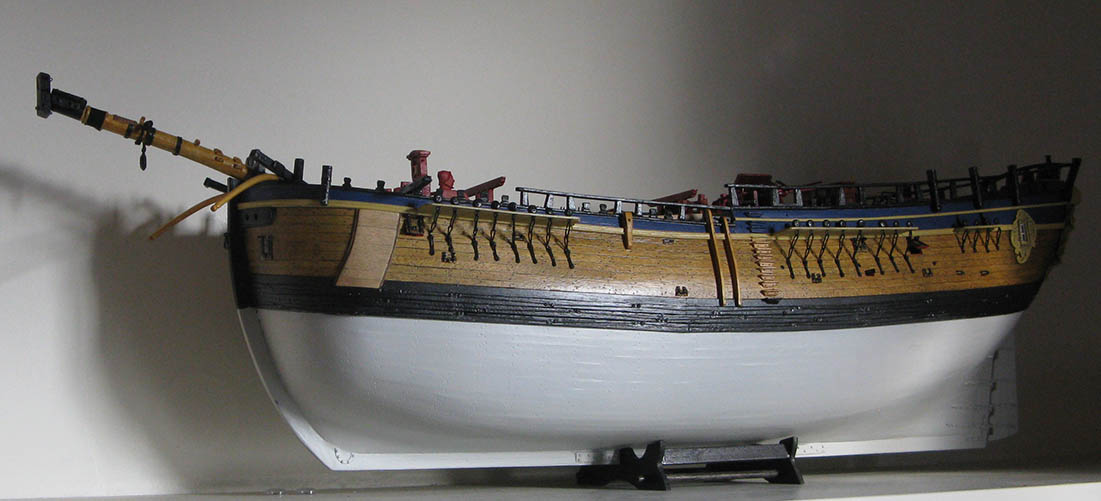
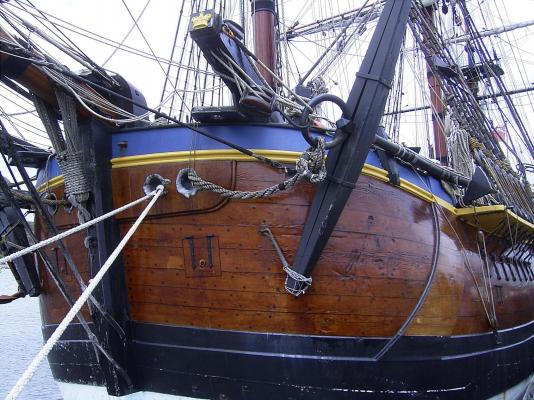
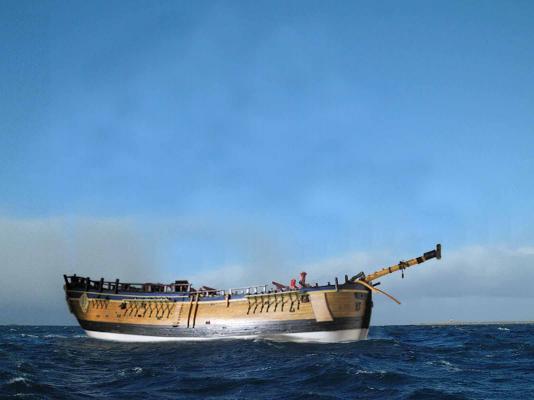
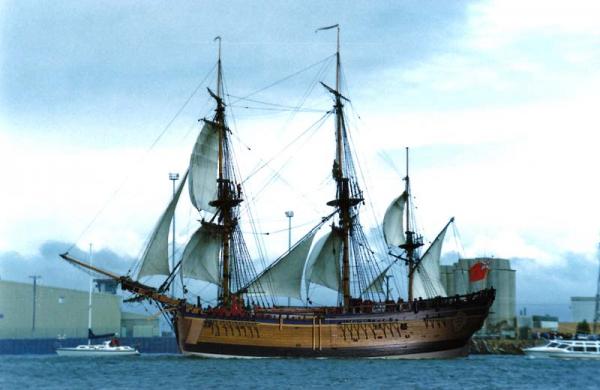
Thanks B.E. for your kind words. Thanks everyone I will go with how it is doine on the replica. I have started rigging the bowsprit I served the rope by adapting Chucks modelshipways ropewalk. takes about 20 minutes to make a 30cm length. Does anyone supply made up served rope? I also had a bit of fun, with photoshop using my model hull against the replica. a useful exercise, as it illustrates that the shape is pretty much spot on.

-
HMB Endeavour by mikec - Eaglemoss
mikec replied to mikec's topic in - Kit build logs for subjects built from 1751 - 1800
thanks Alistair