-
Posts
418 -
Joined
-
Last visited
Content Type
Profiles
Forums
Gallery
Events
Posts posted by fnick
-
-
What gets me is with the amount of detail absolutely everywhere, when you look at a different side it feels you are looking at a completely different diorama.
Wow wow wow 😮
Nick
- Glen McGuire, Canute, mtaylor and 7 others
-
 10
10
-
-
For red paints Tamiya do a pink primer. If you don't mind me putting a link on heres an example on a red BMW.
Start watching 17 minutes in. Seems to work very well.
Cheers, Nick
-
Definitely be following this one. I recently did the AMT Chrysler 300C as I wanted to do a classic American "chrome" car and I have to say the Moebius kit would have been my second choice.
Nick
-
-
Yep plasmo build this model with the carbon decals. Also an aftermarket chain with separate links! Easy when you are used to doing ratlines!😋😄
Looking forward to seeing how this one turns out.
Nick
- CDW, Old Collingwood, Canute and 3 others
-
 6
6
-
-
-
"but will make a decision soon. "
Didn't take long then.😀.
Looking forward to this one. Sticking with the yellow or going with a more traditional red? Or something completely different?
Nick
- CDW, popeye the sailor, lmagna and 4 others
-
 7
7
-
Still can't get over how good the headlights are. What's your secret to getting such a smooth finish. Don't worry it will be safe within MSW! 😁
Nick
- lmagna, Canute, popeye the sailor and 5 others
-
 8
8
-
Hi Craig
Fantastic work on the decals. One thing I have seen some people do is use a hair dryer for a few seconds to speed up the drying process between microsol (or equivalent) applications.
There's a YouTube channel called scale modelling channel (mainly cars) that has quite a lot of good how to videos. Not saying you need it! ☺️. Just FYI...
I'll stop rambling now...
Nick
- Edwardkenway, mtaylor, lmagna and 5 others
-
 8
8
-
-
Stunning. Are you planning to take this masterpiece outside for some outdoor shots?
Nick
-
Love that F2. Really good work Mike!
Nick
- lmagna, Canute, popeye the sailor and 5 others
-
 8
8
-
Thanks Mike! Appreciate the comment.
Also reminds me I took a few pictures with my DSLR.
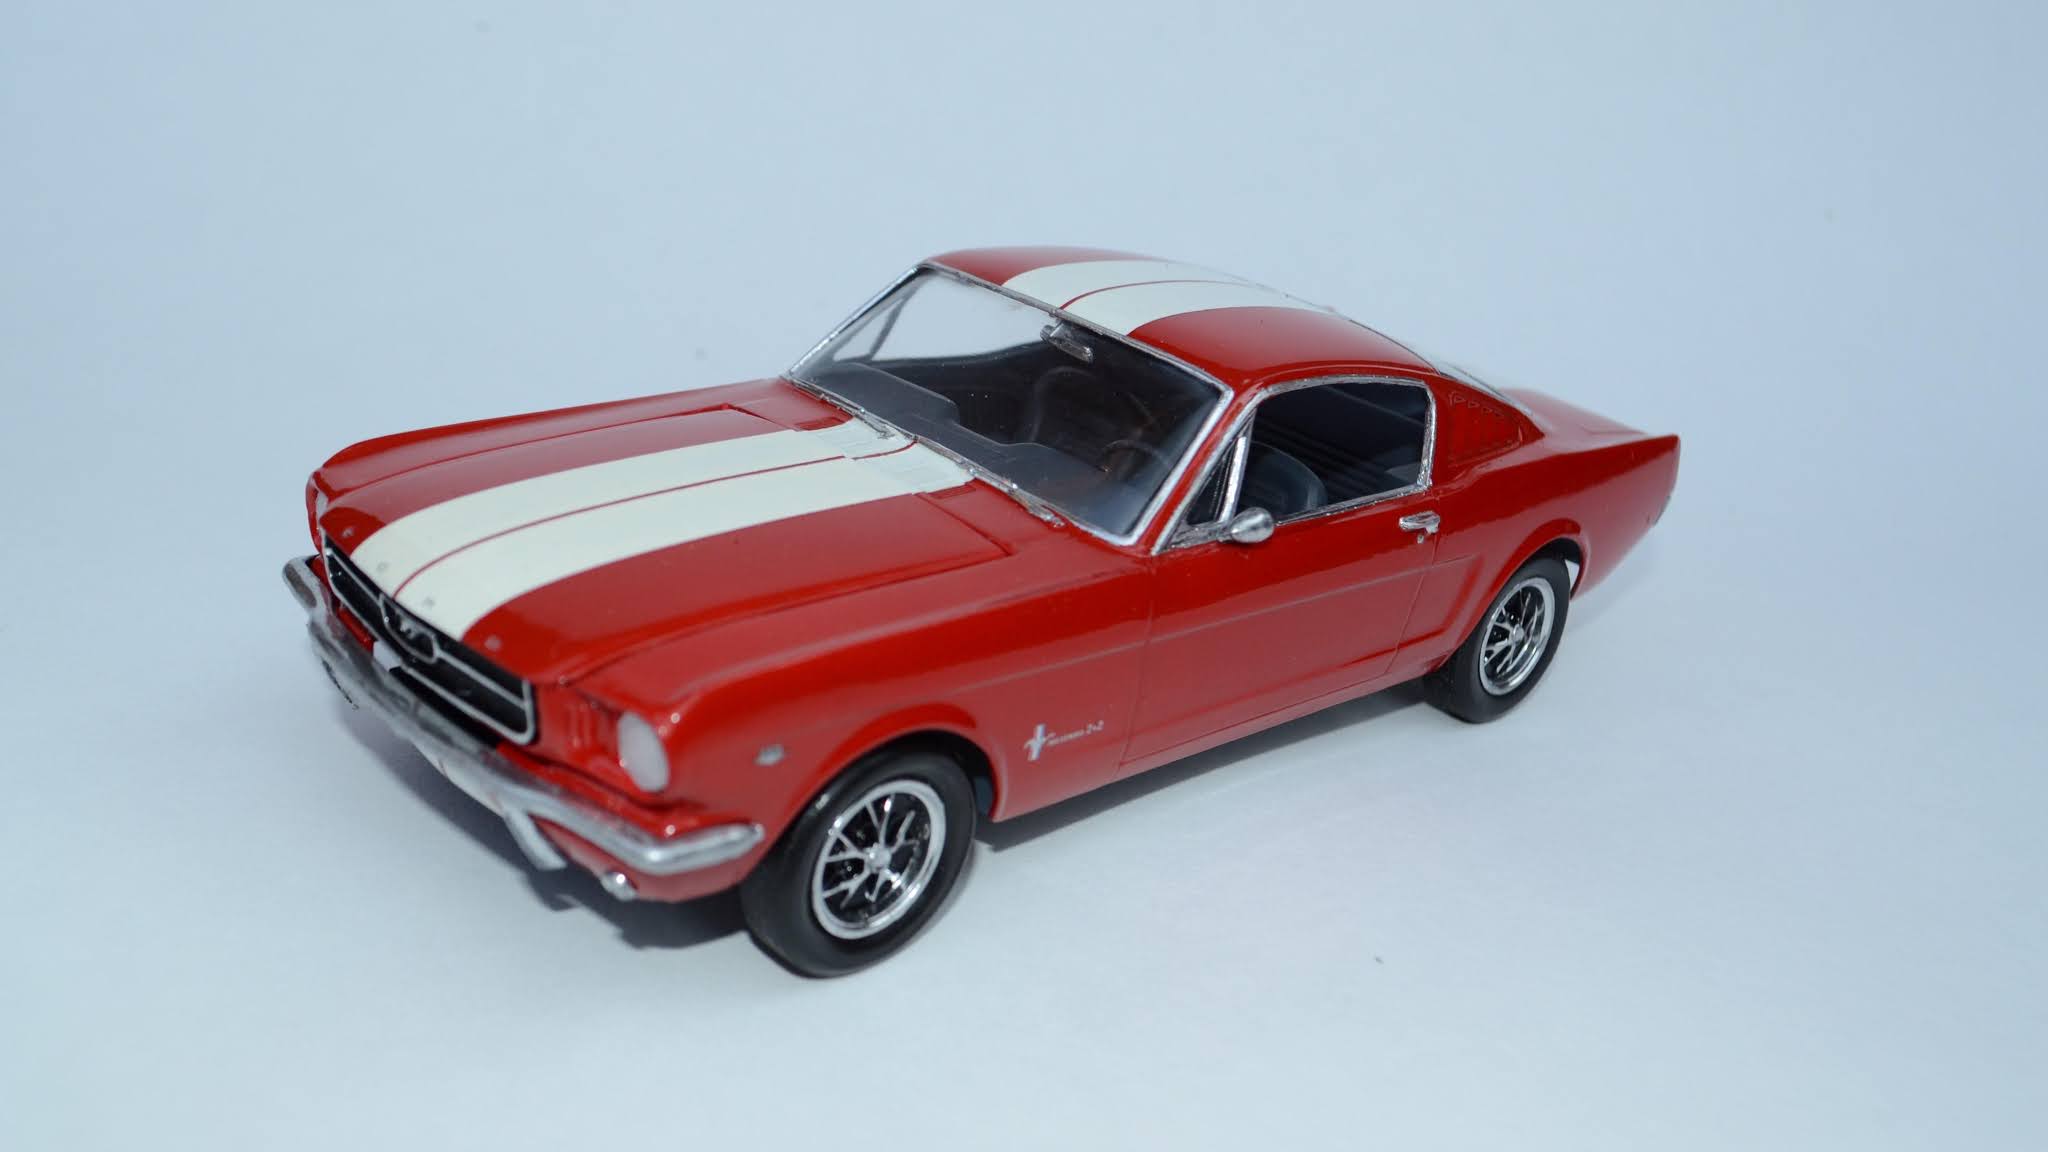
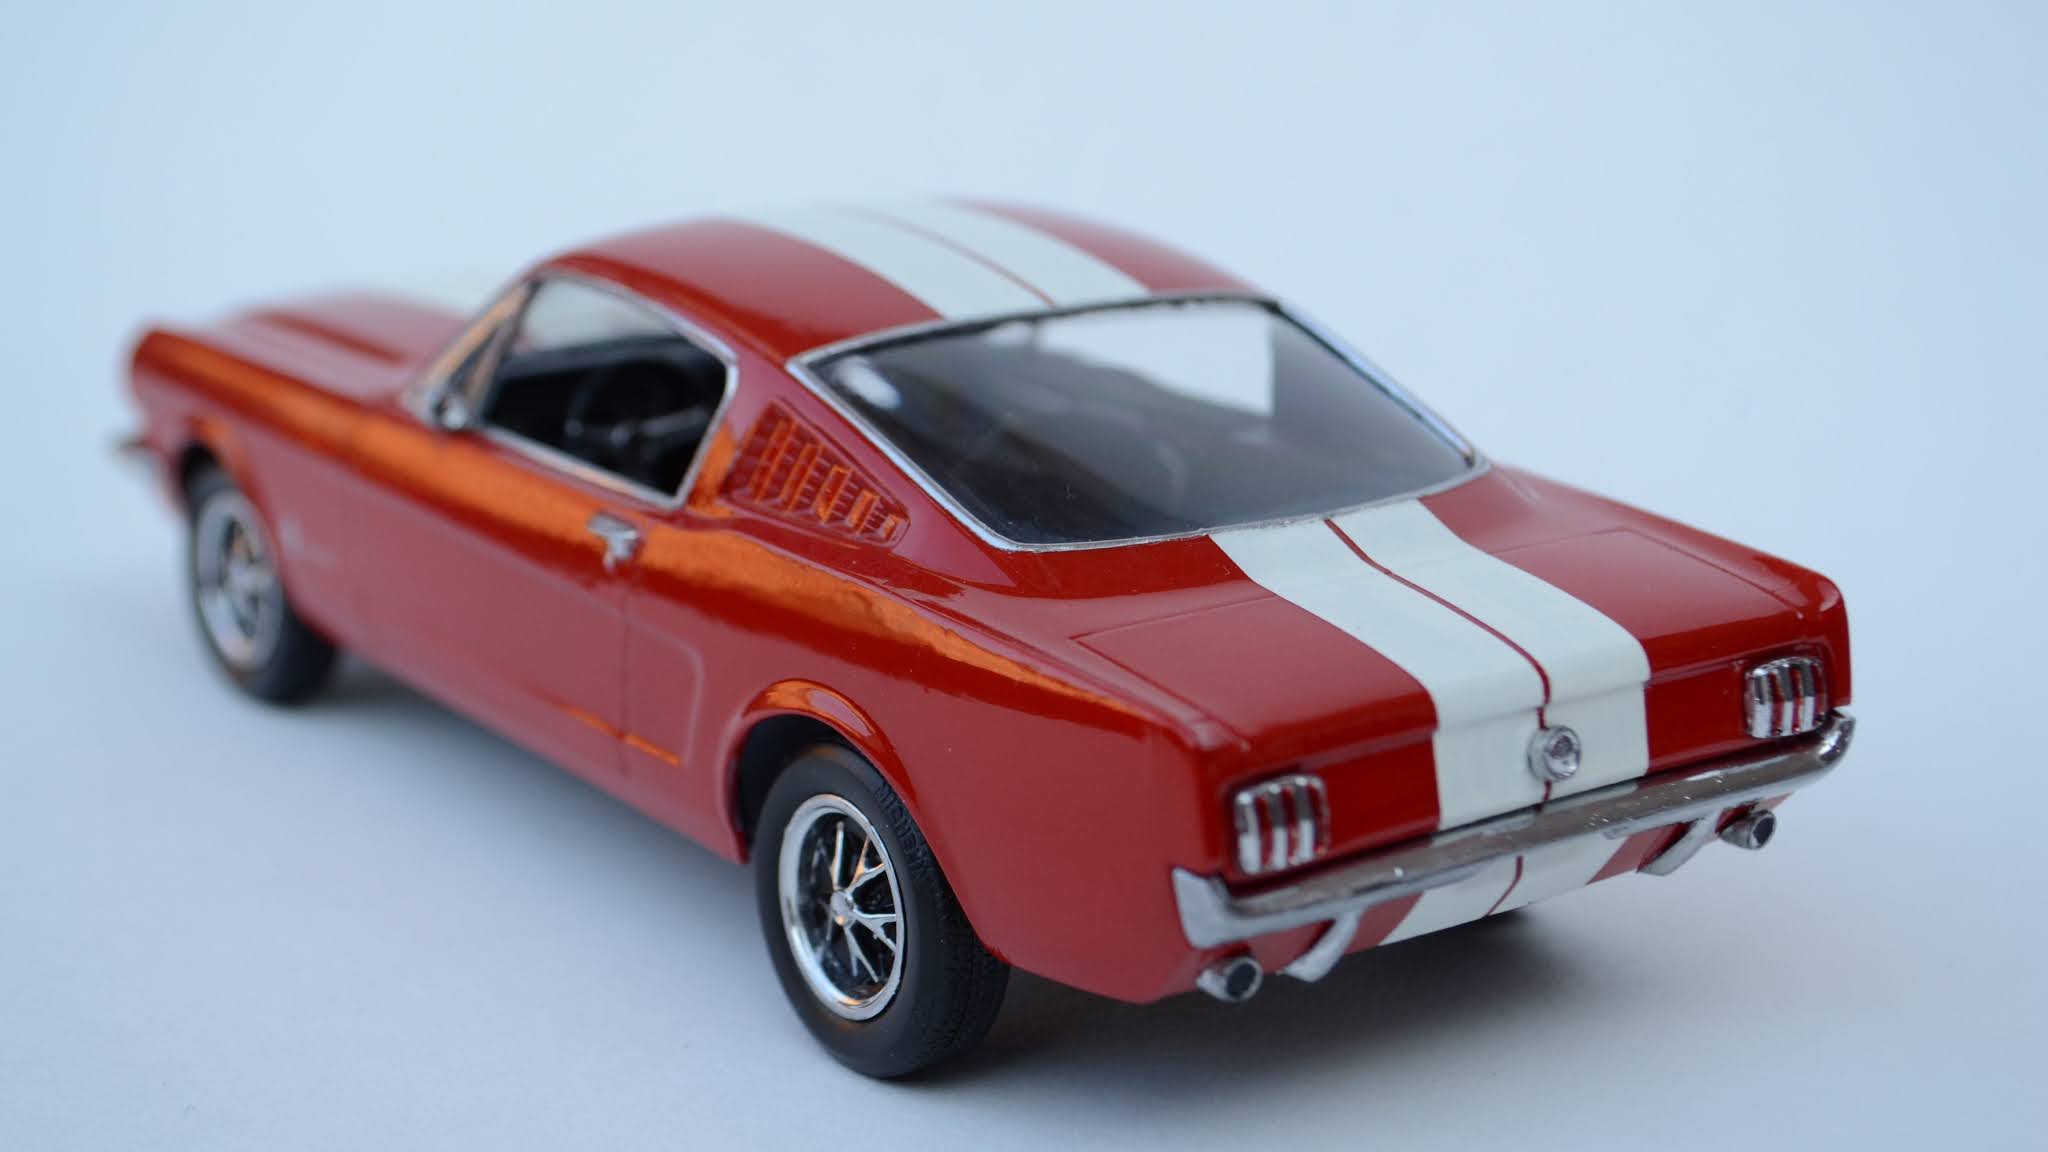
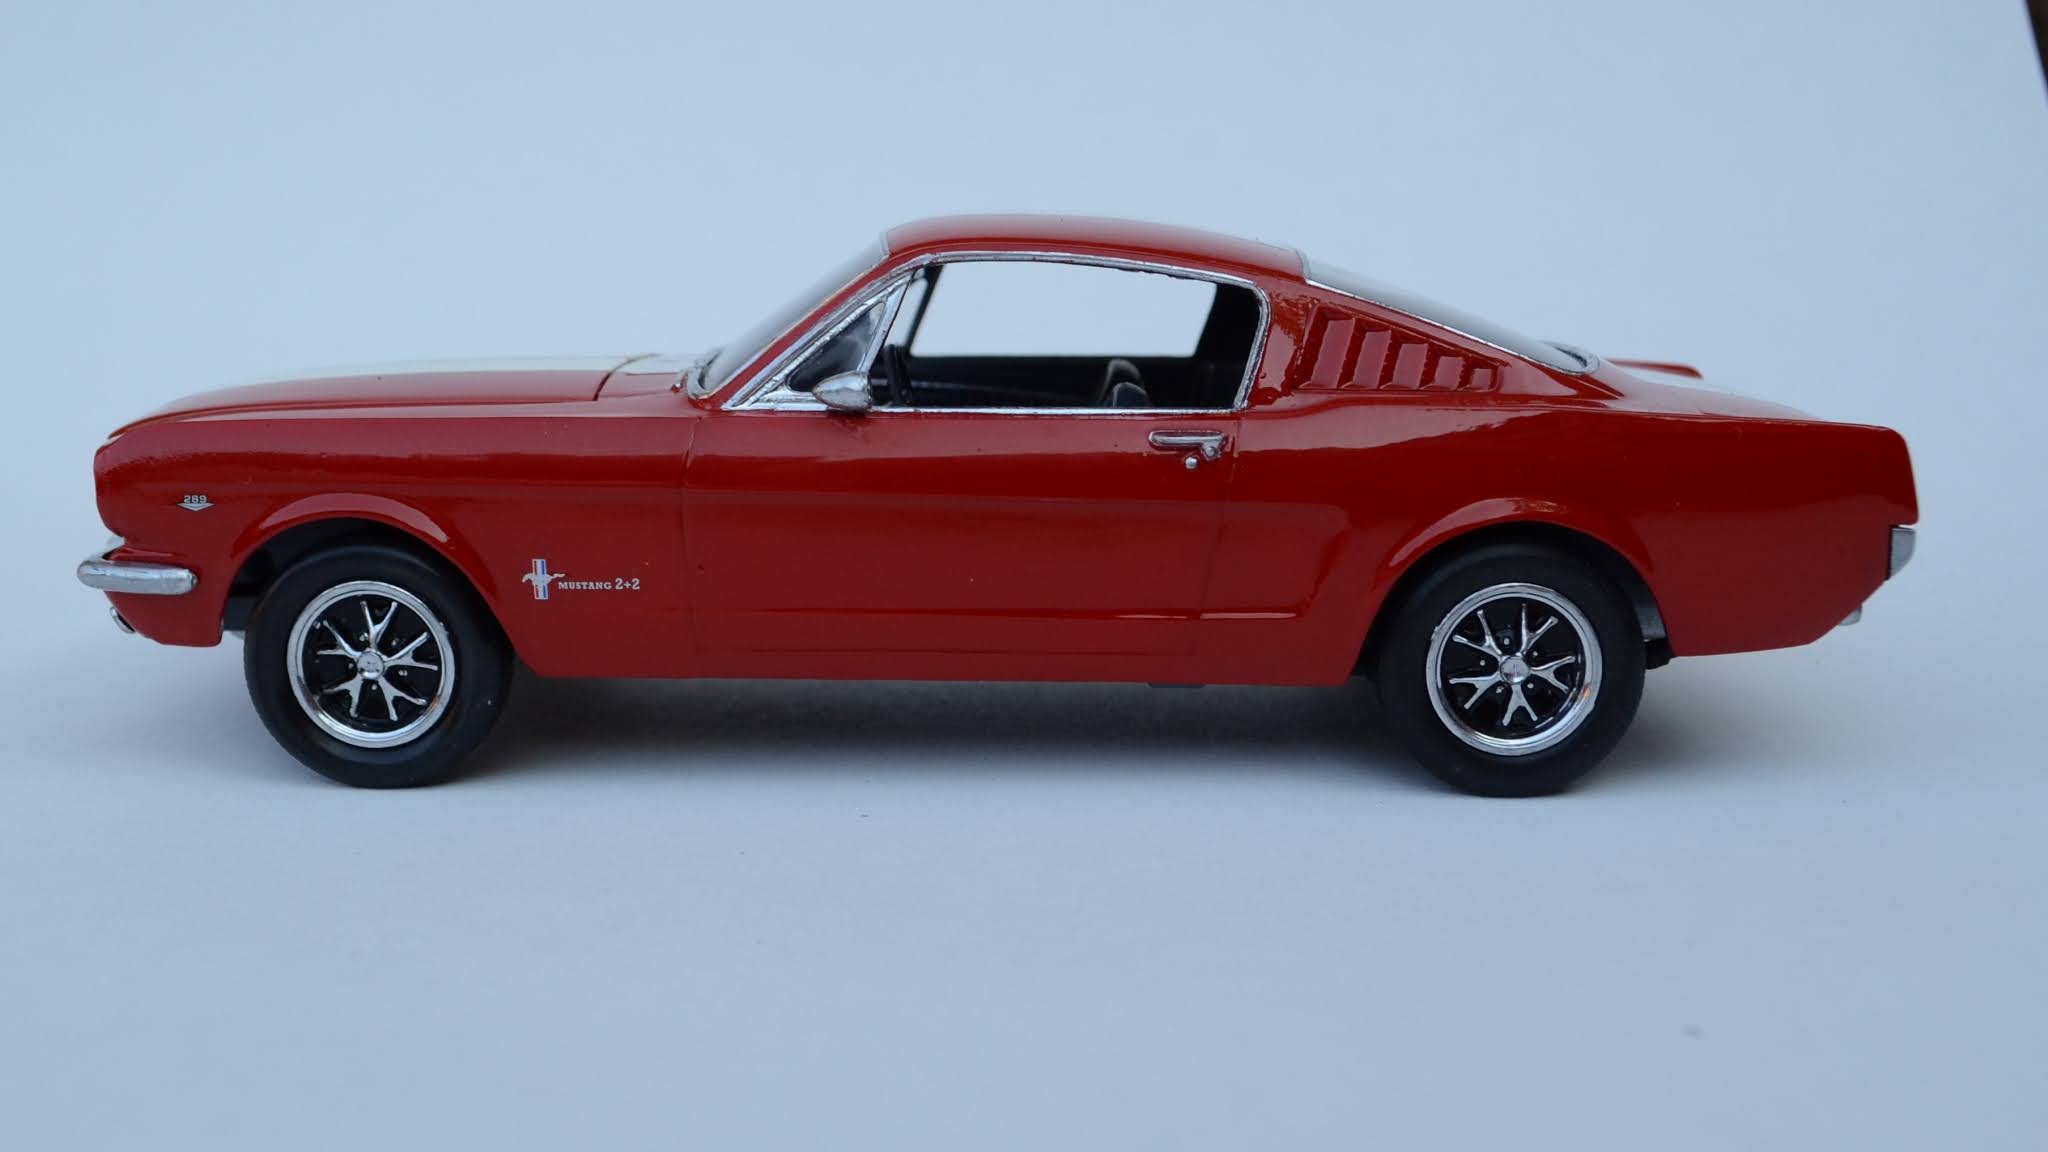
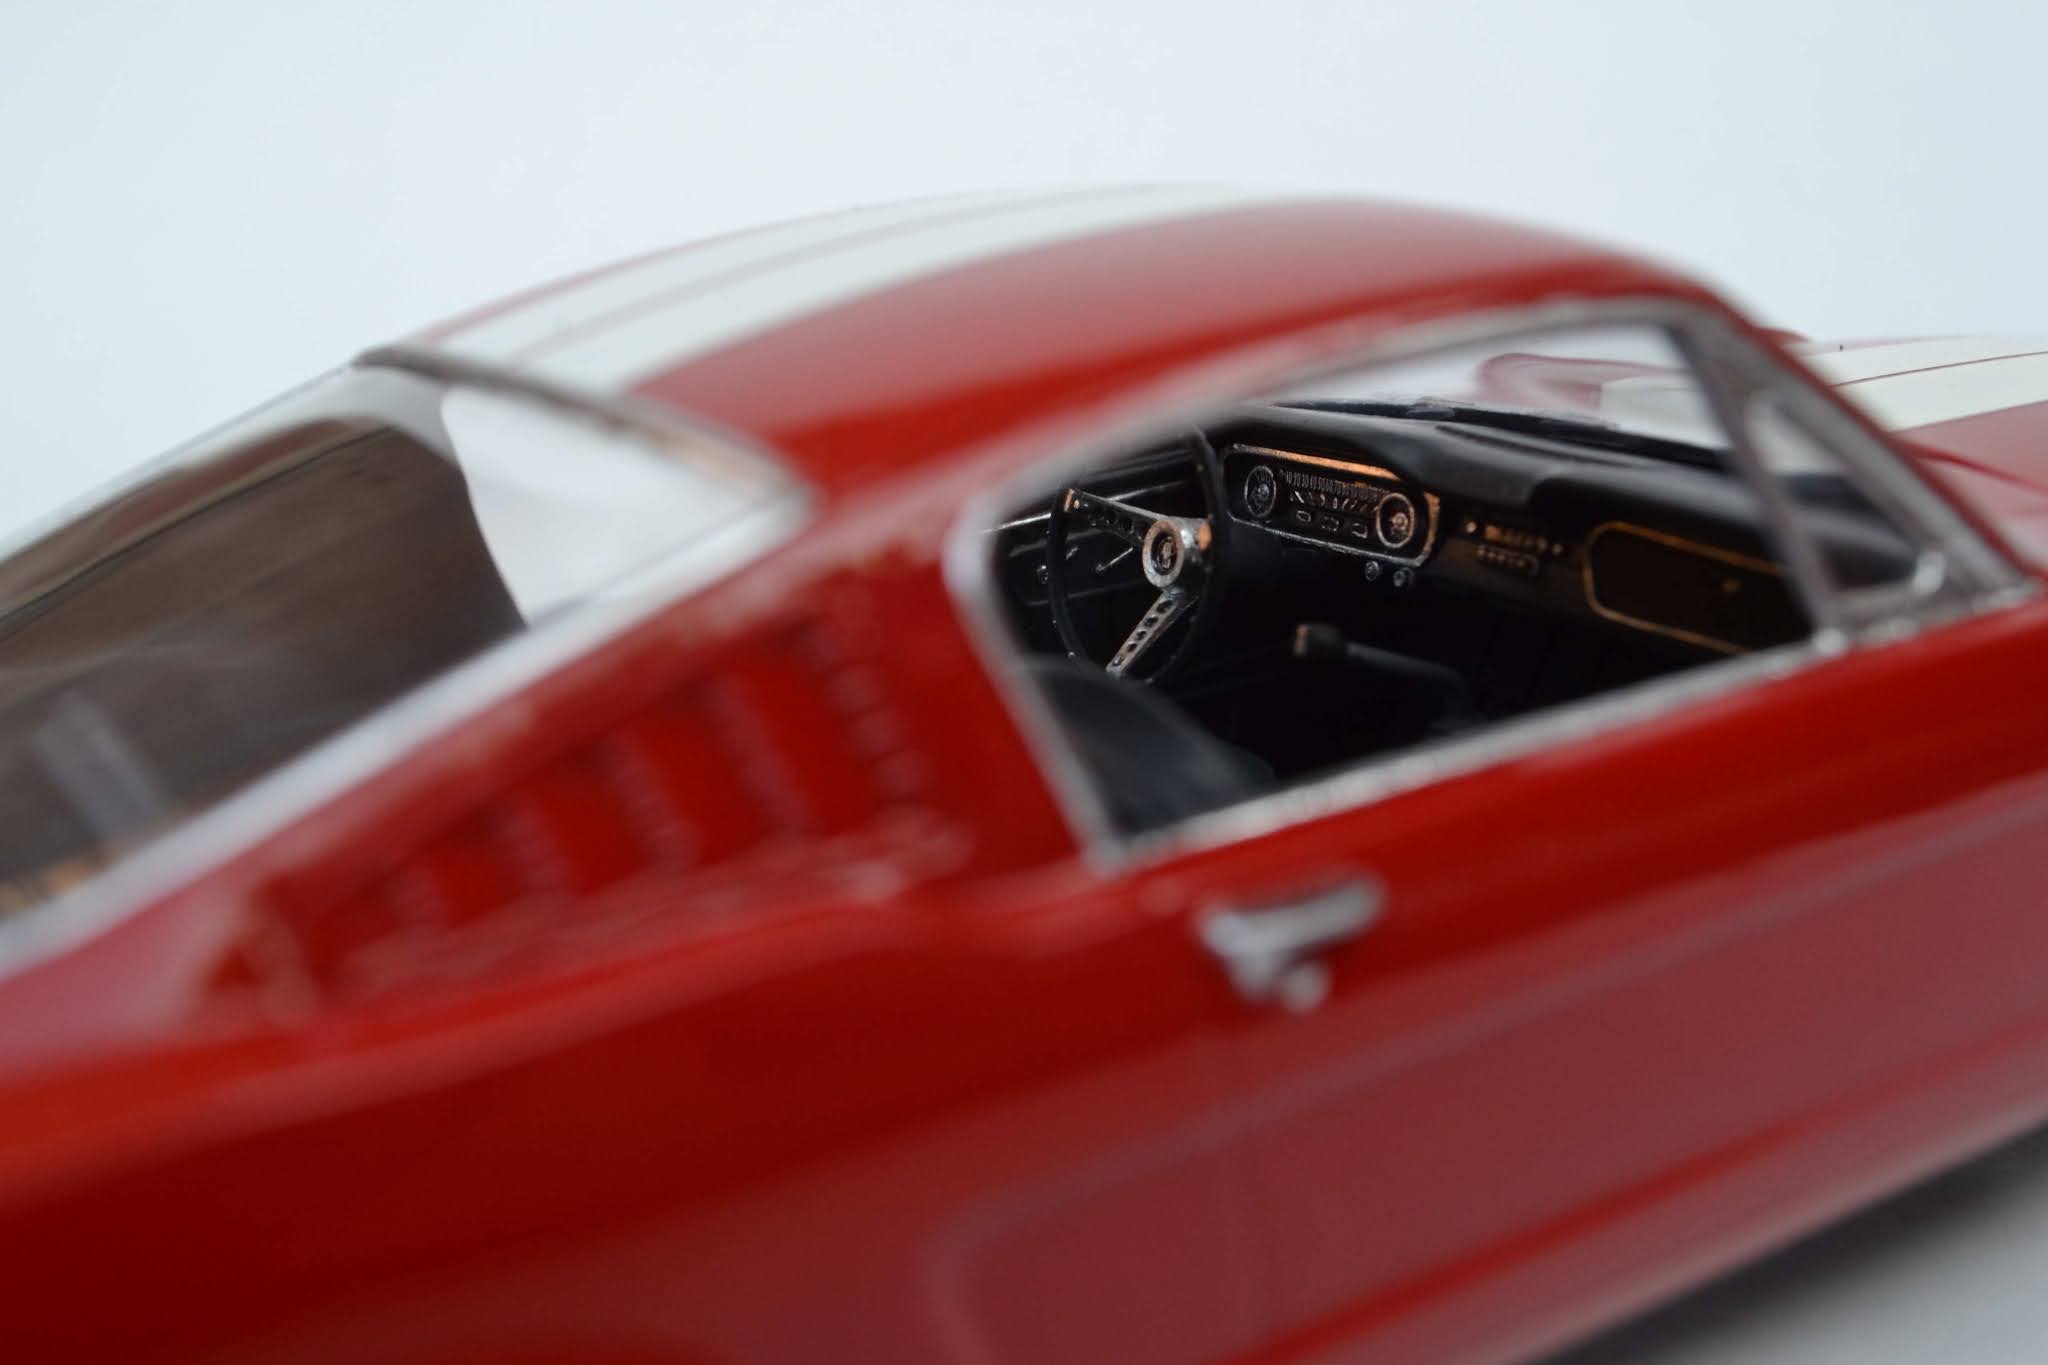
This last one was an attempt at a diorama using a backdrop. Idea is ok in principle. Just need access to an A2 printer!🙂
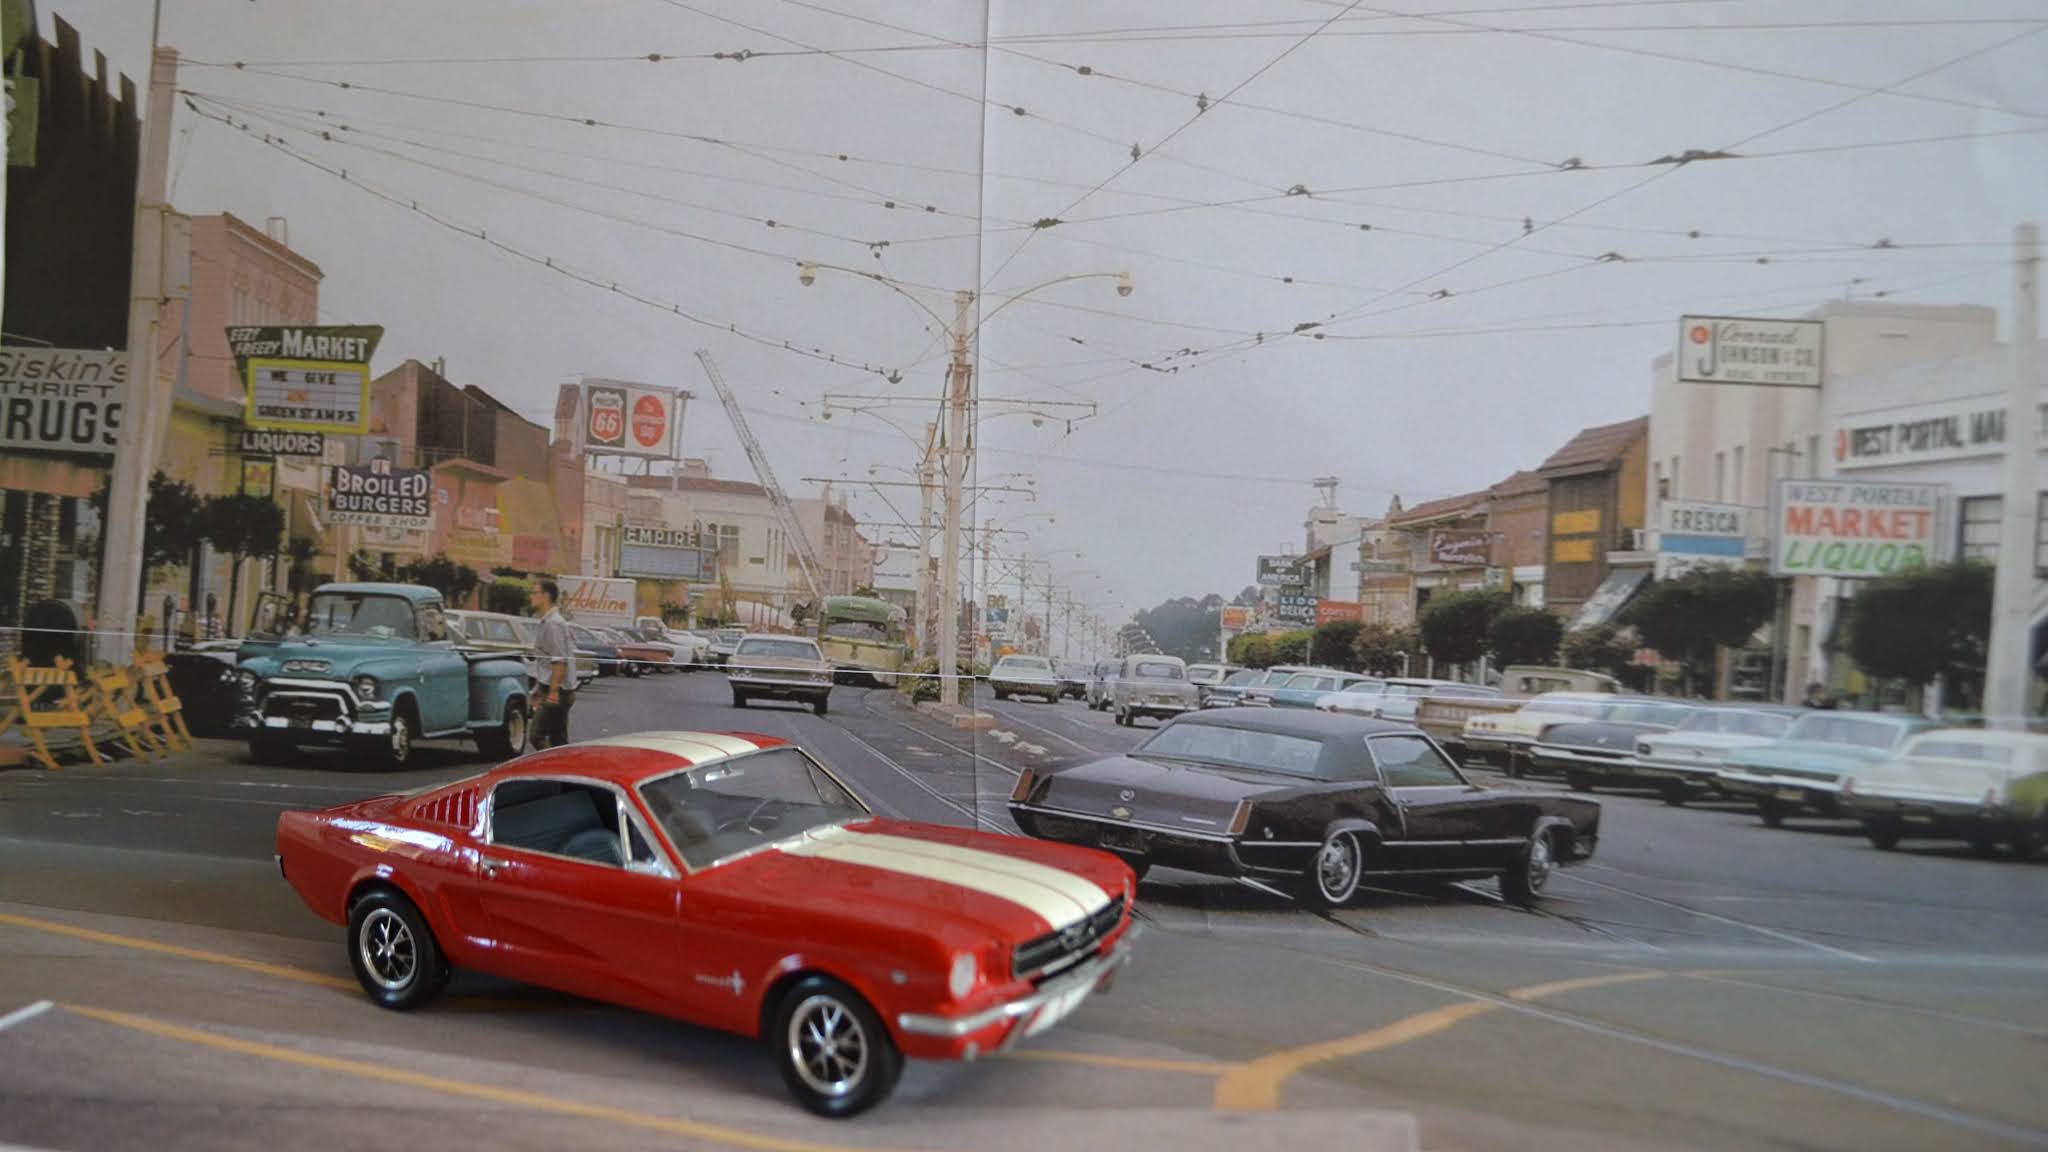
Thanks for looking.
Nick
- Egilman, Jack12477, Old Collingwood and 4 others
-
 7
7
-
-
Congratulations Ekis you have just invented a time machine to go back to the middle ages!😀. Stunning work.
Nick
-
Thanks Mark! If I had planned it a bit better I would have got some decals for the white side stripes which would have looked pretty cool. Next time!😋
- Egilman, Old Collingwood, mtaylor and 4 others
-
 7
7
-
Hi Ragove. Thank you for the suggestion. I have seen that one done however I do have an alternate idea I'm hoping will work which if it does will look a damn sight nicer than my driveway!🙂
Cheers,Nick
- mtaylor, Egilman, popeye the sailor and 3 others
-
 6
6
-
Thanks gents! Sorry Egilman lost the keys... Not surprising at 1:24 scale 😋
- mtaylor, lmagna, popeye the sailor and 2 others
-
 5
5
-
Morning all thanks for the comments and the likes.
On 8/27/2020 at 7:51 PM, popeye the sailor said:gonna be a sweet look'in body when you get some wheels under it!

Well the lady's got wheels!😀
Finally finished! First of all here is what I was hoping the car would look like.
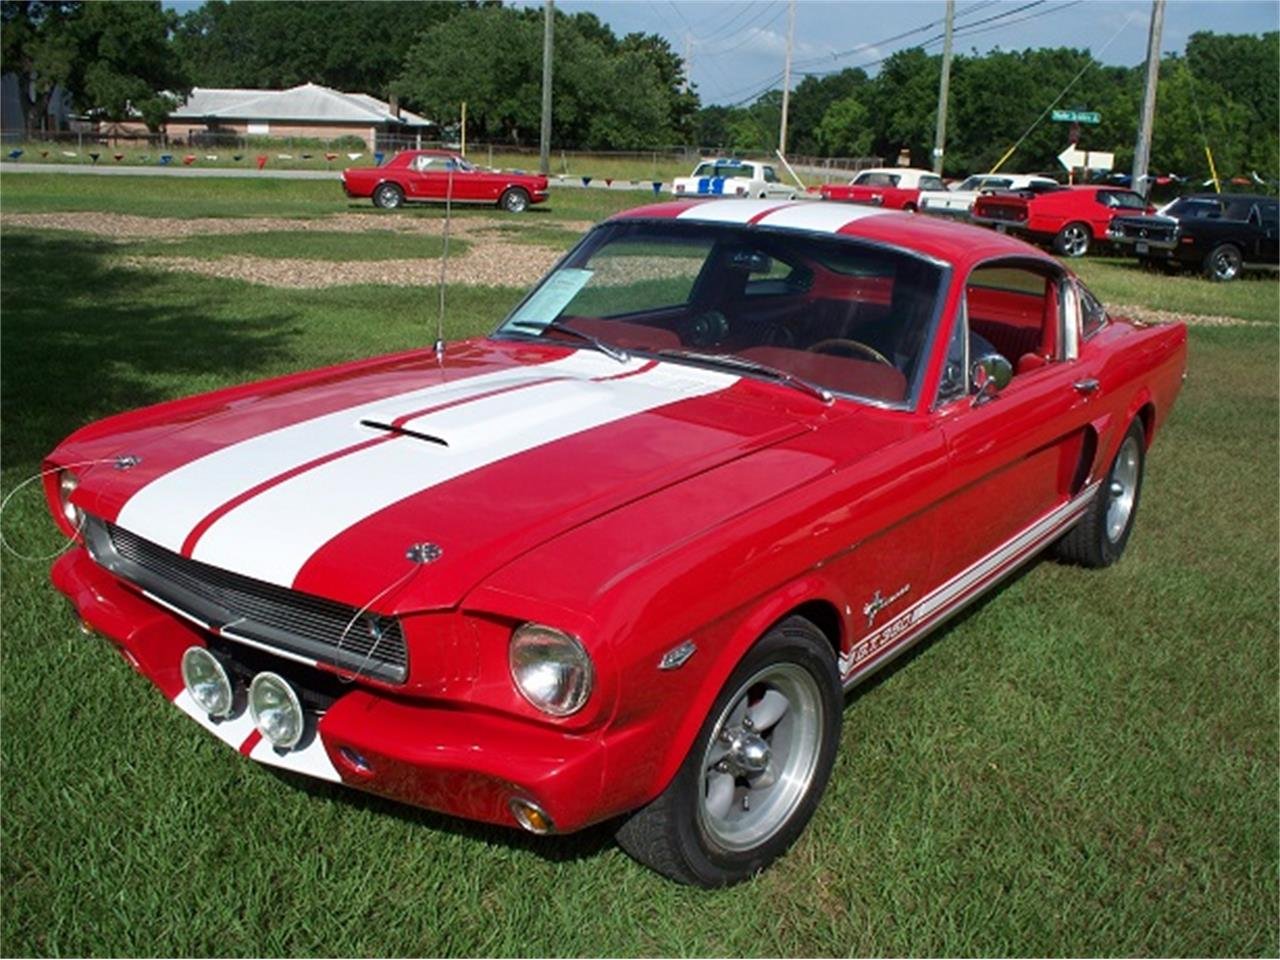
And here is the end result
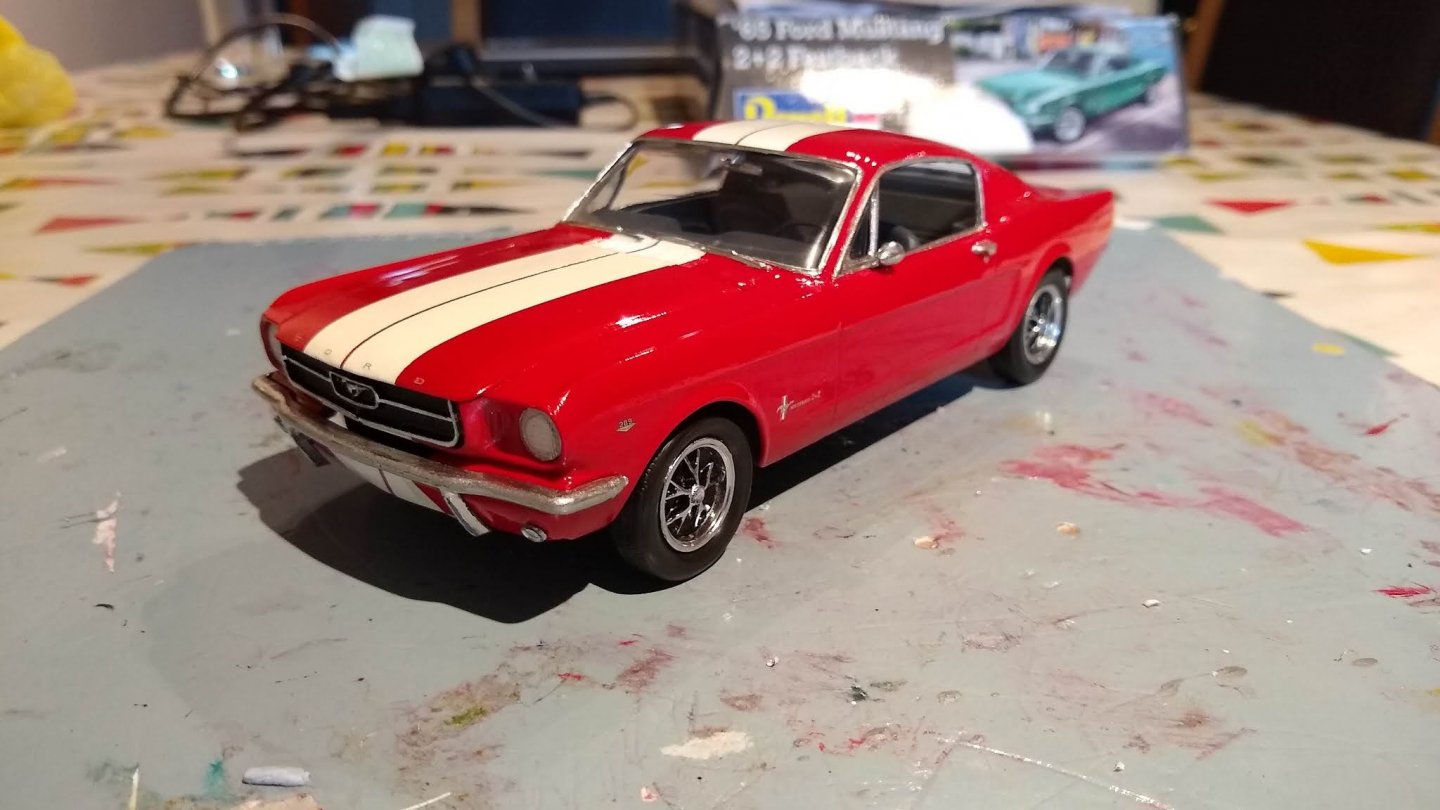
There's a vague resemblance!😋. Ok I'm quite pleased with the result!😁☺️.
A few more pictures.
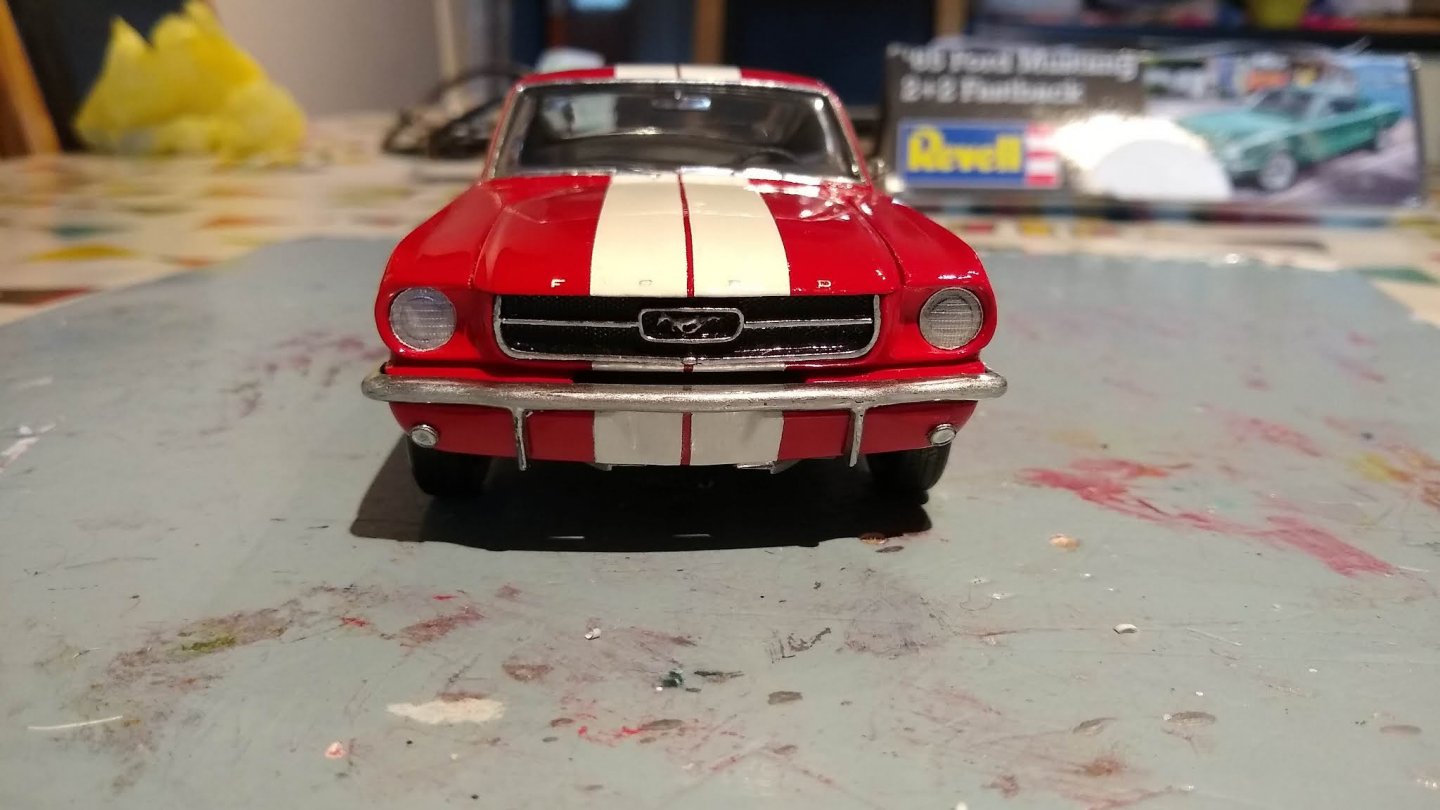
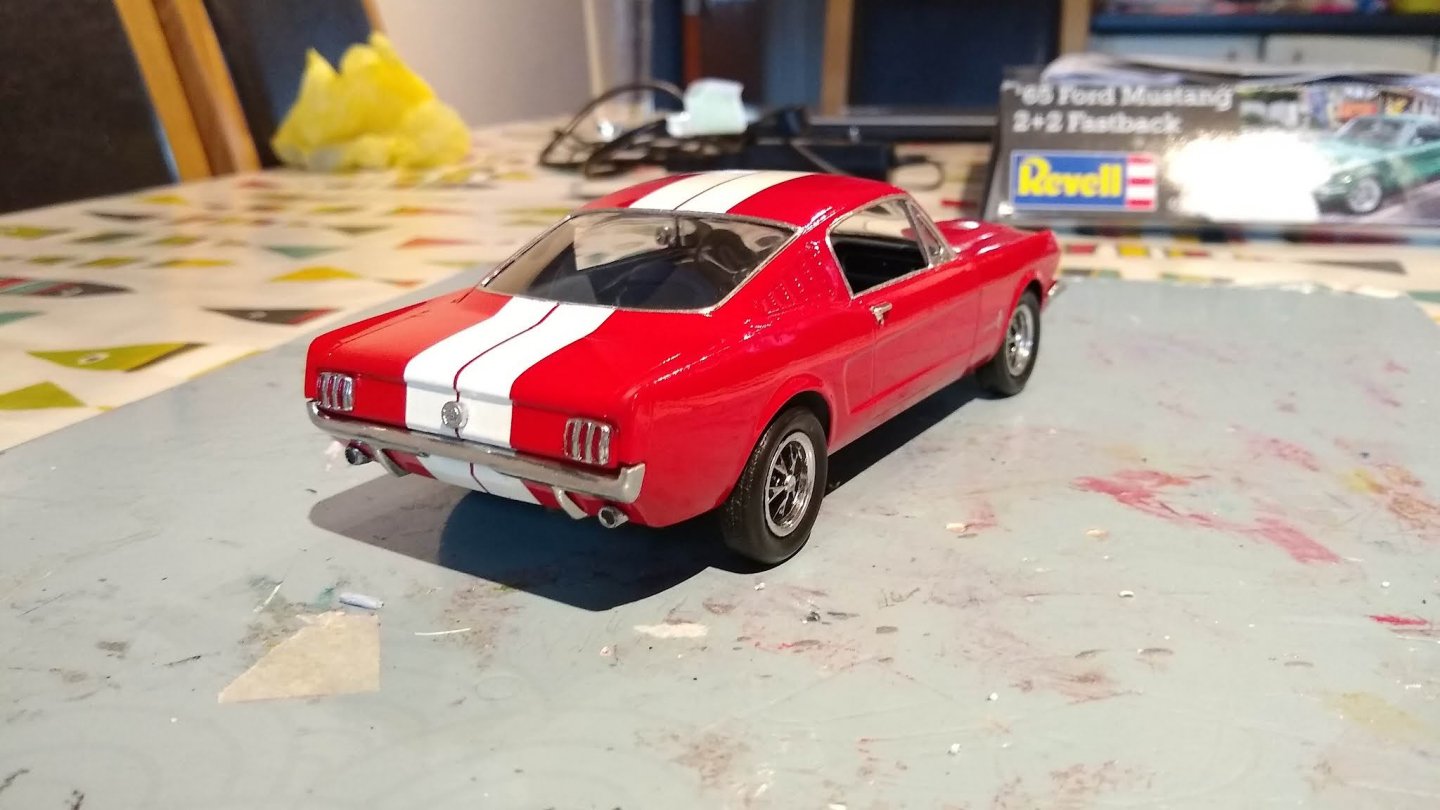
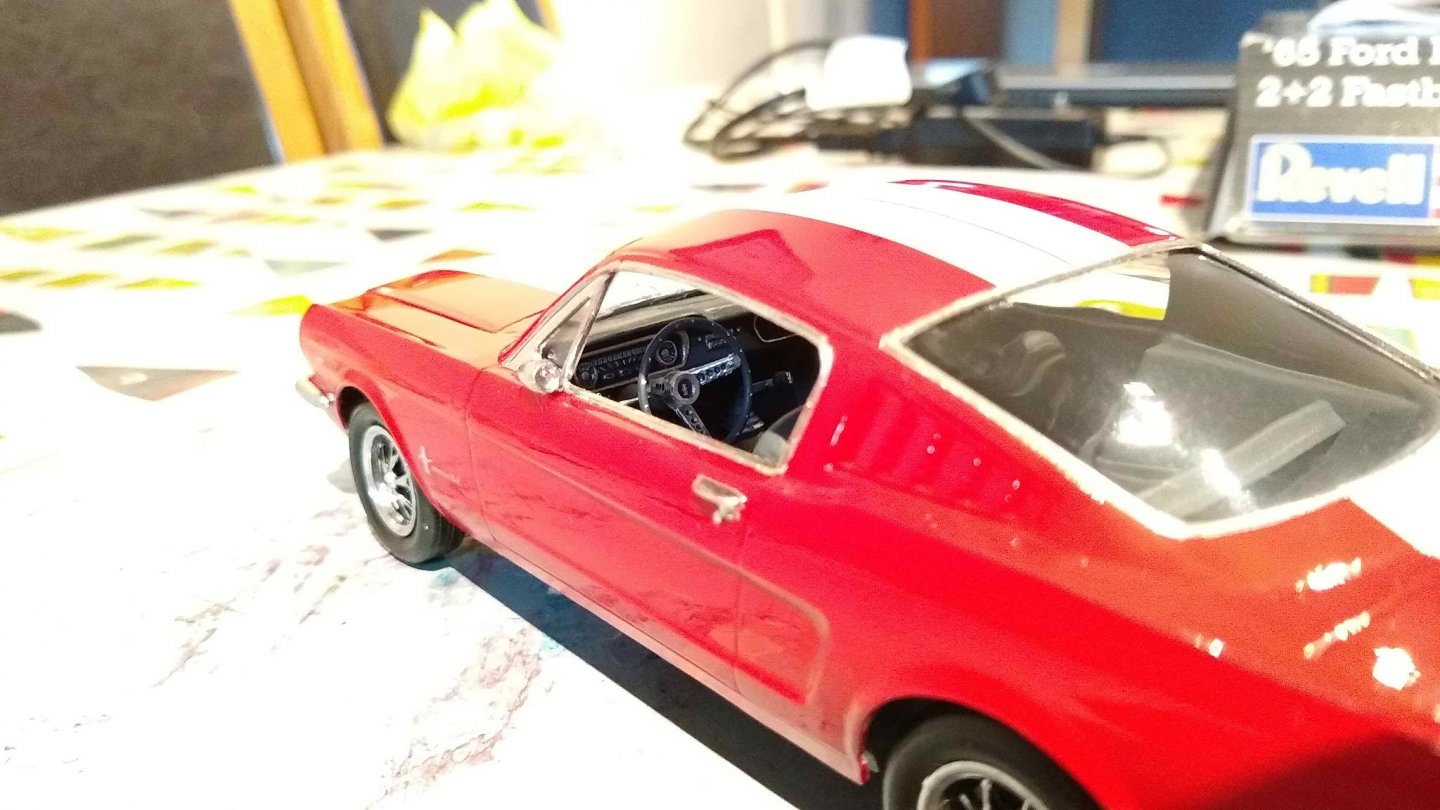
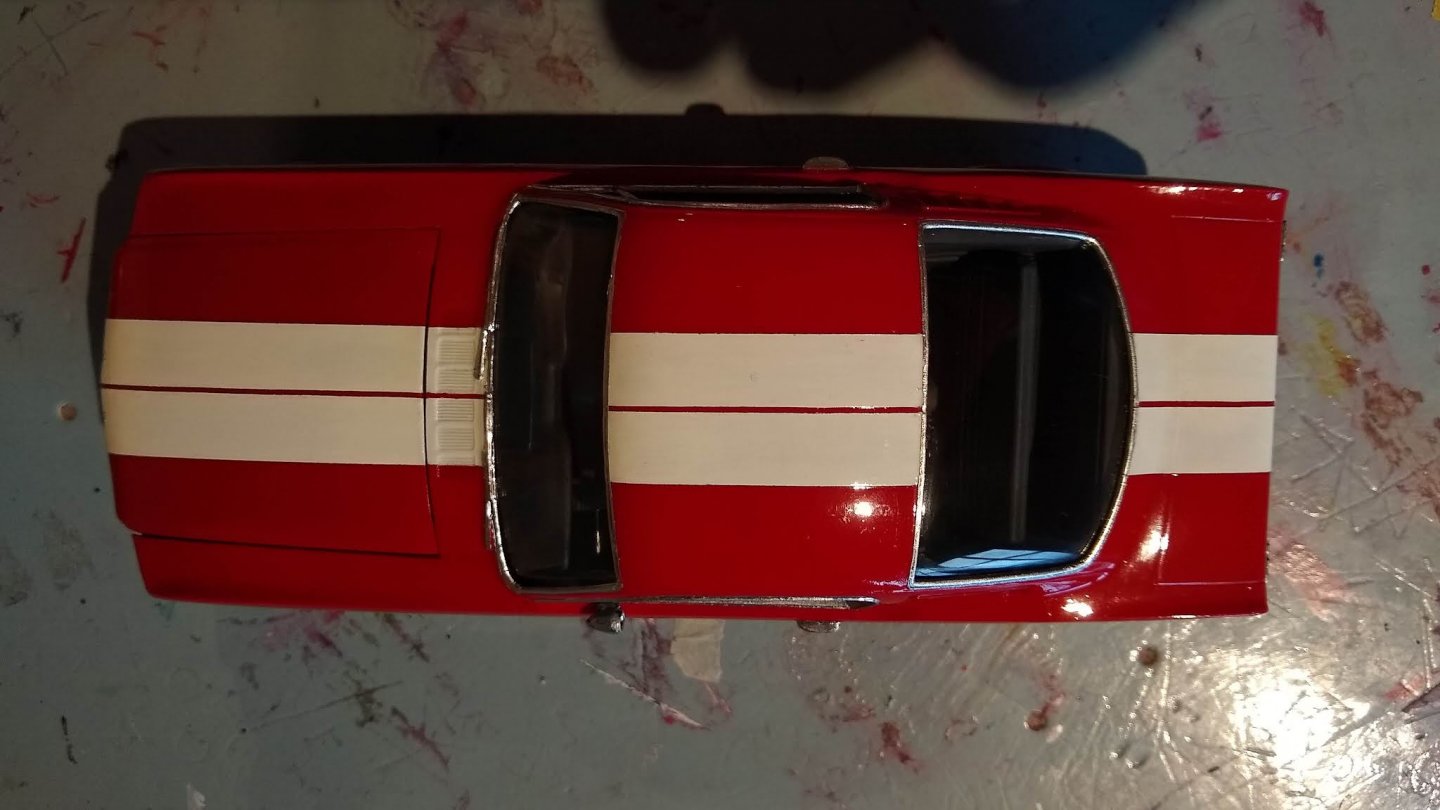
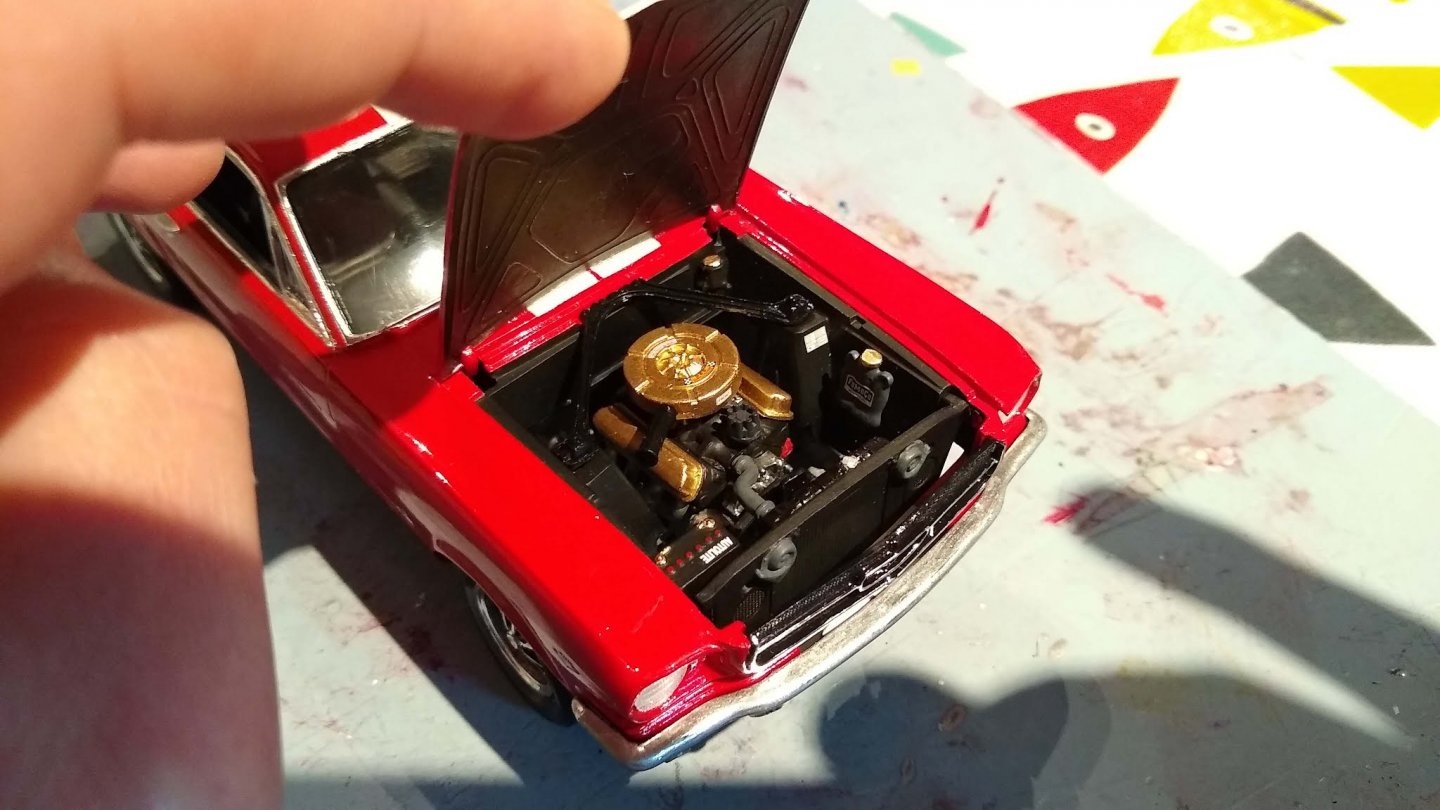
Thanks to all again for the advice and support. I'll take some more pics with the DSLR and post them hopefully in a few days.
Cheers,Nick
- Egilman, Ryland Craze, Jack12477 and 7 others
-
 10
10
-
Thanks Egilman. Unfortunately I don't think I have the right pledge product I have a multipurpose floor polish which has a milky appearance but I have tried it on a test piece and it does appear to do the job but this time I will let it dry properly ☺️ before potentially using it on the windscreen!
Cheers Nick
- Canute, Old Collingwood, mtaylor and 2 others
-
 5
5
-
Hi all
Thank you all for the suggestions. After considering them I decided in the end to crack on with the sanding and polishing. (I also fired off an email at Revell asking for cost of replacement parts! 😀) The main reason for this is that I had seen a while ago on YouTube a video of someone cleaning up a windshield with this technique (
) and I was hopeful it would work for me.
Here is the result. So top to bottom,left to right :sanding with 1.5k,3k,5k,7k then polishing with coarse then fine Tamiya compounds and then a polish with Tamiya wax.
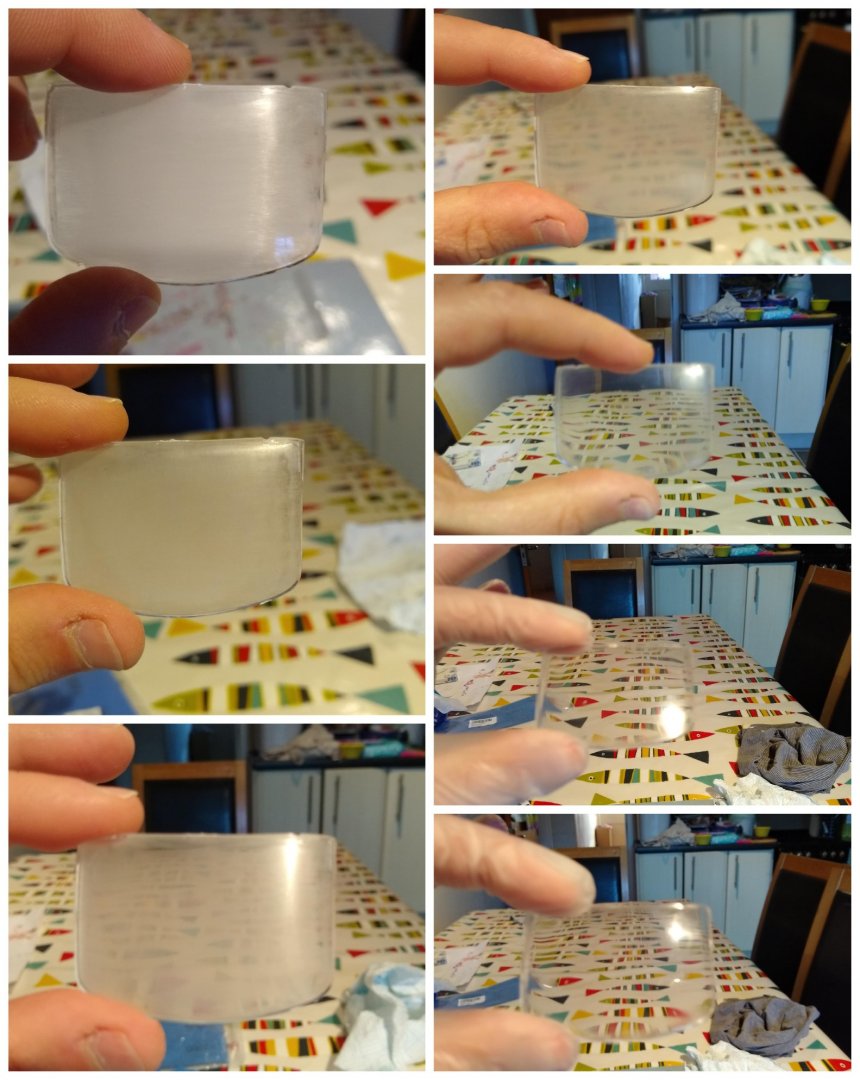
So phew back where I had started. Yes it doesnt look like glass but then again it doesn't look like the inside of a milk bottle either!😋.
Having earned enough experience with clear parts for now I think it's best I leave it alone...
Thank you all again for help and advice. Much appreciated.
Cheers, Nick
- mtaylor, Ryland Craze, marktiedens and 6 others
-
 9
9
-
Hi all
So the good news first. Metal trim around the windows all done. As per usual not perfect but good enough.🙂
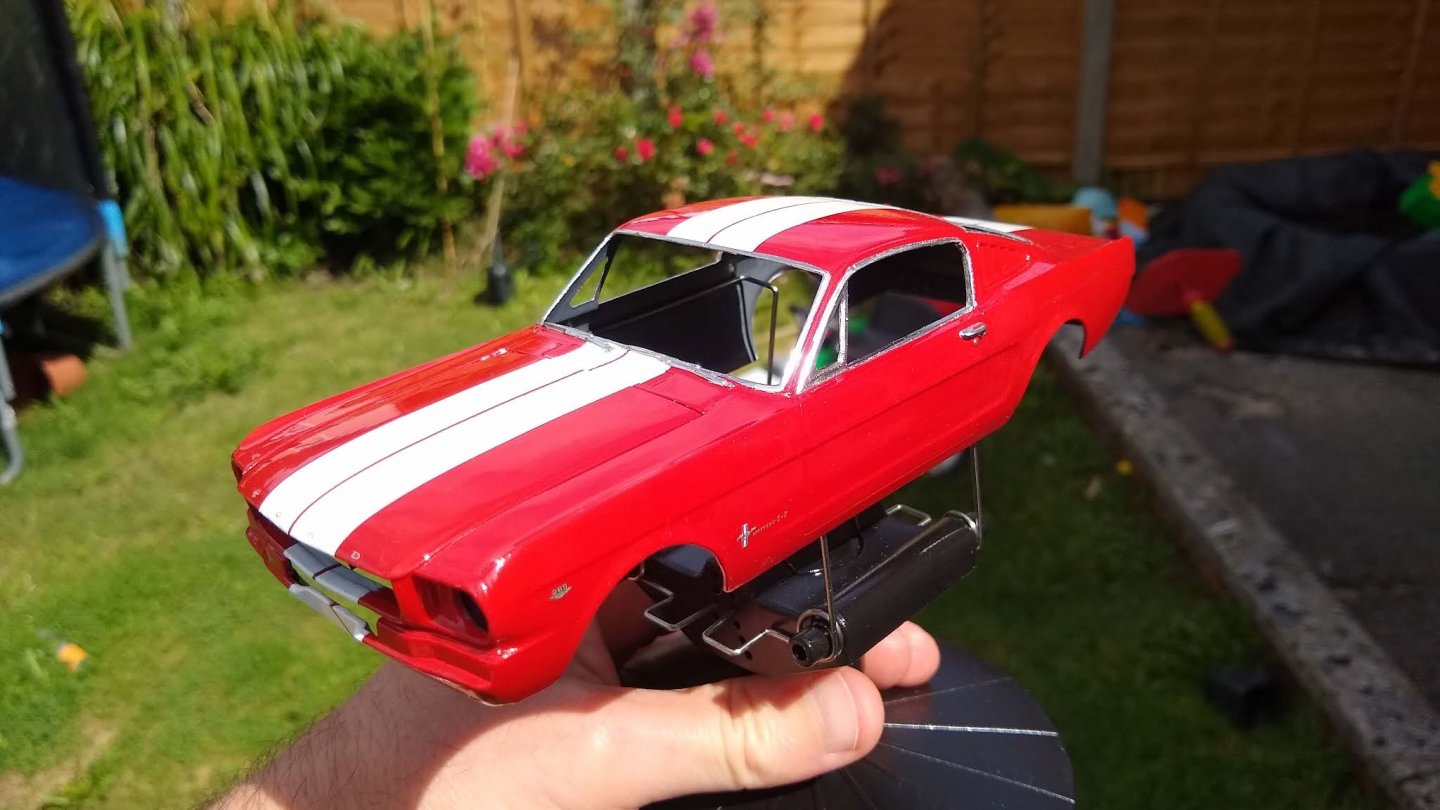
Now the bad news... Tried what I thought was a good method to make the clear parts look more like glass: dip them in gloss varnish. Yes I tried it out on a test part first. No I didn't wait long enough to see the result...(although I thought I had)☹️
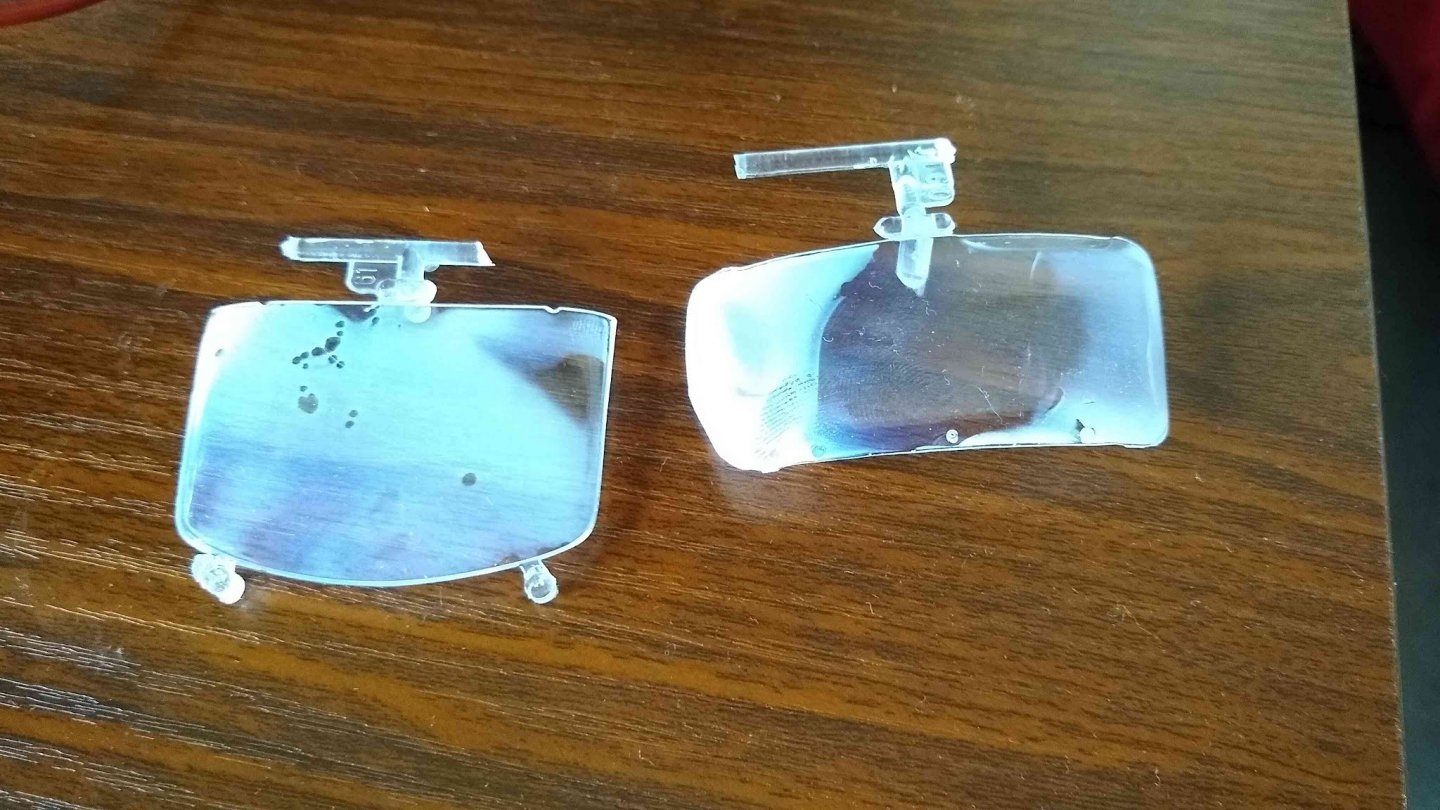
For those who don't want to try this I used humbrol clear gloss. Not saying that is the reason this happened but... All I did before was clean the parts in warm soapy water and let them dry properly.
My plan is to use 5k and 7k wet sandpaper to remove the whiteness and then use Tamiya polishing compounds followed by Tamiya polishing wax to hopefully get back to clear parts.
Please scream loudly now if you know this isn't going to work! 😁
Cheers
Nick
- Canute, popeye the sailor, lmagna and 1 other
-
 4
4


Woodwork/Model making workshop. Scale 1:1
in Non-ship/categorised builds
Posted
Four phrases
"As you're not doing anything right now..."
Nick