SkerryAmp
-
Posts
809 -
Joined
-
Last visited
Content Type
Profiles
Forums
Gallery
Events
Everything posted by SkerryAmp
-
 You guys are cracking me up!!!
 -
Frank, thank you for putting this backup - the detail is wonderful!! Love the barnacle look; weathering to the next level!! Look forward to the rest! -Adam
-
Indeed I am Popeye, getting closer and closer and looking forward to it! Did a quick update tonight while waiting for planshears to dry on the Willie. I painted the inside of the foremast filler as well as installed the backing to the gunports. I decided to paint them black just in case I decide to have some or all open. Still havn't commited myself yet, open / closed / open / closed - funny how such a minor thing can be a big ole flip flop I then decided to go ahead and install the stern pieces. Turns out I didn't do to bad compensating for having BH 5 installed backwards, was just a tad off but once put together I don't believe it is going to hurt me much. Everything still seems to line up pretty good, just the outside frame piece is a tad wide off center. Everything seems lined up and ready to go. Tomorrow should be able to finish up the gun ports, install the false decks and fair the bulkheads. As always,comments, tips and hints are welcome and thanks for popping in!! Enjoy! -Adam


-
Love your builds Popeye! Will be following along this one as I have the others!
-
Thanks all! Last night I was finally able to get one of the plankshears done and not looking half bad (I don't know about others, but that is not as easy as it looked ), hopefully tonight I can get the other one done soon and throw up and update. And YAY gerty found his way back! You have no idea how much I referenced your Bennett while working through mine =) -Adam
-
Patrick your Niagara is absolutely terrific! I have looked at the niagara kits a few times; debating whether to add one to my wish list - logs like this may just push me over. Clean build, great looking - love it!! Look forward to watching it to completion! -Adam.
-
Again, thanks to all who are popping in and taking interest. As a newbie the comments mean a lot and are greatly appreciated!! So tonights exciting episdode of Adam builds a Mayflower continues with the frame work. Mianly the fillers! I have installed the fore, main and mizzen mast fillers as well as the bow filler and beakhead false decks. Fore Mast Filler Bow filler & Beakhead False Decks Main Mast Filler Mizzen Mast Filler The only thing of note on this is that I have also installed the stern frame bulkheads. This was a bit of a trick because, as i mentioned earlier I was pretty silly in installing the aft bulkheads backwards. This means the nice little guidelines for the stern bulkheads are on the wrong side. To get around this, I took a series of clamps and clamped them along the edge of the guideline. I think lined up the stern bulkheads and placed a narrow strip of legos on the inside of the piece to make sure it was nice and square. Some quick measuring and eyeballing to make sure I hit the lines and whalla! They are installed and they look mah-ve-lous! Stern Frame Bulkheads Thanks for stopping by all! Until next time; Enjoy!!! -Adam

-
Thank you Sjors =)
-
Thanks all, apprecaite the good words and the following. I will do my best to do justice to this fine vessel!!
-
Here ya go Sjors. I've had silently perused your stuff last go around and am glad you're back too.... I'll give ya some champagne! =) And some for Augie and everyone else as well =) As for fear... I would love to do a syren - Augies and others are quite inspiring.. but that there Syren scares me!
-
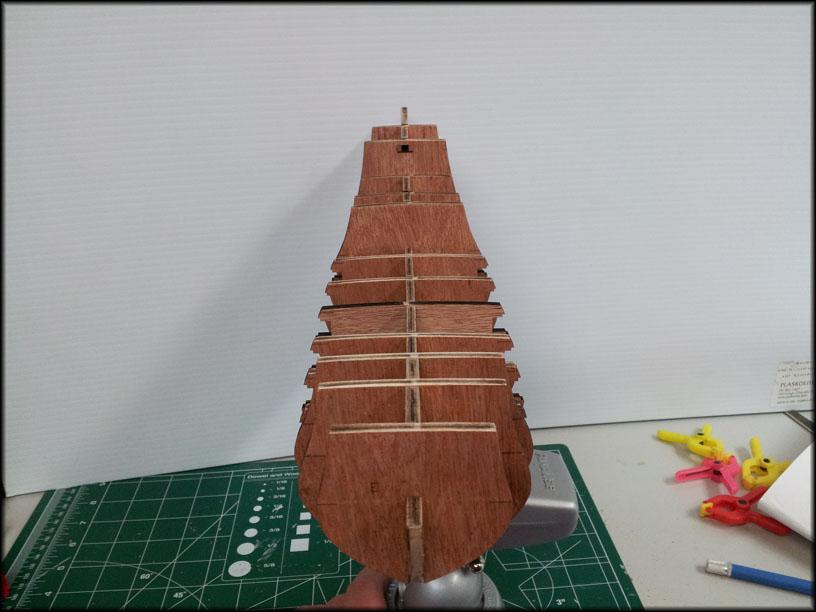
With the dry fit passed! I pulled them out and began gluing them in. I had seen from the old boards that a few members use high technology to ensure their bulkheads were aligned correctly so I figured, good enough for them good enough for me. My first bulkhead glued in place and aligned with a high tech alignment unit. It was great being out with the wife and telling her I had to stop to pick up some legos =) Moved down the row, gluing each at a time and letting the glue setup before moving on to the next to ensure each one was nice and tight. I used PVA glue and it really didn’t take long to dry in place. Once they were all in and secure the entire unit is set aside to dry over night! Now I would like to say that this early in the game I did not encounter any issues. Sadly, I cannot say that. The kit was great! The Materials superb! The instructions so far outstanding! This is 100% operator error and quite embarrassed. I apparently glued the aft bulkheads in backwards; the reference lines are facing forward =(. I looked it over and do not believe this will sink me just embarrassed that I made such a silly error so early in the process. However, learn from it I will and move on I must. Thanks for stopping in folks! Until later, and as always – whatever you do, and however you do it… enjoy it! -Adam
-
I went through the contents making sure everything is there and read through the instructions to see what I was getting into and then decided to dive right in. This is officially my 3rd build and oddly enough my 3rd type of build. The Phantom was a solid hull, The Willie (in progress) SAYS it is a POB, but is more of a POF, and this gorgeous vessel is a POB. So – off we go! I popped out the false keel and attached the rabbet strip. I still have to clean up the char a bit more but am very afraid of sanding off too much – but will work at it. May use some steel wool or something that will remove material but not rip it away. Next was to taper the bearding line. Took a piece of clear plastic and traced the reference line n the printed side of the former and then transferred that to the bare side to get a nice even reference line to work from on both sides. I then went through and test fit all of the bulkheads to make sure there weren’t going to be any surprises or issues. WOW; they fit great!! A couple of them were a hair snug but overall they slid in nicely, set correctly and looked great – right out of the box.

-
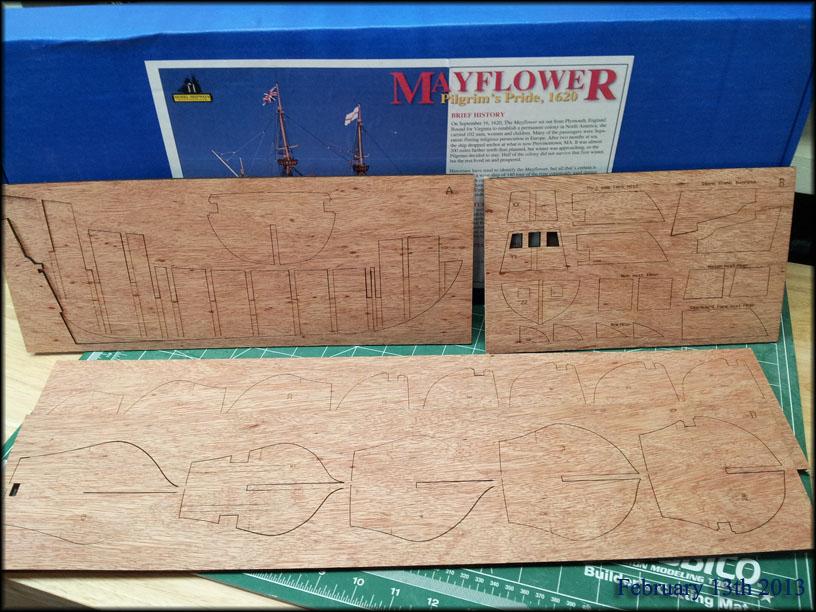
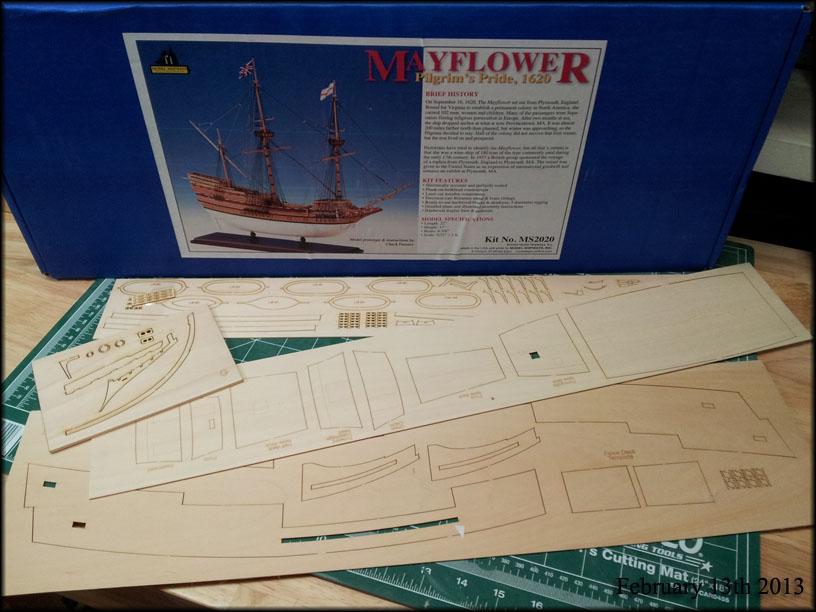
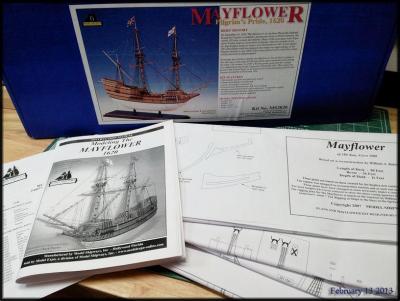
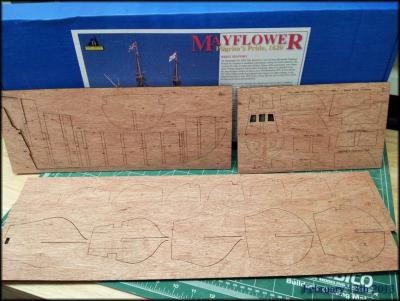
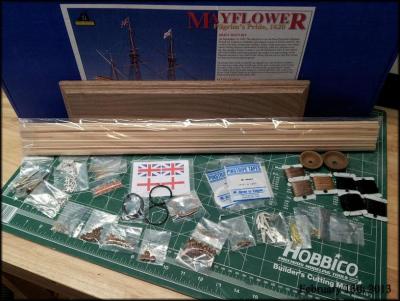
This build is moving in parallel with my Willie Bennett, had to wait to get some supplies for the Willie so moved this forward a bit and will be moving between the two as steps allow/dictate. I happened to see some build logs of other members who worked on this particular kit from Model Shipways and was reading great things about the quality of the kit and the experience of putting her together. The Phantom kit I had finished was a “build for free” offer which afforded the opportunity of applying the cost of the Phantom towards another Model Shipways kit – so the Mayflower it is! We start this adventure the same as so many others – the kit itself The documentation is pretty straightforward really, instruction booklet, parts manifest and 4 large double sided plan sheets. We then have multiple sheets of laser cut parts We then finish our tour of the box contents with the usual suspects of assorted fittings and metal bits. I do appreciate that it comes with pin striping for the windows. I also was happy to see a display board with mounts! (It’s the little things)

-
Wow Mark, that is a gorgeous ship. I LOVE the lighting!!
-
Like others, glad to see the Syren back!! Love watching this piece progress - absolutely wonderful work!!!! -Adam
-
Nice to see it back up! I enjoyed watching this go along - it is absolutely amazing!! -Adam
-
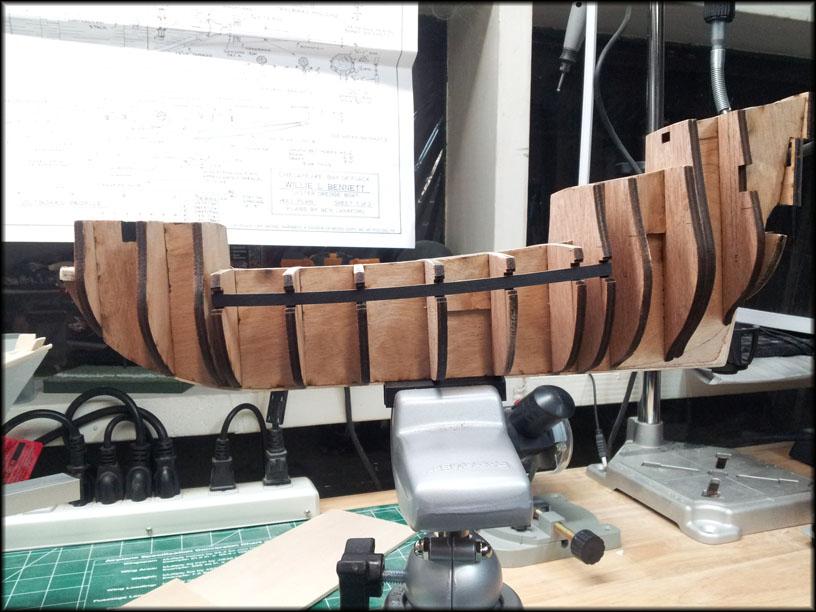
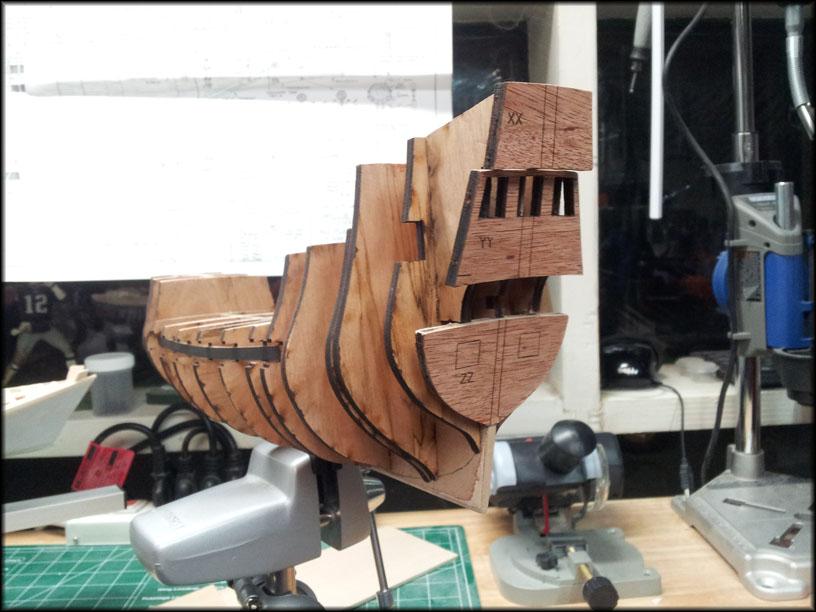
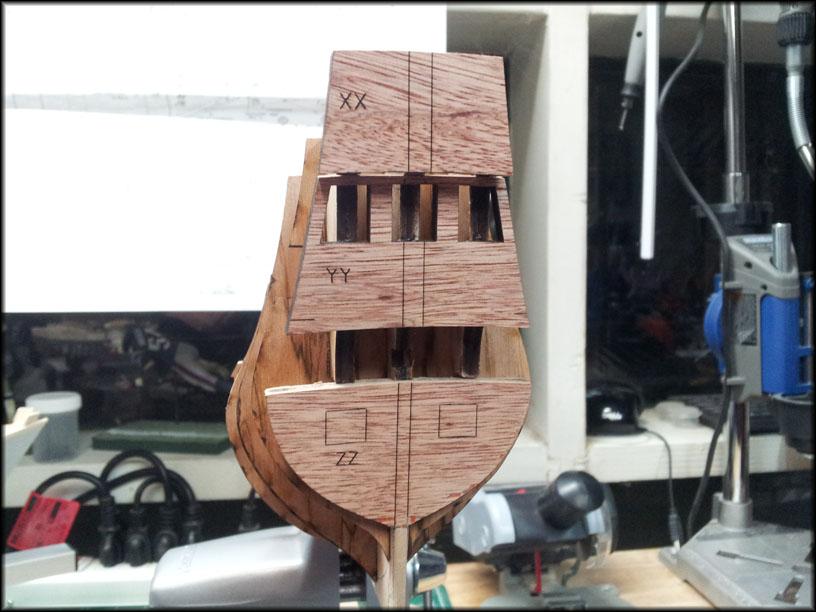
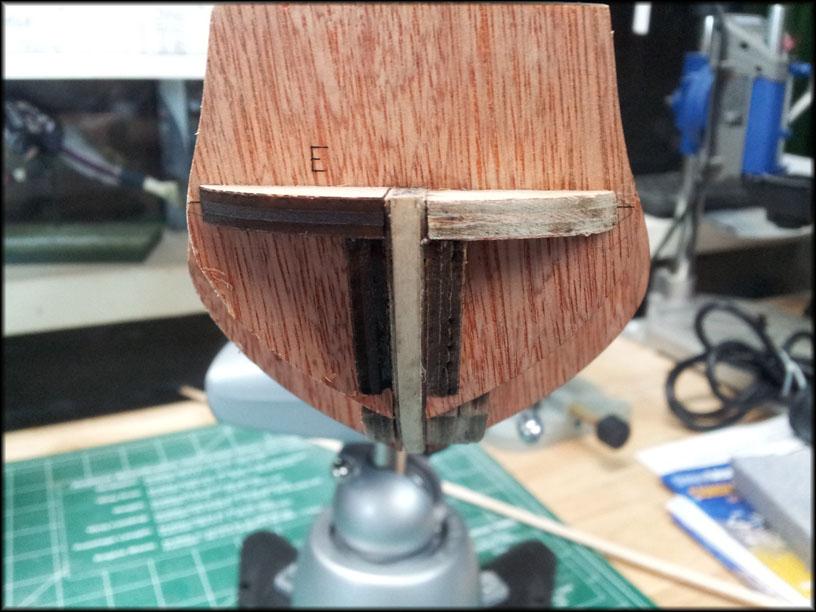
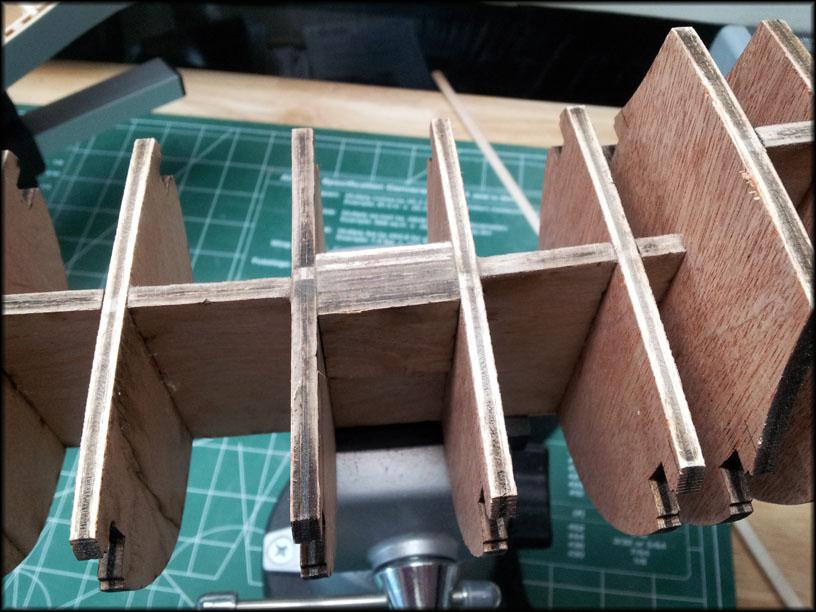
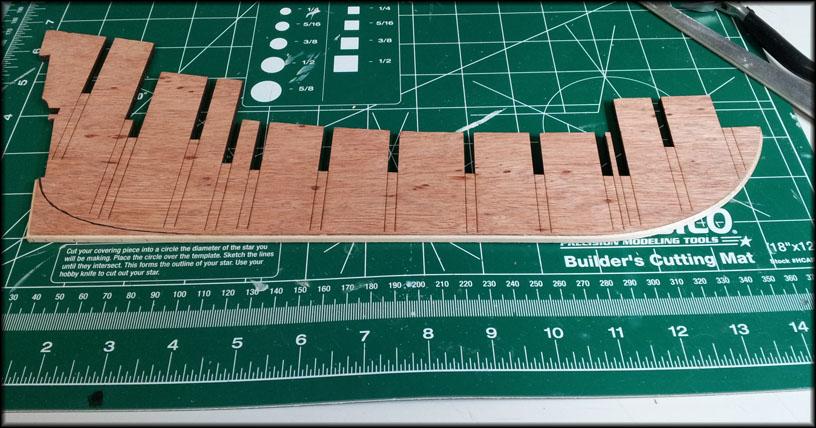
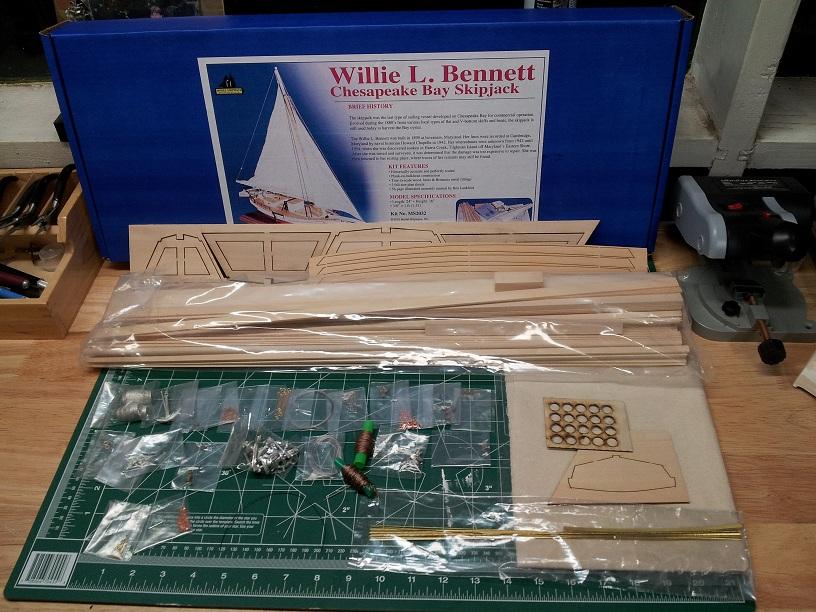
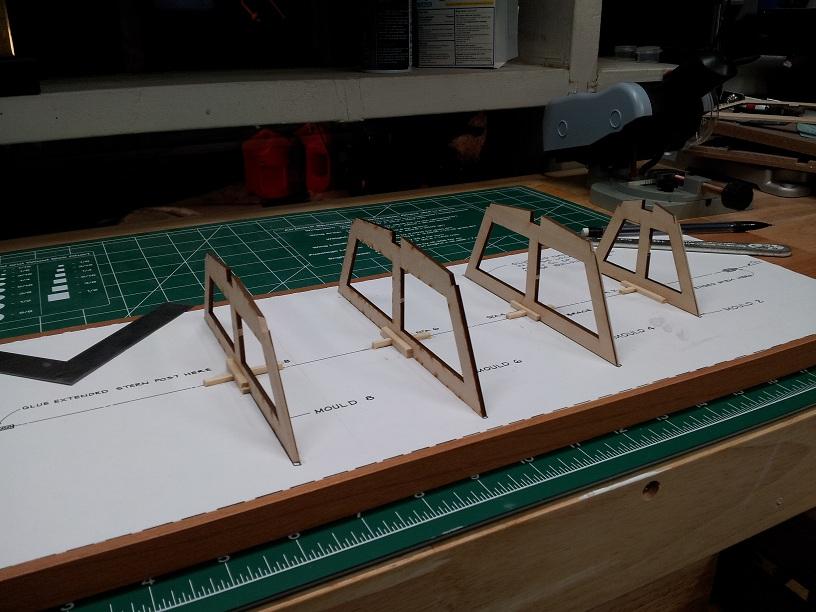
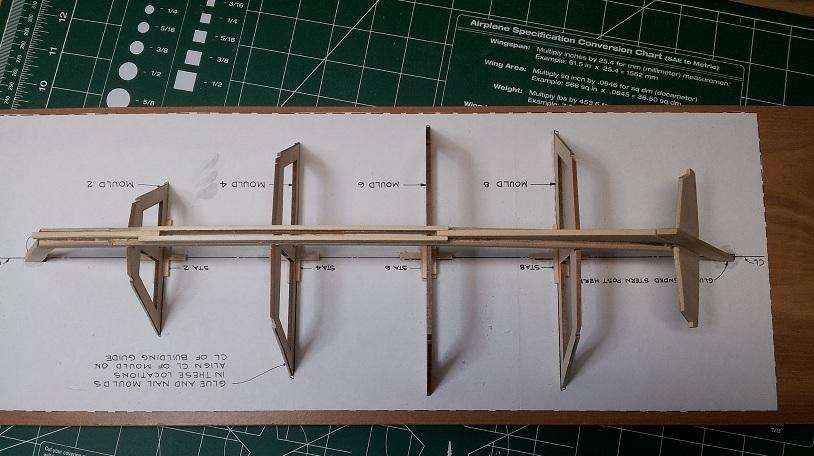
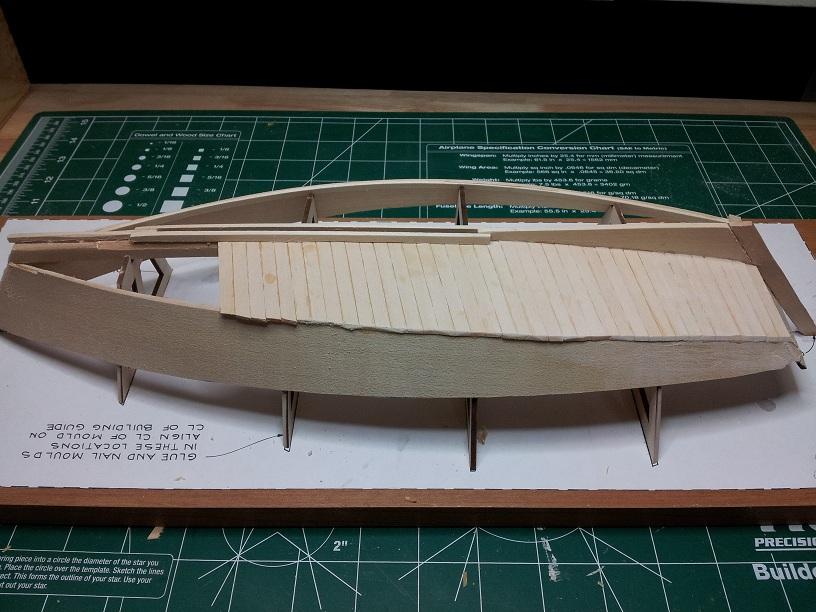
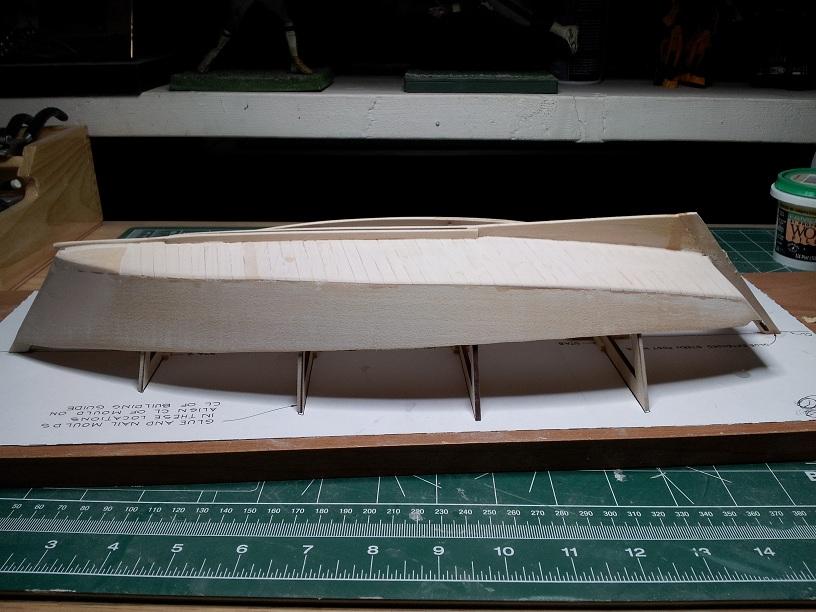
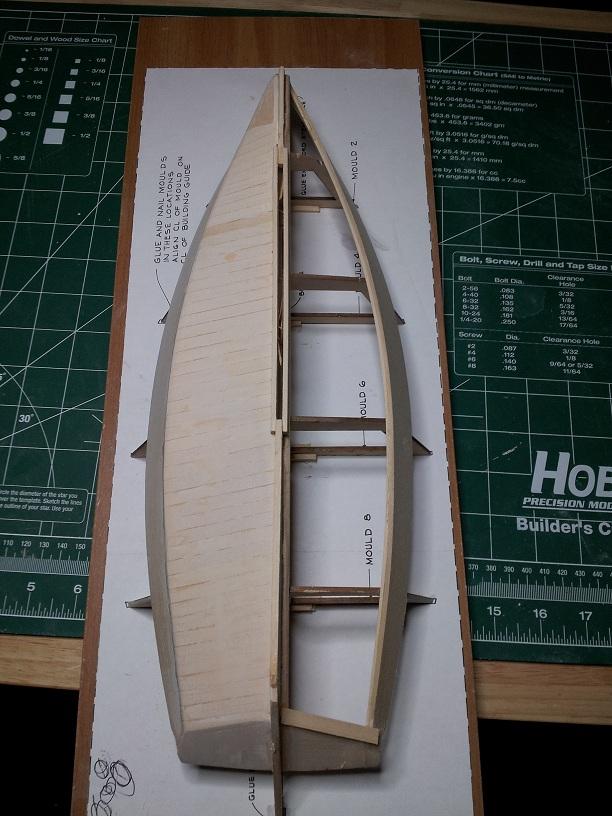
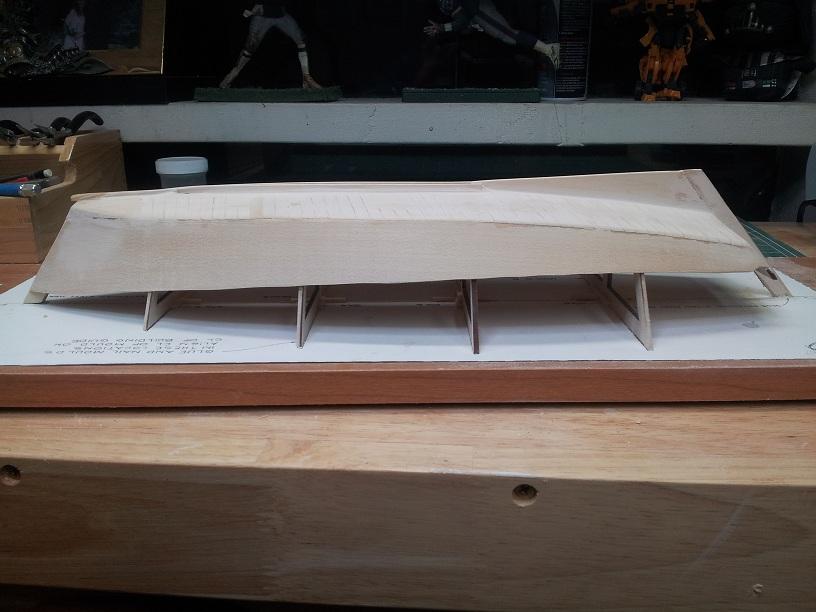
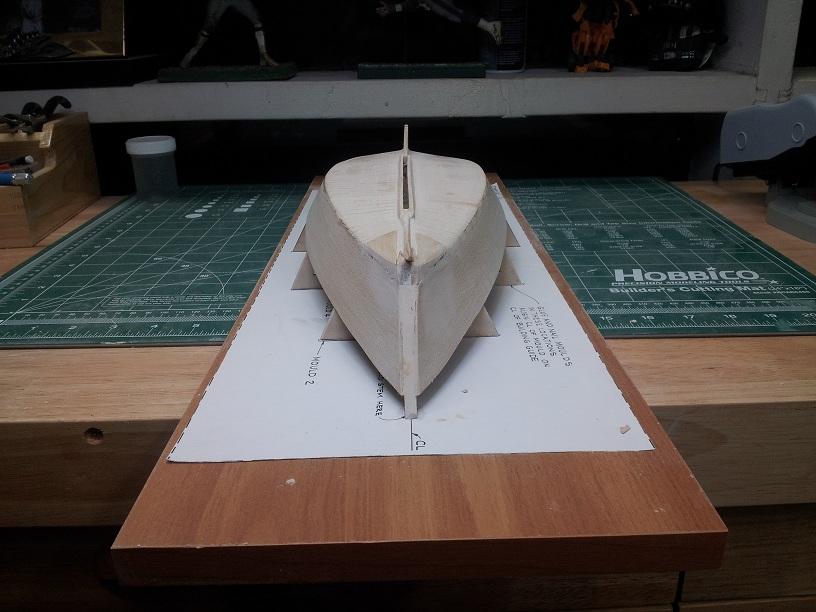
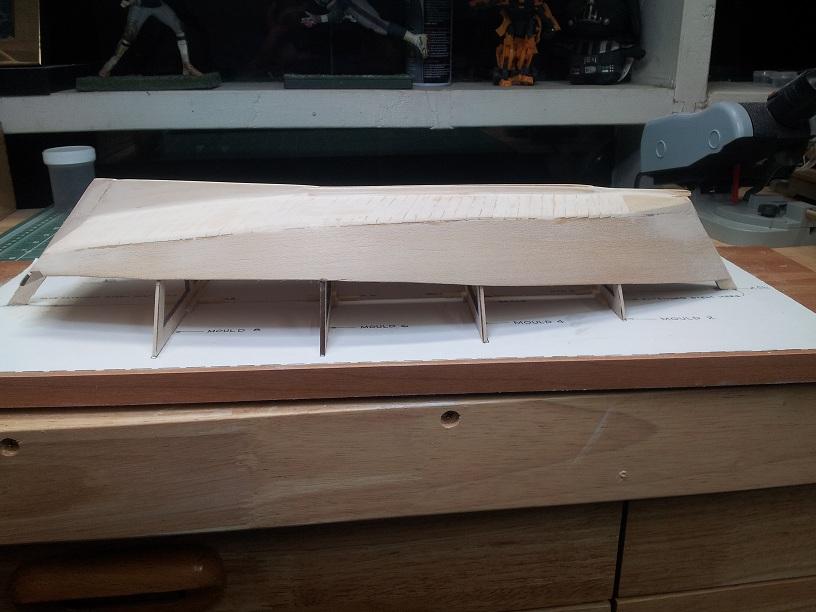
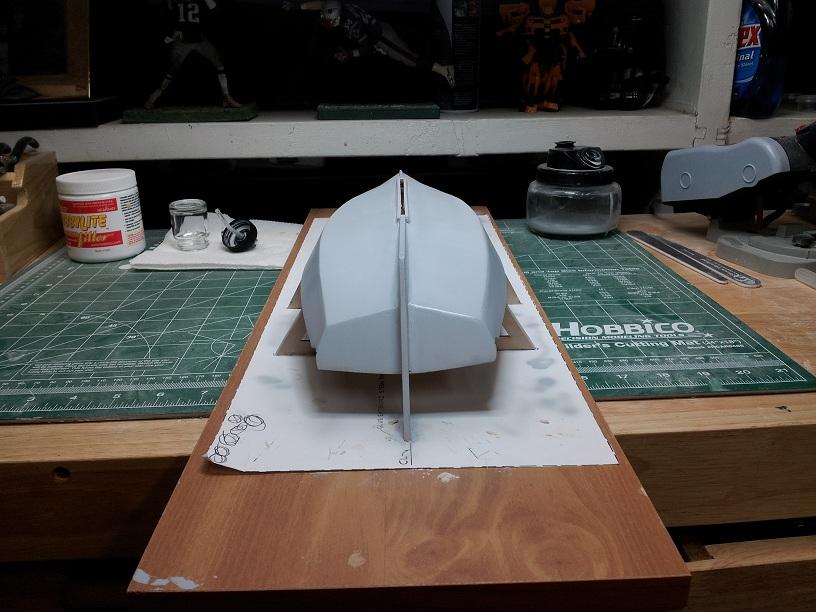
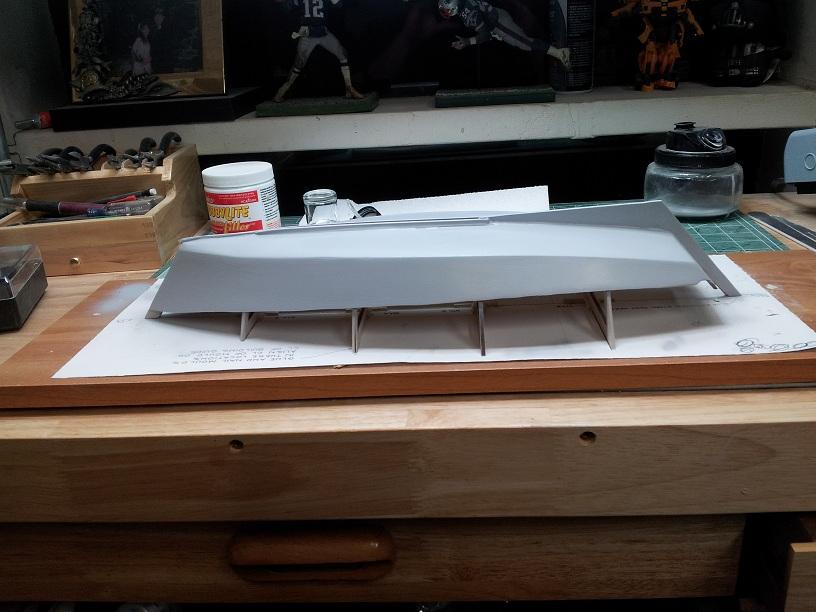
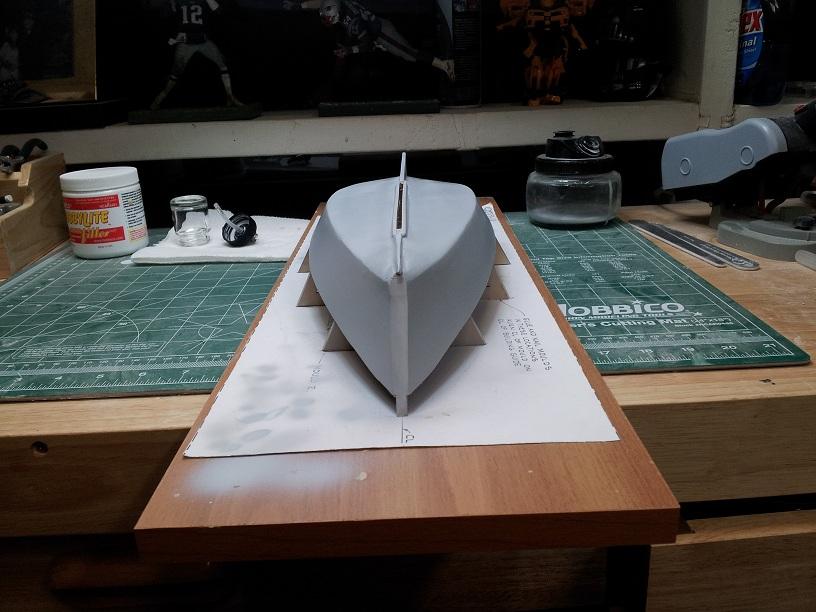
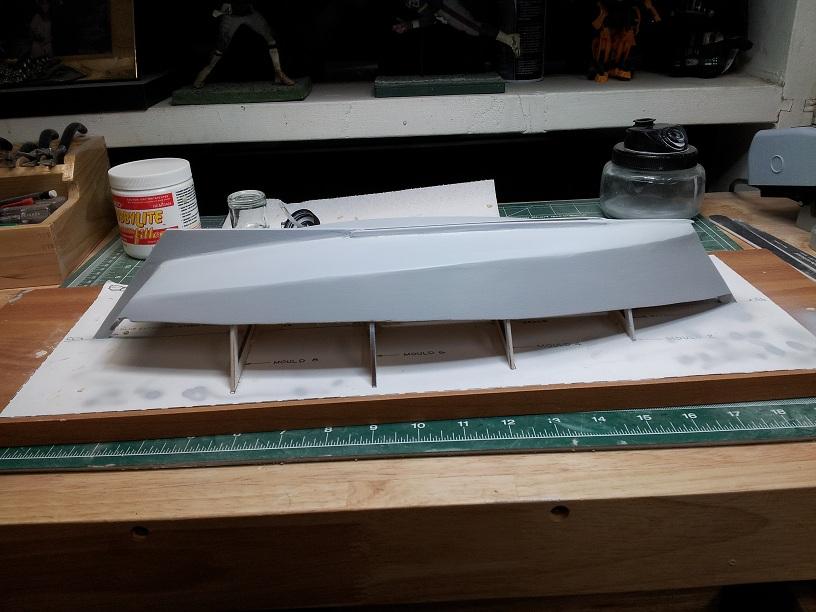
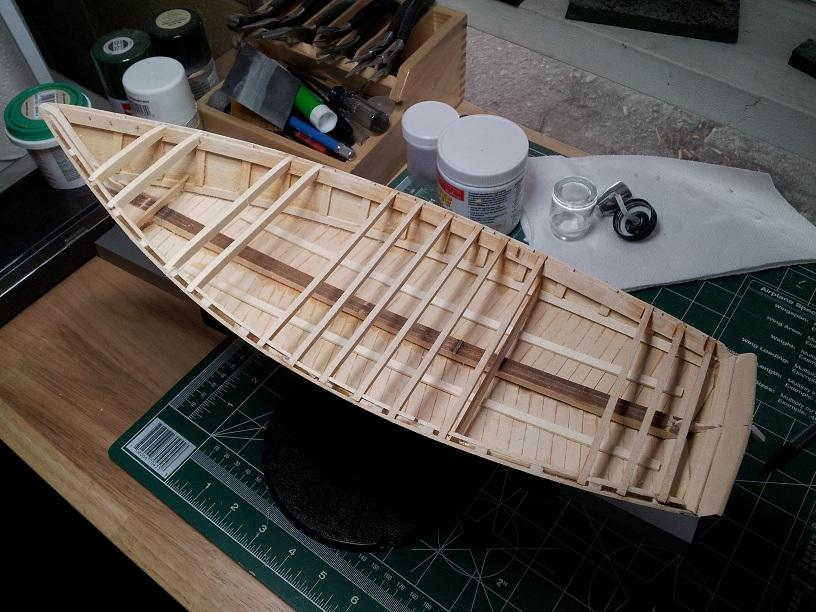
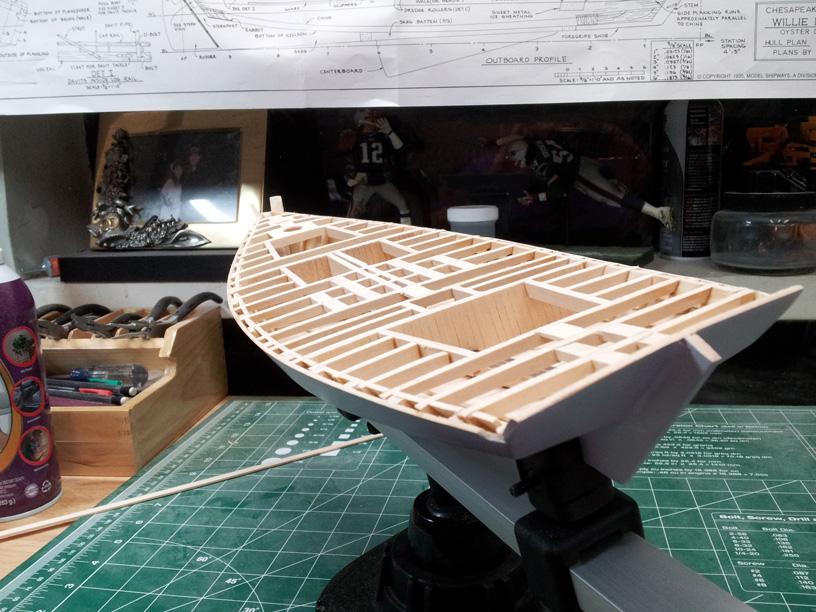
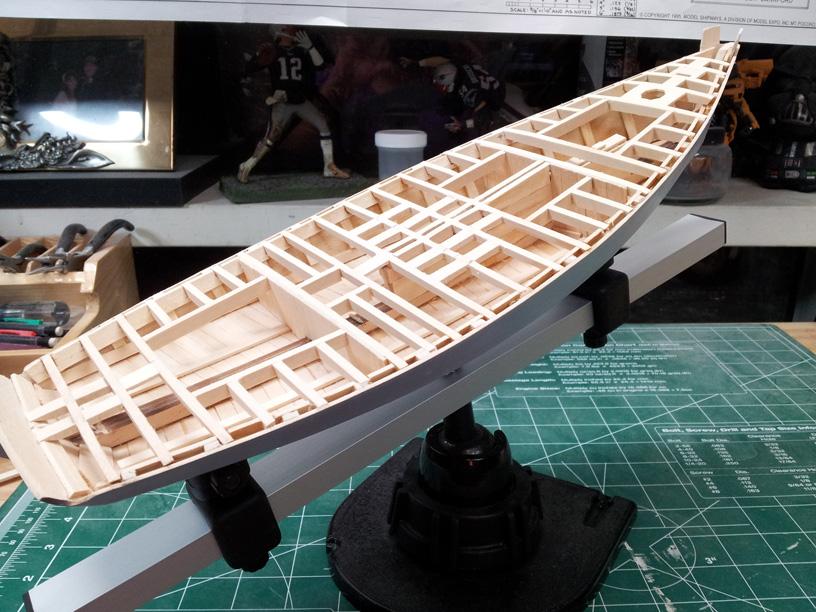
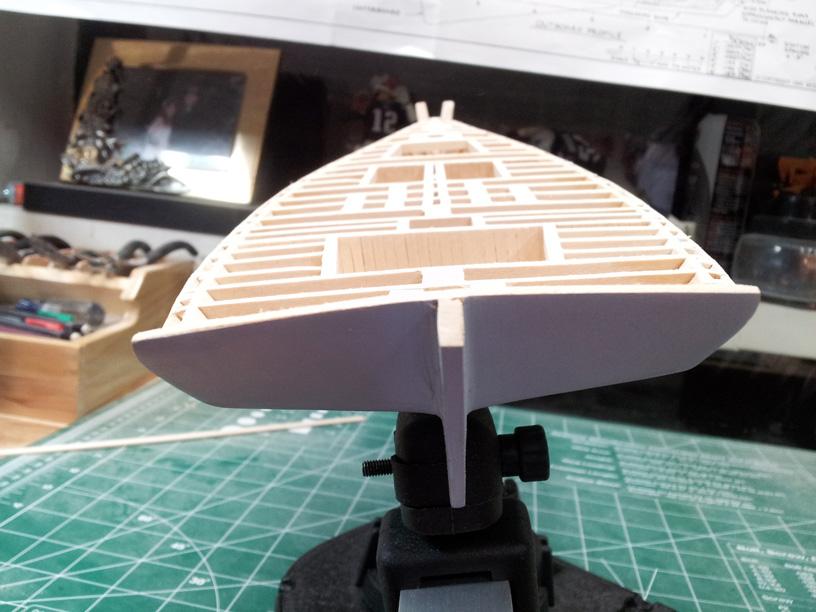
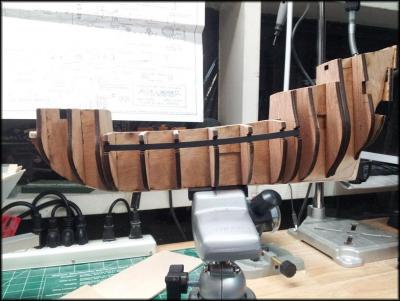
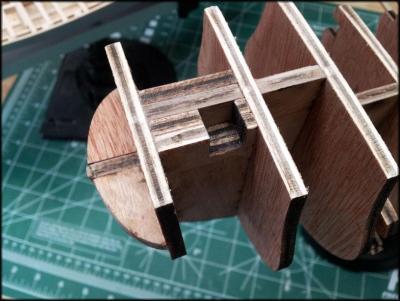
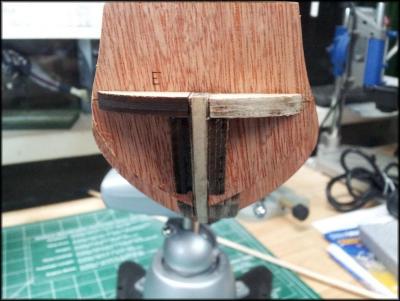
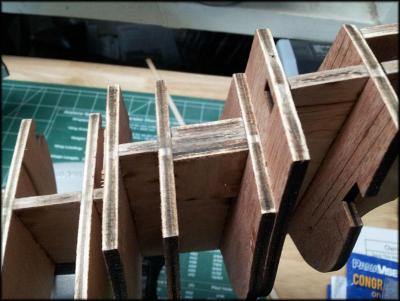
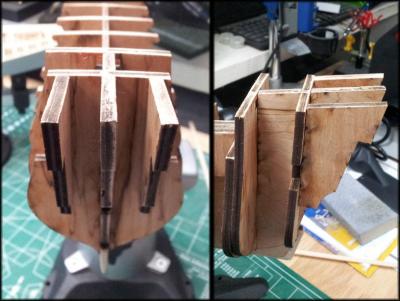
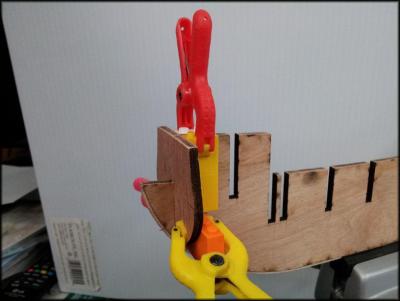
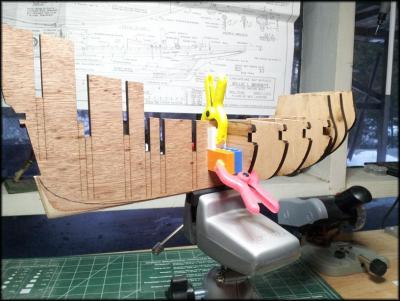
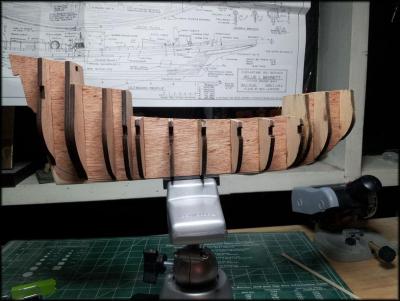
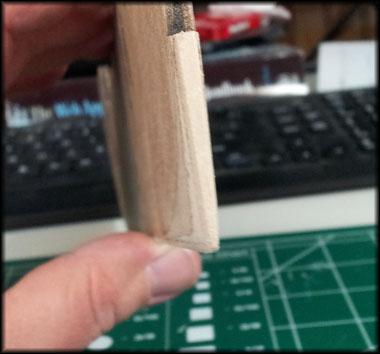
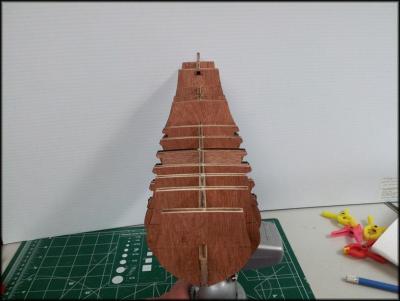
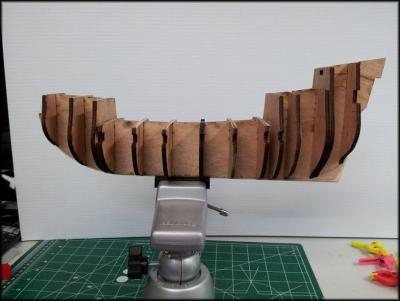
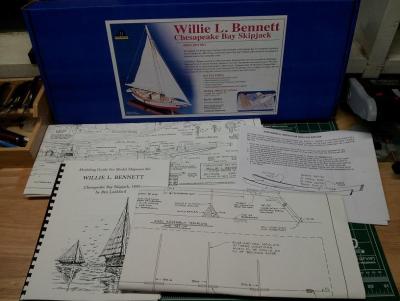
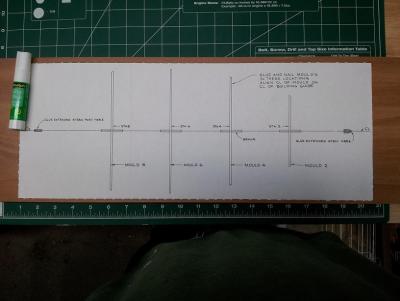
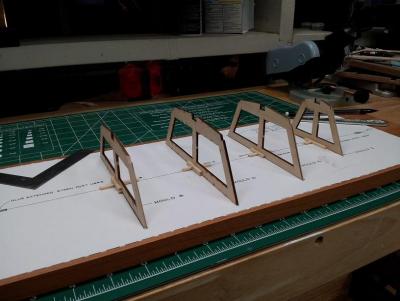
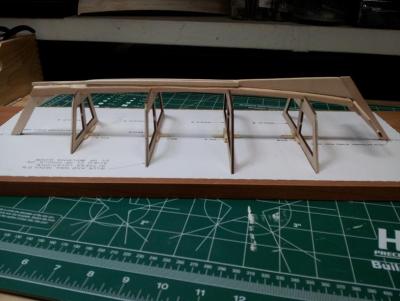
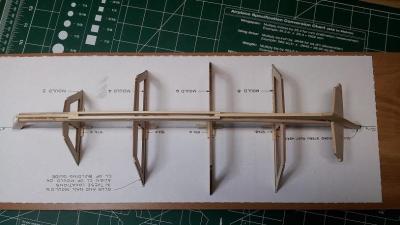
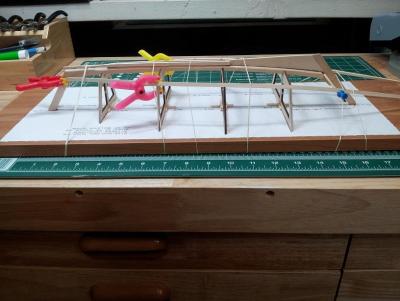
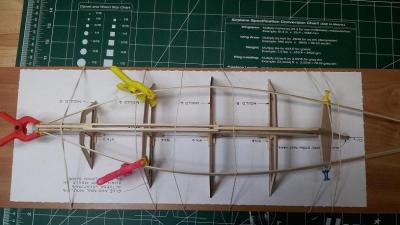
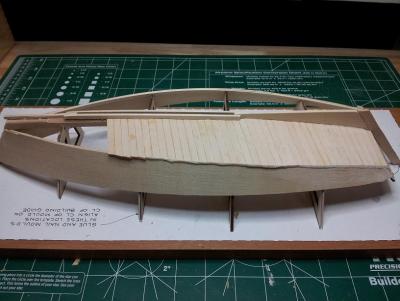
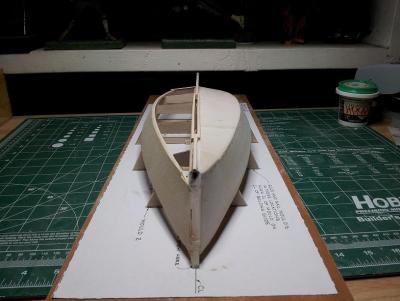
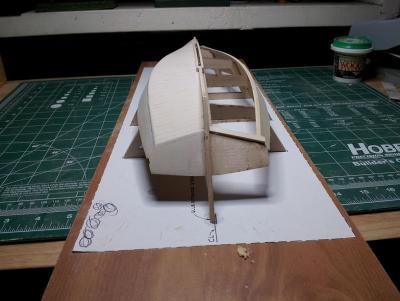
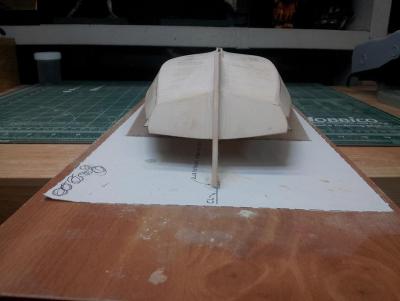
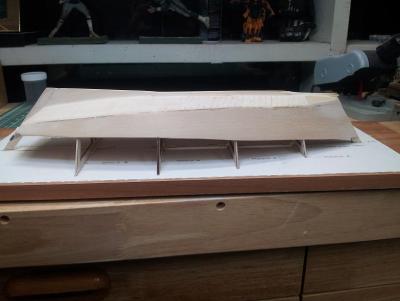
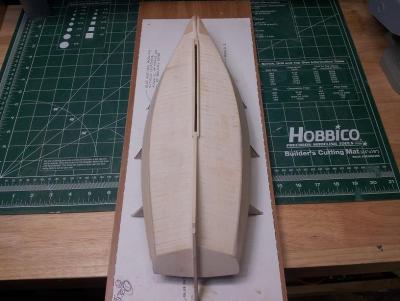
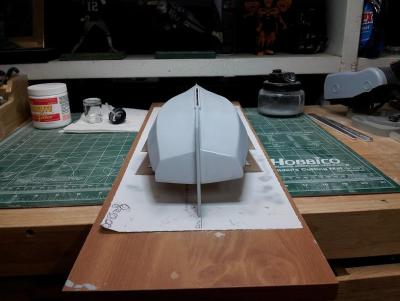
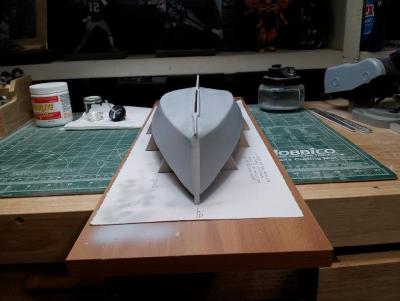
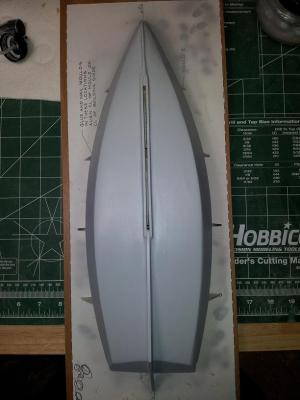
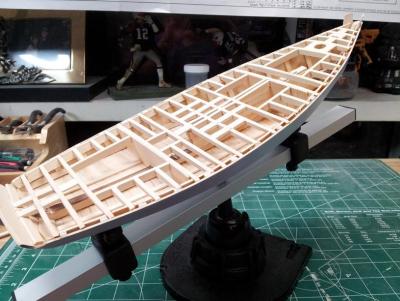
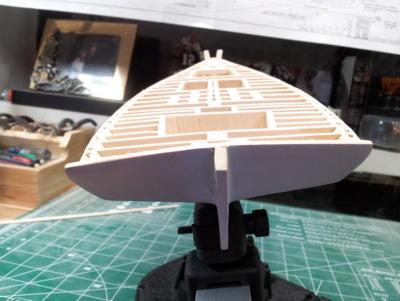
Greetings All!! This is actually my second undertaking. My first was the Phantom which I will be putting up shortly. This was a Christmas Present from my lovely wife, and as such had to cut ahead in the Ship queue. We start with the traditional unboxing. We begin with the documentation which consists of one manual, a parts manifest, 2 large plan sheets and an errata sheet. The model is kind of a hybrid POF/POB so the contents consist primarily of strip stock, raw brass, and some laser cut sheets as well as various white cast parts which appear at first glance to be of decent quality and useable as is. Finally the normal supply of blocks, string and normal ship fittings. The instructions are not too too bad. It is quite informative with history anecdotes as well as examples of how the real ship is built. The trouble is these are intermingled with instructions on how to build them in the kit and they tend to get muddled at some points. I like the information however, being a novice, I found it confusing at points. To kick off the build a template needs to be attached to a build board which will be used to set up the build molds. I just grabbed an old particle board shelf as the build board and using a glue stick attached the template. I think next time I will use rubber cement to make it semi-permanent because at the moment I am having issues getting the template off of the board - and would like to reuse it as it is a very nice build board =). Once the template is down it is just a matter of attaching the laser cut build molds to the build board using the template as a guide. I added some spars at the base to stabilize the molds and give them some reinforcement. Once all of the molds were in place and proven square it was time to attach the keelson and chine logs. This was very straight-forward, no muss no fuss. The next part is construction of the hull shell itself. The side planks are a single piece of wood cut to follow the chine logs, bent to shape and attached stem and stern. Remember, do NOT glue them to the molds - that would be very very bad. If you should by accident you can carefully pop them off when it is time to separate the shell. *You can, to avoid getting glue stuck to the molds place some wax over them. Once you get the sides in place, time to lay the planks along the bottom of the hull. Again, pretty straight-forward. Cut and place the planks up to the chunk, place the chunks, sand and shape and walla! One Willie Bennett hull shell!! Sand, sand, sand and sand!! I went ahead and primed mine prior to removing it from the molds but there is no requirement to do so, I just wanted to be sure my hull was as finished as possible before flipping it over. Once the shell is complete and removed from the build molds it is decision time!! The next step is the deck framing. There are two ways given to go about it, the first is a basic framing and the second is a "realistic" framing. The main reason to do the second is if you want to build the ship as close to the real thing and/or plan to have it opened up or have some of the interior visible. If the latter is not the case, the basic framing is more than adequate as it just needs to support the decking. I opted to do the realistic framing including the blocking, more so for the experience than anything else. I did not however detail the bunk areas or the internals of the different wells since the ship will be in a display case and not easily accessible to move and scrutinize close enough to see the detail. The next four pics are of the framing, the first pic is actually partial framing prior to deciding which way to go. At that point I could have gone either way. The last three are the framing completed and ready for the plankshears! The BIGGEST tip I can give at this point, regardless of which style you decide to do - make sure you mark and cut the notches in the clamps which hold the deck beams PRIOR to attaching them to the hull. It is doable after they are attached, but much much easier to do after the fact - so I found out =( From here, I had to break. I was working on the plank shears trying the cuts to get a nice curve and well - let us just say I have some more practice needed! I chewed up a fair amount of wood trying to get them right so had to replace the wood. To keep working I did some work on another kit while waiting to be able to pick up the wood at which point will return to the Willie. that will be tomorrow 😃 Thank you for popping in!! And as always - whatever you do, and however you do it... enjoy it!! -Adam


- 97 replies
-
- 2
-

-
- Willie L Bennett
- SkipJack
- (and 2 more)