
HOLIDAY DONATION DRIVE - SUPPORT MSW - DO YOUR PART TO KEEP THIS GREAT FORUM GOING! (Only 13 donations so far - C'mon guys!)
×


popeye the sailor
-
Posts
16,007 -
Joined
-
Last visited
Content Type
Profiles
Forums
Gallery
Events
Everything posted by popeye the sailor
-
 no....I'm not stalking you Kev.........just doing what I do for all.........I look too figured you might need an extra pair of eyes........and I see your lament, there isn't much out there. the only other thing I can suggest, is that someone on this planet has likely done pictures of a trawler interior {maybe even this one}.........to find a forum site that has pictures would be a boon indeed!. I think your project has plenty of merit........I will continue to look for you in my spare time
- 337 replies
-
- 2
-

-
- finished
- mountfleet models
- (and 1 more)
-
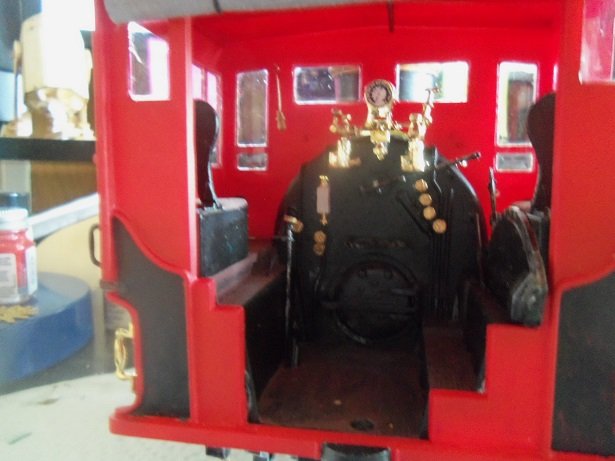
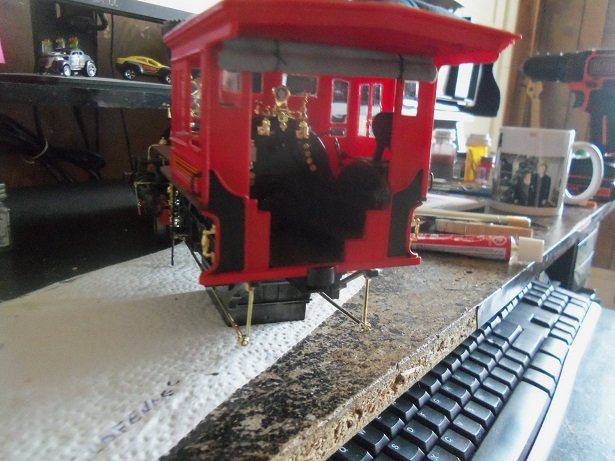
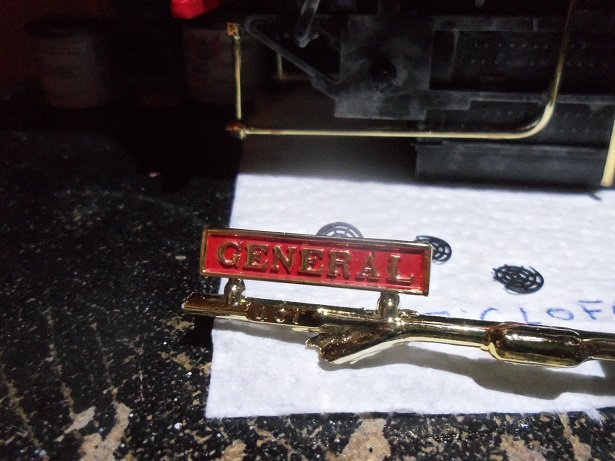
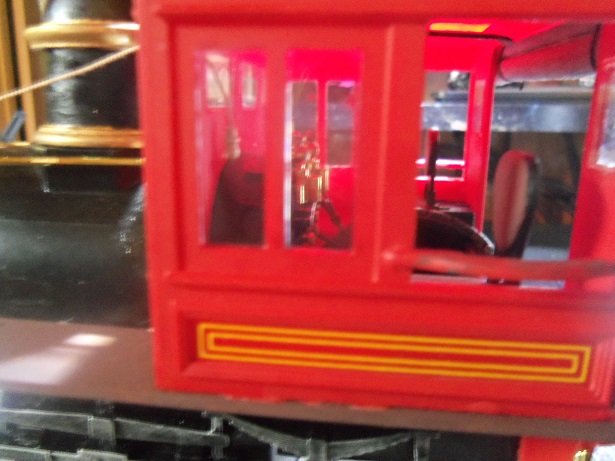
Friday........the last day of my freedom. tomorrow, I will be back in the clutches of work, wishing I could be at this very table. well........it's my desk actually.........I still use it as a desk........good to write on and stuff. that is.......until the pen falls into one of the holes I've drilled into it.......and the glue blotches makes my p's look like 'r's.......still ......it's a fine desk........bet there isn't another one like it one of the parts I added this morning, was the name plates. OK.......there are two of them......if you look at the cross eyed, there are four of them ''''''''''''''''''''''''''''''''''''''''''''''''''''''''''''''''''''''''''''''''''''''''''''''''''''''''''''''''''''''''''''''''''sorry..........I found a splotch of glue on my apostrophe key here is a better picture of the cab interior. is that rat tart?...........disgusting! ....and overall........
- 245 replies
-
- 13
-
-
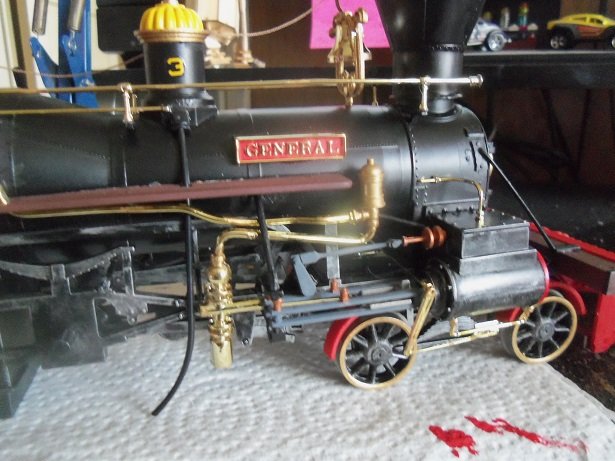
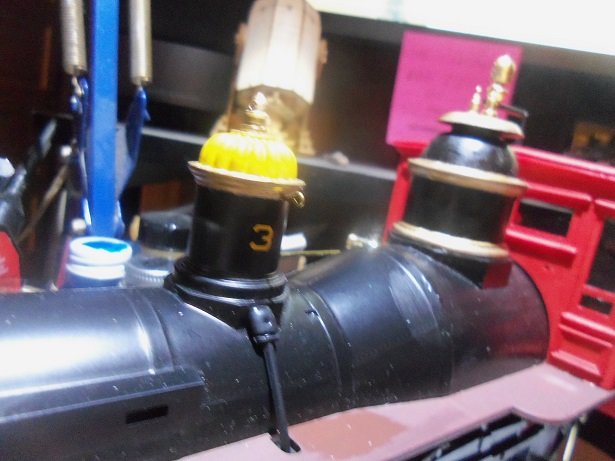
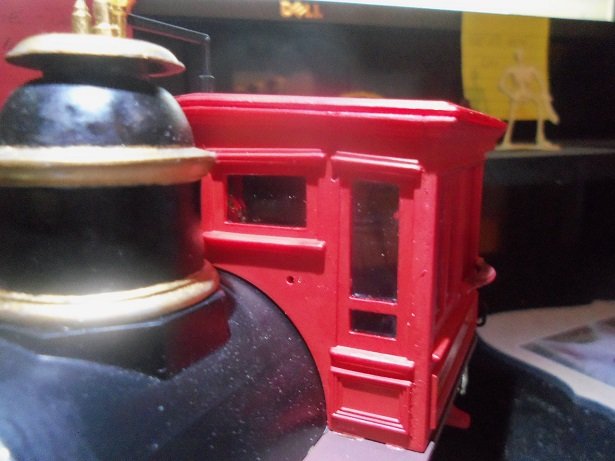
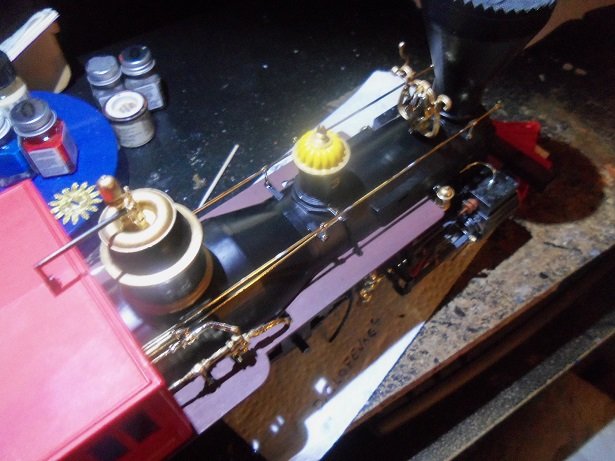
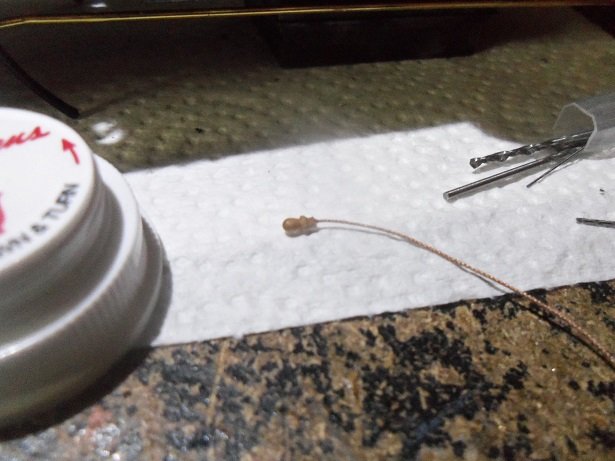
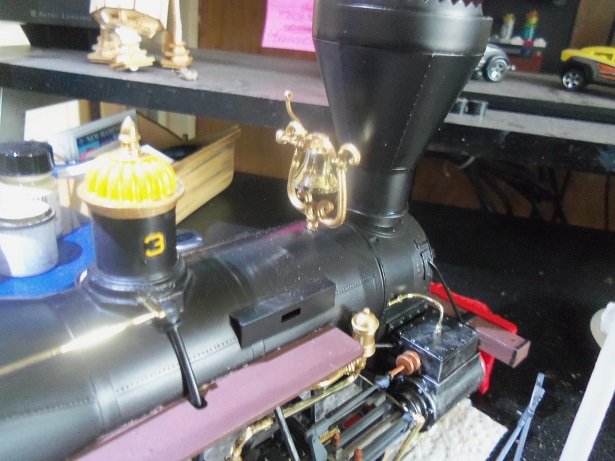
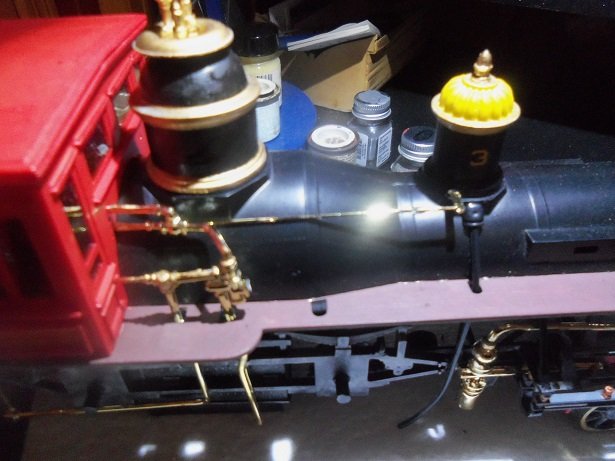
good morn'in.........been a busy bugger this morn........took Gibbs out, took out the trash for pick up, remove the jungle from around the front walkway and steps......and put a couple more parts on the General. you'll never guess what I did first last night, I got busy with the General, so I can give you this update. this is where I made the second discovery of the short sightedness with this model. if anyone out there is about to assemble the cab, this will be important to you. to pick up where I left off, I started by painting the background on the name plates. again, I'm not too keen on painting chrome, but unless one feels like painting the entire part, your forced to do this. using a toothpick, the paint was dotted and pulled all around the letters, trying to be as consistent as I could. then, folding up a paper towel and a light jot of thinner, the plates were wiped over lightly. the letters are raised enough, so the background was untouched. you might have noticed those round things on the towel..........they are the faces of a GPS sensor....three of them. I was installing a new GPS in one of our trailers at work, and I noticed them. in my modeler's mind, they look reminiscent of a radar dish on a destroyer or battleship. I was intrigued, so I popped them out and brought them home.........been on my desk for a couple of months now. if I come across any more, I'll bring them home too. the bell was the next thing I wanted to add to.........looking at the picture in that link I posted, I came away with something that was missing on the General. the rope that connects to the bell lever has no sort of bracket, to keep it from drooping onto the boiler.......so I gave it one this is a medium size eye bolt....I could have use a smaller one, but I think they would be too small. I let this dry for the time being. looking at the instructions concerning this, I noticed that it was suppose to go through a hole in the cabin. there was no hole........just the hole for the railing on that side........so, I gave it one too........right between the two windows just below the window brows. there was no other description of what the installation was for the rope. then I thought of how the rope would be rigged inside the cab. my thought was that it would be suspended from the roof by another eye bolt..........ha-rumpf! I can't do that now........for cry'in out loud! so.......for all who are at the point of assembling the cab, add the eye bolt on the sand dome, drill the hole {I'm sure there isn't one there} in the cab wall, and add another eye bolt, in line with the hole you drilled....likely at the first roof beam from the front wall. you may elect to drill another hole, or make a plate or bracket in order to drill the hole. it will suspend nicely from the roof, rather than the way I'm going to have to install it I left that thought for the moment......long enough to install the railing brackets, and then the railings. the whistle actuator lever on the top of the cab isn't that great either........where it meets the whistle, it doesn't hook to anything, it just sits there. I left it as it is. touch ups are still required on the railings. an idea for a pull handle came to light for the bell rope 🔆❕ from the Thermopylae parts box, I took out one of those belaying pins that came with the kit. cutting part of the stem off, a hole was drilled in the base of it. it ws then super glued to the rope of choice. I was going to paint it brown, but I ended up not painting it at all.......it looked fine the way it was. fed through the hole from inside the cab, it was run through the eye bolt and tied to the bell lever. a dot of white glue will hole the knot. enough rope was left inside the cab, so it will hang.....a dot of white glue at the hole will keep it that way. I'll leave it for time and humidity to relax the rope. as for inside the cab........it looks good, but is not proper in my mind. it really needs to be suspended from the roof. just for the fact that I added this.......looks good enough in my camp it's not a great picture of it.....this halogen light is beginning to grate on me. I'll try and get a better one.
-
look'in sweet!
-
I see you've already been to Trawling Through Time....I read your post. if you know where she was built, perhaps you could contact them and ask about her.
- 337 replies
-
- 3
-
-
- finished
- mountfleet models
- (and 1 more)
-
have you checked E-bay or various flea markets in your area........shoot, even utilize the builtin board at your local grocer and hobby shop!
-
those who rush through their projects, usually pay for it later your first ship project, you learn all this.
-
looks really nice. I notice you didn't decal the other body parts....is that going to cause an imbalance?
-
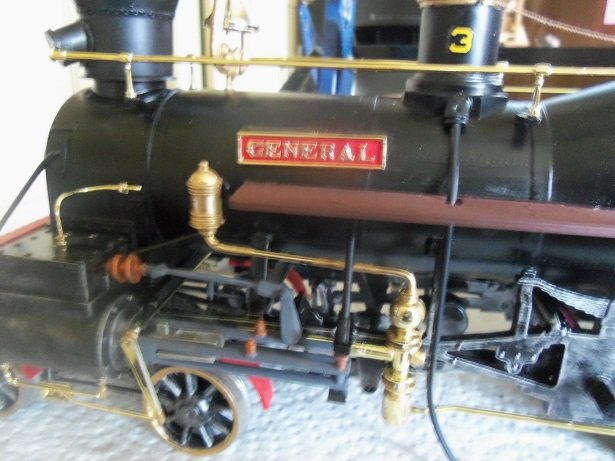
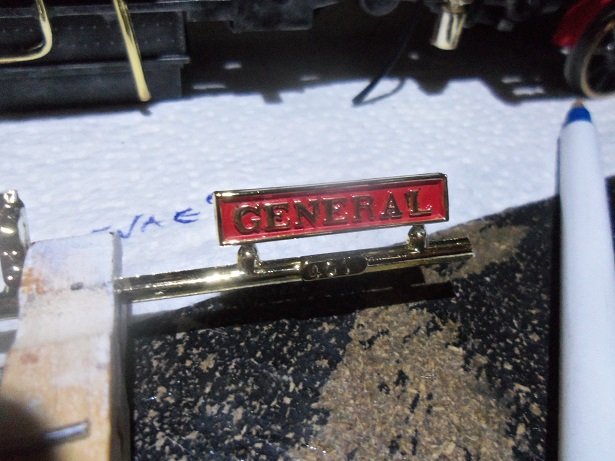
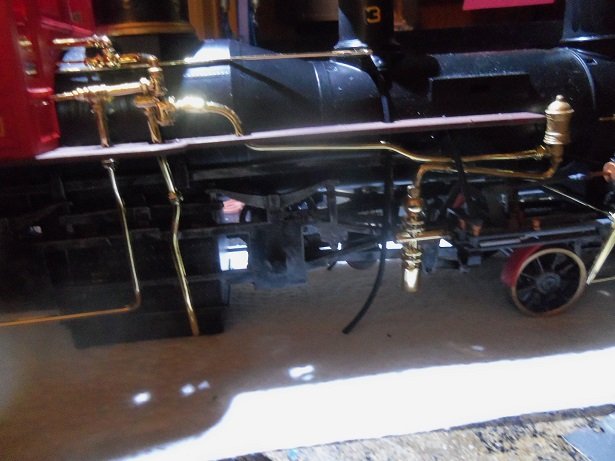
thanks OC and Phil wish I could say I have more to report, but sadly......all I had time for today was to do the name plates for the sides of the boiler they came out pretty good...better than I expected. I've added another bit of detail that the kit didn't supply......I hope I'm in time for folks who might be building this model, to be able to make the additions that I can't now {for obvious reasons}. I'll have an update tomorrow....thanks for the good word and look'in in
-
for gaps, I merely put glue into the gap and then stuff it with sawdust........sand to taste. the color isn't too bad really......after all, it is a working boat. it looks good Jo.........keep at it!
-
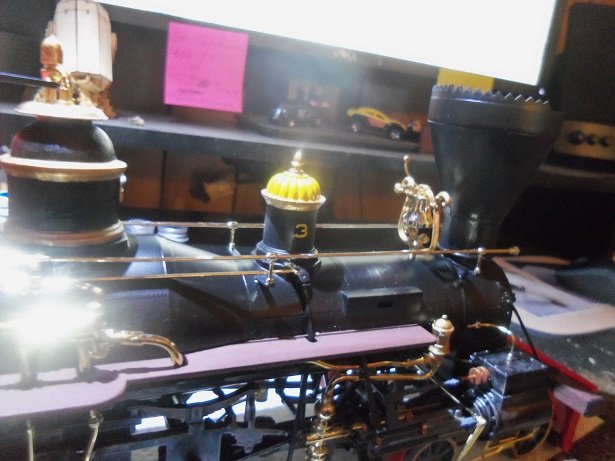
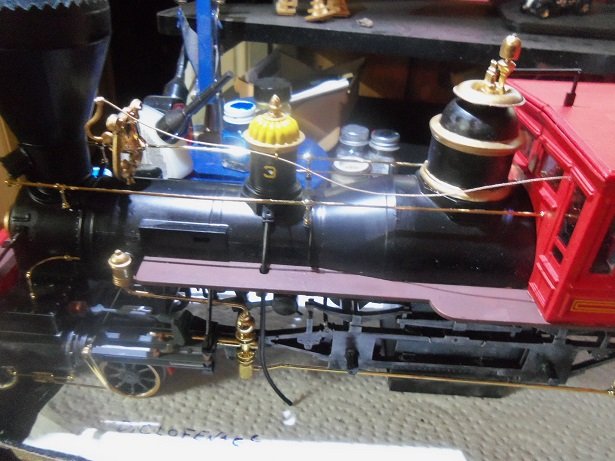
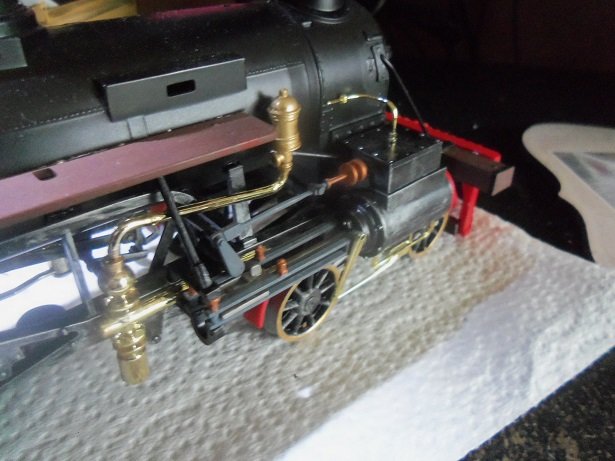
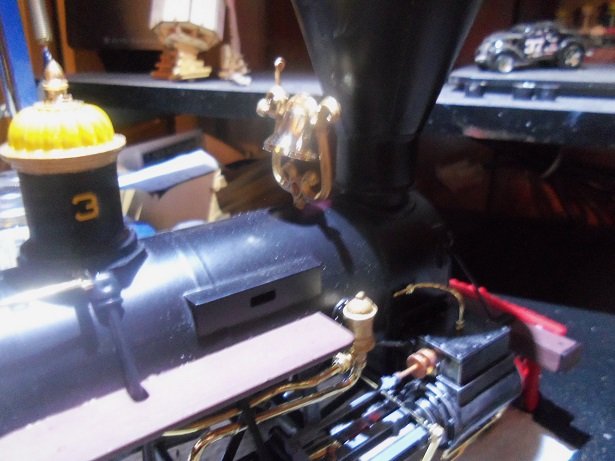
morn'in..........it's another cloudy cool {below average temp} day here in the northeast. we were lov'in the '70s and '80s........but as they say 'round here, just look out the window hopefully, I can get out and mow today.......gett'in to be a jungle out there here is a better shot of the bell.......I still need to rig it. this morning, I got out the parts for the railings that run along the boiler. I also painted the drive rods for the traction wheels. I removed half of the sprue connections for the drive wheels......rather clean up two after painting, than four. the parts are dwindling down........a good indication that the model is almost complete. there's still the stand and the wood load to finish yet, as well as some touch ups and minor weathering that I know what to do. here is the repair on the plumbing too........daylight defeats some of the glare.......it would be better if it were sunny ⛈️ more on the progress soon thanks for look'in in!

- 245 replies
-
- 10
-
-
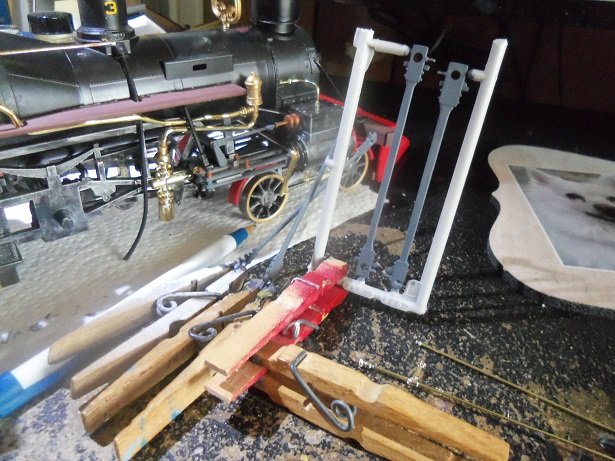
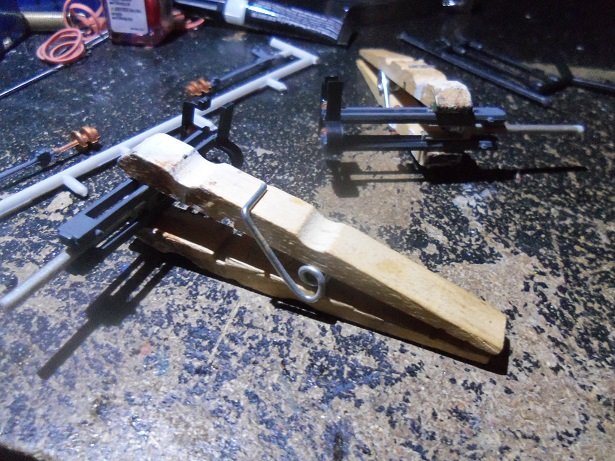
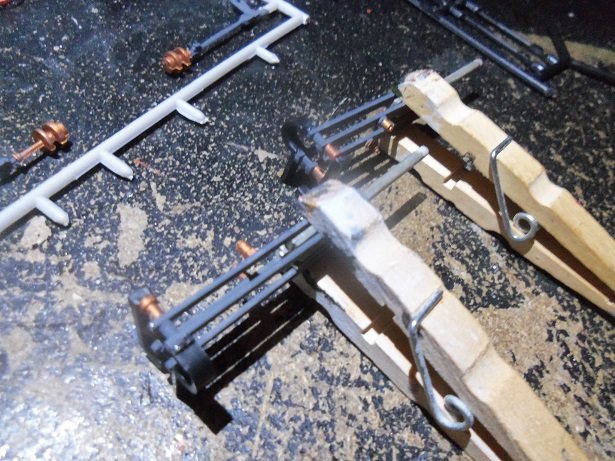
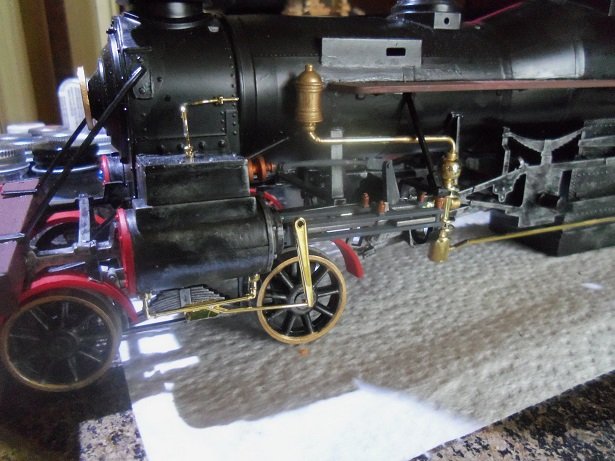
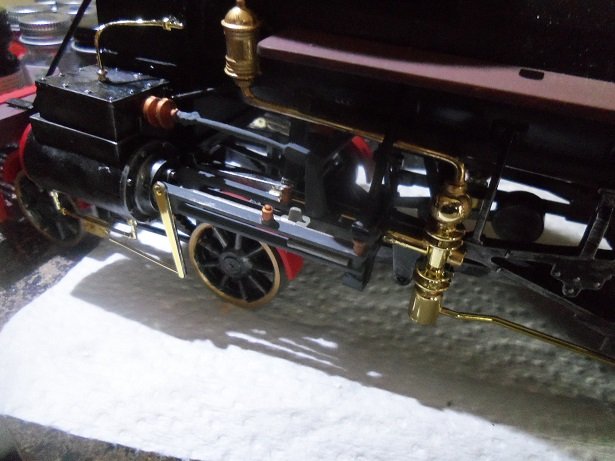
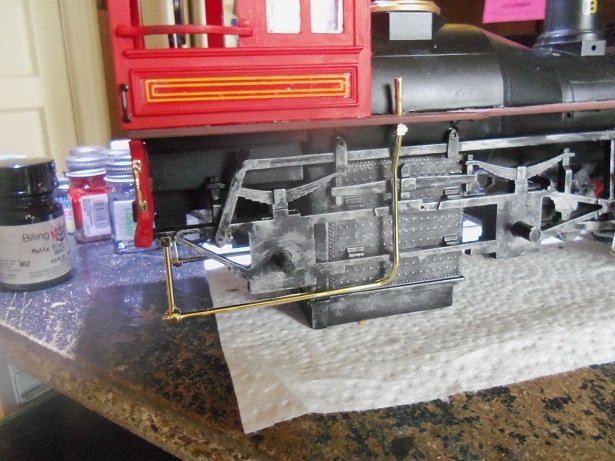
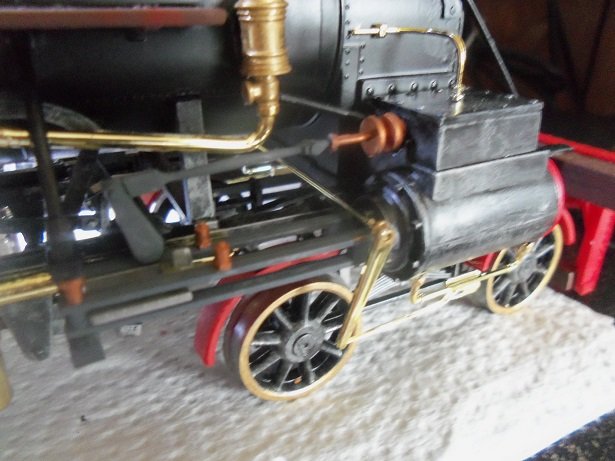
started where I left off......with the cross head assemblies. the shaft inside the brackets needs to move, if the wheels are to be able to move. not that this is a big deal.....it's going to be on a straight track base {something I need to get working on}. they were assembled with success......the valve rods move freely. care was taken to insure that there is a right and left assembly...it would be a real pain to correct this. building the model, this really need to be monitored carefully....both sides are not alike. there is a picture gap here........the camera would not focus......then again, you'll have to excuse some of the pictures. this gold chrome does not take kindly to halogen light. in my opinion, this model would have been good not to have any chrome at all. it distracts from the model quality, and there are paints out there today that can do the job just as good. besides, most pictures I've seen of real trains, show piping and such, the same color as the train itself. I also had a Pffffff moment later on...........you'll see so, OK.......Mr. Camera went on the charger for a while.........in that brief {is it done yet?!?!?!?!} bit of time, the cross heads, the cylinder drain cocks, and the lube lines for the valve chests {which go nowhere}, have been added to the model. the ware inlet from the tender on the left side has already been installed........molded connected to the inlet valve along side the frame body. the right side water inlet was added at this time. I looked ahead to how these are connected to the tender.........I'm going to have to stand on my head to do them! they connect somewhere underneath the tender.......cross that one when I get to it the drain cock connecting rod was added next. the plumbing for the right side, going into the cab, was added next. the rod and lever for the sand dome was also added. I was curious about this, being under the impression that the sand was used to put the boiler fire out when it was shut down. there are two tubes that run down to the tracks in front of the drive wheels, that were added later.......I looked up the use of the sand dome and it's function...... Sand Dome on a Steam Engine ....learn something new every day the sand tube can be seen....one on each side. it made sense to me.........many movies I've seen with locomotives beginning to get under way, I've noticed the 'wheel slip' when they start turning. a bit later, I found out that I had the upper part of the plumbing going into the cab, in the wrong hole.........I had to make the adjustment and repair. then a second adjustment and repair had to be made due to the instructions. a water line on the right side should have been installed before the cross head for that side was installed. the line runs behind the support for the cross head. of course, it would not come off freely.......it decided to take the top part of the bracket with it........a right jolly 'ole mess. but it's much better now ending the session, I thought to put the bell on. sorry about the fuzzy picture.......I'll get a better one on the 'morrow.

- 245 replies
-
- 11
-
-
look'in good Tom! who knows........the minor pitting on the cannon barrel might look better once it's got the finish on. I wouldn't think that a field piece would remain pristine after a few battles, especially after transport and positioned on the field. very nice work!
-
here's how I decant paint: https://wenzelswharftips.wordpress.com/2013/01/23/decanting-paint/ Kurt is so right........some of the colors only can be found in rattle cans. really nice finish on the model......I'd get some of the Gravity pearl colors, but I don't do enough cars {strange what a blast from the past will get you}. are the running boards decals as well? very well done!
-
really nice finish in spite of the hood
-
not sure what would be harder.......having never done it either. ........doing the margins first or the planks. looking good
-
you've really taken off with this one Danny..........look'in superb!
-
look'in good so far
-
looks very good Kevin......you'll need to make the margin 'blanks' wider to make the indentions for the nibbing. appears your working with a 4 mm margin. although, John's example has the diagonal cut meeting the next plank. I've never done it myself either.
-
I have never seen this kit.........look really cool
-
try this paint... Gravity Colors | plastic scale model automotive airbrush paints