
HOLIDAY DONATION DRIVE - SUPPORT MSW - DO YOUR PART TO KEEP THIS GREAT FORUM GOING!
×


popeye the sailor
-
Posts
16,007 -
Joined
-
Last visited
Content Type
Profiles
Forums
Gallery
Events
Everything posted by popeye the sailor
-
 hello there Steve........quite a log you have here.......and quite a ship too for what this kit is......you might as well call it a scratch build! very well done though...... a thing to consider in regards to the davits.....they are in the raised position.......when boarding the boats, they would be lowered, so there would be room to move around them. I read about you wife's illness......glad it arrived to an outcome you both were hoping for. nice work on the railings.......I've done a few fishing vessels in my day, and they can actually be a lot of fun to create. I make them on the boat, either by using CA, or fix them in place and remove them for solder if needed. if you desire to do anything with the decals, I'm all ears............I'll refrain from bringing them up again, since I read you decided on the ones you already have. but, if you want to.....look at my Andrea Gail build {log or gallery}....that's about what you will need to do. common Carl........gee......after his first one, he was no longer considered a newbie now I feel bad that I found this log so late...........
- 446 replies
-
- 4
-

-
- zebulon b vance
- deans marine
- (and 3 more)
-
well.......it's a newer kit from old molds.......I'm fairly certain that the molds were never retooled. I'm sure both issues of kit have the same problems. I do like older kits......there is a challenge to them. the worst hurdle is the decals. if I had thought of it.......I coulda looked this up and been ok. oh well >shrug< thanks for the good word gents........and thanks to those who hit the like button
-
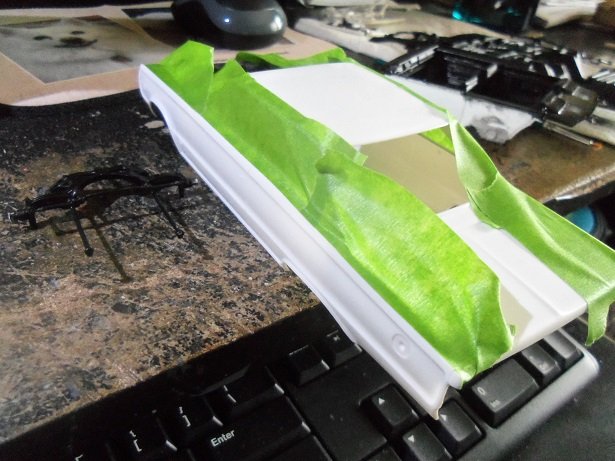
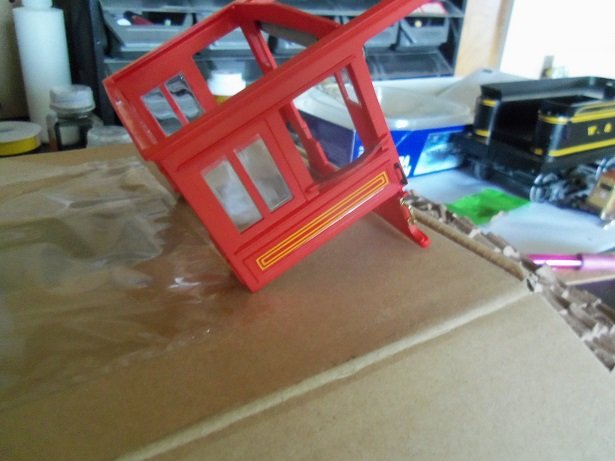
thanks gents.......I had to do a double take with the paint........it's reflecting the finish on my desk. one of these days, I gotta get a new desk I masked the body, but paint still found it's way into the door groove. gotta fix that. got a little bit done today.......lawns mowed and errands run. thanks Jack and all who hit the like button
-
wwow.........looks really great Danny! without a doubt....a feat of engineering
-
just catching up with your log Patrick........totally mind blowing what you've accomplished here the engine room and living quarters look awesome! had me fooled........I thought the big one was a flat screen I can just imagine what your gonna do with your next one..........reserving a seat right now for it. super job .........very well done
-
the only one we have is this one 👍 just magnify it about a hundred times for the job your doing very nice!

-
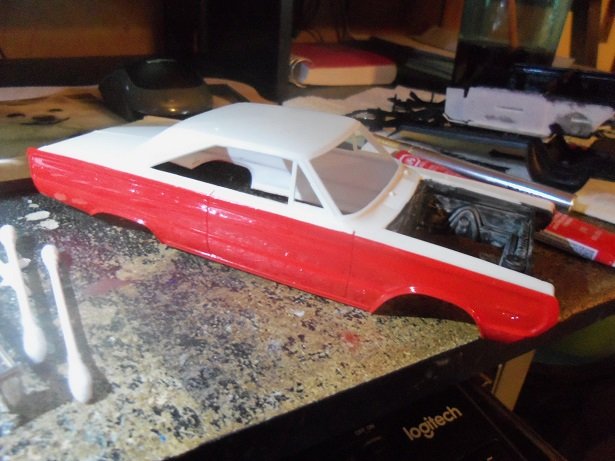
I have a small update on this project. the interior is coming along........ the order of assembly is very different than how I like to progress. the second step is the body, so I began to prep it for paint. the dash has been painted in greater detail... the shocks and steering wheel has been painted.........and the first phase of the body is done. the hood has seen more progress too.......the scoop is in place and the underside has been painted. more to come.
-
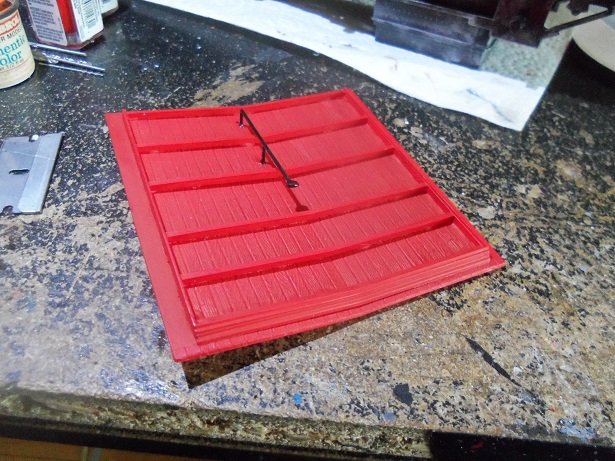
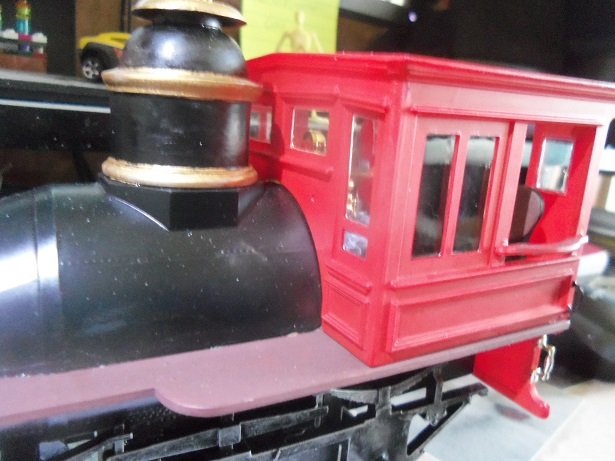
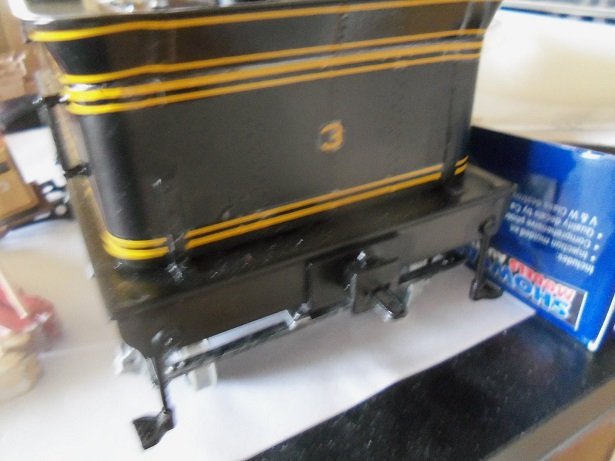
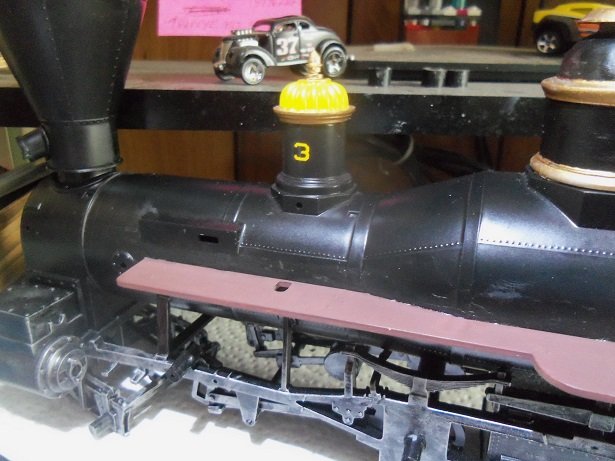
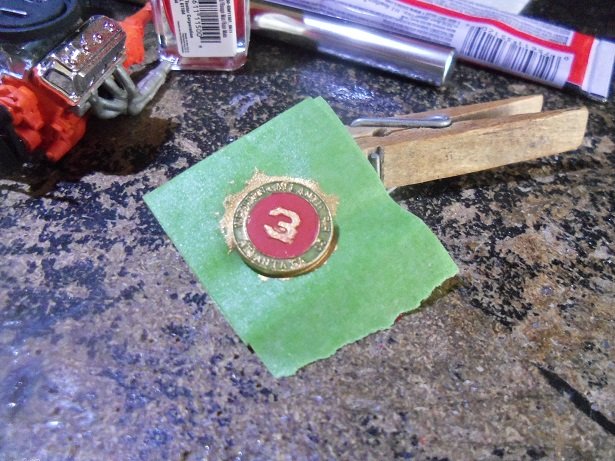
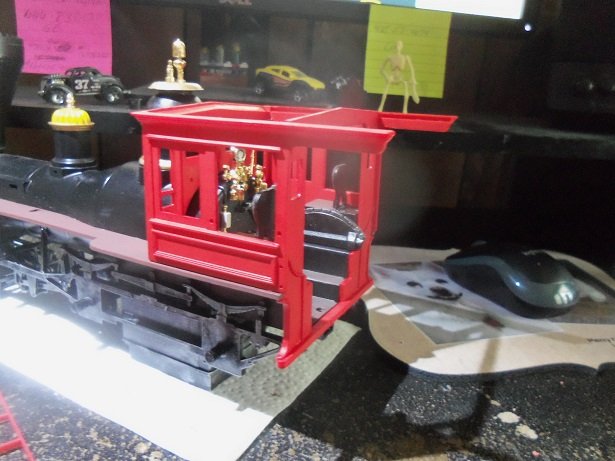
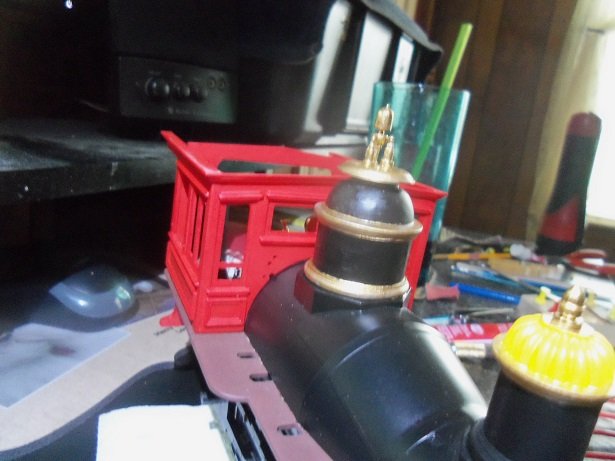
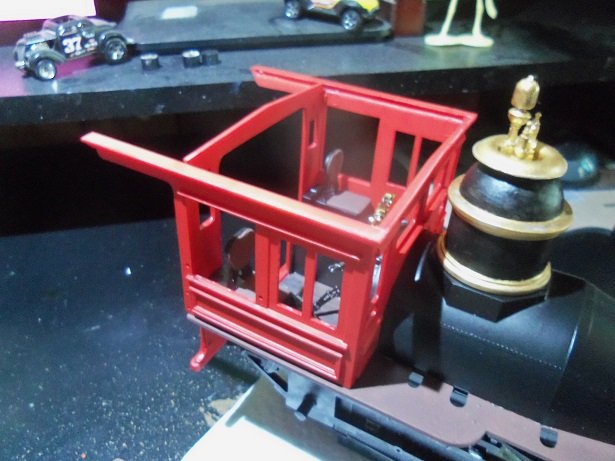
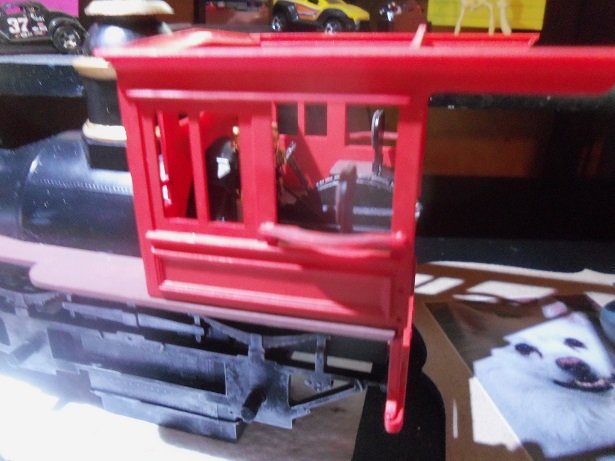
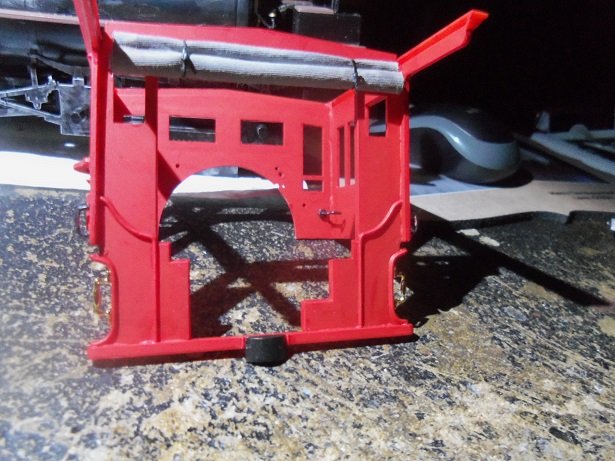
hello again.........here with another update on this fine piece of equipment. thanks to all who looked in and hit the like button....I really appreciate it I must admit.......I'm kick'in myself......I dropped the ball on a bit of detail.......what's worse, I even reminded myself to do it the session started with the roof......painting the underside and adding the whistle control lever. then came a hurdle......cementing in the windows. it wouldn't be a tough job, but the lip around the windows isn't very pronounce. this is nice for the overall installation and looks of the model........but it might be a nightmare for the modeler applying just enough cement to hold them in place. I finished, only coming out of it with a couple of spots of ooze. I used the Testor's window maker, so when it dries, it will hardly be seen. looking inside will give you an idea of how narrow the lip is. I noticed that I hadn't put on some of the decals......on the back of the tender, the number 3..... ...and on the head lamp {the picture was too blurry...worse than this one}. I also put them on the cab..... ....and the number 3 on the sand dome. I went on another search for more pictures......and that's when I made the discovery. the interior of the cab was green! of course, it's too late now to paint it because of the windows {I'd never be able to do the in between areas around the windows}.....so I guess it will remain red. what I could and did do though, was these two black areas on both sides of the entrance. the beam along the bottom was to be black as well, but I opted to leave it red to offset these two areas. then it was time to cement the roof assembly on. I've seen others do a masterful job with these aspects.......I'm not one of them. the round badge button that locates on the nose of the loco, needs to be painted. it was done using three colors....light pronza green, flat red, and gold. the green is a white ensign color.....I think it looks very close to the original color. it does need some touch up.......stuff like this is not my strong point. it looks better in person { I think my camera is possessed by Murphy} I've seen so many models of this train, left with the gray plastic parts. so far in the build, I've had a hard time with that, thinking that they should be of color......of application and functionality. I think this is one of the pitfalls with models molded in multi colored plastic. I get it.........this was done to attract more folks to buy the kit, especially those who are not that great at painting. as a young lad......I fell victim to that ploy, only painting the detail that would stand out. the internet has really been a boon to the hobby in this regard.......there is so much more to find now, then it was back then. paint schemes.....tutorials.......and sites like MSW......Pandora really came out of the box! {in a good way } the gray stuff has to go.........and what color would enhance this model....hmmmmmm?!?!?! why more red!......of course *spoiler alert* today's session is going to begin with cementing the cab in place 🚂

- 245 replies
-
- 10
-
-
fantastic job on the engine.......amazing how small the parts are! well done!
-
agree with the others.........as long as the contour of the hull is smooth, with equal spacing along the keel and stems, then you've done a darn good job thoughts of other ship..........nawwwwwww.....it'll pass that is........unless your like me, and act on 'em only if you have limited space...........then........you might want to worry
-
hey there Mark...........just caught up with your log! sorry to hear that you were having problems.......haven't visited here as much as I would like to. I'm hoping to find my way back to the wood side soon glad to read on that things have gotten better for you, but I'll keep my fingers crossed that you can get back to a norm that makes you happy. great job on the ship's boat.......looks like you've rekindled the mojo to continue with this project. truly super job.......keep good thoughts
-
very nice progress on Hannah sweet job on the binnacle and belfry. I'll likely late in catching you, but enjoy the summer and your trip!
-
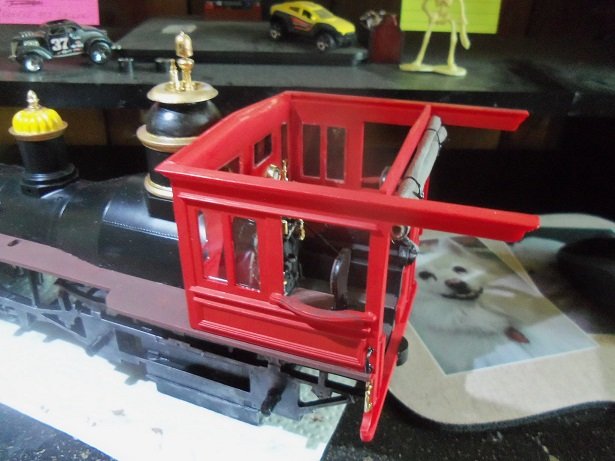
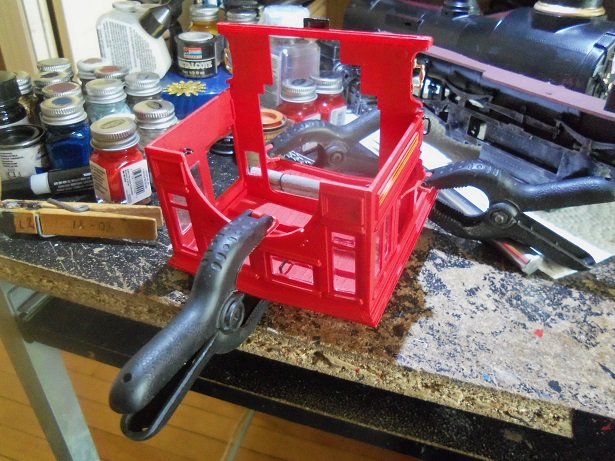
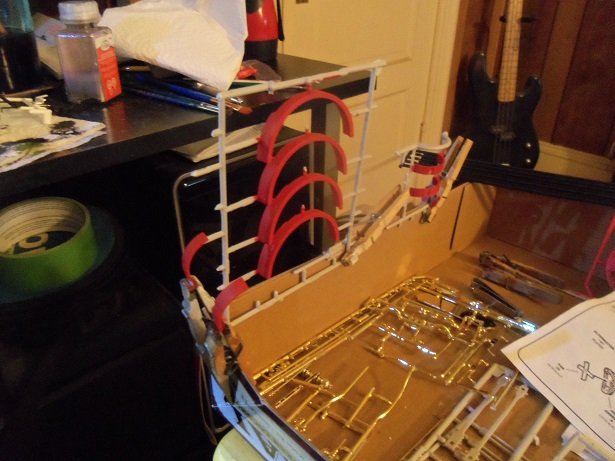
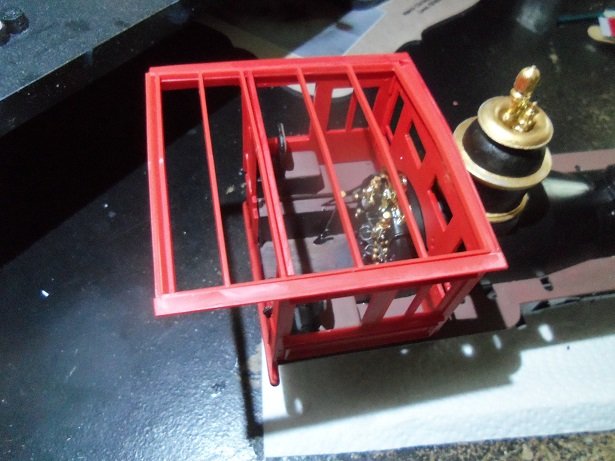
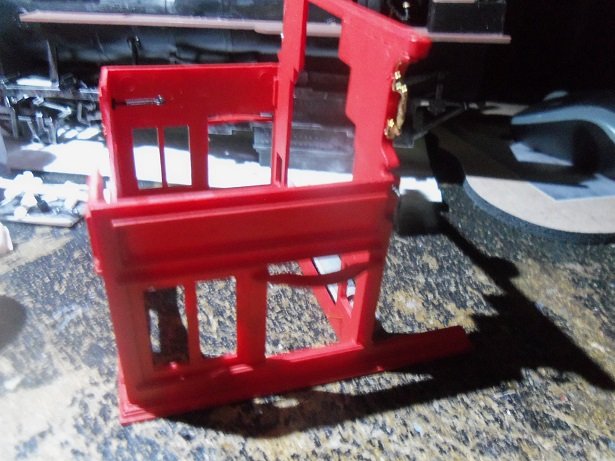
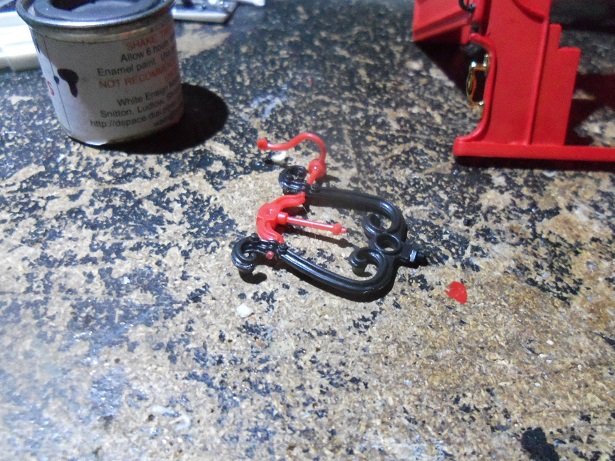
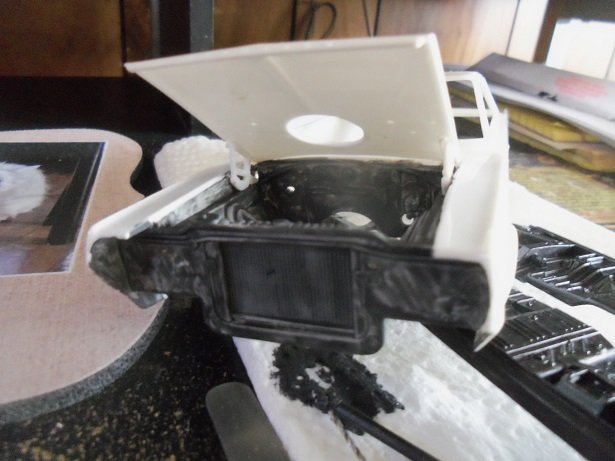
as with the S&M build, here is the update I promised you folks........it's comprised of everything done between the tenth through the fourteenth. for the first order of business........the cab was painted with the flat red. I did fix the gaps at the walkway tabs.......no more spaces there. there are grab handles along with a few other parts that need to be painted........so they were gathered and painted. before I can add the roof to the equation, the windows will be added. it's not a clear picture, but the arm rests were added and some grunge was dabbed on the sand handles, grab handles, and coupler block were added next. for some reason, one set of grab handles were gold chromed.......I left them as they were. I may grunge them up a little too. due to the roof beam being outside of the cab, I didn't bother to raise the height of the canvas door. last but not least.......I began to assemble the bell bracket. I'll put the shiny part on later, after it's painted.
- 245 replies
-
- 11
-
-
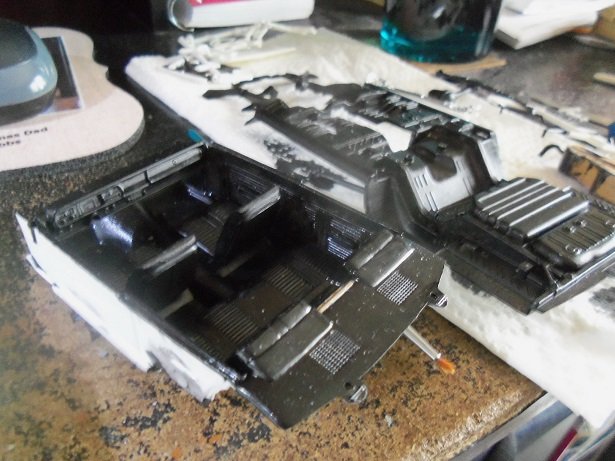
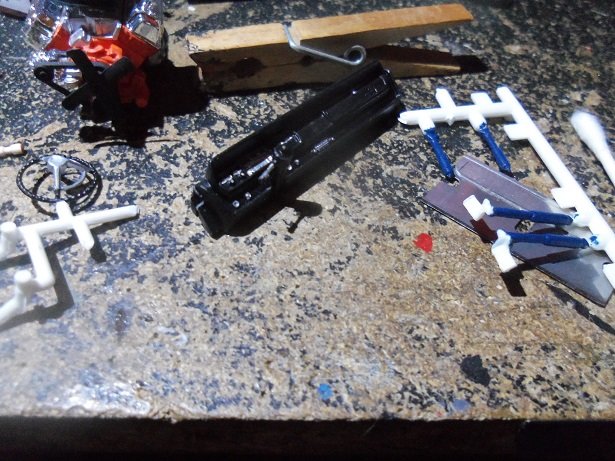
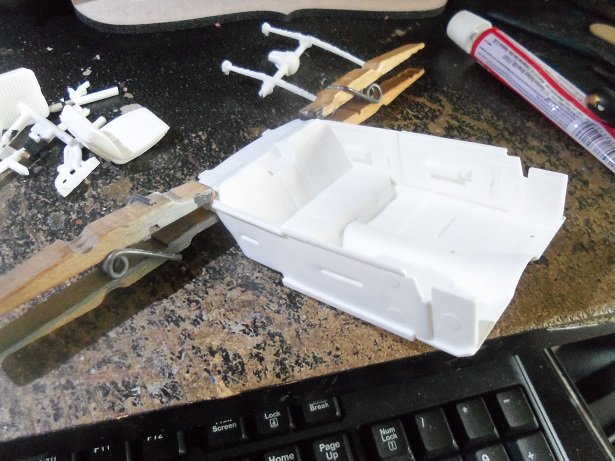
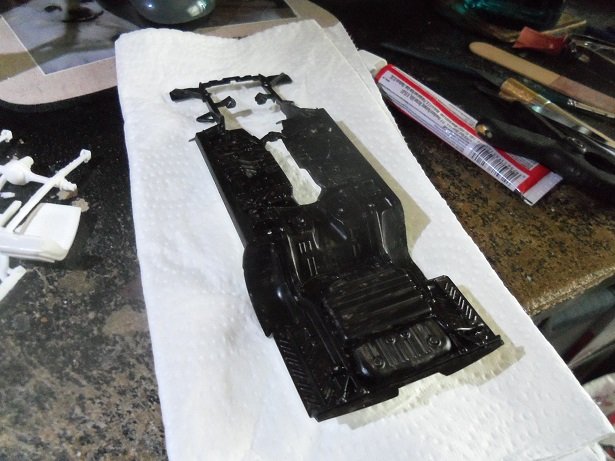
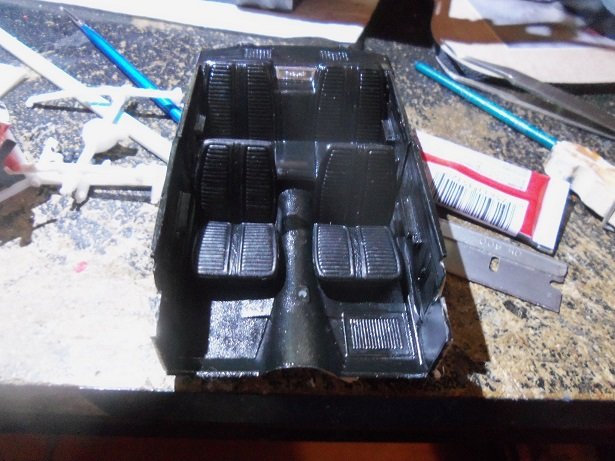
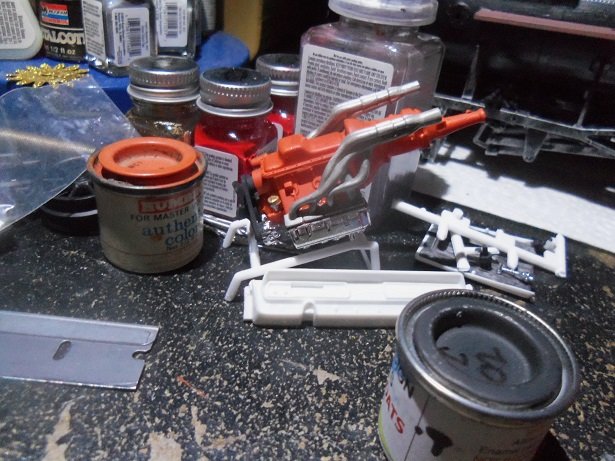
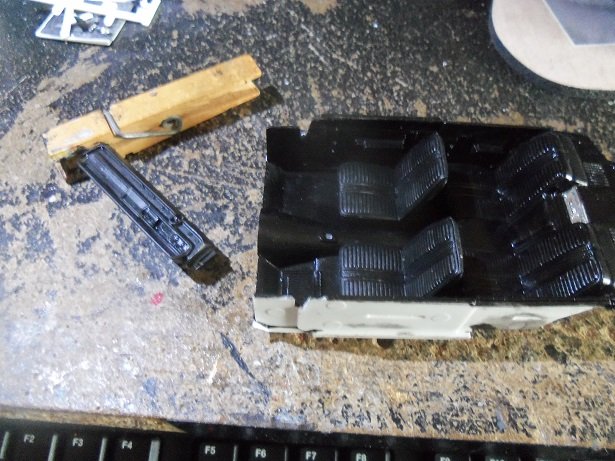
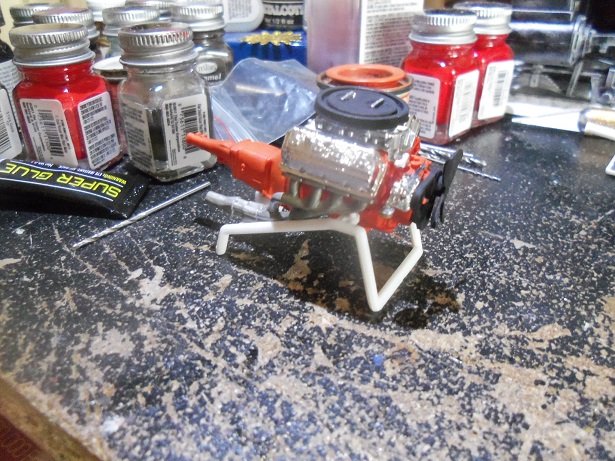
so....as I mentioned earlier, I've been doing some painting. I thought I was out of satin black, but looking in the Humbrol stockpile I got from Lou, I found a tin of it. the back part of the interior still needed to be cemented together, so I did that first. the chassis was painted with the Billing flat black. the interior and front bucket seats were painted with the Humbrol satin black. there is a hood scoop........there is also a cut out in the hood. this was removed and sanded. odd thing is that they only indicated the locating holes for the scoop be opened up. the headers were painted and later added to the engine. the dash was painted at this time. it's comprised of two pieces.........the main panel and the top. the engine stand can still be used. great for setting it aside while it dries. I found another hue of black in the bunch......this is the White Ensign flat black. it's got a weird smell to it and it's very watery. hard to get a good first coat. I may just go over it with the Billing black. I had cemented the fire wall and radiator panel into the body. I added the hood hinges to the hood.......more life like than the hinges I usually see. I've also painted the drive shaft and the differential......a few more parts to be painted before I can really assemble the model. more on this project soon.

-
HA-umph! the things you see when you don't have a feather! I can thing of nothing better.........I'm not a reader you know.......I was thinking that the other day..........this forum has need of a couple of whirly bird projects! great minds think alike glad to hear that your recovery is progressing.......never thought much of physical therapy. when I had my left knee operation, they wanted me to start therapy.........I told them that I'd get just as much therapy at work.........see ya I'll check out that kit.........sounds up my alley. the funny cars are nice, but they can get repetitious fast. depending on the kit brand, they seem to use the same construction {Revell is famous for this}. so I dragged the pictures out of the camera...........I've compiled a few since the tenth..........and yea, I've even done a little during my work week. as you can see, I've taken the day off {my little slice of heaven}, so I can play a bit today. it's wet outside, so that will make it a sure bet the bathroom is pretty much done.......the guys won't be back.......and the rest will be done by our landlord, whichever millennium he gets around to doing it. so that closes the saga..........enter the hall of the porcelain god.......it looks nice, but it's in stark contrast to the rest of the apartment {like walking form the 'ole west, into New York}. here is the update I promised you folks.
-
very nice finished model...the wood grain prop and rigging really looks nice I notice you did the lower wing roots......looks great melded into the fuselage. the whole camo motif really works for the model.........such a sweet build!
-
good pictures.........the hull's com'in along nicely!
- 345 replies
-
- 4
-
-
- graf zeppelin
- trumpeter
- (and 2 more)
-
checking in on your progress Jo...........you should look in on some of my planking. it's a good thing I like to paint looking at where you are now, you did a great job......filler will be your friend. earlier, when I looked at the progress, it's plain to see that the bow and stern are pretty much the same. technique wise. basically, you want to keep the planking as straight as you can, so the use of stealers would have helped you here......at both ends. stealers are sections of planking that are run from the stems, to where the curvature of the preceding planking begins. they are tapered to a point and laid to get back to the straight line. for beginner plankers, it best to do the planking in short lengths and stagger the butts, so you'll have better control and not have to deal with the entire strip. built up, you would have defeated the curvatures at both ends. then you could have laid the garboard plank at the keel and worked that down to the other line, closing it up with a suitable plank width. I tend to let the plank tell me how things go....forcing planking is a good way to achieve the clinker effect. you want to stay away from that if it dictates that stealers are needed.....I put them in. .....if not, I taper. a second technique is Jogging......but this is a bit more involved. here, your starting with a single plank from the center, merging two planks when you near the bow or stern stems. think of it as two stealers merged into one to join the original plank strake. I'm not a fan of second planking......I think it'a an extreme waste of good wood. I only done it on a couple of my models.....even then, I used thin strip to do it. your doing a great job so far........keep up the good work
-
very sorry to chime in here and hear the news.....my condolences to you and your family
-
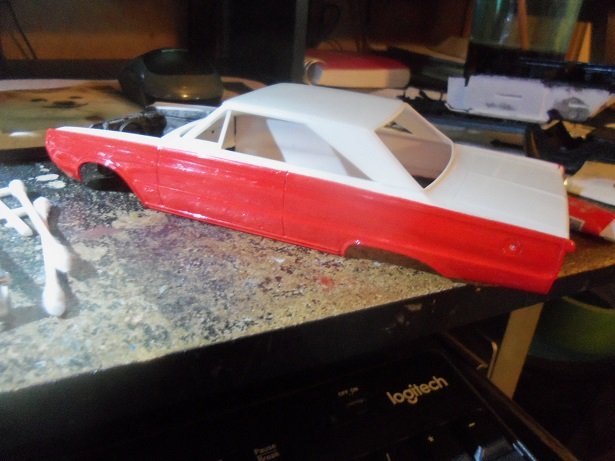
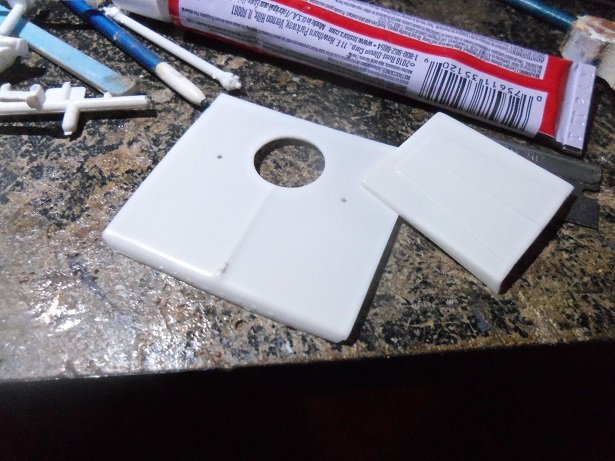
thanks CDW........this kit is really nice. it has the window glass as separate pieces, rather that all one part it has a lot of detail too! oh Lou...... being laid up like you are.........you must be bored out of your mind! you should have someone get you one of your smaller kits, so you have something to play with I didn't think I had any satin black, until I looked in the Humbrol box. I did a little bit yesterday......mostly painting. I cemented the back part of the interior together and painted it. I have some pictures in the camera.....I'll get'em out for tomorrow {I'm doing a little more painting as we speak}. another thing that is included in the kit, but not shown in the instructions, is the dual exhaust. don't know how they would hook up, since I have racing headers. I guess my spare parts box is going to get a little bigger
-
biplanes are cool........sounds like an interesting build