
HOLIDAY DONATION DRIVE - SUPPORT MSW - DO YOUR PART TO KEEP THIS GREAT FORUM GOING! (Only 13 donations so far - C'mon guys!)
×


popeye the sailor
-
Posts
16,007 -
Joined
-
Last visited
Content Type
Profiles
Forums
Gallery
Events
Everything posted by popeye the sailor
-
 I have the body on the table at the moment. I've gone over it with 1000 grit sandpaper......should be good enough to put some paint on it. the body is slightly warped.......like that since I started. when I added the firewall and the radiator panel, I didn't cement it along the fender wells. so I've done that now, weighing it down with something heavy. I'm hoping that boxing the engine compartment will help take out some of the warp.
 -
to me or the admiral? thanks Kevin
-
big thanks for the continued interest........keeps me going on this disaster I created. although, the more I repaint, the better it seems to look. thanks for the pictures Rob........in the beginning, I has a desire to do the original masts. I'm not afraid of scratch building.......but there is a lot to do, and a crazy amount of research to get 'em right. I have most of the pictures in the several sites that I've got bookmarked. I also have this site, which is a compilation of finished models. I get ideas from what others have done. ModelWarships.com I failed to notice that Lou........I'll keep it in mind. I'll have to check where I have the plane chock on the turret catapult. it fell off earlier in the assembly, perhaps it won't be hard to correct if I do have it wrong. might as well tell Tom's that they have it wrong in their PE set too {yes, I assembled it wrong, but I followed the instructions}. I'll correct it if I can as a matter of fact, I was looking around for the paint scheme for the Curtis Seagulls. I was surprised by how many folks modeled this ship with the Voughts. no one has ever modeled this ship with the Nieuport 28C-1's........they were the first plane to leave her deck in 1920. I suppose if one was to model her back that far, it would be an important feature. it would also be quite a feat to find then at this small a scale Revell did a terrible job with the planes........there are no wing pontoons. thanks John......I've a lot more mods to do I hope so OC......... oh..........'fore I forget...just a textual update. the upper hull is redone.........scared to remove the masking. I've also started to paint the visible deck structure, with the hope that I can start adding to it. it will be nice to move forward with this build.
-
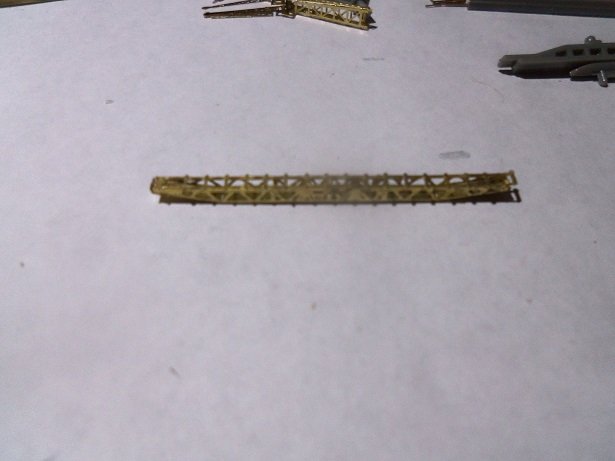
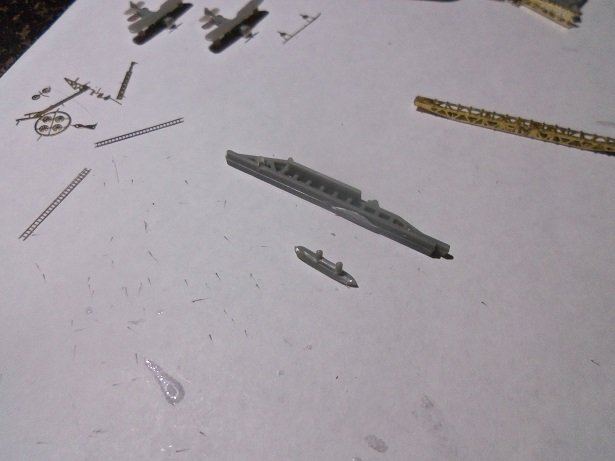
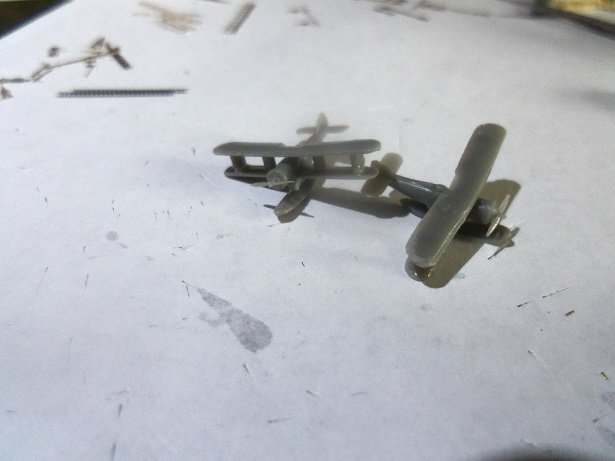
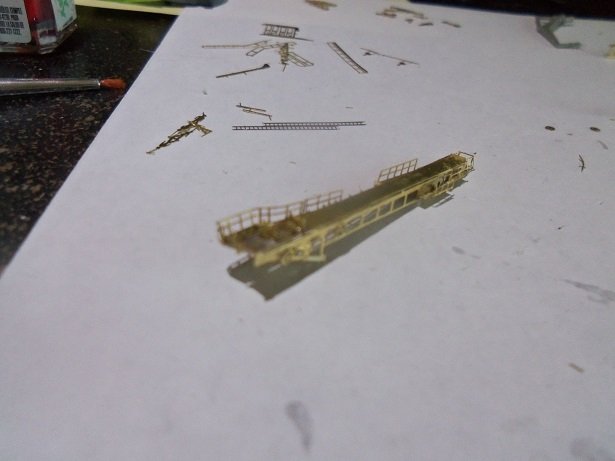
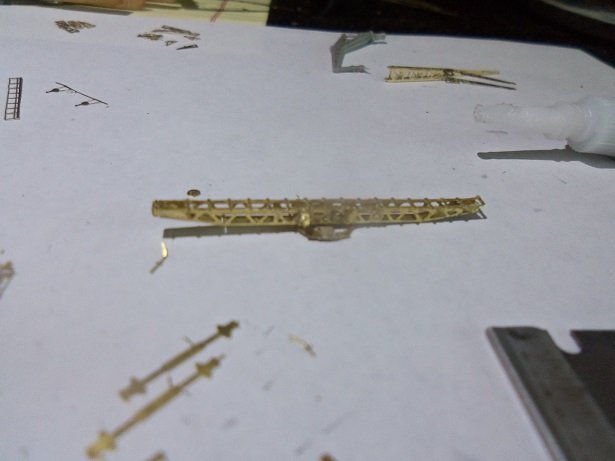
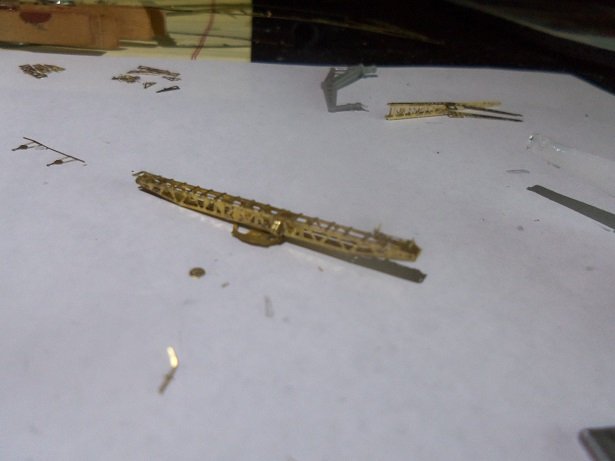
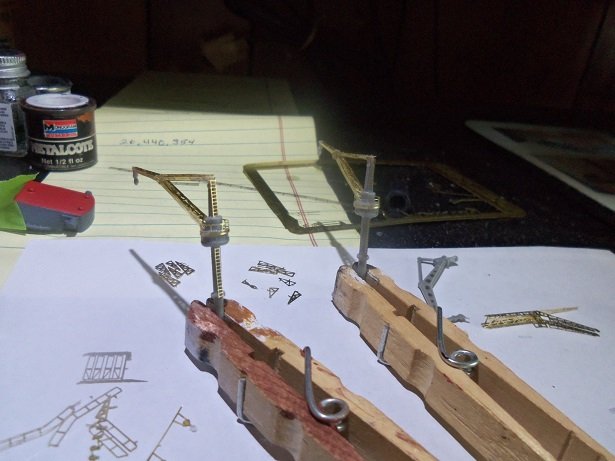
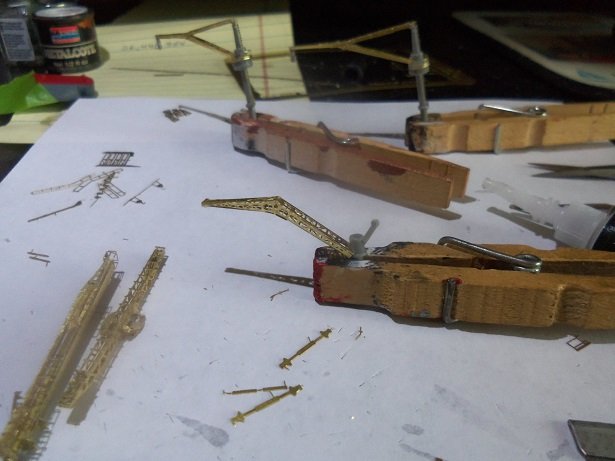
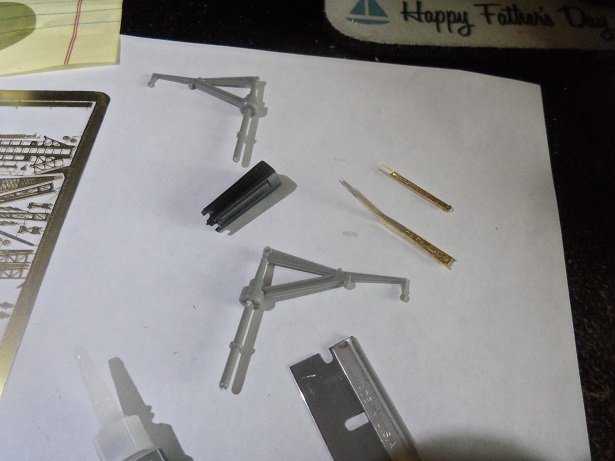
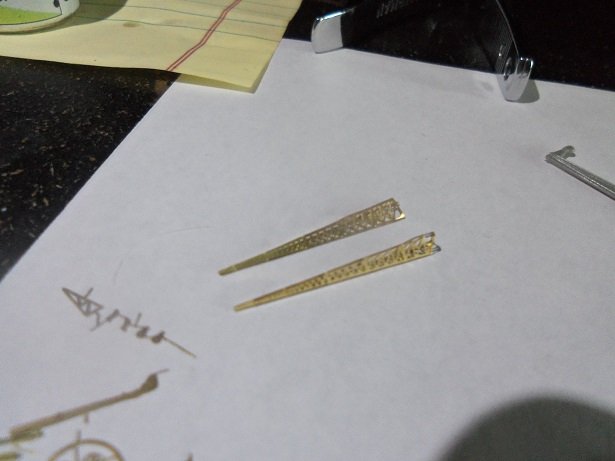
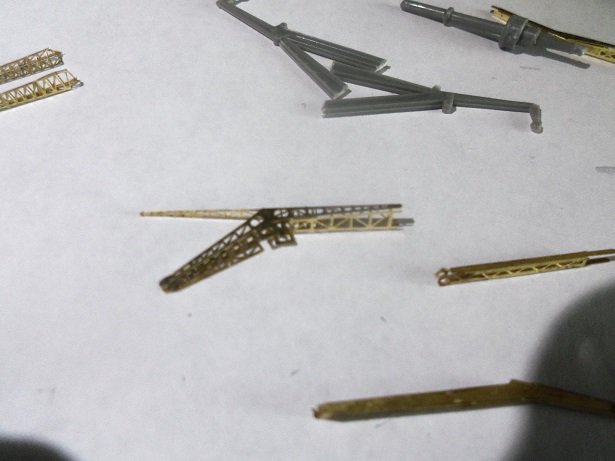
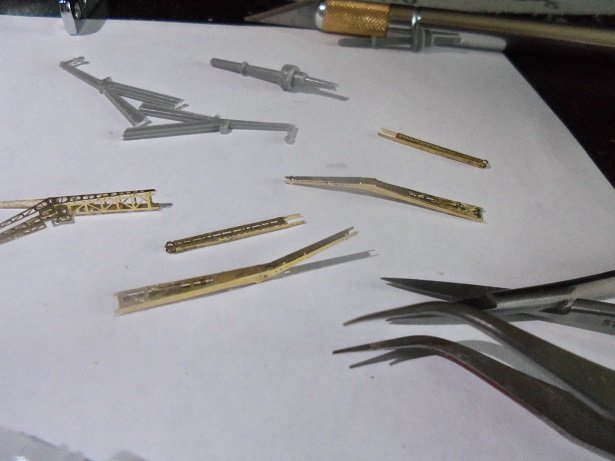
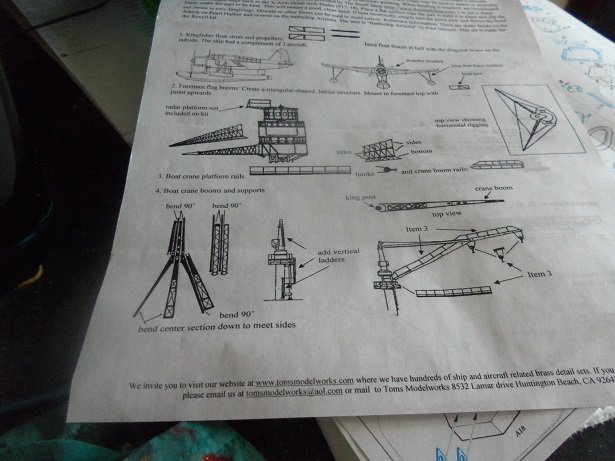
so here's a rather expansive update on the PE and mods. as mentioned, I started with the boat cranes.....figuring out as best I can, on how to assemble them. with nothing to go on concerning the hooks and rigging, I cut off the hook from the cast off plastic and glued them in place. note that one of them has a railing around it....they both will soon enough. the aircraft crane had been partially assembled.......prepped and ready to go with the mod for it next. I also dug out what I did on the catapult......this one will be located on the stern deck. I kinda goofed here.......the top part of this catapult was supposed to go to the turret catapult.....I got them backwards. oh well! the pontoons for the planes are molded to the plastic catapults, and need to be cut off. I didn't do well with the first one......I had to trim off the odd part I missed and repair the float. I scored the second one and averted a repeat occurrence. the planes were assembled and cleaned up for paint.......I'll need to look up the paint scheme. PE props are included, but I didn't use them......the original looked fine. the turret catapult was next........lots of add on stuff for it. the stern catapult was easier.........not as many parts as the other one. I noticed that it did't have the aircraft chock........it had fallen off. the boat cranes saw a few more add ons........pulley bits and ladders the two catapults........... I got creative with the aircraft crane........I used a couple of bits from the Hood PE. shoot........got an errand to run! I'll be back...........


- 259 replies
-
- 14
-

-
it would be a lot better Steve, if I paid better attention when I cut the railings off. I think I corrected a lot of it though........it will look better with the PE railings on. I'm almost done the painting........the upper part of the hull, then I can work on the deck. today, I finished what I was doing with the PE. thanks Rob.........I'm hoping it comes out that good
-
well.......what you did get to looks super! I tried doing a gun like that since I have the Hood PE.......first one junk..........two more to go hope you see yourself finding more time soon.
-
superb progress Kevin.......the structure and decking looks awesome nice and tidy
- 337 replies
-
- 3
-
-
- finished
- mountfleet models
- (and 1 more)
-
you've made some great progress.......looks really good I'm new to PE.....I don't know how you folks do it..... I'm using Tom's.......nice stuff, but like you, the instructions could use some better directions. I'm sure I'm not correct about a few things......but they are what they are nice take on the toilet holder.......we have the same one in our bathroom. it's in silver.
-
look'in sweet Danny..........good thing I'm seeing an expertly built model like this.......I'd never be able to build one in my lifetime
-
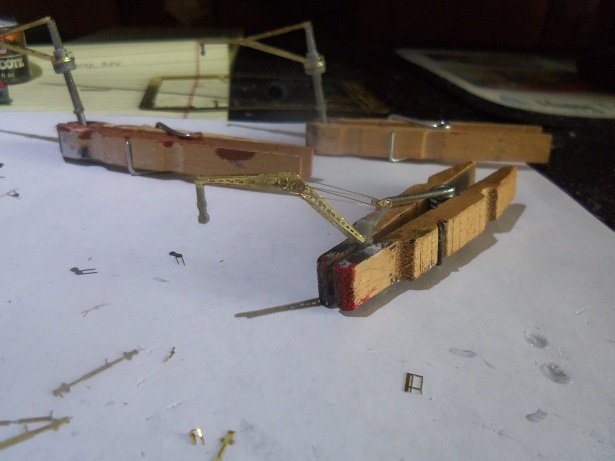
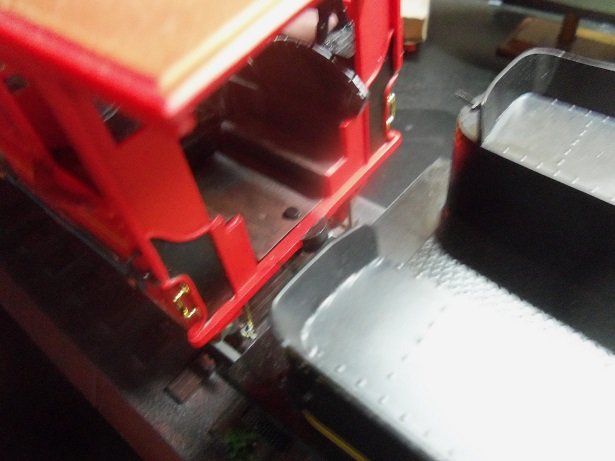
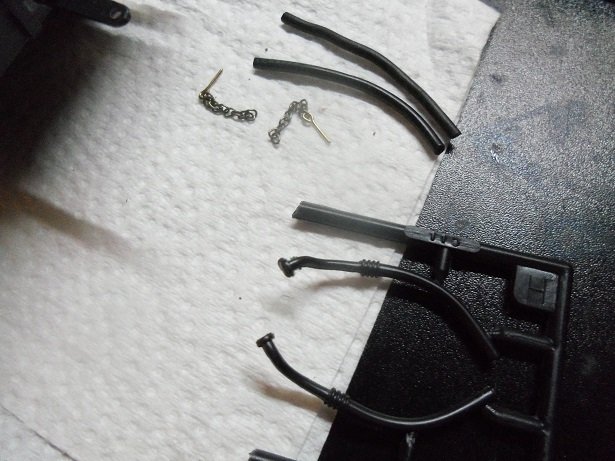
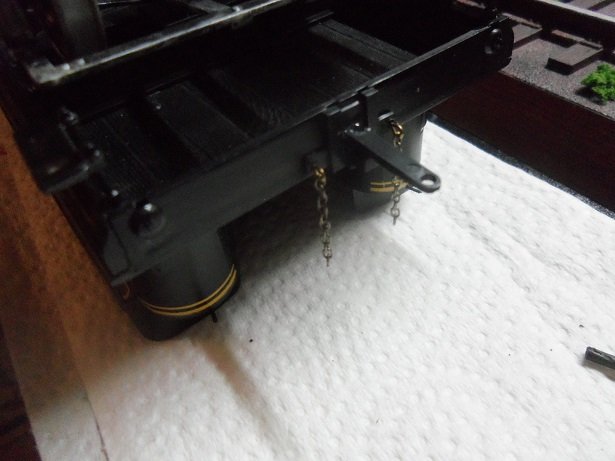
spent some time on the General......the coupling problem is solved......the pin will now go in! the holes for the chain eye bolts were drilled in the tender. I also managed to find suitable hose to replace the plastic hoses supplied in the kit. I still don't know where to locate them.......there is no clear indication where to put them. I will put them as close to the loco's water pipes as I can. the chains are now installed on the tender........now to locate hooks onto the loco near the coupler it not much of an update.....more soon
- 245 replies
-
- 11
-
-
hello J........no.........stupid chores! I got two more to do, but I got to spent some time on the Arizona build. I have the paint now.........once I shoot it {with no funny business}..........I should be back on the path to greatness {sic}. I even got the proper blue for the roof.......metal flake. perhaps if I get the chores done, I can put some time on it. keep look'in in
-
.......just a small update. done more on the winch and started to make the handrails for the cabin structure. I would have more to report, but it was our 31st anniversary yesterday we had a marvelous day.
-
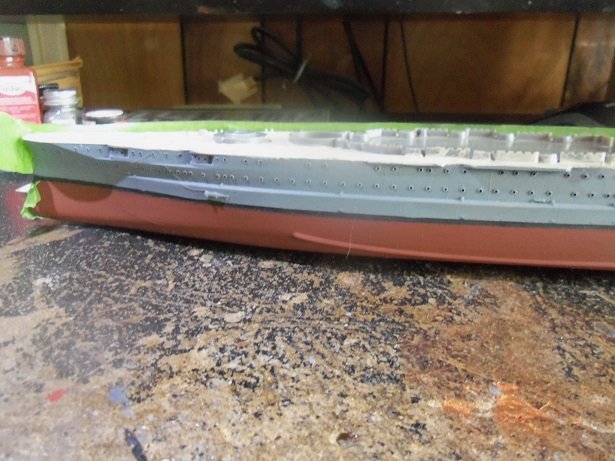
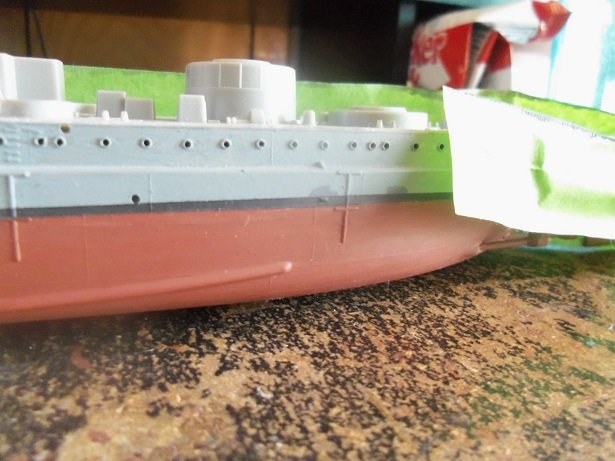
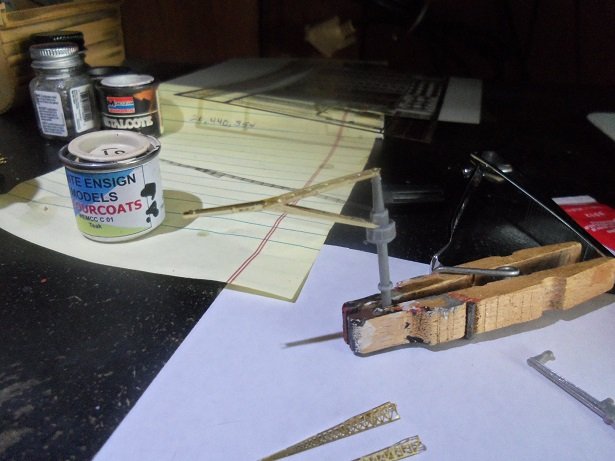
when I first got the PE for this model, I tried to assemble the turret catapult. I didn't get very far, before putting it back in the box. I didn't do too badly with the Vendetta.......but some of the parts led to be desired {I won't lie}. so I will experiment with this model, to see if I can get better, before going back.........I do plan to finish it. the model is still on the table . the hull is a mess, as I mentioned earlier. I goofed on the bottom paint, haven't done the waterline yet, and yesterday I found out that the paint I had mixed for this model, is now garbage. the paint was a mass of silly putty at the bottom of the bottle.......just suspension and thinner on the top. so I can add paint the upper part of the hull on the list too.......figures. so first was to fix the bottom paint. after that was done, the waterline was painted next. I had done some touch ups with Battleship gray......shows like a sore thumb. I had painted the fore deck in teak.........I touched up the fore deck and then did the aft deck soon after. I will need to do a second coat due to some ghosting, but it's not a biggie. I worked on the PE in between all of this. the boat cranes were first. parts will need to be cut off and substituted with the PE parts......these are the main part and the support for one of the cranes. I had also cut out the foremast flag booms........they were next. the stern aircraft crane was started next... still more bending to do on that one...........both of the boat crane PE is assembled now. the crane parts have been cut off....and I was going through the instructions........hard to figure out how these fit onto the crane tower I'm going to need to figure out how the railings go on........I would think there are a pair for each one, but there is only one pair on in the PE sheet. to make it even harder.......I've assembled one of them. there is still a little but more to do on them, so I will let them dry and move on to something else. I have a couple of the Hood panels in the background........looking for something else to add from them
- 259 replies
-
- 13
-
-
you've been busy! planking looks very good Pete I did the same thing with the Progress stern. if you recall the fun I had with the Nordkap, I chose not to repeat it with this one. I also doubled it, since I didn't use thick basswood. you don't have that much of a counter though......a saving's grace. I also made parts to cover the counter as well. plank up the bulwarks and the galley......and it will look spiffy! very nice.
- 207 replies
-
- 2
-
-
- billing boats
- cutty sark
- (and 1 more)
-
fantastic job Yves.........what your doing with the hull looks great! looks even better with the full compliment of parts
-
for certain you have the early production of the kit there should be a date stamp....likely on one of the deck sections {that's where it is on the Cutty kit}. I have seen where Revell Germany is producing some of the 1:96 kits.......uncertain if they are using the original molds. ......and yes....if it is an older release, the dollars are up there....especially if there is proof of date and the box and contents are in pristine shape.......I've seen it for $300.00.......the Alabama is right up there too. odd, since the Alabama has had two other releases since the first production. not sure about the Kearsarge.
-
thank you very much....I hadn't done a modern vessel in quite some time. l may bring her back to the table and do the rigging. one thing I wish they would include in these kit, is a rigging diagram....I think it would be a huge benefit. thanks again for putt'in the like to this build I had a lot of fun with the helicopters.
- 133 replies
-
- 3
-
-
- jeanne d arc
- heller
- (and 2 more)
-
Fiat 126p by Wiktor.L - DeAgostini - 1/8 - METAL
popeye the sailor replied to Wiktor.L's topic in Completed non-ship models
the engine is in the back.....am I correct? very nice looking car. is it diecast?........nice camper too -
hard to say, since I've not seen that show........but you are correct. there are links to a few of the articles within the log...but all you need to do, is a search on the General, and you'll find it I did get the coupling between the loco and tender sorted out. I'm working on the safety chains at the moment. more on this soon I've taken Tuesday off for the Admiral and my 31st Anniversary. how she's put up with me for this long, is a true test of patience...modeling or otherwise
-
looks fantastic Danny
-
have to admit it Bob........but I've had a few spells like that myself. when I started out with the wood kits, I was a kid in a candy store........but I think it took it's toll. then I began to follow my impulses........ now that I have a chance to think about it, might have been a bad idea too so now I have to repent......and hope that retirement will bail me out. all told.........I'm still happy to be in the place I am at this time it's not a bad thing......it gave you the chance to build back up your 'ldea well', and recharge you bearings. I'm also glad your back.........dazzle me some more with that beautiful work you do your planking looks awesome!
- 78 replies
-
- 4
-
-
- medway longboat
- Syren Ship Model Company
- (and 1 more)