
HOLIDAY DONATION DRIVE - SUPPORT MSW - DO YOUR PART TO KEEP THIS GREAT FORUM GOING! (Only 36 donations so far out of 49,000 members - C'mon guys!)
×


popeye the sailor
-
Posts
16,007 -
Joined
-
Last visited
Content Type
Profiles
Forums
Gallery
Events
Everything posted by popeye the sailor
-
 thanks all for your kind comments at 1:48 scale, this should be a good size model. there's some really nice detail too. one thing I am going to do though, is model it with the props in the raised position. if I build it so they can be lowered, I will need to eliminate a couple of parts.......I think it will look better if these parts can be seen. I'll likely be making a base for it too........I wouldn't think this model is tail heavy, but they do instruct weight to be added to the nose. at one point in it development, all four branches of the military was involved with it. but around the point where Clinton took office, the Army had backed out, and the navy was juggling around the idea that it might not work well if deployed for carrier service. it would depend if the development team could come up with a way to fold the wings, or the props. the wings was a no go, since.....in the event that the Osprey lost an engine, the single engine could keep both props turning, by means of an internal drive shaft, connecting both engines together. this was required due to the large blades......requires a lot of torque. paint isn't too tough......I've seen images like the ones you posted OC.......thanks for doing that all the real good ones I've seen.....in any of the projects I've taken on in the past, have been copyrighted. I don't see the harm.......we're only using them for research, but it must be respected. I did notice that there are marked indentions inside the fuselage for a third pair of windows.....much like the Chinook. there is no outside detail that would denote that there would be a third pair.......so I won't exploit it. I should have more to report by this evening........I'll see you then
 -
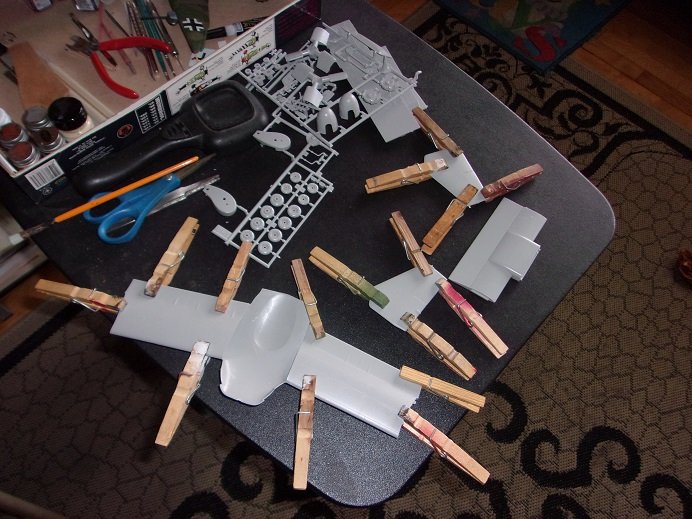
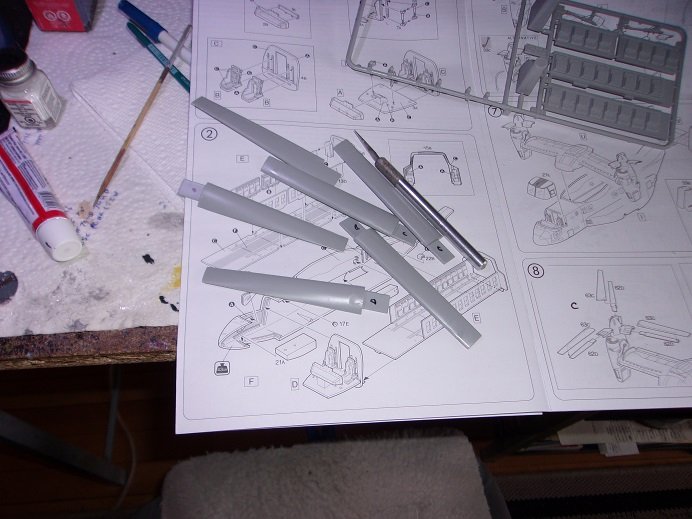
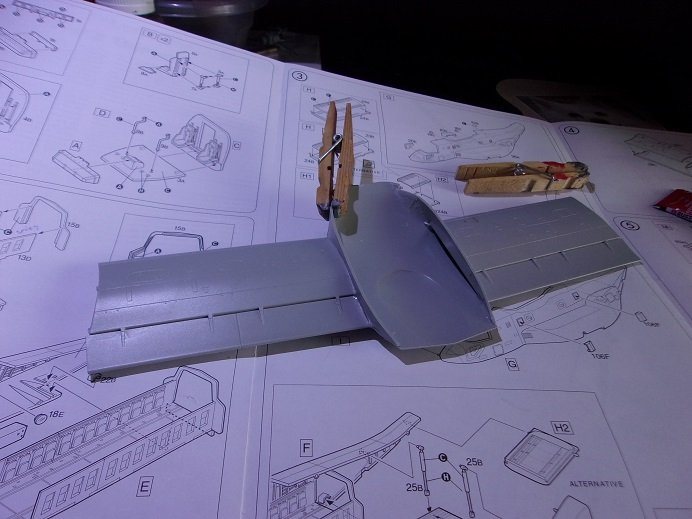
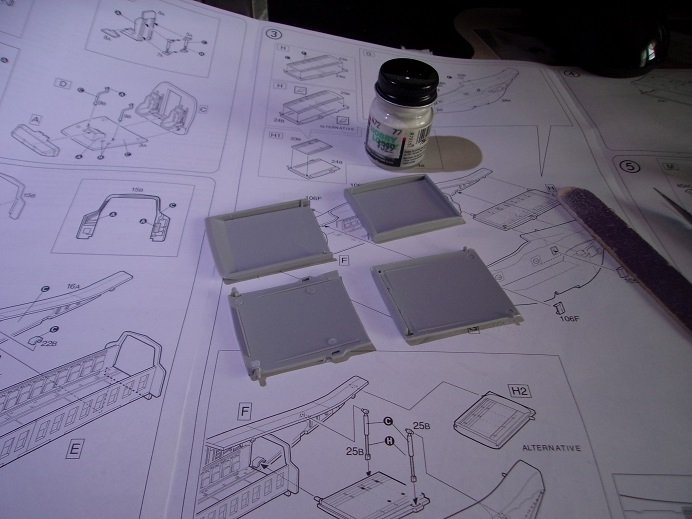
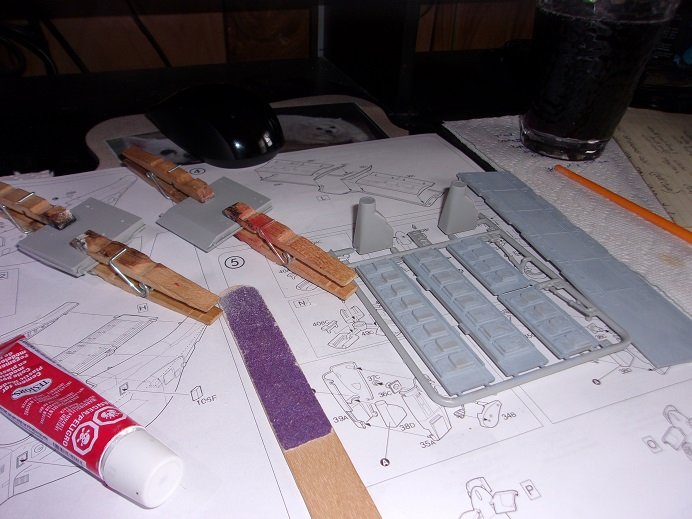
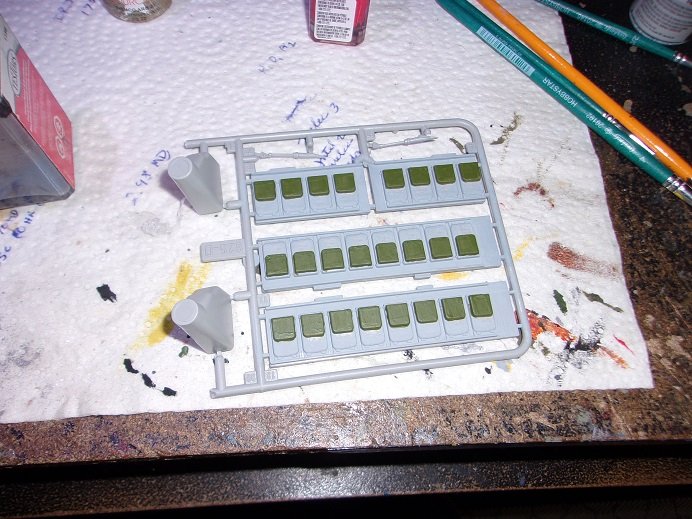
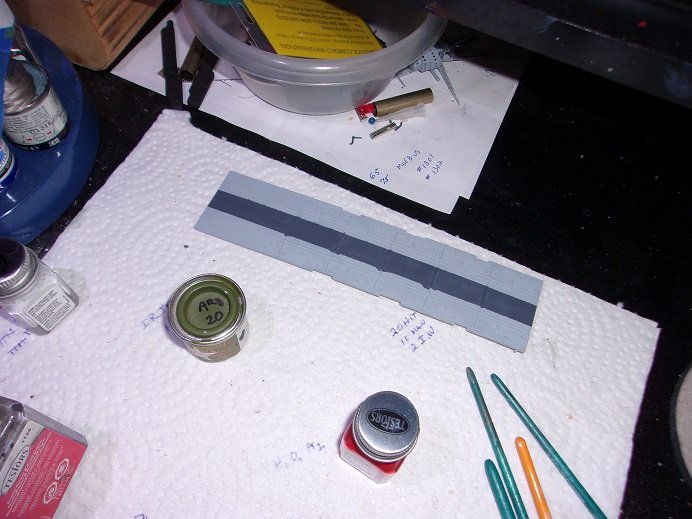
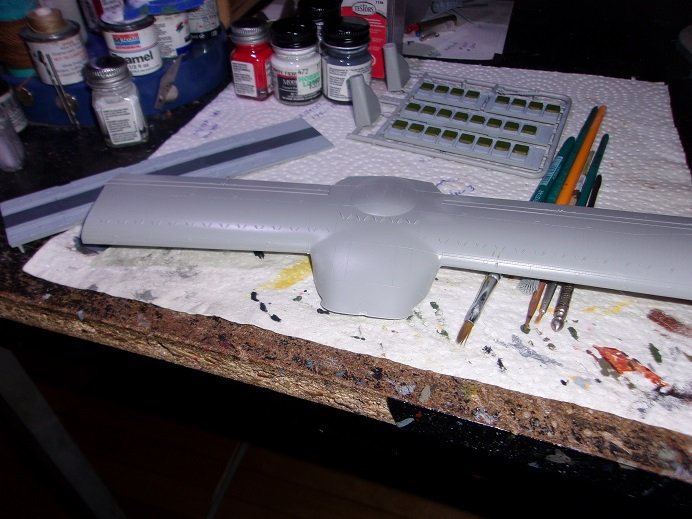
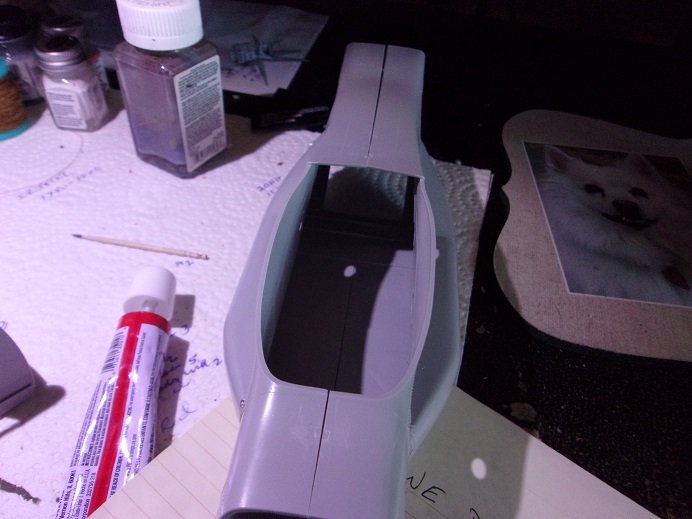
apparently, I didn't get a picture of the dry fit.......we'll visit that soon I figured I'd put some of the 'meaty' parts together....the main parts of the wings and the tail. ...the rotor/prop blades I marked them so I could tell them apart due to their pitch. I'll finish cleaning them up later. when the wings were dry, I added the parts that define the mating surface to the fuselage. they didn't fit too good.......I will need to clean up the four corners, fore and aft of the wings. the cargo door halves will need to be separated, if I want to show the door in the open position. this went on without any problems. if I panned the camera down a little bit more, you would be able to see how the door{s} locate. gluing is fun.....but paint is more fun the interior parts got a coat of ghost gray. when dry, one section of the seats was painted green.......it's not olive drab, but it's a military color and close enough to pass muster. the aisle in the middle of the floor is to be painted gunship gray. I used a brand X masking tape, so I have a few touch ups to do. the admiral had a doctor's appointment.....when we got back, I cleaned up the four corners of the wings. these areas need to have a smooth curvature, especially at the front corners. the rear corners needed to follow a curvature of their own. outside of that chigger in the middle, they look good. the chigger happened by my being stupid, twisting the part off the sprue. I have been a good boy, using my nippers more to come.......
- 96 replies
-
- 11
-

-
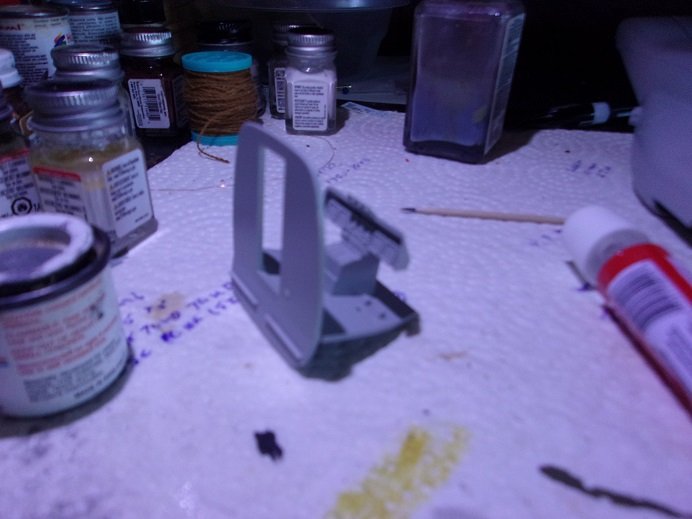
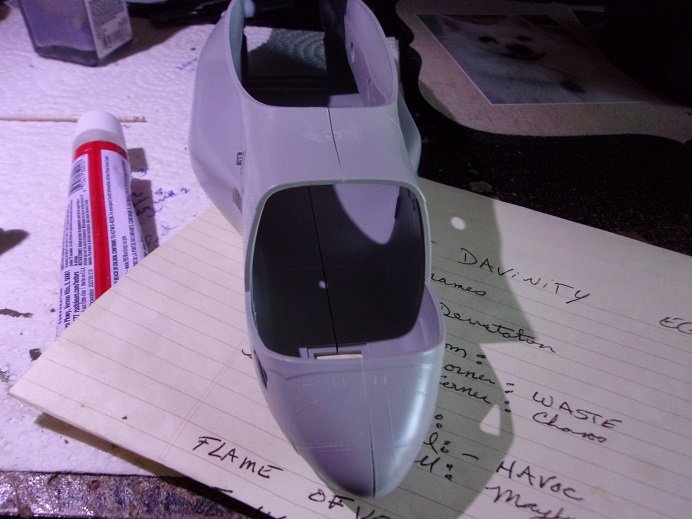
after the failure in the middle East with Operation Eagle Claw, the realization for a long range, high speed, vertical takeoff aircraft was raised by the U.S. defense department. 1981 was the start of the experimental JVX aircraft program. in 1983, Bell and Boeing was given a joint development contract to build such a craft. within a few years, the development of the V 22 was underway, and by 1989, the V 22 tiltrotor flew its first test flights. it was a start........many design changes took place......an aircraft that can do both vertical and horizontal take offs was a huge undertaking........complex, to say the least. the U.S.M.C. took an interest in this type of craft......at the time, the Army was overseeing the program. President Truman proposed a joint merger between the two to oversee it, but it was met with disputes. the Marines had to win out, as their CH-46 helicopters were slowly wearing out. the cost to build the Osprey was beginning to mount as well. the Bell XV-15 rolled out for testing in 1983. through the years, leading up to the Clinton administration, the fate of the project took many hits...the cost wasn't outweighing the benefits......defense secretary Dick Cheney tried his best to defund it. it was Bill Clinton who kept it alive. the JVX aircraft was designated the V 22 in 1985. by this time, the Army had backed out of the program, and the Navy was directed not to spend any money on it either. there is a lot of history on the development of this program.........to cover it all would take me all night. I started to tinker with this model a couple of evenings ago. I had the dash and the cockpit deck in front of me ......the assembly of these three parts was confusing, because of how the dash sat on the platform. the front tabs were plain enough to see.......but there were another pair in the dash well. cementing the dash together, it was then fitted on the platform and leveled off as the cement set. the bulkhead was added after........ dry fitting the fuselage sides together, the flash burr was removed around the cockpit opening. I had fitted the cockpit in to see if it would clear.......the picture must still be in the camera. I'll get it out in a moment........there's more to show as well. I also cleaned up around where the wings will locate. looking inside, it has the resemblance of a helicopter........the interior is similar to OC's Chinook. the cargo door can be shown open or closed.......I'm choosing to show it in the open position. more in a moment............
-
at least I caught this one early...... I'd tell ya what I use for an airbrush, but you have one on the way.......mine can be bought for around $30.00. gray isn't an incorrect color per say either......looking at images of panther tanks, there were some that had the panzer gray, but they were early variants. chalk it up to a rogue unit I'm certain you'll have fun with these kits!
-
WOW! look'in really nice! did you paint the rims?......looks sweet! the interior is well done also........ I was getting worried Lou........I was reading through the log and wasn't seeing any post from you we had a supra in the back of the garage I worked at....belonged to one of the brothers. I forget the year, but it was an early model...70's, 80's. it had a in-line....can't recall how many cylinders......but it was a long engine. we used to have to push it in and out of the shop every day, until they parked it out back. another one of the brothers has an old spyder {pain in the a**}
-
........look to be to scale..........perhaps you can use it as a transport can you imagine seeing them parachuting over the farm?!?!?!
-
well.........your running out of room you may have to annex beautiful workmanship !
-
quite a bit of progress Mike........the cowl looks really good amazing how you got the cockpit to fit....looks nice as well. just as well on the gun bays, since you really want the wings to fold. look on the bright side......the example you showed didn't get both of these upgrades either your doing a great job!
-
looks great James.....as all your other projects I've looked in on there's some really intricate laser cutting in the kit.......very nice
-
M4A3E8 Sherman by jct - Tamiya - 1/35 - PLASTIC
popeye the sailor replied to jct's topic in Completed non-ship models
yea....every time I try....I look at it the next day and be unhappy with it, and then change it back. good to see you kept yourself busy during the summer -
super job on your latest figures........I might send you all my horses they're a lot bigger though.......you'd REALLY be able to hone your skill I agree.......you ARE getting quite good
-
Panzer II by jct - Tamiya - 1/35 - PLASTIC
popeye the sailor replied to jct's topic in Completed non-ship models
super looking tank.......superb weathering job too -
WOW! tuning in and reading the sad news was heart stopping OC.........glad you pulled the rabbit out of the hat! one will never know what happens out in the field.......you gotta remember that some equipment was altered to better serve the unit...or the type of missions that was being run. it's a sure bet that there were a couple out there that had the windows yanked out, and turned into a gun ship. after all........look at the C 47 Skytrain.......it started out as a transport plane. it's not nice to mess with the mother of invention get this beast done OC.........before anything else happens! BTW......I started the Osprey.
-
I see the cabinet is well on it's way towards being filled .......such a nice pair of roadsters! sweet look'in ride
-
looks great Chris.......inside looks really good must have been fun plugg'in all those holes
-
thanks for the likes and your comments I would say Roger, is the camo choices done on these planes had a lot to do with honor, with a touch of ego......there were many notable pilots....on both sides. British and American pilots had a different way of showing notoriety...they would name their planes and paint on graffiti images......some zany.....some pertaining to the war. some did 'taylor' their camo to some degree, but it wasn't the allied force's rule of thumb. during WWI, the color red seemed significant to German airmen, as most of the notable famous pilots bore some form or degree of red on their planes. none were more prolific as the Baron though.
-
Sd.Kfz 251/1 by jct - Tamiya - 1/35 - PLASTIC
popeye the sailor replied to jct's topic in Completed non-ship models
looks great!......love half tracks I wouldn't go too much further on the weathering........around the tires and tracks perhaps -
M4A3E8 Sherman by jct - Tamiya - 1/35 - PLASTIC
popeye the sailor replied to jct's topic in Completed non-ship models
sweet look'in tank J gotta agree about the weathering.........I could never get a finish like that. -
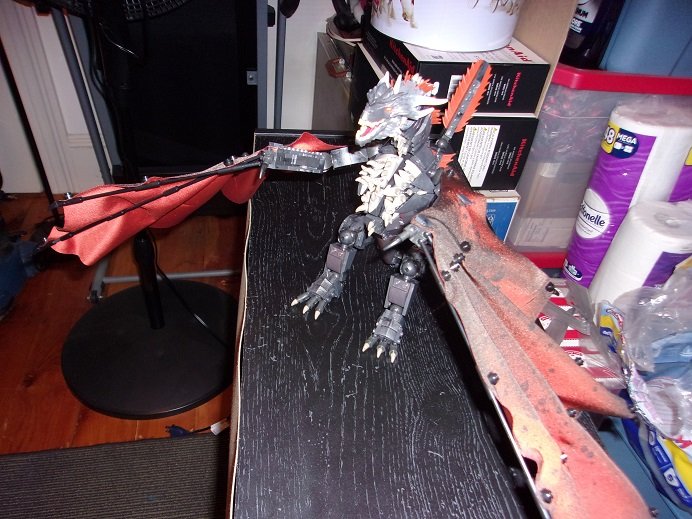
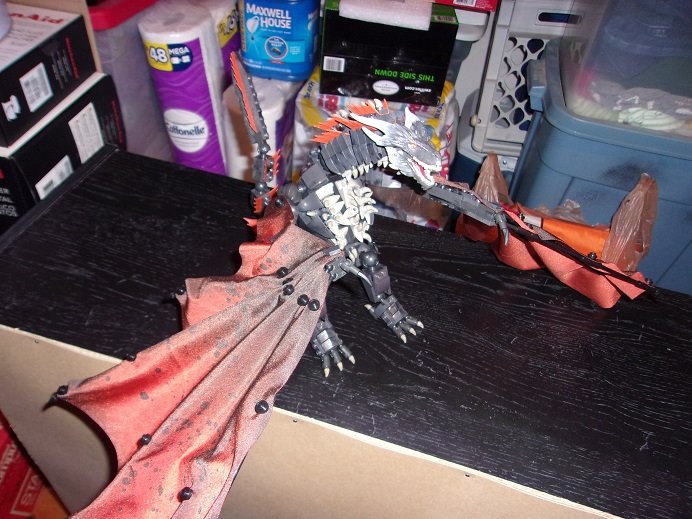
thanks for look'in in yea...I'm not a collector of stuff like this, but game of thrones was such a good series....I followed it to the end. lost boys......is that the vampire based movie from the 80's? I think I have a copy.......my two boys loved the movie I'm also into horror I also have a few pieces from the Walking Dead series.......three figures, Neegan, Glenn, and Daryl. it's amazing when you talk to someone who is really into the collectables.
-
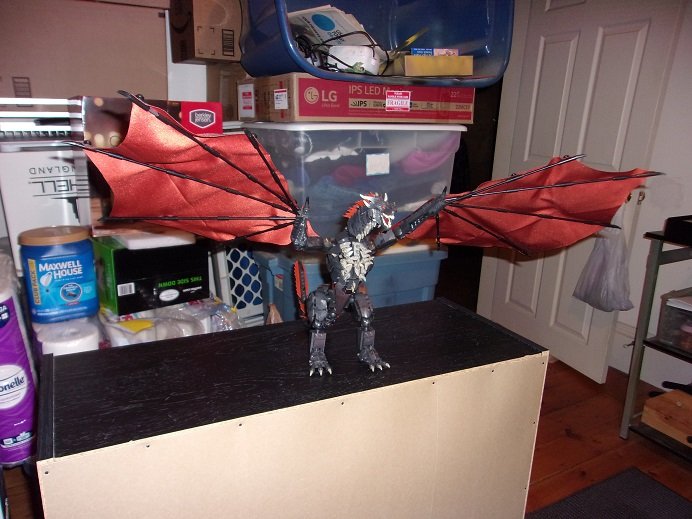
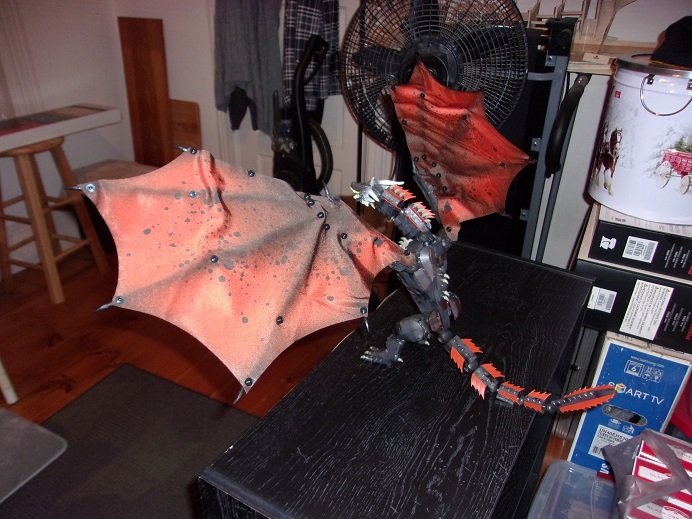
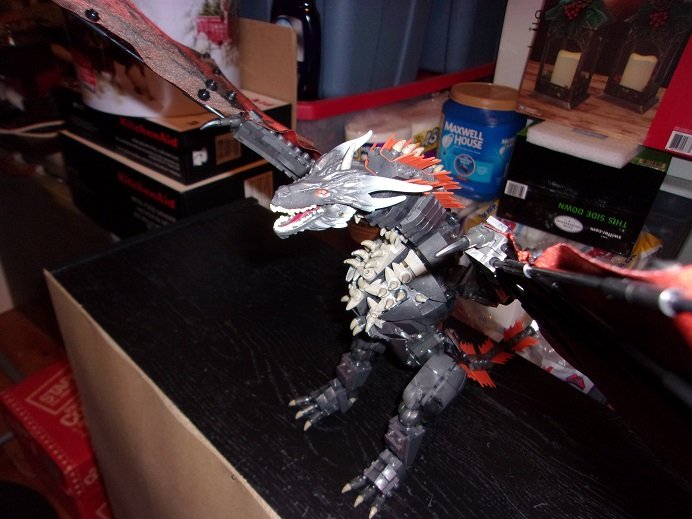
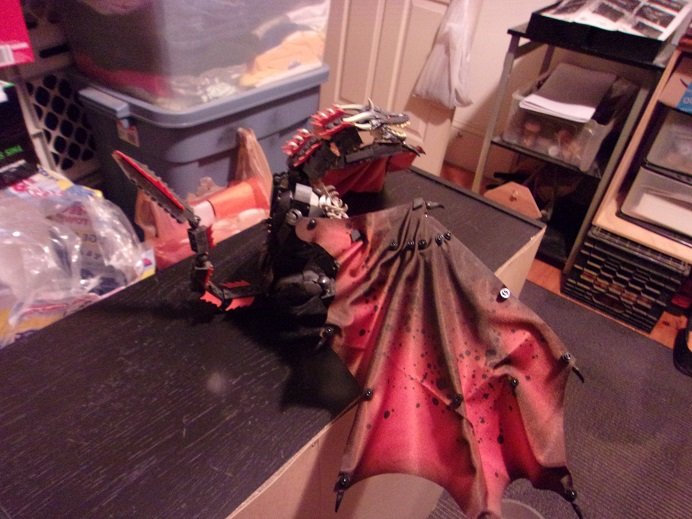
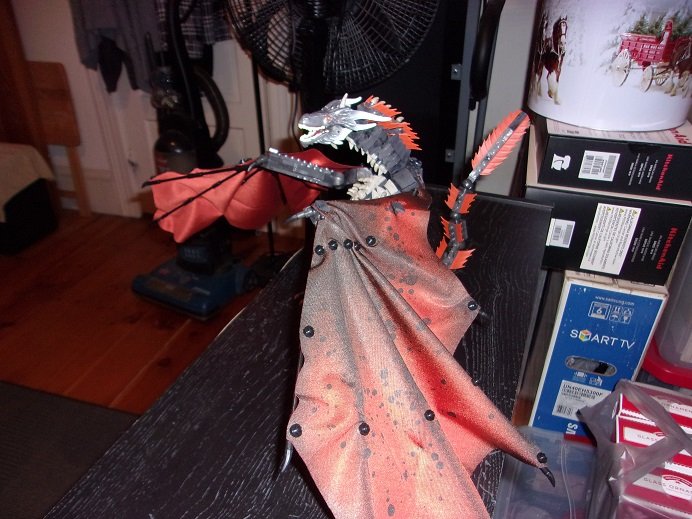
if your a game of thrones fan, you know of the Dragons..........a wedding present to Daenerys, when she married Drago, leader of the Dothraki. she had the ability to be enveloped in fire and not get burnt......as we found out in later episodes. she was gifted with three eggs, petrified and thought not to be active.......a symbol of lore long lost. I got this megaconstrux kit last Christmas.......I thought I had goofed somewhere in building the body and I ended up putting it away. for some strange reason, I brought it back out last evening, and finished it. as for the goof..........I never found it. I got two other kits and I built them already.......it was kinda fun putting it together. I also have the 7 inch figures of Jon Snow And Daenerys....I want to get the Arya Stark figure if I can find it. I'm not a collector really.........I got Jon Snow for Christmas {I got Daenerys a few weeks ago}. I just think they are cool
-
thanks Ed it didn't come out too bad, considering I dropped the ball on it. Ltn. Jacob's plane came out a lot better........but the kit was free of defects. I should be finished with that one next week I got involved with one of last year's Christmas presents....you'll see thanks all for the likes
-
coming along nicely.......
-
awesome structure.......looks neat! I'm look'in in
-
just when you think you can't outdo yourself! it's a work of art........ you have clearly defined yourself as the 'go to' person in this type of medium
-
thank you Bob! .......thanks as well OC!
