
HOLIDAY DONATION DRIVE - SUPPORT MSW - DO YOUR PART TO KEEP THIS GREAT FORUM GOING! (Only 20 donations so far - C'mon guys!)
×


popeye the sailor
-
Posts
16,007 -
Joined
-
Last visited
Content Type
Profiles
Forums
Gallery
Events
Everything posted by popeye the sailor
-
 really nice....love the mottled green
 -
is the game based on the D&D rules?
-
you don't want 'little fingers' in there......do you?!?!? he blossomed from a brothel owner to a major villain! so good to see him get his just deserves! Arya was my sweetheart I haven't found her yet.
-
so cool........I'd love to play in a band again......haven't picked up a bass on a few years now
-
Enzo Ferrari by CDW - FINISHED - Tamiya 1:24 Scale
popeye the sailor replied to CDW's topic in Non-ship/categorised builds
what.........no California plates?!?!?!?! such a sweet car!.......love the picture of the two together congratz on a superbly built model! -
metallic colors are hard to run through an airbrush......I find that they need to be thinned down a bit more than regular colors. I usually go with a flat steel instead of silver because most war time aircraft are mostly void of aspects that glitter in the sun. although, the use of aluminum and unpainted fuselages {like some bombers and fighters like the P 51} don't follow that rule. flats and semi gloss are usually the best paints to use. that is some nice detail...glad to see your on your journey nice adjustment to the pedals
-
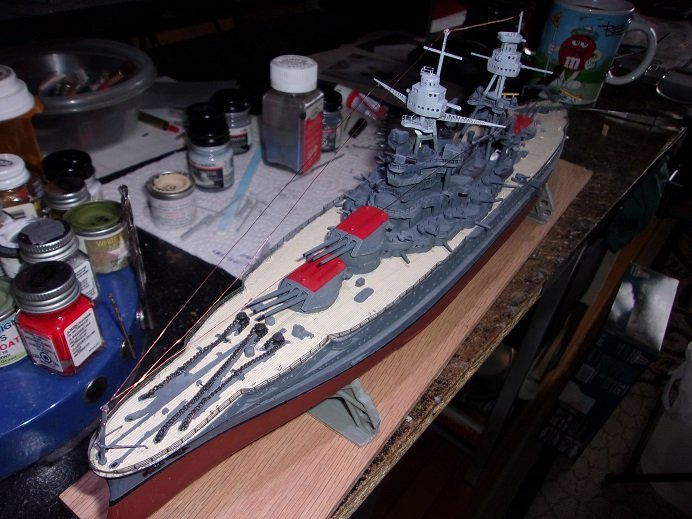
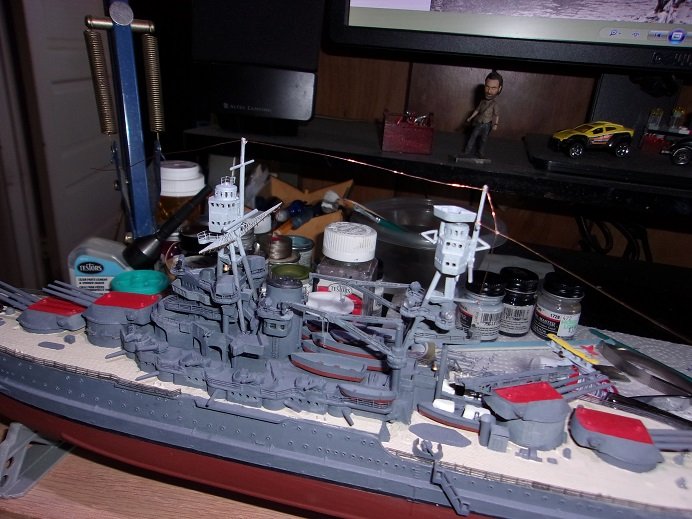
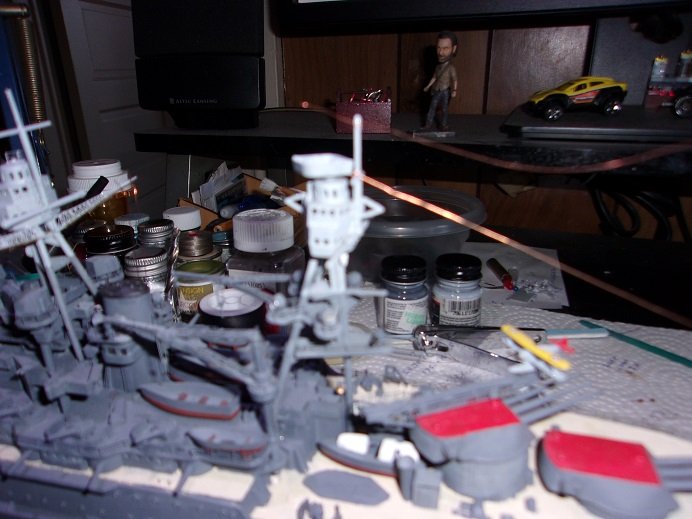
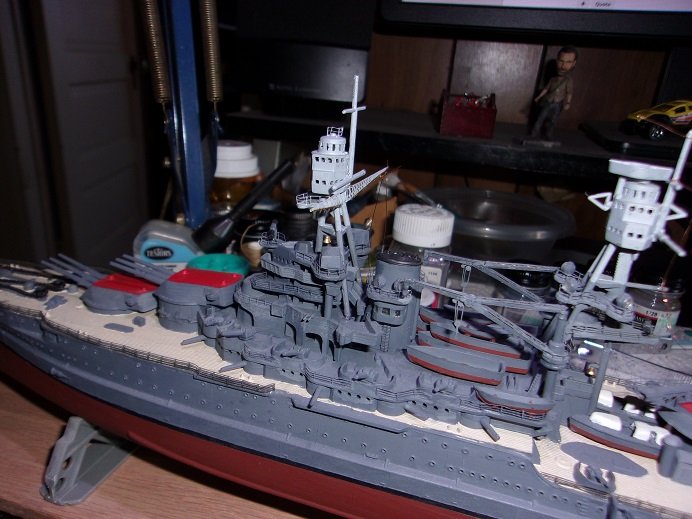
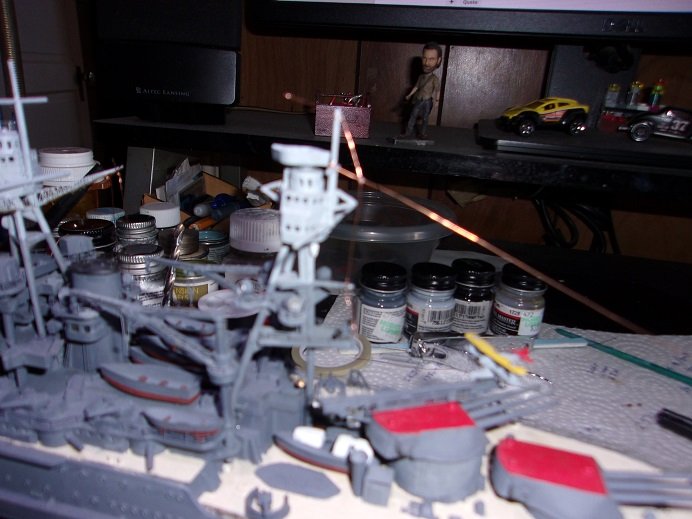
thanks OC......and to those who hit the like button I've been trying my damndest to get back to the main table......this seems to be the only approach to do it. the Vendetta is there too......that will be next. if the rigging goes well......I have done it in the past, but things usually break, so I hesitate....I may even bring the Joan of Arc back to the table and rig it. I work on her some more last night and have most of the main rigging done........then I can get to the more tedious stuff. I even have some more progress pictures. the fore flag staff has braces on it, but the kit doesn't include them. I made some up from thin wire. still a little blurry.......I'm working on sharper pictures. there are also a pair of paravane tripods near the bow......I want to add them as well {I hope I have some PE to play with } I did a fair job with the railings.......not totally happy with them, but they are there.......it's tedious to do a deck line like this. the model does have it's shortcomings, but I think I did well to work around them. when the bow flagstaff was dry, the main rigging line was added, and the pair that connects to the ends of the fore mast arms. the pictures are still a bit dark.........this morning I moved the model to the spare room, which is a lot brighter and may negate the use for flash. the rigging when done will be painted flat black......I don't want to do it now, and have it suffer from flaking when trying to adjust it. there is a double com line that spans between the control towers. I thought I had a pair of triangular 'brackets' in plastic, but I think they would be out of scale, so I found some bits in PE that I might be able to use. I may not get the complete rigging configuration on this model......bit I want to get some of the good stuff. a kind of experiment for future projects.......and if my Christmas list pans out more coming........one more pair of parts to add......decals.. ...and of course, the rest of the rigging. I appreciate you folks being patient
- 259 replies
-
- 13
-

-
thanks OC thanks all for the likes!
-
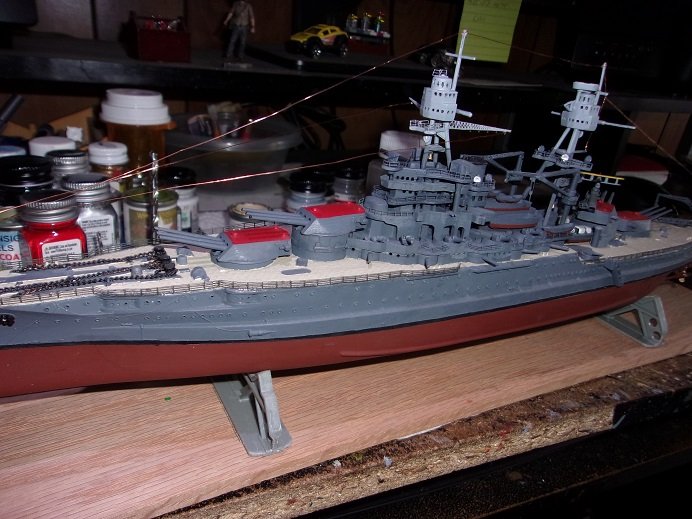
managed to do a couple more things before getting the bum's rush out the door. we have our tree....we agreed...not a big tree. so I went half way! it still eats up the space I allotted for it. here's another addition to the rigging.....
- 259 replies
-
- 12
-
-
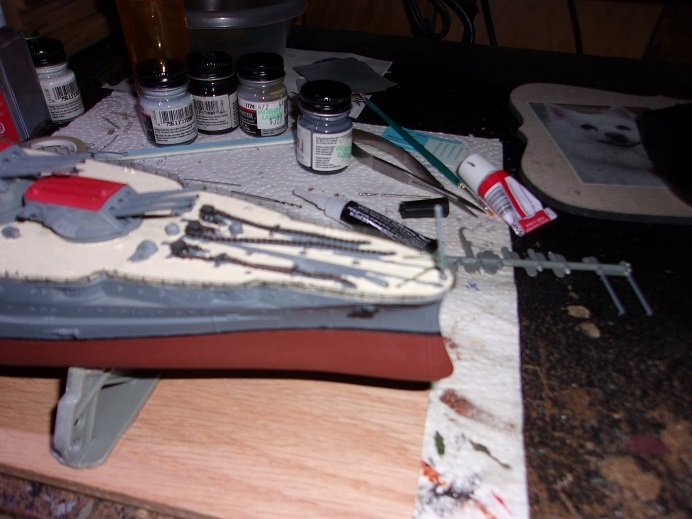
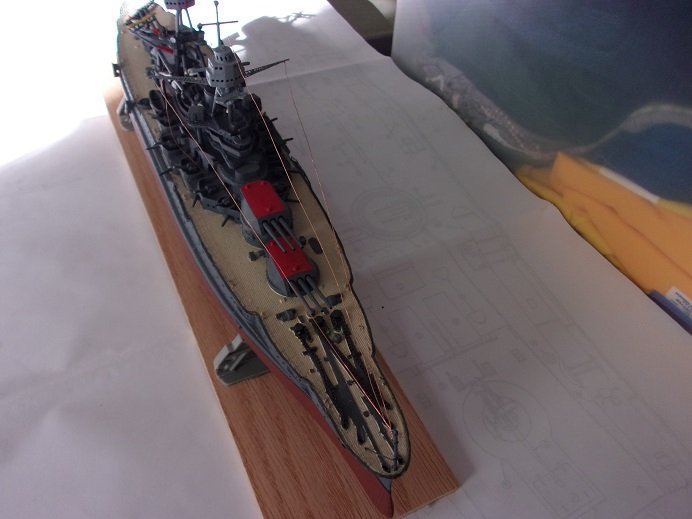
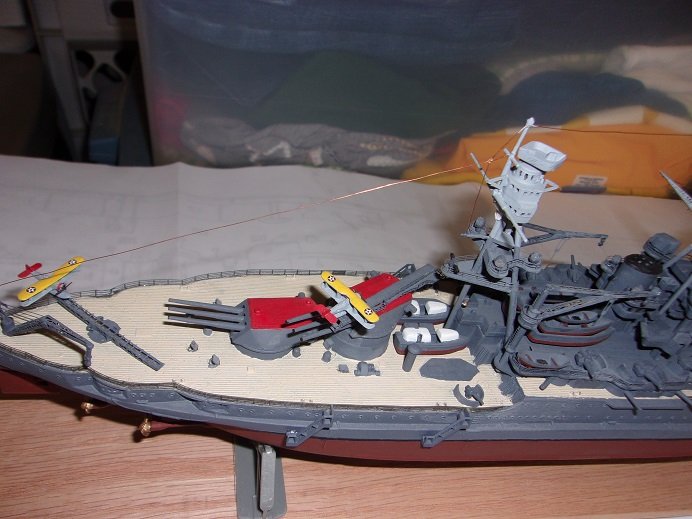
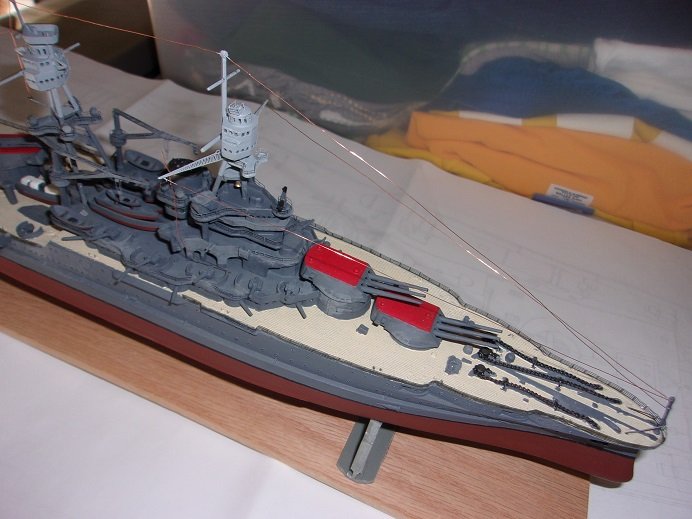
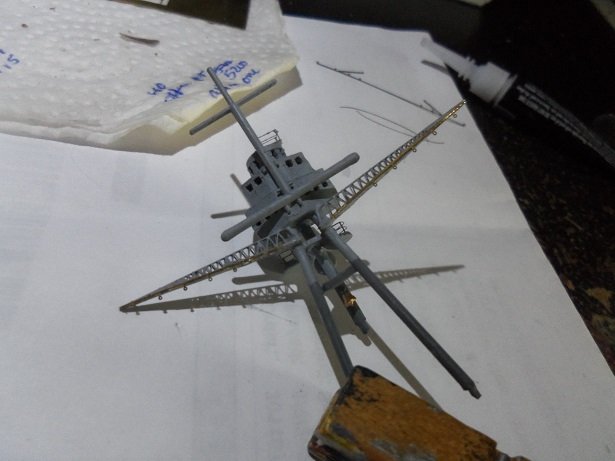
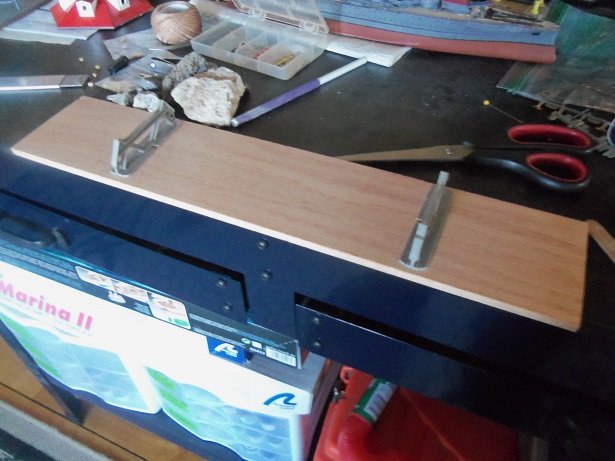
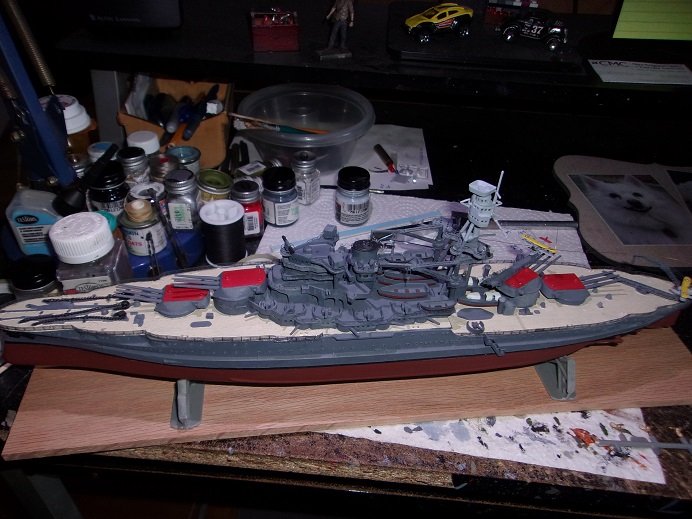
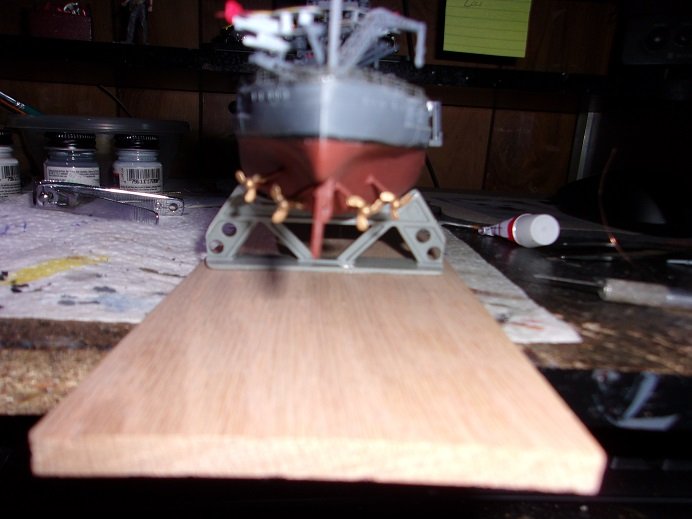
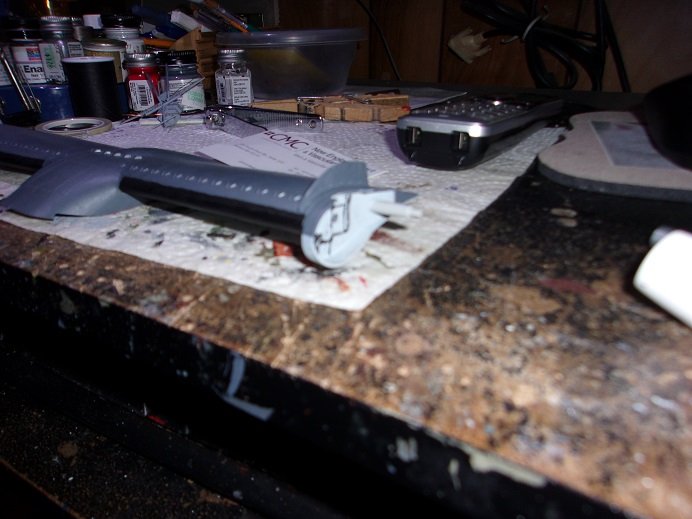
hi all.....it's been a while since I last did anything on this model. my hope is still to clear up some of these projects......some so close to the finish line, I can taste it! so many other projects I'd love to get into, but I feel pulled to play catch up...........meanwhile, the stash grows I resorted to using the search button to find this log.......I'll get use to the new format one of these days. so.......catching up to where I am with this project........I figured what to do about the fore mast com wires. the stand has been assembled, but I changed my mind.....I am not going to paint it. I like the looks of the wood grain stand, and so, the model was cemented in place on the stand. it will give me a firm footing as I start to rig her. the masting PE from the Hood set was trimmed and cemented along the underside of the arms. the tiny eyelets will be the starting points for the com wires. just to refresh your memory of the stand. it looks good in contrast to the deck I started the rigging, by adding the line from the aft flagstaff to the main mast. it was later found to be incorrect.........it was at that point, I went on another of my wild tangents, leaving the model to languish on the main table, gathering dust ......I know........shame on me. this marked the first thing I should do......correct this bit of rigging. there is to be a smaller bit that bisects this line and attaches to the lower portion of the mast. the line was moved down the mast to the yard and another bit was put in its place. pardon the blurry nature of the pictures......I need better lighting for the new camera {long story as to what happened to the old camera}. I'm working on the light issue.....flash seems to rule here {for now }. the fore mast is just dry fitted for now. the props were added next........note that the port side turn one way, and the starboard side turns the opposite way. beside the rigging, there are still a few parts that need to be added.......not many. I began to add the com wires to the fore mast, but it proved a bit cumbersome, so it was cemented in place. this should make it easier to deal with, as I add the rest. I'm using fine electrical wire to rig her........it can be a trial.......it bends easily, but can be adjusted and straightened. the one thing good about using this stuff, is that humidity won't affect it. the bisecting line was added after the stern line was repositioned. during this time, I have made forages in craft stores, and I have seen different types of bead wire and such, that can also be used for rigging. some are so thin, they have the look and flexibility of thread. so ......this is where I am with the model. I hope I can get this one over the finish line. compared to the first time I built this model, so long ago, I've done so much more to enhance her. more soon
- 259 replies
-
- 11
-
-
great job on your first model I've never done a solid hull ...you did a good job getting the contours right. I did the MidWest model. your choice of colors are very nice as well {even though they were included in the kit}. congratz!
- 87 replies
-
- 3
-
-
- bluejacket shipcrafters
- red baron
- (and 3 more)
-
quite a ship.......the PE for these models are awesome.......so much added detail! the planes are superb......some really high detail there as well
- 33 replies
-
- 5
-
-

-
- graf zeppelin
- trumpeter
- (and 2 more)
-
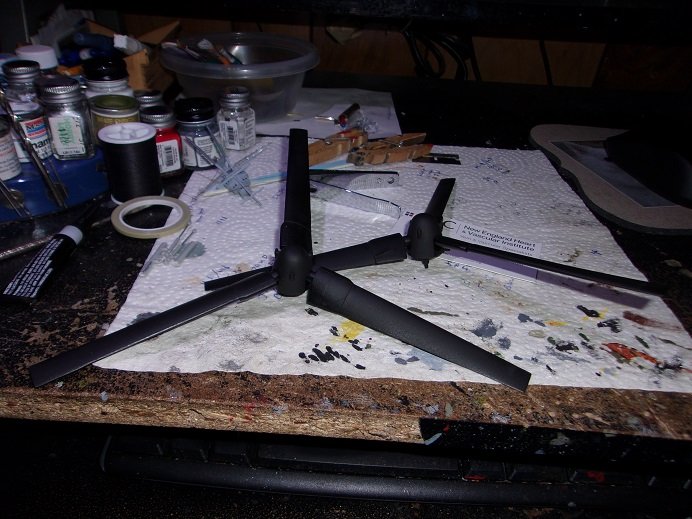
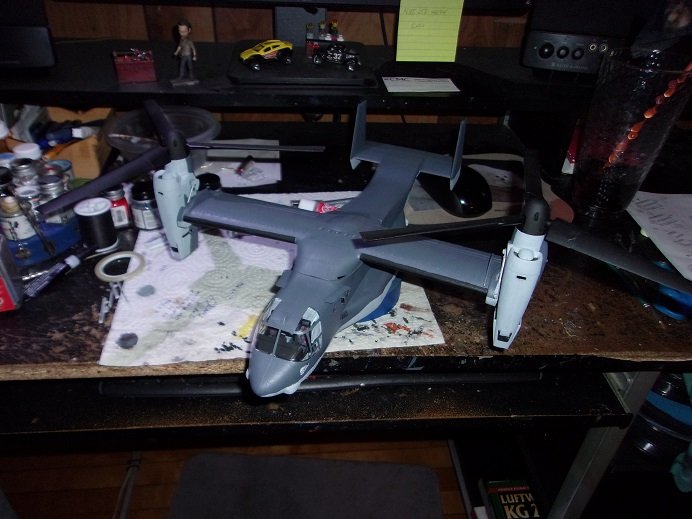
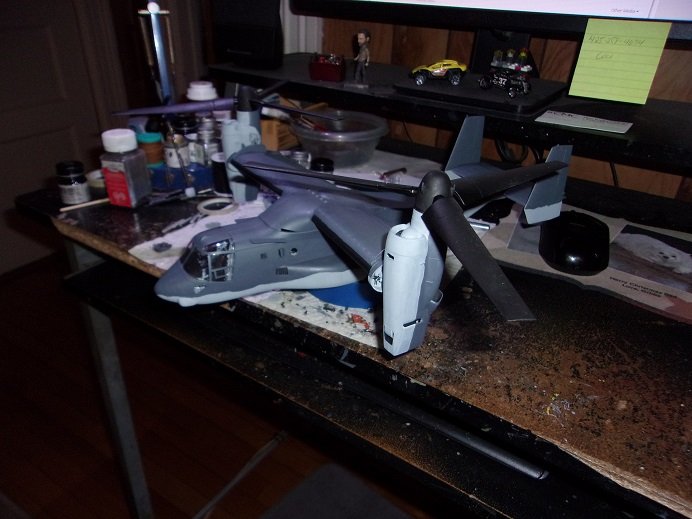
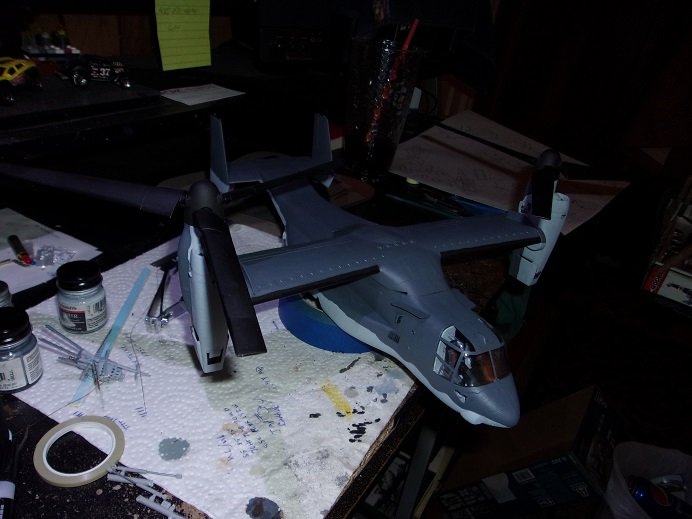
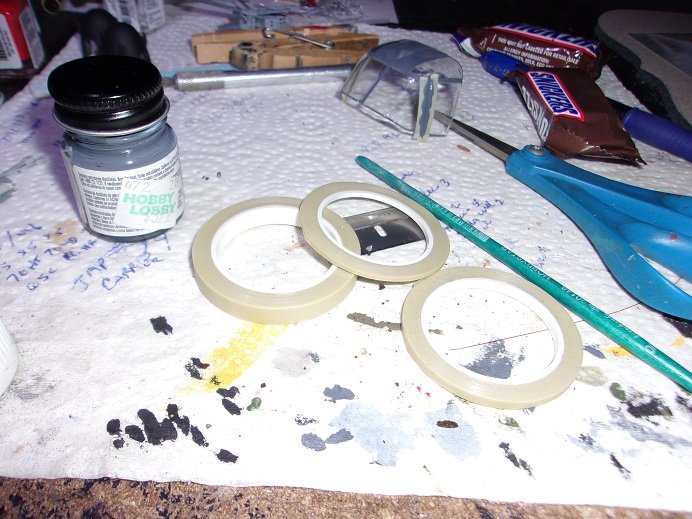
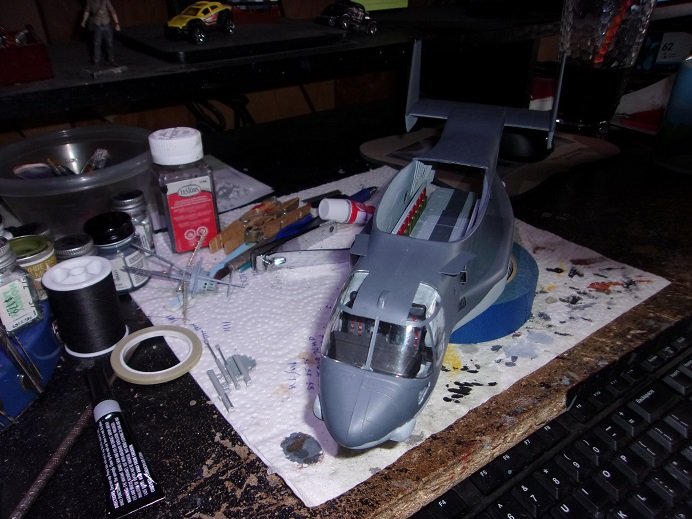
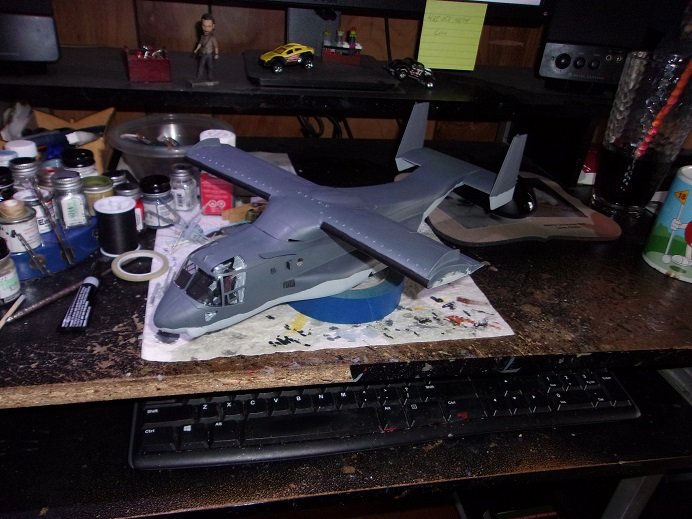
OK....so your model is just as large as mine. I'm pleased with the way the tape worked out......and to think, I usually did it by hand. I was amazed with how light the frame detail was on this model......I thought it would have been more defined. I did the roof square with normal masking tape.....it did alright, but the other frame parts needed something more 'pinpoint'. that and I didn't want to see the tape stripping off what I already laid down. I gave the first part of the process a day or two to cure before I did anymore....the rest I only gave it an hour or so. anyway.......I have more progress to report. I started to work on assembling the narcelles to the wing. first was to cement the pods in place. the spinners were added to the rotors...... since I wanted to build her with the rotors in the raised position, I had painted up the actuator arms that connect the narcelles to the pods. they are affixed to a pivot. if I built her with them in the fixed wing position, I could've omitted the actuator arms...but I like to use as many parts as possible. there are still a few touch ups I need to do........ for the grand chuckle......I thought do a dry fit of the state of her affairs. one thing's for sure......I'll never get 'er back in the box! I'm going to have to see about getting a larger crane lamp........there is simply not enough light at the desk!
- 96 replies
-
- 10
-
-
Enzo Ferrari by CDW - FINISHED - Tamiya 1:24 Scale
popeye the sailor replied to CDW's topic in Non-ship/categorised builds
sharp look'in model -
this is so cool James........I had a look at the site earlier this evening. I didn't see a price list though.......this must be a part work kit.
-
so now your scratch building..........not so much with the stone, but it's a sweet look'in windmill! such beautiful work!
-
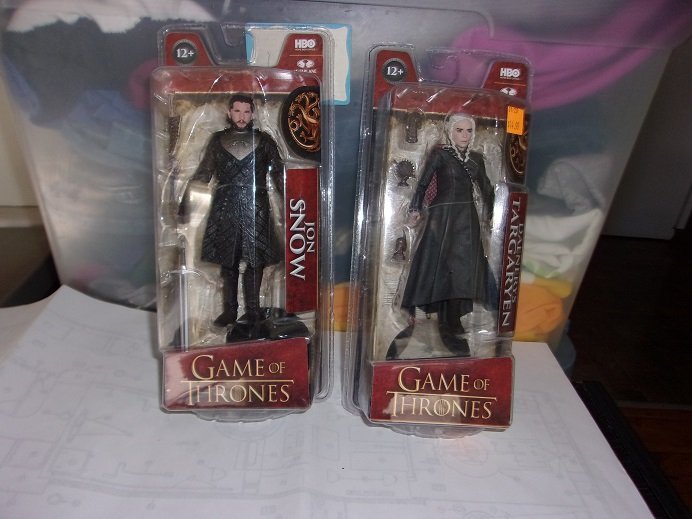
interesting figures.......my grandsons would love them. they are into the transformers big time
-
either way, your going to have to scroll......so what's the difference? excellent looking kit........big change from depending on cement. how much does the kit go for?
-
if you glued the body on, will you be able to get the howitzer in place? thought that was a no-go. very nice detail you added!
-
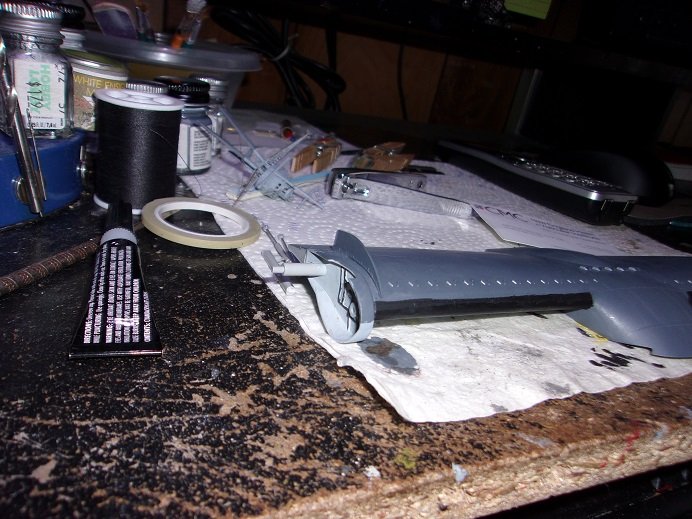
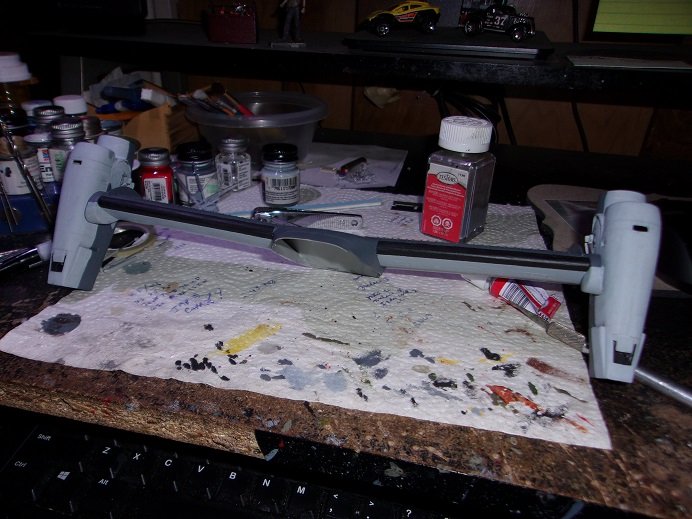
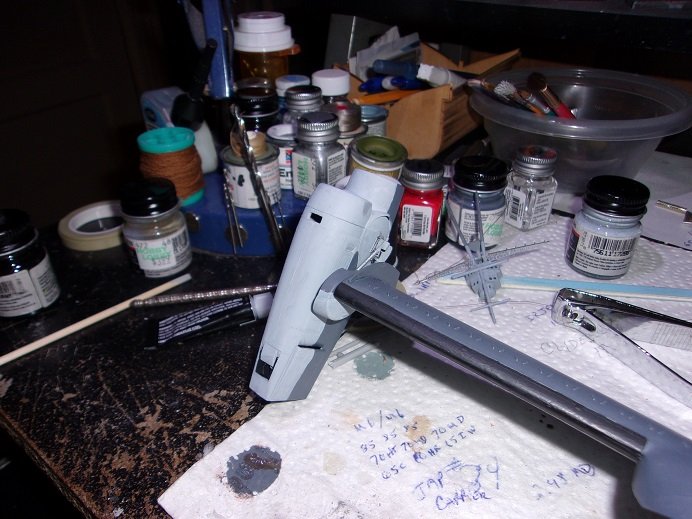
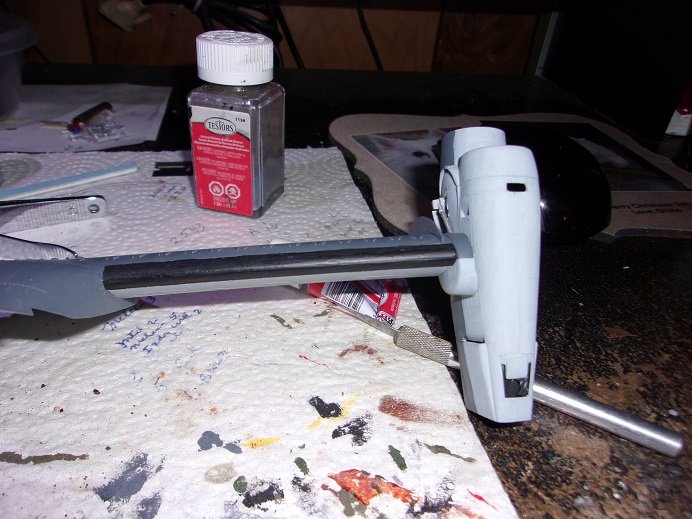
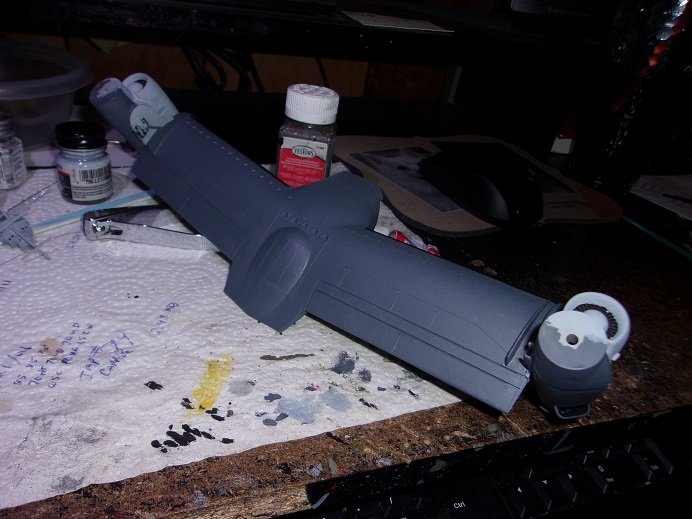
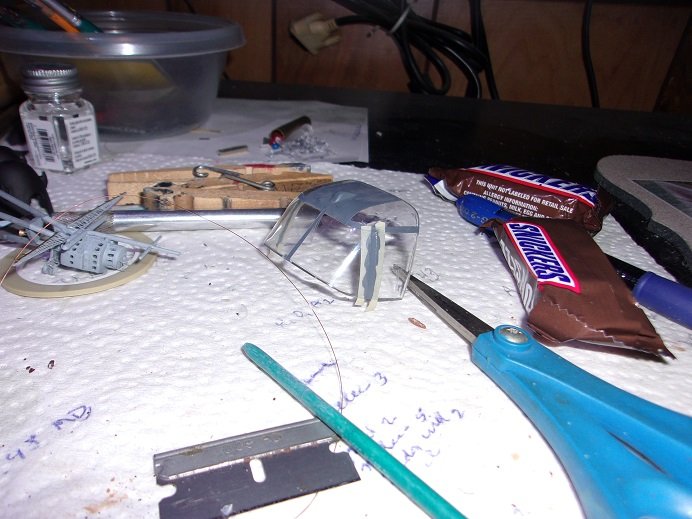
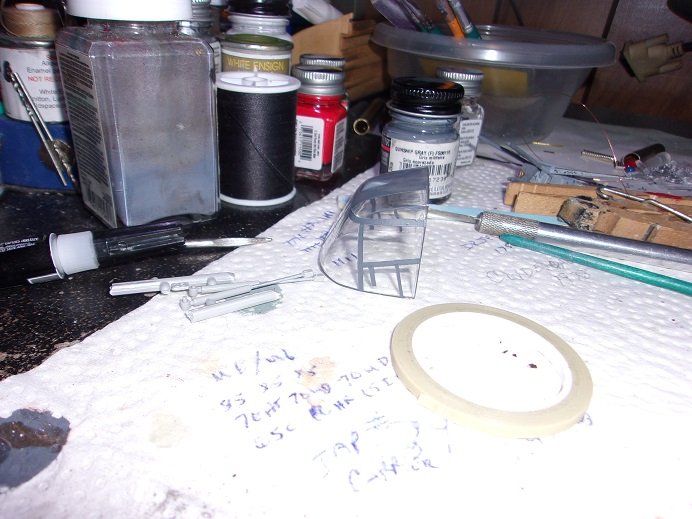
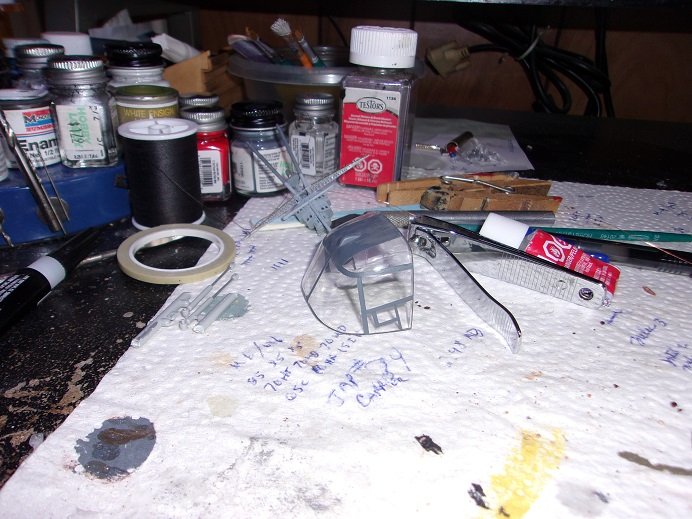
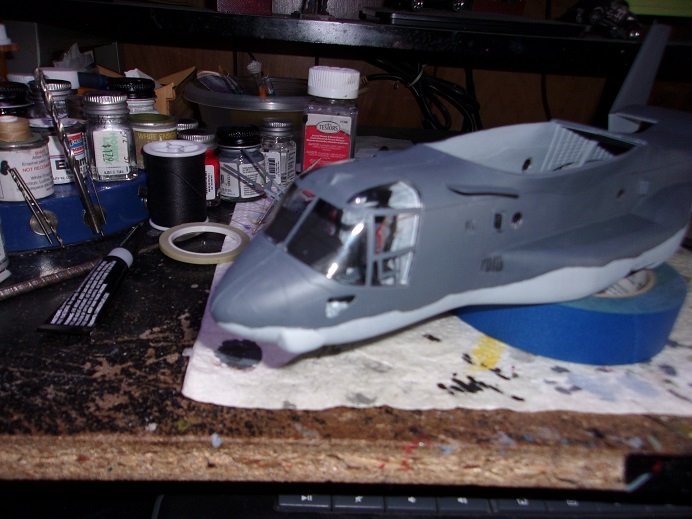
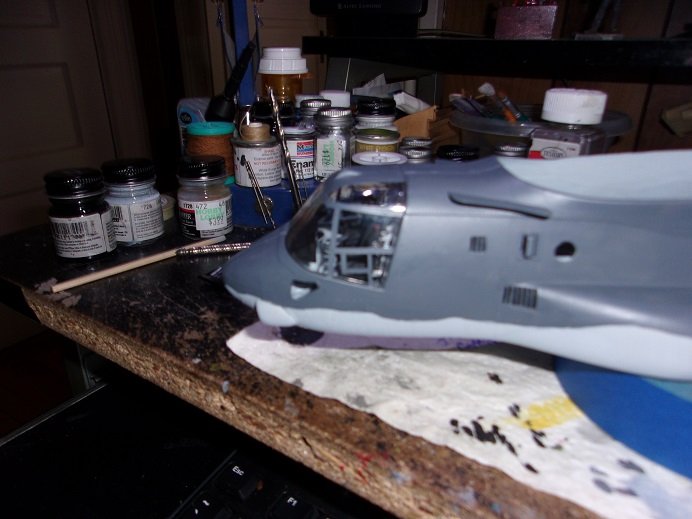
thanks OC......and thanks to those who hit the like button your Chinook should be a rather large model....what scale is it again? but yea.....with the tail and wing on it, it is a fairly large model. last night, I though to get the windshield framed out. I was in Michael's the other week, and I bought a package of Testor's pin striping tape.......comes in three different widths. looking in the background, I did the frame around the roof section and the center divider. I'm adding the side columns here. the frames are really faint, making it hard to mask them off. there are sliding windows on both sides that needed to be done in two steps......down and the one that boxes this window in. I did a dry fit over the cockpit........ here it is with the wing dry fitted on....... the vent has bee painted
-
oh there were still some colorful aircraft flying.......but you are correct about the lozenge. lots of pilots liked the camo and based their personal touches around it. there are decals for it as well. one could really have fun with it we'll see what happens.
-
look'in forward to the start!
-
I think we have a jacket over here that is just your size I wouldn't worry too much about it though......this too shall pass
-
I have a friend that does masonry........interesting to see how he works. very nice!