
HOLIDAY DONATION DRIVE - SUPPORT MSW - DO YOUR PART TO KEEP THIS GREAT FORUM GOING! (Only 13 donations so far - C'mon guys!)
×


popeye the sailor
-
Posts
16,007 -
Joined
-
Last visited
Content Type
Profiles
Forums
Gallery
Events
Everything posted by popeye the sailor
-
 your making some great progress Kevin..........really nice !
 -
look'in good !
-
I do the same thing at work.......I always have a tool in my hand. that way, if I'm shoot'in the sherbert with a co worker, and the boss sees me,.....he think I'm just answering a question, or help'in the worker out pretty spry.........right?!?!?! nothing too great at the moment.......I did the underbelly painting, and more on the narcelles.......but other than that, I've been help'in the admiral. pictures soon..........
-
I'm glad the houses aren't on the fault line....... no really.......stunning workmanship very well done!
-
my grand kids are into legos at the moment........but I think the oldest may end up as a 'gundam' kid. he love transformers and he does well with the 'science kits' {we got him a couple last Christmas}. never got to far with my two boys......the ground moved a few times, but nothing rock solid 😜
-
seeing the post commenting that they look similar to a british tank made me recall an article I read.......I believe it was in the beginning of the KG 200 book. in the beginning of the war, German armor was modified captured armor.......mostly British and Russian armor. they didn't capture just aircraft
-
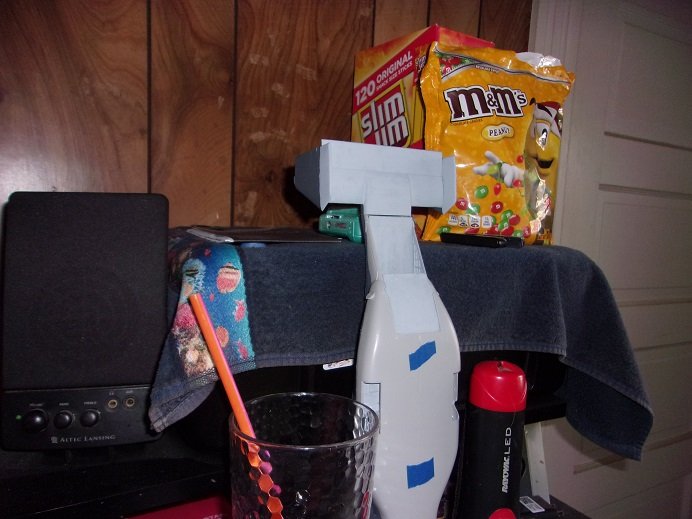
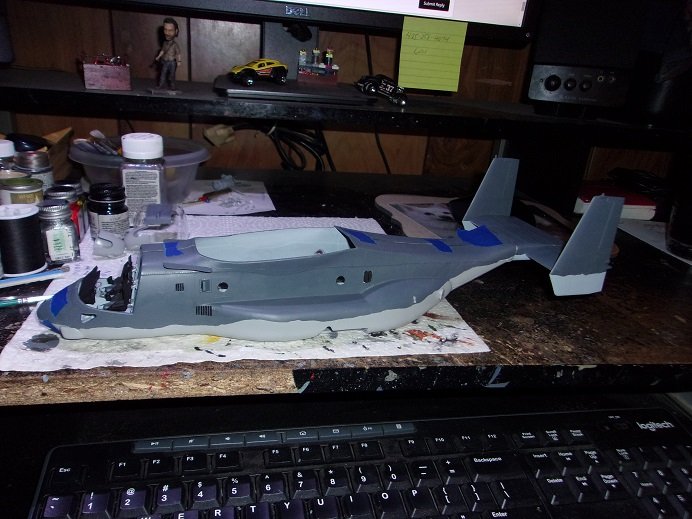
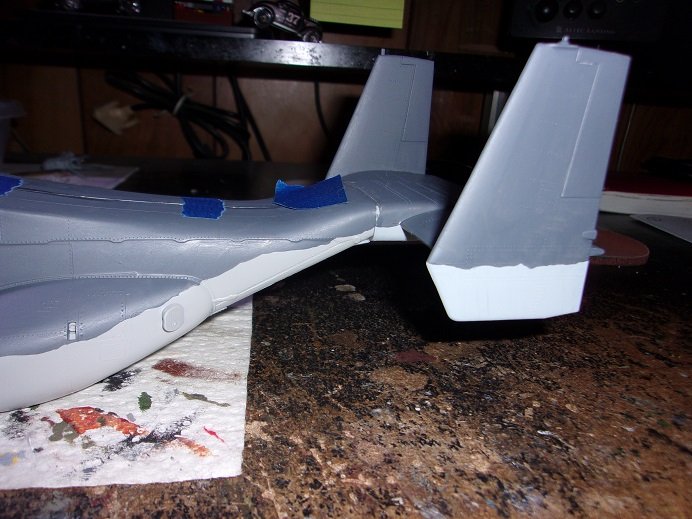
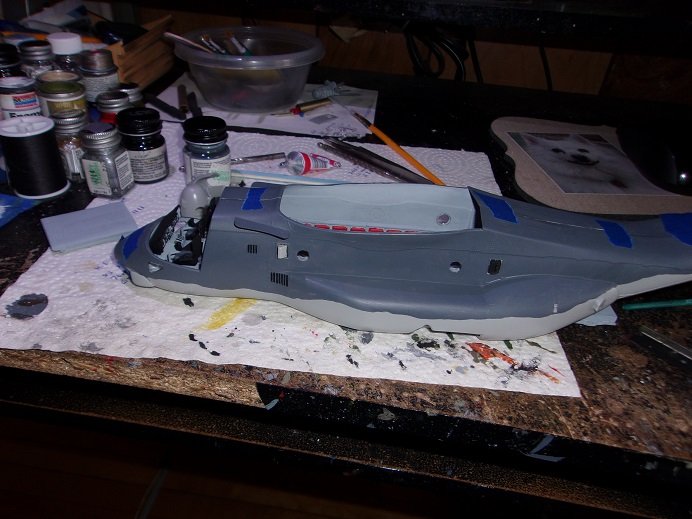
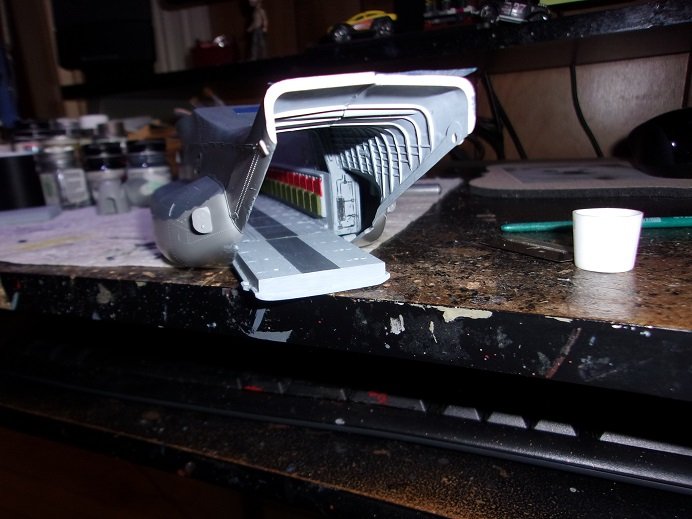
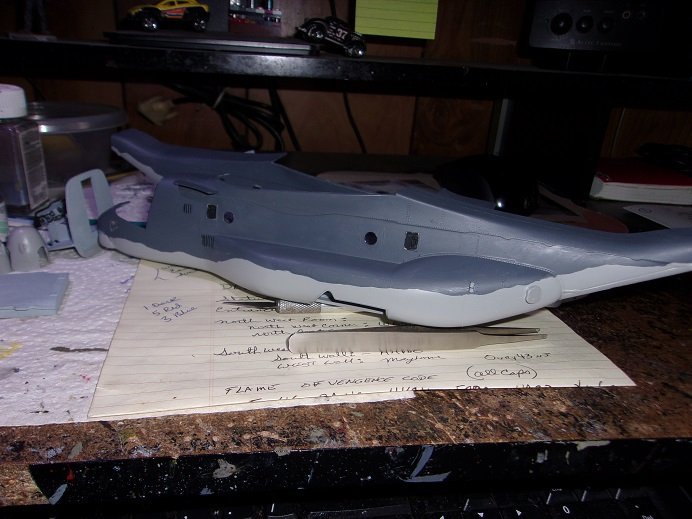
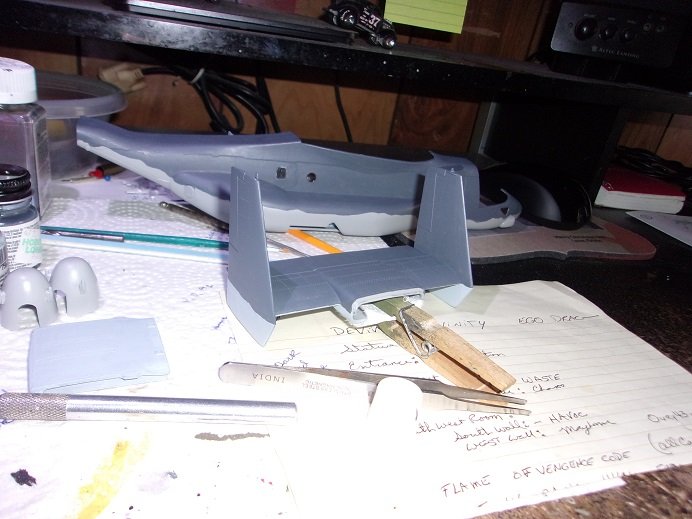
thanks OC........and thanks to all who hit the like button not much more has been done, other than to cement the tail section on the fuselage. the upper part of the cargo door has also been added, since installing it depended on being able to spread the opening to slide the pins in place {unlike the bottom section}. the only unmatched area of the gunship gray paint is at the nose....I kinda figured that would happen. but, gluing the tail on......both sides are a perfect match but where are my manners........I can show you as I mentioned......the bottom section was put in place as the halves were joined......duly noted. the top section was put in place after the model had some time to dry. the door was already painted........ it was at this point, that the tail section was cemented in place. by this time, it was time to take the admiral to her doctor's appointment....and shopping on the way home. it had a few hours to dry. at this point in the assembly, the model is definitely tail heavy there is tape on the nose......can't show you the mismatch paint lines......but I can at the tail. so now it's clean up the messy glue lines and paint the bottom. I think that when the wing and engines are in place, the model will balance out. if not "ve have vays of dealing vith them..."
- 96 replies
-
- 12
-

-
these two look really neat! the main tank bodies look fairly similar.........did the munitions tank have any armament?
-
Enzo Ferrari by CDW - FINISHED - Tamiya 1:24 Scale
popeye the sailor replied to CDW's topic in Non-ship/categorised builds
that's going to be a very large set..........that will quite the model enjoy and have yourselves a great holiday! -
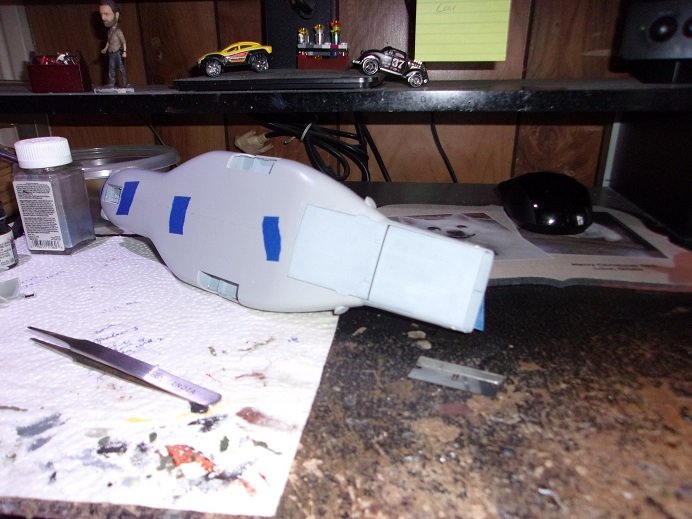
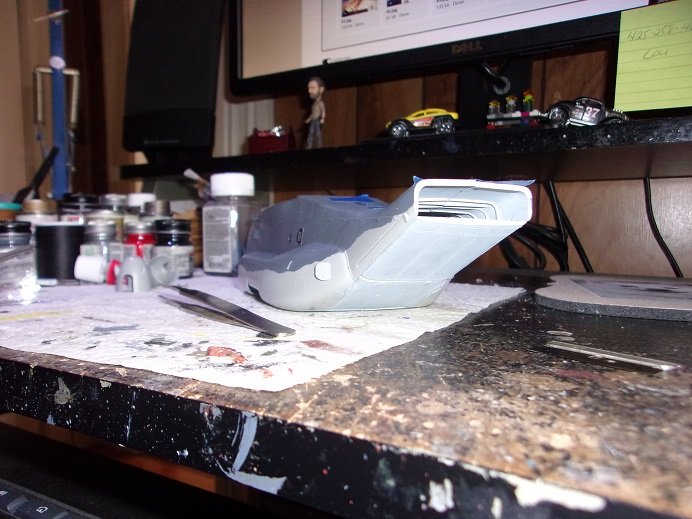
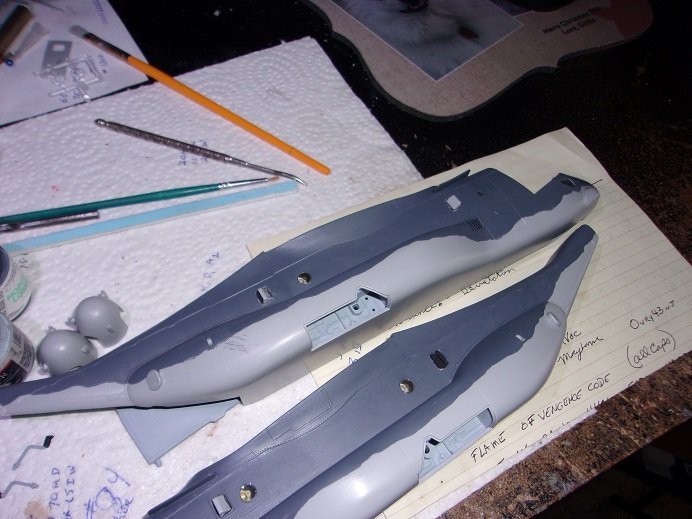
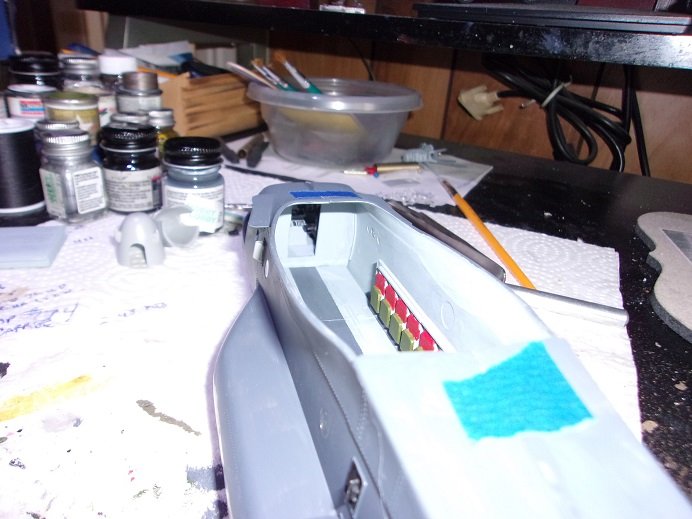
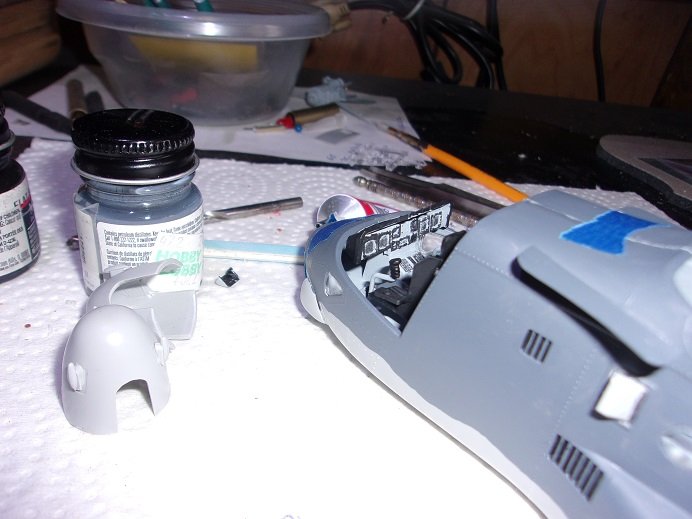
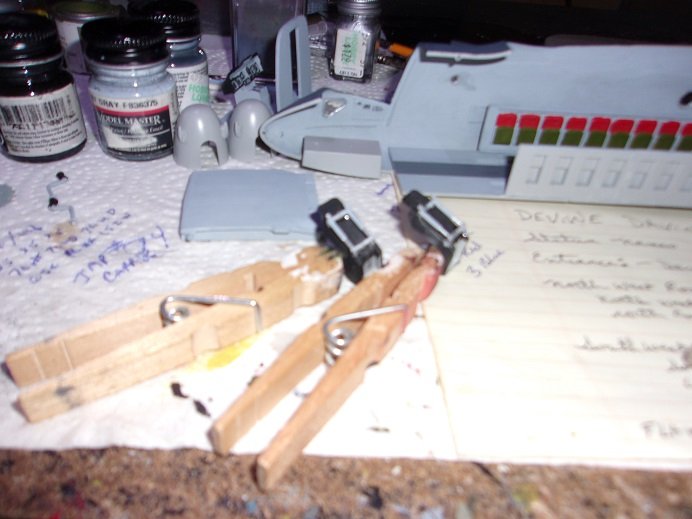
there are a pair of vents that go on the outside of the fuselage. as I was cutting them from the sprue, one of them broke.....so it's on the mend at the moment. the cockpit was finally assembled and cemented in place........the passenger section was then added. it was allowed to set for a short......it didn't make sense to me.....so the fuselage was cemented together. the lower section of the cargo door snapped into place along with the assembly the exposed venting was painted flat black before the upper paint was done. I did some touch ups on the cockpit........I should do more. I started to paint the glass frame.........

- 96 replies
-
- 11
-
-
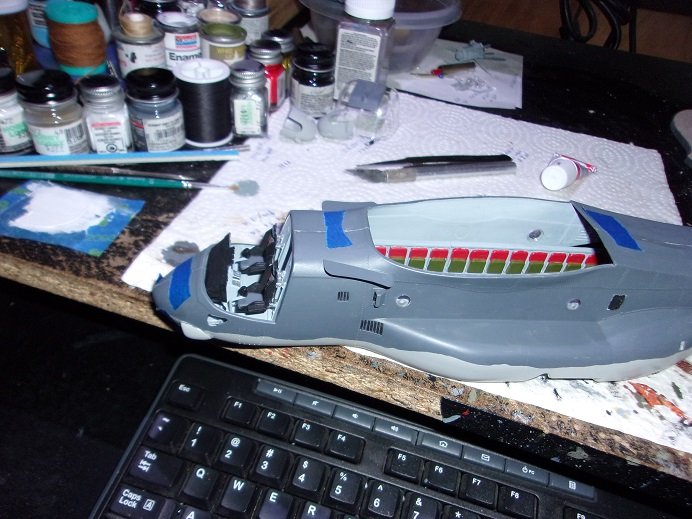
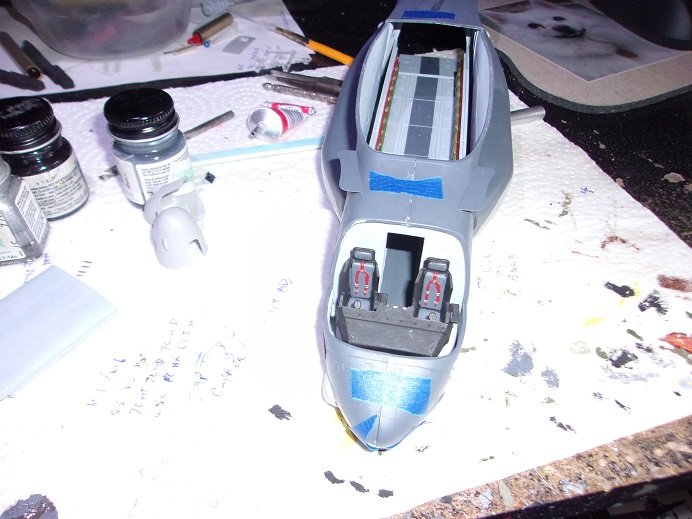
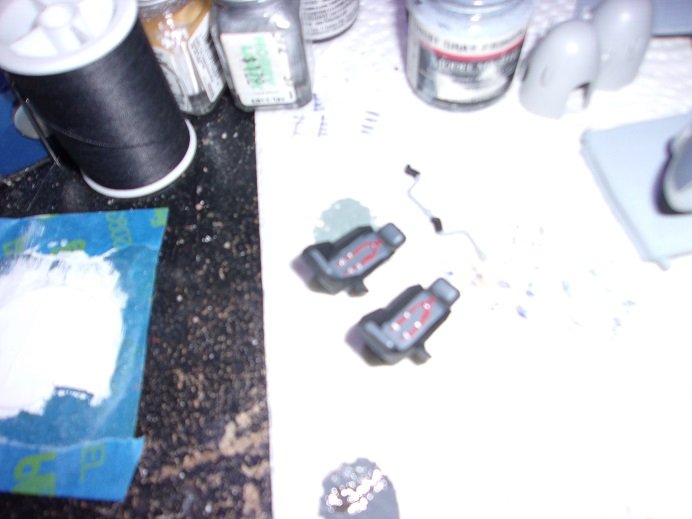
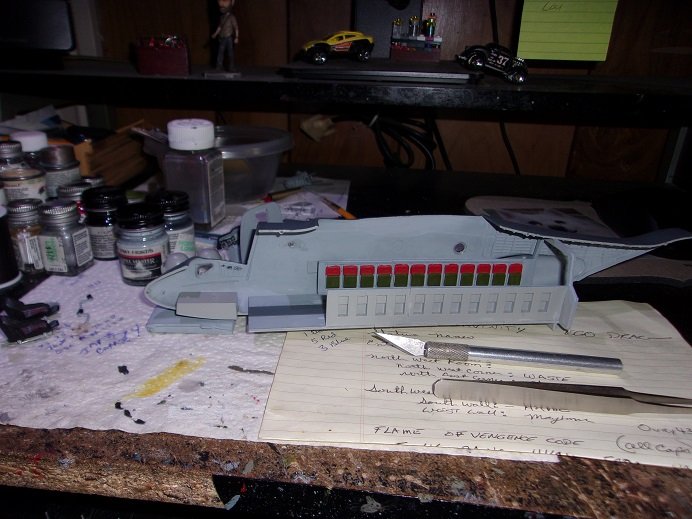
hurray.......some progress .......and pictures too! I'm trying to get the cockpit done, so I can get the interior in. then I can close the fuselage up and finish the exterior painting. the camera is still something to get used to......I'm trying to live with the flash. pictures are darker if I don't.... I've also finished covering the gaping hole that used to be our cellar bulkhead.....I had mentioned about a month back that someone crashed into it. he missed negotiating the curve by our house, went out of control, went over the two driveways {ours and our neighbor's}. grazed the house, which sent him into the 'doghouse' that was the cellar entrance. the house shook........I scrambled outside, where I saw the car backing out of our driveway. I tried to flag him down, but he took off.........on four flat tires! they were flattened from hitting the curbings. he didn't get far.......I told the cops the make of the car and a partial plate number....they seemed surprised that I was able to give that much information. the landlord came by last week and took down the 'doghouse', and left the stairway to the cellar exposed........I asked him about it and he didn't think it was a big deal. leaves have already filled the bottom of the stairs.......the cold and accumulating snow should have been something he'd be concerned about. ......some landlord........sheeesh! the seats were painted.......I painted the cushions and the seat belts....and added the frame in the back. excuse the blurry...... I did touch up the passenger section a little.......with what you'll be able to see, I only did what was visible. the glass was added here as well...the one in the cockpit, the door, and at seat #18........ I painted the exterior before the glass was added. the bottom will be done when I get the two halves together. once the fuselage is together, I can add the tail section........that has also been painted.
- 96 replies
-
- 10
-
-
I'm here tootrtrtttttttt { pizza sauce on the keys..... }
-
gonna look great when you get to that point
-
very nice camo looks great!
-
Enzo Ferrari by CDW - FINISHED - Tamiya 1:24 Scale
popeye the sailor replied to CDW's topic in Non-ship/categorised builds
superb job on the chassis by the way............ -
Enzo Ferrari by CDW - FINISHED - Tamiya 1:24 Scale
popeye the sailor replied to CDW's topic in Non-ship/categorised builds
so you are...........you had said that a 1:12 version was in the future?!?! I liked the one you did a while ago.......good to see the process again -
sorry to hear about your little friend.......similar happening to Gibbs earlier this year. we think he stepped on a broken piece of glass of something. we've dealt with stuff like this before, so we just put an antibacterial on it and it went away on its own. the licking wasn't much of a problem.......we kept him busy and didn't put a lot on.......but yea, it's tough to keep up with, but we managed.
-
glad he made it home simple case of information not being updated. good of you to clarify it.
-
your well on your way
-
I wonder if you can do as I've done with my wood boats......... after the parts are dry, rub white glue into the joint......wait a few mins and then sand smooth. the sawdust will get into the joint, mixing with the white glue. there are times where the joint is almost invisible when I'm done.
-
your doing a great job with this model Clare.......looks like a really nice kit! I've never done a card model before, but this one, being precut would take a lot of the apprehensiveness away. the idea of painting is really interesting, having only seen pre printed parts in others I've seen. you've done a super job with this.......really does look like wood glad I took a browse around and looked into this fine model
- 175 replies
-
- 2
-
-
- hanse kogge
- shipyard
- (and 1 more)
-
I see your still up to your usual standards Greg........another fantastic model under your belt you NEVER fail to disappoint! superb job!
-
the tub railings look like they will be a trial........hope I get the results you got......! they look really good
-
I saw in your signature that you finished the St. Nectan......just had to stop by the see your results! she's a stellar looking model.....really nice lines, a boat load of detail, and very well done! the added lighting really adds to the model's realism, and there's a smooth balance between gloss and flats {that's a color choice that is hard to keep in check }. plain to see that you like beautiful things superb job and congratz on her completion.......an inspiration for me to get moving on some of my fishing boat projects!
- 337 replies
-
- 2
-
-
- finished
- mountfleet models
- (and 1 more)
-
you know what they say..........the mortar, the merrier! {had to say it......} welcome....I'm sure you'll do a fantastic job!
