Adrieke
-
Posts
1,625 -
Joined
-
Last visited
Content Type
Profiles
Forums
Gallery
Events
Everything posted by Adrieke
-
 still no news from the hobystore. it just a small effort to send an email to let me know if they put the request in for the replacement parts. sigh. anyway i couldnt resist having a look at the false keel (no SJors i am not starting her yet ) its in 3 parts which means i ll have to be make sure its all straigth i was surprised at the length of her as you can see in the picture she is fair bit bigger then my mississippi
-
haha thats as good a reason as any btw how is it in Beveren-waas ? used to have a computer store near the church in Beveren
-
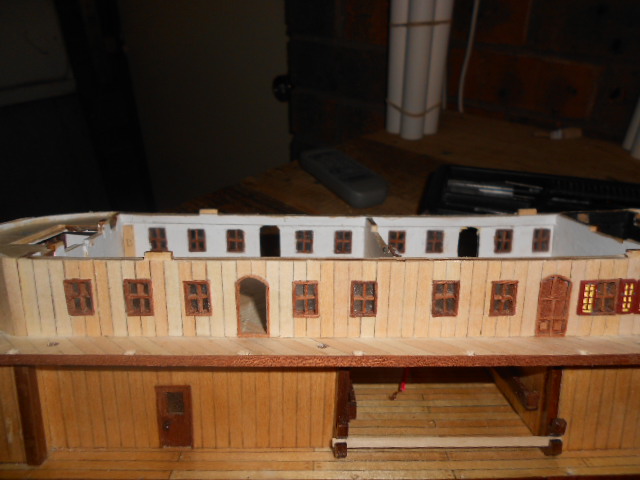
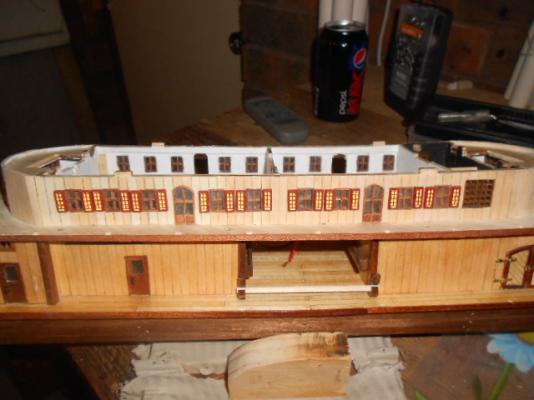
thanks John and Randy the opinion here was divided too. i decided to go with the glass door. partialy because it was easier to make. partialy because that was how the original ones look. i have finished the second door . the glas is done the same way as the ones on the first deck (scratched then painted black to get a diamond pattern). everything on that side is done so i could add the shutters and then touch them up where i scratched the paint of by accident.
-
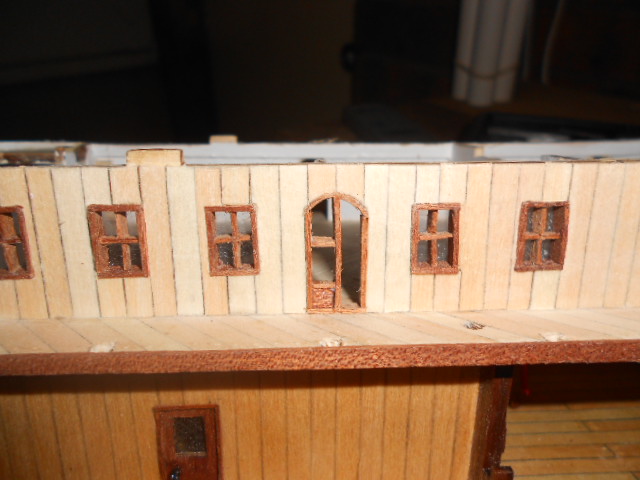
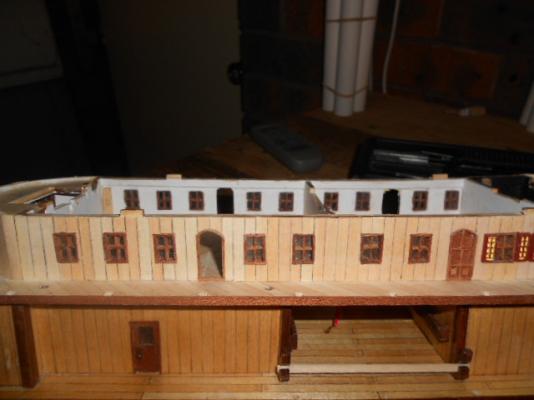
oh i doubt she would float after finishing the holes on one side i figured i try out to see if i can make the door a bit better: first and easiest is framing the door. making the curve for the top with sapelliu though is a nightmare and if you look good you can see it broke in the middle but i am hoping all the railings in front wil make it unnoticable then i add the middle frame and the solid part on the bottom (this is from 1x4 mm sapelli) then the 2 horizontal frames follow to finsih the left side do the same on the right side and then finish off with glueing the window to the back here are both of the doors. any comments on which one looks the better ?

-
like you i am enjoying most of it . you will finish her long before me my friend and i enjoy watching yours come together.
-
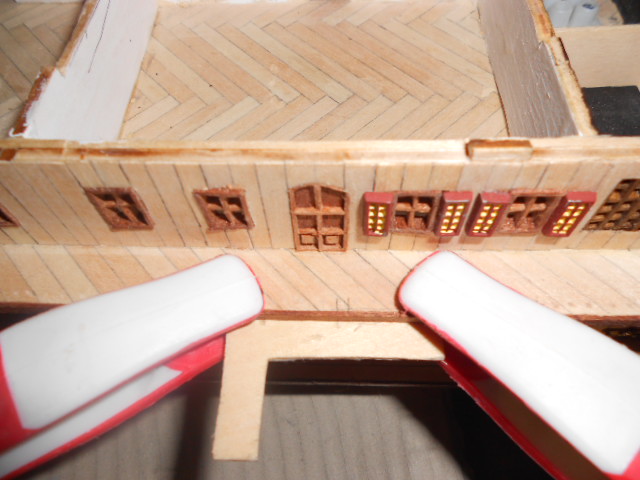
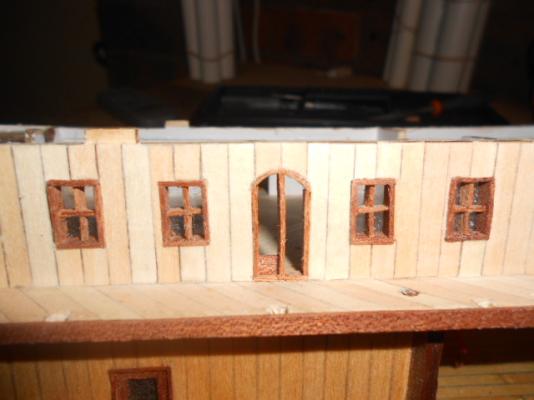
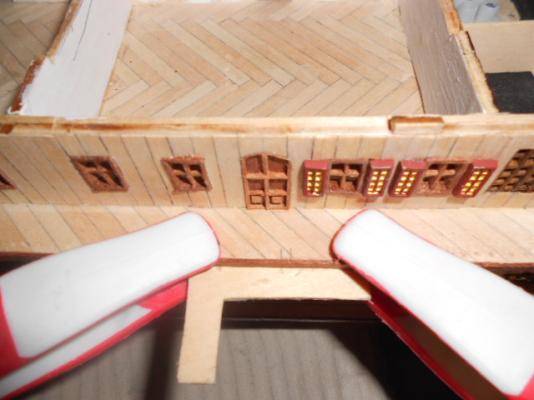
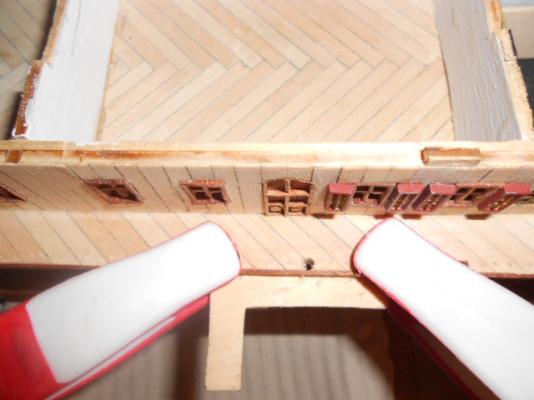
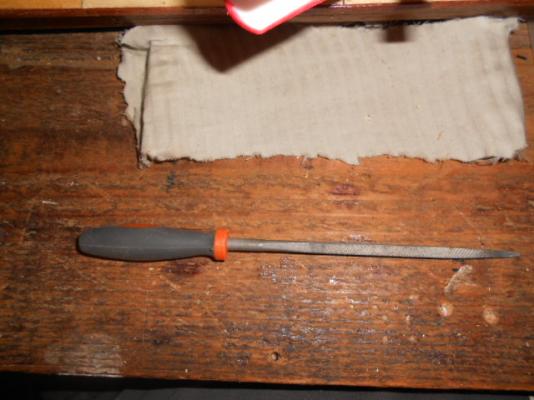
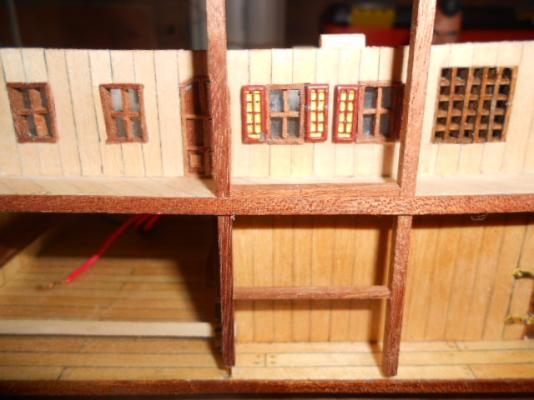
to make the 3x3 holes i first mark it on the deck then use a bit of plywood underneath to prevent splintering the wood then use a 3mm drill wiht my pinvise to slowly drill the hole since i was unable to get some needle files from my local hobby store ( the supplier didnt deliver any and i cant tell you an eta when i wil have them so i use the tip of this squae file once the hole is big enough i use the 3x3 wood dowel with brass wire at the bottom to push through too and with th eprecut railing parts make sure its sqaured off before pushing the brasswire into the lower deck to mark where to drill the1 mm holes takes me about 10 - 15 minutes per hole . over the 2 decks i ll need to drill about 40 of them
-
yes its looking great. cant wait to get to the point you are but it will stil be a while
-
lookign really good
-
hmm not seeing any pictures had that before on another post
-
congratulations Anja
-
SS Vinal Haven by TBlack - FINISHED
Adrieke replied to TBlack's topic in - Build logs for subjects built 1851 - 1900
John if you are interested there is a documentary about this machine and others sunday on ONe HD. -
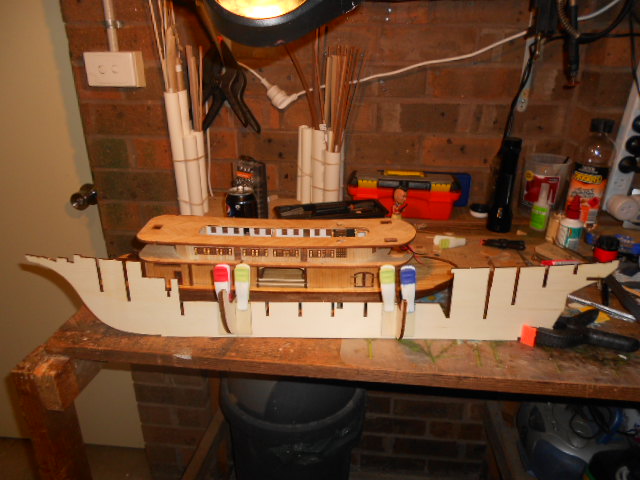
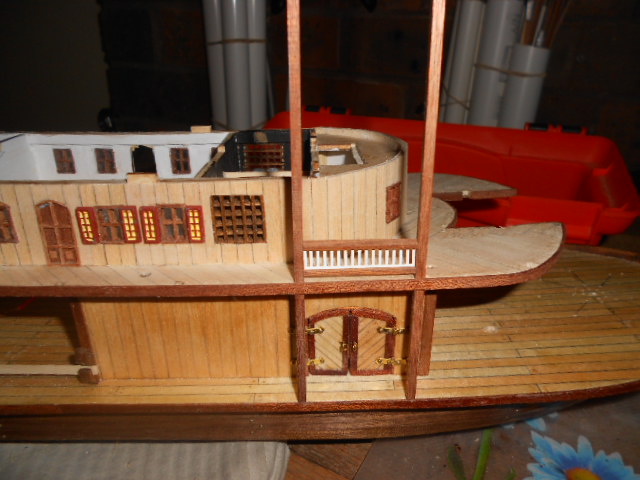
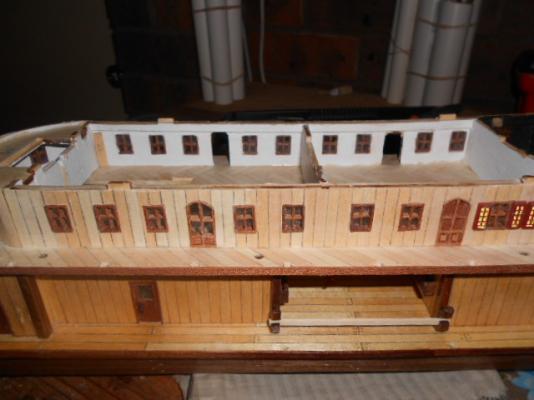
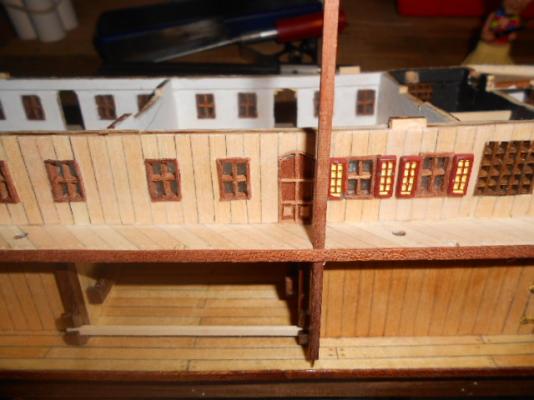
thank you Jim thanks Sjors. this was just a dry fit to see how it would look. i am drilling th e holes first then finish off the doors and shutters.install the 2 stairs. varnish the second deck. install the lights then i can glue the 3rd deck. drill th eholes there and then i can finaly install the railings . so still weeks to go before that. but there are a lot of railings to install but not as many as you have ratlines to make thank you WIm . i had visions of me knocking down the railigns while building or while handling her and then i thought of doing it this way
-
no worries John i have started on drilling and squaring out the 3x3 mm holes through the 2nd deck : the bottom of the poles have a 1mm brasswire atached to fit in a 1 mm hole so that the whole construction is sturdy. once the 3rd deck is one i will make the smae 3x3 mm holes there then cut off the pole drill a 1 mm hole in that to fix the top part on. this because the poles are not at a 90 degree angle except on top

-
hello Brian here the link : http://www.model-space.com/au/motors/rb7-home/ its a total of $1977 plus in 100 parts with $1 dollor postage = $2077
-
yup in oz they are now doing the F1 car 2011 model of Weber and it woudl come down to over $2000 for a rc car but hey you get the control free with it
-
SS Vinal Haven by TBlack - FINISHED
Adrieke replied to TBlack's topic in - Build logs for subjects built 1851 - 1900
really admire this build and how you are reconstructing here from old pictures is a challenge -
SS Vinal Haven by TBlack - FINISHED
Adrieke replied to TBlack's topic in - Build logs for subjects built 1851 - 1900
wow is that from the transformers movie ? -
welcome back if you got the time and desire repost whatever you can please read th new guidelines on how to name your topic in tis forum. you should be able to change it by editing your first post http://modelshipworld.com/index.php?/topic/53-before-you-post-your-build-log-please-read-this-starting-and-naming-your-build-log/
-
wow Mick you are off to a flying start
-
hello David a lot less missing then in my kit so thats good i ll just sit next to Sjors and follow your build
-
they only have the Victory kit in US : http://www.deagostiniusa.com/ecm/web/dea-us/online/home/products/brands/model-space
-
Do we have a list of kits organized per scale?
Adrieke replied to yvesvidal's topic in Wood ship model kits
Henry i think he wanted not only build logs but all existing veriosn of the ship at that scale -
she certailnly is looking pretty historical accuracy can wait till you go the darkside
- 773 replies
-
- 1
-

-
- san francisco ii
- artesania latina
- (and 1 more)
-
the first one was lost no details how and replaced by a wooden on then in 1969 it was replaced with a polyester one to save weight that one broke off in 2000 in an overhaul . back to wood in 2002 that one was lost in a storm and its replacement was lost in a storm in december 2003 in februari 2004 it was replaced with one of carbon fibre reinforced polyester if you want more info, i found all this on wikepedia
-
the kit is of the 1958 version