JesseLee
-
Posts
1,694 -
Joined
-
Last visited
Content Type
Profiles
Forums
Gallery
Events
Everything posted by JesseLee
-
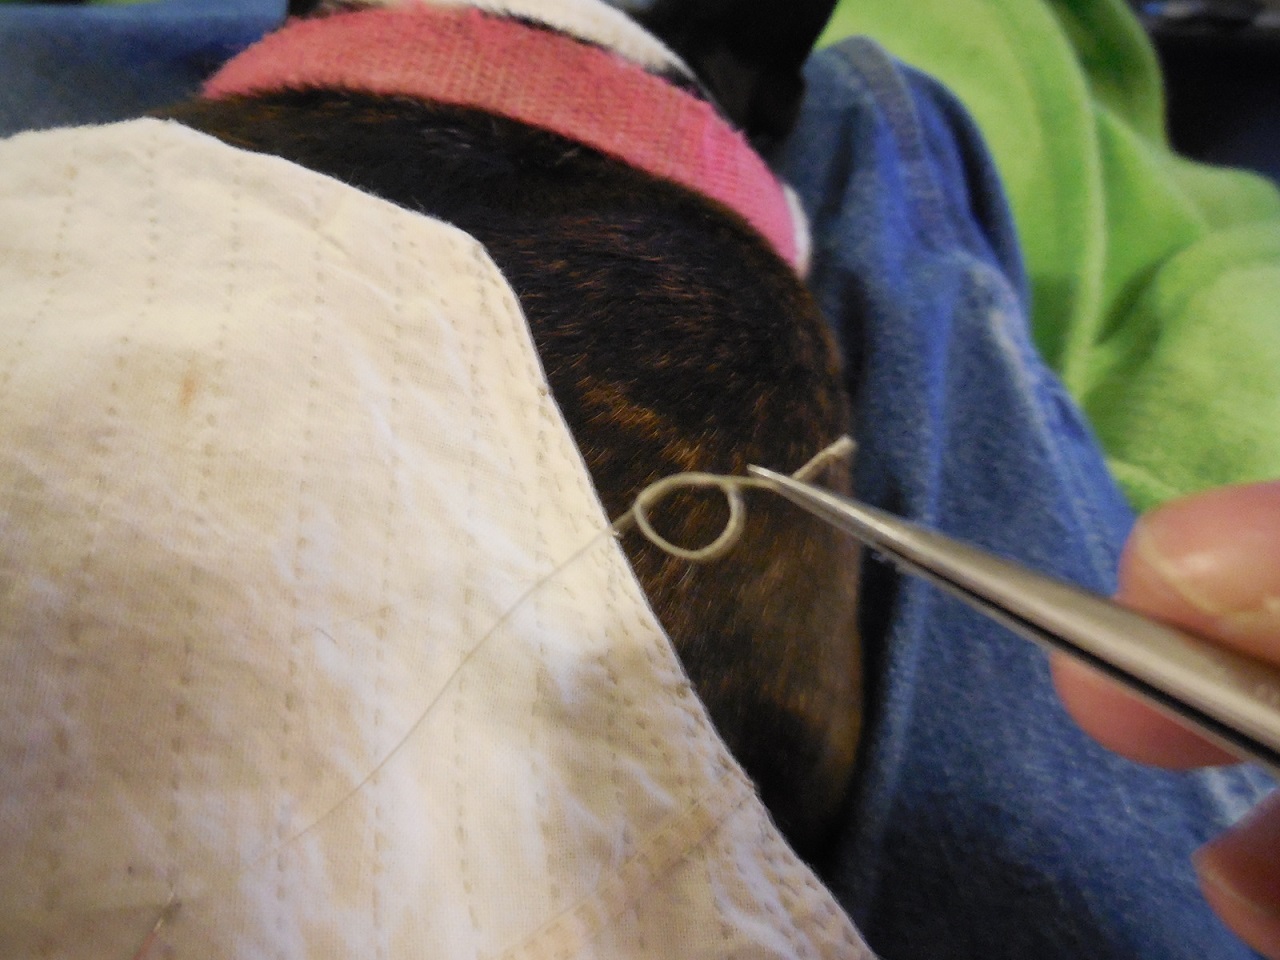
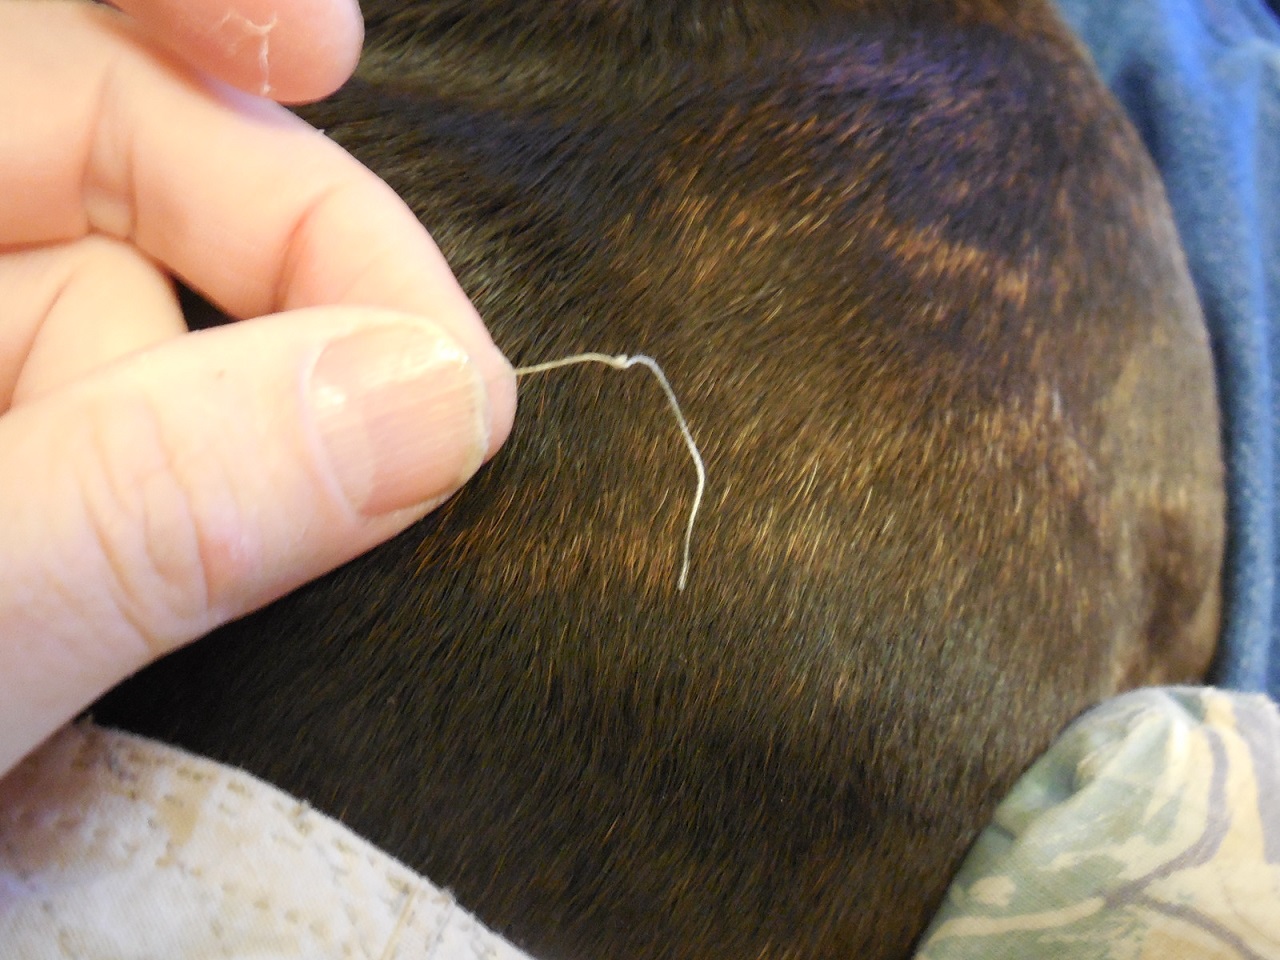
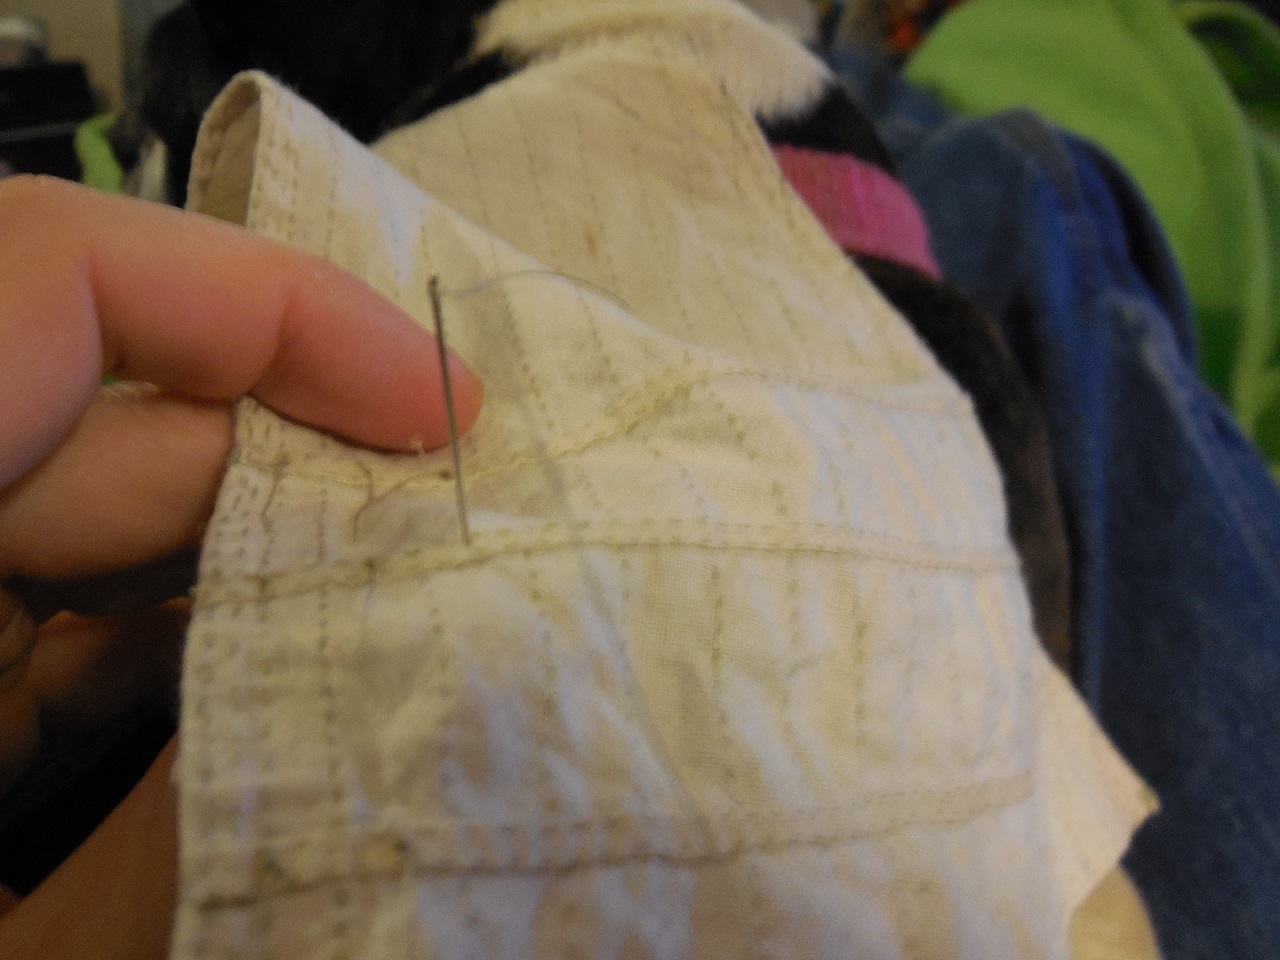
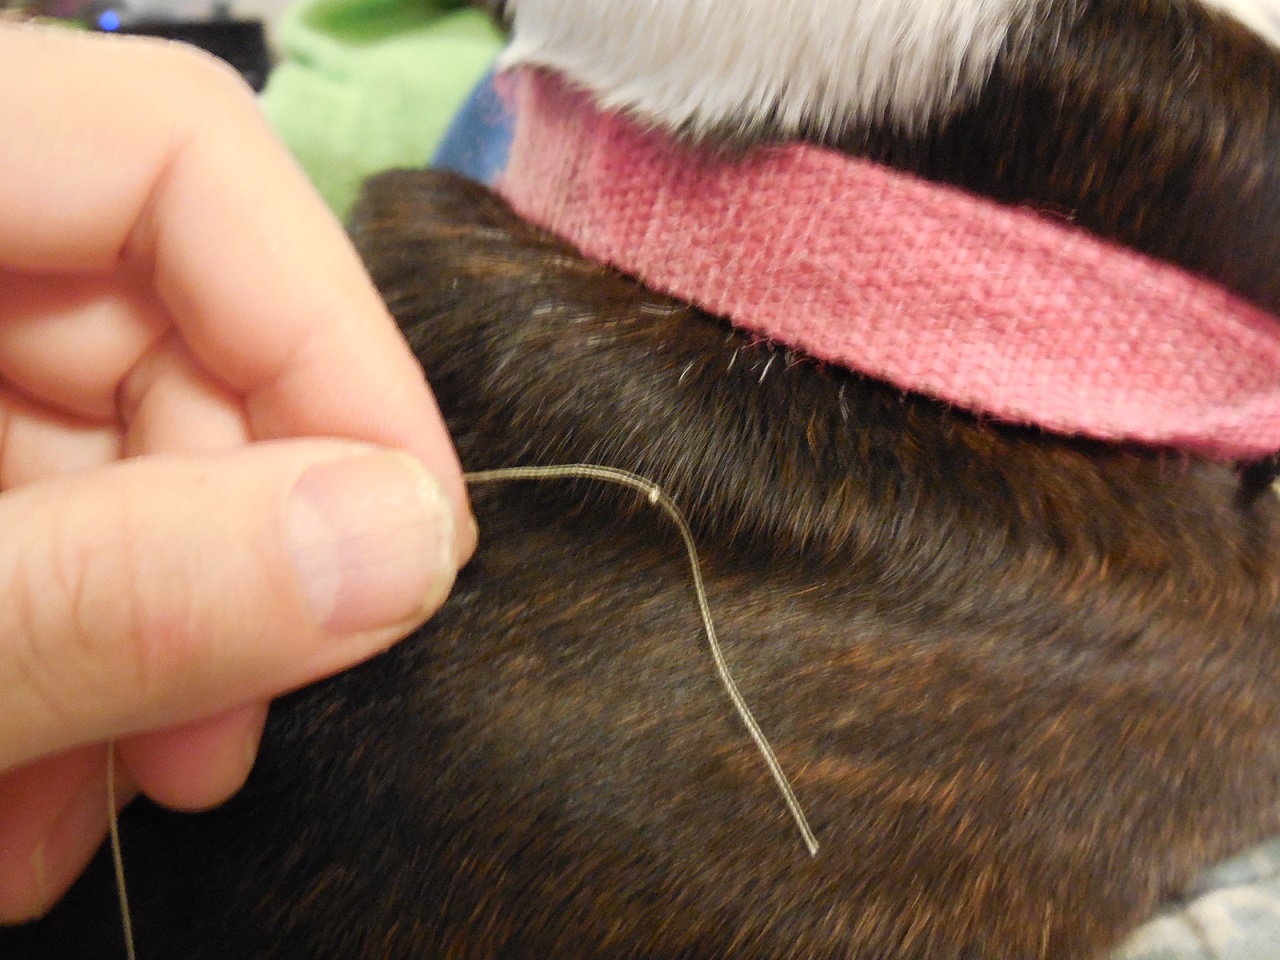
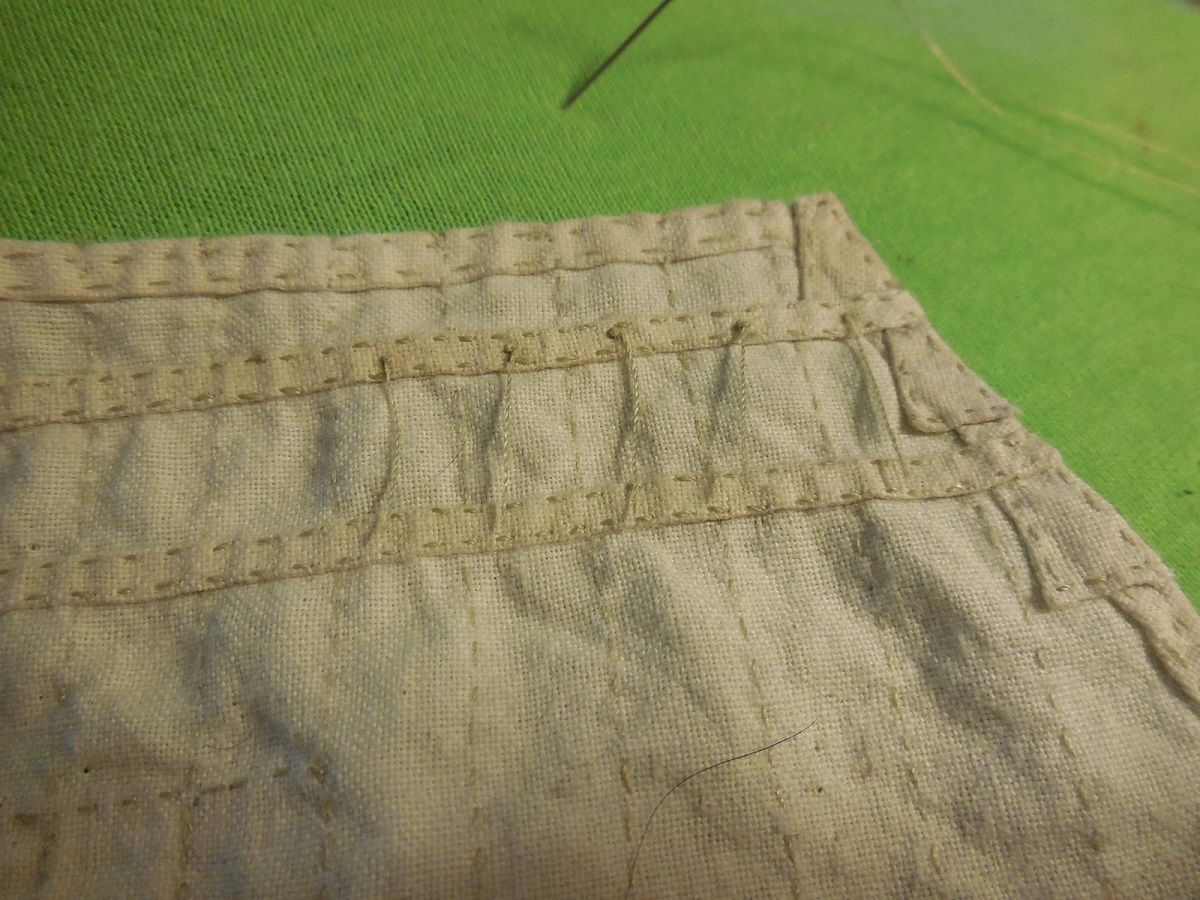
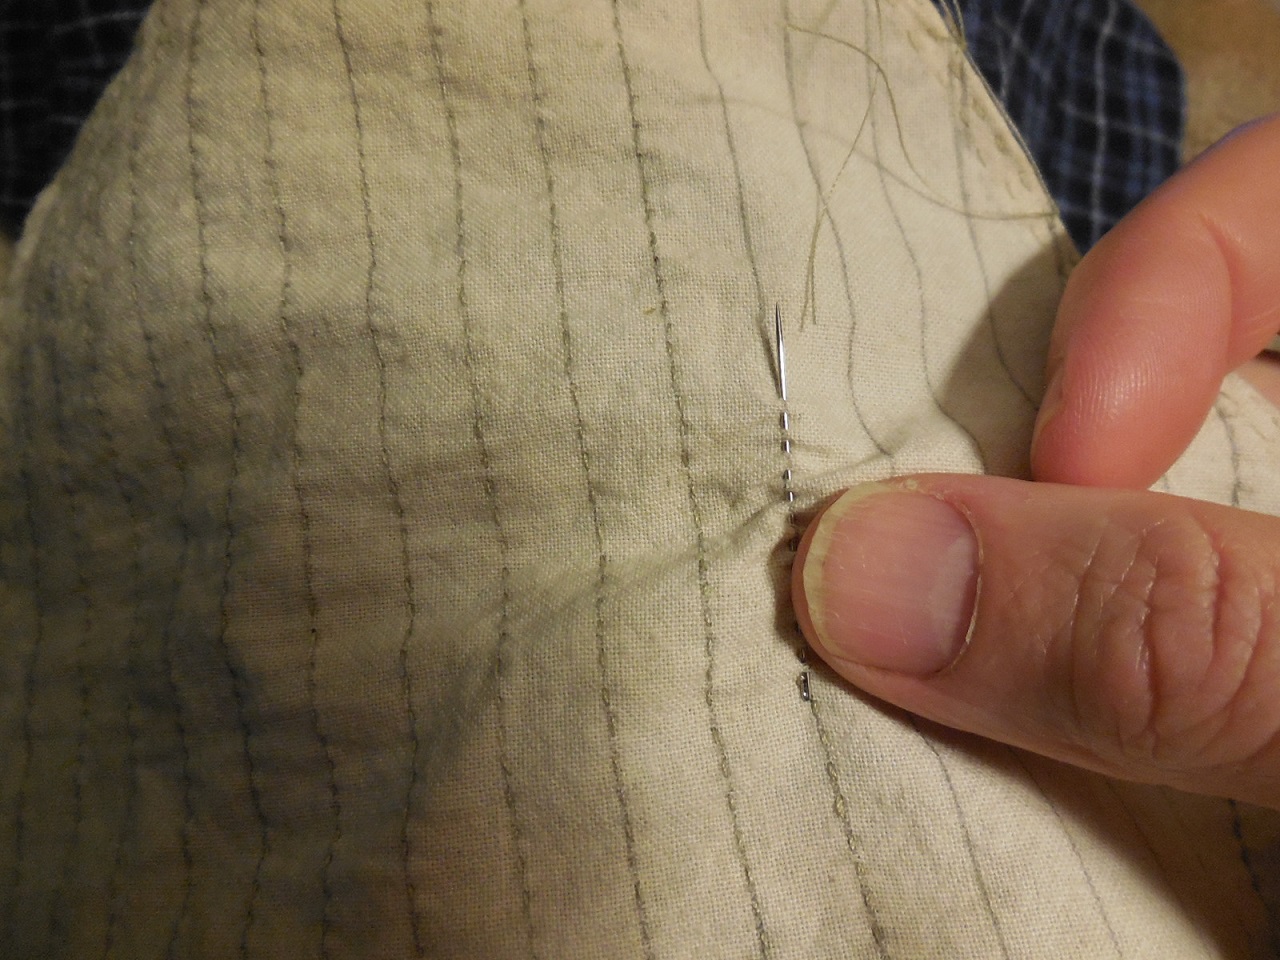
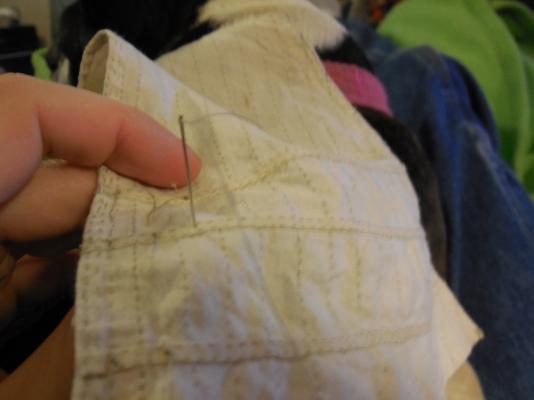
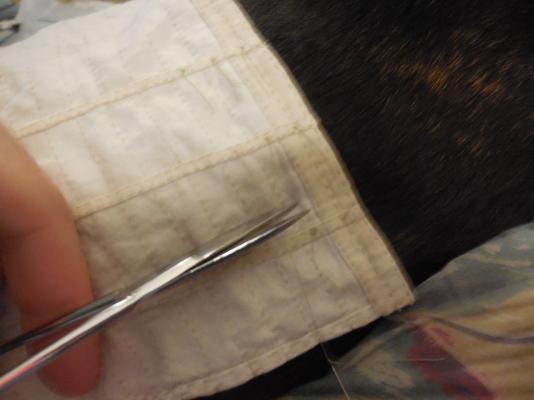
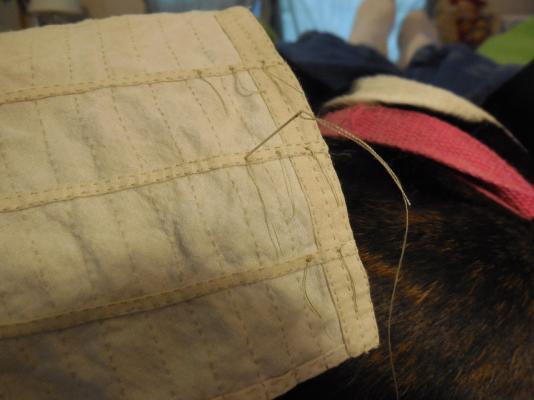
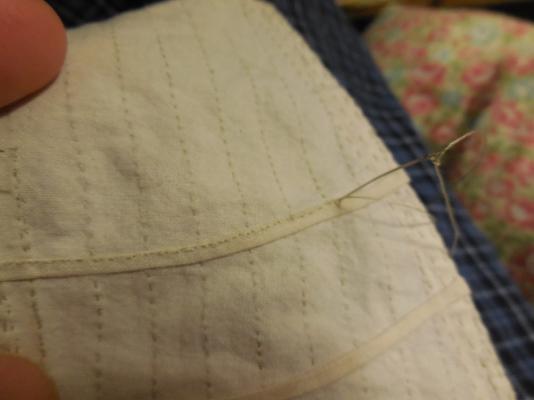
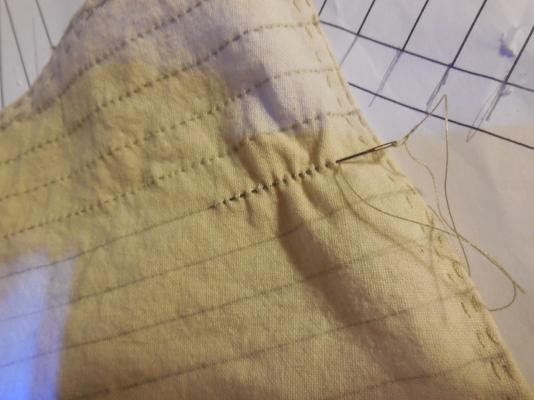
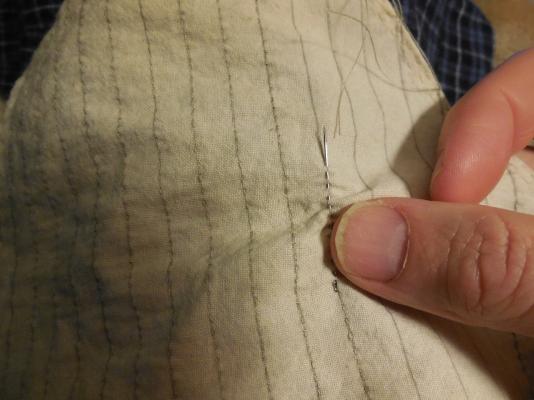
 Thanks Grant & John. And thanks CaptainSteve for the tip on the reef points. I modified it a little. I'll try to show the steps I'm taking to tie the reef points. My camera doesn't get as close in as I would like I hope it show it ok. First I pre-tie a knot in a line of sewing thread. I pull this through the reef band with the sewing needle - pulling the knot up to the sail. I cut it off on the un-knotted side with enough extra length to do some tying. Then I do the same thing all over again from the opposite way (through the same hole) each thread knotted on one side passing by each other through the sail with a knot on each side. Now each side has 2 threads hanging out - one knotted & one not knotted.
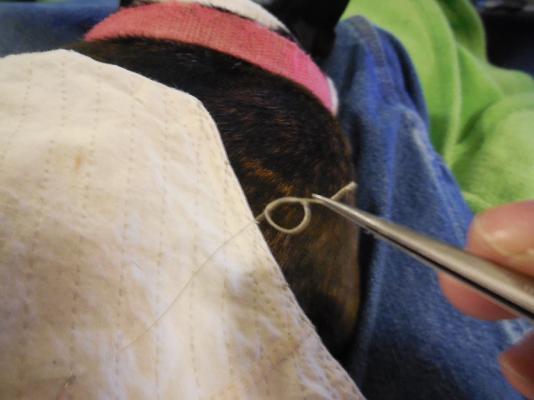


- 607 replies
-
- 7
-

-
- scottish maid
- artesania latina
- (and 1 more)
-
Very fine work!
-
Began adding reef points. This isn't as easy for me as I thought it would be. Having a lot of trouble getting the knots on both sides. I can get one just fine but tying another knot on the other side right up against the reef band it very difficult for me. Many times I get the knot on the other side too far from the sail & I have to cut it off & start over.
- 607 replies
-
- 6
-
-
- scottish maid
- artesania latina
- (and 1 more)
-
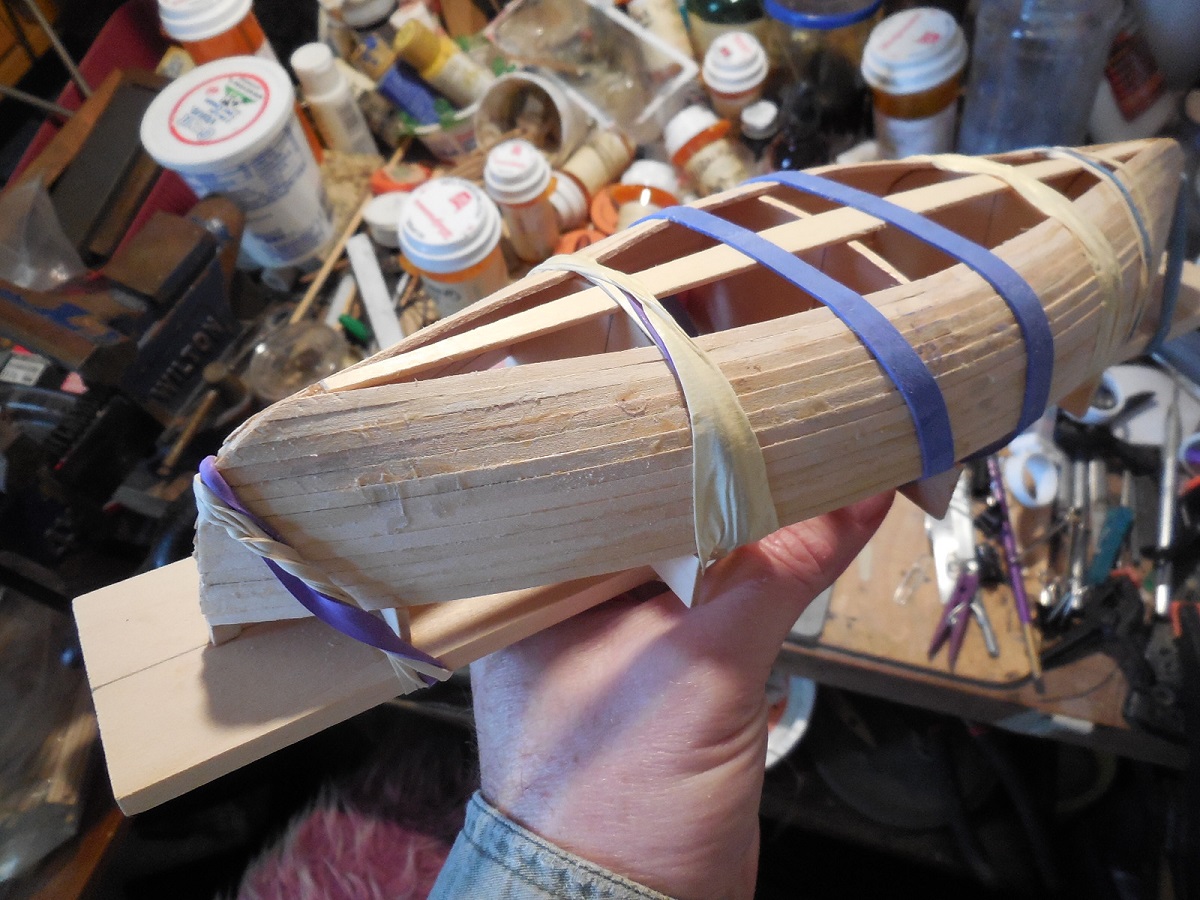
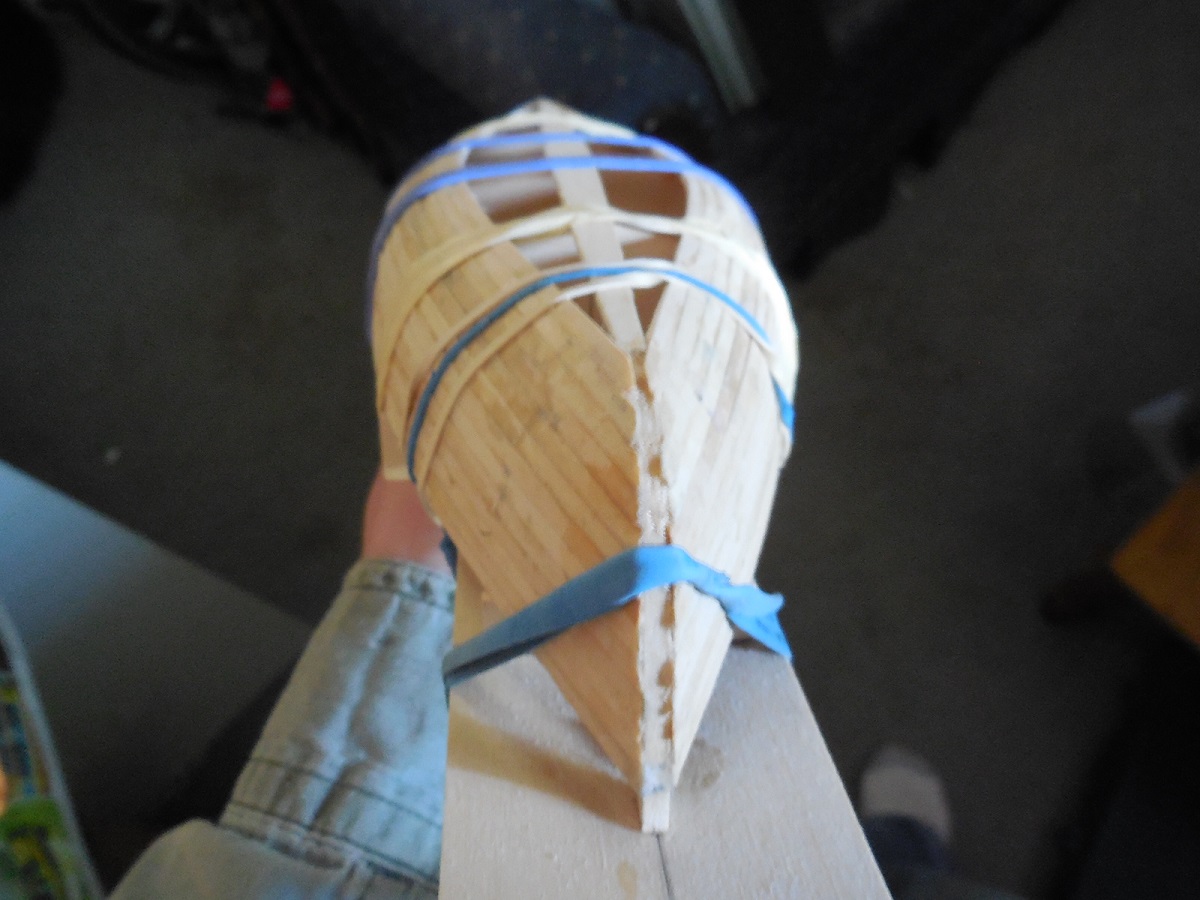
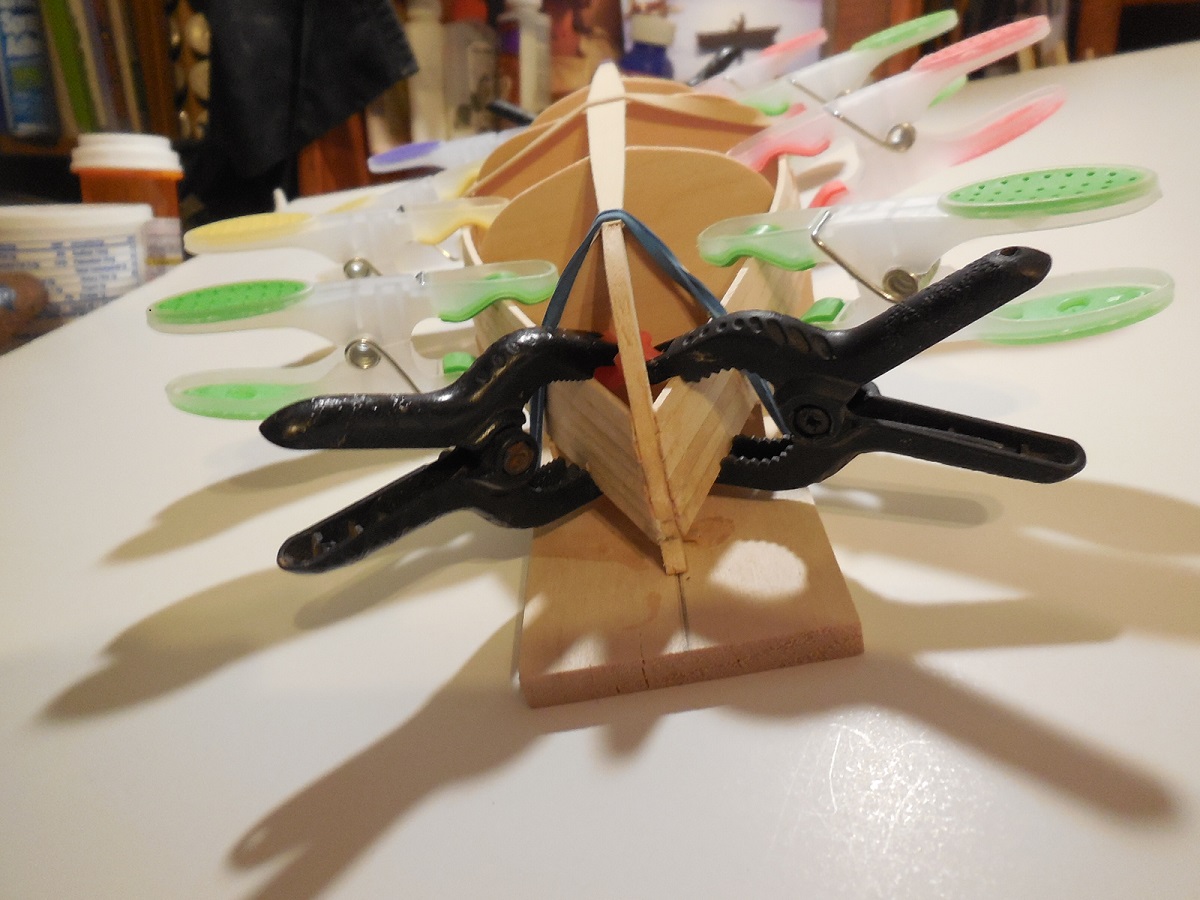
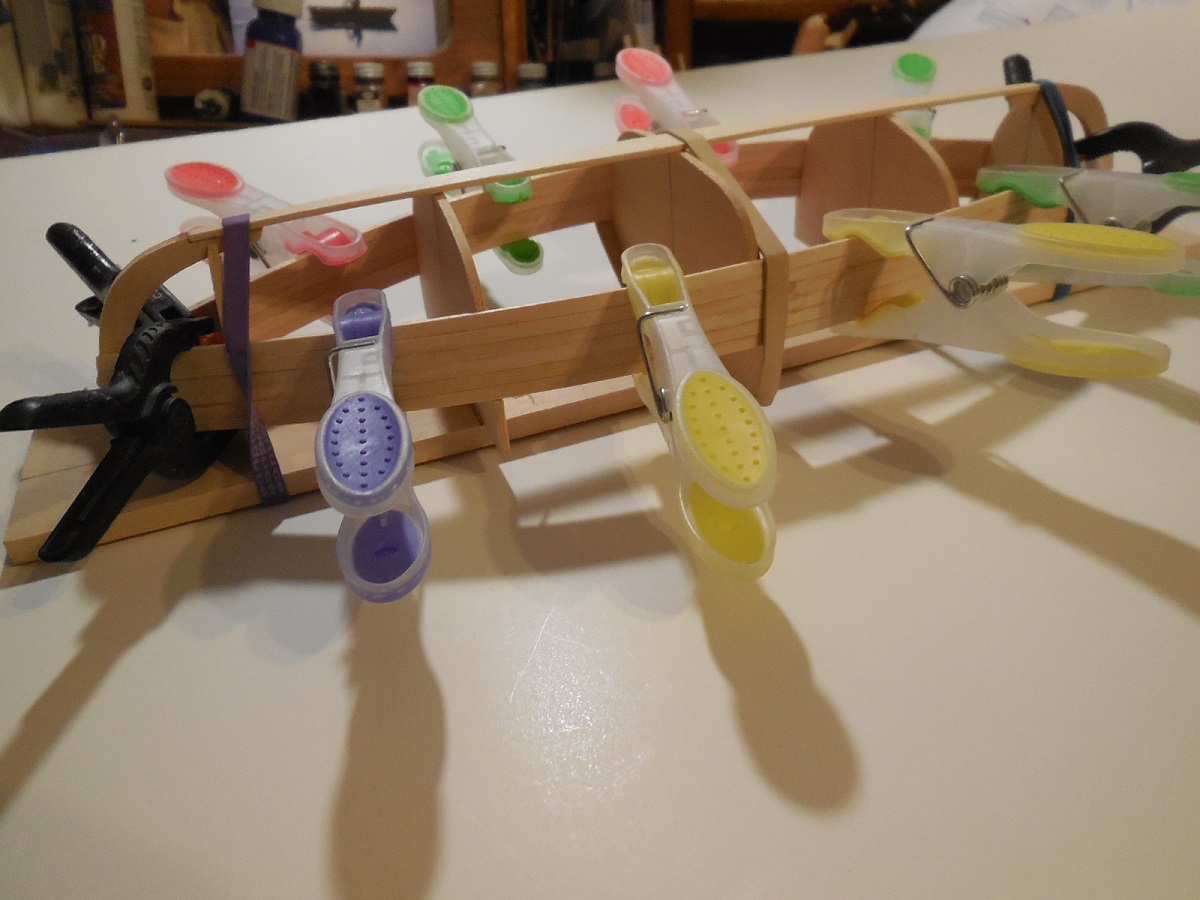
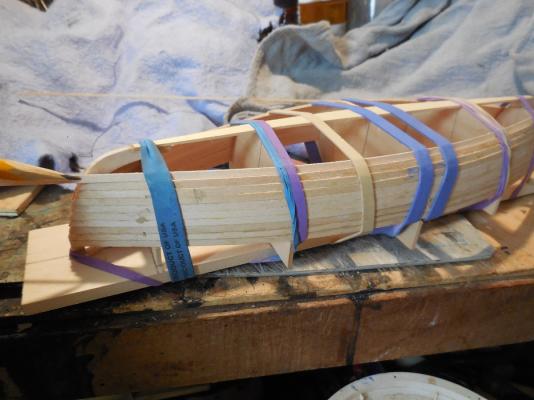
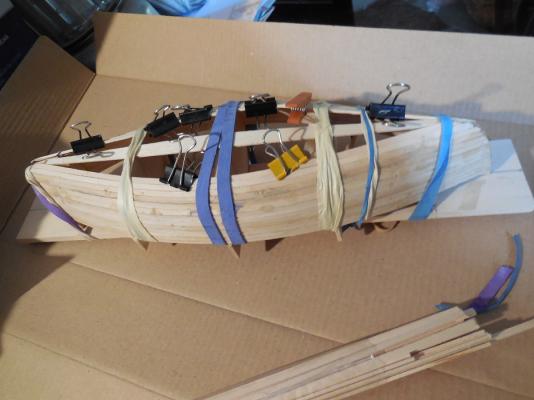
Making progress on getting the hull planked. The wood strips supplied are basswood & have been bending pretty well. I have had 2 break. As I get to the point where the curving of the planks increase I have been soaking the planks. It doesn't tale much- holding it under hot water running from the sink is all it takes & they bend easily into shape. The instructions recommend using CA glue foe everything in this build but I'm too old school & chose to use wood glue instead. I have only used CA to glue where the planks meets the stems to hold the ends down while the wood glue is drying between the plank edges. It looks a little rough right now but it will look fine once it is scraped & sanded.
- 33 replies
-
- 7
-
-
- finished
- midwest products
- (and 1 more)
-
That was a good idea to use hair on the coconuts!
- 625 replies
-
- 3
-
-
- bounty launch
- model shipways
- (and 1 more)
-
Just found your build log Kenny. The Rattlesnake is one of the ships I have always wanted to build. Looking forward to following along. Jesse
-
Piet, I am hoping & praying I will be able to make it. My chronic lyme disease makes it difficult. I never know if I will feel well enough & traveling itself makes me very sick. I am hoping for the best because I REALLY want to attend this even if I can only be there for part of one day.
- 33 replies
-
- 1
-
-
- finished
- midwest products
- (and 1 more)
-
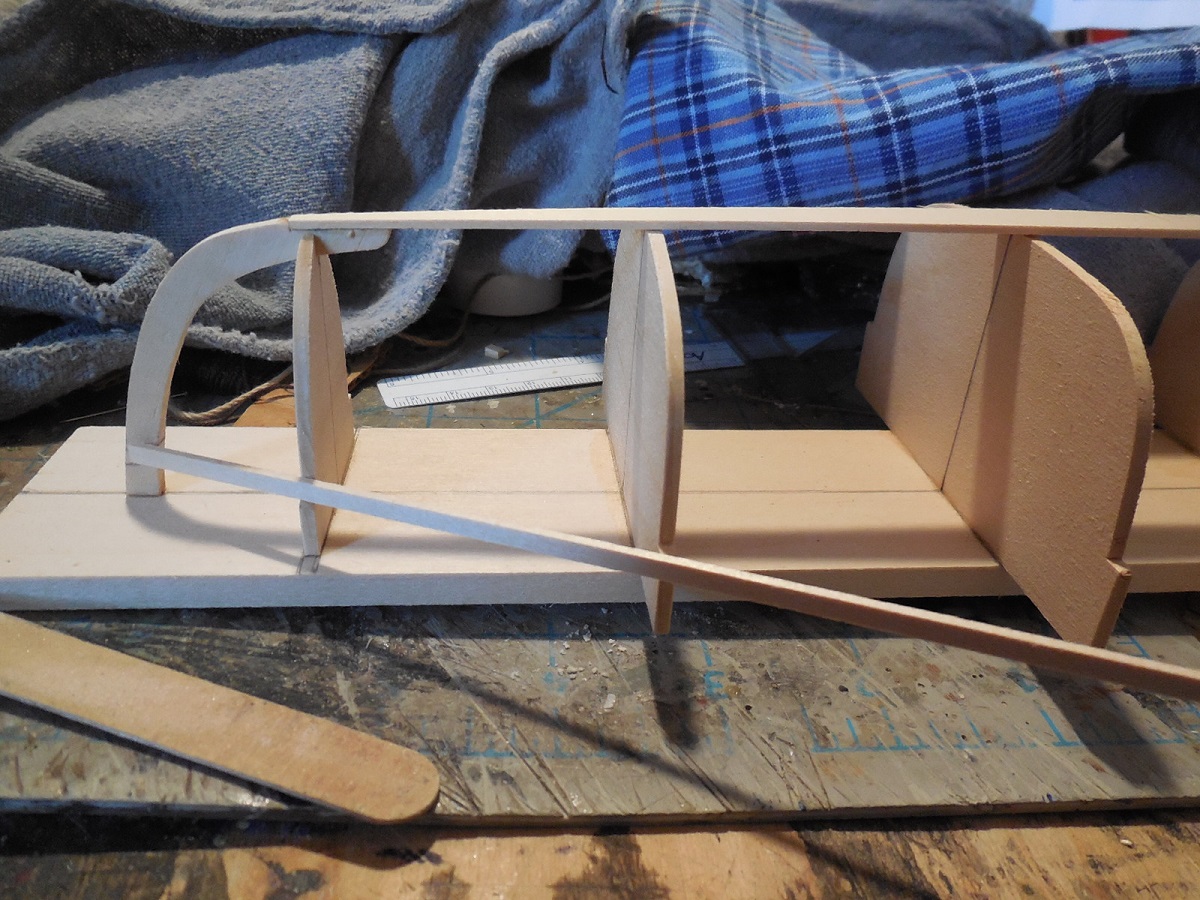
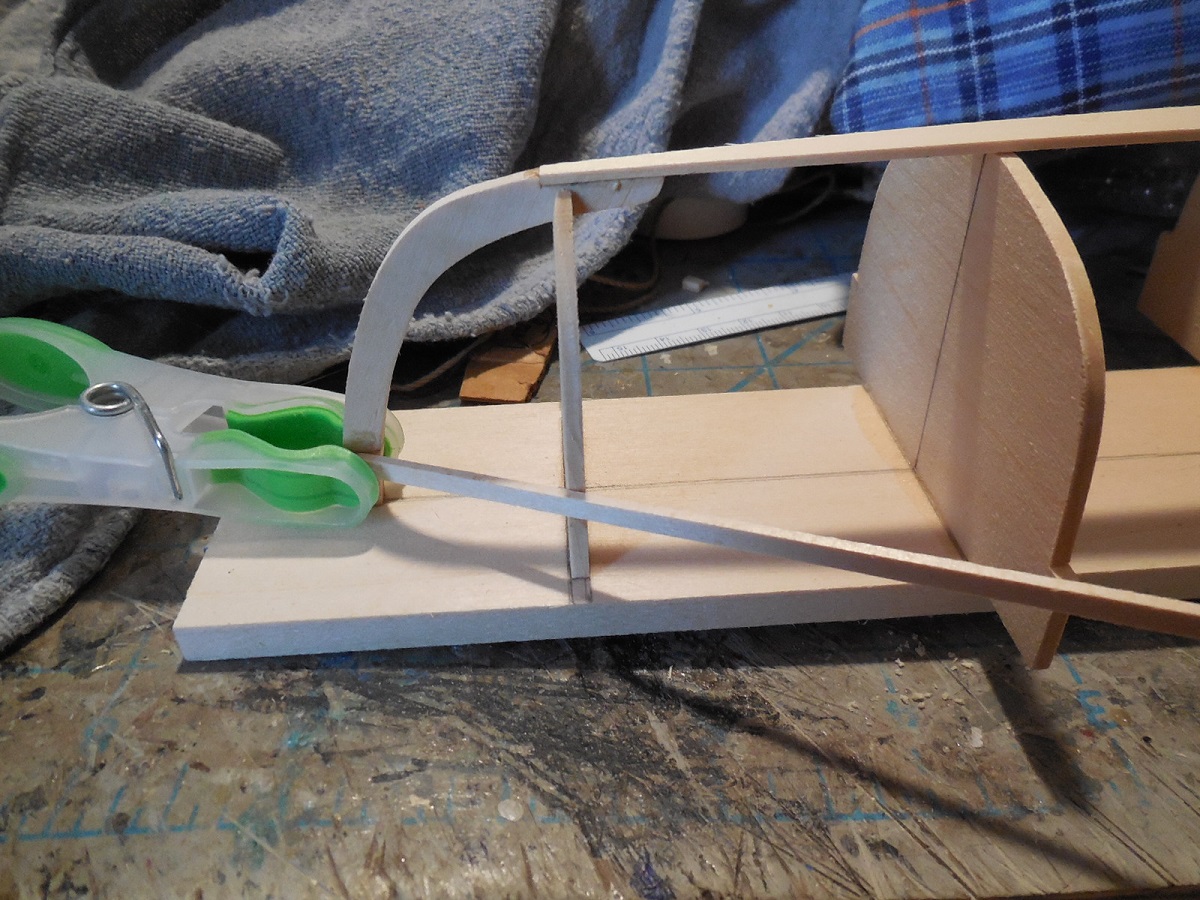
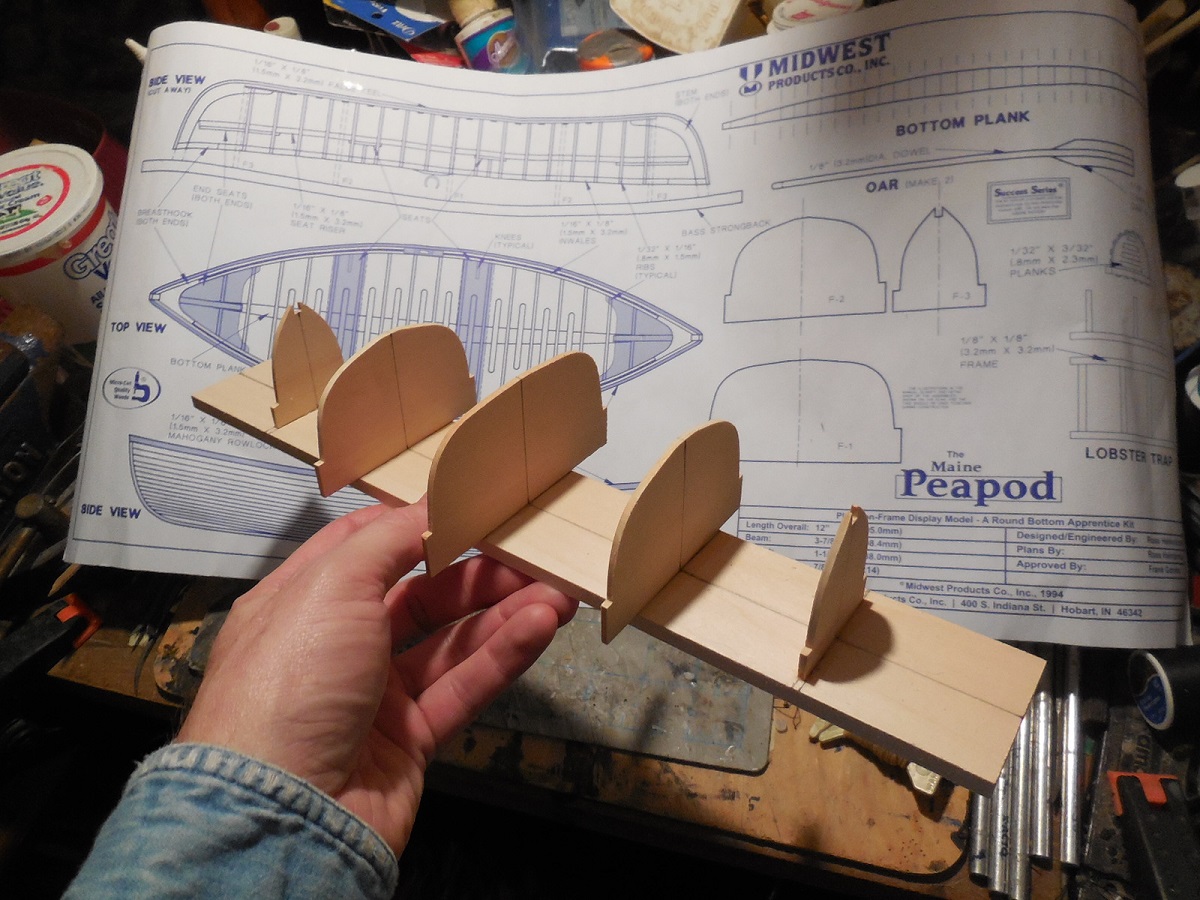
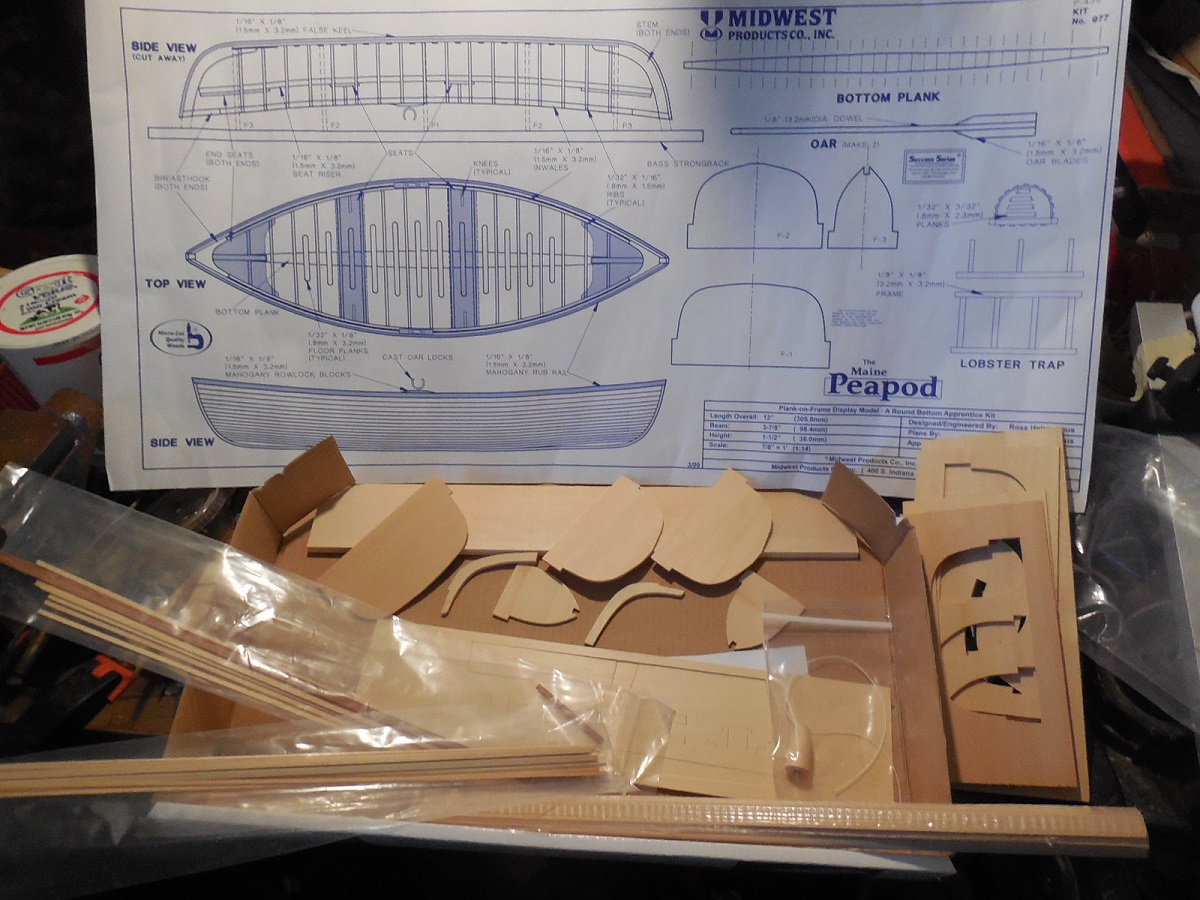
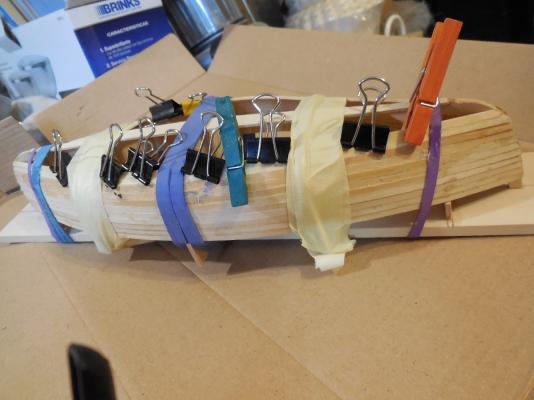
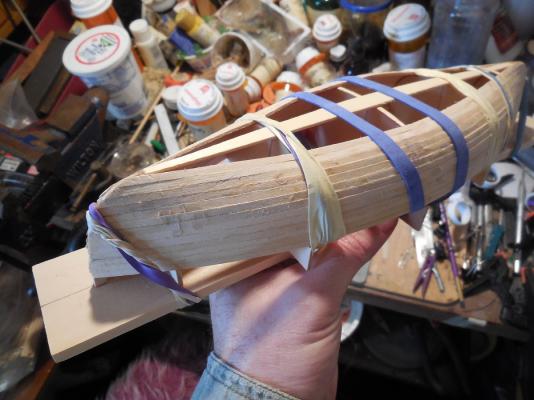
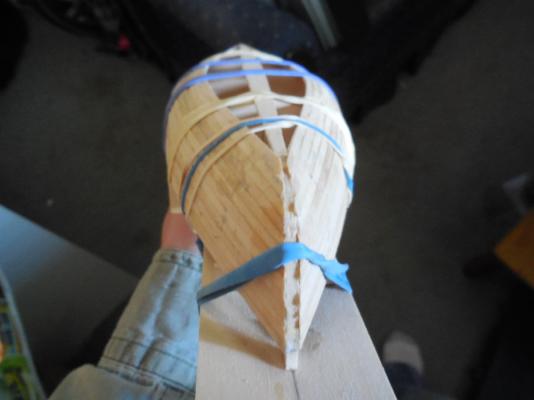
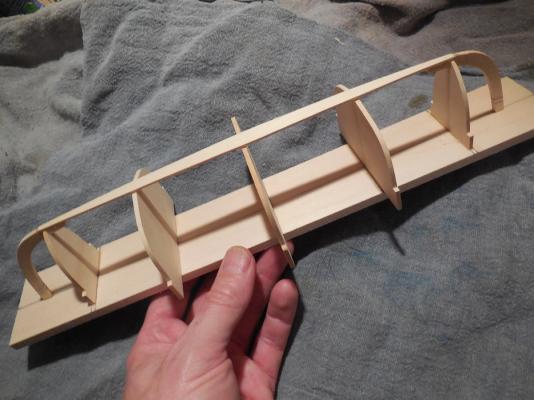
This kit has a building jig that the boat is planked over for the shape then removed off the jig once the planking is done. Built the jig, glued the bottom plank & end stems then attached this assembly on the jig to begin the planking.

- 33 replies
-
- 6
-
-
- finished
- midwest products
- (and 1 more)
-
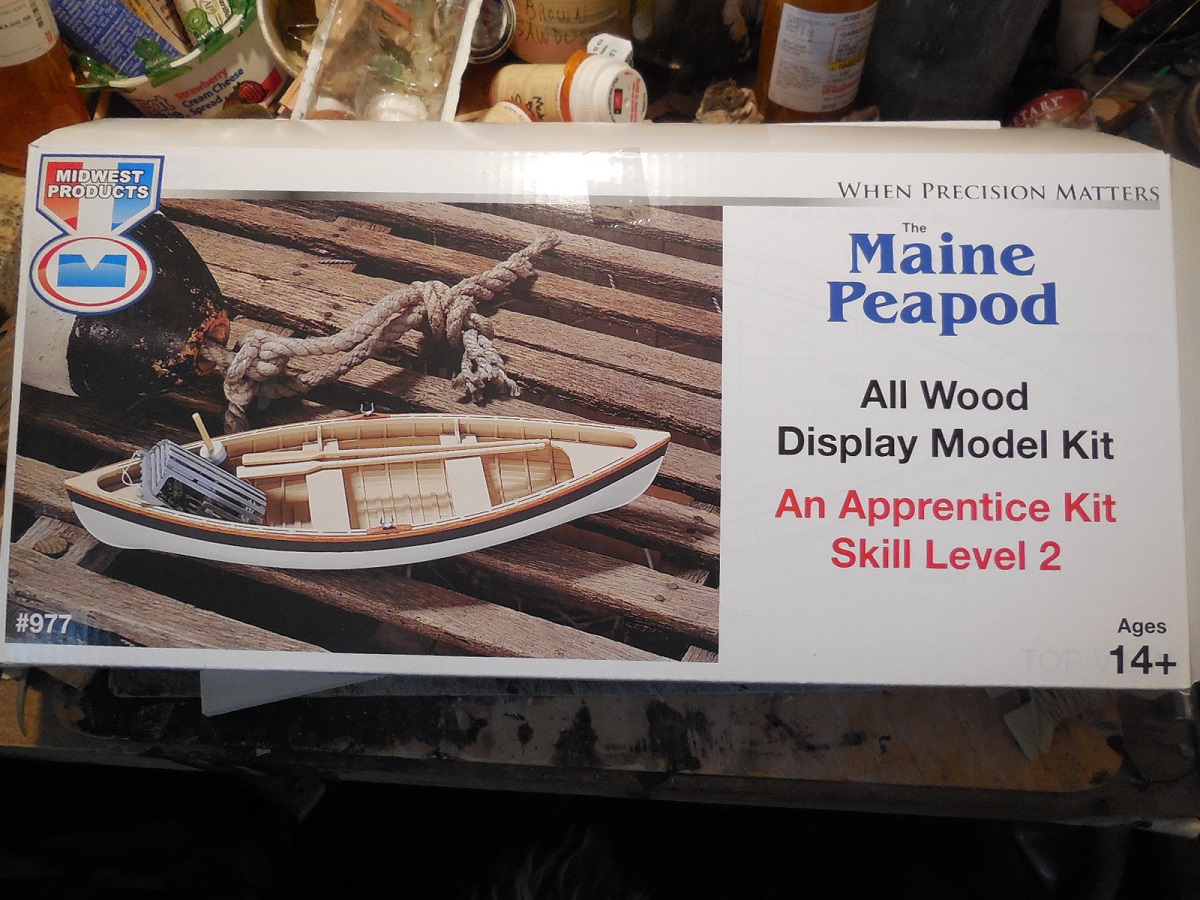
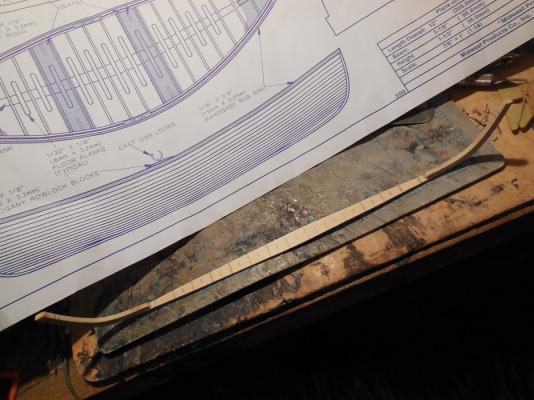
Building this boat for the Wounded Warrior Project sale at Spring MSW Member Show-and-tell Meeting.


- 33 replies
-
- 4
-
-
- finished
- midwest products
- (and 1 more)
-
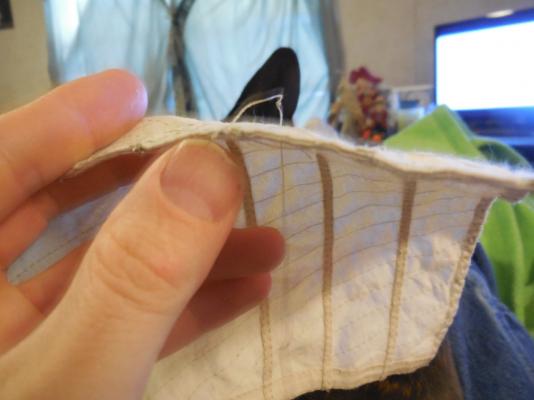
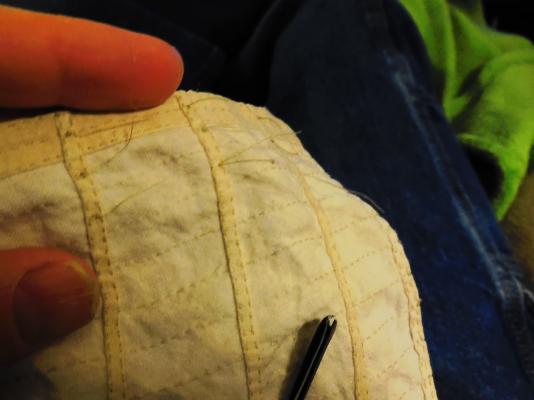
Sewed the reef bands & extra cloths. Next time I do sails I will not use anything thicker than thin handkerchief material. The sails look real good with these details but ended up a little too thick where extra cloth was sewed on. Next will be the reef points & boltrope.


- 607 replies
-
- 14
-
-
- scottish maid
- artesania latina
- (and 1 more)
-
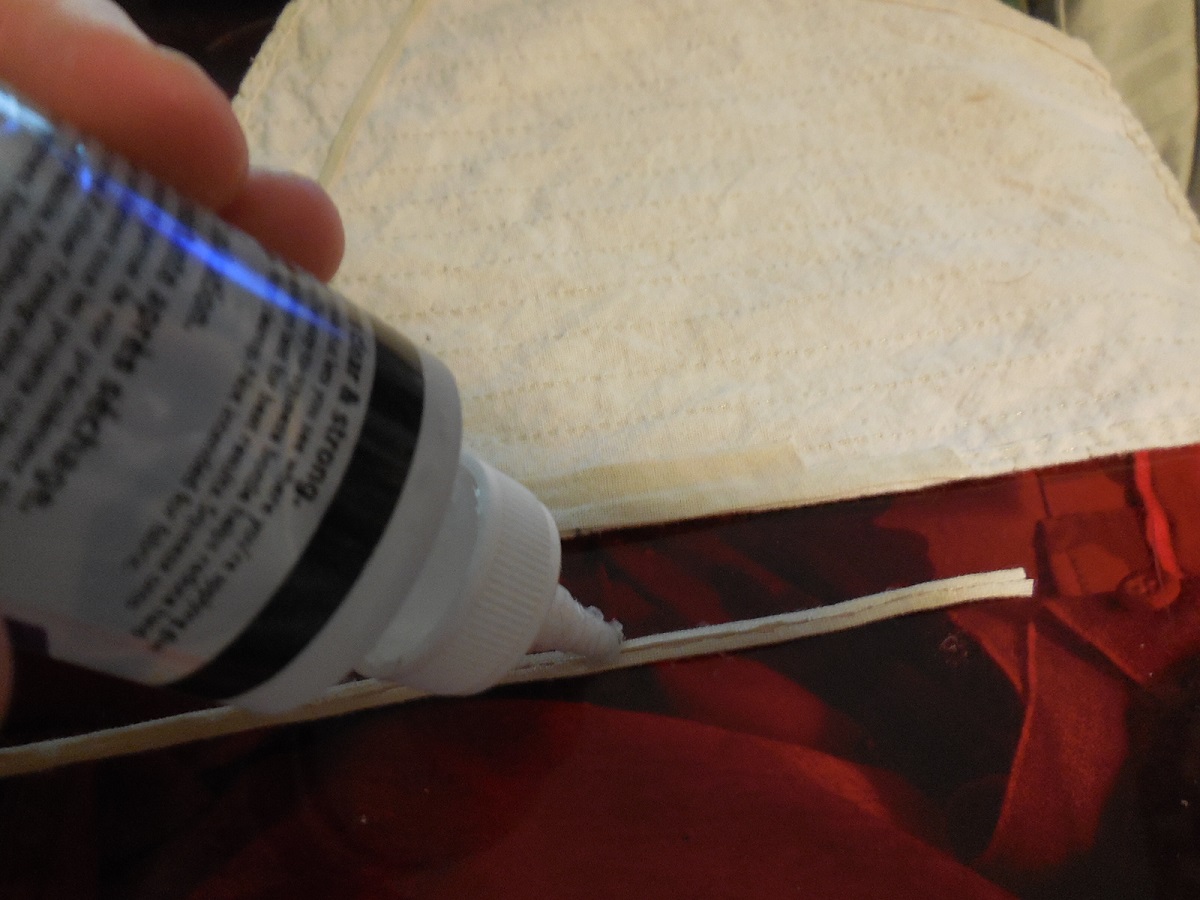
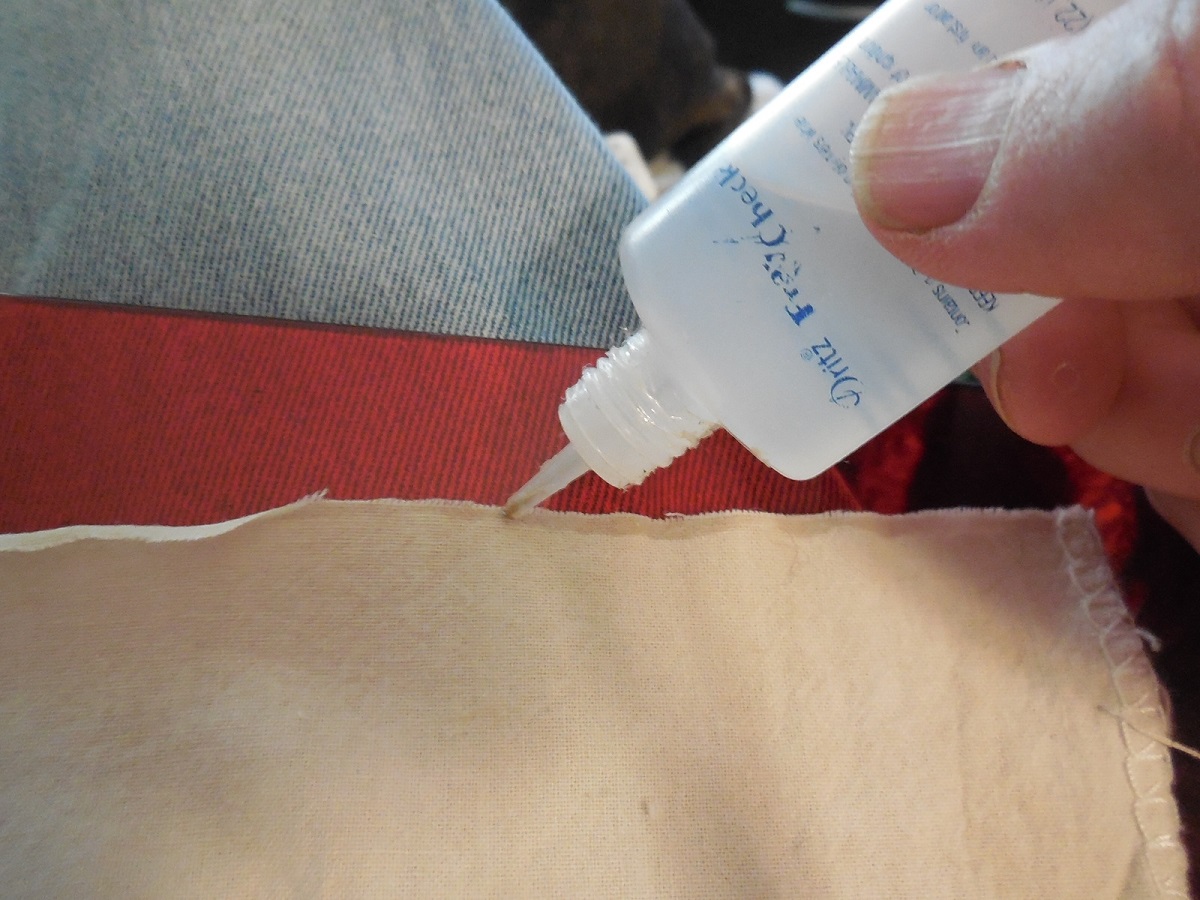
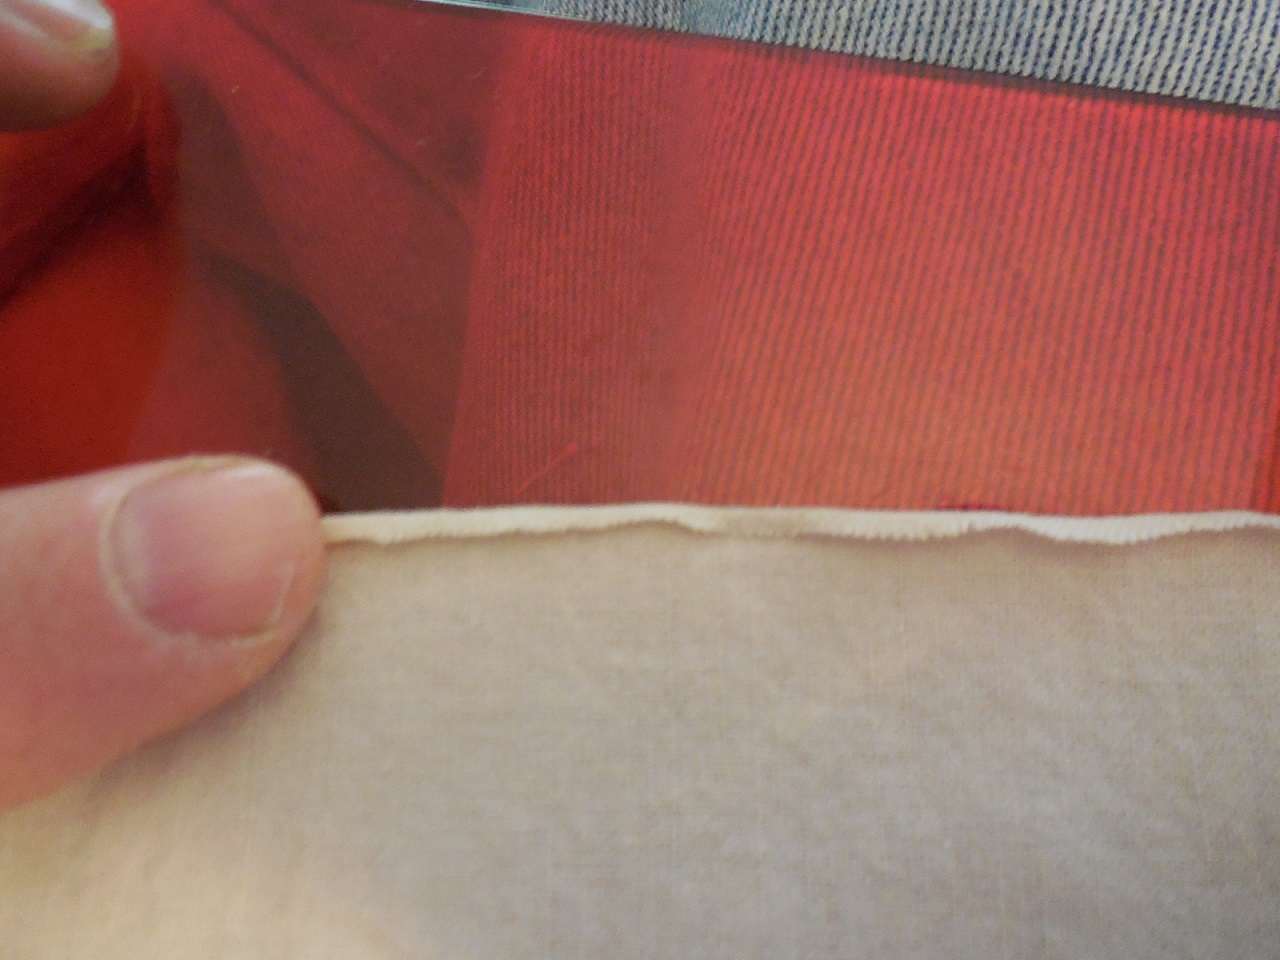
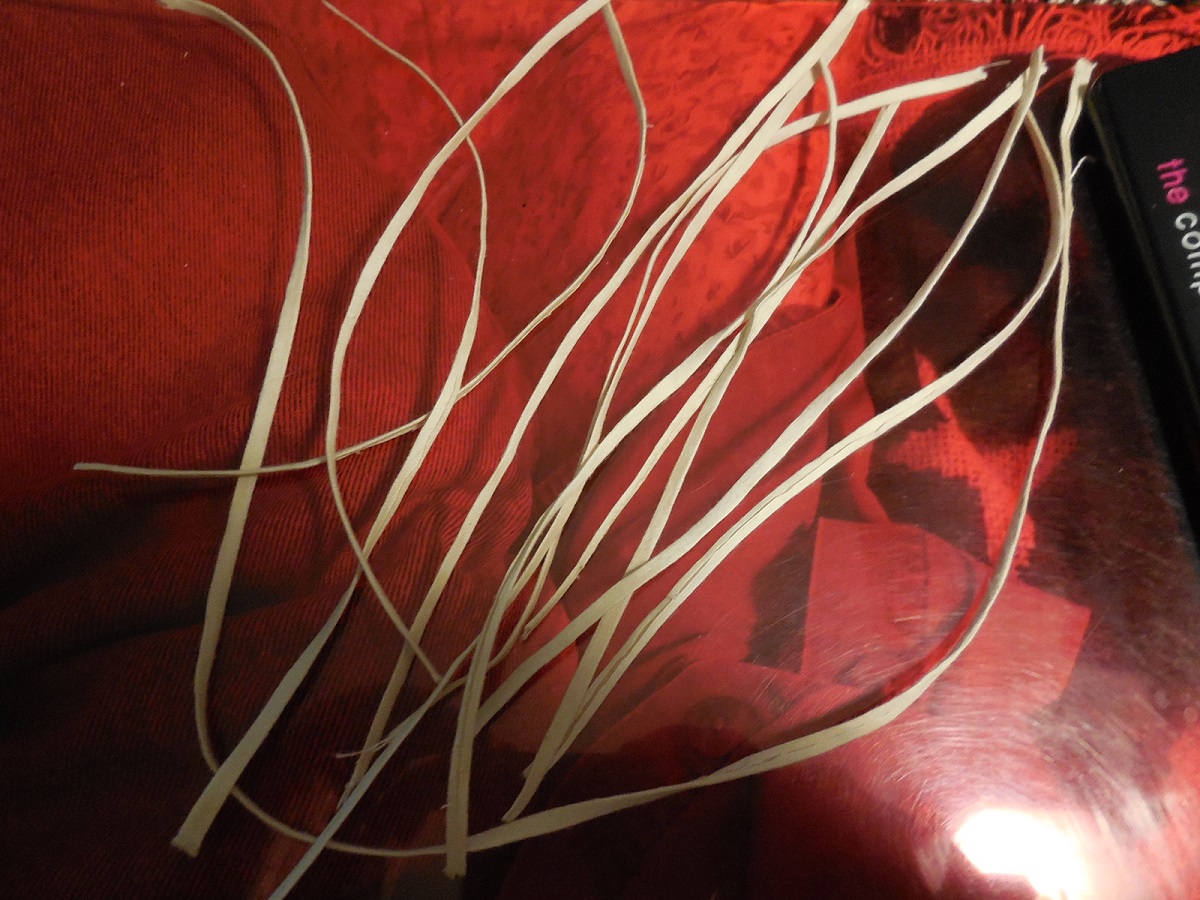
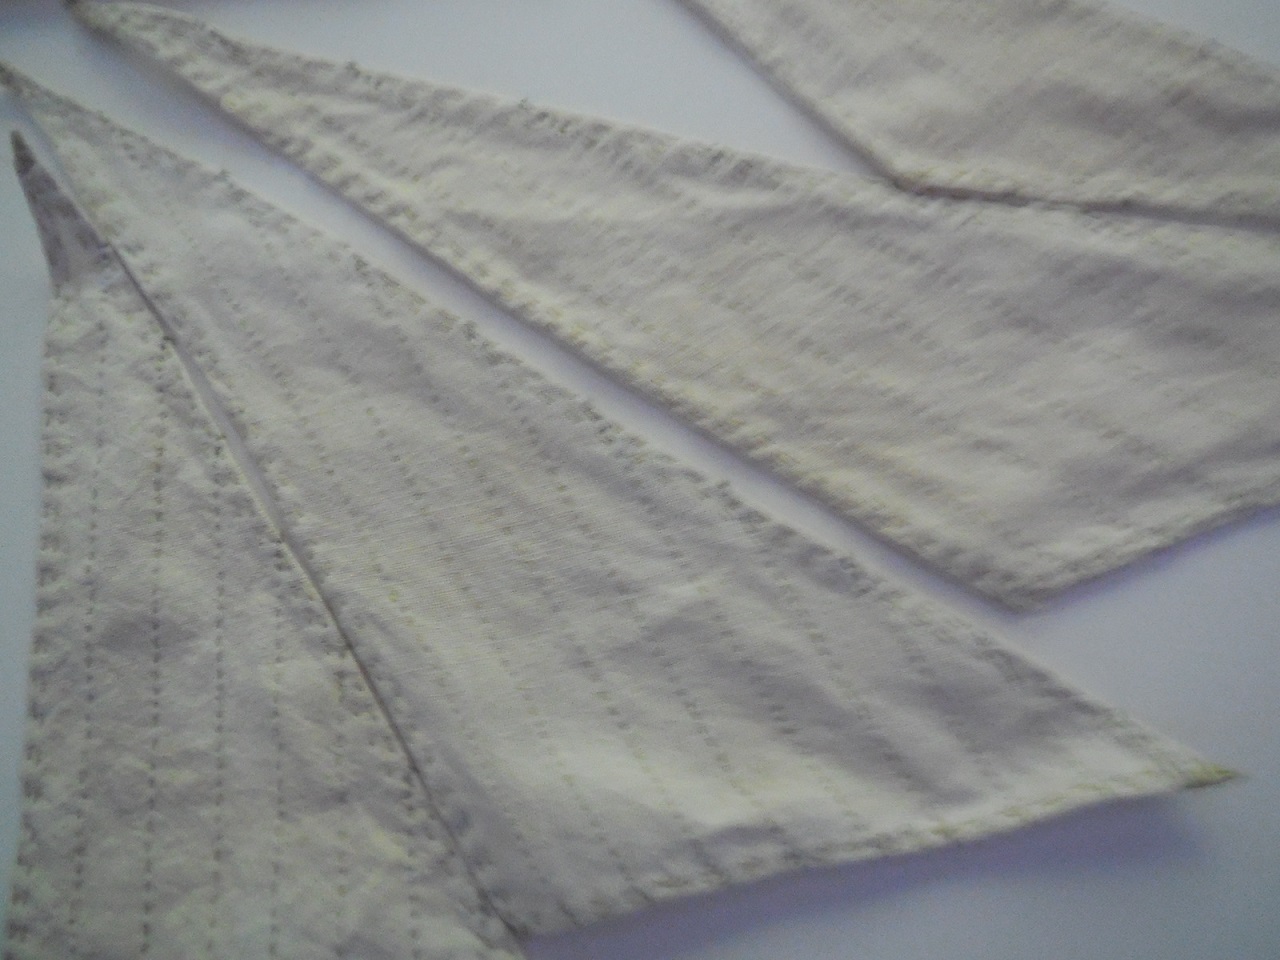
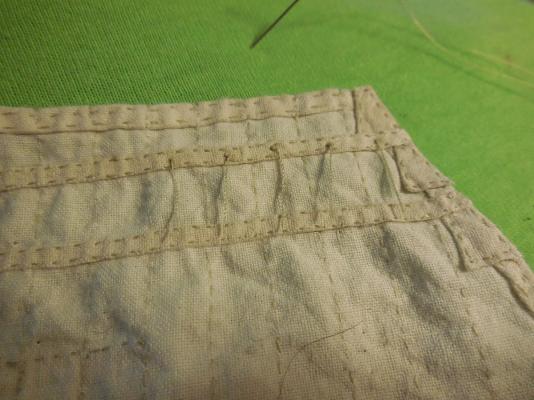
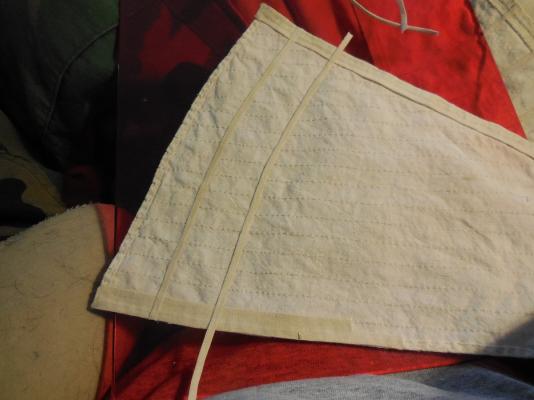
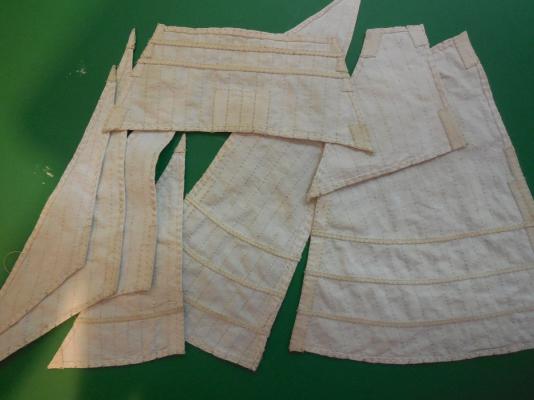
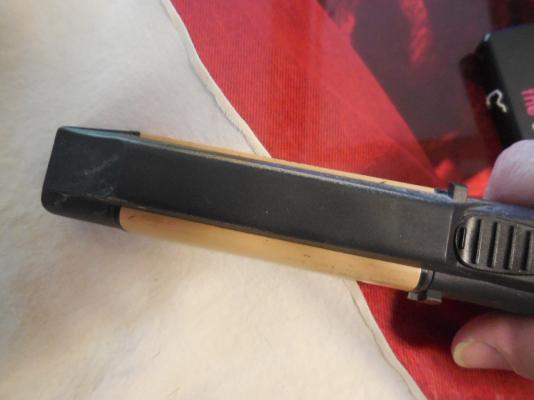
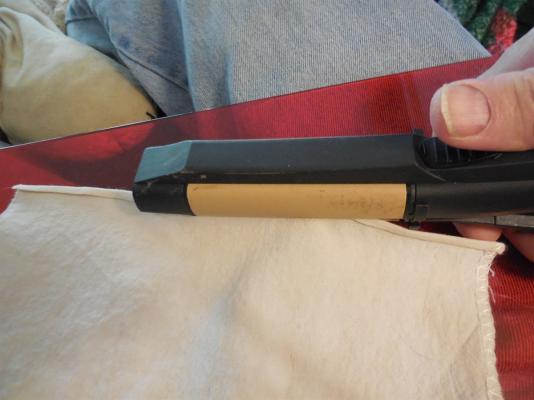
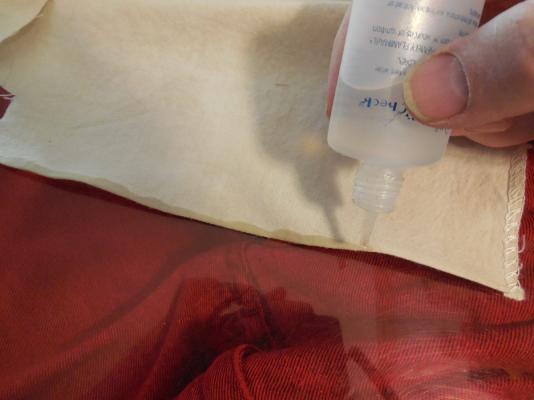
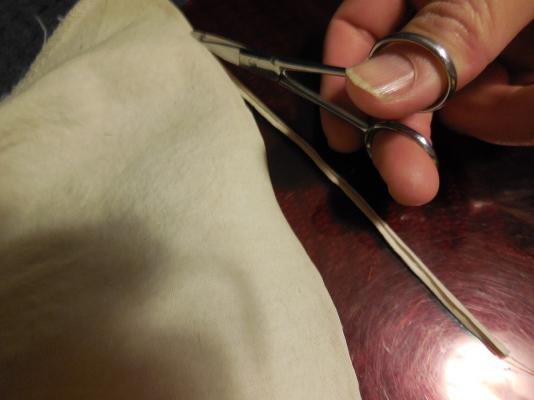
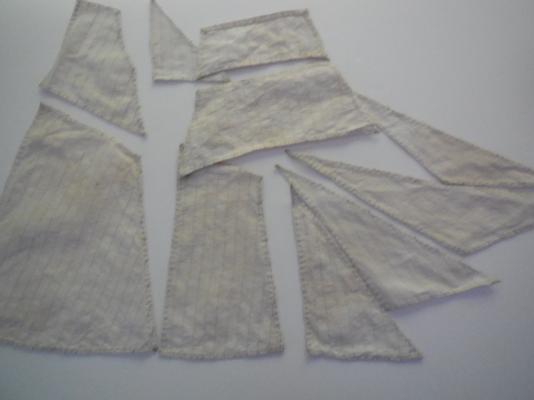
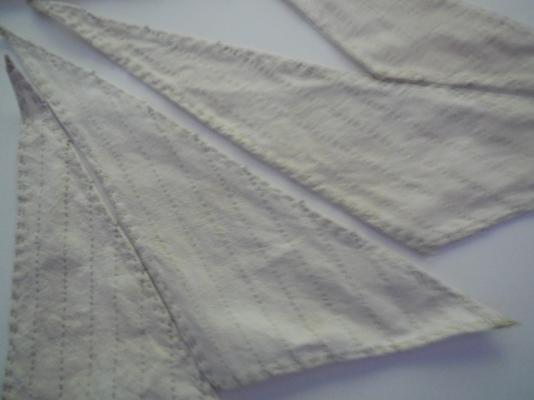
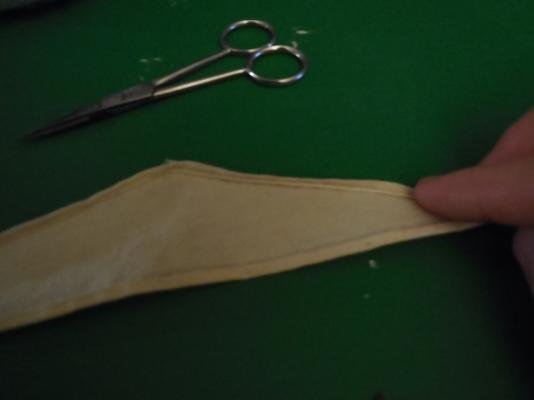
Been working on making & sewing on extra cloths & the reef bands. Used the Fray Check & a hair straightener to form & press them into shape. Making all this on has taken weeks but it turned out to be good timing- my computer crashed & I am now sharing one with my daughter. Things were different & getting all my stuff & info & programs onto hers so I could get back to posting pics on my build log has taken me a while to work out. The reef bands are formed & ready to sew on.


- 607 replies
-
- 7
-
-
- scottish maid
- artesania latina
- (and 1 more)
-
Thanks for the info Jerry!
-
Just discovered this log. I love Brigs. Very clean, crisp beautiful work!
-
Just came across this log. The Constitution is one of my all time favorite ships. Looking good so far !
-
Thanks!
-
The bolt rope has to begin & end somewhere. At what point on the sail edge should you start & end? Where it meets do you just let it touch end to end? Overlap it some? How is it done on real sails?
-
The woodwork is absolutely breathtaking! I cant stop looking at it- great job!
-
Bummer!! :( The hard drive is failing on my computer & I cant Add pics to my build log :(
-
I love the swords! I used to make mini swords sometimes when I used to work at the jewelry store.
- 625 replies
-
- 1
-
-
- bounty launch
- model shipways
- (and 1 more)
-
Very frustrated with computer problems. On someone elses now to post this. Don't know how much I will be able to do my build log- my computer is pretty screwed up
-
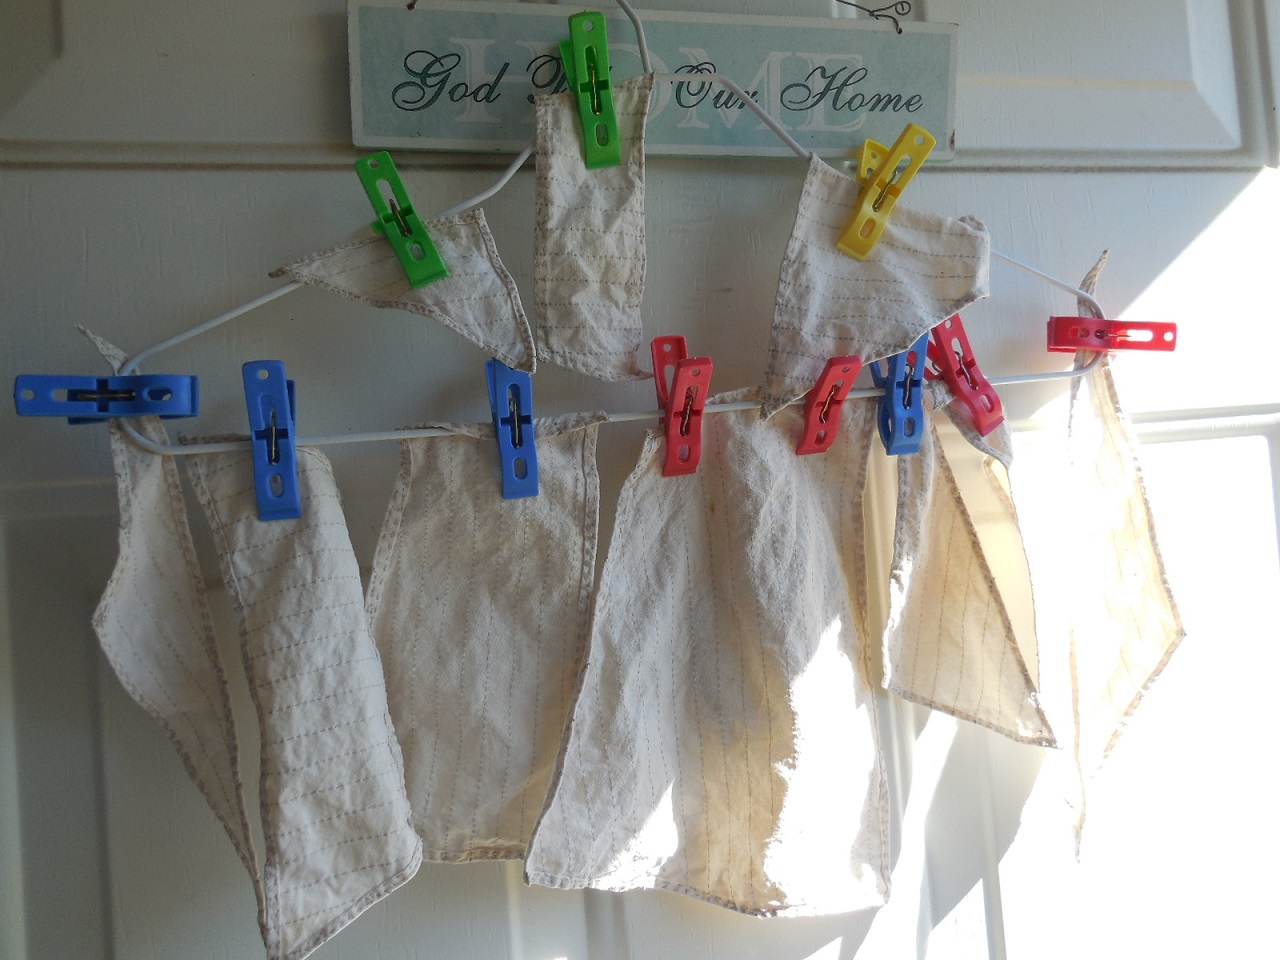
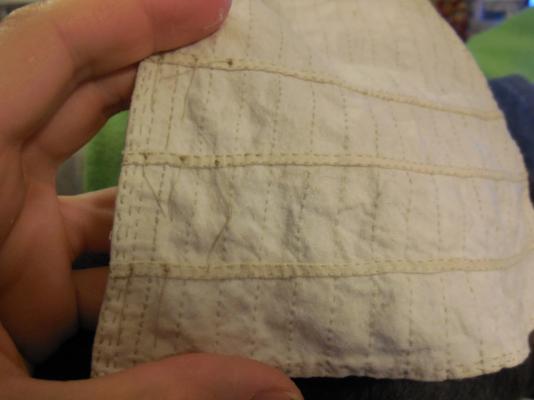
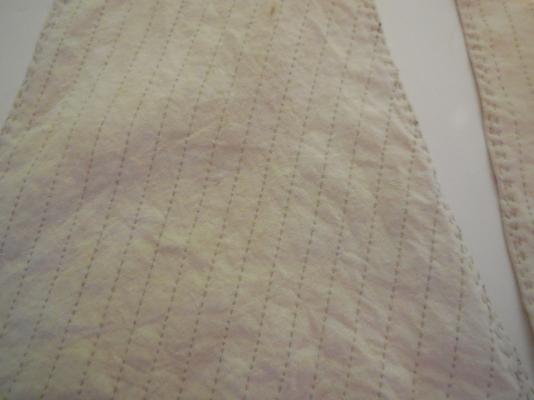
Washed the pencil marks out of the sails. Hung them on the front door on a sunny day. The sun coming through the glass storm door heats the space between the doors & dried them very quickly. The stitched lines turned out looking fine to me. I am now working on the reef bands & other cloths sewed on the corners for extra strength in the high stress areas where the sail was pulled on by ropes/rigging. Pics coming soon.........

- 607 replies
-
- 13
-
-
- scottish maid
- artesania latina
- (and 1 more)
-
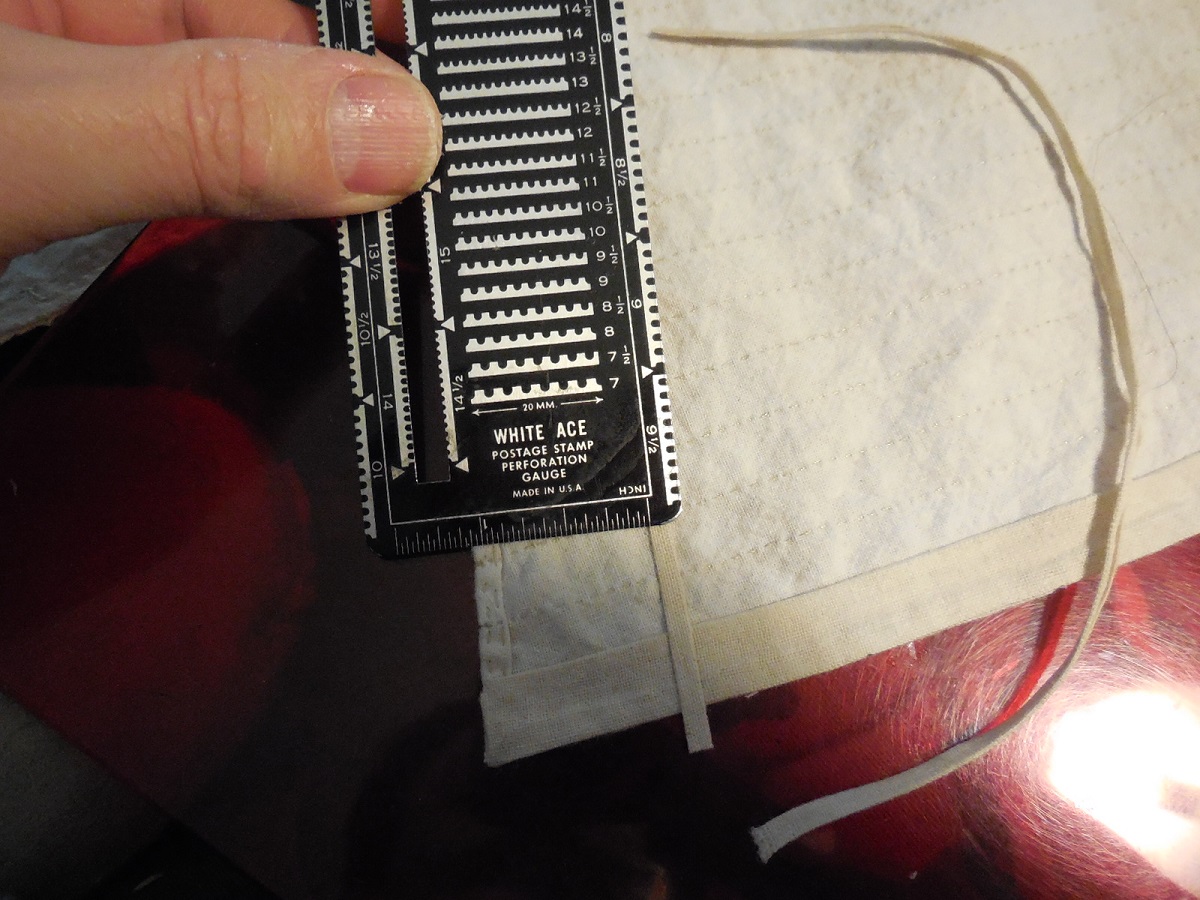
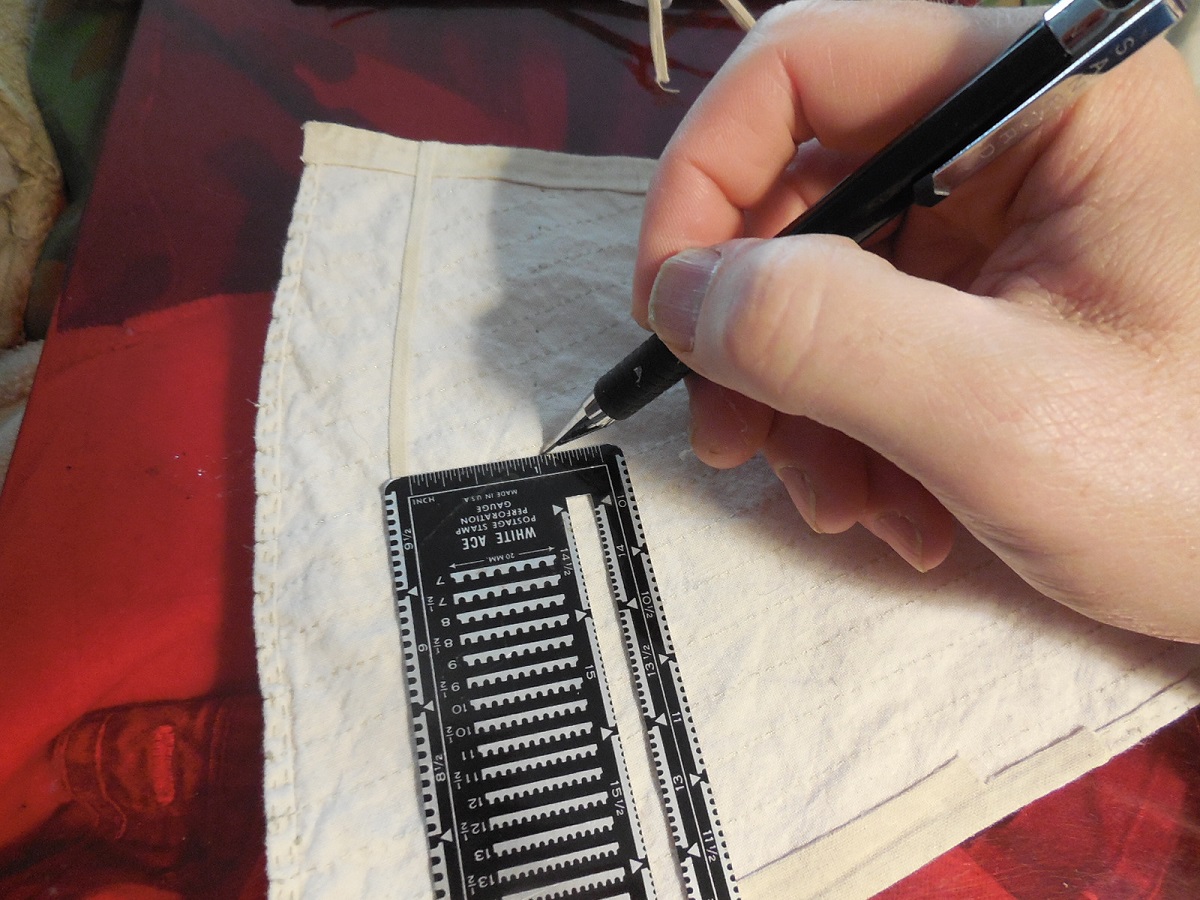
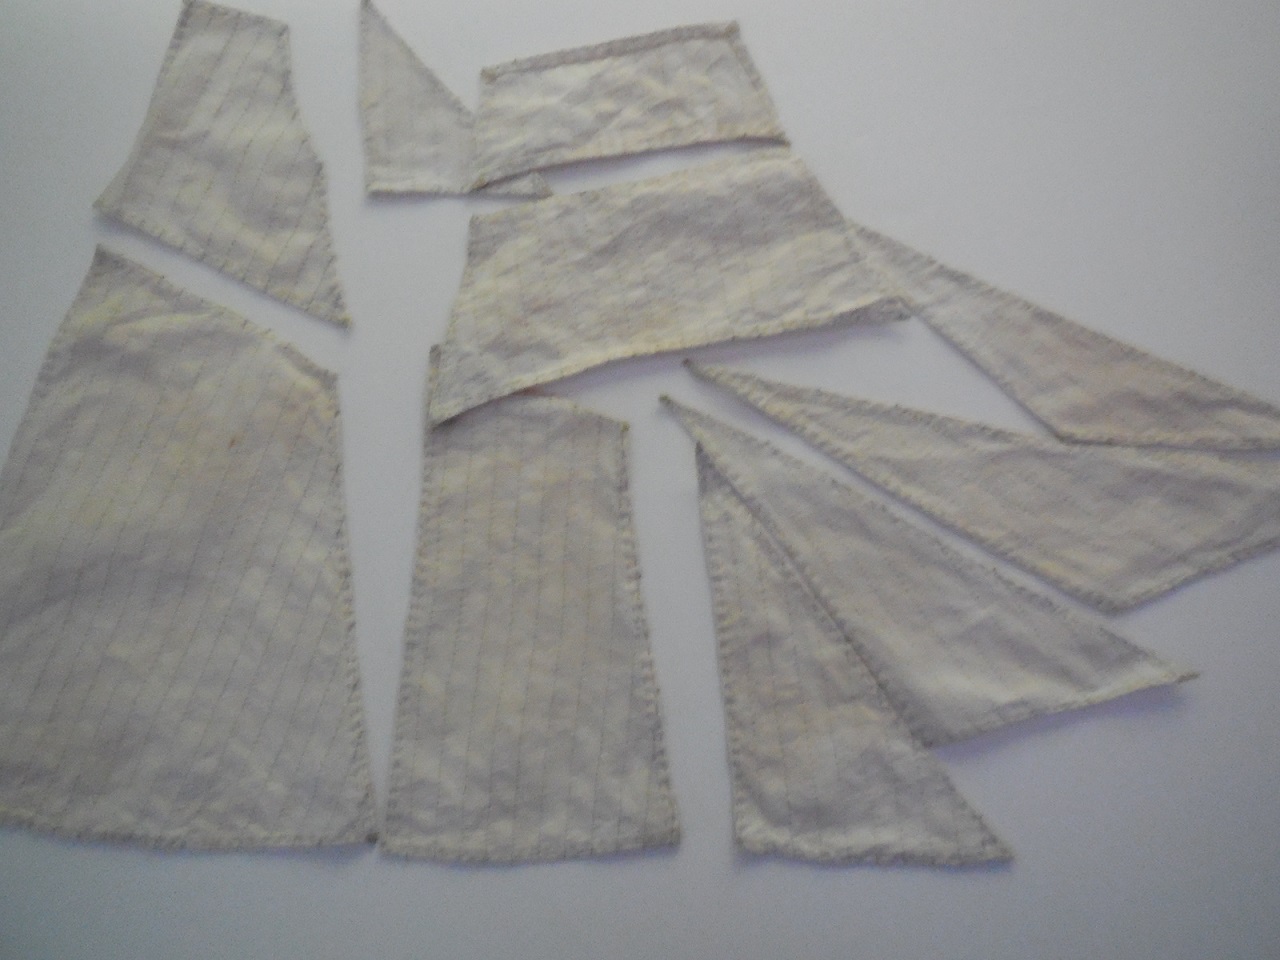
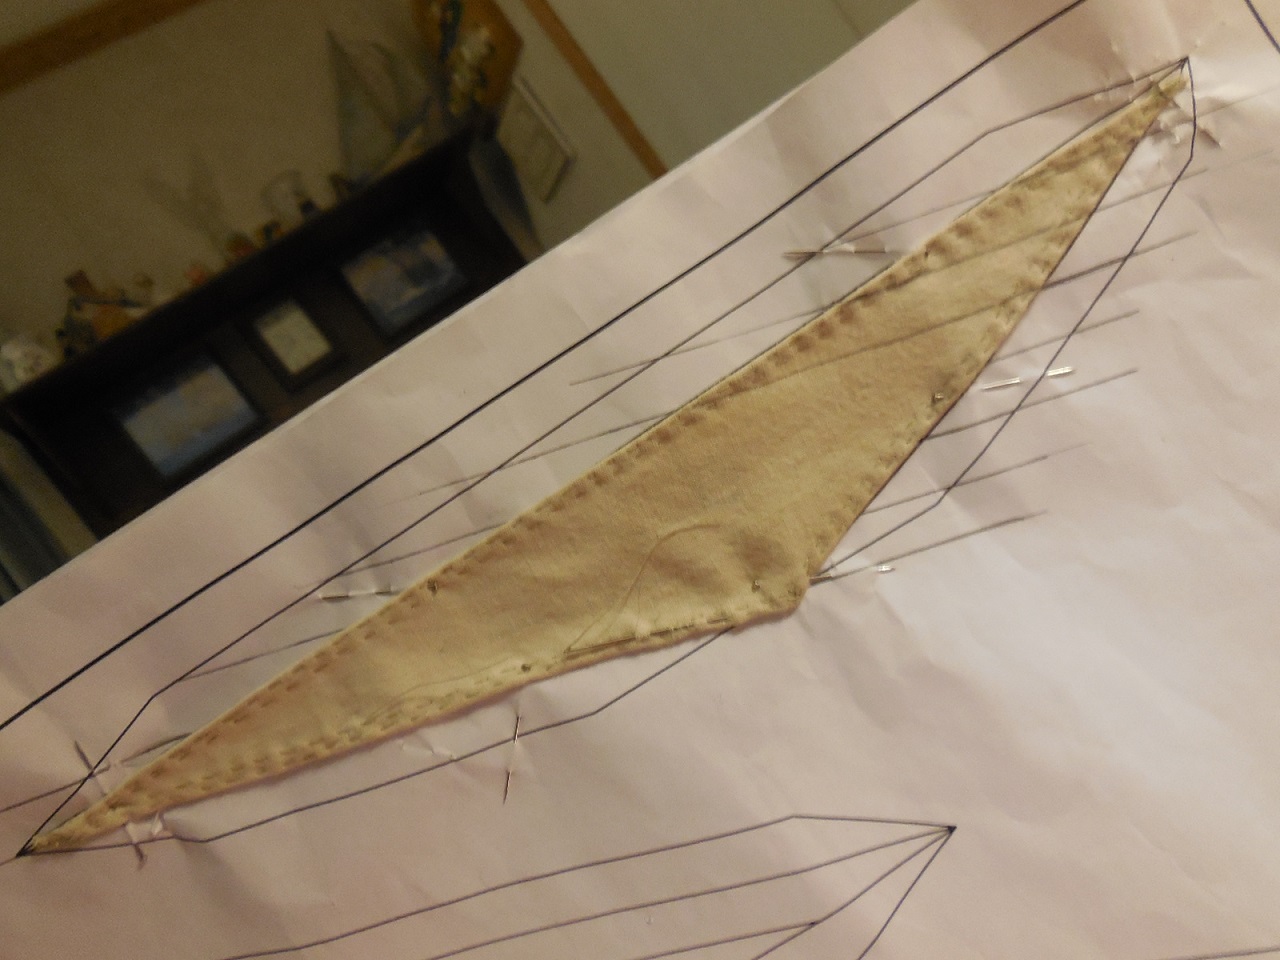
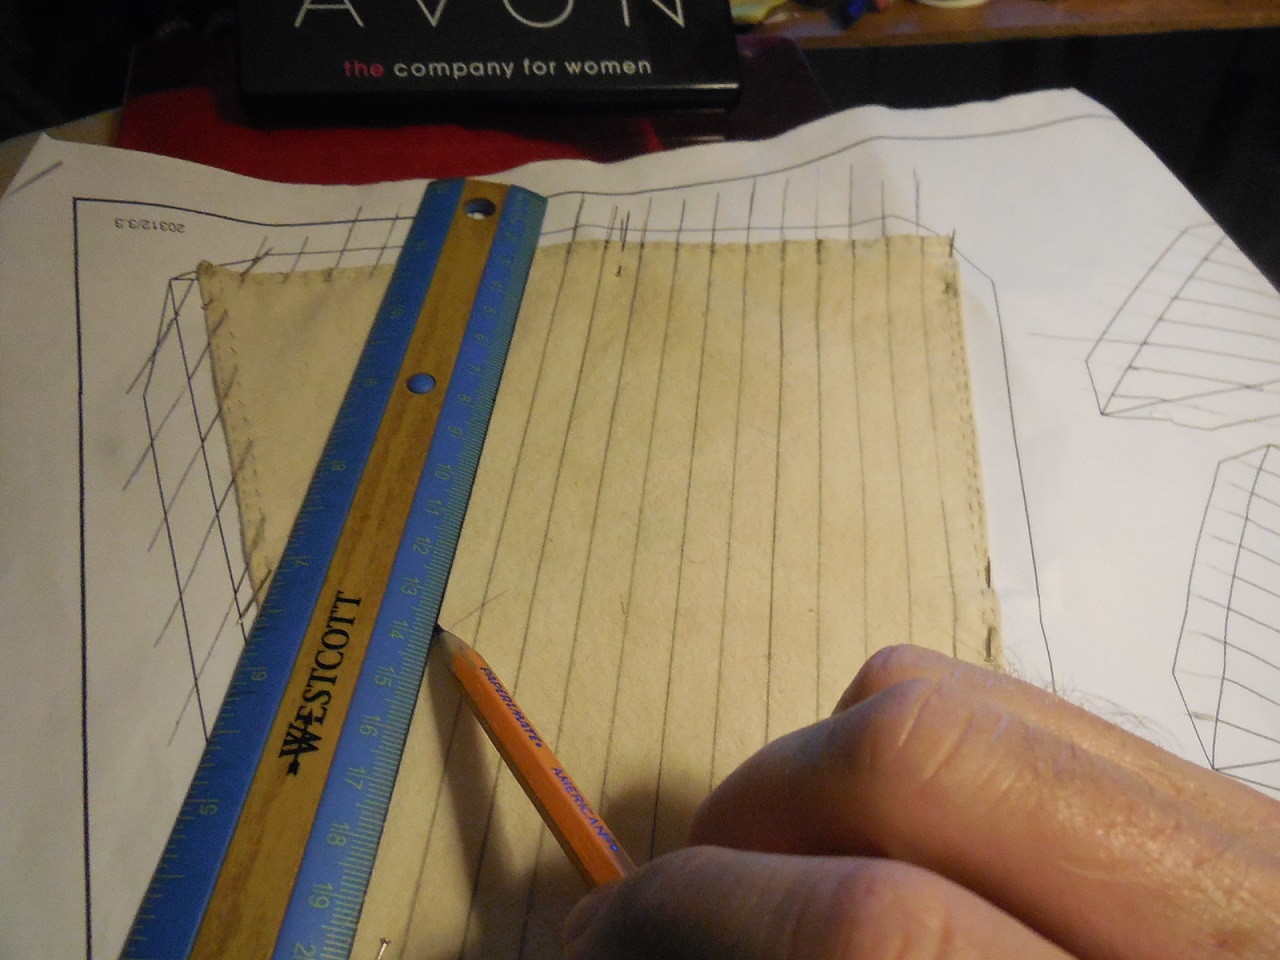
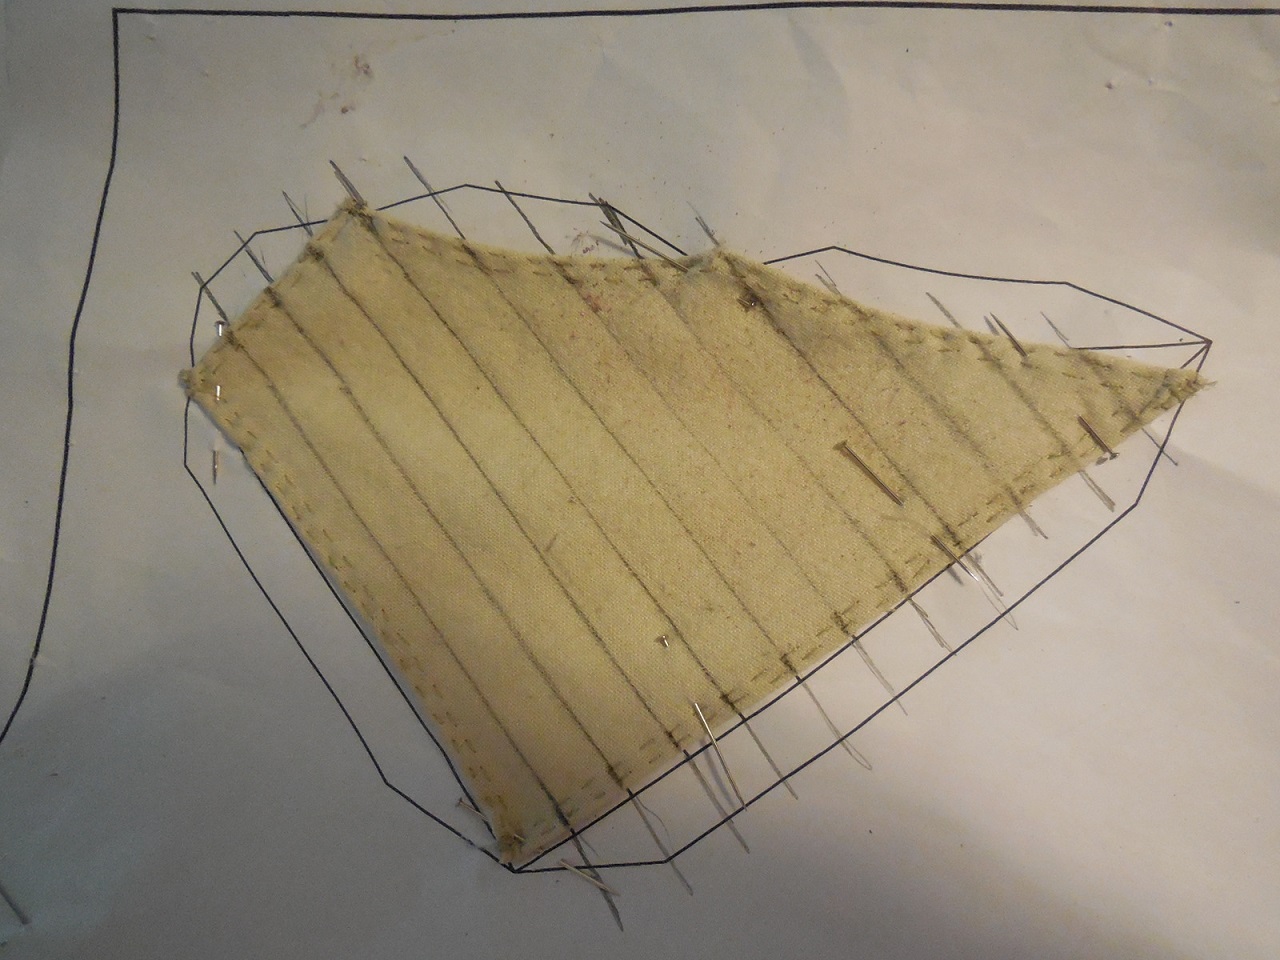
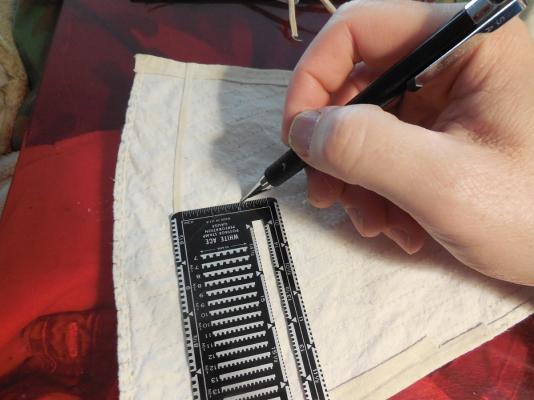
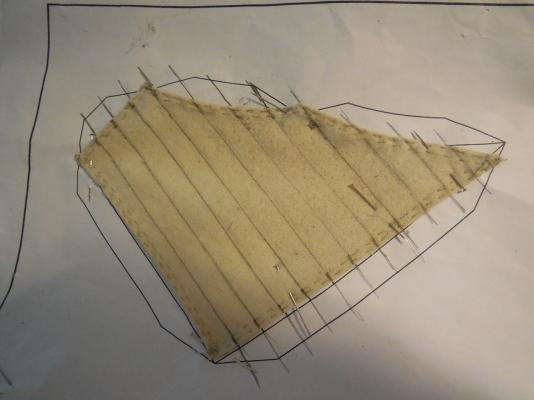
Hand stitching the lines for the sail cloths will not be easy. How in the world will I get all those line straight? I pined the sails to the sail plan sheet. Used a ruler to mark the lines in pencil. Used the penciled lines as my guide & very slowly over many days I stitched the line in keeping the stitching as close as I could, keeping the line as straight as I could.


- 607 replies
-
- 10
-
-
- scottish maid
- artesania latina
- (and 1 more)
-
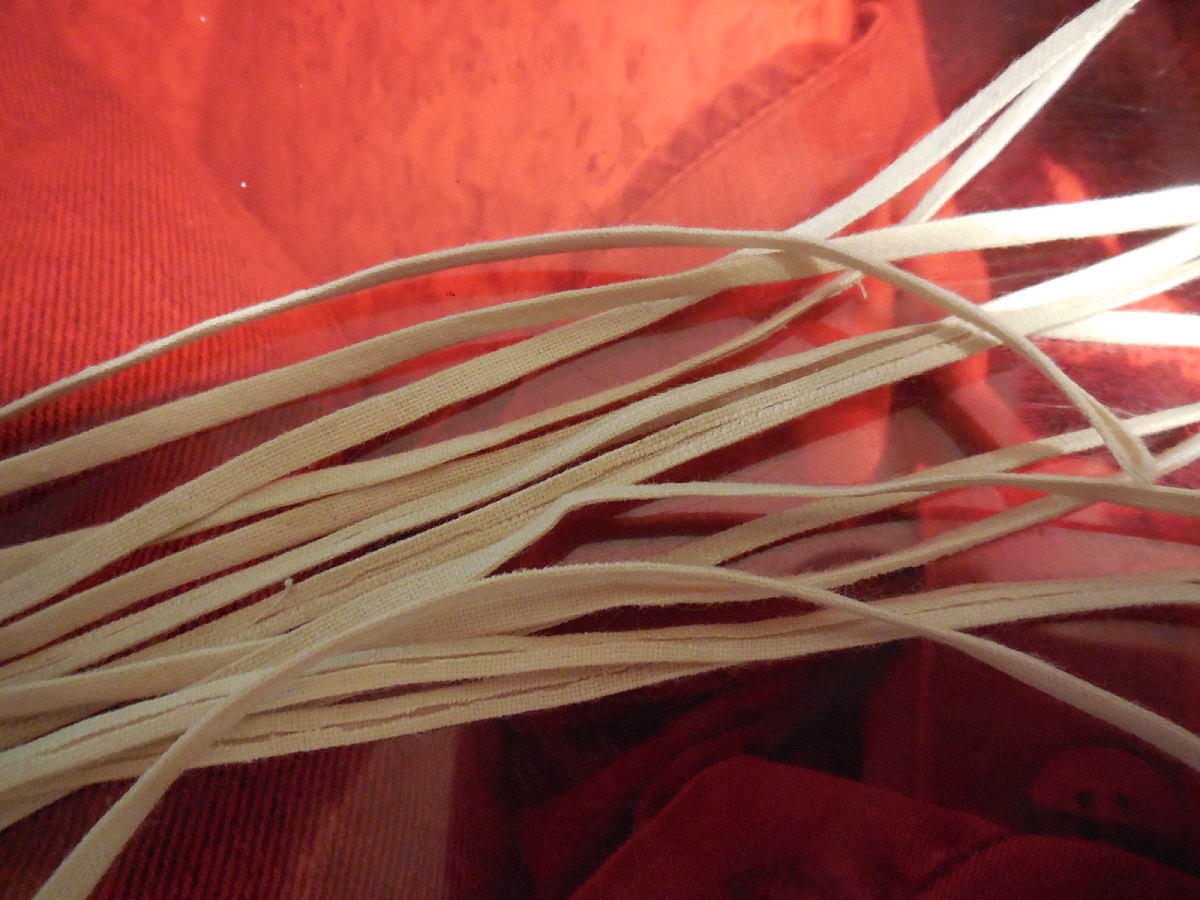
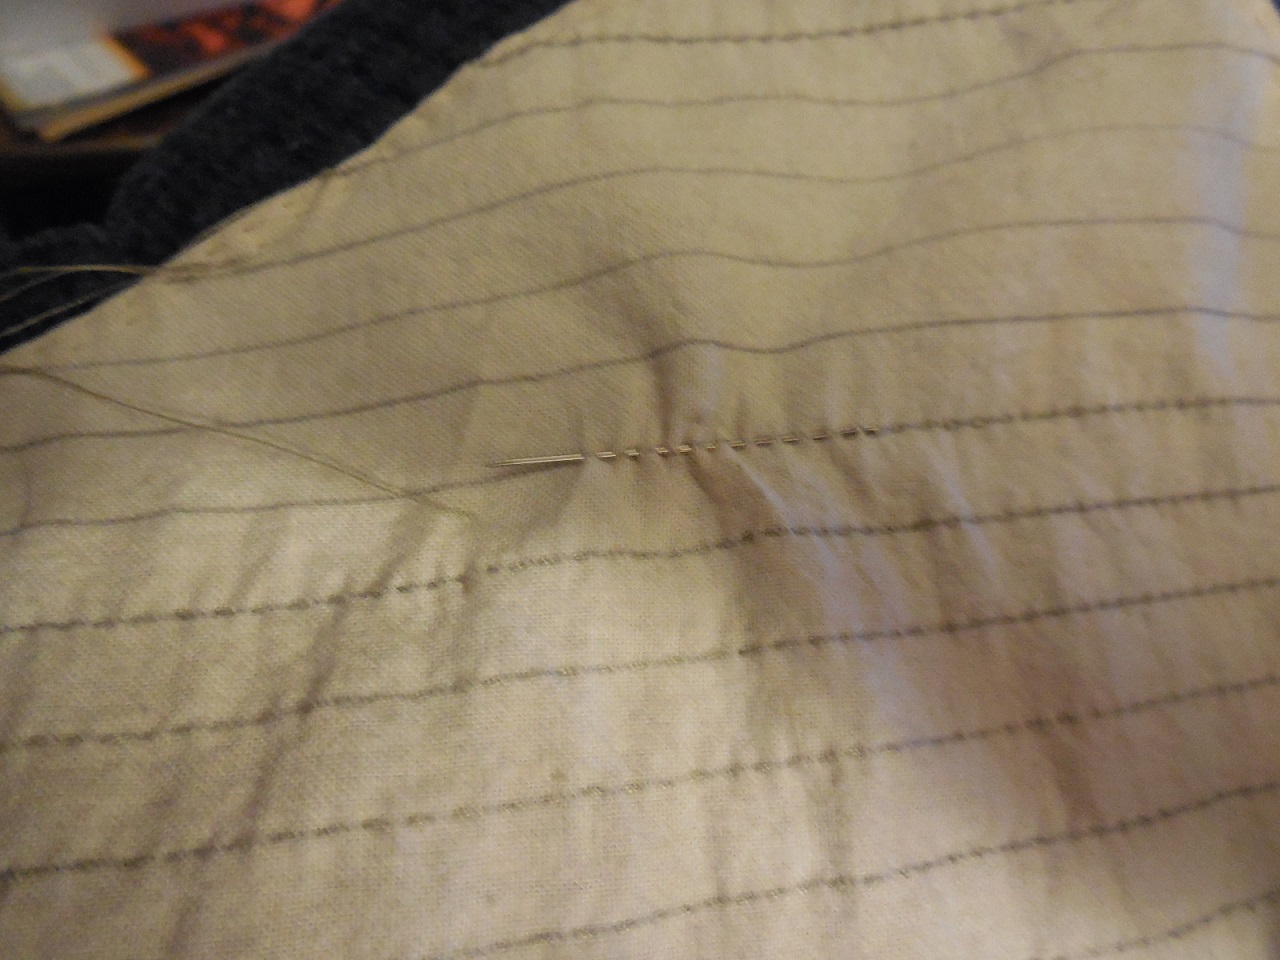
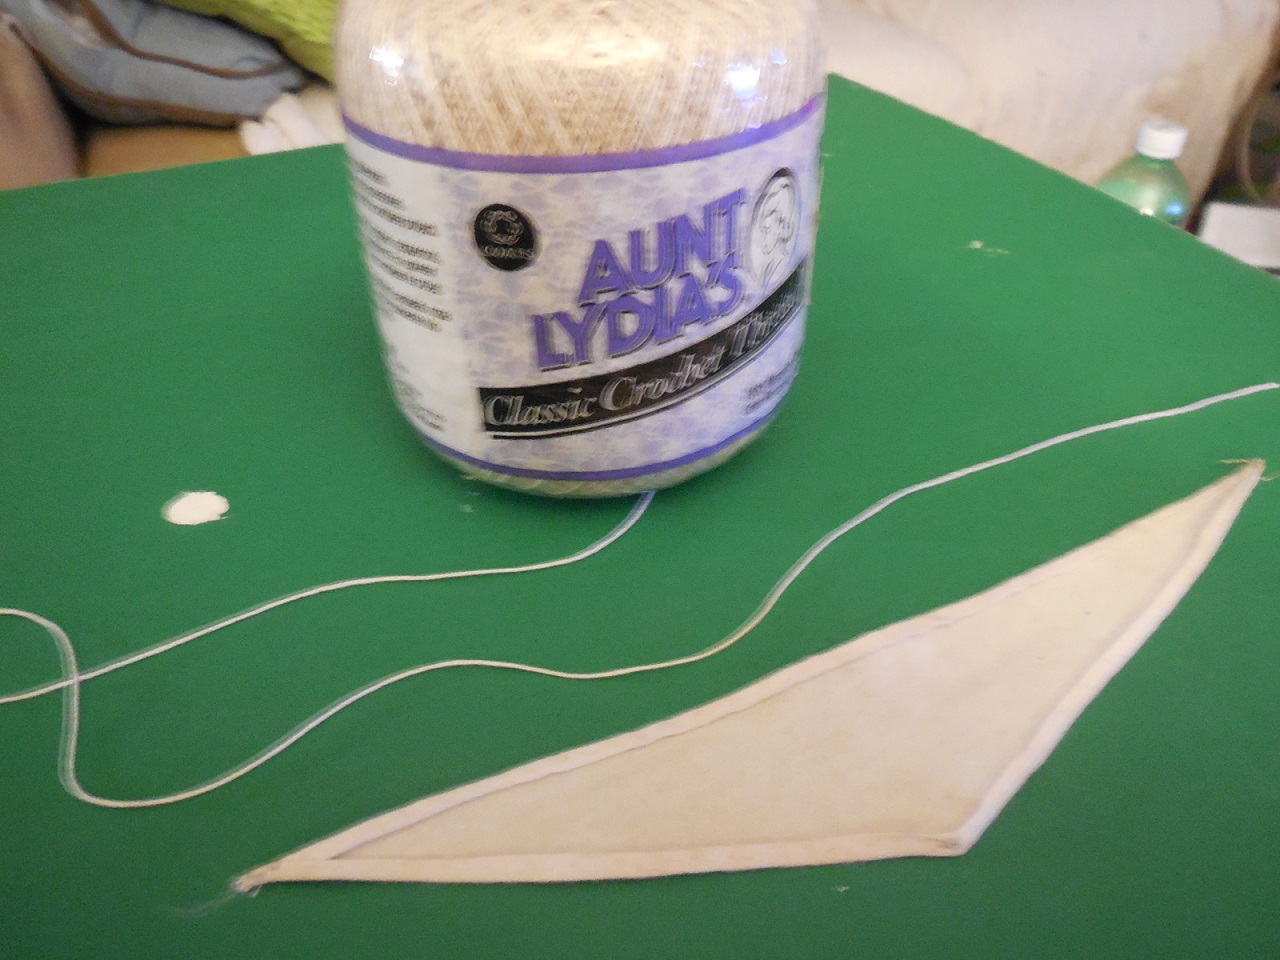
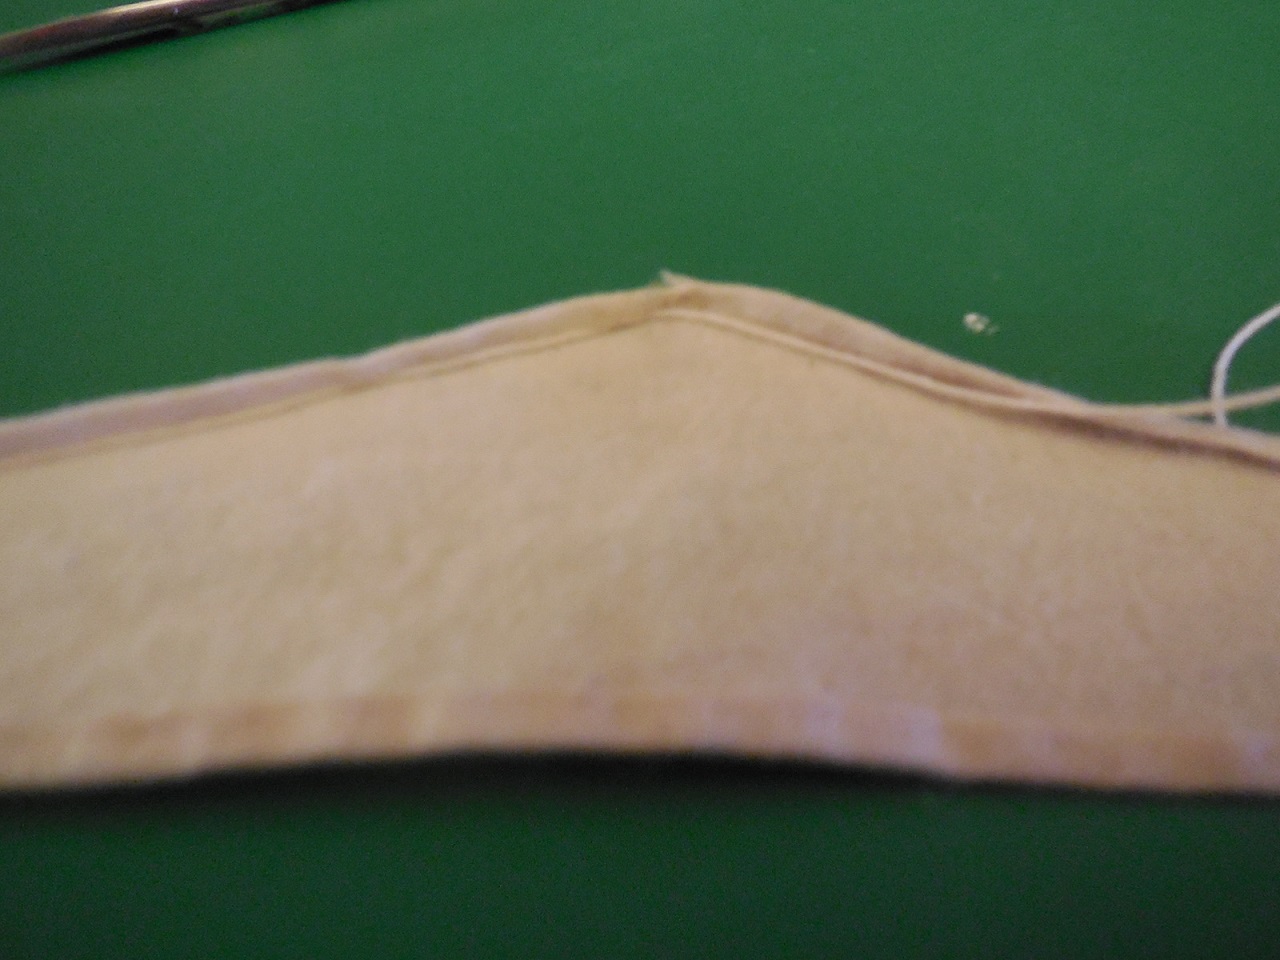
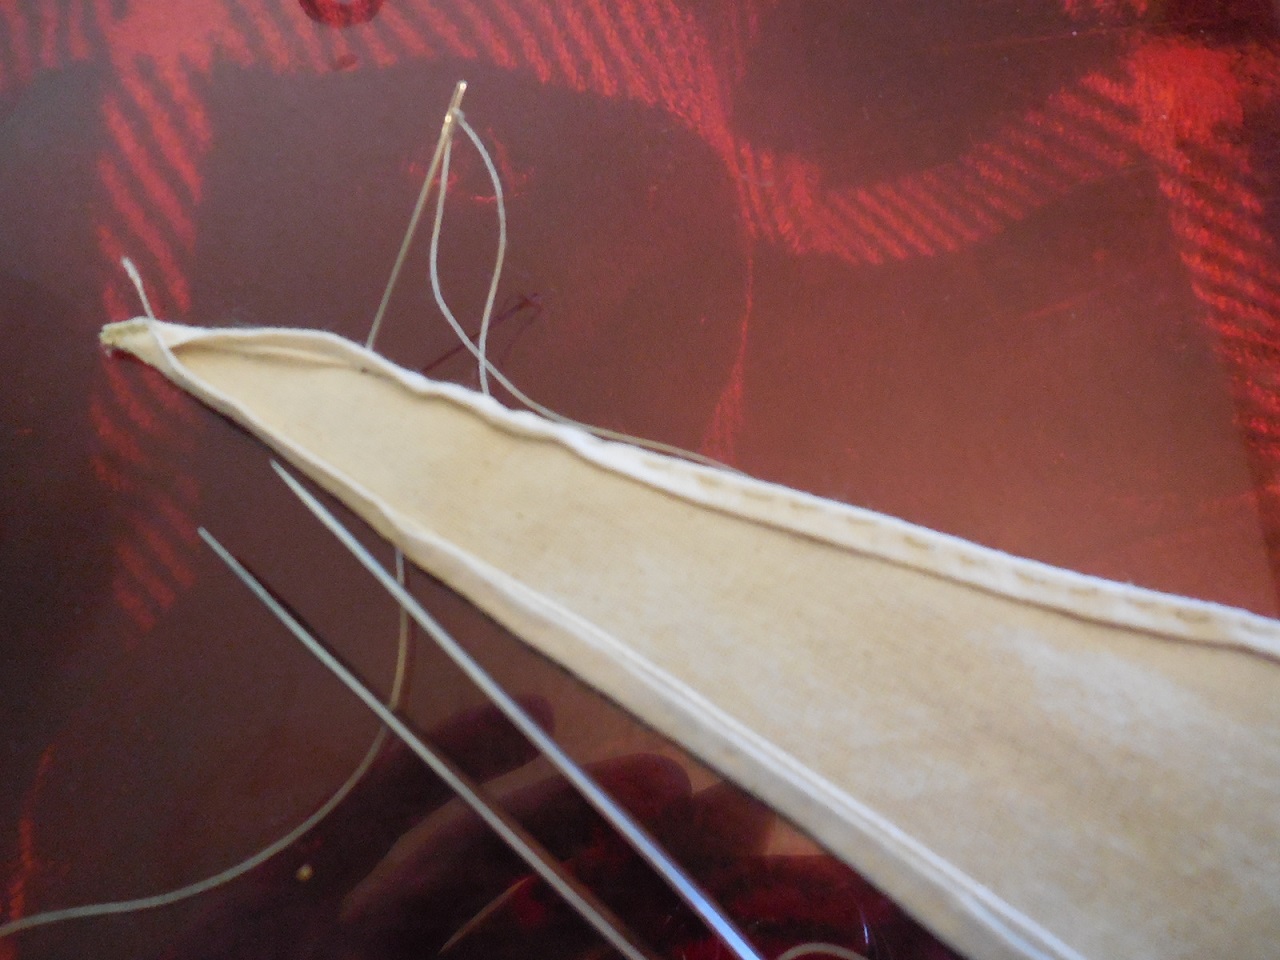
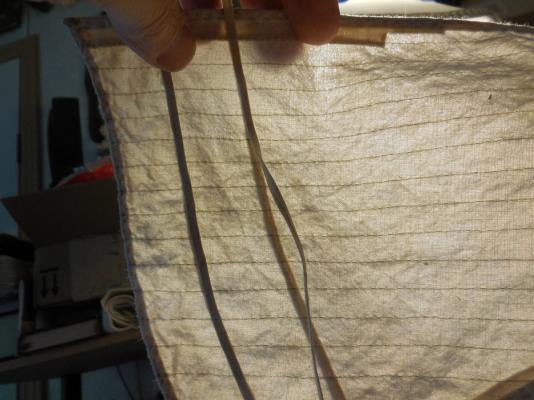
Before sewing the folded edges down on my sails I put a thread along the inside edge all the way around. Where it met I overlapped it a few inches. My reasoning for this is to have a reinforced line for when I sew the bolt rope along the outside edge. The inside thread is small enough to not show when sewed in but a big & strong enough to hold the bolt rope & also I wont have to worry about the sail edge pulling through.


- 607 replies
-
- 9
-
-
- scottish maid
- artesania latina
- (and 1 more)