JesseLee
-
Posts
1,694 -
Joined
-
Last visited
Content Type
Profiles
Forums
Gallery
Events
Everything posted by JesseLee
-
 I've been trying to find a pictures of a string along but cant find any
 -
Brian, It was not in my kit plans at all. I researched it & learned from others logs & the rigging section here on MSW. From what I have learned anywhere rope is around wood or rubs anything it would be wormed, parceled or served to guard against wearing too soon. The first shroud line was served all the way down to guard against the sail rubbing it. There are many others here on MSW who know much more about this than I do. Read through the Masting, Rigging & Sail section & feel free to ask questions
- 607 replies
-
- 1
-

-
- scottish maid
- artesania latina
- (and 1 more)
-
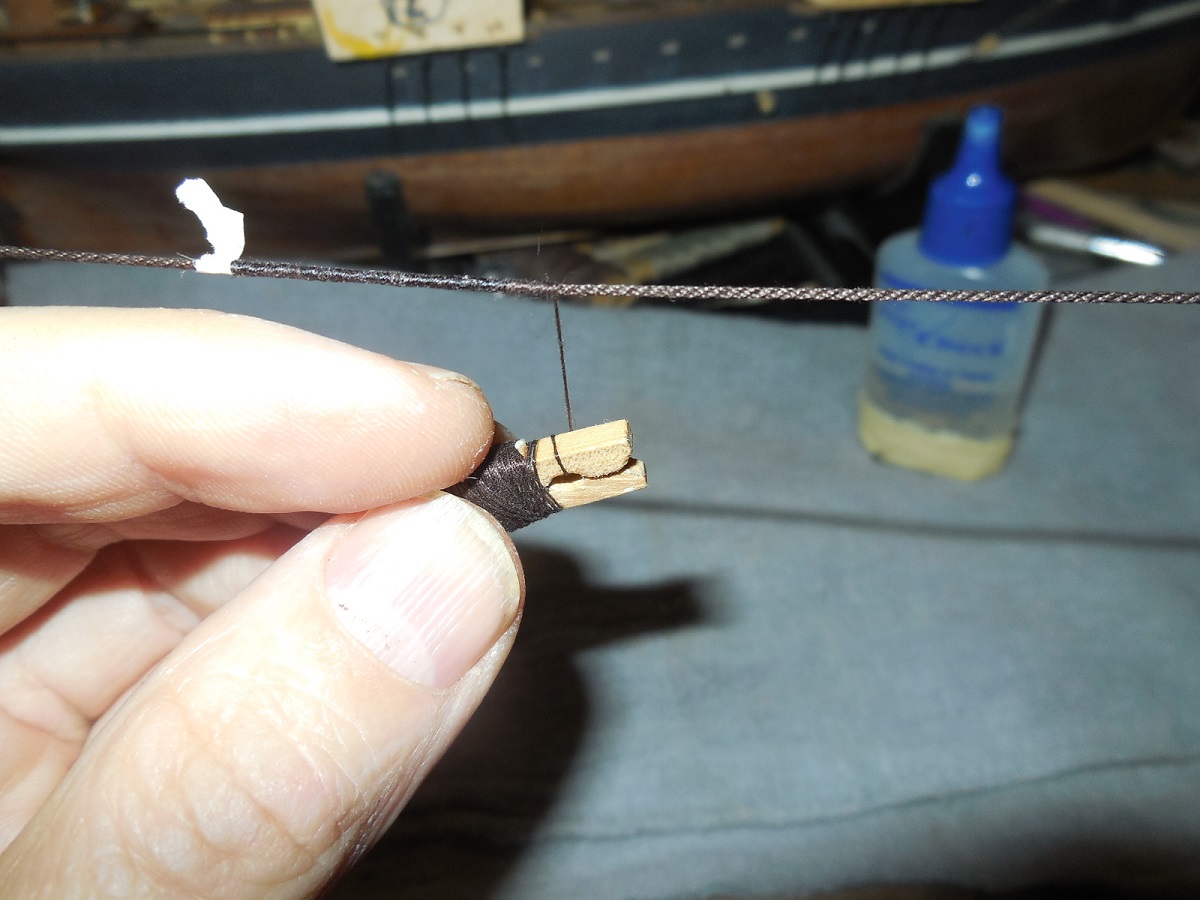
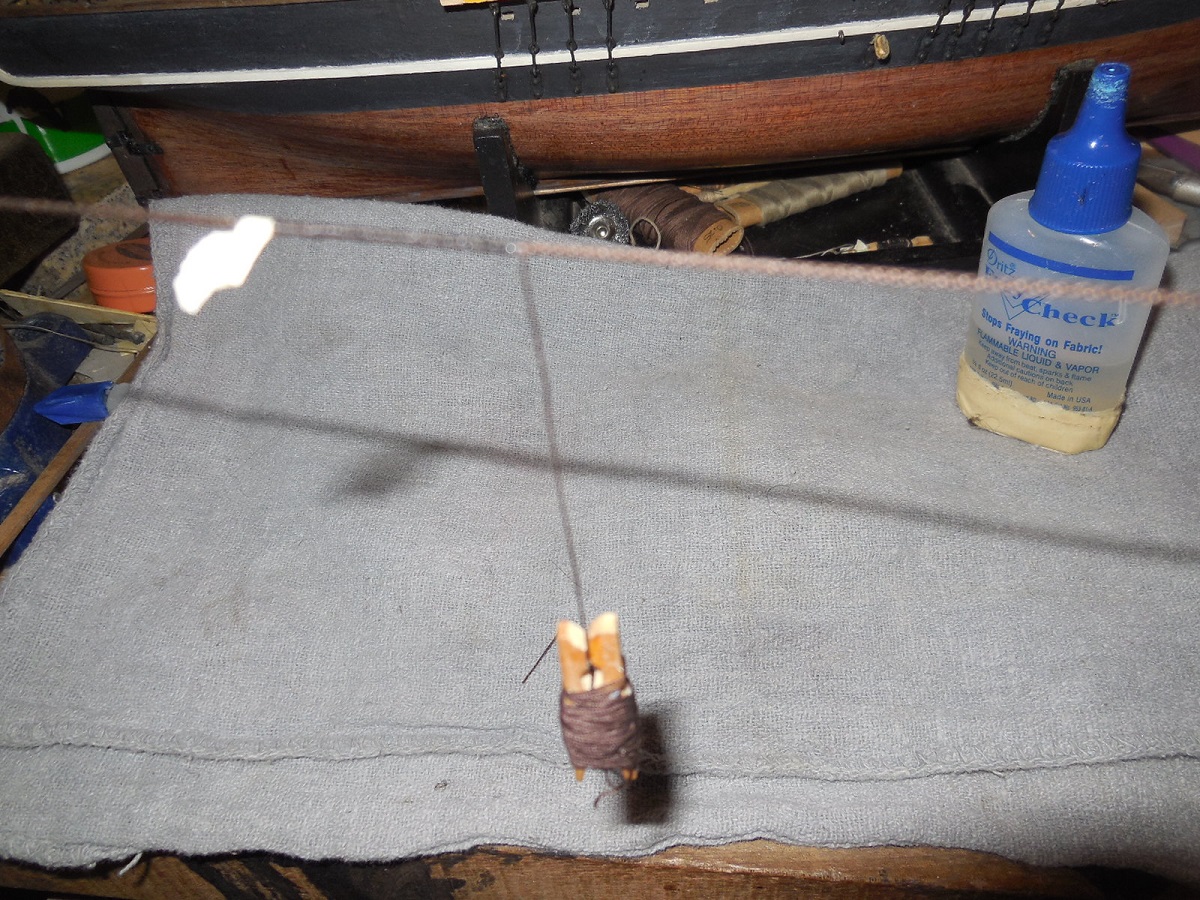
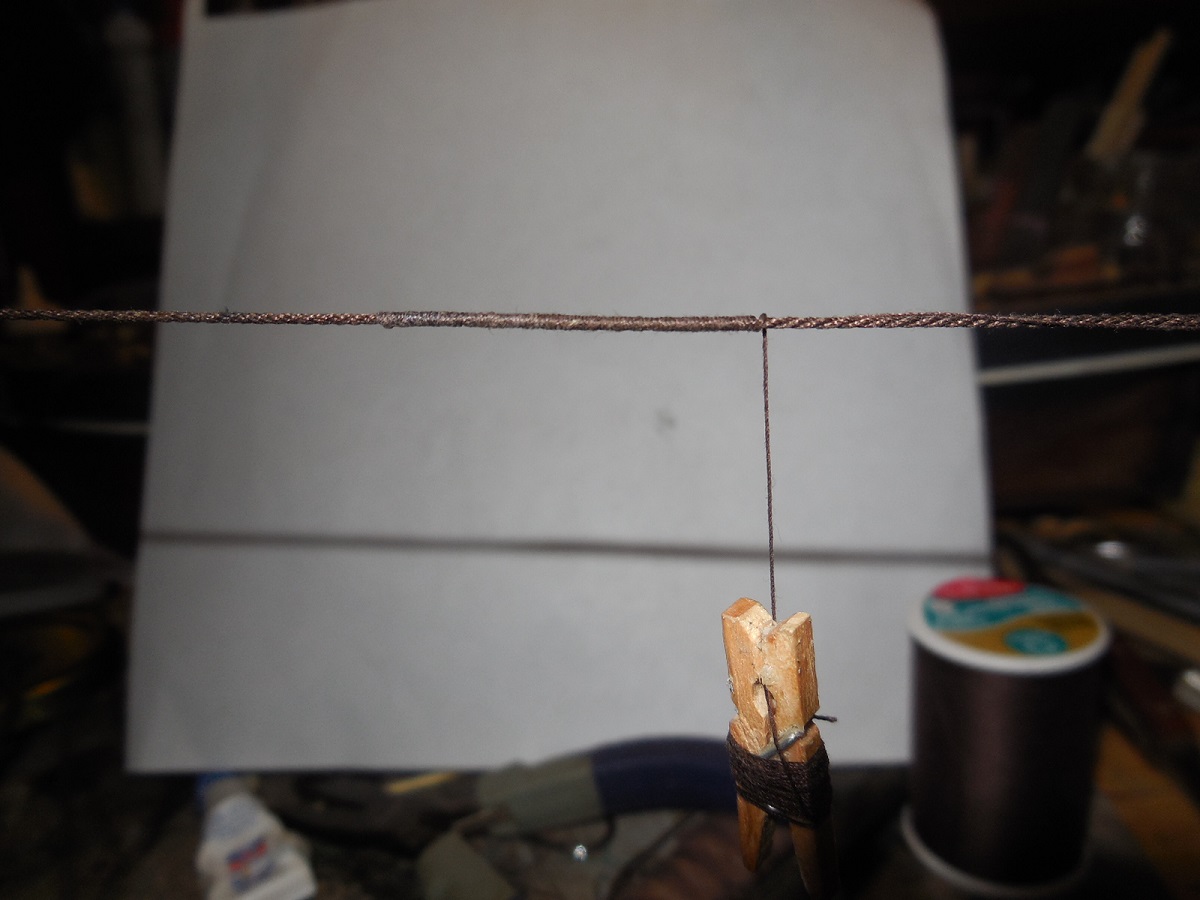
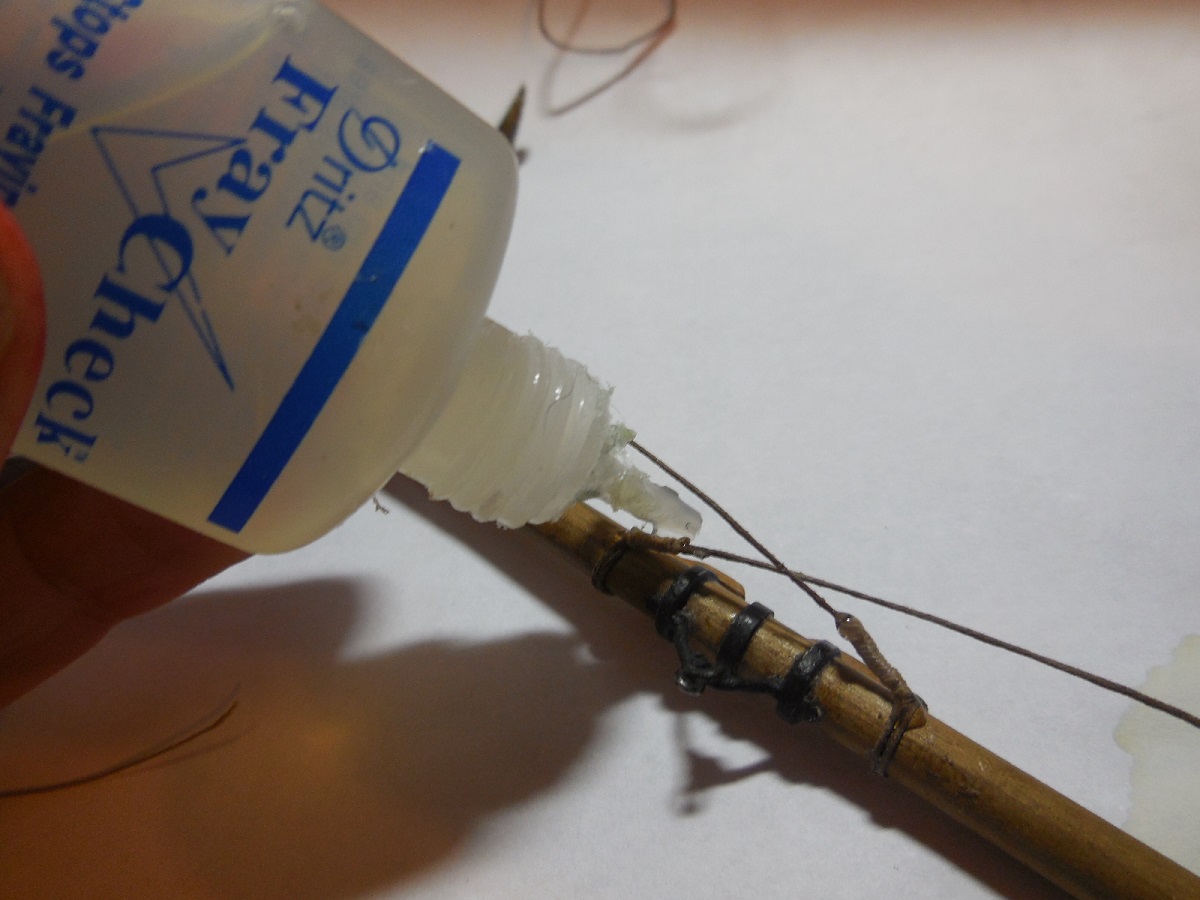
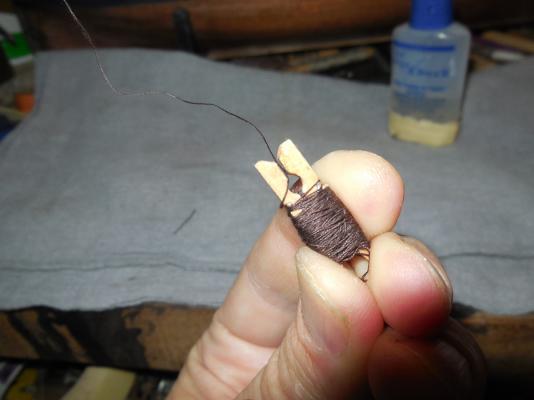
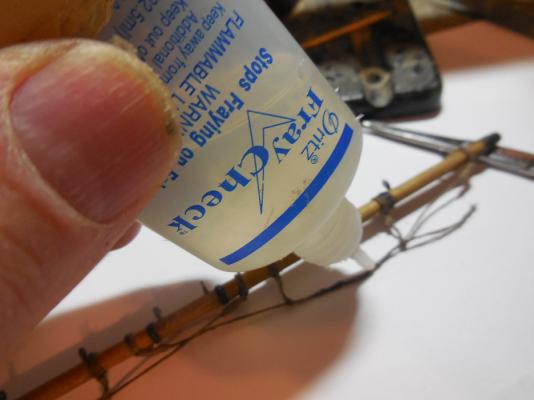
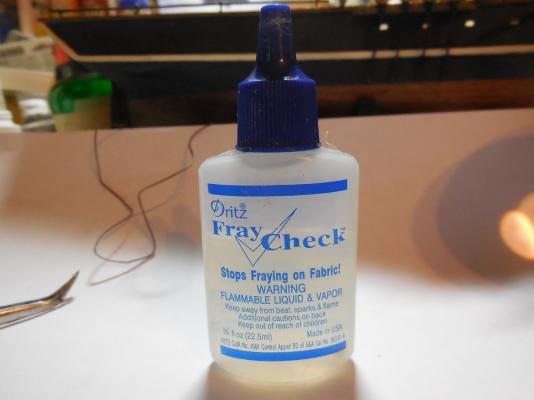
Then I wrap the few inches I let out keeping it tight as I go. Repeating this process till it is finished. Using Fray Check keeps everything in place but still very flexible. If you don't touch it it dries clear. If you rub your fingers across it as it is drying it gives the line a weathered look. This process actually works pretty well & doesn't take very long.


- 607 replies
-
- 16
-
-
- scottish maid
- artesania latina
- (and 1 more)
-
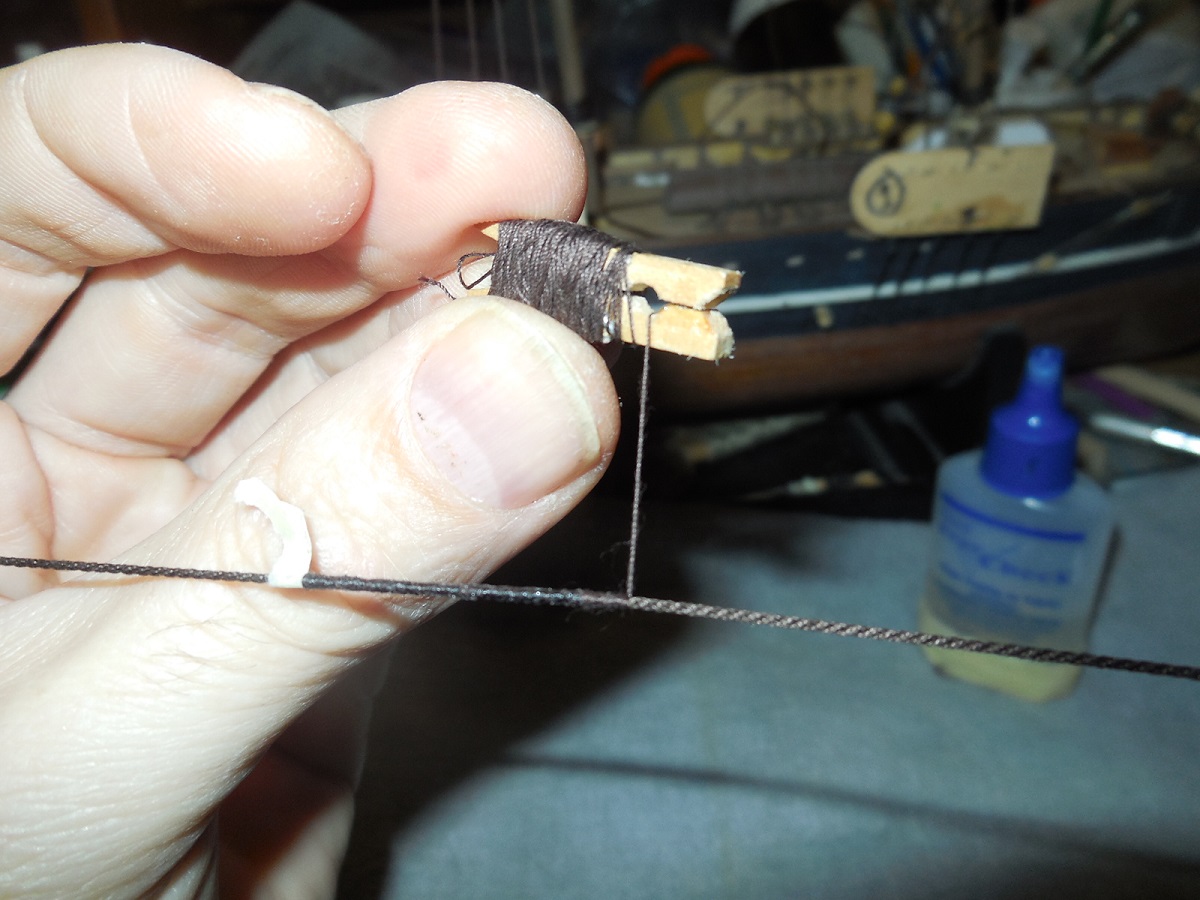
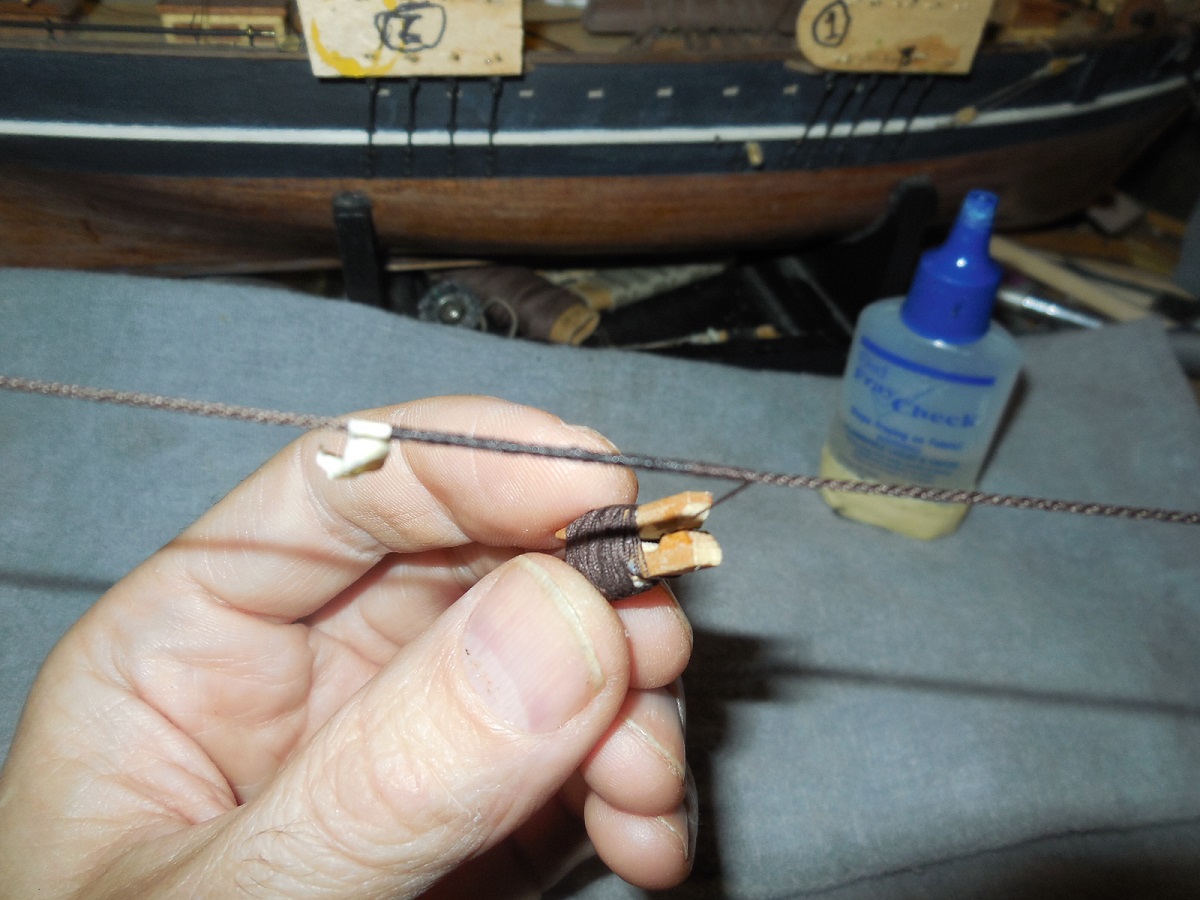
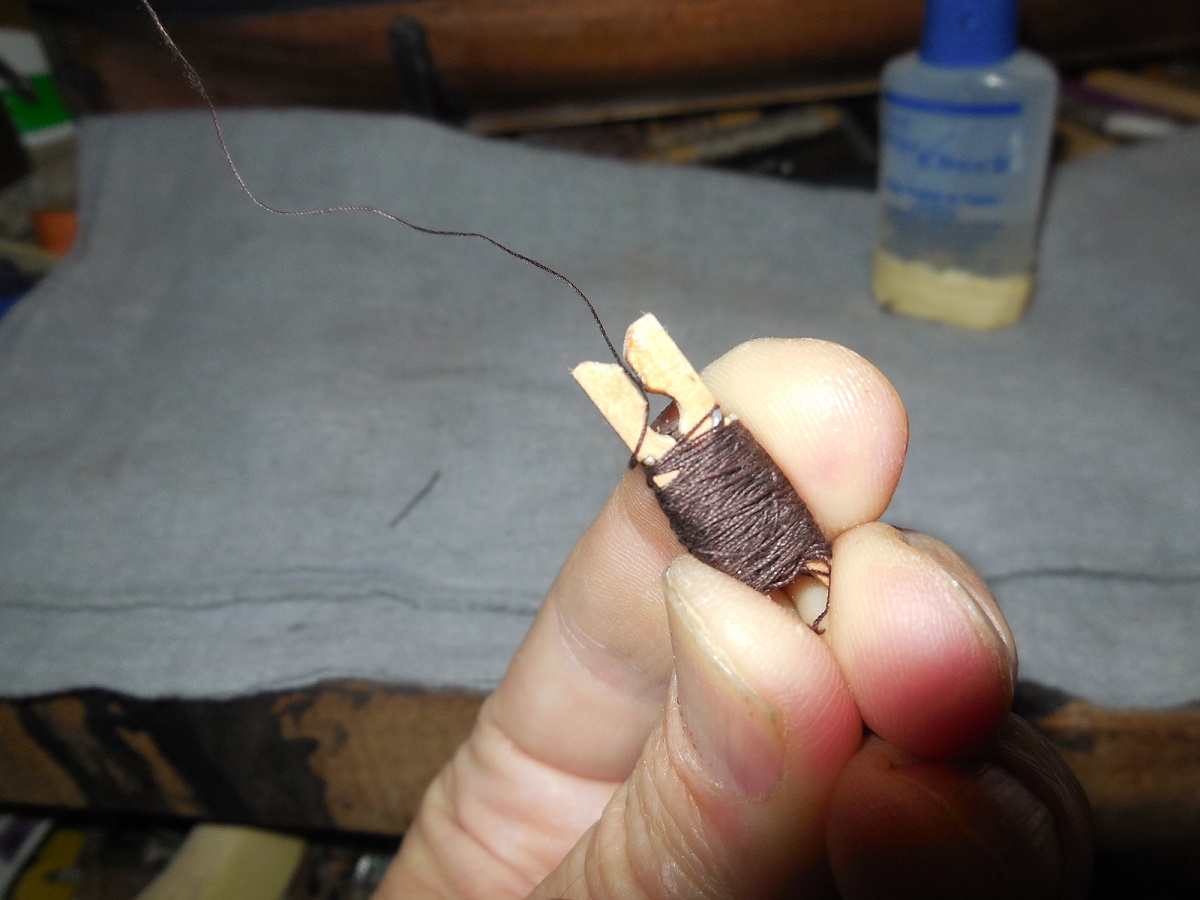
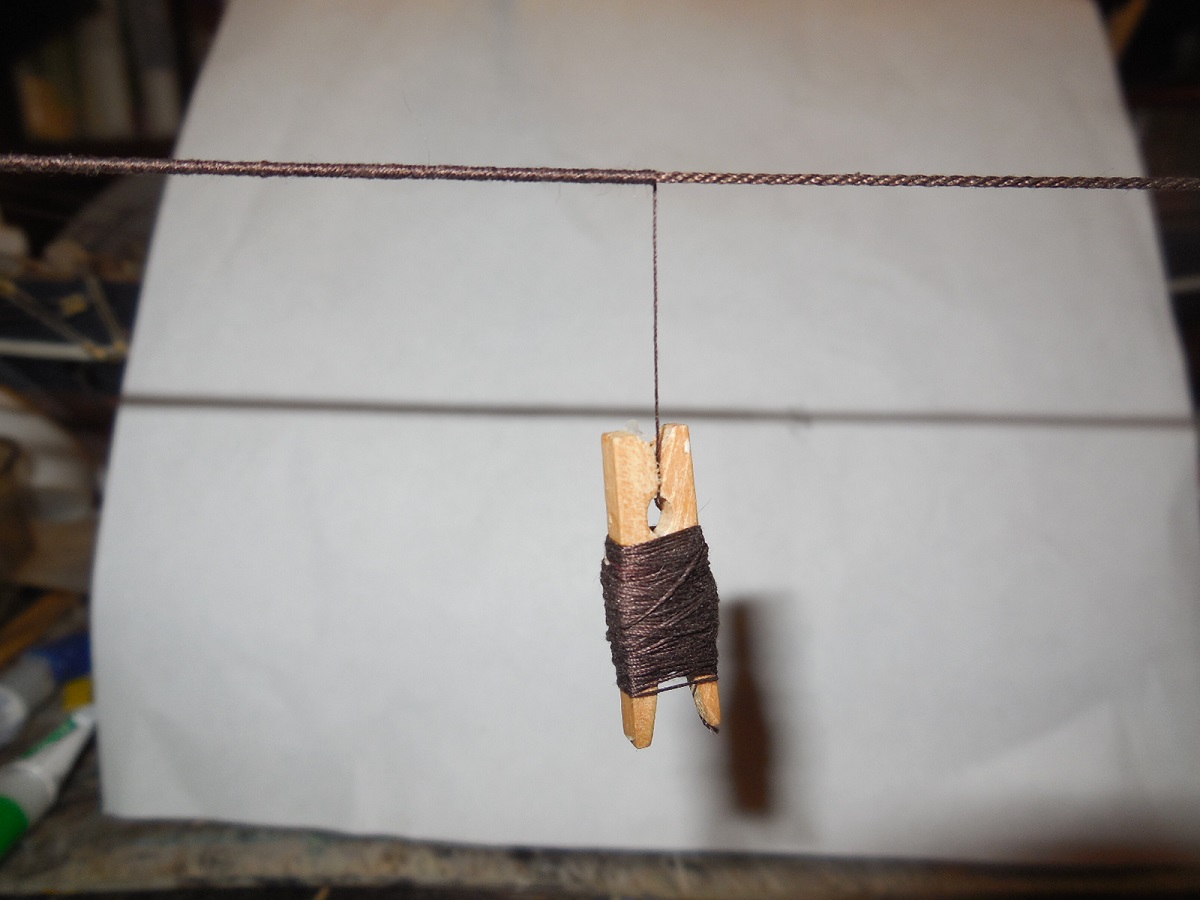
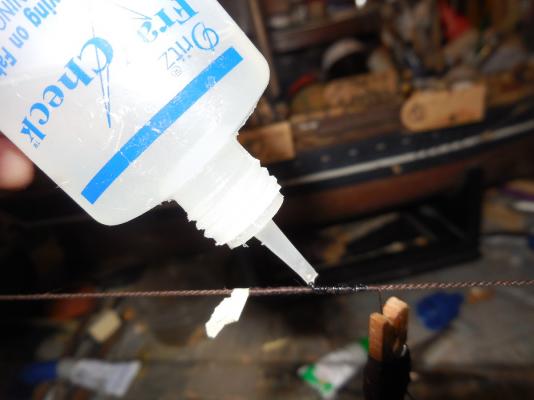
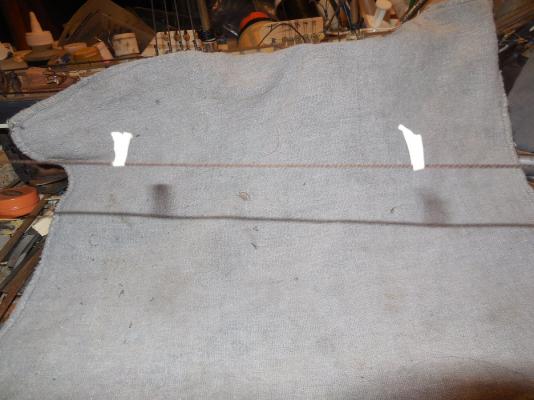
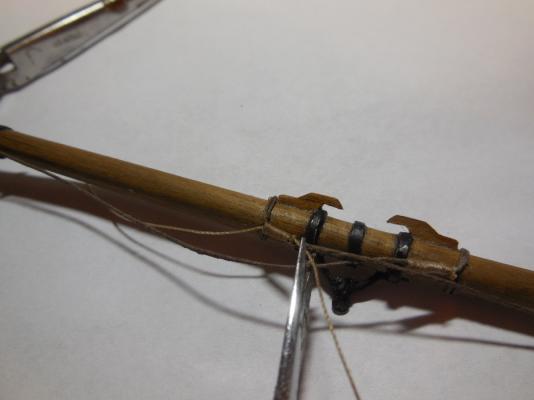
I start the serving, using some Fray Check as I go to keep what I've served in place. My serving line is wrapped around a mini clothes pin. I let out a few more inches of line from the mini pin & clamp the line back through the pin. This holds the next lenth of line to serve with without the rest unraveling from the clothes pin.


- 607 replies
-
- 7
-
-
- scottish maid
- artesania latina
- (and 1 more)
-
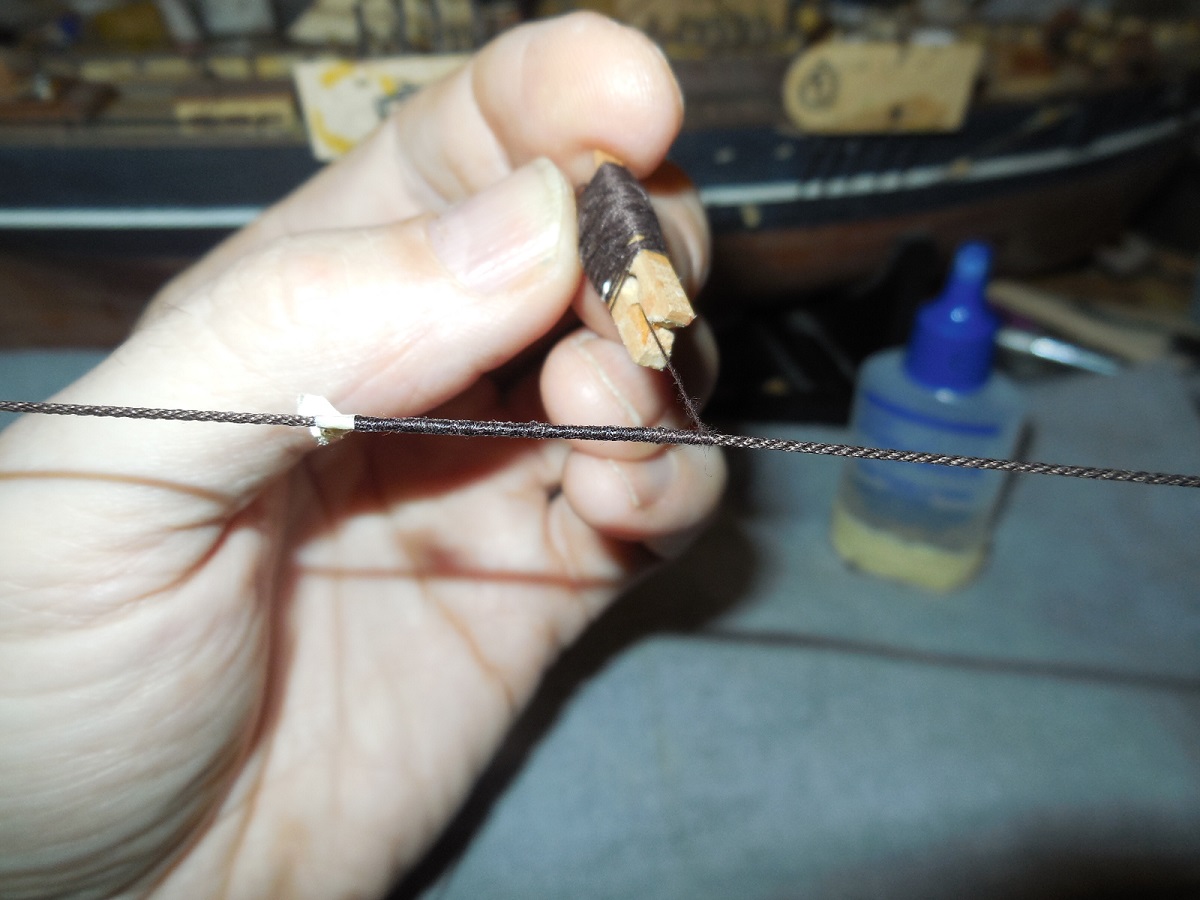
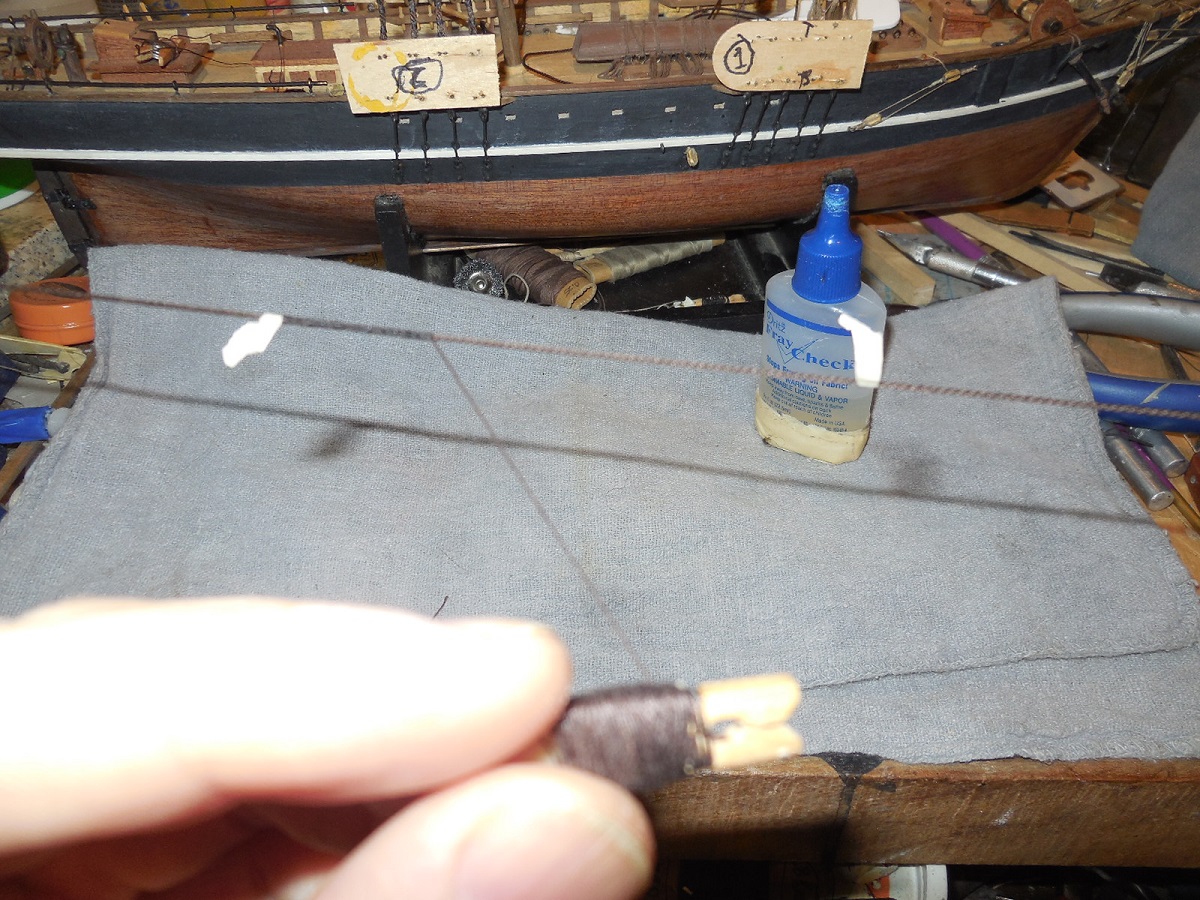
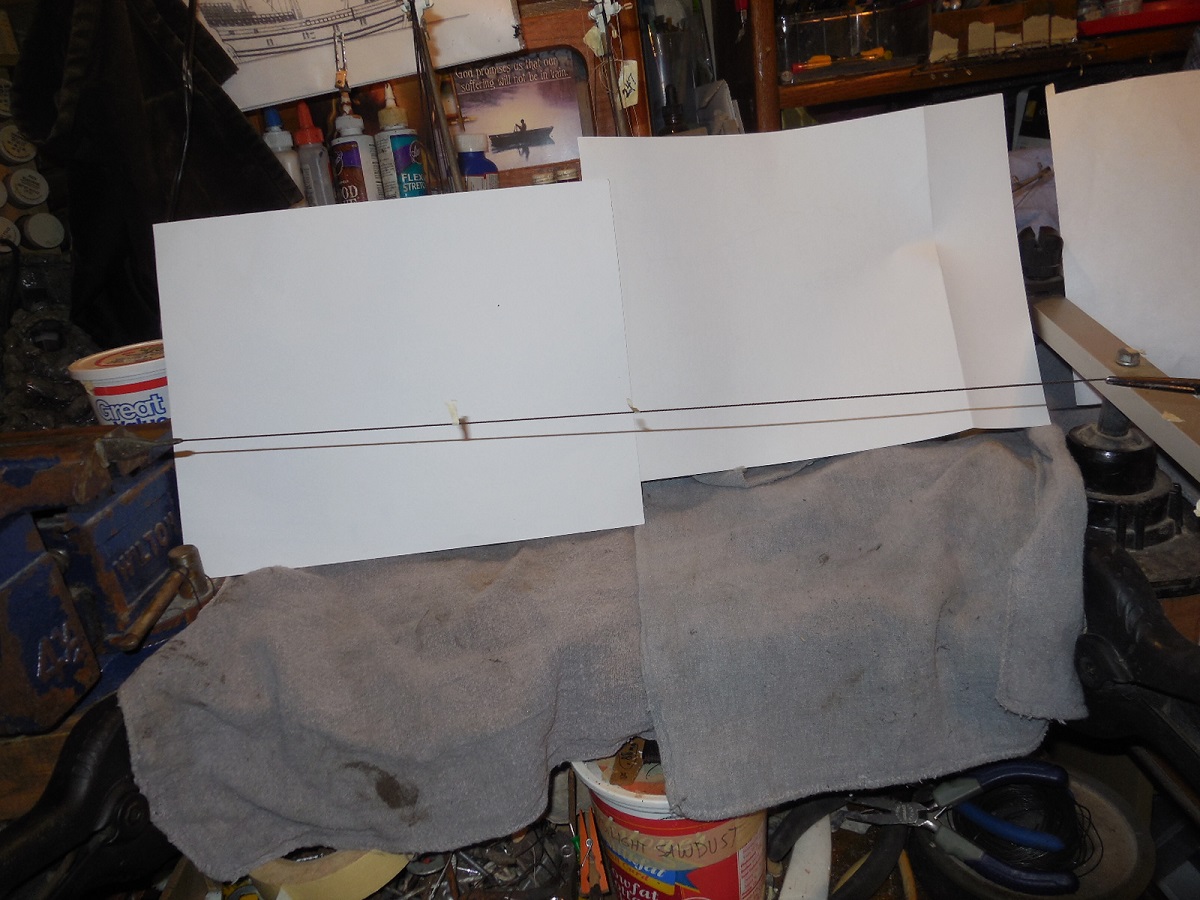
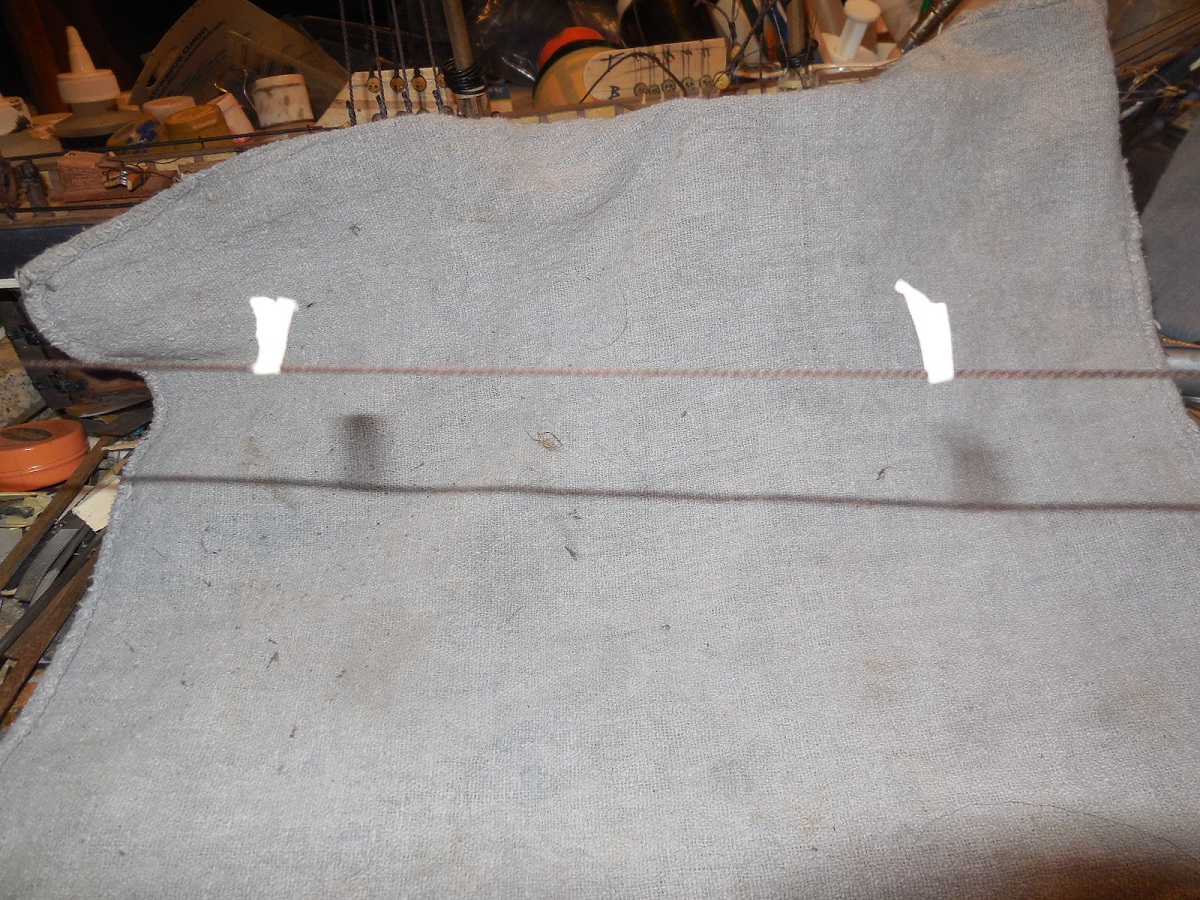
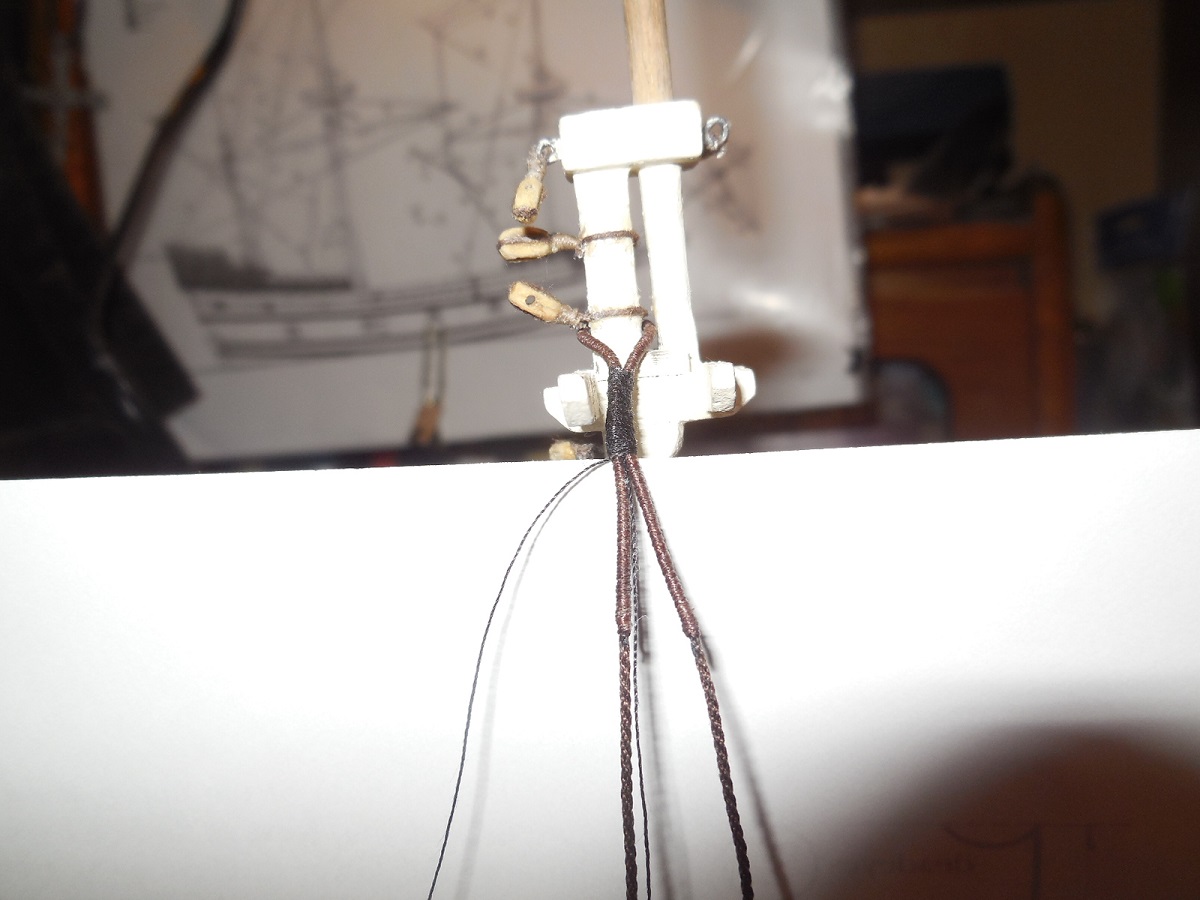
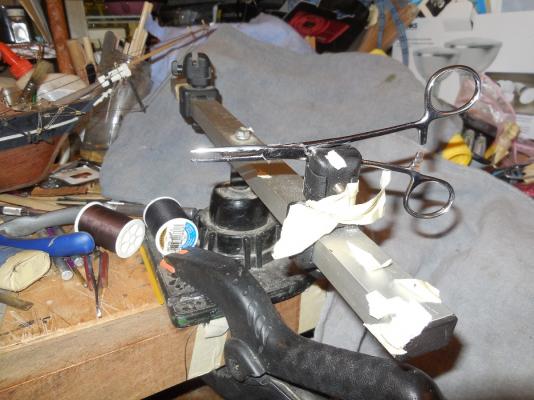
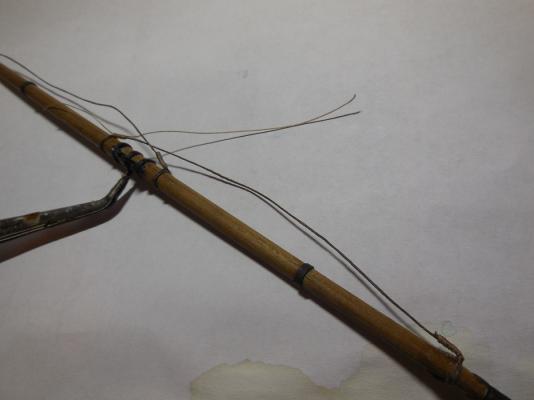
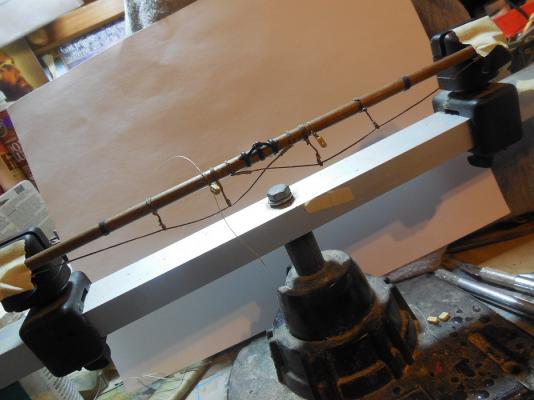
I've been asked if I have a server or lathe or something for doing the serving. Thought I'd show how I'm doing it with what I have. I grip one end of the shroud line with tweezers that are locked into a bench vice. The other end of the shroud line is clamped in locking forceps that are held in my Keel Klamper. This holds a tight line. The area to be served has been marked by small strips of masking tape.

- 607 replies
-
- 10
-
-
- scottish maid
- artesania latina
- (and 1 more)
-
Vivian just catching up on your log. Very nice! Makes me want to build one of these one day.
-
No. I am having to do it the old slow way. Haven't figured out how to rig anything up- don't have any kind of gears or anything.
-
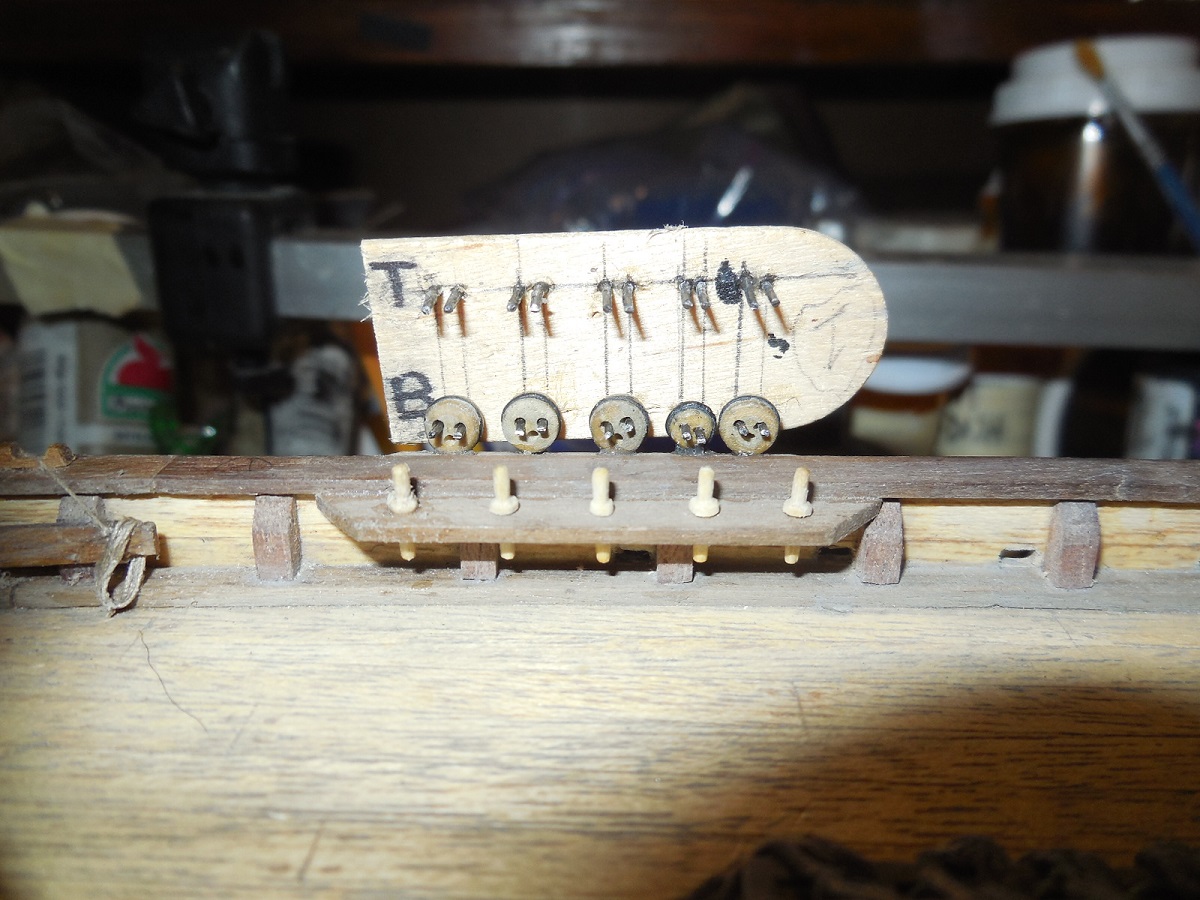
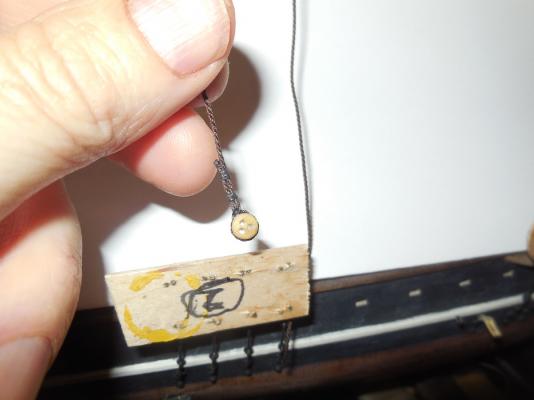
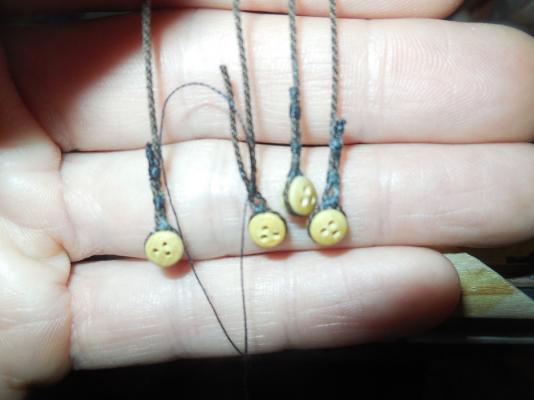
Starting the shroud lines. Here's some of the work being done. Serving the shroud pair lines, deadeyes, seizings, etc. The jigs are working very well. The serving is taking the longest time. I have to add that the mini-rope I ordered from Chuck Passaro's Syren Ship Model Company is the best rigging thread I have ever seen. I can't praise this stuff enough! It truly is mini-rope rather than just thread. It makes the work so much easier when you have high quality material. I would highly recommend this rigging thread to anyone who hasn't tried it yet. The serving is being done with thin sewing thread but everything else is the thread from Syren Co. I chose the dark brown thread over the black because my researching found out that in that part of the world at that time in history a common tar pitch used had a very dark brawn look instead of solid black.


- 607 replies
-
- 8
-
-
- scottish maid
- artesania latina
- (and 1 more)
-
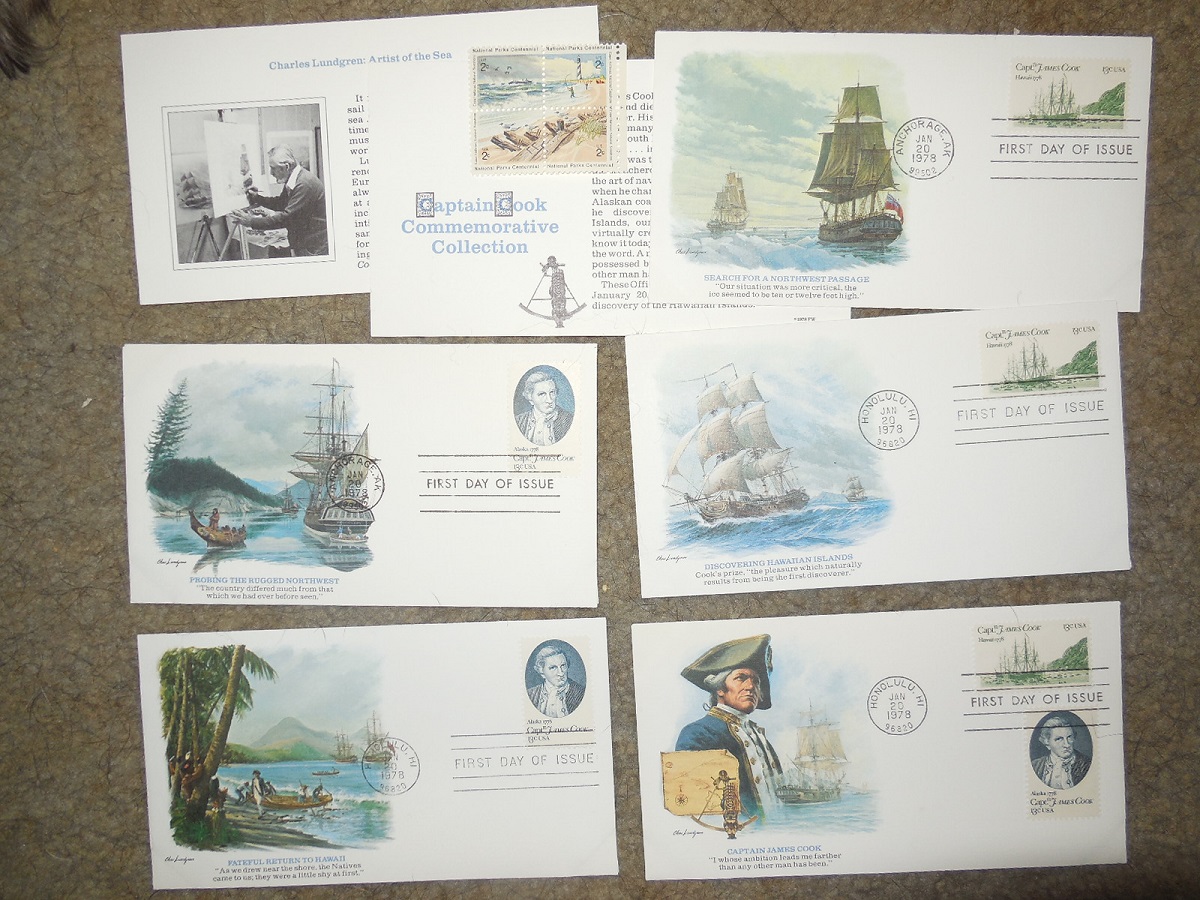
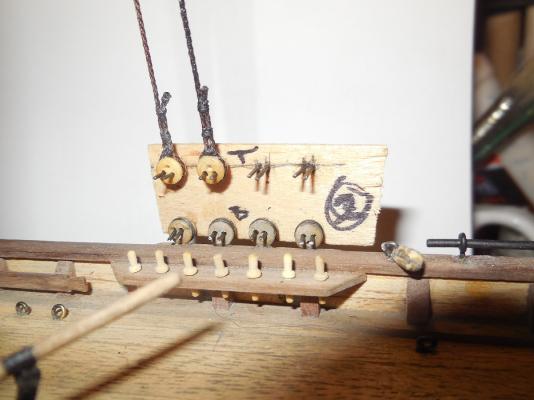
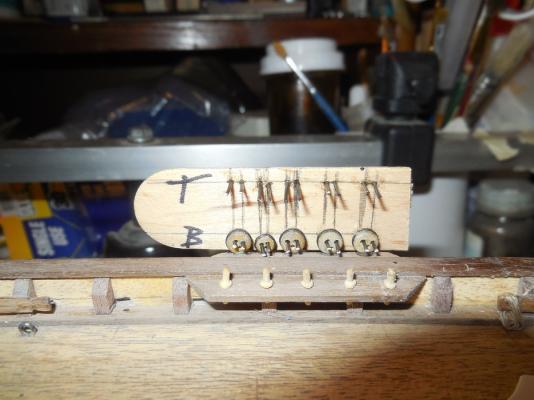
Been very sick & haven't gotten much done in the shipyard lately. One of my Lyme friends on FB sent me a gift to cheer me up. Knowing my love of stamp collecting & of old ships & nautical history she sent me these first day covers of Capt. James Cook & a block of 4 of the Hatteras National Seashore. I have made jigs for the deadeyes in preparation of starting the shrouds.


- 607 replies
-
- 8
-
-
- scottish maid
- artesania latina
- (and 1 more)
-
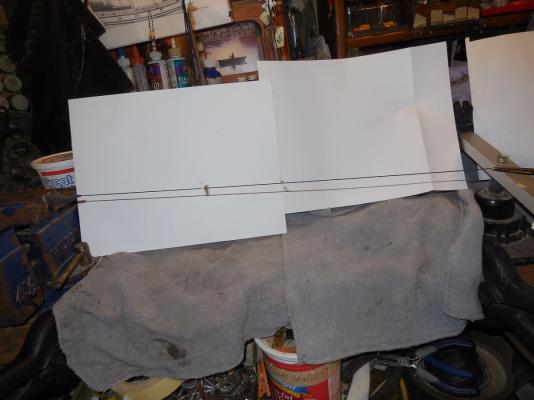
Thanks Keith! I did find something on the web that shows how to make a frame of wood & string & using weights & a protractor to get the mast set right. I will try to make one of them.
- 607 replies
-
- 1
-
-
- scottish maid
- artesania latina
- (and 1 more)
-
I am at a point now where I'm not sure which steps to take next & in what order. Some people do the sails on the yards first. Maybe I should go on & start on the shrouds. Trying to figure out how I will set the masts at the right angles.
-
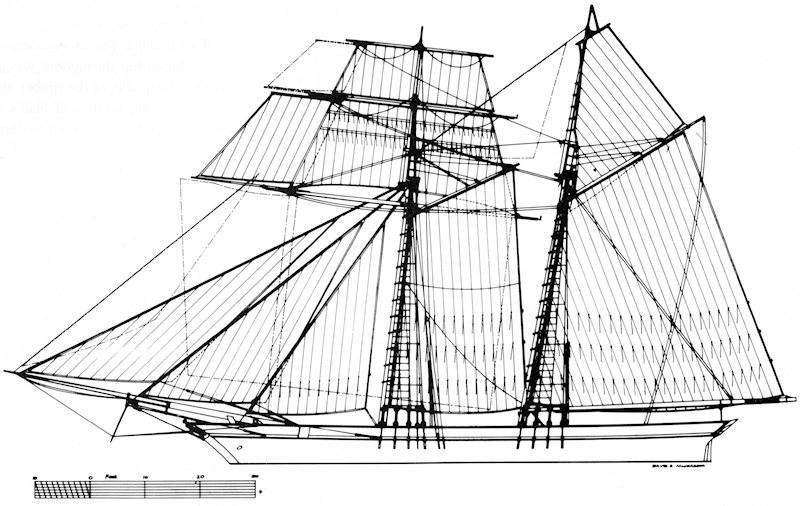
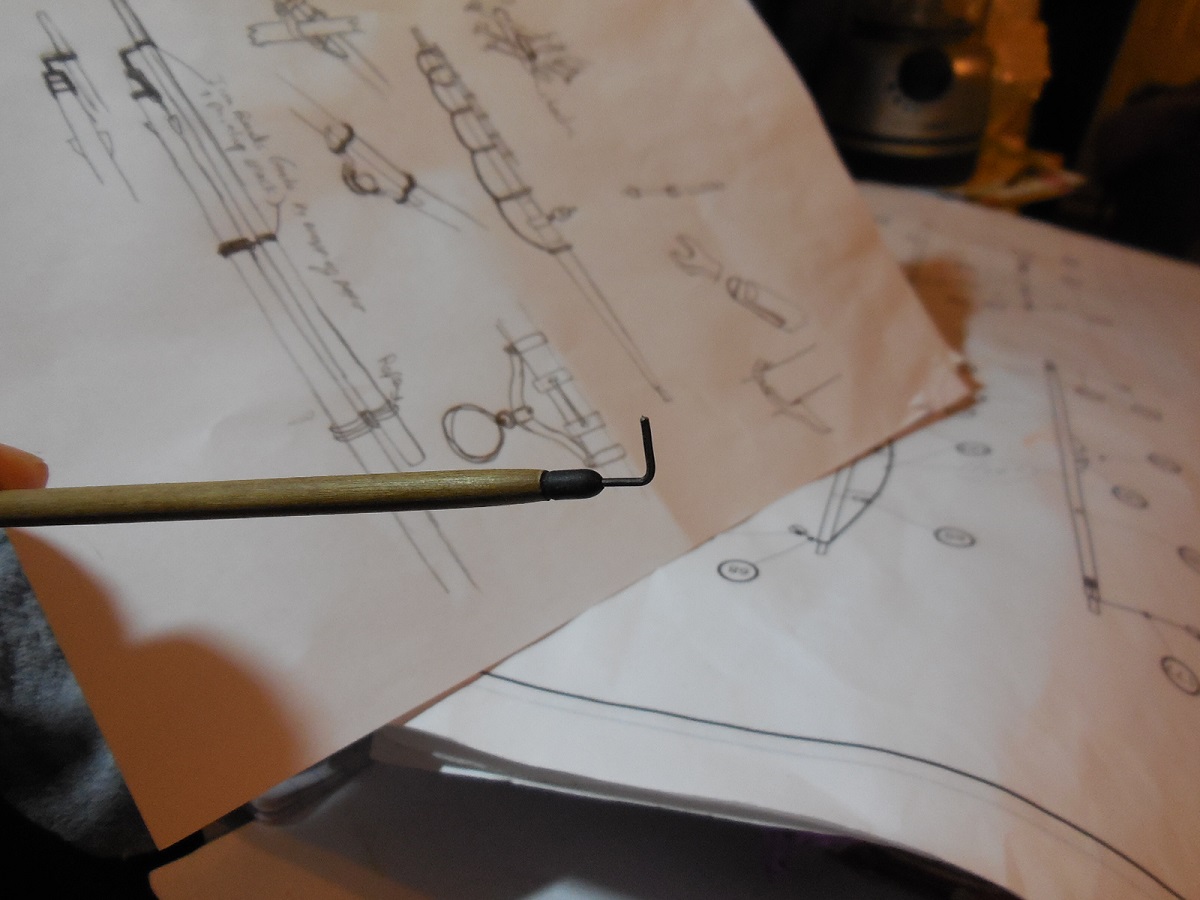
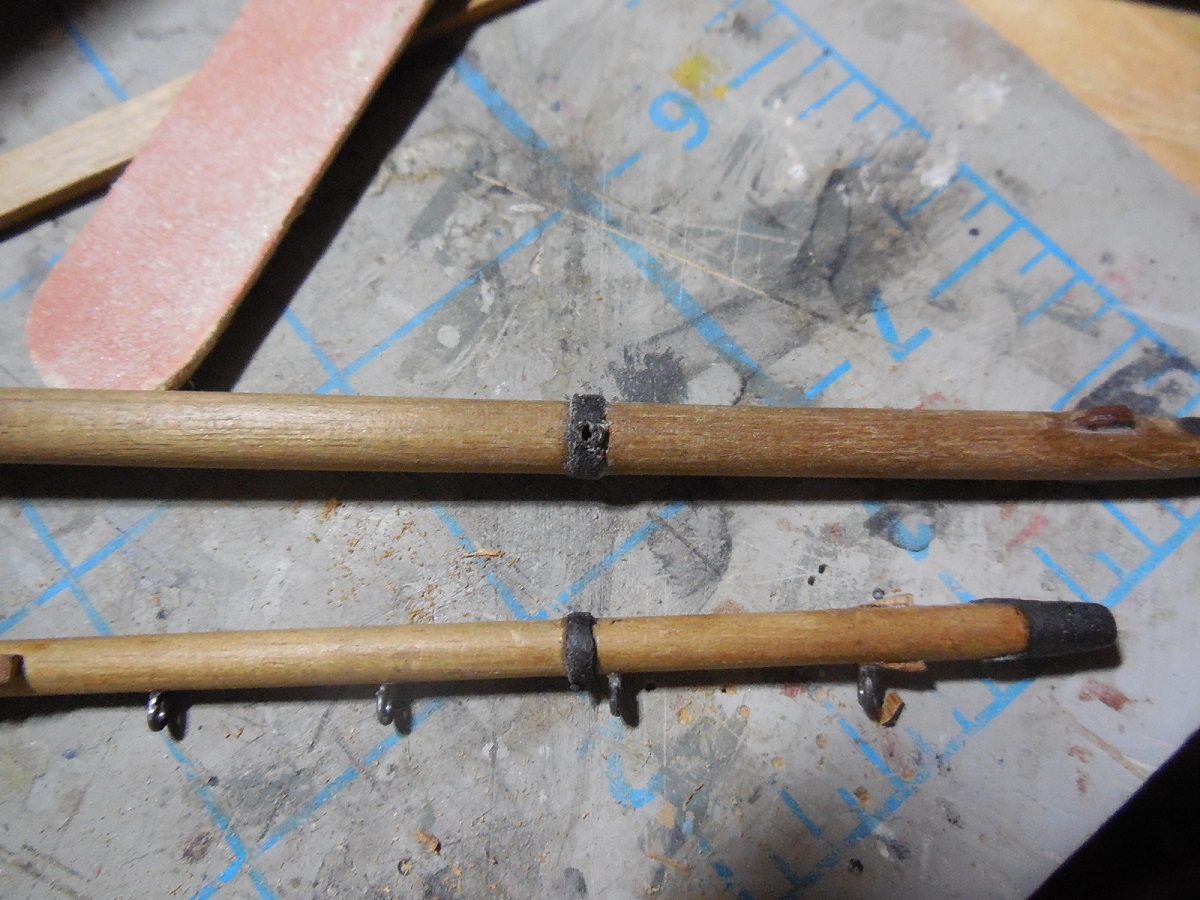
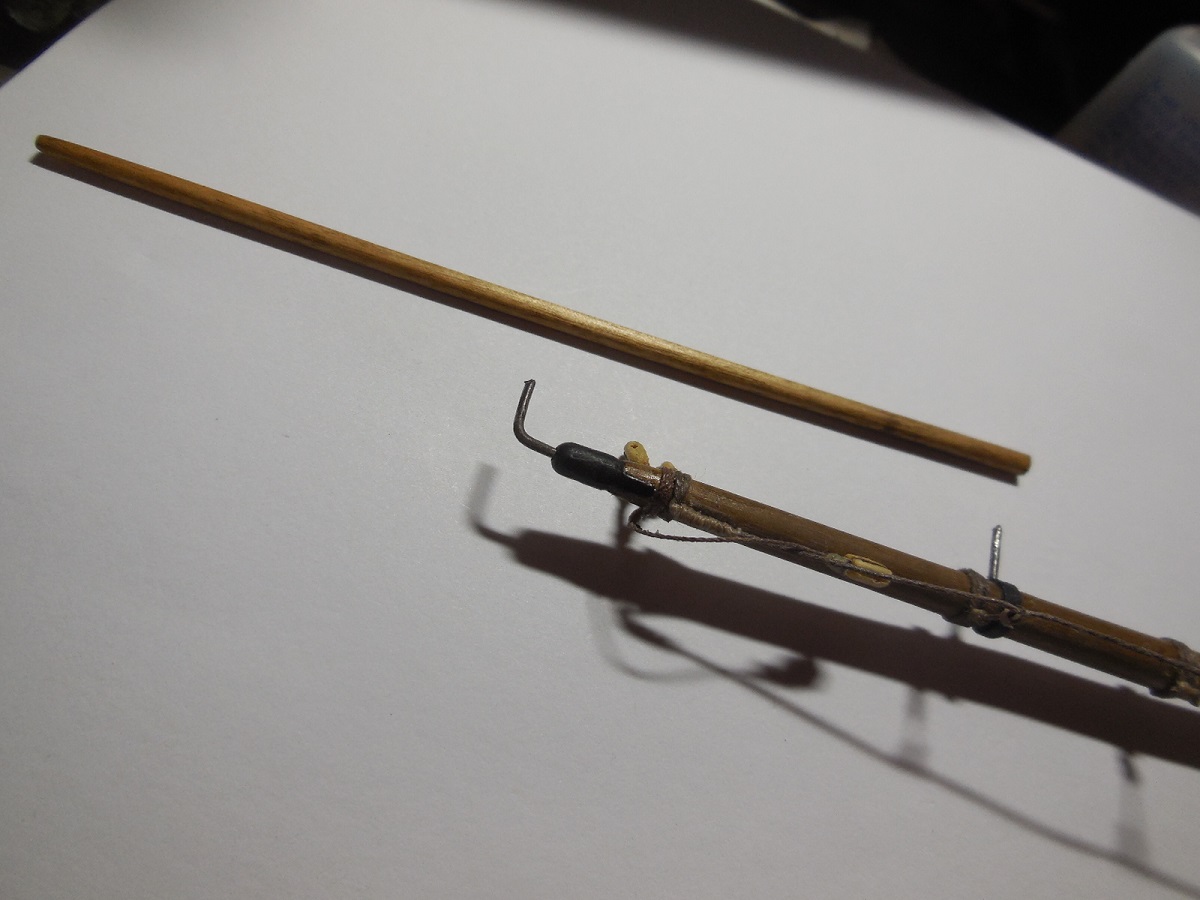
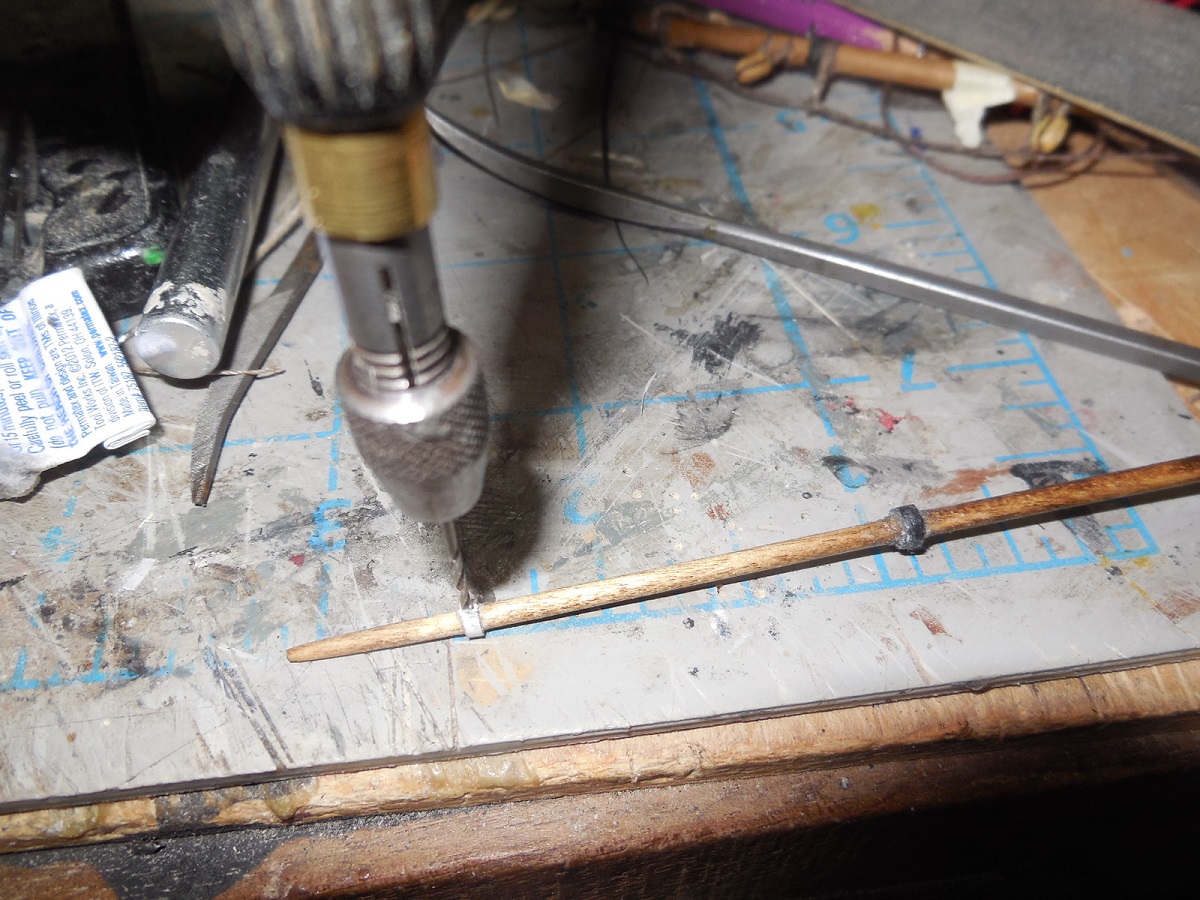
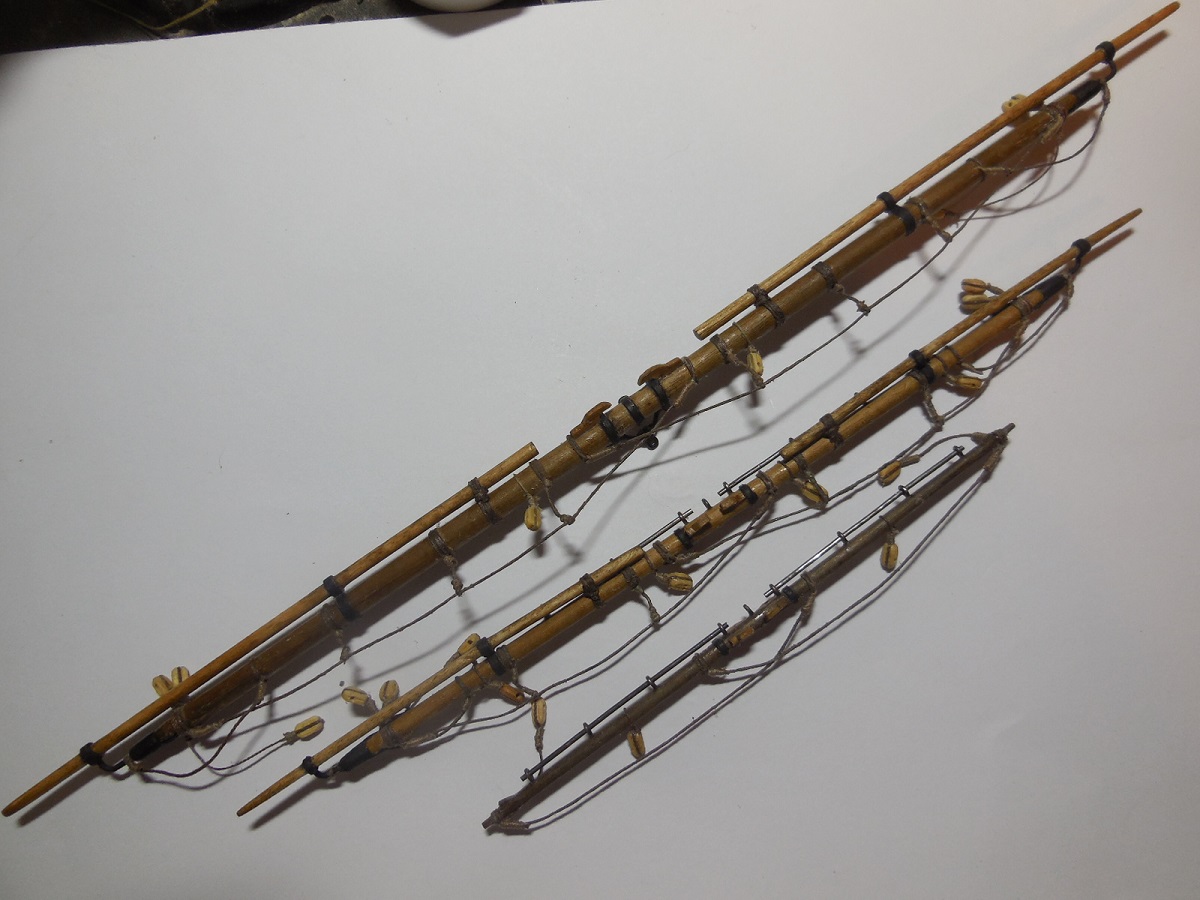
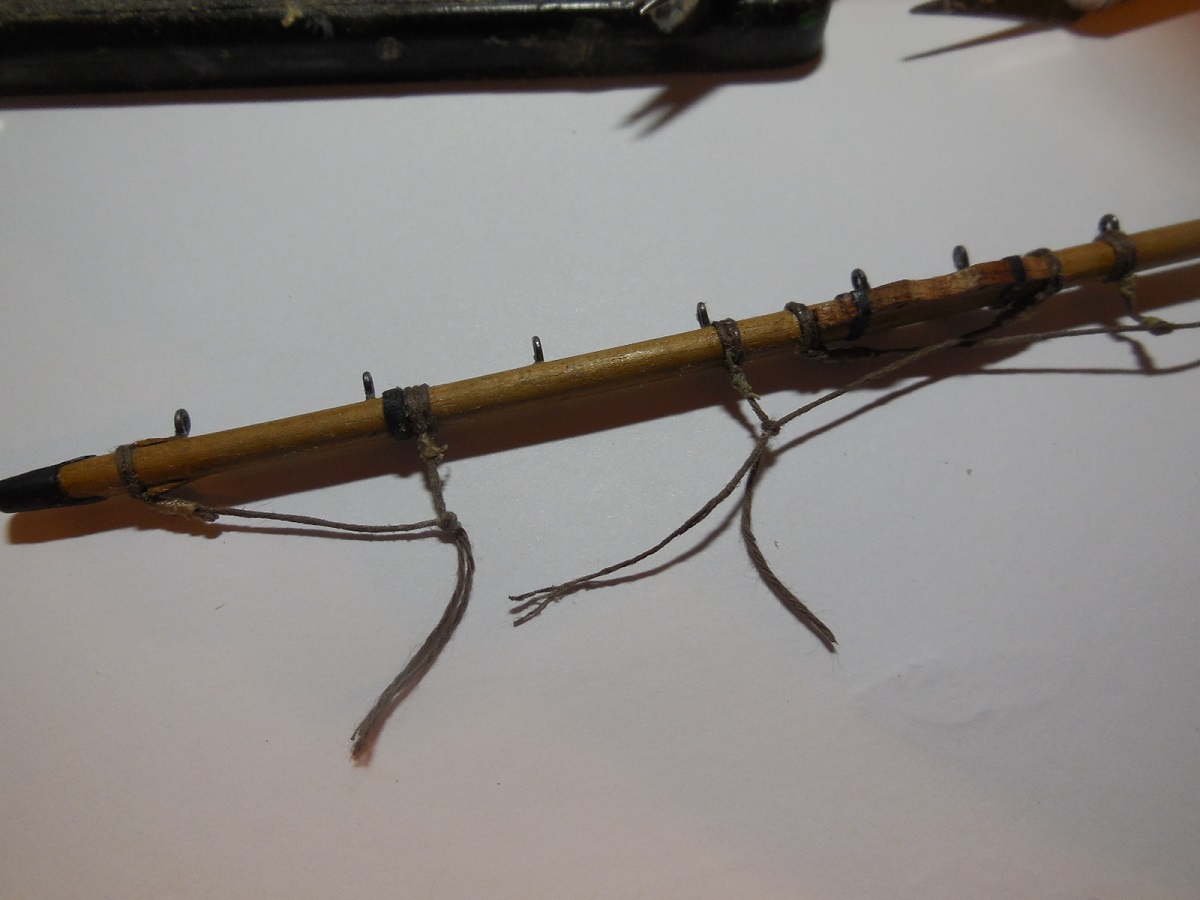
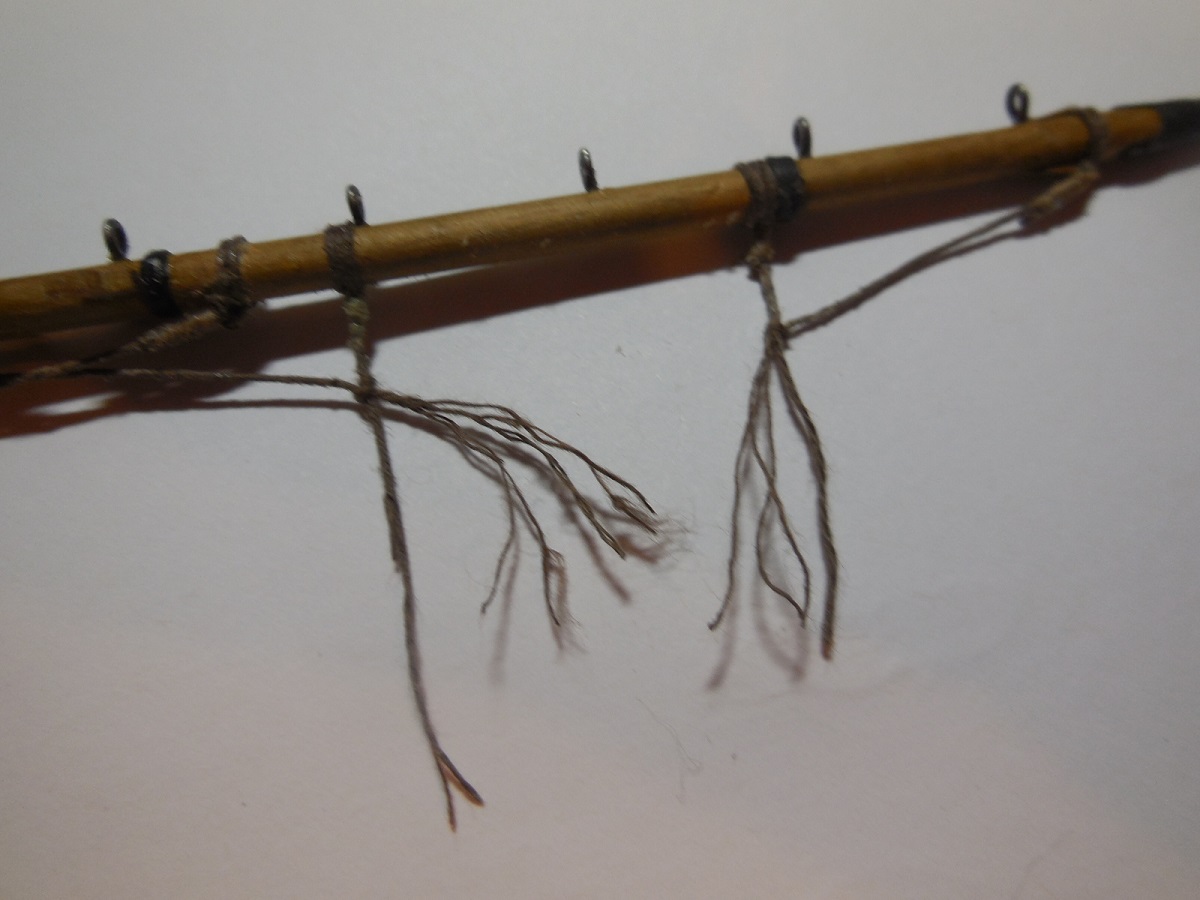
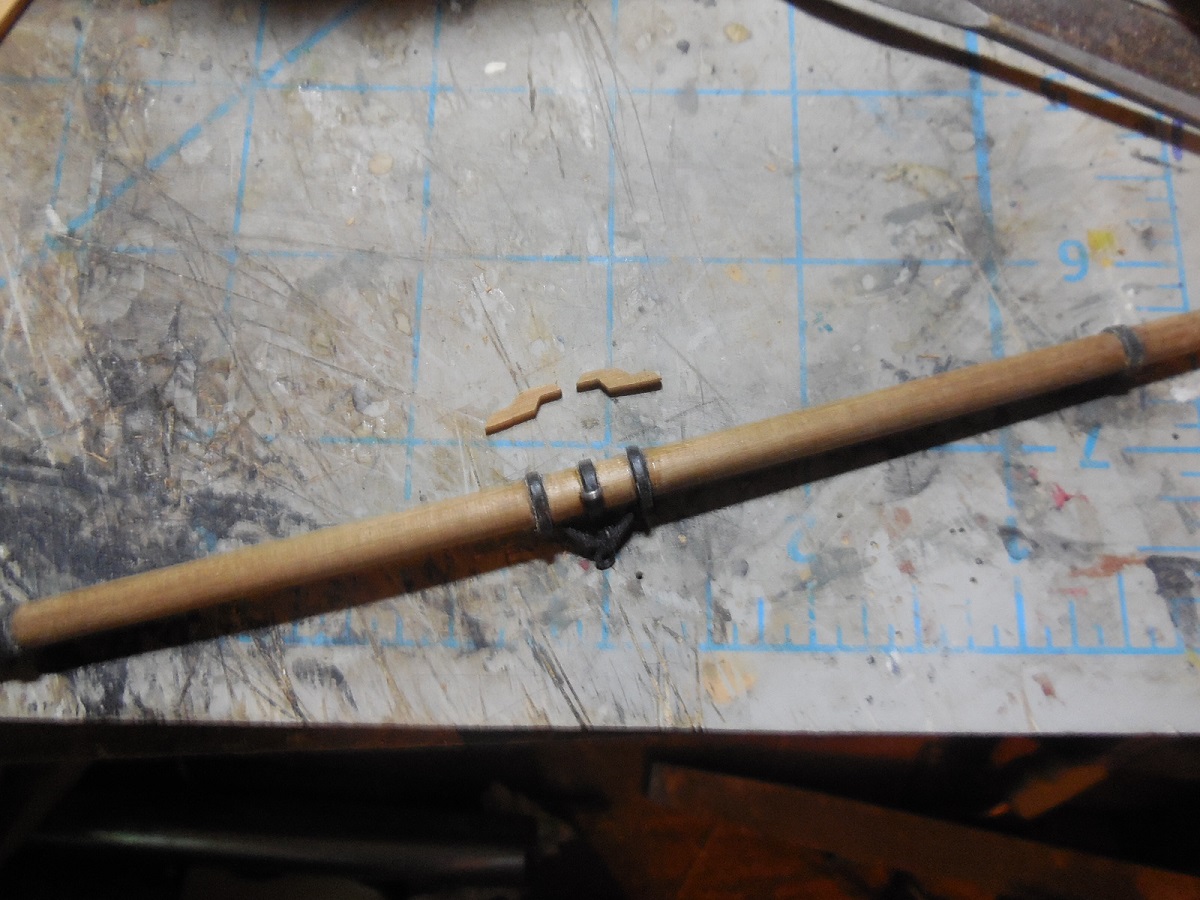
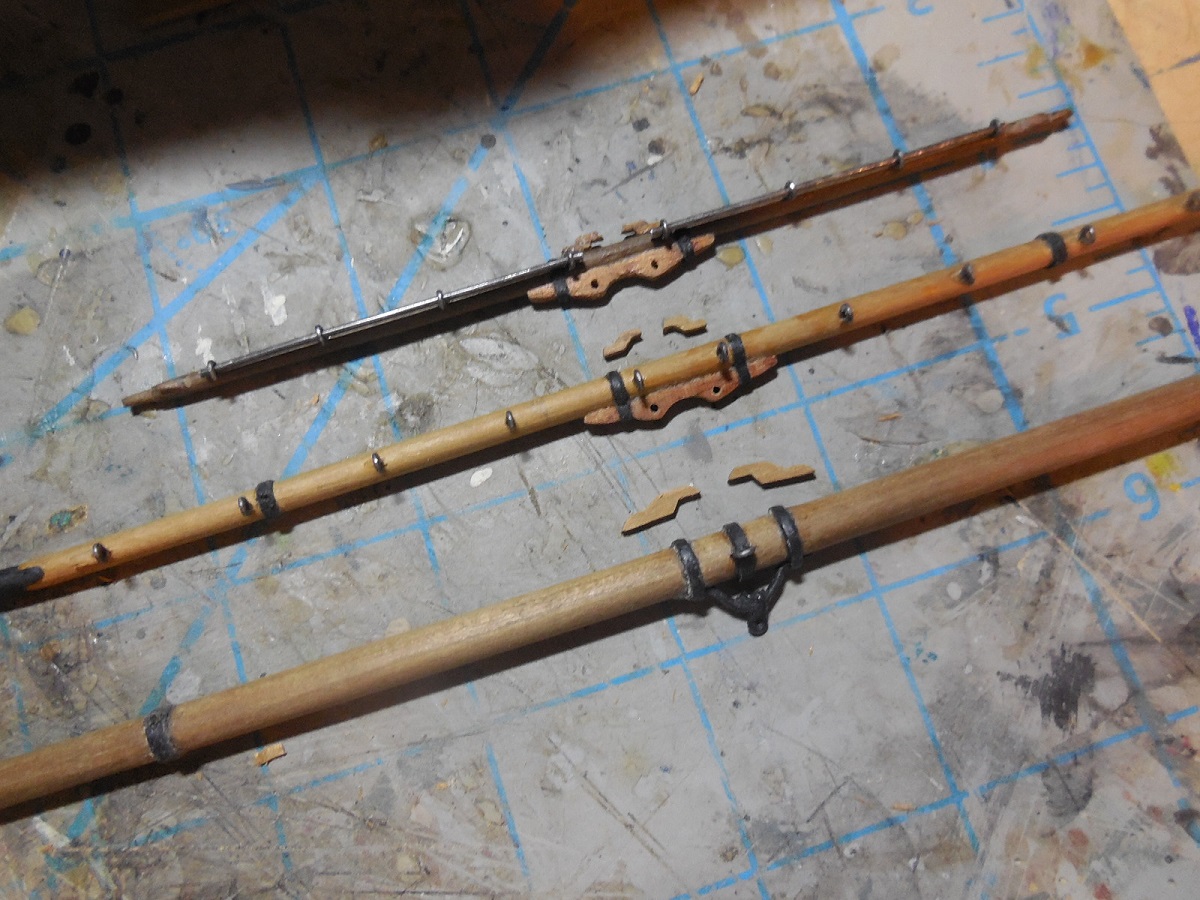
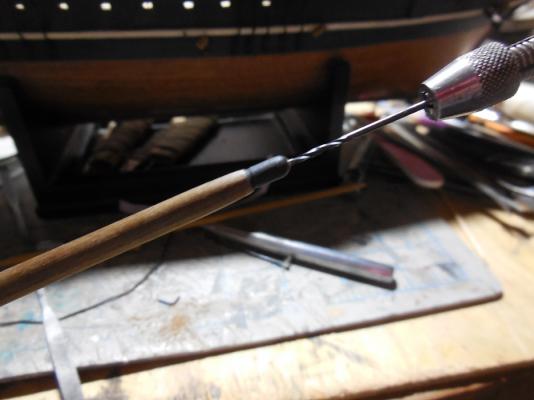
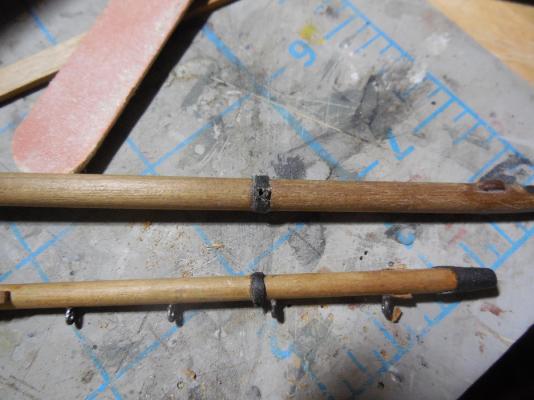
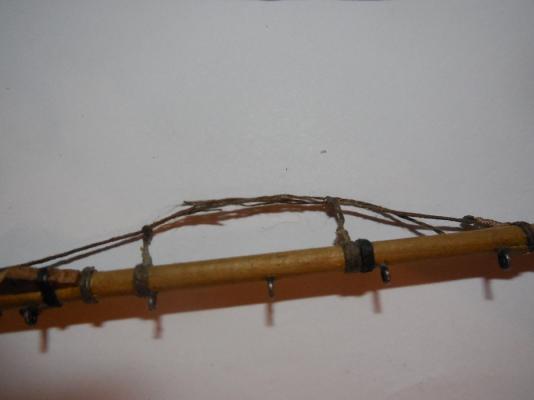
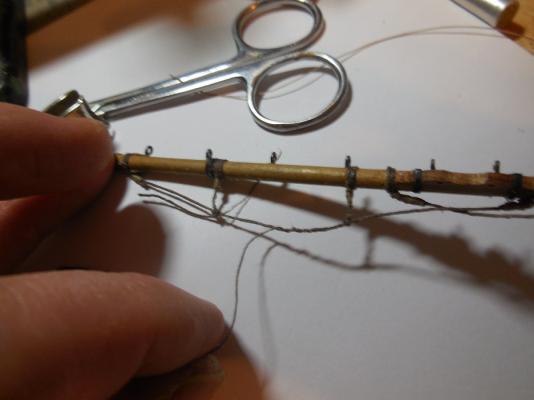
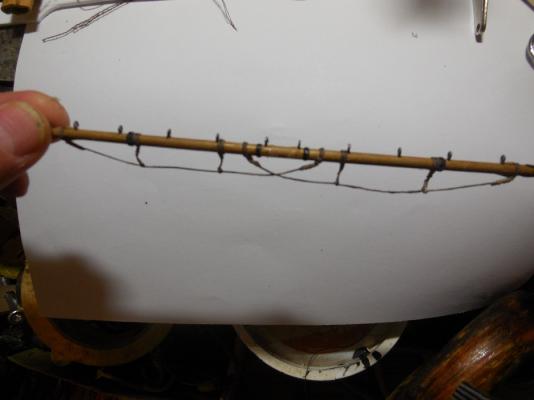
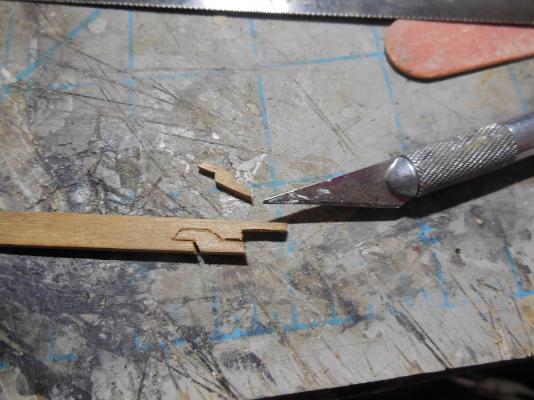
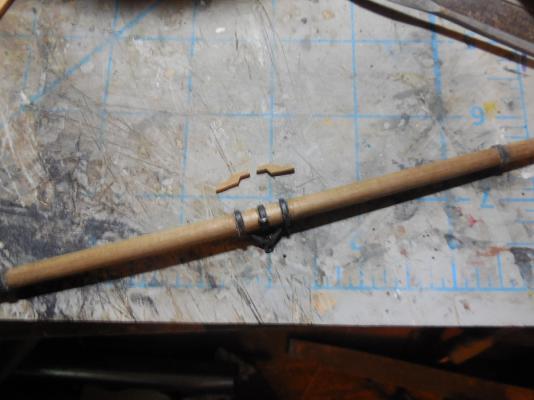
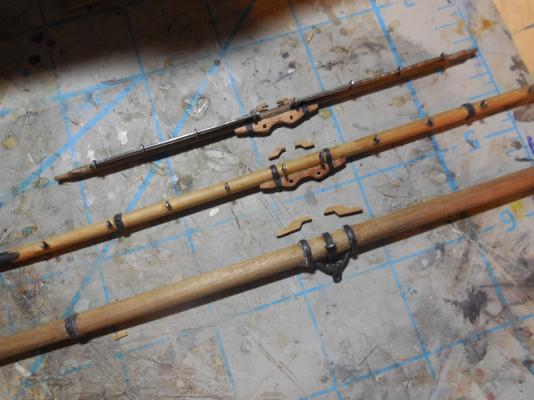
From another members build & this ship plan there are stuns'l sail booms. I couldn't find any historical evidence of them on this ship but it sure was a possibility so I wanted to add some. Found that with jackstays also it is hard to figure out just how both of these fit on the yard without one of them getting in the way of the other- especially with how the sails will tie onto the jackstays. I have no idea how they were supposed to fit around each other but I got something figured out. I wont be adding the stuns' sails but wanted to show some booms for added detail. I made all the bands & end pieces from CA coated paper then painted them black. Drilled holes & joined each piece with wire. Turned out looking good.


- 607 replies
-
- 11
-
-
- scottish maid
- artesania latina
- (and 1 more)
-
ROYAL CAROLINE 1749 by Doris - 1:40 - CARD
JesseLee replied to DORIS's topic in - Build logs for subjects built 1501 - 1750
I just found this log & I am absolutely AMAZED! I keep looking back over & over! I have never built from stock but this really makes me want to try. Incredibly beautiful detail! Jesse Lee- 883 replies
-
- 1
-
-
- royal caroline
- ship of the line
- (and 1 more)
-
They are great looking!
-
She is ok but hurting a lot.
-
Wanted to get some work done this morning but just too tired. Our daughter had wreck yesterday morning on the way to church. Some fool ran a stop sign, wrecked our vehicle & left the scene. She thought she was alright but as the day went on she was hurting more & having headaches. They got in from the hospital about1:30 last night. She is banged up a bit & has a concussion. All this & the lyme is kicking my butt!
-
Those deck houses- even though they are small- are beautiful works of art! Very crisp & sharp looking. I love the use of different color woods. When I was a bench jeweler I worked with Foredom flex shafts. I would give anything to have my own now!
- 569 replies
-
- 4
-
-
- shenandoah
- corel
- (and 1 more)
-
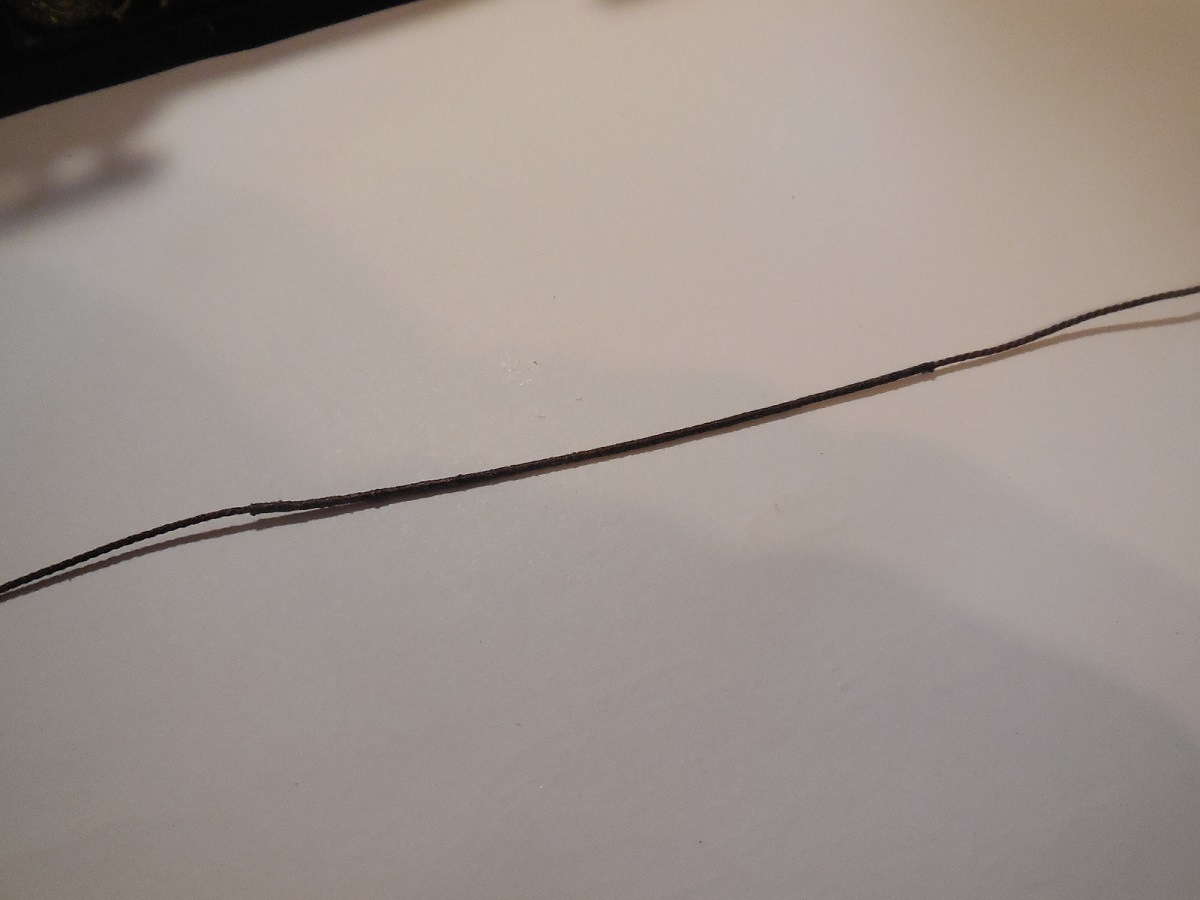
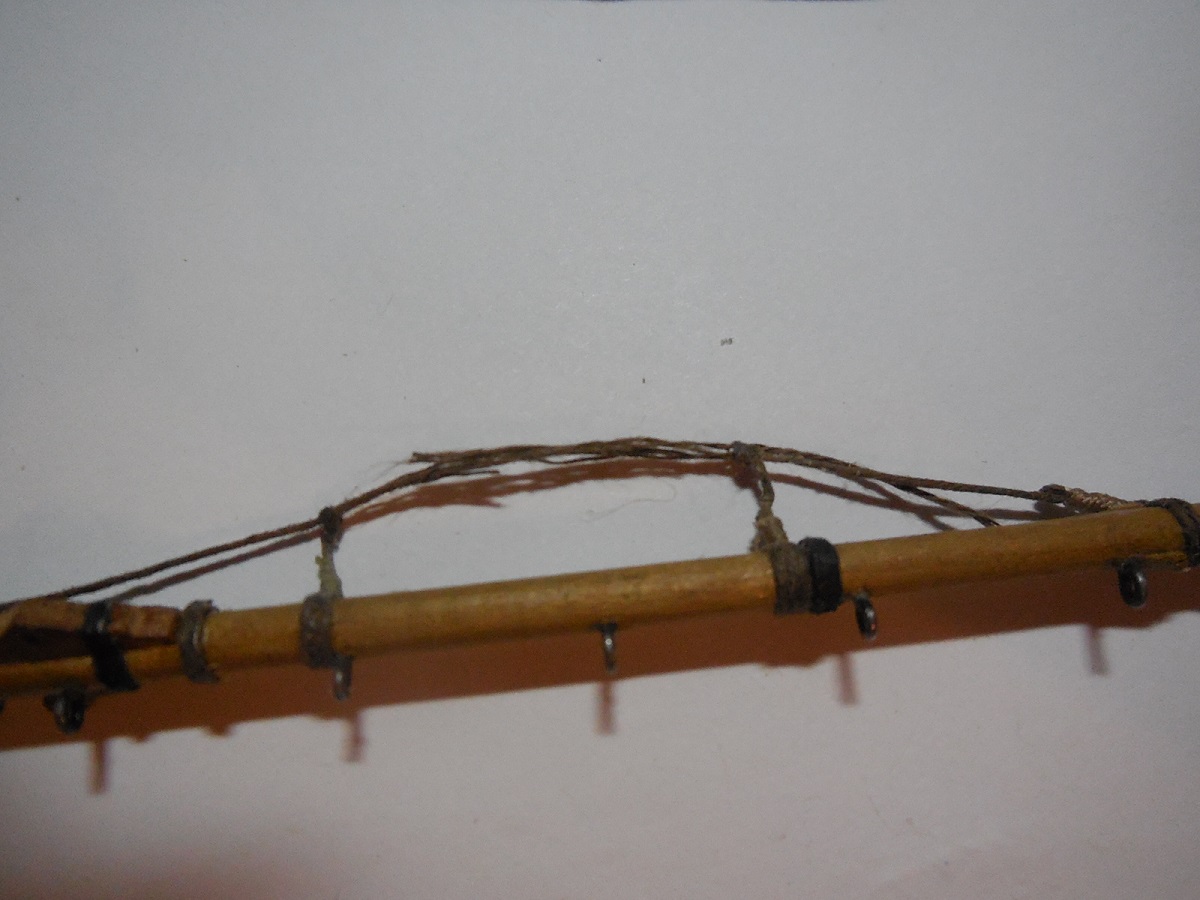
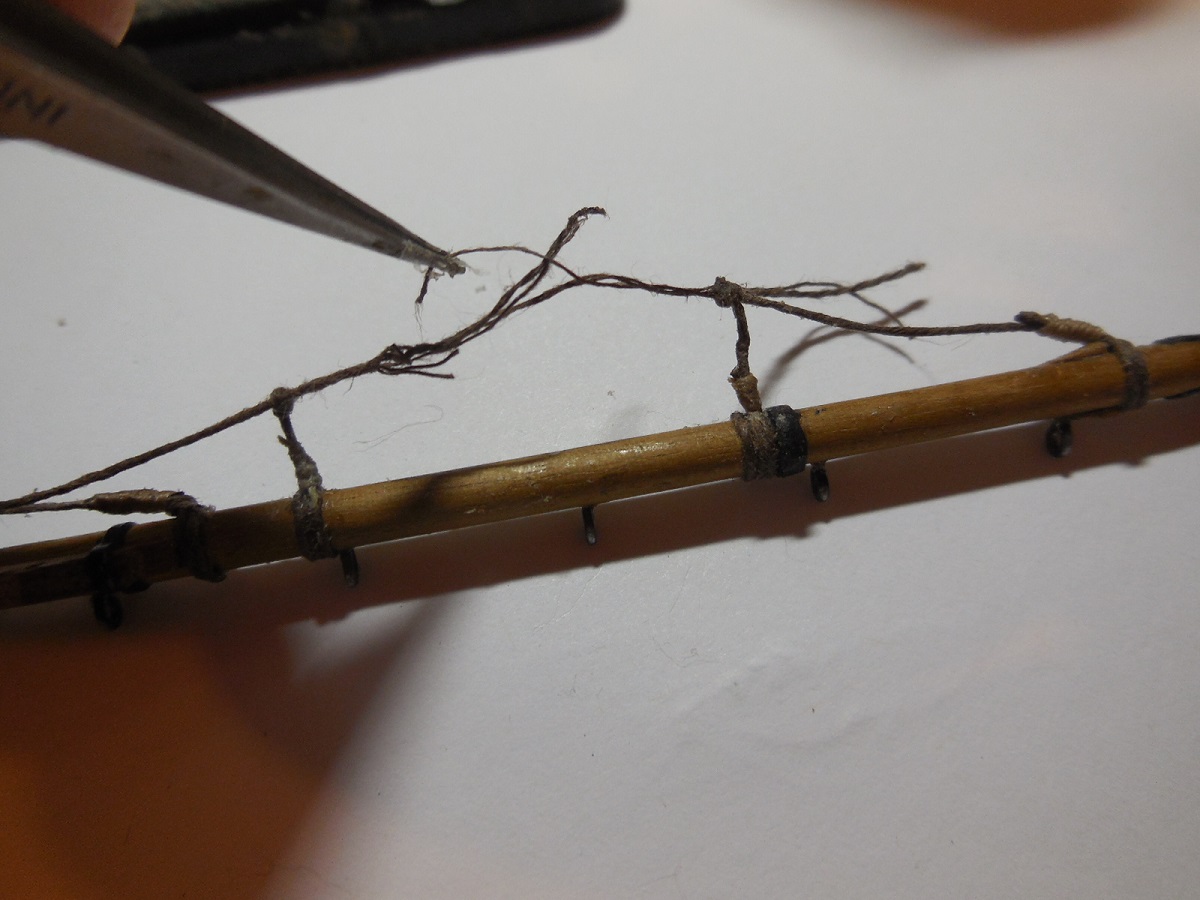
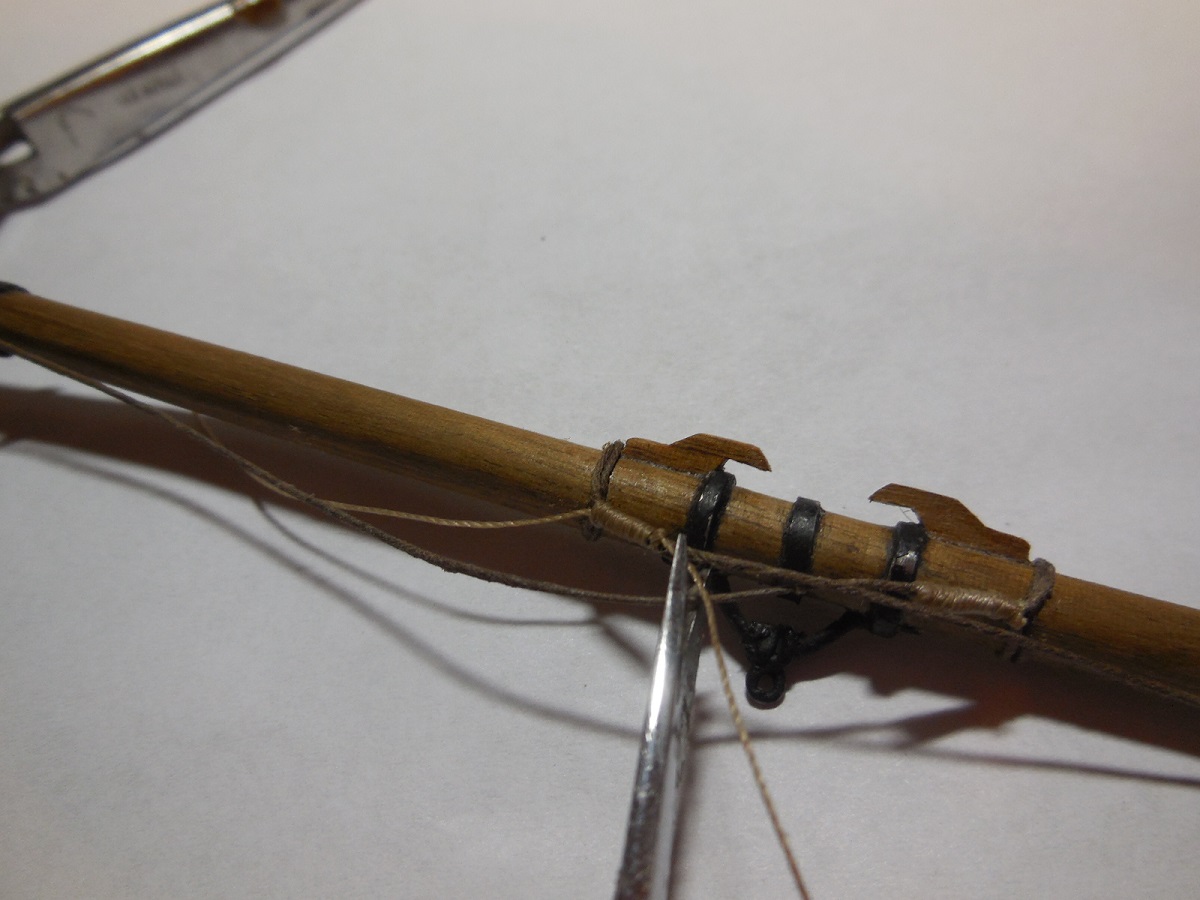
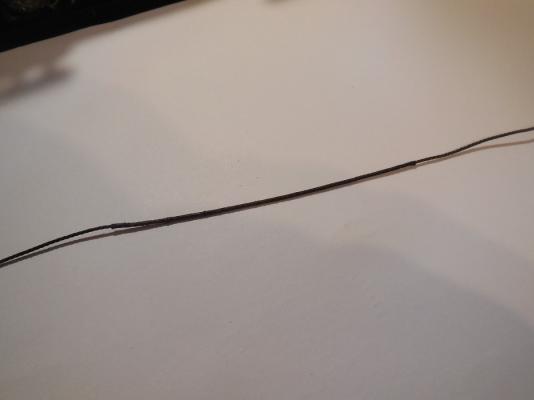
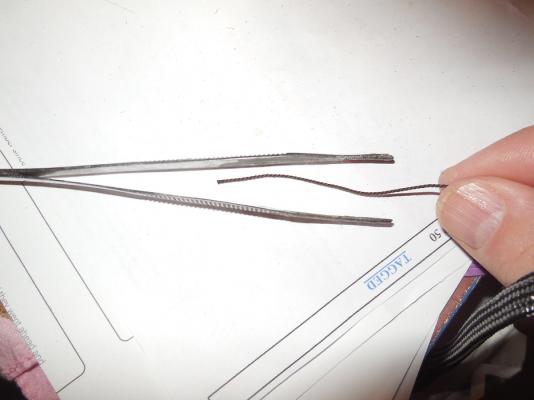
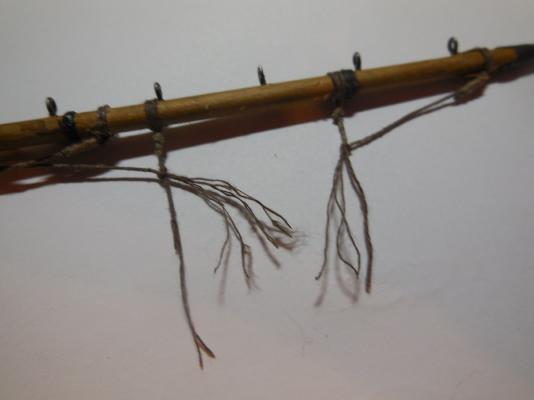
Was trimming extra off a stirrup on the lower fore topsail yard & I accidently cut the footrope! I didn't want to have to re-rig the footrope so I thought I'd see if I could spice things back together. I had an extra piece of line left from tying a stirrup off right next to the cut. I separated the strands , cut half out from each side so it wouldn't be twice as thick. Did some twisting around, some glue, then seized a single strand around it all to finish it up. I didn't expect this to work but it actually did!


- 607 replies
-
- 8
-
-
- scottish maid
- artesania latina
- (and 1 more)
-
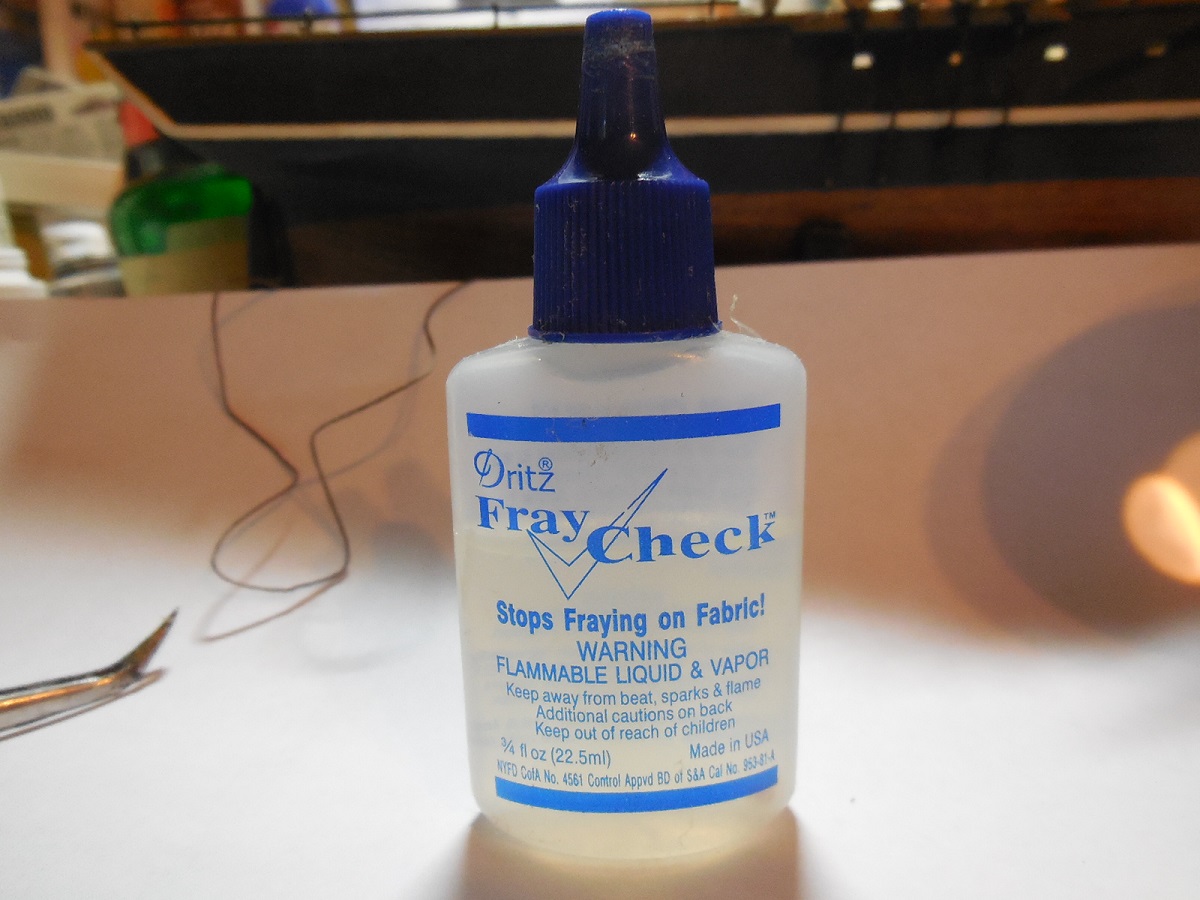
I found it at Wal Mart in the sewing section. Not sure if it is a strong permanent hold or not- haven't had it long enough to tell. Like I said it soaks in & holds seizing well. I noticed if I messed up the seizing it wasn't too hard to pull it back apart right afterwards. I will test it under stress & see how well it holds after longer periods of drying. If it doesn't hold when pulled tight I will hit those spots with watered down PVA glue. I hope I wont have to. I will be updating how it holds as the rigging progresses.
- 607 replies
-
- 1
-
-
- scottish maid
- artesania latina
- (and 1 more)
-
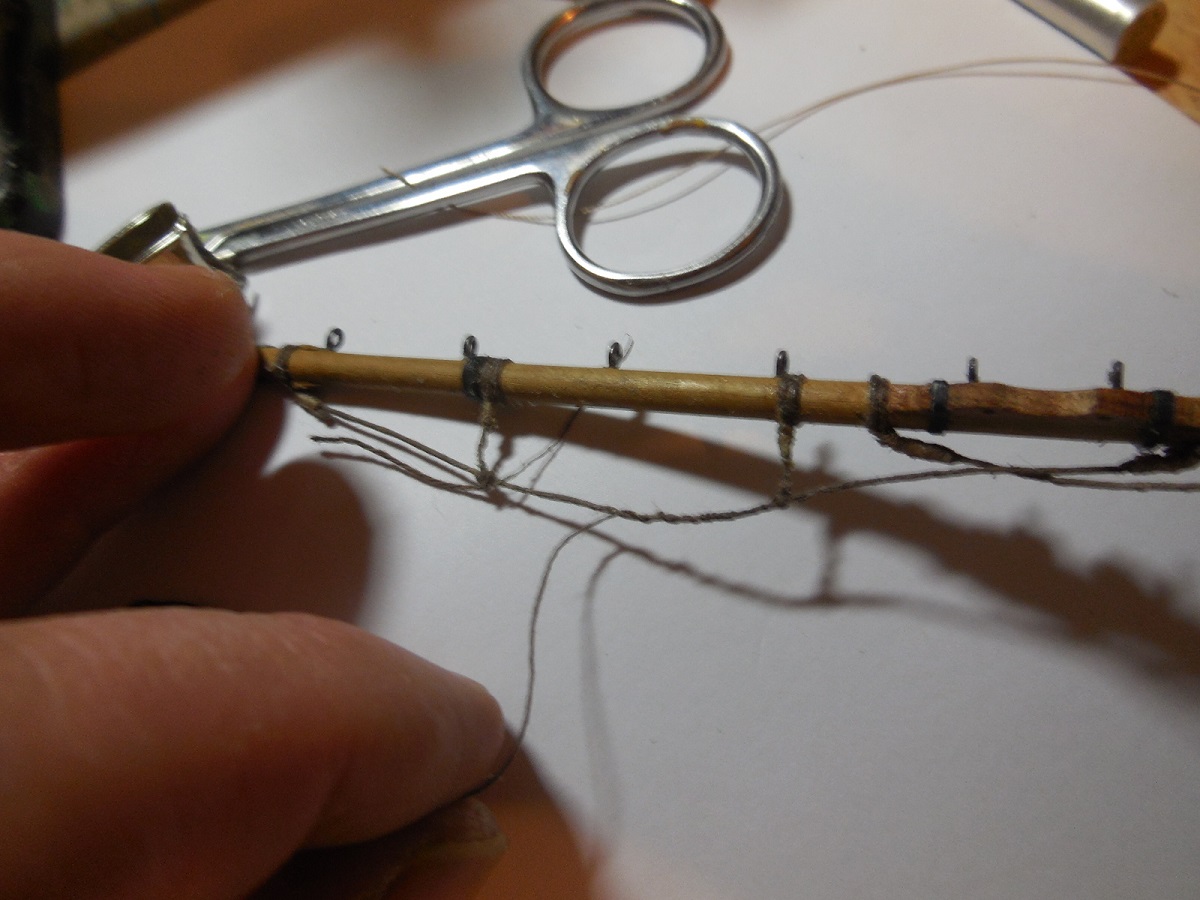
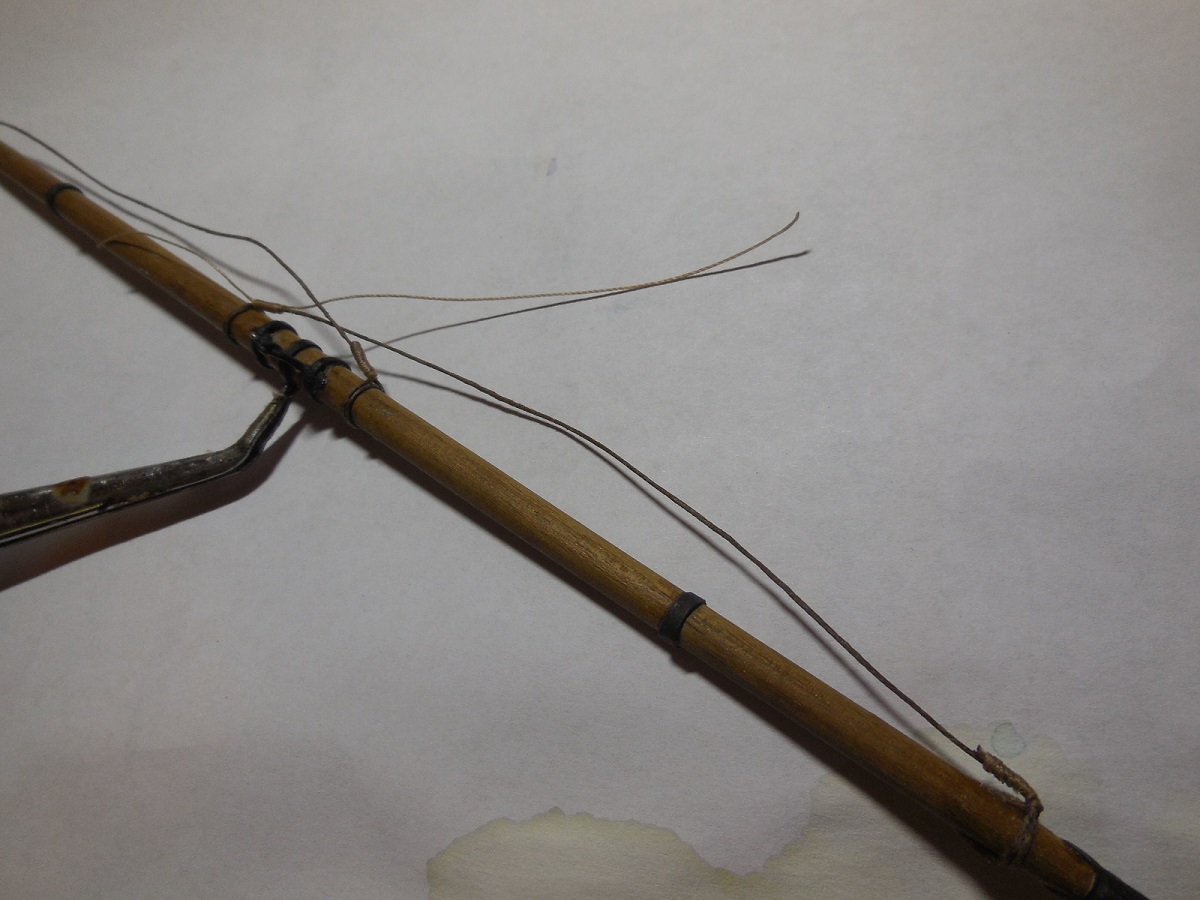
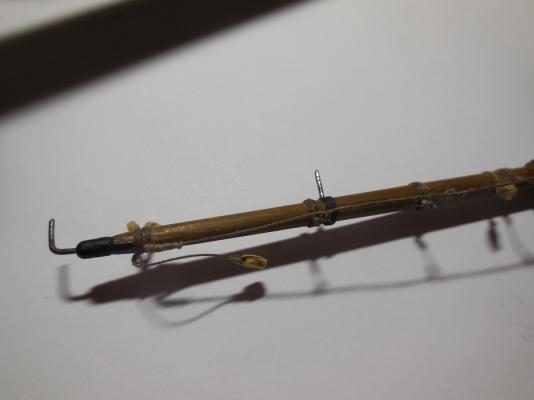
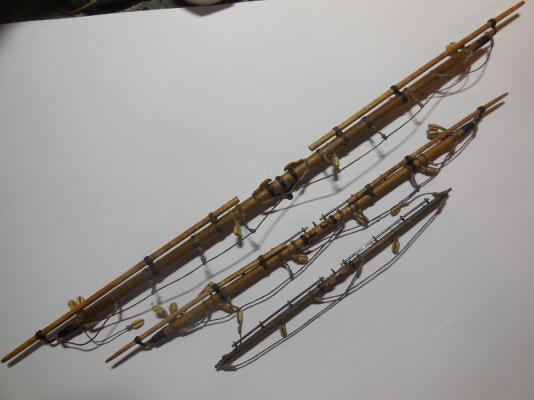
Still working on the yards some. Added some cleats & rigging the footropes & stirrups. Seizing is difficult & slow with all this nerve damage but I always seem to find a way to get it done. I did find this fabric glue made for sewing. It is clear & thin like water. It soaks in the thread & holds the seizing well & dries perfectly clear. Almost done with the foreyard. Still need to add a few more blocks & then move on to the other yards.

- 607 replies
-
- 10
-
-
- scottish maid
- artesania latina
- (and 1 more)