-
Posts
1,600 -
Joined
-
Last visited
Content Type
Profiles
Forums
Gallery
Events
Everything posted by vaddoc
-
Now, I must say I was a bit shocked with the colour. Gold? But then I googled it and there are some very nice boats out, gold goes very nicely with black white and blue. My aesthetics have changed my dear Patrick! Mind you,I still have not decided on the colour for my ugly duckling so who knows… What paint did you use? It looks sprayed on.
-
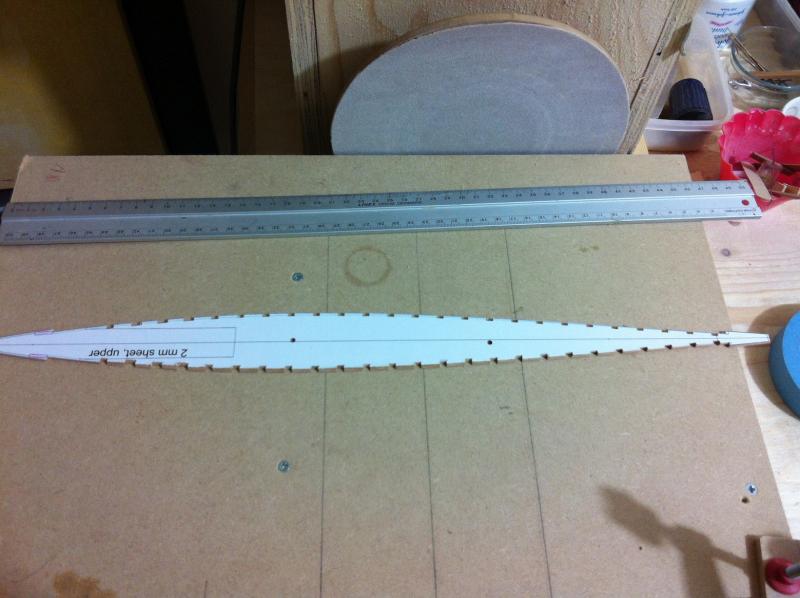
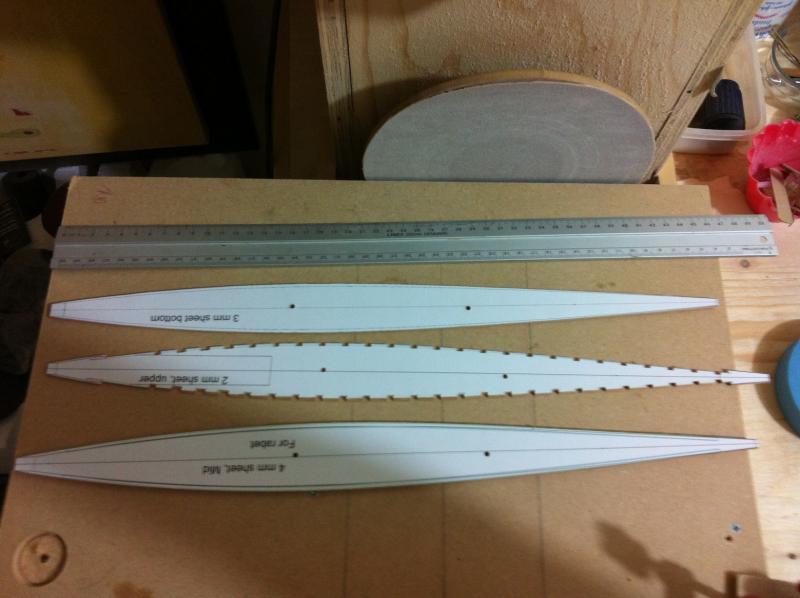
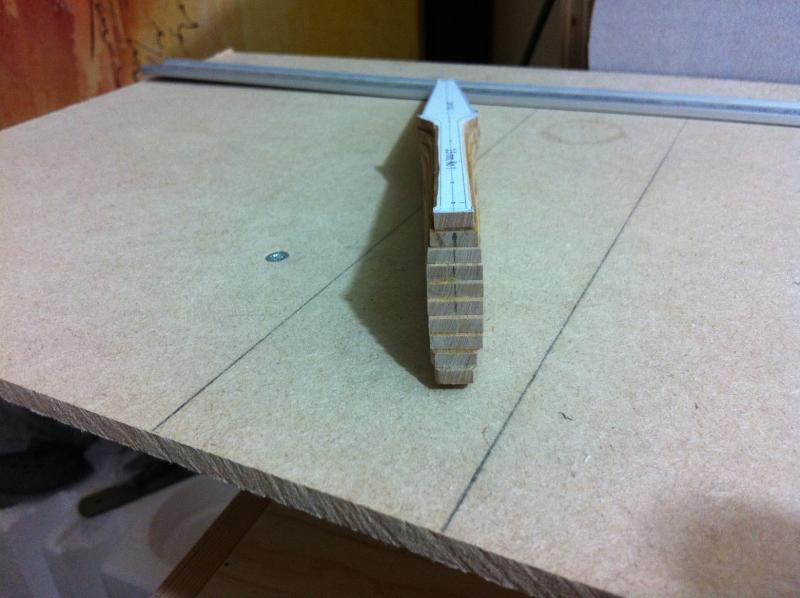
I do use 3 mm dowels to maintain alignment druxey, the problem was that the paper pattern was glued to the wood badly so the parts came out wrong. When gluing large paper patterns (these ones were 40 cm long) one needs to be very careful and to check for alignment before cutting the wood. Yes, now it is fine!
-
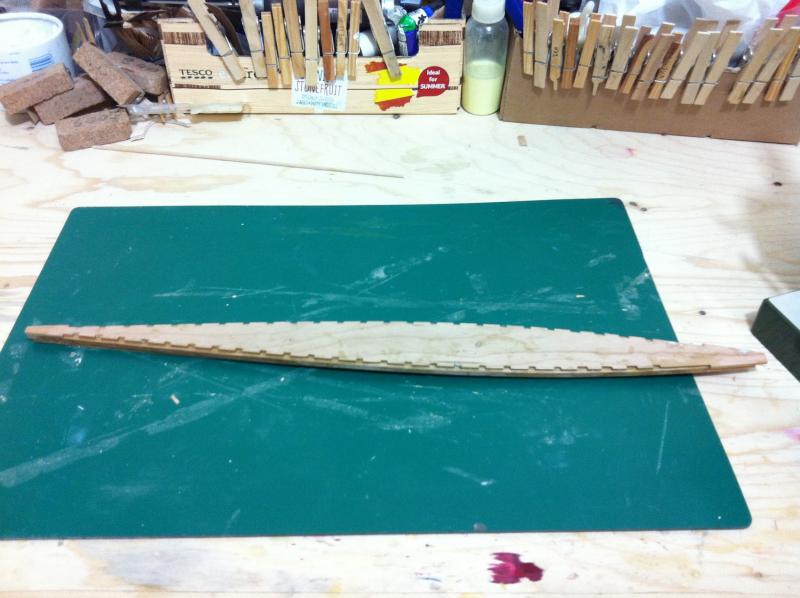
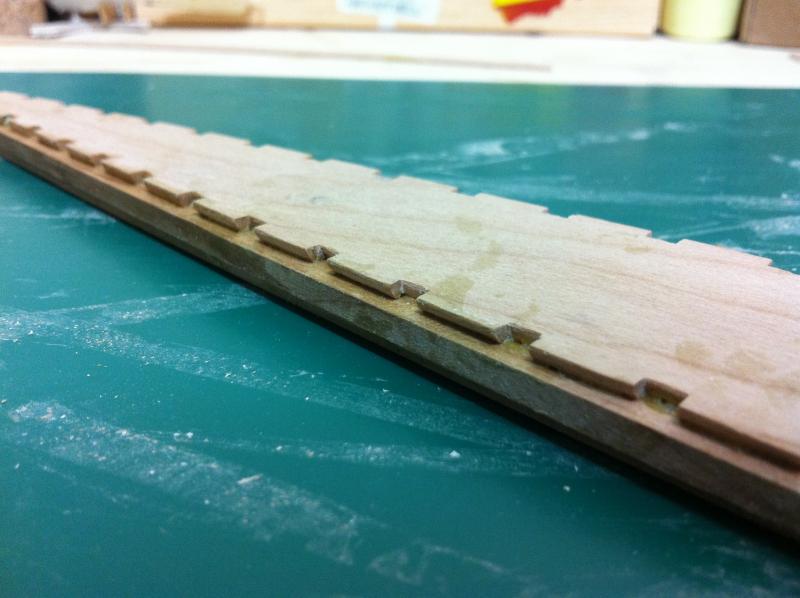
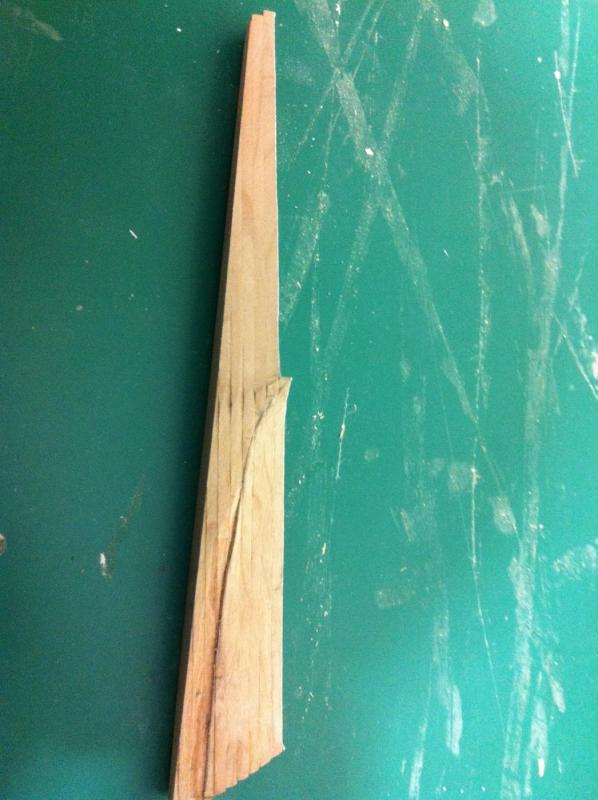
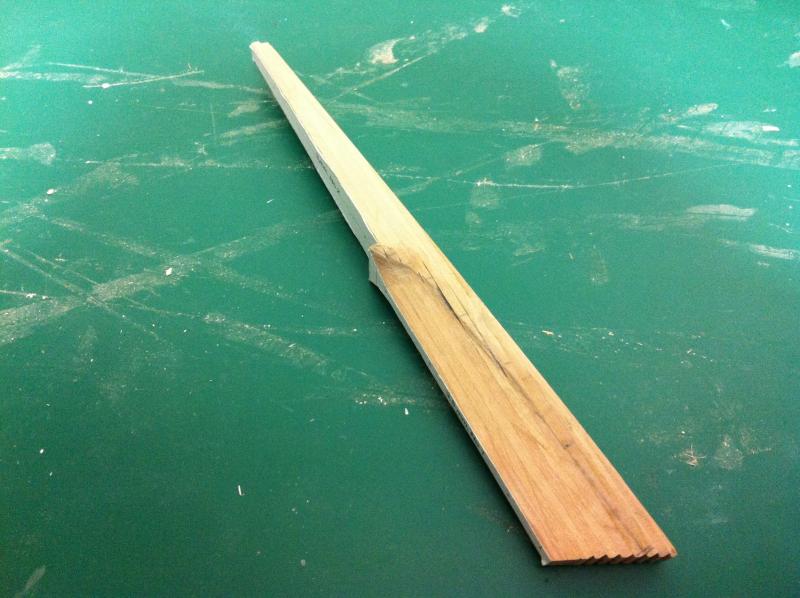
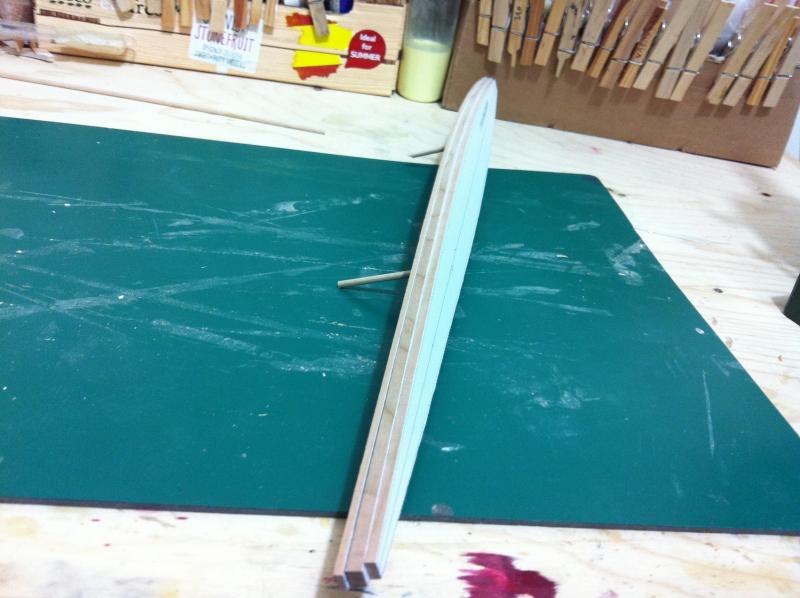
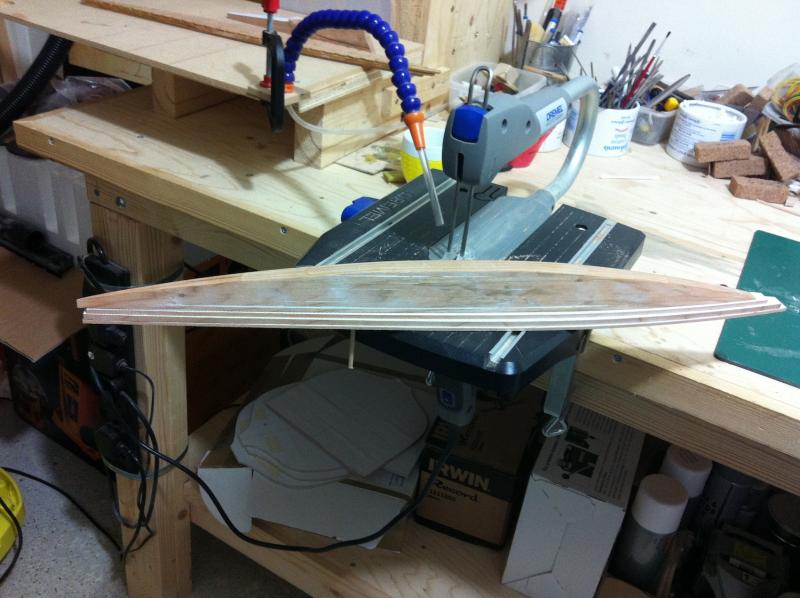
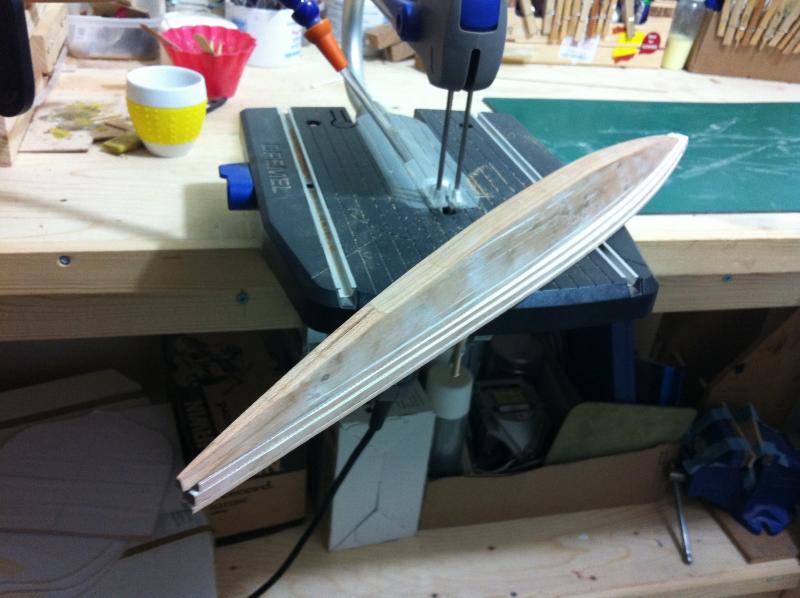
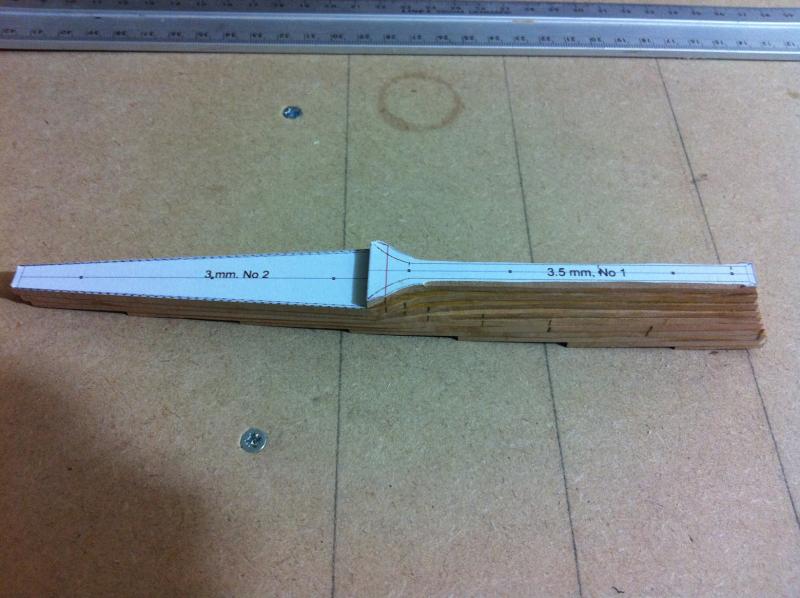
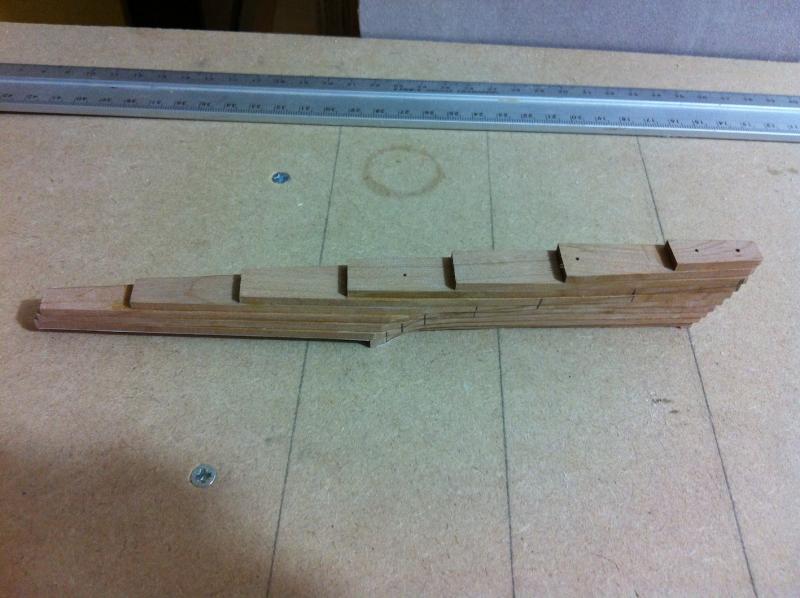
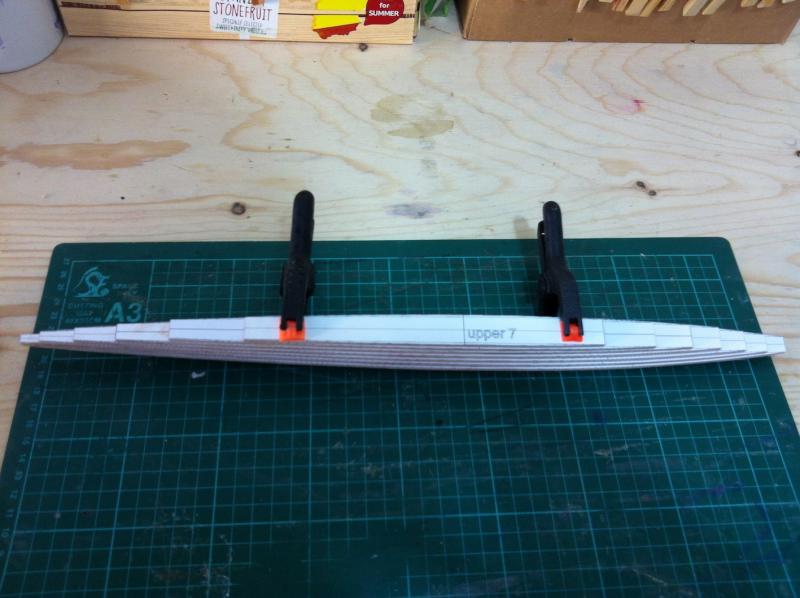
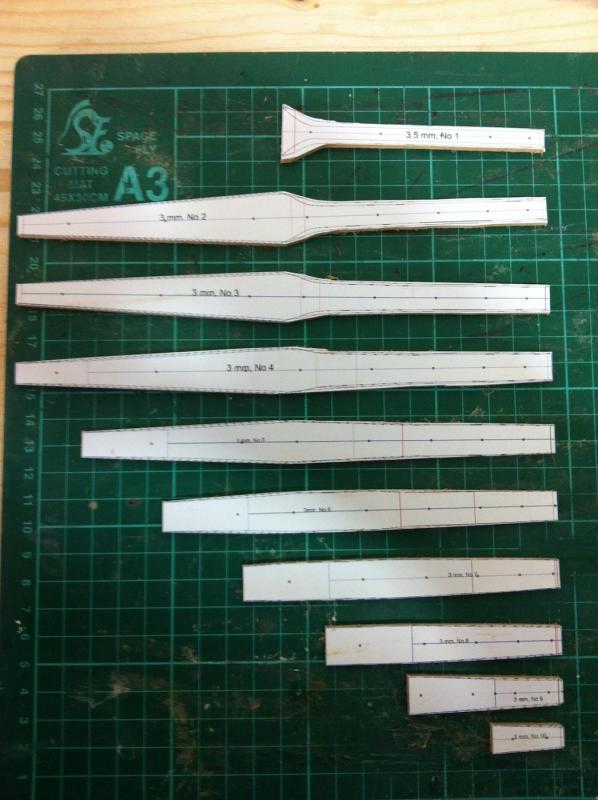
Time for another quick update. I now realise how challenging is to work in a large scale. First of all, all details and mistakes are very visible. Tools reach their limit. And as I just found out, any mistake is very expensive both in time and wood cost. I did some more work on the sternpost. It looks very rough but I think the shape is about right and I have marked the rebate line which is about symmetrical in both sides. On one side I have started cutting the rabbet but the rest of the shaping really will need to be done after mounting on the wood keel. I progressed well in making the wood keel. By shaping appropriately the upper most sheet, when everything was laminated the notches for the ribs came out very nice as well as the upper part of the rabbet with the correct angles to fit the garboard plank. However, when I test fitted the metal keel I saw the problem. It would not align properly. When I initially glued the paper templates to the wood, due to their large length they rested slightly towards one side and the parts came out asymmetrical. Especially the bottom one, where the metal keel would be glued, was quite bad. As the wooden keel essentially brings the whole boat together, I had to make it again. This was indeed an expensive mistake! So, all 3 sheets were carefully cut and checked straight. Now the metal keel sits nicely aligned.
-
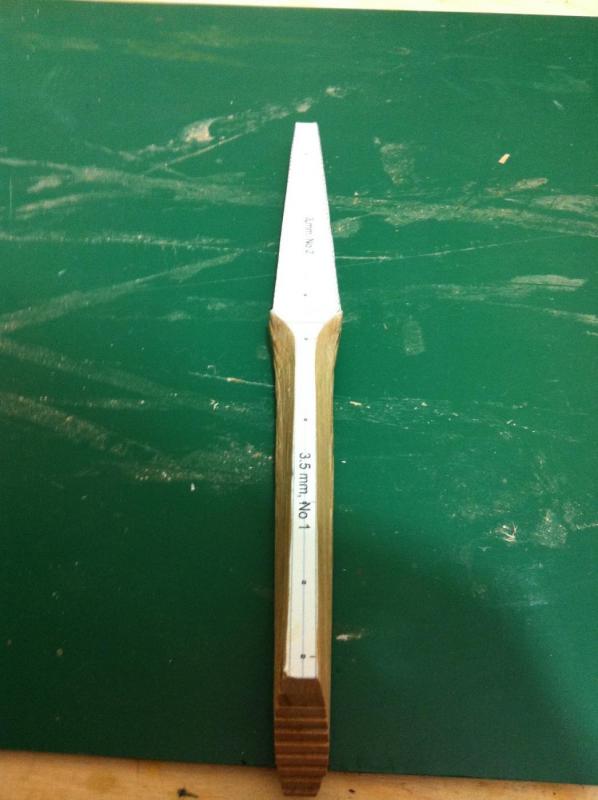
Thank Druxey and Patrick, yes it was about time to start building! Patrick, I actually do not smell the wood at all as I have taken the dust issue seriously and wear the 3M mask all the time while I work. I already had to change the filters as they clogged so I probably produce massive amounts of wood dust. Small price to pay though! I have started work on the wood keel which will be a laminate of three sheets. The uppermost will pre cut to incorporate the rabbet (or most of it as it is deep and will continue to the middle sheet) and also the notches for the ribs, all appropriately beveled. I must say it is hard and delicate work! I also slowly progressing on the sternpost, I laminated all 10 pieces and I have marked the intersections with the rebate line. It still needs tons of delicate work but it looks promising.
-
Elijah, I would suggest hand sanding. Power sanding on things already glued can be risky as you can sand more than you would like in no time. I think if you use 120 or 150 grit you ll get it done vey quickly and have better control. I usually take cork sanding pads from DIY shops and slice them in pieces and load strips of sanding paper with flat head board pins. For concave staff, I just use any round object to load the sandpaper strips. Regards
- 701 replies
-
- phantom
- model shipways
-
(and 1 more)
Tagged with:
-
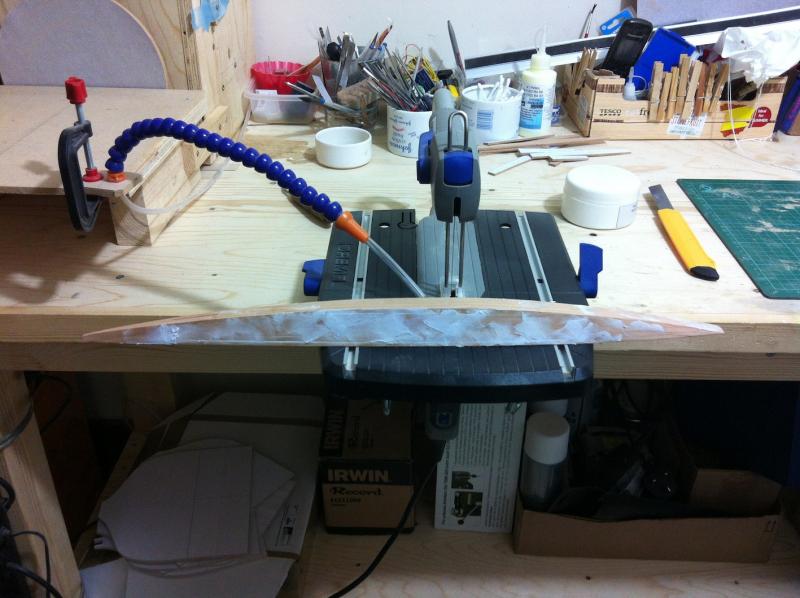
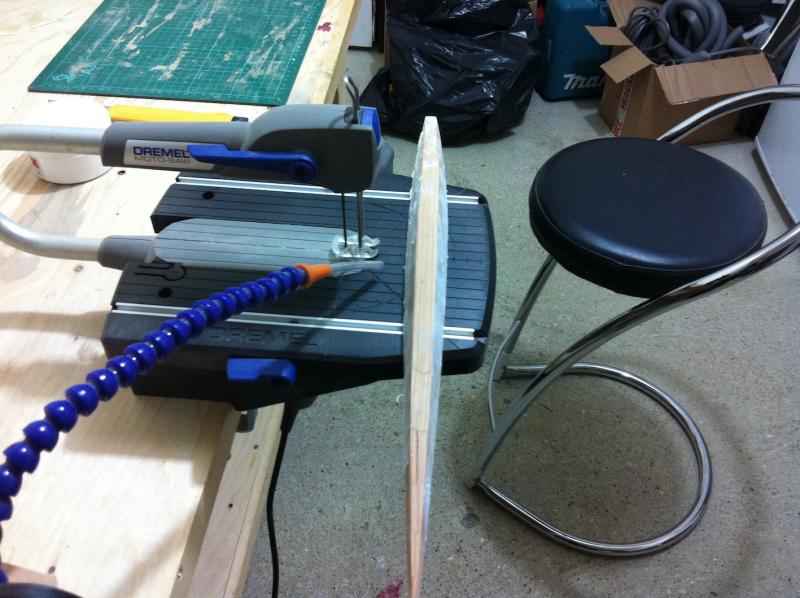
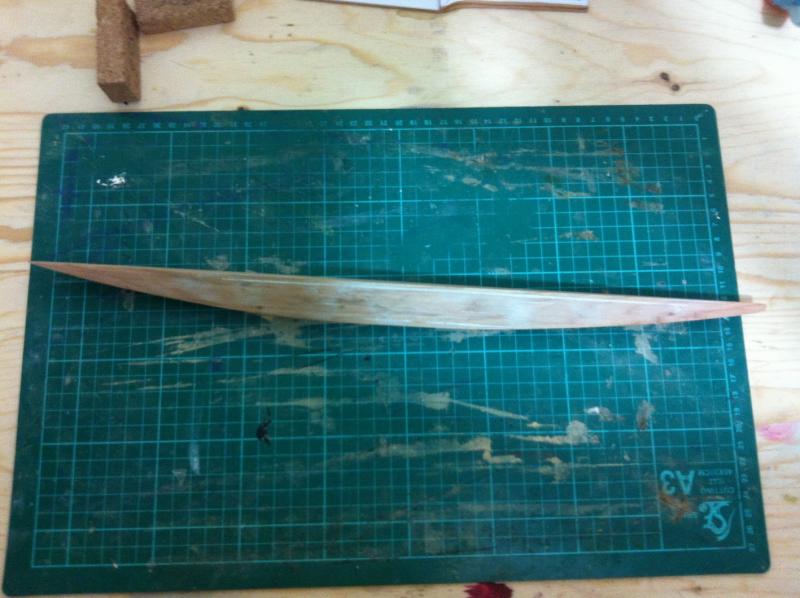
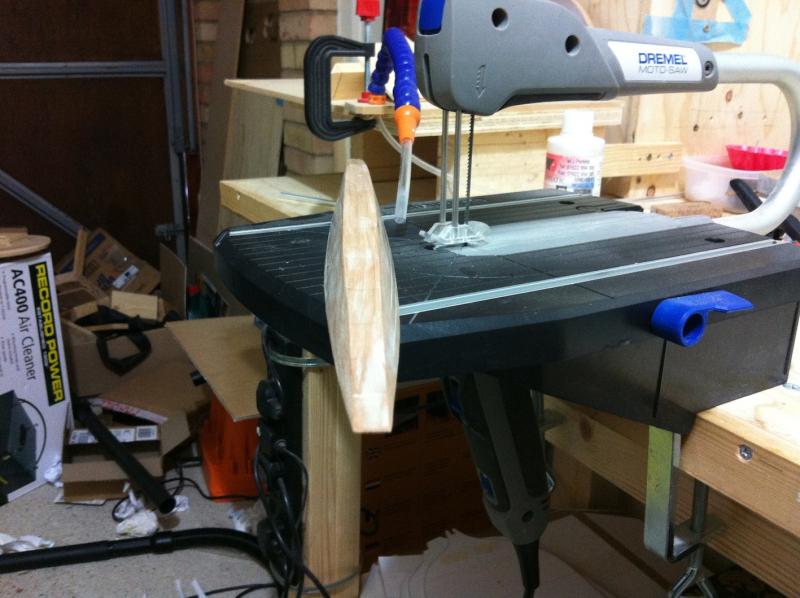
Thanks Patrick, glad to have you along! I have just started creating sawdust but it is clear that working in such a large scale is a challenge. My modelling tools are reaching their limit and sanding or filing by hand is difficult or even pointless in these massive timbers. My homemade disc sander is brilliant though and got the job done. I laminated the sheets for the metal keel which was a surprisingly fiddly job. Surprisingly also, the laminate came out bent which I did not expect as the sheets were 4 mm thick! I managed to sand the base flat which needed a simple jig to keep square and then shaped and sanded it smooth. Then it was time for some fairing And after the final sanding to 400 grit, it looks symmetrical and smooth and has I think a reasonable shape. Now it is time for the wood keel which will be an even larger piece of solid timber! The rabbet and the notches for the ribs (most of them at least as some will be on the stem and sternpost) will also be cut. I also started to laminate the pieces for the sternpost. Sanding it and cutting the rabbet will be much more complicated though. By the way, cherry is a lovely wood to work with.
-
Patrick, I am so busy this time that I need to be able to pop in and out to check things without blocking the view of the others!
-
Ok, I would like to share my experience buying wood from Massiveholz on line shop which is based in Germany. All orders need to be made via email and I must say there is a massive variety available. All wood I received so far has been great quality. I asked initially for some wood samples, 10 strips of various woods 2 x 10 x 1000 mm. Then I placed a large order, however I received more wood in most dimensions (it seems that round everything to multiples of 10!) and some other dimensions were less or missing. I emailed Frank and I received the missing wood but also some more strips I needed and asked to be added on, free of charge. Packaging was very good and I received all orders within a few days. I would think prices are competitive . Overall this is an excellent place to buy your wood if you are this side of the pond.
-
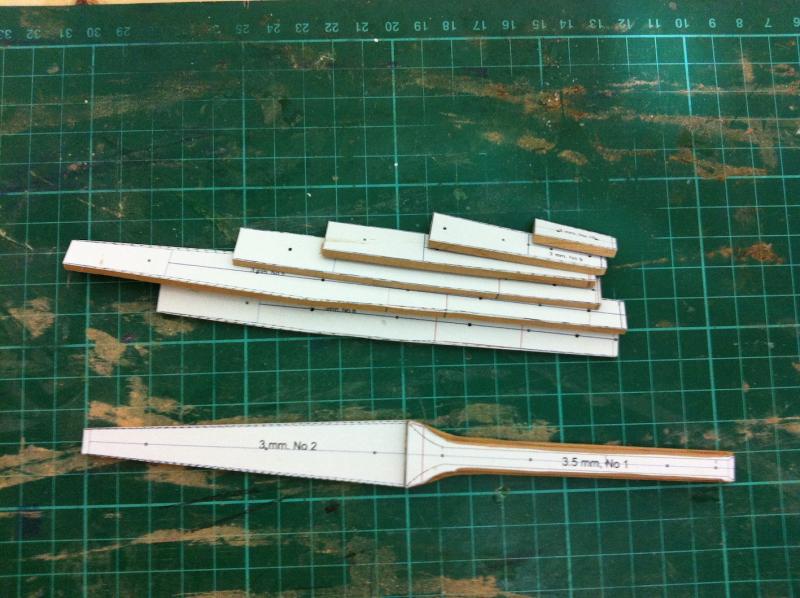
Dear all Finally some proper saw dust! My massive wood order has come in, there are some issues which hopefully will be corrected. Also all my fine dust protection is in place and I have made arrangements for insulation of my garage as the winter is not far off. It is the first time I used cherry but I think it is a very nice wood. Holds an edge well, cuts and sands well and is hard but less hard than pear so easier to work with. It has a nicer colour and slightly more grain than swiss pair. I cut the sheet templates for the metal keel and I think it will work out fine. There is still a lot of sanding to be done for the bevels so that when all are glued together and a final sanding is done, it will look like a solid piece. I also think I found a solution for my complex sternpost. As it is a huge piece of timber, even in the full size boat it would need to be built up of several pieces. So it will be made from 10 sheet pieces, all the bevels as well as the rebate line will be much easier to cut. The next photo shows all 10 pieces cut, still needing final trimming and of course all the bevels to be sanded in.
-
Very nice Elijah, both the hull and deck planking look really good. That garboard plank looks spot on to my uneducated eye.
- 701 replies
-
- phantom
- model shipways
-
(and 1 more)
Tagged with:
-
Congratulations Patrick, this is a stunning model, so much going on, I like how colourful it is, full of your usual feel good factor. This has been a great journey. I also wonder what is coming next!
- 1,083 replies
-
.thumb.jpg.6fd4c1b78768bb3efd745ab810936005.jpg)
Filling - How do you do it?
vaddoc replied to mikiek's topic in Painting, finishing and weathering products and techniques
I tried trade wood filler in the past and it dries very hard, very difficult to sand. I then got from cornwall models their modelling white wood filler which is excellent. Silky smooth, gives you enough time to apply and sands beautifully. -
Well, I am kind of womanising and drinking, I take out my 16 month old daughter who I absolutely adore and she sometimes shares her water with me! Thanks guys for your support. It sure felt good working again!
-
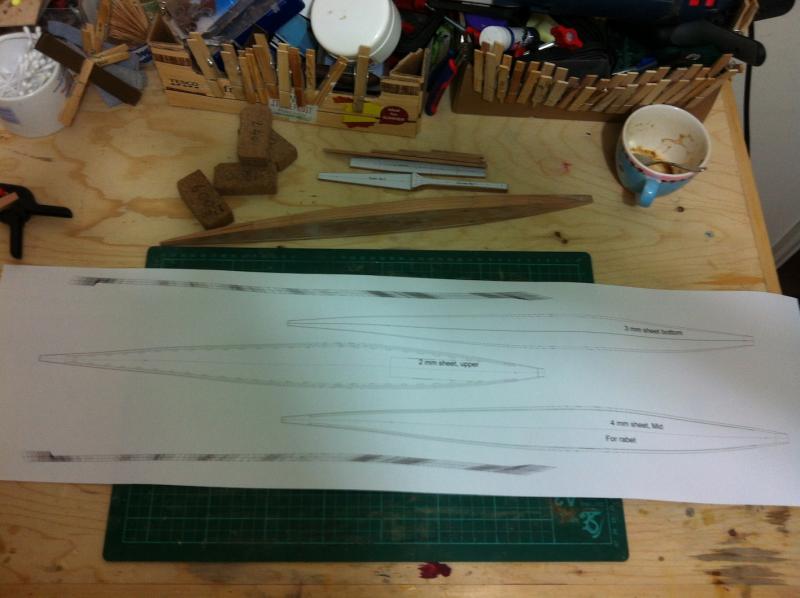
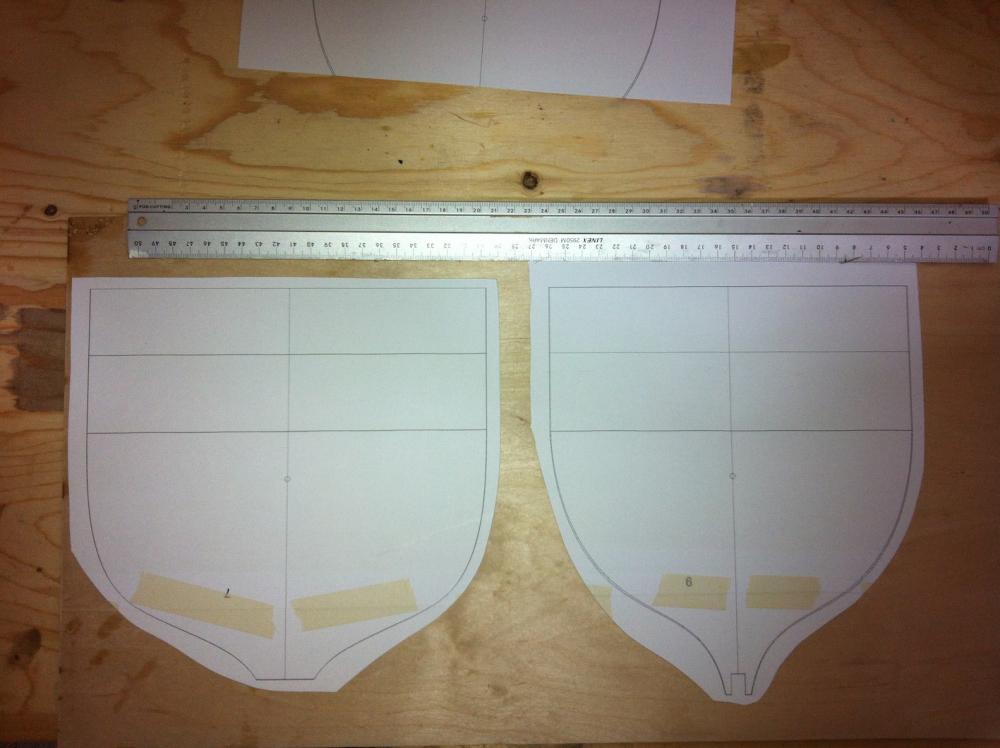
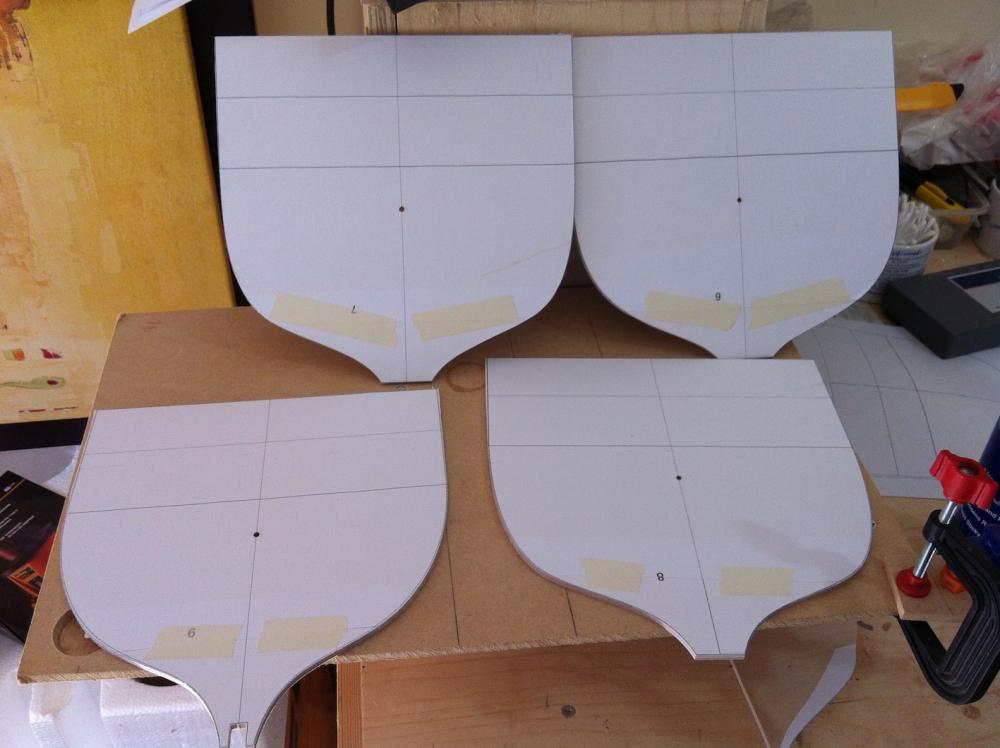
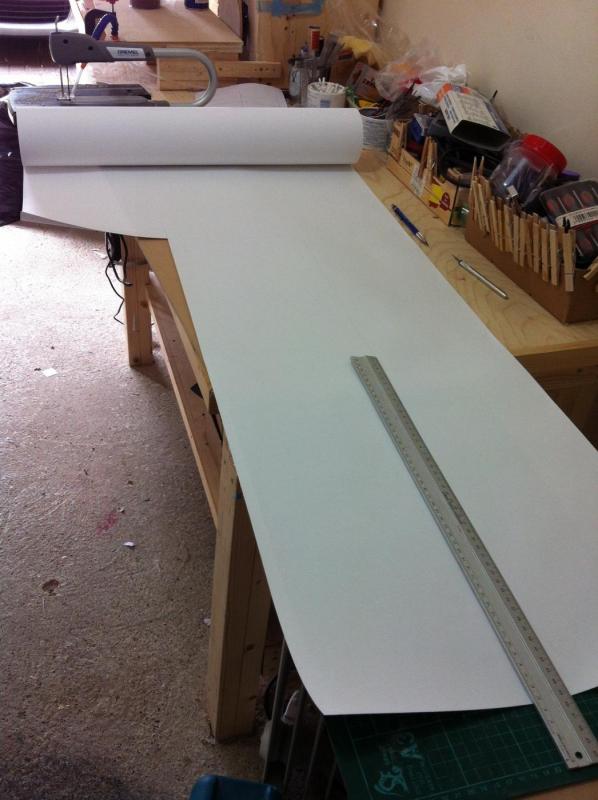
Dear all I have no free time any more, I could only steal a few moments here and there. I am not going into hibernation though, I will continue albeit at a very slow pace. I decided against going for a test model with cheap materials, simply due to lack of time. I ll go ahead with the built and hope for the best. The first step is to make the temporary frames. For this though I need perfectly flat 3 mm plywood which I could not find. I tried a few options but I ended up buying proper expensive modelling plywood and laminating it further to 3.5 mm. It came out flat enough. I then started cutting the first 4 frames. They are huge! The boat will be so huge that an A4 sheet is not wide enough to fit the frames so I had to cut and glue. I found out that on my A4 printer I can set the size of the paper. So I got a roll of paper and cut long pieces to print the various components. I am about to place a large order for timber, I decided to use cherry for the hull, beech for the beams and laminates and maple for the planking. I have also decided It is about time to seriously deal with the fine wood dust so I bought a cartridge mask and I am about to order a vacuum cleaner and an air filtration system. Worryingly the admiral today asked me if I feel model boat building is an expensive hobby!
-
Just found a bit of wi fi on my vacation to check things out and my god Patrick! You should be very proud, this is such an unusual and beautiful model! Lovely work and a great journey.
- 1,083 replies
-
This is an excellent suggestion Mark, I could just use cheap plywood and pine to see how things would come together and check the fairness of the hull prior to buying several hundreds of pounds worth of wood. I think this is the way forward, it did not cross my mind at all. Very grateful Vaddoc
-
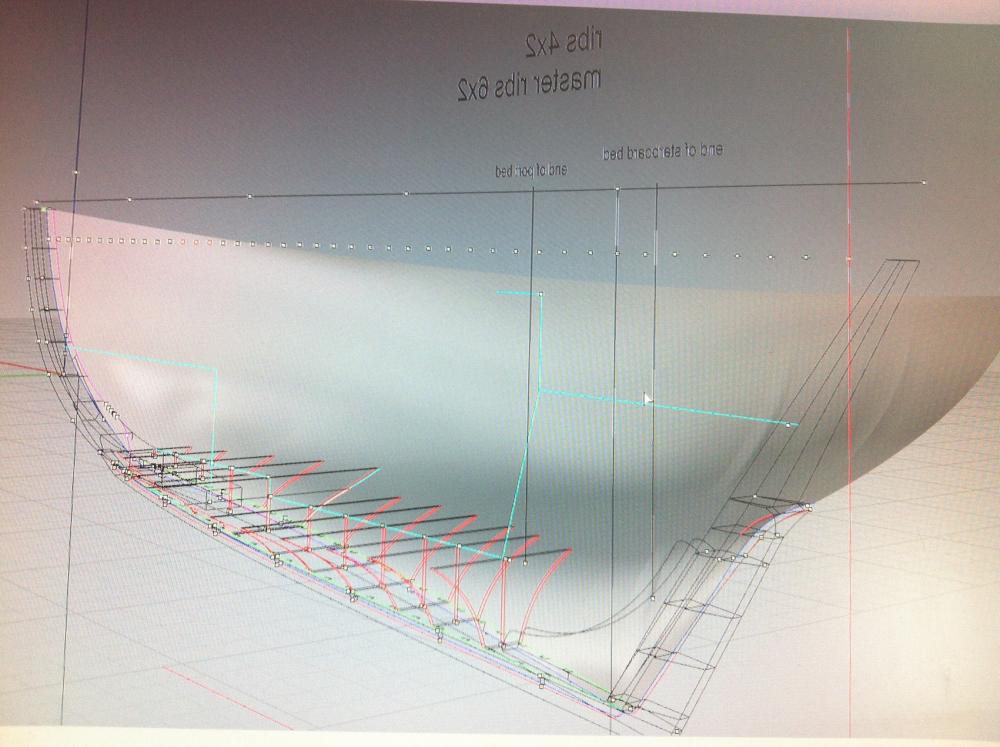
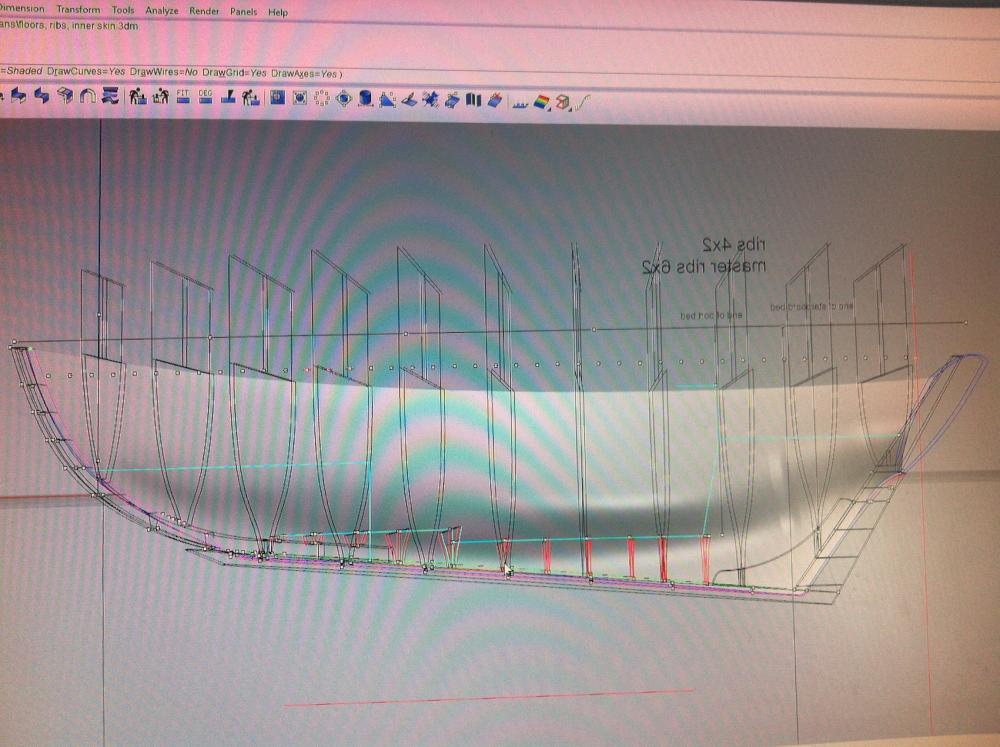
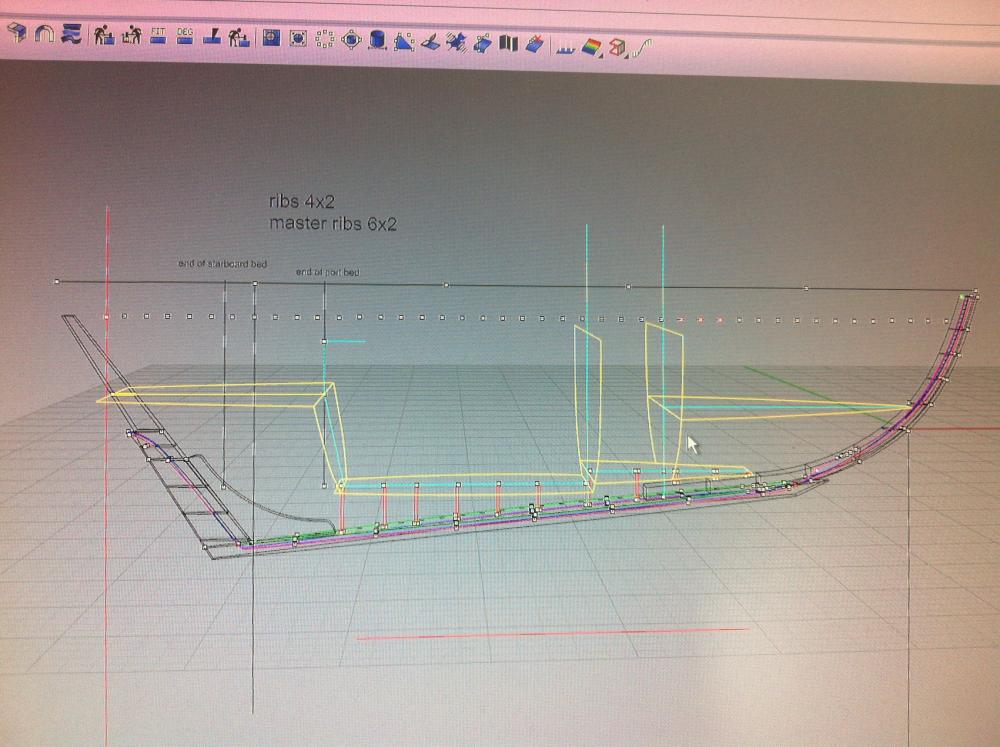
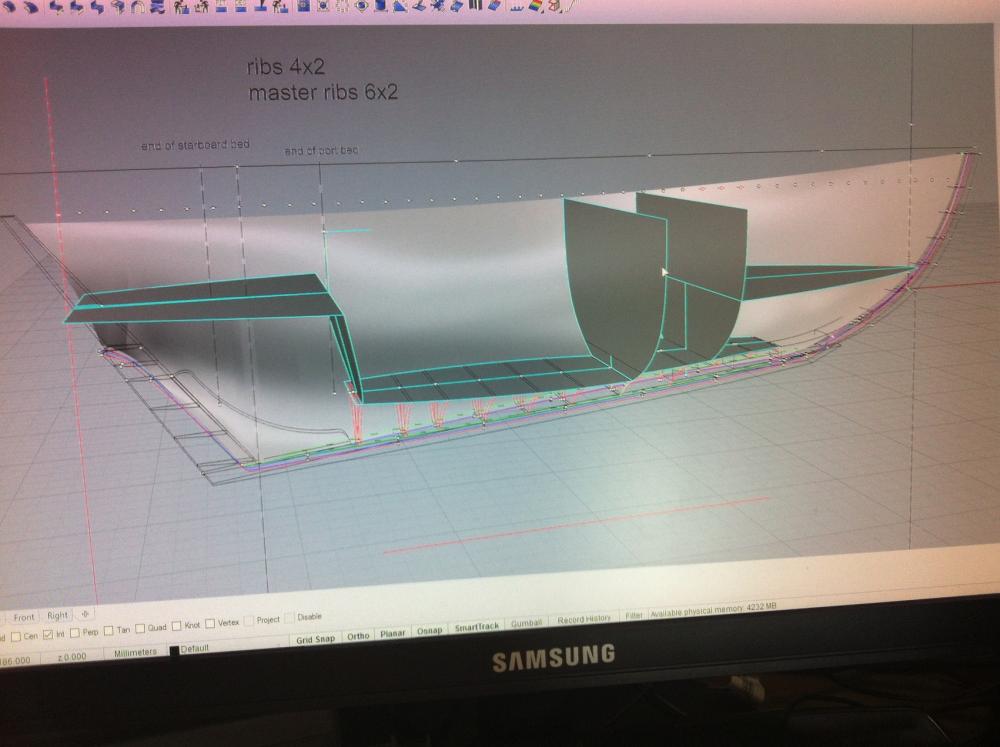
Dear all, time for another update. Not a lot of progress though, this boat will take a very long time to build. I have finished designing the hull and I intended to make use of the summer to create most of the saw dust, as I can work with the garage door open. However, I have no free time, the garage is full of stuff that I need to get rid off and most importantly I still have not decided what wood to use. I have ordered samples from one of the German sites but communication has taken a very long time. So, waiting for the wood I started designing the notches for the ribs on the wood keel, the shape of the floor timbers and started work on the bulkheads and layout of the cabin. I was lucky as only one of the temporary frames is in the way of a floor timber The floor panels and bulkheads vaguely outline the interior. My intention has been to built this in 1:10 scale, this will produce a model 70 cm long and I must admit I had not appreciated how huge it will be. Still, I think I will go for it as I have enough space and the large scale should make building much more interesting as it will more closely resemble the actual boat. I might even do some work on the interior. Such a huge model would make a nice RC boat although this is out of the question as planks on ribs would not allow watertight seal. I am concerned though that all this work and expenses might go to waste. I have no faith in my 3d designs or my skills to pull through such a complex project. I will only know after a massive wood order and many months of hard work!
-
Looks very good Patrick! I like the shiny paint in that superstructure! Now really, your hull needs also a bit of tlc and some nice gloss paint! Looks sell these boats, not seaworthiness! Vaddoc
- 1,083 replies
-
This is a very impressive built Elijah. Your hull has a lovely shape and I am very impressed by your attention to detail and the thoughtful way you carry out the different tasks. Looking forward for the hull and deck planking to be completed, you are doing great. Regards vaddoc
- 701 replies
-
- phantom
- model shipways
-
(and 1 more)
Tagged with:
-
Great project and very nice work Maury! I am working on a similar but much simpler boat and my concern has been that although CAD lofting may seem ok, still during the actual planking fairing problems or impossible angles will show up. I will be following with great interest.
- 525 replies
-
- anchor hoy
- hoy
-
(and 1 more)
Tagged with:
-
I think it is great having those who build masterpieces and those who put together the simplest of boats in one pot. Shows that you are competing with your self fand not with others. I love seeing my first plywood boat next to a fully framed victory. Plus, the drive seeing that the masterpieces are still made from wood by mortals is enormous.
About us
Modelshipworld - Advancing Ship Modeling through Research
SSL Secured
Your security is important for us so this Website is SSL-Secured
NRG Mailing Address
Nautical Research Guild
237 South Lincoln Street
Westmont IL, 60559-1917
Model Ship World ® and the MSW logo are Registered Trademarks, and belong to the Nautical Research Guild (United States Patent and Trademark Office: No. 6,929,264 & No. 6,929,274, registered Dec. 20, 2022)
Helpful Links
About the NRG
If you enjoy building ship models that are historically accurate as well as beautiful, then The Nautical Research Guild (NRG) is just right for you.
The Guild is a non-profit educational organization whose mission is to “Advance Ship Modeling Through Research”. We provide support to our members in their efforts to raise the quality of their model ships.
The Nautical Research Guild has published our world-renowned quarterly magazine, The Nautical Research Journal, since 1955. The pages of the Journal are full of articles by accomplished ship modelers who show you how they create those exquisite details on their models, and by maritime historians who show you the correct details to build. The Journal is available in both print and digital editions. Go to the NRG web site (www.thenrg.org) to download a complimentary digital copy of the Journal. The NRG also publishes plan sets, books and compilations of back issues of the Journal and the former Ships in Scale and Model Ship Builder magazines.


