.jpg.f26acc9a74319261612561bfa7da1303.jpg)
vaddoc
-
Posts
1,605 -
Joined
-
Last visited
Content Type
Profiles
Forums
Gallery
Events
Everything posted by vaddoc
-
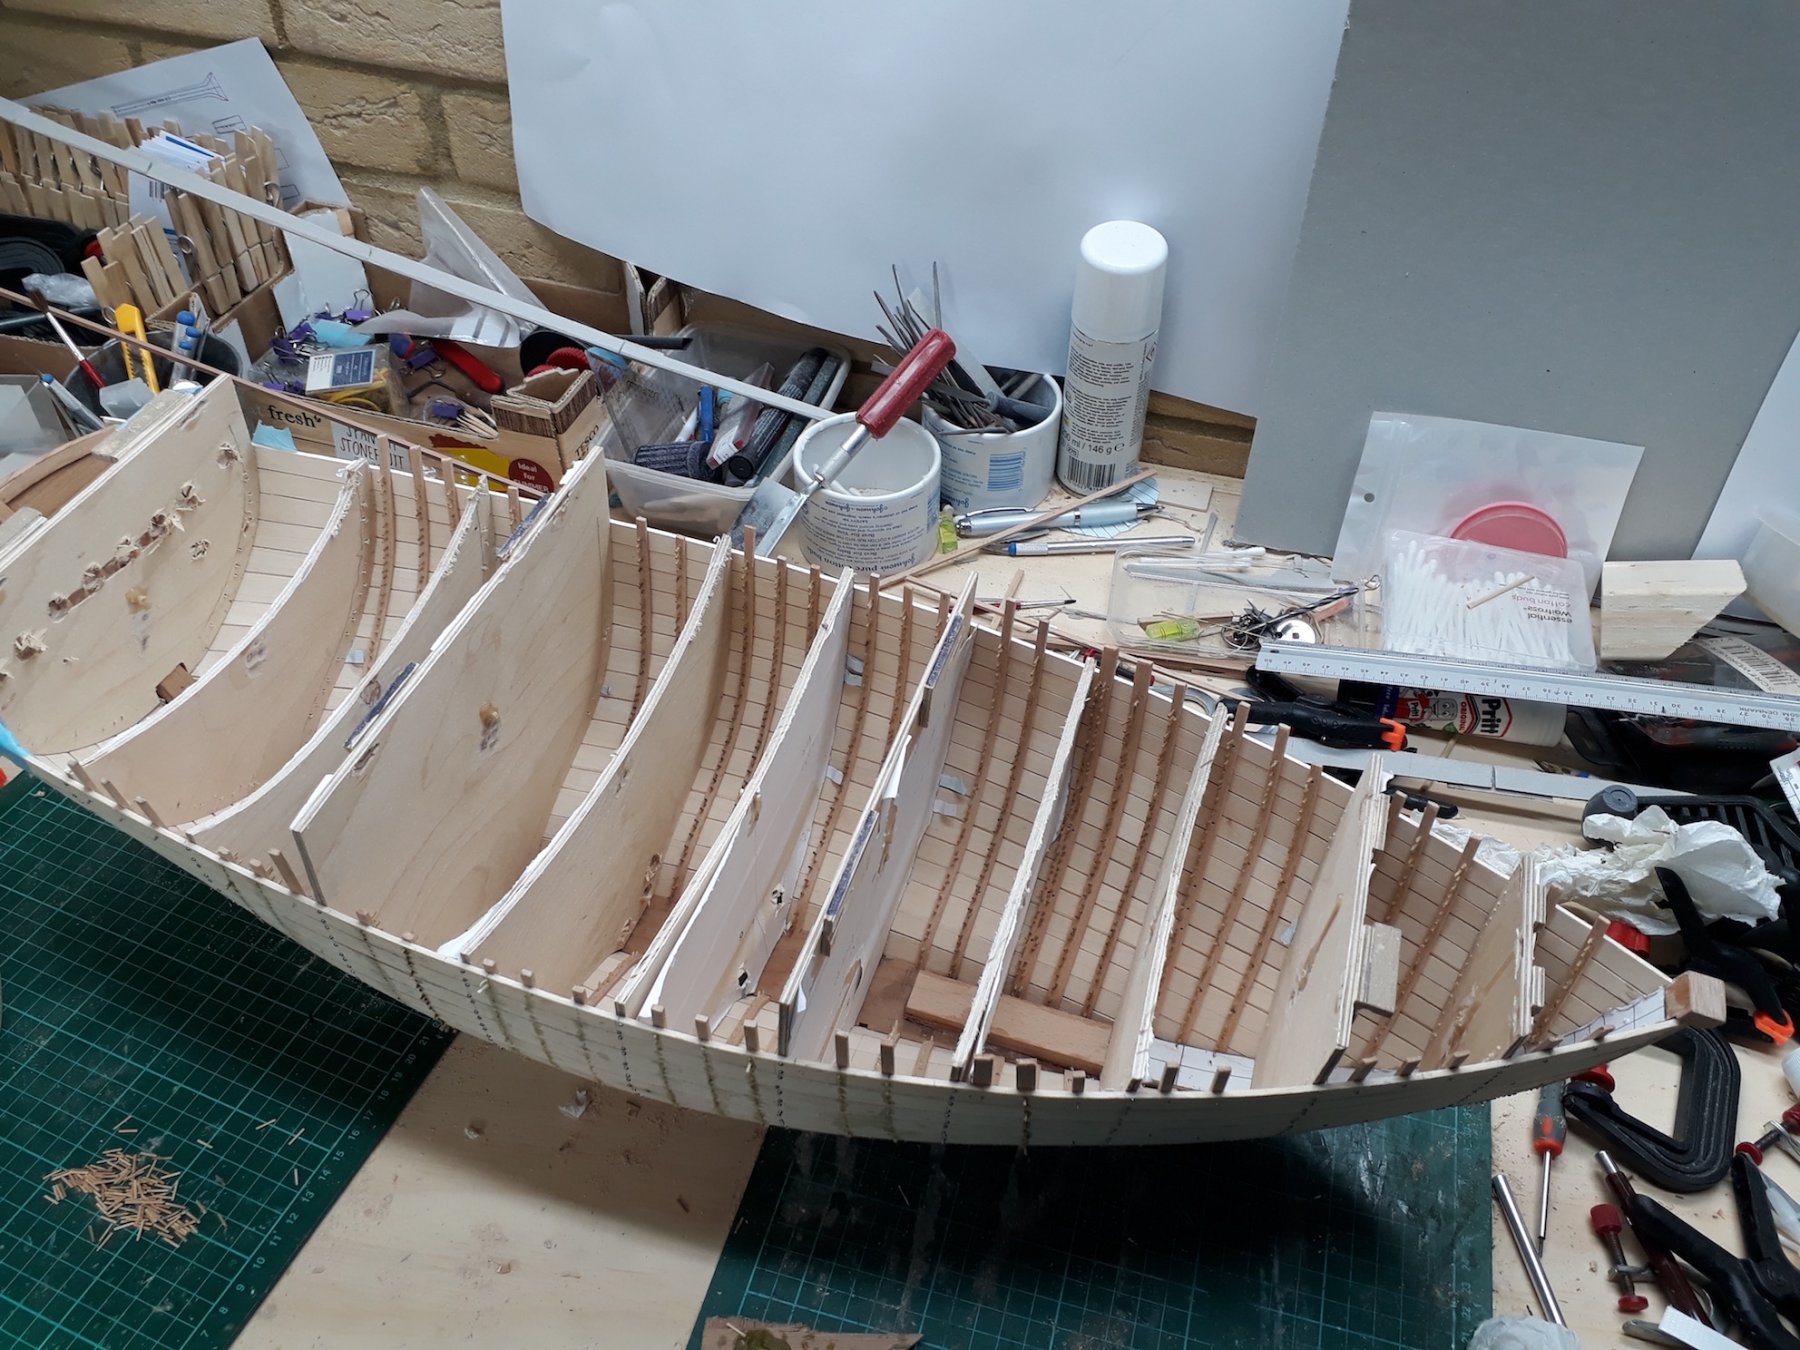
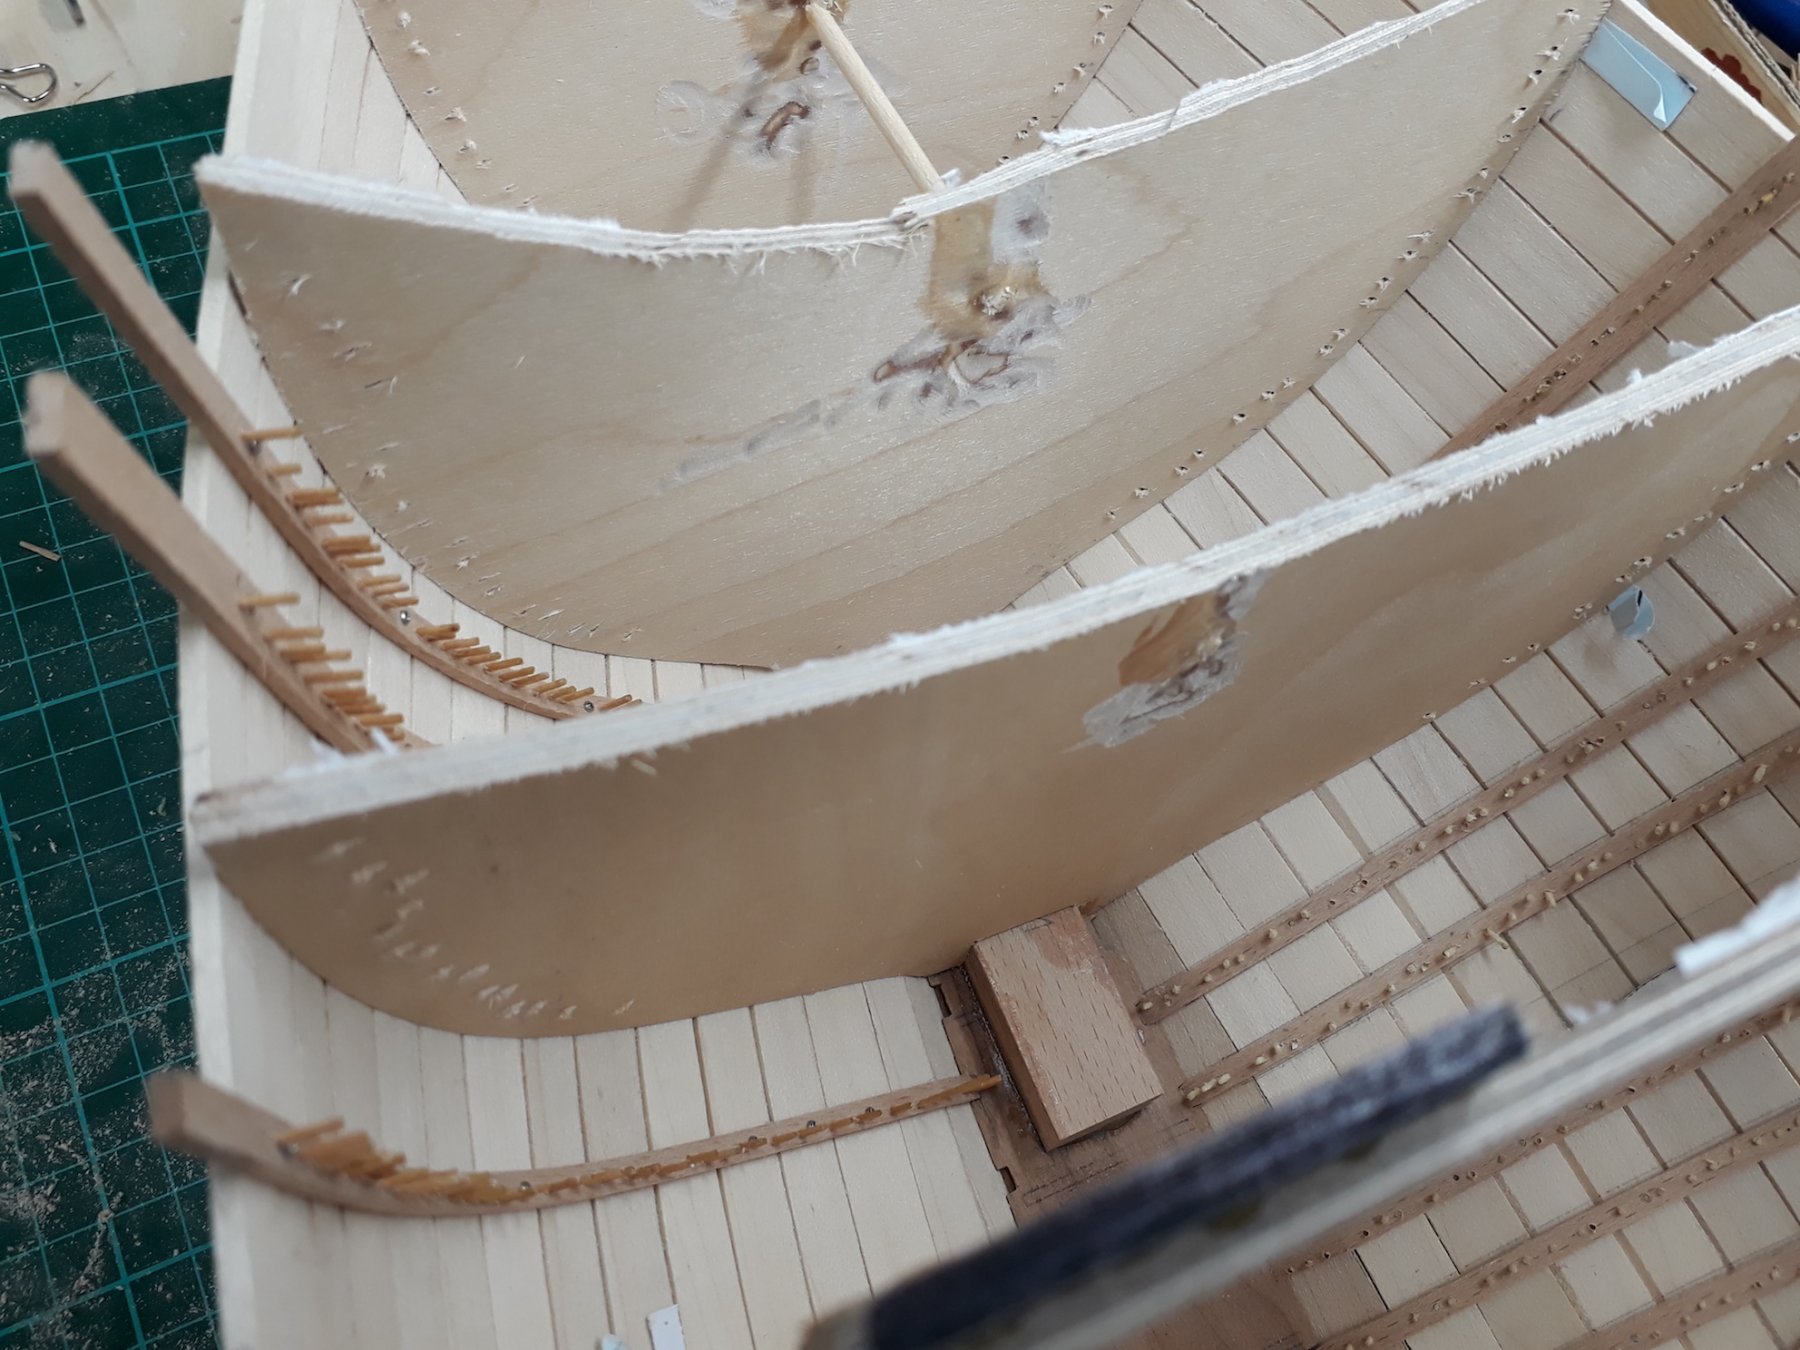
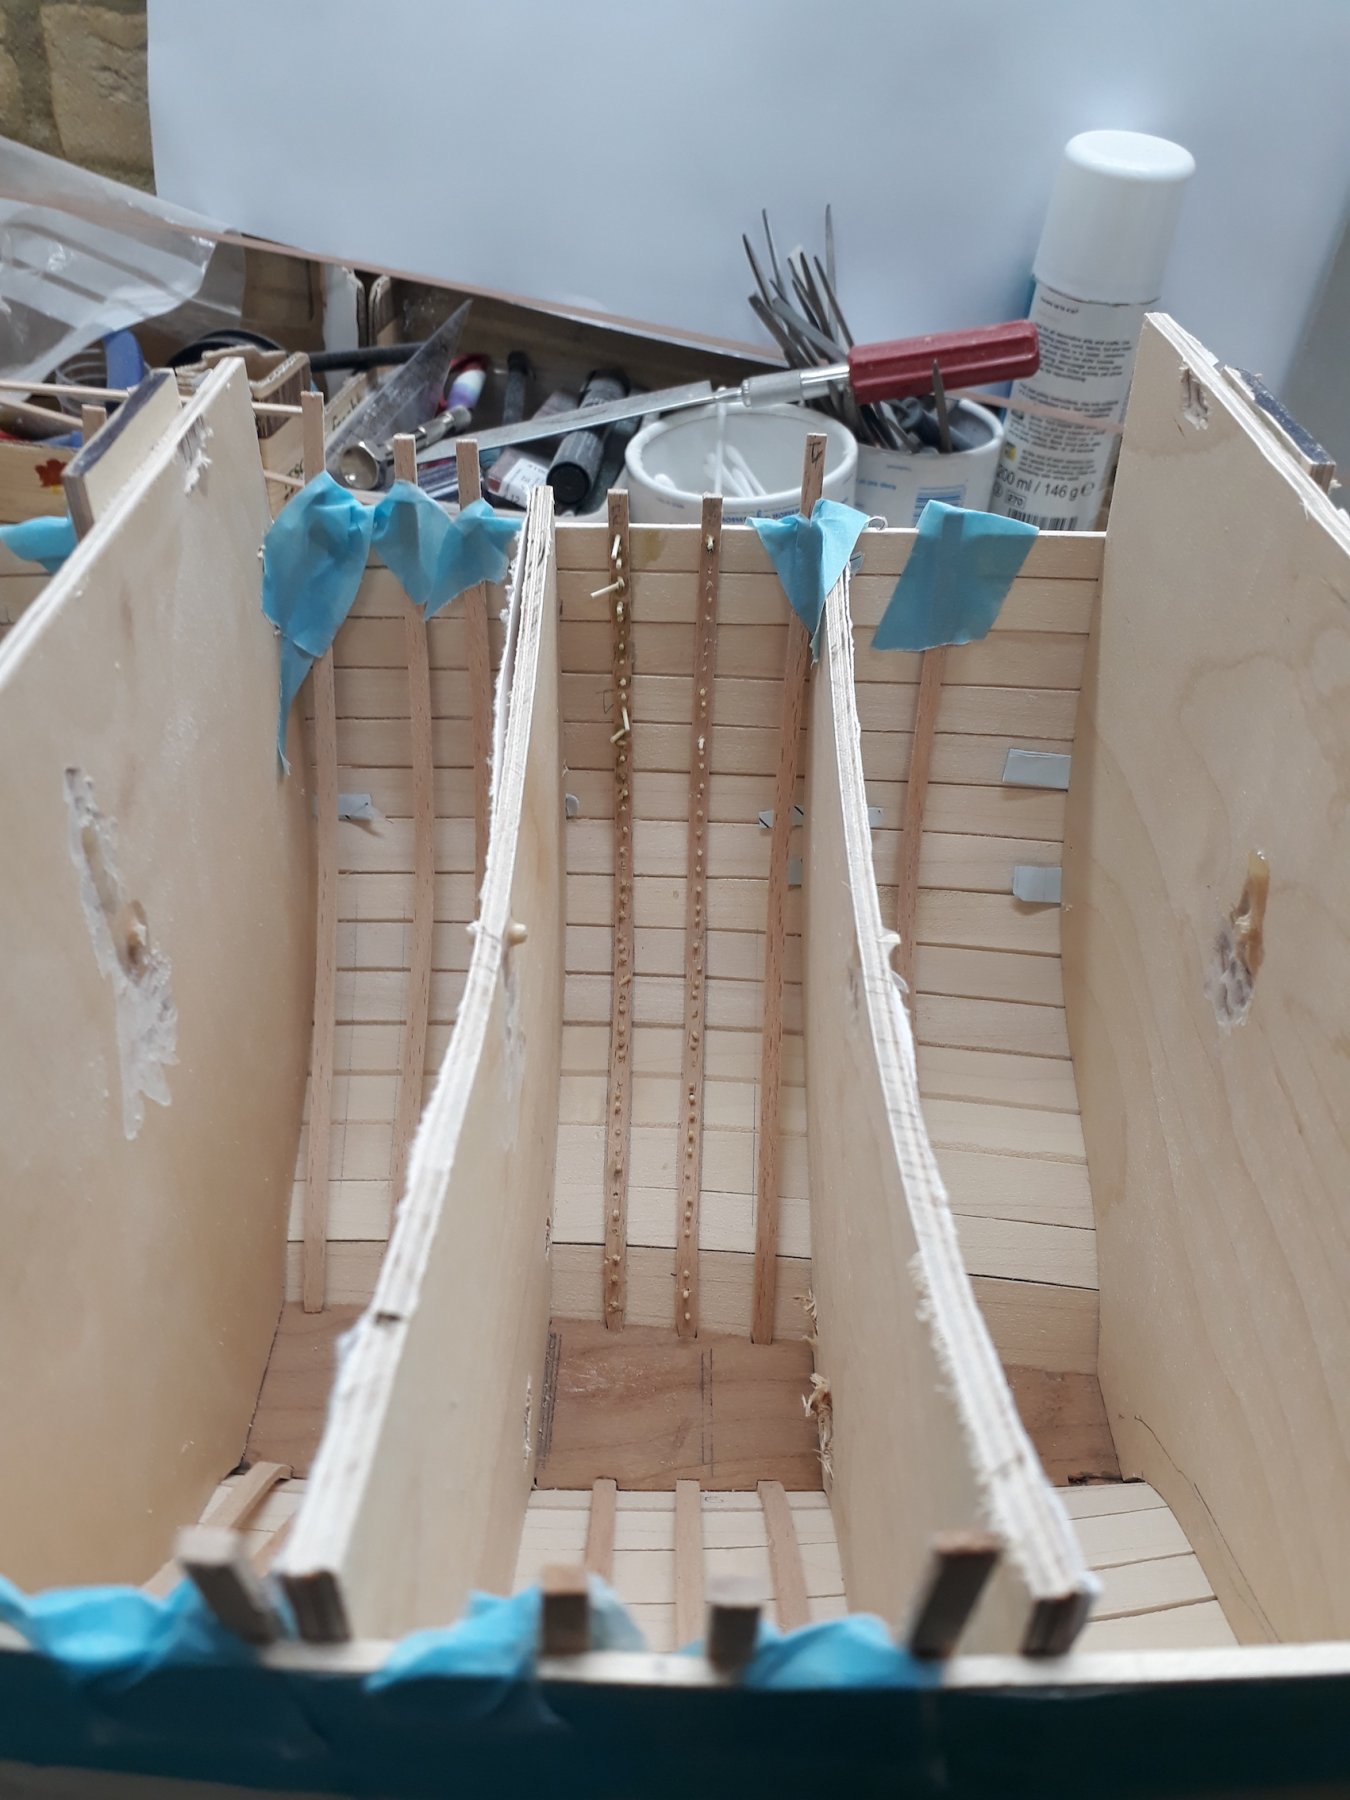
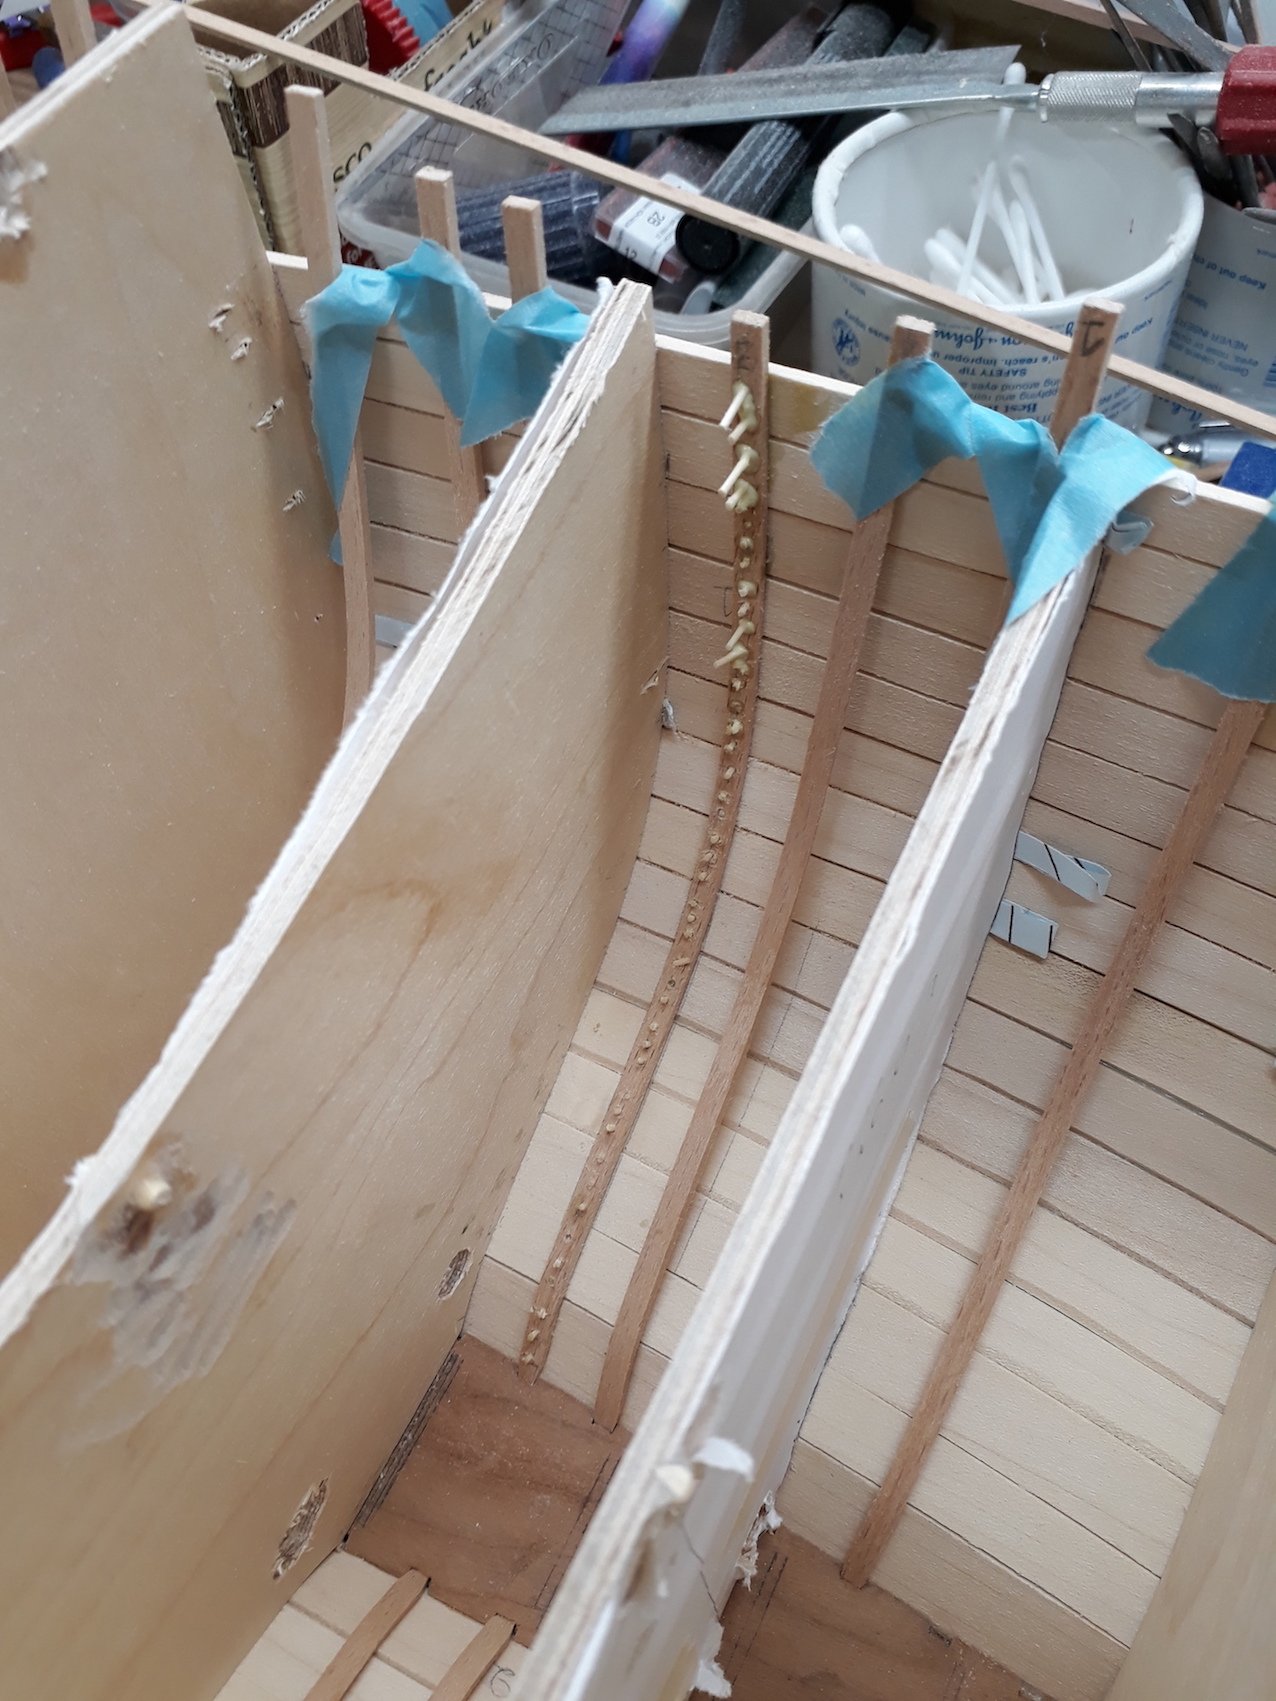
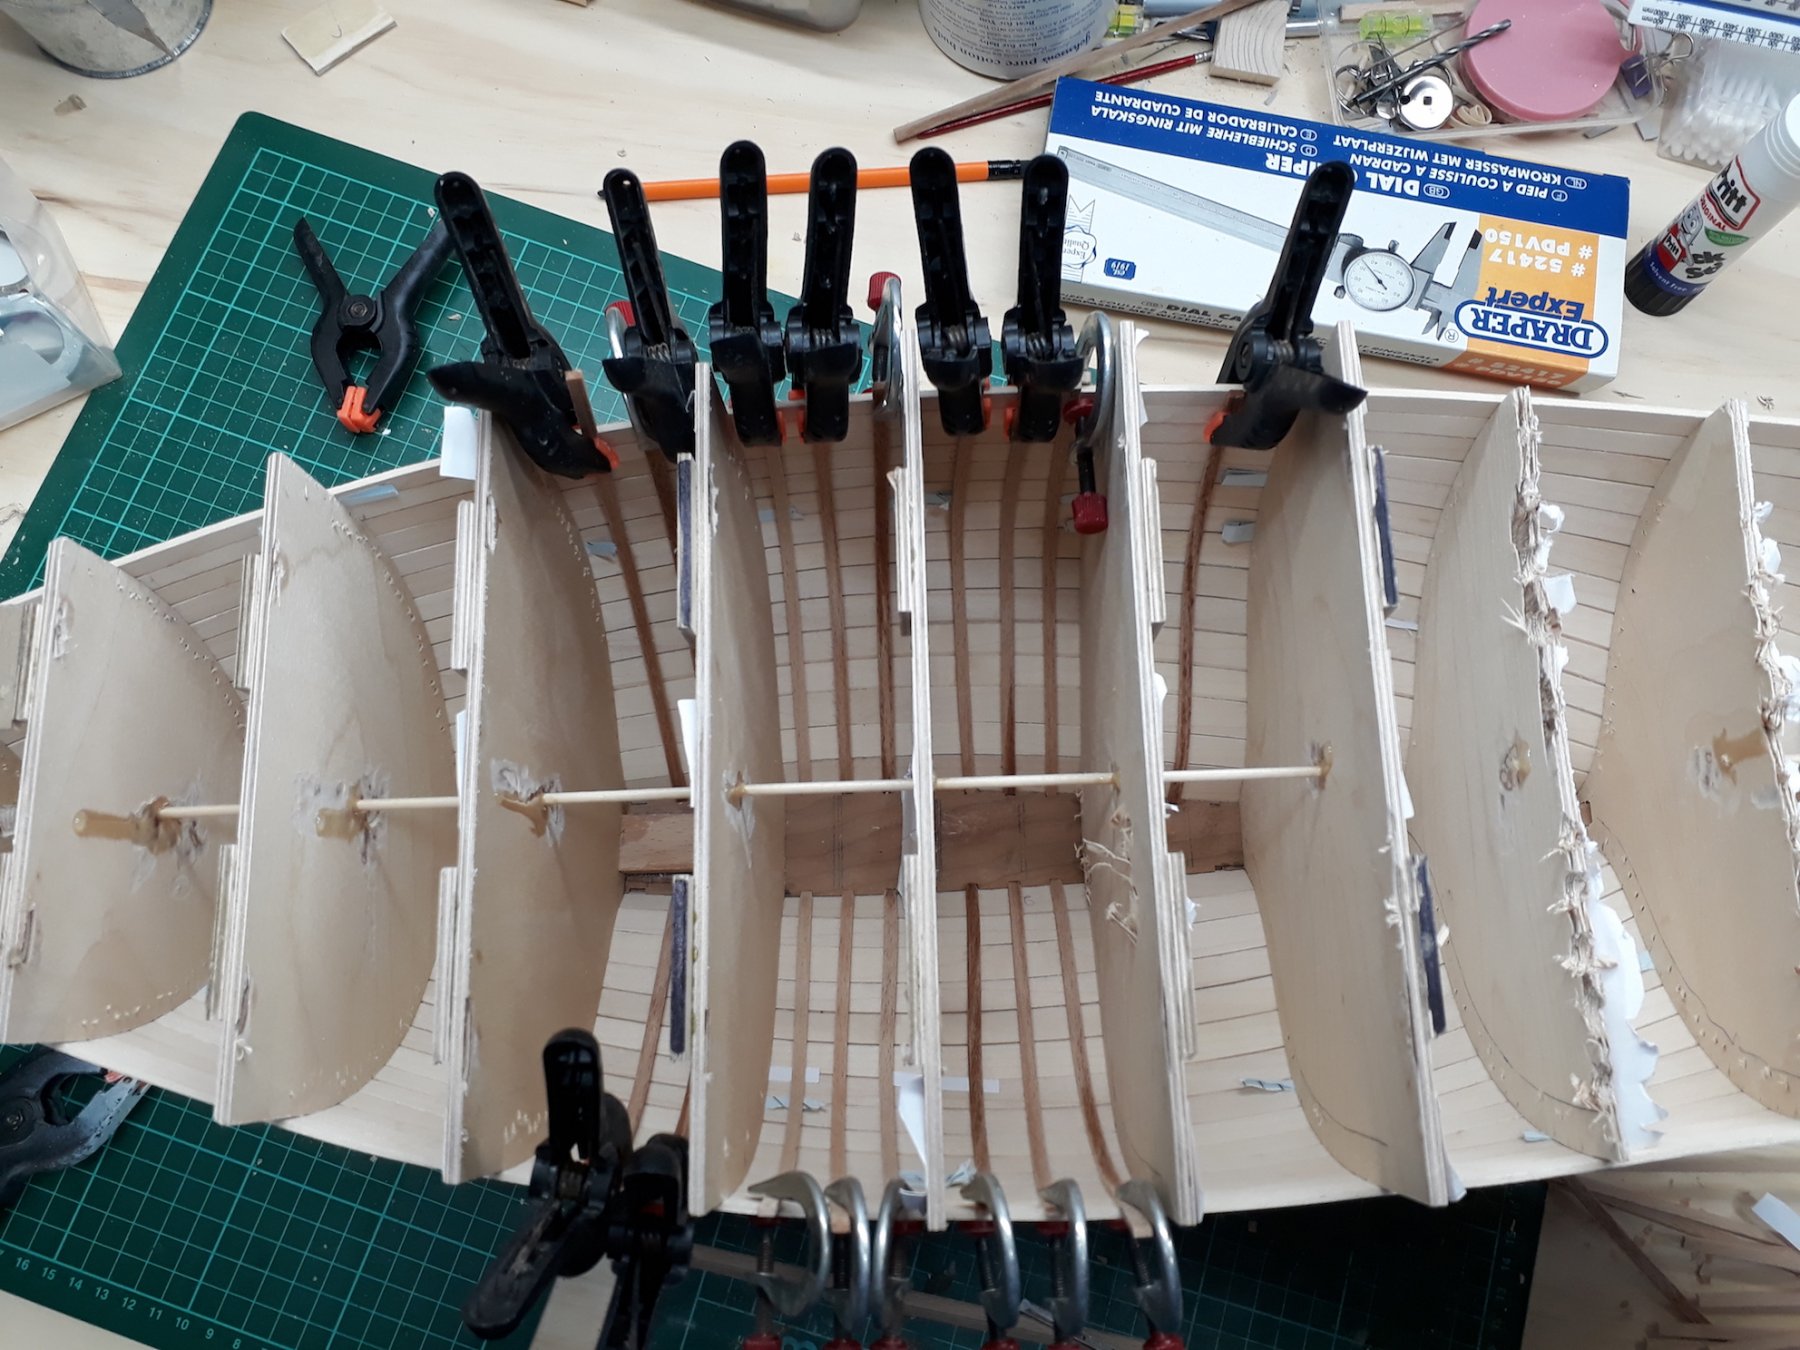
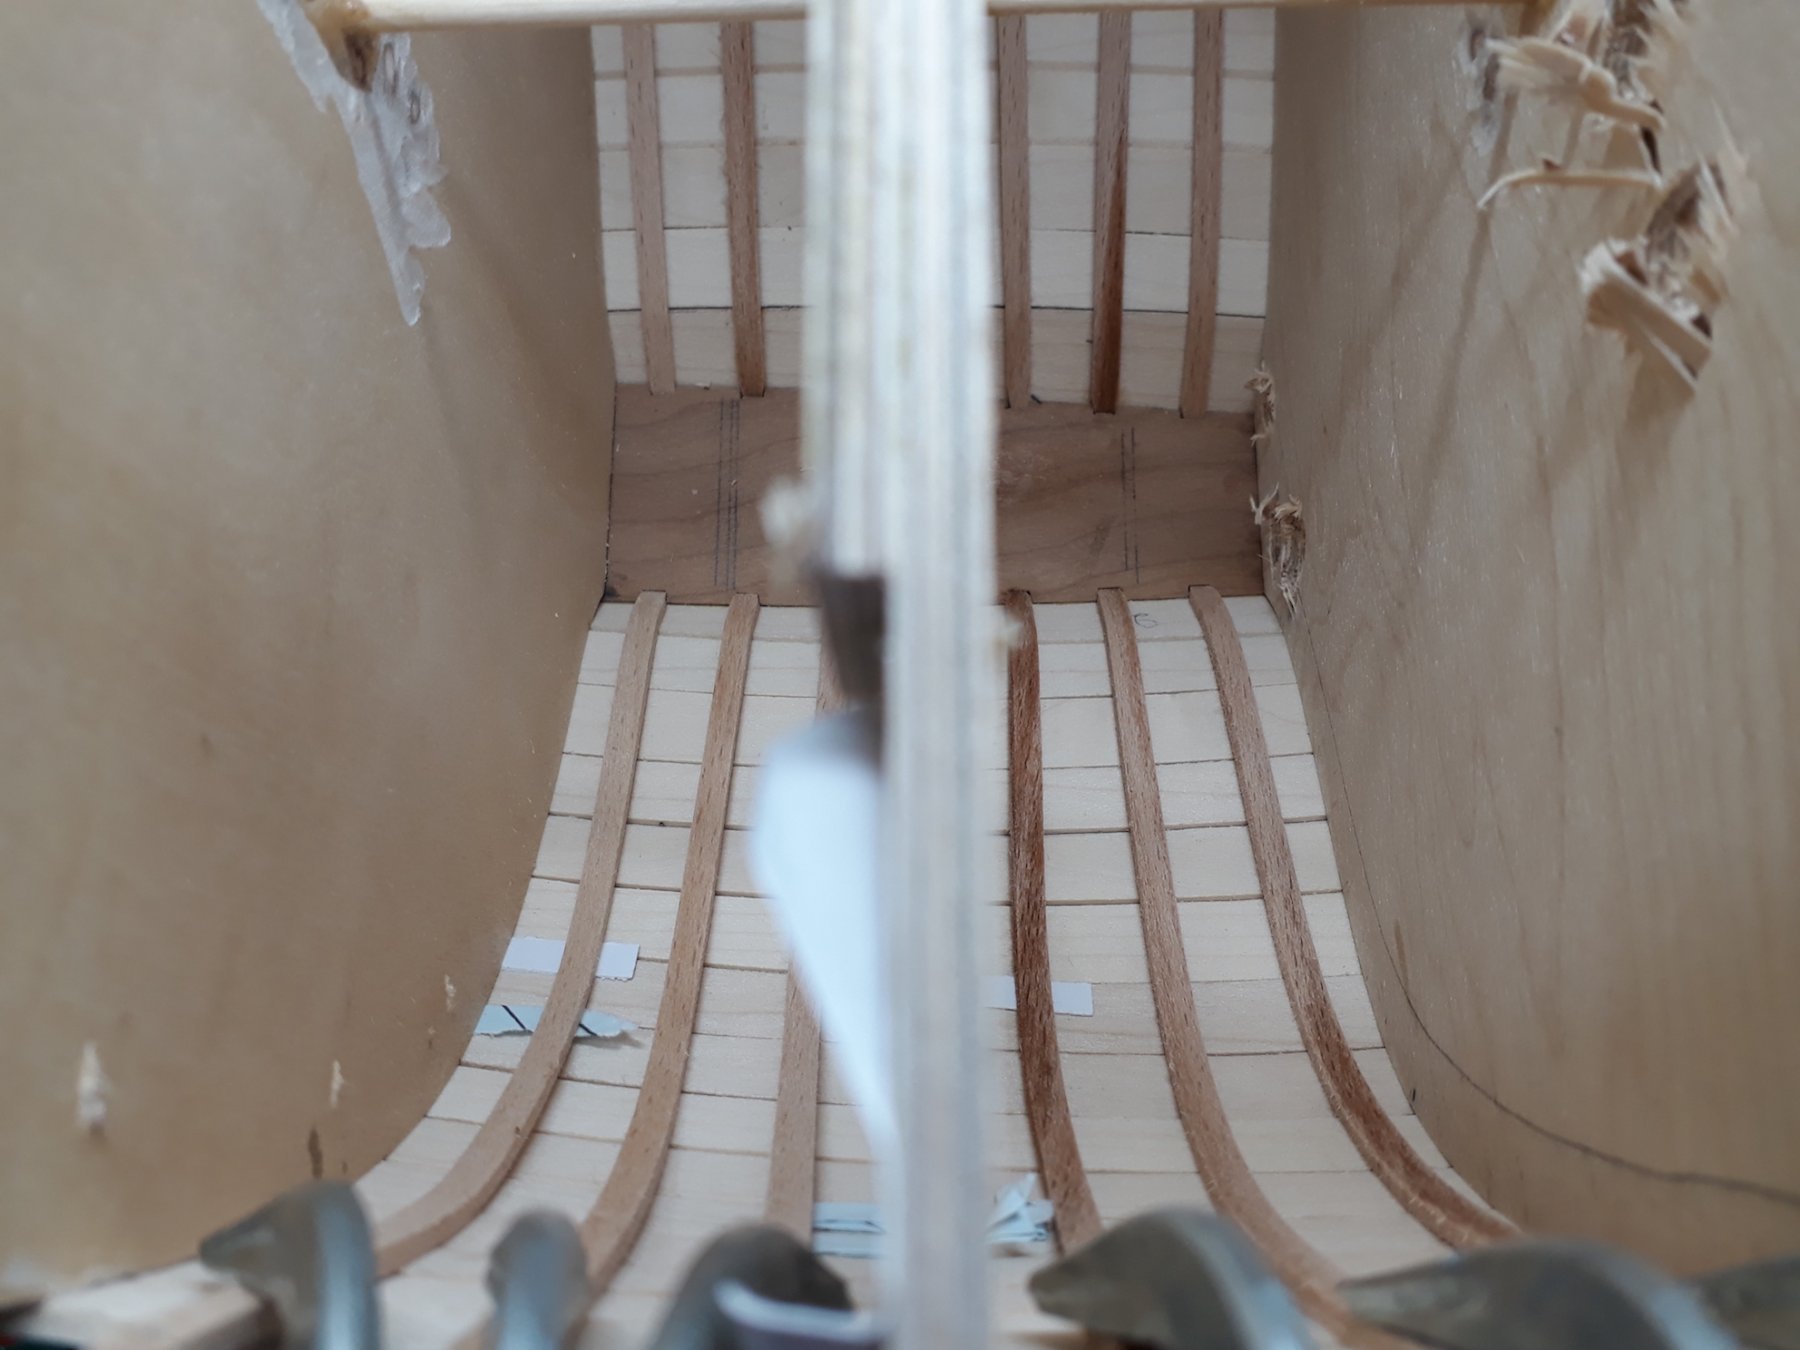
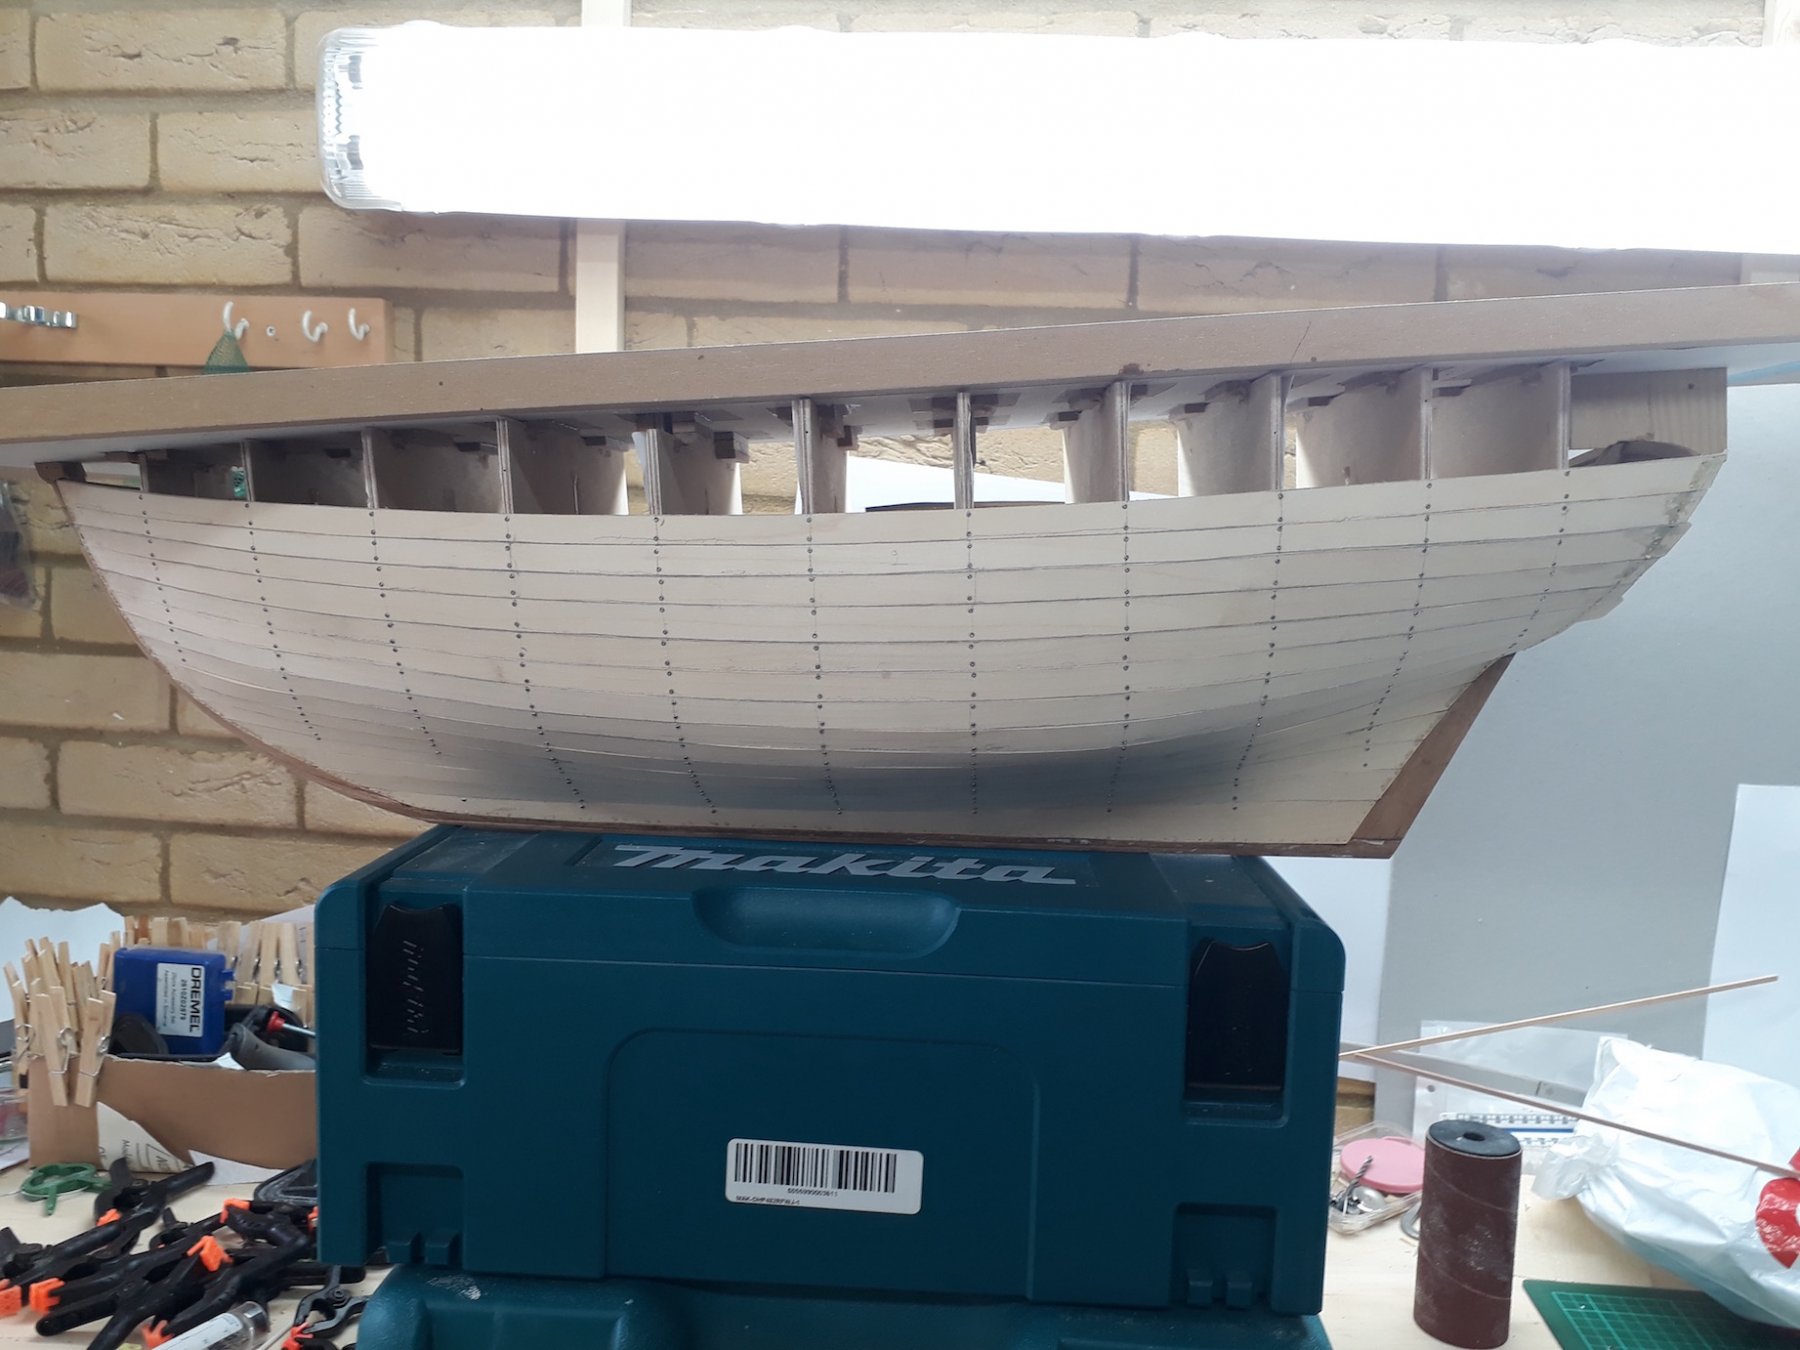
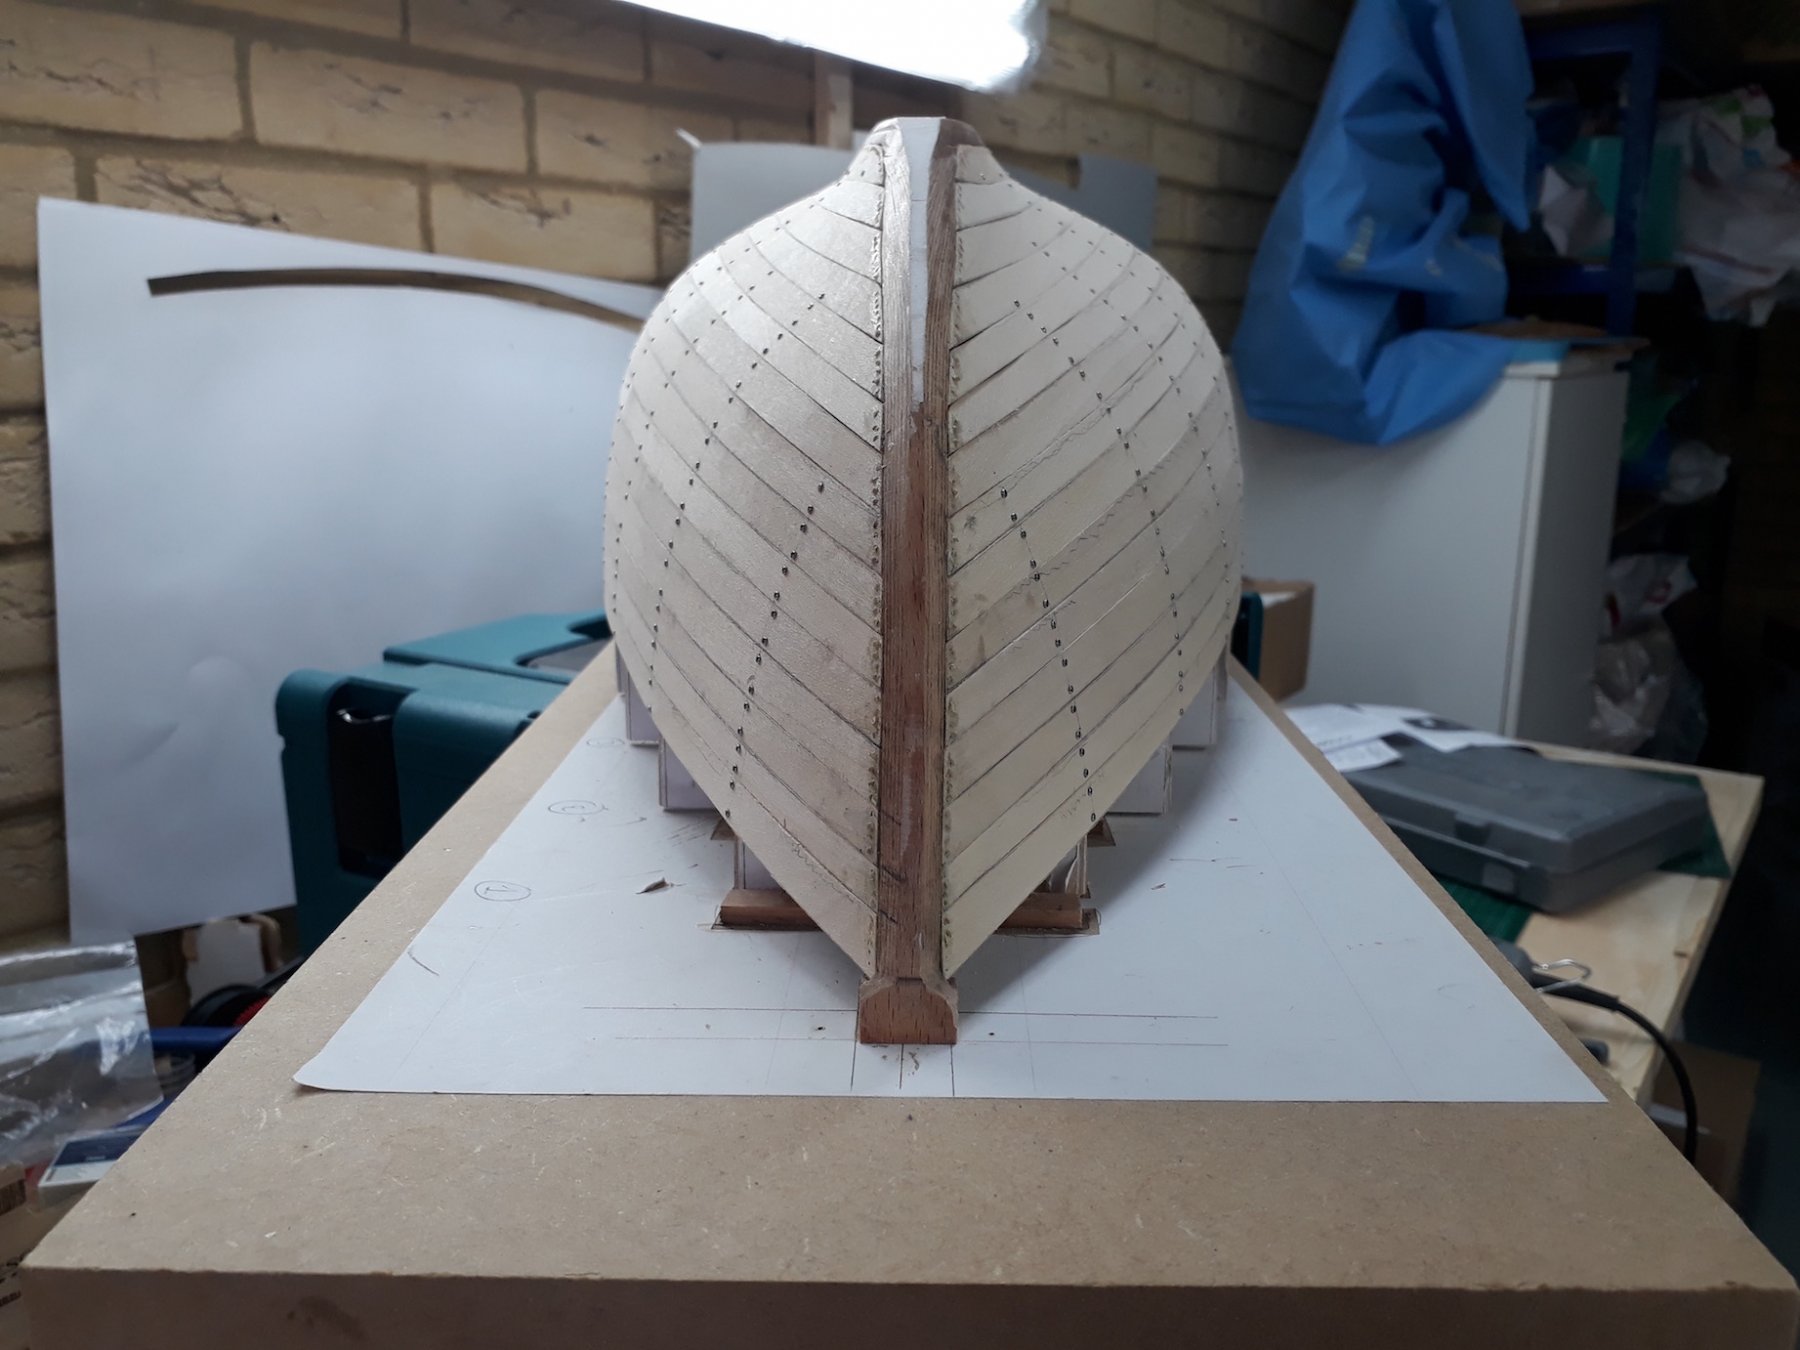
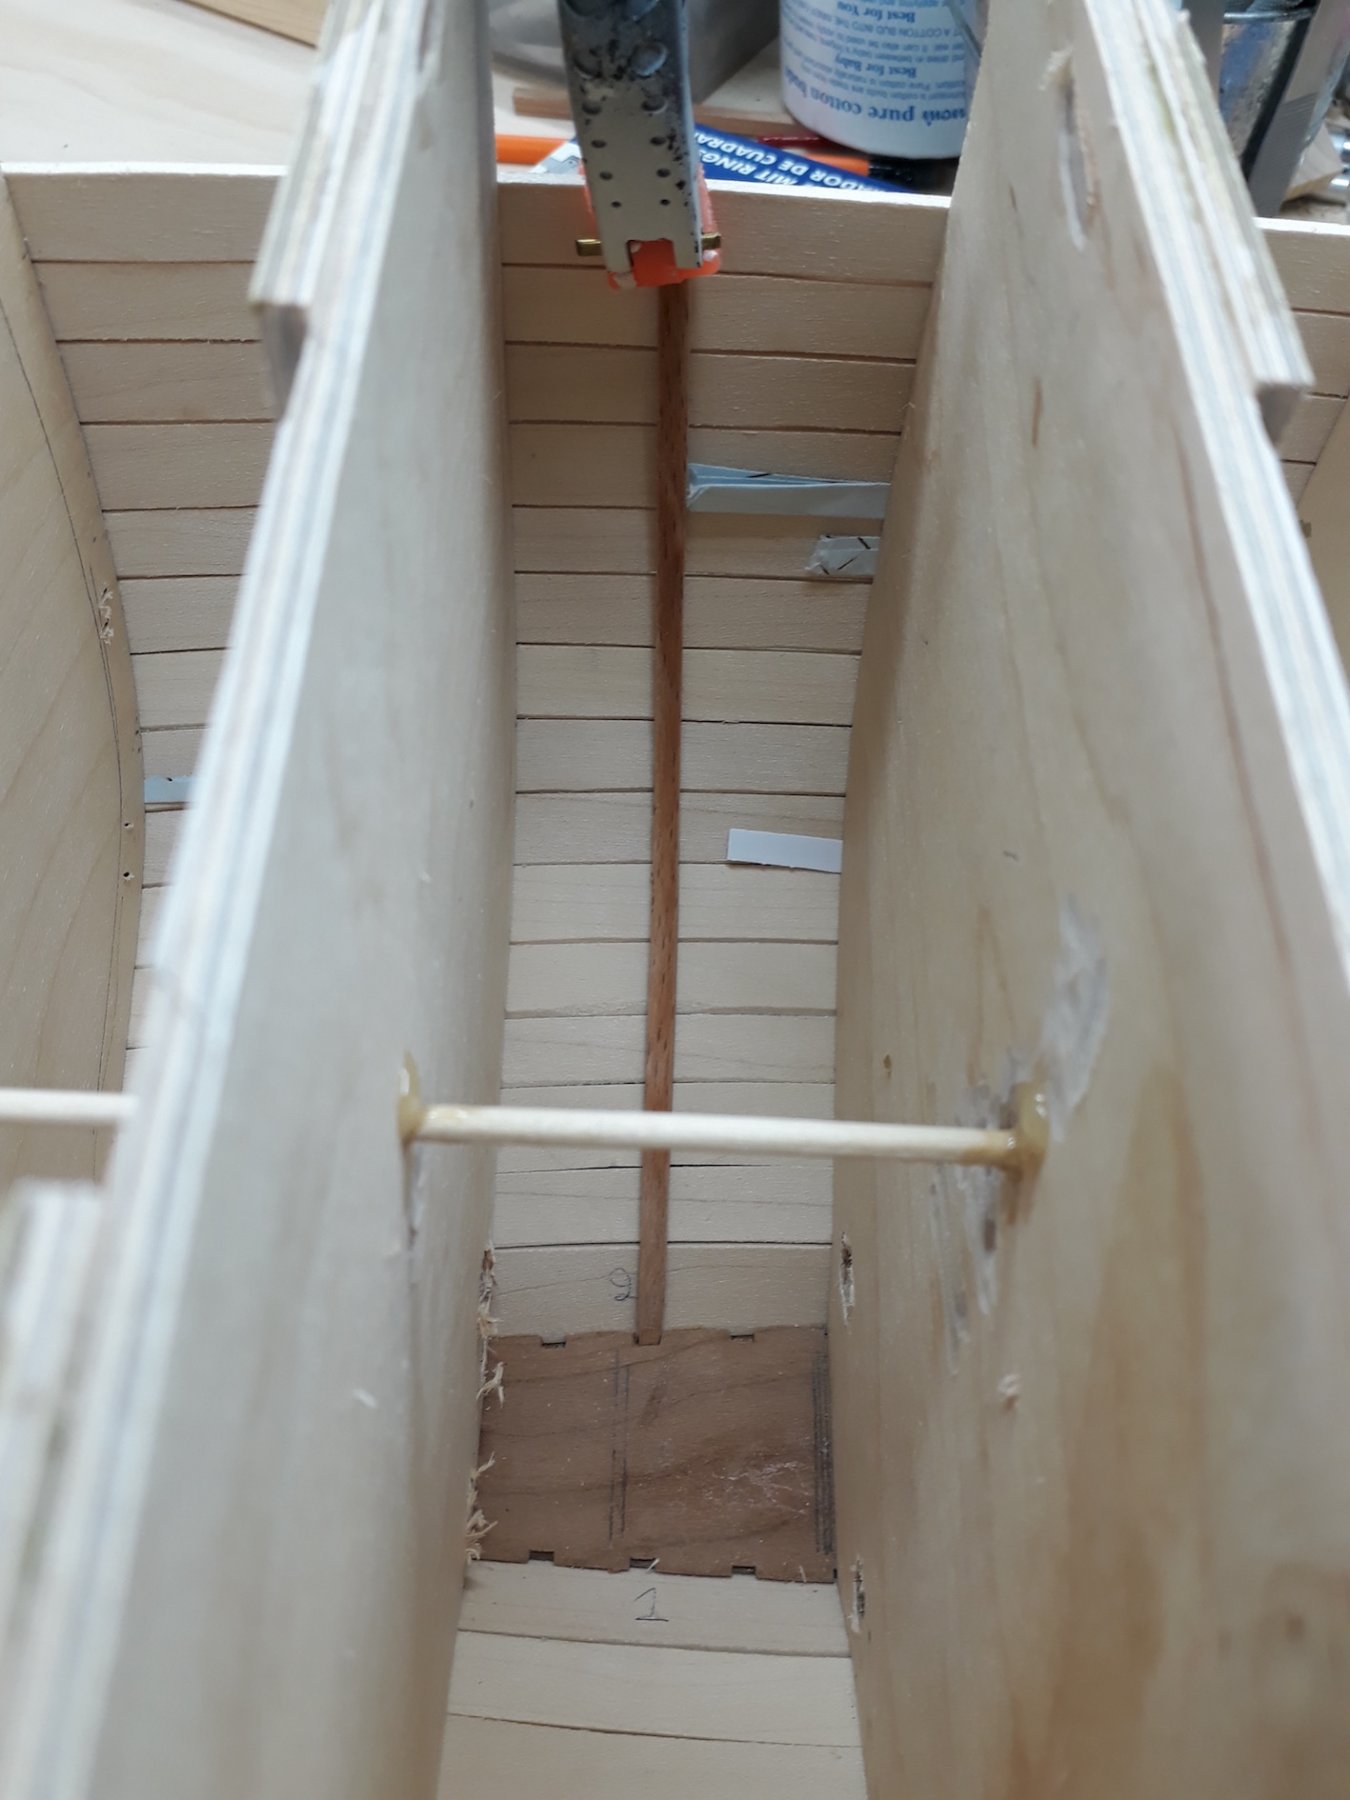
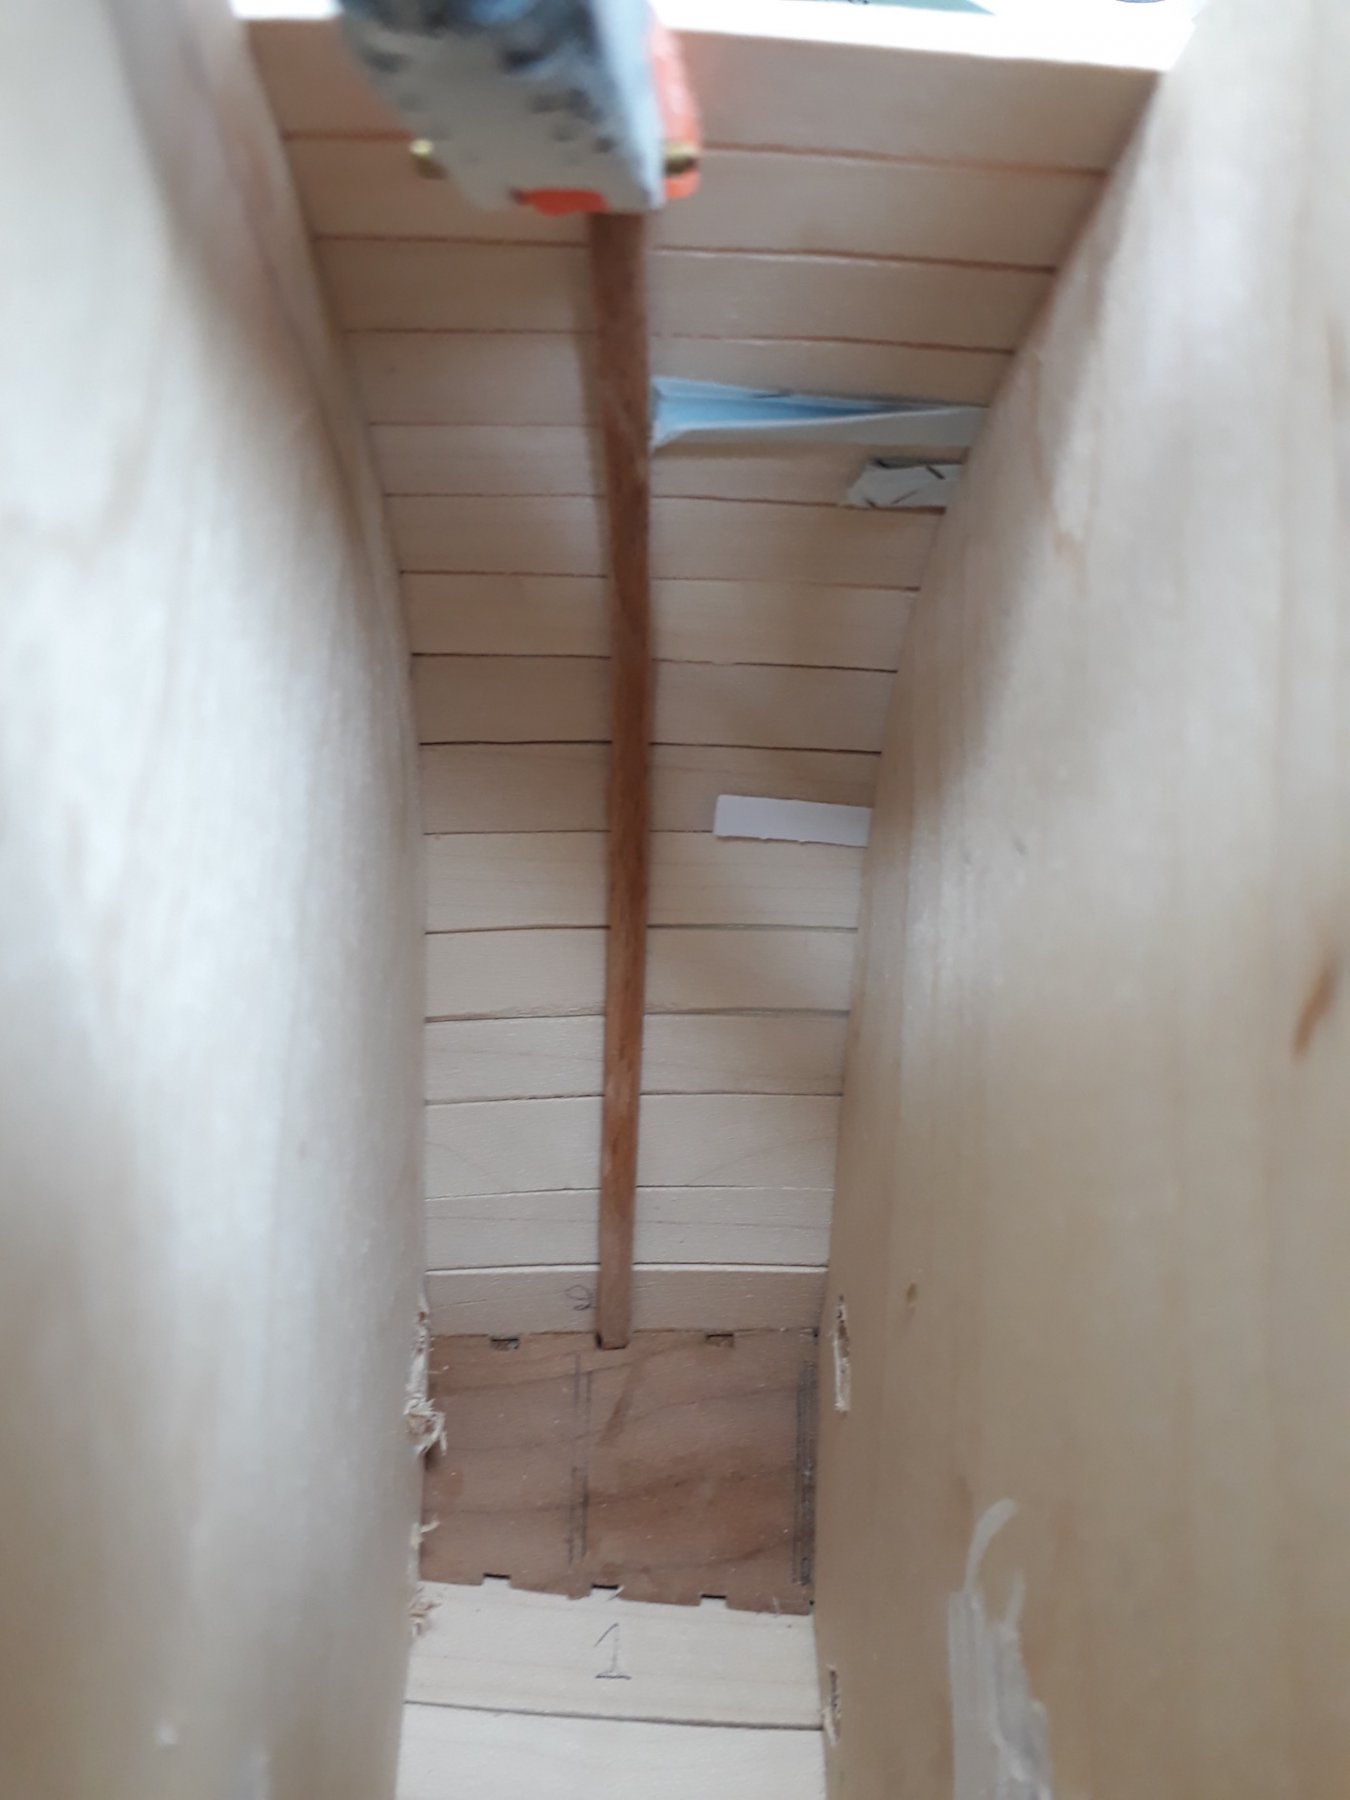
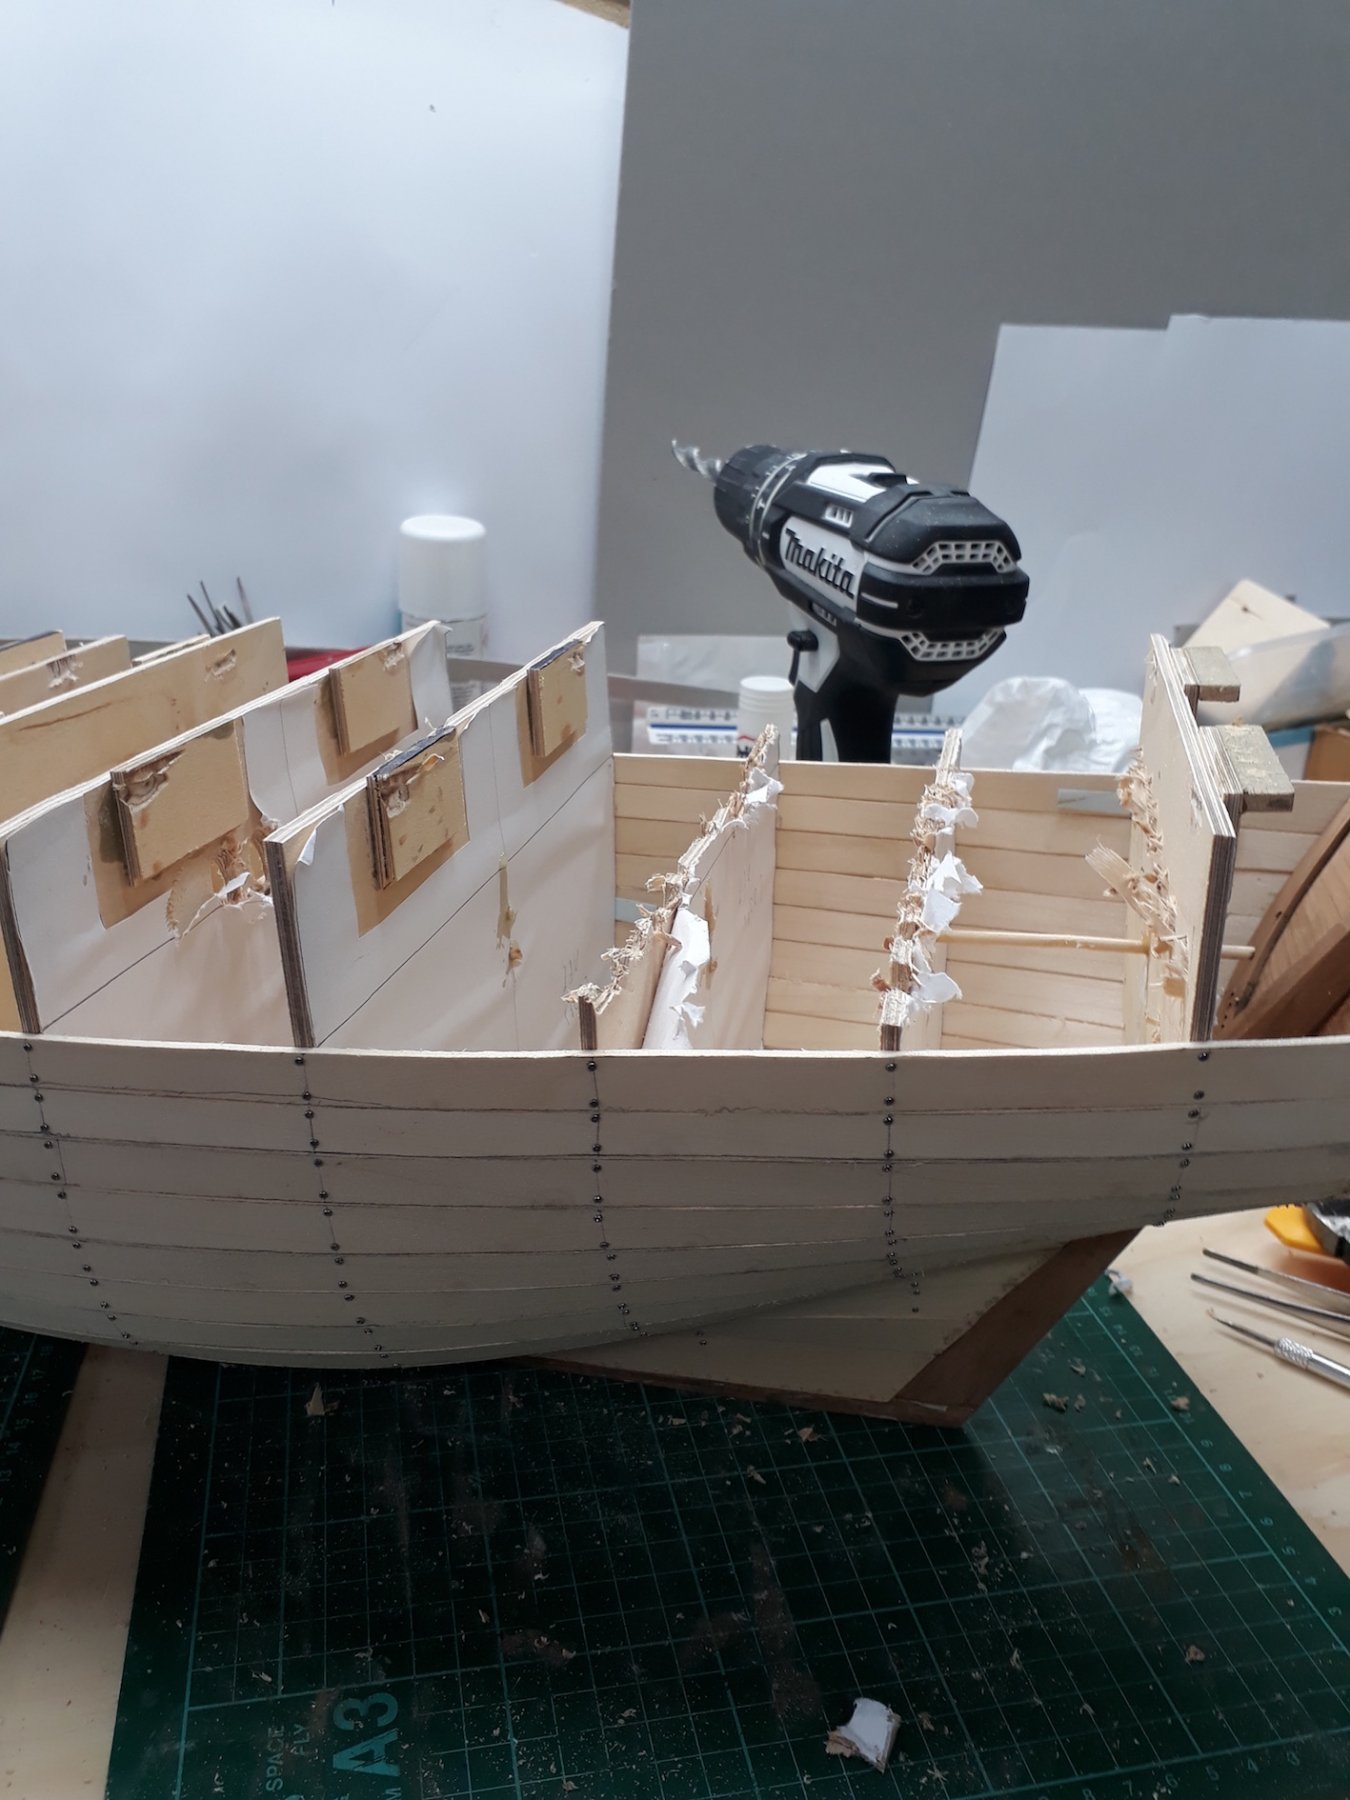
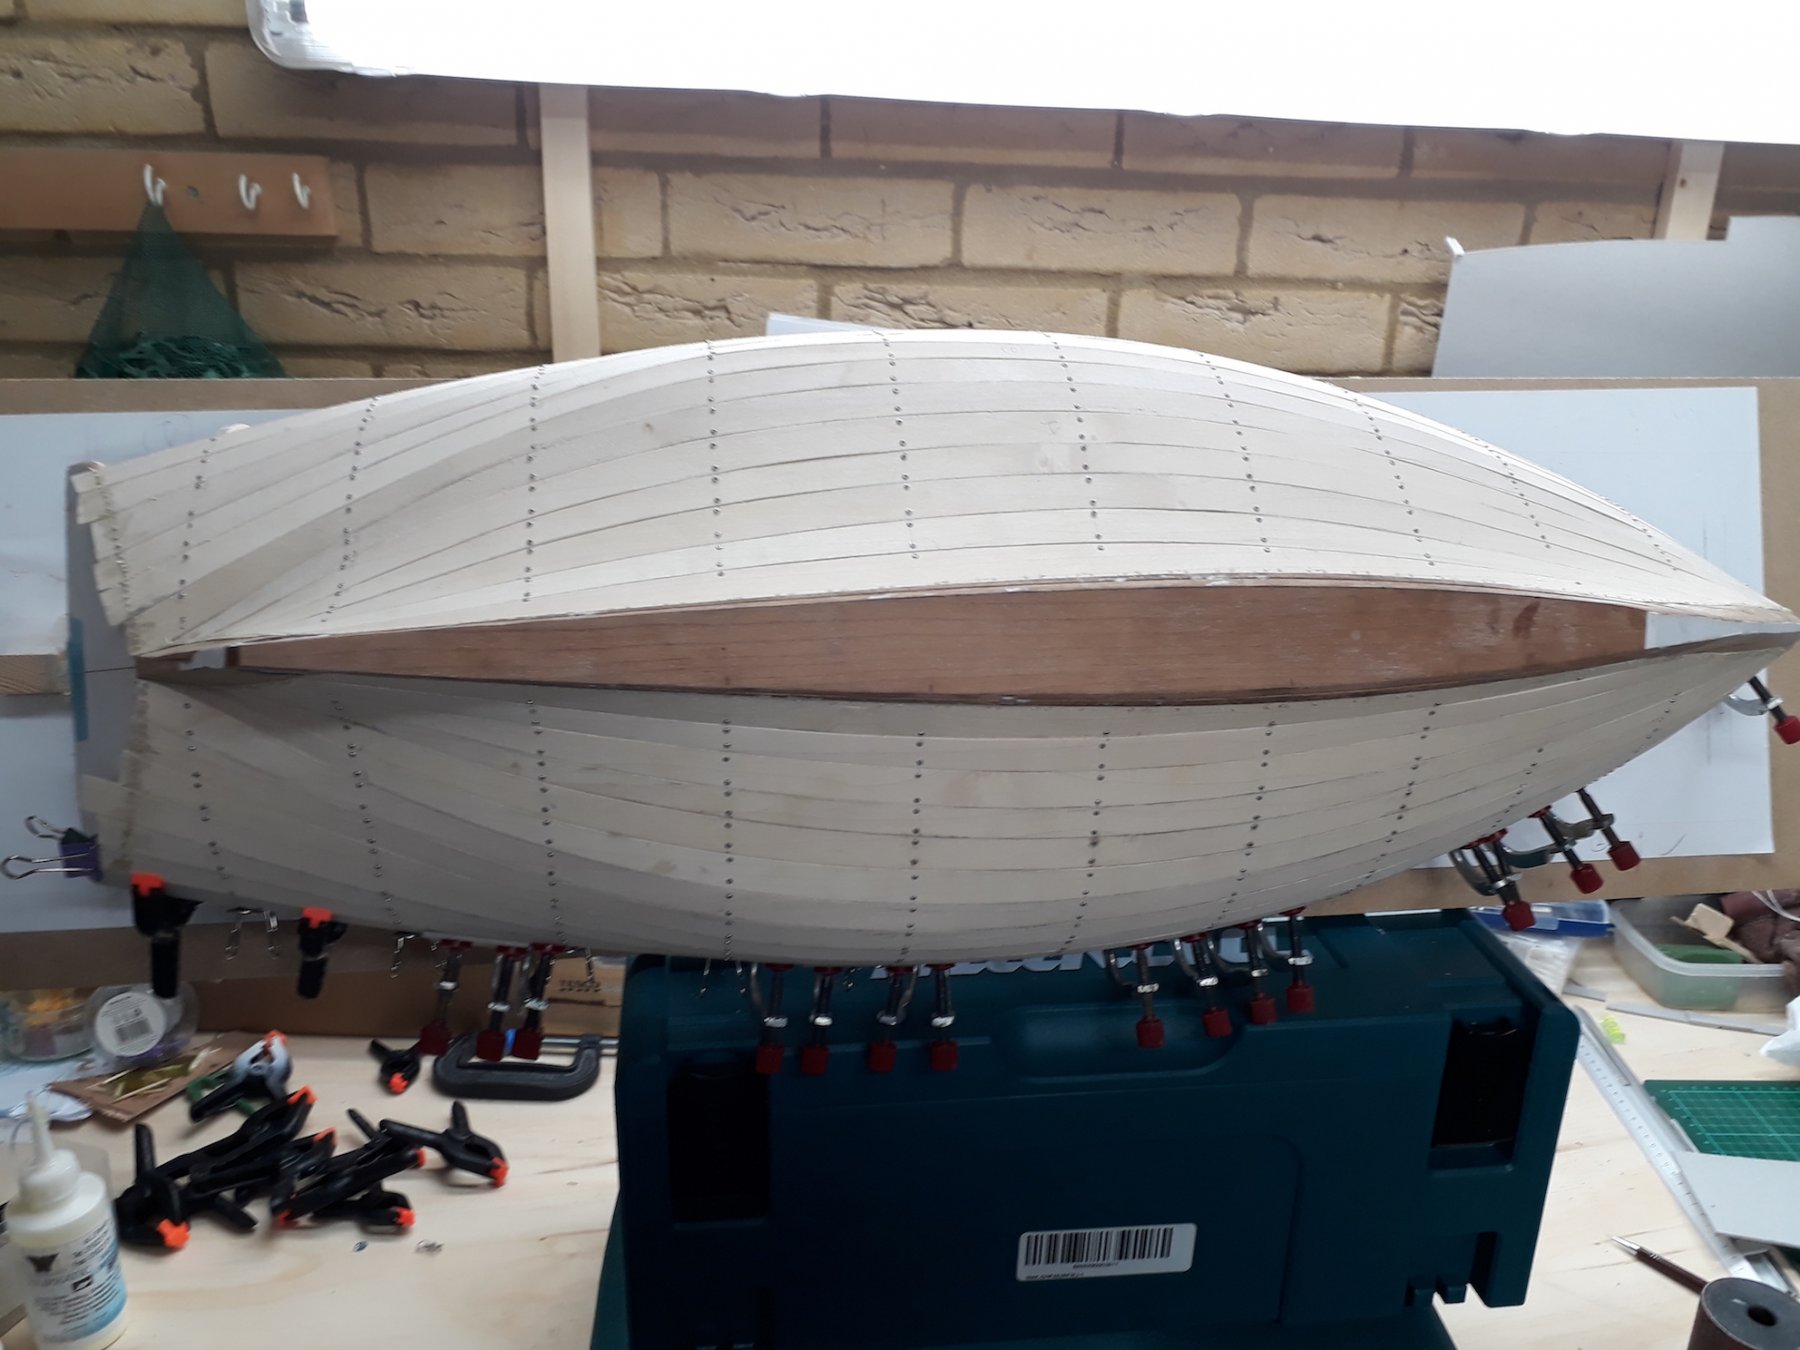
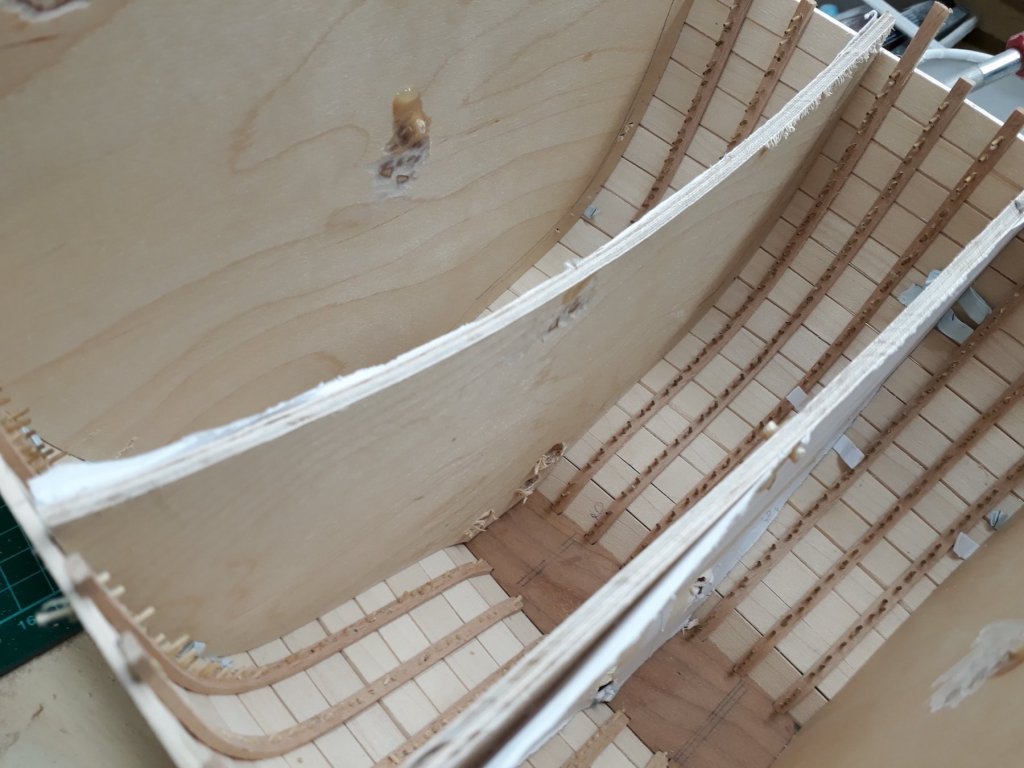
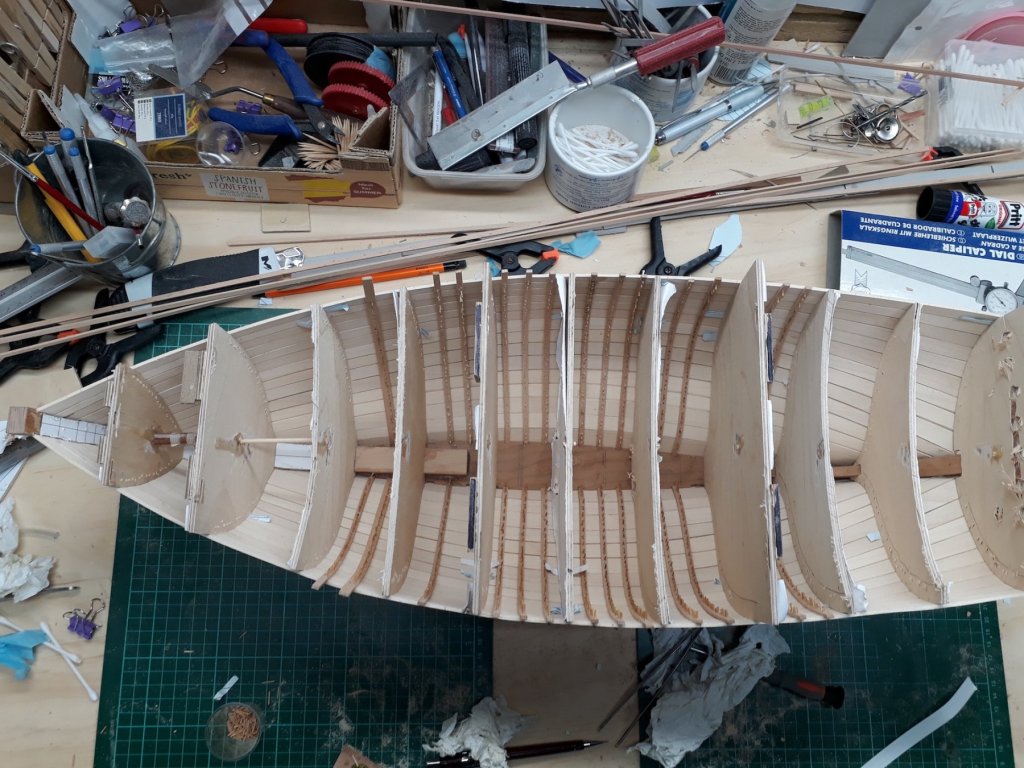
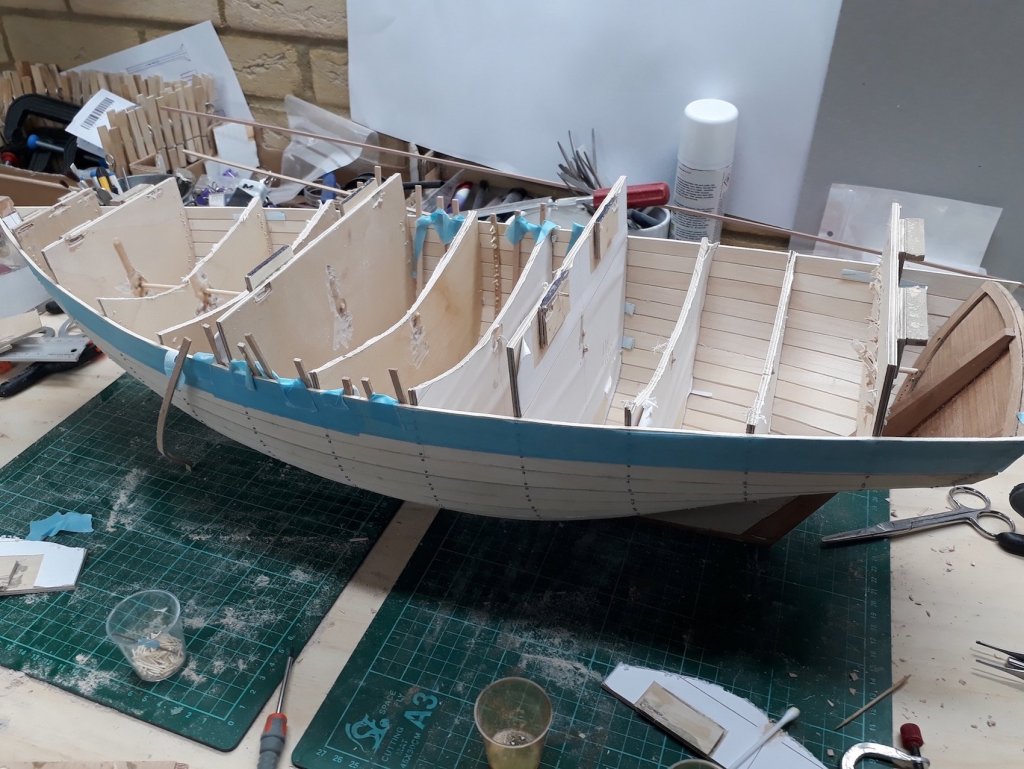
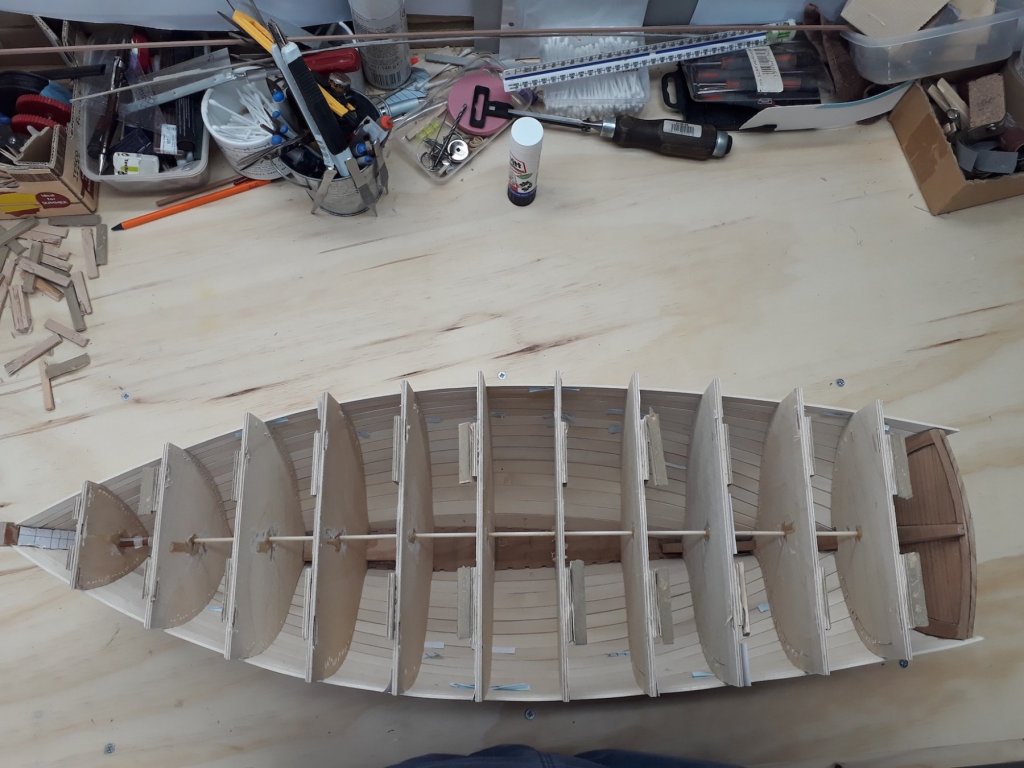
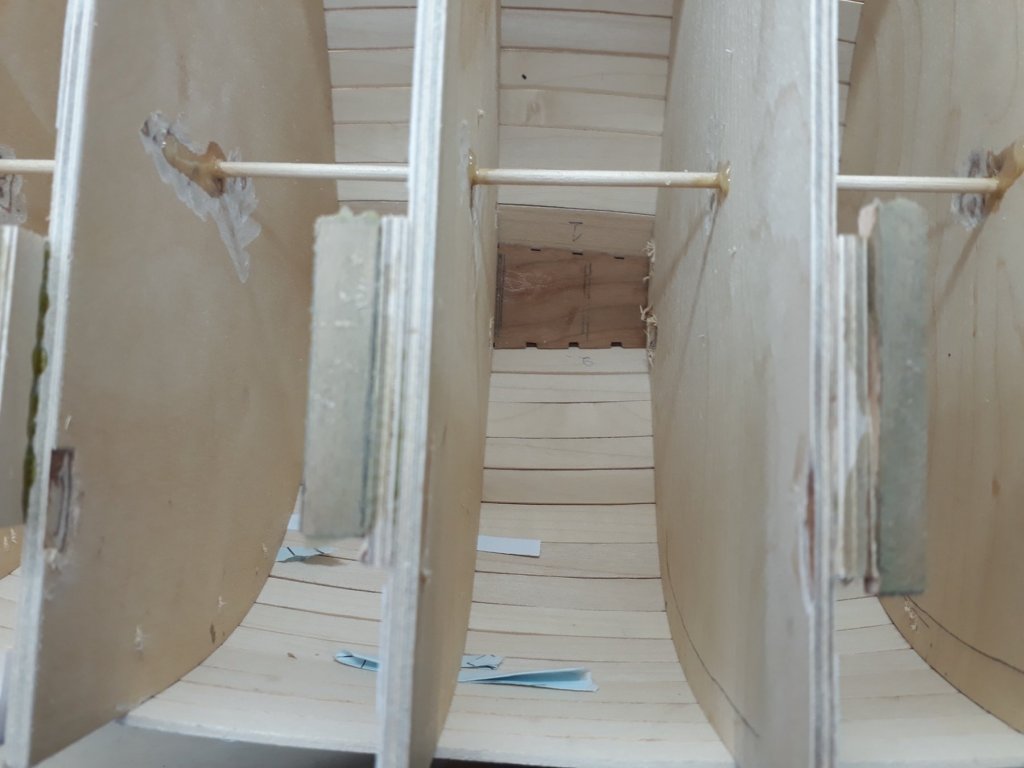
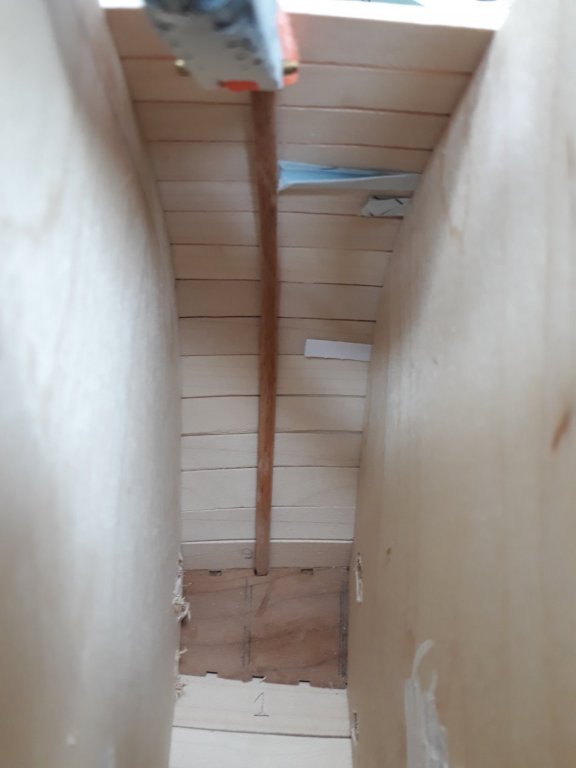
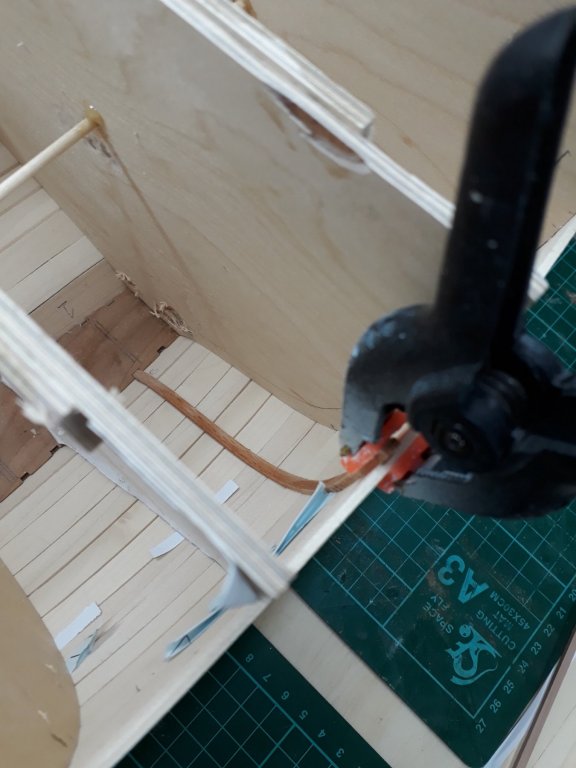
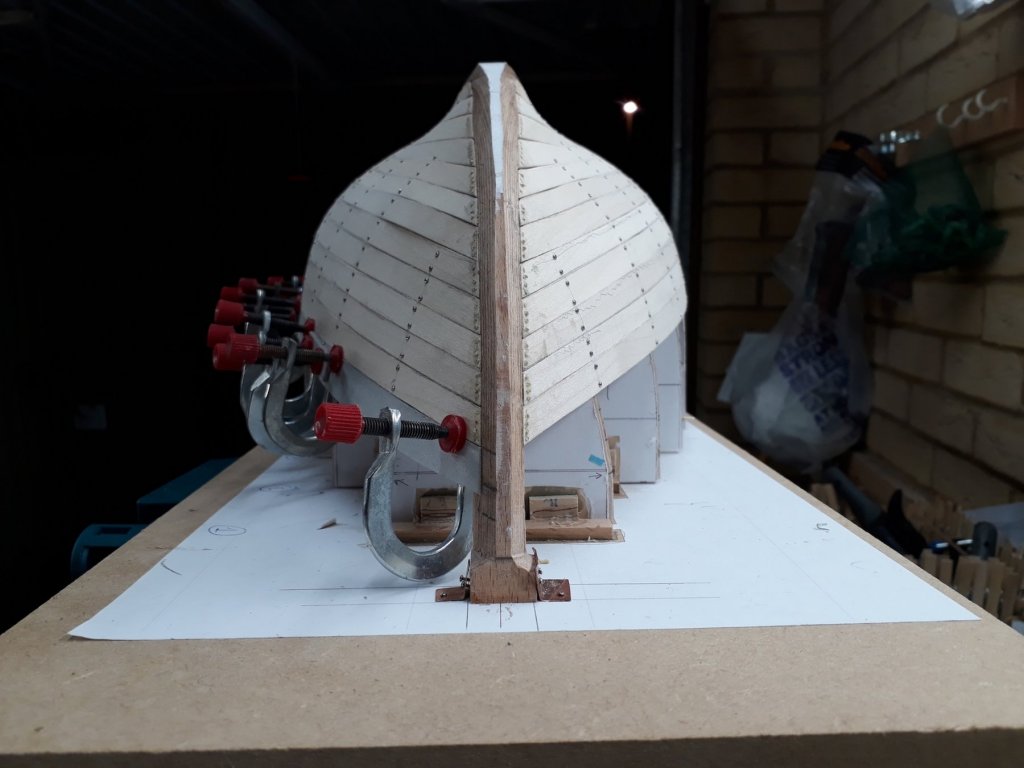
.thumb.jpg.6fd4c1b78768bb3efd745ab810936005.jpg) Thanks Patrick! A couple of more photos, I have installed most of the ribs and removed some of the frames. I also followed Druxeys advice and got some cross-spalls on. I need to finish with the ribs, sand them smooth, fill and sand the inside of the plank to plank gaps and install the lower stringers and the beam selves. I think then the boat will hold its shape a bit better. It is amazing how much material the boat is consuming. Also, these cross-spalls are very much in the way, I did not expect this, I though I would have a fully accessible hull at this stage so now everything will be a bit of squeeze and struggle.
Thanks Patrick! A couple of more photos, I have installed most of the ribs and removed some of the frames. I also followed Druxeys advice and got some cross-spalls on. I need to finish with the ribs, sand them smooth, fill and sand the inside of the plank to plank gaps and install the lower stringers and the beam selves. I think then the boat will hold its shape a bit better. It is amazing how much material the boat is consuming. Also, these cross-spalls are very much in the way, I did not expect this, I though I would have a fully accessible hull at this stage so now everything will be a bit of squeeze and struggle.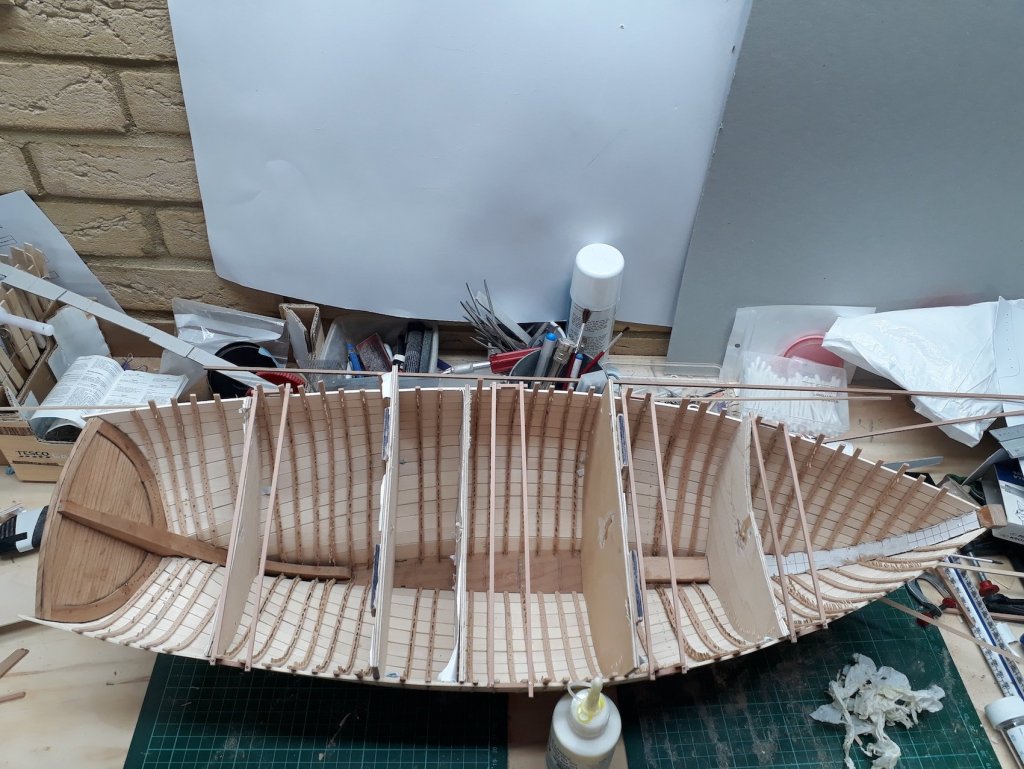
-
What brand of #11 blades do you use
vaddoc replied to bigcreekdad's topic in Modeling tools and Workshop Equipment
I have a variety of surgical blades which are very sharp but brittle. I use some universal plastic-metal holders that came with a cheap set and hold the blades just fine. However, I lately use more the very common knives with retractable blades that you can snap off a section. I have a few 9 mm and a couple 18 mm ones and I buy blades in packs of 10. I find them less sharp but I can cut paper, wood and metal and somehow are easier to keep on the line I intend to cut. Since I got a 4mm chisel, I find I use it also quite a lot. -
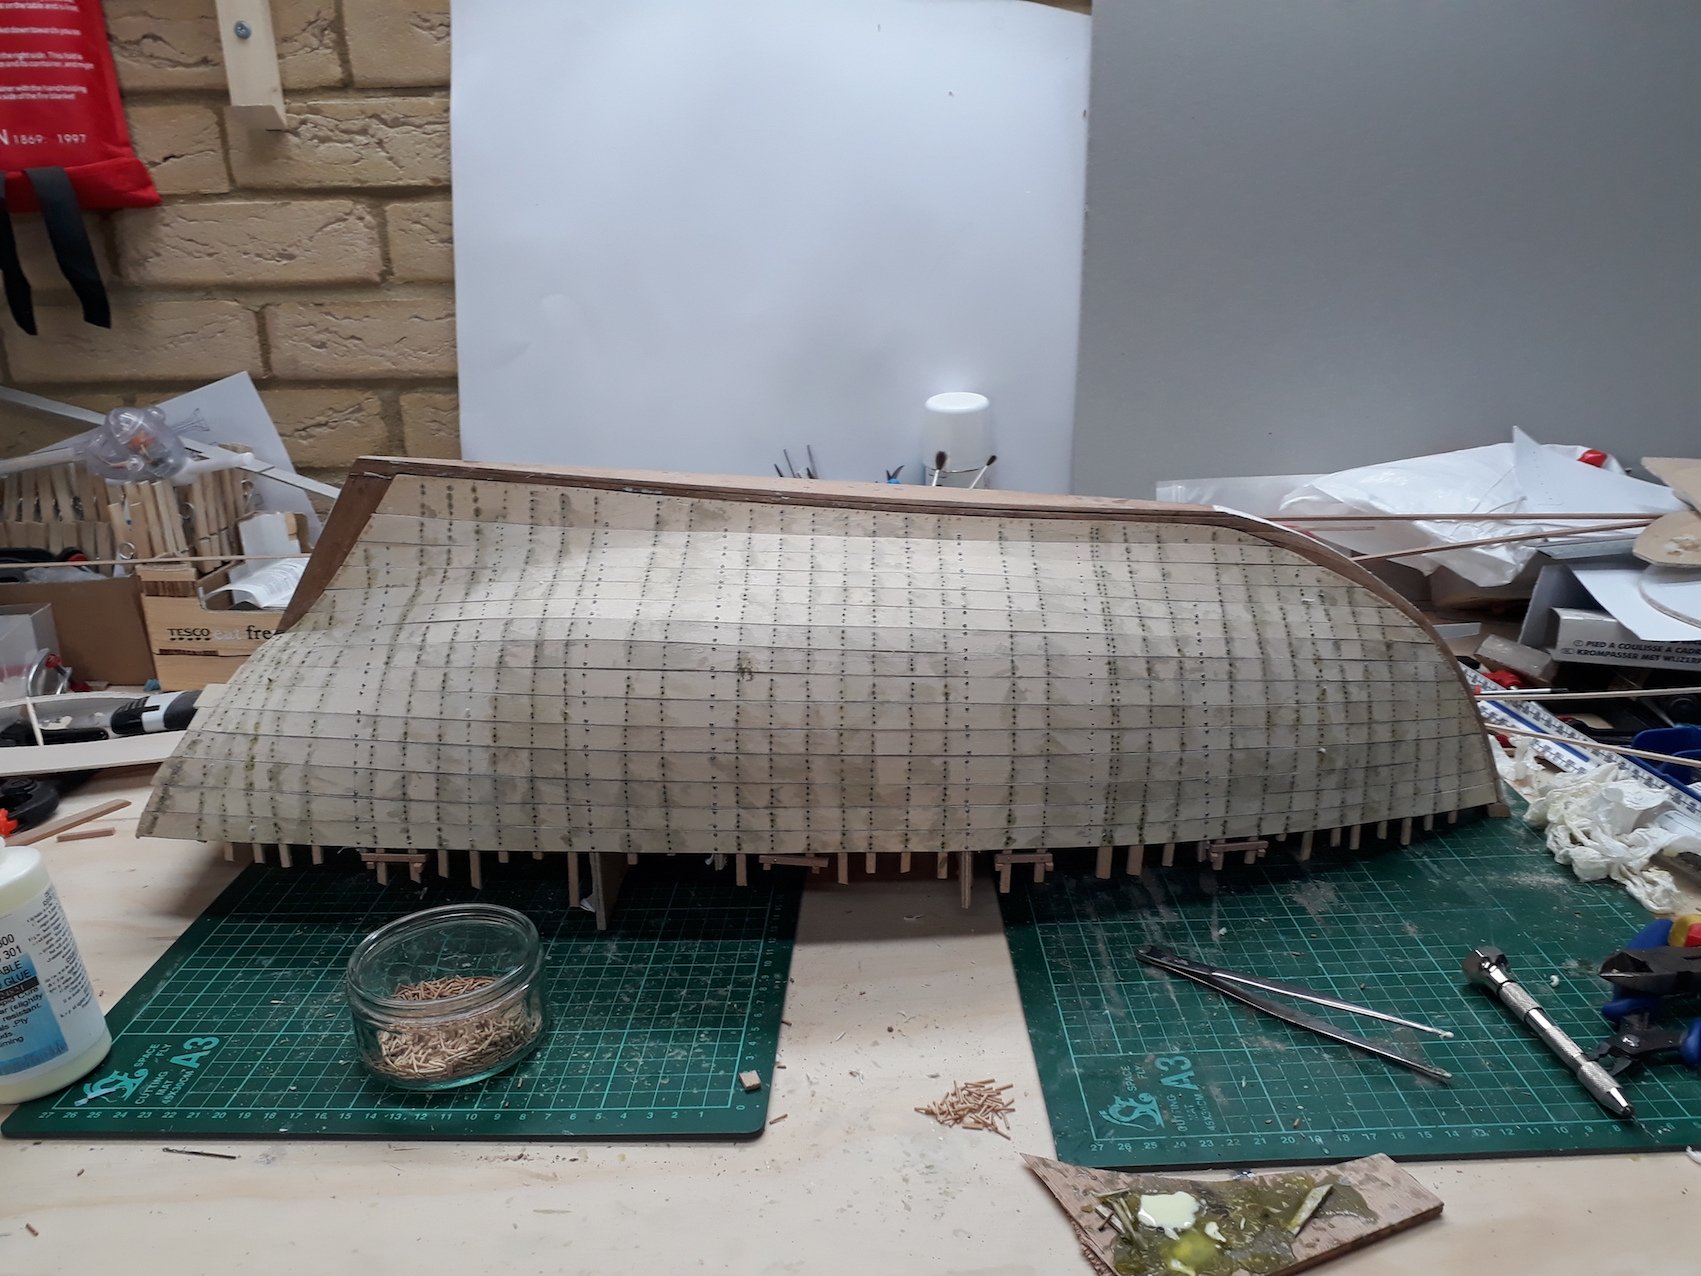
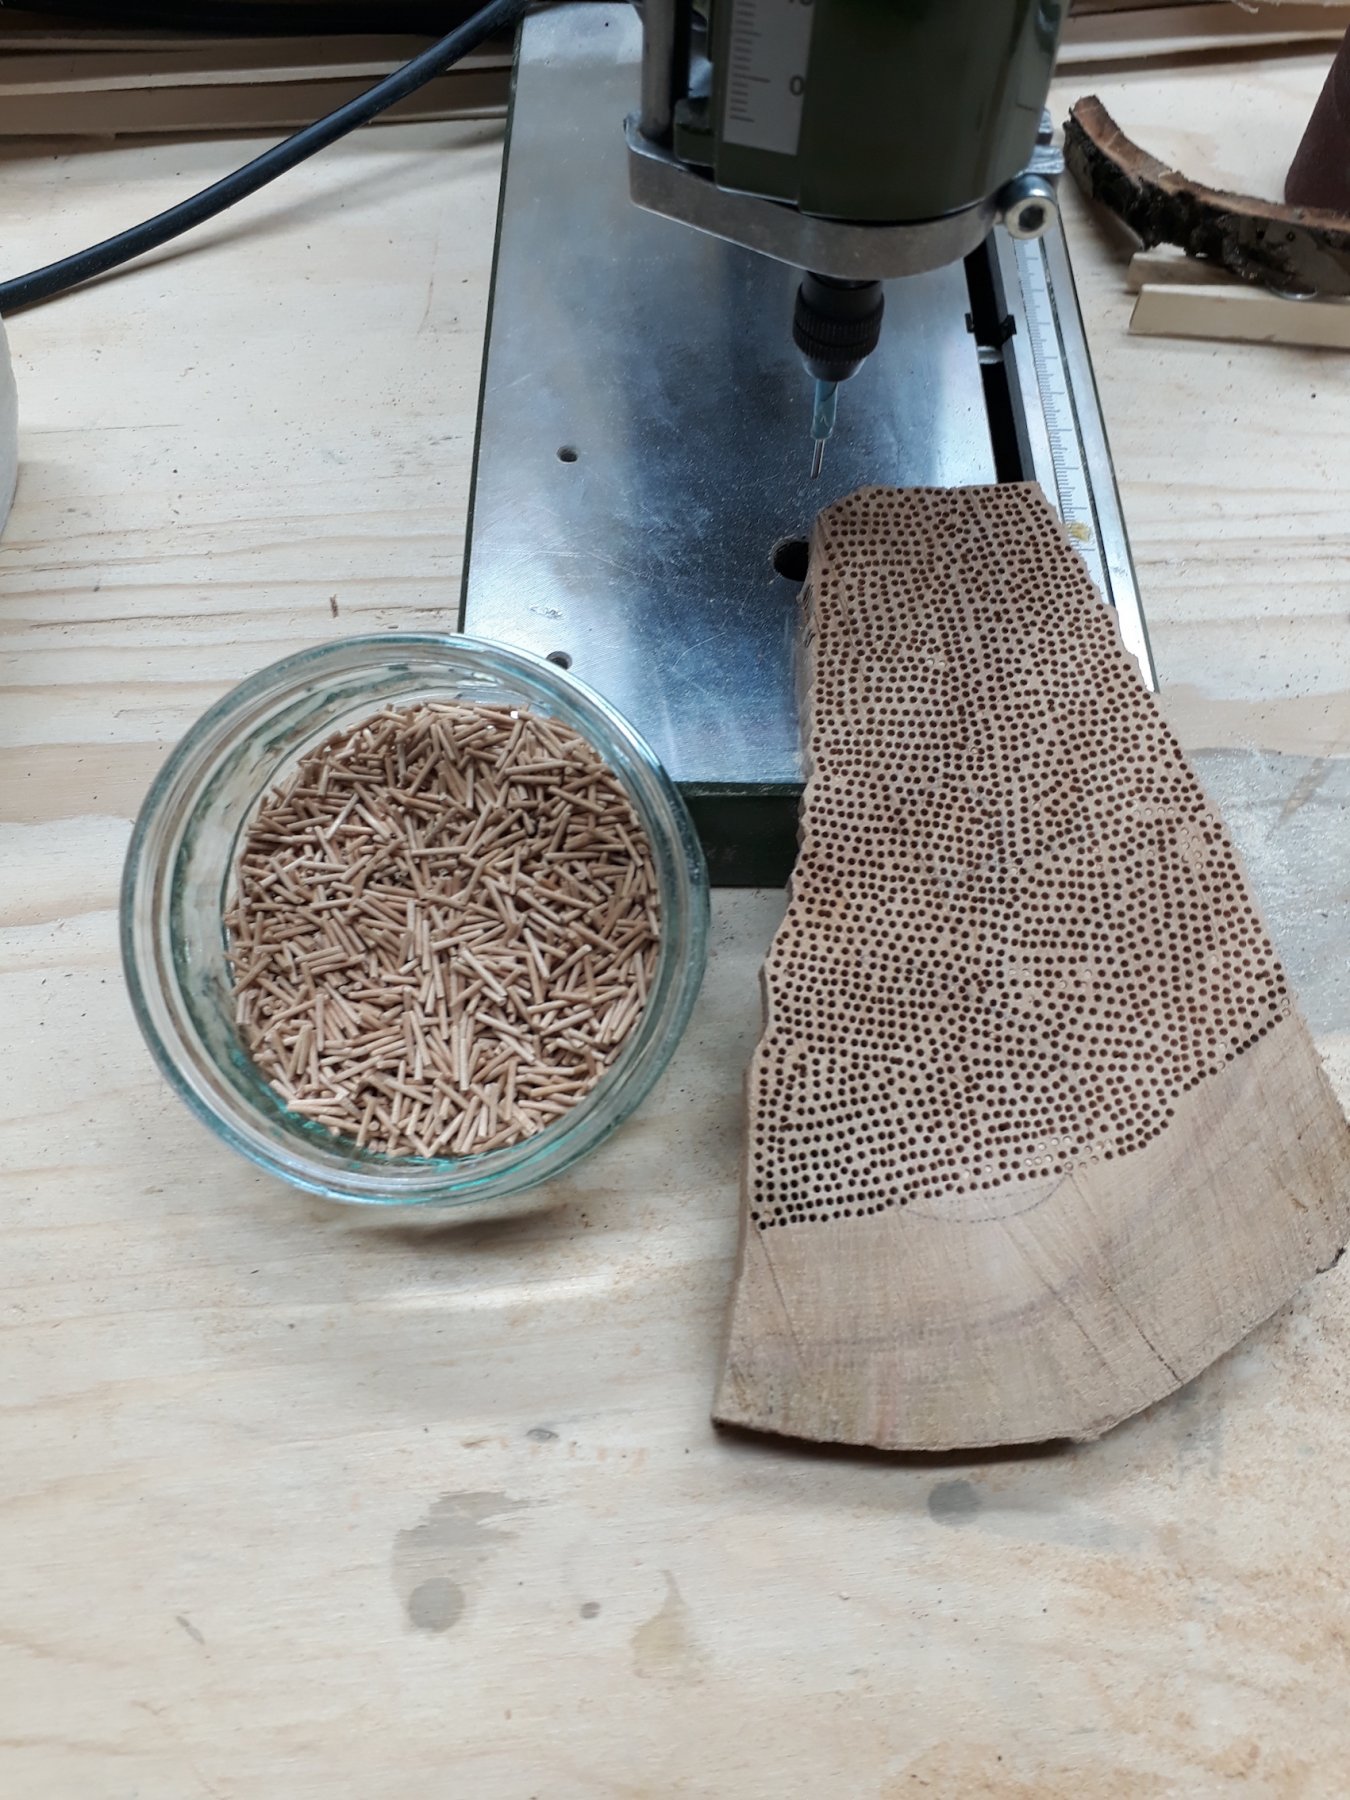
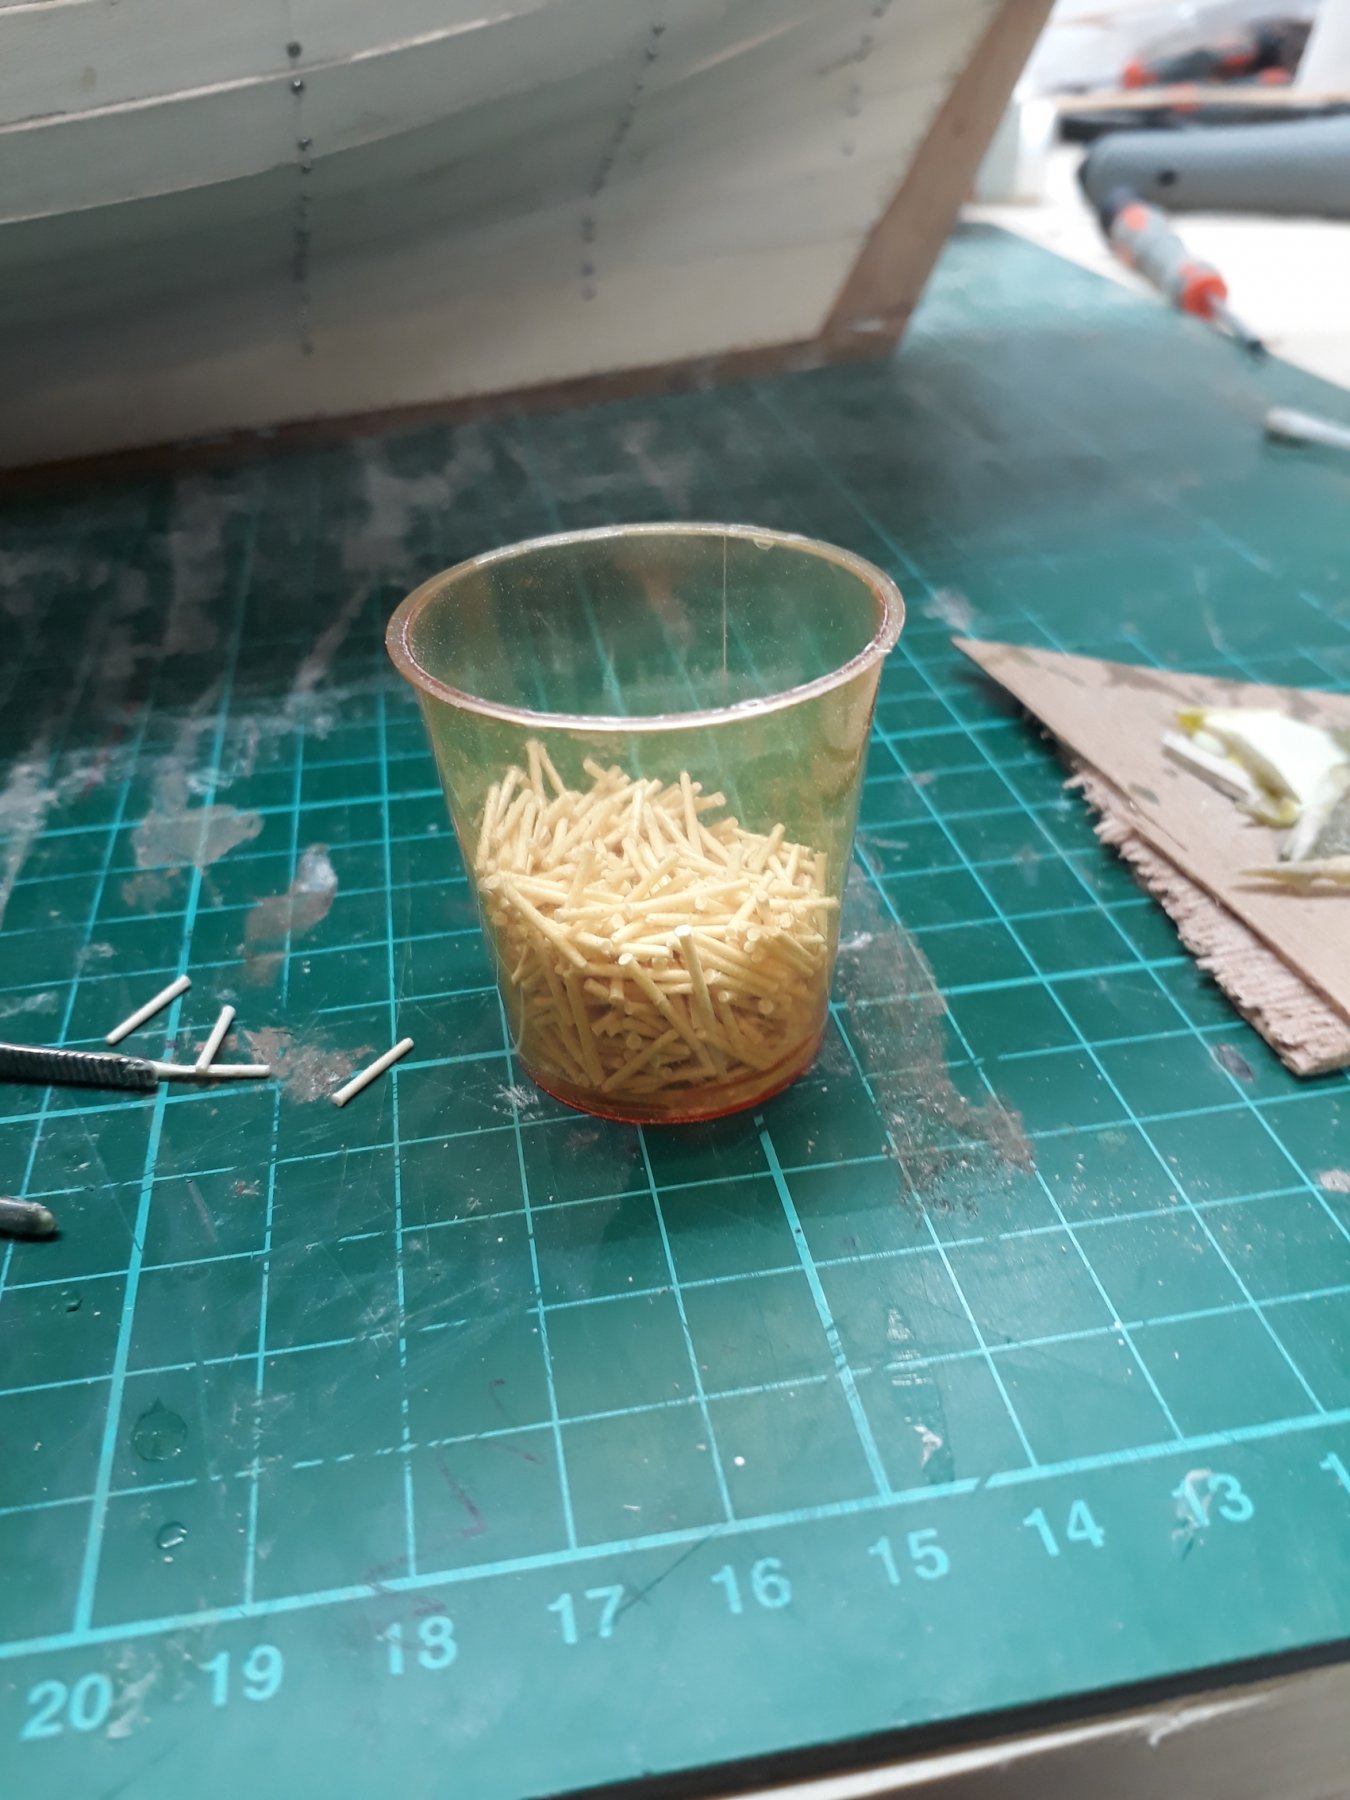
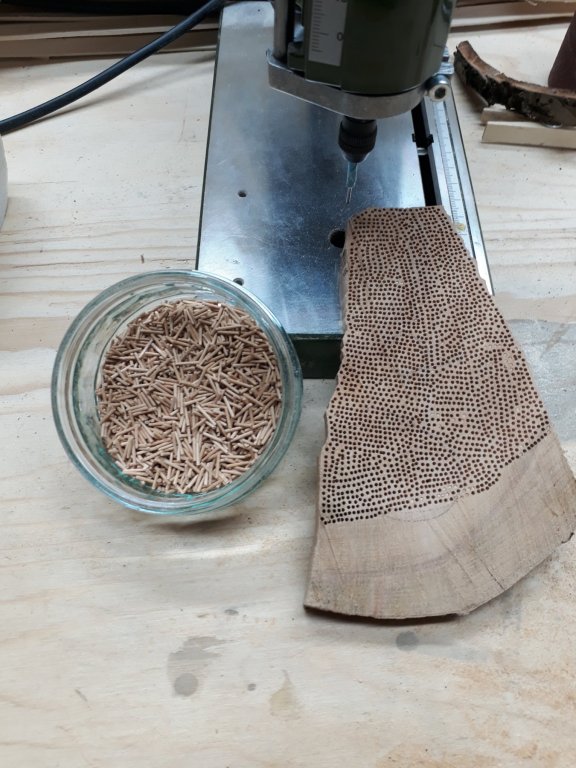
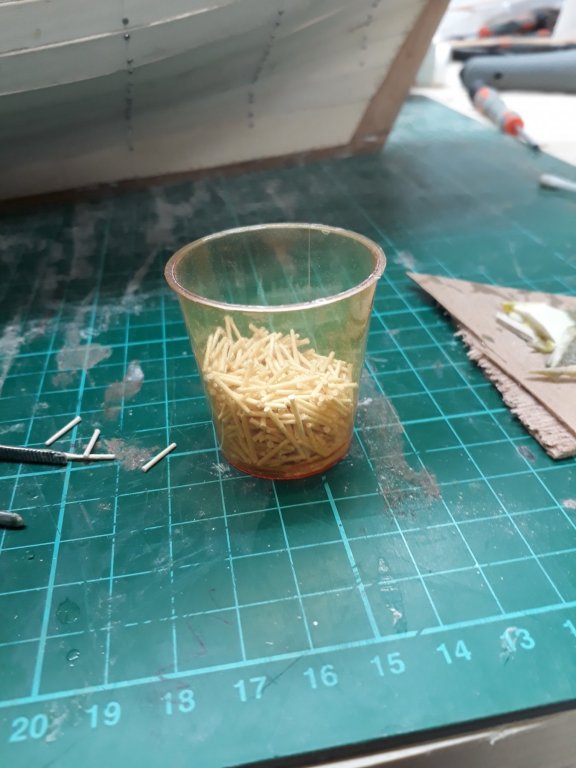
I run out of tree nails and made a few out of the nice cherry piece I was given. This is how 1500 tree nails (give or take...) look like!
-
I ve been silently following your Shadow from afar Patrick, it is a lovely model. I think the golden paint looks fantastic, looking forward for more photos Vaddoc
-
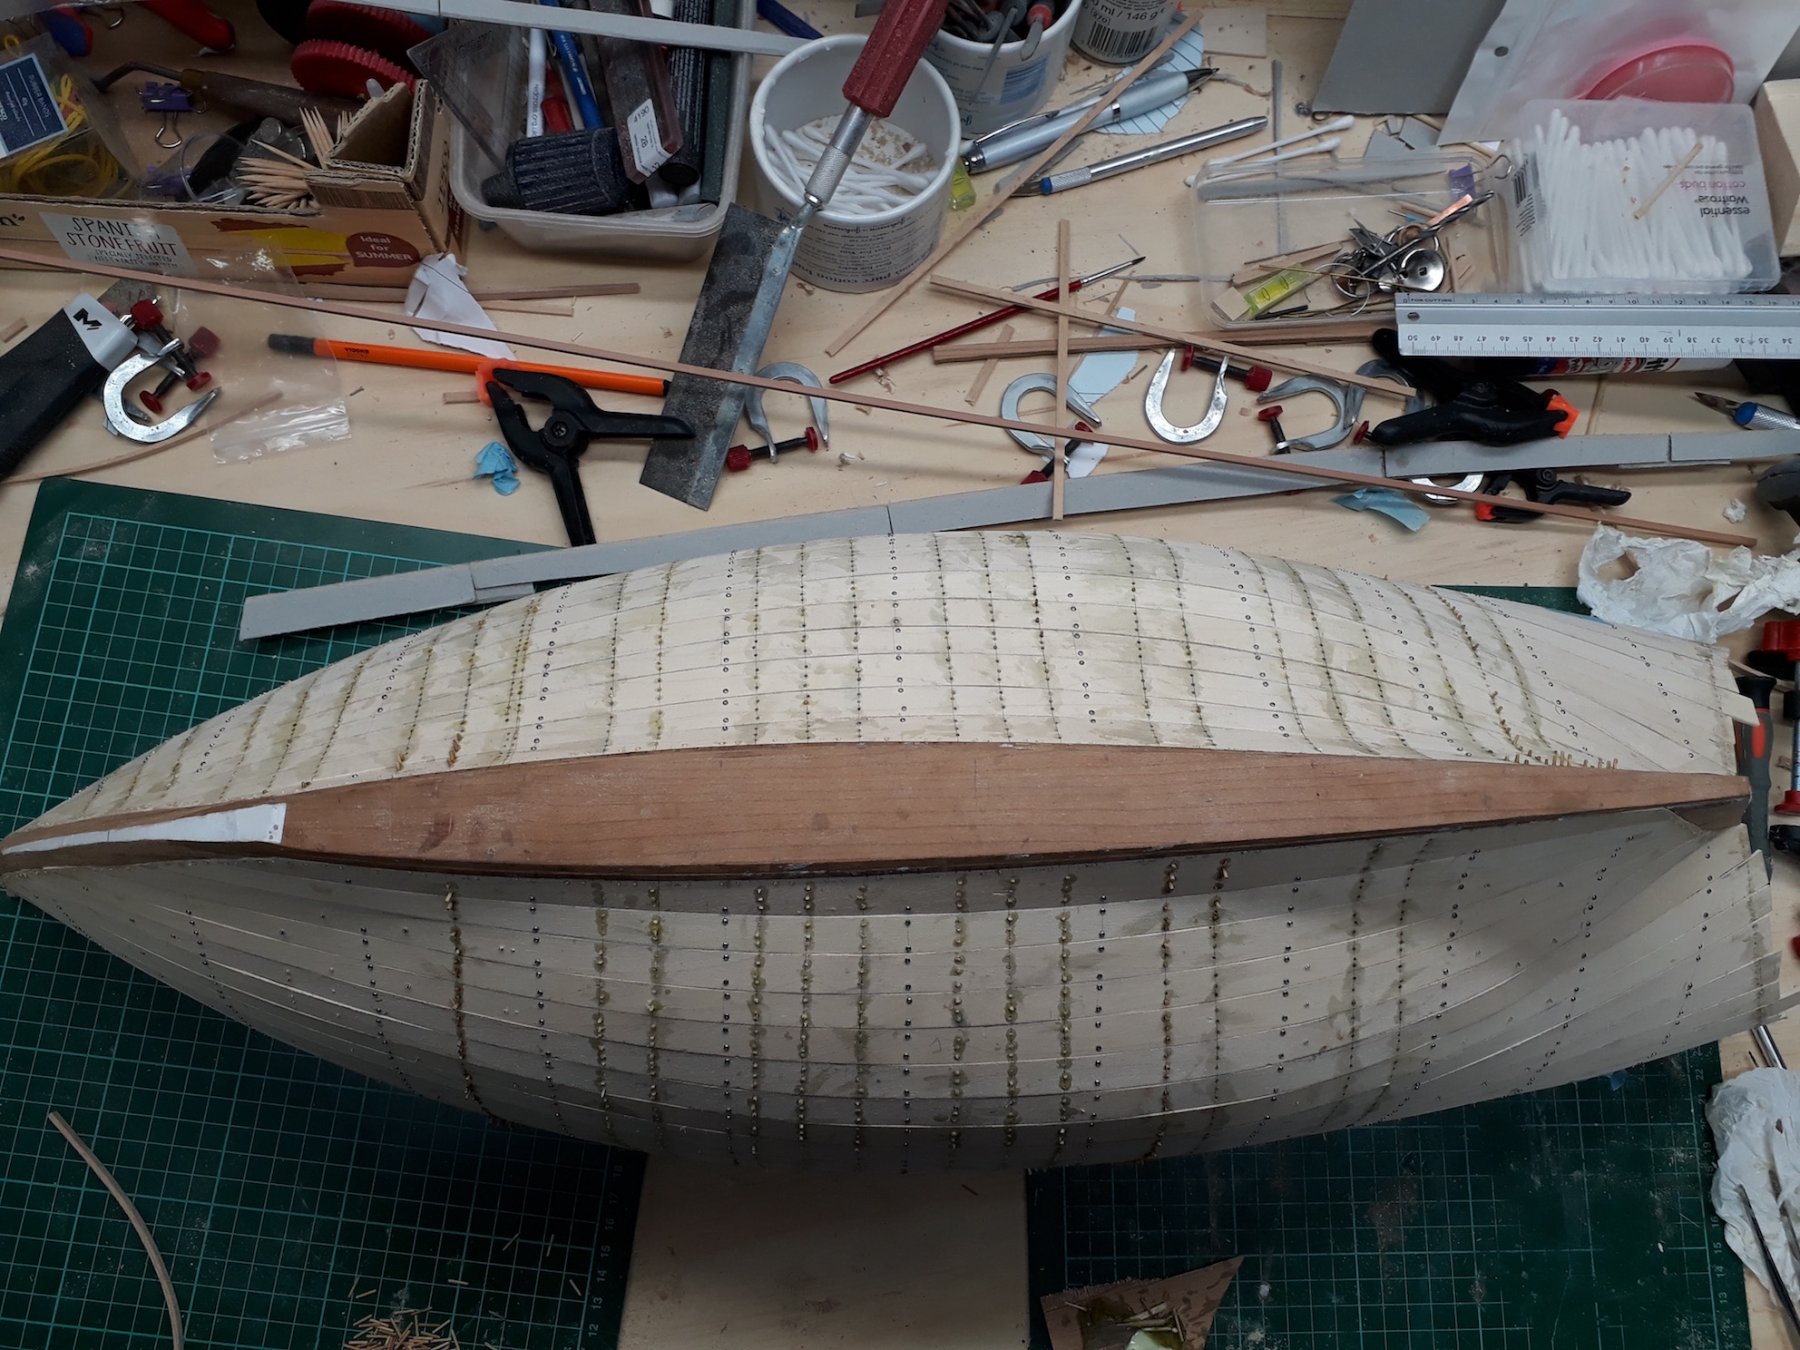
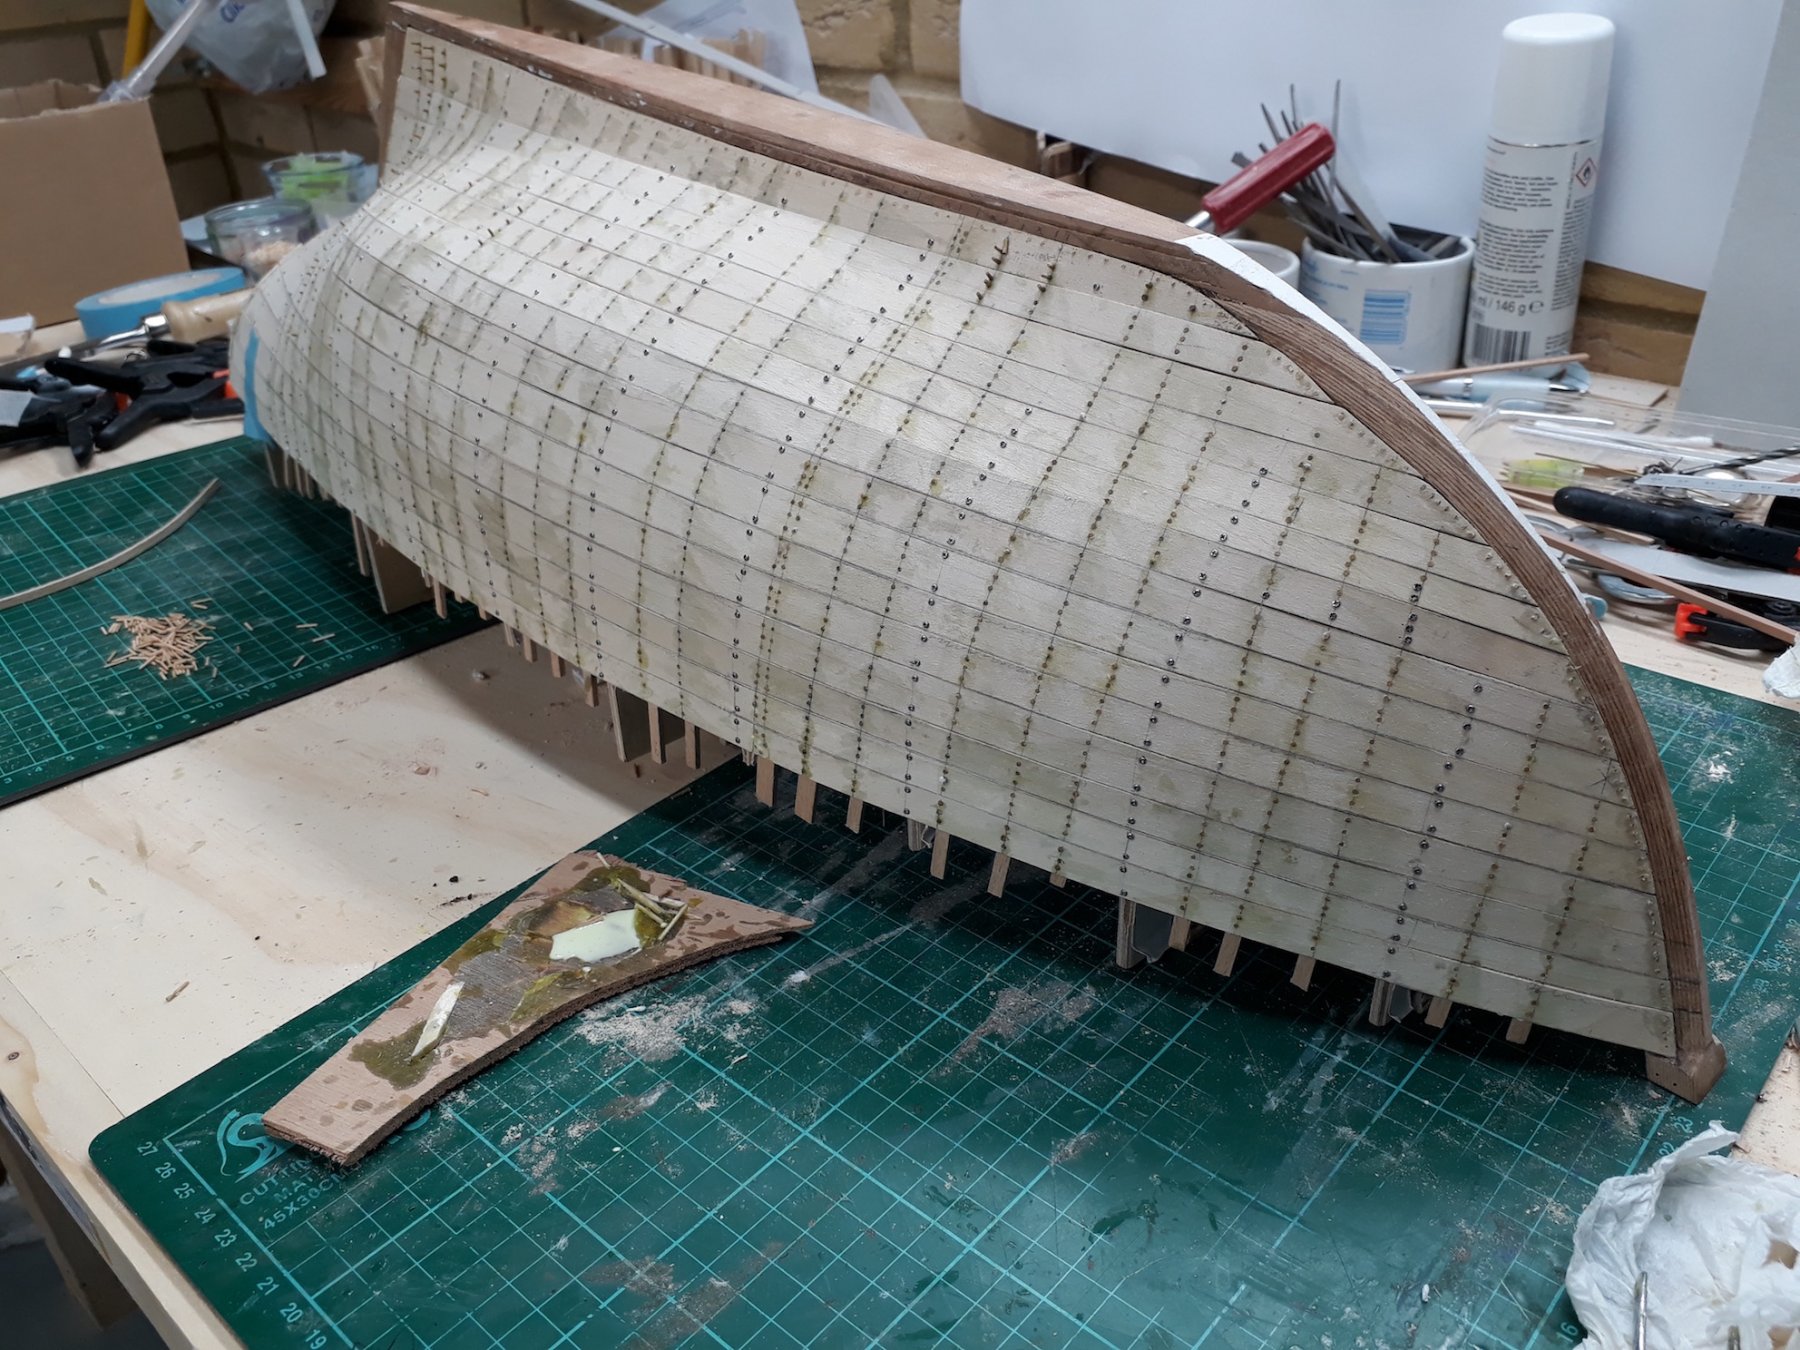
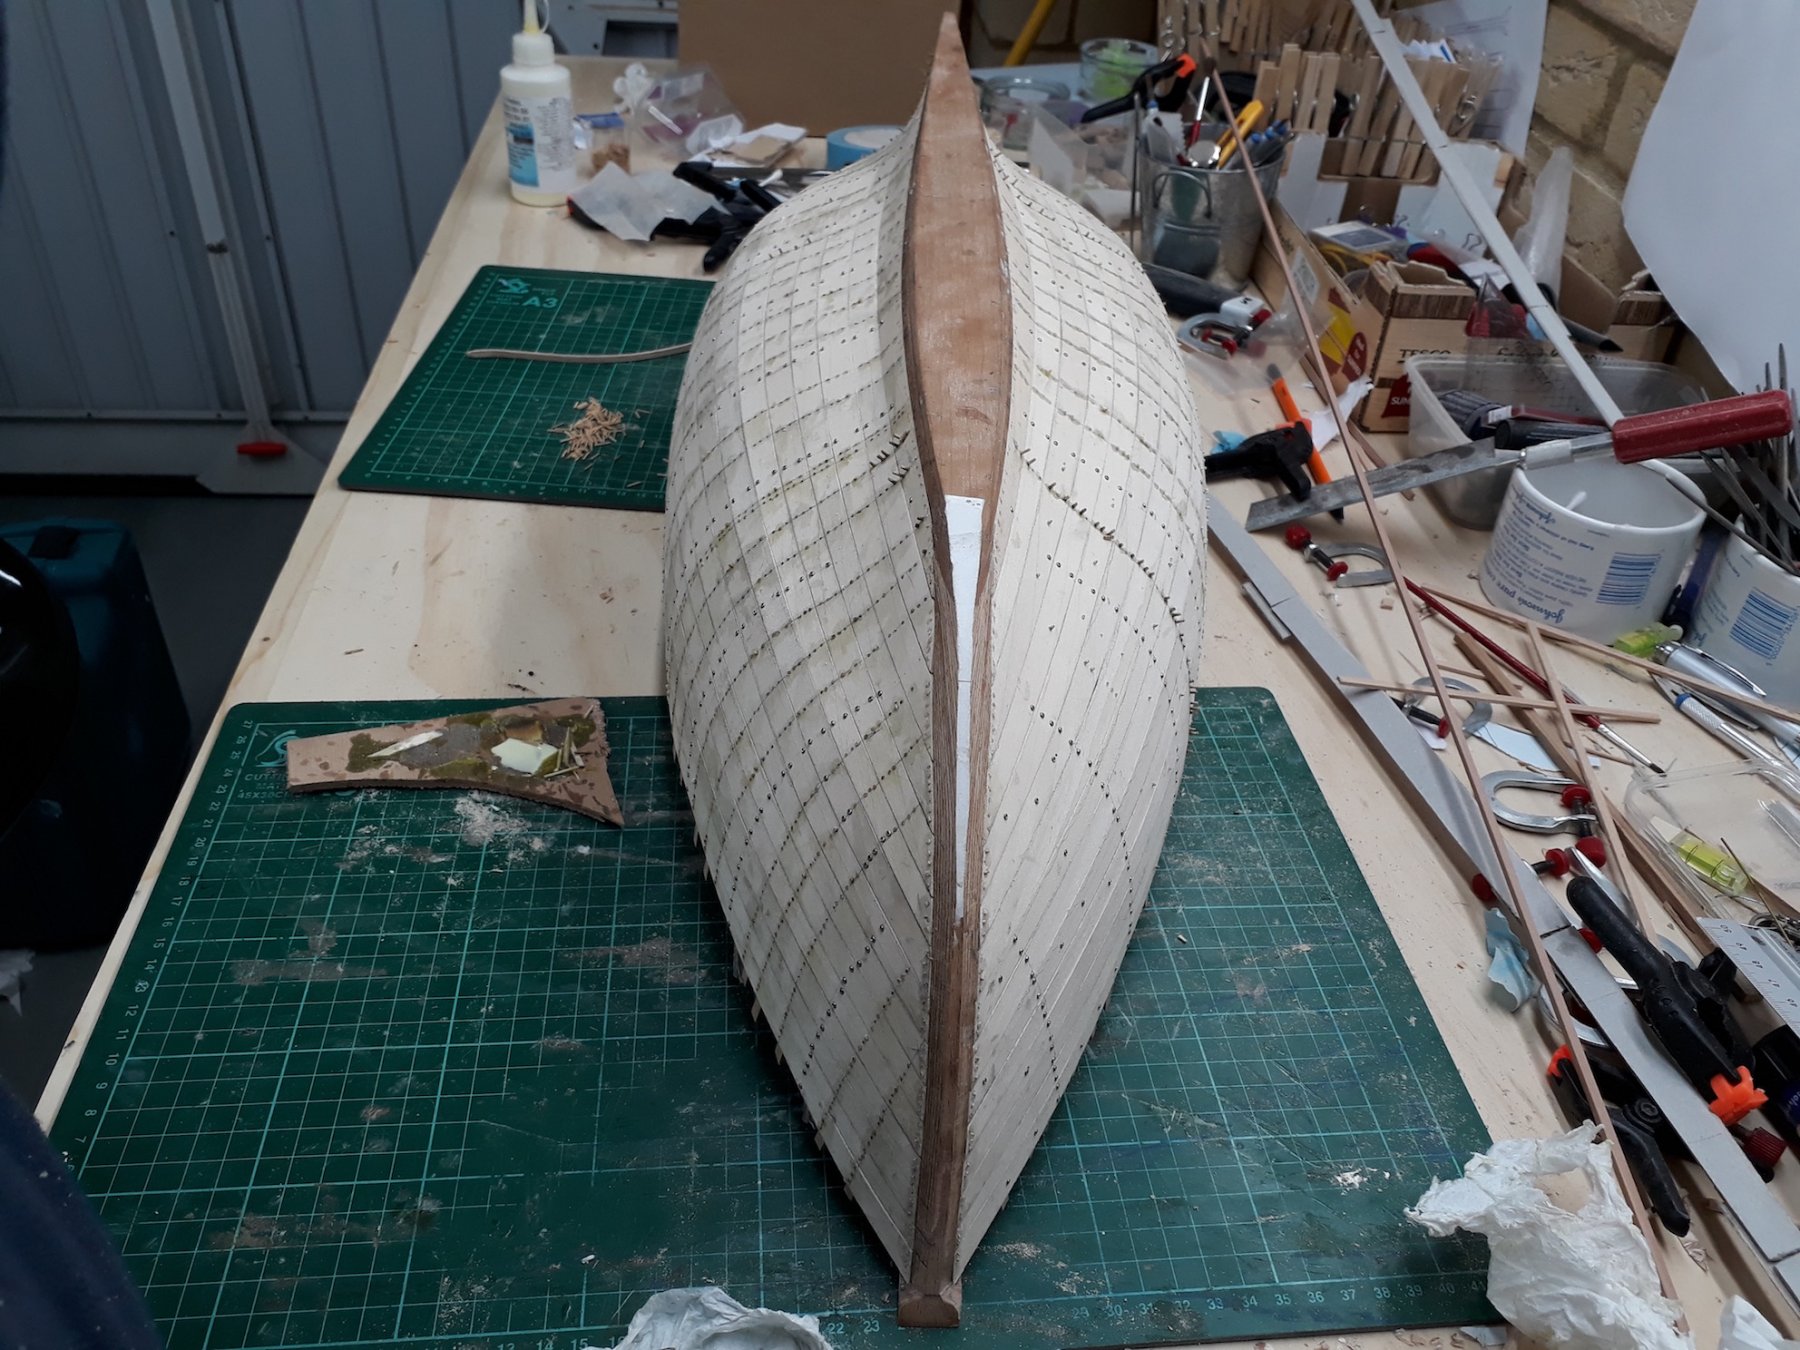
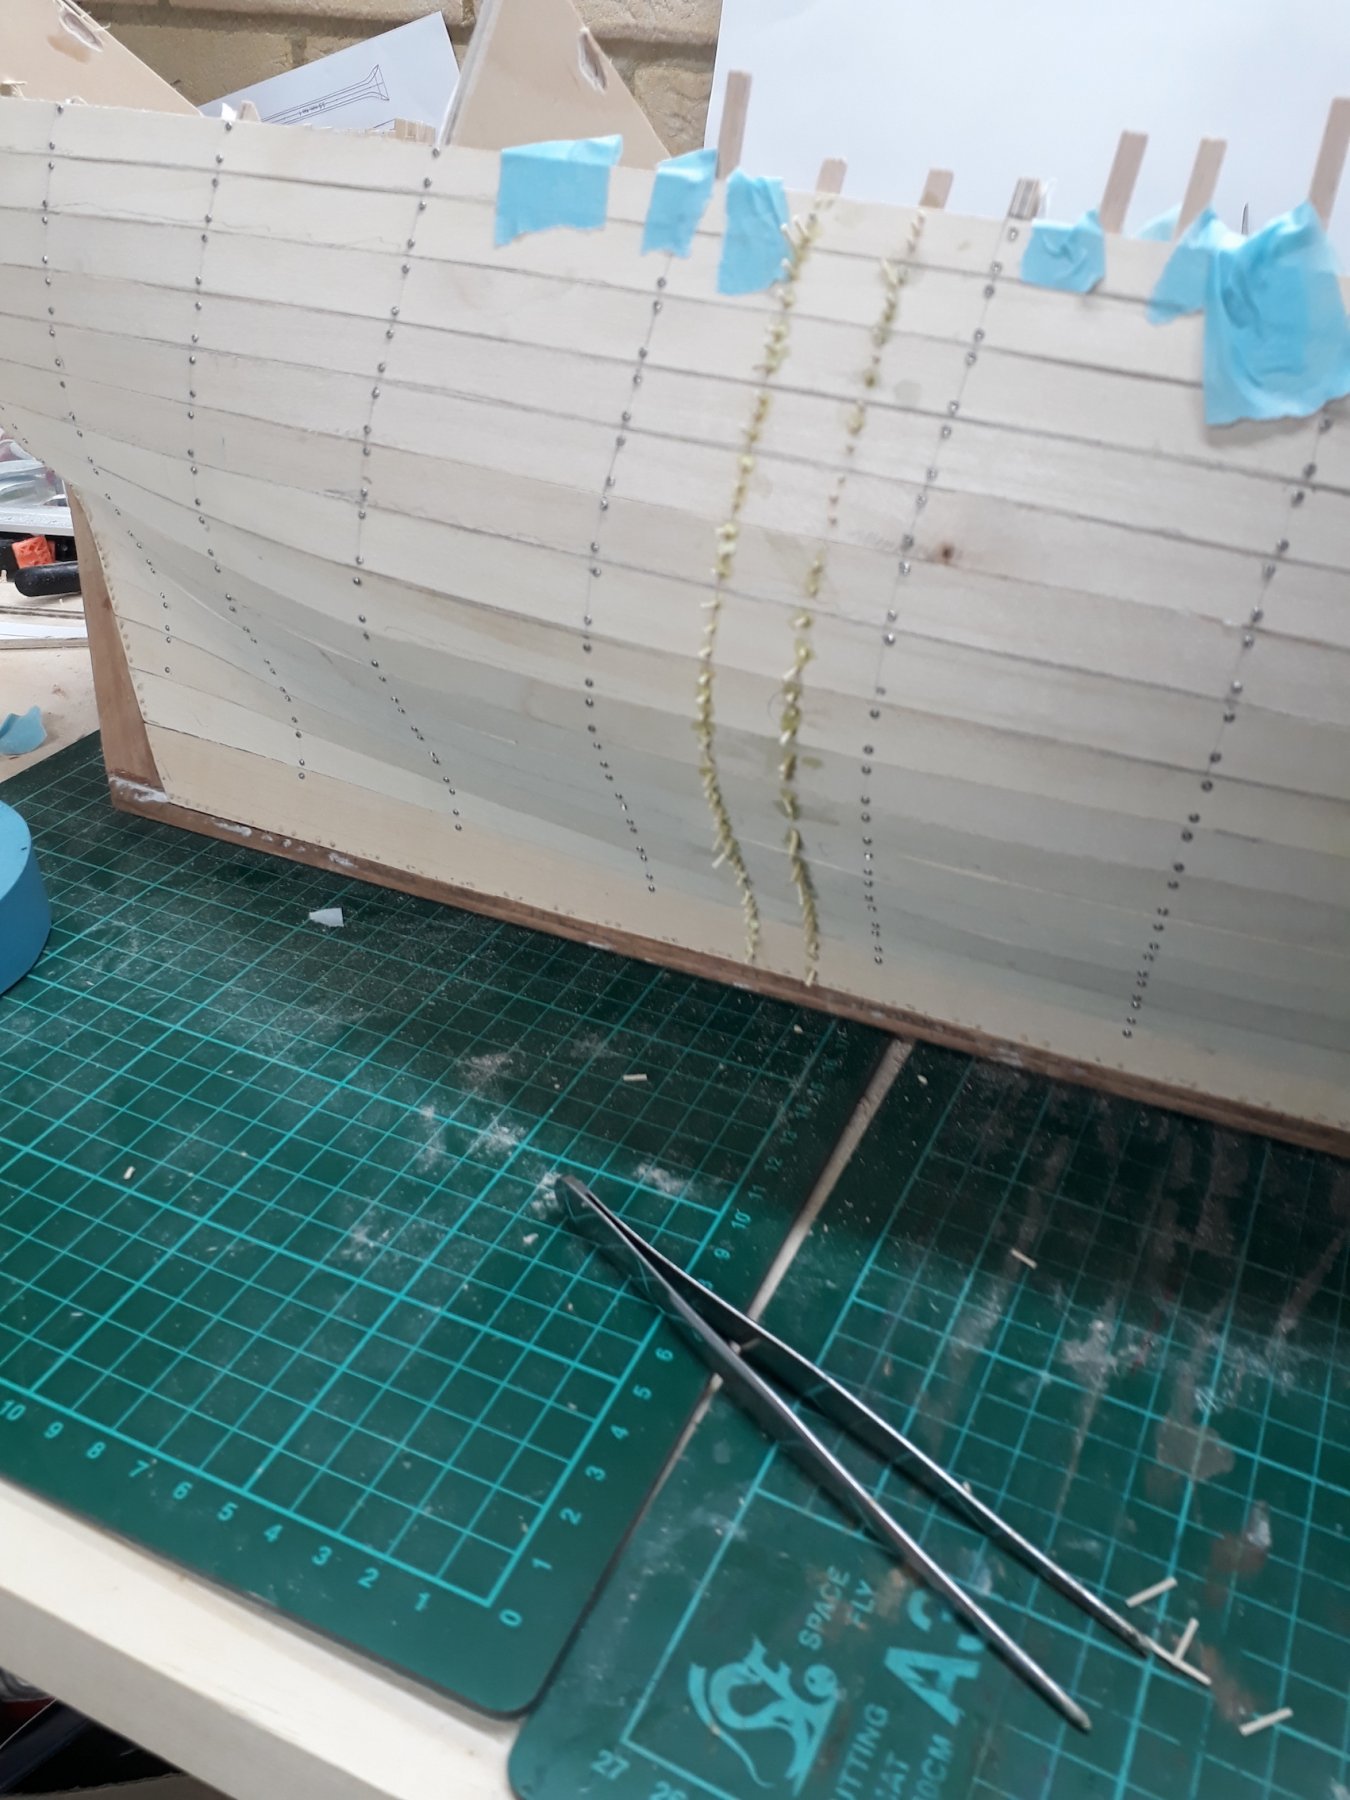
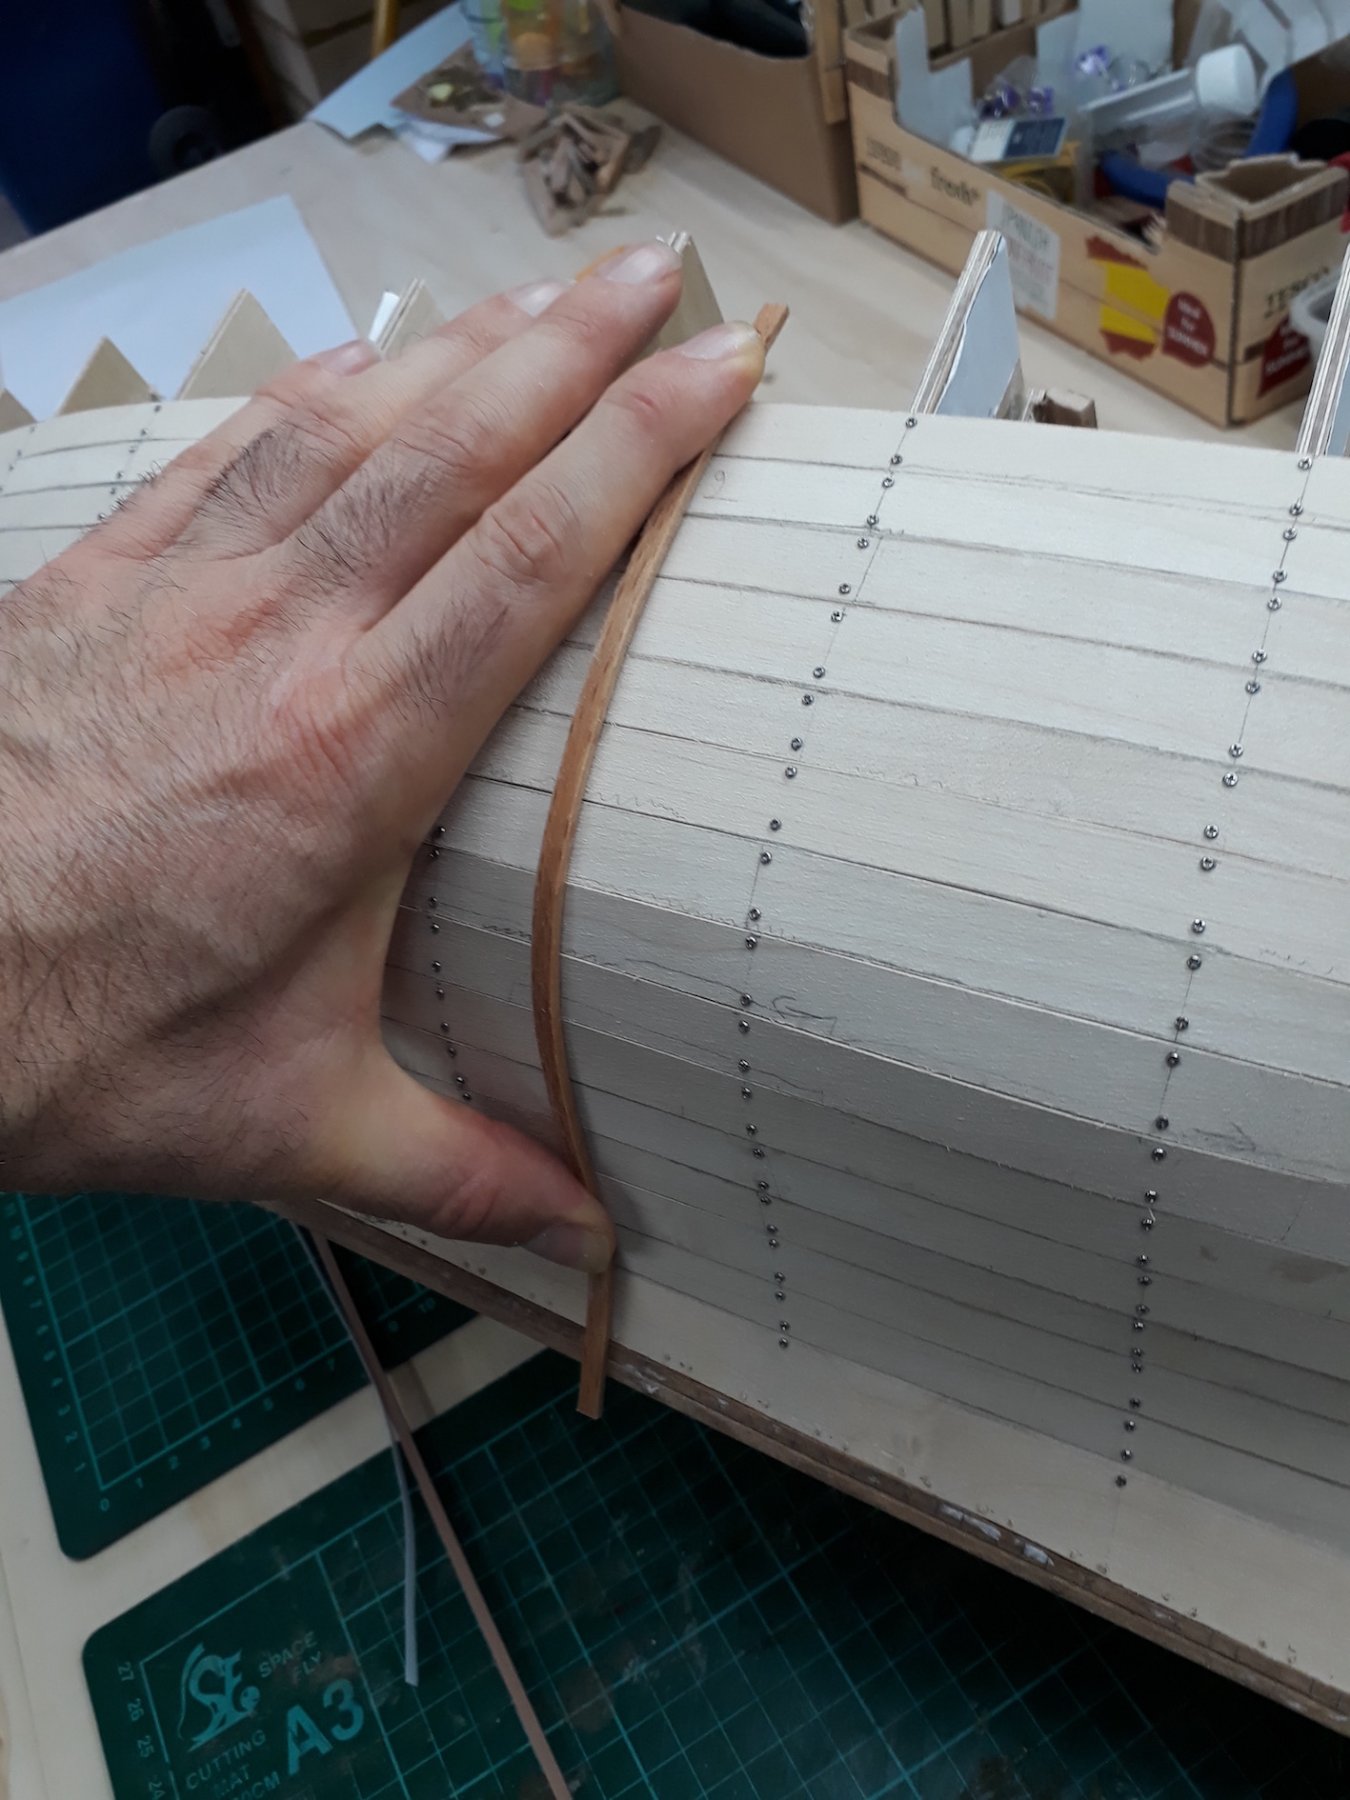
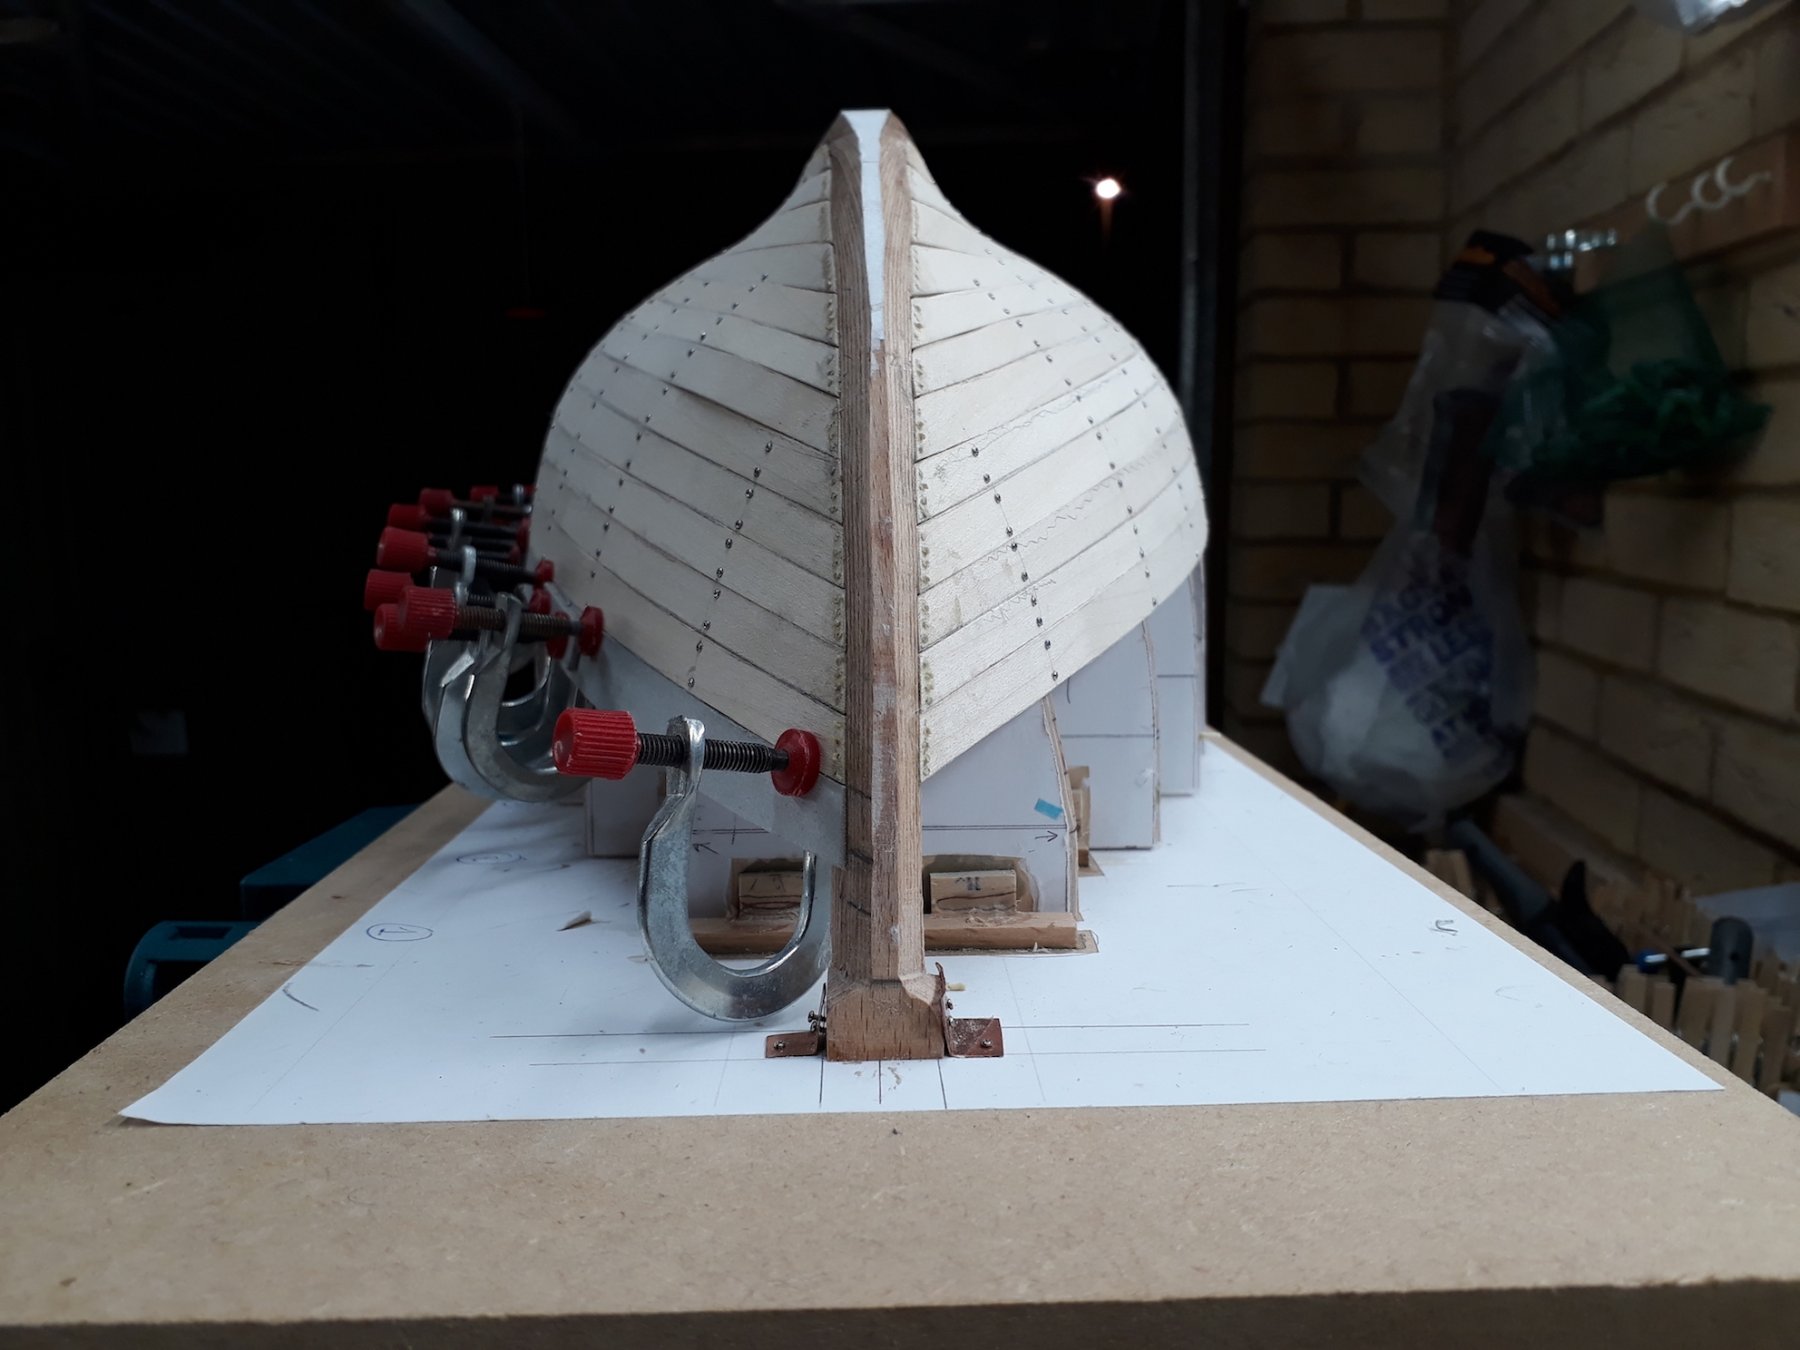
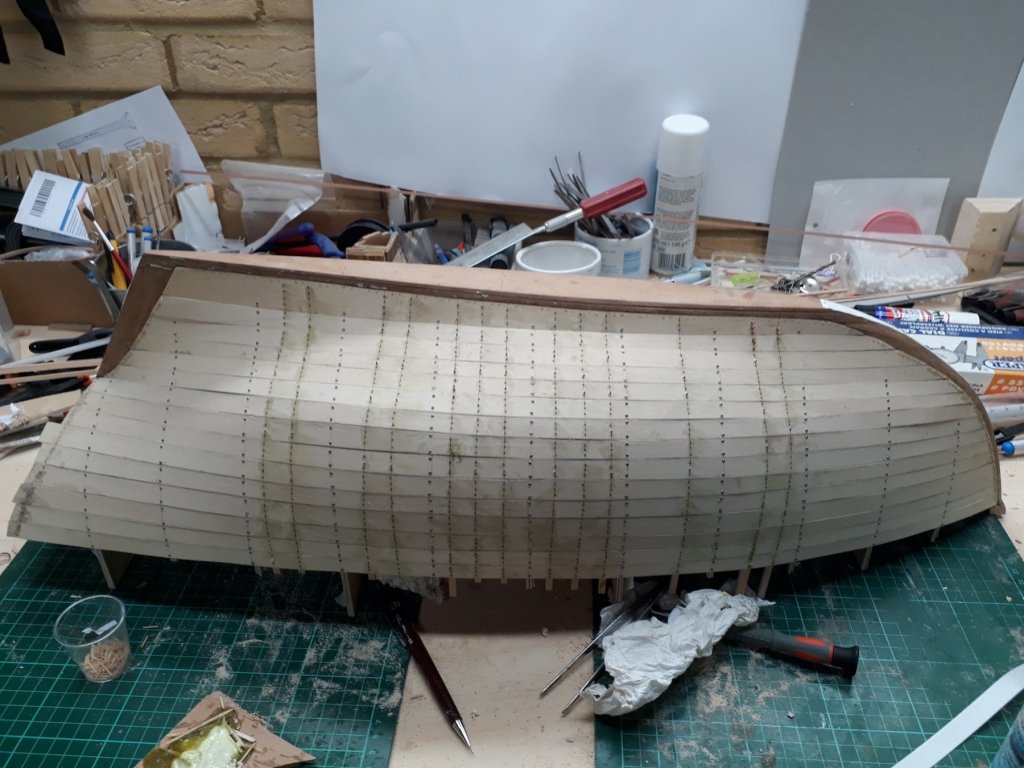
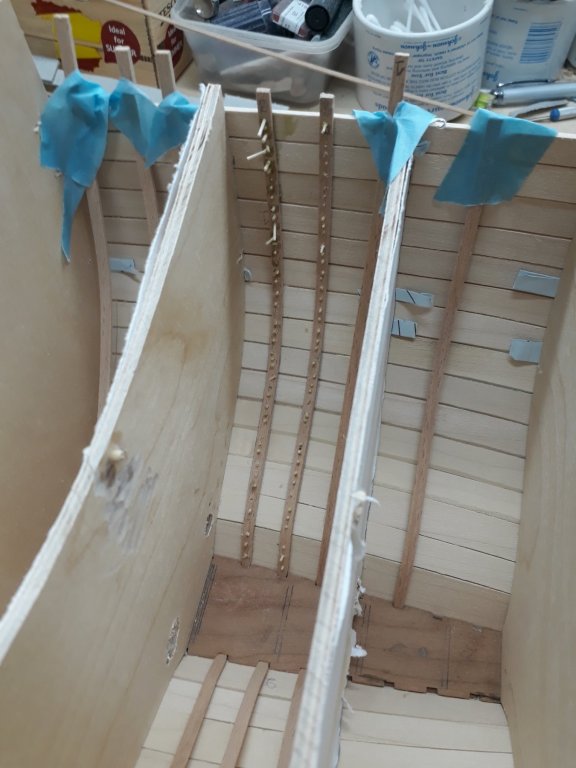
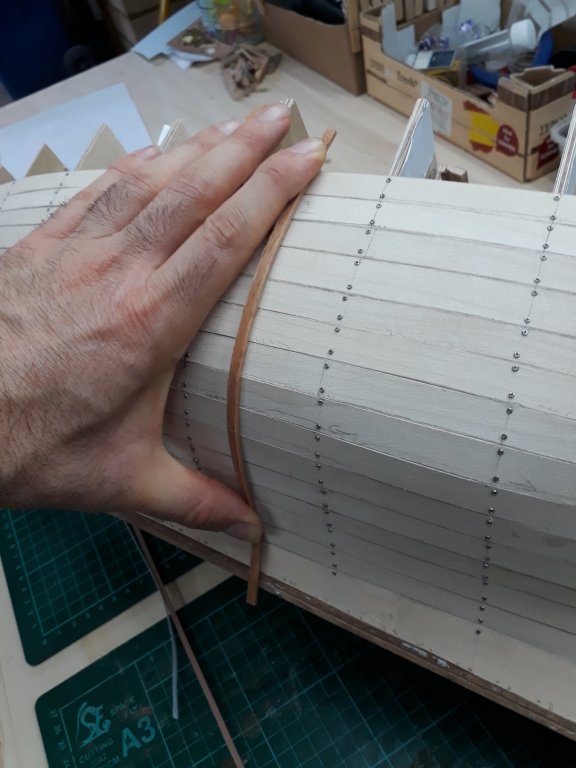
I continued installing the ribs. I throw the pieces in boiling water, then fit them to the hull and bend to shape, secure with 1 mm screws, then drill and install the wood nails. Then a few hours later remove the screws and fill with wood nails. Most of the ribs are in but there is a lot of work left and some ribs can only be installed after the frames are removed. Beech responds superbly to heat: An interesting aspect: During planking, there were a few areas that the plank did not follow the contour of the hull for all of its length. This was due to a lot of factors. Either the grain had a funny course and the plank was wavy or the frame was a bit off or the plank was a hair too long or did not fit perfectly. I thought that I could pull the plank into alignment with the screws and nails but this only worked to a (small) degree. Hopefully next update will be when all ribs are in place.


-
You are probably right Druxey. Any chance you think the hull might be rigid and not move after the temporary frames are removed? I tried to google this actually but I could not find any information on the dynamics of hulls with steam bend ribs and their tendency to deform. I wonder, in real boat construction, do they also keep the spalls in place until the beams and bulkheads are in place? In any case I will follow your suggestion.
-
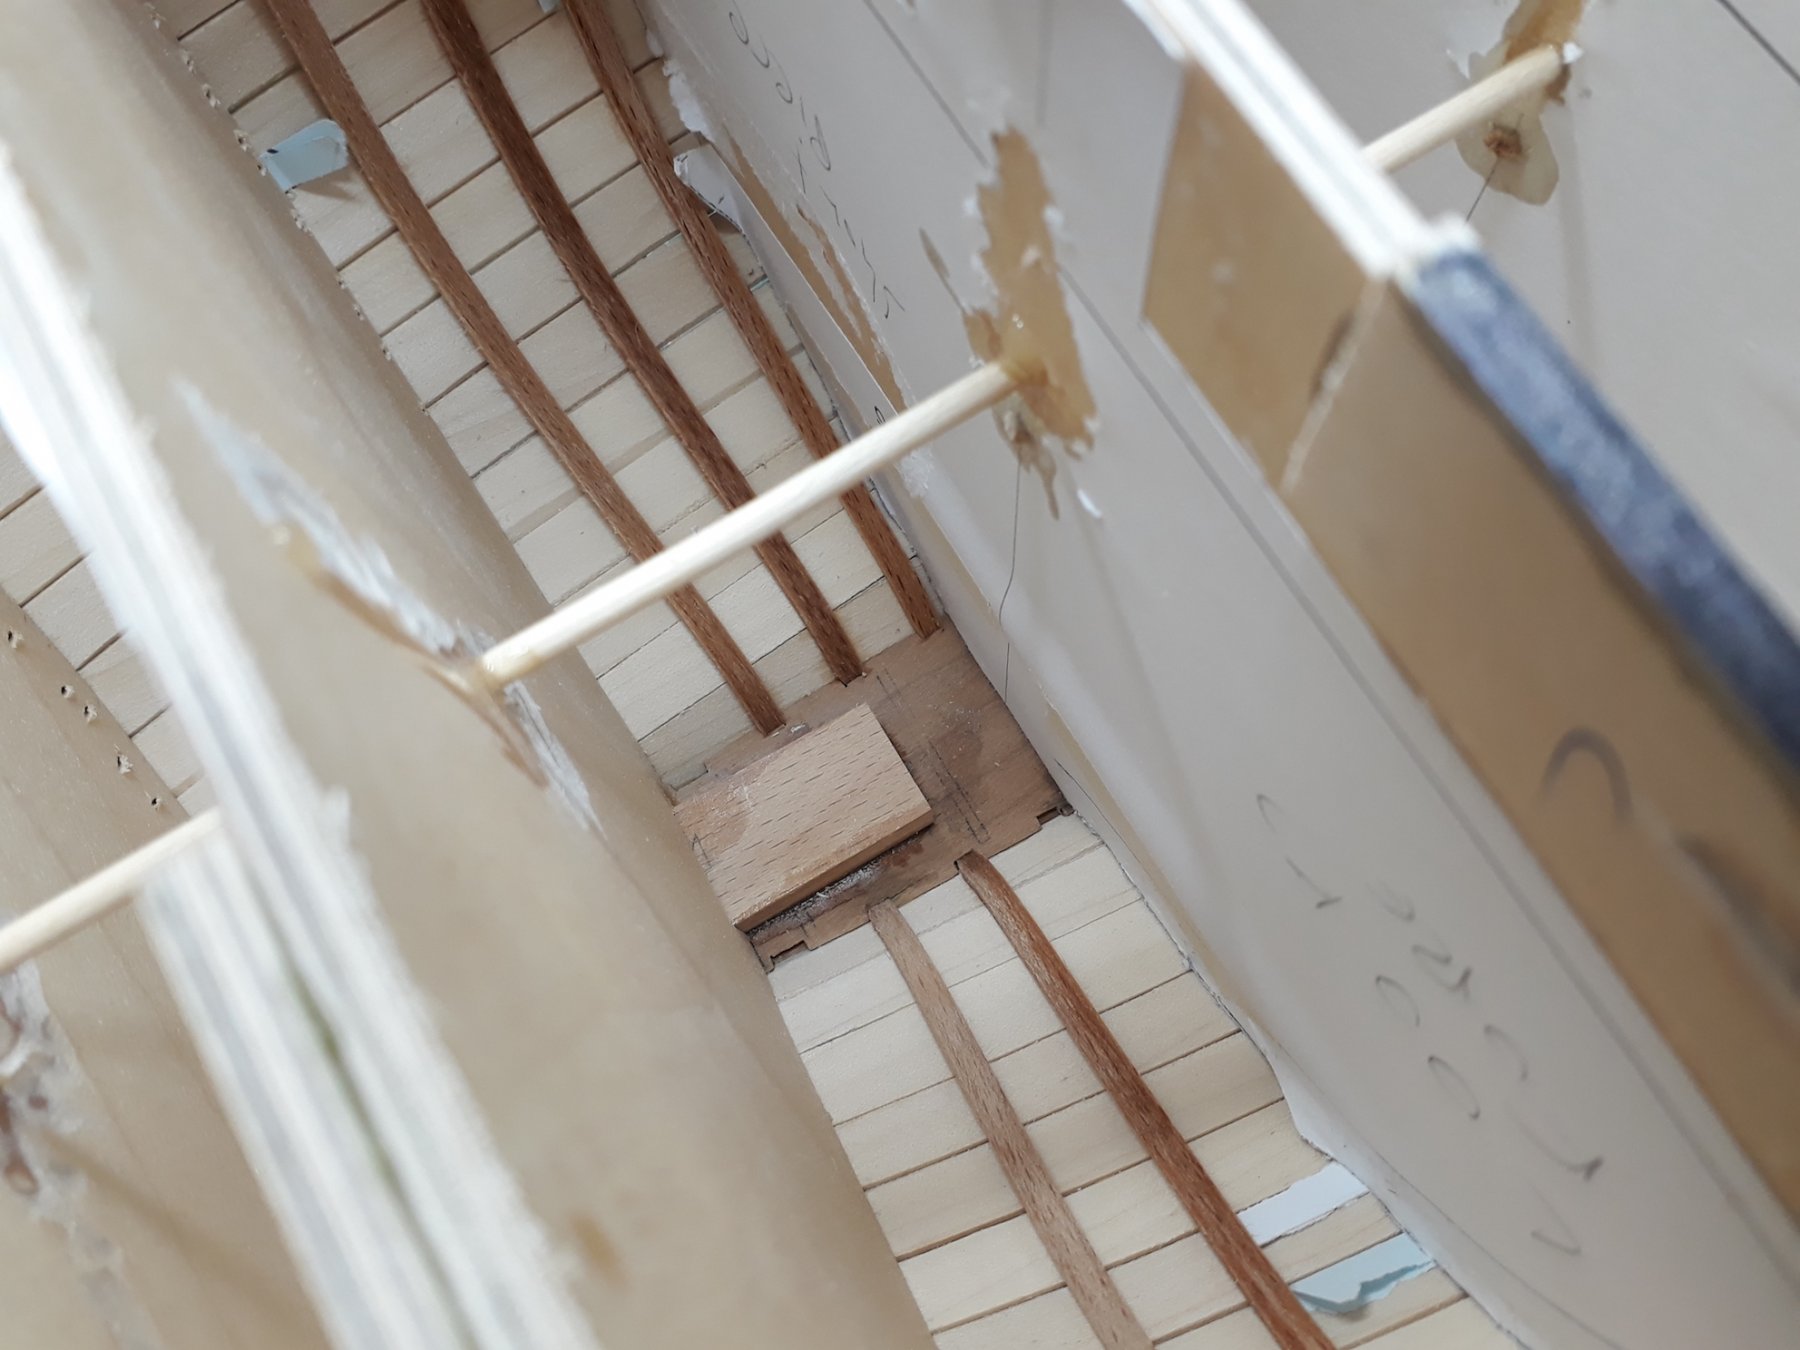
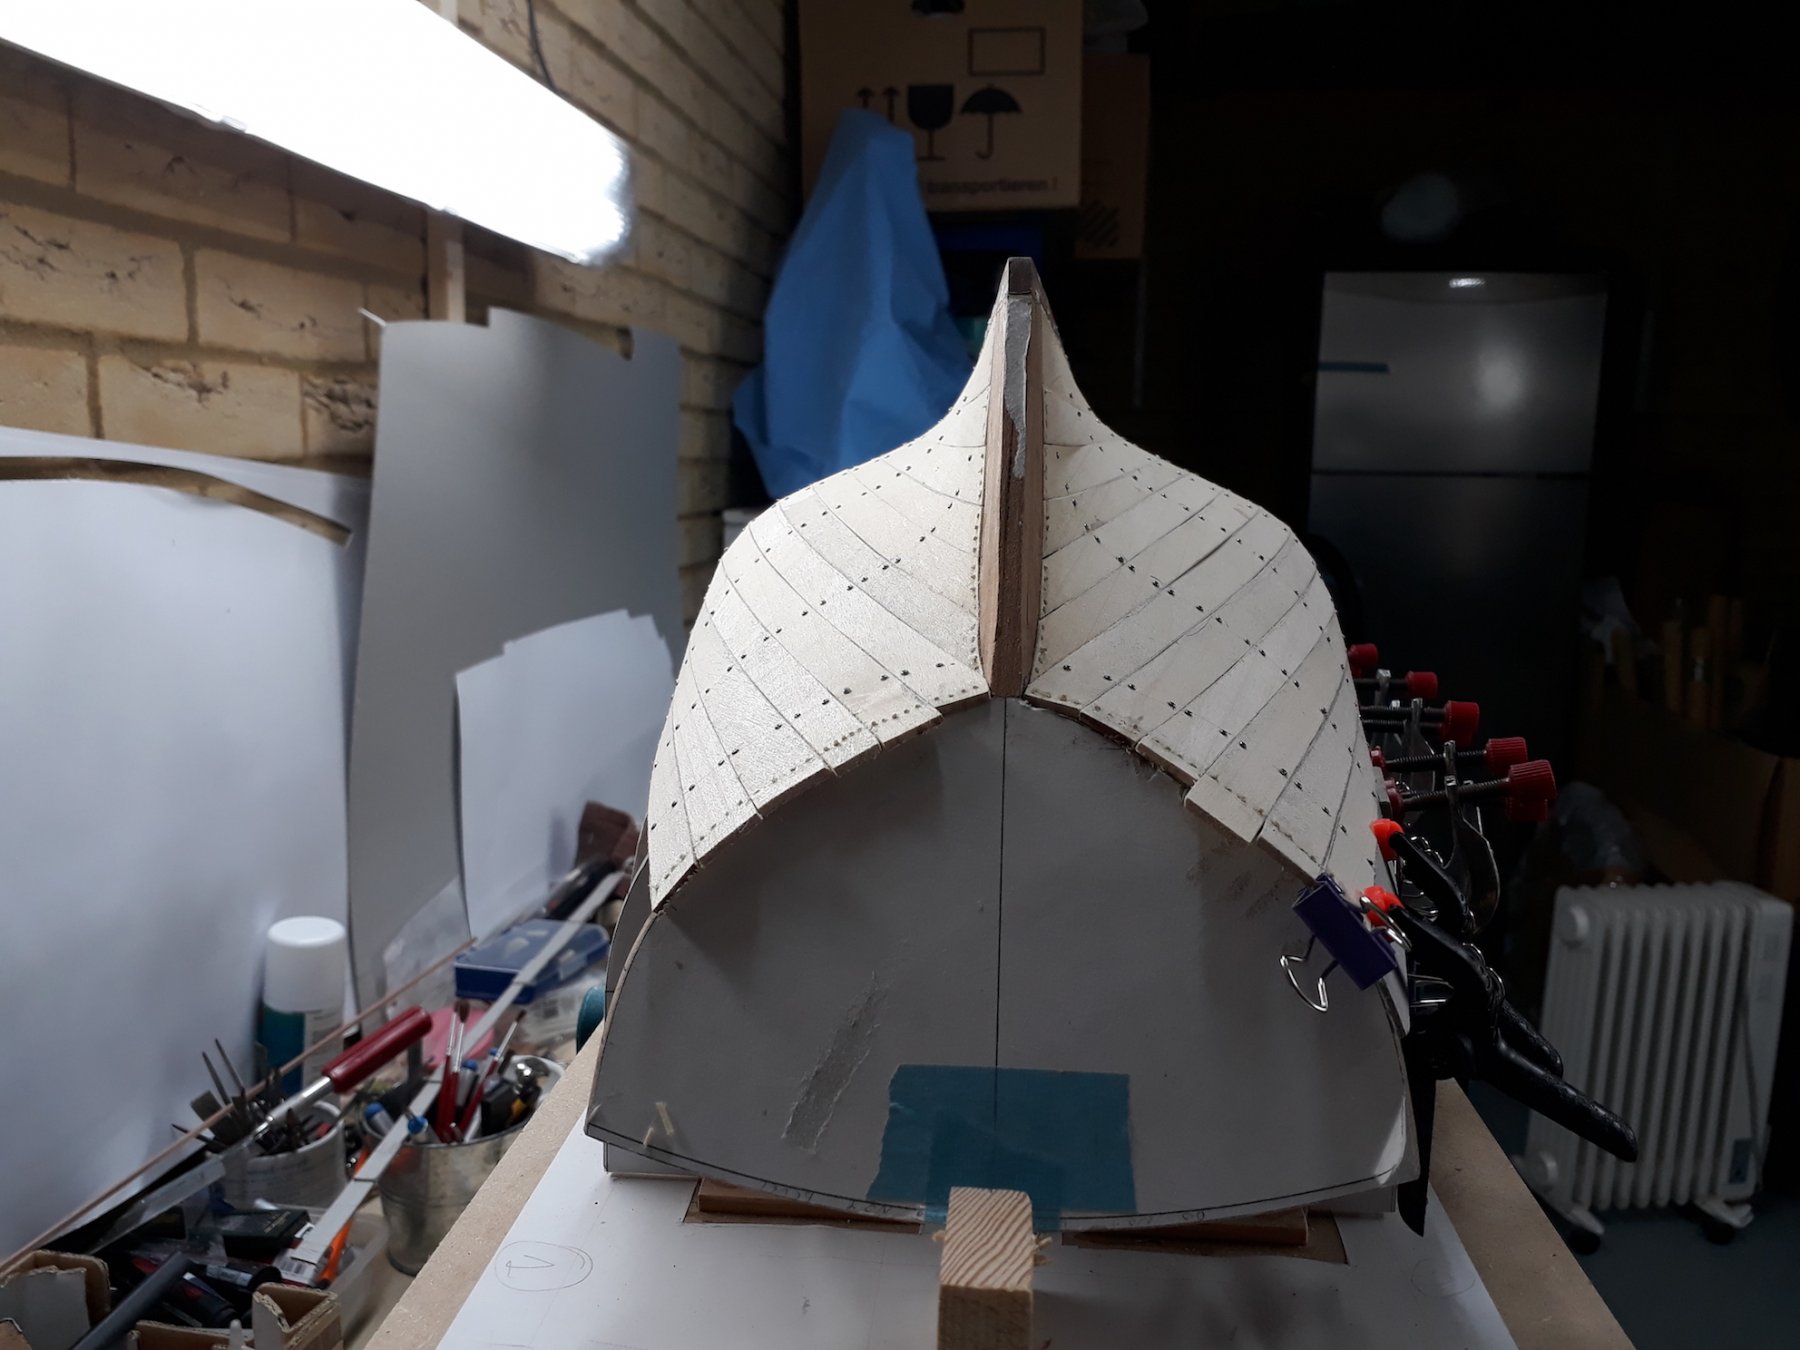
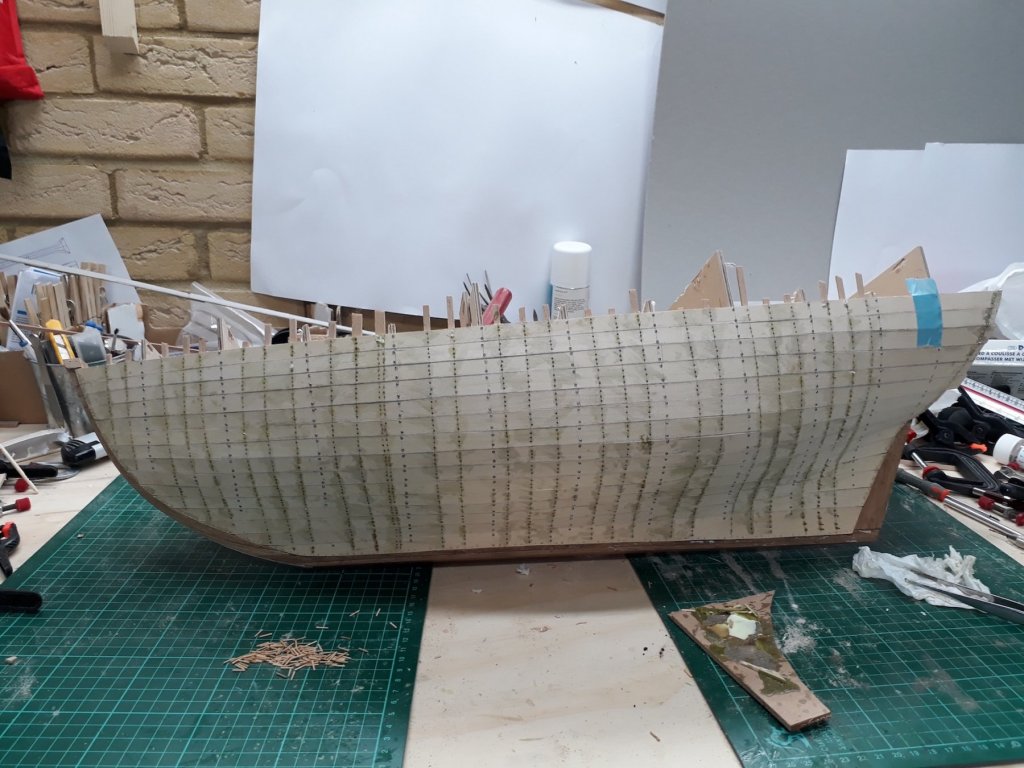
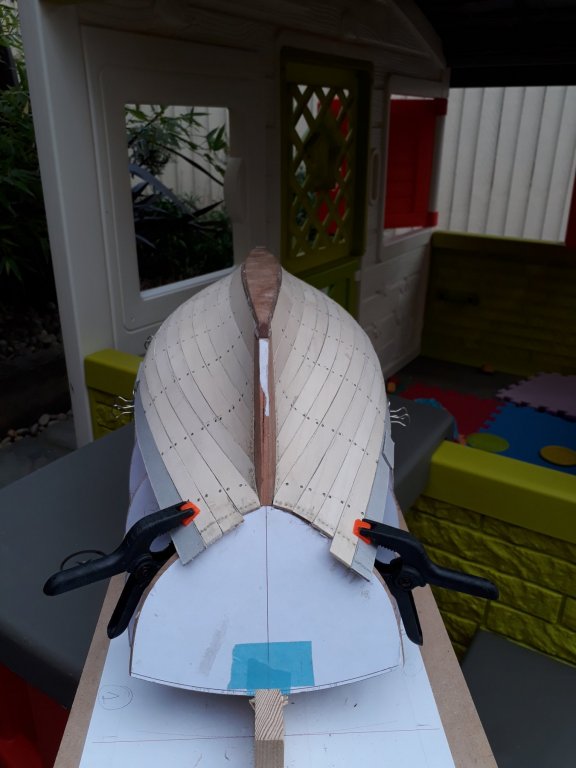
Work continues on the boat. I now have standardised the procedure of installing the ribs. A few issues: I made about 500 tree nails but then had to throw all away as I used a softwood with interlocking grain so all the tree nails had cross grain in the middle and were weak. However, I had a piece of seasoned cherry wood that I salvaged from a friend who was using it as firewood. This produced wonderful and very strong tree nails. I have already called him to save me a few more pieces! The ribs seem to be attached very securely to the planks. At the area of the mast step, there are 3 sets of ribs that are wider. I forgot that I intended to use two lines of tree nails but even with one the ribs are very well attached to the hull. The hull is begging for some sanding but the time has not come yet. By the time the ribs are all in it will be even more messy and rough. Some pics: I wonder, will the hull hold its shape after the temporary frames are removed or will it collapse? We shall soon find out. Regards


-
What oil to use for Proxxon TBM220 drill press
vaddoc replied to vaddoc's topic in Modeling tools and Workshop Equipment
Don't put too much oil or it will start dripping down the sides! -
What oil to use for Proxxon TBM220 drill press
vaddoc replied to vaddoc's topic in Modeling tools and Workshop Equipment
The sewing machine oil arrived and I put a few drops (may overdid it a bit) in the spindle. Very thin oil that gets sucked through the very small opening. The sound of the drill changed, it def needed the oil. -
What oil to use for Proxxon TBM220 drill press
vaddoc replied to vaddoc's topic in Modeling tools and Workshop Equipment
it has ball bearings but they are not accessible. At the top of the spindle there is an opening that you pour oil through. I am not sure though if this is supposed to lubricate the bearings or the rest of the moving parts. I suspect the latter. -
What oil to use for Proxxon TBM220 drill press
vaddoc replied to vaddoc's topic in Modeling tools and Workshop Equipment
Well, I did a bit more research on the net. It appears that indeed 3 in 1 has been traditionally used but there seems to be some disadvantages. Sewing machine oil on the other hand seems to be a very fluid oil, some times fully synthetic, specially formulated for such purposes. I just ordered a bottle -
One of my favourite tools is the small proxxon drill press. The manual suggests every 10 hours of operation to lubricate the bearings but does not specify what oil to use. I emailed Proxxon and this was the reply: The TBM 220 drill press may be lubricated with a wide range oils, so we do not recommend any specific lubricant. Sewing machine oil is absolutely suitable. Maybe this will be of help to others. I am not sure what I will use, I think probably what ever car motor oil I can get my hands on. Vaddoc
-
Thanks for the suggestions Roger. I did try to use the outside of the hull as a form but there are two problems, one that the end of the ribs that slots in the keel cannot be set from the outside and also that there is no way to secure the rib to the hull but to screw it on, and I don't want to open any more holes. Regarding laminating the ribs, I guess it could be done with 4 half mm laminates and there would be no need to steam bend anything. Well, I did not think of this beforehand! It would be a good solution, a bit messy and complex but would produce ribs with almost perfect shape. Still, the beech I am using, if up to temperature, bends very nicely. Regards Vaddoc
-
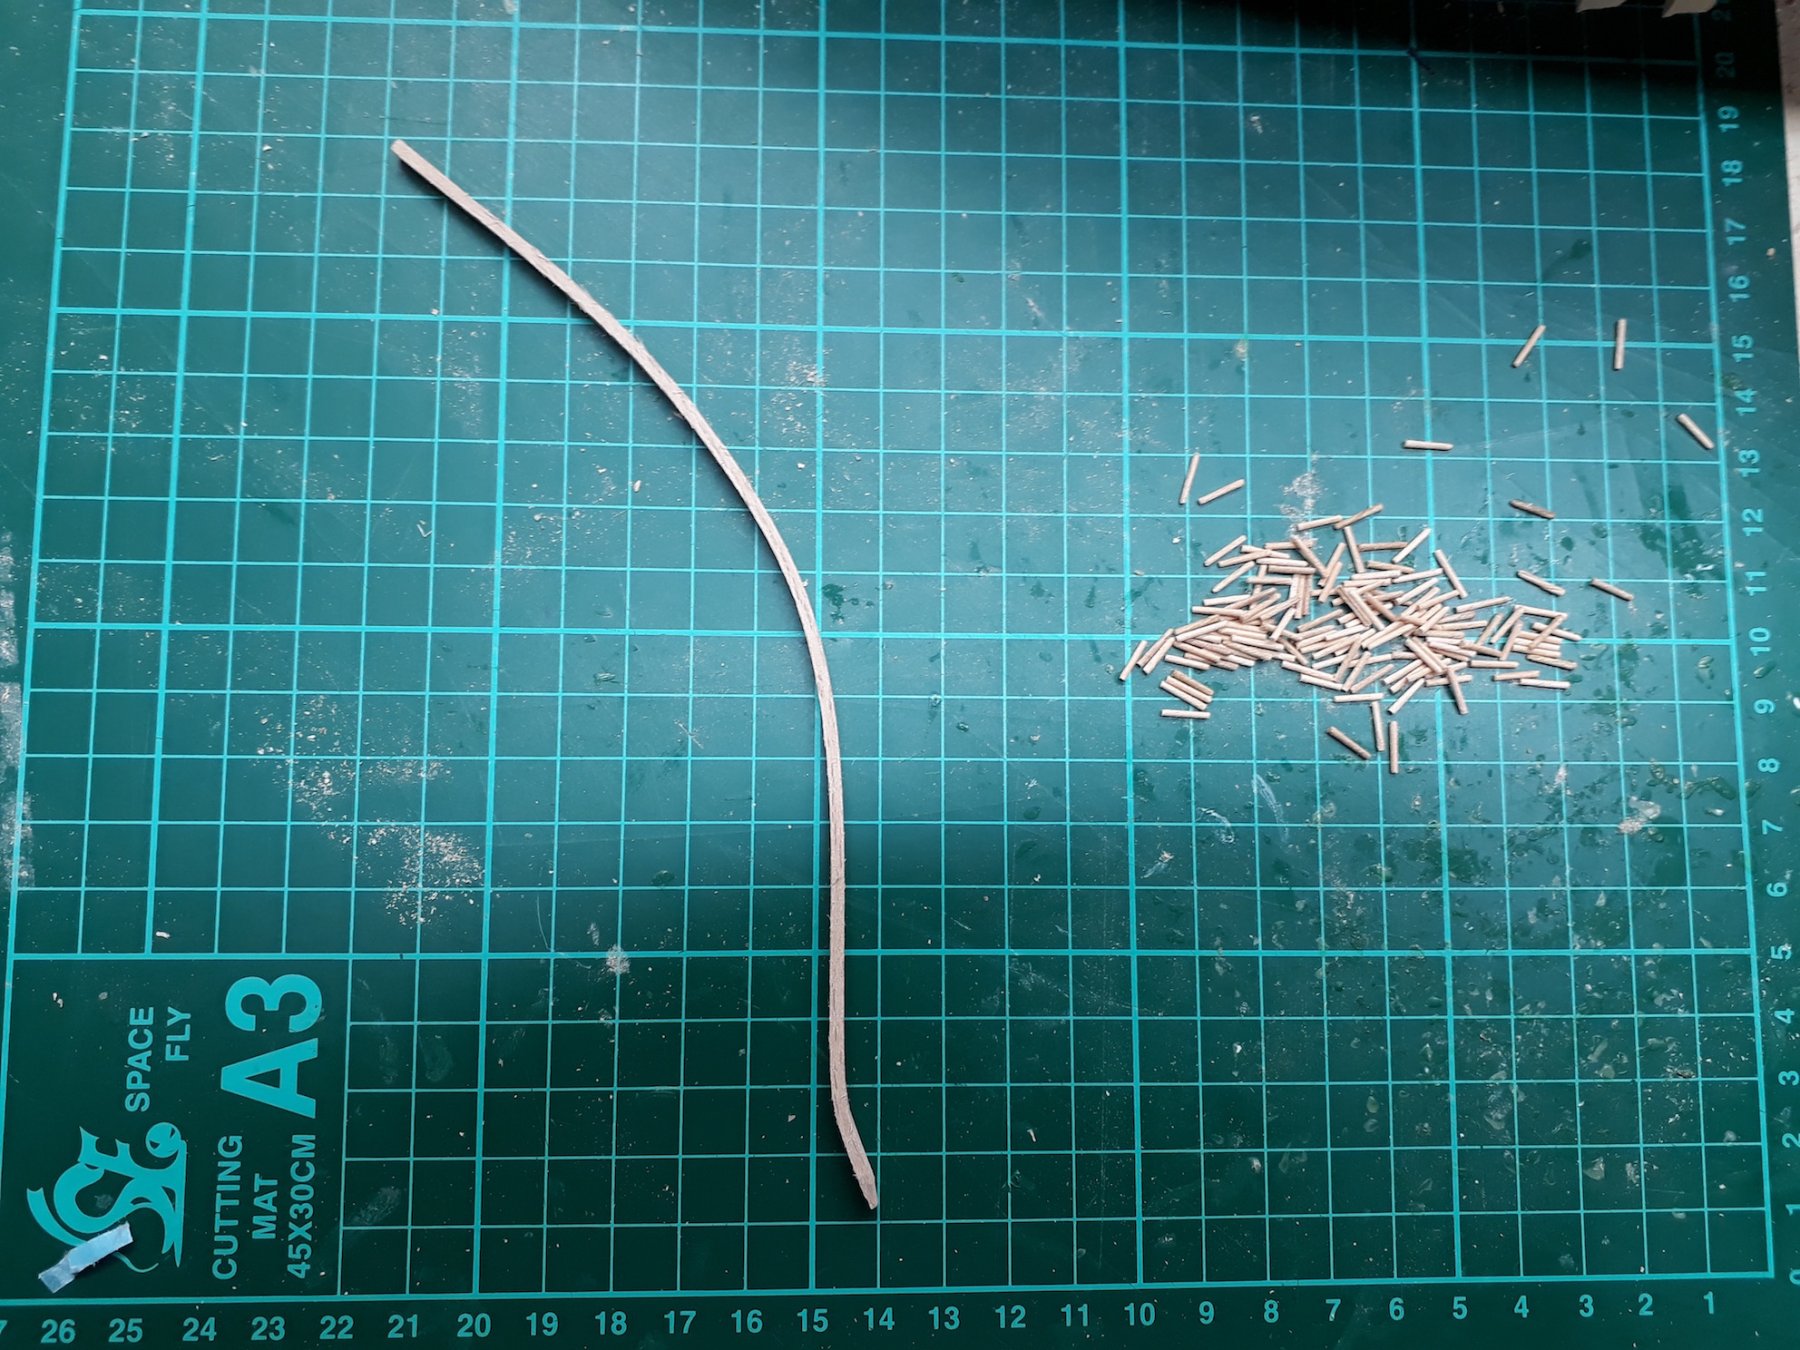
Thanks John! Trying hard to scrape an hour here and there to keep the building going. My treenail stash got depleted so I made round 300 more. I have standardised two sizes, one for usual use and a slightly larger one for when the hole gets a bit larger after a failed treenail etc. I am also trying to find an easy way to attach the ribs. It is not possible to glue the ribs to the planks so they will be just tree nailed. I am concerned though that the ribs might break free or the whole hull might get deformed. In any case I installed one more rib. I must now reconsider: This is a slow and rather complicated job. 82 more ribs left... Hopefully in my next post I will be able to show much better progress

-
Dear Ken You somehow managed to reveal a beauty that I never thought these enormous (and ugly) Maersk container ships had. Very nice and interesting work. What primer are you using?
-
Today I installed the first of the ribs. I did some simple calculations to position the ribs along the sheer plank. I also got the special Dremel disk to cut some of the frames to make space. It cut the wood like hot knife through butter. Druxey, it is pretty difficult to glue the ribs to the planks. At this scale the ribs are pretty stiff and although they can be bent to follow the contour and twist of the hull, they won't stay in tight contact. Also some of the planks are just a bit out of alignment. PVA glue of course needs tight contact and time to set. I used a couple of temporary screws and then drilled 3 holes per plank and used tree nails with glue. I used the flexi dremel drive as space is really tight. It took a while but I think the rib is very well secured. I used about 60 tree nails for this rib alone taking into account wastage. The good news are that it is doable. The bad ones that there are 83 more ribs left! Regards


-
Thank you all, it really has been an exciting moment! I gave it a go to install the ribs and surprisingly it was very easy. I soaked the beach strips in water, wrapped them three at a time in a wet towel and heated the whole thing in our old microwave which had been stored in the garage. There was a small learning curve but the strips took the bend very nicely. I got a few in but now the real problems begin: 1. I know where the bottom end of the ribs go (except the bow and stern where I will need to guess). I need now to figure out how to space the upper end along the sheer plank. 2. How should I secure the ribs to the planks? I will use tree nails for sure and in the end probably also put a bit of epoxy to the bottom end, hopefully they will hold well enough. Should I also glue the ribs to the plank? This will be a messy job I think. There is really very little working space. I have the flexible Dremel drive but I might need the angle drill accessory


-
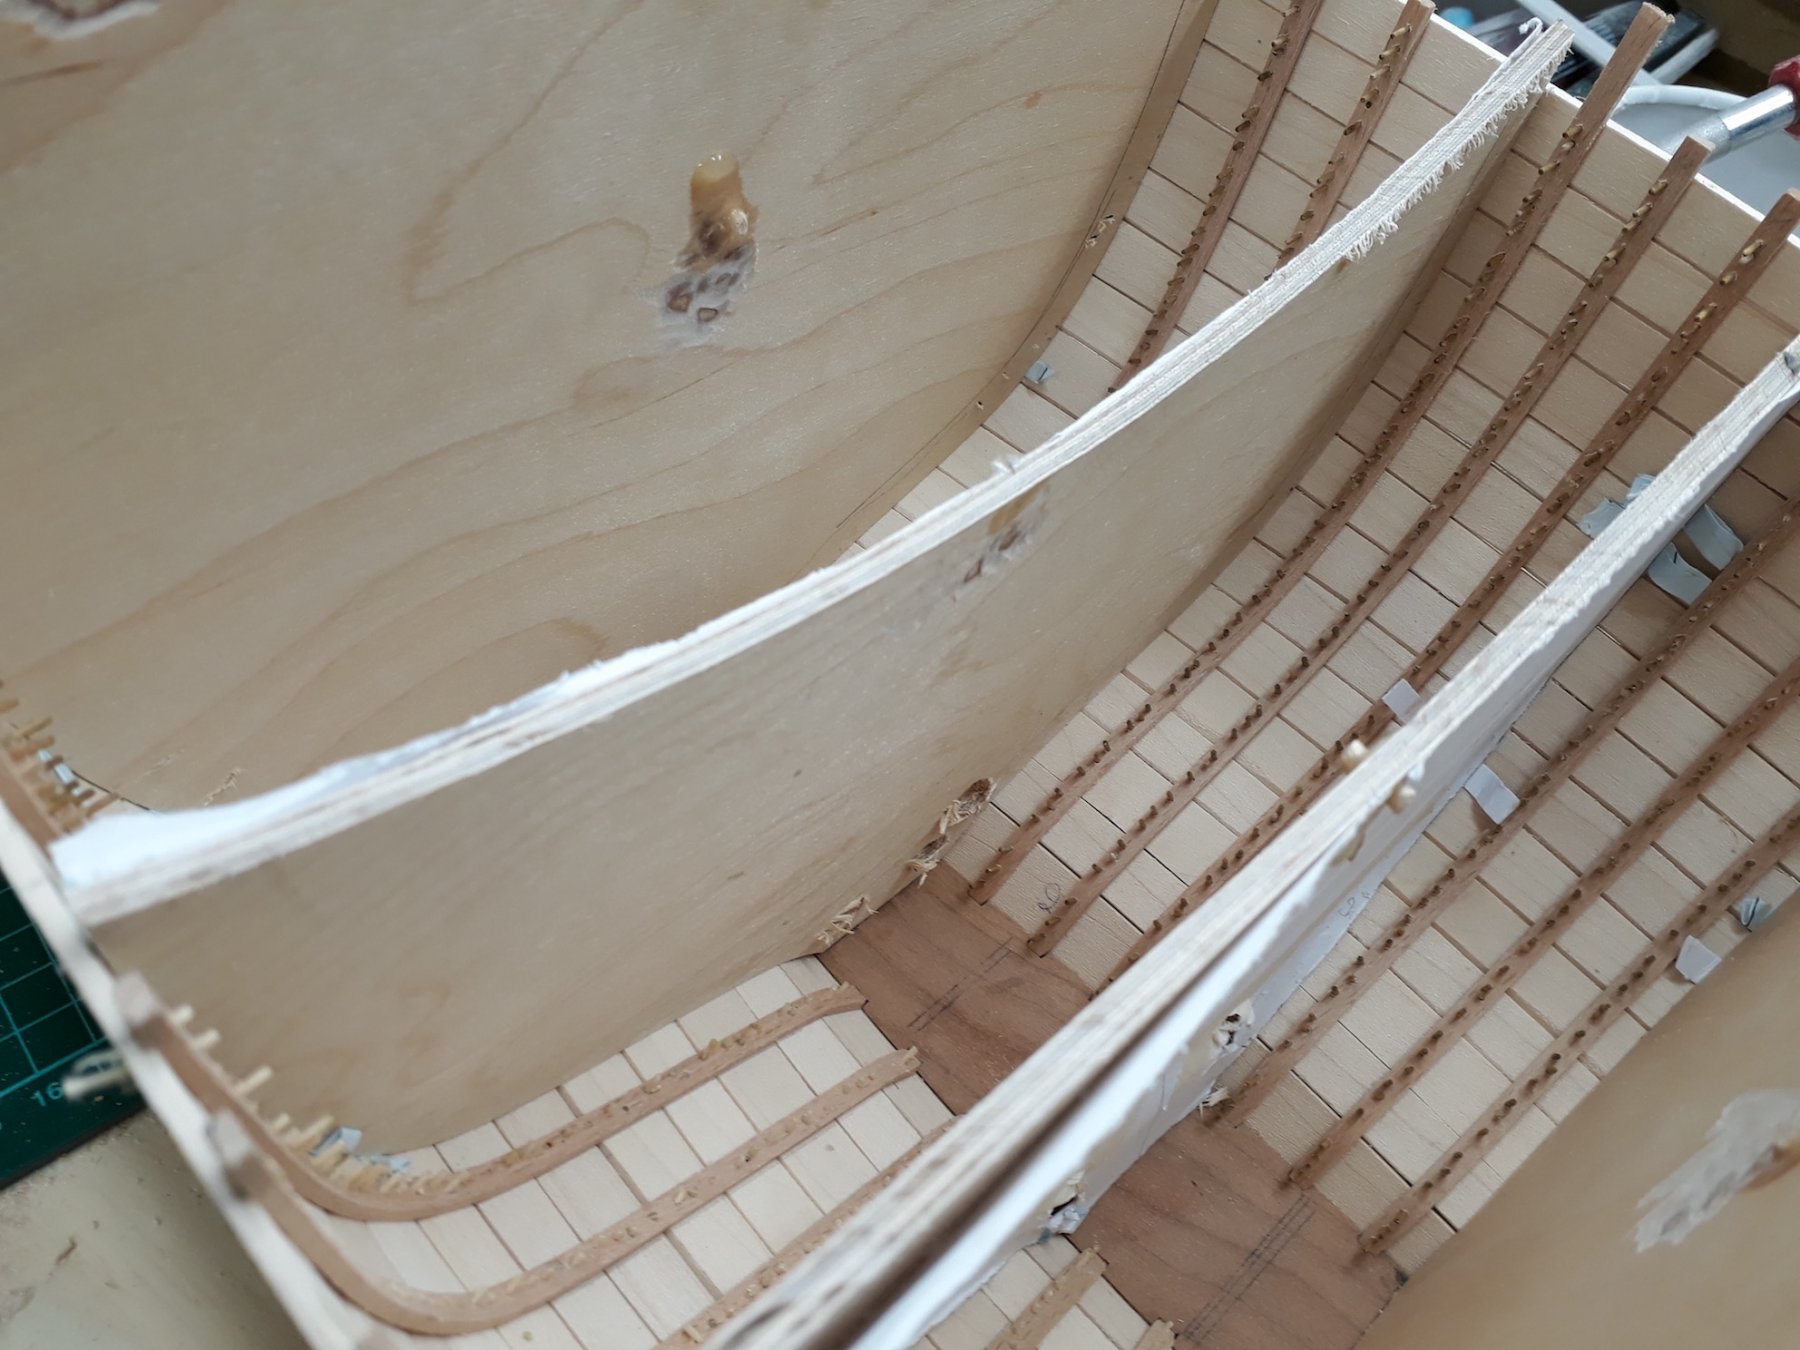
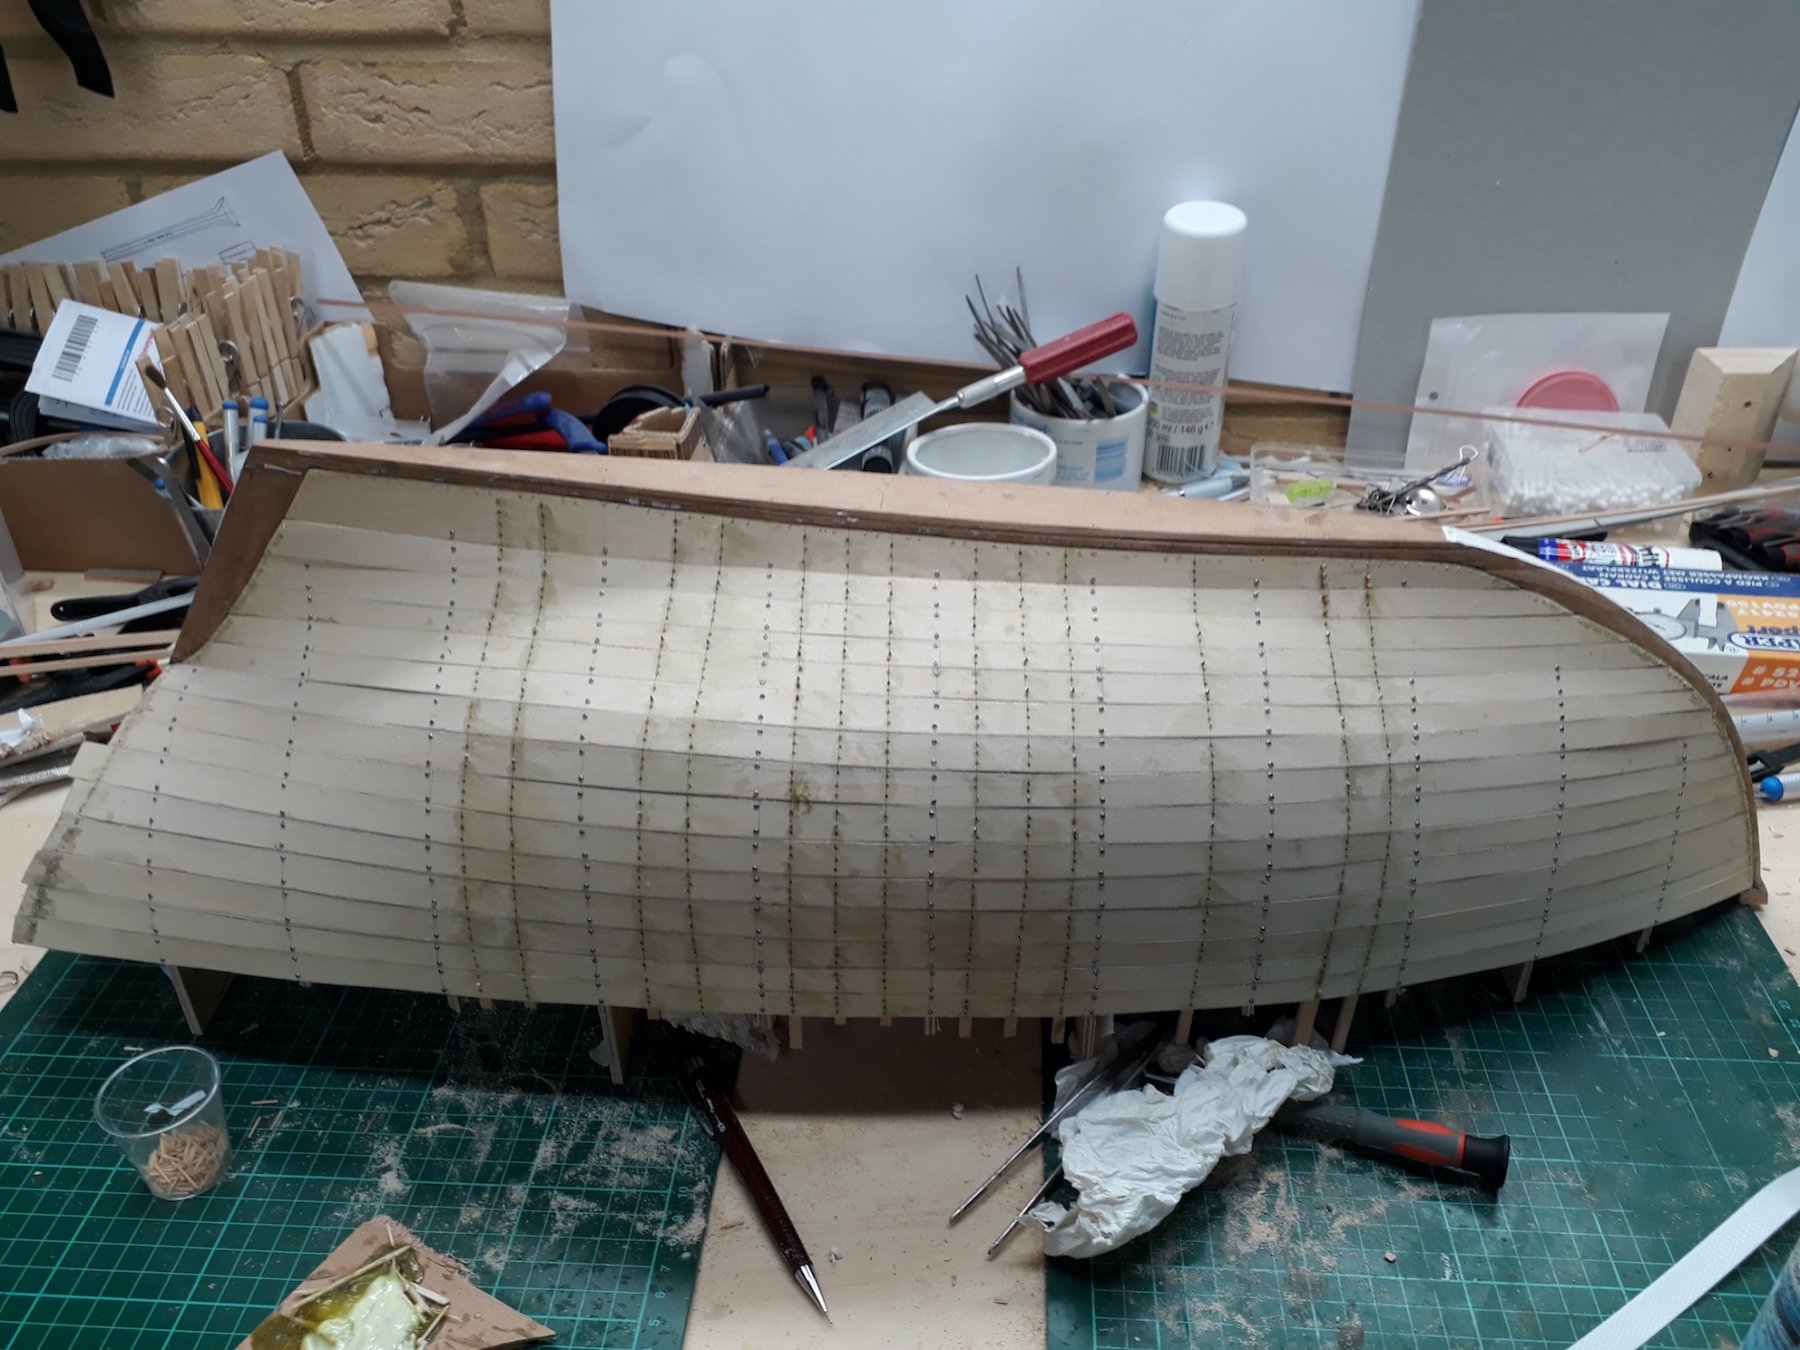
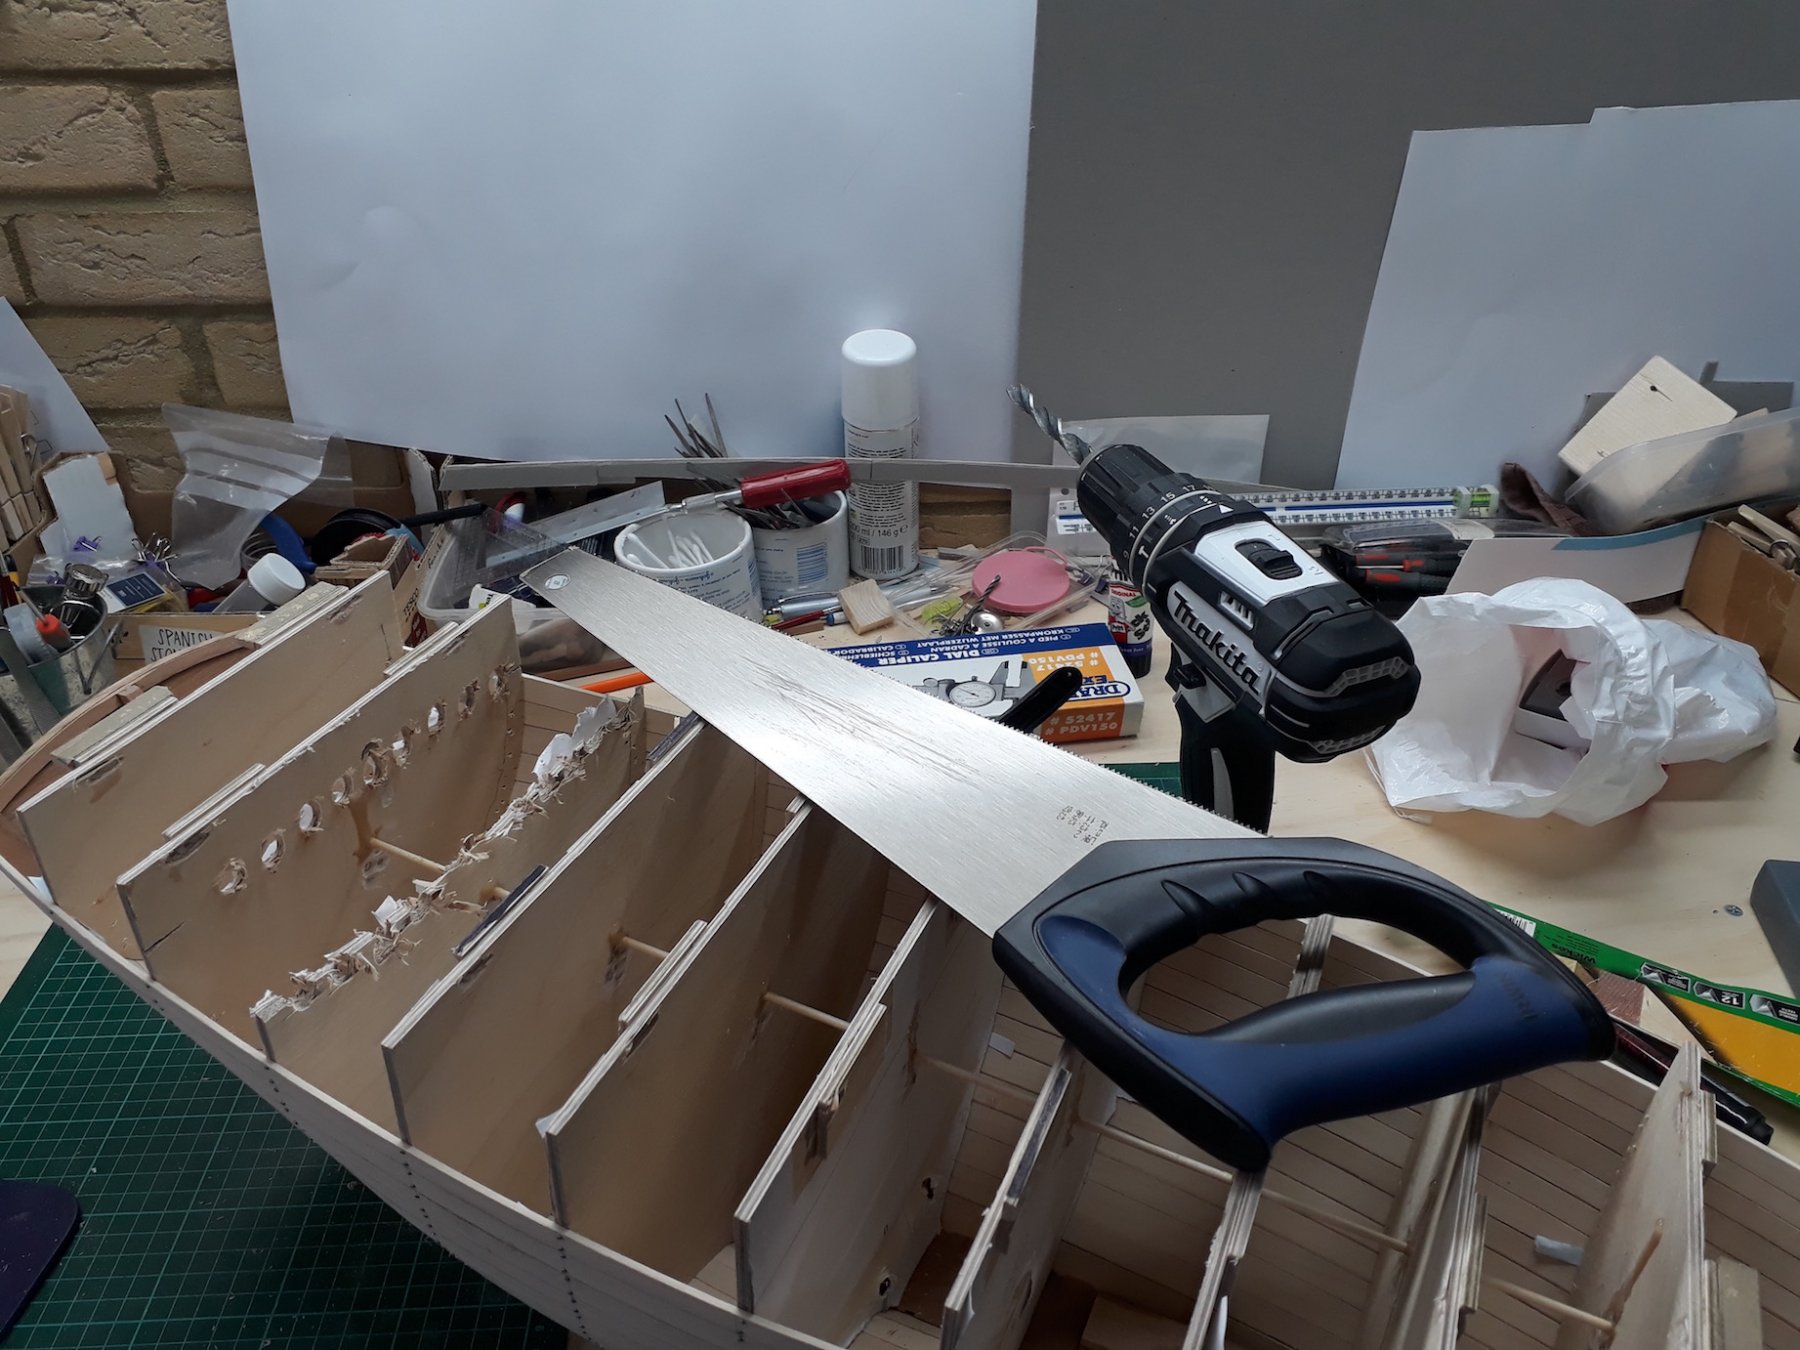
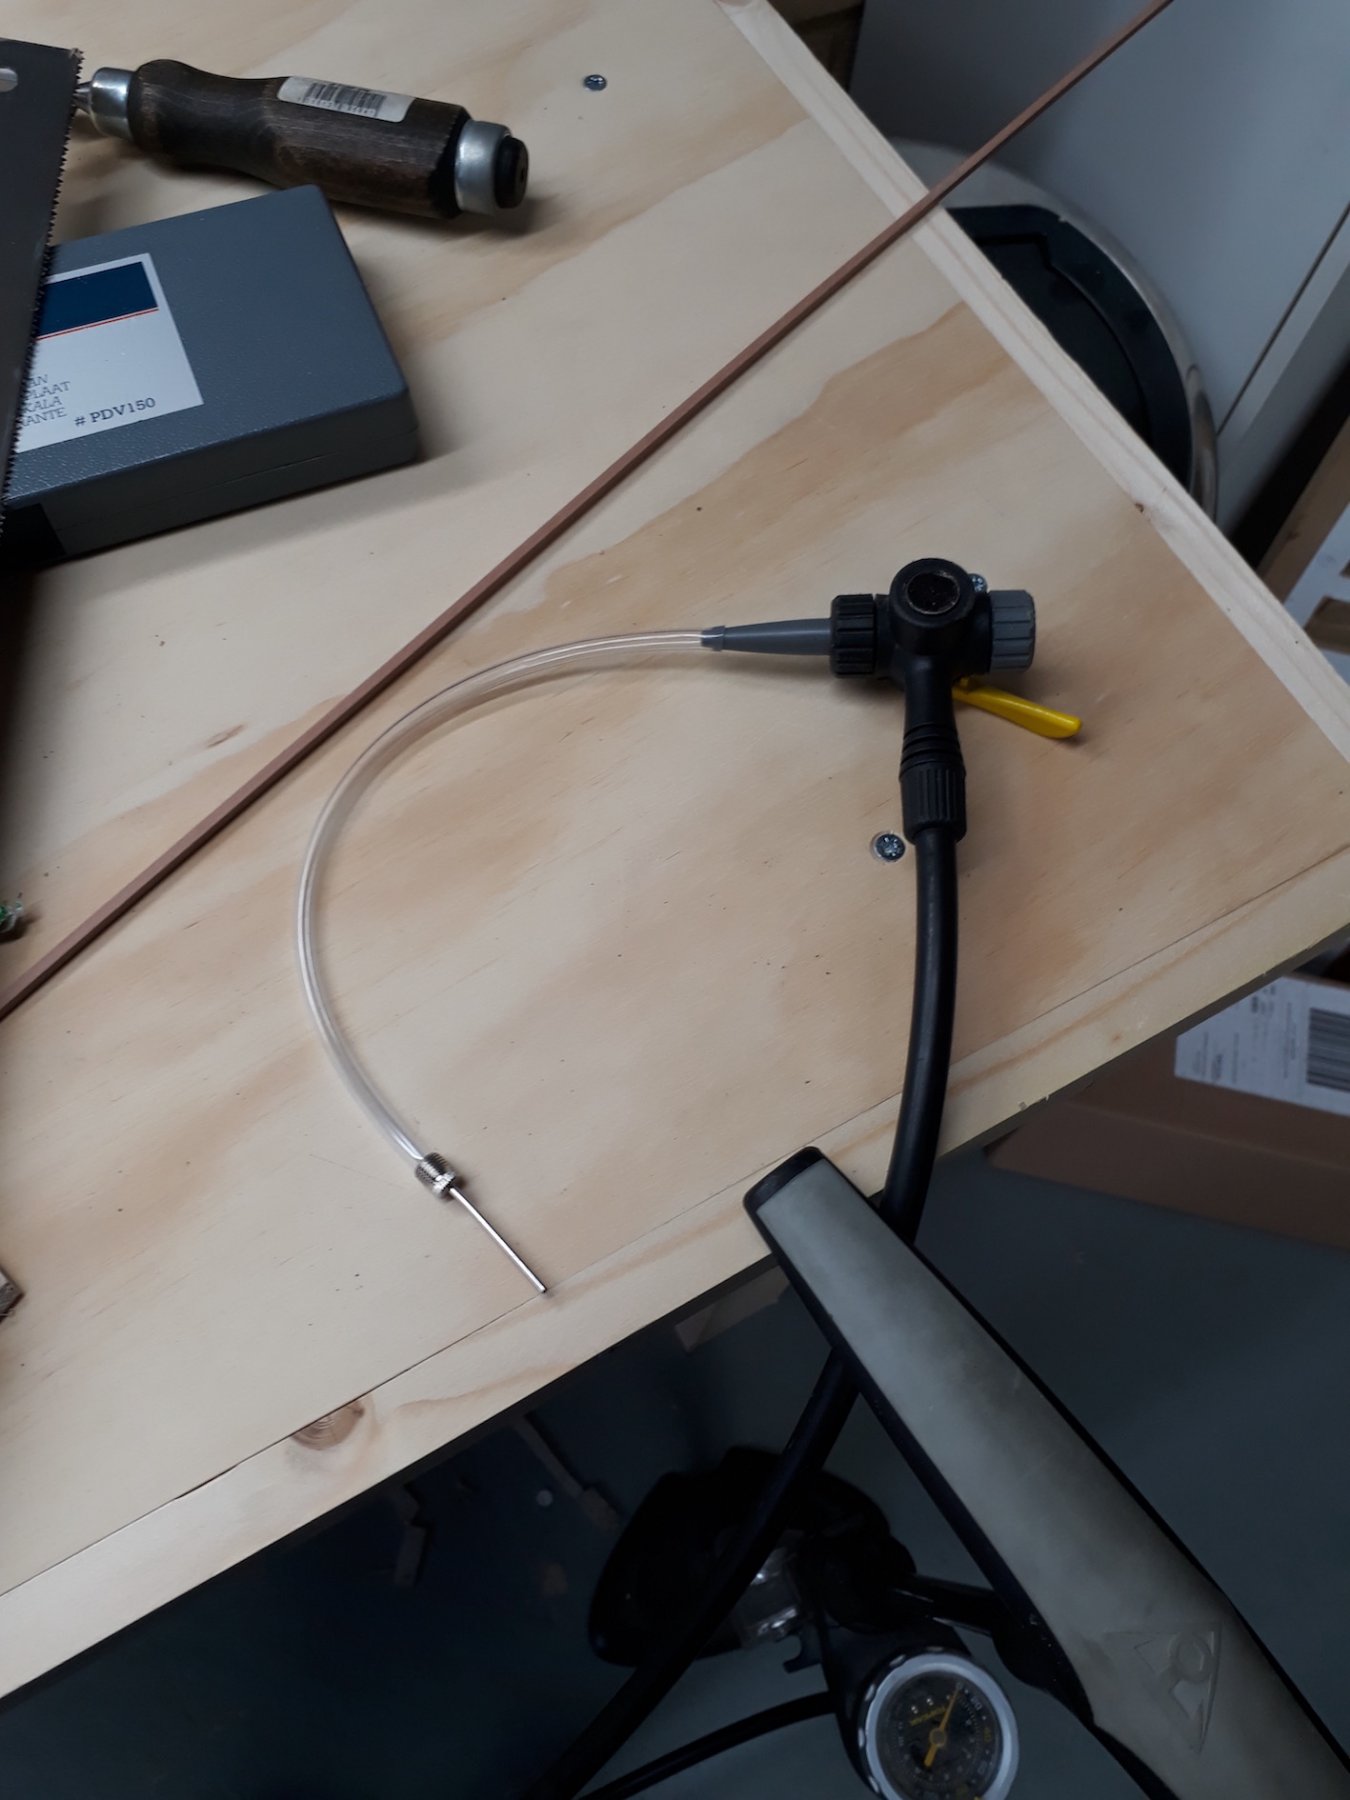
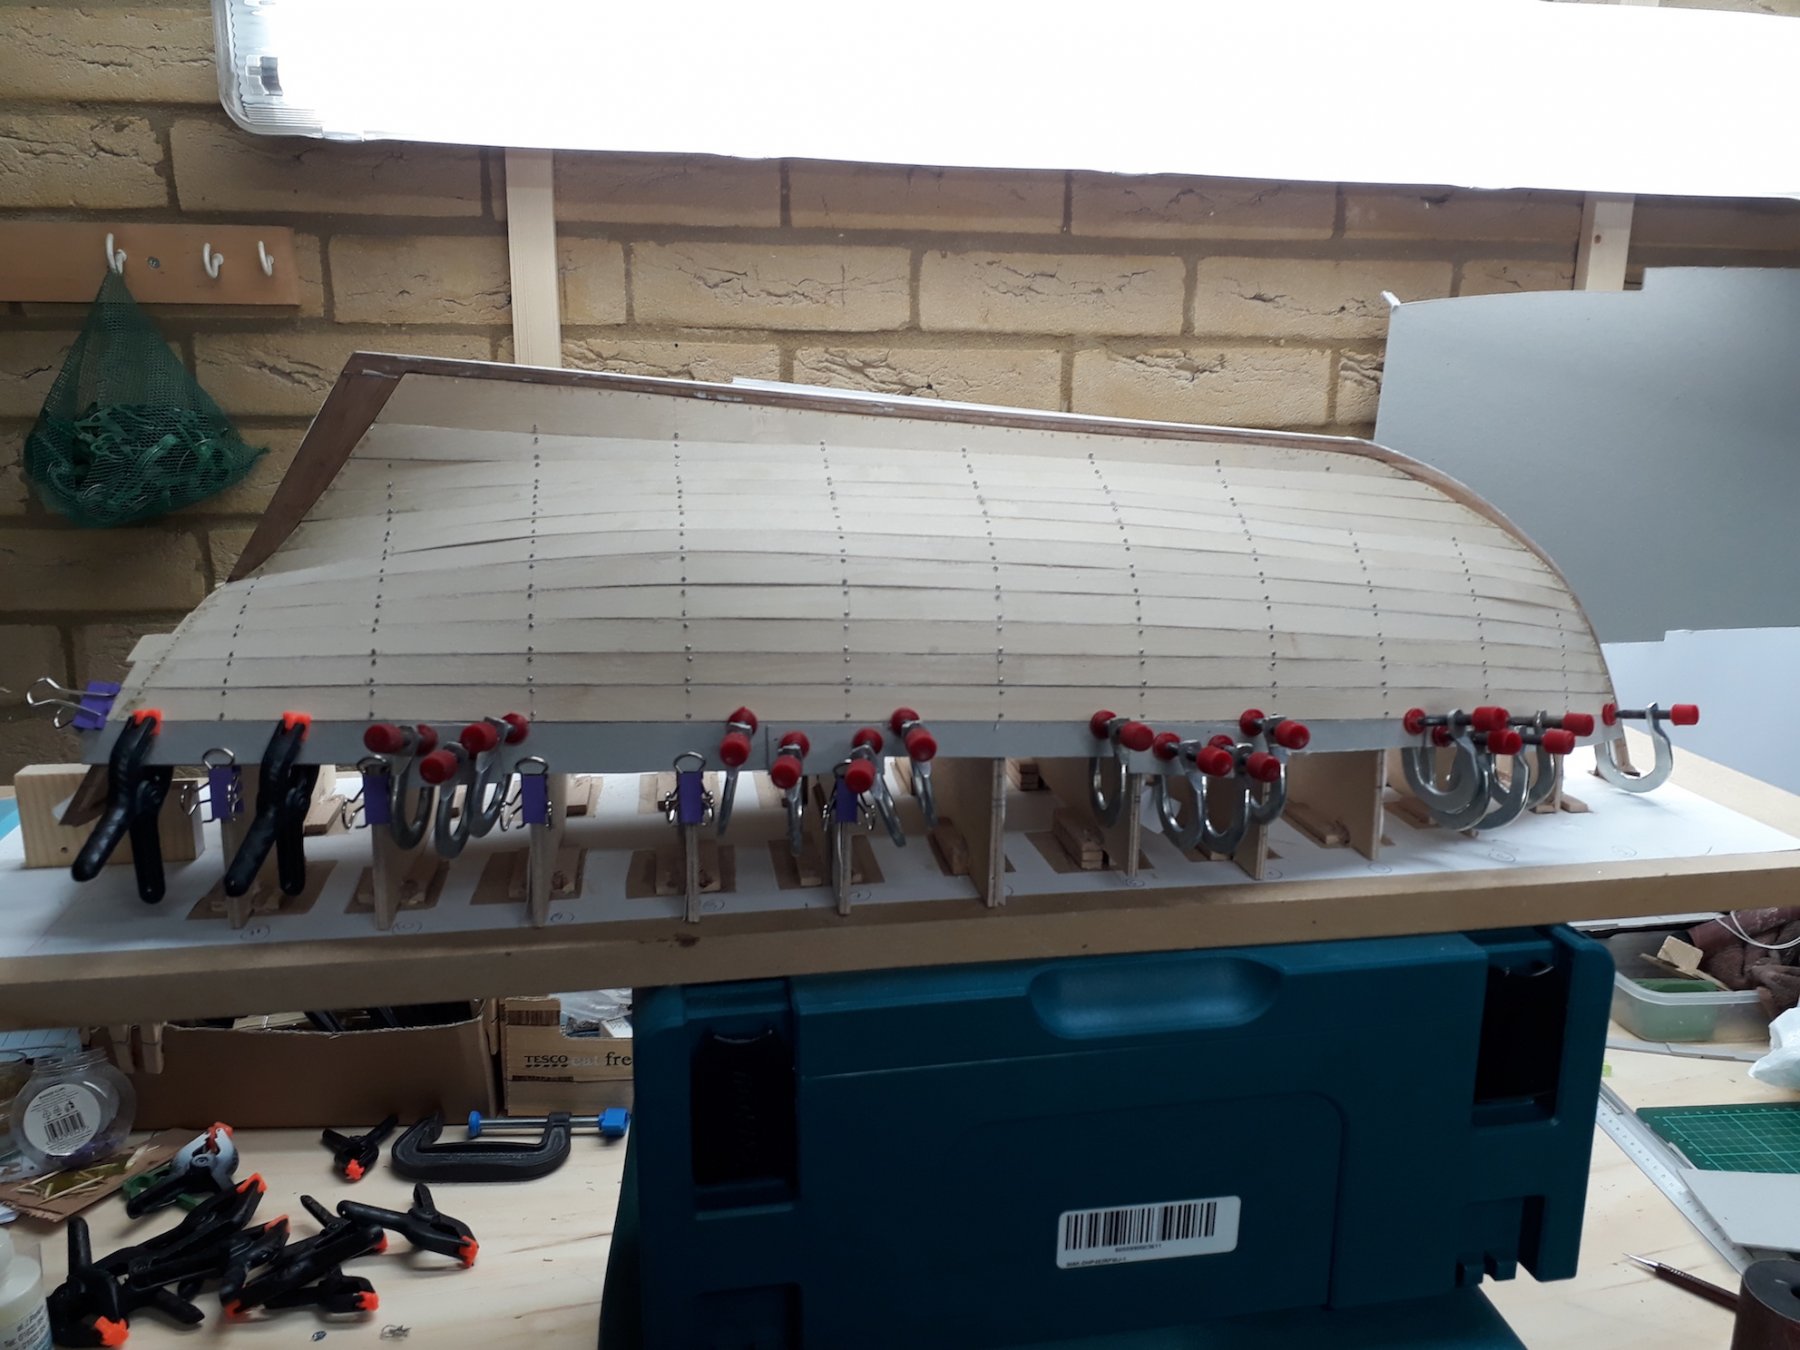
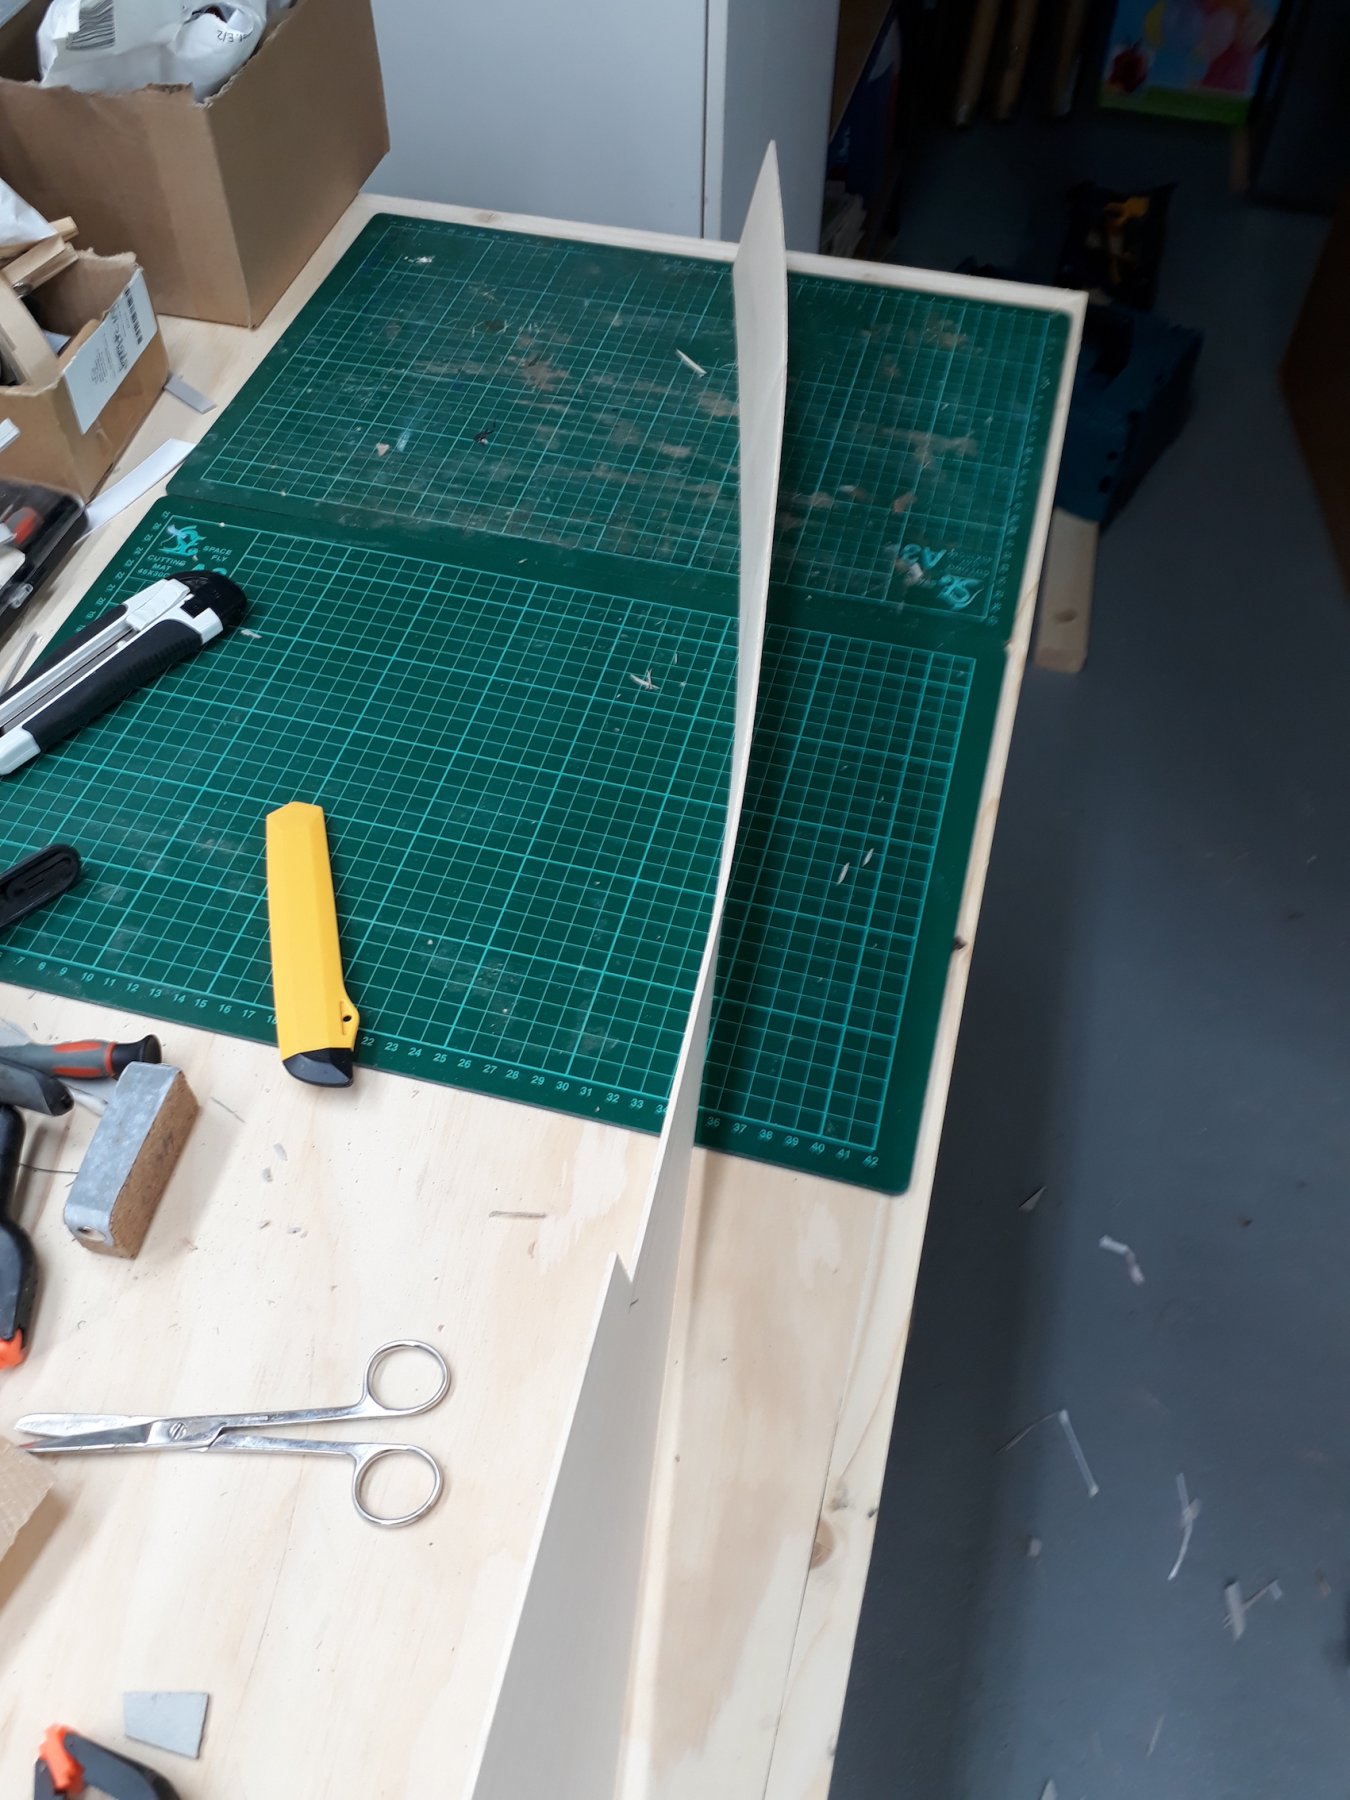
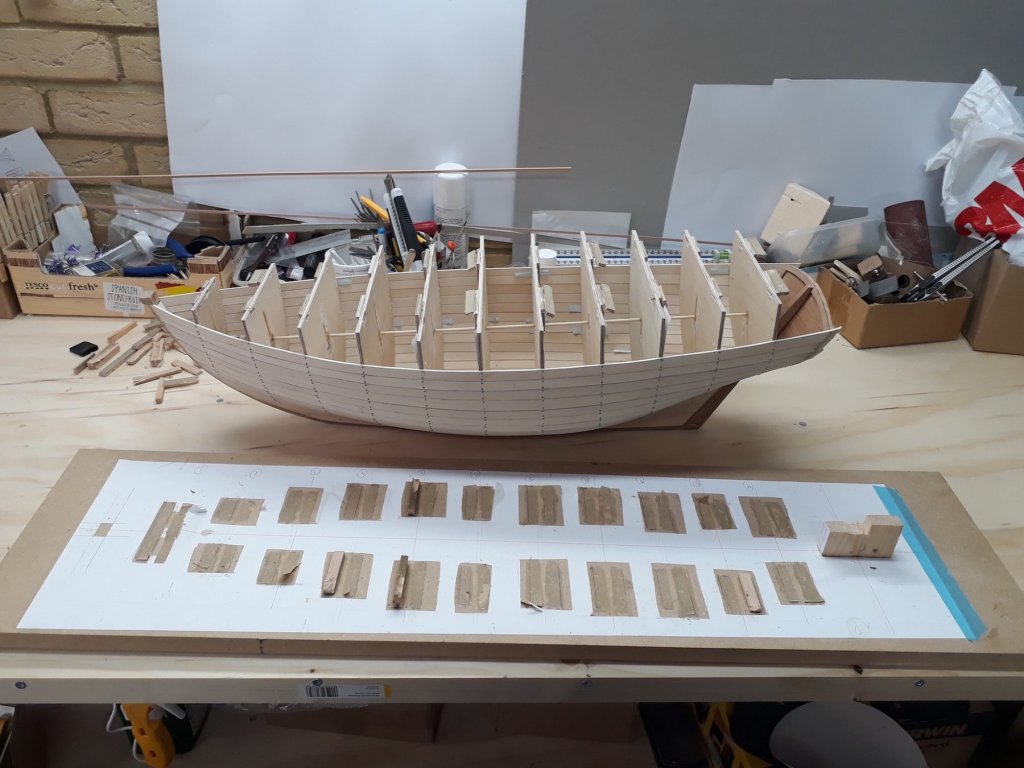
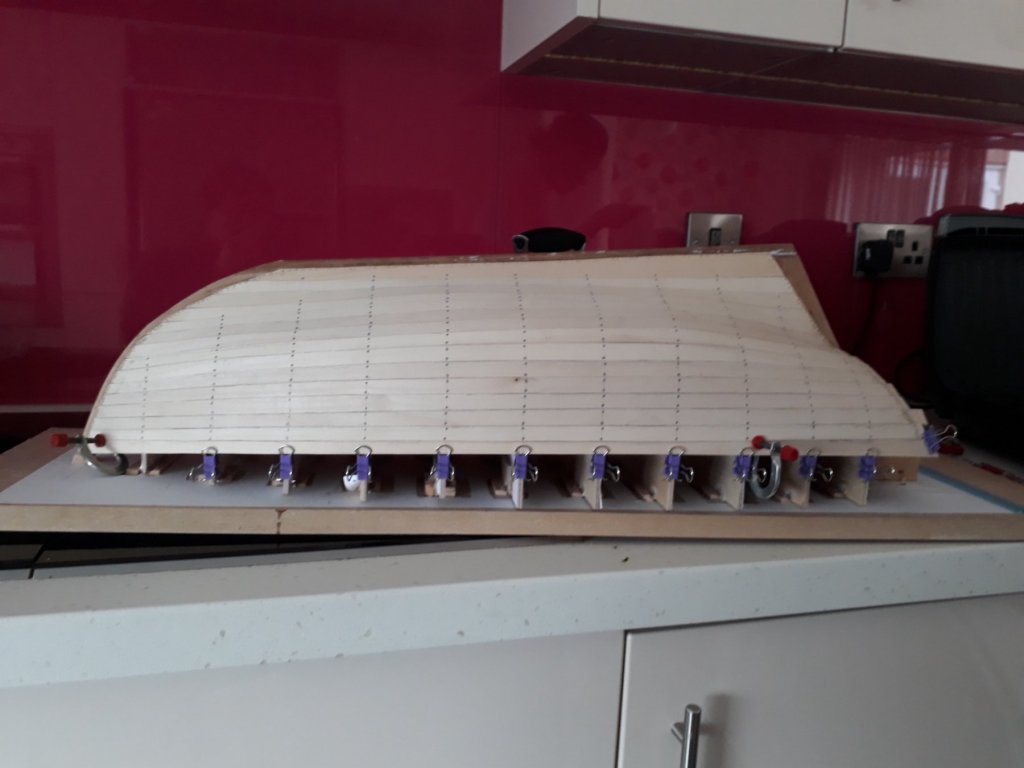
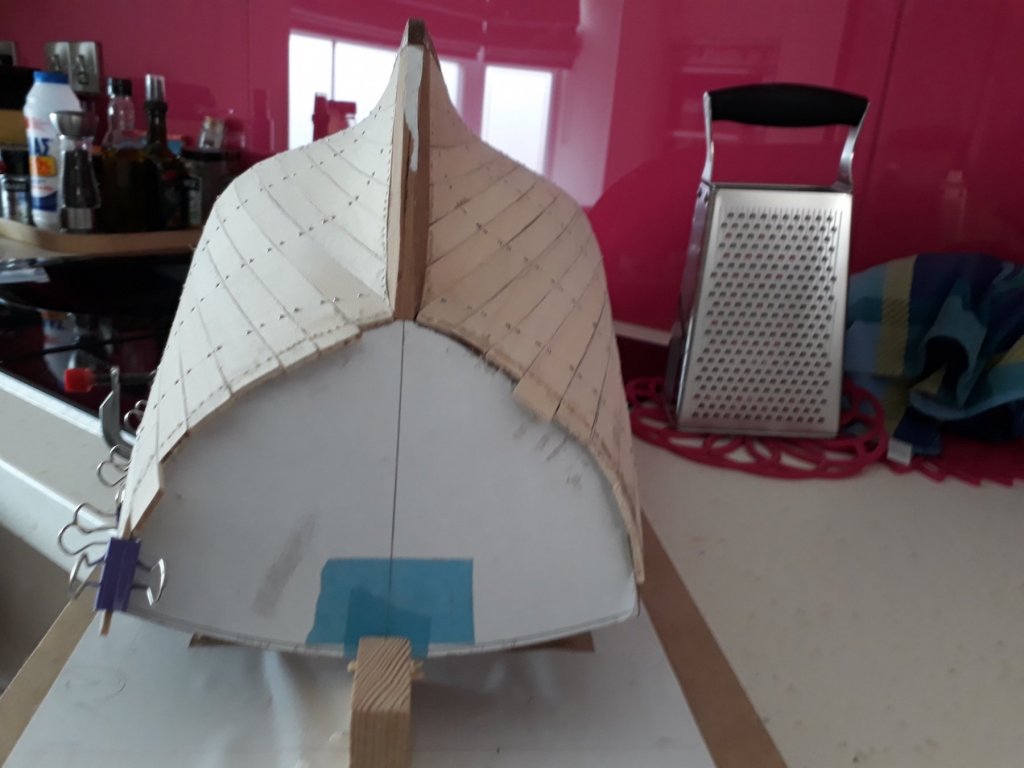
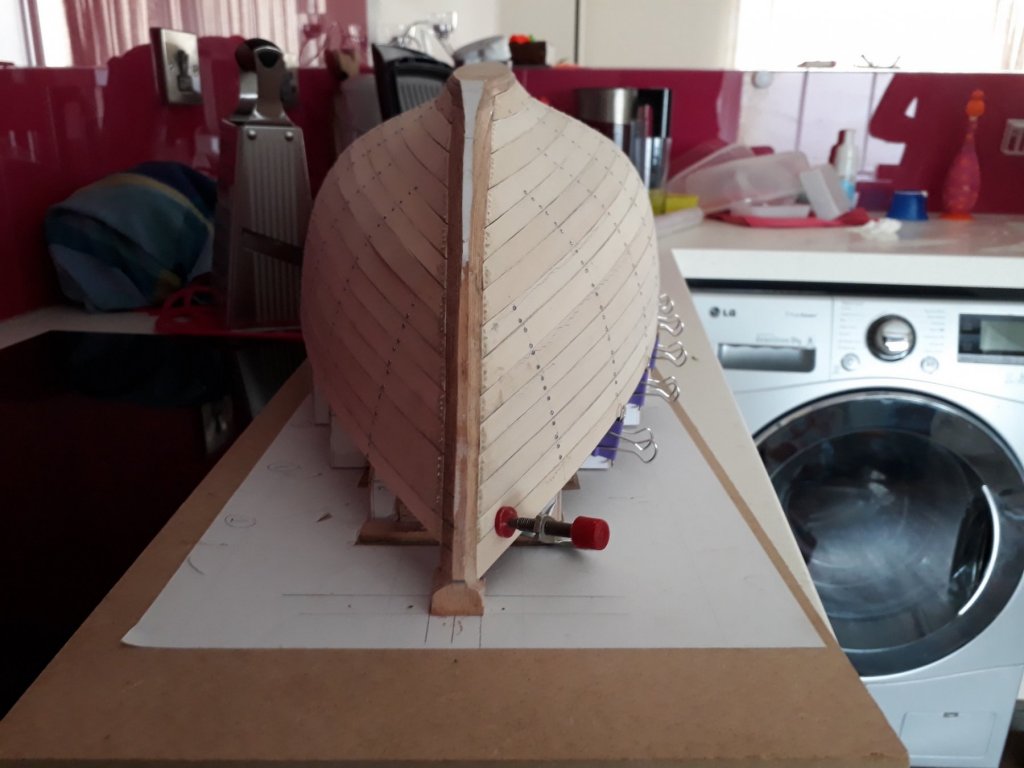
Dear all Planking is finished! Planking has been huge fun and less difficult than I expected. It took a while though, I started planking Dec 7 2016 so 30 planks in total took me 10 months and 7 days! I learned a lot and having spent 10 months spilling planks I fill quite comfortable with the process. Of course, if there is a prize for rough hulls I probably should get it but I am optimistic it will get better. Next step was to lift the boat from the MDF base. This was actually dead easy, just a few knocks with a large chisel did the job. The interior is very rough as I have sanded the bottom edge of all planks so that they could meet better, due to the curvature of the hull. I sanded much more than needed so there is now a big gap when looking from the inside. I wonder if this could be filled with filler. The notches for the ribs can also be seen in the next photo. Next I experimented with the ribs. I will use either beech or maple but Beech is a stronger stiffer wood. It is supposed to respond superbly to heat and indeed, after a few seconds in very hot water it bent easily and followed the contour of the hull. However bending the strip to shape and securing it in place will be difficult as there is no working space as the frames are close together and the hull deep I thought that if I cut the excess of some of the frames there will be more space. The frames are though made from 6 mm plywood which is super strong. Some not so modelling tools had to be used at a risk of major injury to the model. Wood dust got into every groove so a bit of improvisation with my cycle pump was needed to blow it away I took two frames out and access is improved, I need to smooth the rough edges though. I intend to leave some frames to be able to turn the boat and also have an idea regarding the water line as the frames are set at a defined height. A new page starts today! The amount of work left to be done though is enormous, this boat will take years to complete but then again there is no rush. Regards


-
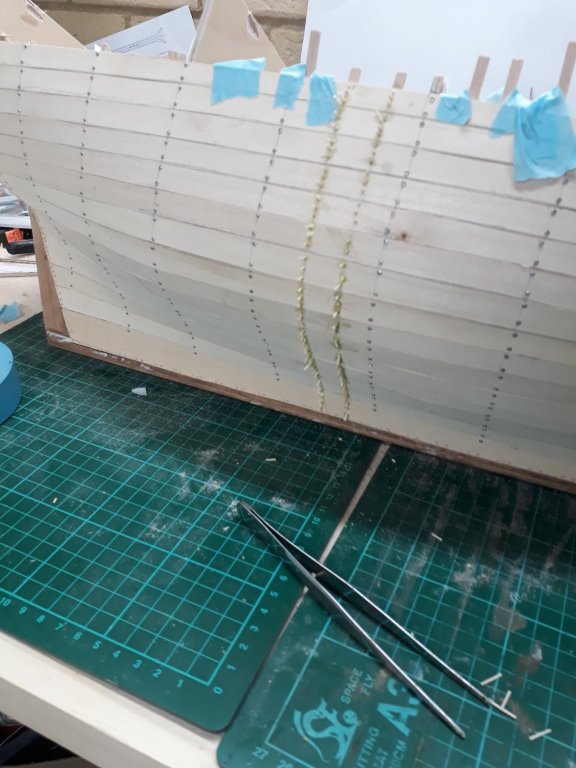
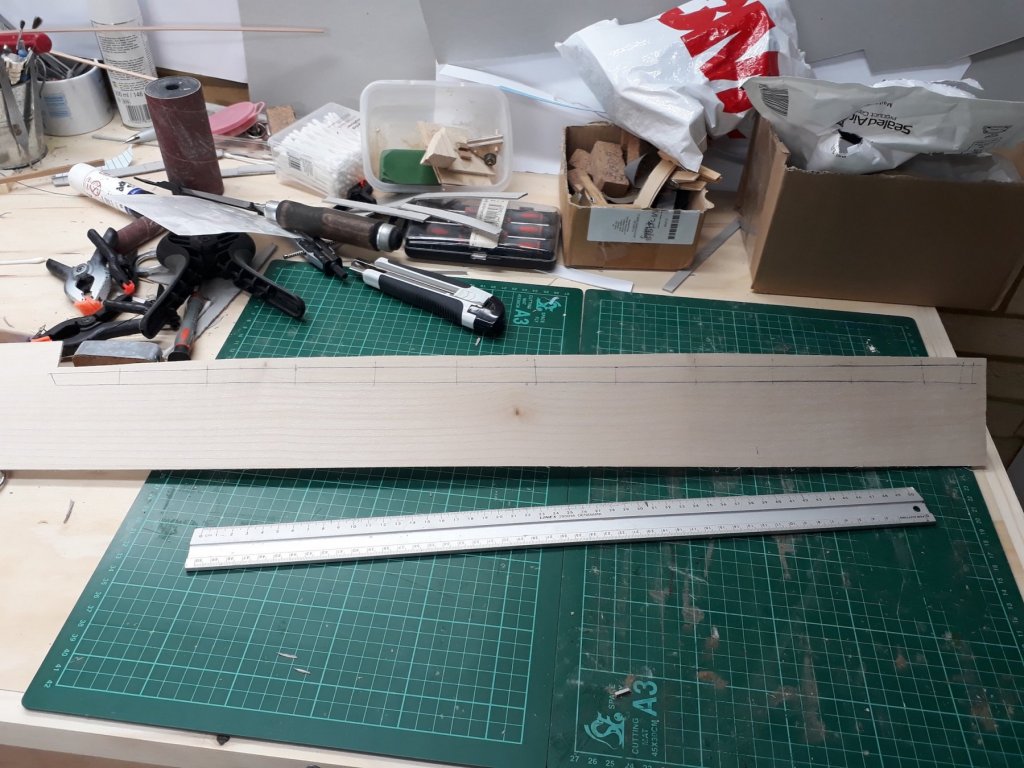
I think I hit a milestone. The starboard sheer plank has gone on! It is drying in place waiting for the screws and tree nails to go in. It will be a bit of a challenge to make the port sheer plank exactly identical and I expect a bit of head scratching will be needed. Patrick you are right, it is a big hull! When the false keel goes on, it will be even bigger! I think in my lofting I should have made the sheer a bit more curved, especially at the bow. However I have not deviated a lot from the original lines at the sheer. I have the template for the other sheer plank ready. When planking is completed I will take the boat off its base and start installing the ribs, I wonder if they will actually hold the shape of the boat. I may use temporary screws for the ribs but they will be finally fastened with tree nails, probably I will need close to 4000 just for the hull! This is a very complex build and a lot of thinking and planning ahead is needed. Working in such large scale is great fun but even slight inaccuracies are very much visible and a perfect plank to plank contact along the entire length is very difficult to achieve. The sheer plank is more than 80 cm long! Hopefully I ll finish planking this weekend.
-
Ever thought of scratch building something POF? In the long run I think much more expensive than kits but very satisfying. Also this way you can build anything you like. Victory as your first model and actually completed, now this is impressive! Regards
-
Dear Patrick, I have not been able to check on your log for some time and now I am lost in detail! Just too many things happening! It is a beautiful boat and a very nice journey Vaddoc
-
What grit for disc sander?
vaddoc replied to clifforddward's topic in Modeling tools and Workshop Equipment
I just use 120. If something needs care I move towards the centre where it spins slowly. If I need to take a lot of material towards the edge. The aluminium oxide paper lasts ages and although with use the grit increases to maybe something like 150, it continues to sand well. 80 is so rough it leaves scratches and 180 and above is just not aggressive enough, these are more finishing grades. All finishing is done by hand, 400 is silky smooth -
Dear all Holidays are over and planking continues at a very slow pace. Planks are now 80 cm long! When all the ribs are installed, I hope they will pull and align all the planks. I decided to use maple for the ribs instead of beech as it probably is a bit harder and generally a more pleasant wood to work with. After filling all the gaps and sanding, the hull should be reasonably smooth.


-
Mark, Michael and Carl, thank you very much for your comments. Actually brute force is the answer. The wood-MDF joint is very weak so a good wack with a 1 inch chisel shaves off a thin layer of MDF and sends the wood pieces that hold the frames in place flying off. This can be done easily after all the planks are in place. I have had very little time but I managed to install another plank and have ready the card templates for a couple more. I am now past the turn of the bilge and the curves are more apparent, it looks really nice but I cannot capture it well on photos due to the size and the limitations of my phone camera. The next two planks will be again difficult. Progressively spilling got less and less and now the planks are almost straight. Up to now, one edge was concave and had to be cut with the knife, with extreme care and then sanded etc. The other convex edge though could be prepared in seconds with the disk sander. Now both edges need to be cut with the knife and this increases the chances of ruining the piece. Another problem is that the planks are now very long, this is a 50 cm ruler. Maple is a lovely wood for planks, better than cherry pear or walnut, but the sheets I got have (or developed in storage) some warp which makes things even harder. In a few days our holidays start, so there will be no progress for the next 4 weeks. I ll try to use this time to read some of the books I have been buying only to decorate my modelling shelves. The next boat is likely to be a scratch built fully framed one and this will need serious preparation.


-
SS Mariefred by captainbob - 1:96
vaddoc replied to captainbob's topic in - Build logs for subjects built 1901 - Present Day
This was a shock, very sad news.