HOLIDAY DONATION DRIVE - SUPPORT MSW - DO YOUR PART TO KEEP THIS GREAT FORUM GOING! (Only 20 donations so far - C'mon guys!)
×


Pirate adam
-
Posts
240 -
Joined
-
Last visited
Content Type
Profiles
Forums
Gallery
Events
Everything posted by Pirate adam
-
Deck clamps in place.
-
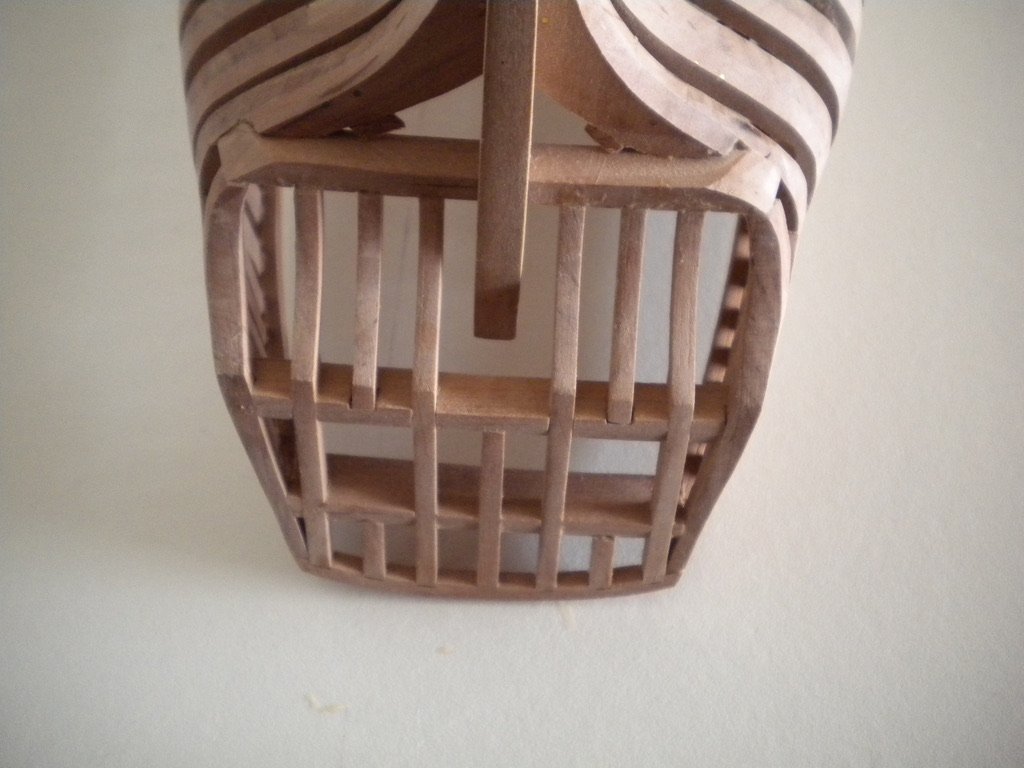
Progress on the model continues much faster than progress on the build log. I will try to get caught up. Here are the stern timbers all boxed in.
-
The tricky ones....
-
Construction is underway on the stern frames.

-
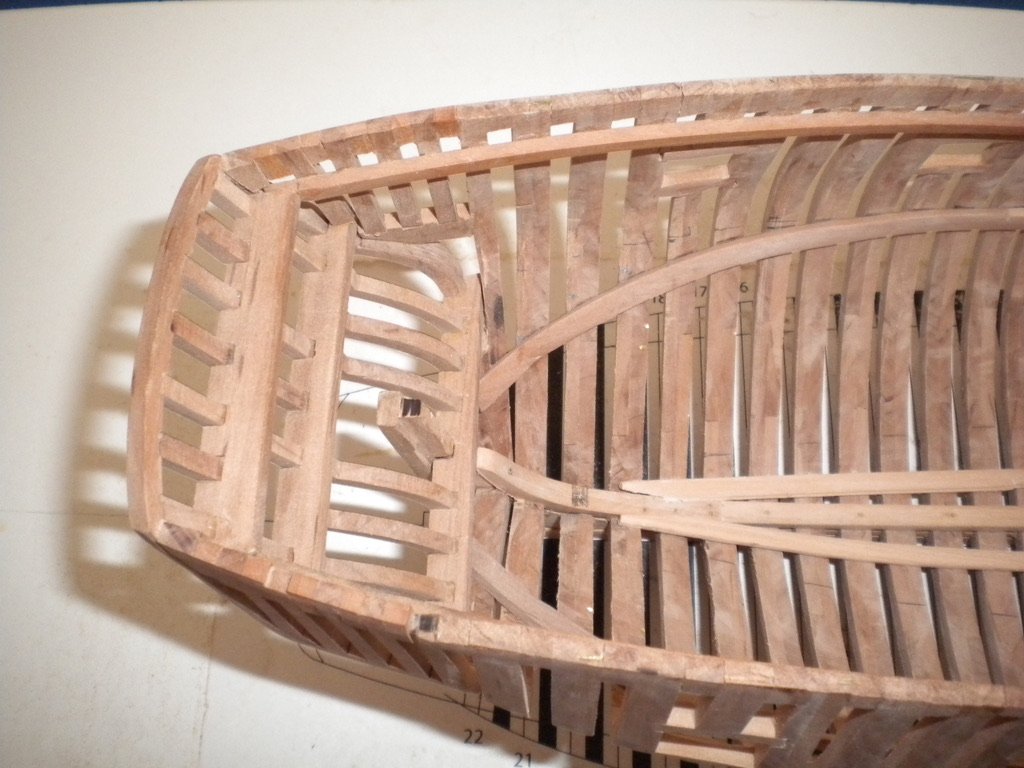
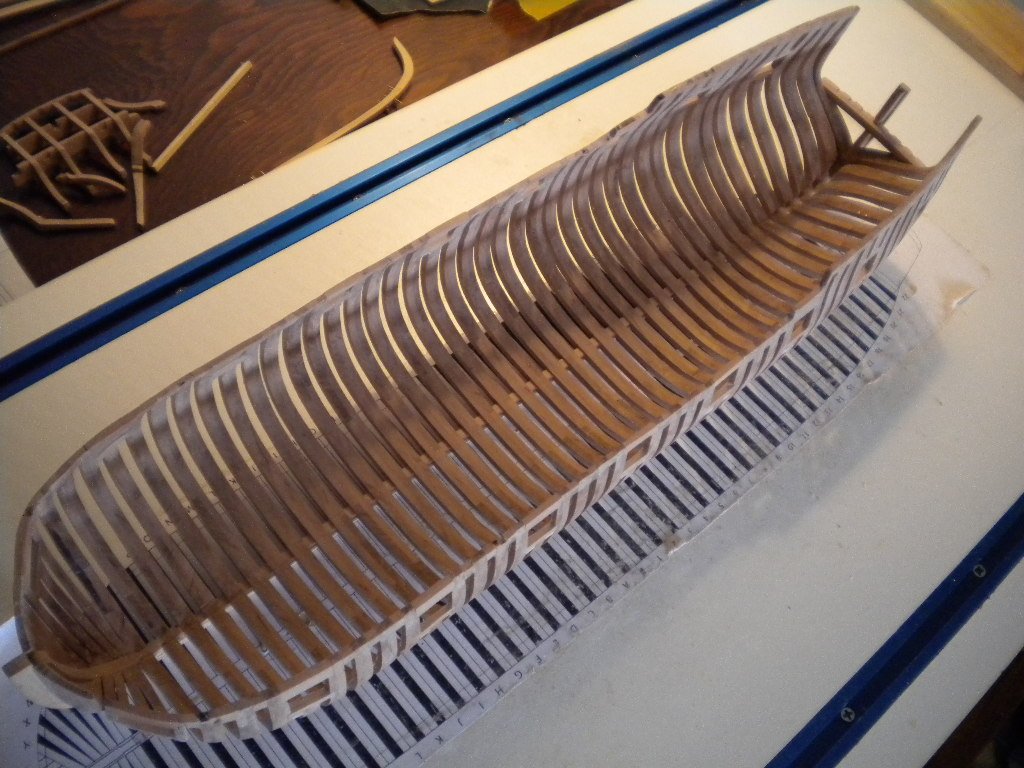
Fairing of the frames is more or less done inside and out.
-
Progress continues much faster than updates. I haven't given up on this thing. All framing is now done with the exception of the ports for the sweeps.
-
I just happened upon this build on the IPMS site a few minutes ago. Spectacular. The lighting is great!
- 82 replies
-
- 3
-

-
- carl vinson
- trumpeter
- (and 2 more)
-
ancre Le Fleuron 1729 by rekon54 - 1:24
Pirate adam replied to rekon54's topic in - Build logs for subjects built 1501 - 1750
I am always blown away by the "on board" views. Amazing! -
I also agree with the zu Mondfeld book. It is the book that got me into the hobby after building some simple kits. I also really like The Art of Ship Modeling by Bernard Frolich. Adam
-
I have bought several books from the website. The books are very high quality and in my experience arrive quickly despite being shipped from France. Adam
-
THE 74-GUN SHIP by Jeronimo
Pirate adam replied to Jeronimo's topic in - Build logs for subjects built 1751 - 1800
This is spectacular! -
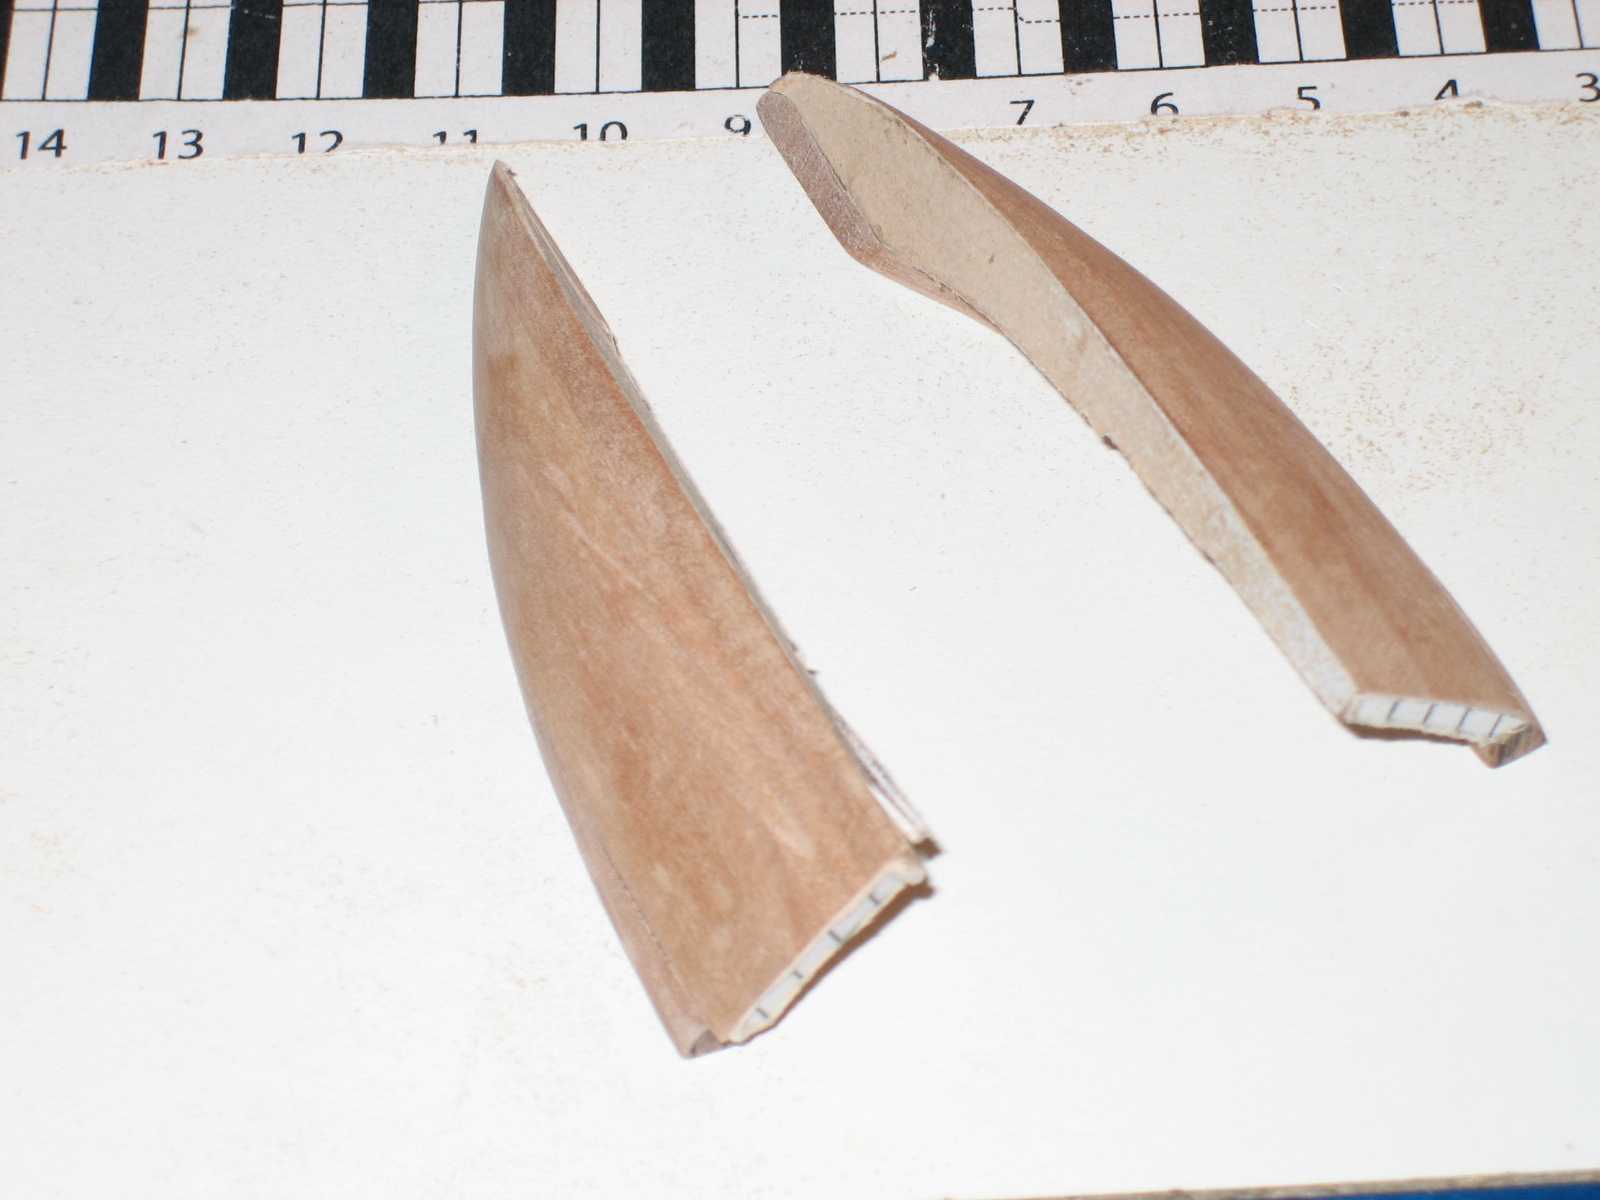
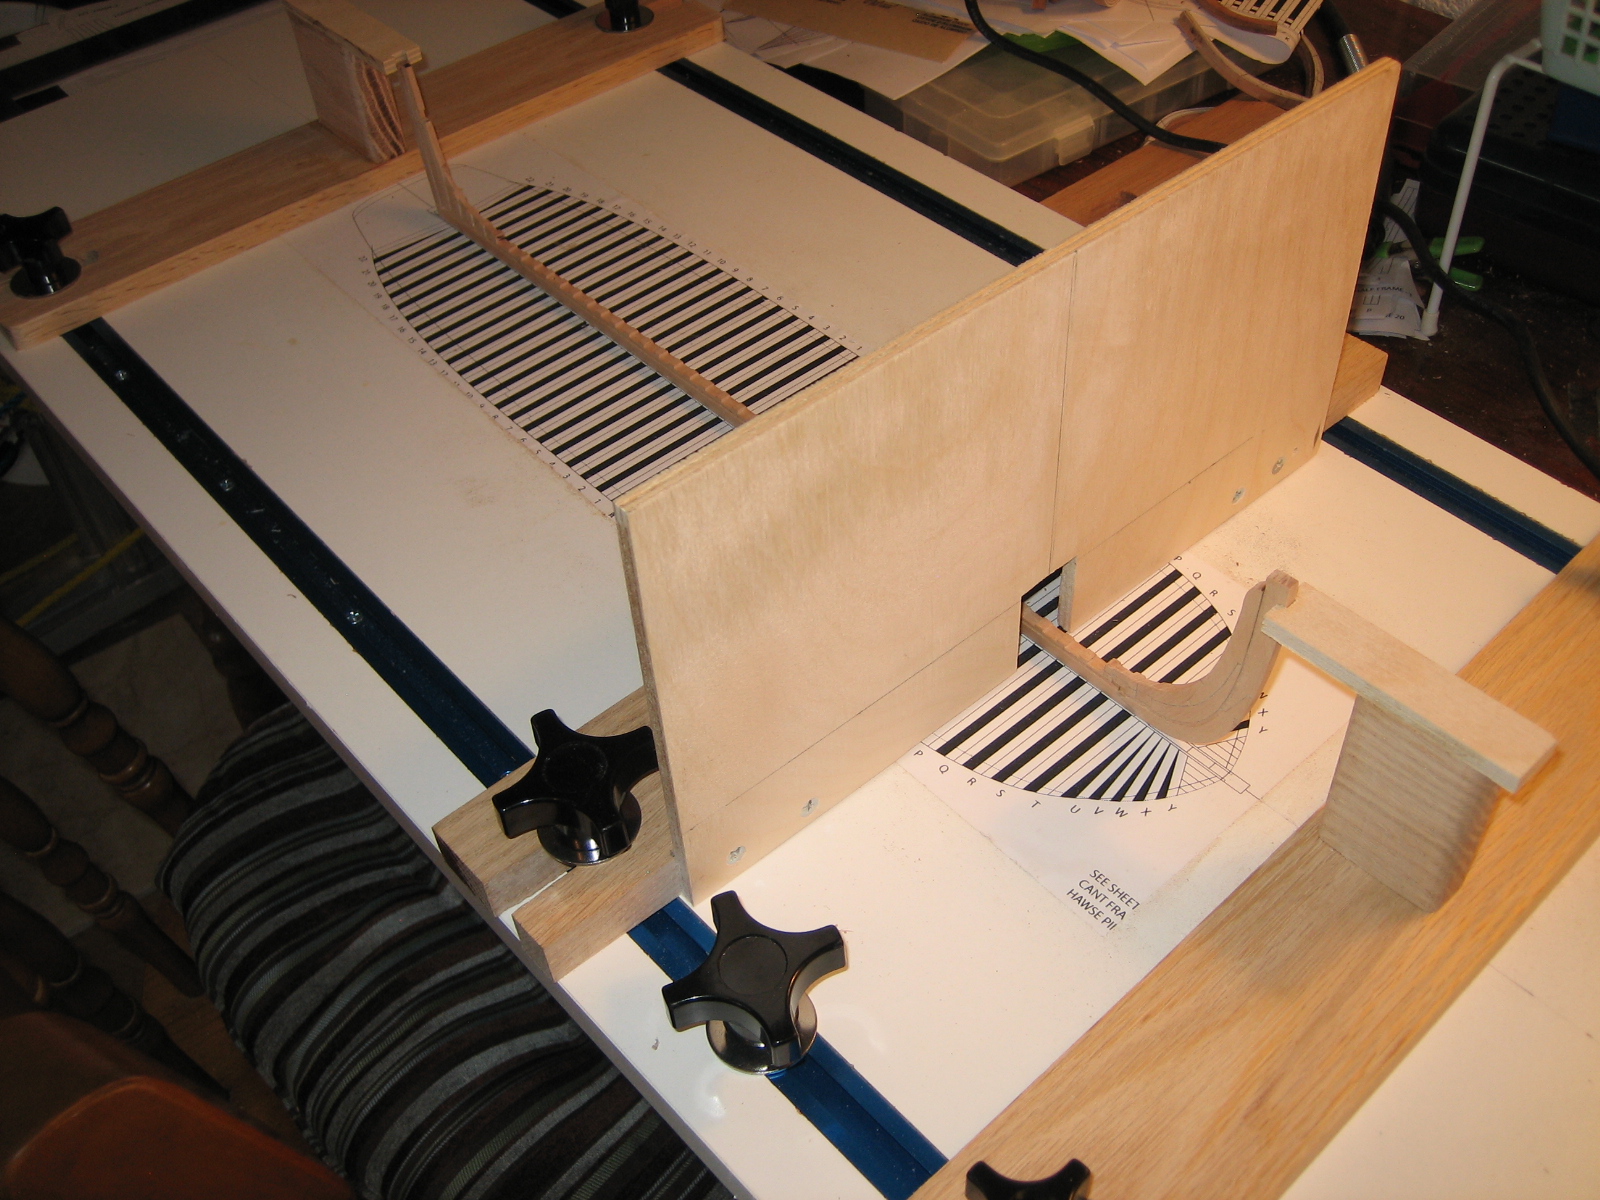
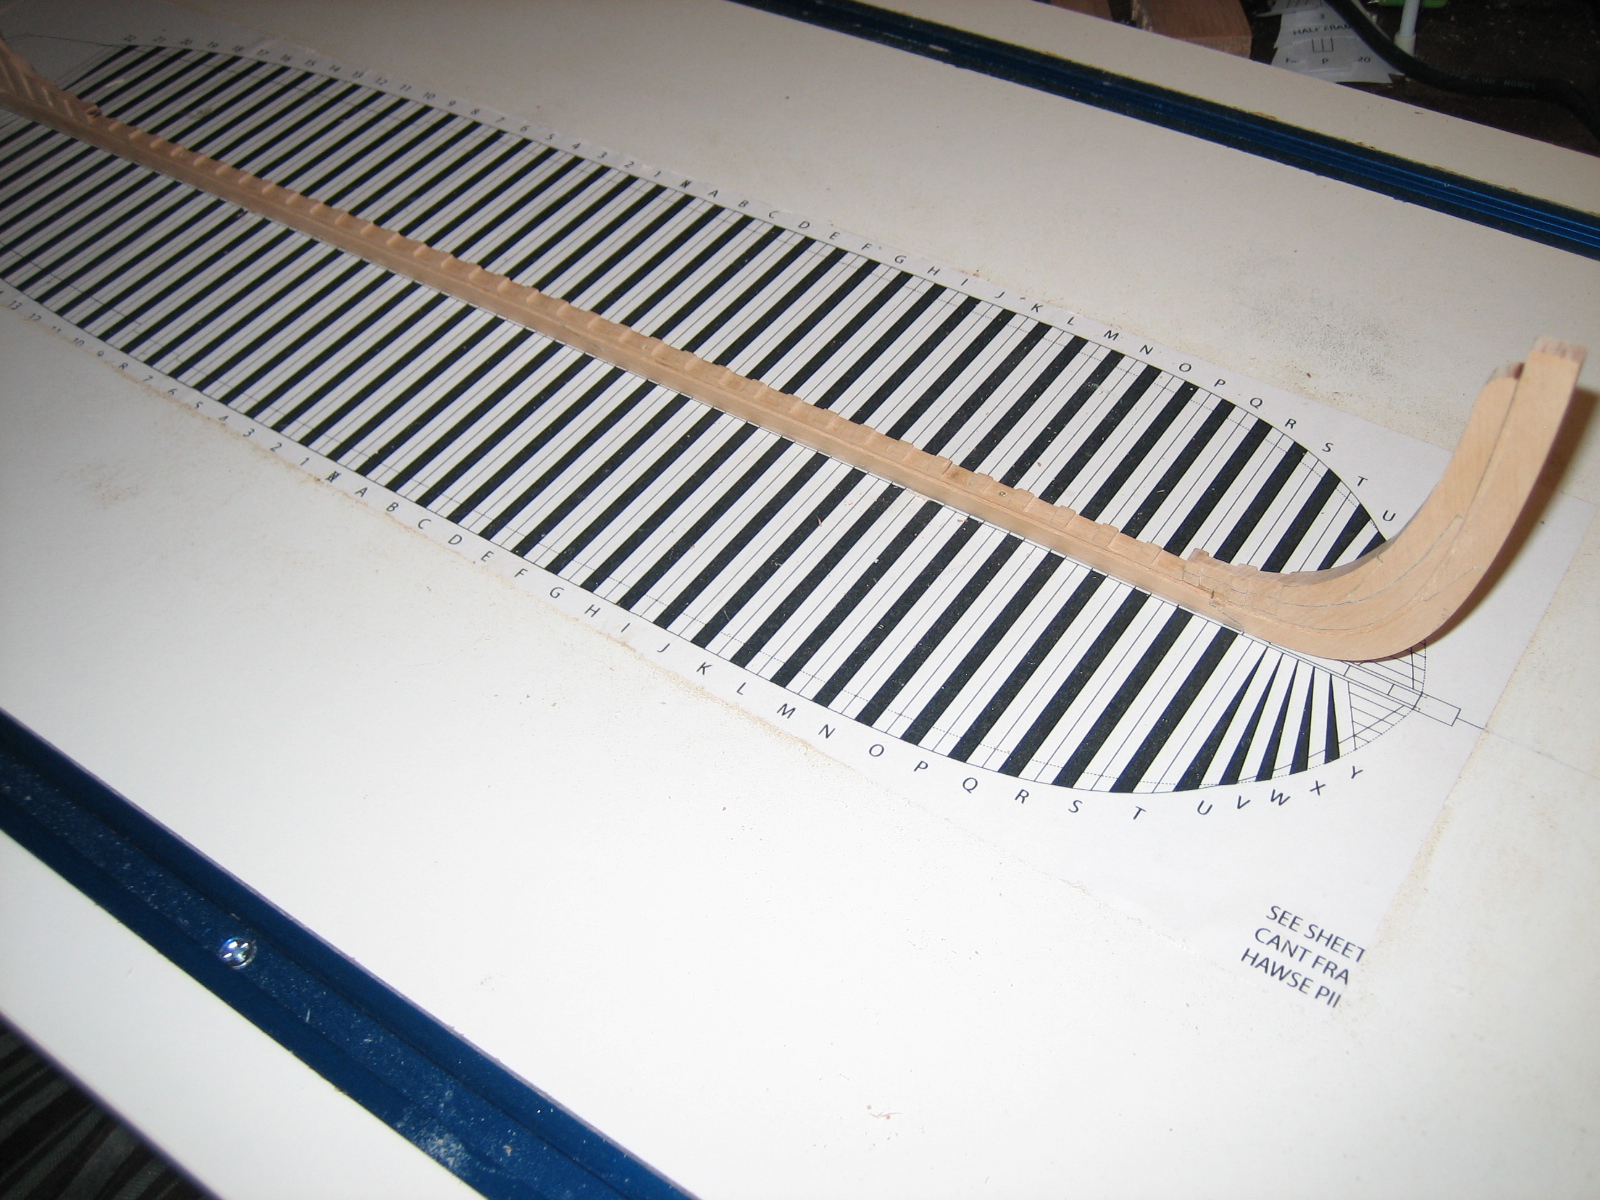
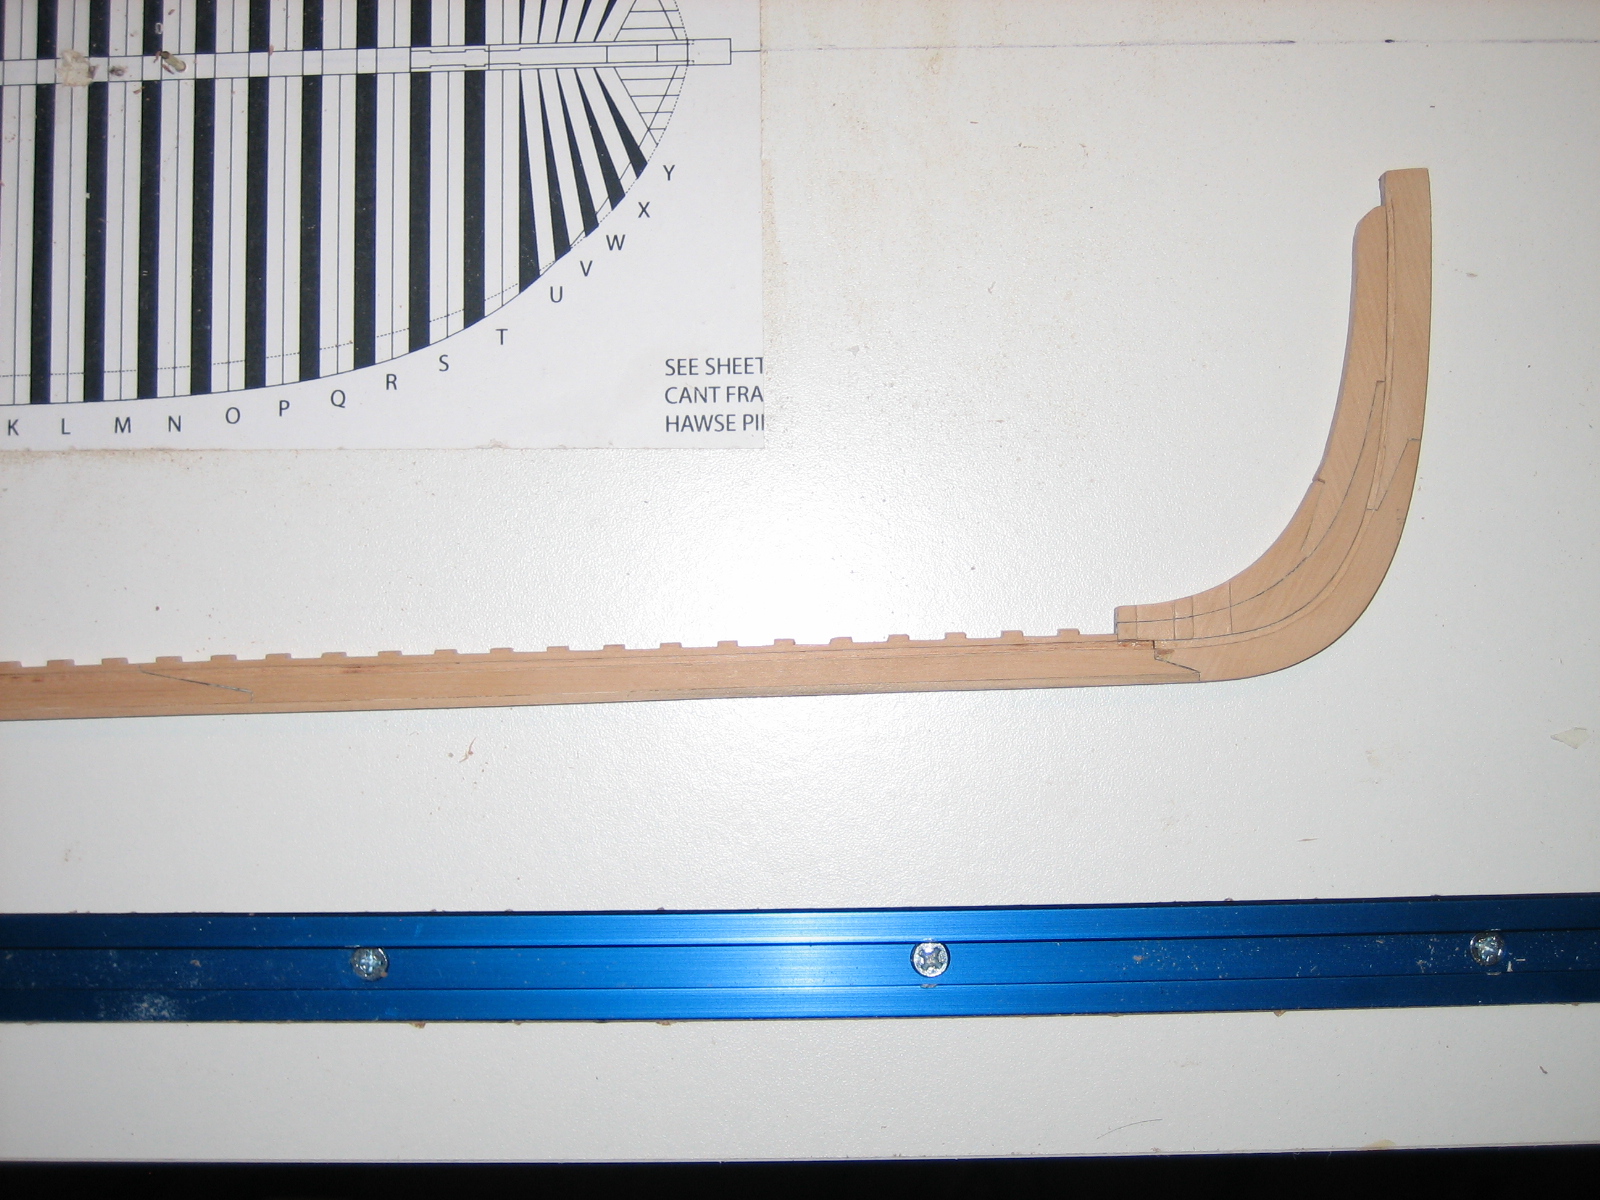
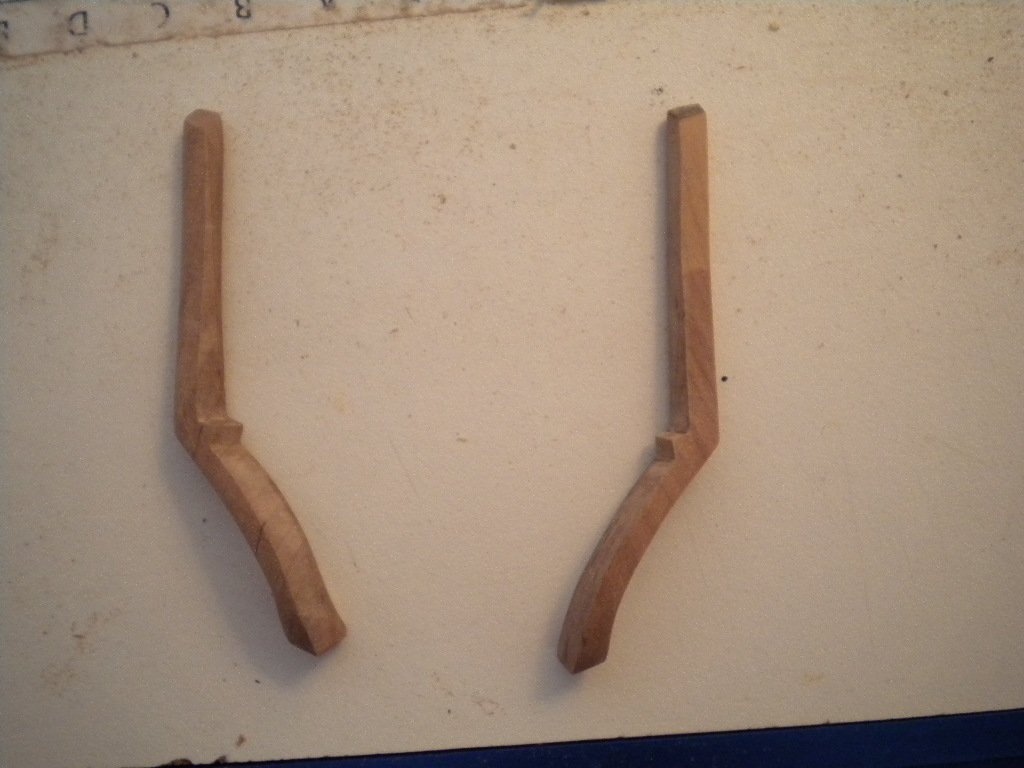
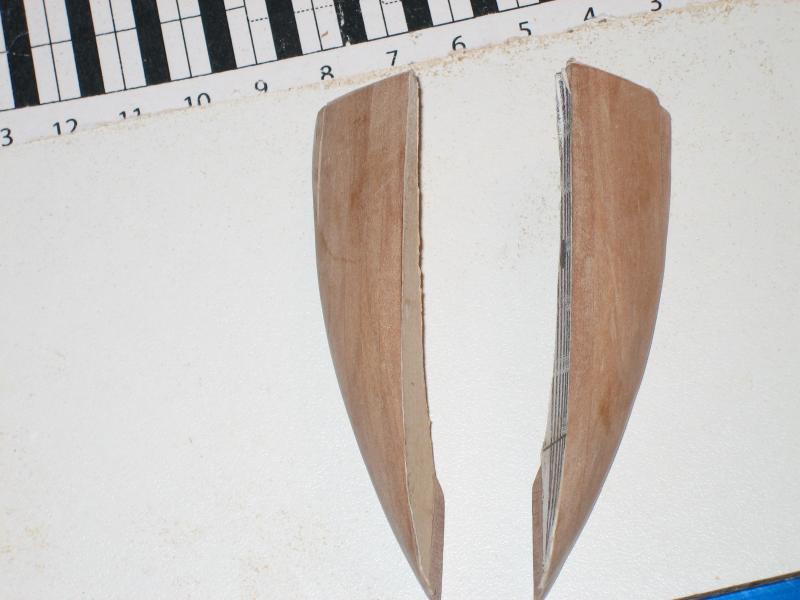
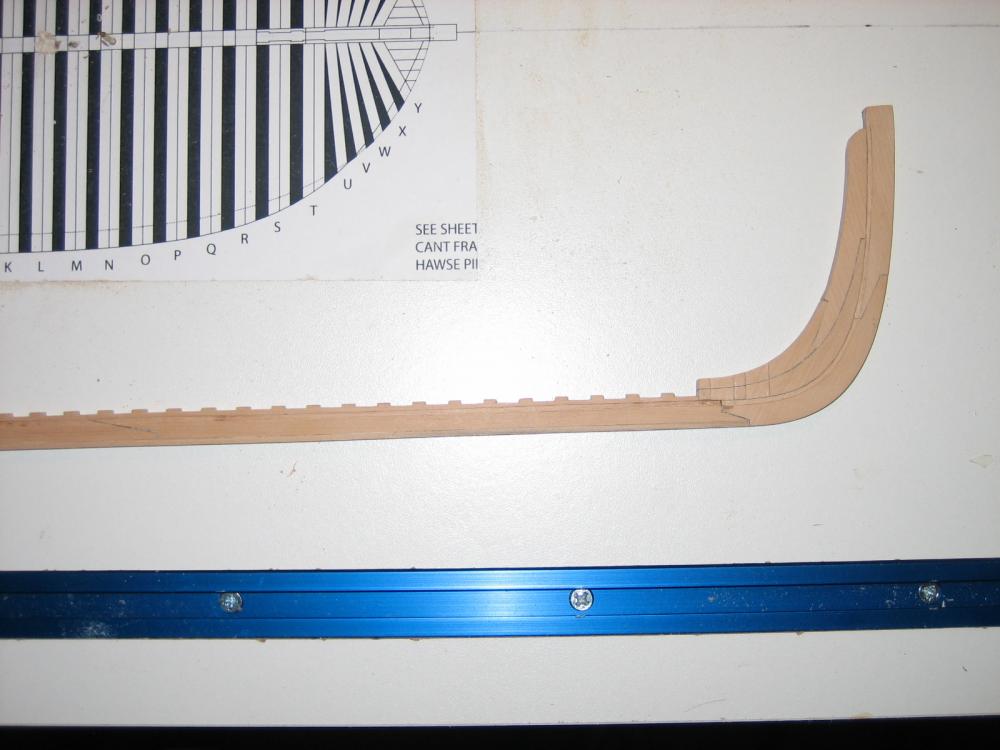
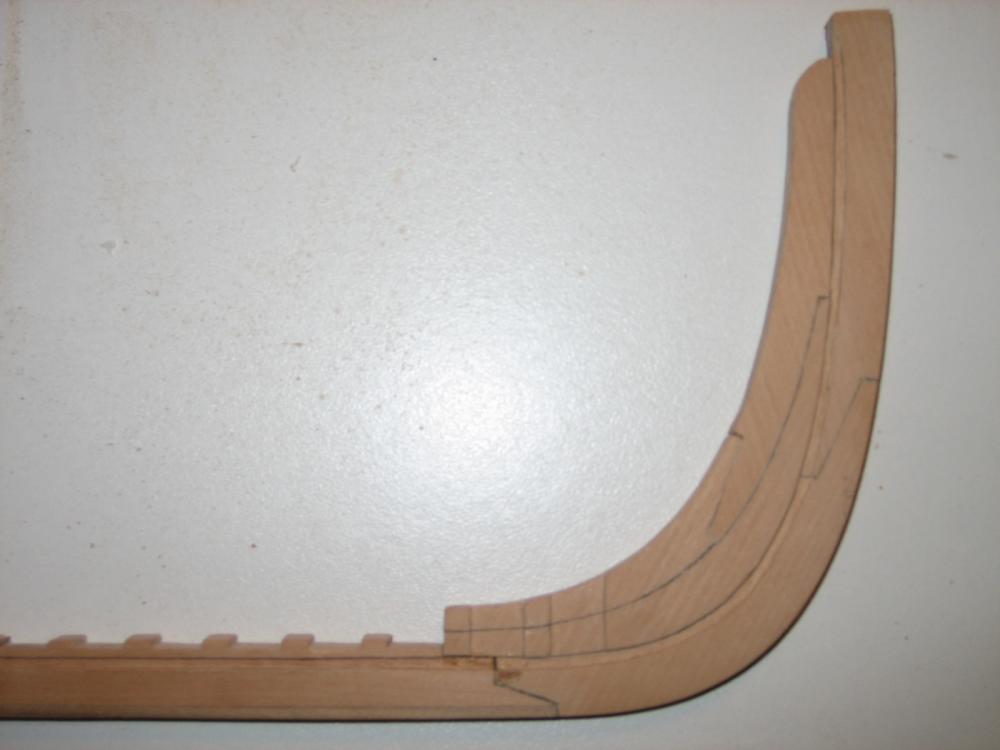
Here I have finished shaping the hawse pieces using a combination of a drum sanding attachment in a Dremel tool and hand sanding. There is some additional fairing to be done to the cant frame once it is attached to the keel with the other frames. I didn't want to mess it up for now.
-
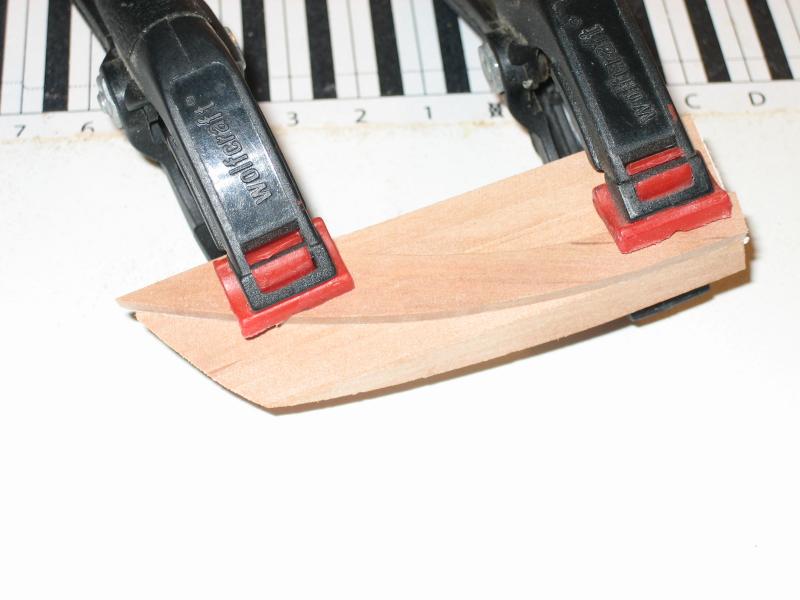
Here I have attached the partially shaped hawse pieces to the first cant frame.
-
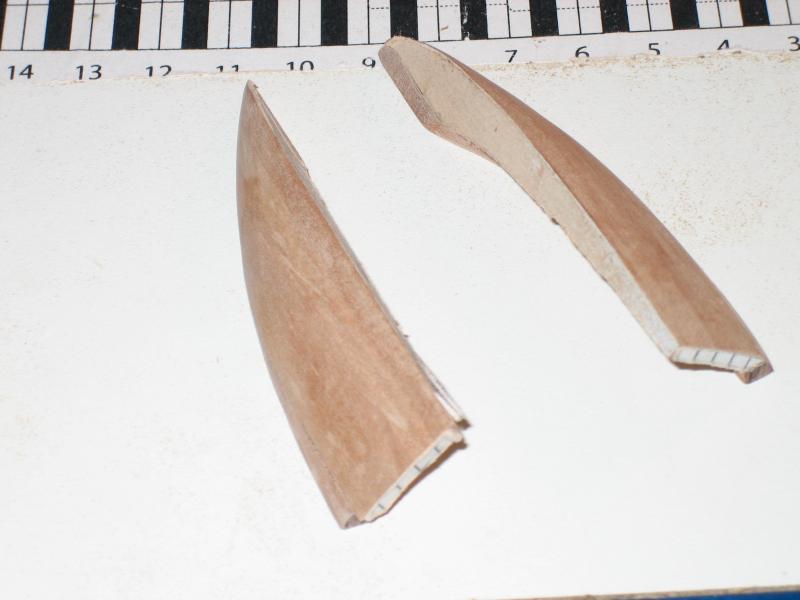
I have started work on the hawse timbers. These were made by laminating 5 pieces of wood together. I attached the patterns from the plans with contact adhesive. Here I have cut the first of the profiles with the scroll saw and sanded to the line.

-
I really like the book "The Art of Ship Modeling" by Bernard Frolich. Tons of good information in there. Adam
-
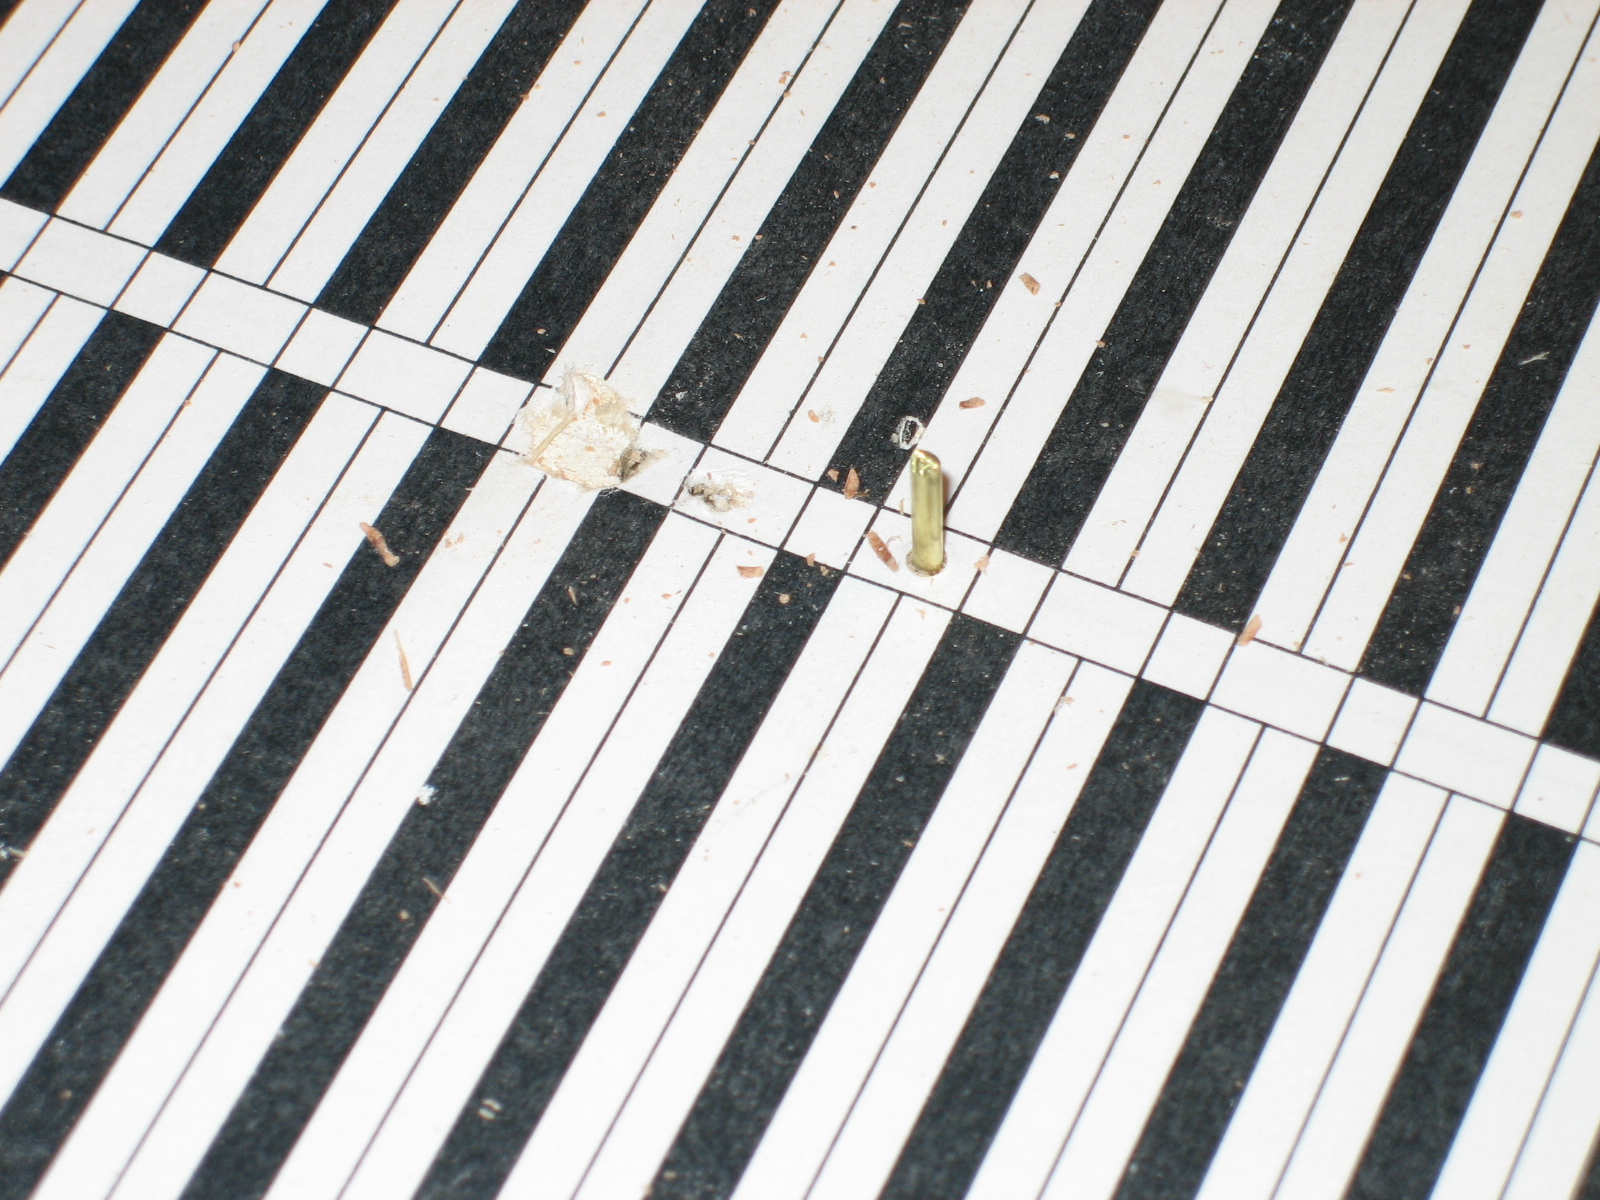
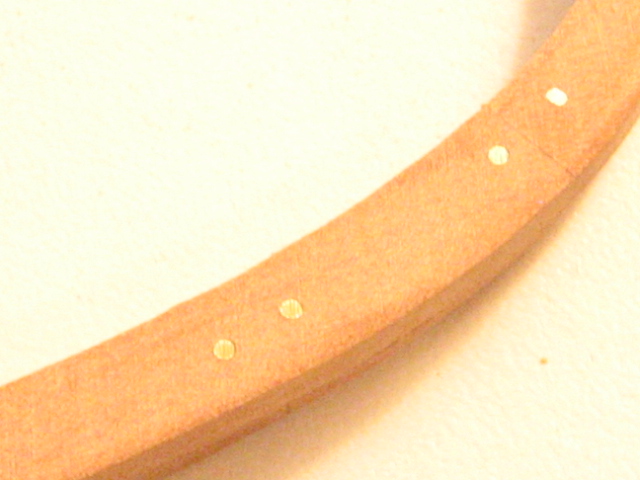
I am using brass wire for the drift bolts. I though about leaving these out, but I am pretty happy I didn't. I am going to leave them natural brass color. This is the back side of the frame, as the drawing is still attached to the front. The color should pop a bit more as the pear wood darkens over time.
-
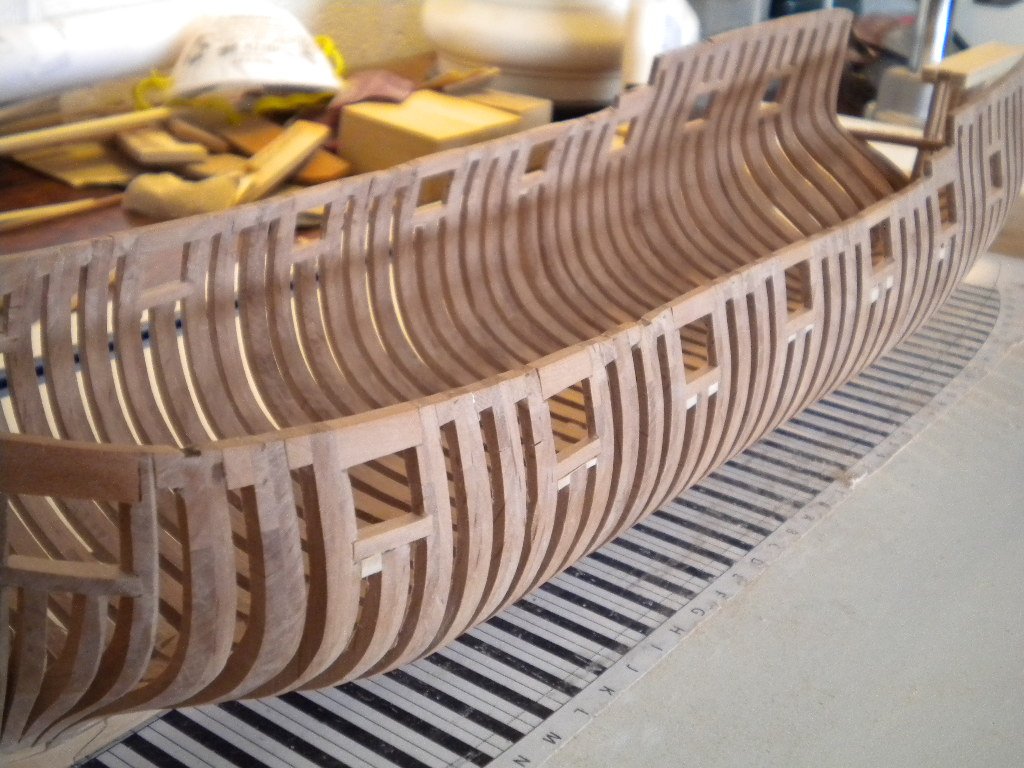
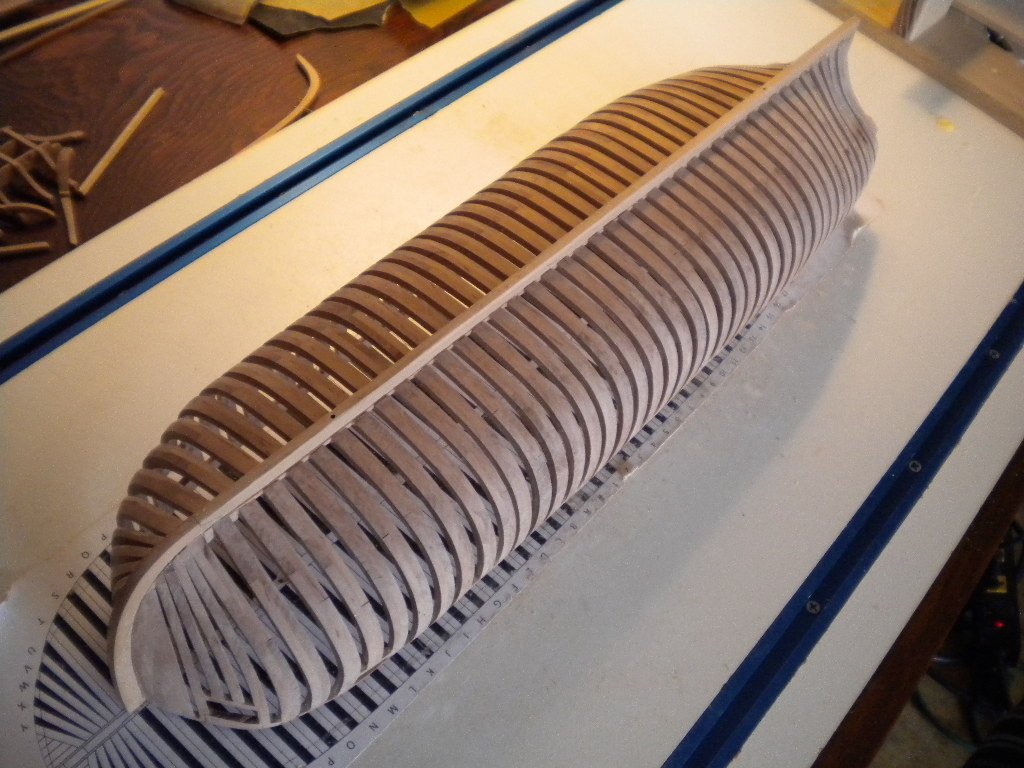
Now things will slow down with the posts, as I assemble the frames. I have completed all of the lettered frames as well as the cant frames.
-
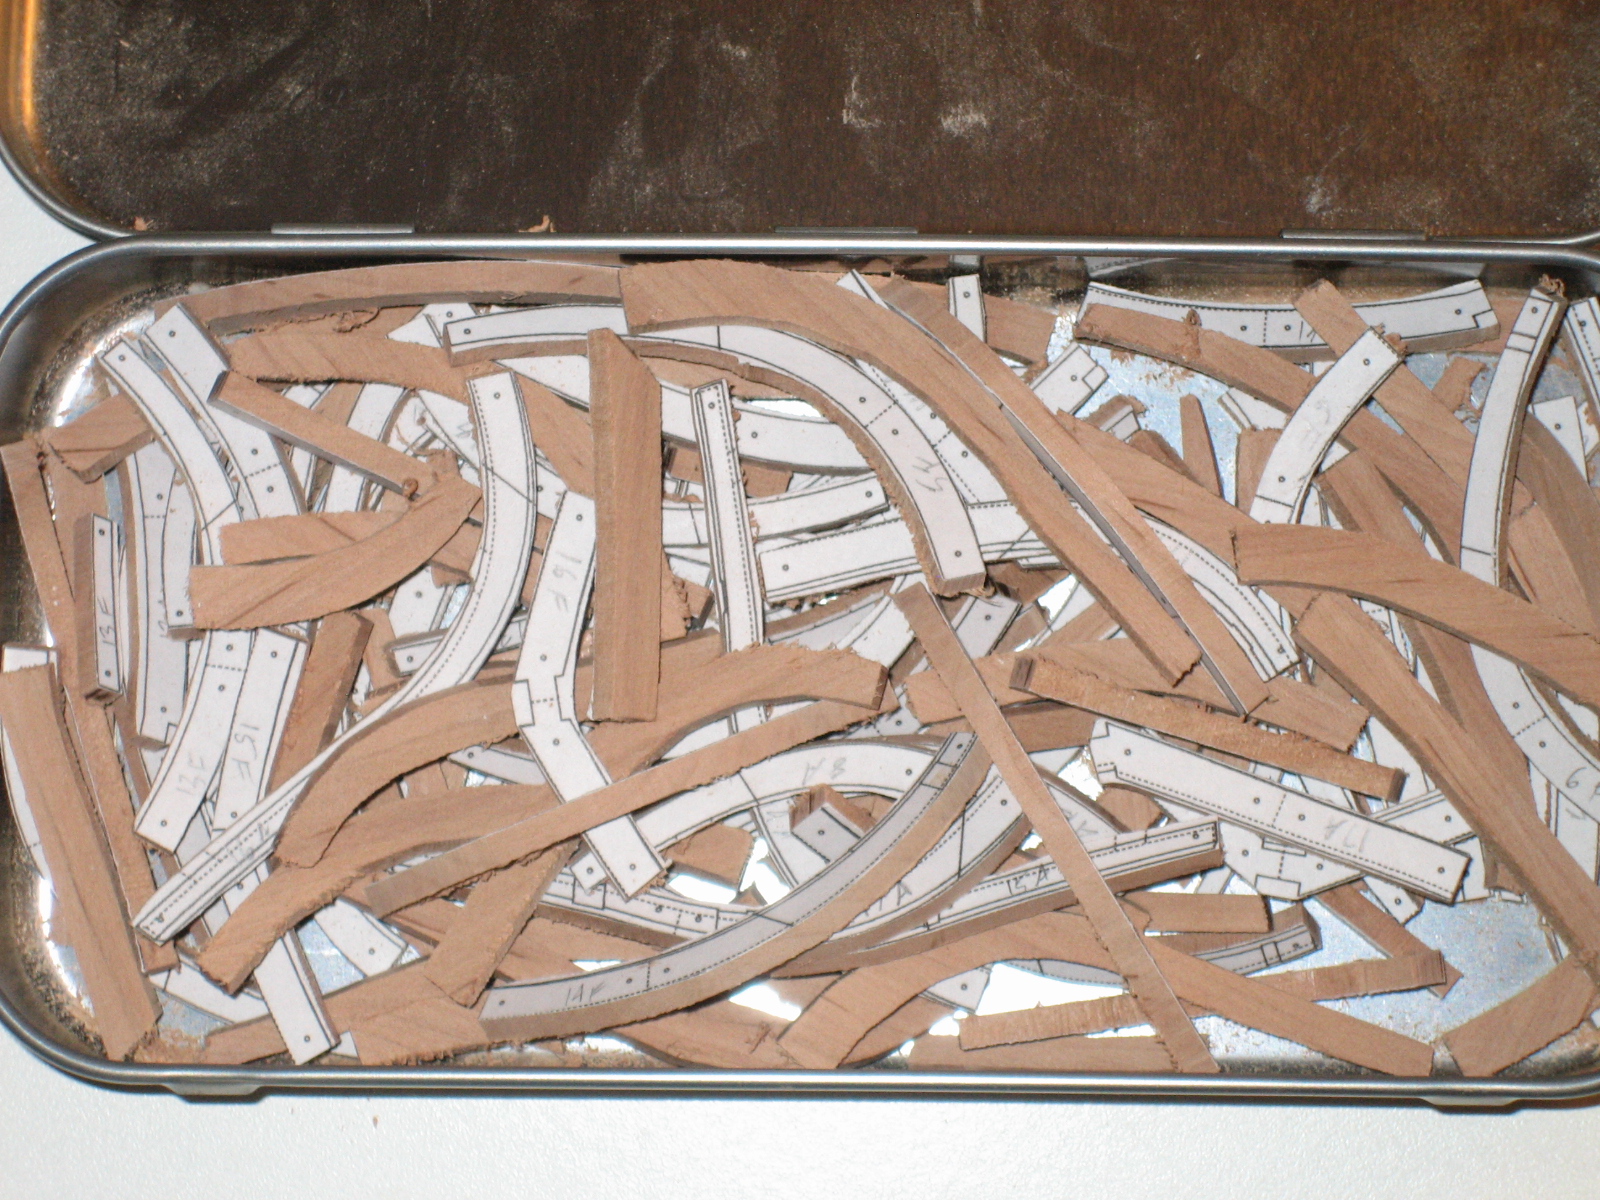
Next I cut out all of the frame timbers with the scroll saw. Here are the ones corresponding to the numbered frames.

-
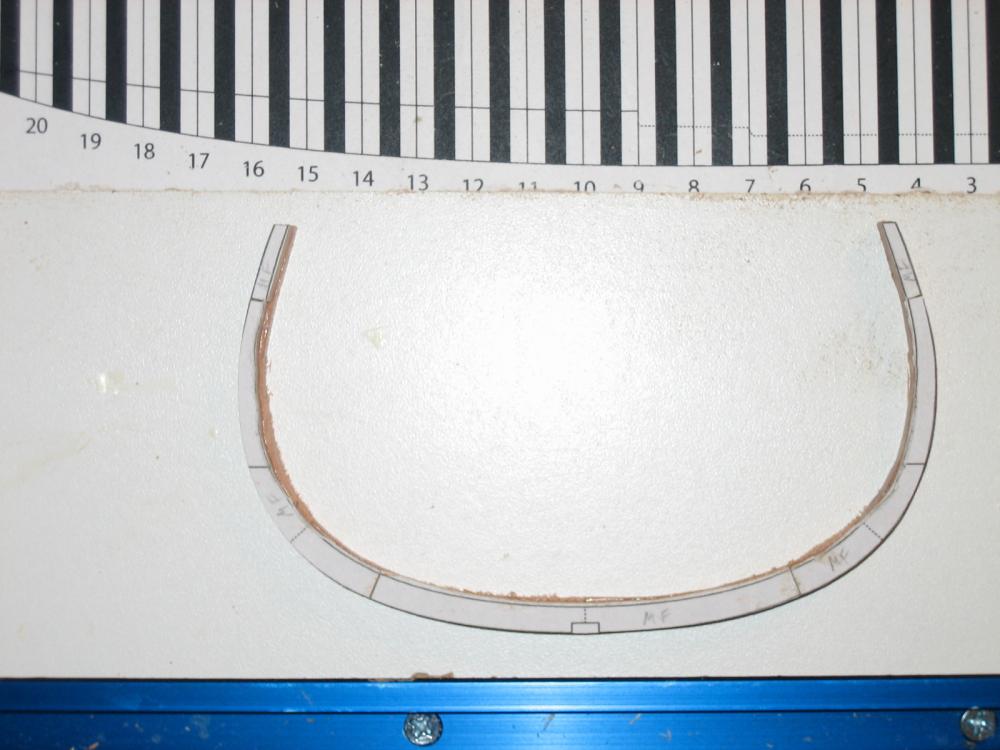
Next step was building some fixtures to properly attach the keel to the building board. I used moveable fixtures to hold the stem and the stern post. This makes everything removable and should allow me to readily re-use the building board once I cut my Alfred model from its upside down Harold Hahn-style building board.

-
Here is the keel mounted on the build board with the brass pins for alignment.

-
The next step was assembling the keel. Unfortunately I didn't take any pictures of the process. Trust me it is done and here it is. I cut the slots in the deadwood using a sled on a Proxxon table saw.
-
I drilled 2 holes in the building board, and then glued in place some short sections of brass rod to help hold the keel in place during construction.