HOLIDAY DONATION DRIVE - SUPPORT MSW - DO YOUR PART TO KEEP THIS GREAT FORUM GOING! (Only 24 donations so far out of 49,000 members - C'mon guys!)
×


pete48
-
Posts
2,132 -
Joined
-
Last visited
Content Type
Profiles
Forums
Gallery
Events
Everything posted by pete48
-
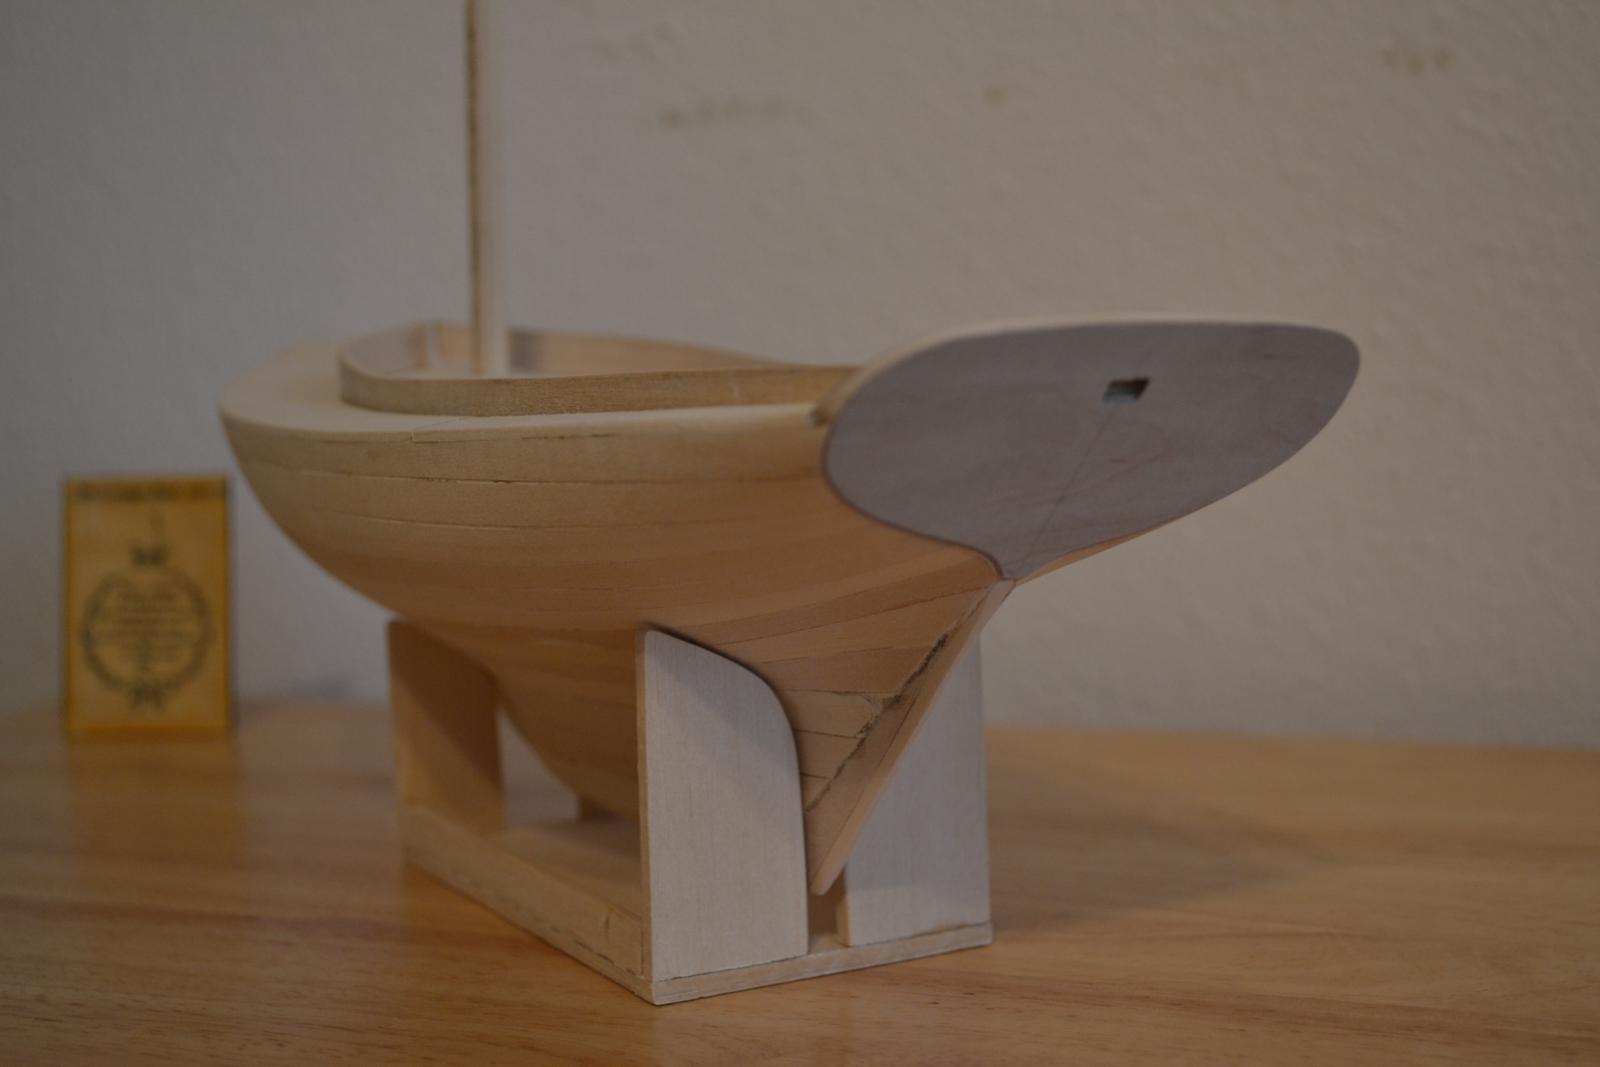
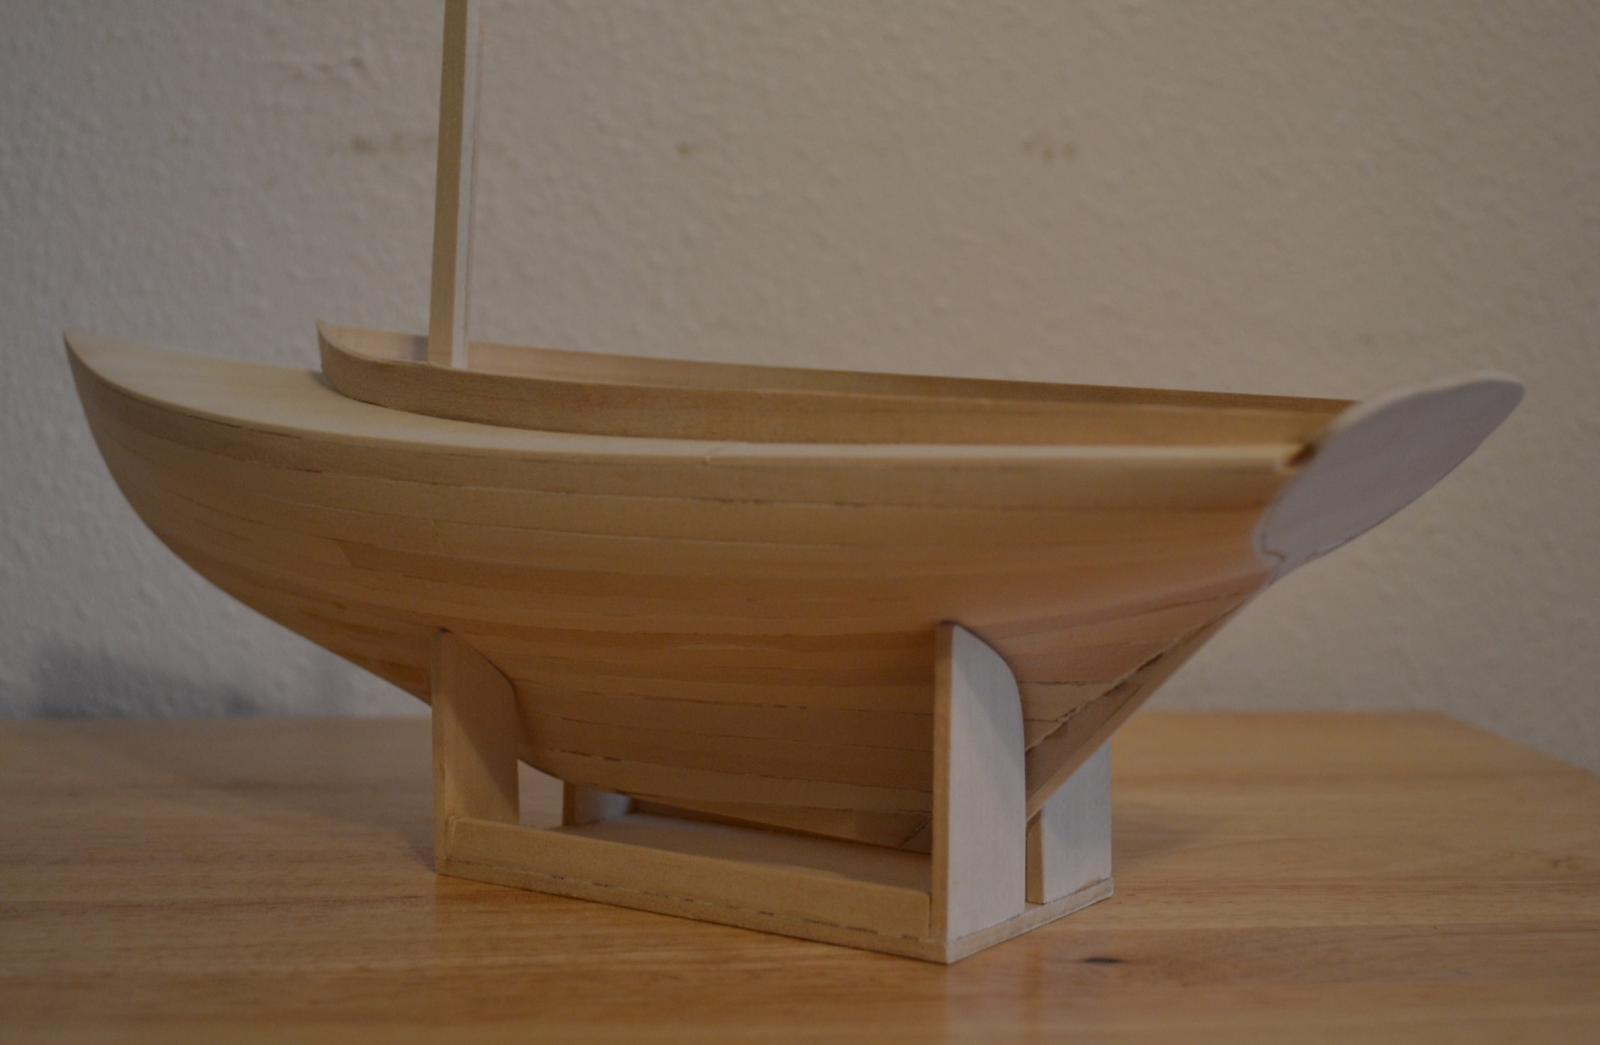
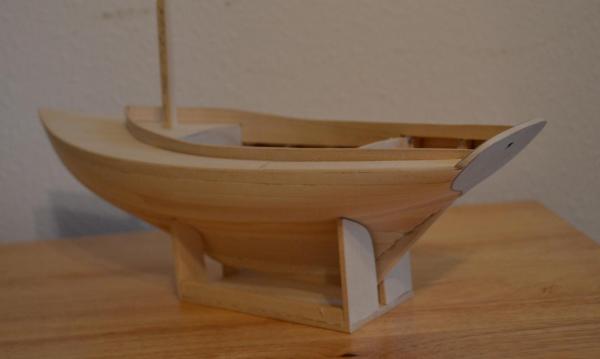
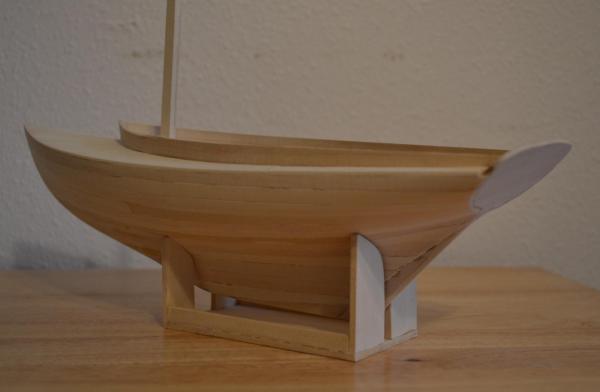
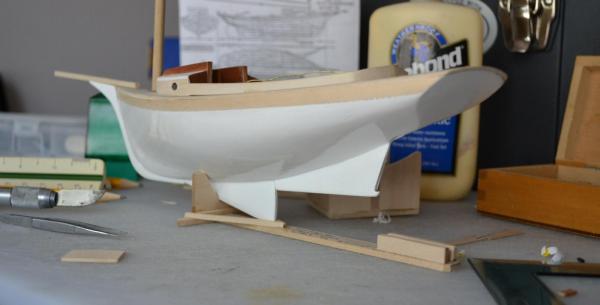
 Today, I started by cutting out a Piece of 1/32" Birch ply for the transom. And a Piece for the inside of the transom as well . I then Laid out the hole in the transom, for wich the Tiller to goes thru . I then transfered the layout marks on the 2 pieces of Bich ply, and cut out the slot . I next glued the 2 pieces of Bich ply on the Transom . Then I faired the ply in with the rest of the Hull starting at the Keel and working my way over the top of the transom. ( this helped give the top of the Transom the correct shape ) Then I could not wait any longer and had to cut the sheer on the Cockpit Coamings .The Coamings have not been glued in and will be installed at finishing stage. Next the Coamings and the Transom will get Stain . Here are the results
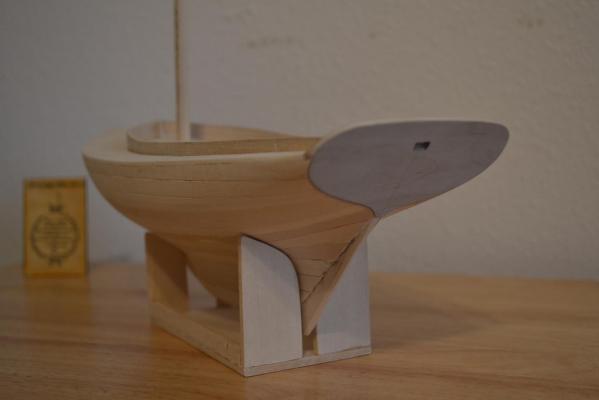
- 296 replies
-
- 12
-

-
- herreshoff
- buzzards bay
- (and 1 more)
-
Hi Chris, This looks like a nice boat to build , I will pull up a chair and watch. Best Regards, Pete
-
Hello Mick, Very nice build you have here, the Boat looks fantastic Best Regards, pete
-
Hello Piet, A very facinating and informative build you have going here . Amazing work you have done, the details are incredible Best Regards, Pete
-
Thank you , Russ and David , I greatly appreciate it . Best Regards, Pete
-
Looks Good Russ Best Regards, Pete
-
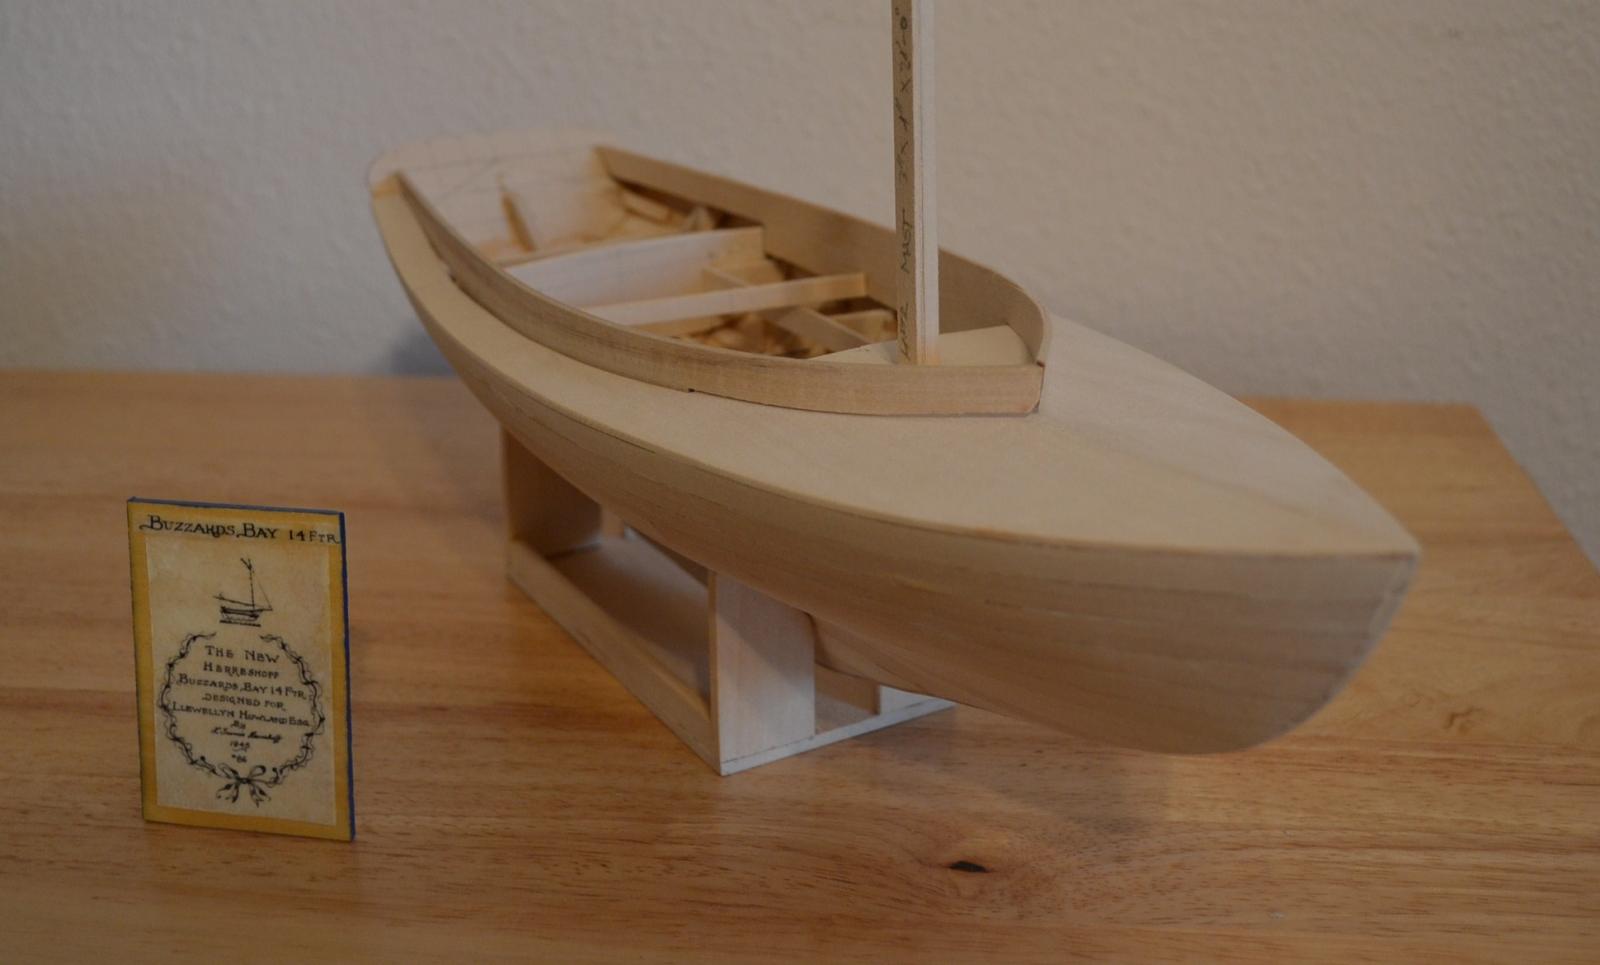
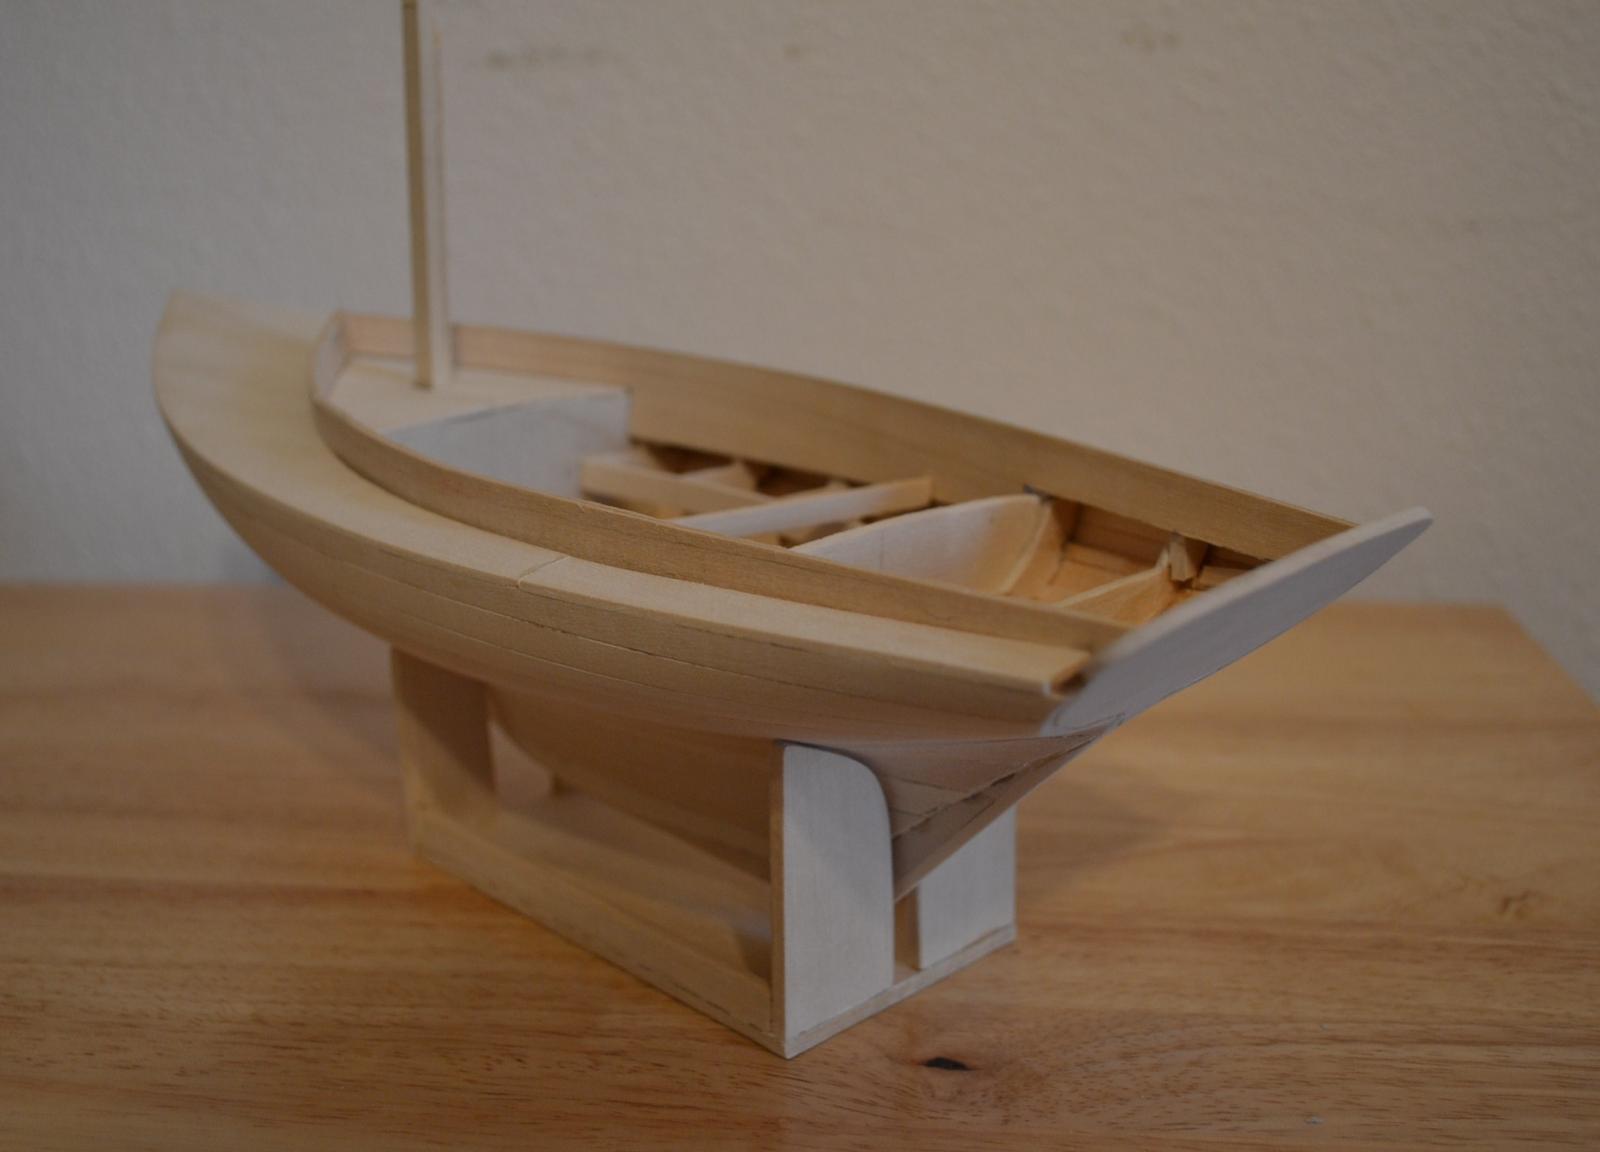
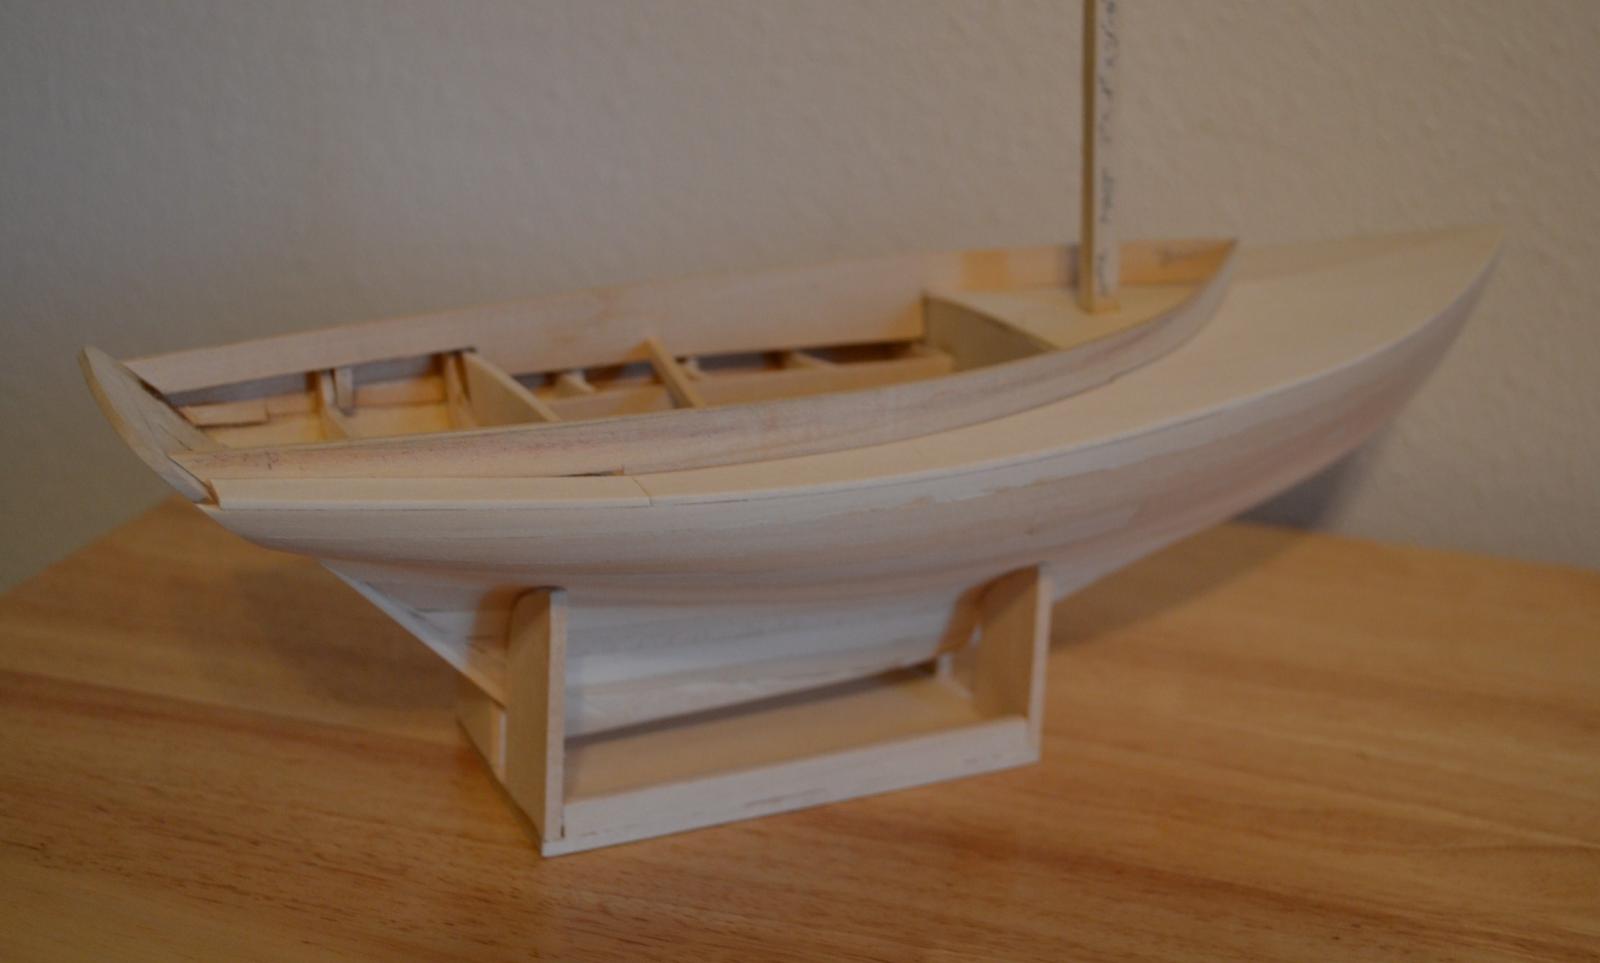
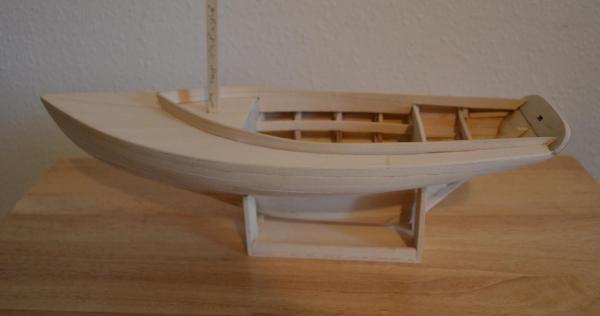
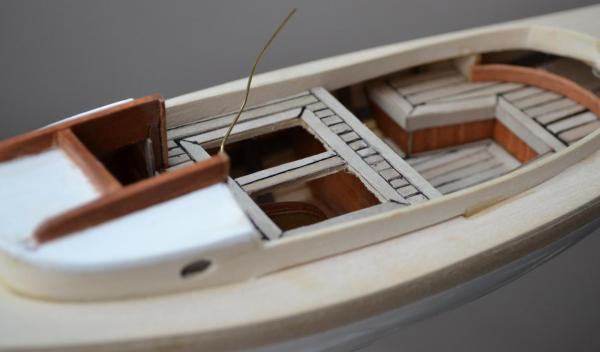
First, I have to say that this has been one of those Builds that is hard to put down, Today I decided to make and install the decks, First I sealed up the forward compartments , Then I cut out the Decks and the Camber strips for on top of the bulkheads wich the deck will sit on, that way the deck will flow properly. Once the deck pieces fit to satisfaction they were glued into posistion . I then faired the deck with the Hull , and did a final Fairing . Now the exterior and deck are ready to be sealed with West System epoxy . I then dry fit the Coamings that were made yesterday , I still have not cut the sheer into them yet, The Coamings will be installed when I get to the finishing stage and at that time I will cut in the sheer . I wedged a peice of scrap to hold the Coamings snug and in place. Here are the results


- 296 replies
-
- 12
-
-
- herreshoff
- buzzards bay
- (and 1 more)
-
Looks Great Augie, Let us know what you catch Best Regards, Pete
- 2,191 replies
-
- 1
-
-
- confederacy
- Model Shipways
- (and 1 more)
-
Hi Steve, yes it is Best Regards, Pete
-
Hello Steve, On the real thing the boards are 6" . Mine are at 12 " wide to allow for the seat back ( other wise its 2 pieces ) that size lumber is available from Flounder bay Boat lumber. ( I have purchased alot of lumber from them in the past ) They are made from one piece of Wood Best Regards, Pete
-
Thank you David , I appreciate it Best Regards, Pete
-
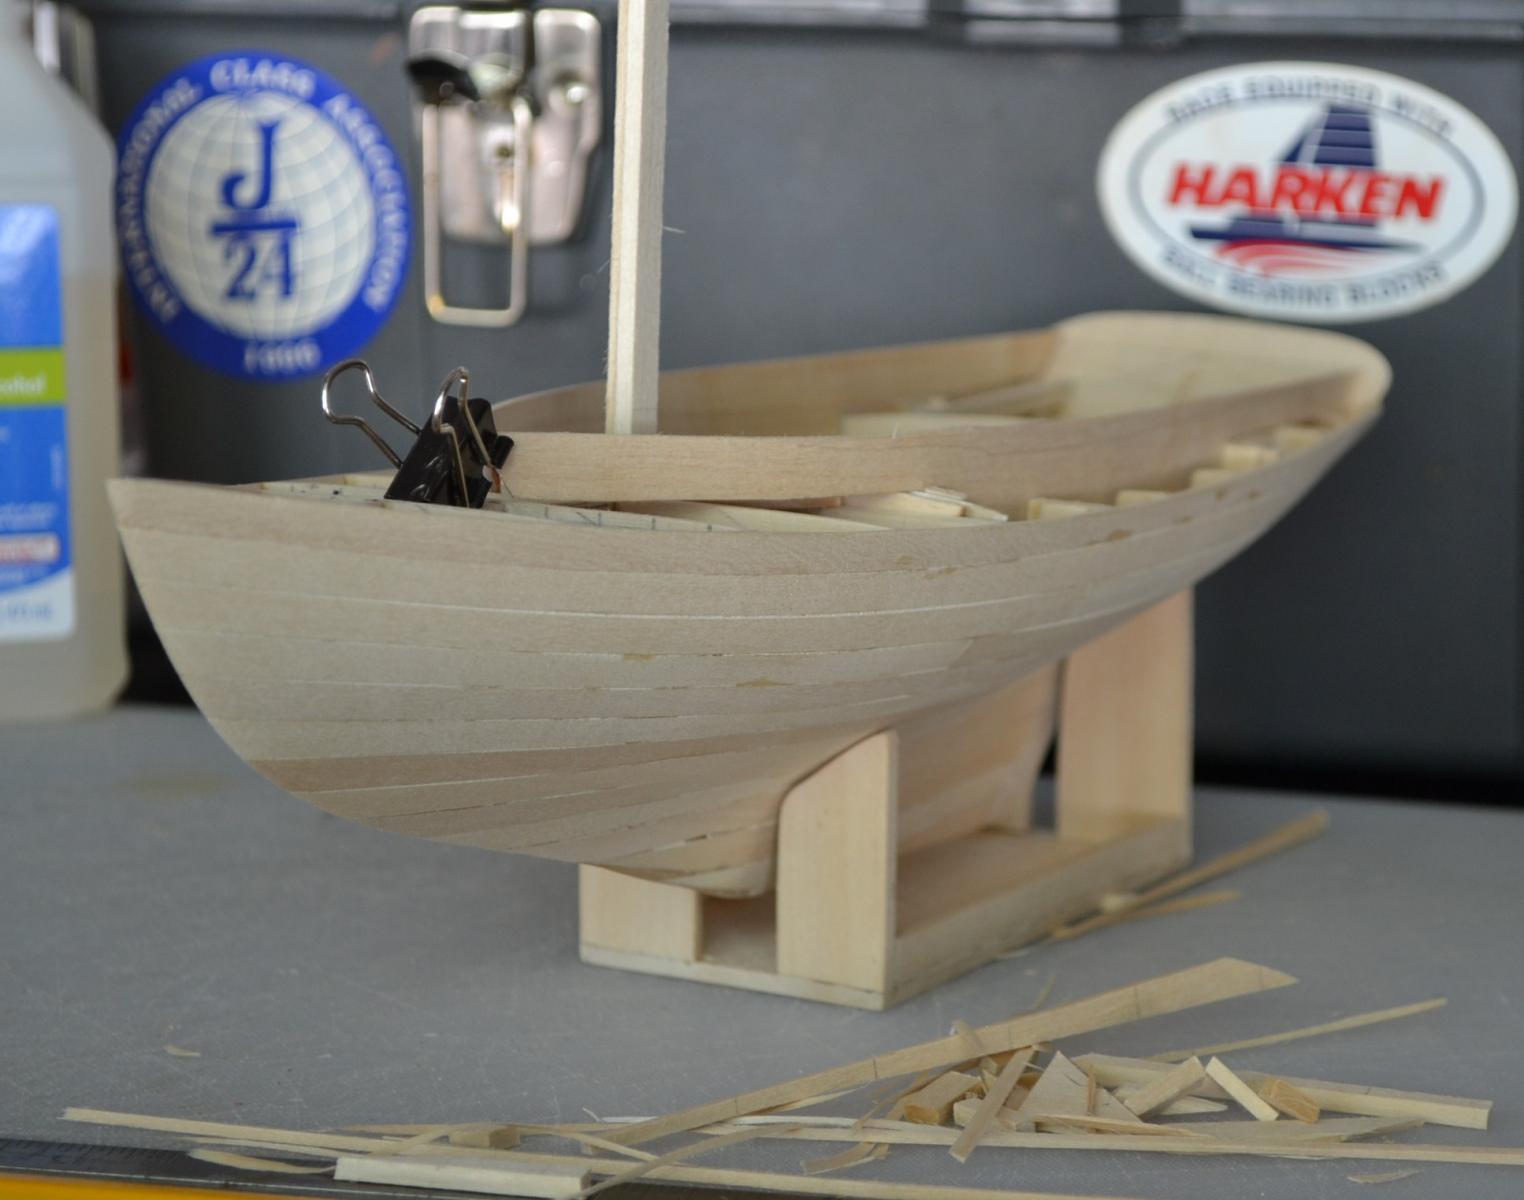
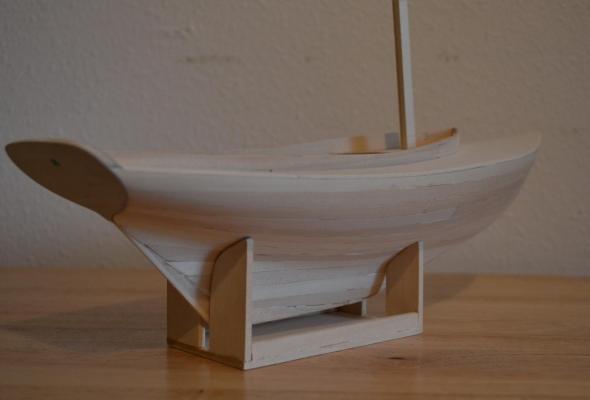
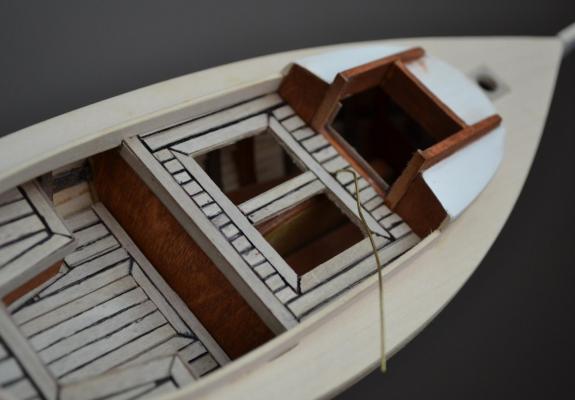
Today I worked on making the cockpit coamings . First I finished installing the cockpit coaming backing on the fore and aft bulkheads. I then cut out the rear deck bracing ( as per plan ) Now the coaming's are the tricky part, there is no detail on the construction plan . ( other than the sheer profile ) I first made a template out of card board with the measurement s that were provided to me by the construction plan. I decided that my coamings would also act as the seat back, so my board would have to be wide . once the template was close I transfered it on 1/16" ( wich scales out perfect ) Material, soaked them in alcohol for 2 hours and bent them close to there location.( The coamings will be installed after the deck is on ) I left the top of the coamings tall, so that when the deck is on it will be easier to scribe the sheer ( because of forward deck camber makes it tricky at the transition point )Here are the results


- 296 replies
-
- 9
-
-
- herreshoff
- buzzards bay
- (and 1 more)
-
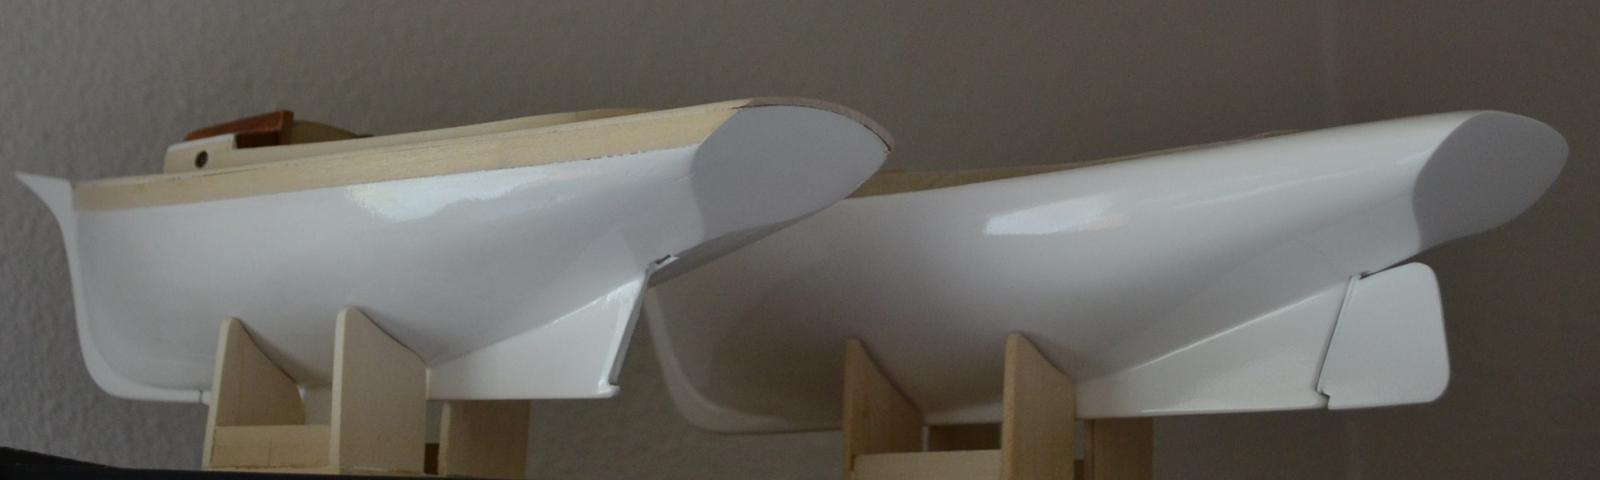
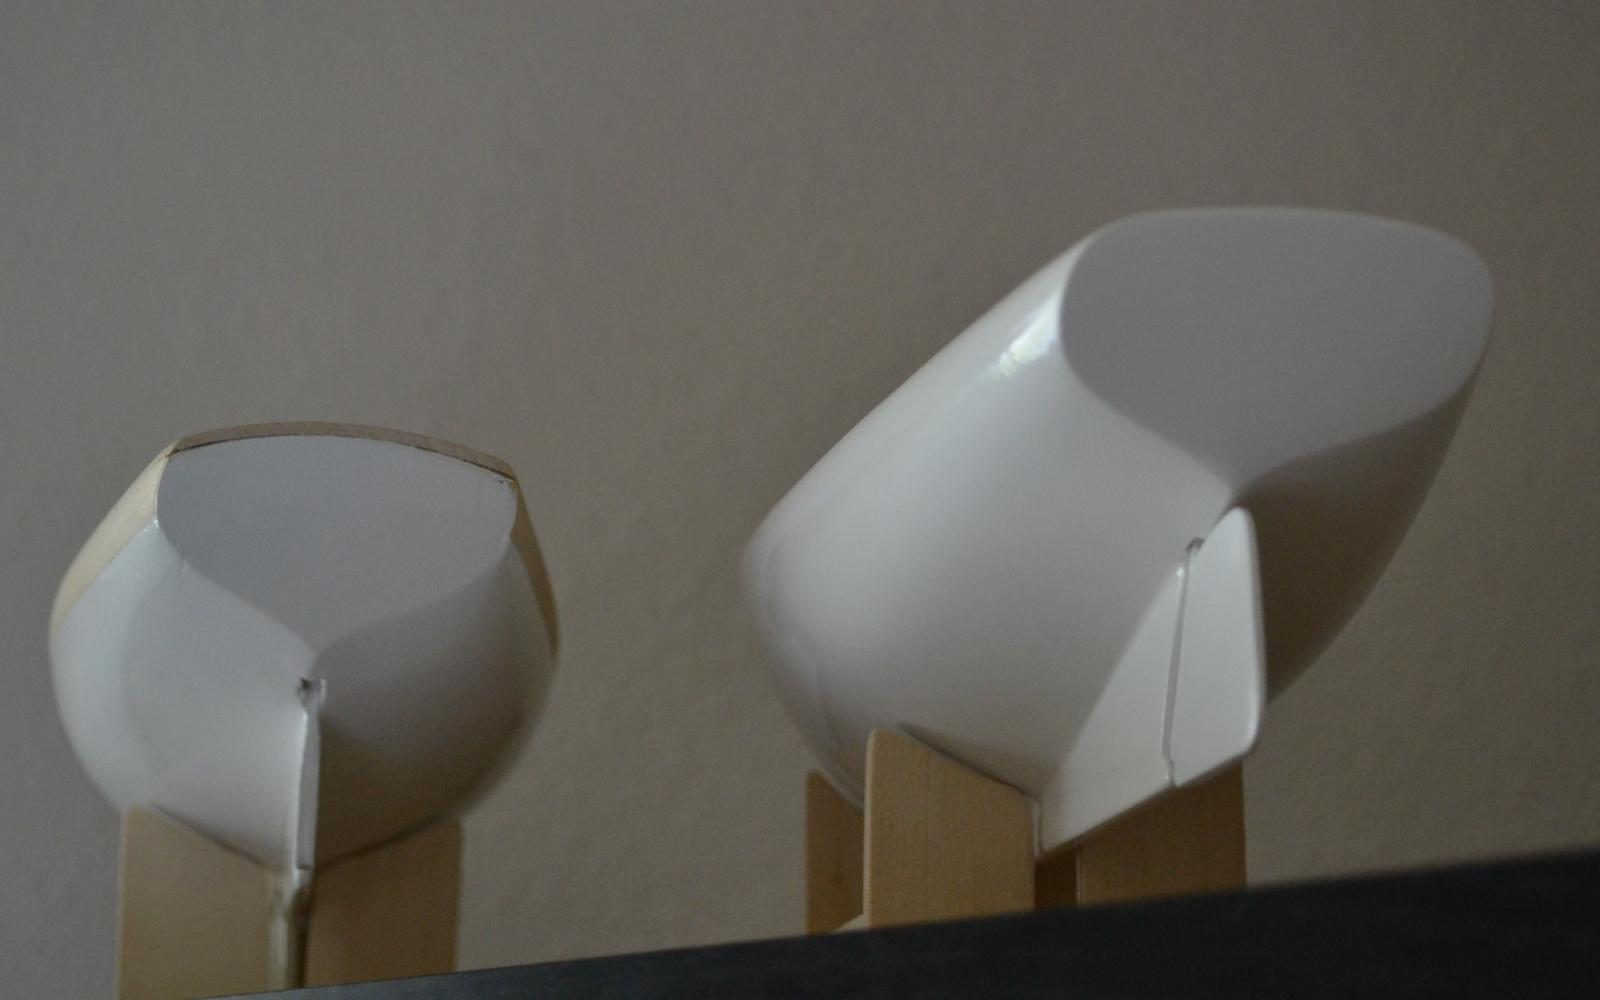
Thank you Russ, I am pleased with how the paint turned out, especially on Keel # 3 Best Regards, Pete
-
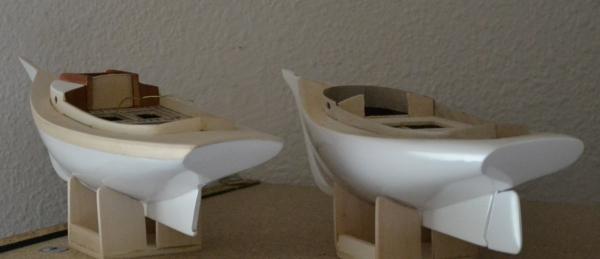
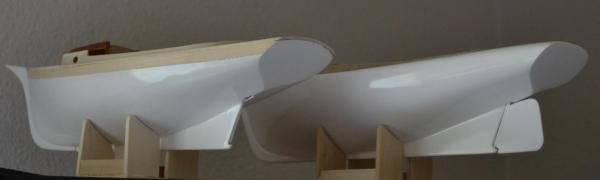
Here are a few Hull shot comparison pics between Keel # 4 on the left , and Keel # 3 on the right ,

- 153 replies
-
- 7
-
-
- musongus bay
- sloop
- (and 1 more)
-
I would have to agree with Cap'n'Bob, as well as Nigel. Best Regards, Pete
-
Hi Nigel, in the long run it will look fantastic, so I think that its worth the time involved, I will deffenitly try this method in the future. Best Regards, Pete
-
Hi Tom , I would be protective as well to have such a fine boat, Best Regards, Pete
-
Hi Nigel, Great job on the deck . I will have to try black tissue as caulk. "it's Brilliant " Best Regards, Pete
-
Hi Russ, thats the fun part. ( to get it from your head to the model ) Best Regards, Pete
-
Hi Russ, The Deck house looks great , and I like your idea of the illusion of the functioning window . cant wait to see how it turns out Best Regards, Pete
-
Thanks Tom, I remember talking about your aunt's Herreshoff, You are very fortunate , they are amazing boats. is she your favorite aunt ? I will look into that Jib Sheet arrangement , Thanks for the heads up. I am still in Coeur d'Alene , till sometime in August , And my family is here, so I am kinda still here Best Regards, Pete
-
Thank you Russ, The seats were made off the model then installed .This is the first model that I have tried this on,so scale was not that important ( it just had to look good ) I made the caulking a bit dramatic to see how it would look overall. Its all a just learning process ,and Its alot of fun. Best Regards, Pete
- 153 replies
-
- 1
-
-
- musongus bay
- sloop
- (and 1 more)
-
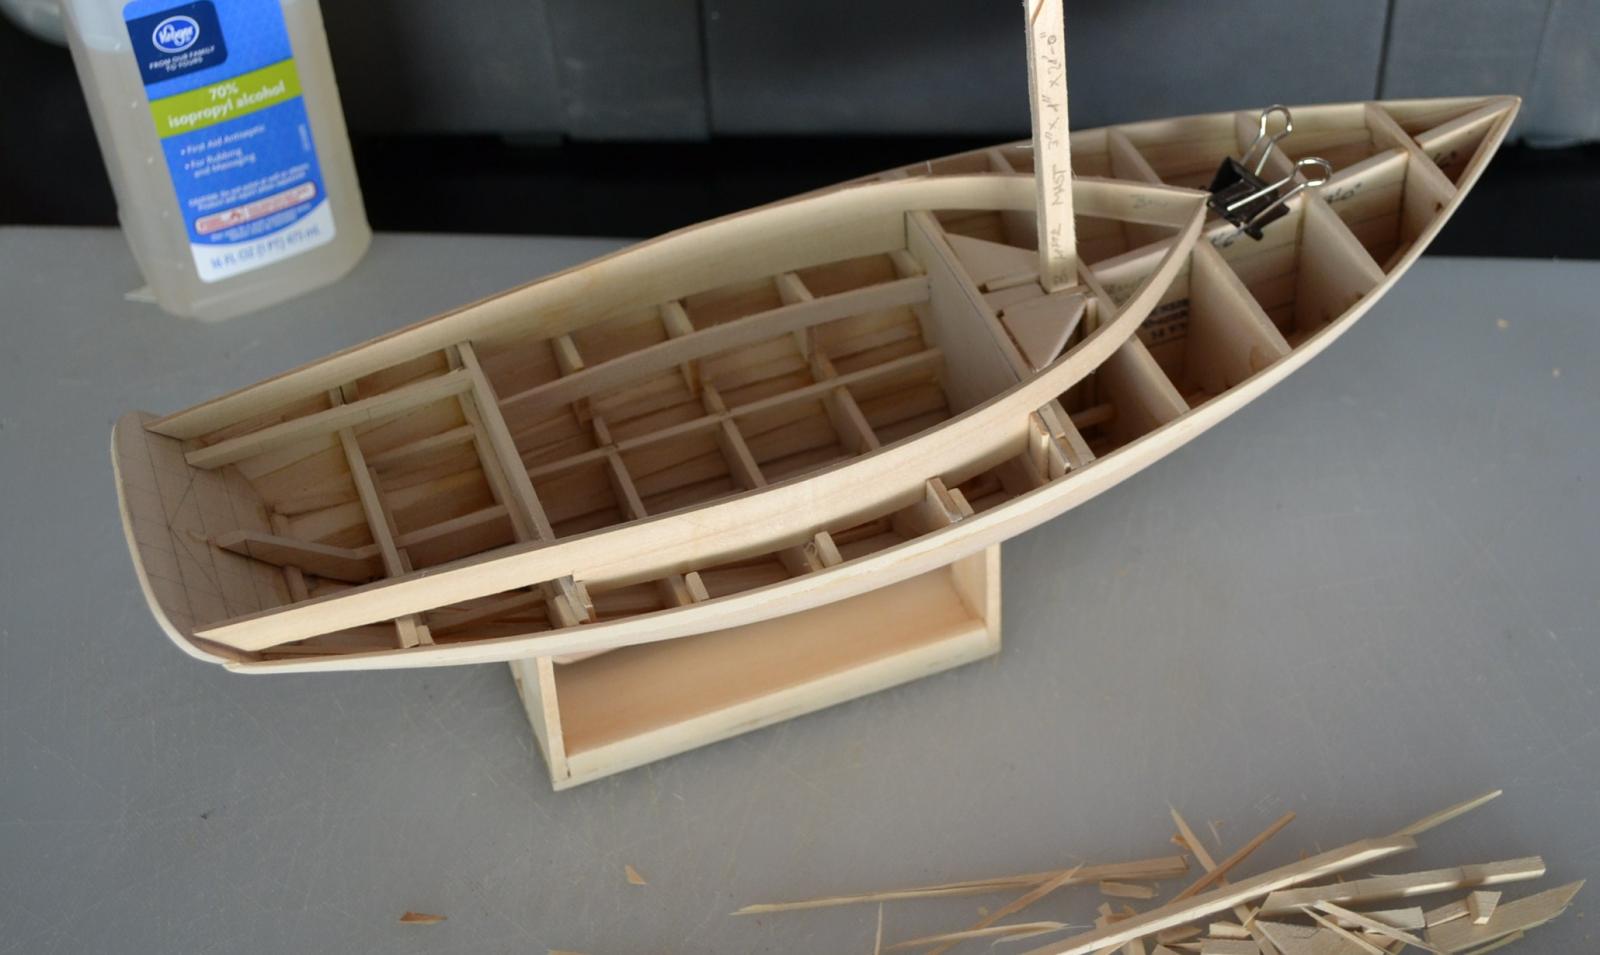
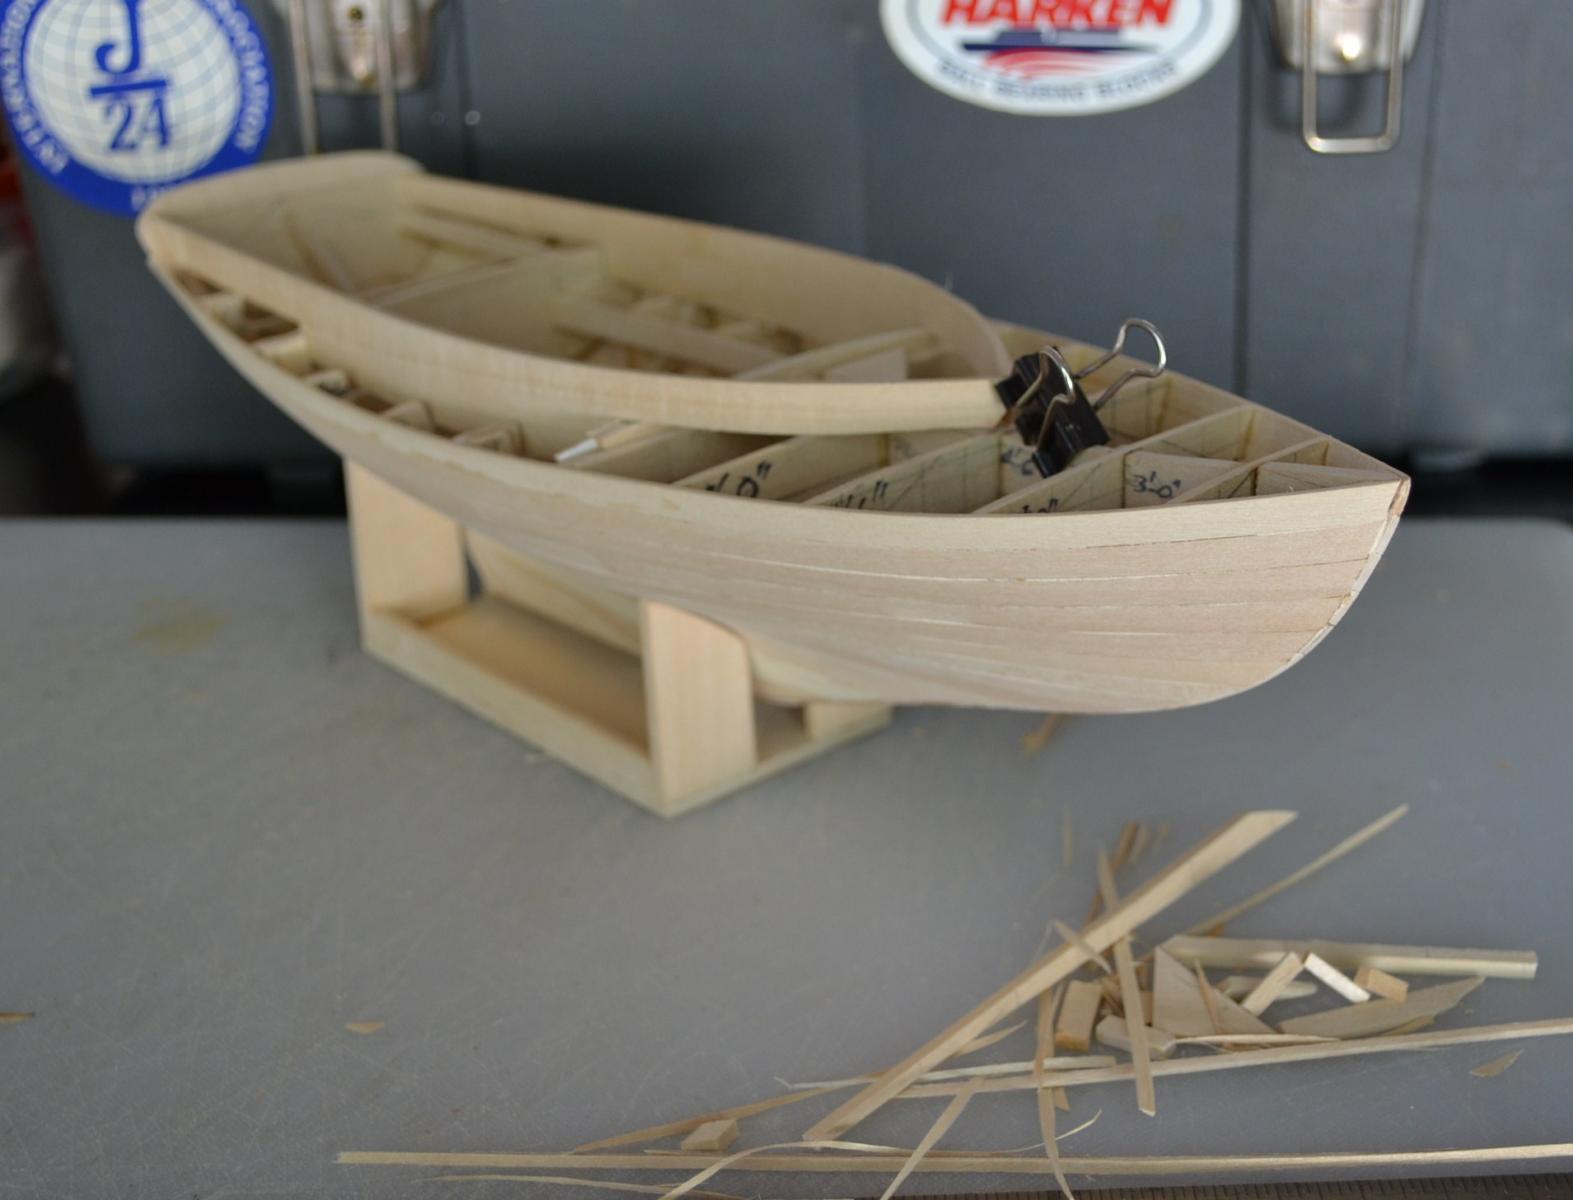
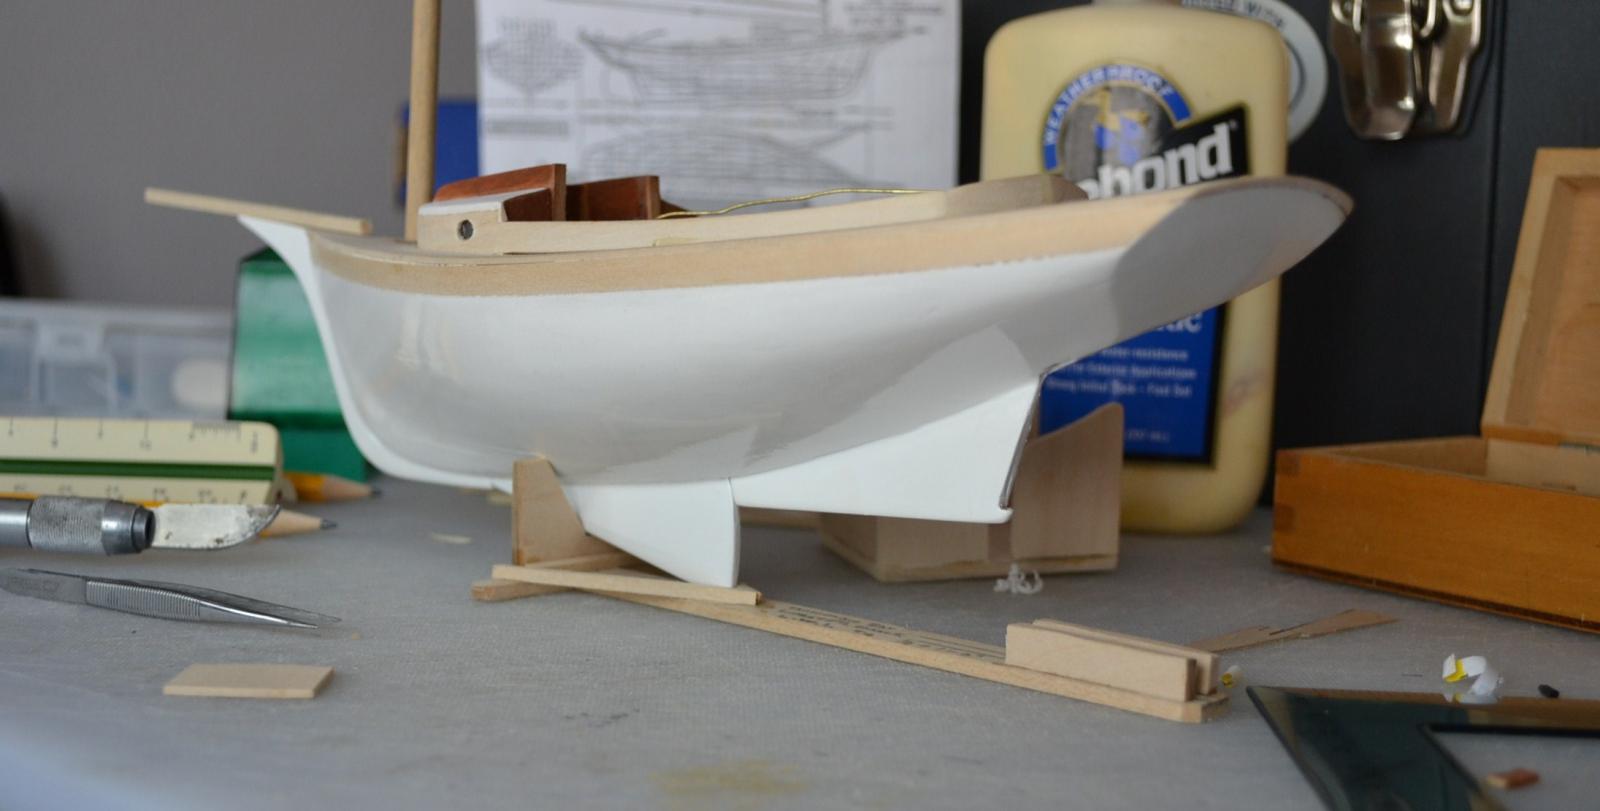
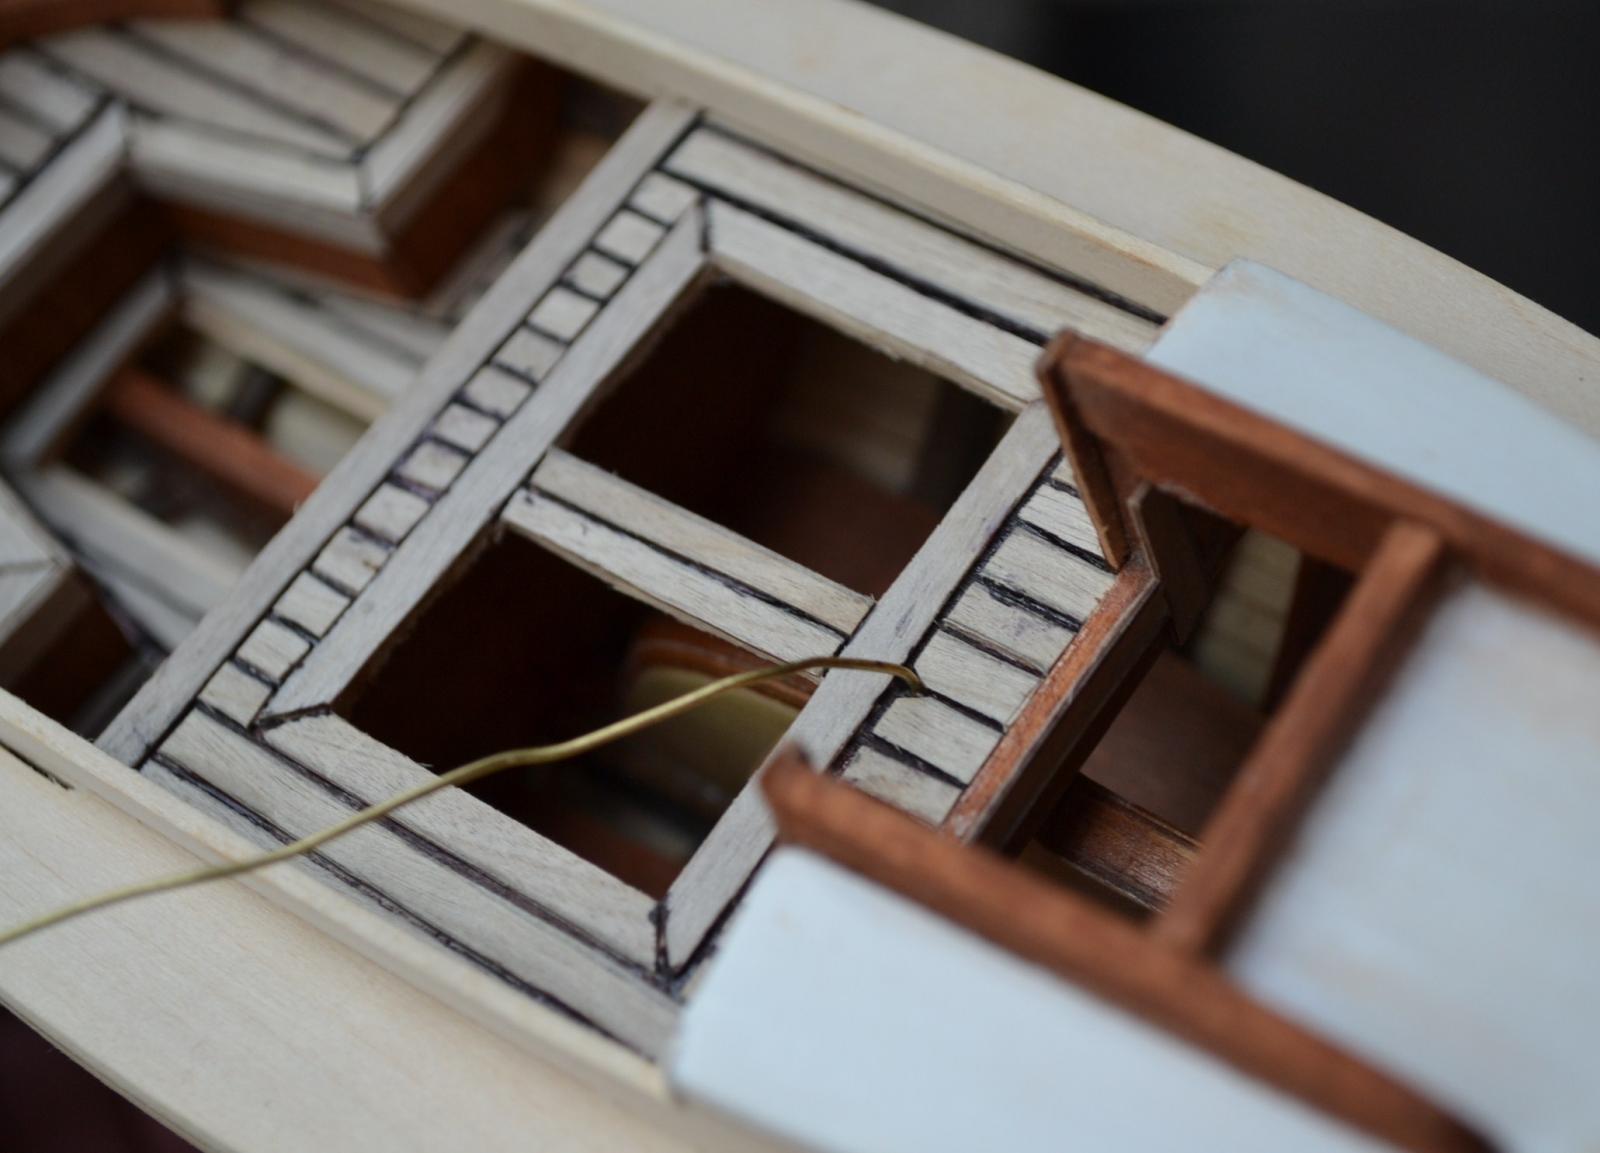
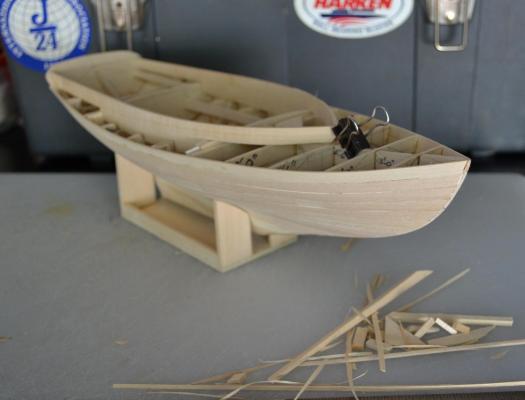
I thought today would be a good day to work on Keel # 4 , I started by refitting the Centerboard. Then I cut out the Bowsprit Blank, marked it now its ready for shaping. I then made the inside drop board rails , and installed them. I then cut out the seat, wich I made out of 2 pieces so that the seat fits under the Deck. Next I ripped down more of the 1/32" birch ply for the decking . I then laid it out the seats in the same fashion as the cockpit floor and fish well deck. I then installed the seats and added a pre bent pre stained strip cut it to fit aft of the seat and match the cockpit coaming . Here are the results

- 153 replies
-
- 4
-
-
- musongus bay
- sloop
- (and 1 more)
-
Thank you Michael and Steve, She should slip through the water , We will find out at sea trials ( or lake in my case ) Best Regards, Pete
- 296 replies
-
- 1
-
-
- herreshoff
- buzzards bay
- (and 1 more)