


MrBlueJacket
-
Posts
1,285 -
Joined
-
Last visited
Content Type
Profiles
Forums
Gallery
Events
Posts posted by MrBlueJacket
-
-
Played around with the pilot house sides. I like the result, don't you?
- GrandpaPhil, hexnut, bob porter and 3 others
-
 6
6
-
Of course, immediately followed by the fore stays.
- Tim Curtis, thibaultron, russ and 4 others
-
7
-
Foremast has all the blocks etc attached, so it is time to attach the shrouds.

- hexnut and thibaultron
-
2
-
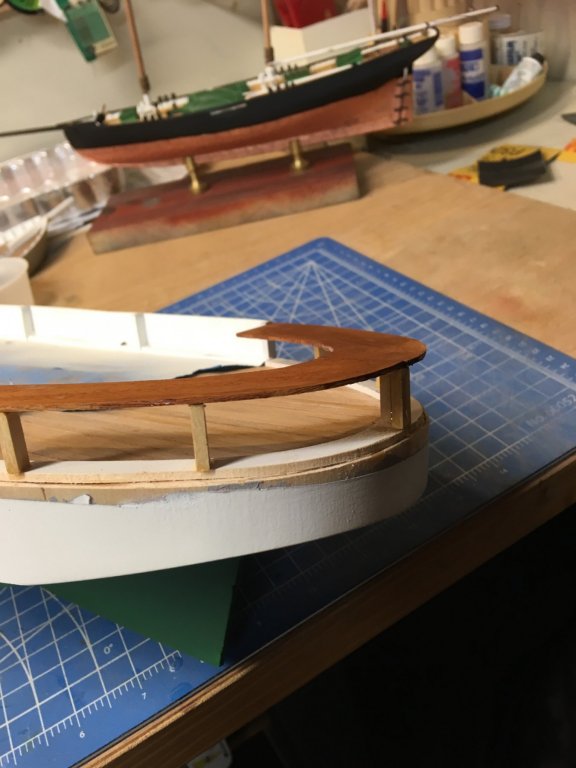
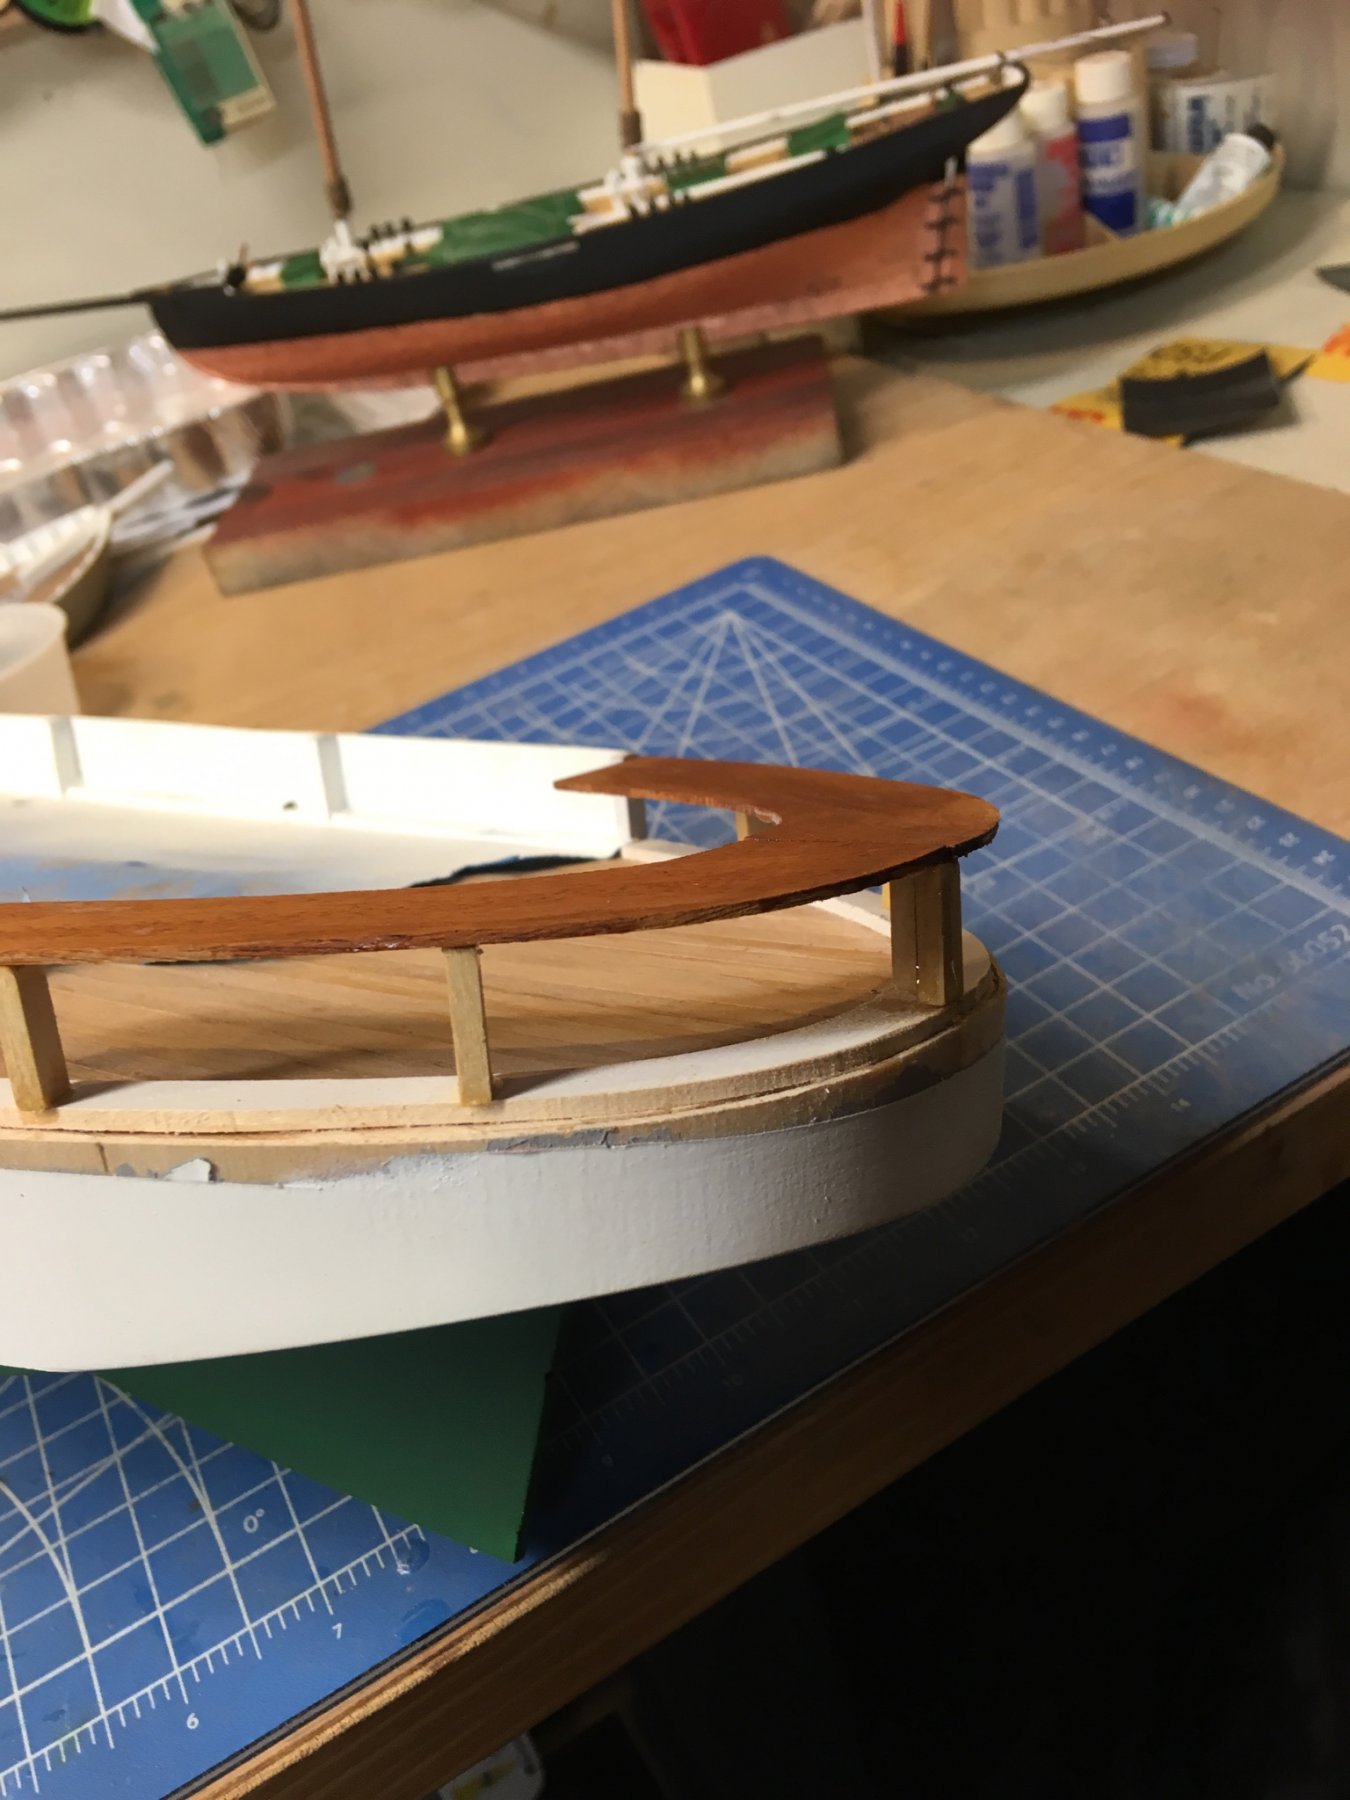
Moving to the stern, it is time to add the mahogany bench seats that ring the aft end. Next will be adding the bulwarks to them.
- RFP, bob porter and hexnut
-
3
-
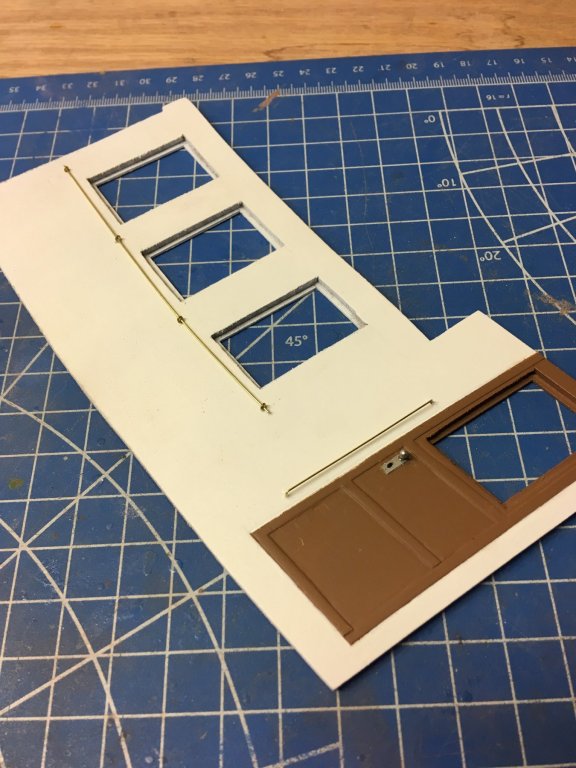
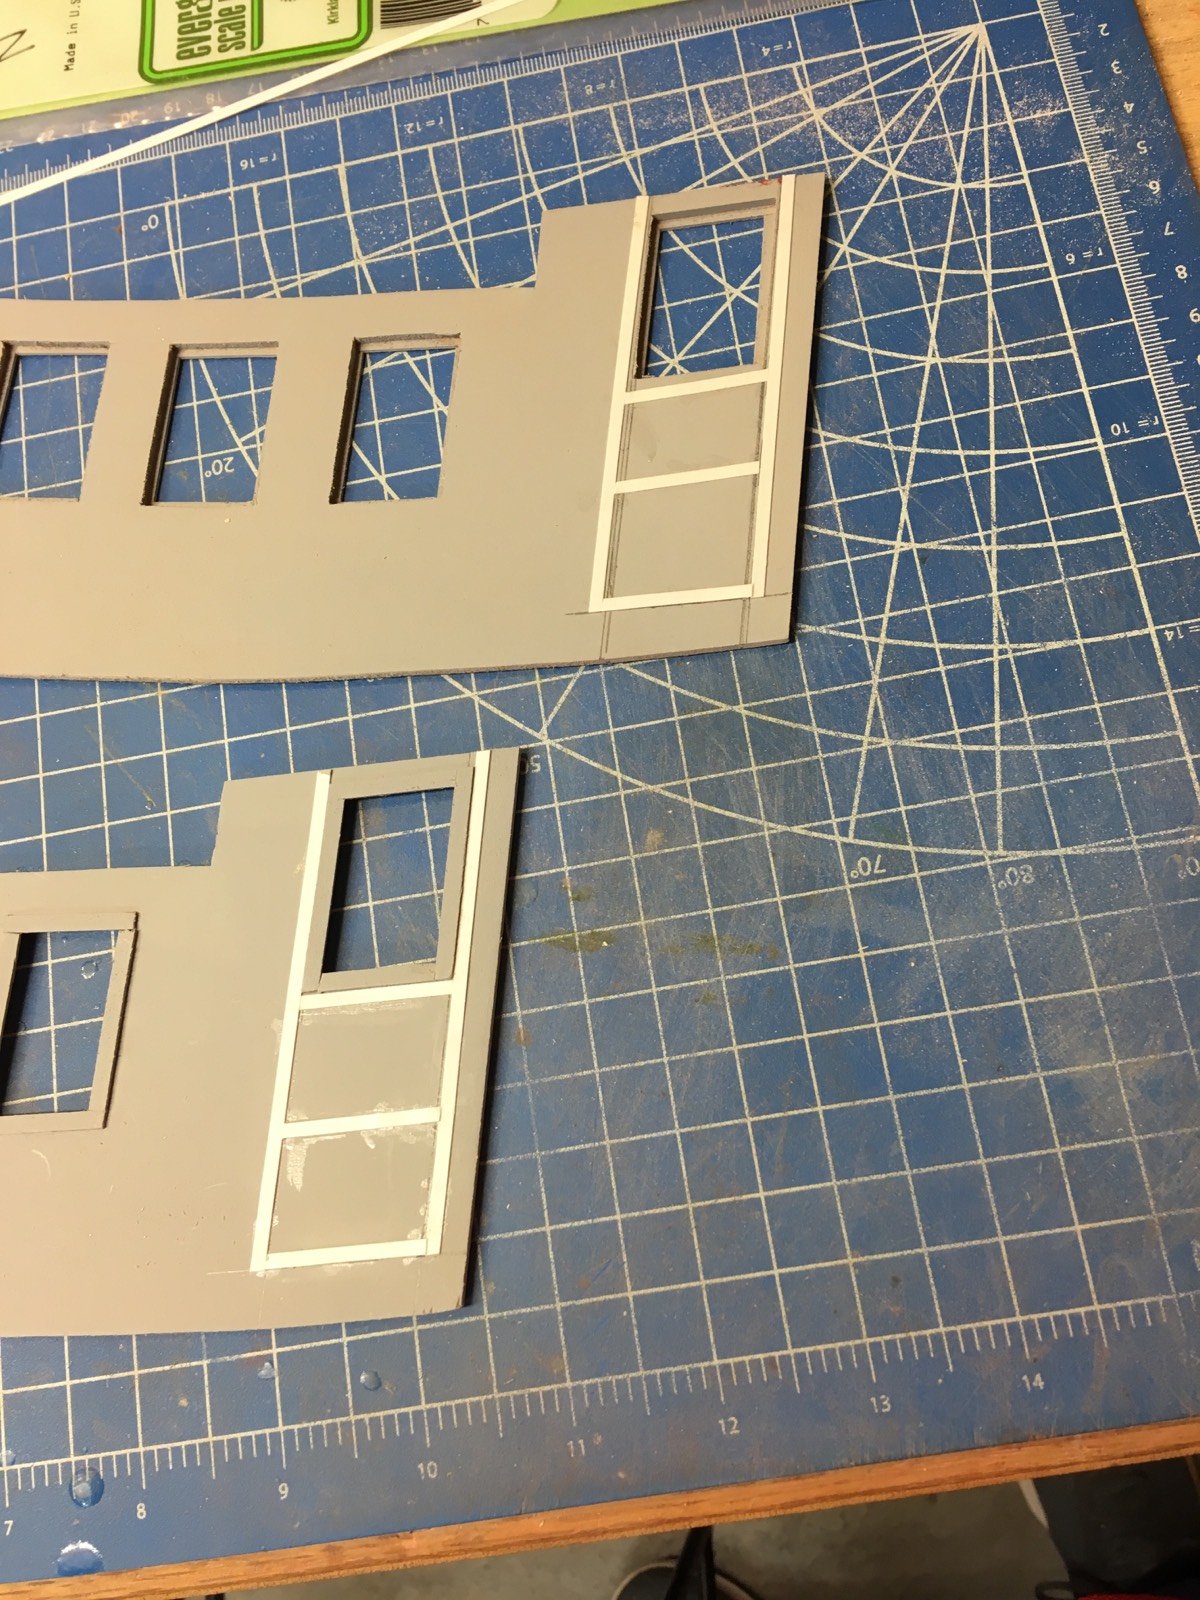
So with the pilot house sides filled and primed, I decided to add door outlines. Using .010" x .100" styrene, I think they look pretty good. I left space at the bottom for a 1/4" step
- bob porter and hexnut
-
2
-
-
-
Under hull paint as promised.........

- Richard Griffith, hexnut, russ and 2 others
-
5
-
And now the cockpit is all decked out. Was that a pun?

- Tom E, bob porter, hexnut and 5 others
-
8
-
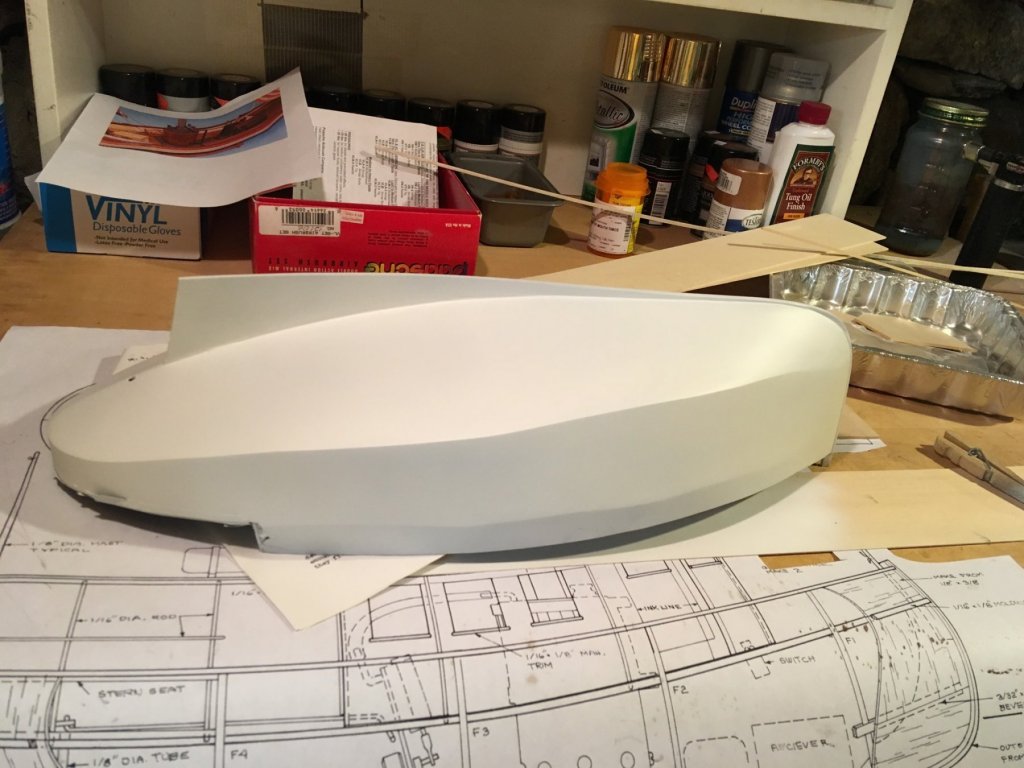
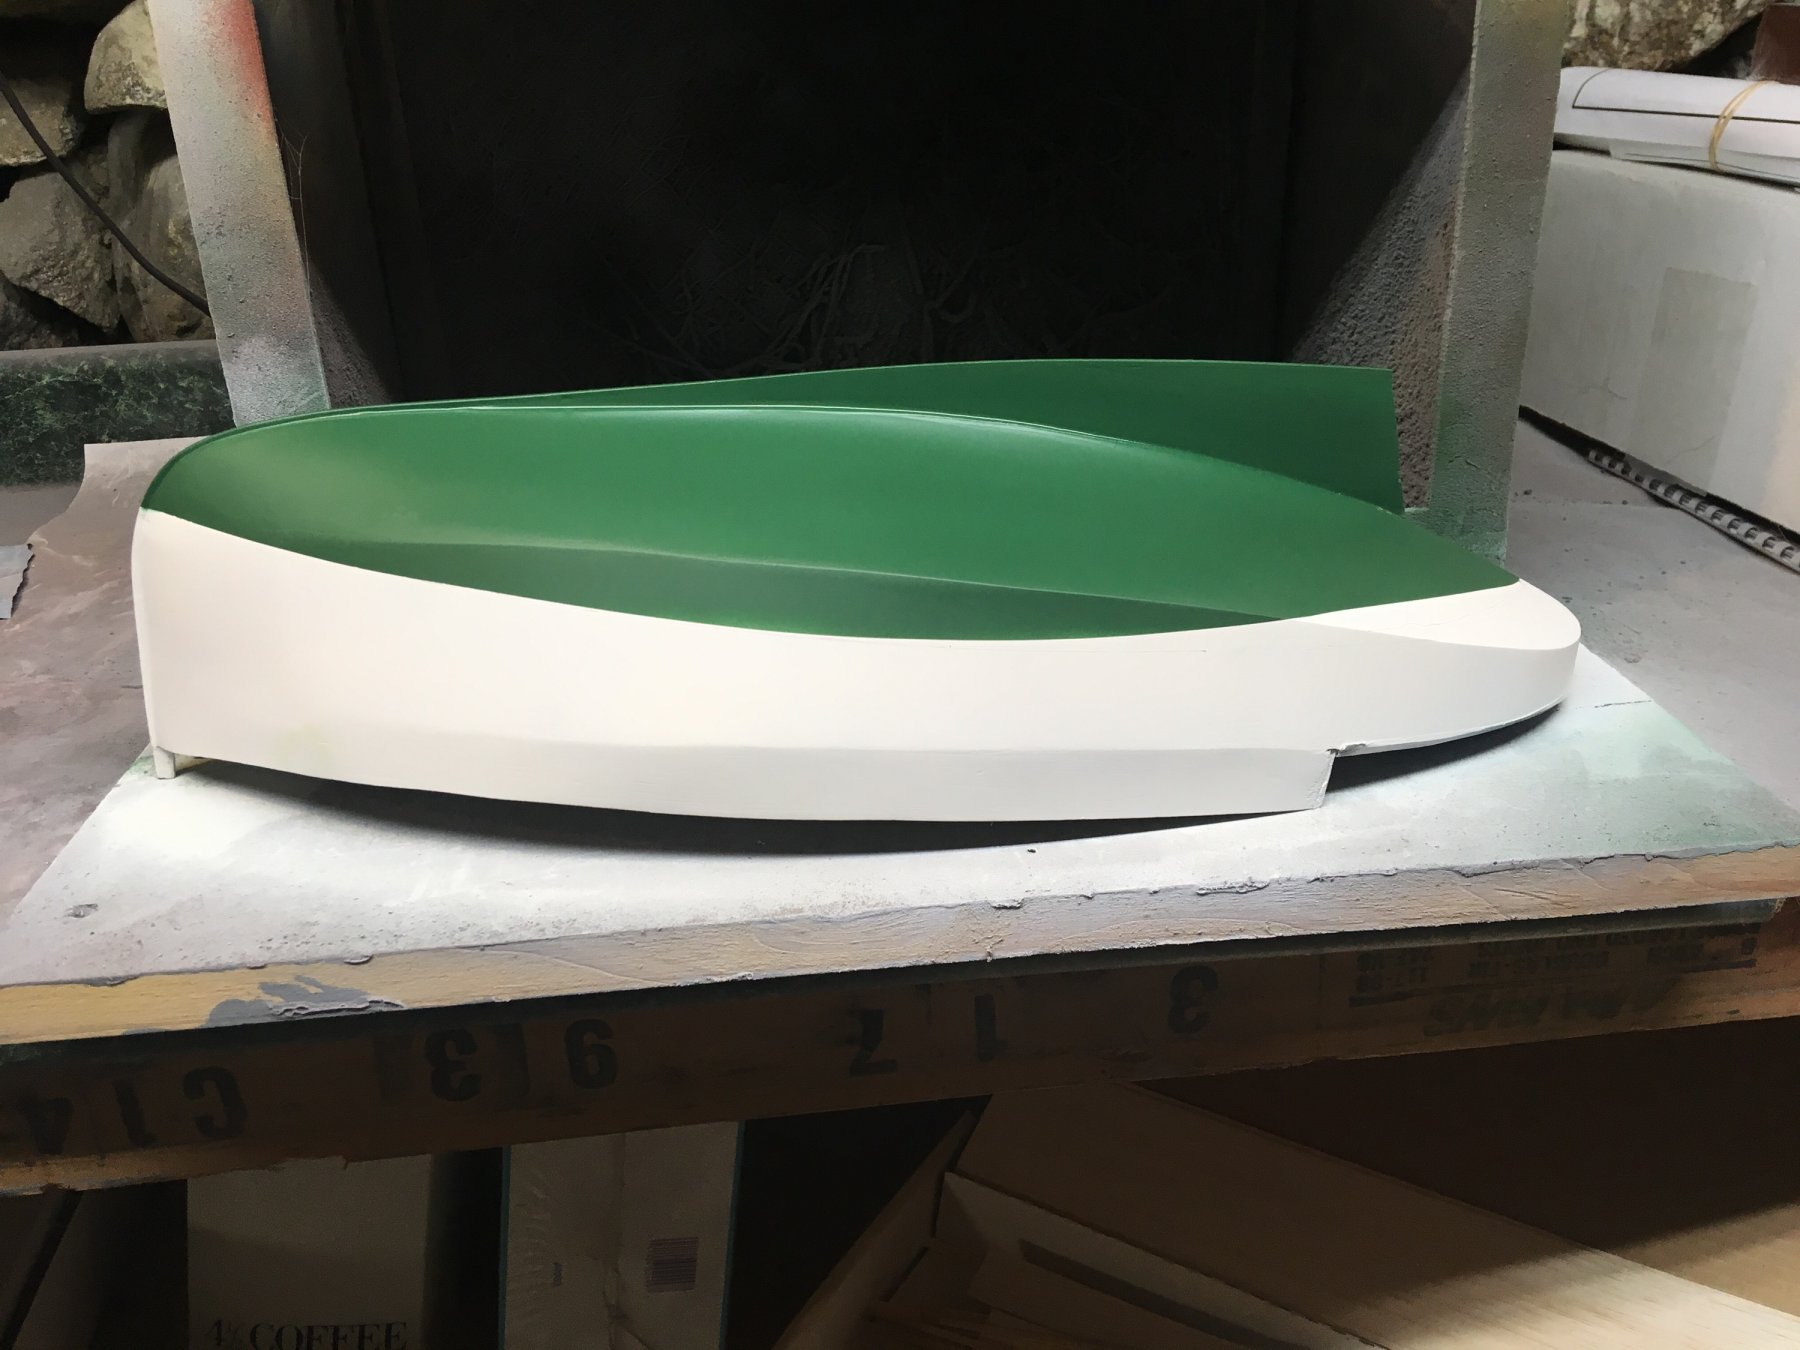
After three coats of primer and filler, the hull is painted. Next comes the waterline and dark green paint.
- bob porter, coxswain, hexnut and 1 other
-
4
-
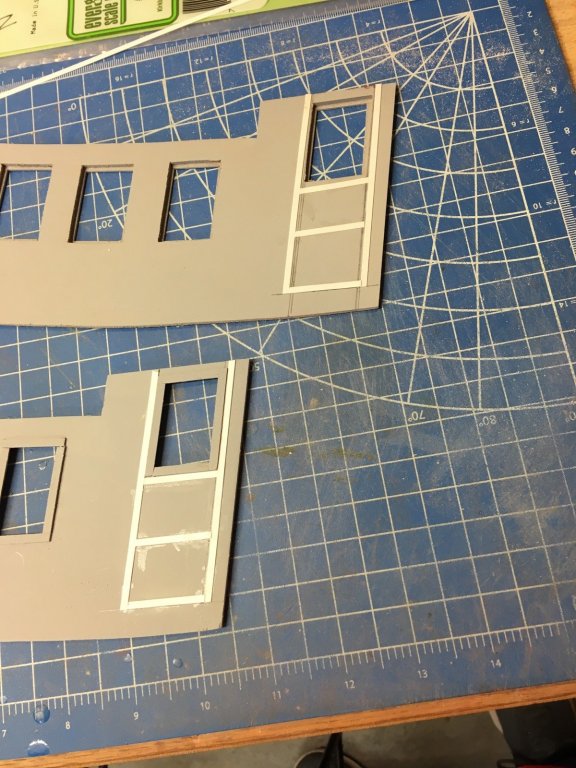
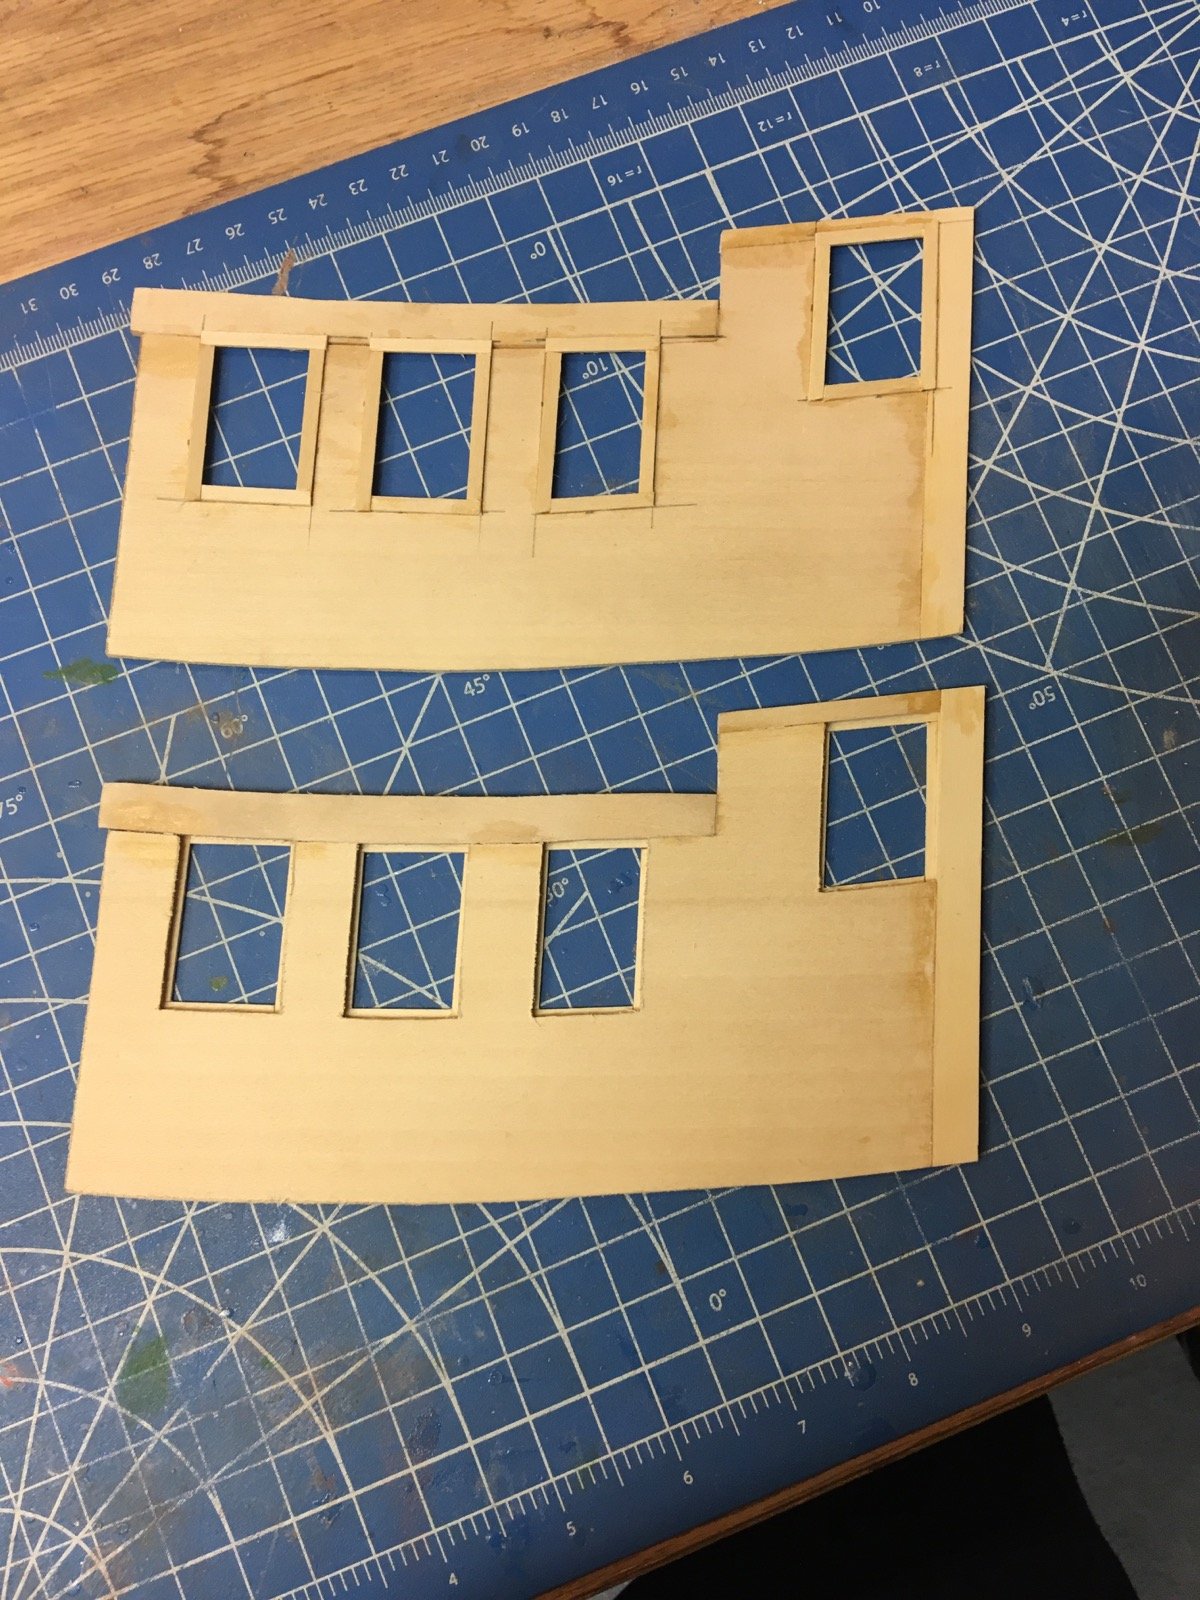
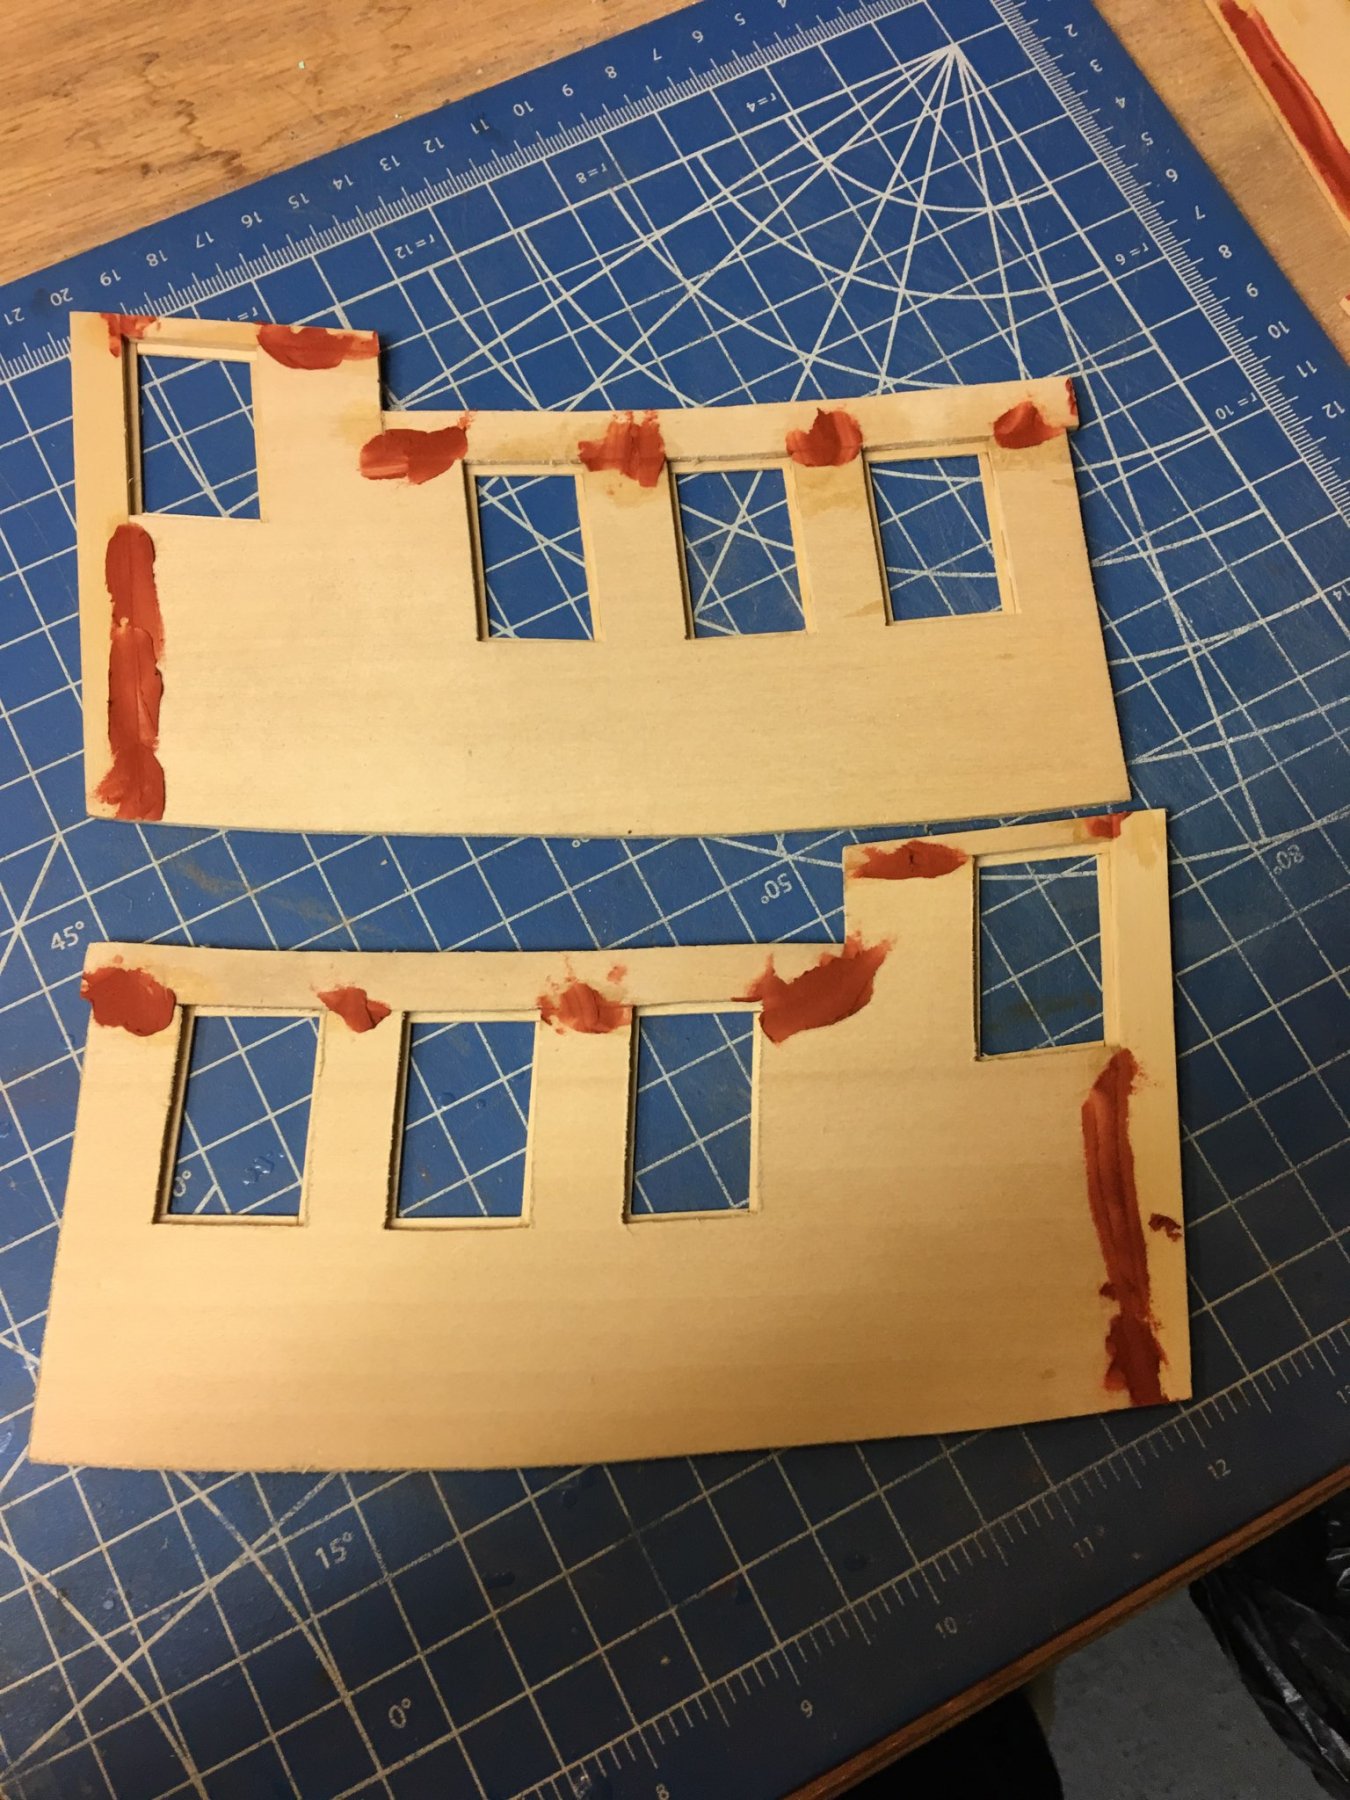
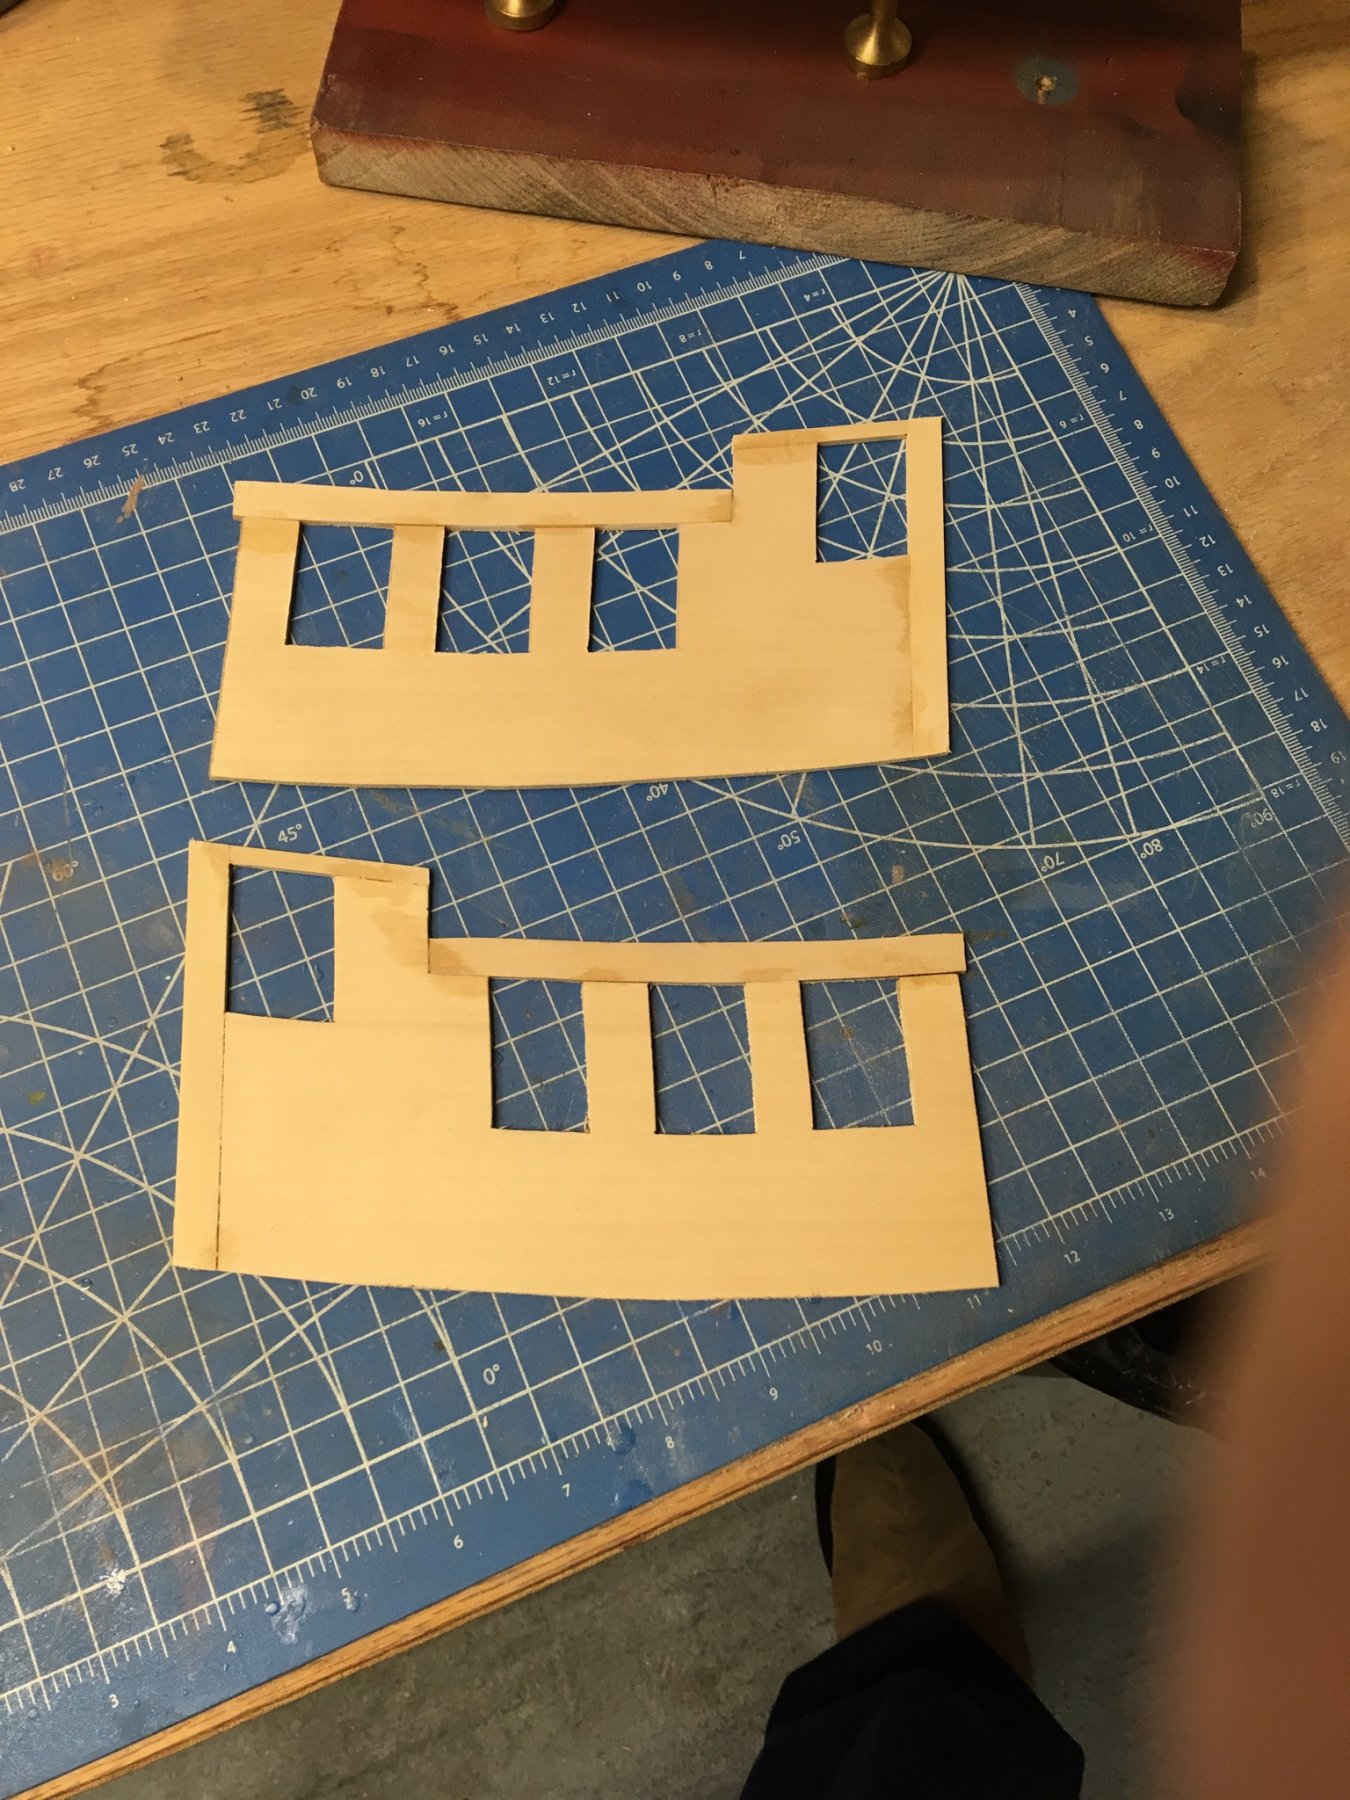
So while I'm filling, sanding, priming (repeat several times) on the hull, I decided to start on the deckhouse/pilot house. Here are the two sides being assembled. Back in the day the parts were band-sawed, so at least one side of the windows had to be open.


- coxswain, hexnut and bob porter
-
3
-
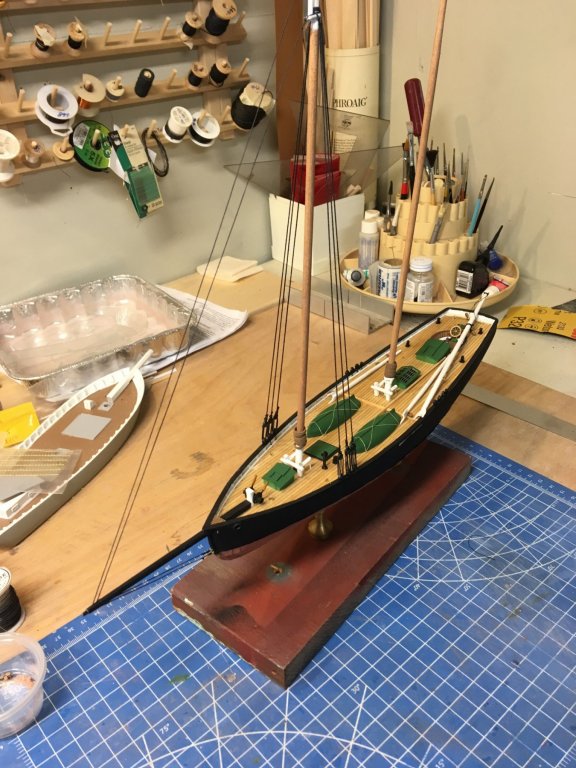
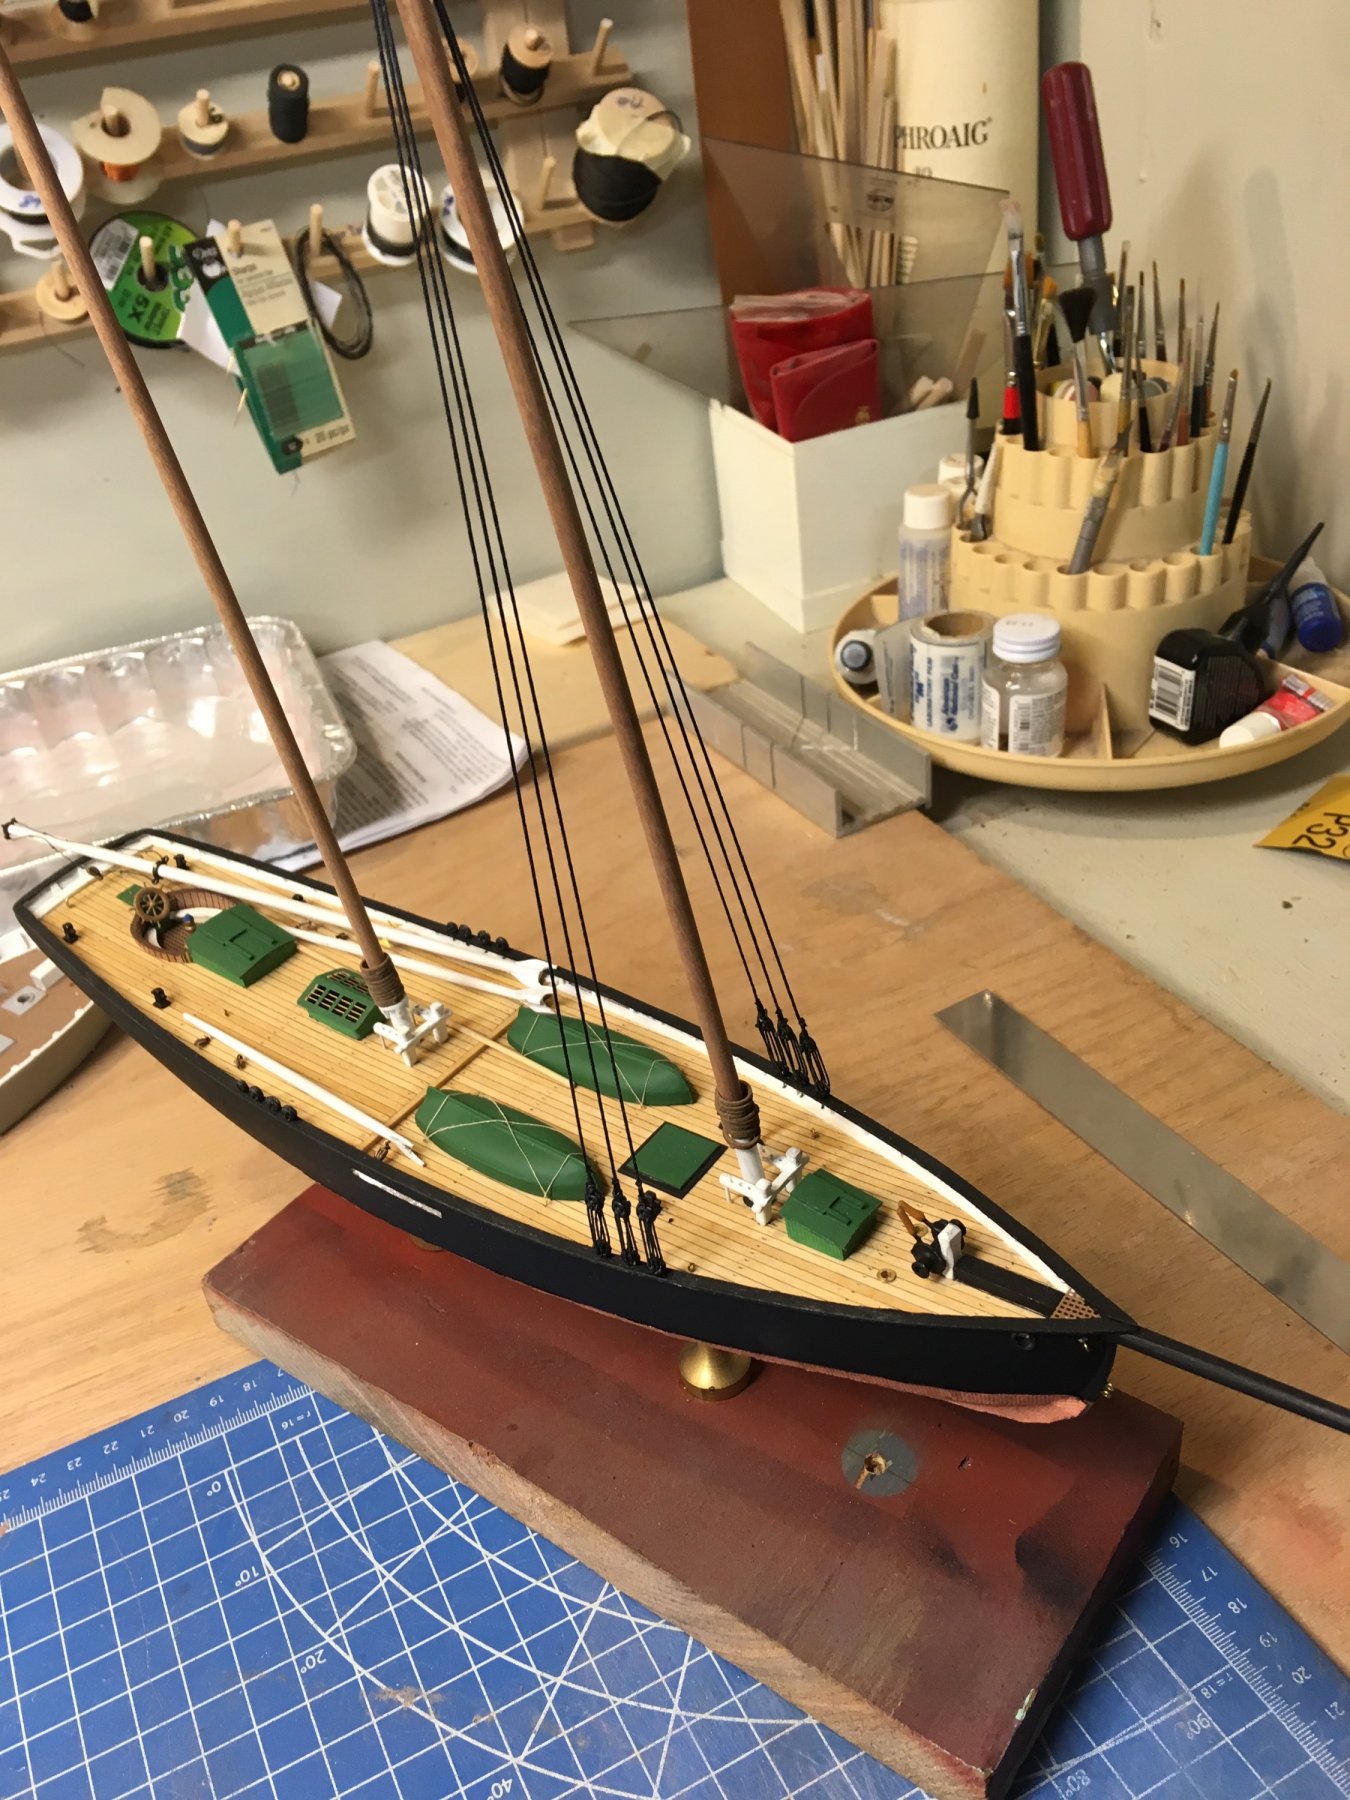
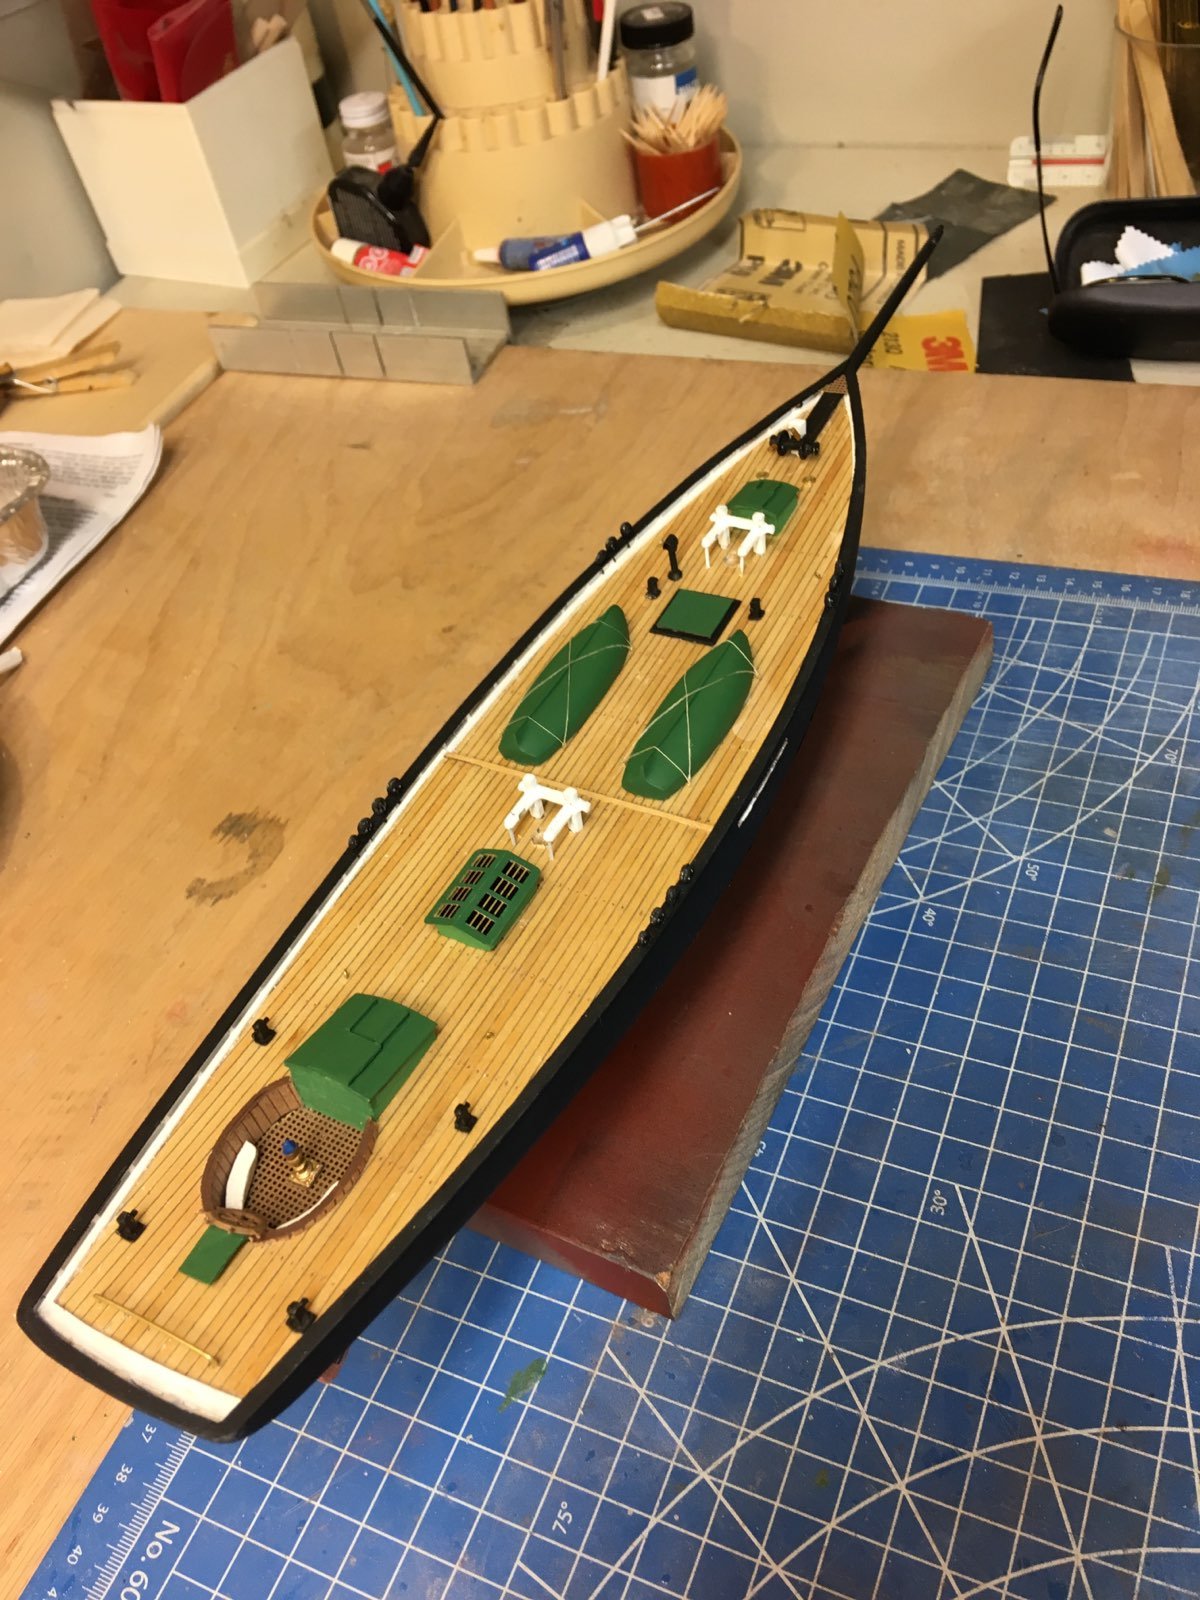
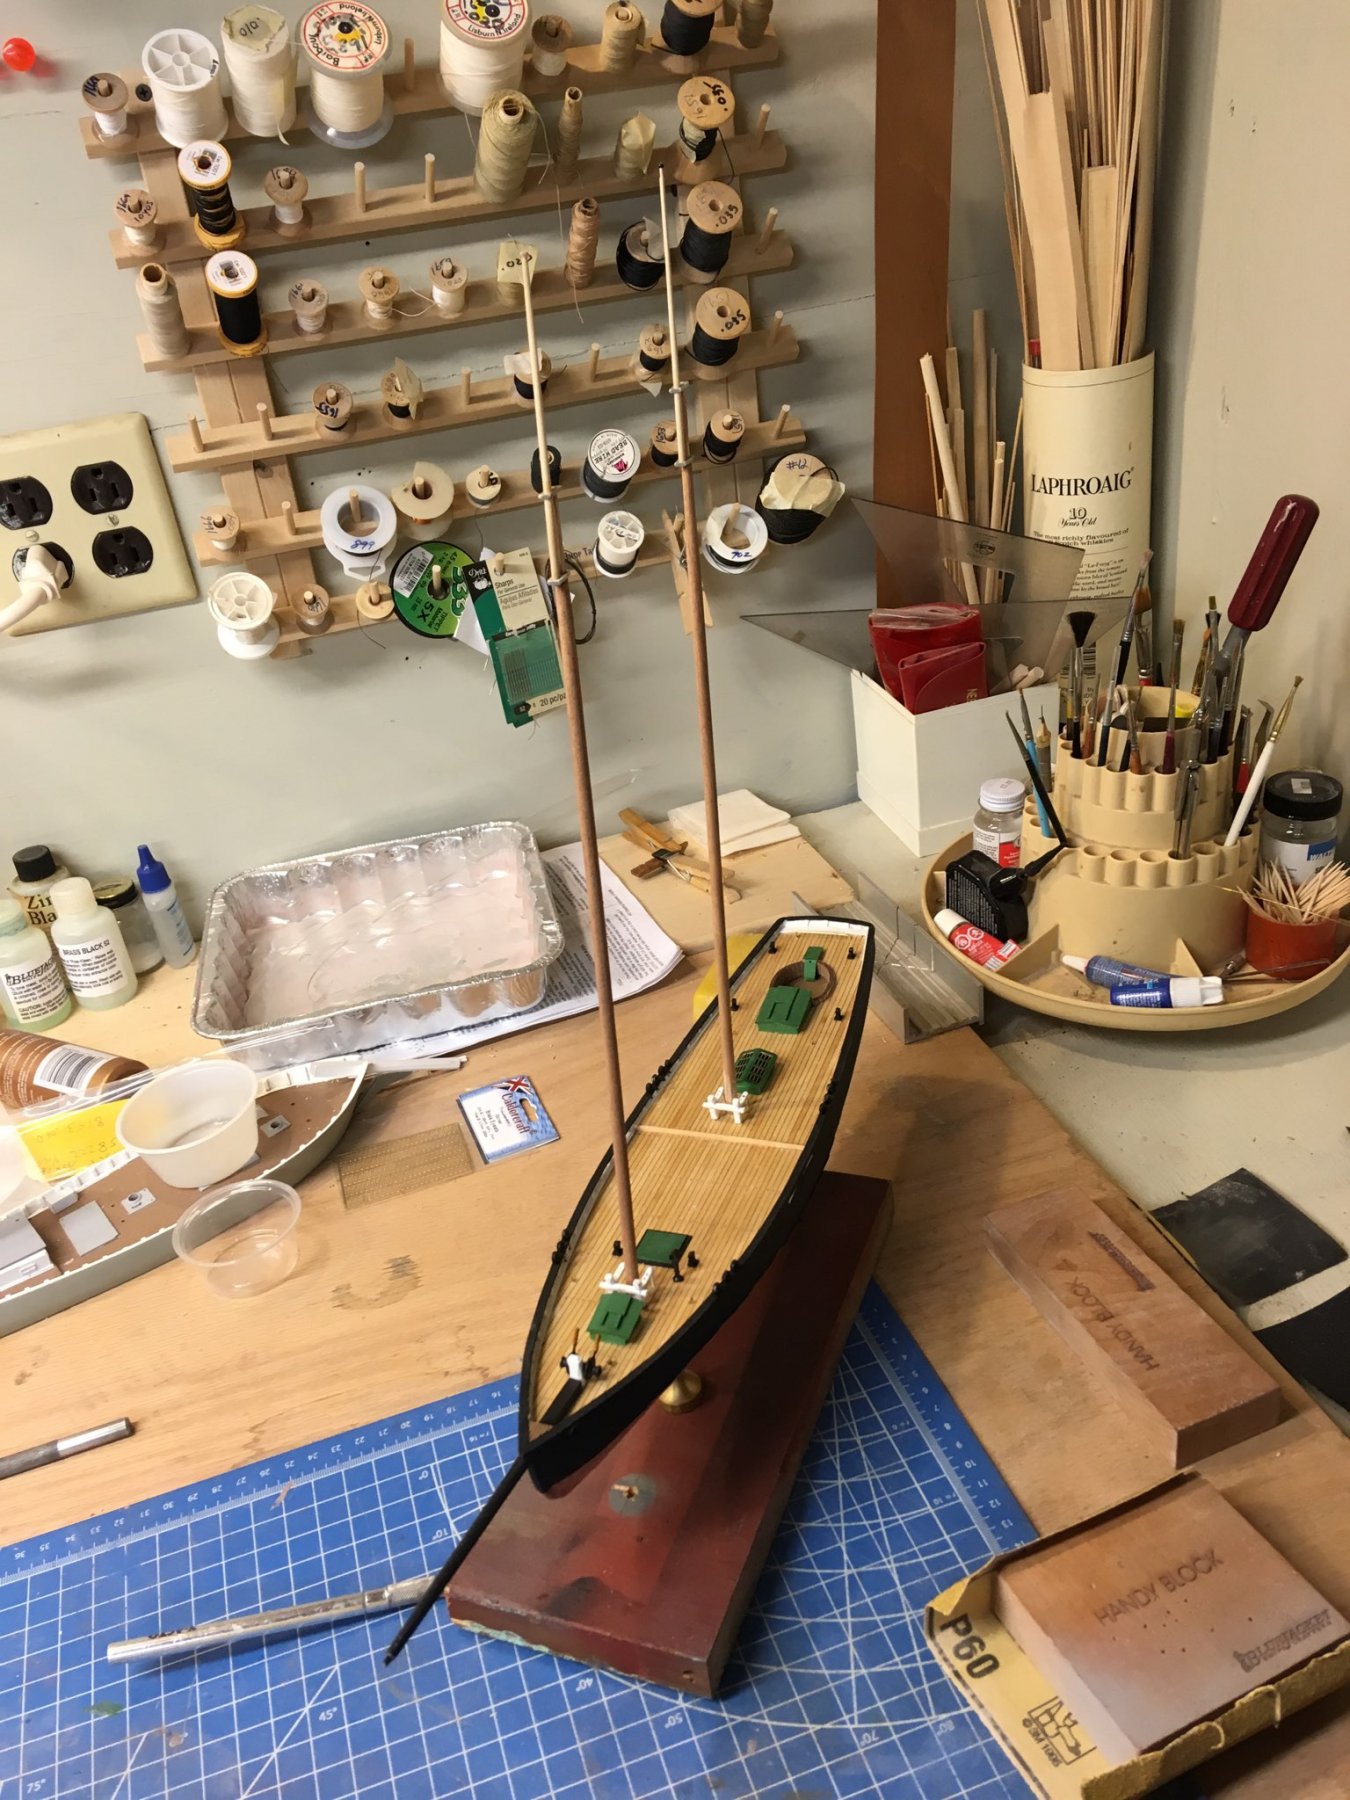
So during this past week, I have painted and installed all the deck furniture, lined the cockpit well, and started on the masting. Really taking shape now.

- bob porter, thibaultron, ccoyle and 4 others
-
7
-
We're looking into the bulkhead issue, thanks for your email about it.
Nic
- thibaultron and Osmosis
-
2
-
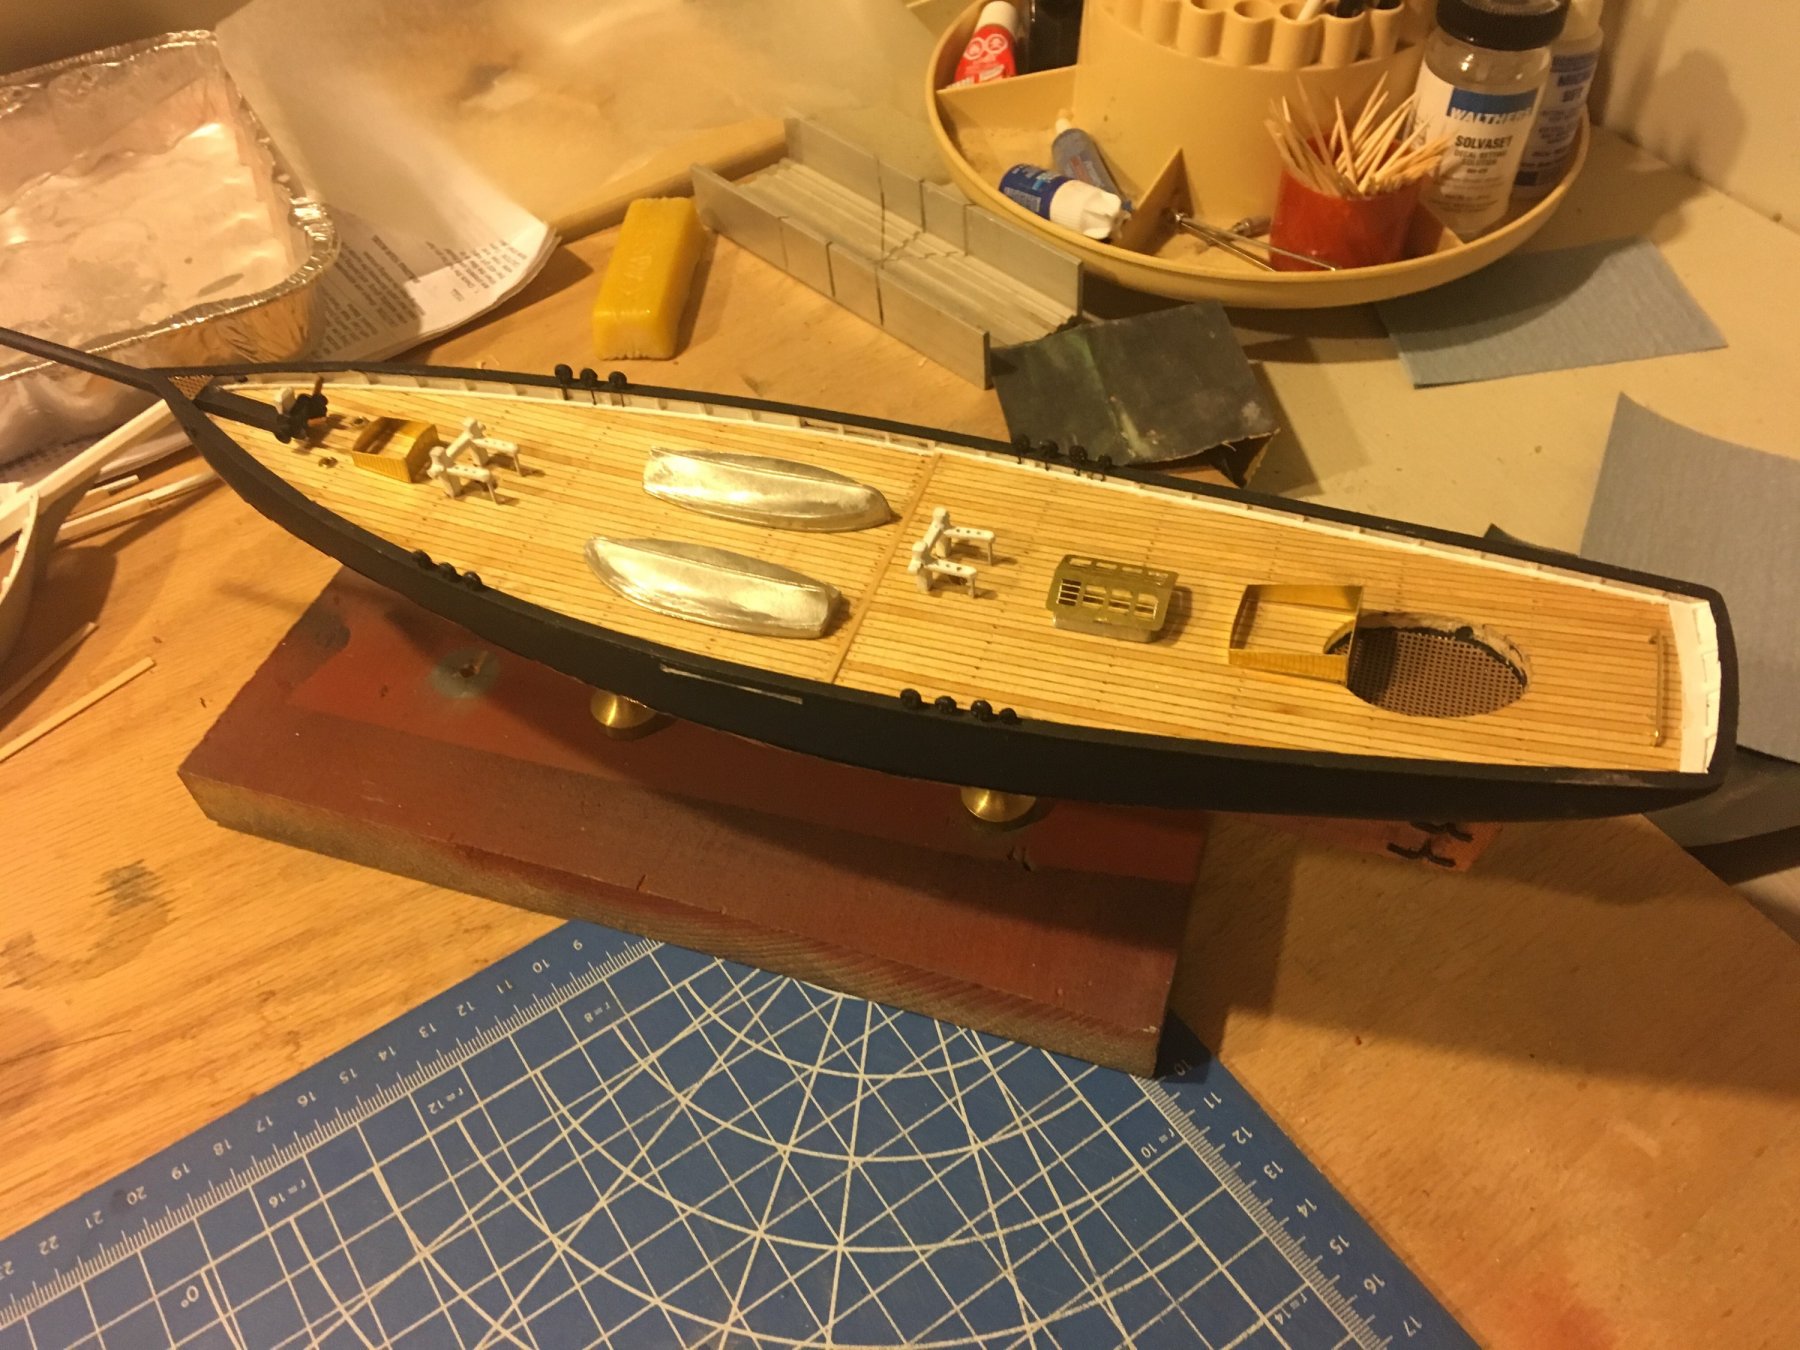
After installing the gratings, deadeyes and fife rails, I put some of the other deck furniture on to see how it looks.

-
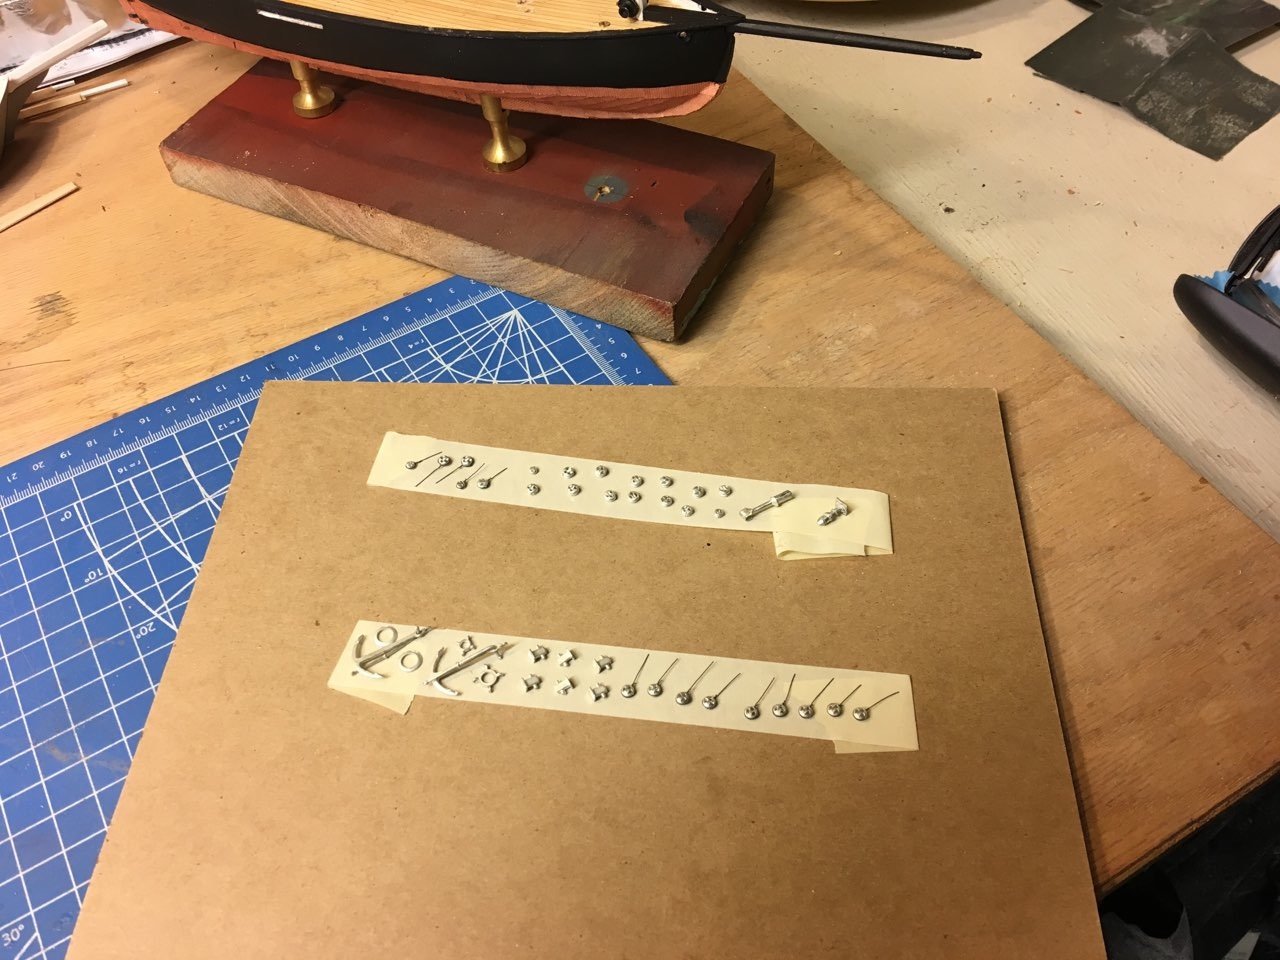
Here's some bits and pieces ready for a coat of flat black paint.

- thibaultron, russ, Fright and 1 other
-
4
-
Bulwark is trimmed, hull is primed, and the bulwark is painted flat white.

- bob porter, hexnut and thibaultron
-
3
-
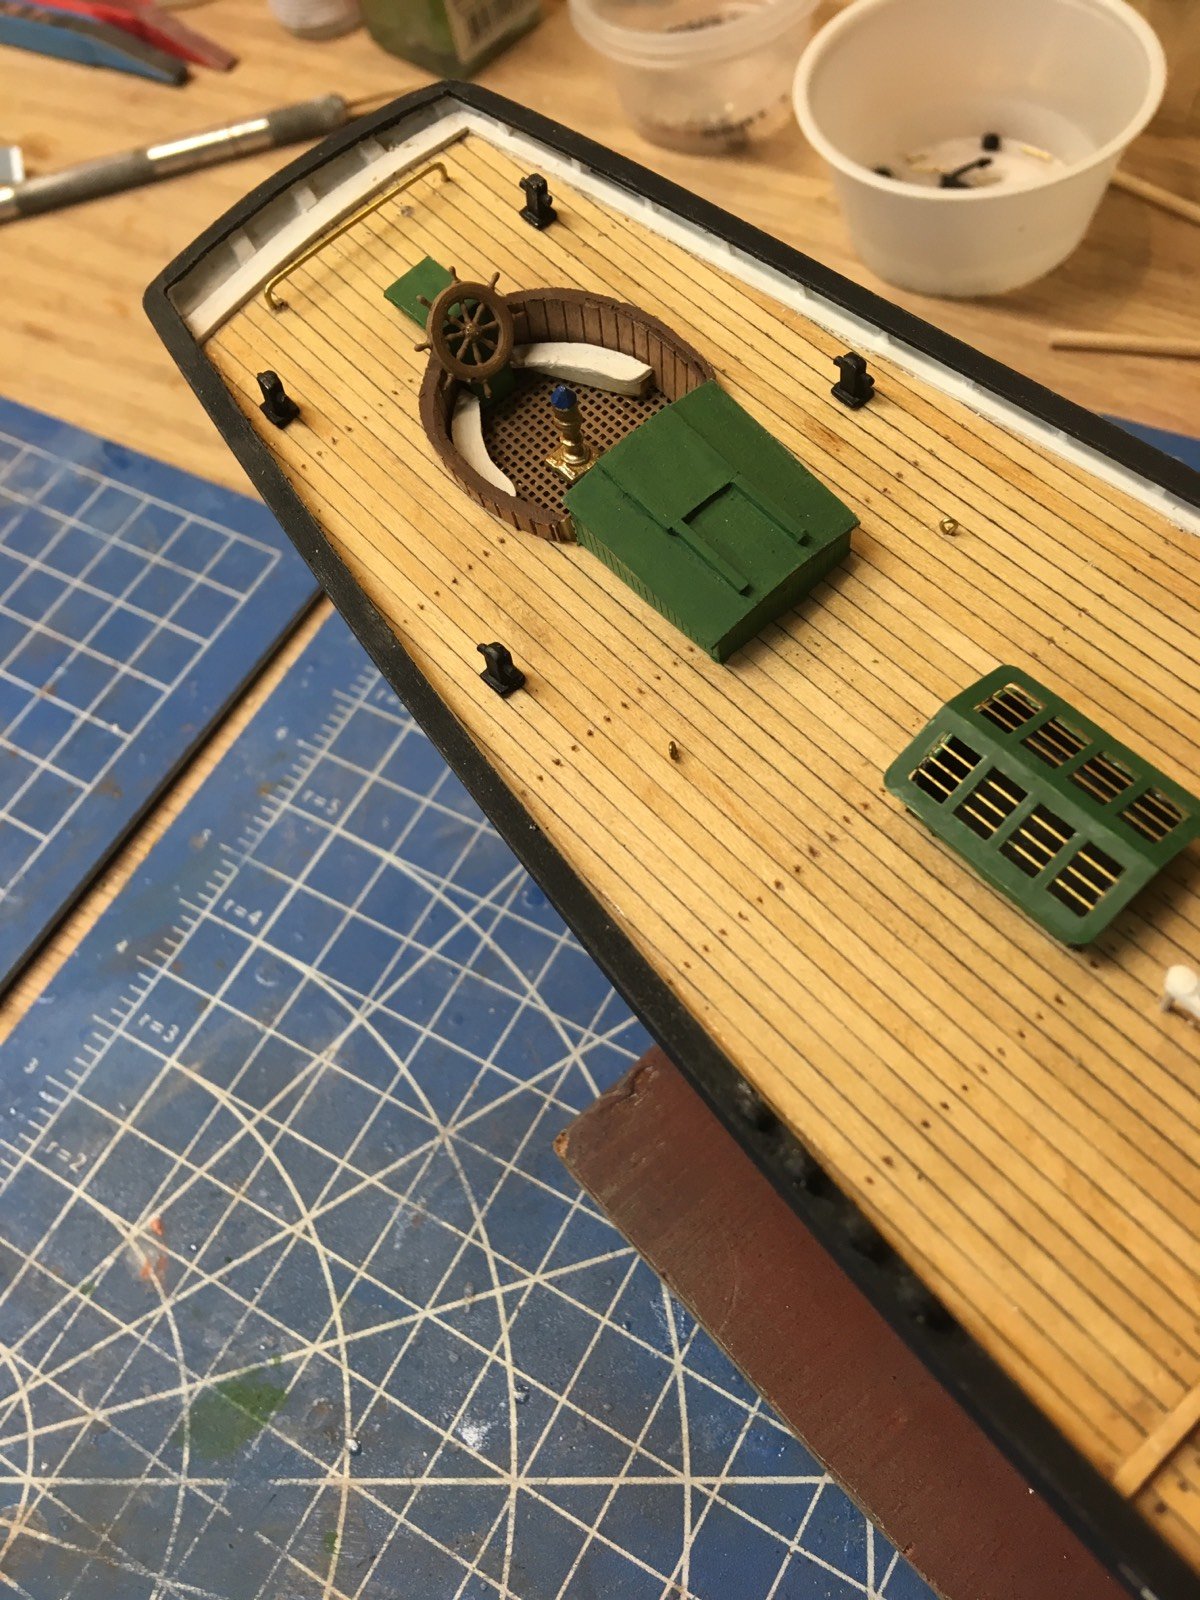
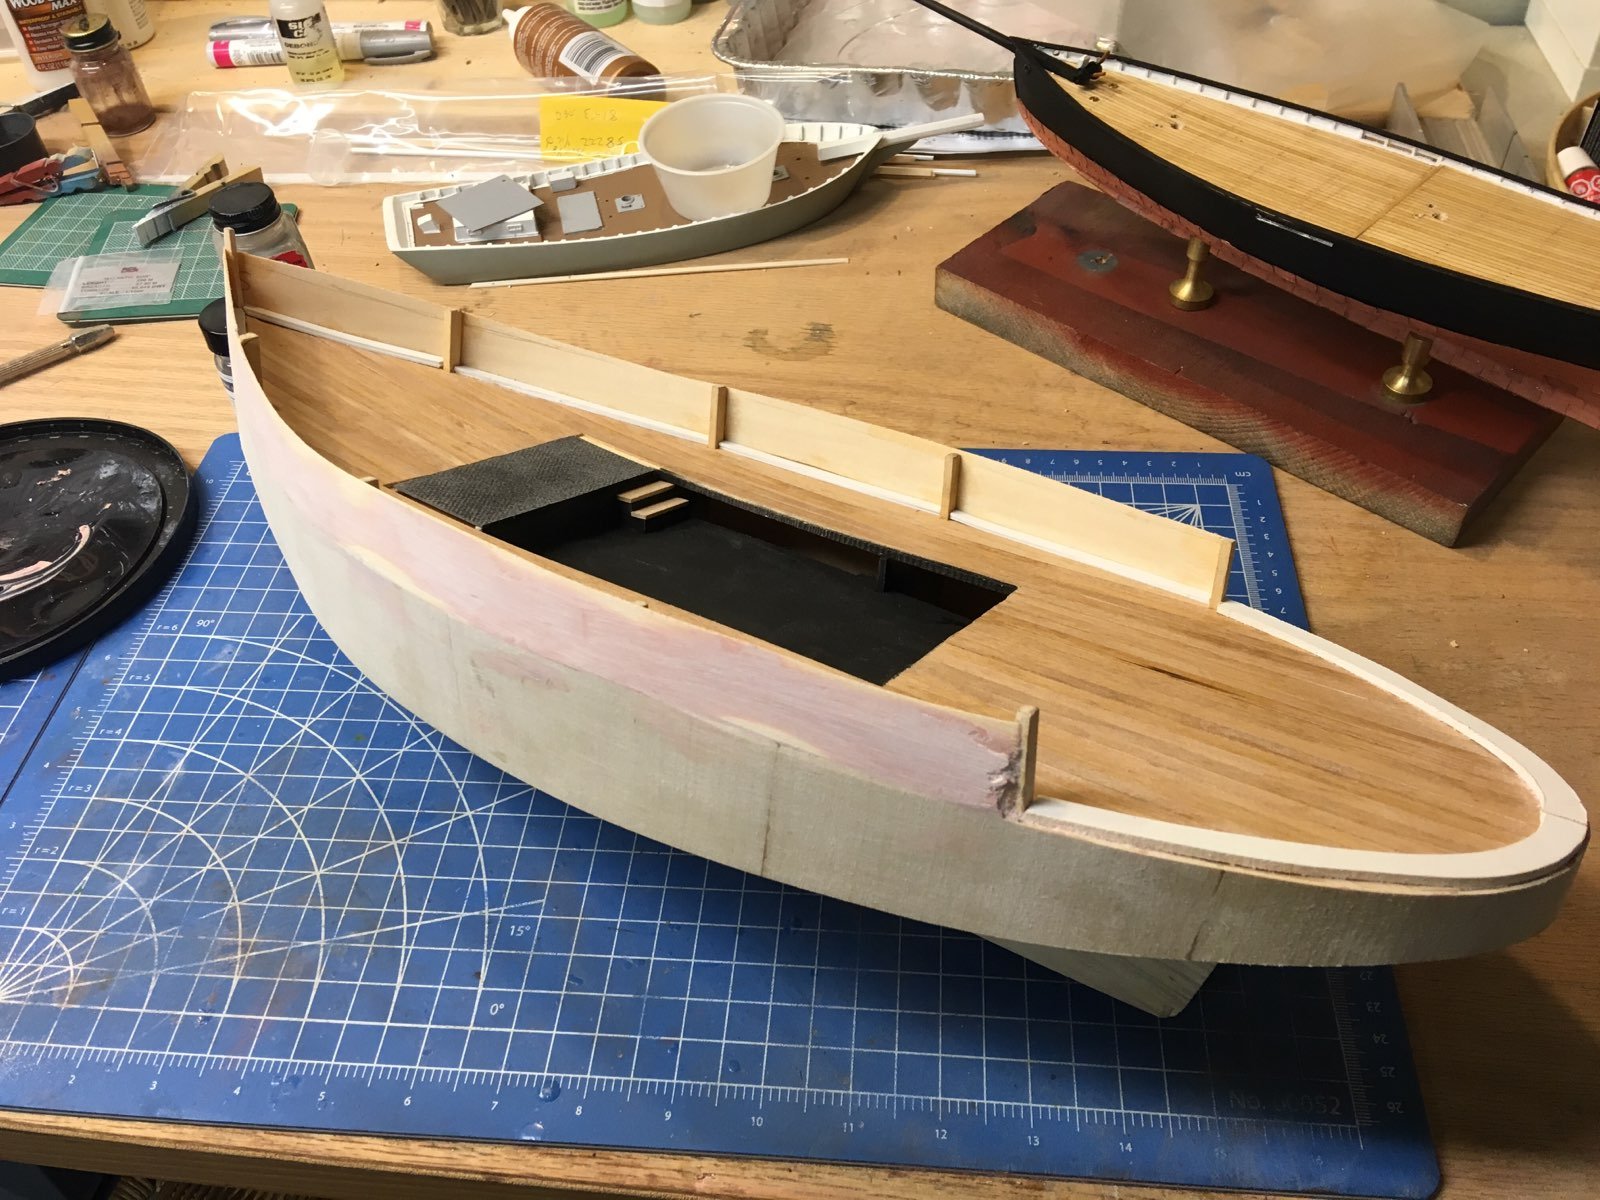
The solid railing is on, and mis-matches of the seam are covered with Bondo. The false machinery well is installed and painted, along with two steps down from the pilot house area.

- thibaultron, bob porter and hexnut
-
3
-
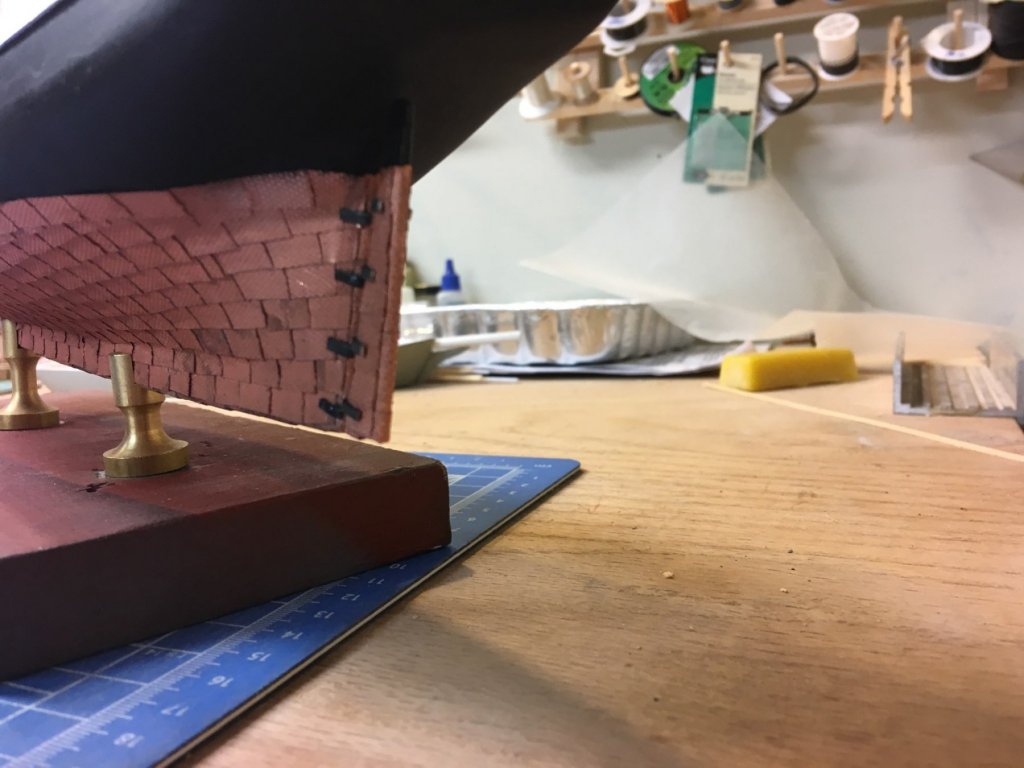
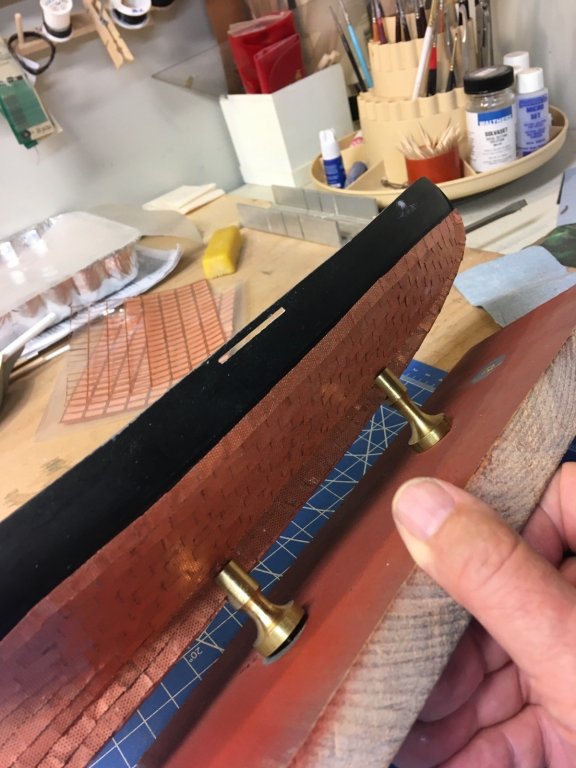
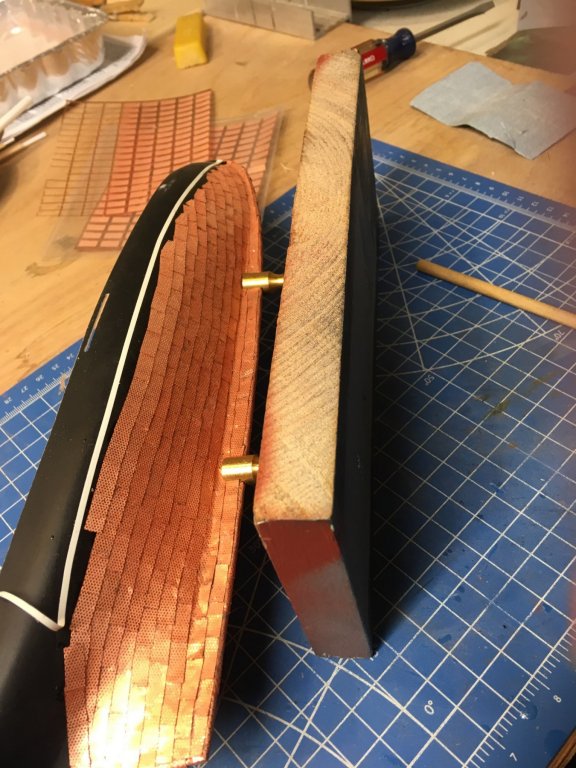
And of course, with the coppering finished, it is time to hang the rudder. I used thin strips of Britannia metal, and pinned the rudder in two places.
- russ, ccoyle, bob porter and 4 others
-
7
-
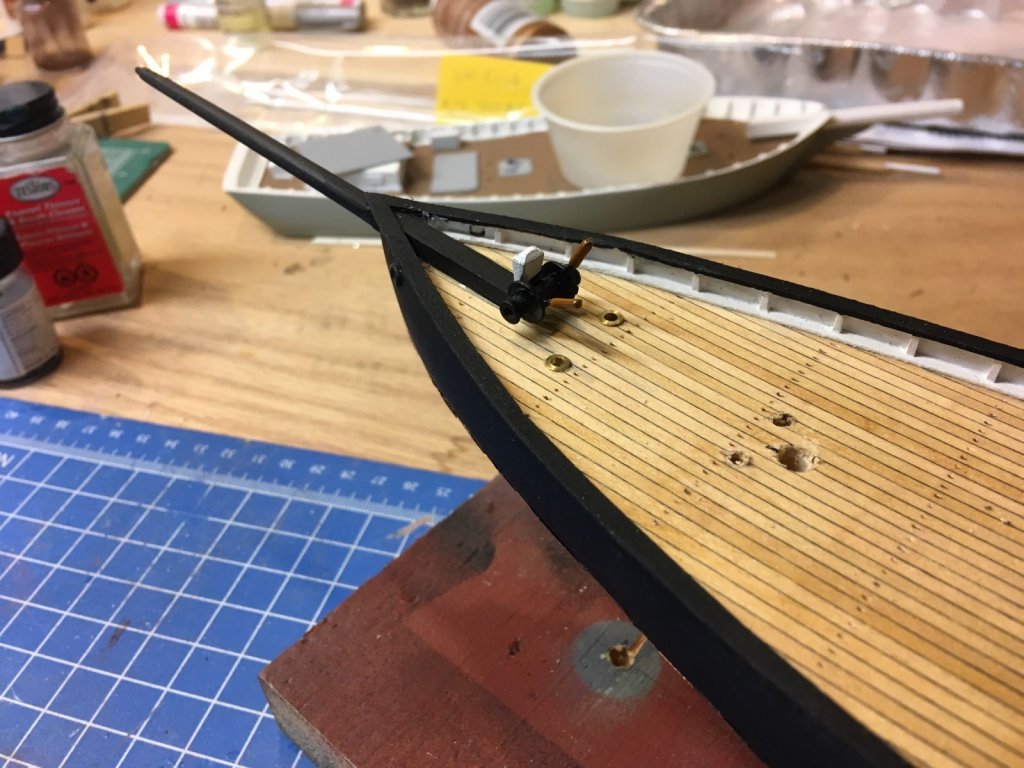
During the past week, I have put on the caprails, installed the bowsprit, Sampson post and winch assembly, and drilled holes for the masts and fife rails.
- hexnut, thibaultron, russ and 1 other
-
4
-
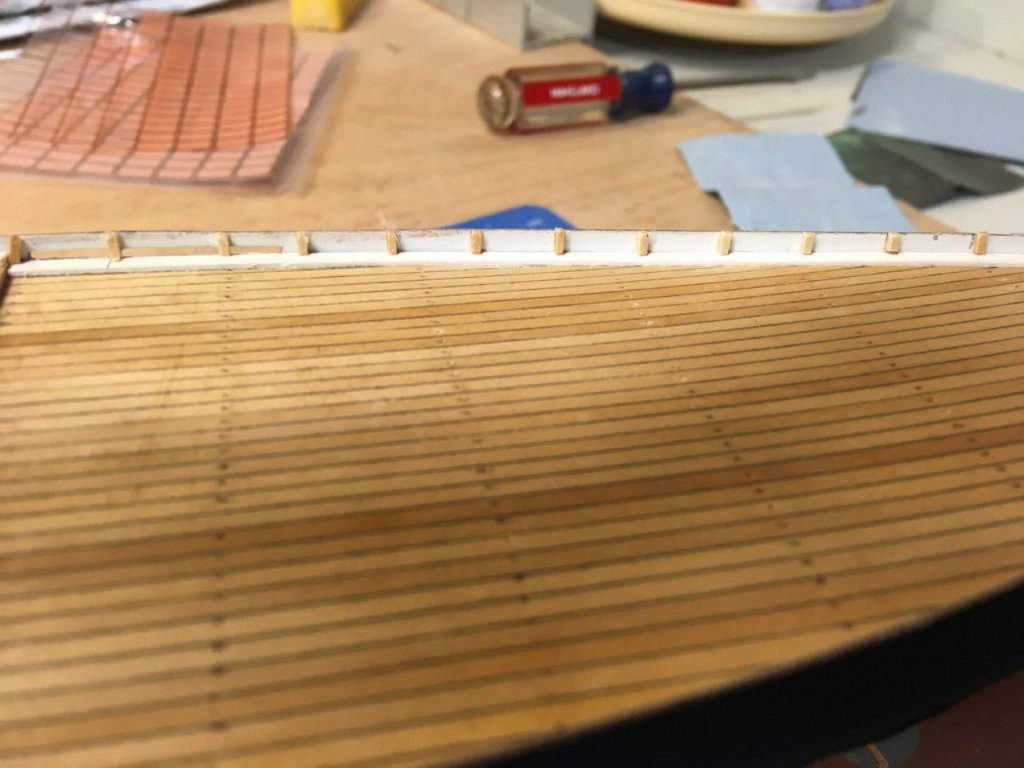
And just to take a little break from the copper, let's put in the timberheads! Then we'll sand them flush to the bulwarks and add the caprail. Almost getting to where I really like the build - adding deck furniture and masting and rigging. I consider the hull a necessary evil to get to the fun stuff. Oh, and did I say, our client wants sails? We'll do those from silkspan. Stay tuned......
- usedtosail, thibaultron, hexnut and 3 others
-
6
-
And here is the starboard side completed. Now to go back to the other side and do it all over
 again.
- bob porter, thibaultron, ccoyle and 3 others
-
6
-
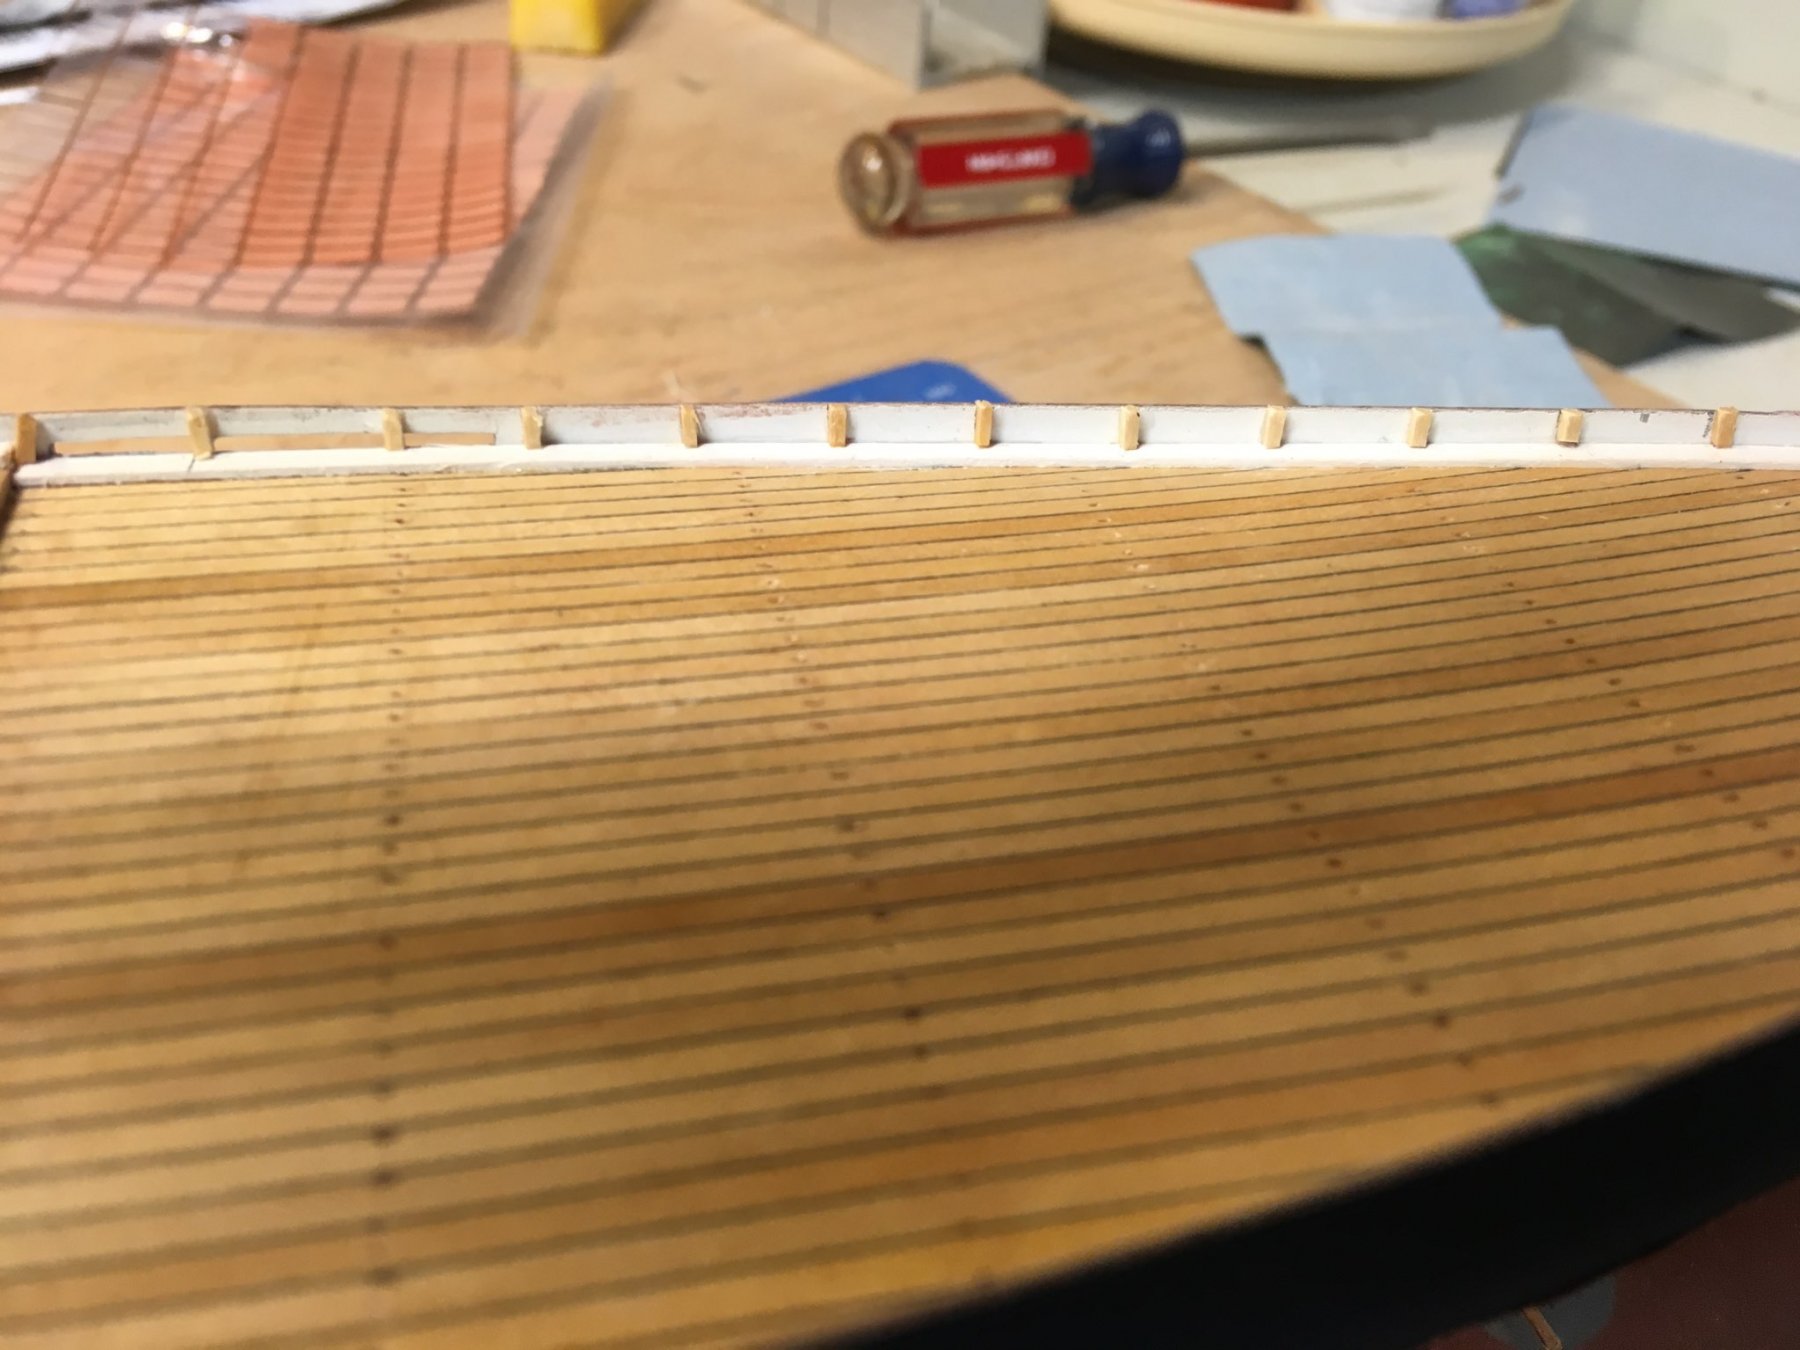
About 1/32" or a little less. just enough so there is no chance of a gap.
-
All the starboard side plates are in place, except for the waterline row. Notice two things:
1 - the upper edge of the plating is ragged. Don't worry, the waterline row will hide all of that.
2 - The aft end waterline row is starting to be applied.
- thibaultron, bob porter, hexnut and 2 others
-
5
-
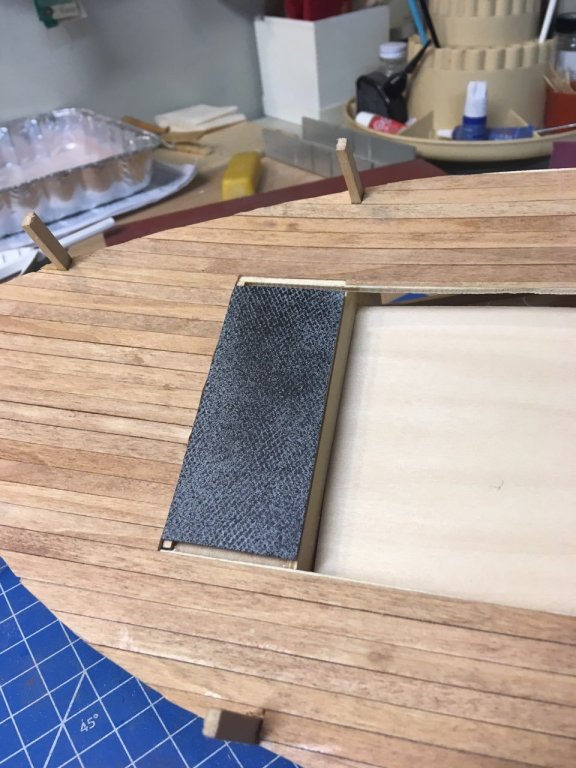
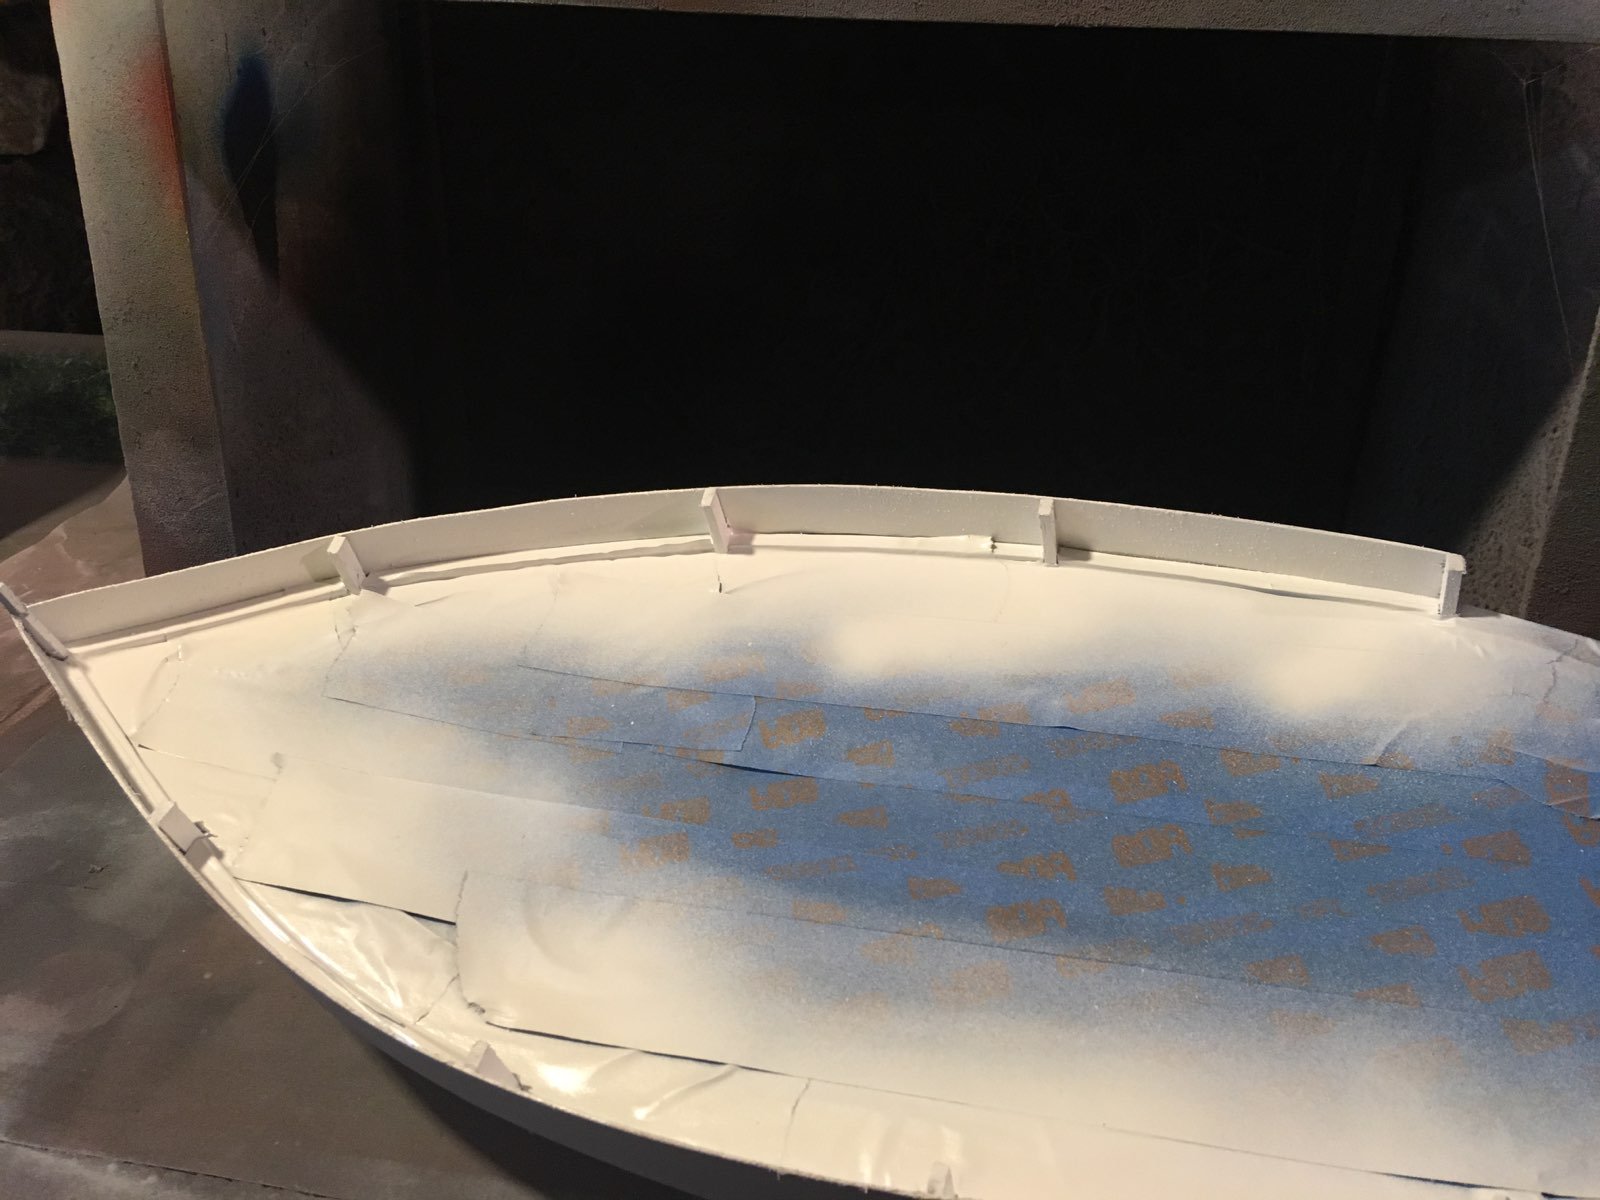
I made a diamond non-skid pattern by spraying black through a stretched screen over a gray base. I am happy with the look.
- grsjax, hexnut, glennreader and 3 others
-
6


Mary Taylor 1850 by MrBlueJacket - FINISHED - BlueJacket Shipcrafters - Scale 3/16" = 1' (1:64) - NY Pilot boat
in - Kit build logs for subjects built from 1801 - 1850
Posted
So the main shrouds, springer stay and topmast stay are installed.