MrBlueJacket
-
Posts
1,244 -
Joined
-
Last visited
Content Type
Profiles
Forums
Gallery
Events
Posts posted by MrBlueJacket
-
-
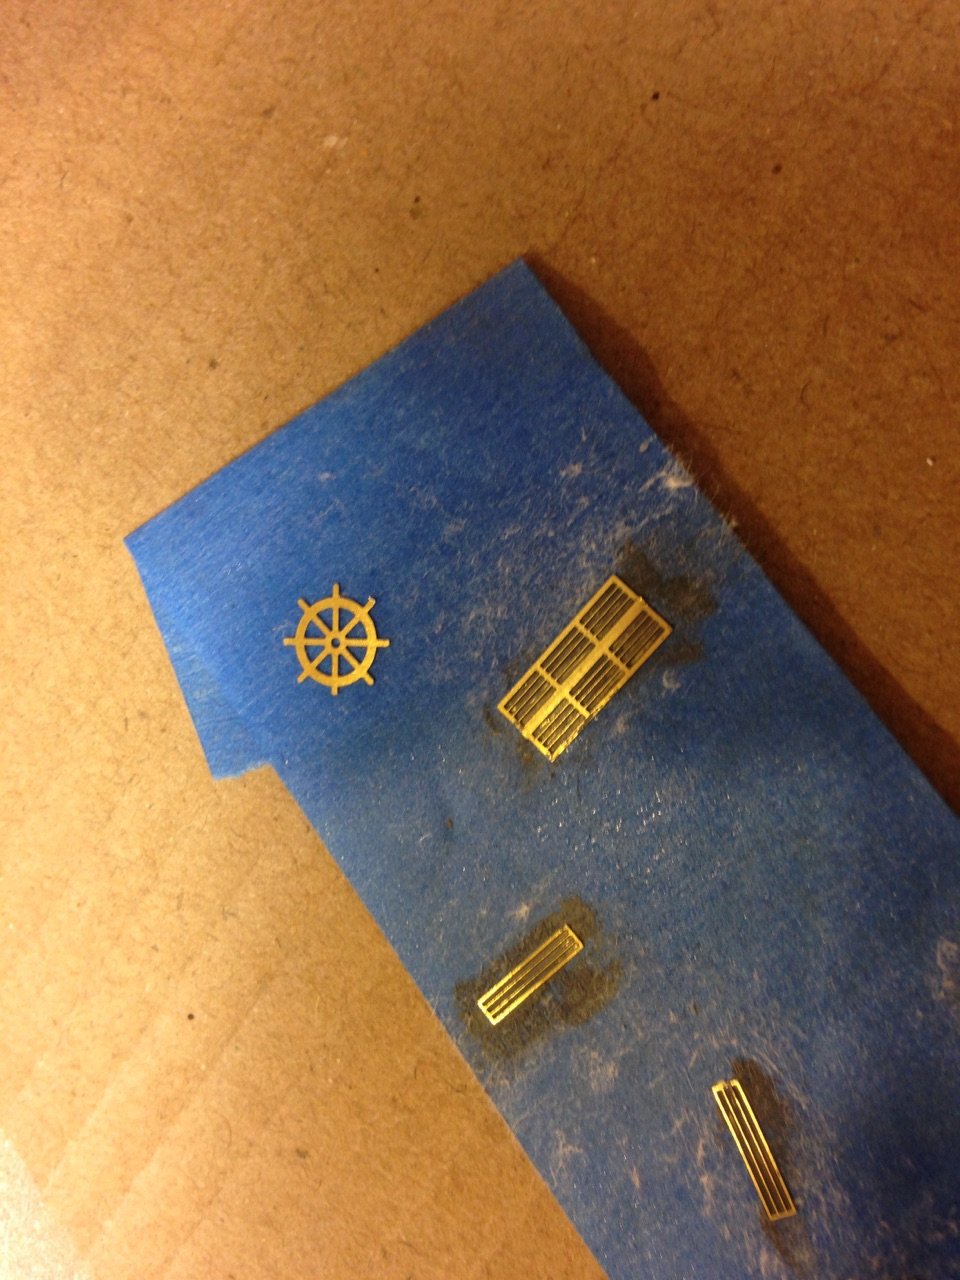
Inbetween coats of clear, I took the photo-etch pieces off and started to work on them. The skylights are half-etched to show the guard rods, but it is all brass color. I painted them with dark grey, then wiped off the highlights with a paper towel (dry) The net result I think gives them some depth.

-
-
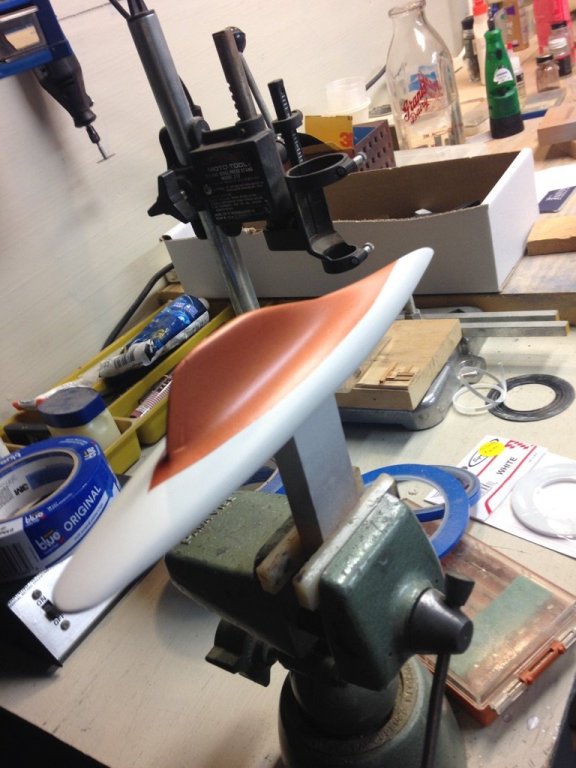
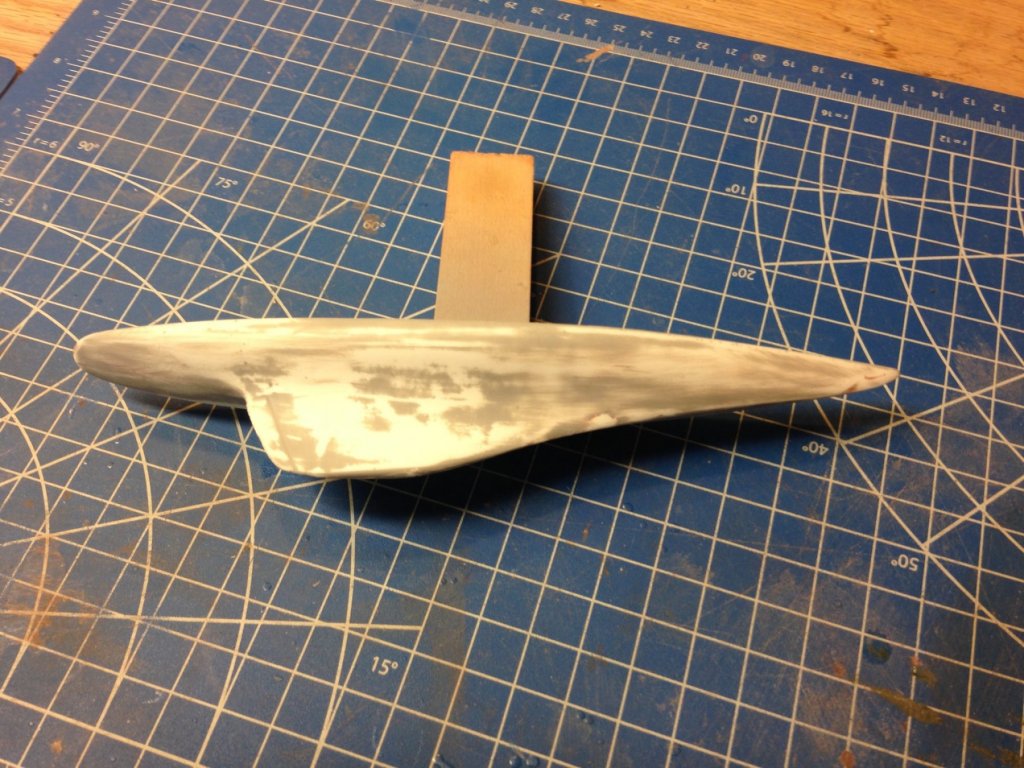
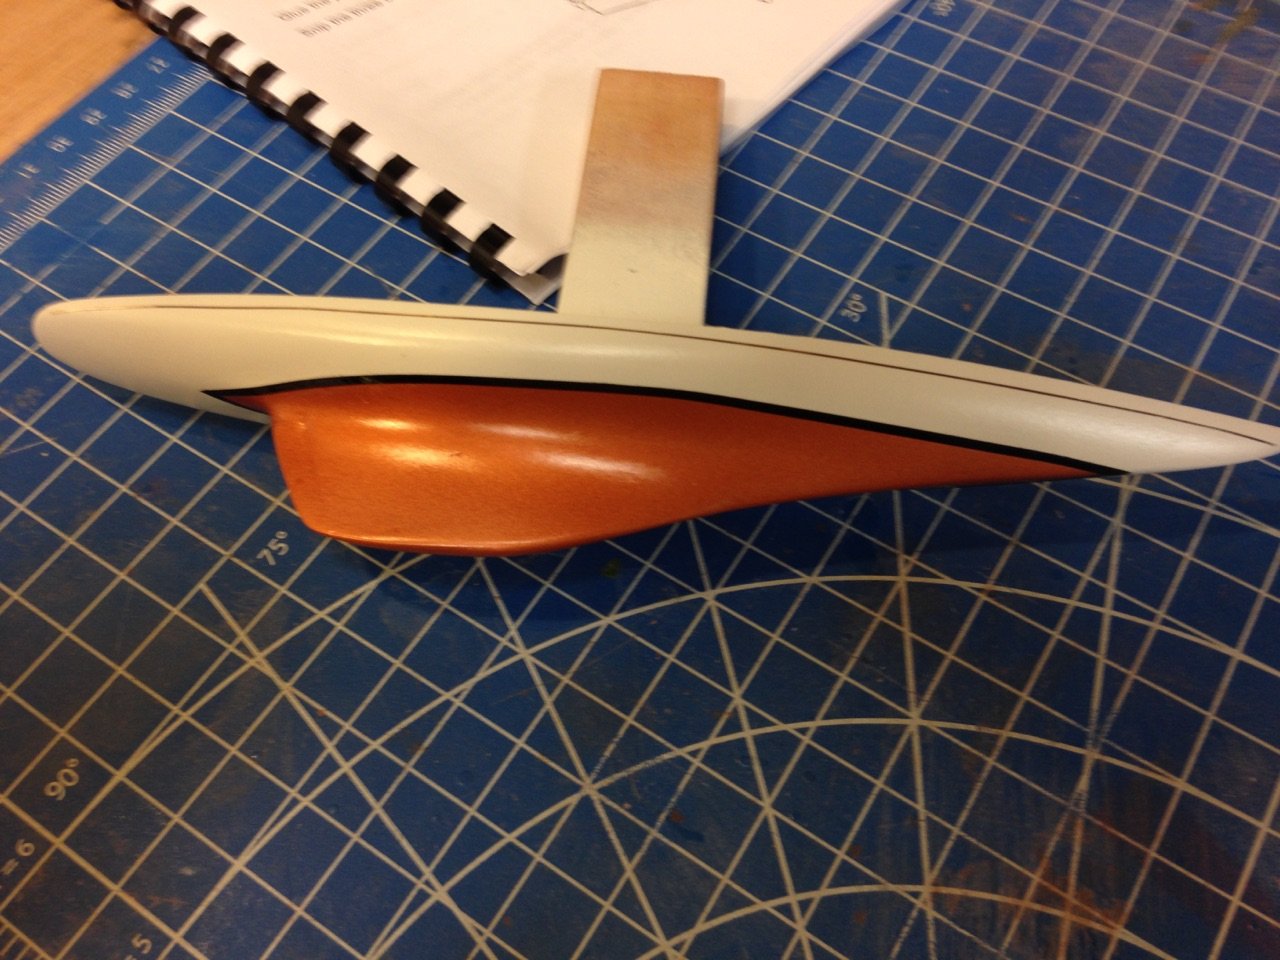
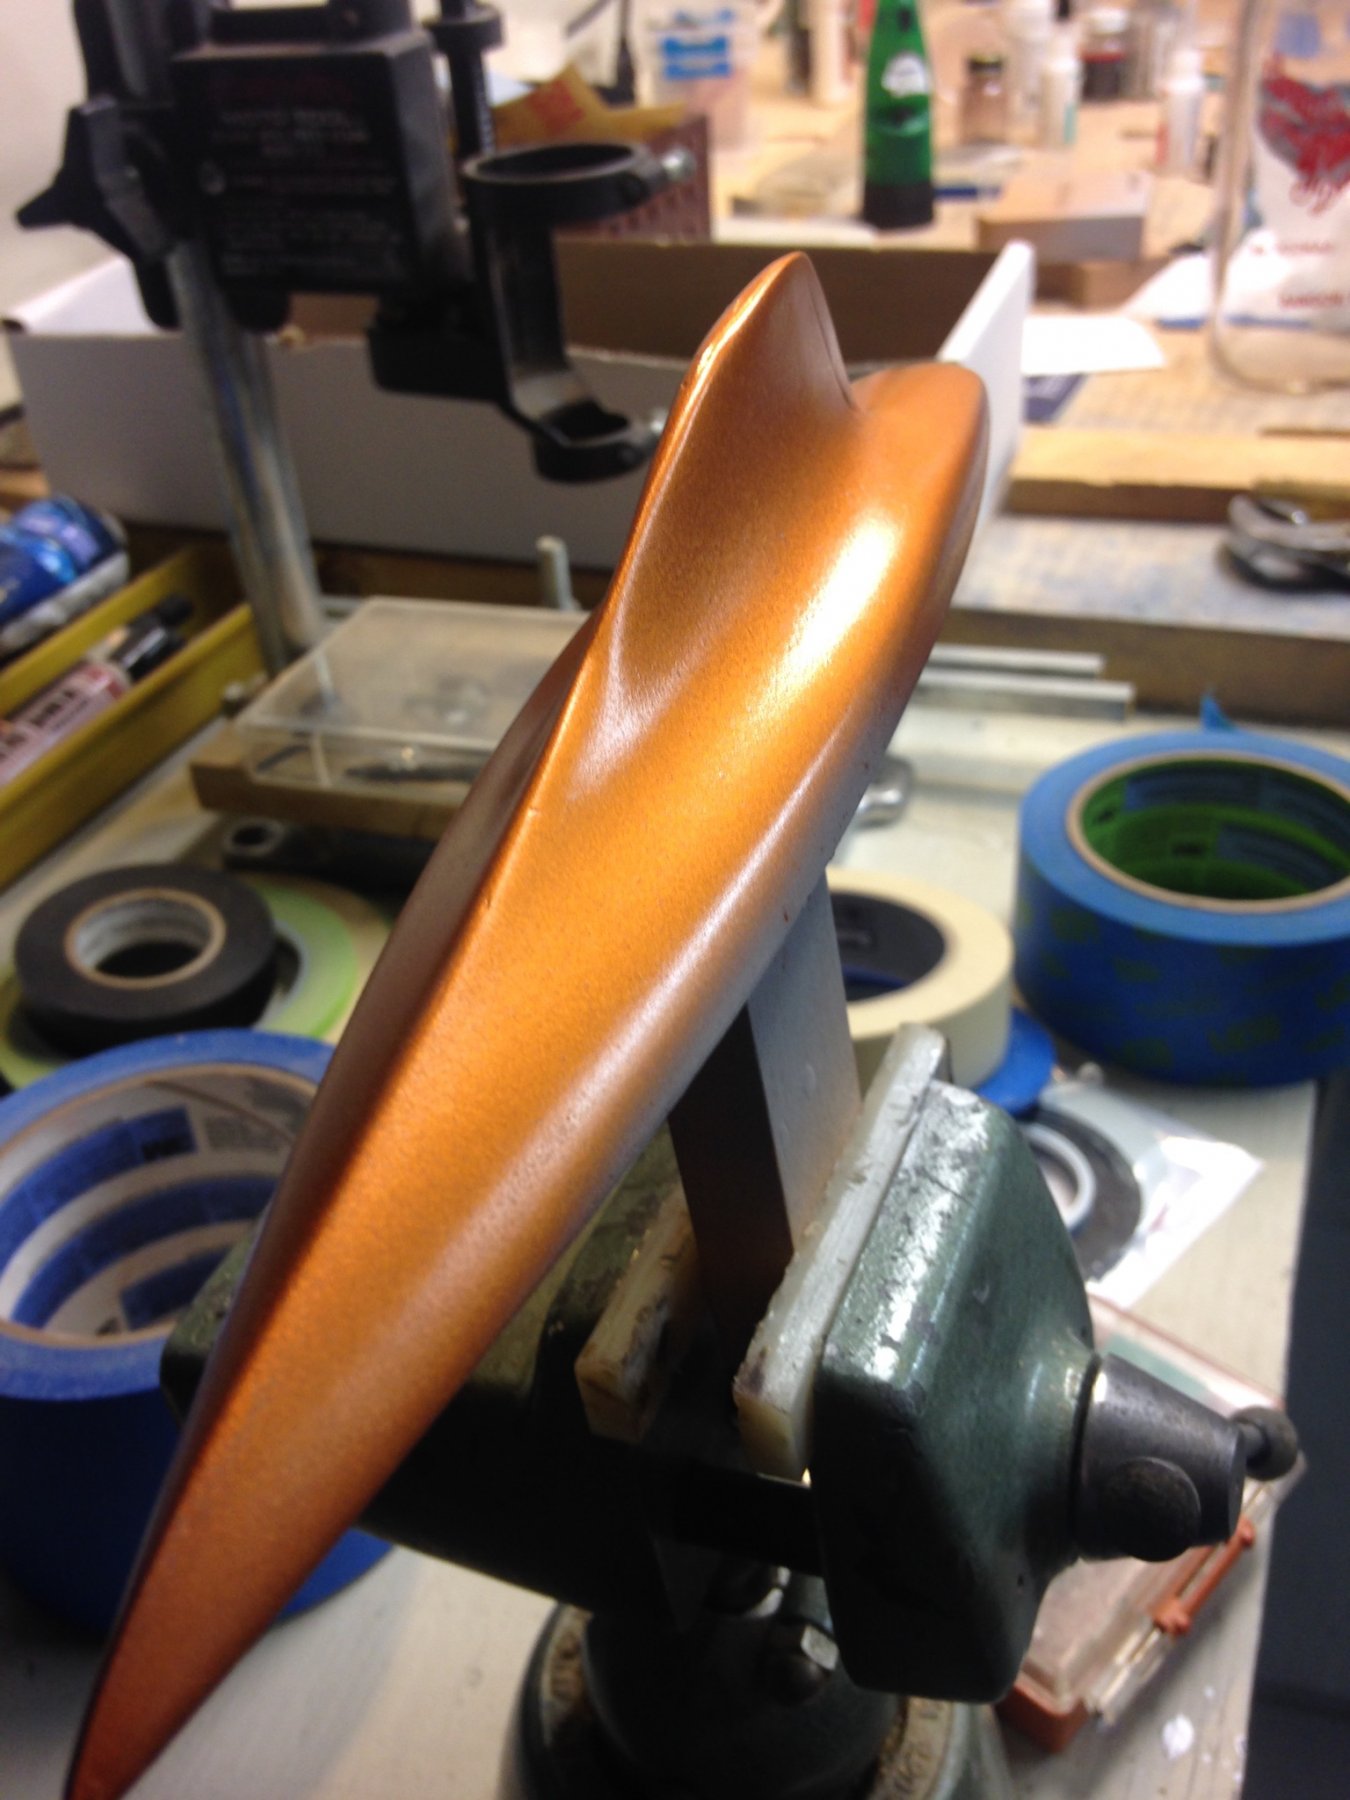
So this past w/e I sprayed FLAT white paint, which I have never had trouble with. Let it dry overnight, then masked off and sprayed copper. FInally, a good result!
-
Have you thought of a wooden or plastic square, center hole for the stack base, painted black, with a pin in each corner to represent bolts? It would look like a metal plate.
- CharlieZardoz and mtaylor
-
 2
2
-
So last night I hit the hull with 320 wet sandpaper, here's the result.

Then I shot more primer, tonight I'll do the 600/wet routine (again)
- mtaylor, popeye the sailor, Tom E and 2 others
-
5
-
-
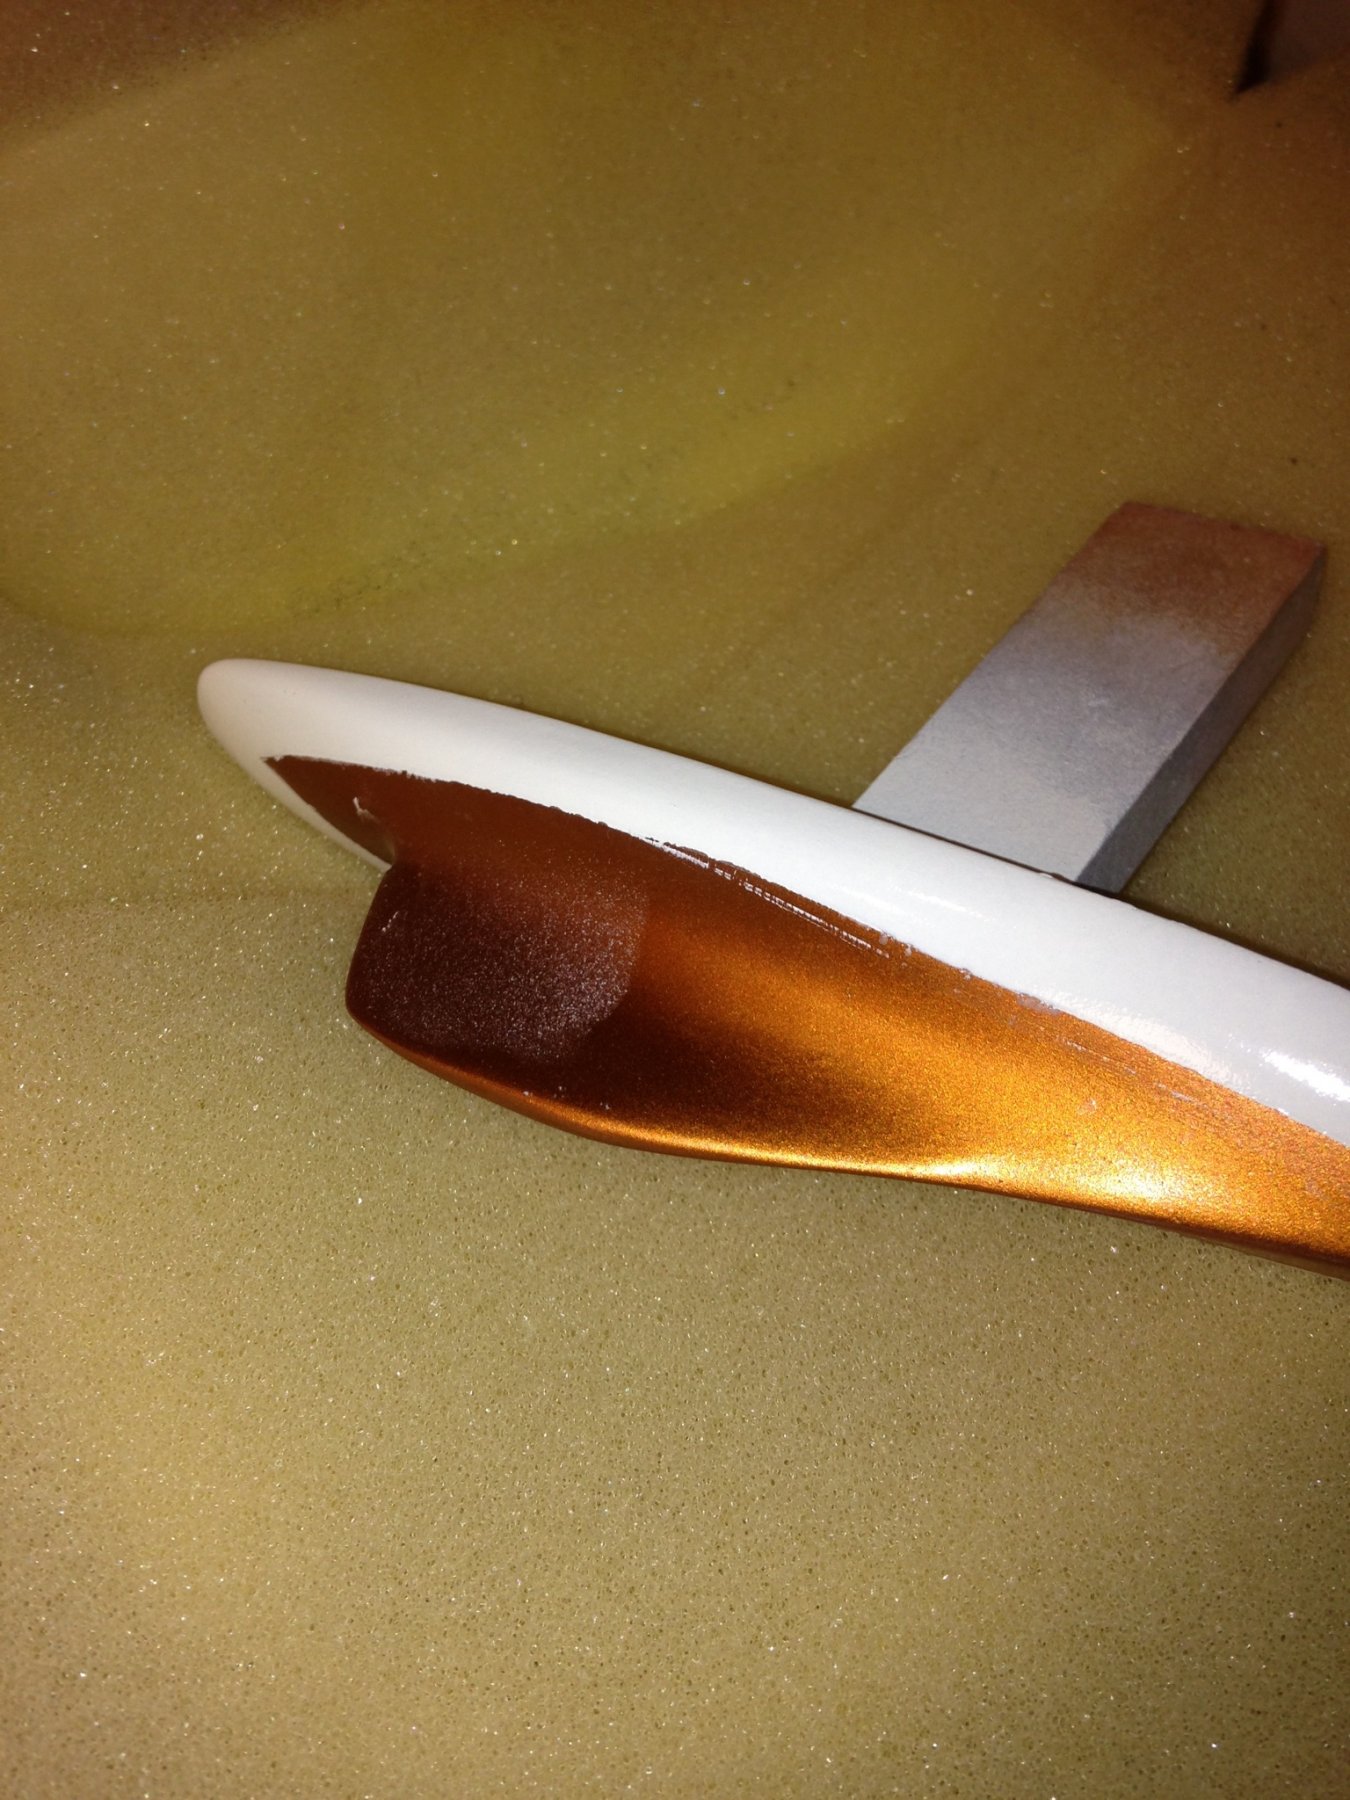
Last night I masked off the white and re-sprayed the copper.
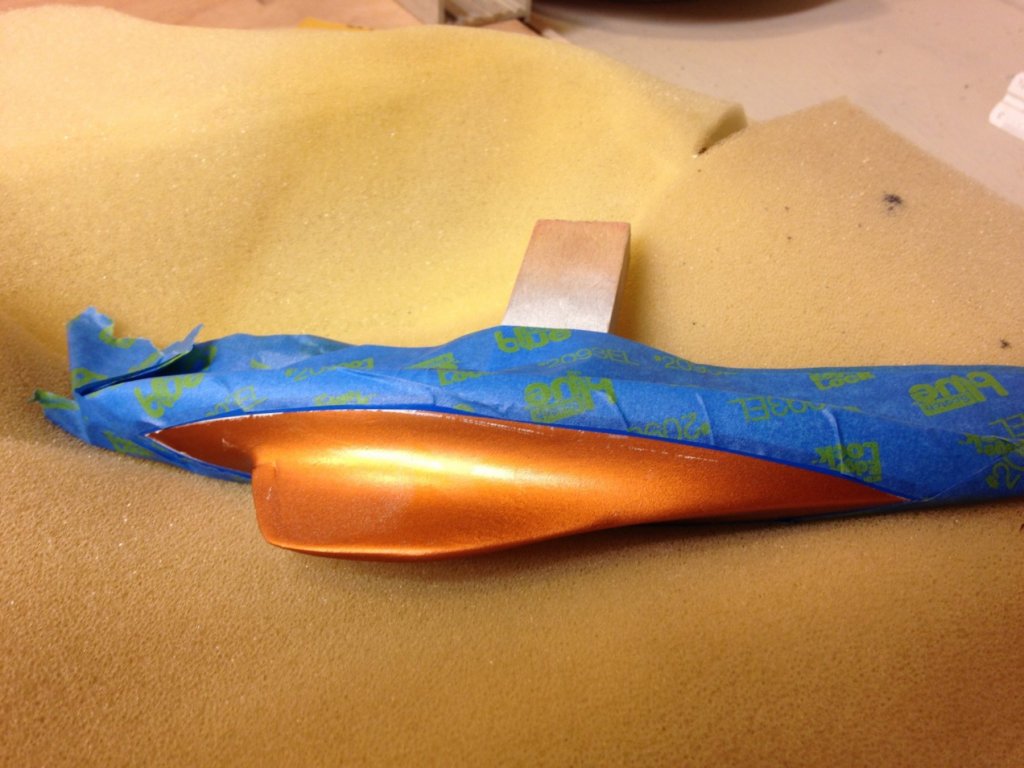
It looked great until I pulled off the masking tape, and some of the white paint came off with it.
So tonight I will strip off all the paint and shoot another coat of primer. once again, *SIGH*
-
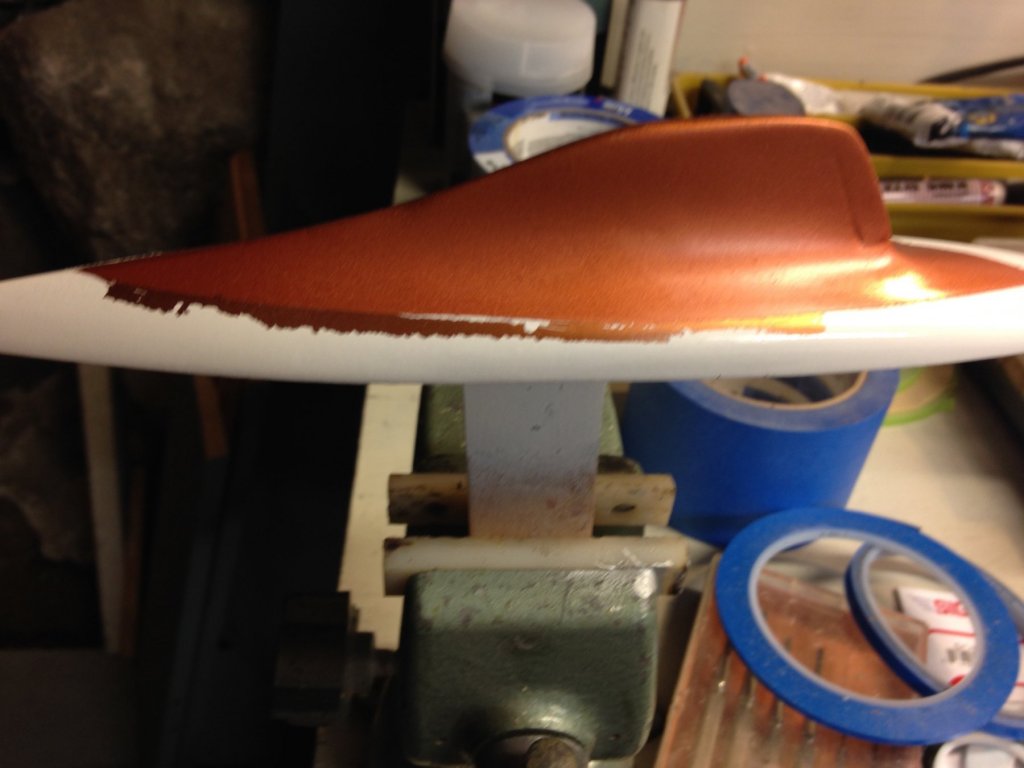
And then I sprayed gloss white from the rattle can. Got a nice shiny finish, but when I pulled the making tape off, I discovered the folly of my ways. I didn't burnish the tape enough, and left a slight flap of overlap unsealed. The result is less than professional.

So now I have to mask off the white, and re-spray the copper. *SIGH*
I have often said that there are very few true craftsmen, the majority of us just learn how to hide our mistakes! (like me)
-
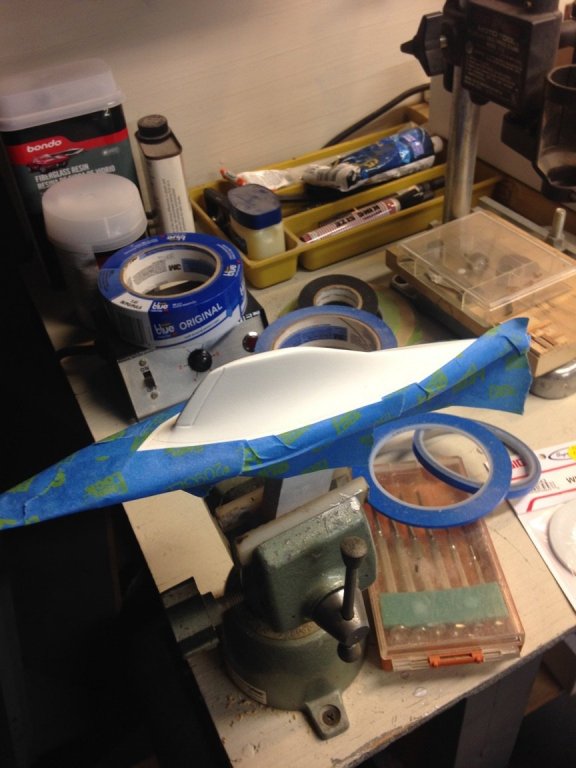
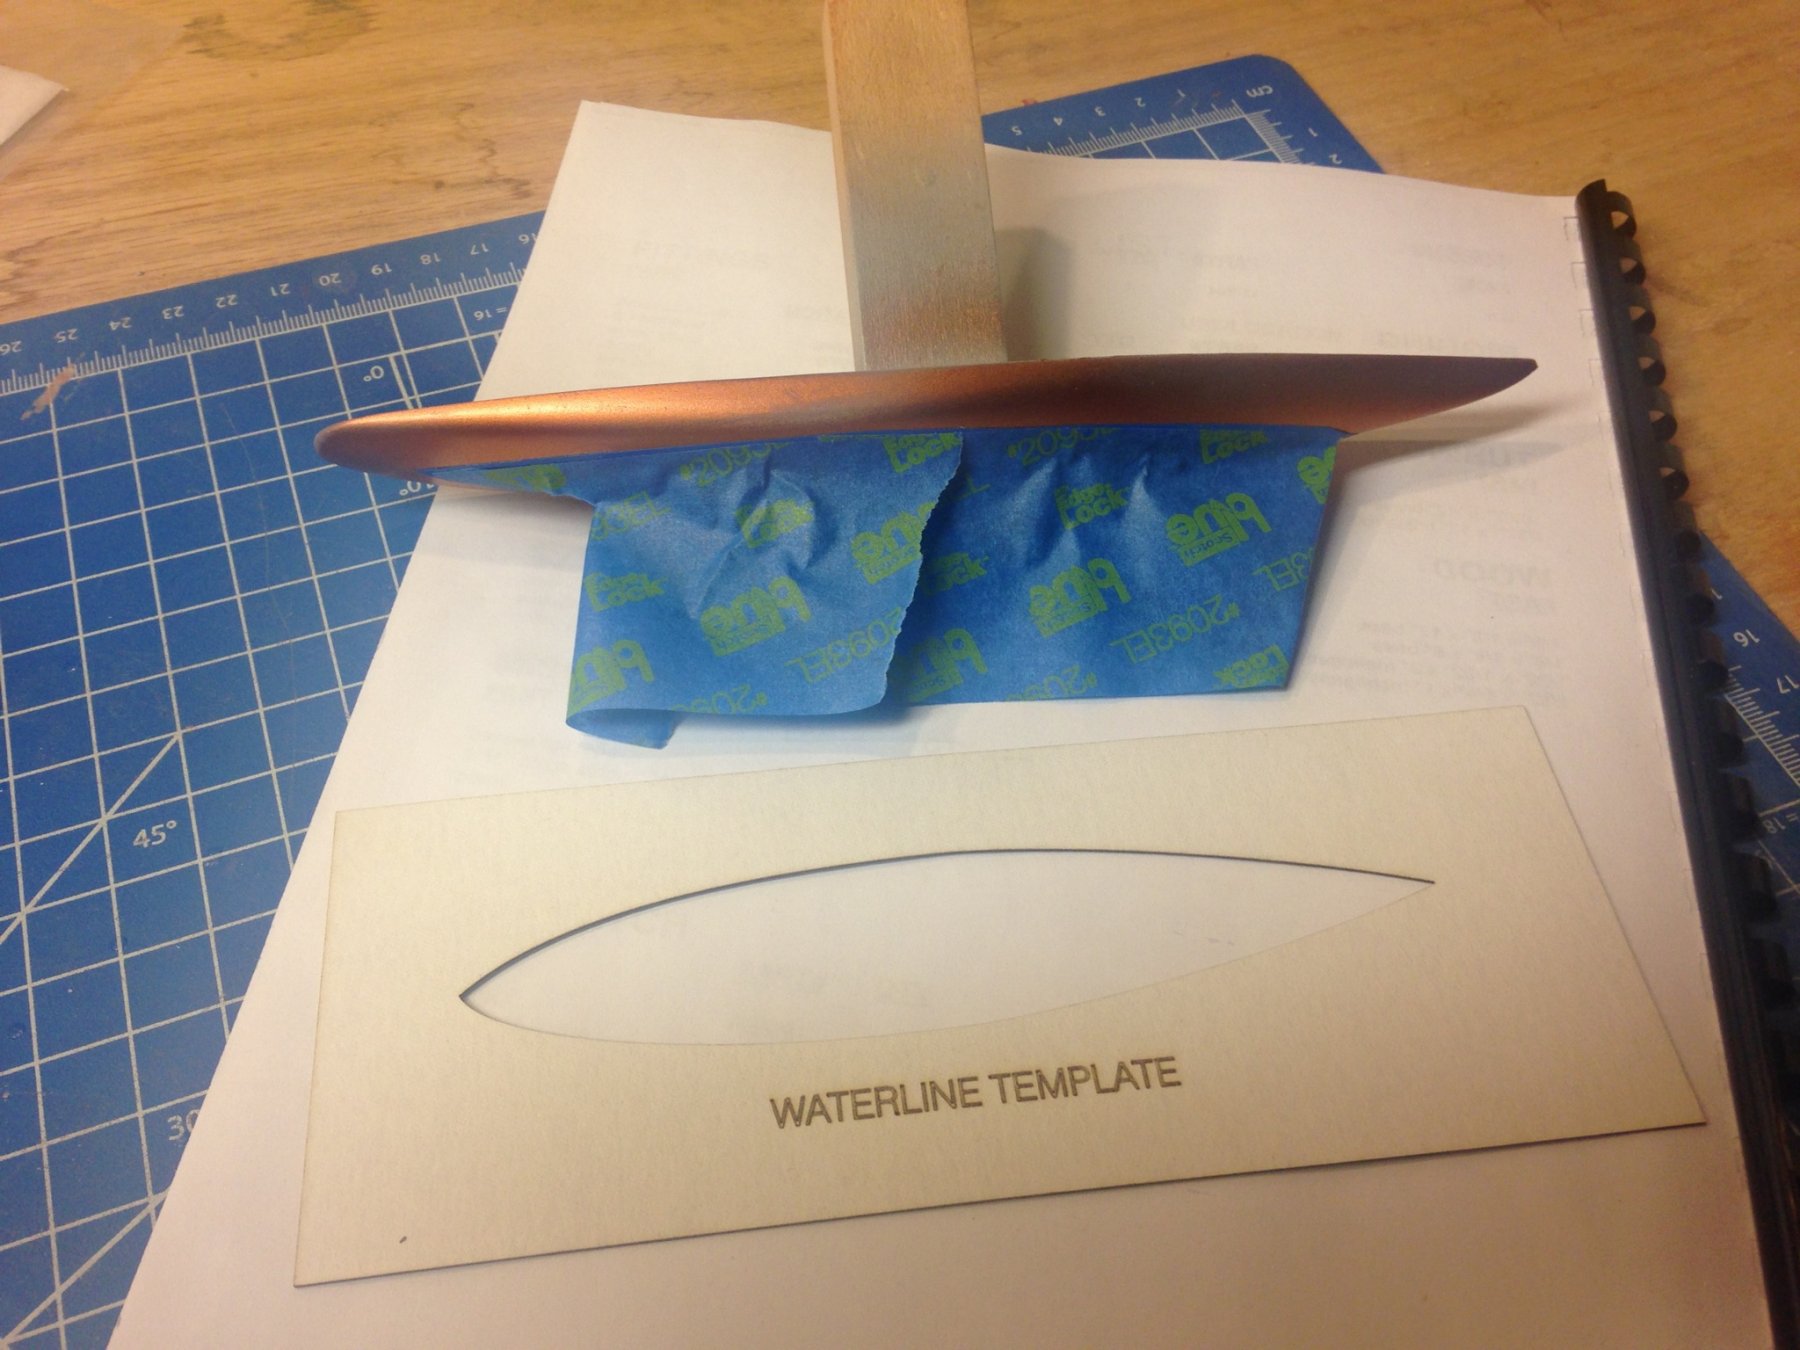
So this past weekend I masked off the hull, using the kit-supplied waterline template to mark it off.

- popeye the sailor, hexnut, Tom E and 1 other
-
4
-
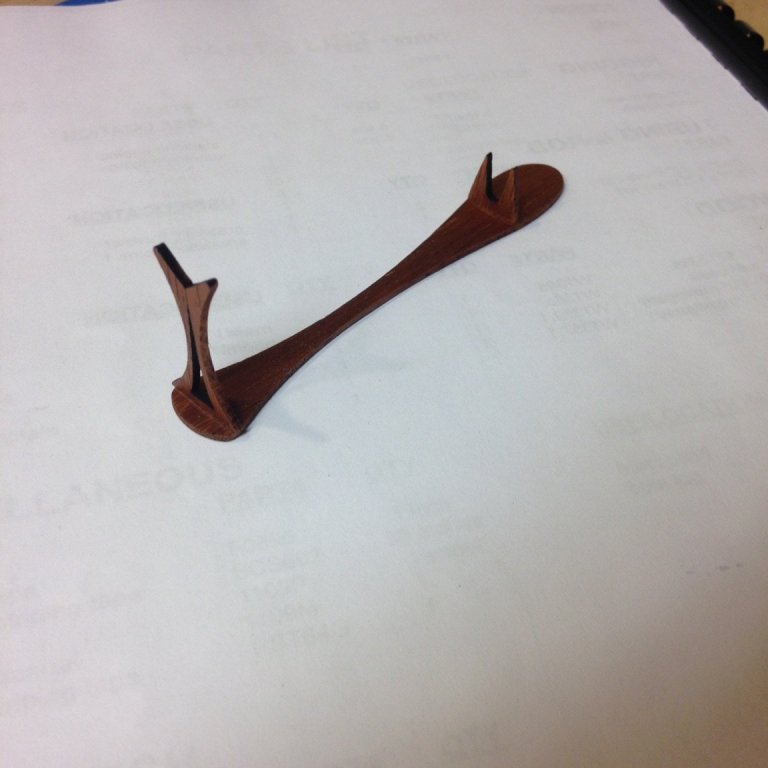
So I decided to assemble the laser-cut display base. It is a very artistic, delicate looking 3-piece assembly out of mahogany wood
- Tom E, popeye the sailor, Elijah and 2 others
-
5
-
6 minutes ago, shane762 said:
Neat little kit. Once it's finished what are the length and height?
It is 8 1/2" long by 12 1/2" high with the mounting stand. The Plexi case is 11 x 4 x 14.
- popeye the sailor and Elijah
-
2
-
-
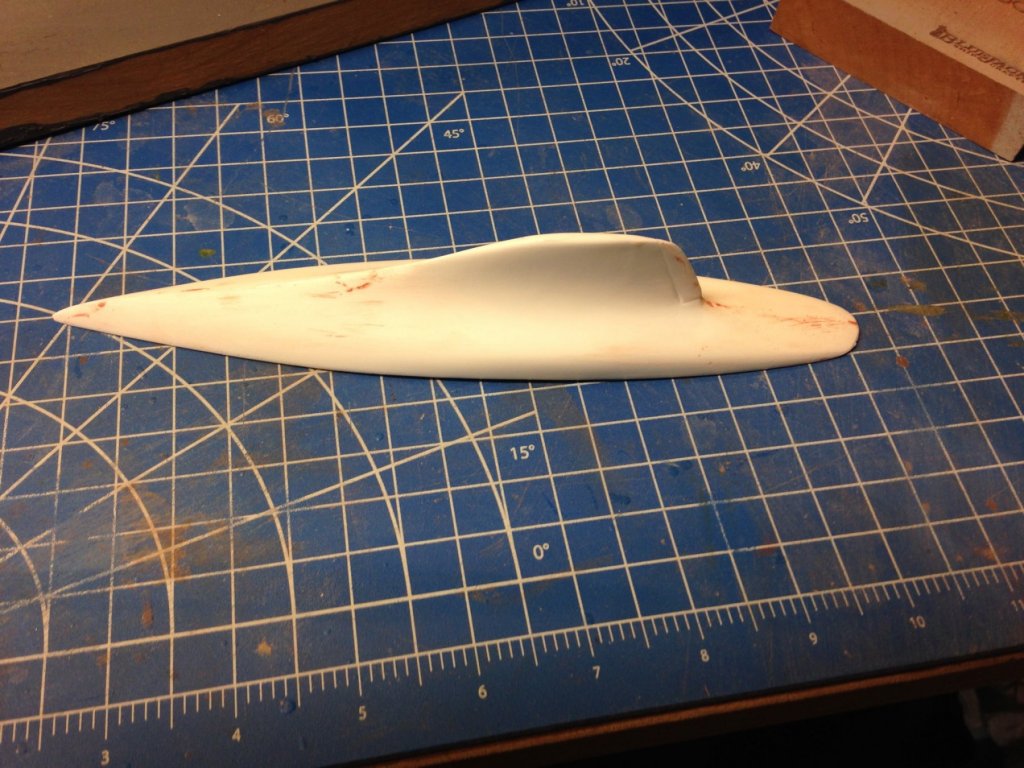
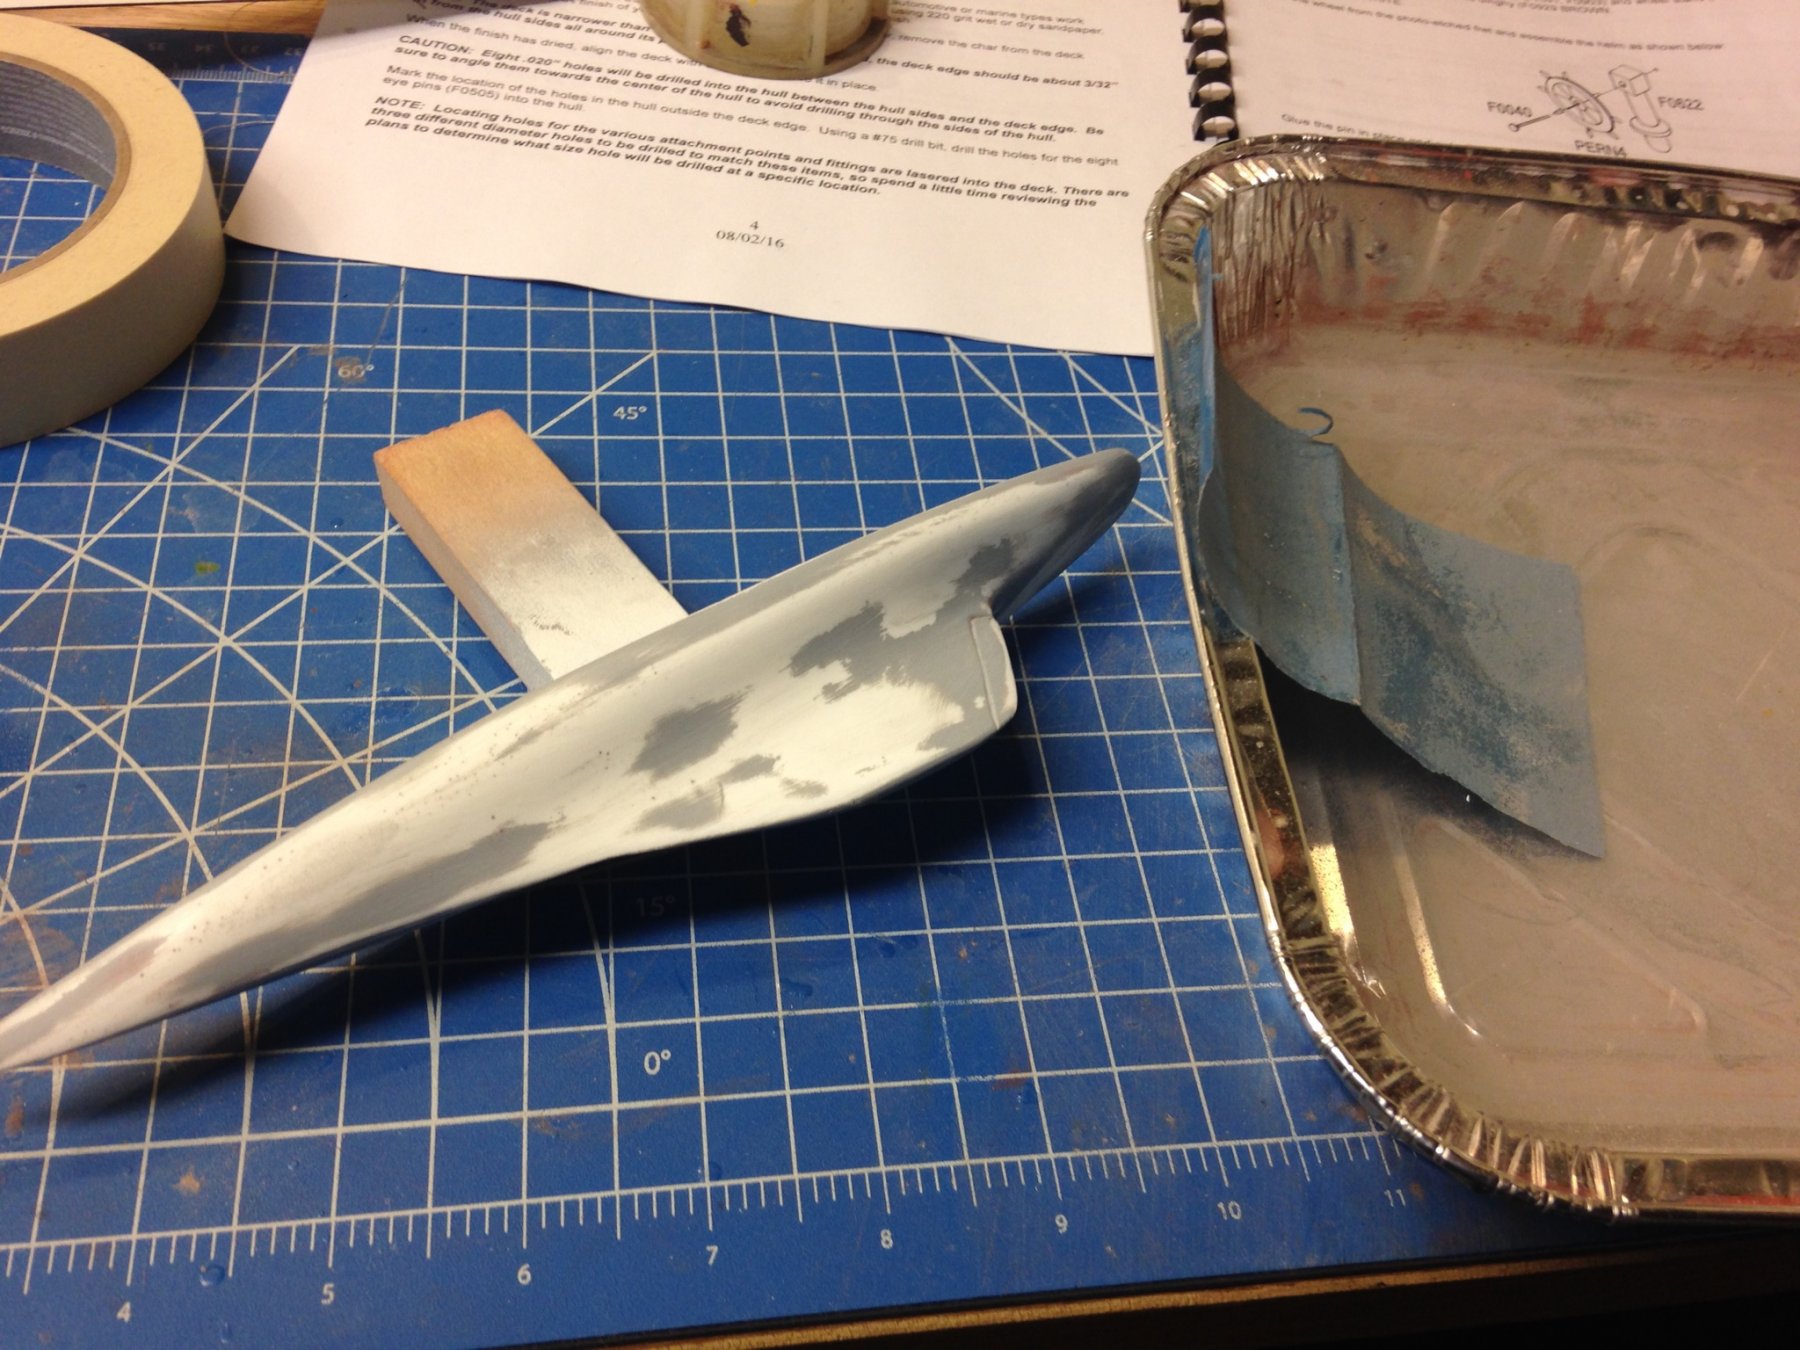
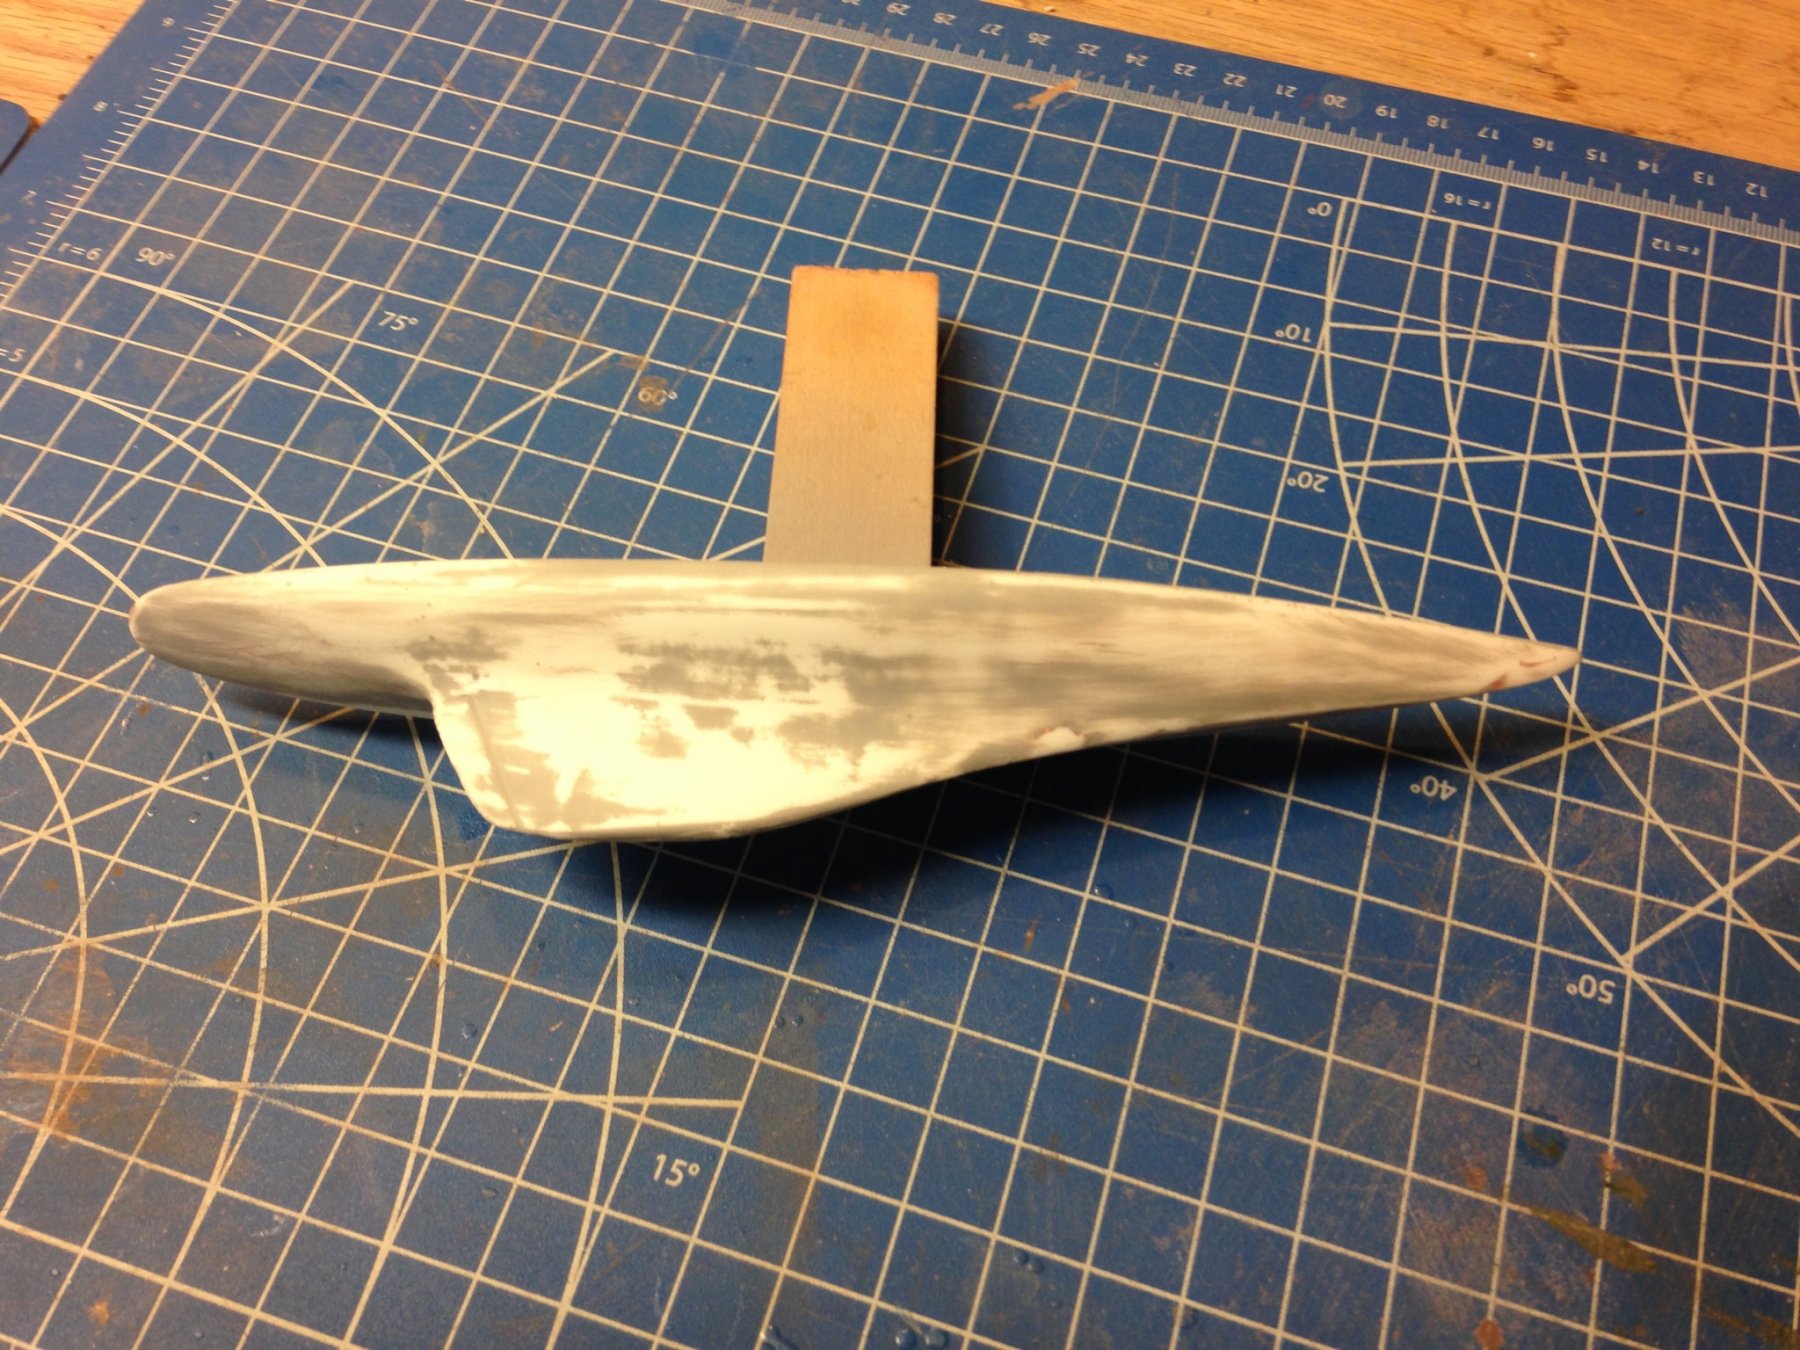
By the way, I started this over the Thanksgiving holiday. Here's how it looks after the first coat of primer and sanded down with 320 wet. That handle was perfect while spraying the primer.
And here it is after a second coat of primer, this time sanded with 600 grit wet to give a really smooth base, since the finish will be gloss.
-
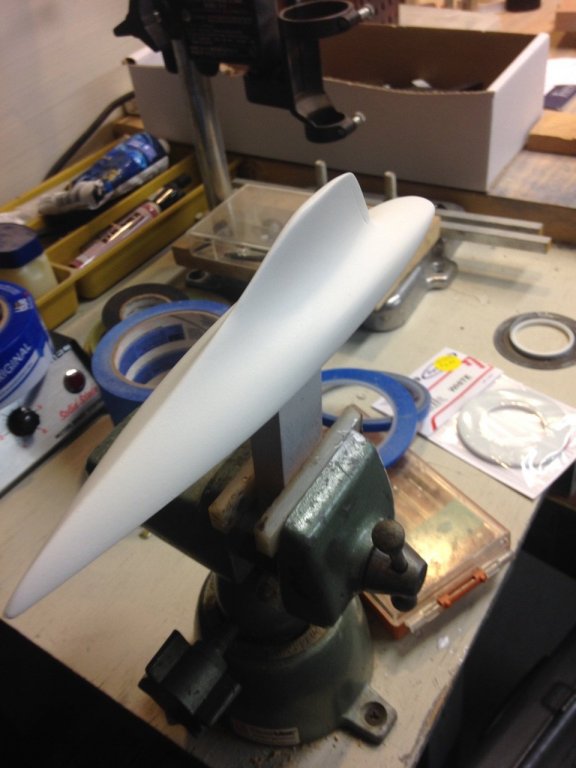
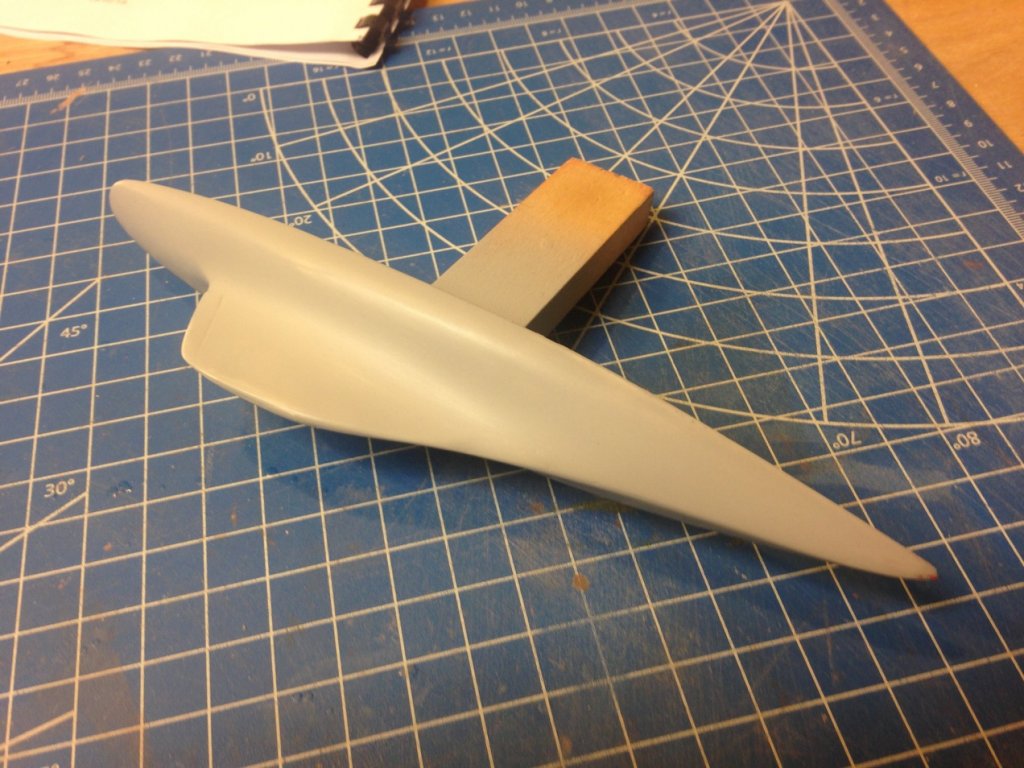
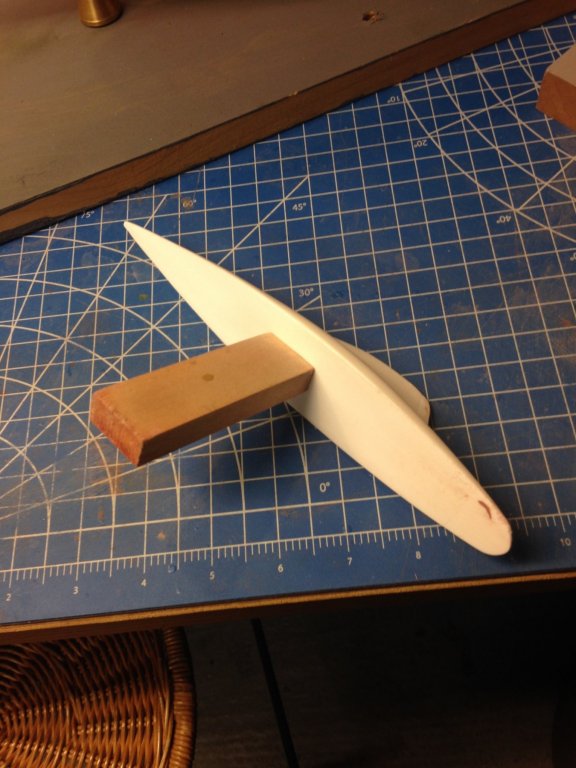
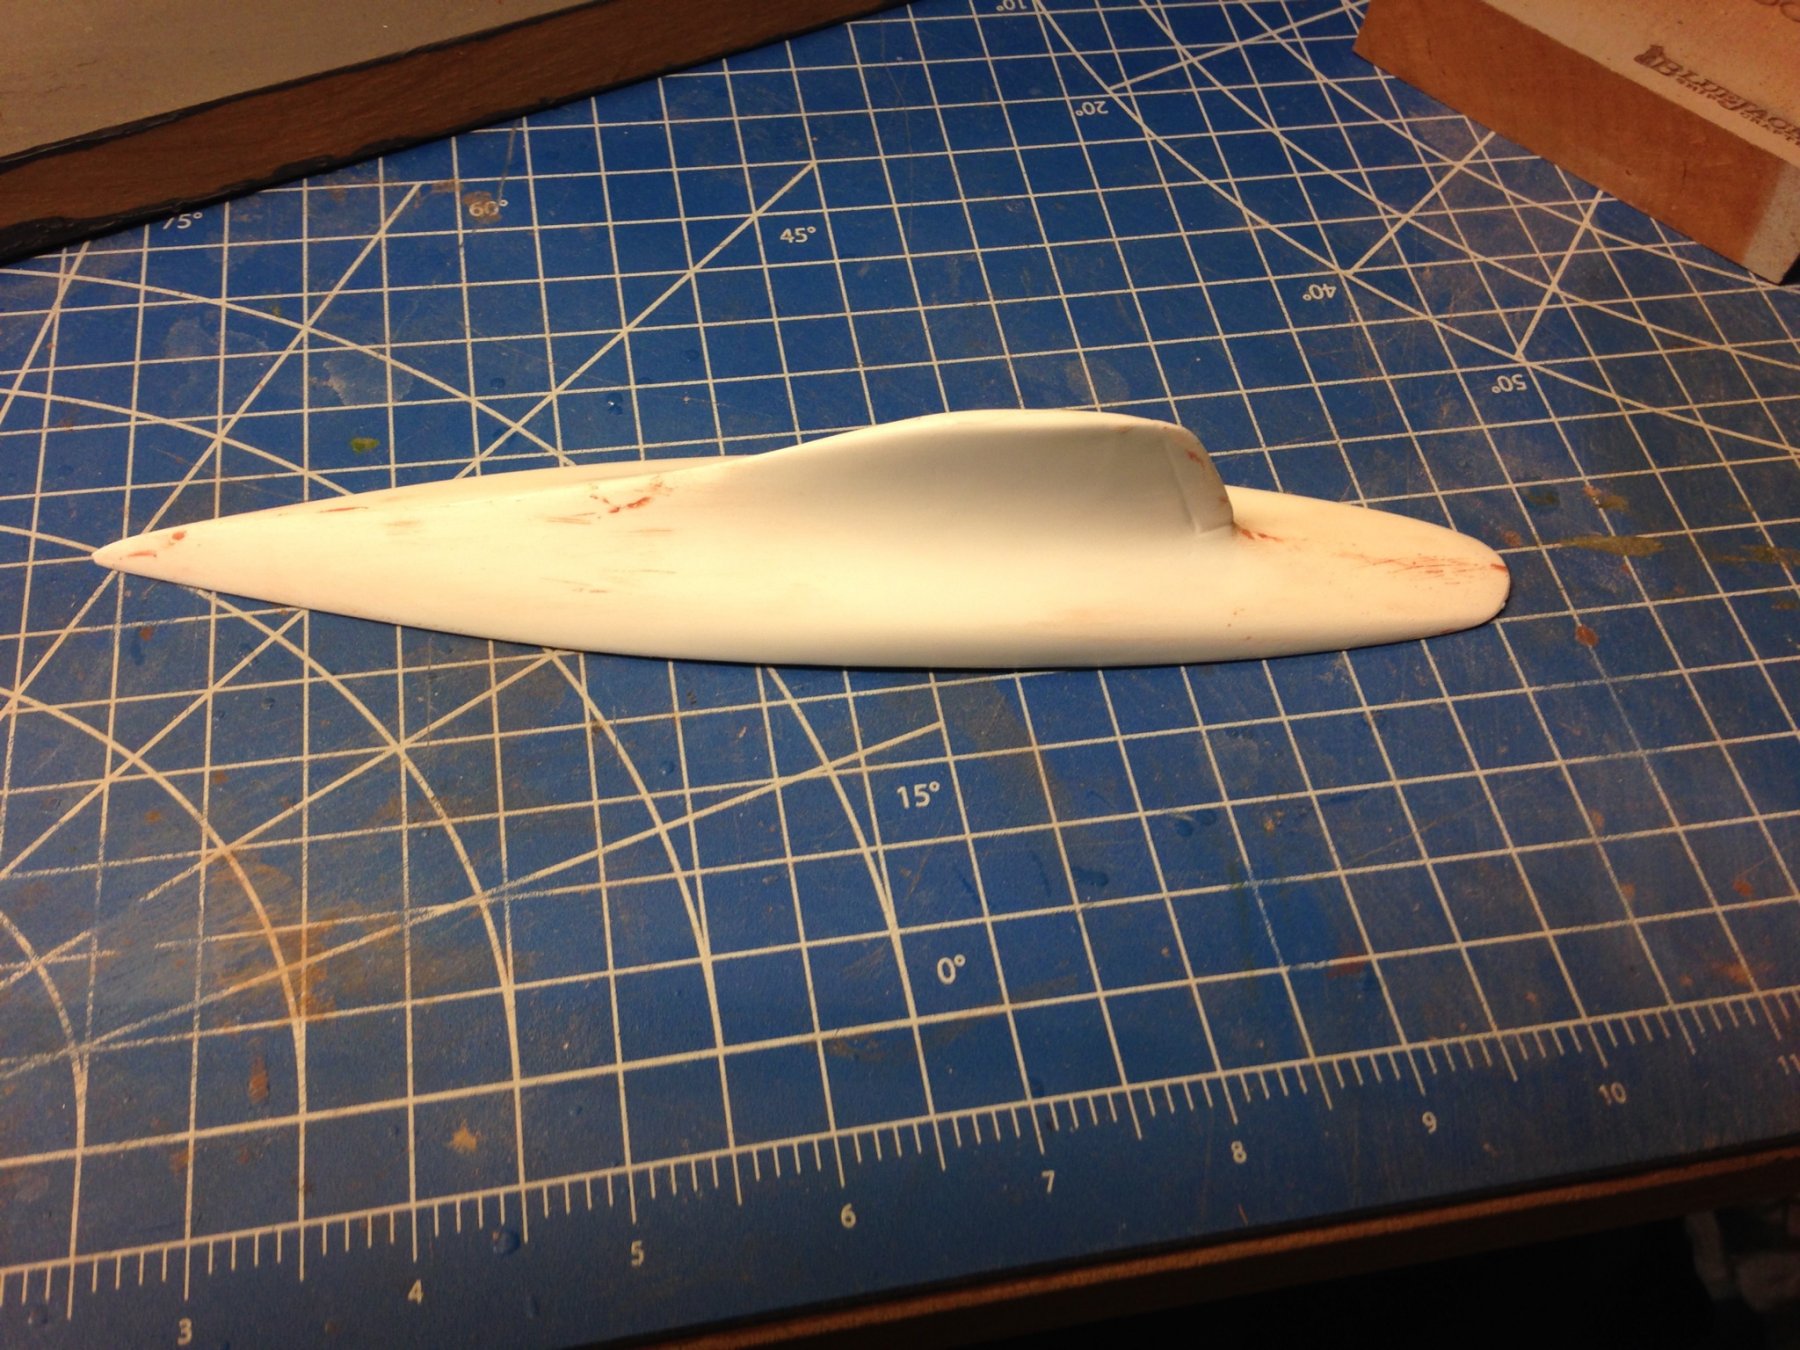
Fist thing to do is to wash the resin hull in soapy water and let it dry. Then fill the minor holes and stuff with putty. I use automotive glazing putty, it is laquer based and dries pretty fast. Here's the hull after filling and sanding.
Next comes gluing a handle on the hull so I can maneuver it better. It's just a basswood block and superglued down. SInce there is a dack part to go over the resin, when I take it off and sand down, it will not show when the model is finished
 .
.
-
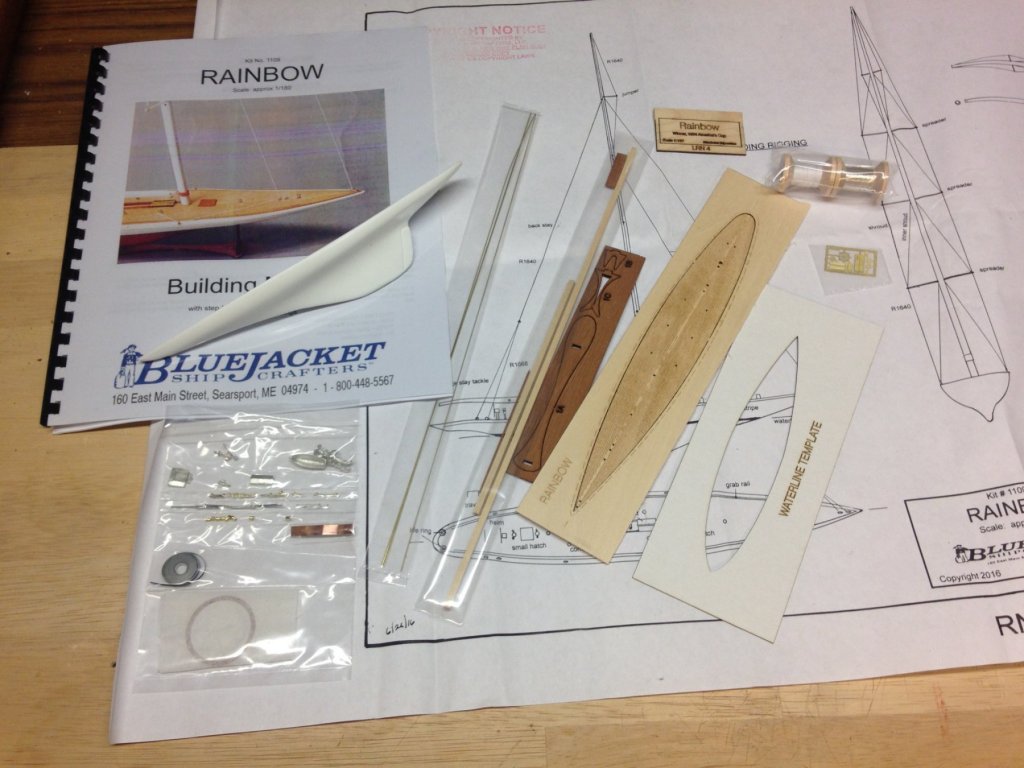
I'm building this model to give as a Thank You to someone. It is inexpensive, easy to do, and looks nice. The Rainbow was the winner of the 1934 America's Cup race, followed by Endeavour in second place. Here's the box and the contents.

- Elijah, ccoyle, popeye the sailor and 7 others
-
10
-
Although the templates will give you a "correct" hull, remember no-one will take a ruler to your model. More important is that it looks smooth and fair. Your "90%" should work just fine.
Nic
-
Hi Charlie,
BlueJacket sells that style galley stack in two sizes, look here at #905 & 906:
-
I didn't check MSW yesterday so I didn't see this problem until just now. You should NOT have gotten a hull with crooked holes.
I'm glad you found a solution, but a replacement hull is still available if you want it.
In addition, I will make a note in your customer file to give you a $10 credit on your next order. Please PM me with some identifier (name, invoice number, something like that so I can find you)
Don't be afraid to call me.
Nic
-
-
Hi,
At the stern there is a lot of excess wood due to the duplicating process. You will need to remove wood from under the counter until it is as thin as the plan shows. It is also a bit long, use the deck to get the final stern length. DOn't forget the stern post will fill the gap you think you might have. Here is a diagram for you.
Nic
-
I have looked into your hole mis-alignment issue. We use a template to mark the holes for drilling, and the template holes line up. BUT, being a manual process, it is possible the template could slip a little bit between drawing one hole then another. To correct that, I have added a manufacturing step after marking the holes - Take a ruler and make sure the hole marks line up.
Enjoy the build,
Nic
-
I suggest you make the waterline match the plans. The bottom tail is a little off, but the bow shape is what we are looking for. Perhaps we should change that template tail.
Nic
-
-
Yes, we offer two different kits. The 1/4" POF is what is being built here by GSDPIC. The other one was a Laughing Whale kit in 1/8" scale. It too is plank on frames, except for the endmost bulkheads. But the frames are spaced more like bulkheads, and of course being a smaller scale, the details are more basic. The frames are laser-cut, so they need to be beveled. Hope that clears it up for you.
Nic
- Nirvana, namrogllib and coxswain
-
3


J-Class Rainbow by MrBlueJacket - FINISHED - BlueJacket Shipcrafters - 1:180 - RESIN
in - Kit build logs for subjects built from 1901 - Present Day
Posted
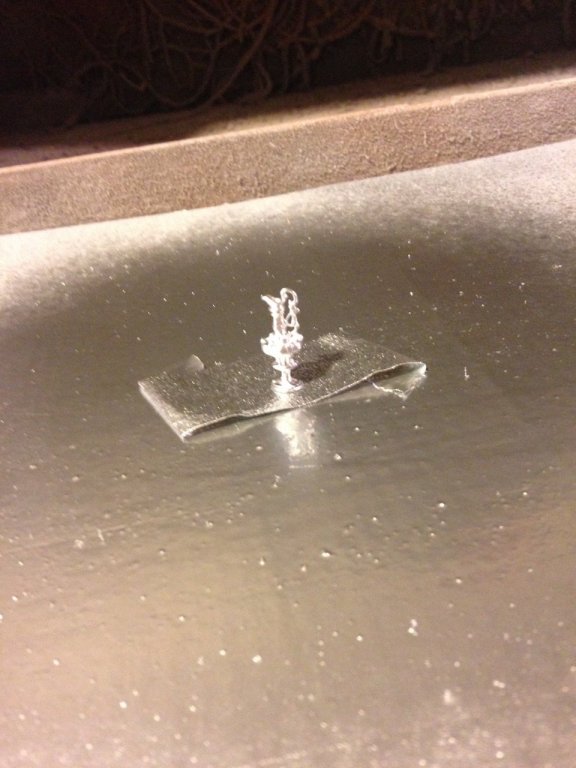
The kit includes a small (7/8") replica of the America's Cup trophy, cast in Britannia metal. I sprayed it with rattle can chrome which I think is a good impression of polished silver at this scale.